Recipe Roundup-36 Scrumptious Summer Recipes
Have you ever noticed people seem happier when the weather is warmer? Did you know summer is the favorite season for most? I love Summer! Flip flops, warm sunshine, flowers, swimming, the beach, the smells of barbeques wafting through the air... Summer is alive and vibrant! Here in the Northeast, our summer is condensed into a few short months, so our family spends as much time outdoors as possible.
Summer is also a time to slow down, kick back, relax and spend quality time with family and friends. Simply put, it screams easy entertaining. Whether it is a summer party, a potluck, a bonfire, time at the beach, or a birthday celebration, we have rounded up 36 of our favorite recipes to ensure summer entertaining is a breeze, allowing more time for you to enjoy the bounties of summer.
As always, thank you for stopping by! Come back and visit us often!
Happy Summer!
Appetizers - These quick and easy appetizers ideas are perfect for summer noshing.
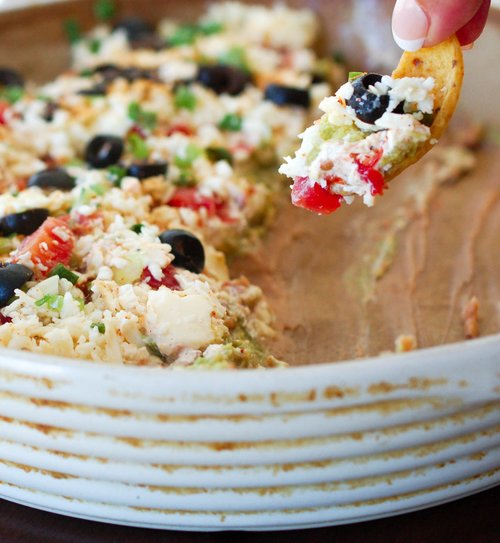
The Best Layered Taco Dip Recipe- This recipe is perfect for a crowd and it features Cherchies Select Grilling Rub & Seasoning Blend.
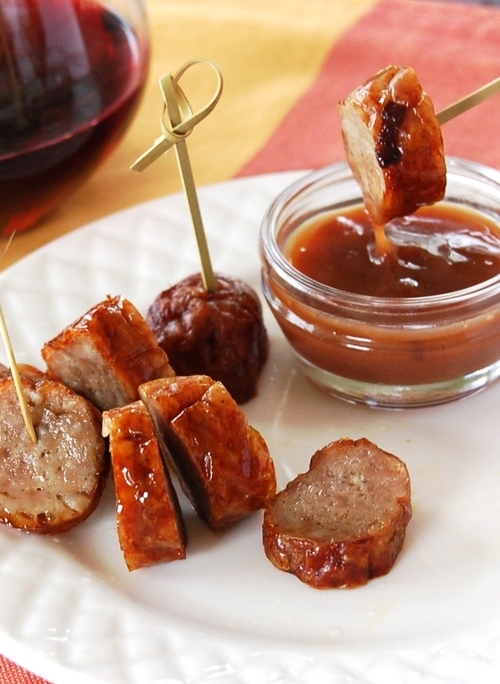
Sausage Bites With Mustard Dipping Sauce- Sweet, savory and easy, featuring Cherchies Mustards.
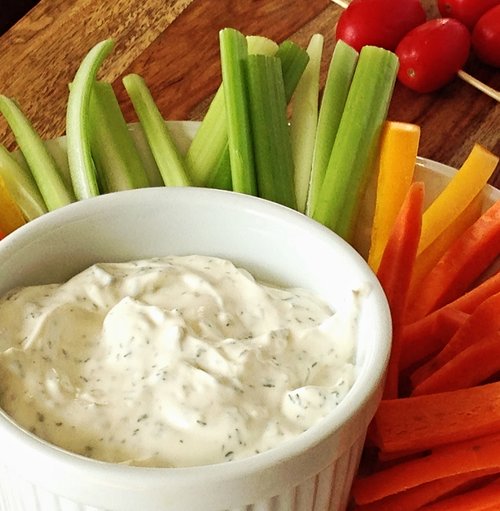
Lemon Dill Dip Recipe- Fantastic with vegetables, crackers, seafood, and so much more- featuring our signature seasoning blend, Cherchies Lem 'n Dill Seasoning.
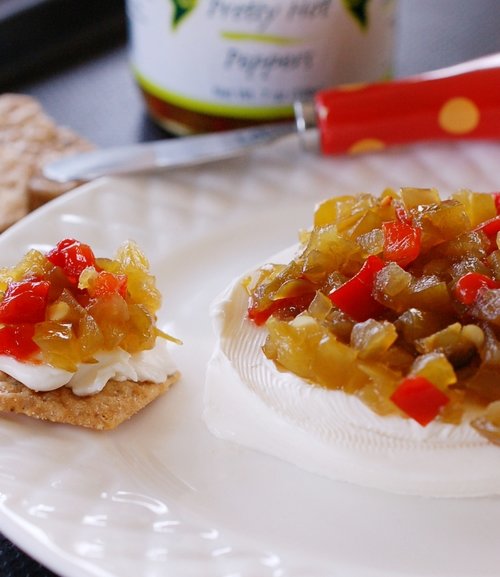
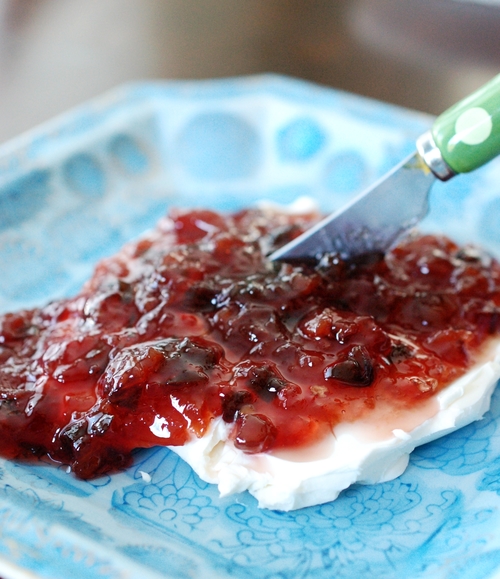
Pepper Jam Cream Cheese Appetizer Recipe- A pantry staple! Keep extras on hand for unexpected company. Spread our pepper jams over cream cheese for an easy peasy appetizer.
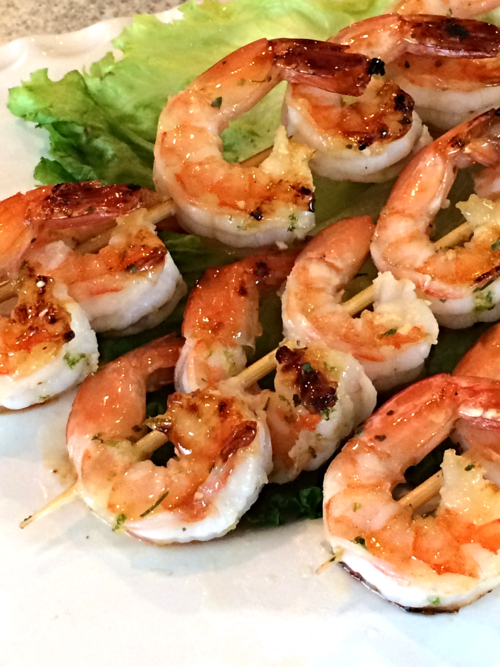
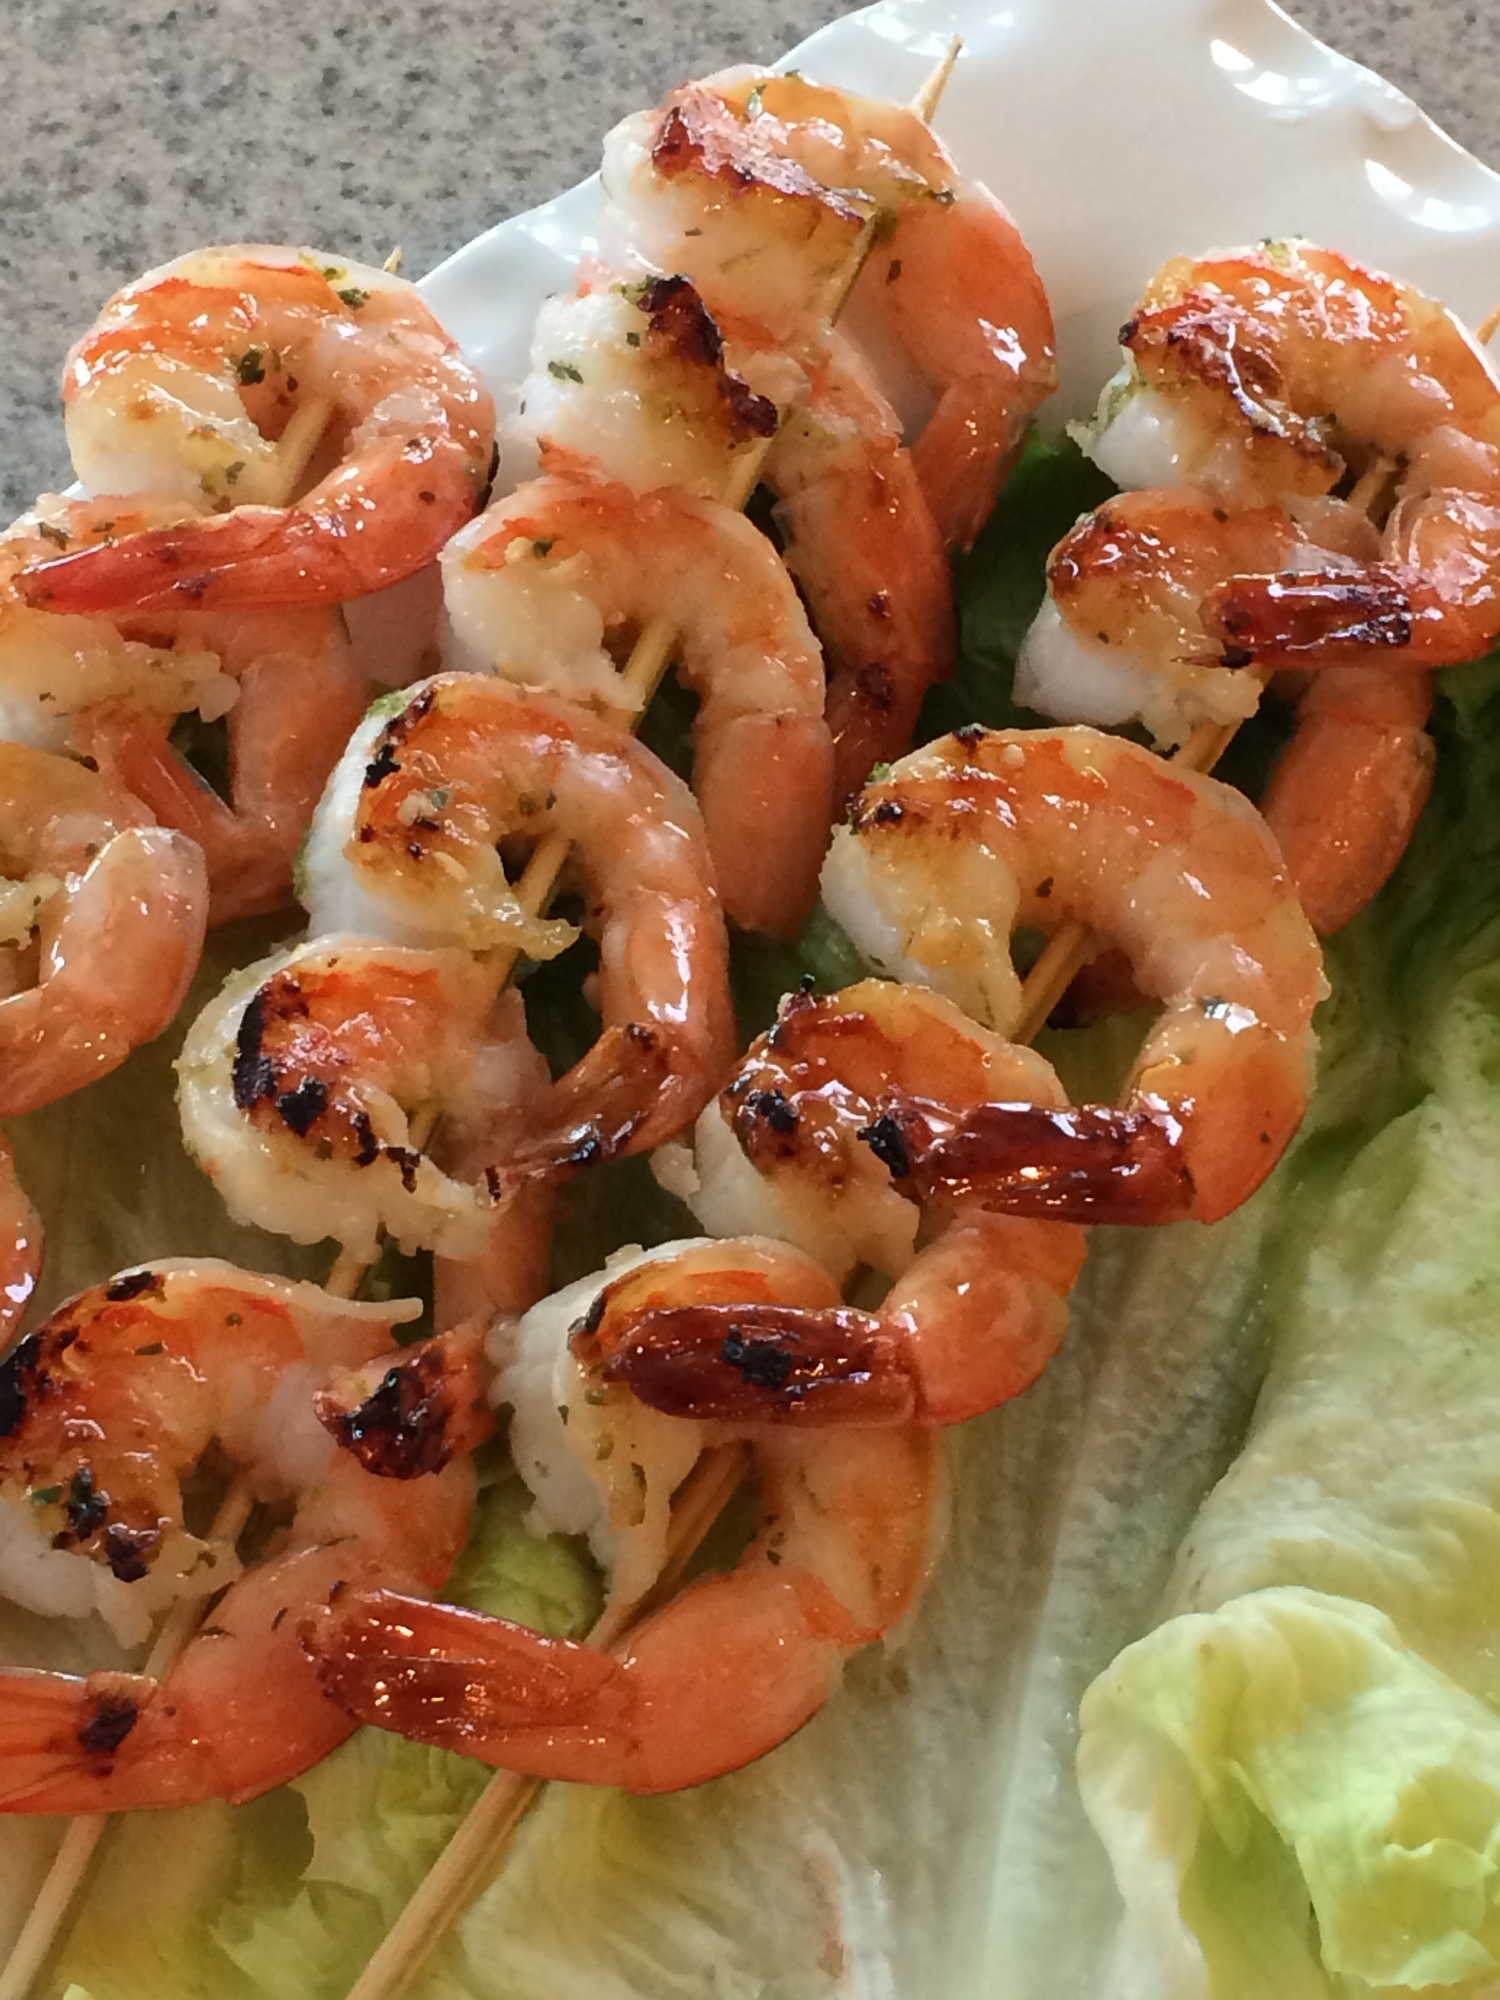
Honey 'n Lime Grilled Shrimp Recipe- Sweet and tangy, featuring Cherchies Chardonnay Lime & Cilantro Seasoning. Remove from skewers and allow guests to help themselves.
Garlic Krispies Recipe- A surprising crunch. Save some for yourself...they won't last long. This recipe features Cherchies Garlic Seasoning Blend.

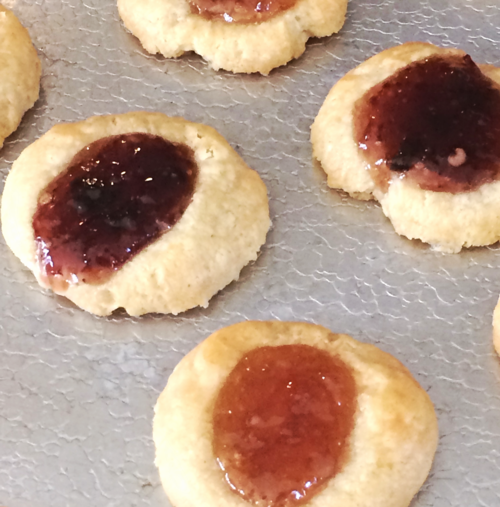
Cheesy Hot Pepper Jam Thumbprints Recipe- A cheesy and fruity appetizer with a kick, featuring Cherchies Pepper Jams and Preserves.
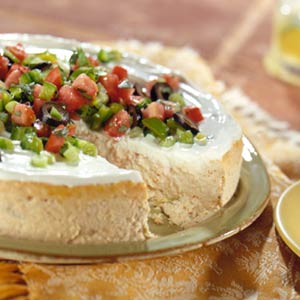
Mexican Martino Cheesecake Recipe- This savory cheesecake, featuring Cherchies Salsas and Cherchies Pretty Peppers is a flavorful appetizer for a large crowd.
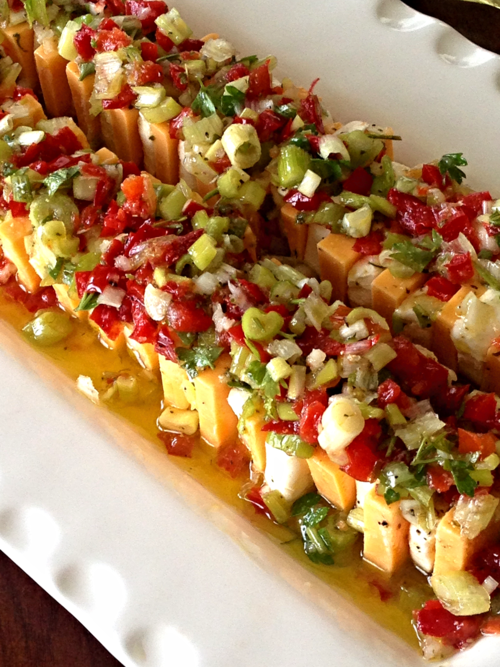
Marinated Cheese Recipe- A "Pretty" presentation featuring Cherchies Pretty Peppers or a spicier version, Cherchies Pretty Hot Peppers.
Side Dishes- These summery side dishes are the necessary accompaniment for your summer soirees.
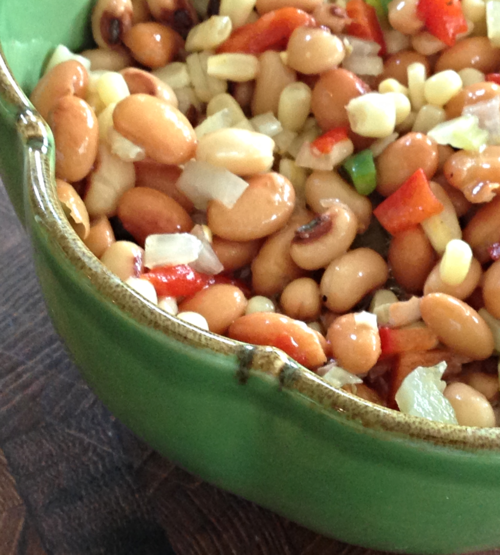
Pretty Vegetable Bean Salad Recipe- featuring Cherchies Pretty Peppers.
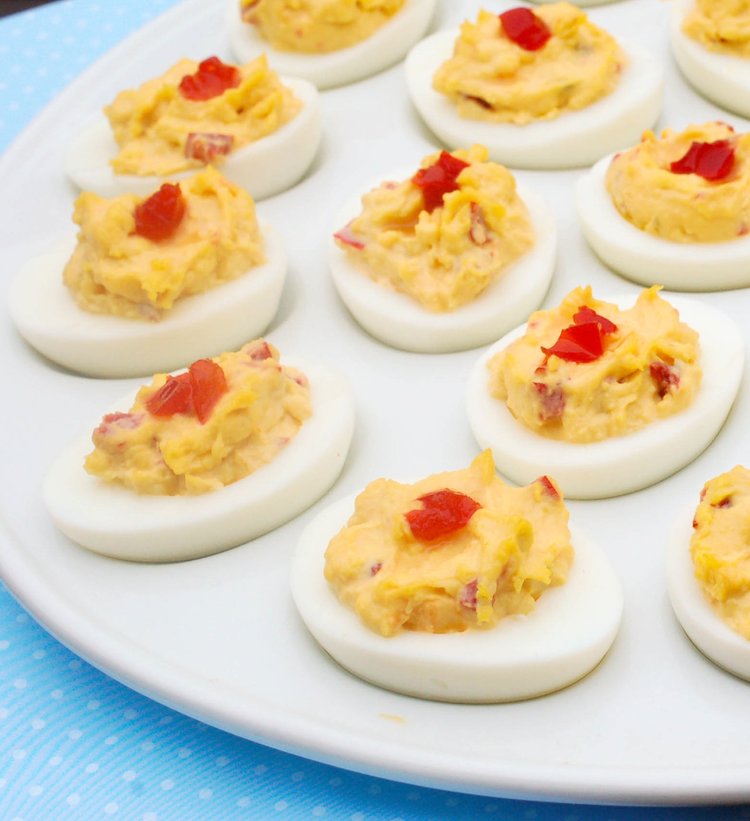
Festive Deviled Eggs Recipe - A timeless recipe suitable for any occasion, featuring Cherchies Champagne Mustard or Cherchies Hot Banana Pepper Mustards and Cherchies Pretty Peppers.
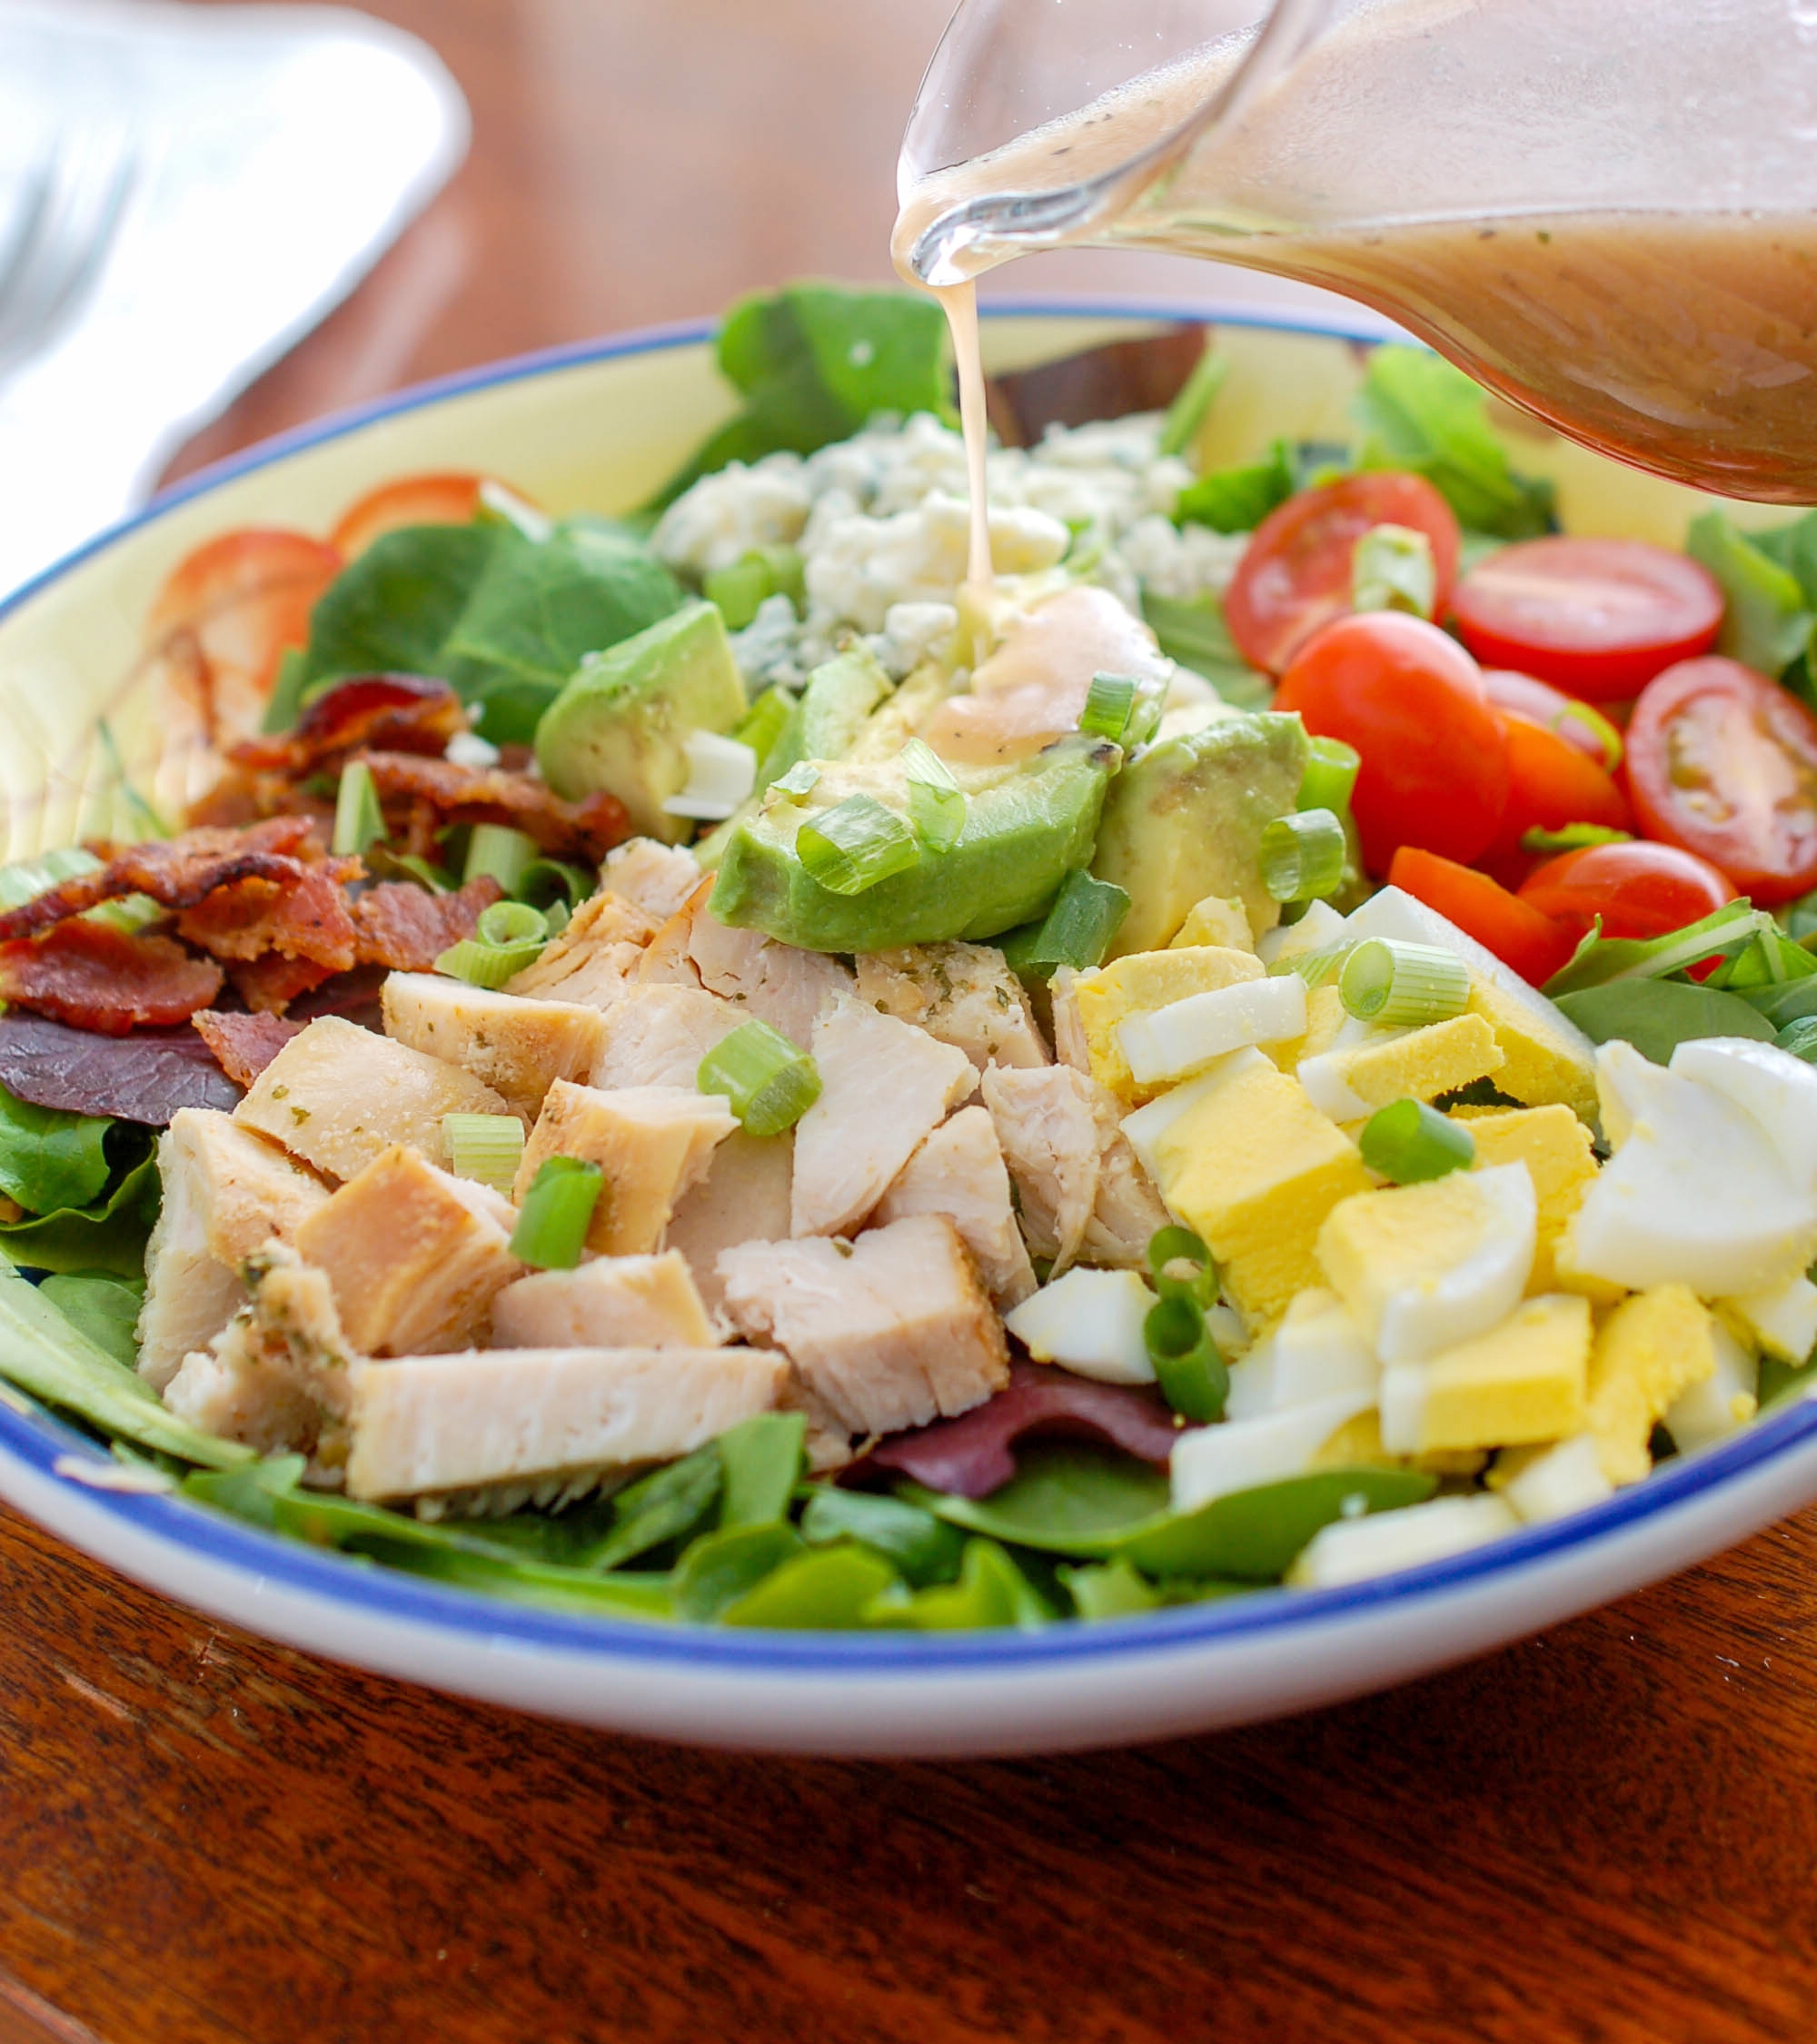
Cobb Salad With Brown Derby Dressing Recipe- Featuring Cherchies Champagne Mustard and Cherchies Garlic Seasoning.
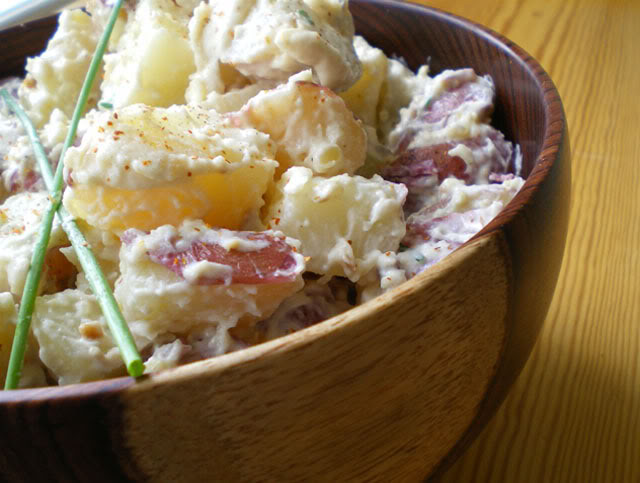
Aunt Ester's Potato Salad Recipe- featuring Cherchies Lem'n Dill Seasoning.
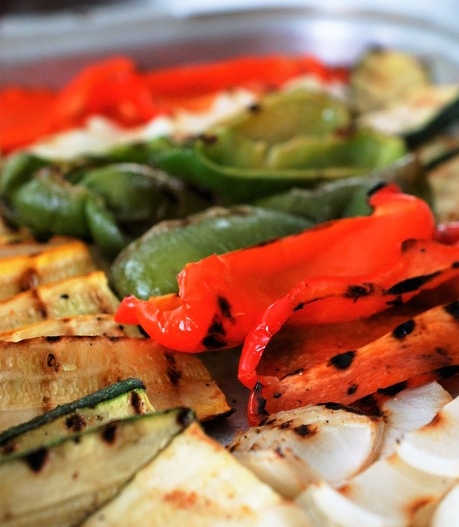
Grilled Balsamic Champagne Vegetables Recipe- Enjoy summer's bounty and tantalize your taste buds with this kickin' marinade, featuring Cherchies Garlic Seasoning and Cherchies Champagne Mustard.
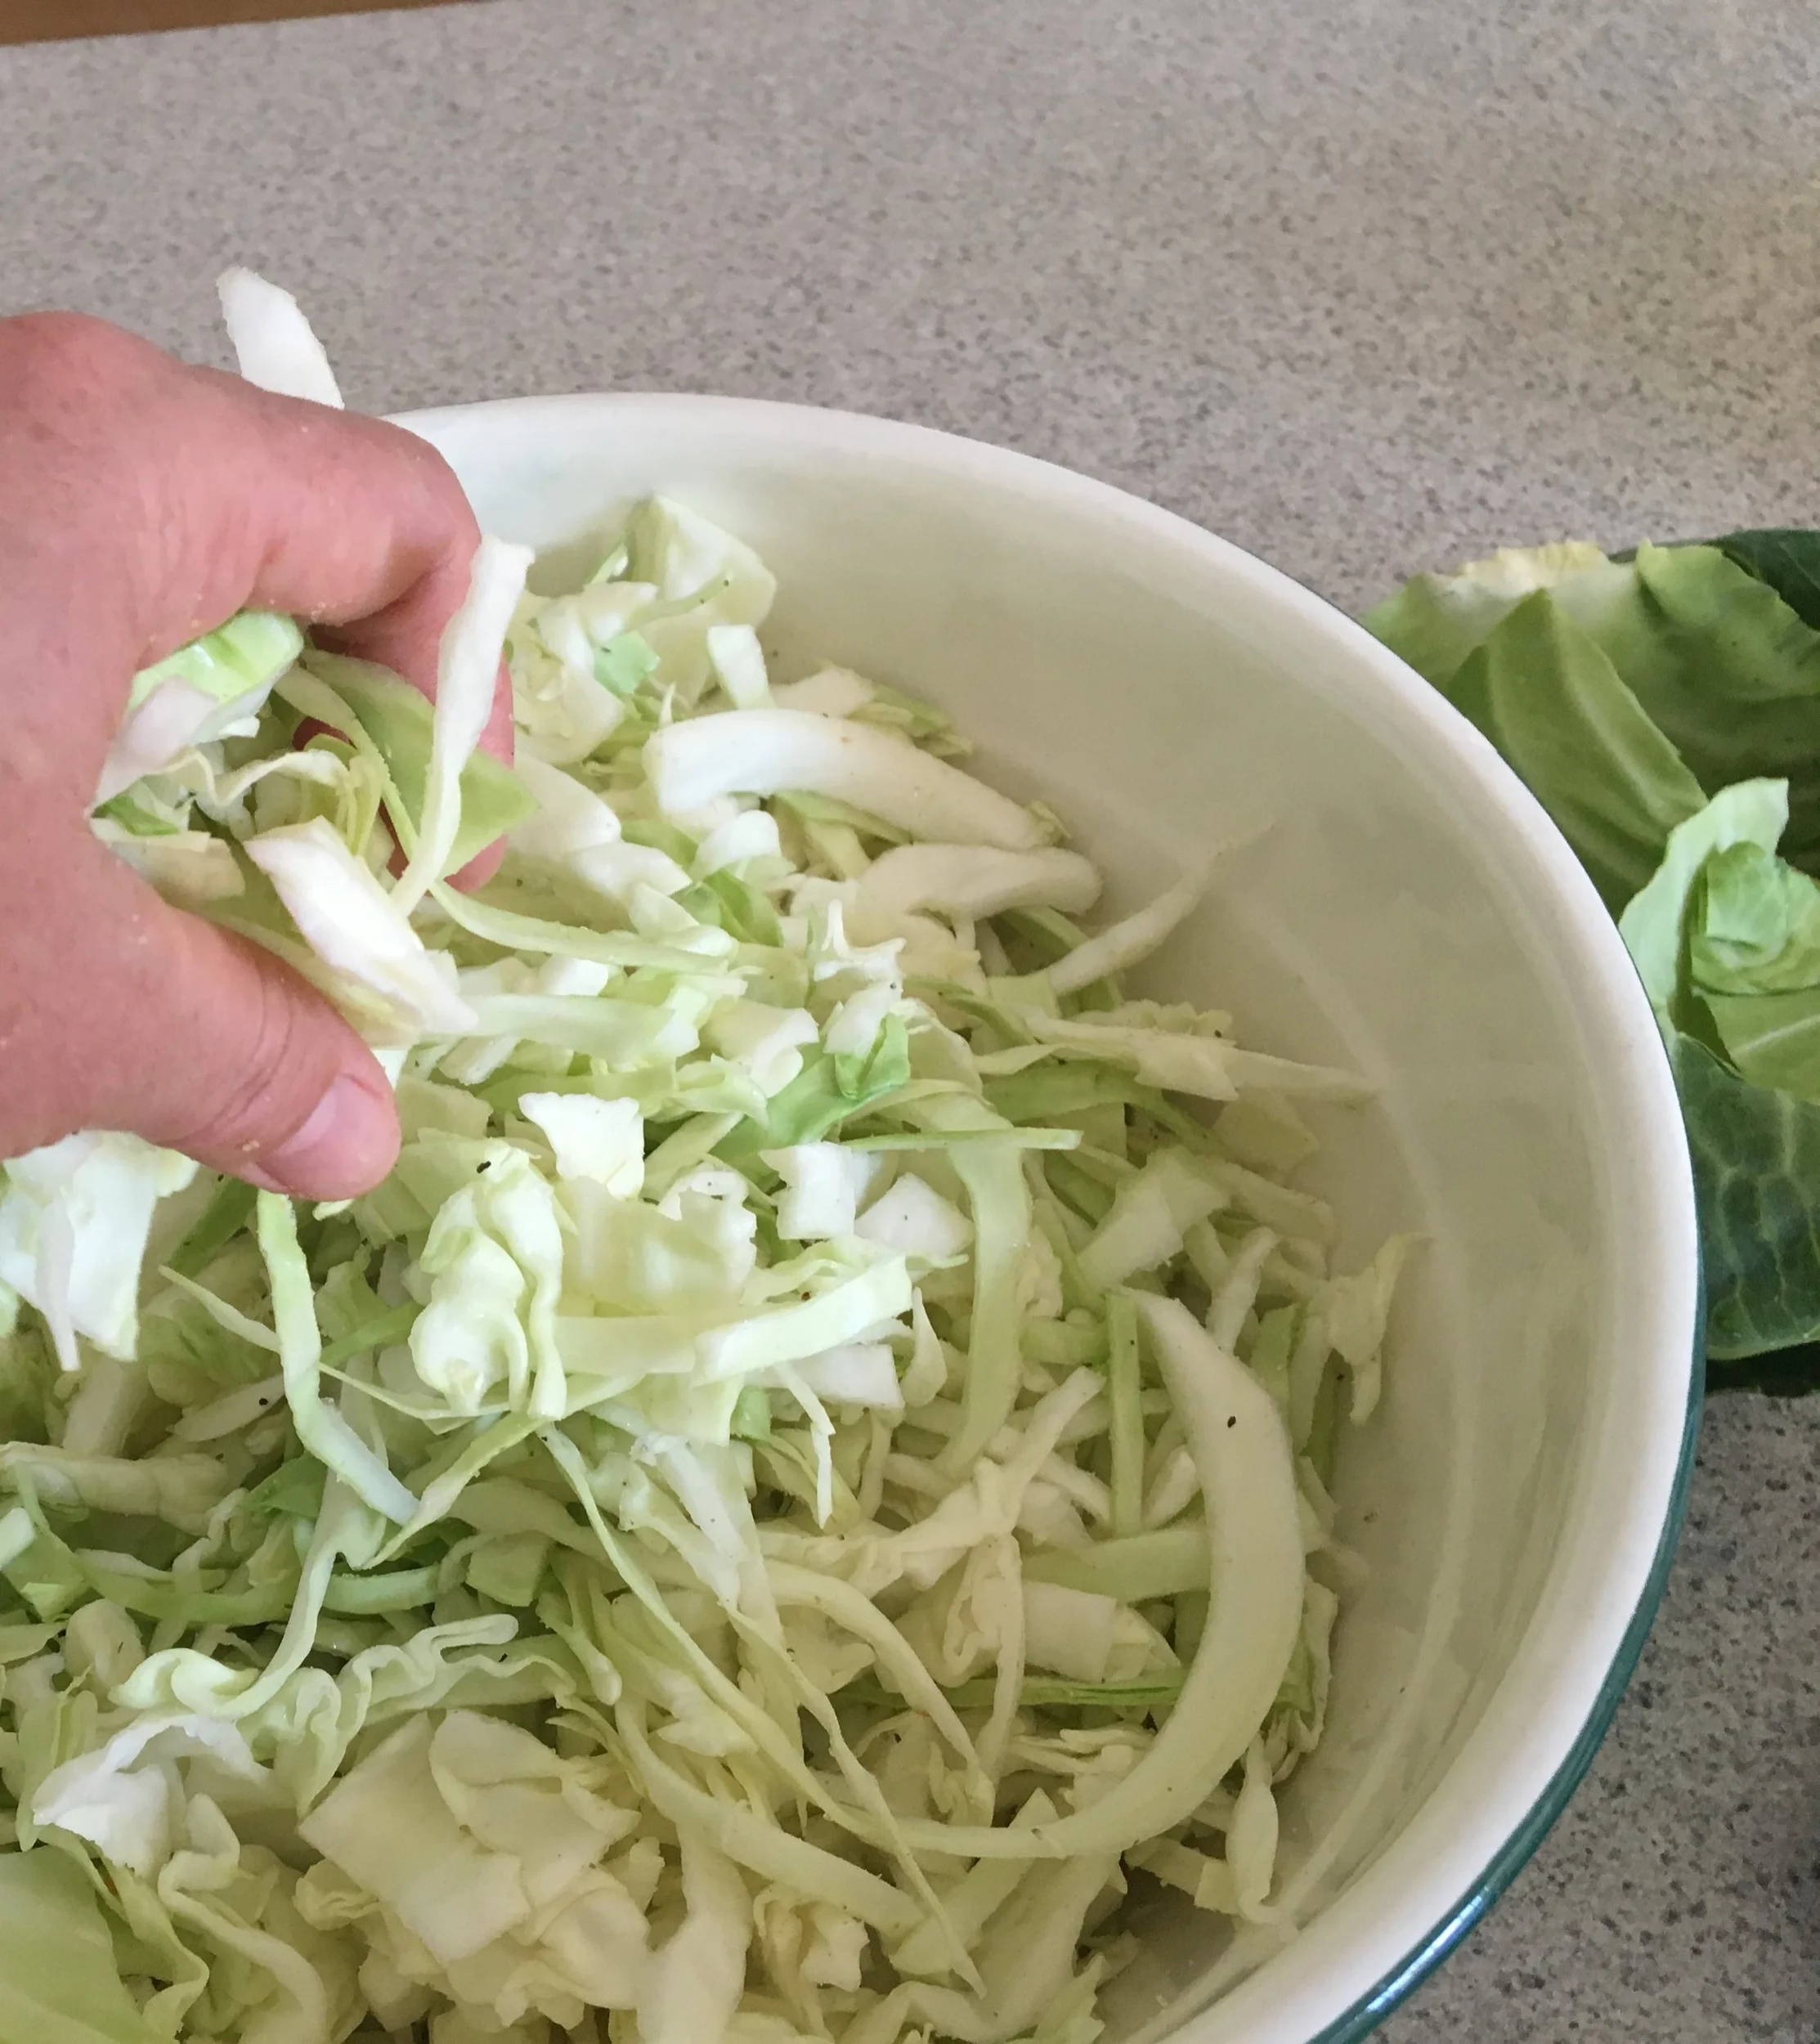
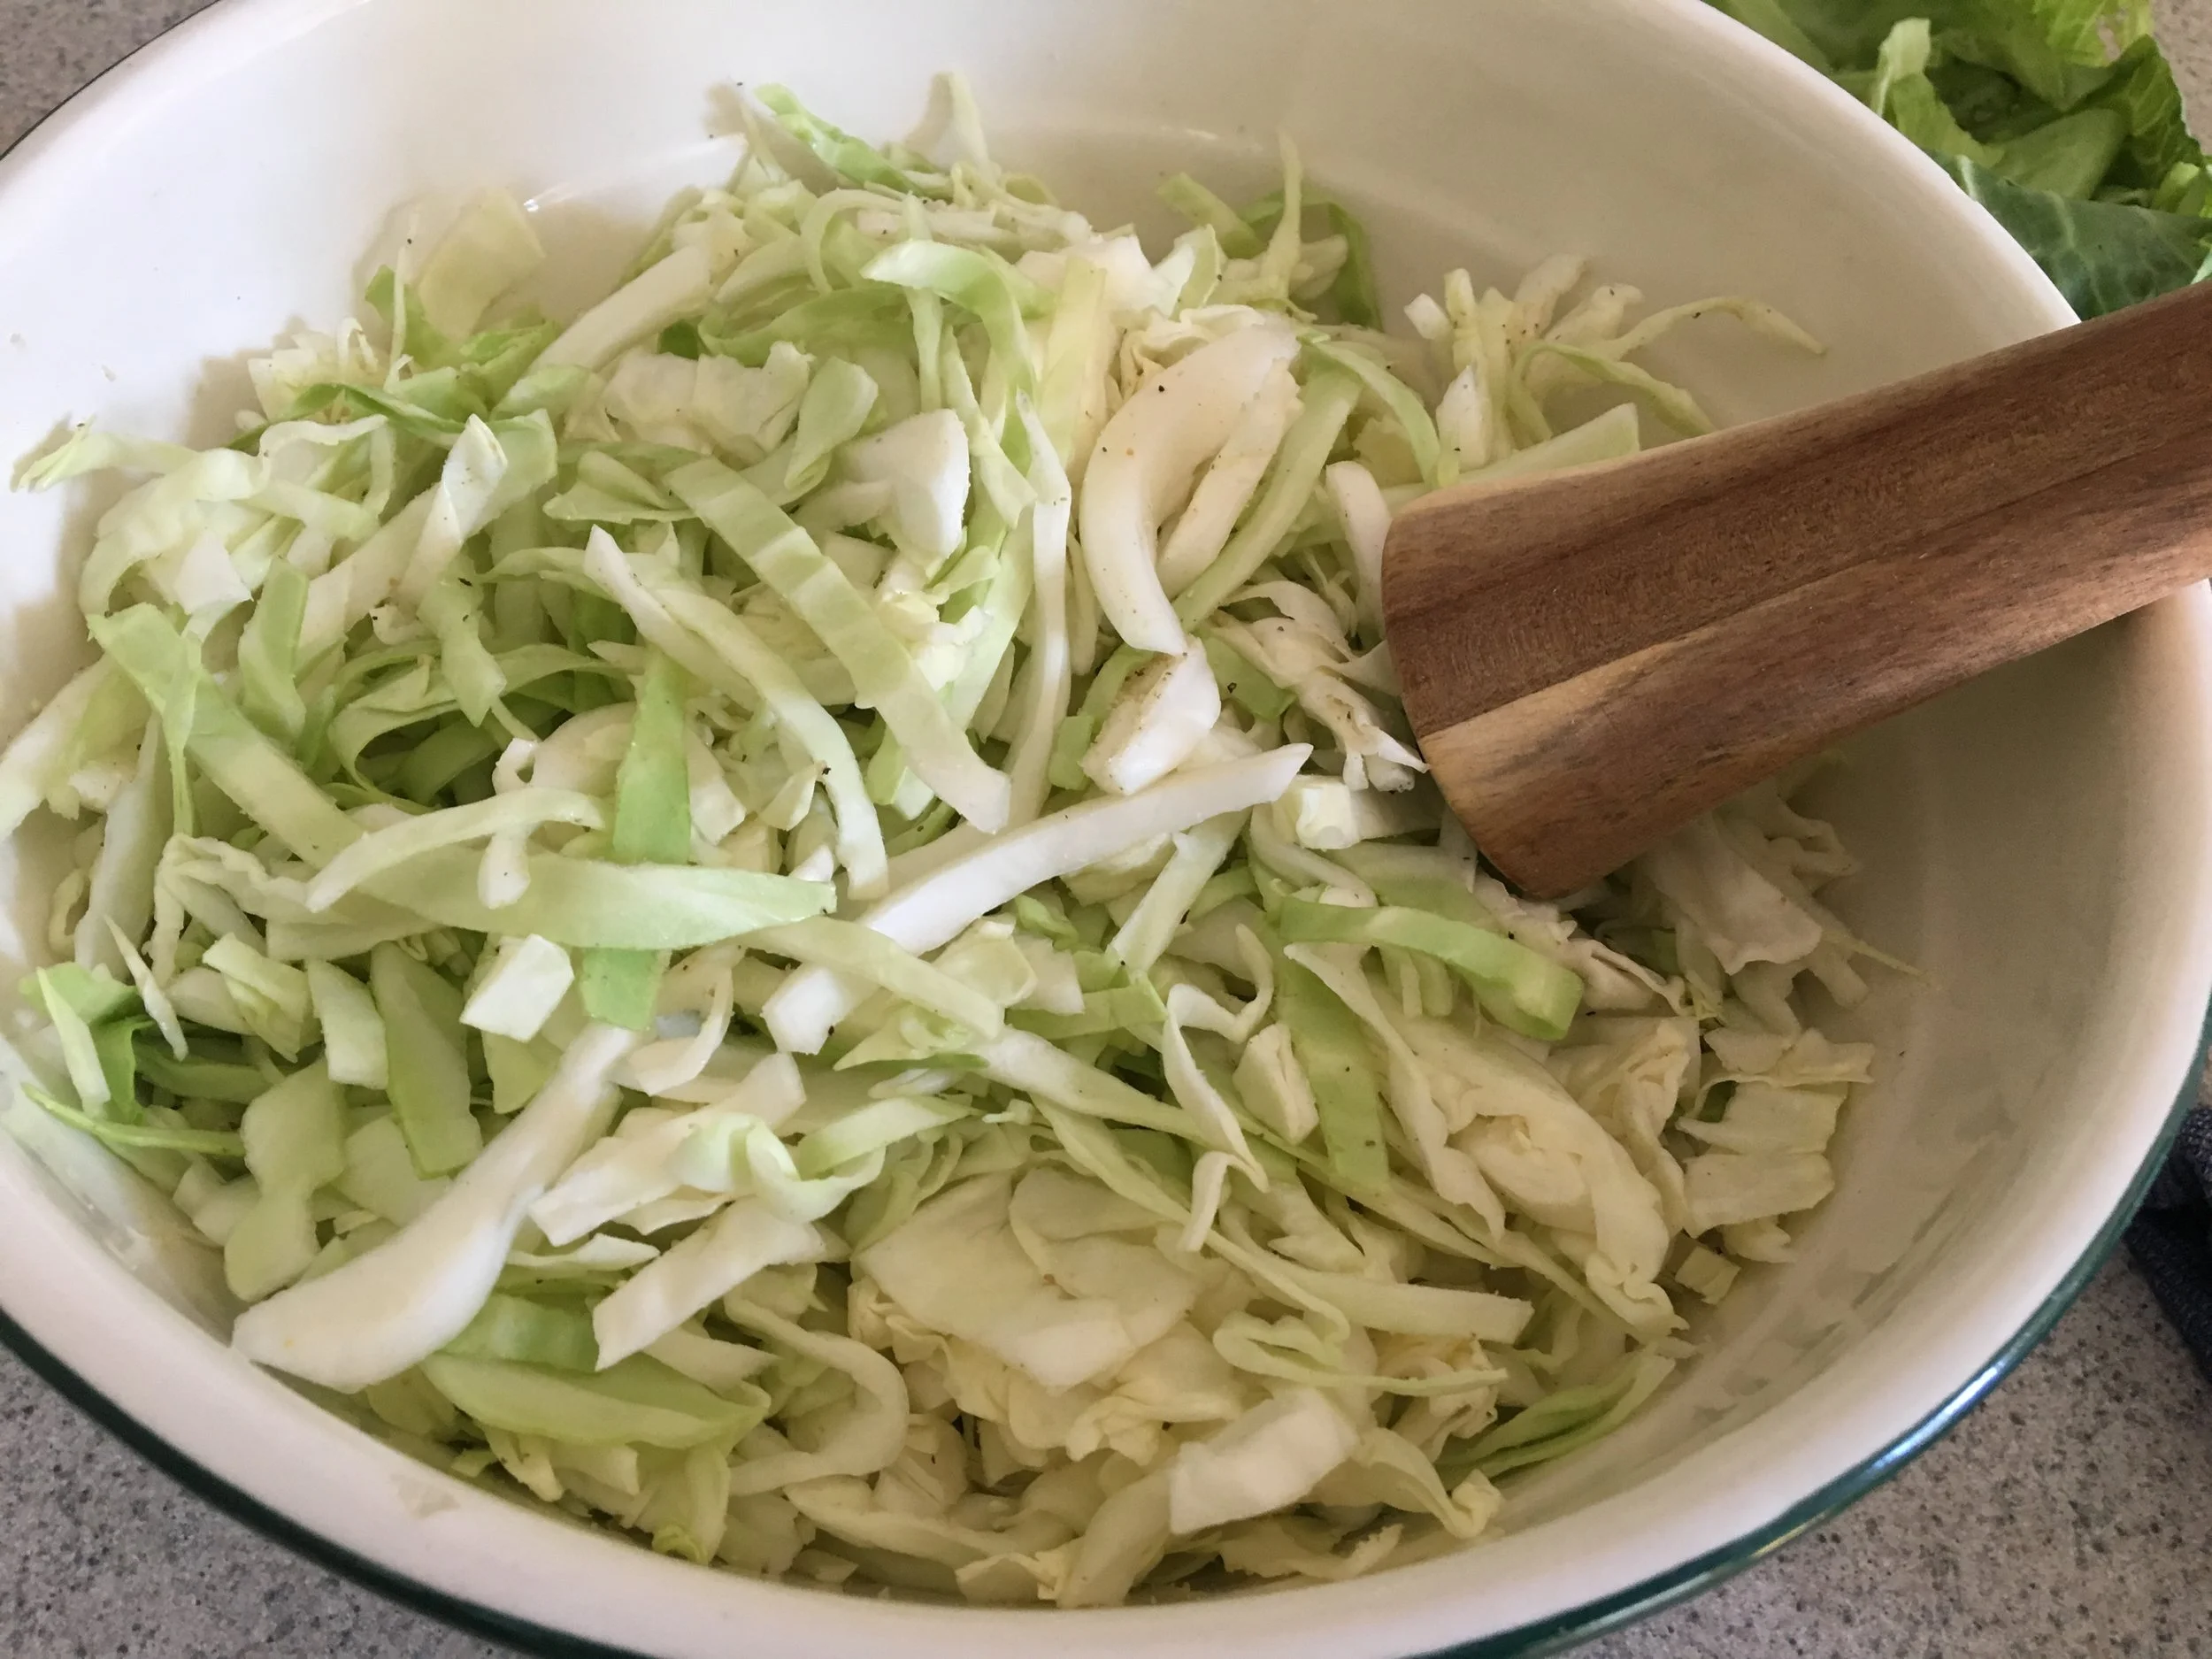
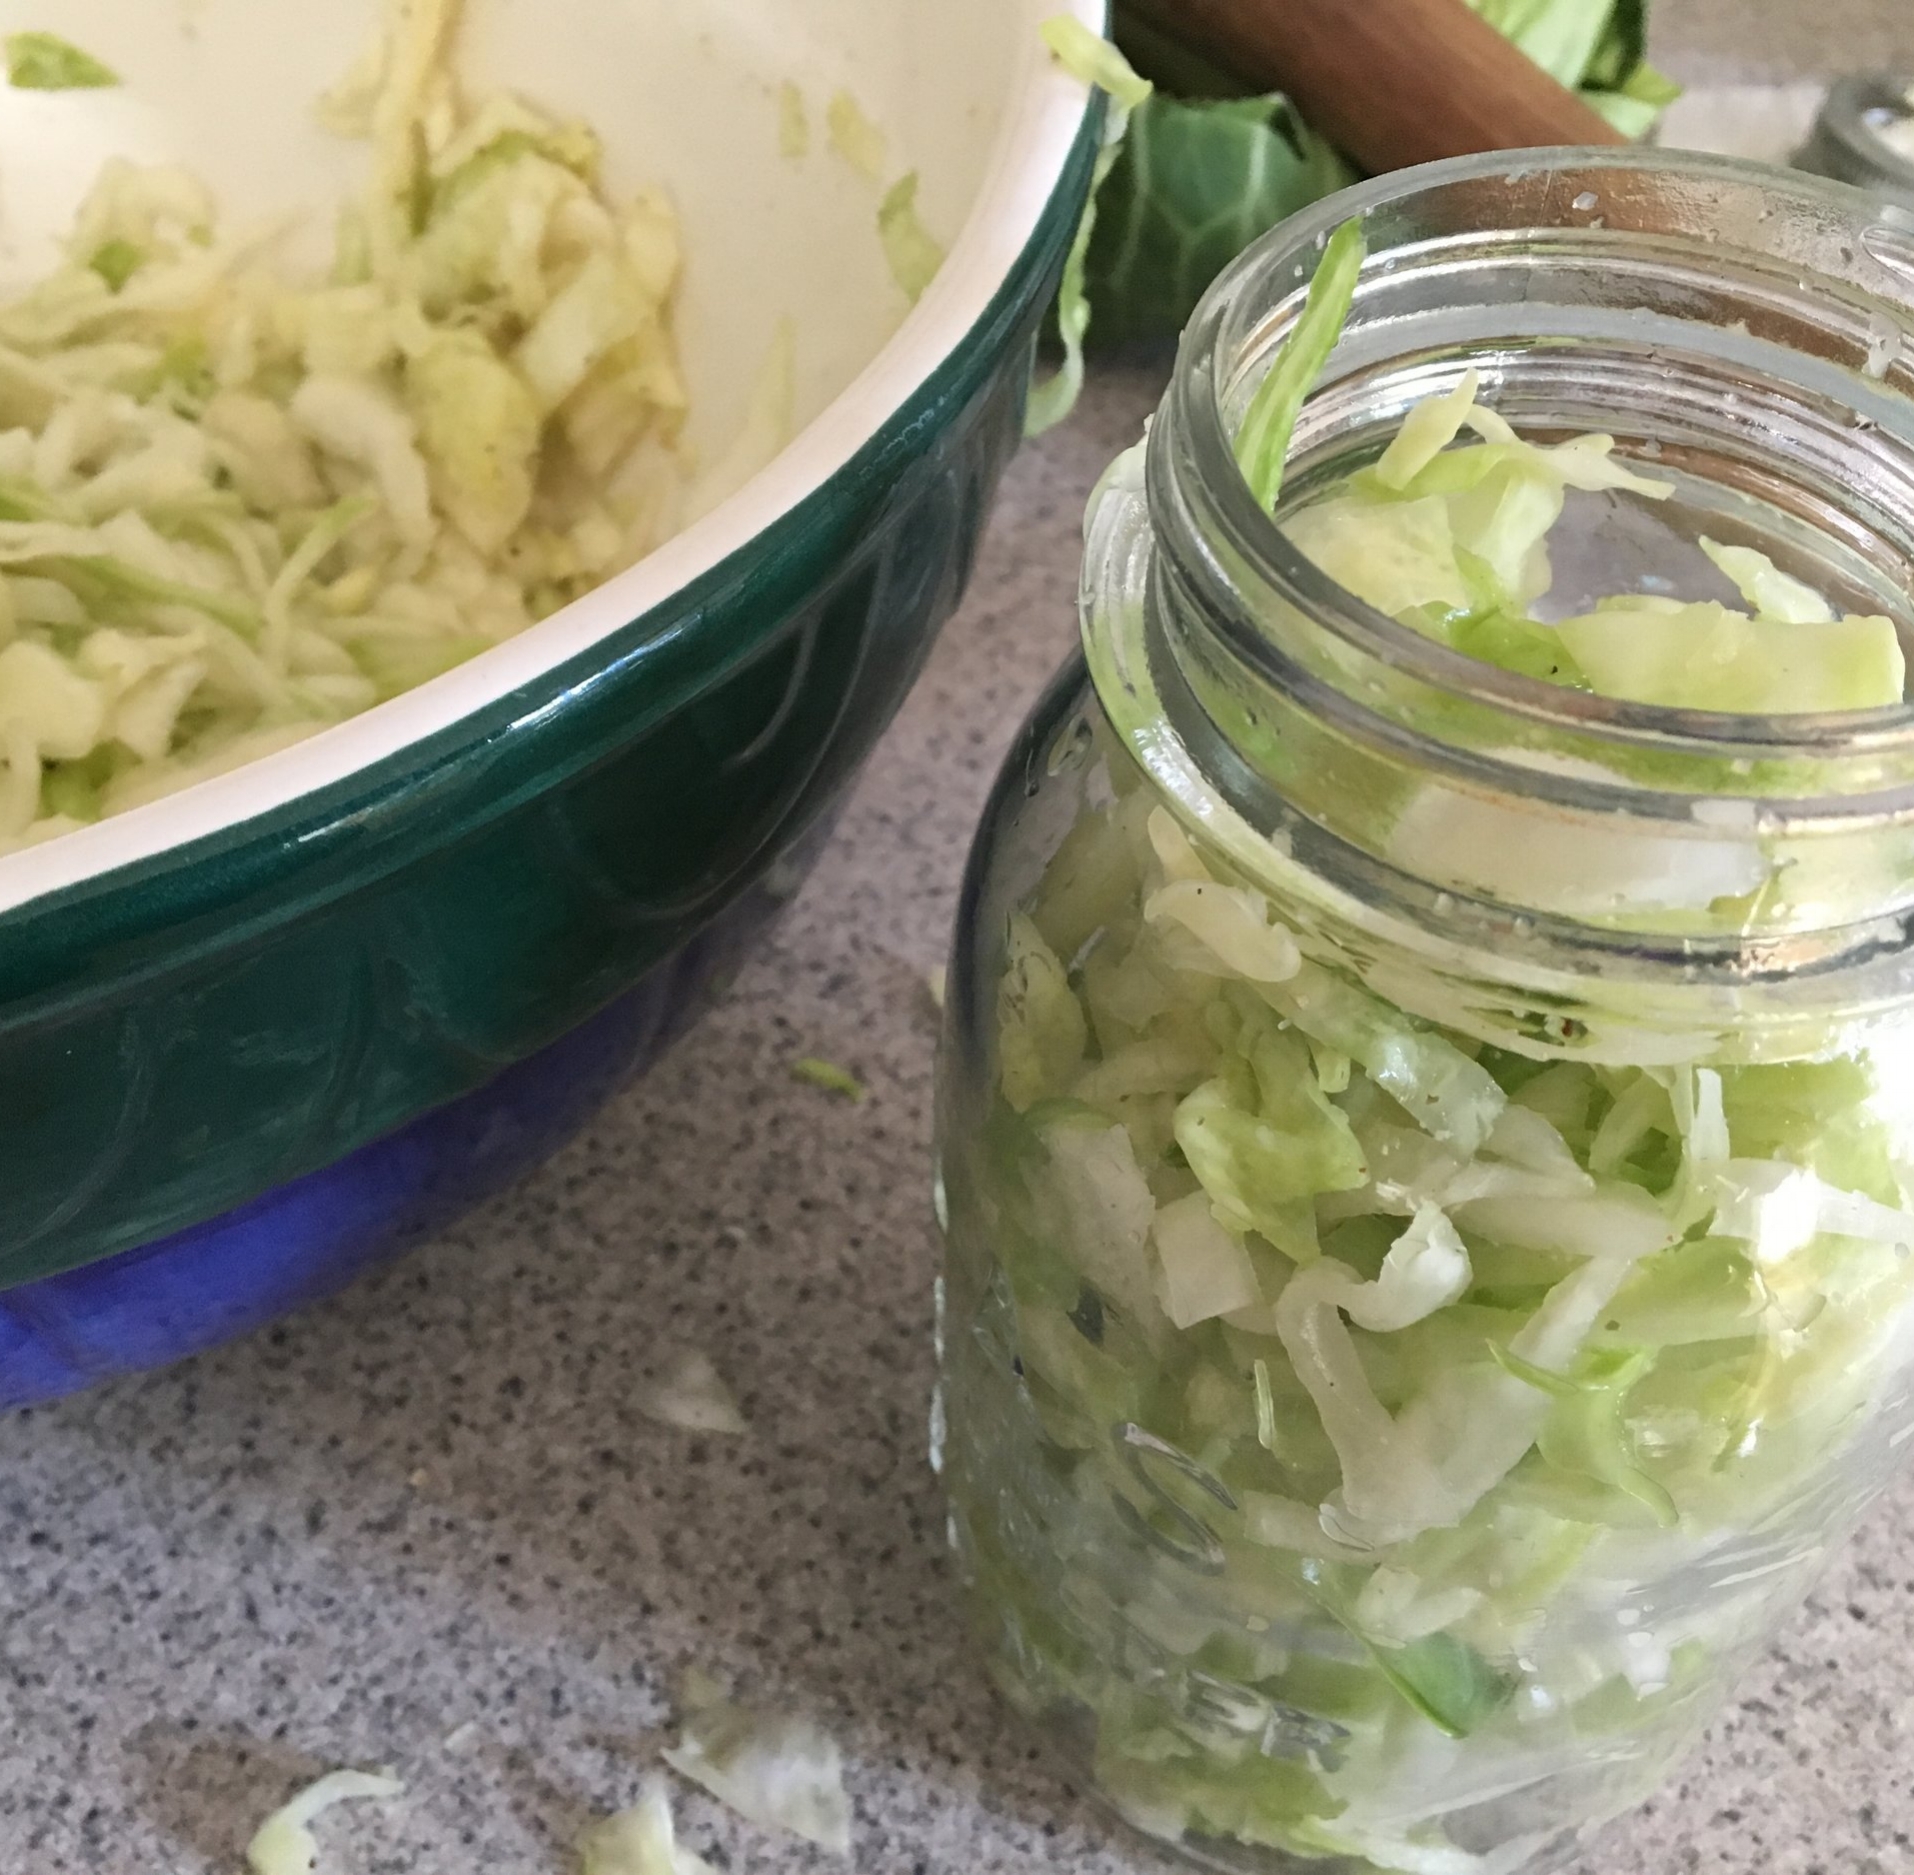
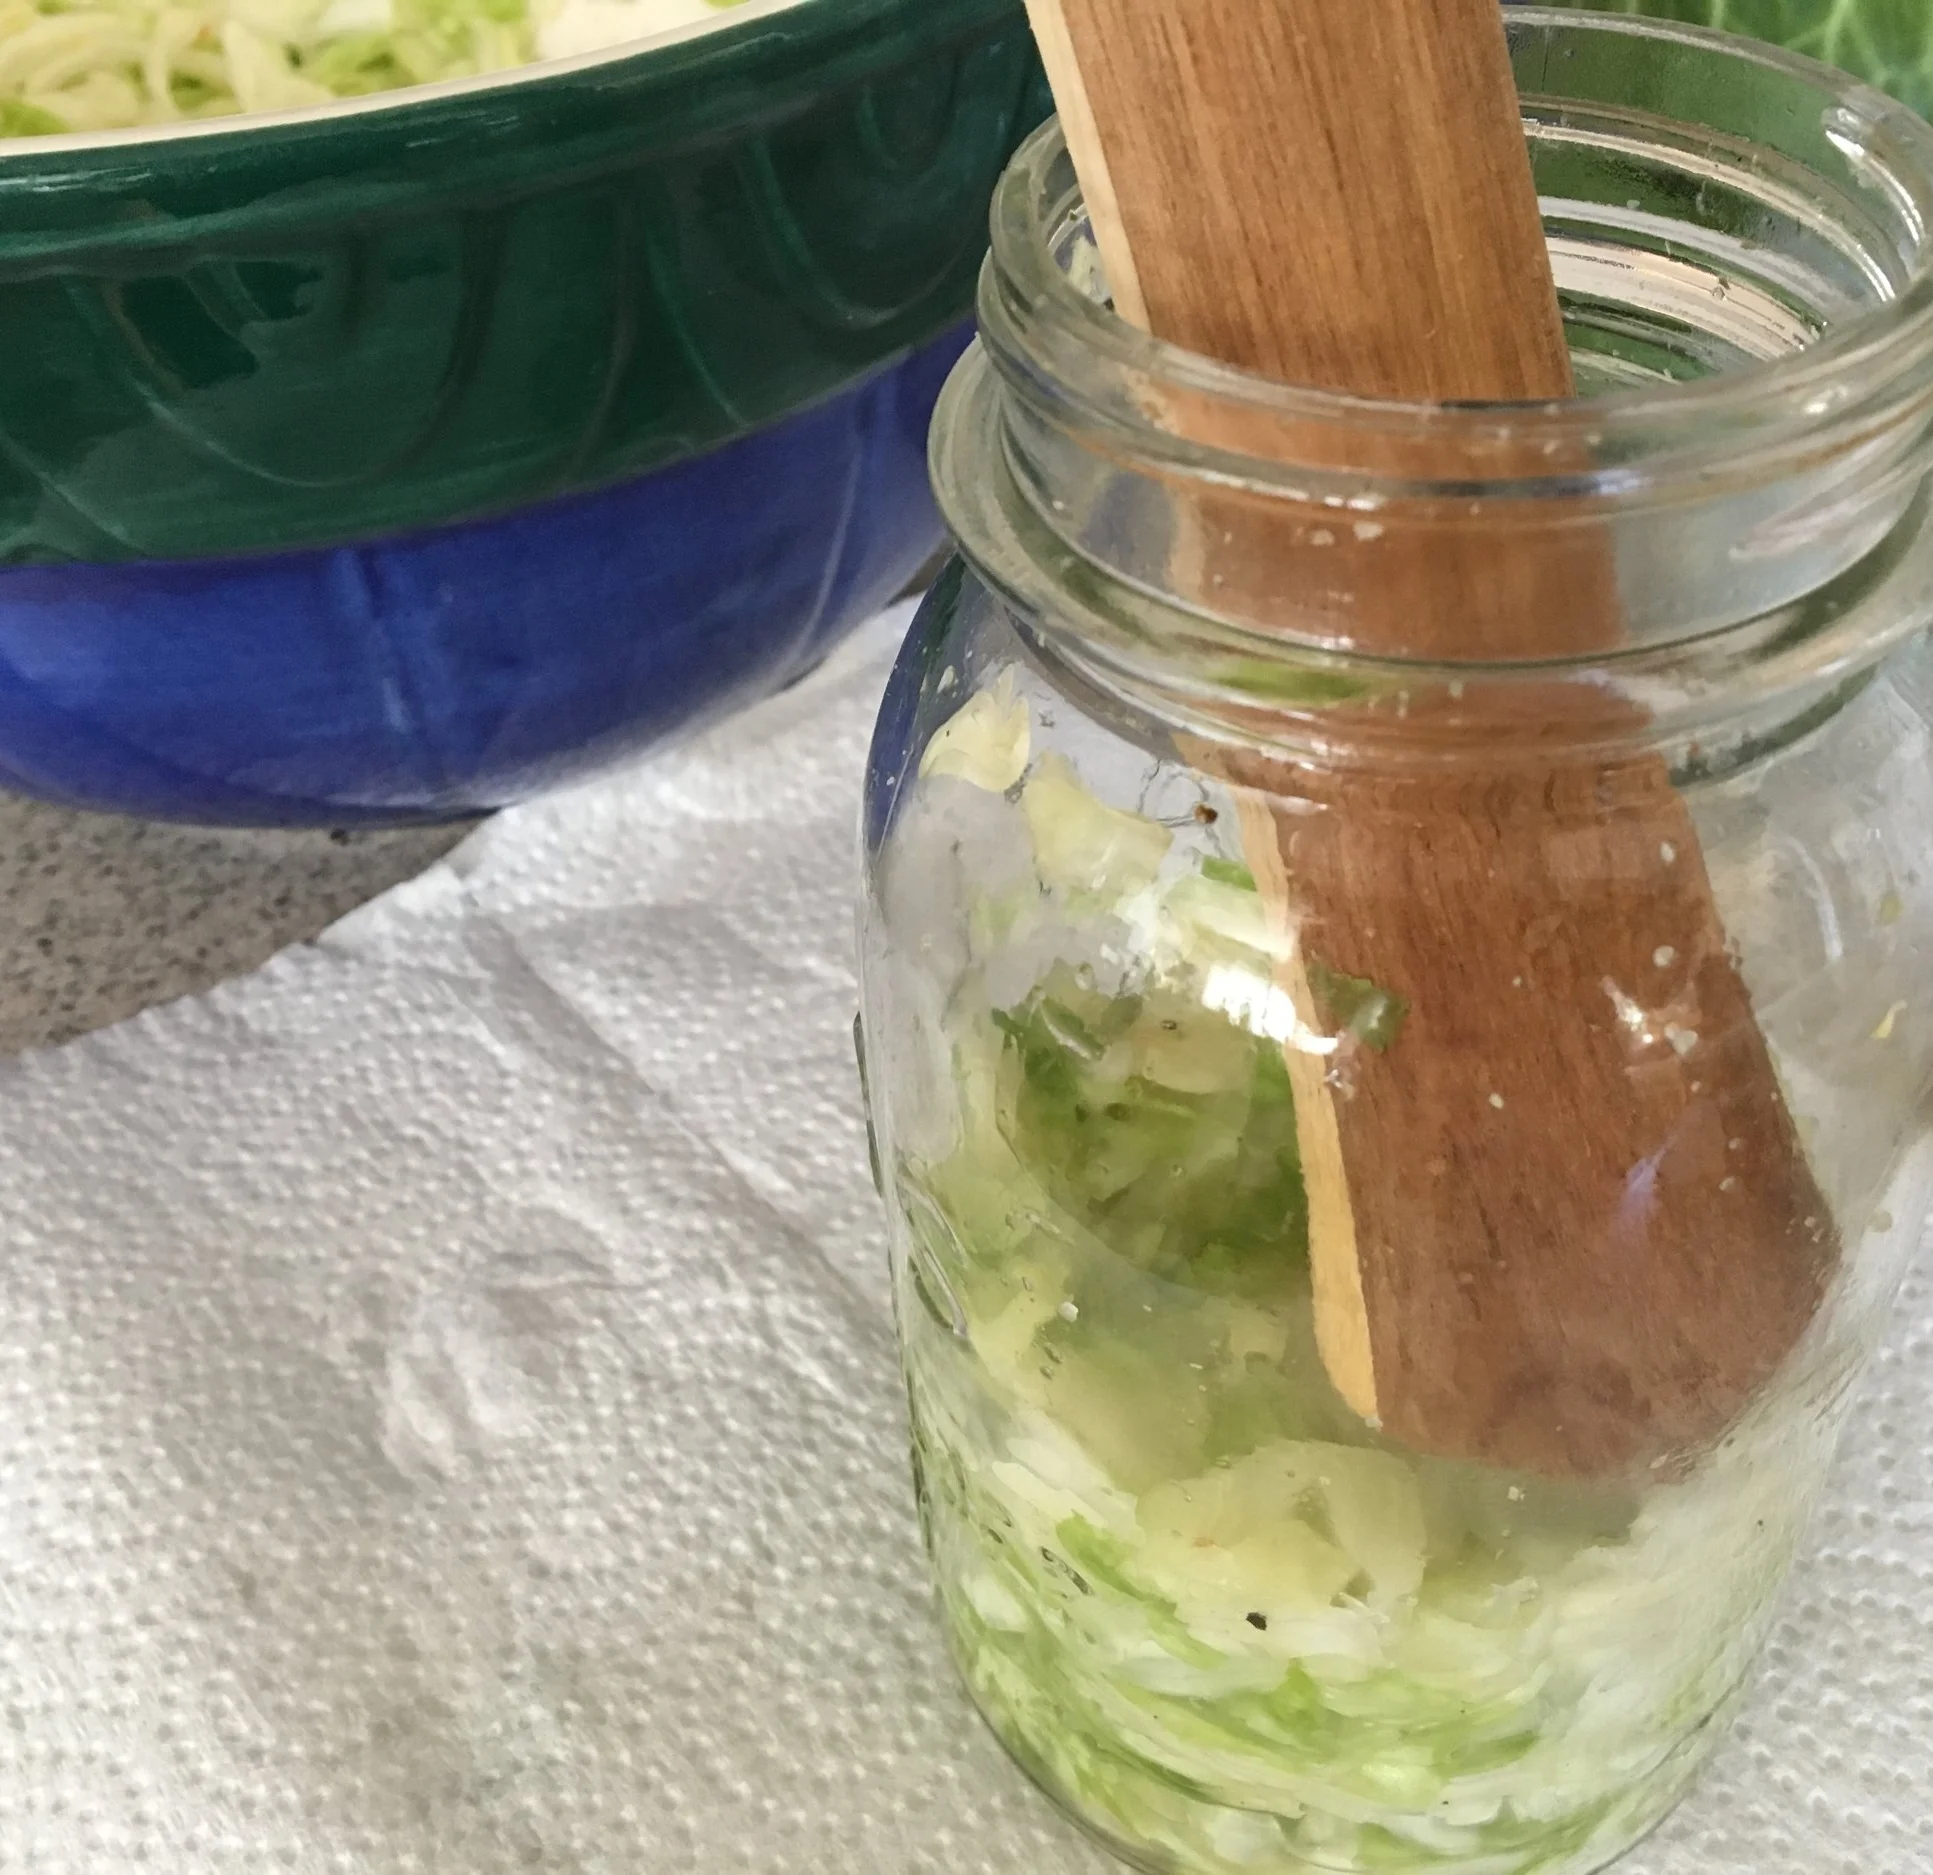
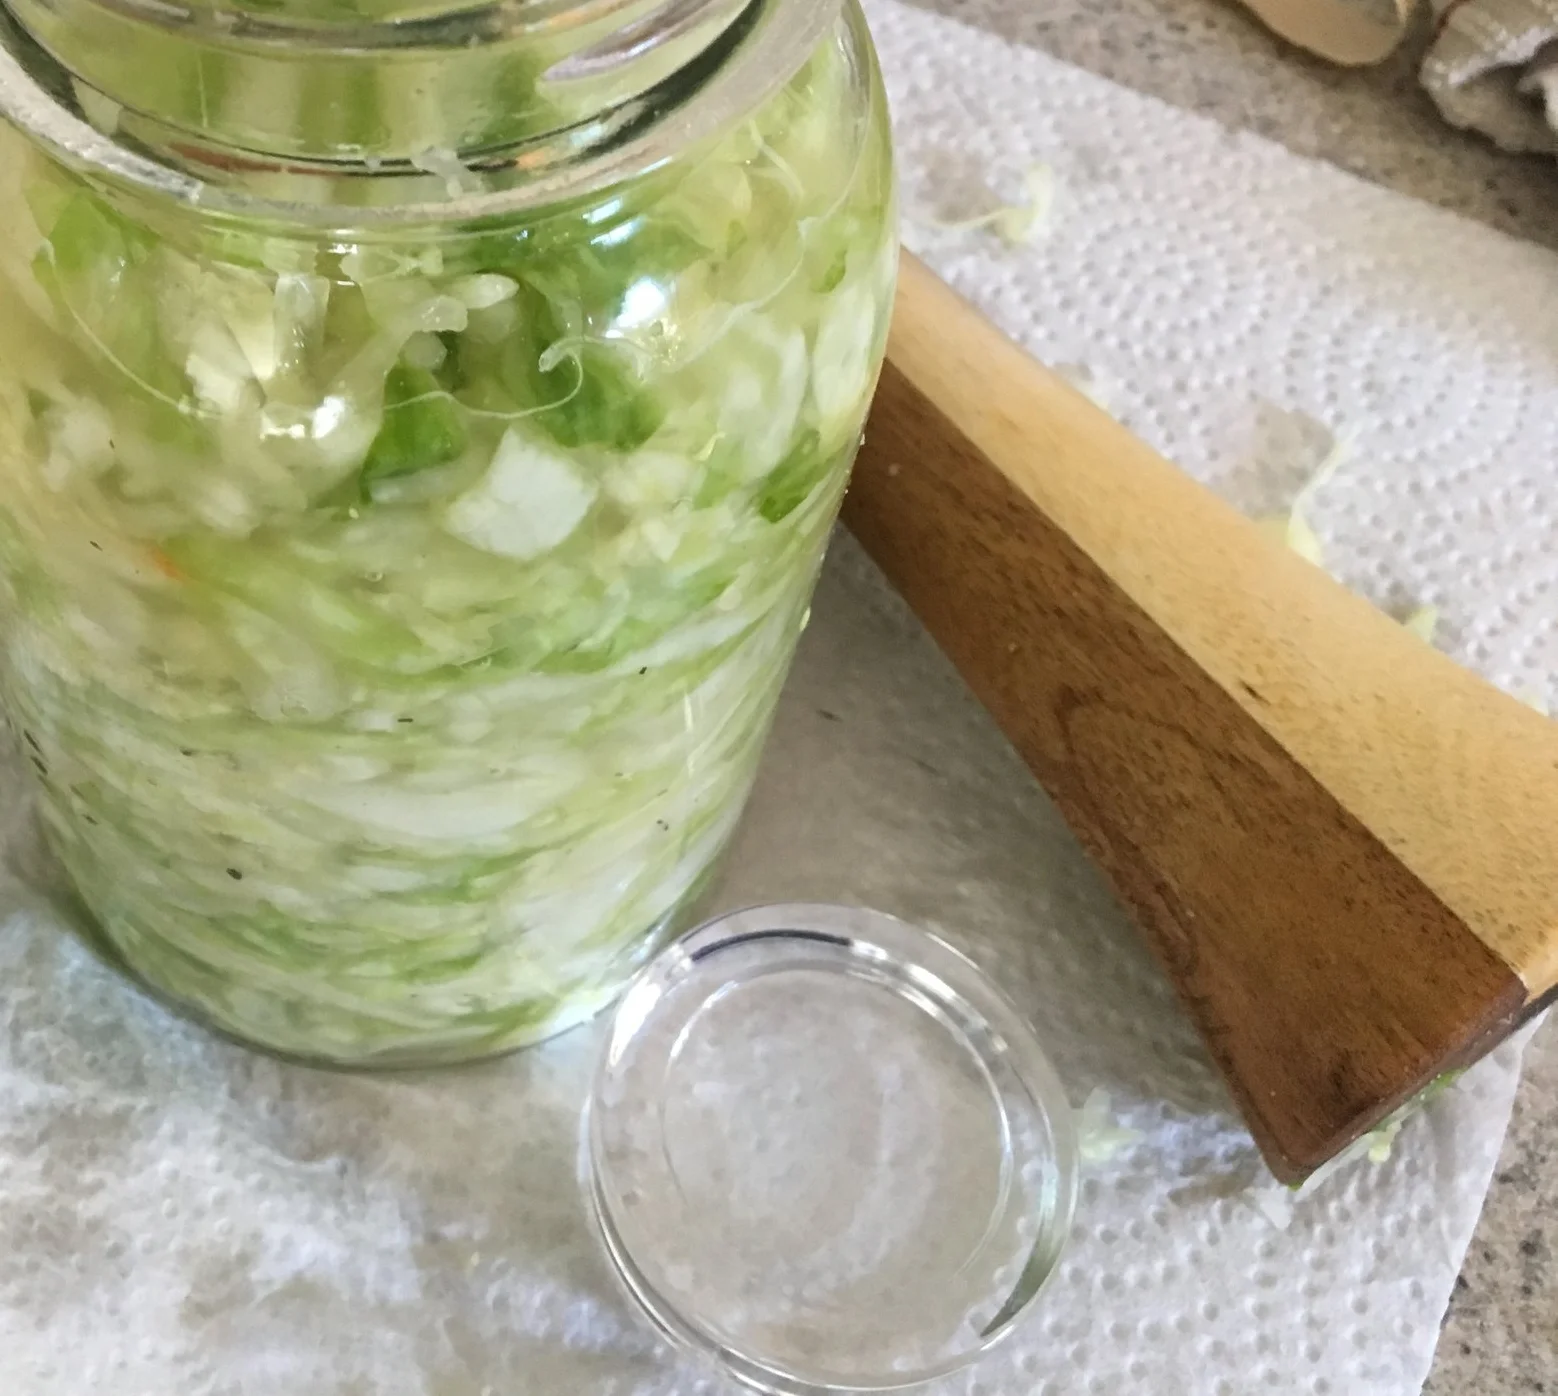
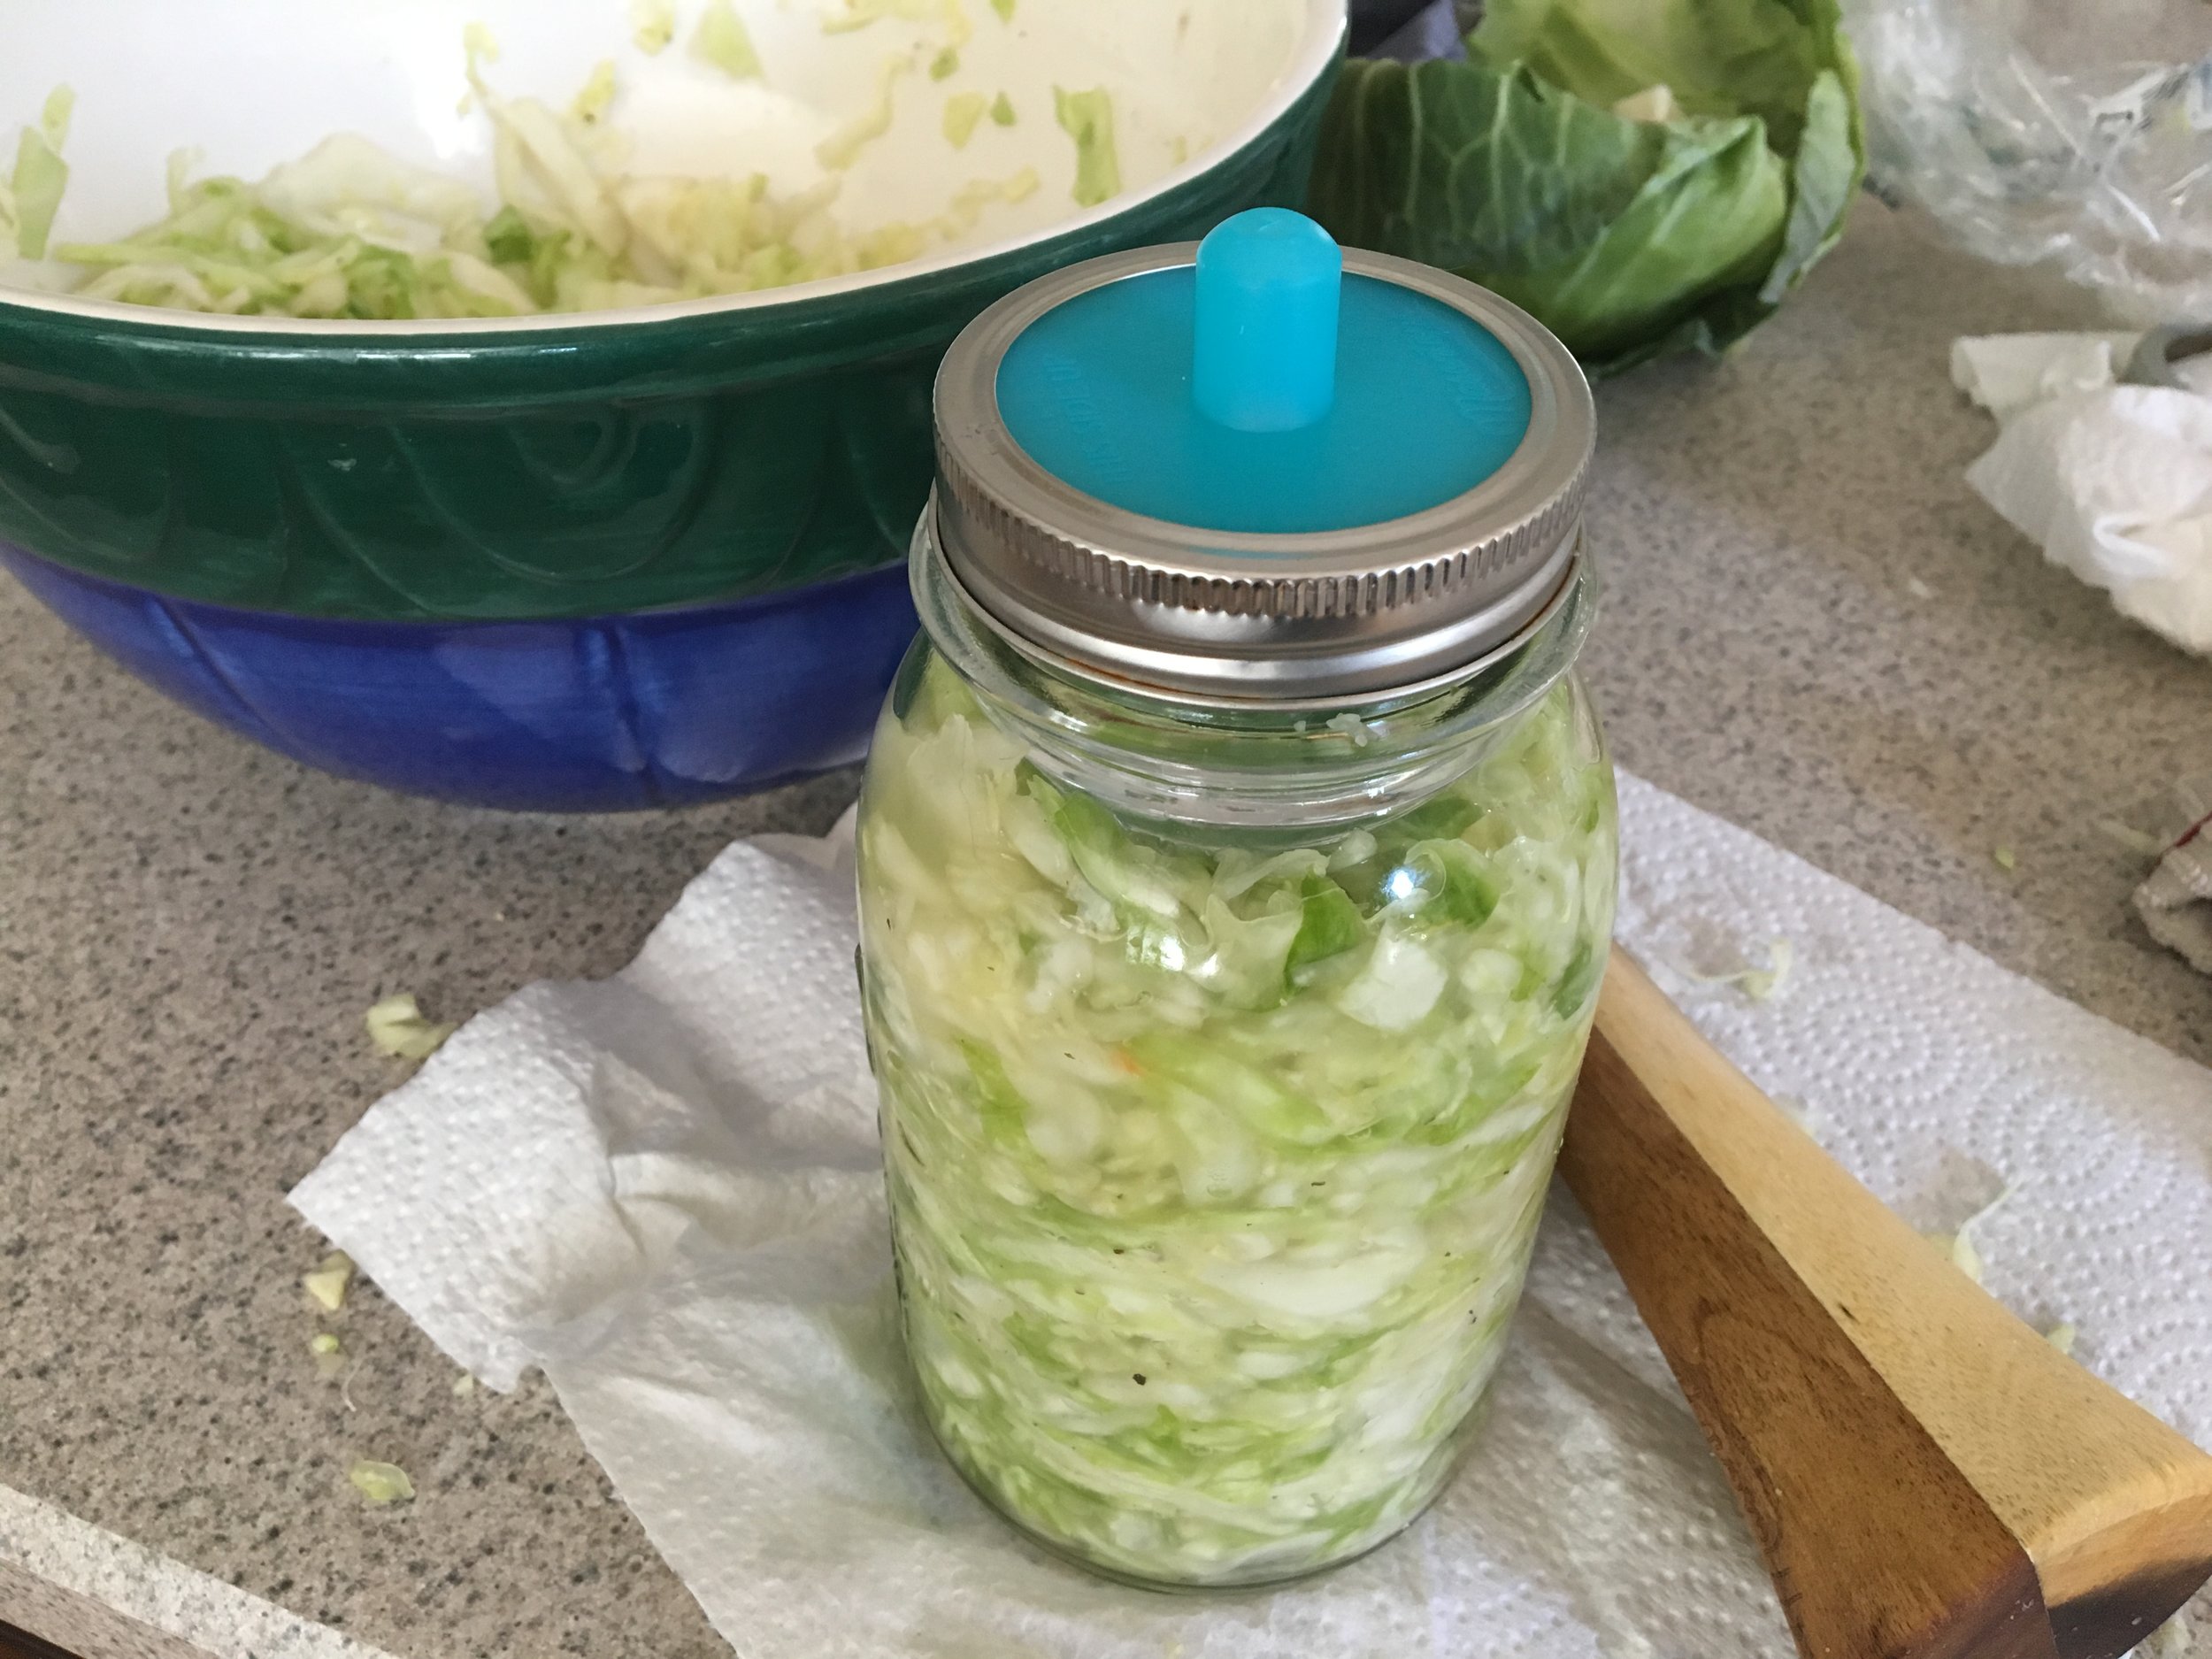
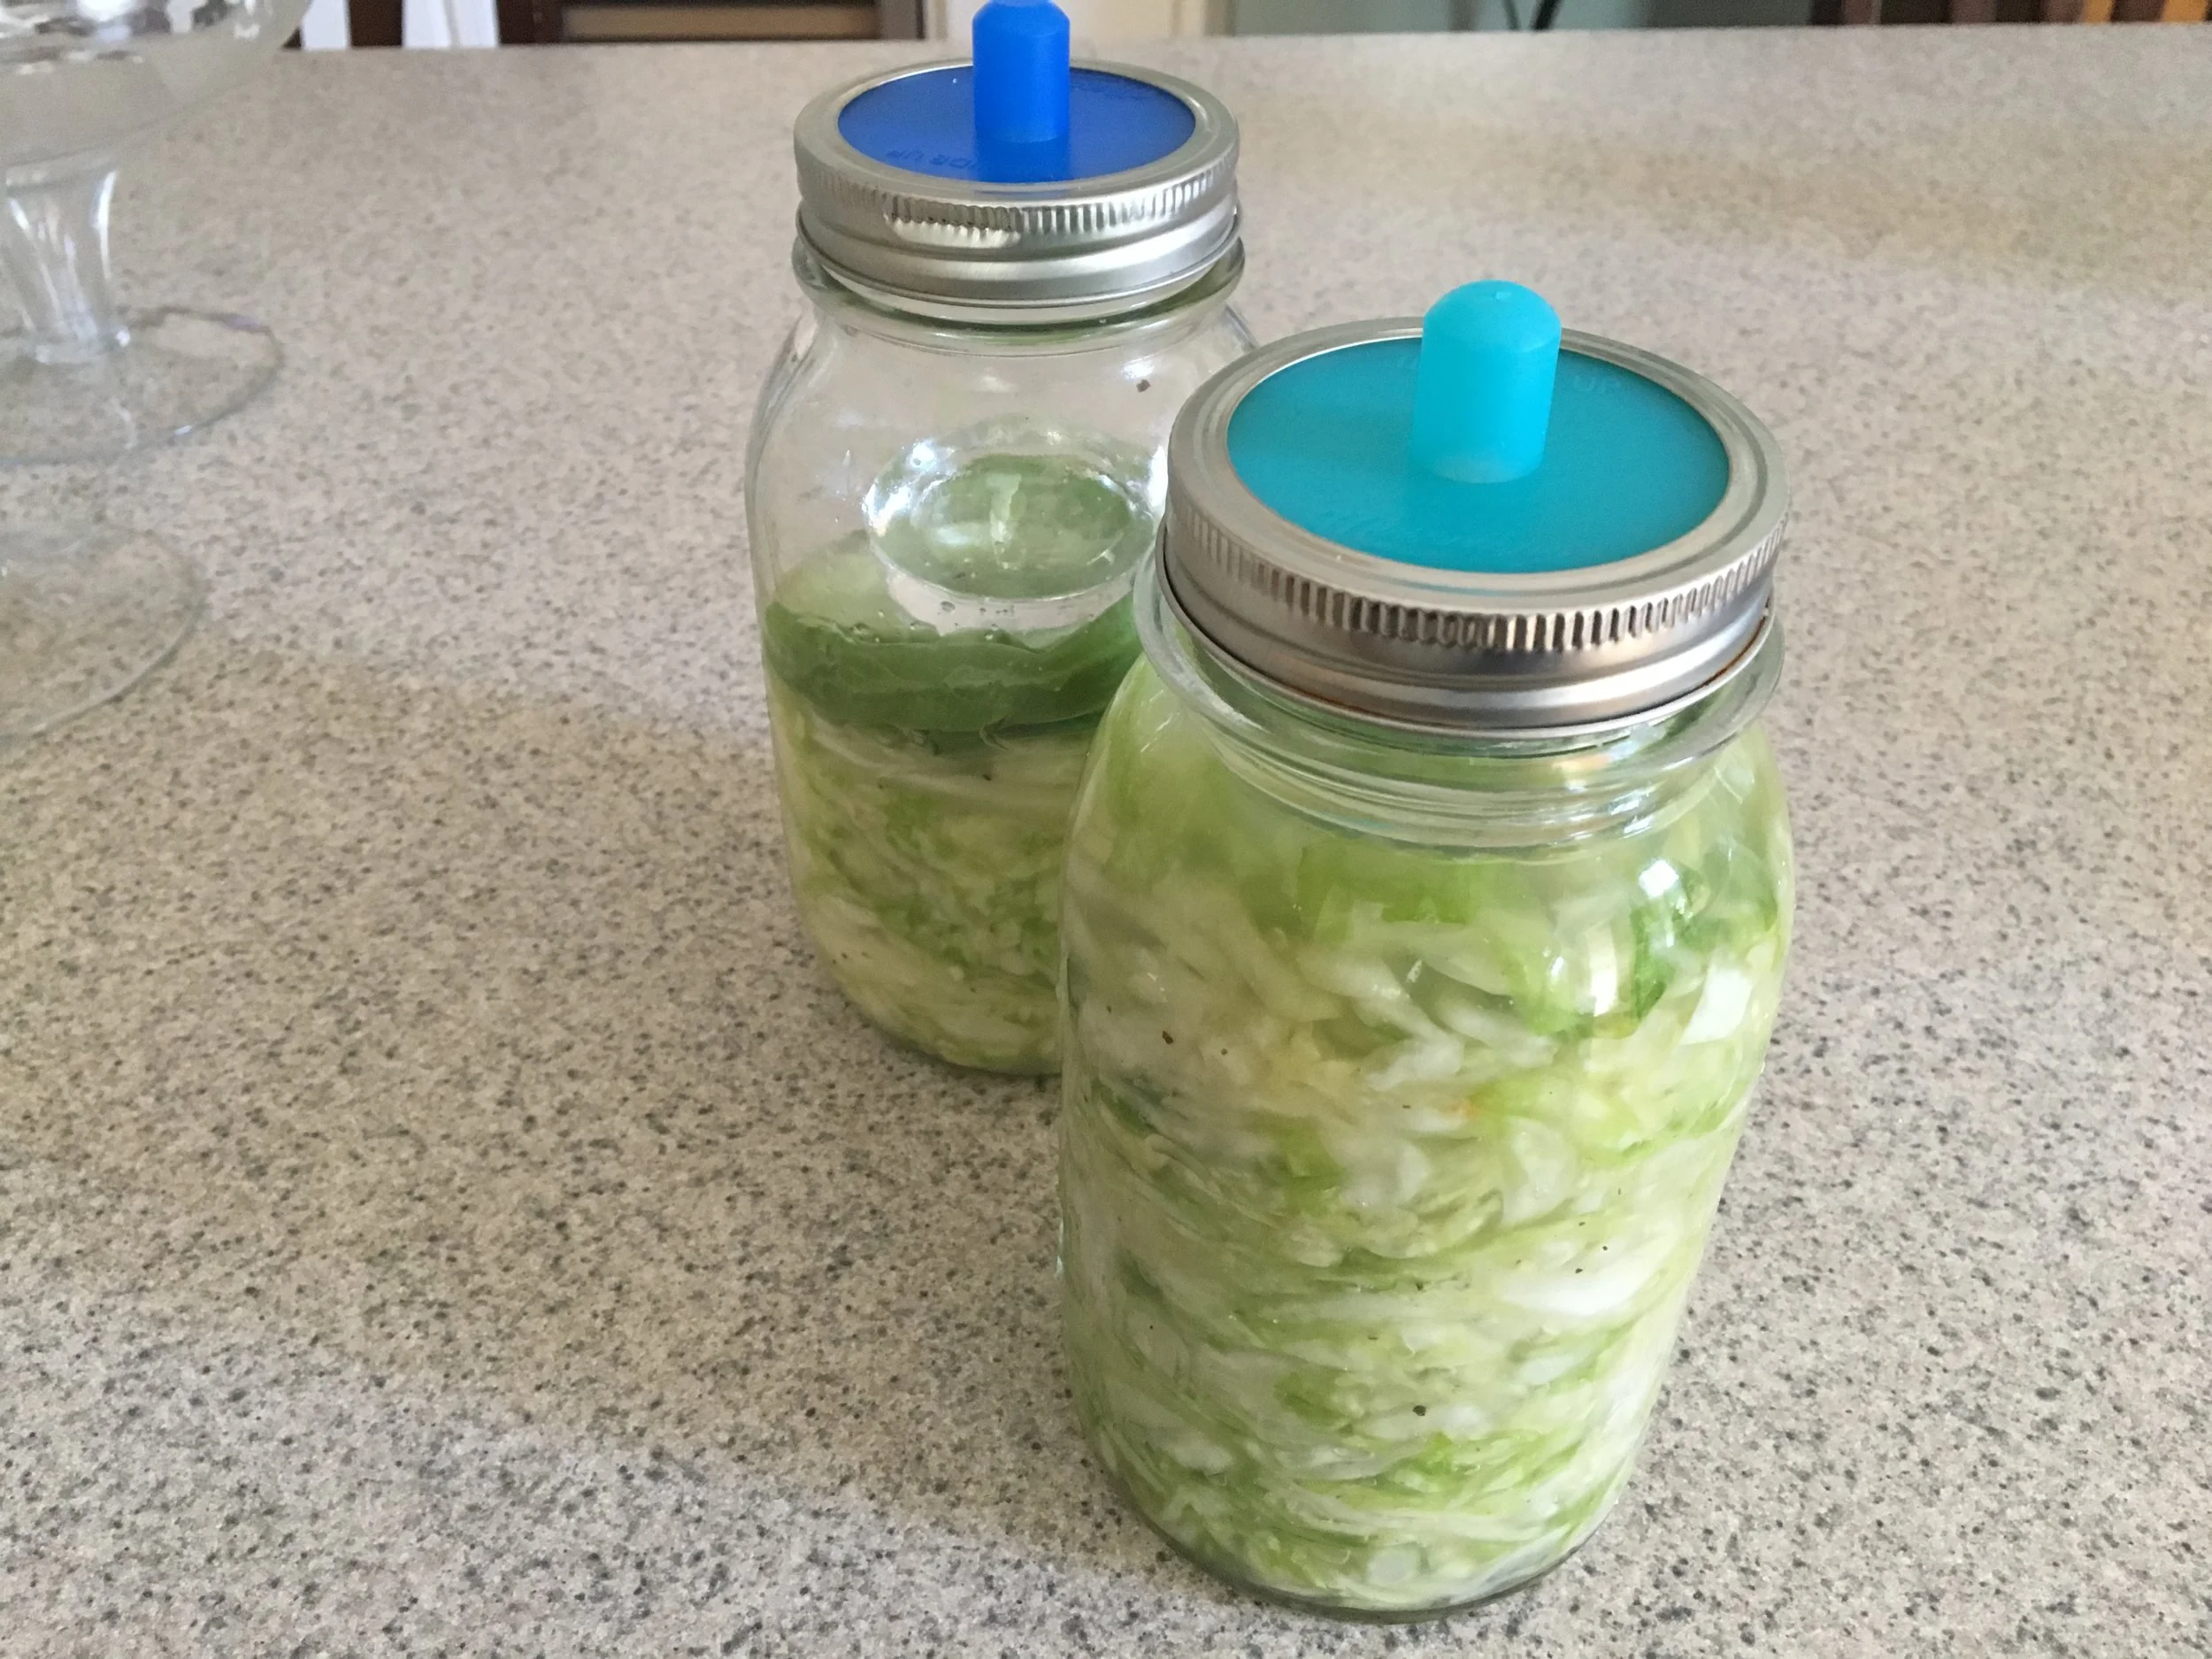
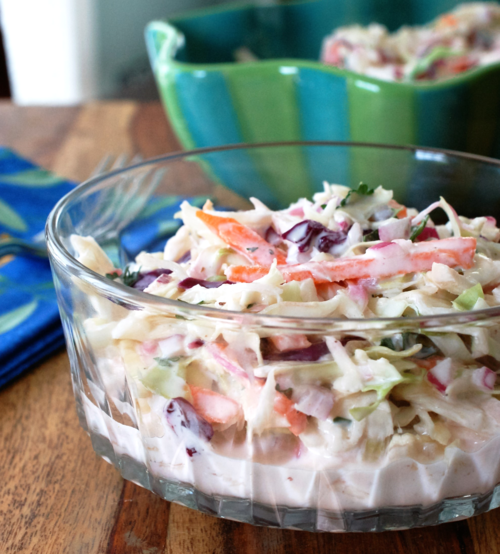
Best Darn Coleslaw Recipe- Bring this dish to your next potluck and watch it disappear! This recipe features Cherchies Champagne Mustard.

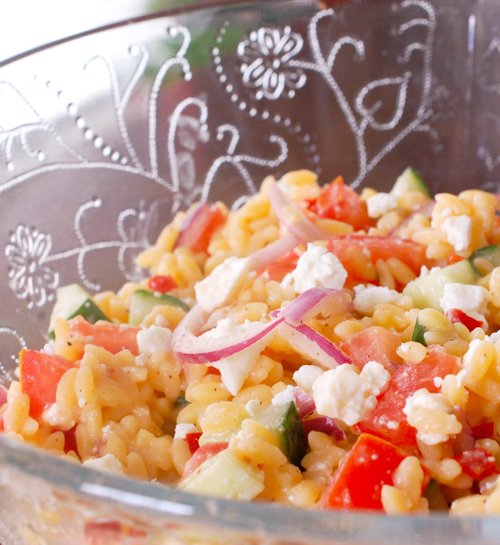
Lemony Greek Pasta Salad Recipe- Light and refreshing featuring Cherchies Pretty Peppers and Cherchies Garlic Seasoning.
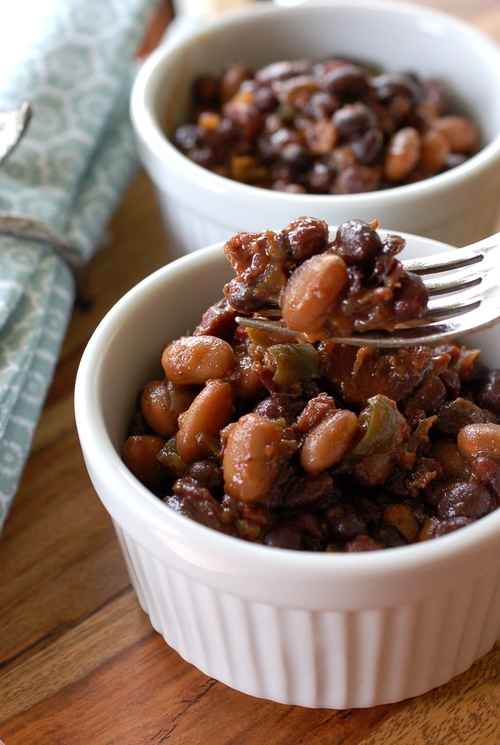
Hot Pepper Baked Beans Recipe- A summer barbeque must have, featuring Terrapin Ridge Hot Pepper Bacon Jam.
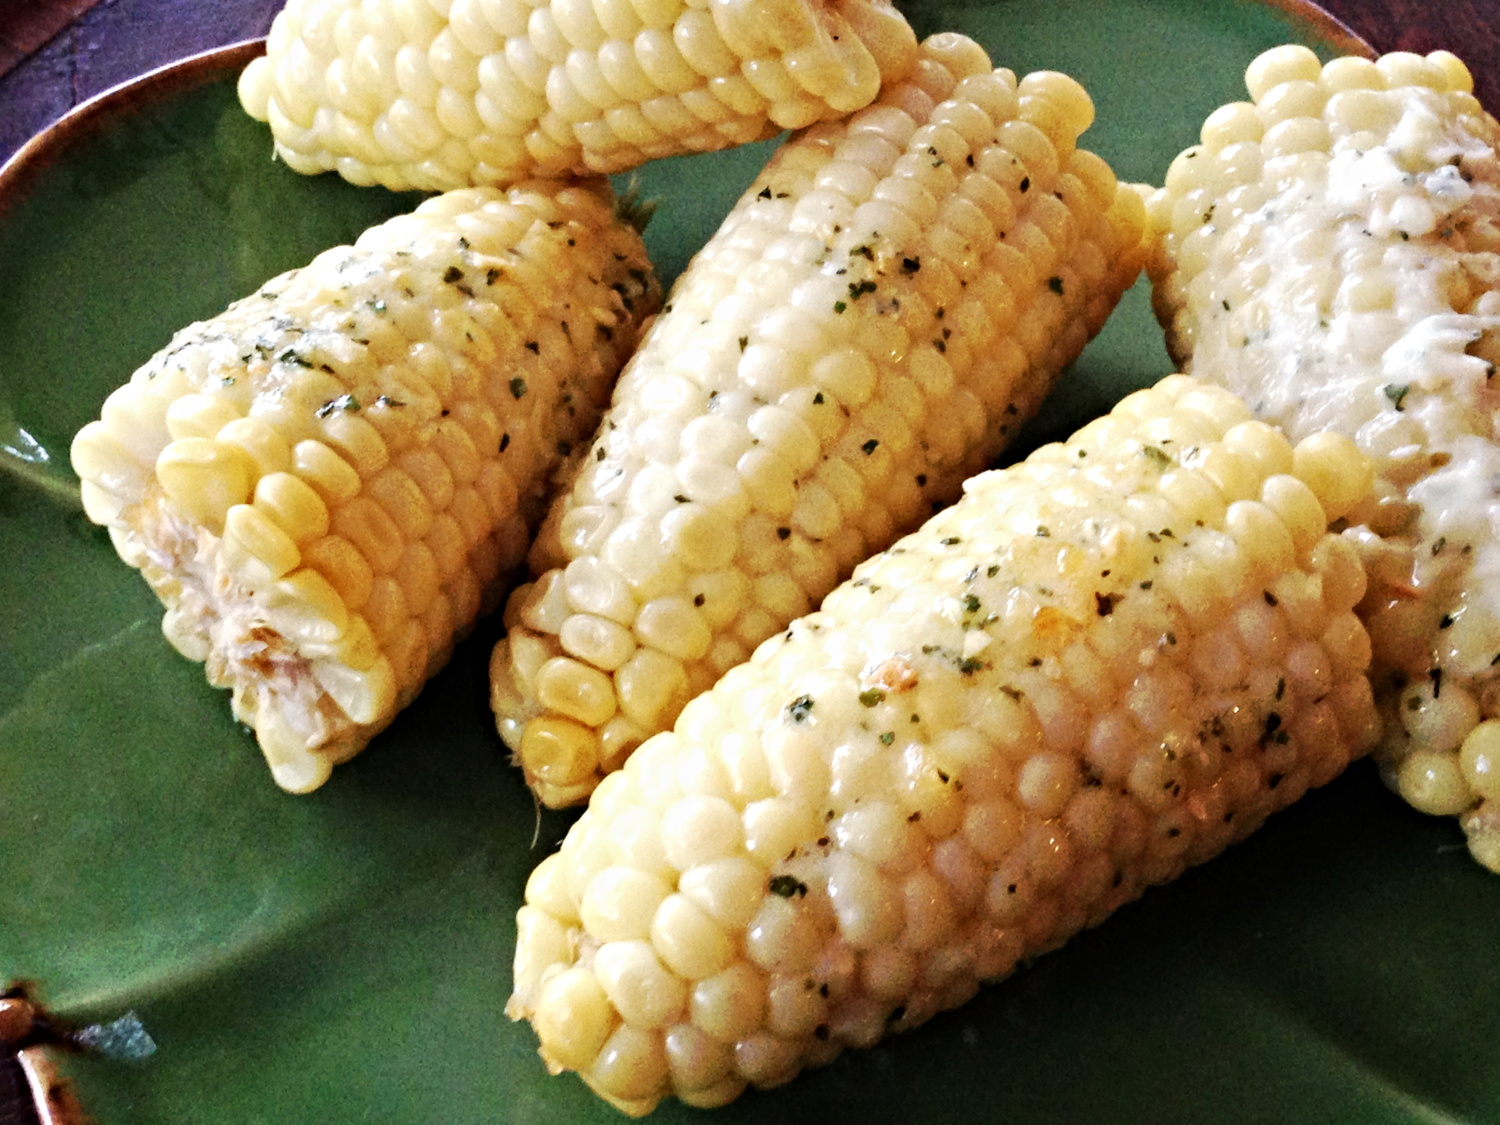
Herbed Corn on the Cob Recipe- Sprinkle your favorite Cherchies Seasoning Blend over fresh, hot corn and the cob!

Lazy Day Lunches
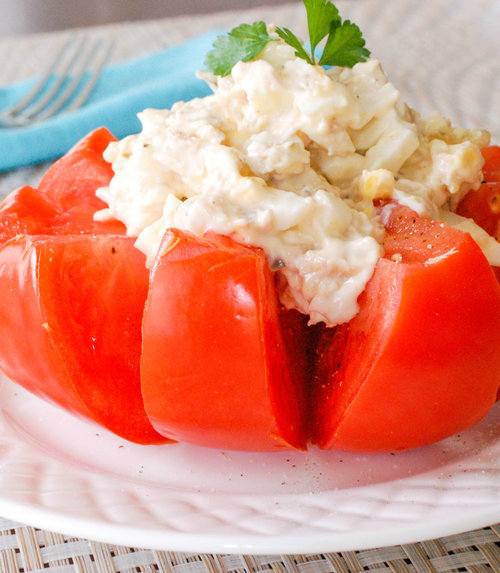
Blooming Tomato With Chicken Salad Recipe- Take advantage of summer's tomatoes with this delightfully refreshing salad, featuring Cherchies Champagne Mustard.
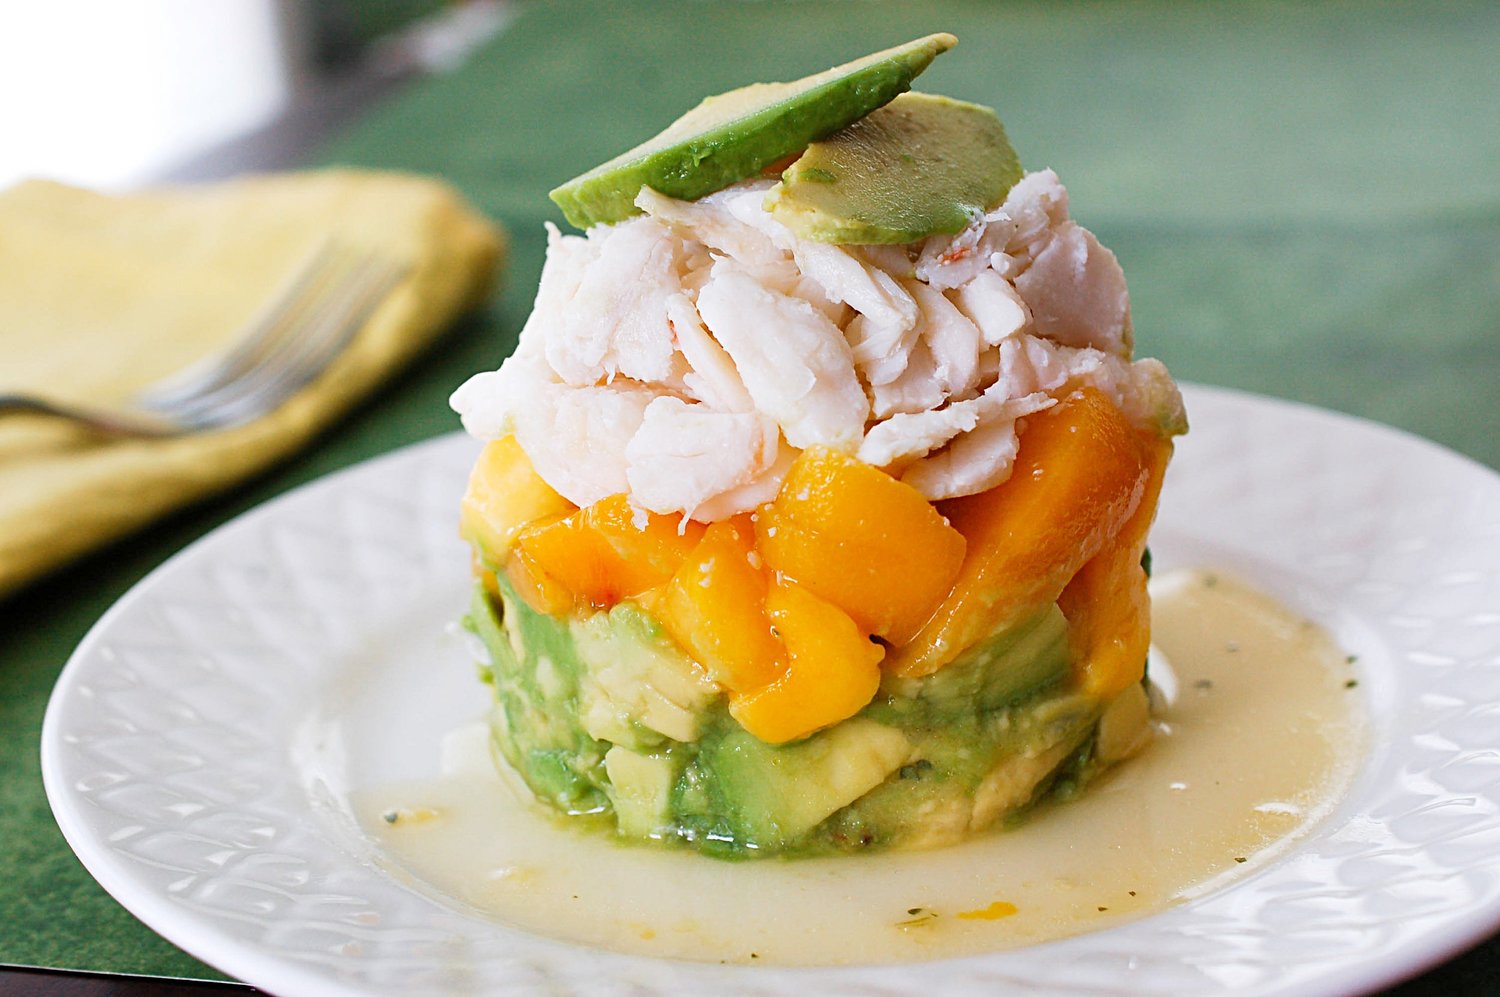
Stacked Crab Mango Avocado Salad Recipe- Light and stacked to perfection, with Cherchies Chardonnay Lime & Cilantro Seasoning.
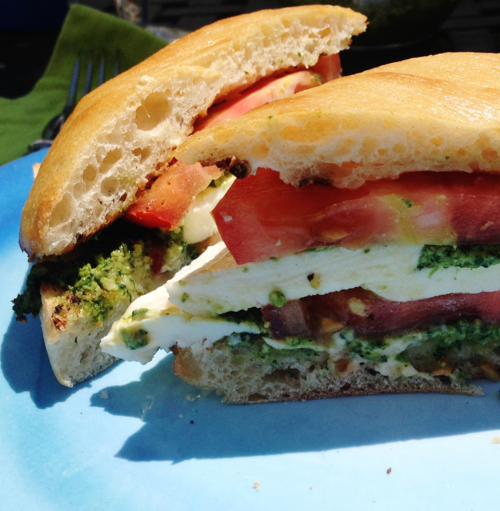
Caprese Ciabatta Recipe- Bursting with flavor with Cherchies Garlic Seasoning and Cherchies Basil Pizzazz Seasoning.
Baked Main Dishes
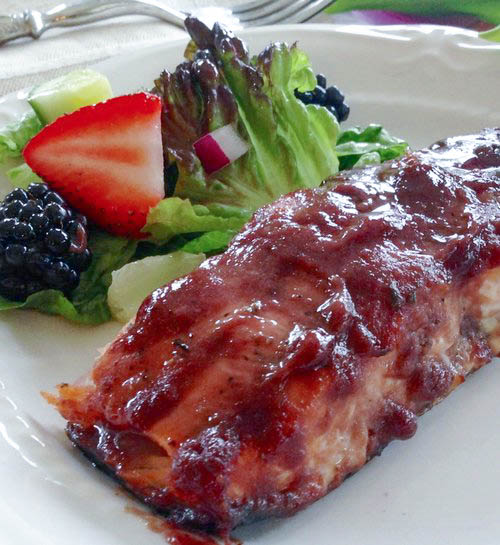
Blackberry Champagne Salmon Recipe- Our most popular recipe featuring Cherchies Blackberry Preserves and Cherchies Champagne Mustard! Pair with our Strawberry Spinach Salad our for a light and flavorful meal.
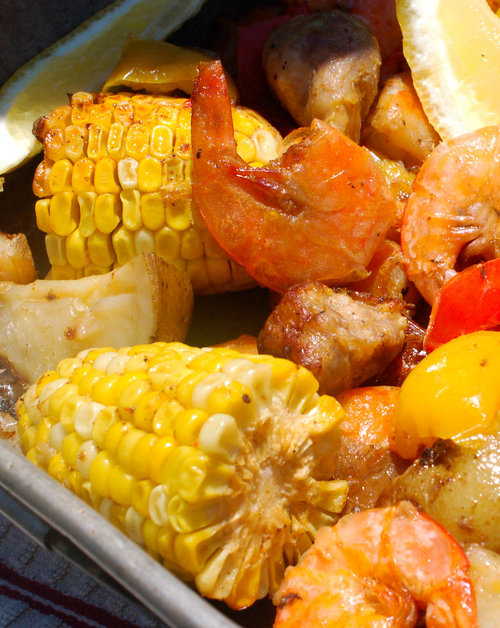
Baked Cajun Shrimp Boil Recipe- This recipe, featuring Cherchies Cajun Seasoning is so easy and delicious it will surely become your new go-to summer meal, or anytime you have a hankering for Louisiana flavor.
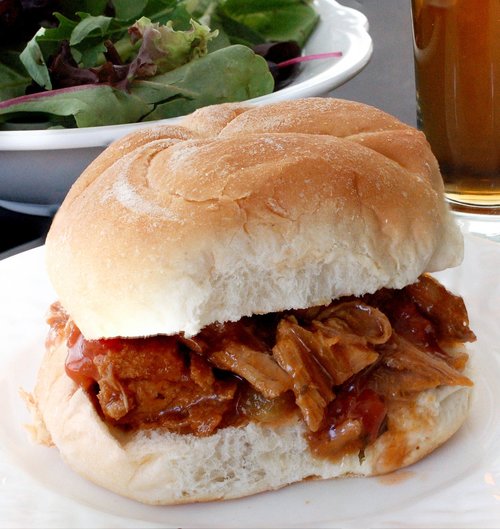
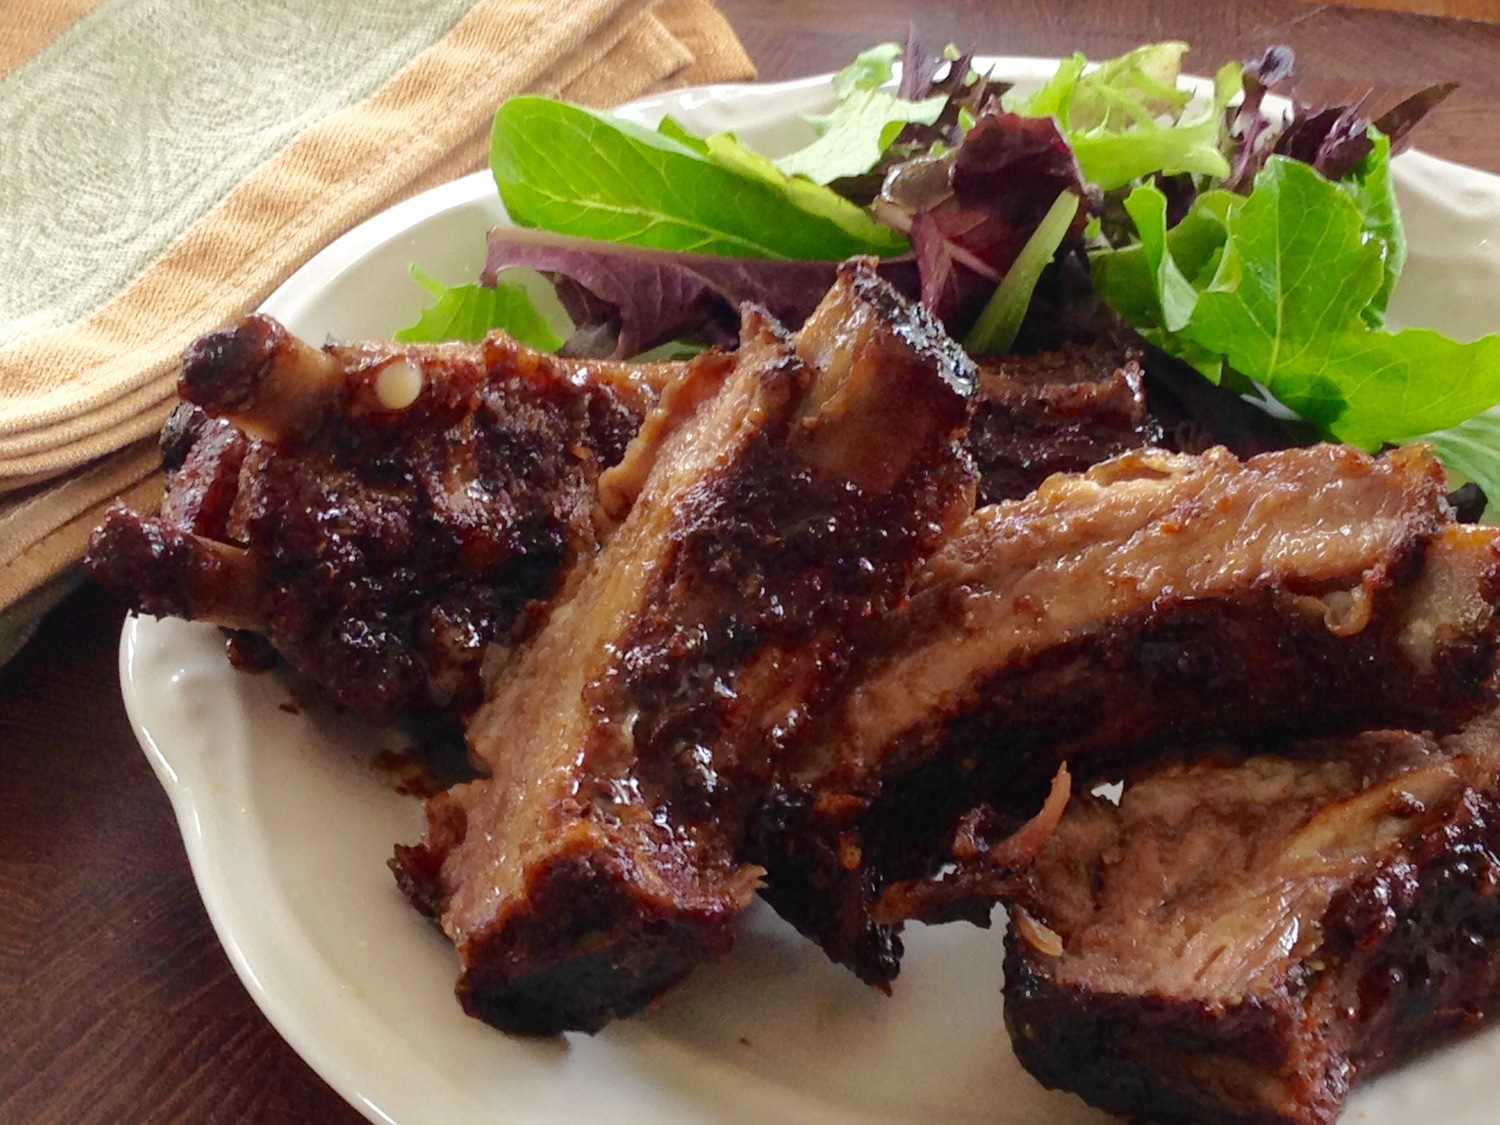
Melt in your Mouth Ribs- Slow cooked and easy. Guests can help themselves. Made with Cherchies Select Grilling Rub & Seasoning Blend.
Grilled Main Dishes
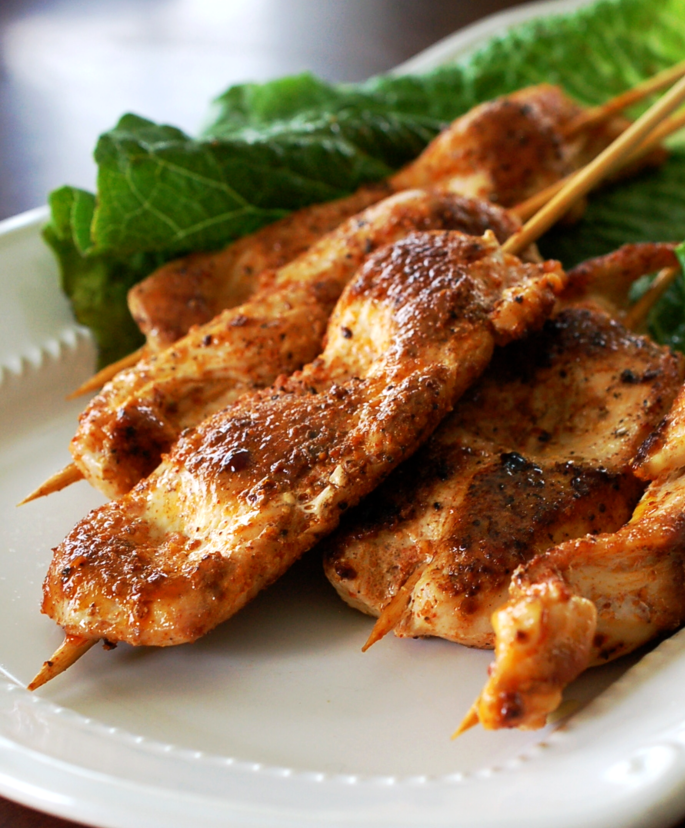
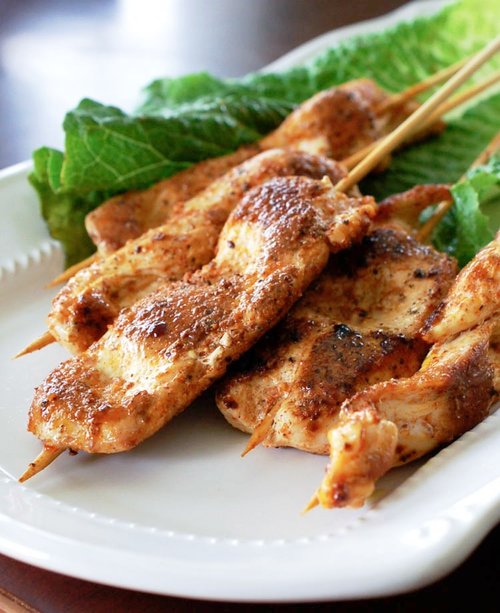
Sassy Grilled Chicken Skewers- Anything on a stick looks festive! Don't want to skewer? Cut into bite sized pieces and serve with toothpicks. This recipe features Cherchies Select Grilling Rub & Seasoning Blend.
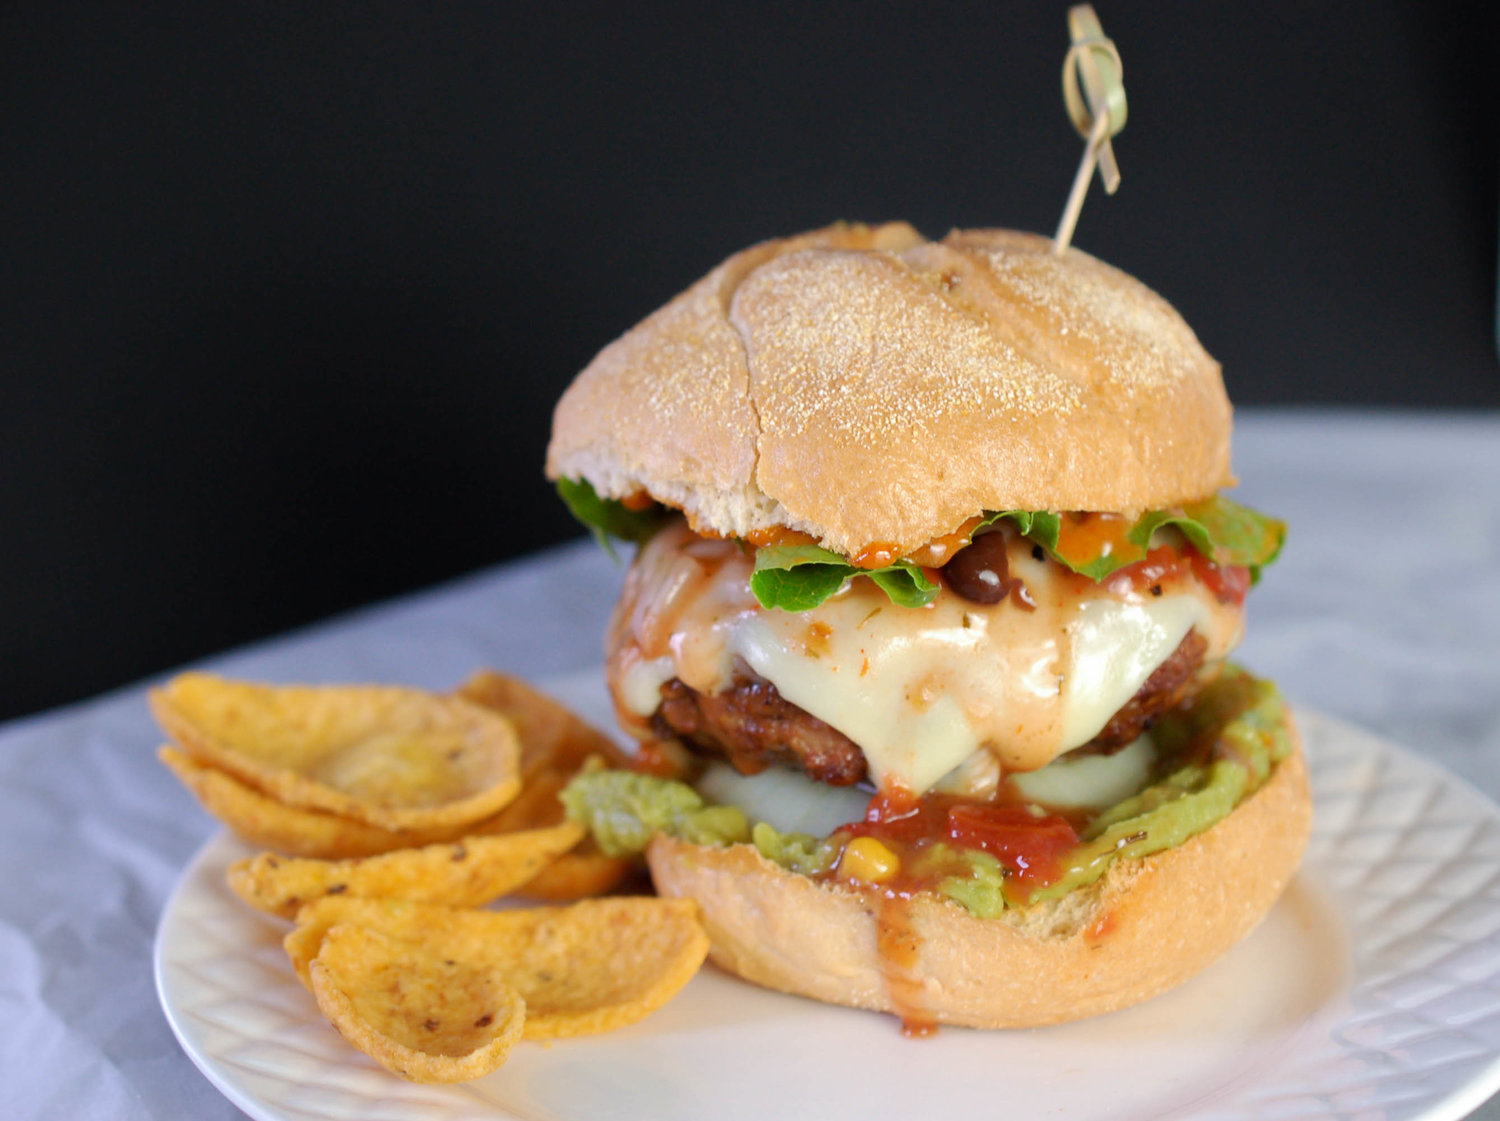
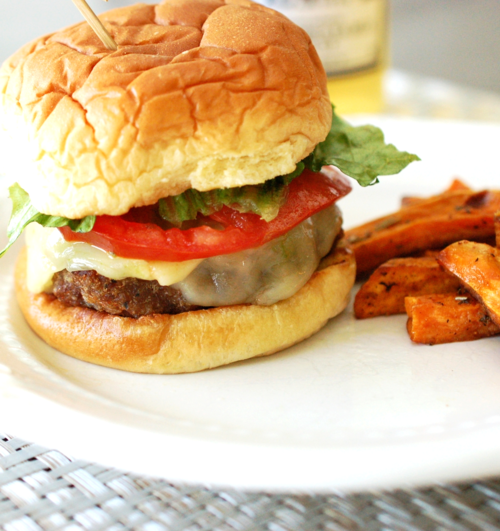
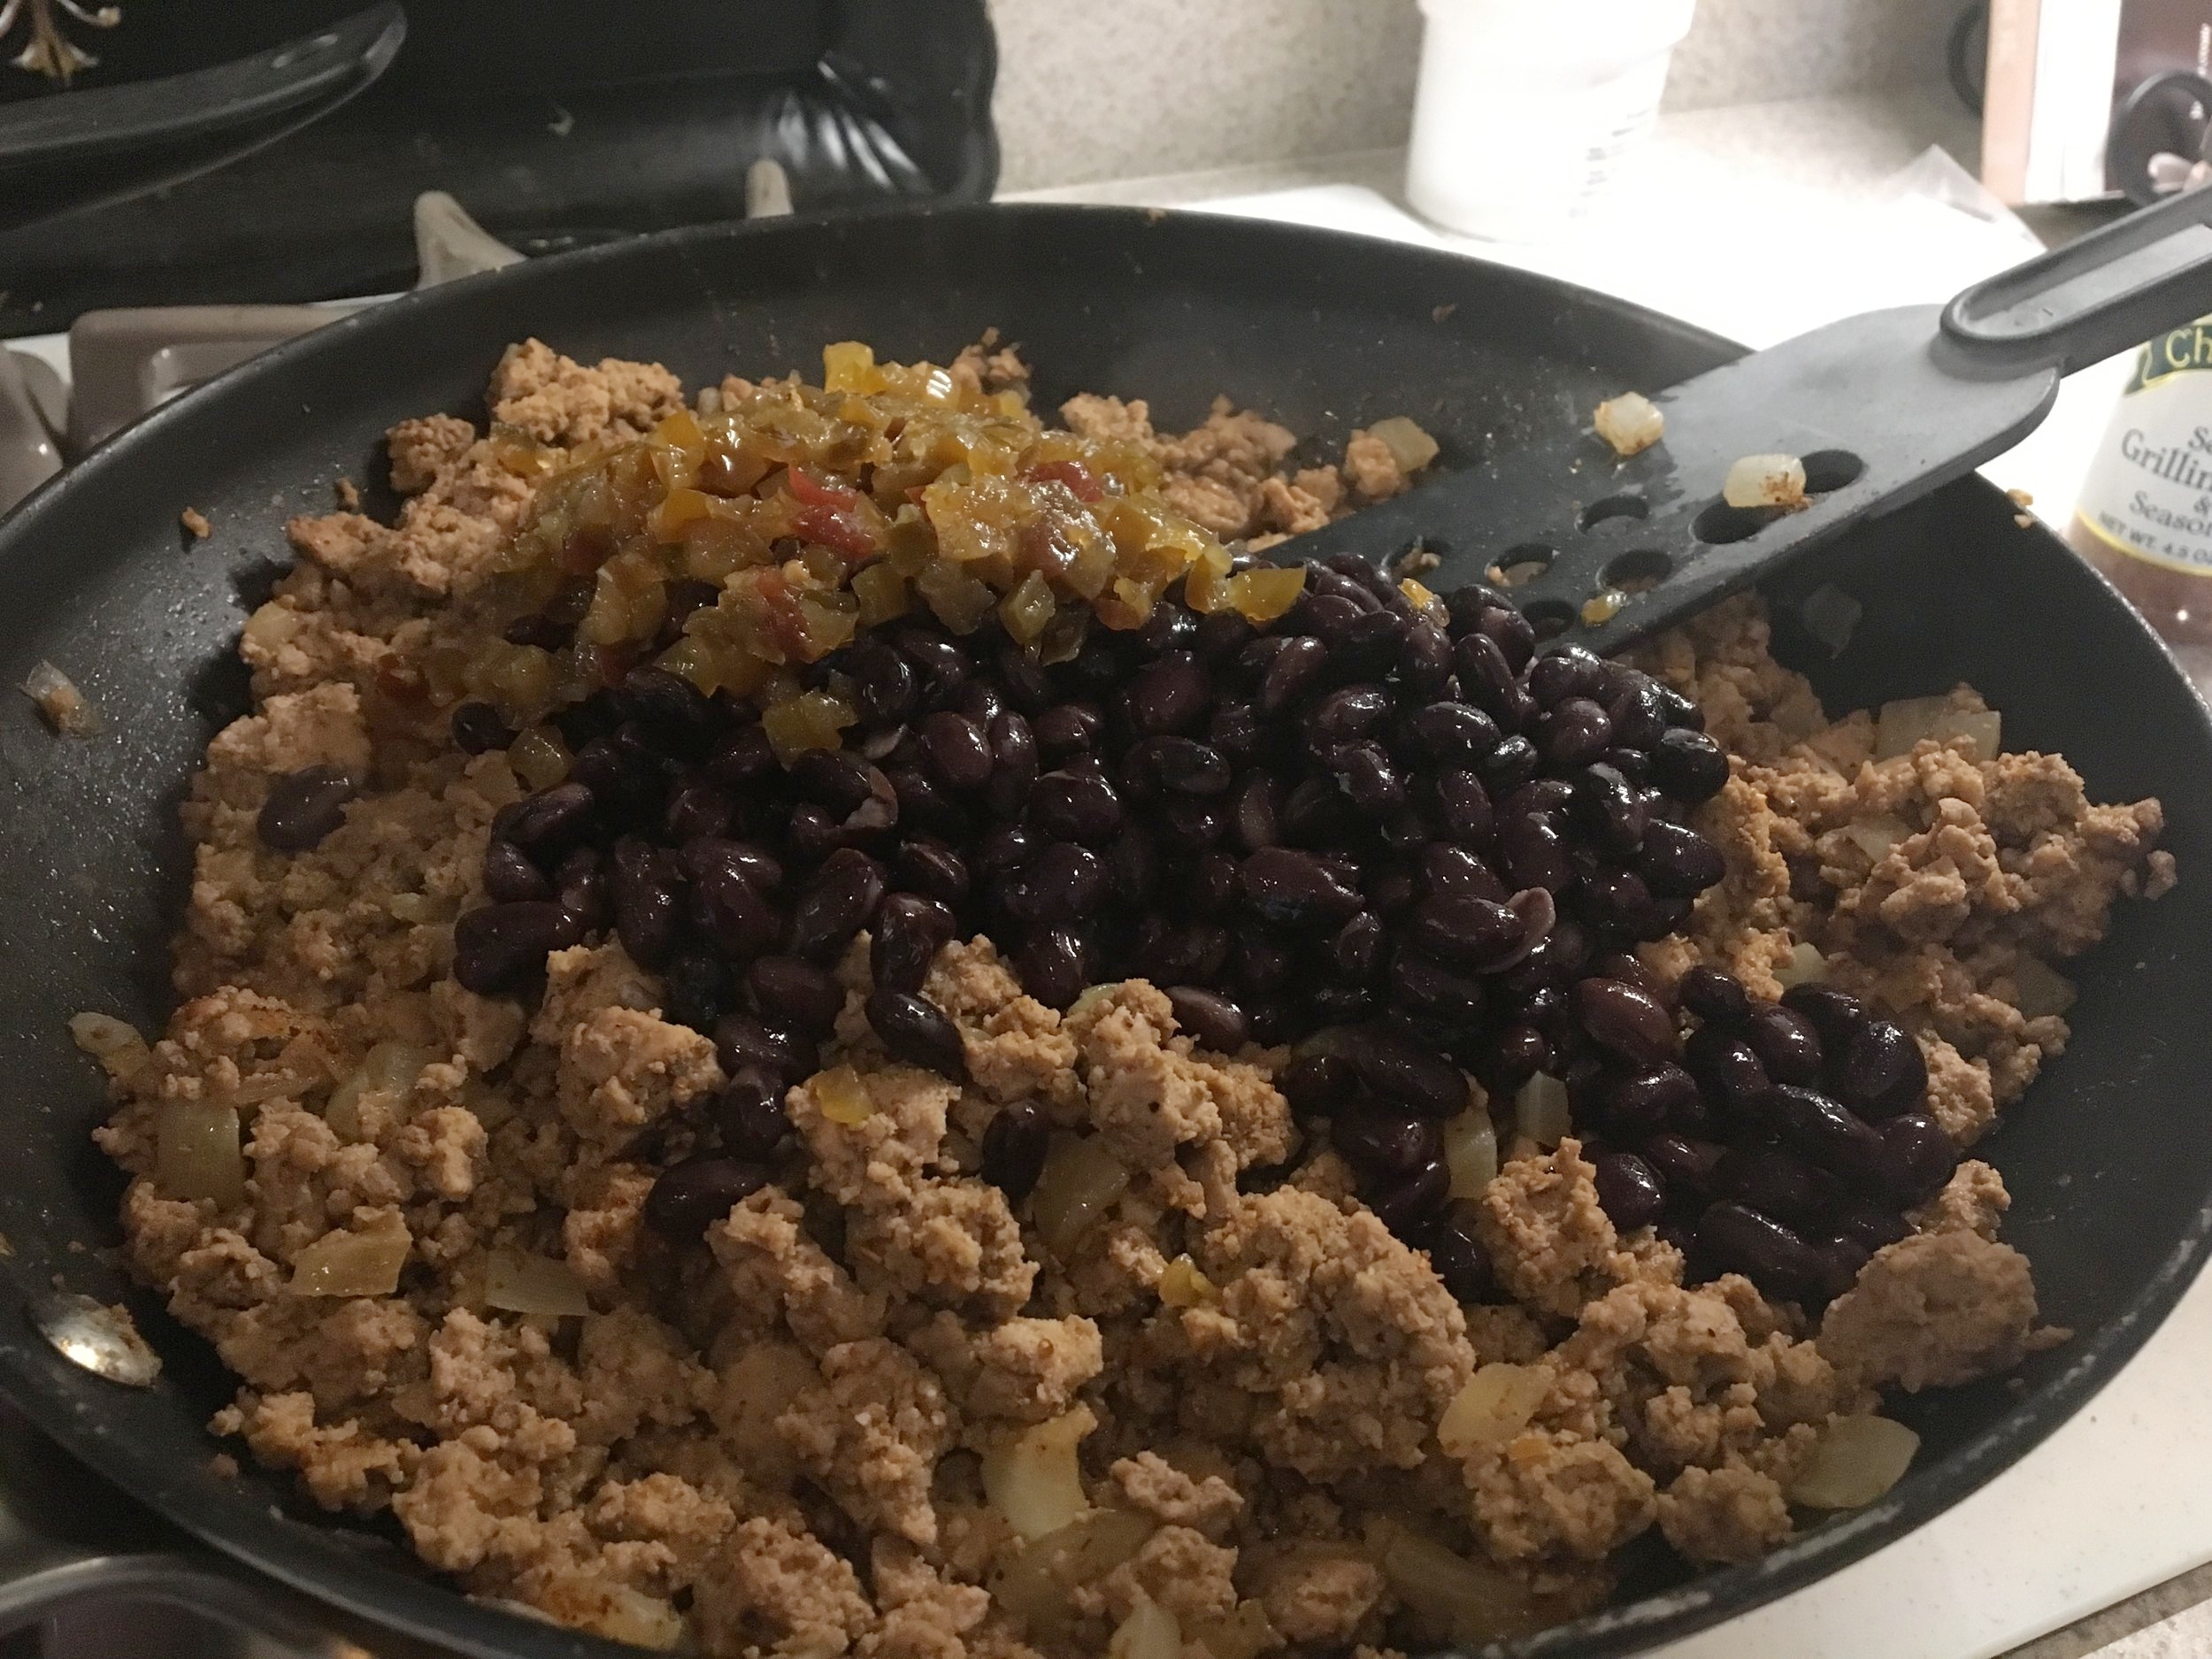
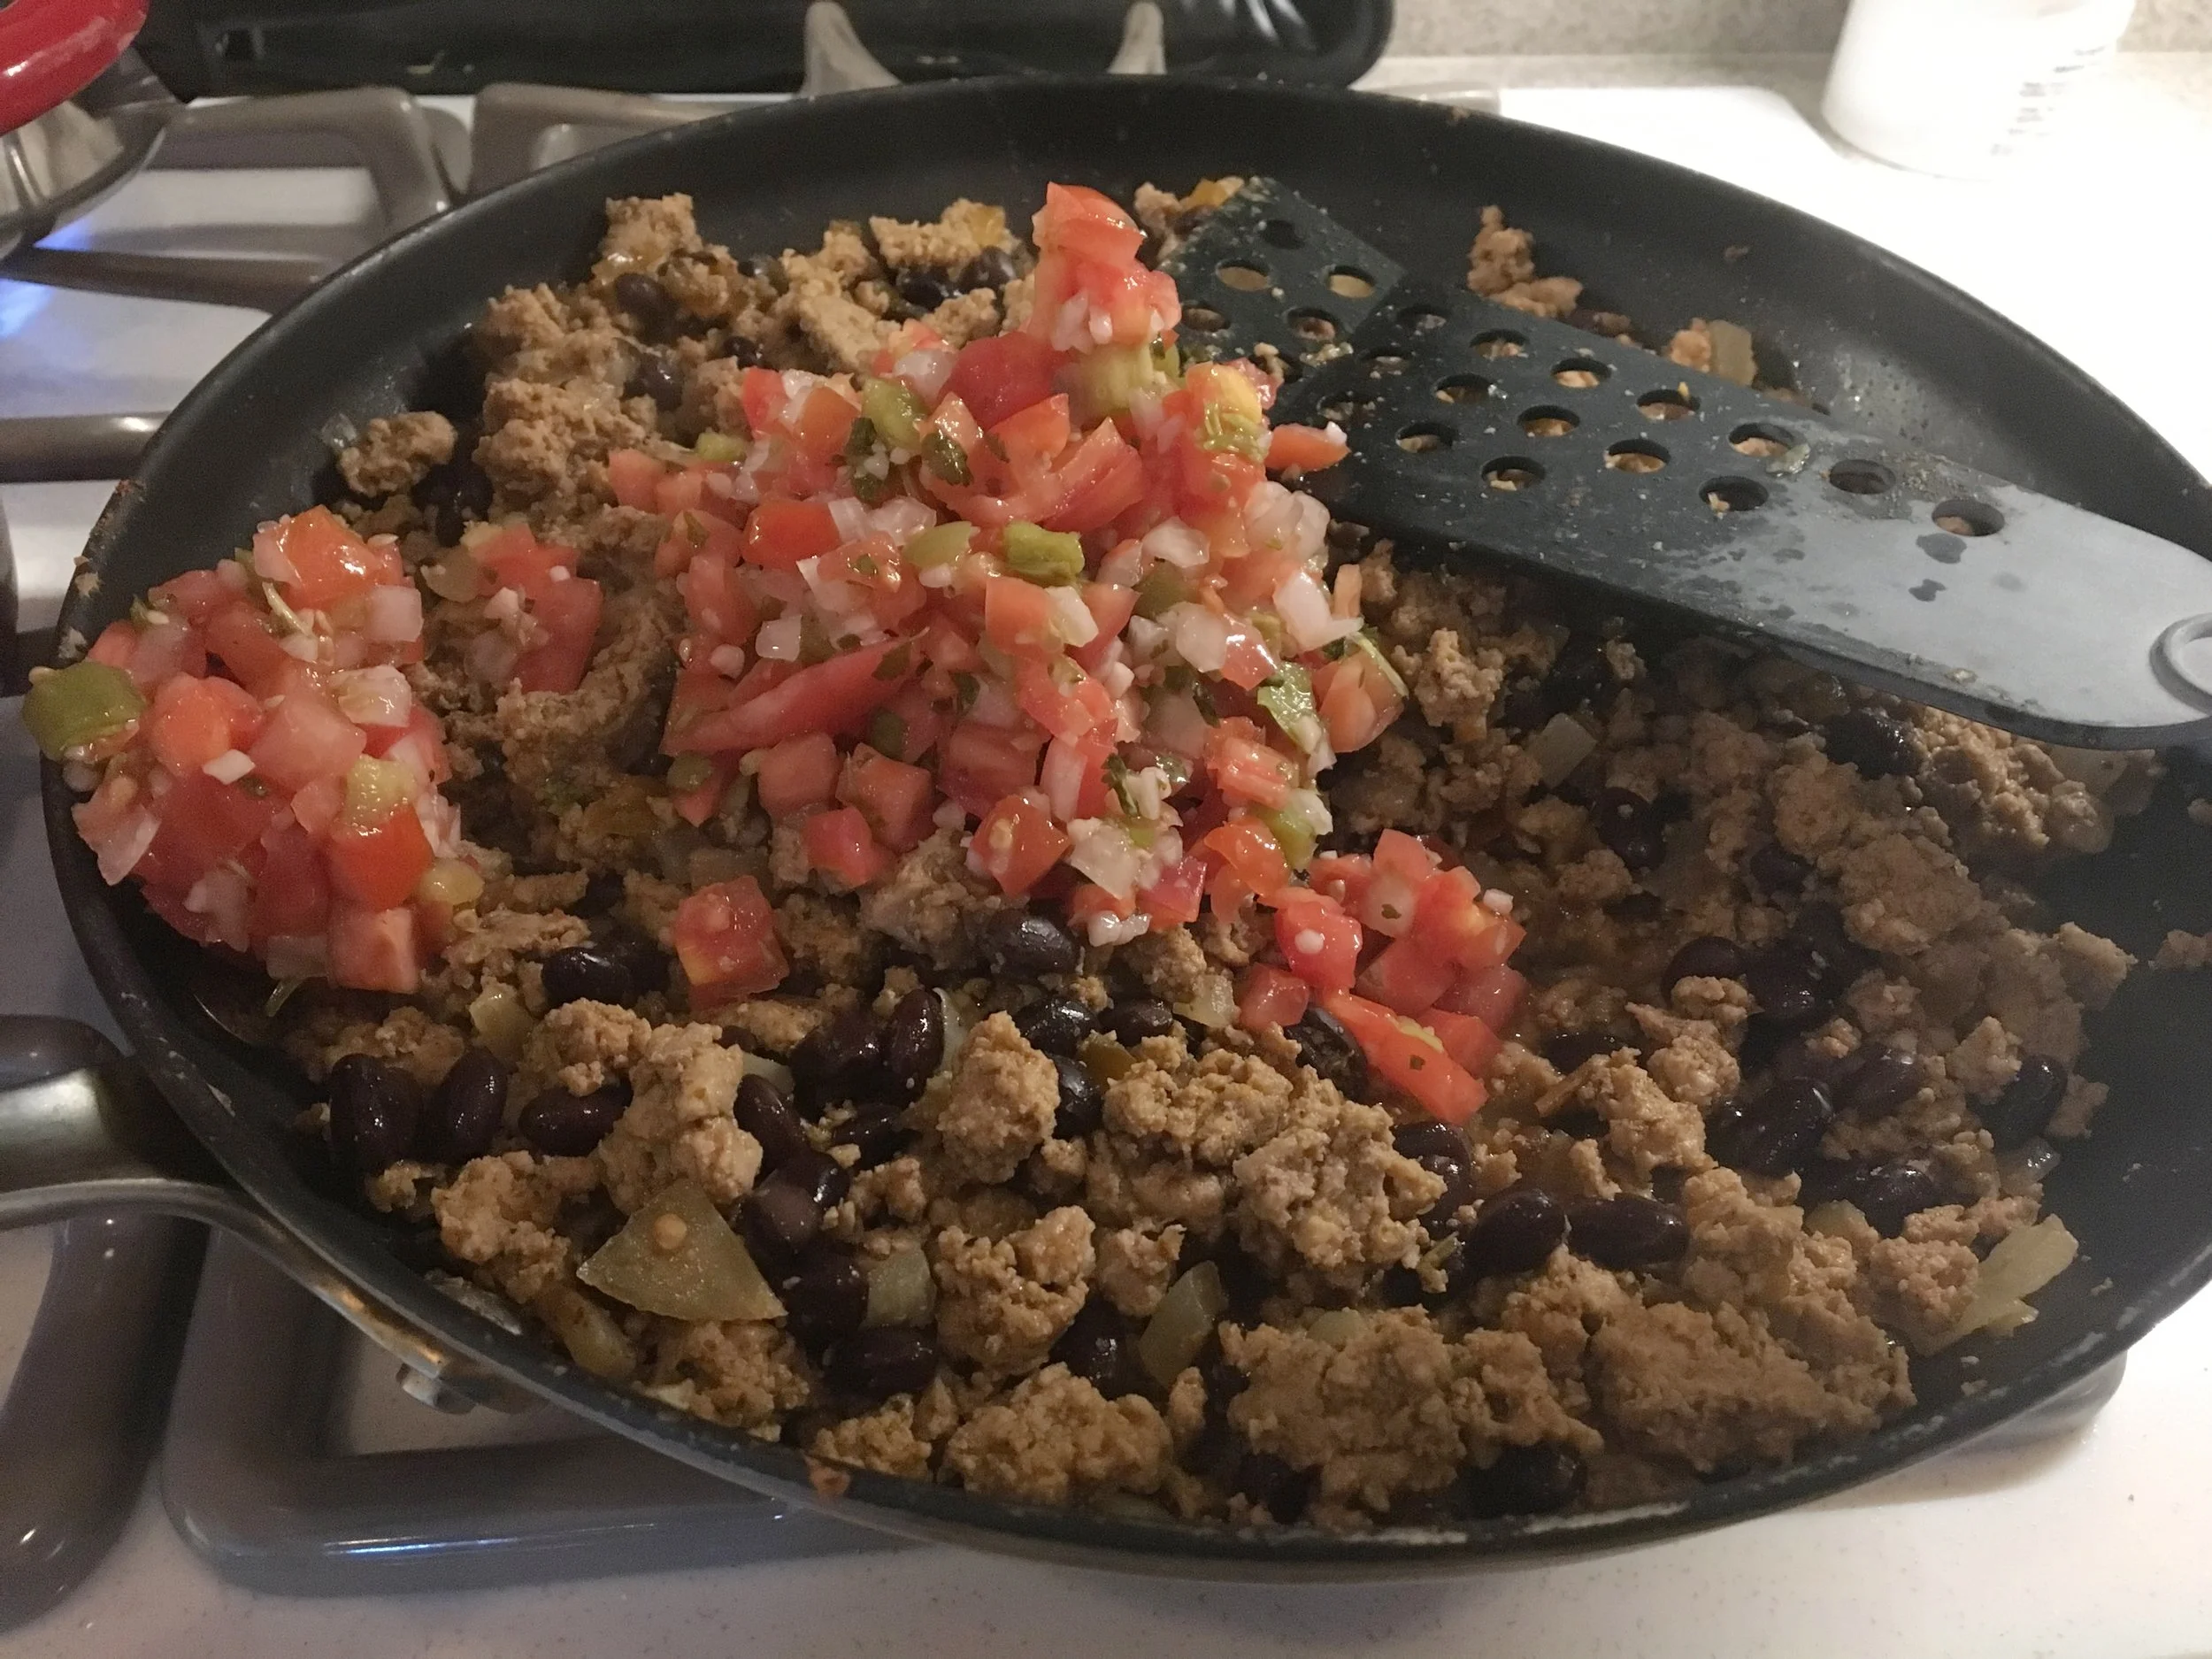
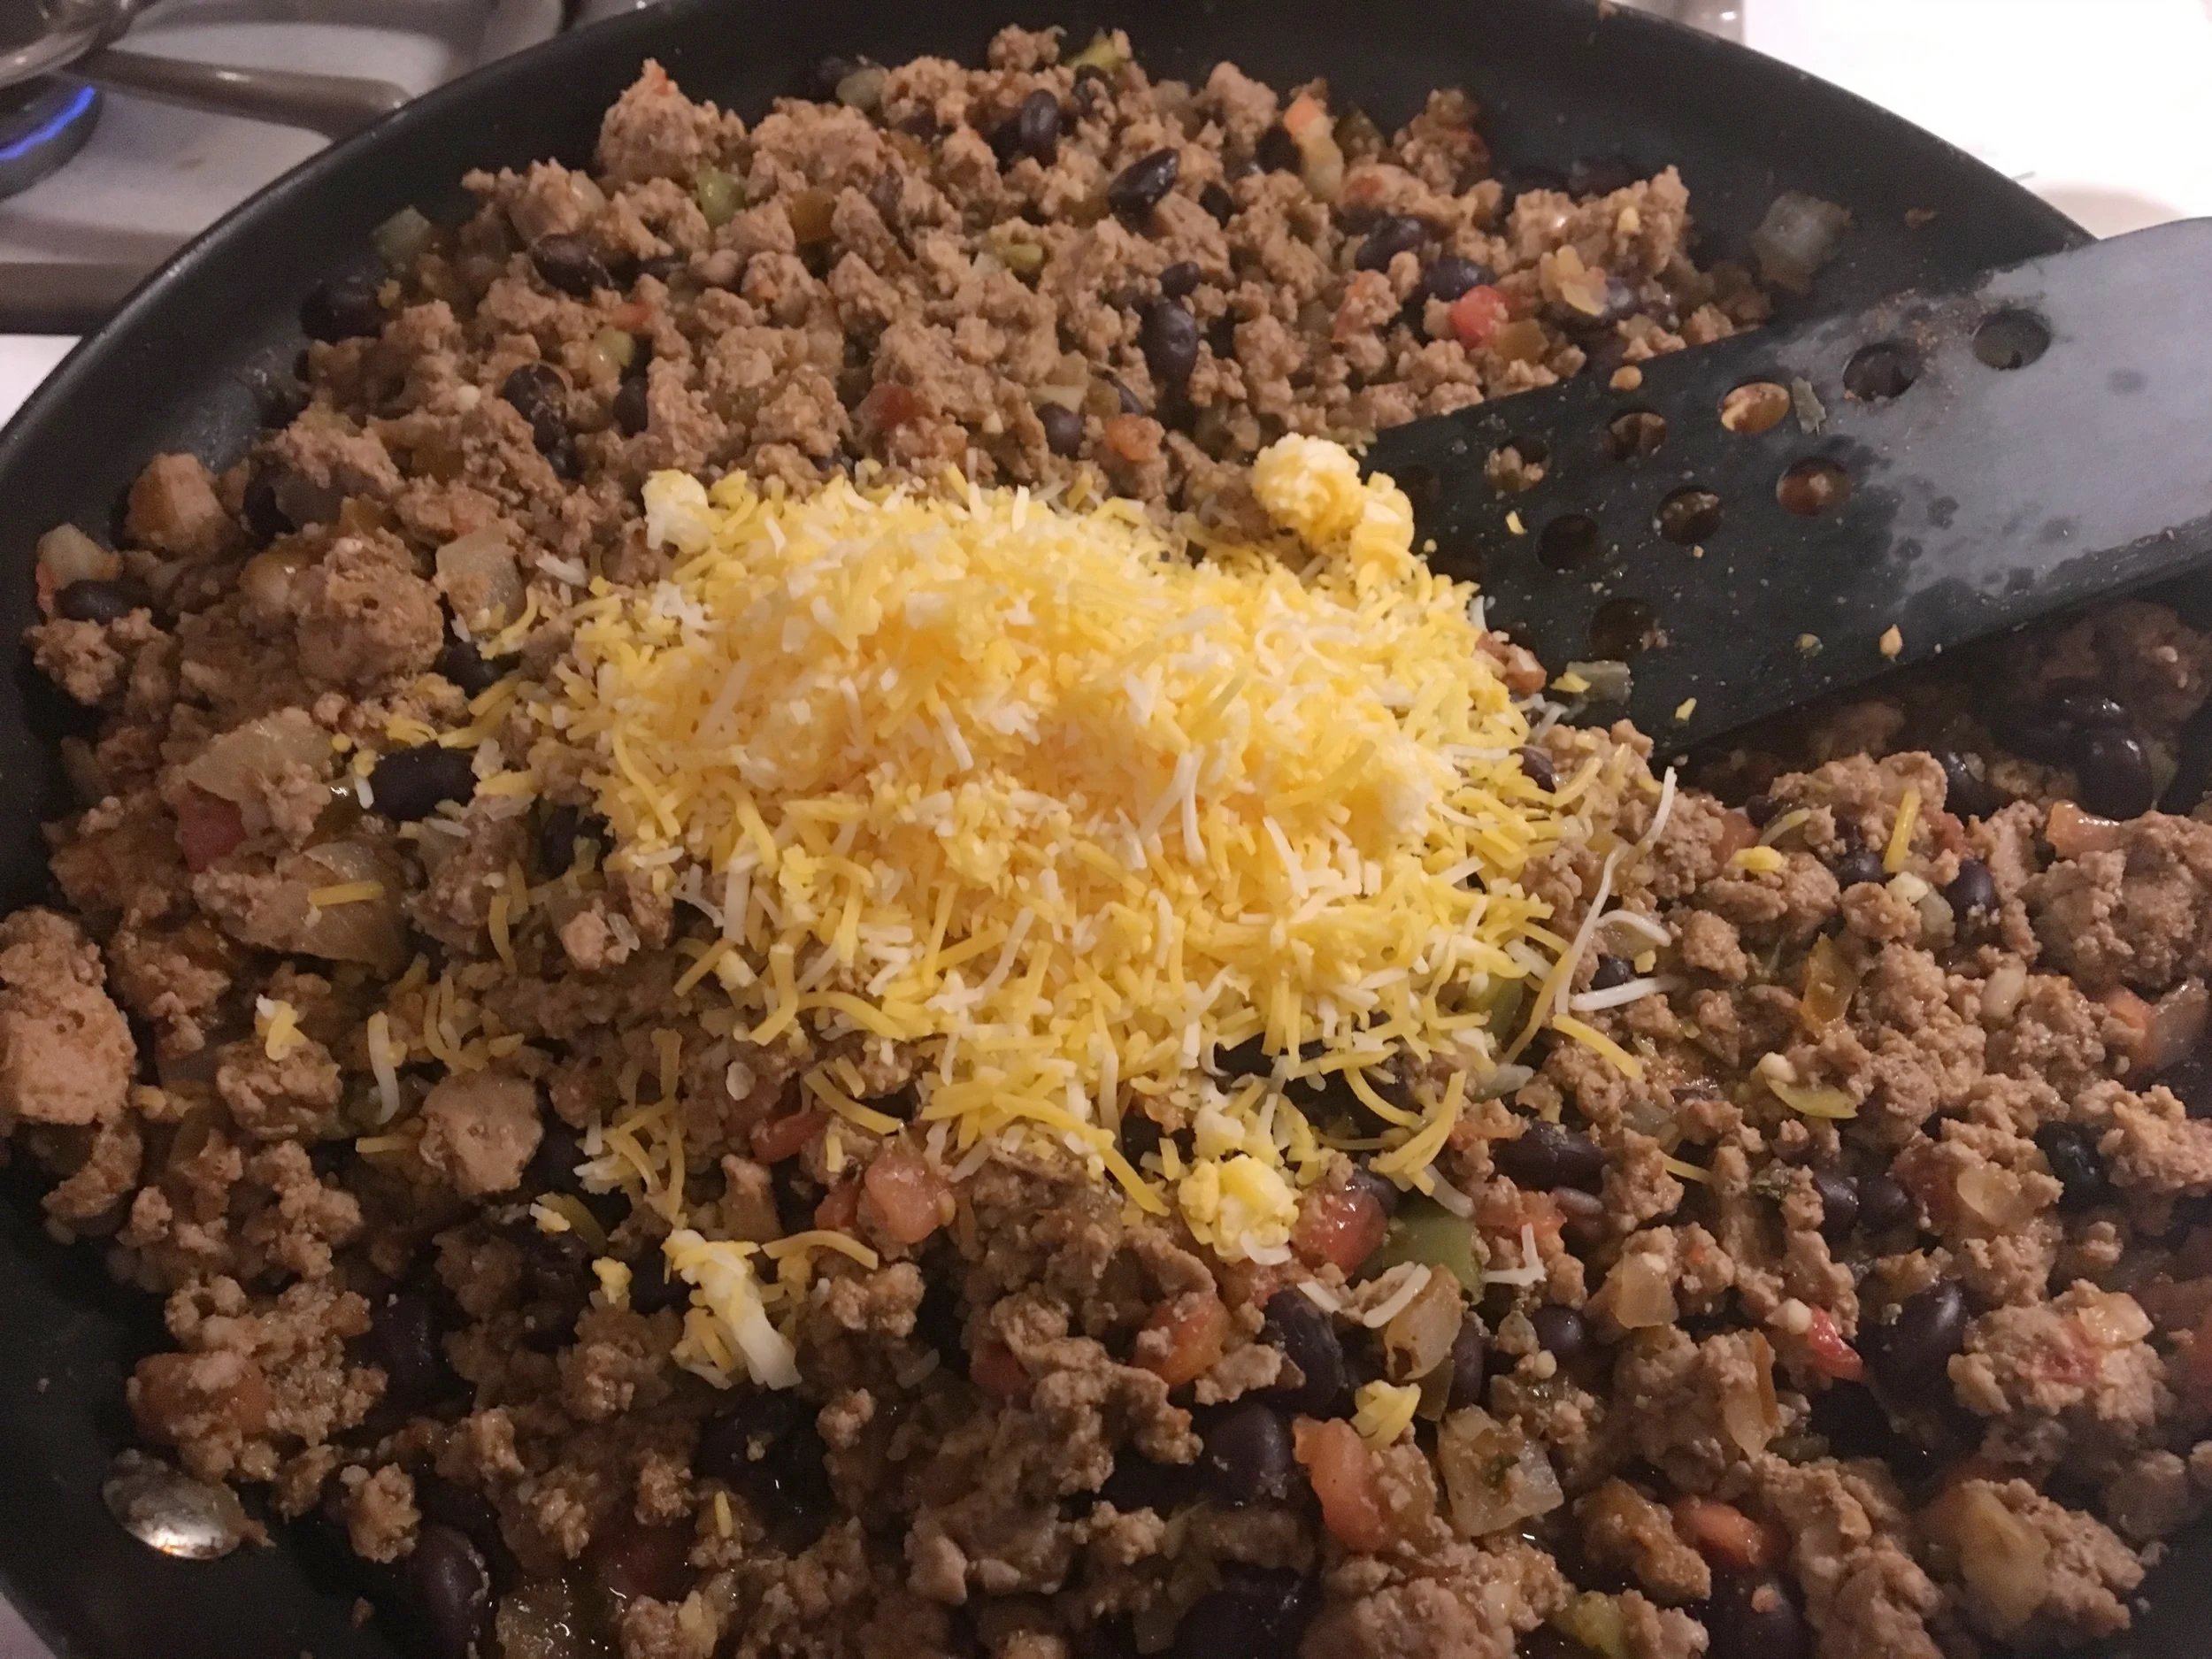
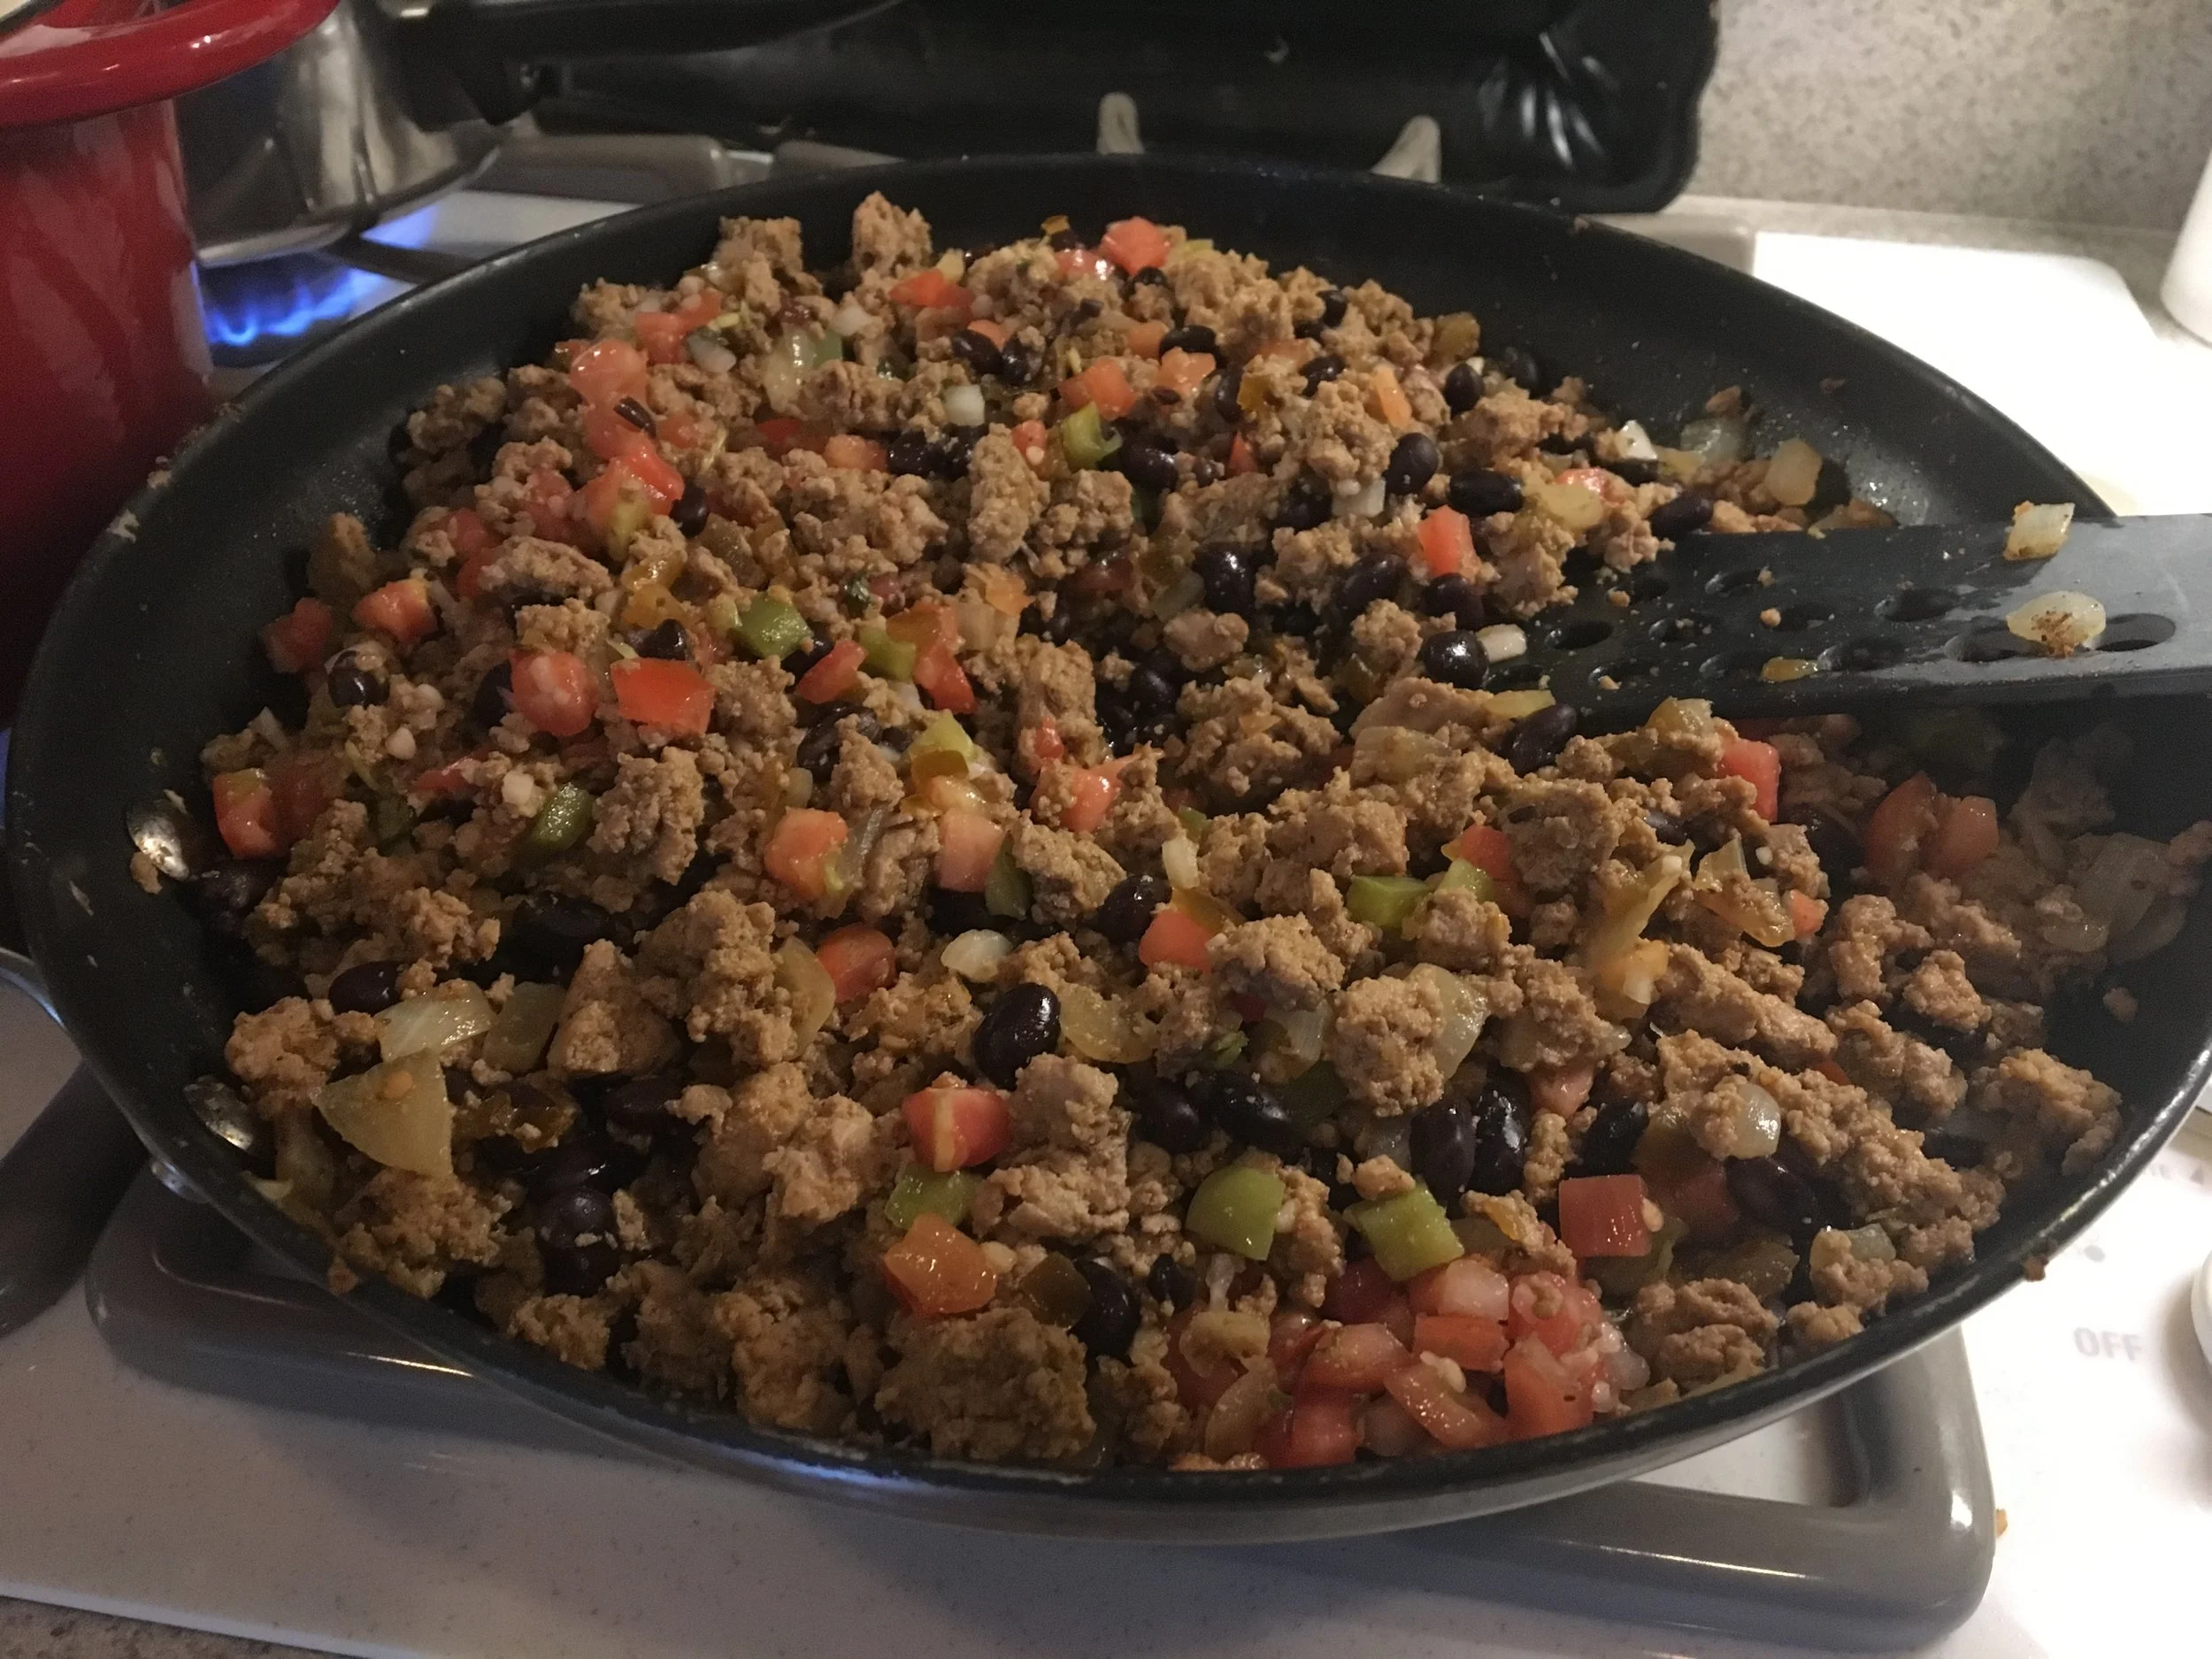
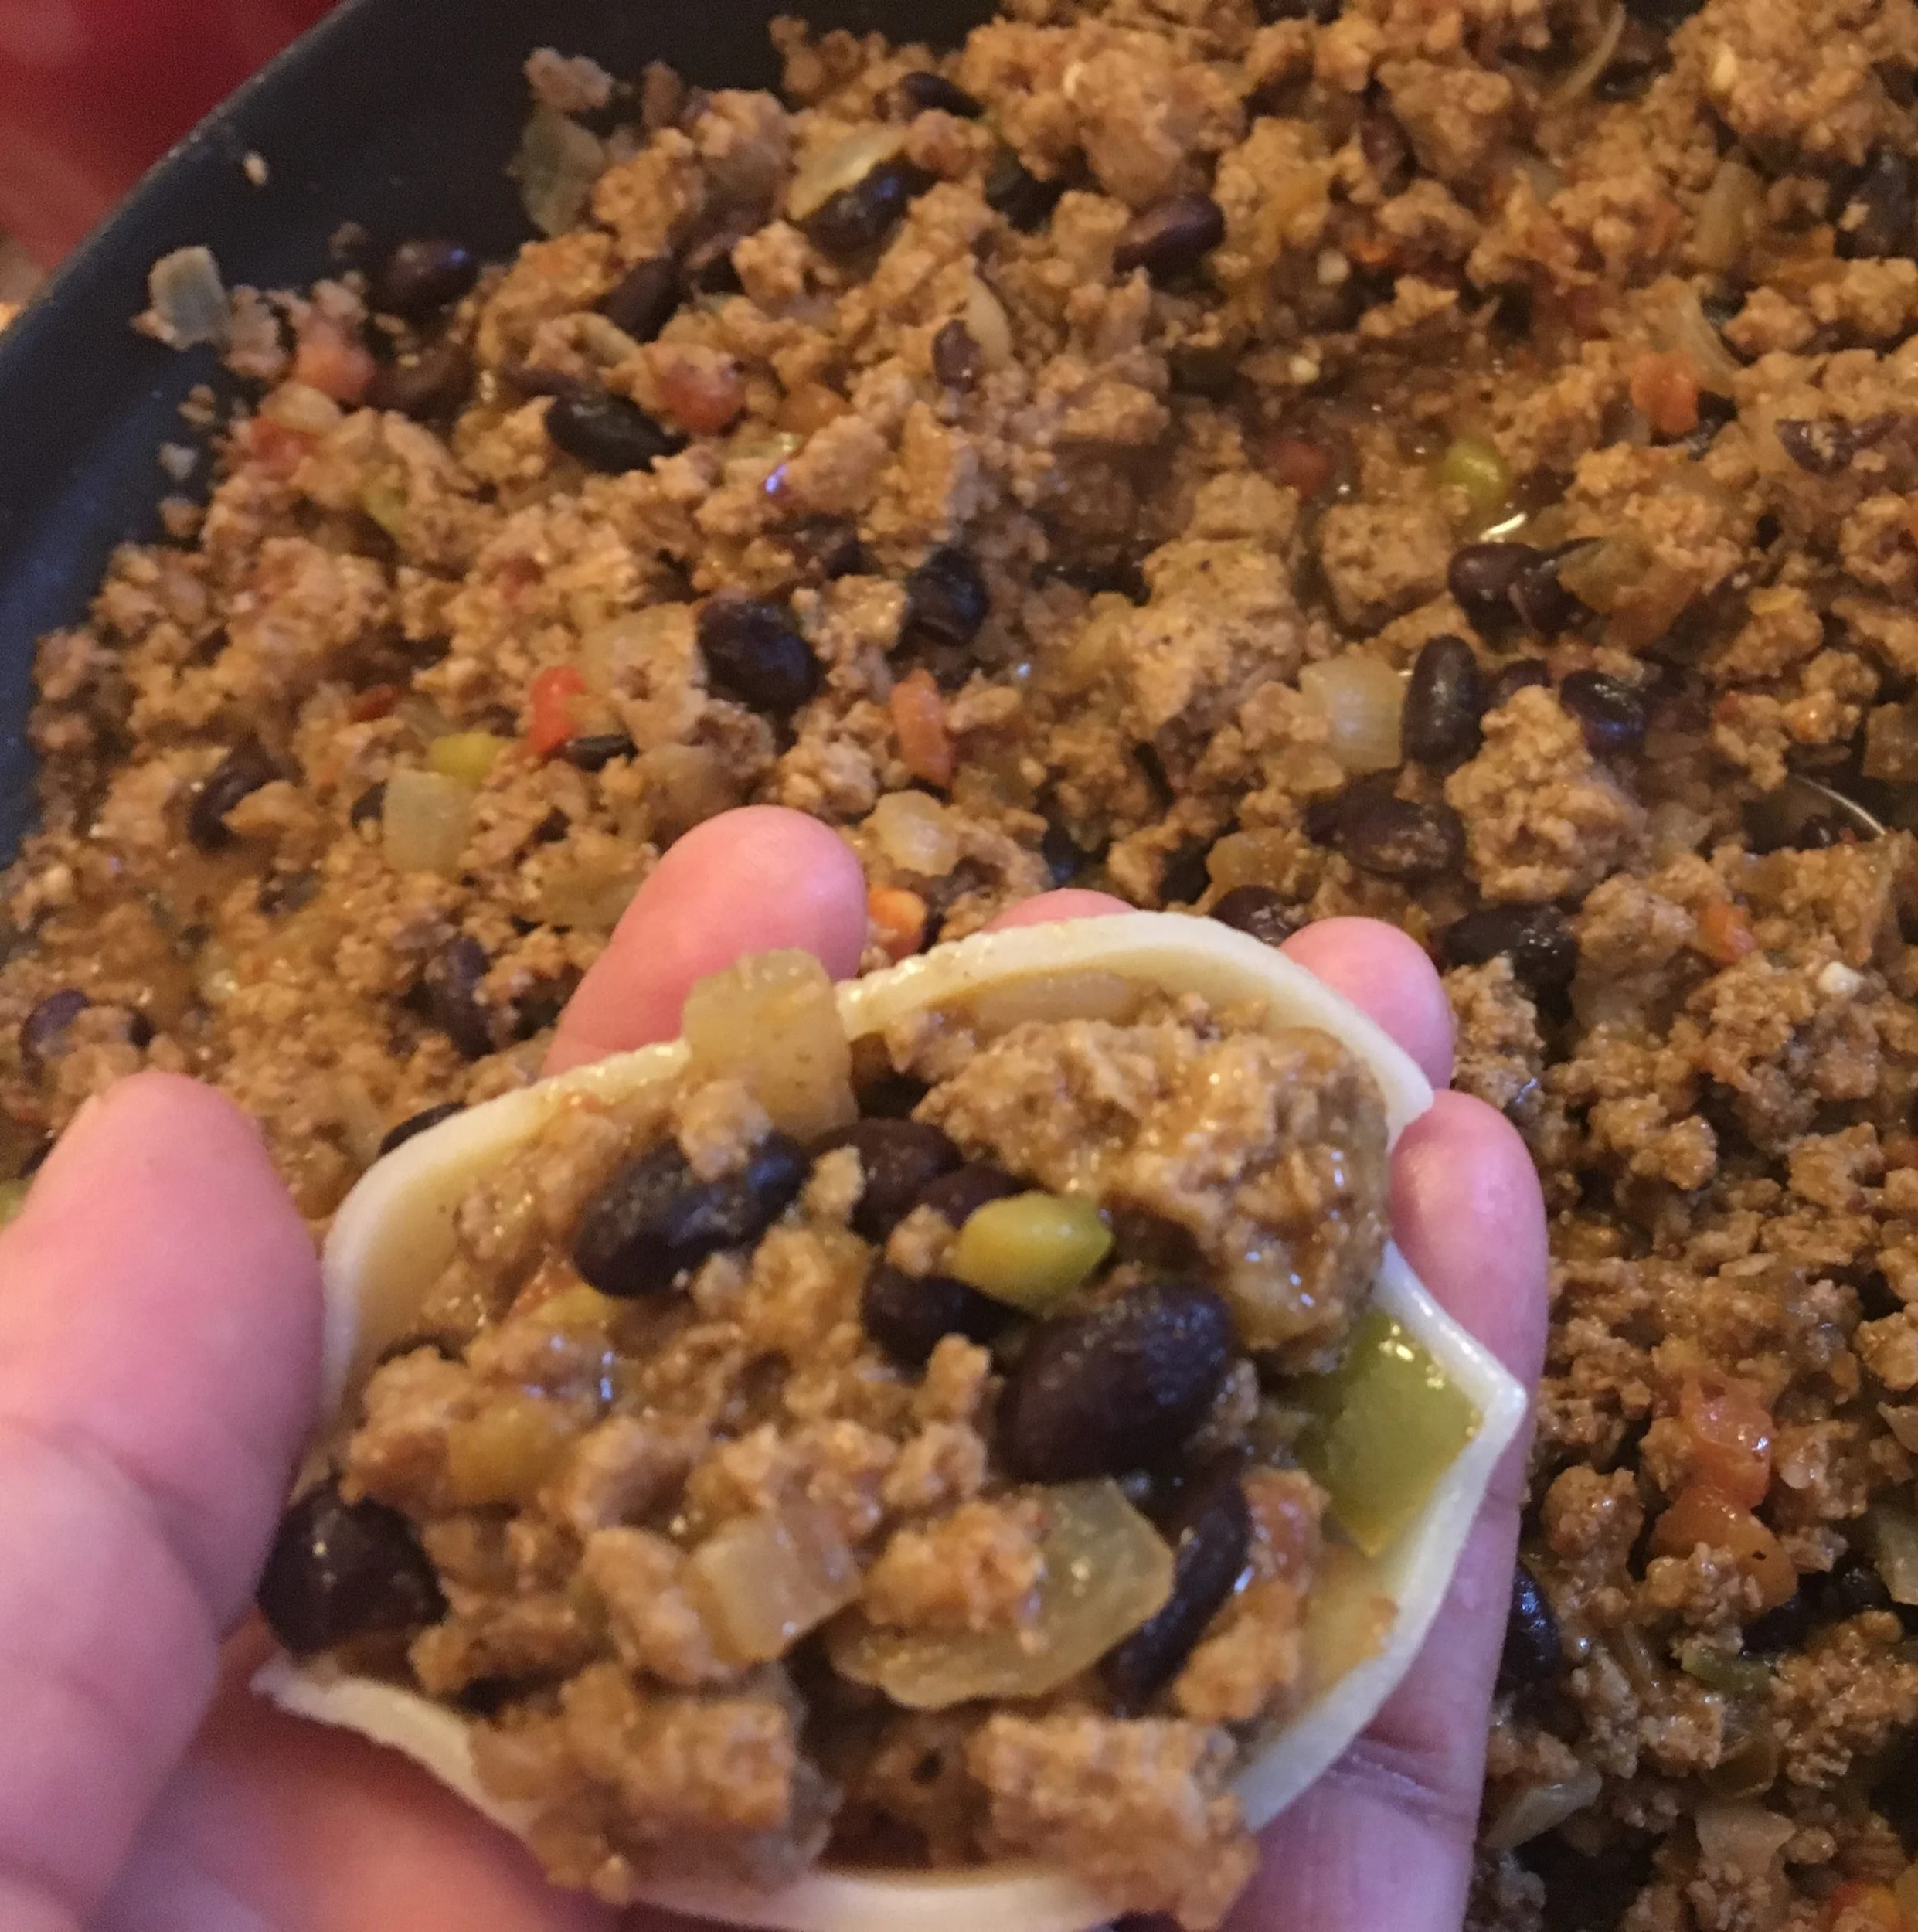
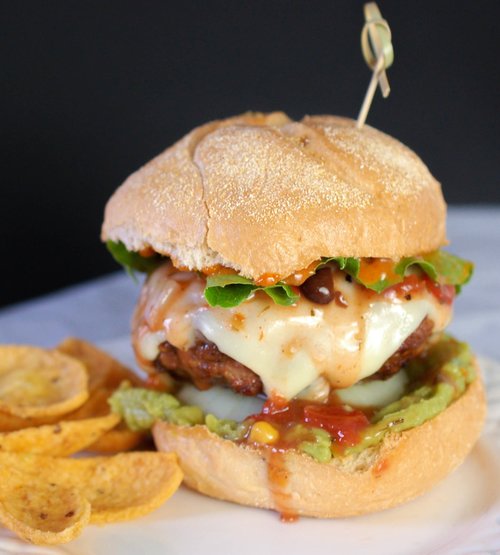
Tex-Mex Burger Recipe- Send your taste buds into overload with this sweet, spicy, and smoky burger, featuring Cherchies Black Bean & Corn Salsa.
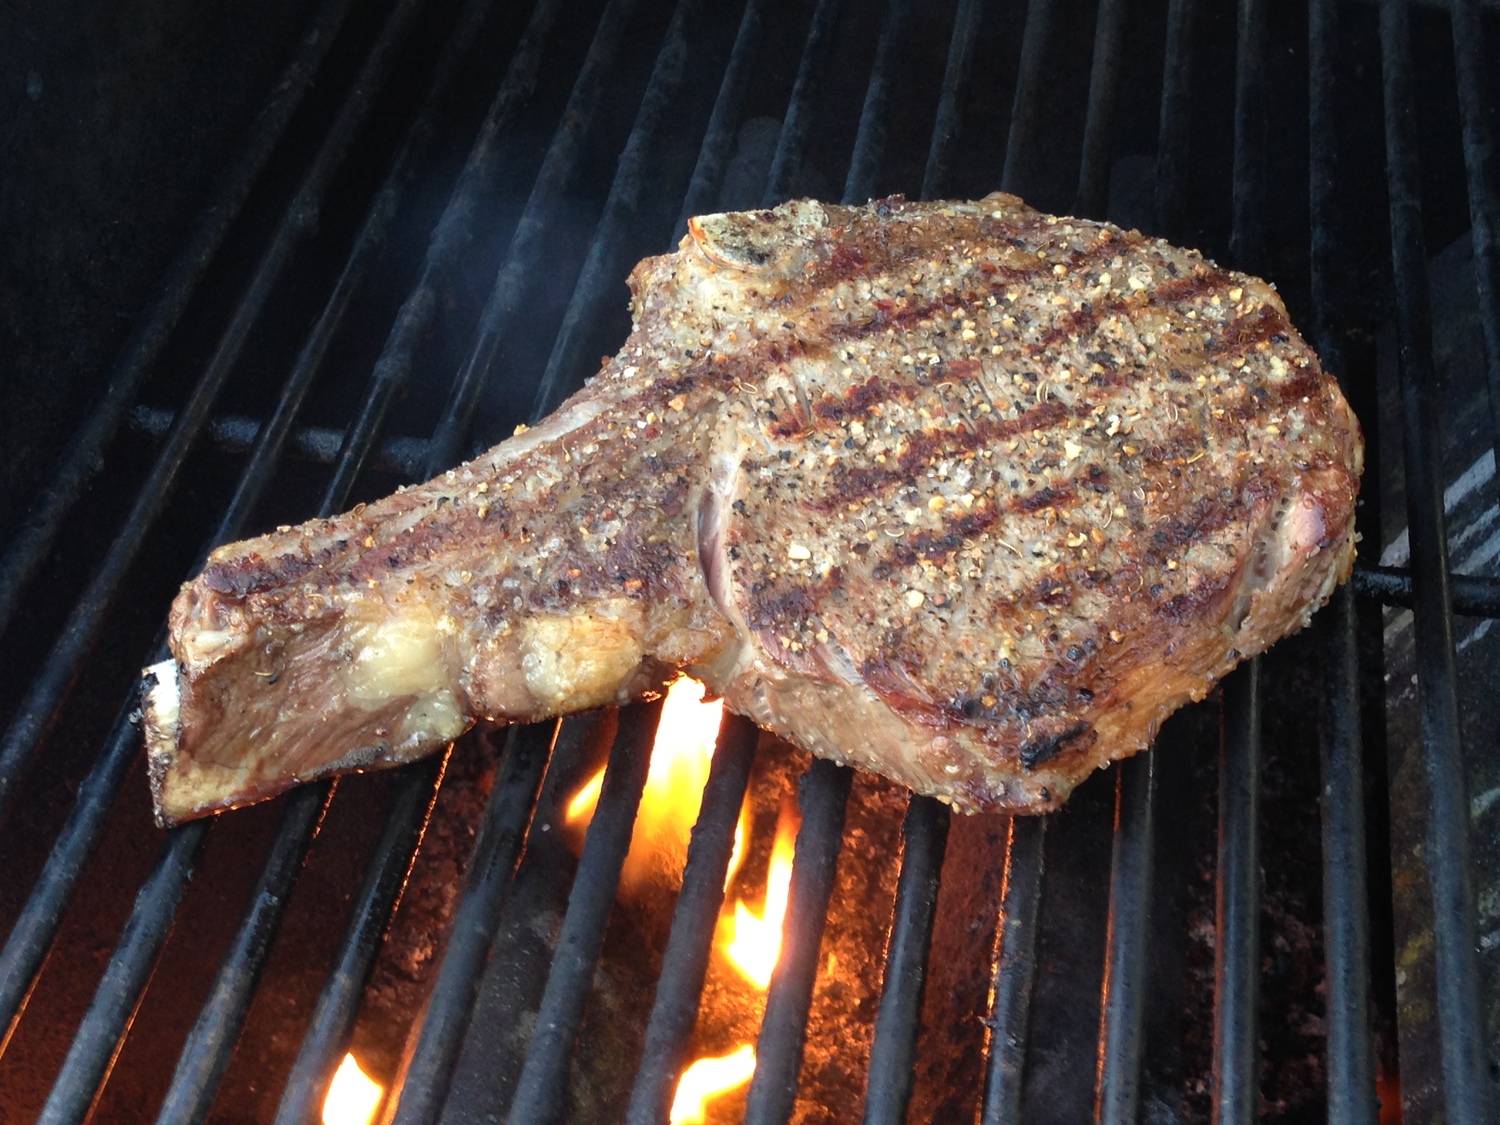
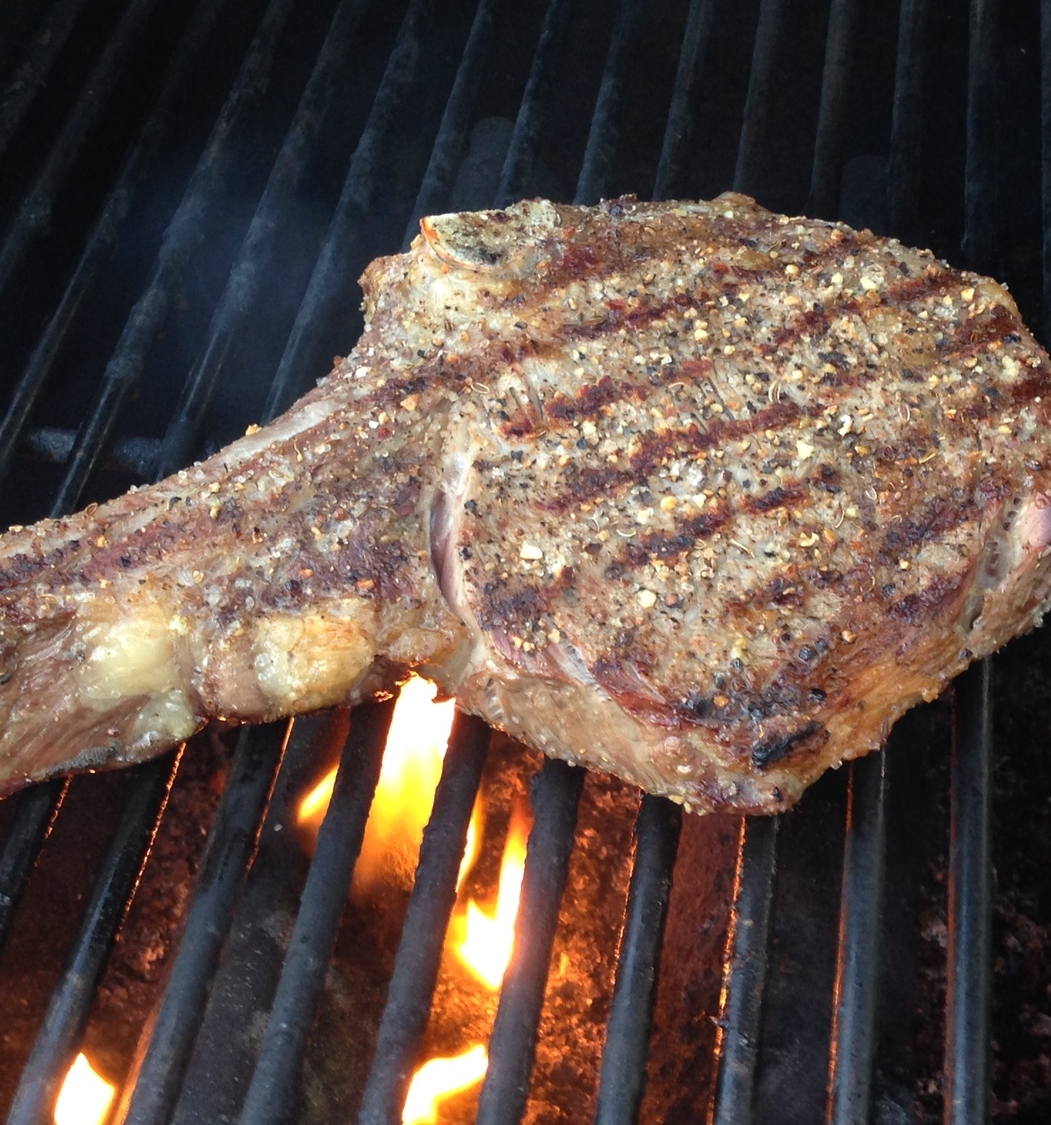
Pizzazzed Steak or Burger Recipes- Add some pizzazz to your burgers or steaks with Cherchies Pepper Pizzazz Seasoning Blend.
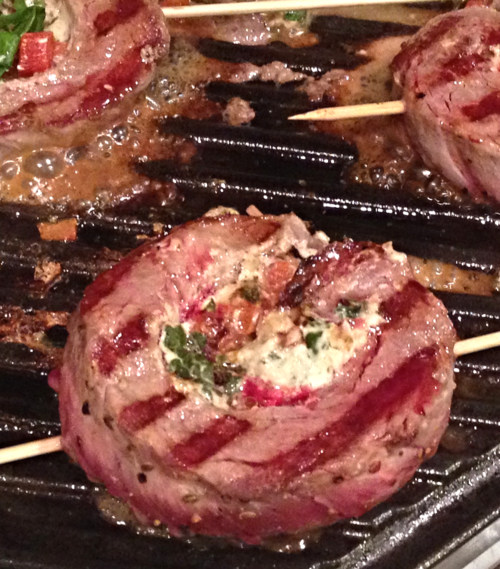
Garlic Stuffed Flank Steak Recipe- Your guests will think you spent hours! This recipe features Cherchies Garlic Seasoning and Cherchies Pepper Pizzazz or Cherchies Lem'n Pepper Spicy Seasoning Blends.
Strawberry Hot Pepper Kabobs Recipe- featuring Cherchies Garlic'n Herbs Seasoning and Cherchies Hot Pepper Jams.
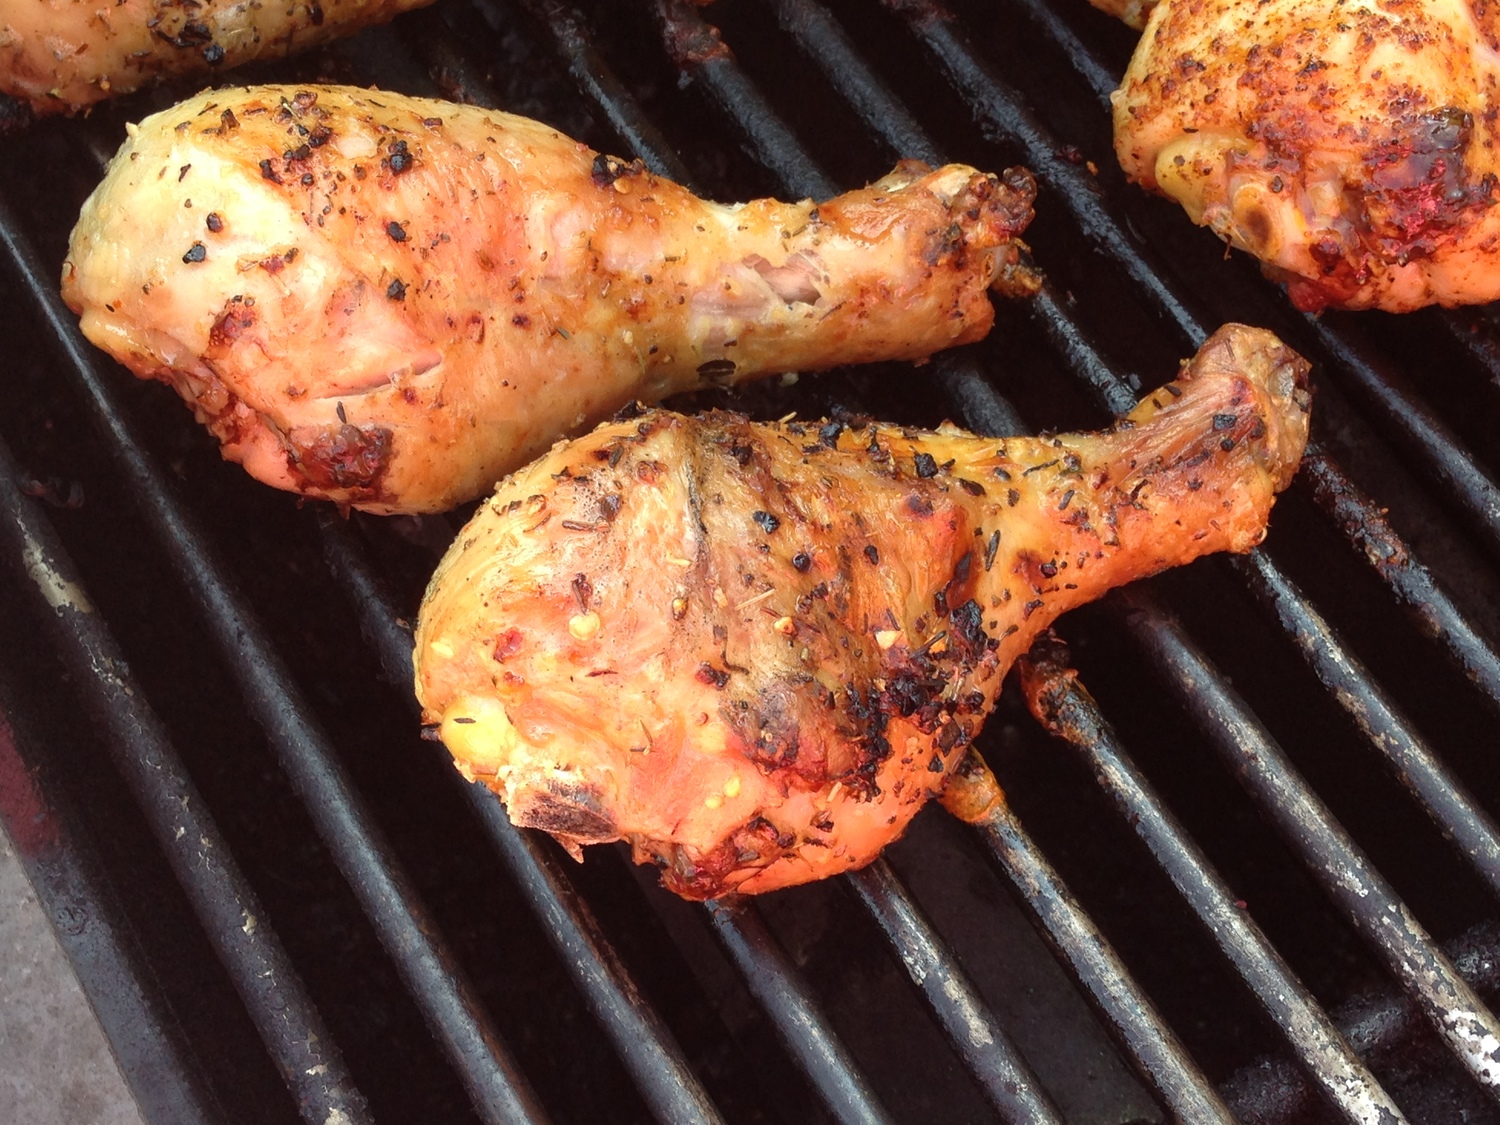
Lemon Pepper Chicken Recipe- Lemony and spicy, featuring Cherchies Lem'n Pepper Spicy Seasoning Blend.

Sweet Endings
Desserts- End your celebration with a sweet treat!
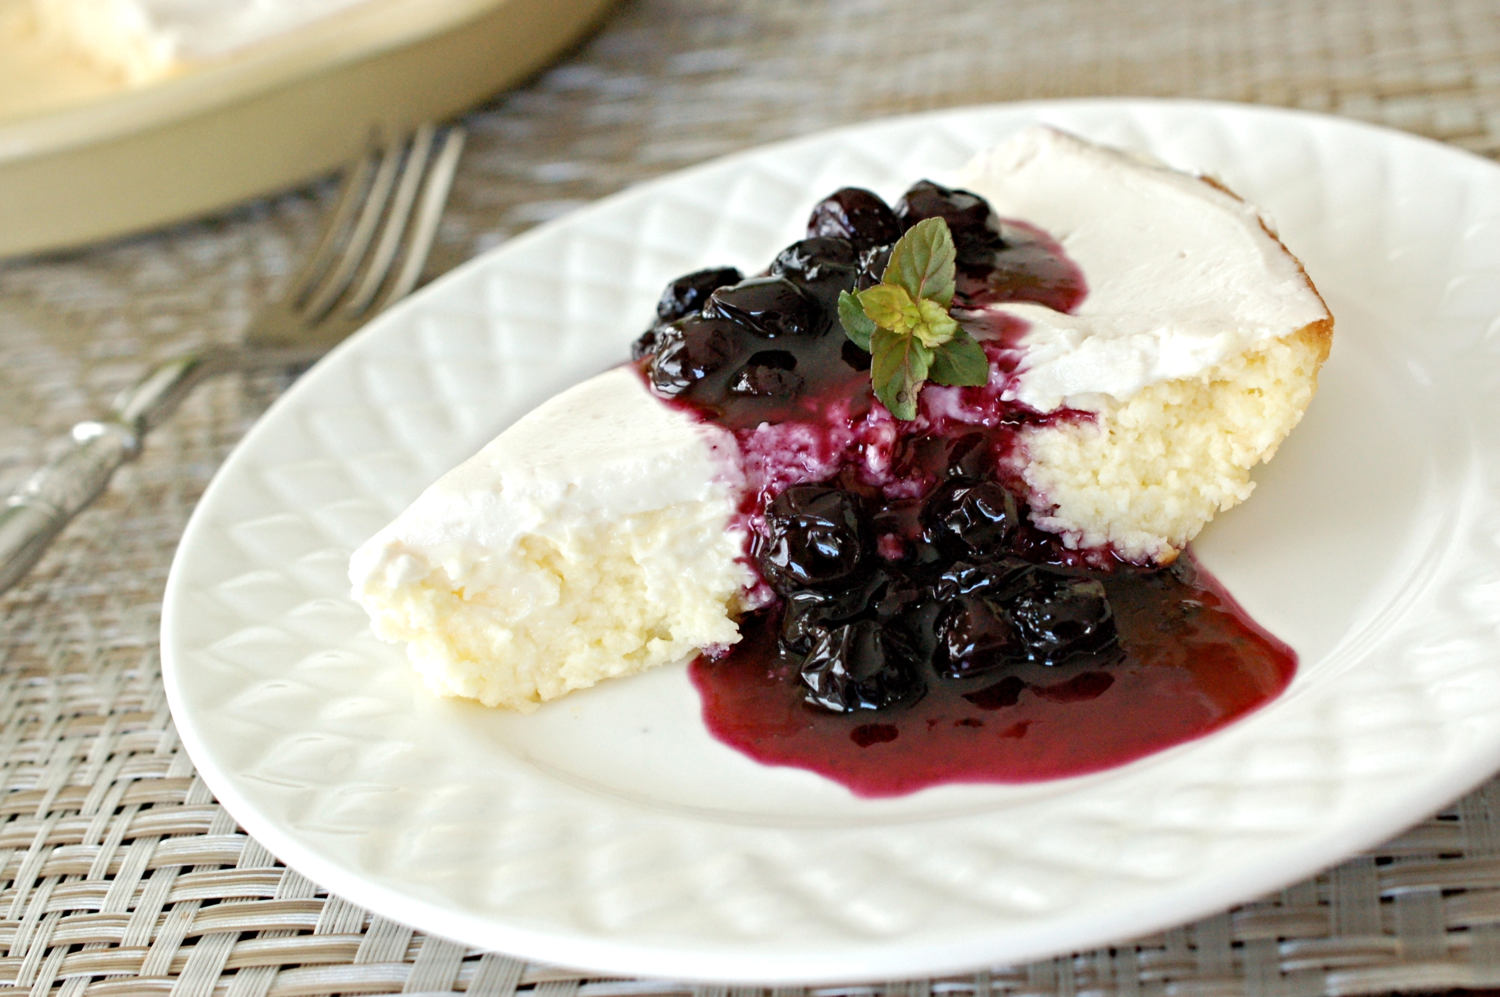
Cream Cheese Pie Recipe- No crust, no fuss, featuring Cherchies Preserves and Butter Spreads.
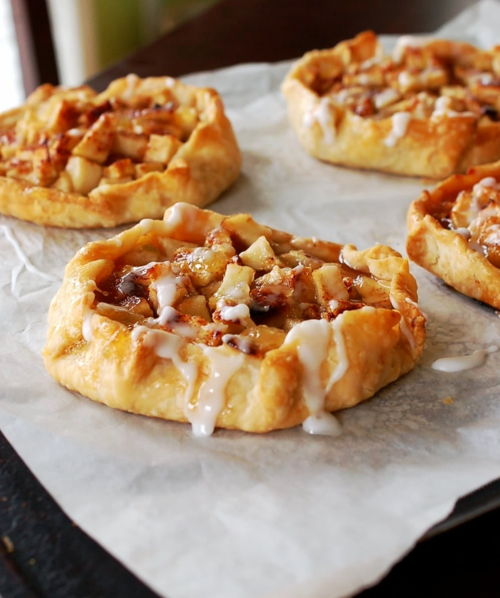
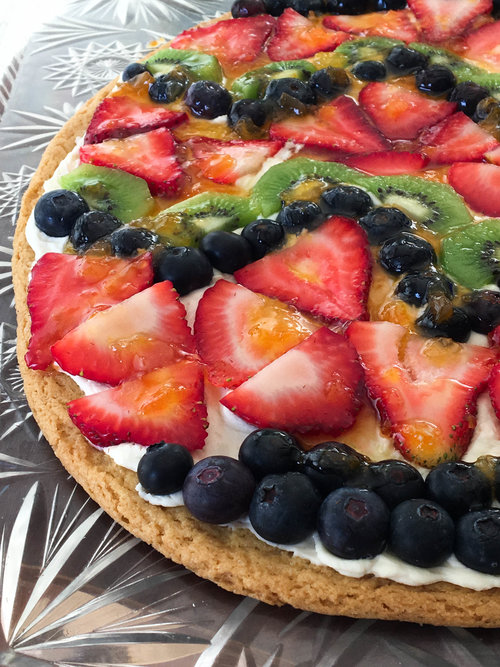
Fruit Pizza Recipe- A refreshing dessert pizza featuring fresh summer fruit and Cherchies Fig Preserves.
Blackberry Monkey Bread Muffins- Easy and tasty featuring Cherchies Blackberry Preserves.

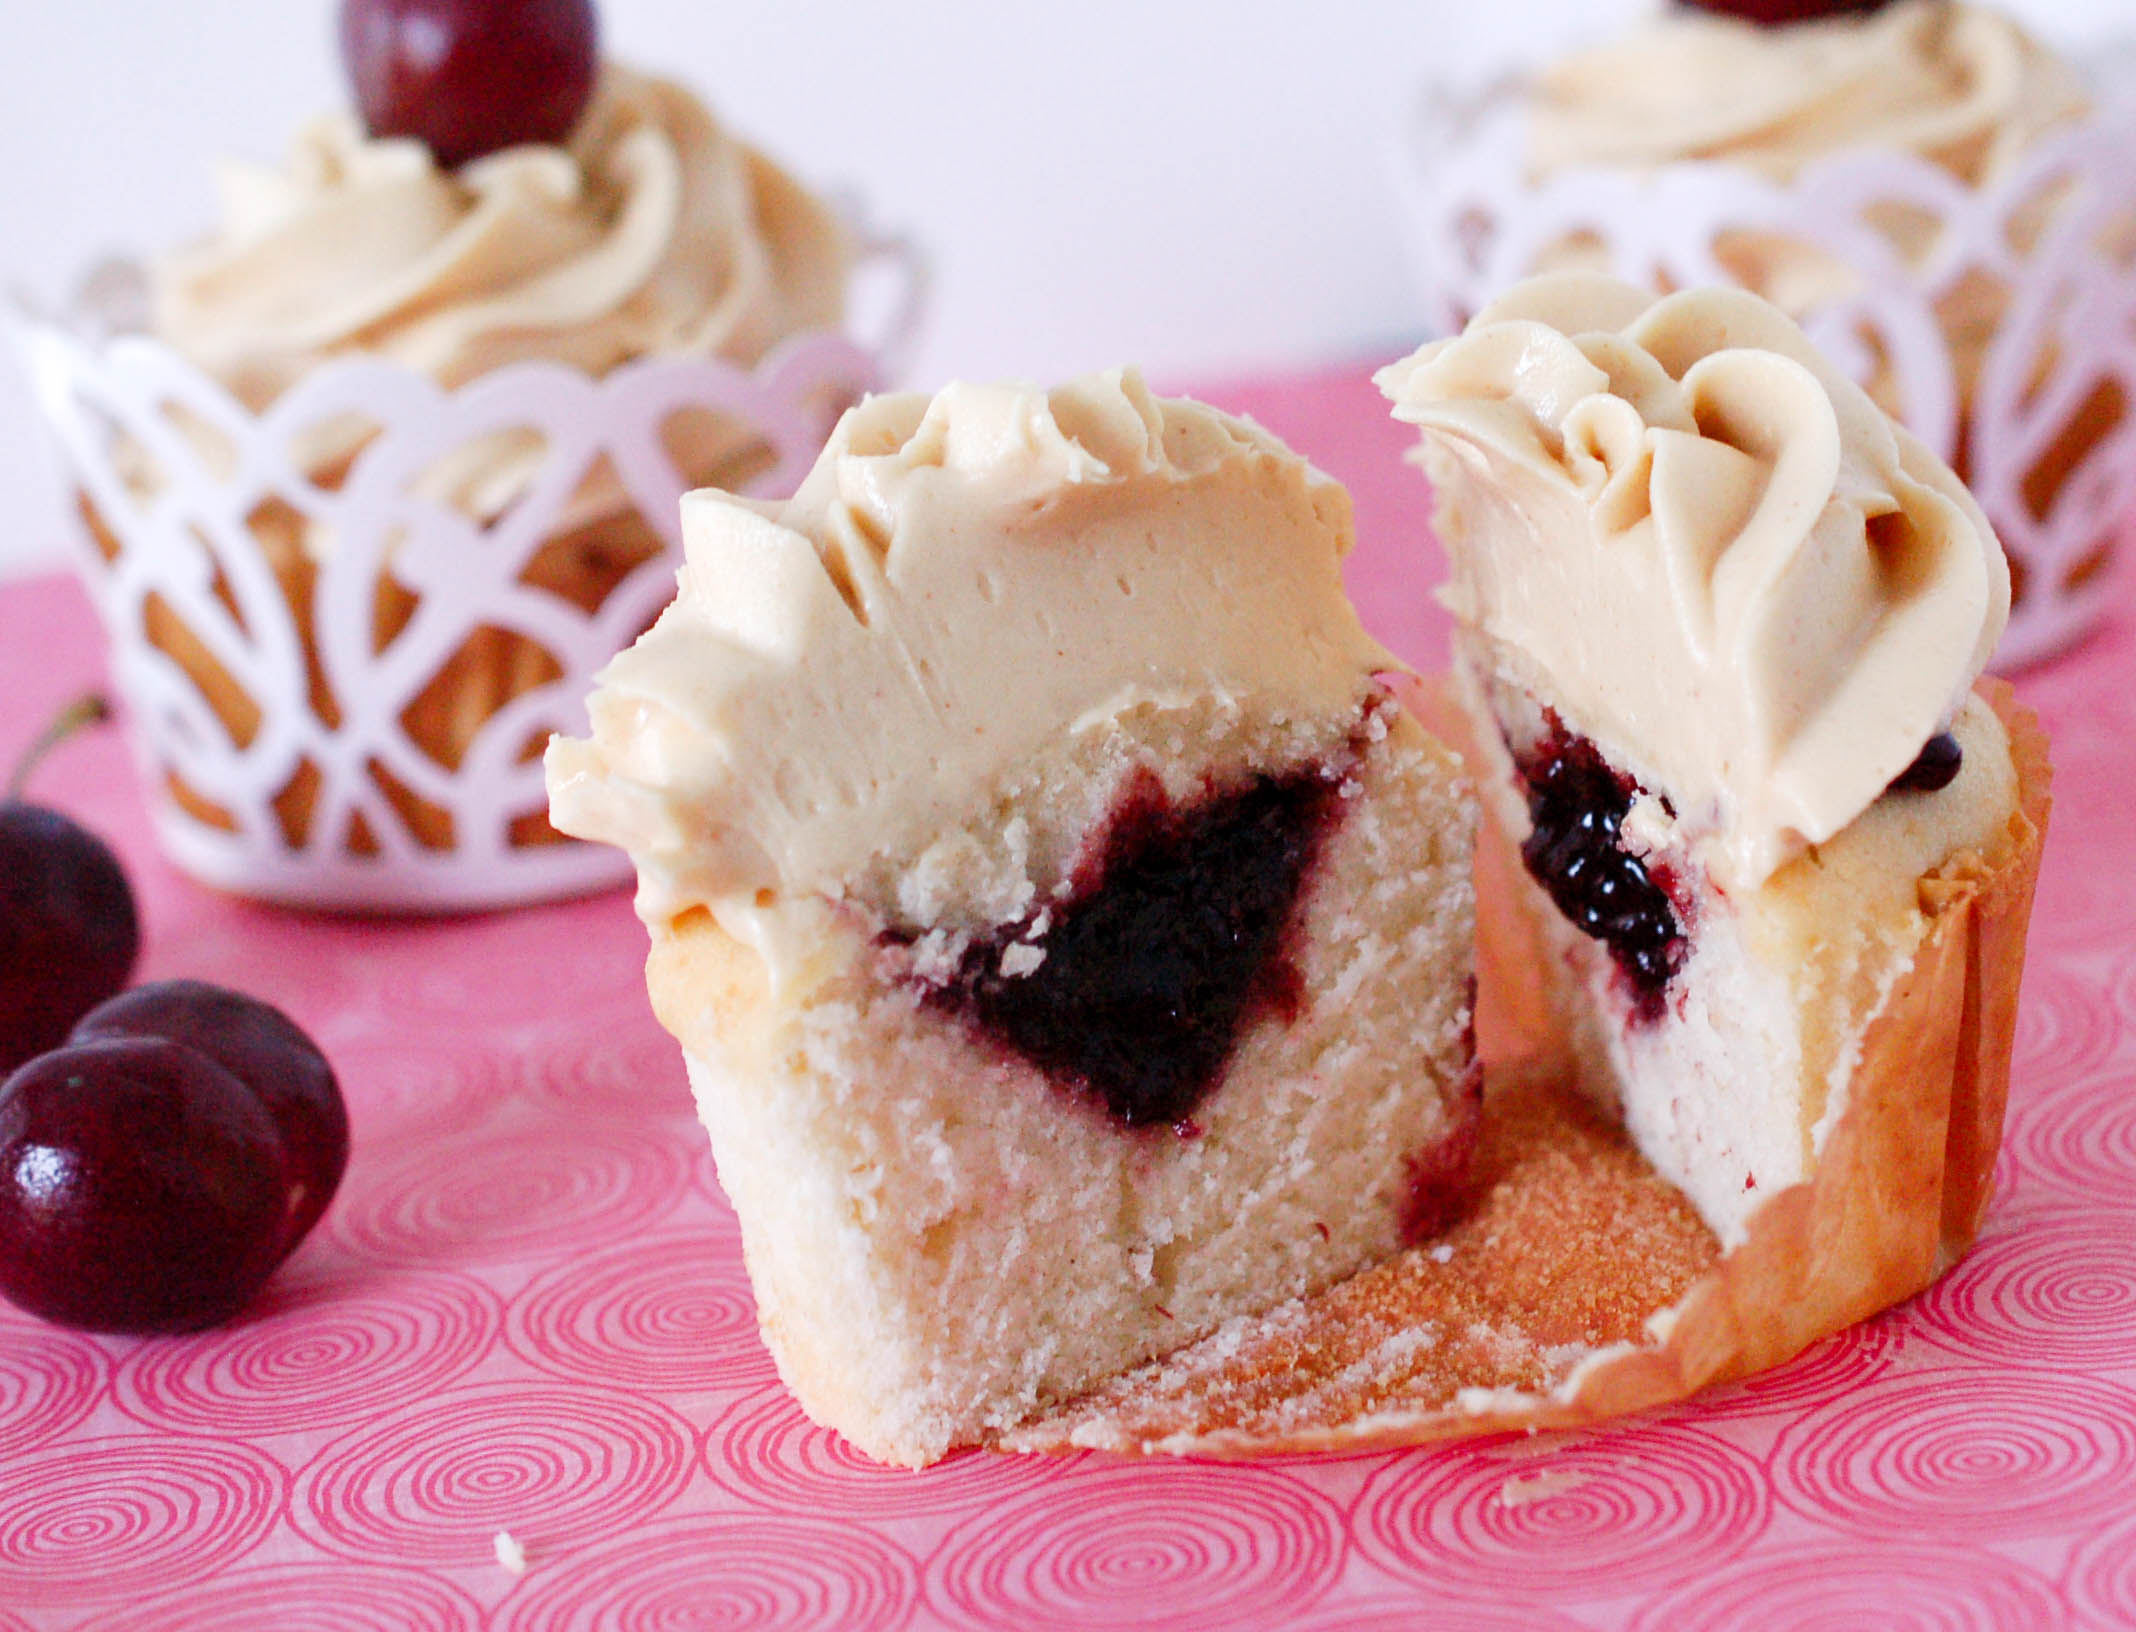
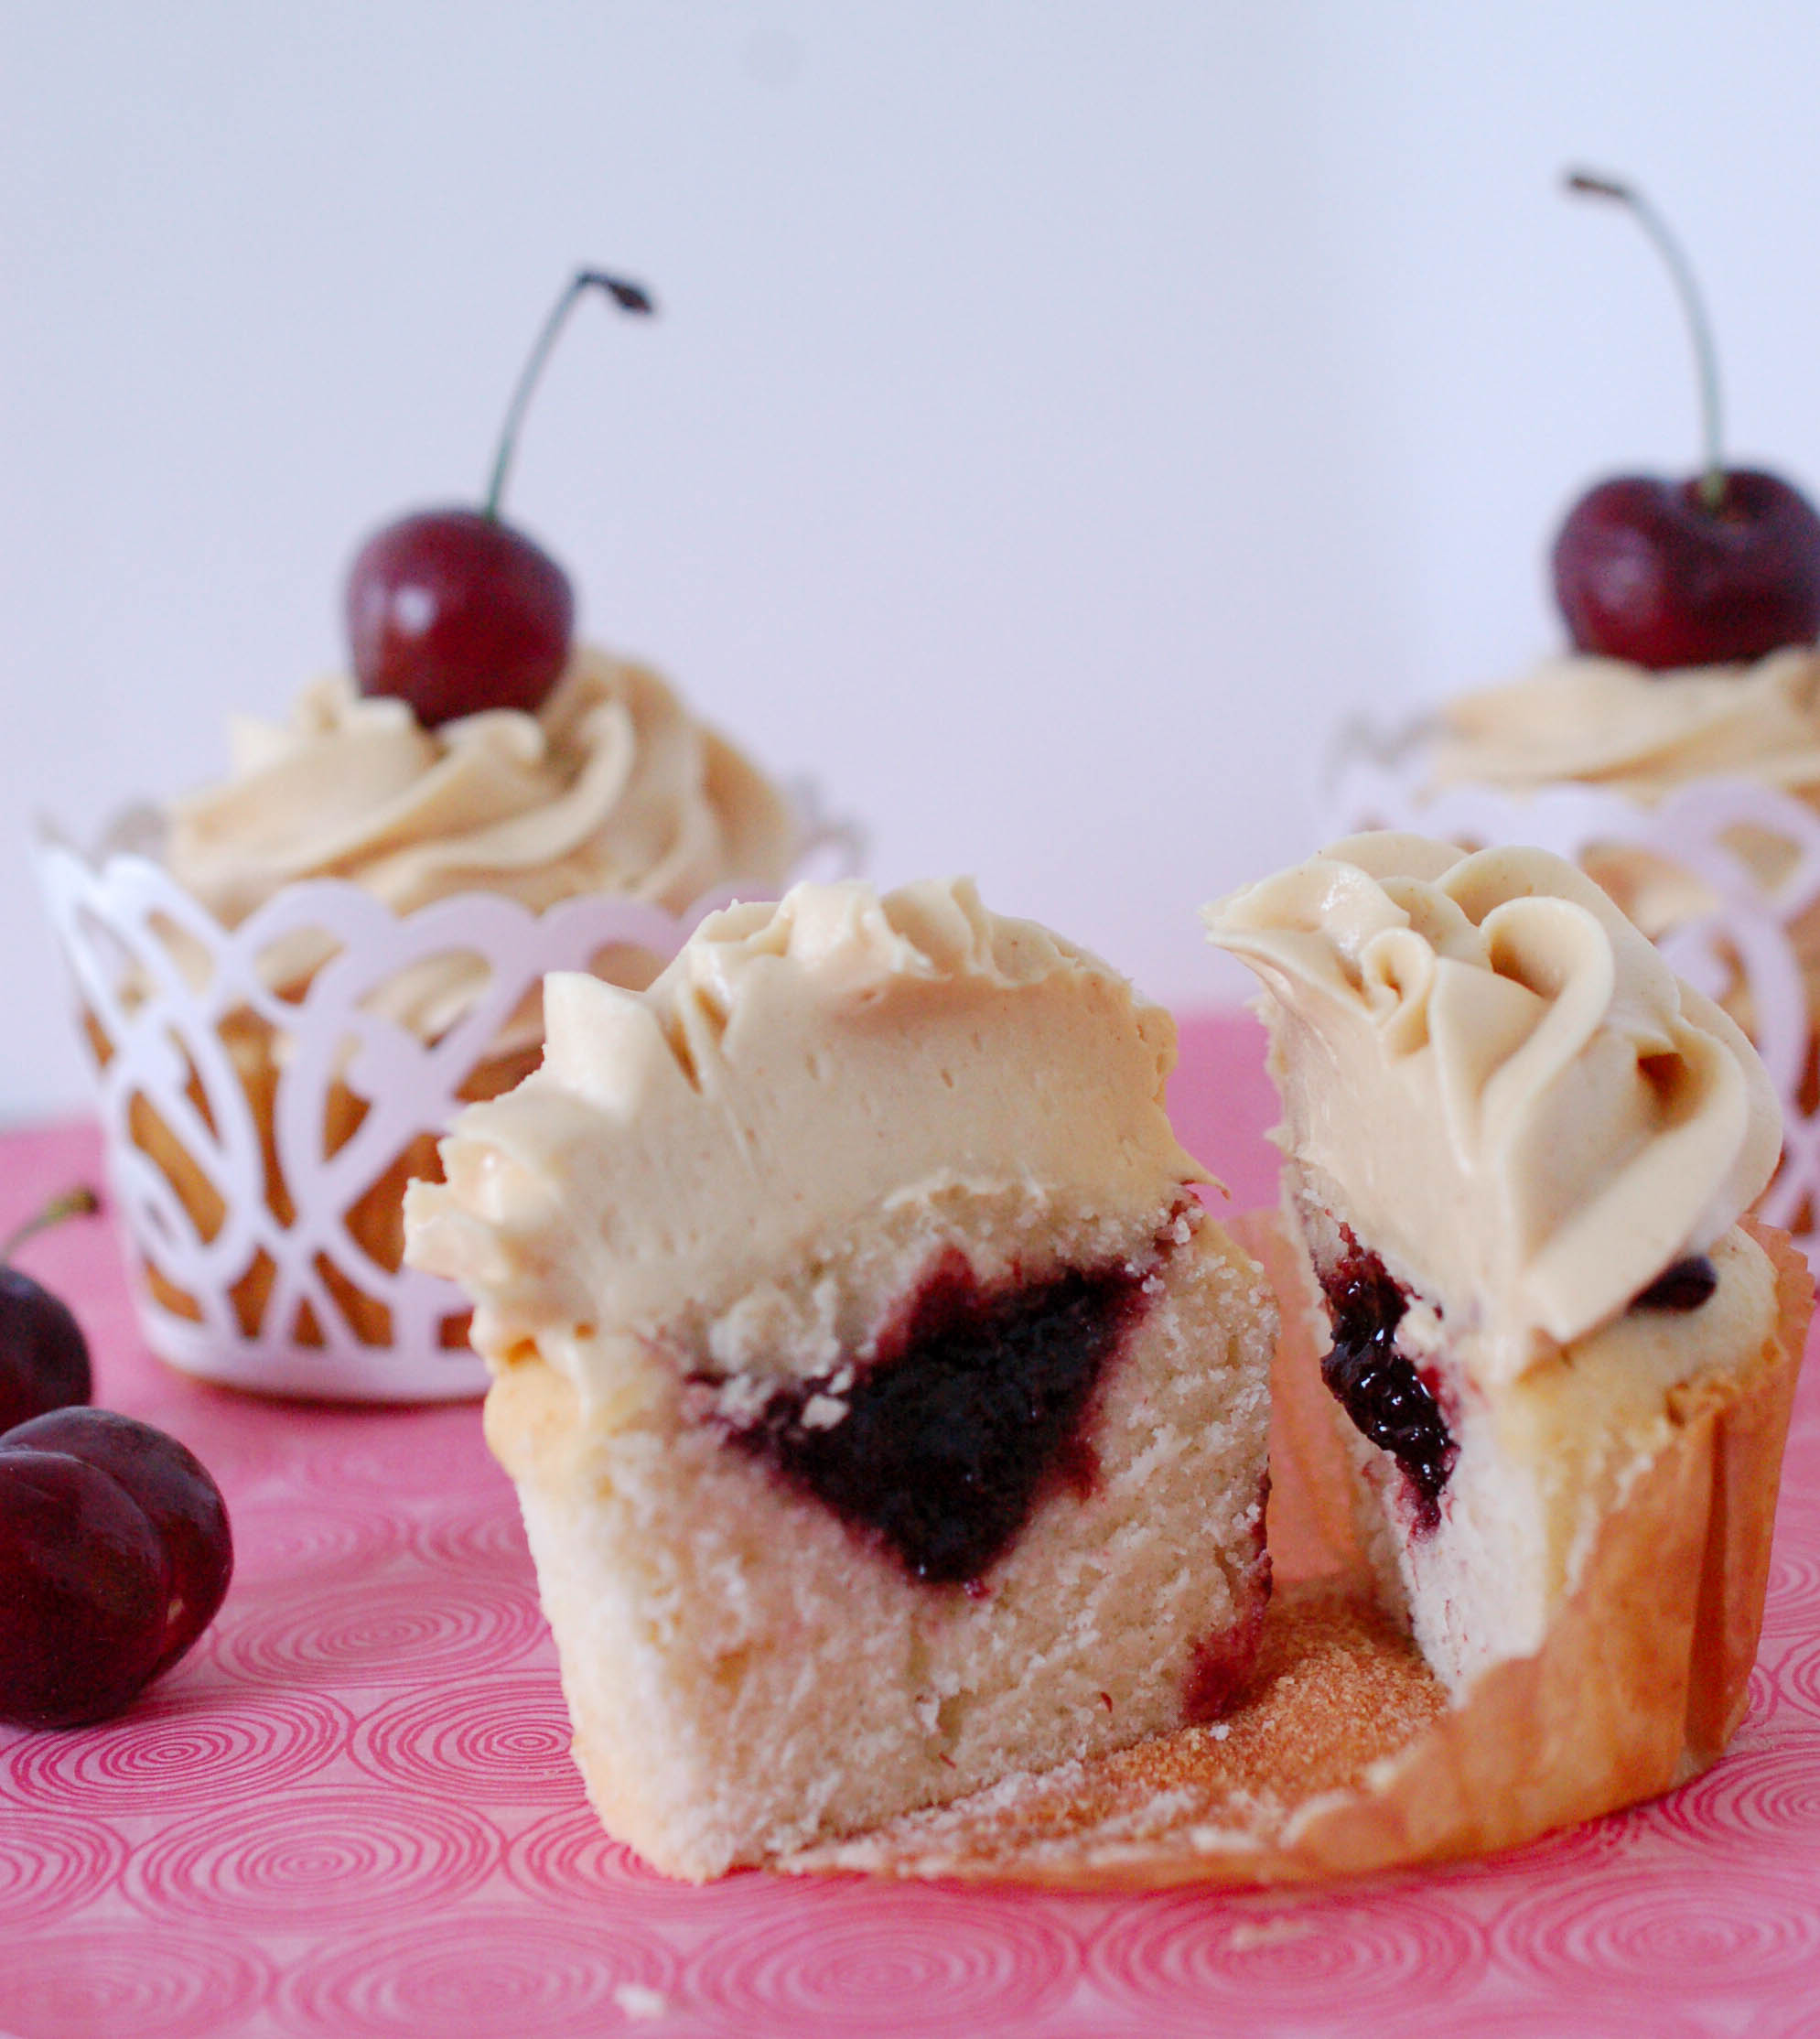
PB&J Cupcakes Recipe- Rekindle that childhood favorite in a cupcake- featuring Cherchies Preserves & Butter Spreads.
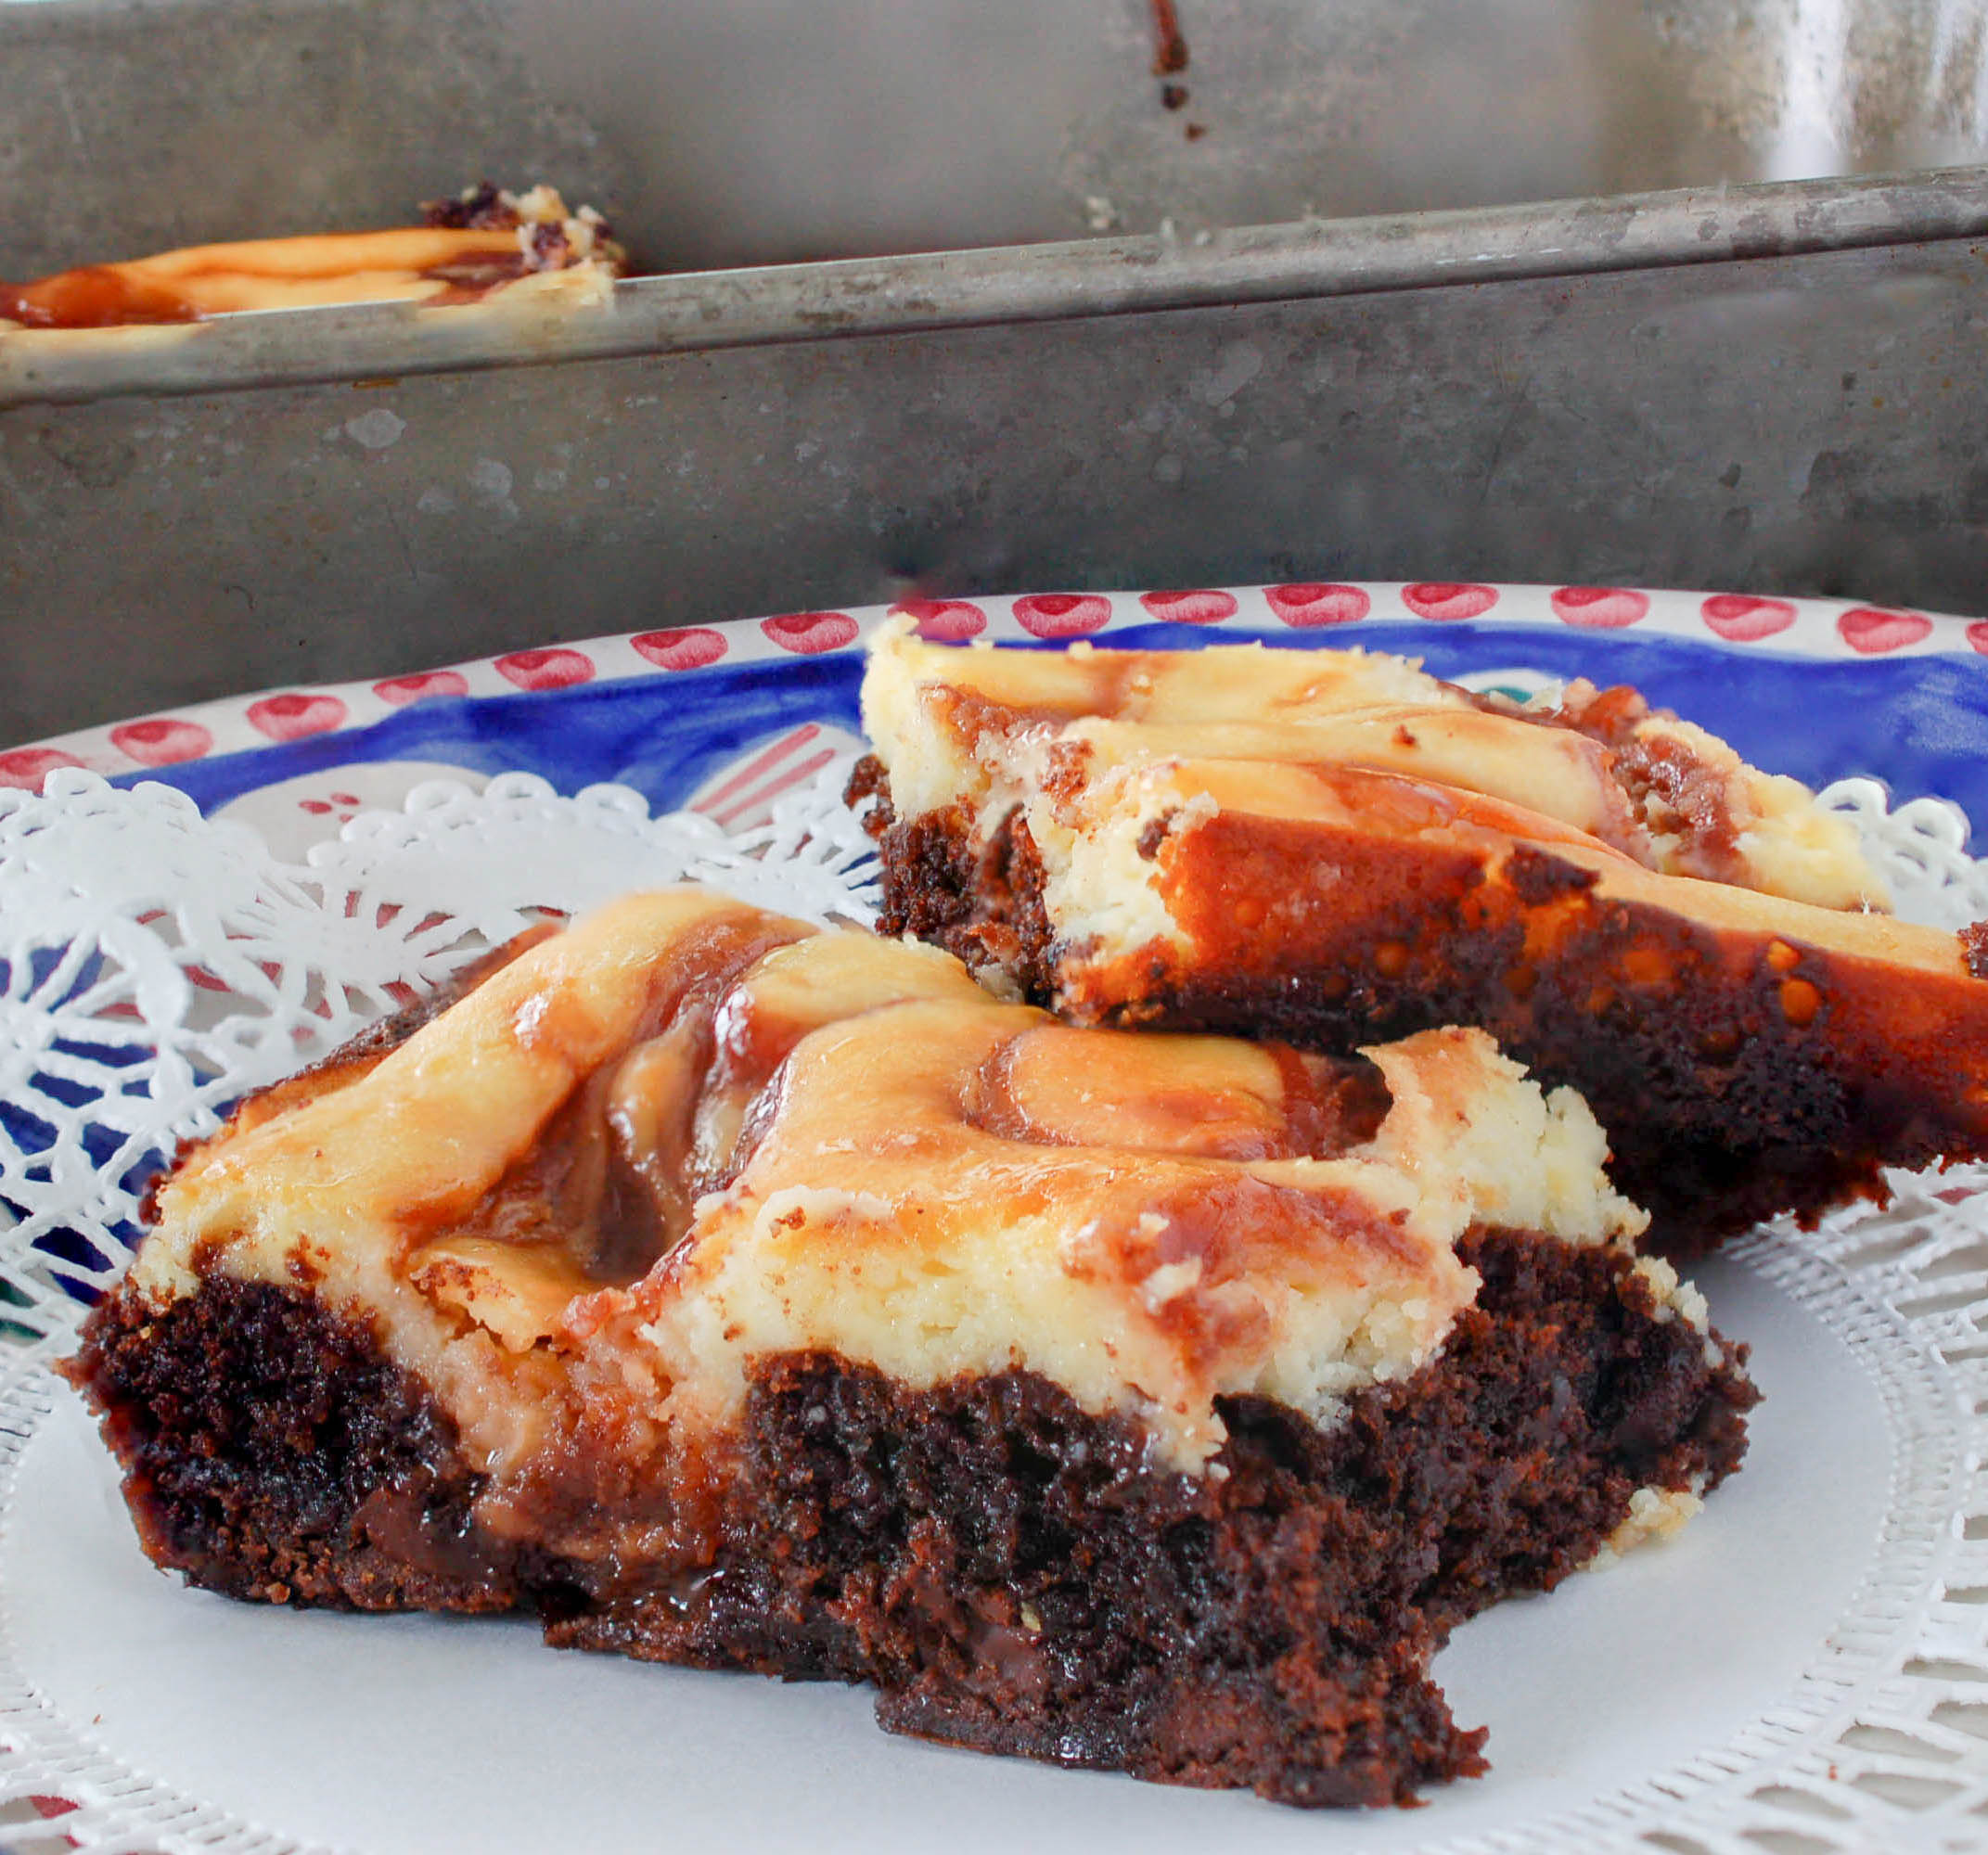
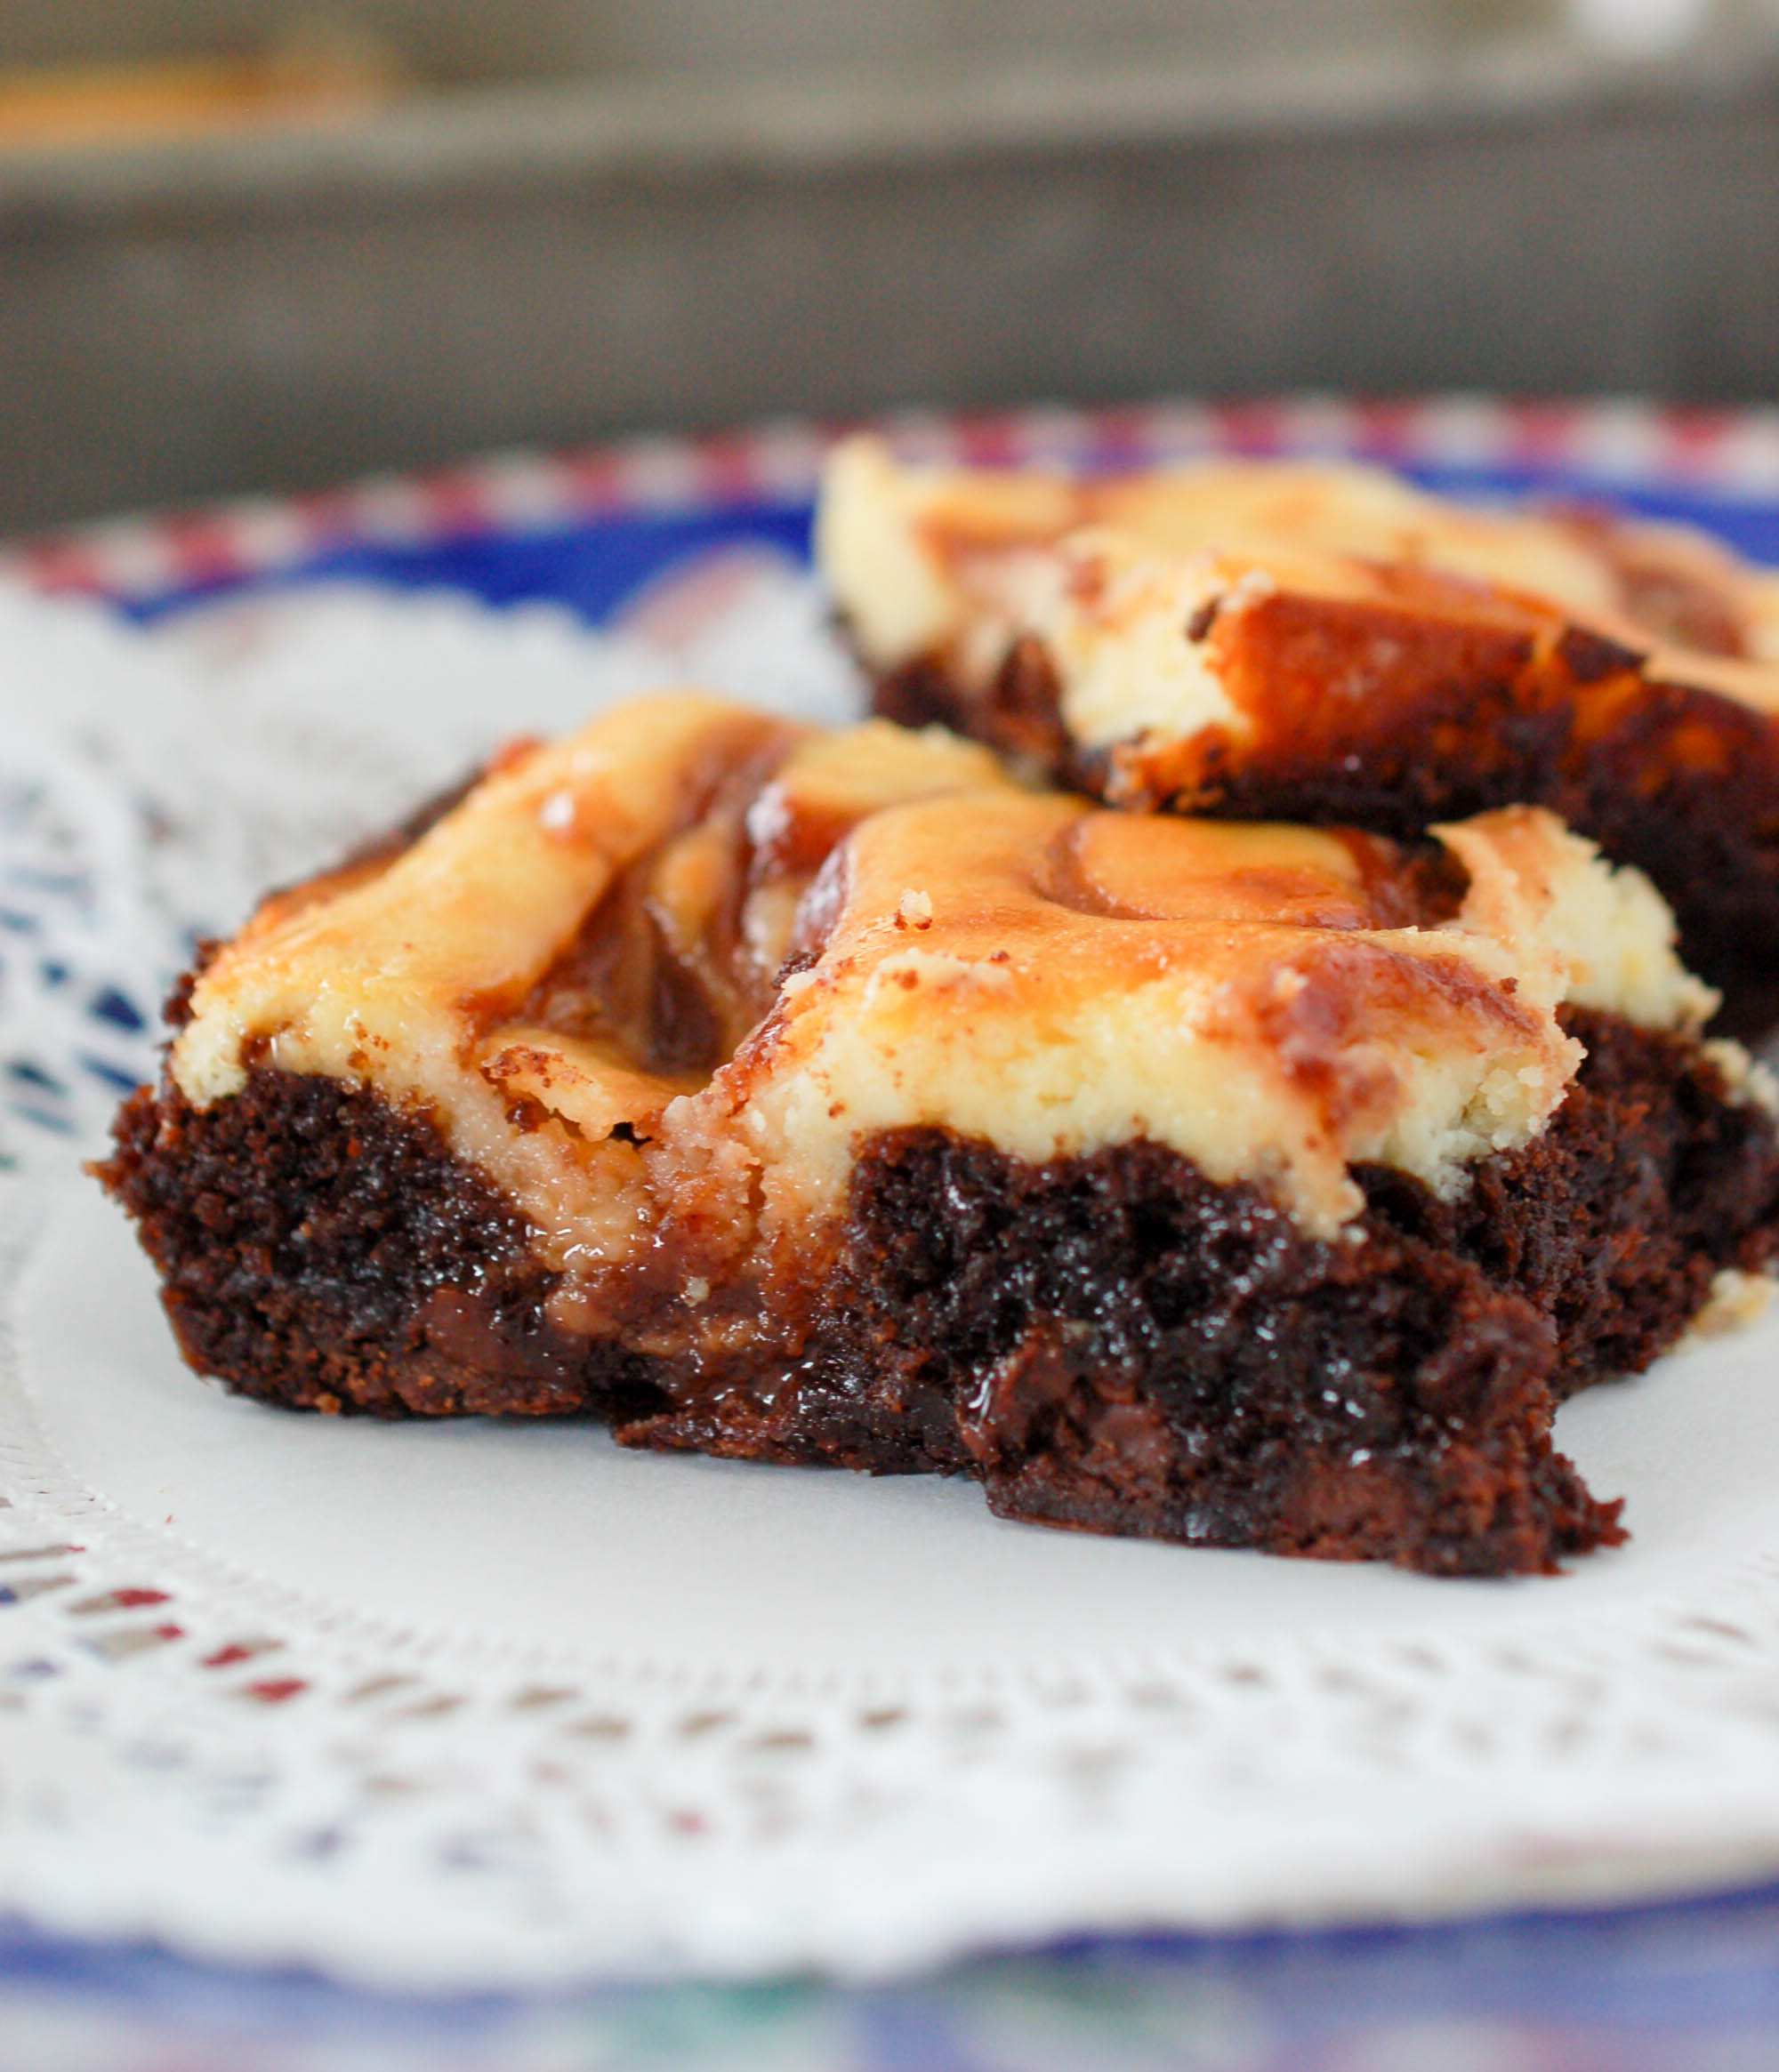
Swirled Cheesecake Brownie Recipe- Sinfully rich, fudgy brownies, dolloped with clouds of creamy, dreamy cheesecake, and swirled with ribbons of Cherchies Cherry or Strawberry Butter.
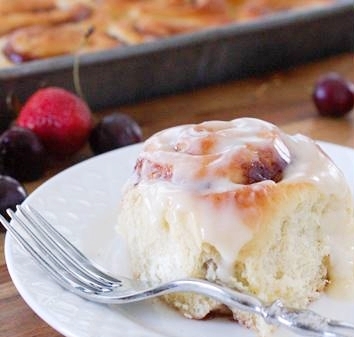
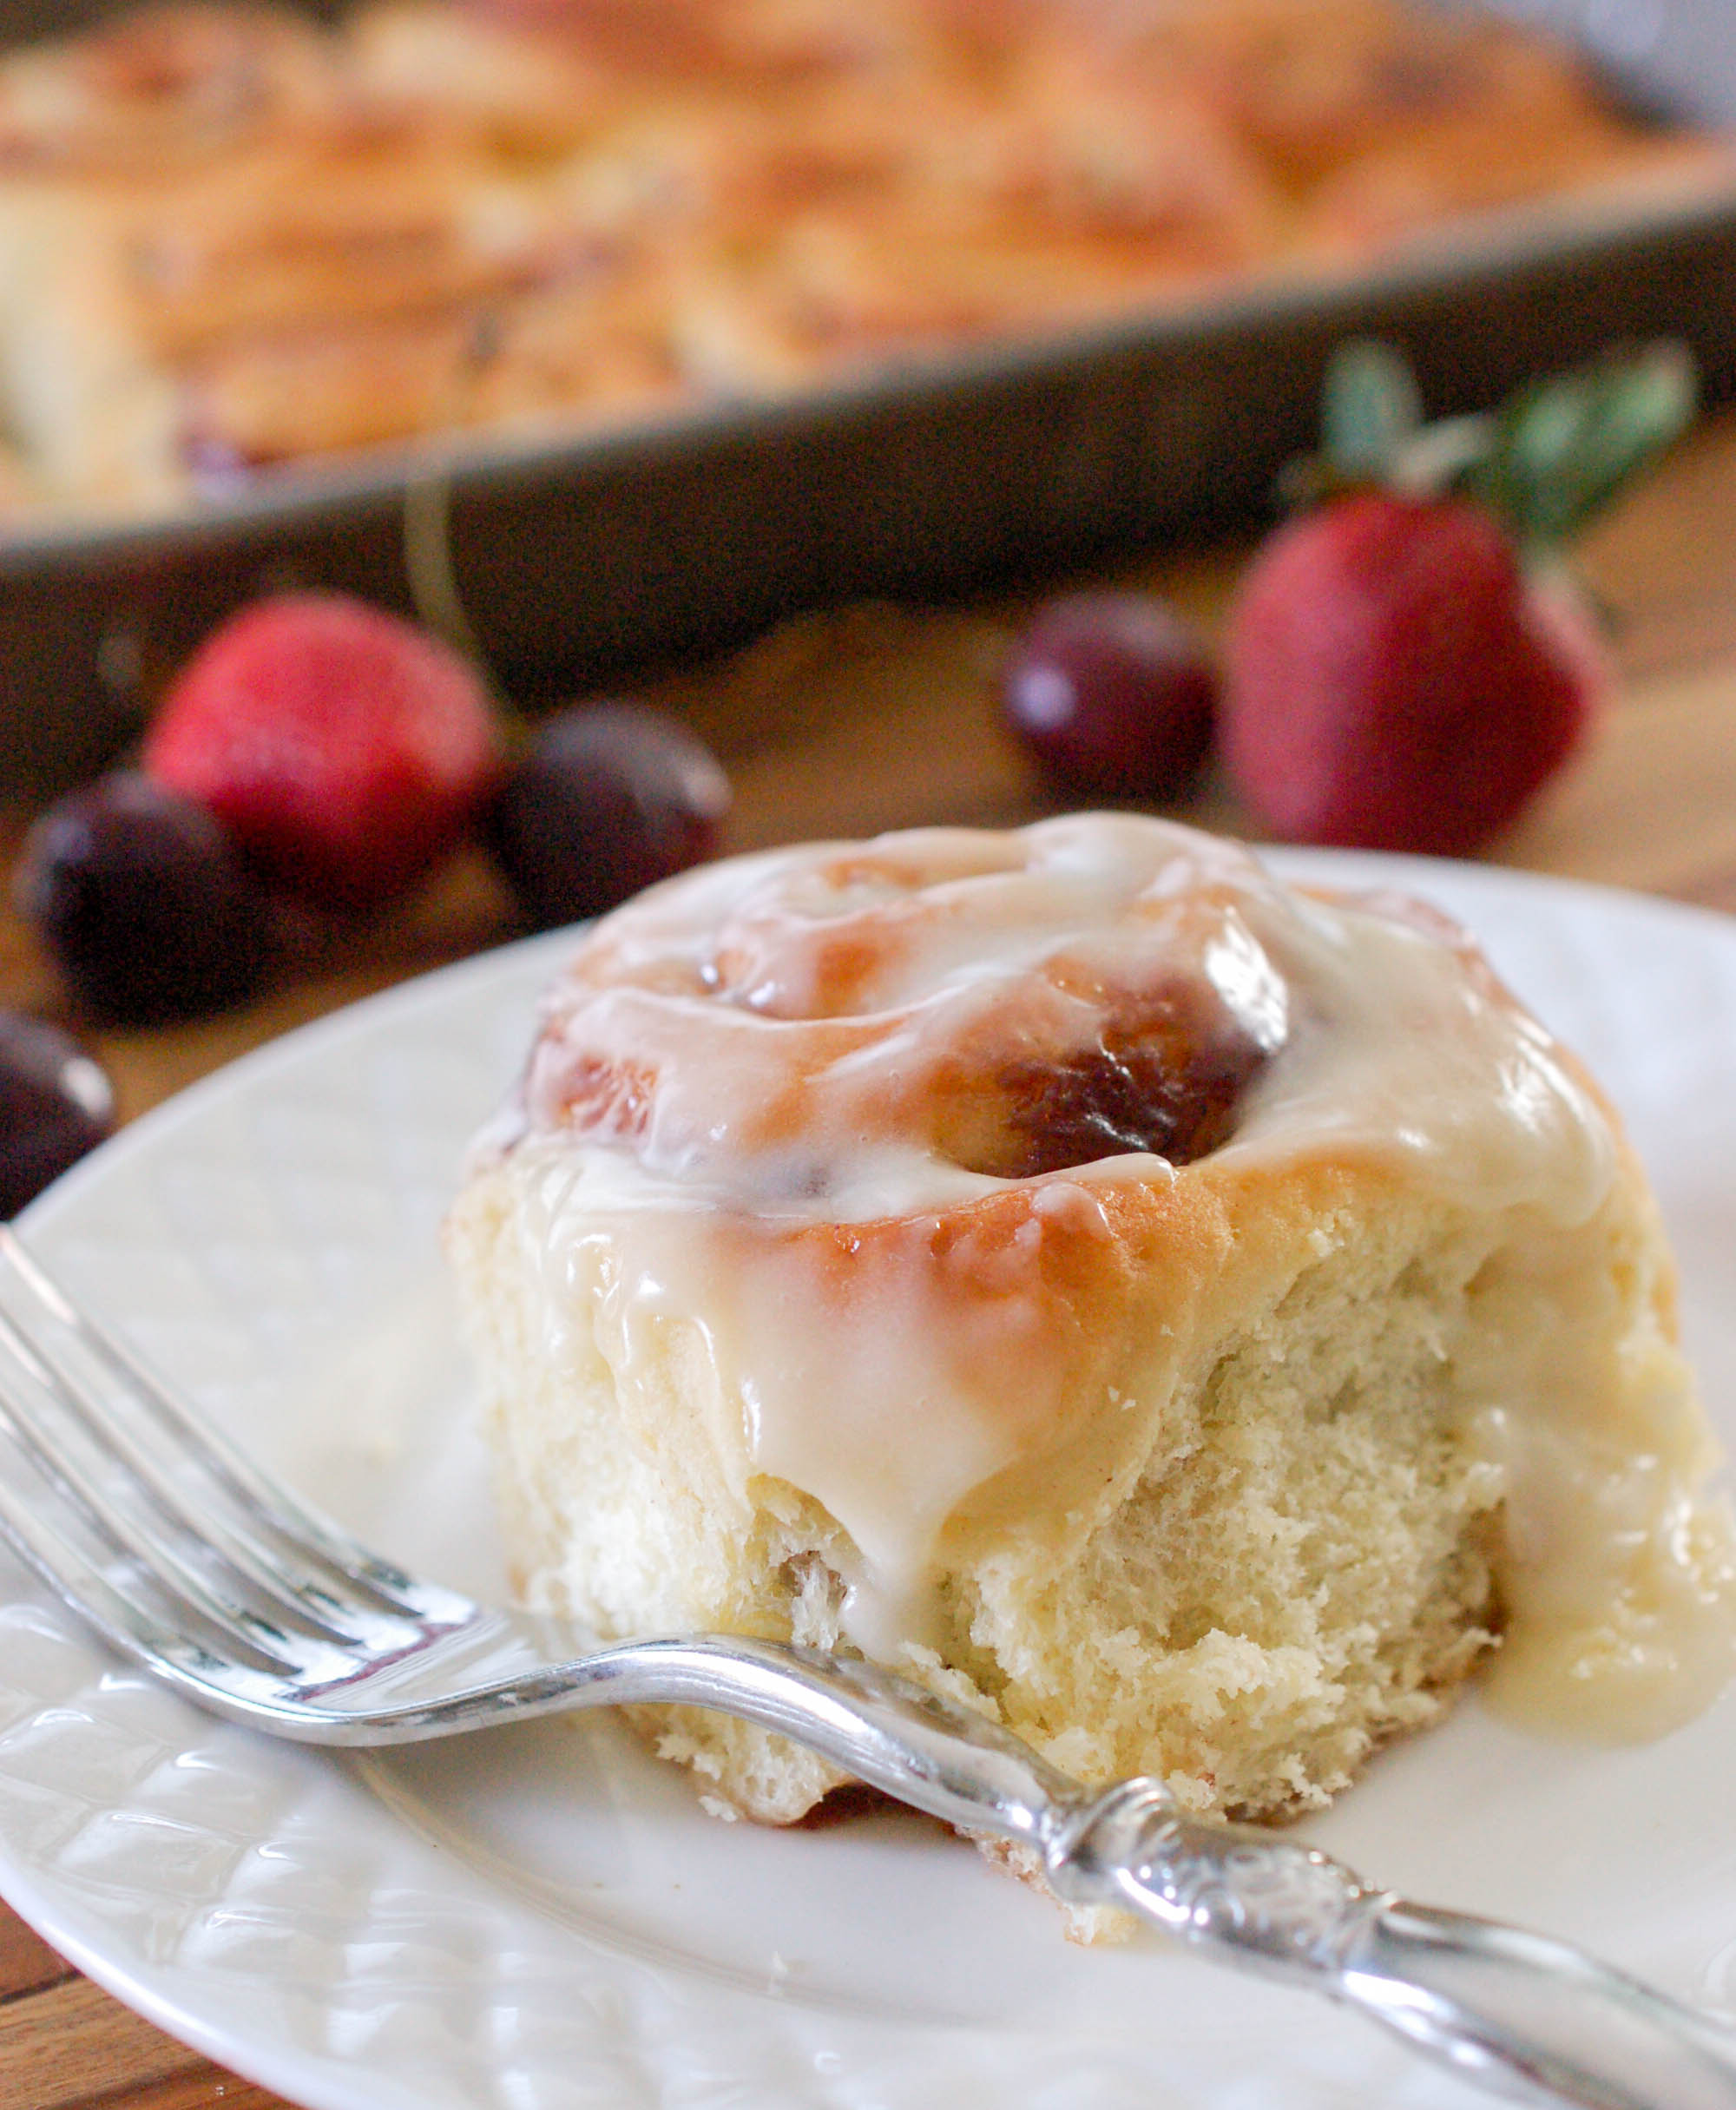
Strawberry Cinnamon Roll Recipe- A "berry" nice end to the day, featuring Cherchies Strawberry Butter Spread.
Enjoy and Happy summer!