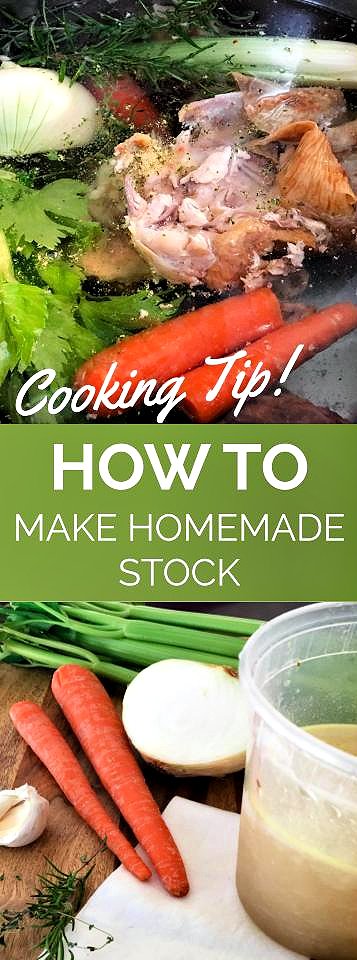
Cooking Tip: How To Make Homemade Stock
In my opinion, homemade is always best—and stock is no exception. There’s something amazing about having a flavorful, full-bodied homemade stock on hand. It adds richness to so many dishes, whether it’s gravy or sauces, flavoring for rice or potatoes, a braising liquid for meats, or the perfect way to deglaze a roasting pan.
Our family typically has roast chicken at least once every week or two, so I’m almost always left with bones. Instead of tossing them, I freeze them and turn them into stock about once a month—so I always have it ready when a recipe calls for it. And while chicken is what I make most often, the same idea applies to beef, pork, seafood, or even vegetables, depending on what you’re cooking.
Broth vs. Stock (quick clarification)
The main difference is simple:
Broth is made from meat + vegetables and tends to be thinner.
Stock is made from bones. When collagen-rich bones simmer, they release gelatin, giving stock more body (it often thickens or gels when chilled).
So if you simmer roasted chicken bones with aromatics for a couple of hours and strain them, you’ve made stock—even if you freeze it before you notice whether it solidifies.
What TO save for stock
I keep two freezer bags going:
Bones (chicken most often, but beef bones, pork bones, and seafood shells work too)
Veg scraps: carrot ends/peels, celery ends/leaves, onion ends and skins. (Simply use fresh veggies if you do not have a bag in the freezer.)
How TO make it
Making stock is simple—there are lots of variations, but the basics are always the same.
Grab a large stockpot or Dutch oven and fill it about 2/3 full with water.
Add your bones (or shells) and scrap veggies (or fresh onion, carrot, celery).
For extra flavor, I like to add:
2 bay leaves
a few sprigs of thyme and rosemary
a couple of cloves of garlic
peppercorns
Bring it to a gentle simmer and cook for several hours. This will draw out the collagen from the bones.
Strain out the solids, cool, and portion. (Remove any fat that forms at the top after cooling)
I usually don’t add salt, because I don’t know what my next use will be—and I’d rather season the final dish.
Roast or not?
Some people simmer bones as-is. I prefer to roast the bones first because it adds a deeper, richer flavor. I’m also tempted to try roasting the veggies with the bones next time—always experimenting.
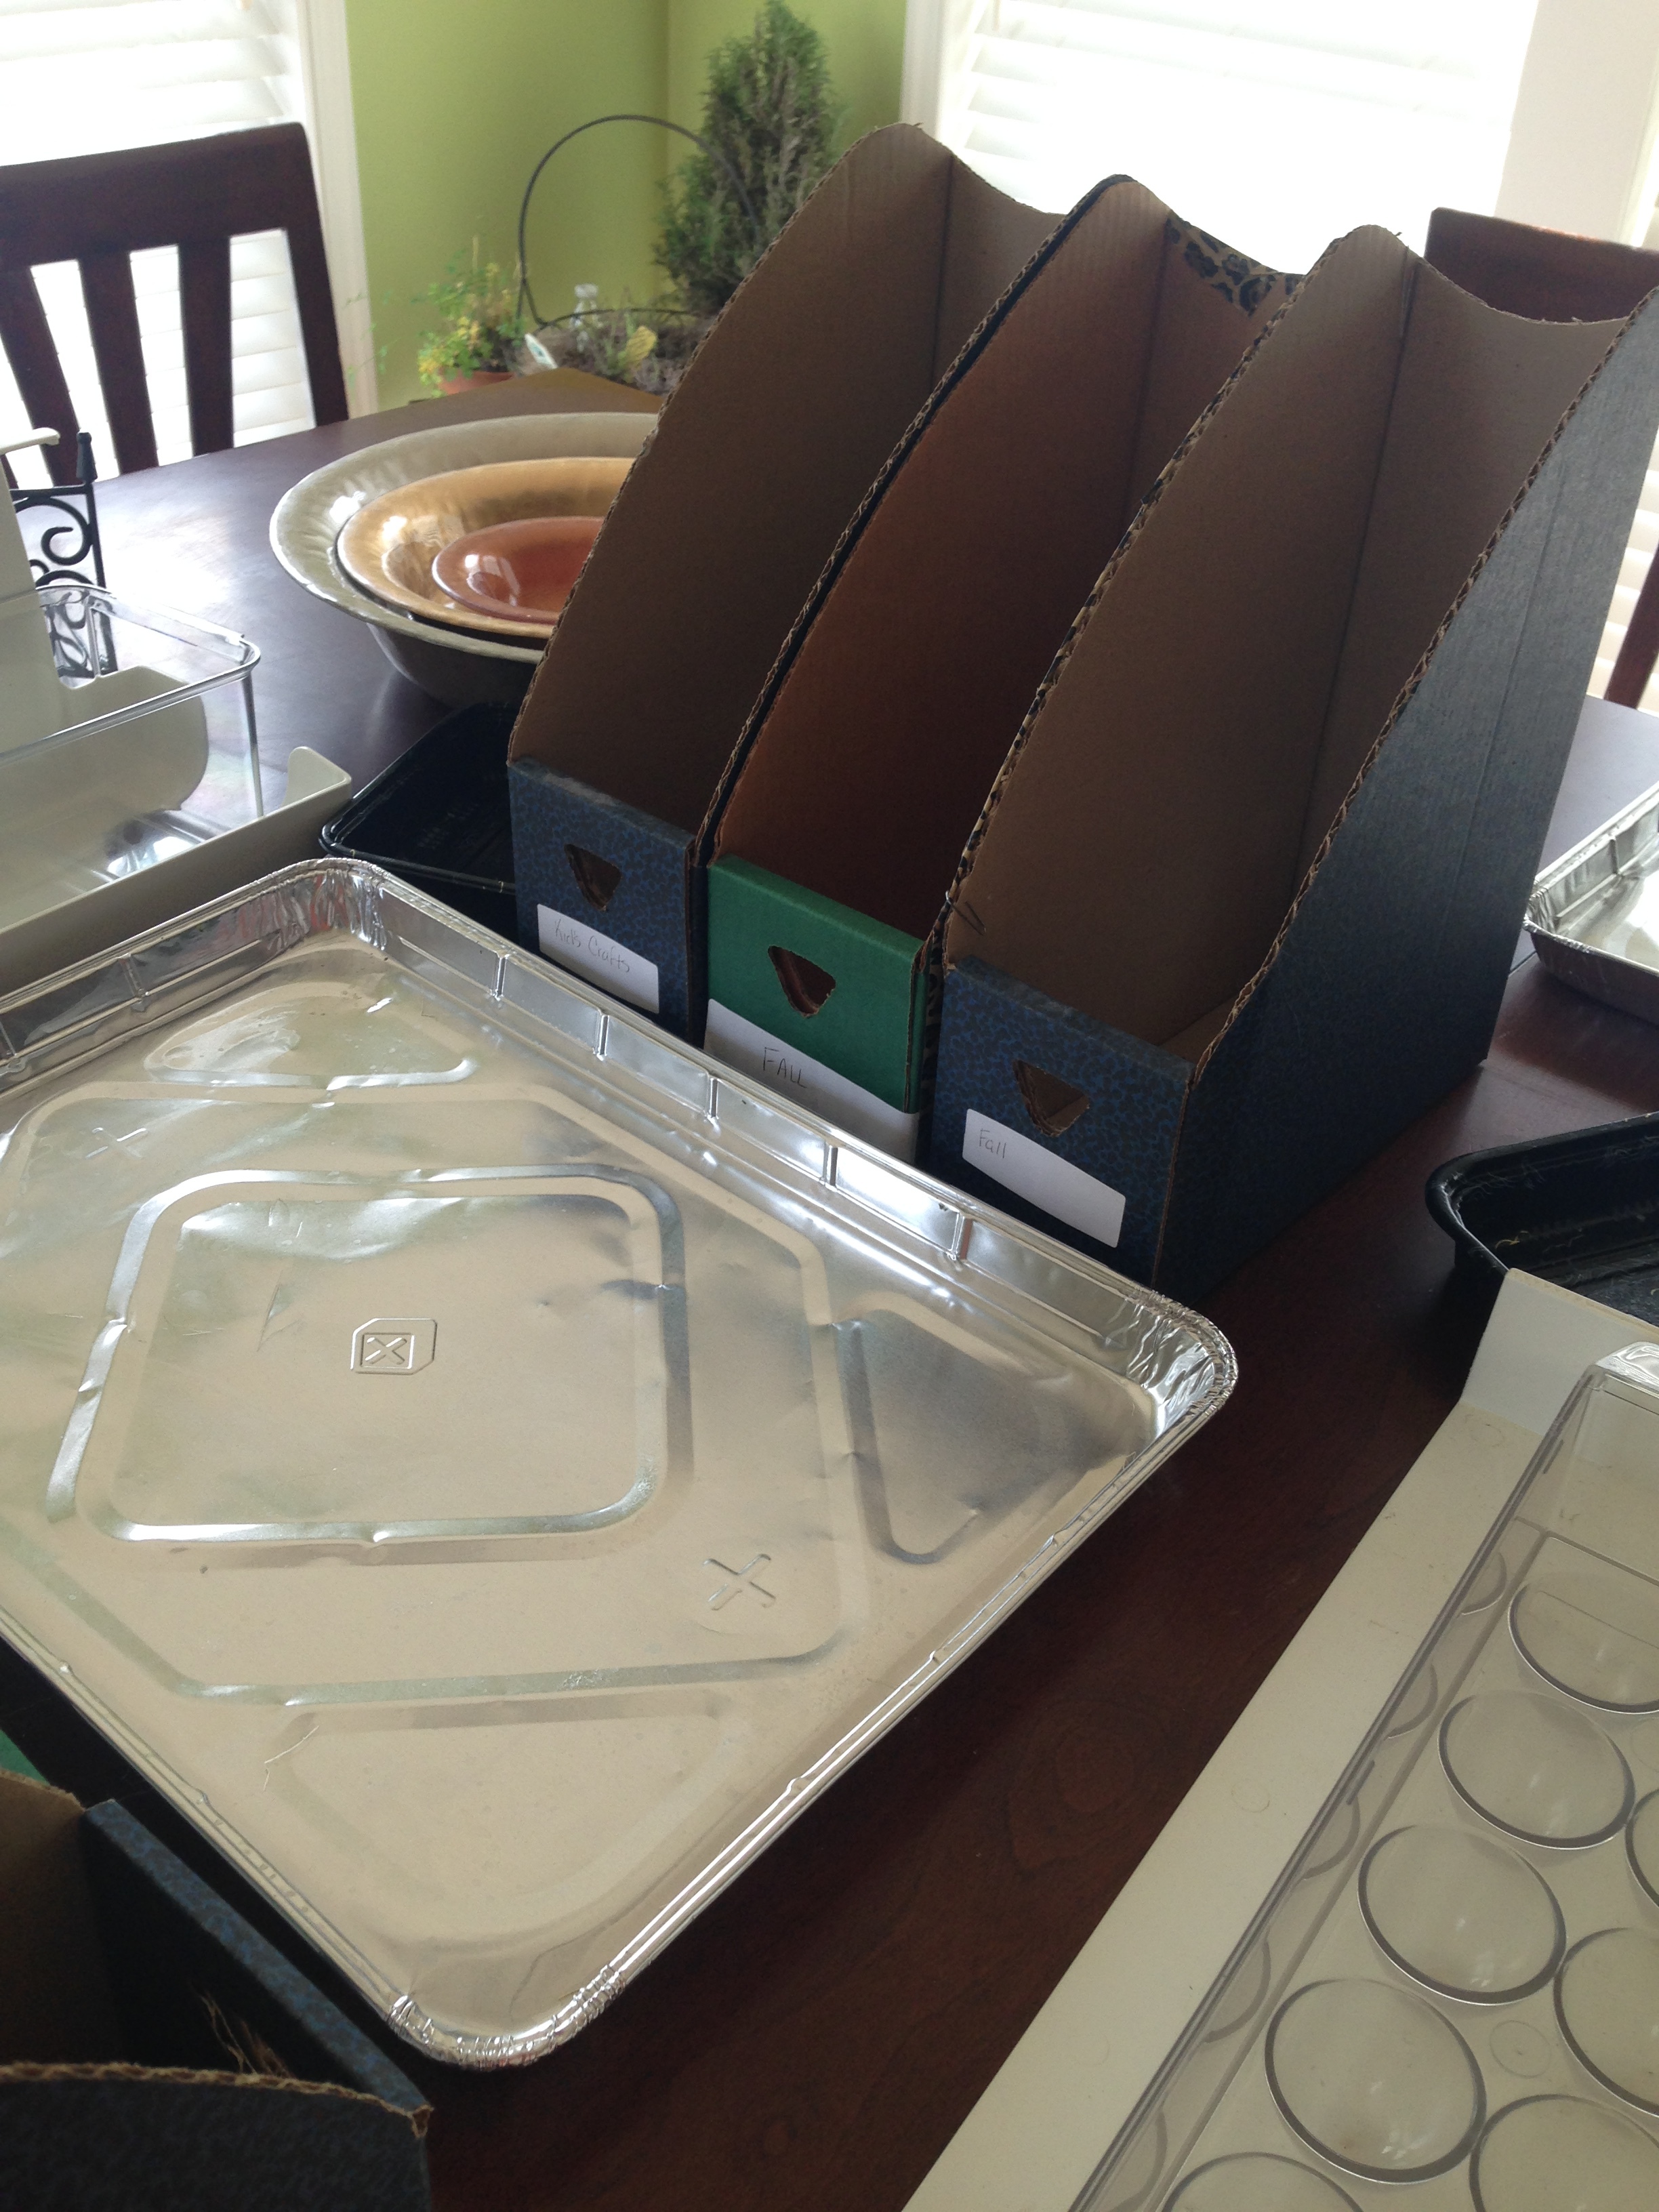
Freezing tip
Takeout containers are perfect for freezing stock—they stack neatly and fit well in the freezer. I like to make a big batch so I can freeze several containers at once and be set for weeks.
THE “BACKBONE” OF GOOD COOKING
Homemade stock quietly improves everything. It’s the base layer that makes food taste fuller and more cohesive—like the difference between “this is good” and “what did you put in this?!”
Use it for:
Soups and stews
Pan sauces and gravies
Rice, quinoa, couscous
Mashed potatoes
Braising meats
Deglazing a roasting pan
Adding richness to leftovers that need help
Store-bought stock is fine, but in my opinion, homemade really is best—and it’s one of those small kitchen habits that pays you back again and again. Plus, while it simmers, it makes the whole kitchen smell incredible: cozy, savory, and like something wonderful is on the way. So the next time you roast a chicken, make bone-in meat, or even peel shrimp, don’t toss the bones and shells. Save them, simmer them with your veggie scraps, strain, and stash that liquid gold in the freezer. Future you—standing over a pot of soup, a pan sauce, or a batch of rice—will be very grateful you did.
Thanks for stopping by:) Comment below if you have made homemade stock. Come back again for more family-tested recipes, entertaining ideas, and cooking tips using all our favorite Cherchies® gourmet products.
Follow us on social media: Facebook, Instagram, and Pinterest.