
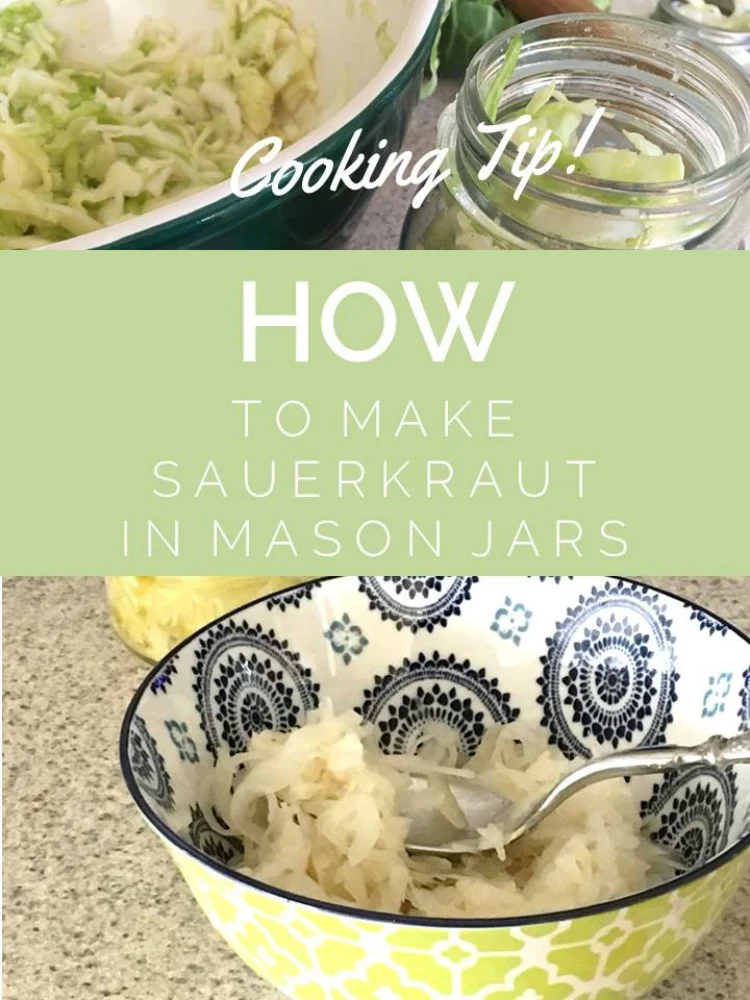
Cooking Tip: How To Make Sauerkraut in Mason Jars
Are you ever curious about how things are made? Take sauerkraut, for example, with cabbage, salt, maybe some spices, a closed container, and a little patience, and within a few days, the cabbage has transformed into sauerkraut, which in German translates to "sour vegetables." Before we became a society of modern conveniences and processed foods, and before the television, the internet, and social media, our ancestors made everything from scratch with fresh ingredients.
Making recipes from scratch is super satisfying because you can control the ingredients that go into your recipe, and you can save money in the process. Sauerkraut is one of those foods I would never think to make from scratch, as the idea always sounded daunting and tedious, but that was until a recent conversation I had with my mom. We were talking about pork chops and sauerkraut, and Mom interjected, "Your Great Grandmother used to make her sauerkraut from scratch." Hmmm, game changer!
I did a little research and found out that homemade sauerkraut is full of probiotics and healing nutrition. It's a fermented food that is good for your gut! By making your own, you get the benefit of fresh cabbage, full of healthy bacteria, and the satisfaction of homemade food made from scratch! Follow along as I demonstrate how to make simple and easy sauerkraut in a mason jar!
Thanks for stopping by:) Comment below if you have tried this recipe. Return for more family-tested recipes, entertaining ideas, and cooking tips using all our favorite Cherchies® gourmet products.
Follow us on social media: Facebook, Instagram, and Pinterest.
Ingredients
1 medium head of cabbage
1 1/2 Tablespoons (Tbsp) sea salt, Himalayan, or Kosher salt (do not use table salt)
1 teaspoon (tsp) Cherchies® Garlic Seasoning
Equipment
Sharp knife
Cutting board
Large mixing bowl
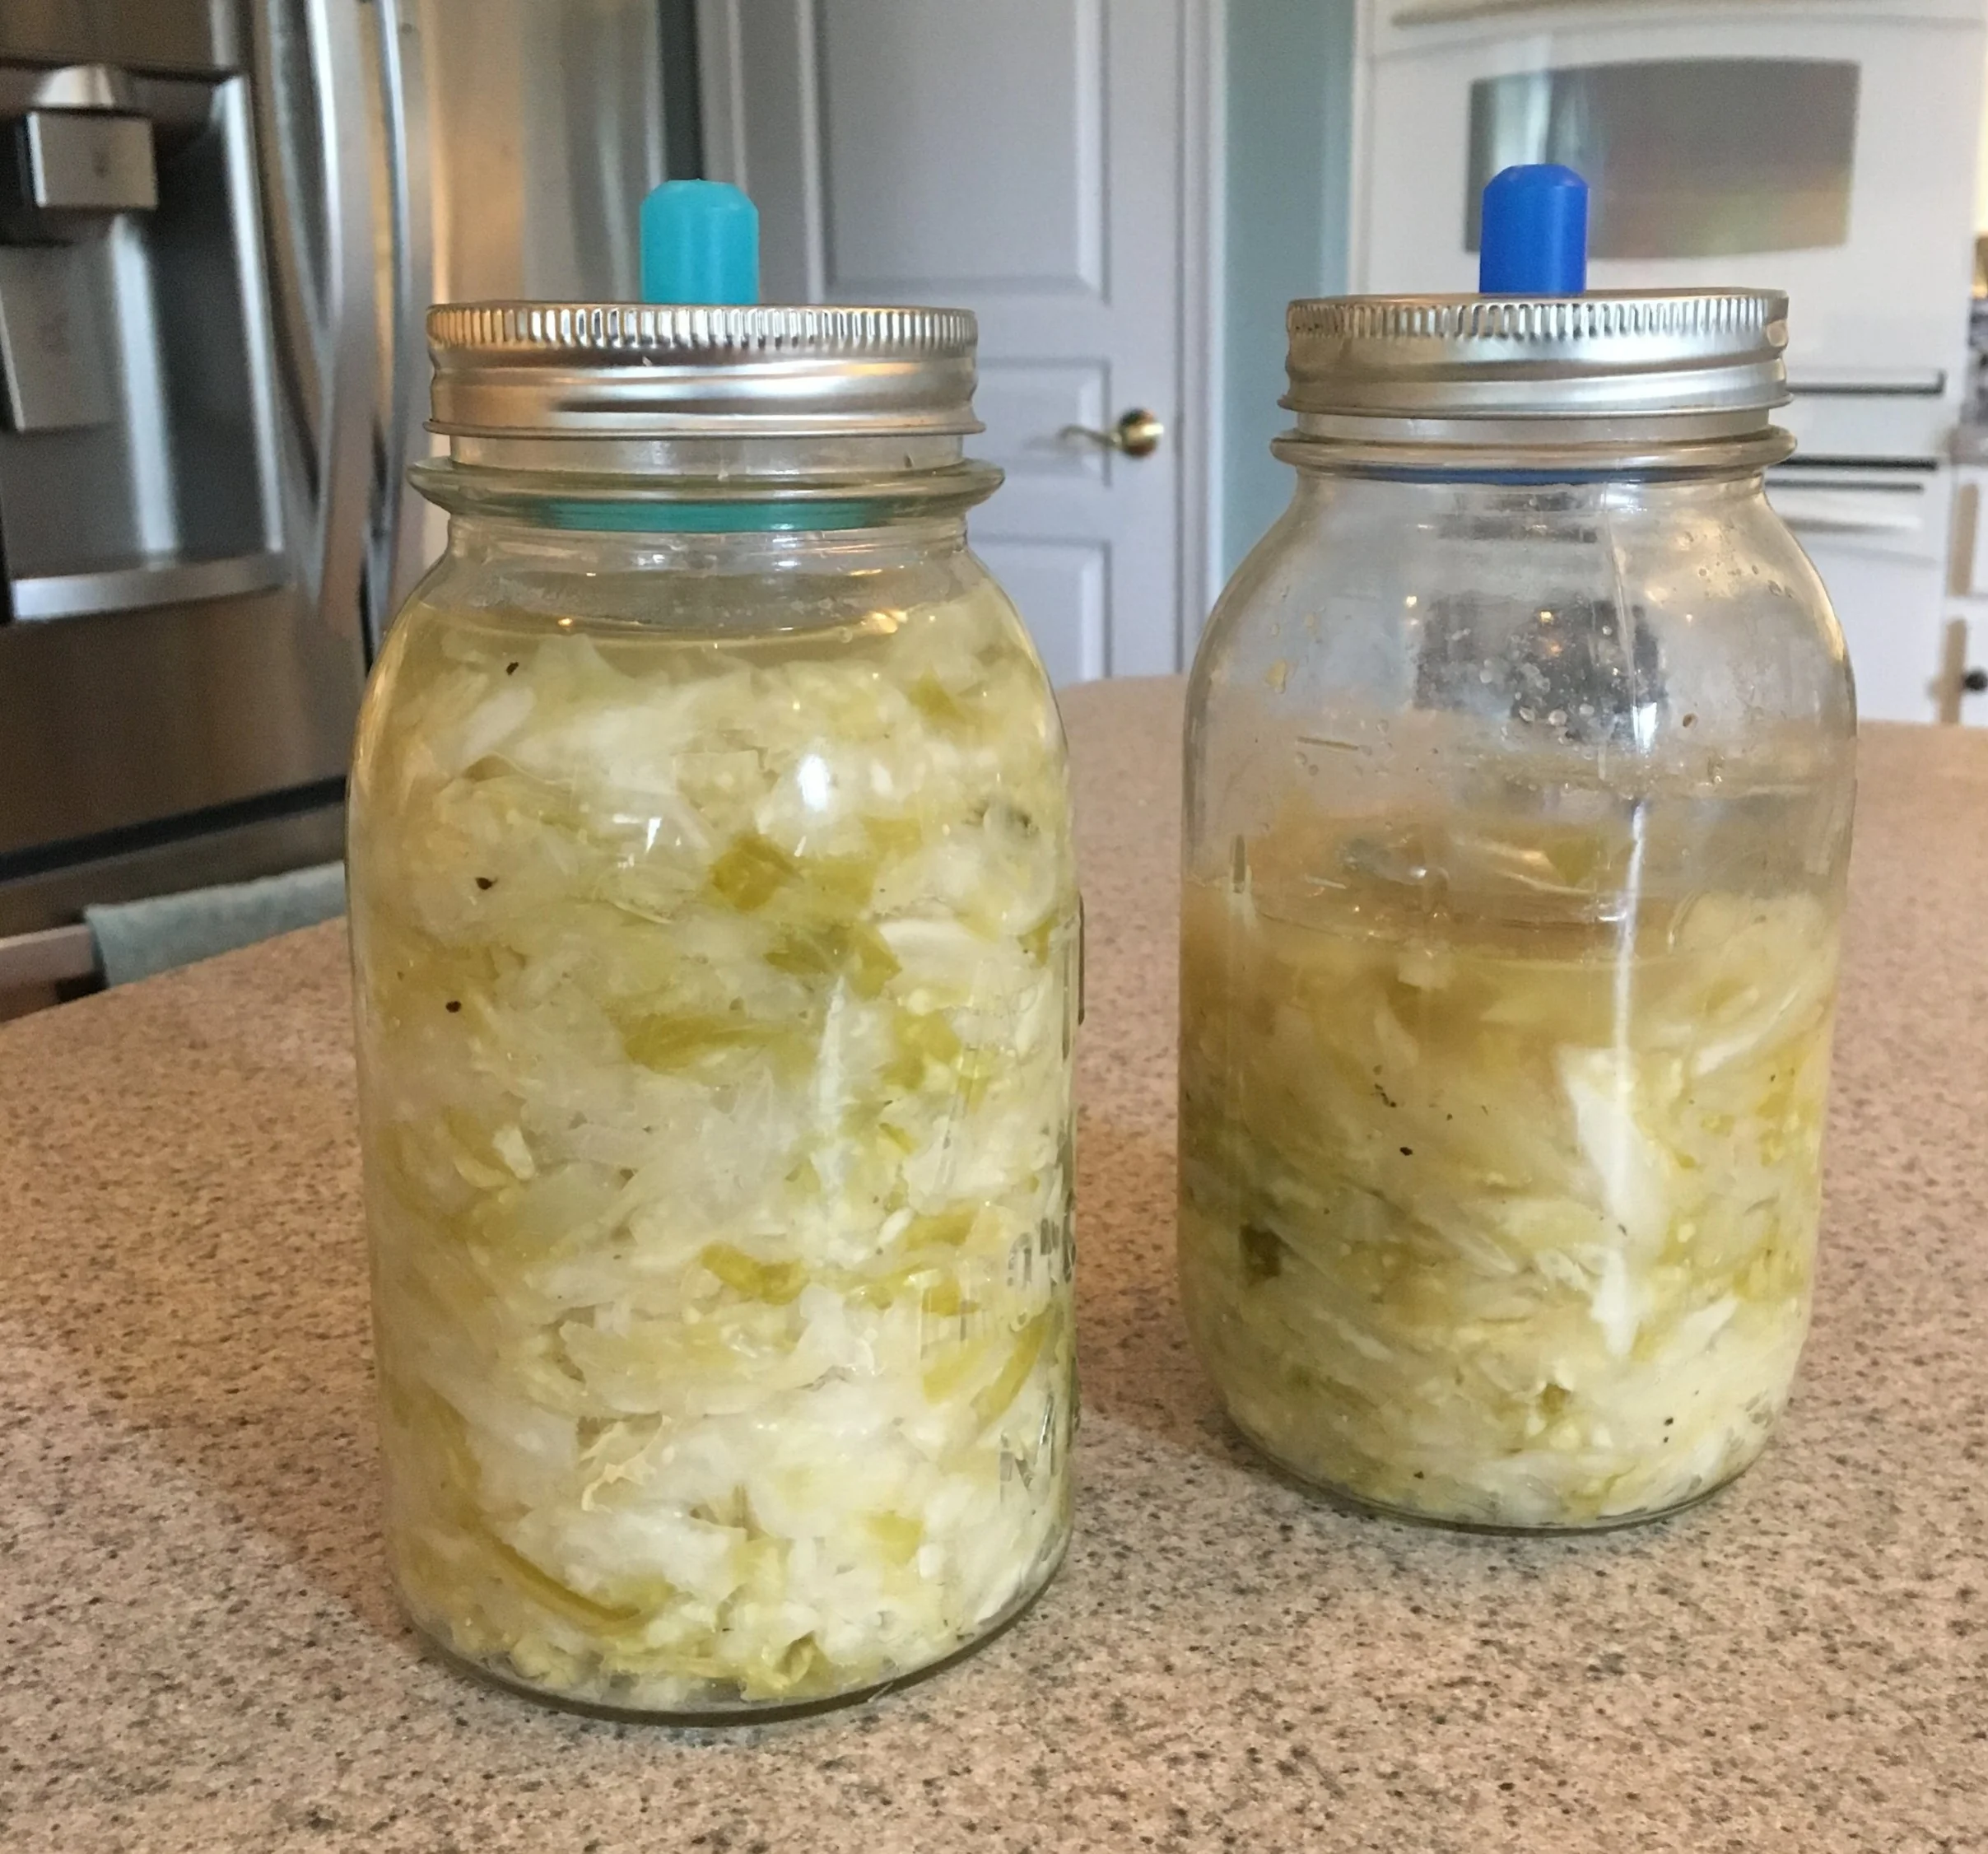
2 (2-quart) mason jars with lids (or fancy "burping tops")
Some sort of clean weight (either smaller jelly jars that will fit inside, marbles, or glass weights) to weigh down cabbage under brine
Clean towel or cloth for covering
Rubber bands (optional)
Clean hands and/or a pounding tool
Preparation
Make sure all parts of the process are clean; the utensils, cutting boards, mason jars, knives, hands, weights, etc. It is best during fermentation to provide the cleanest environment possible to allow good bacteria to thrive.
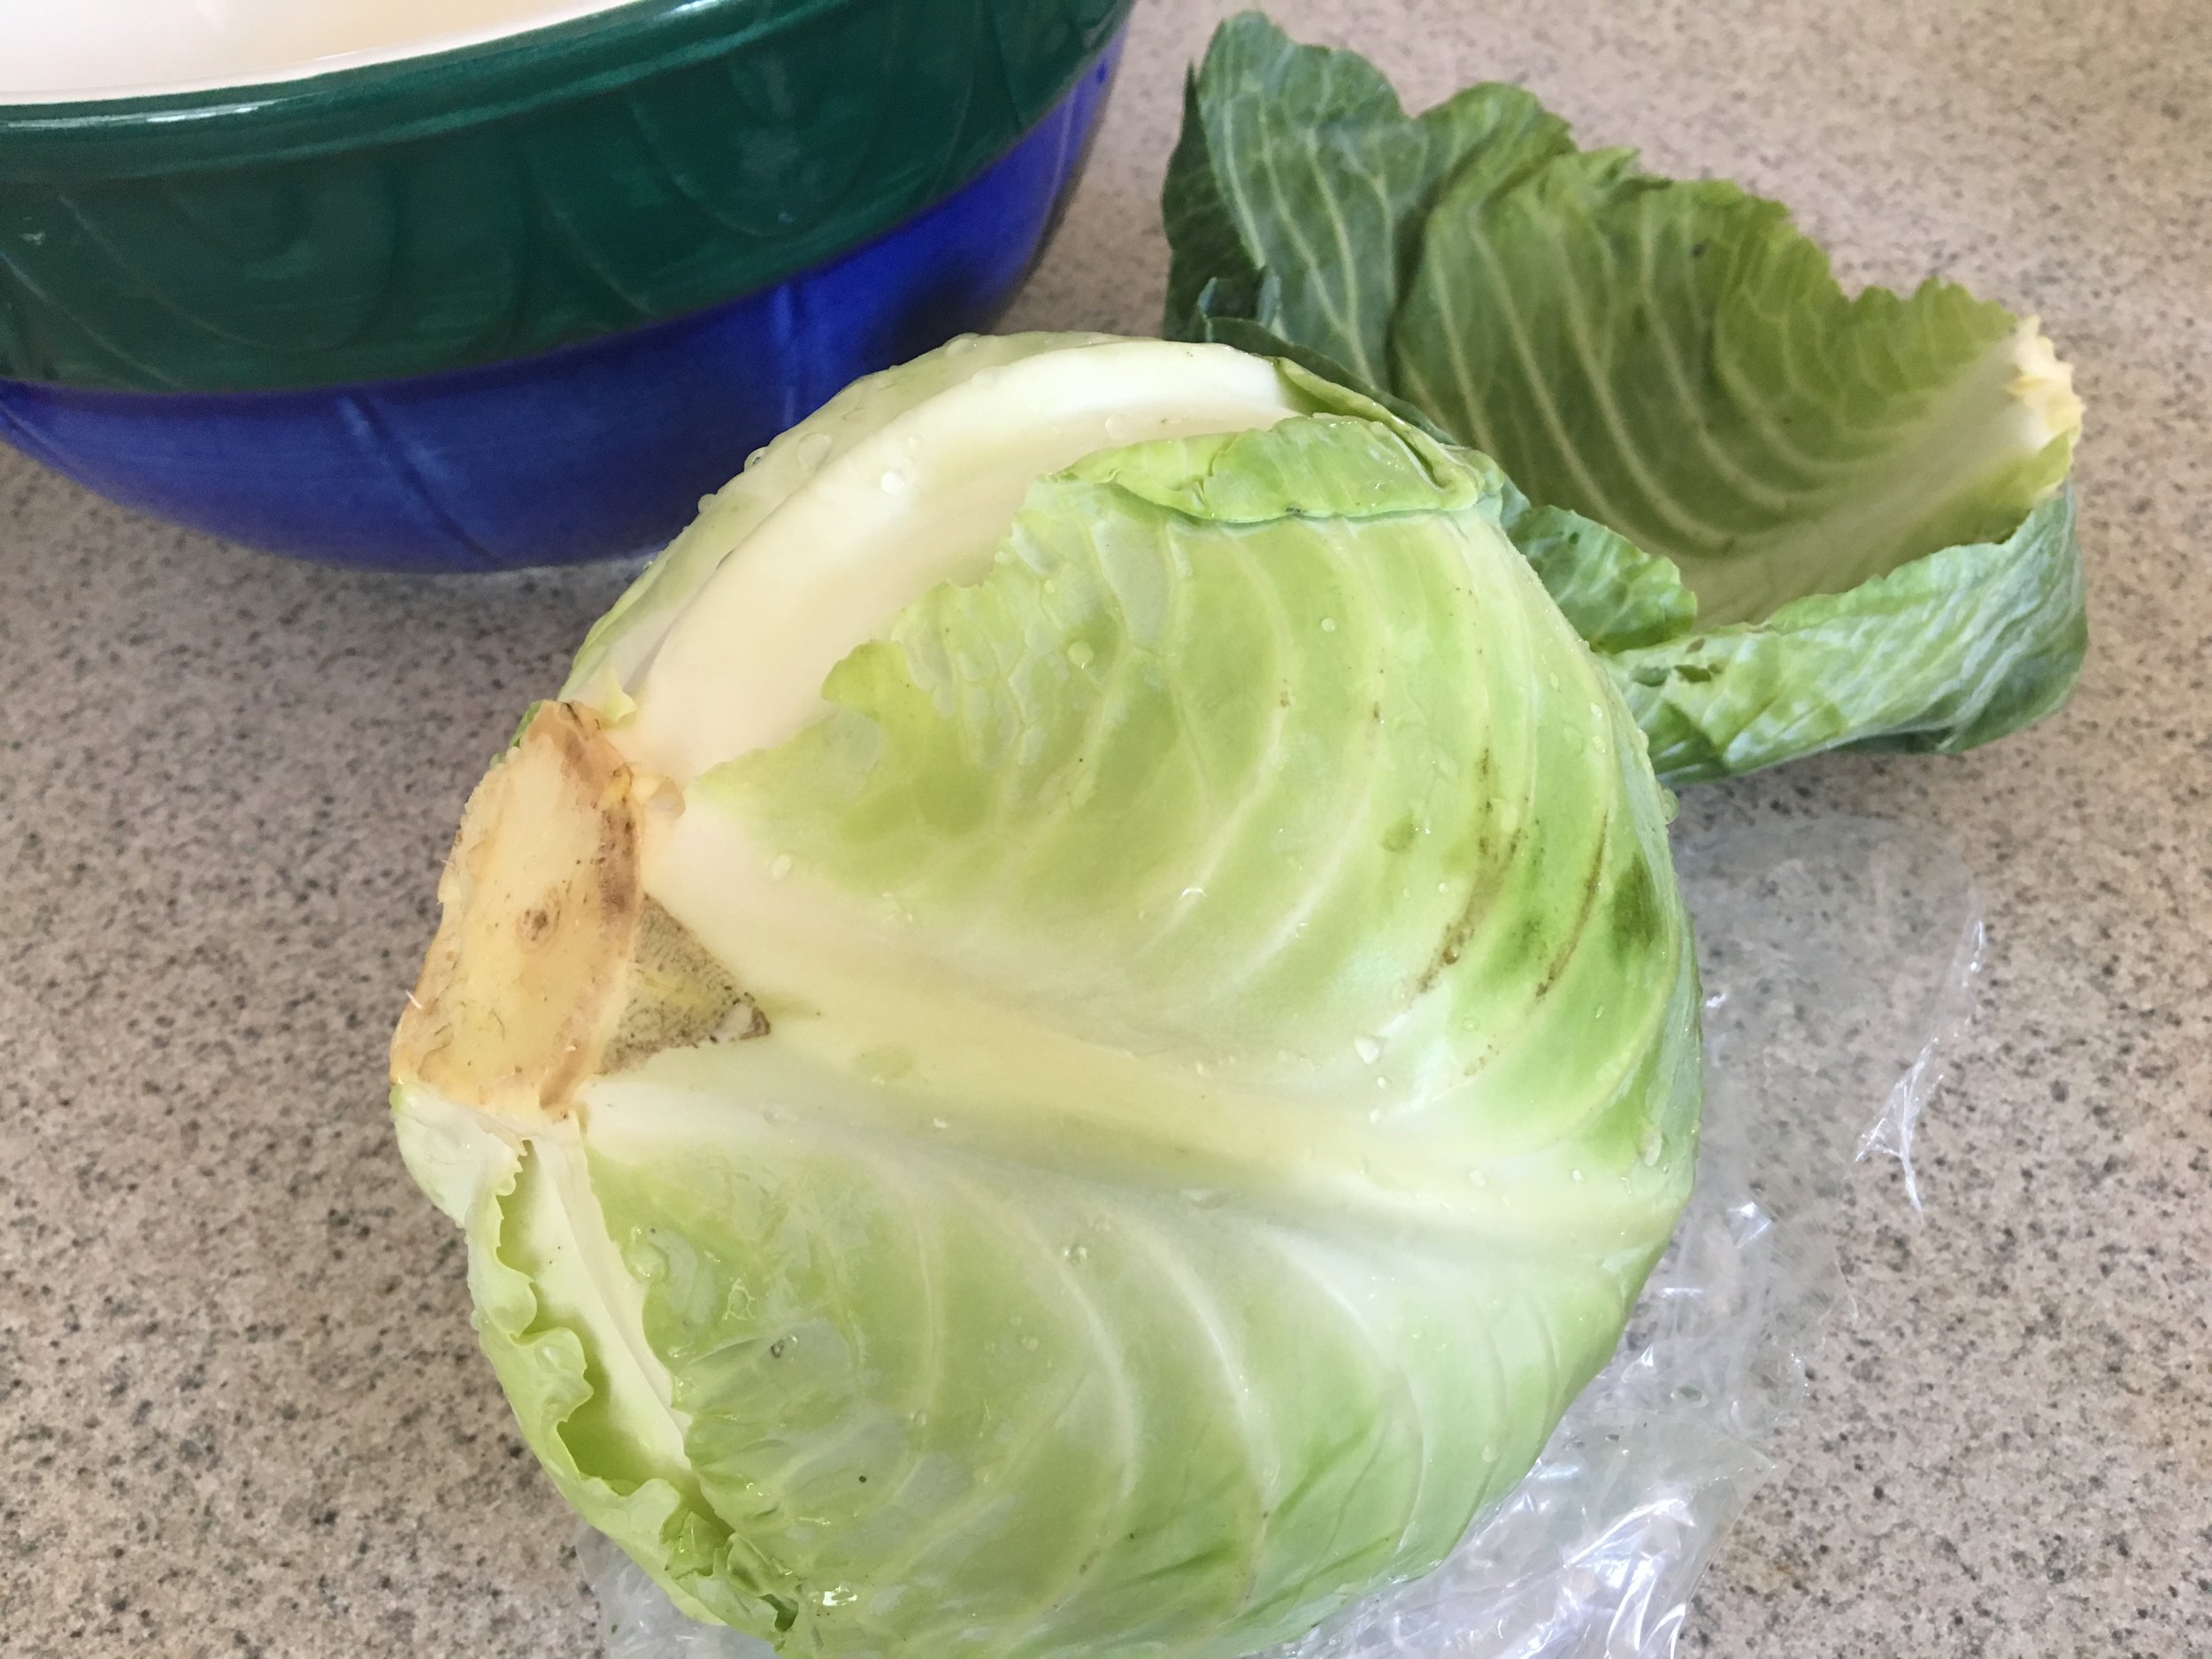
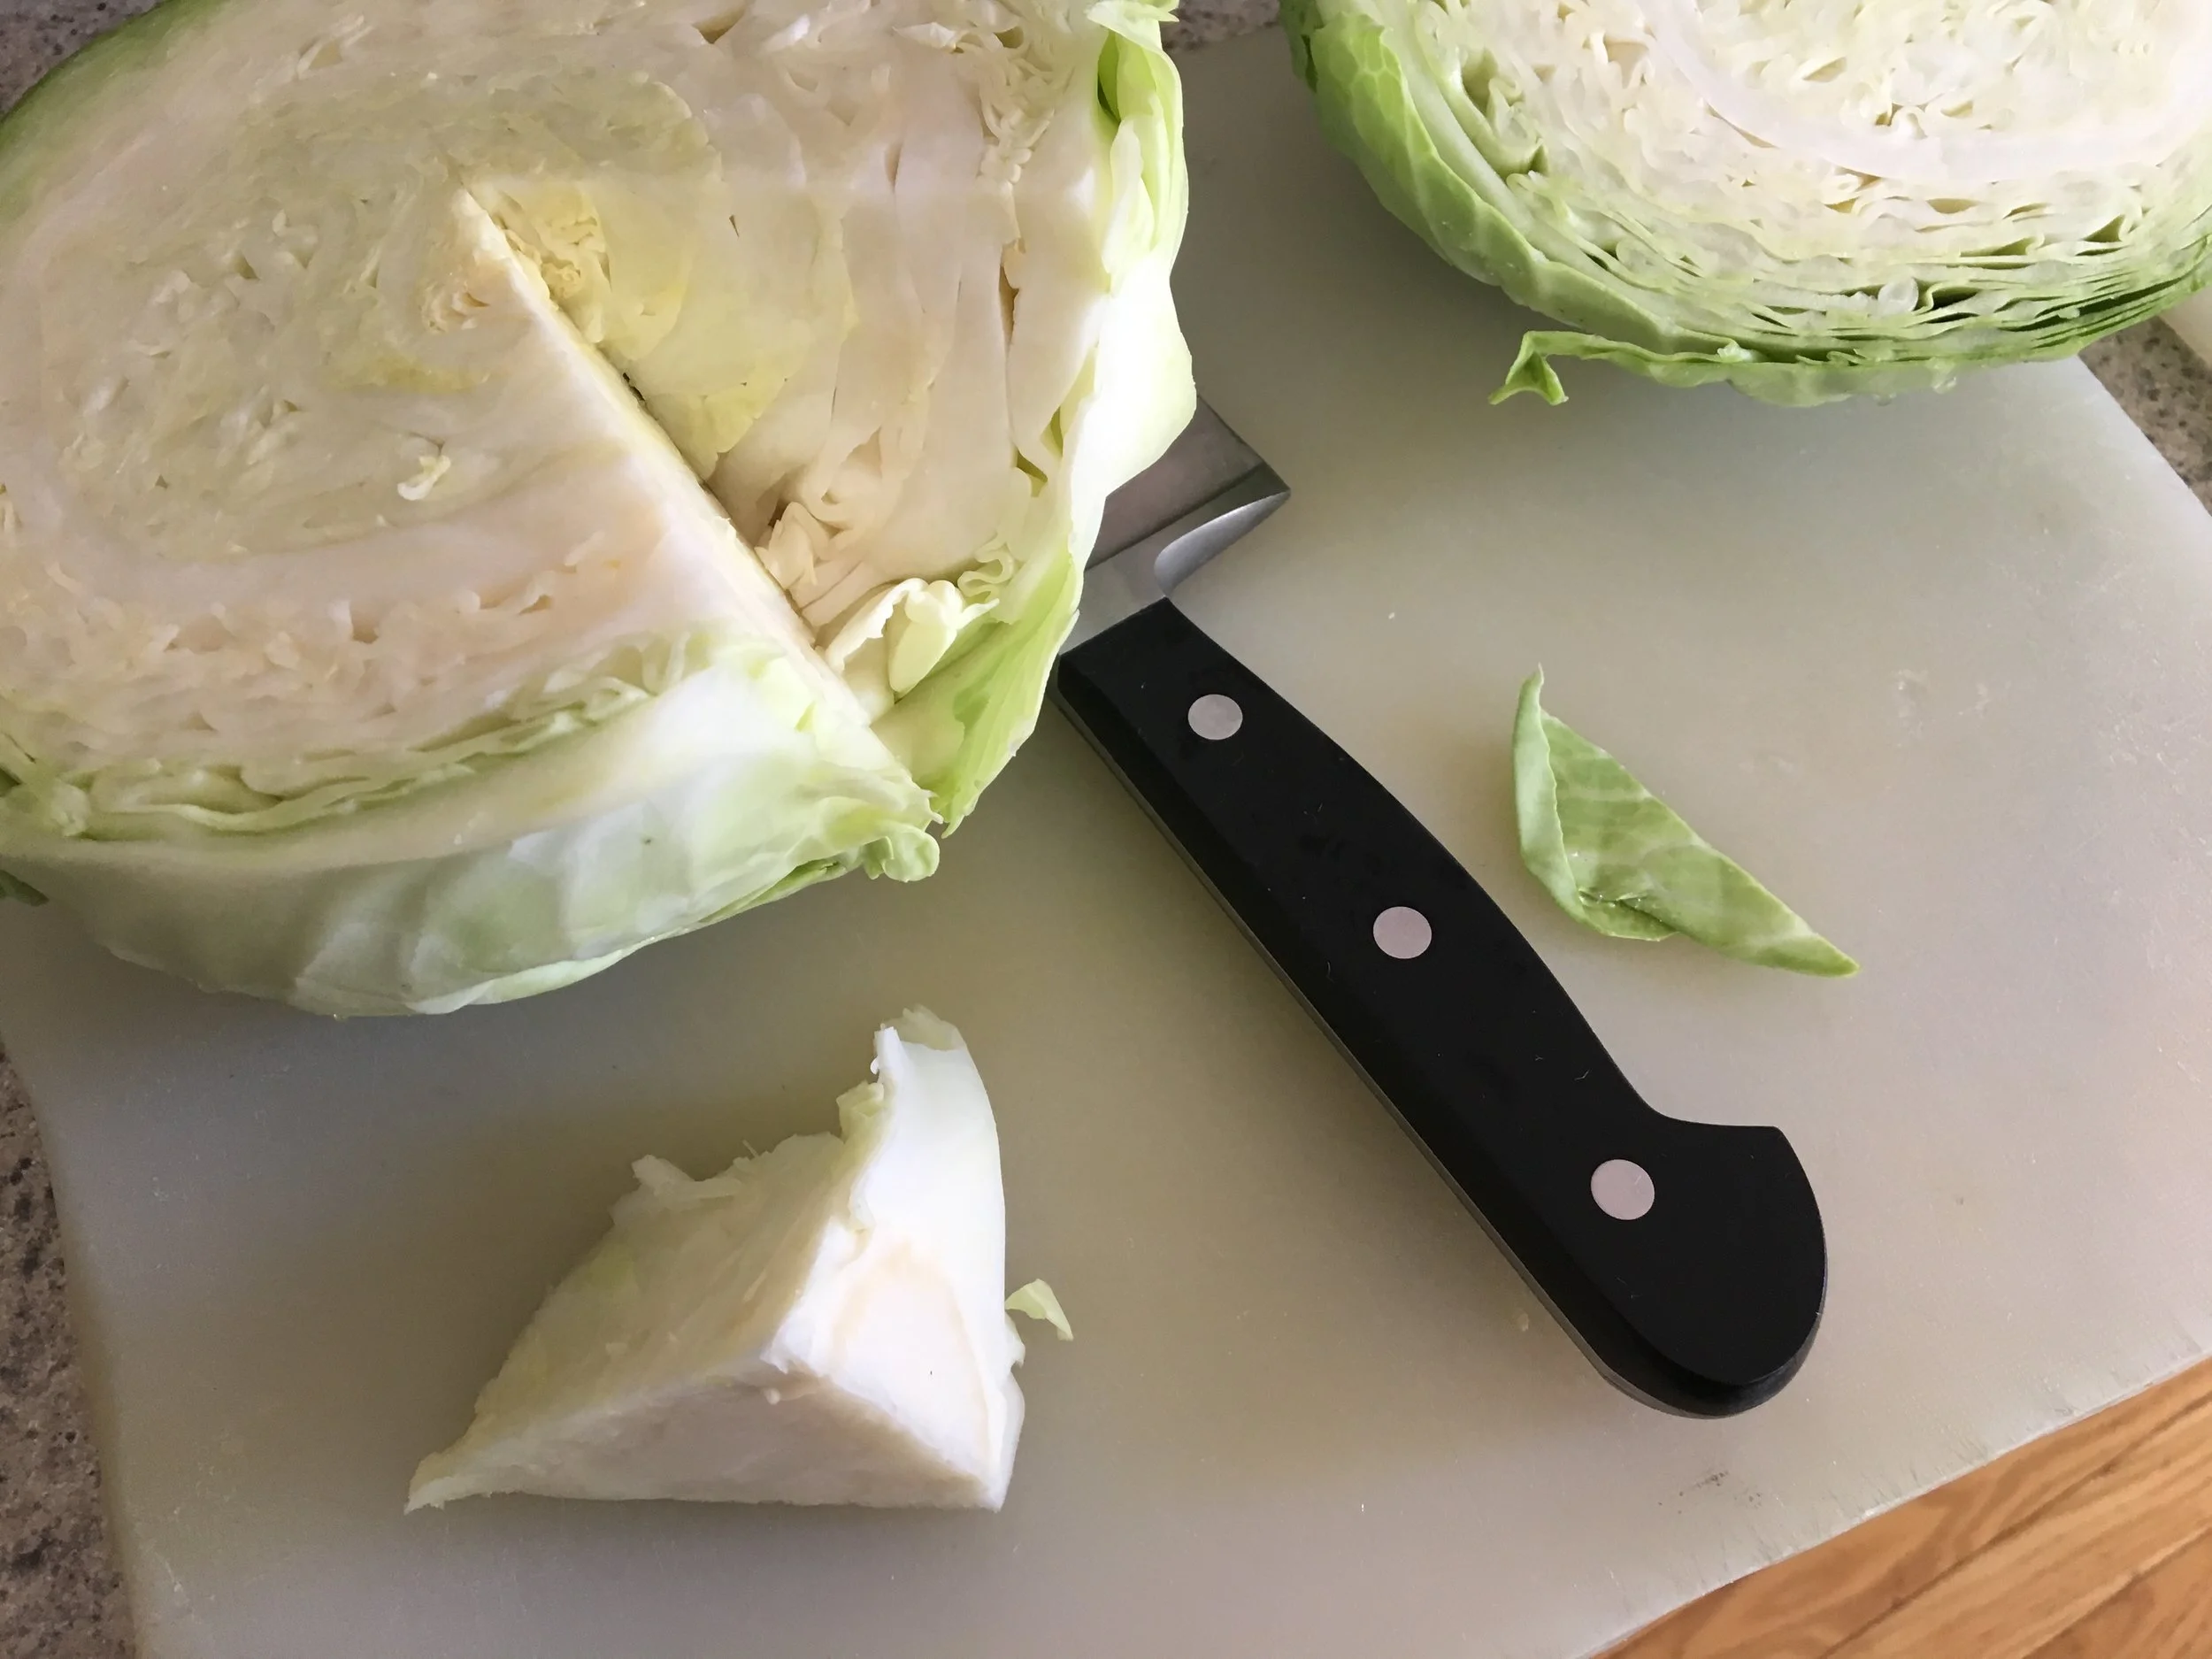
Remove the outer few loose leaves of the cabbage. Cut cabbage in half or quarters, whatever is easiest and remove the core.
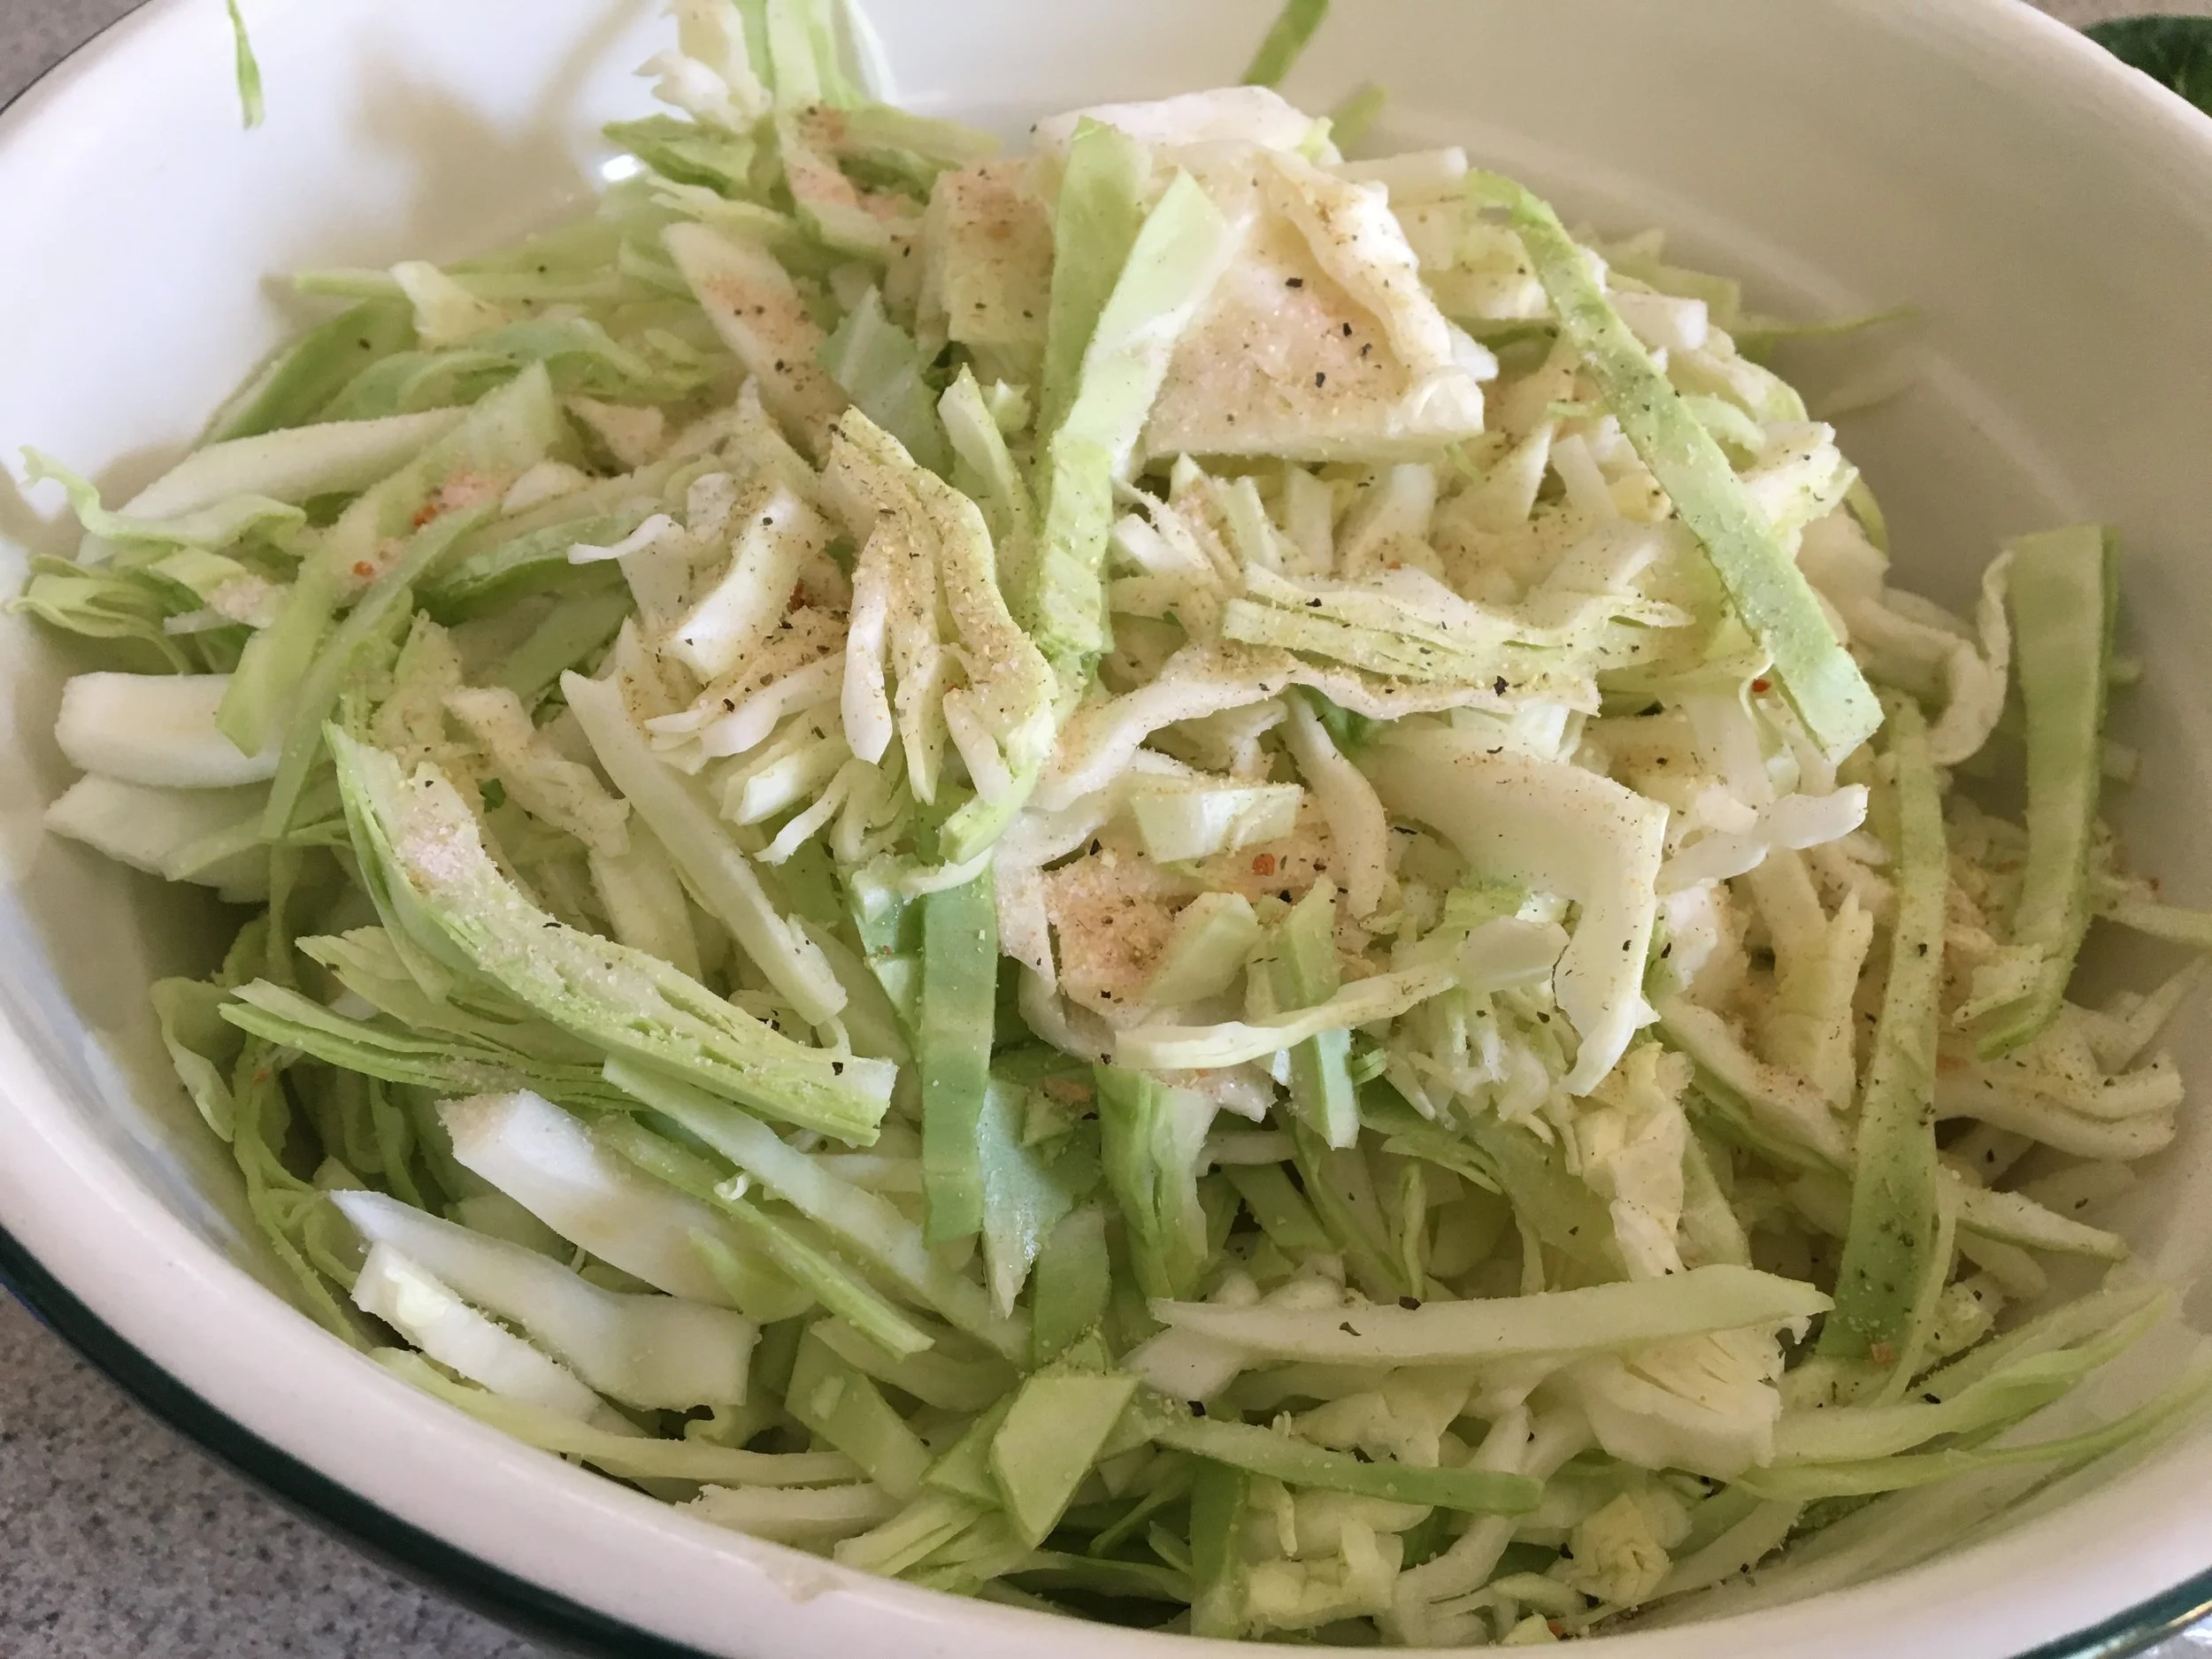
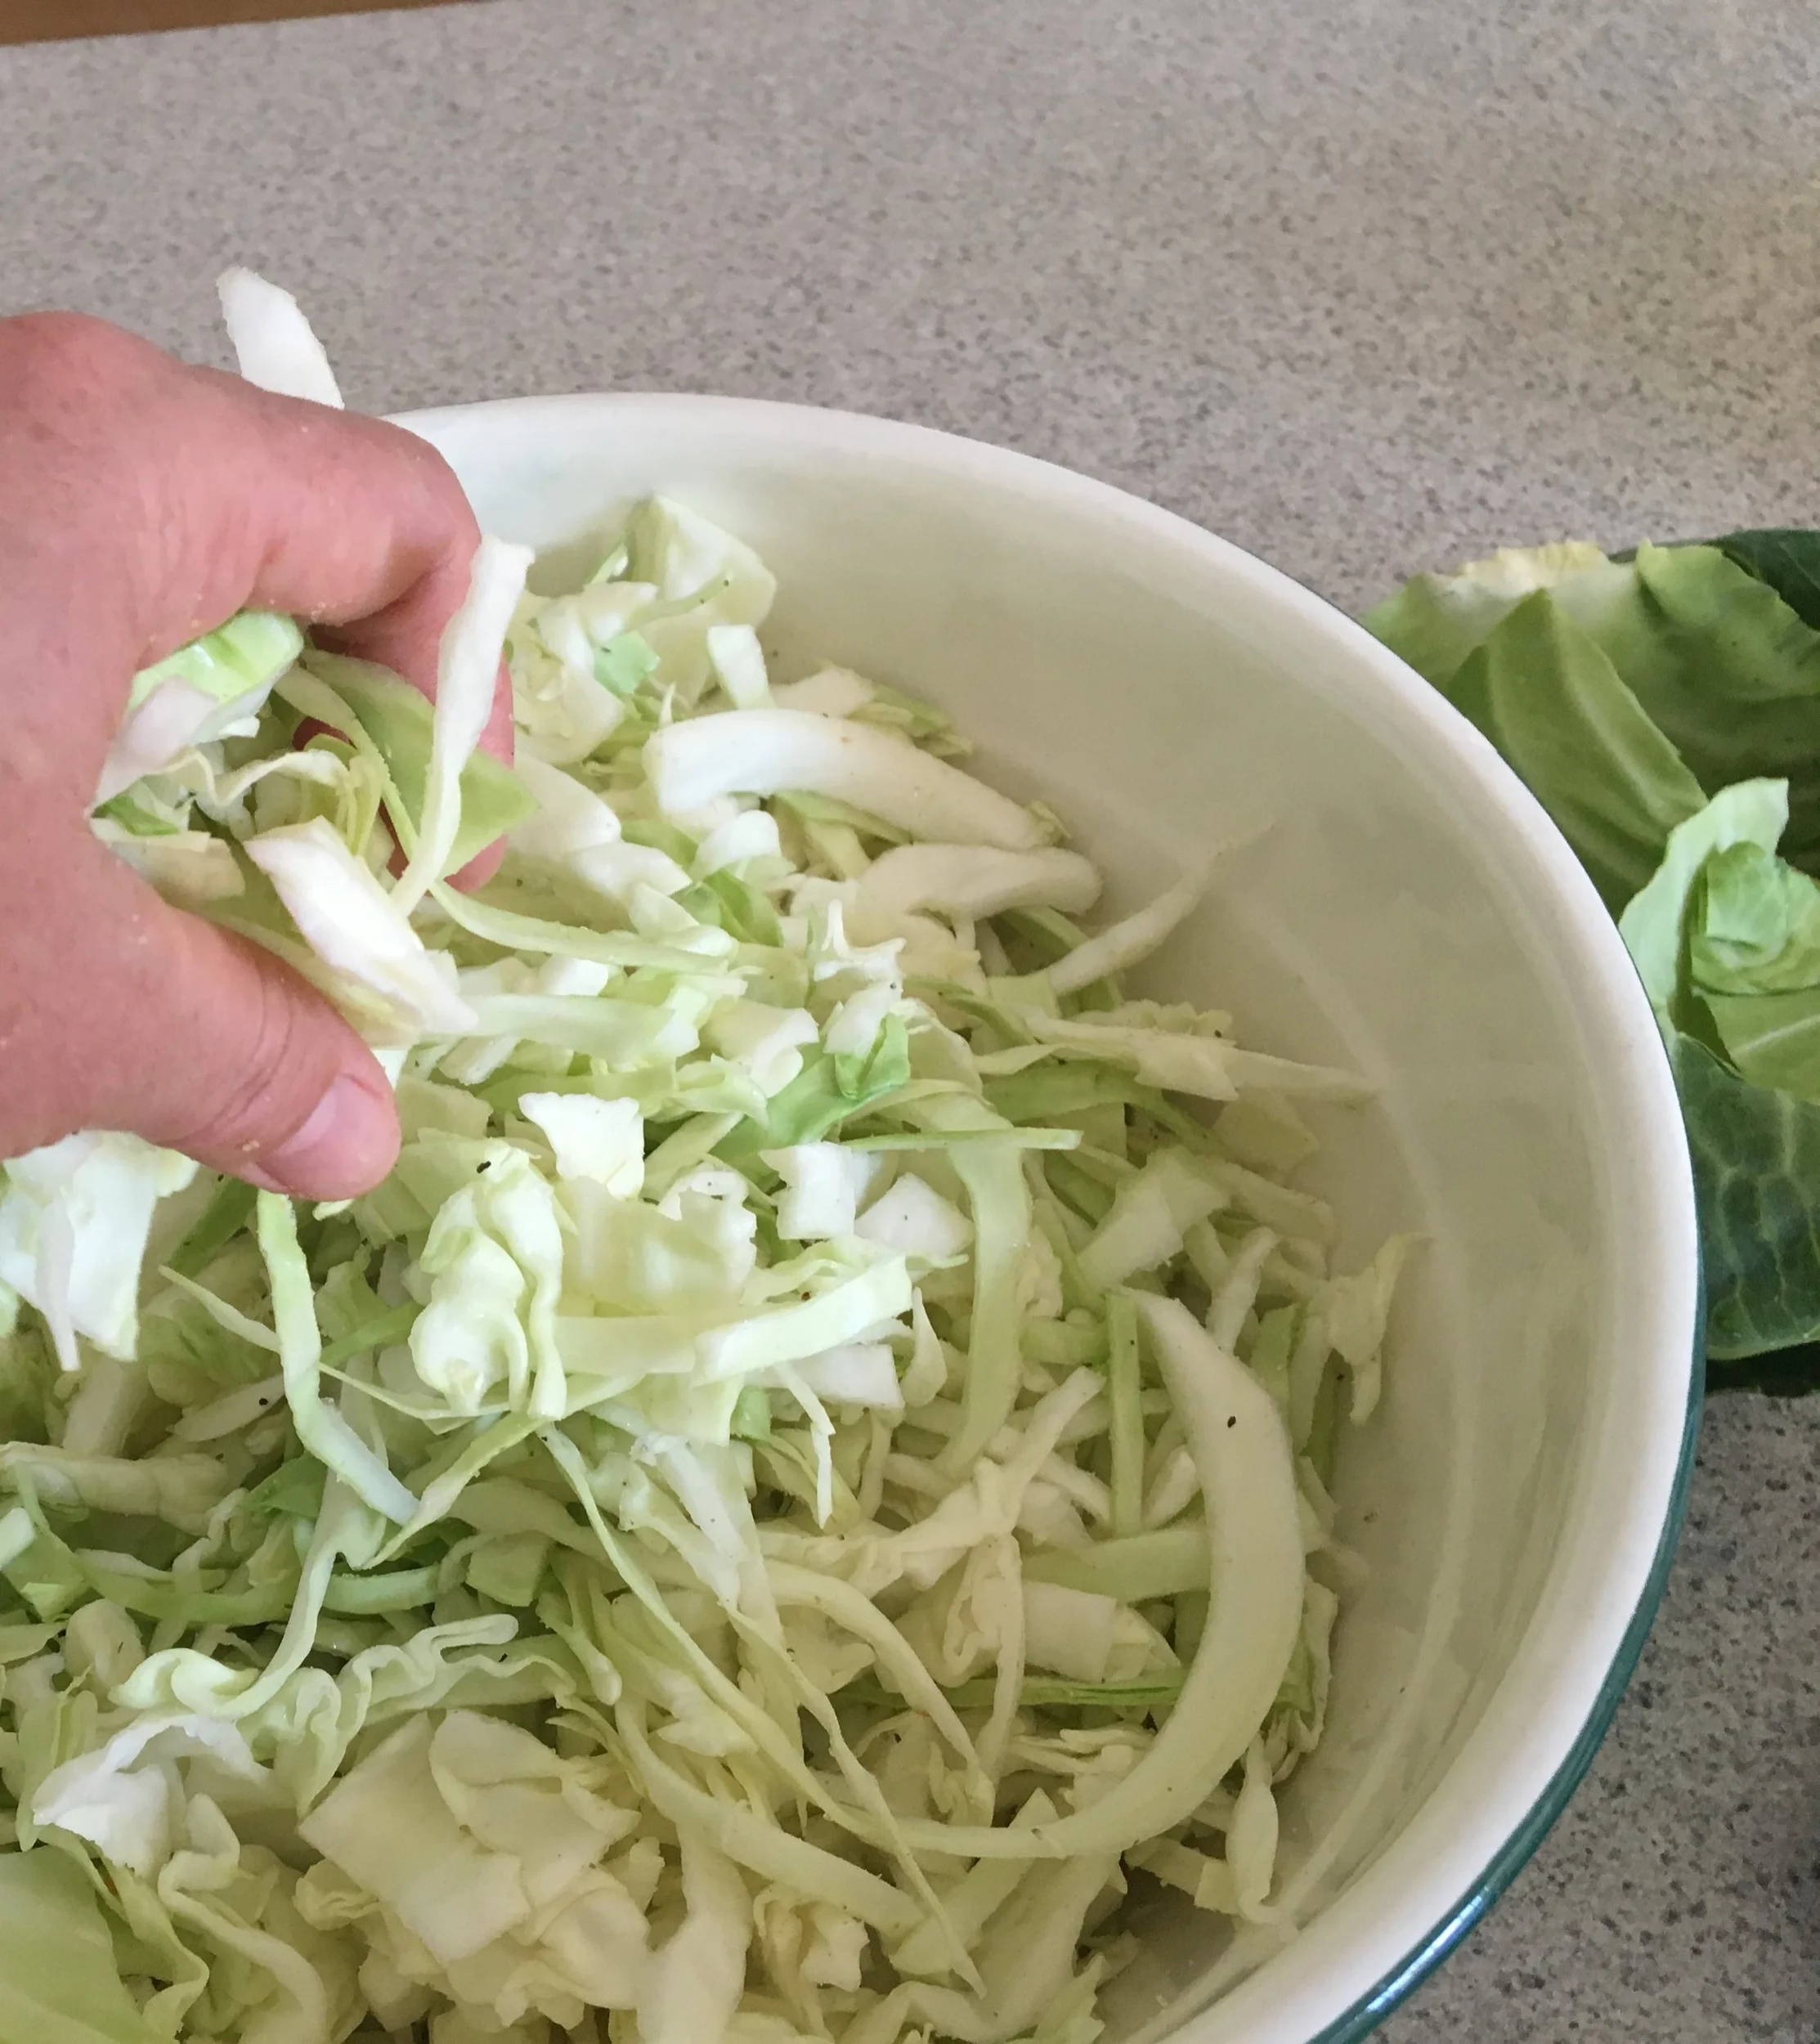
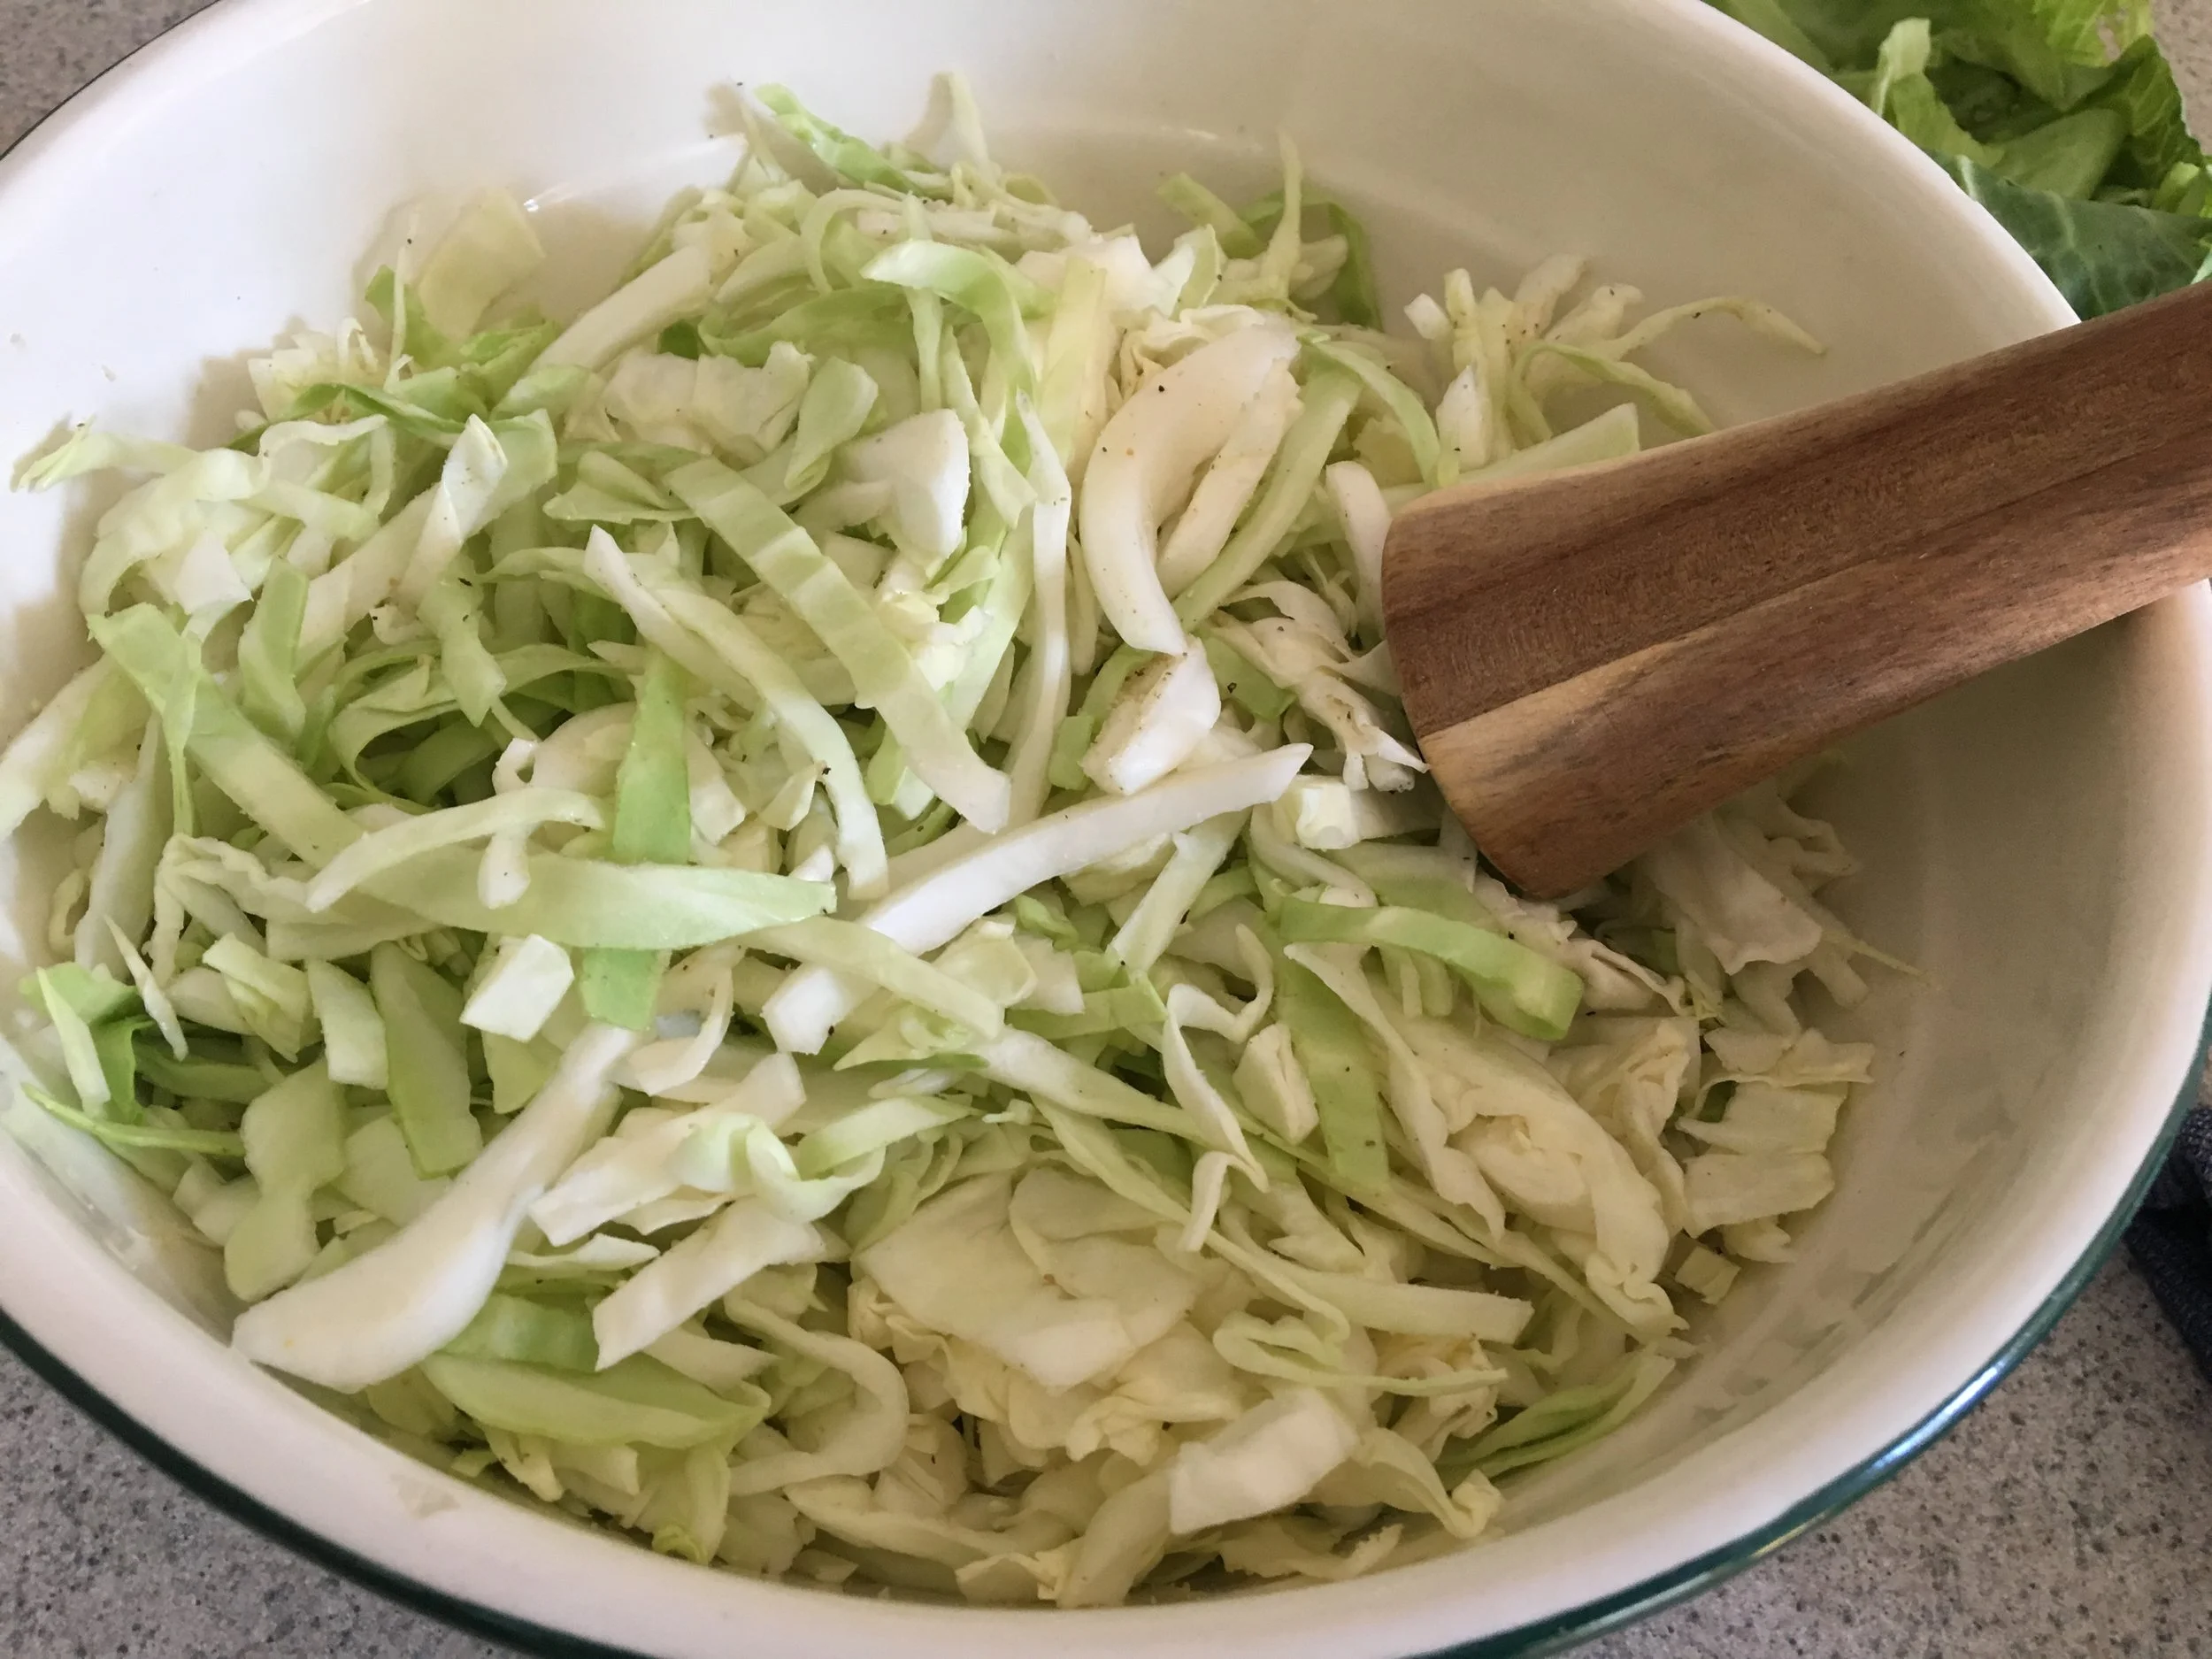
Slice the cabbage into thin shreds (a food processor would work nicely too). Place cabbage in a large bowl and sprinkle with salt and Cherchies Garlic Seasoning. Mix with hands to combine, squeezing cabbage to release water. Work cabbage with this method for a few minutes.
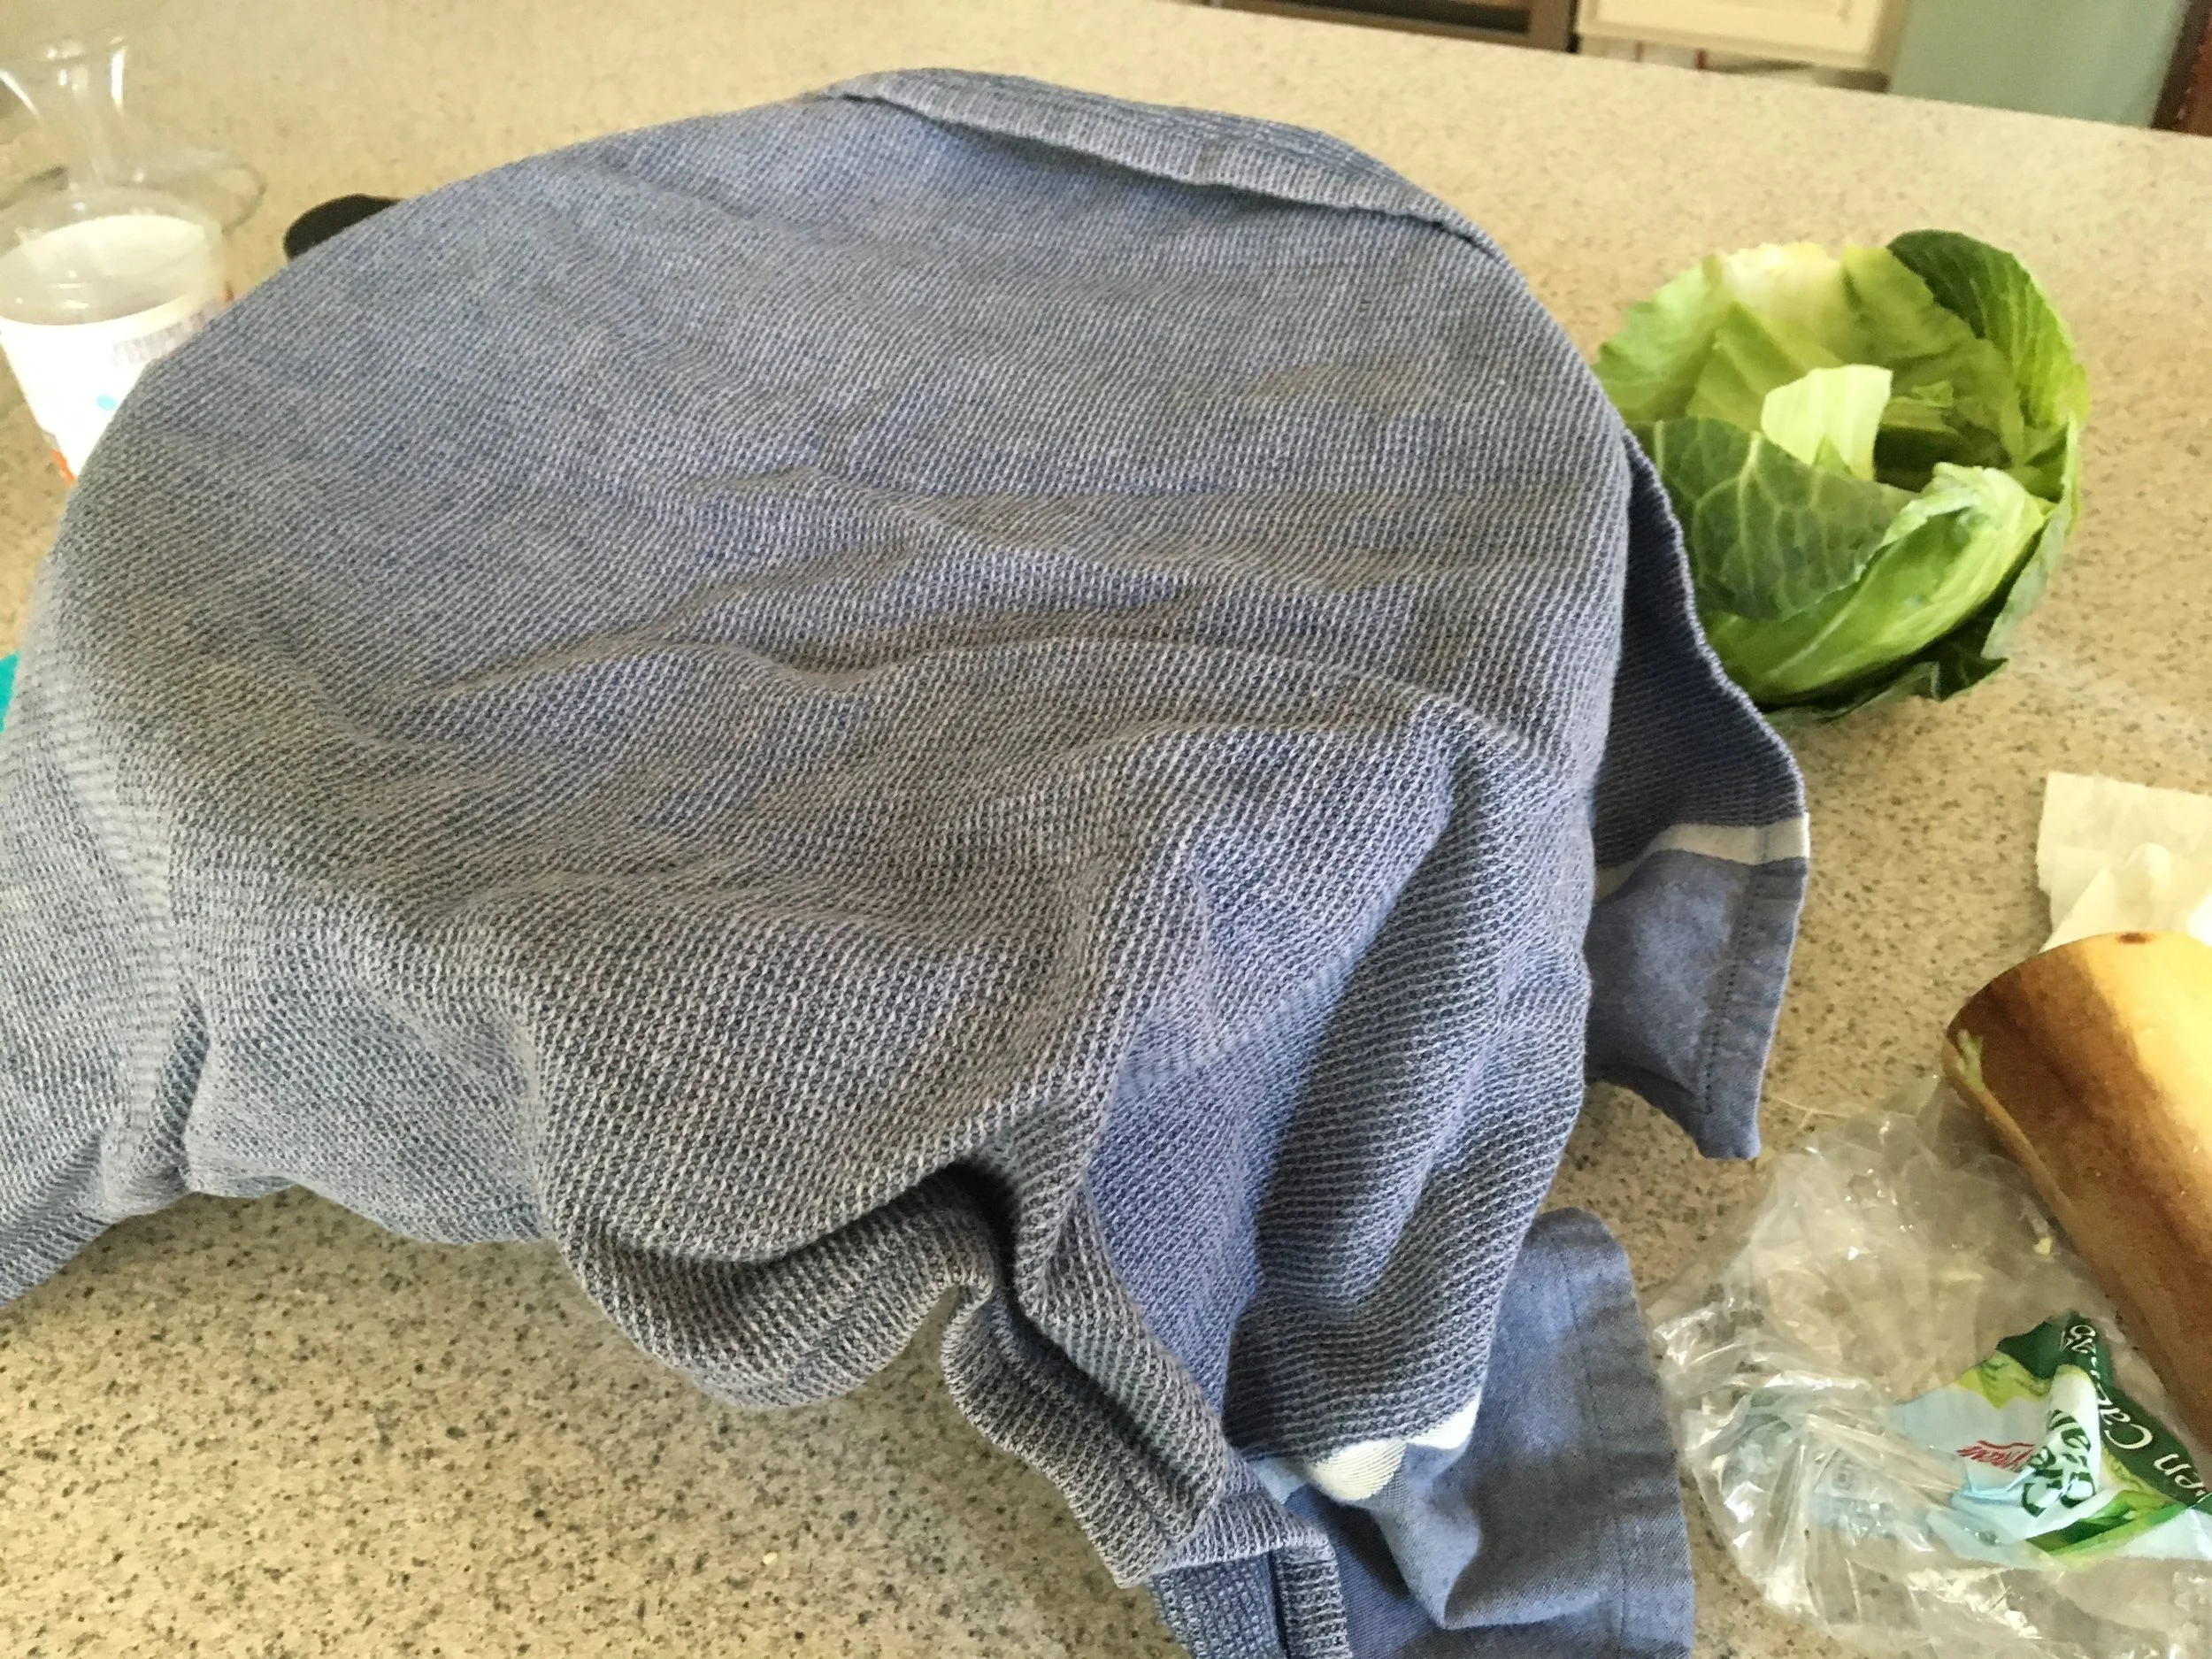
Or, use this handy tool I found online, The Pickle Packer from masontops.com to mash the cabbage and draw out the water. Either way, cover with a clean cloth and set aside and cover for a couple of hours (more water will be removed the longer it is left out). Salt will begin to react with cabbage, releasing the water from the cabbage and starting the fermentation process.
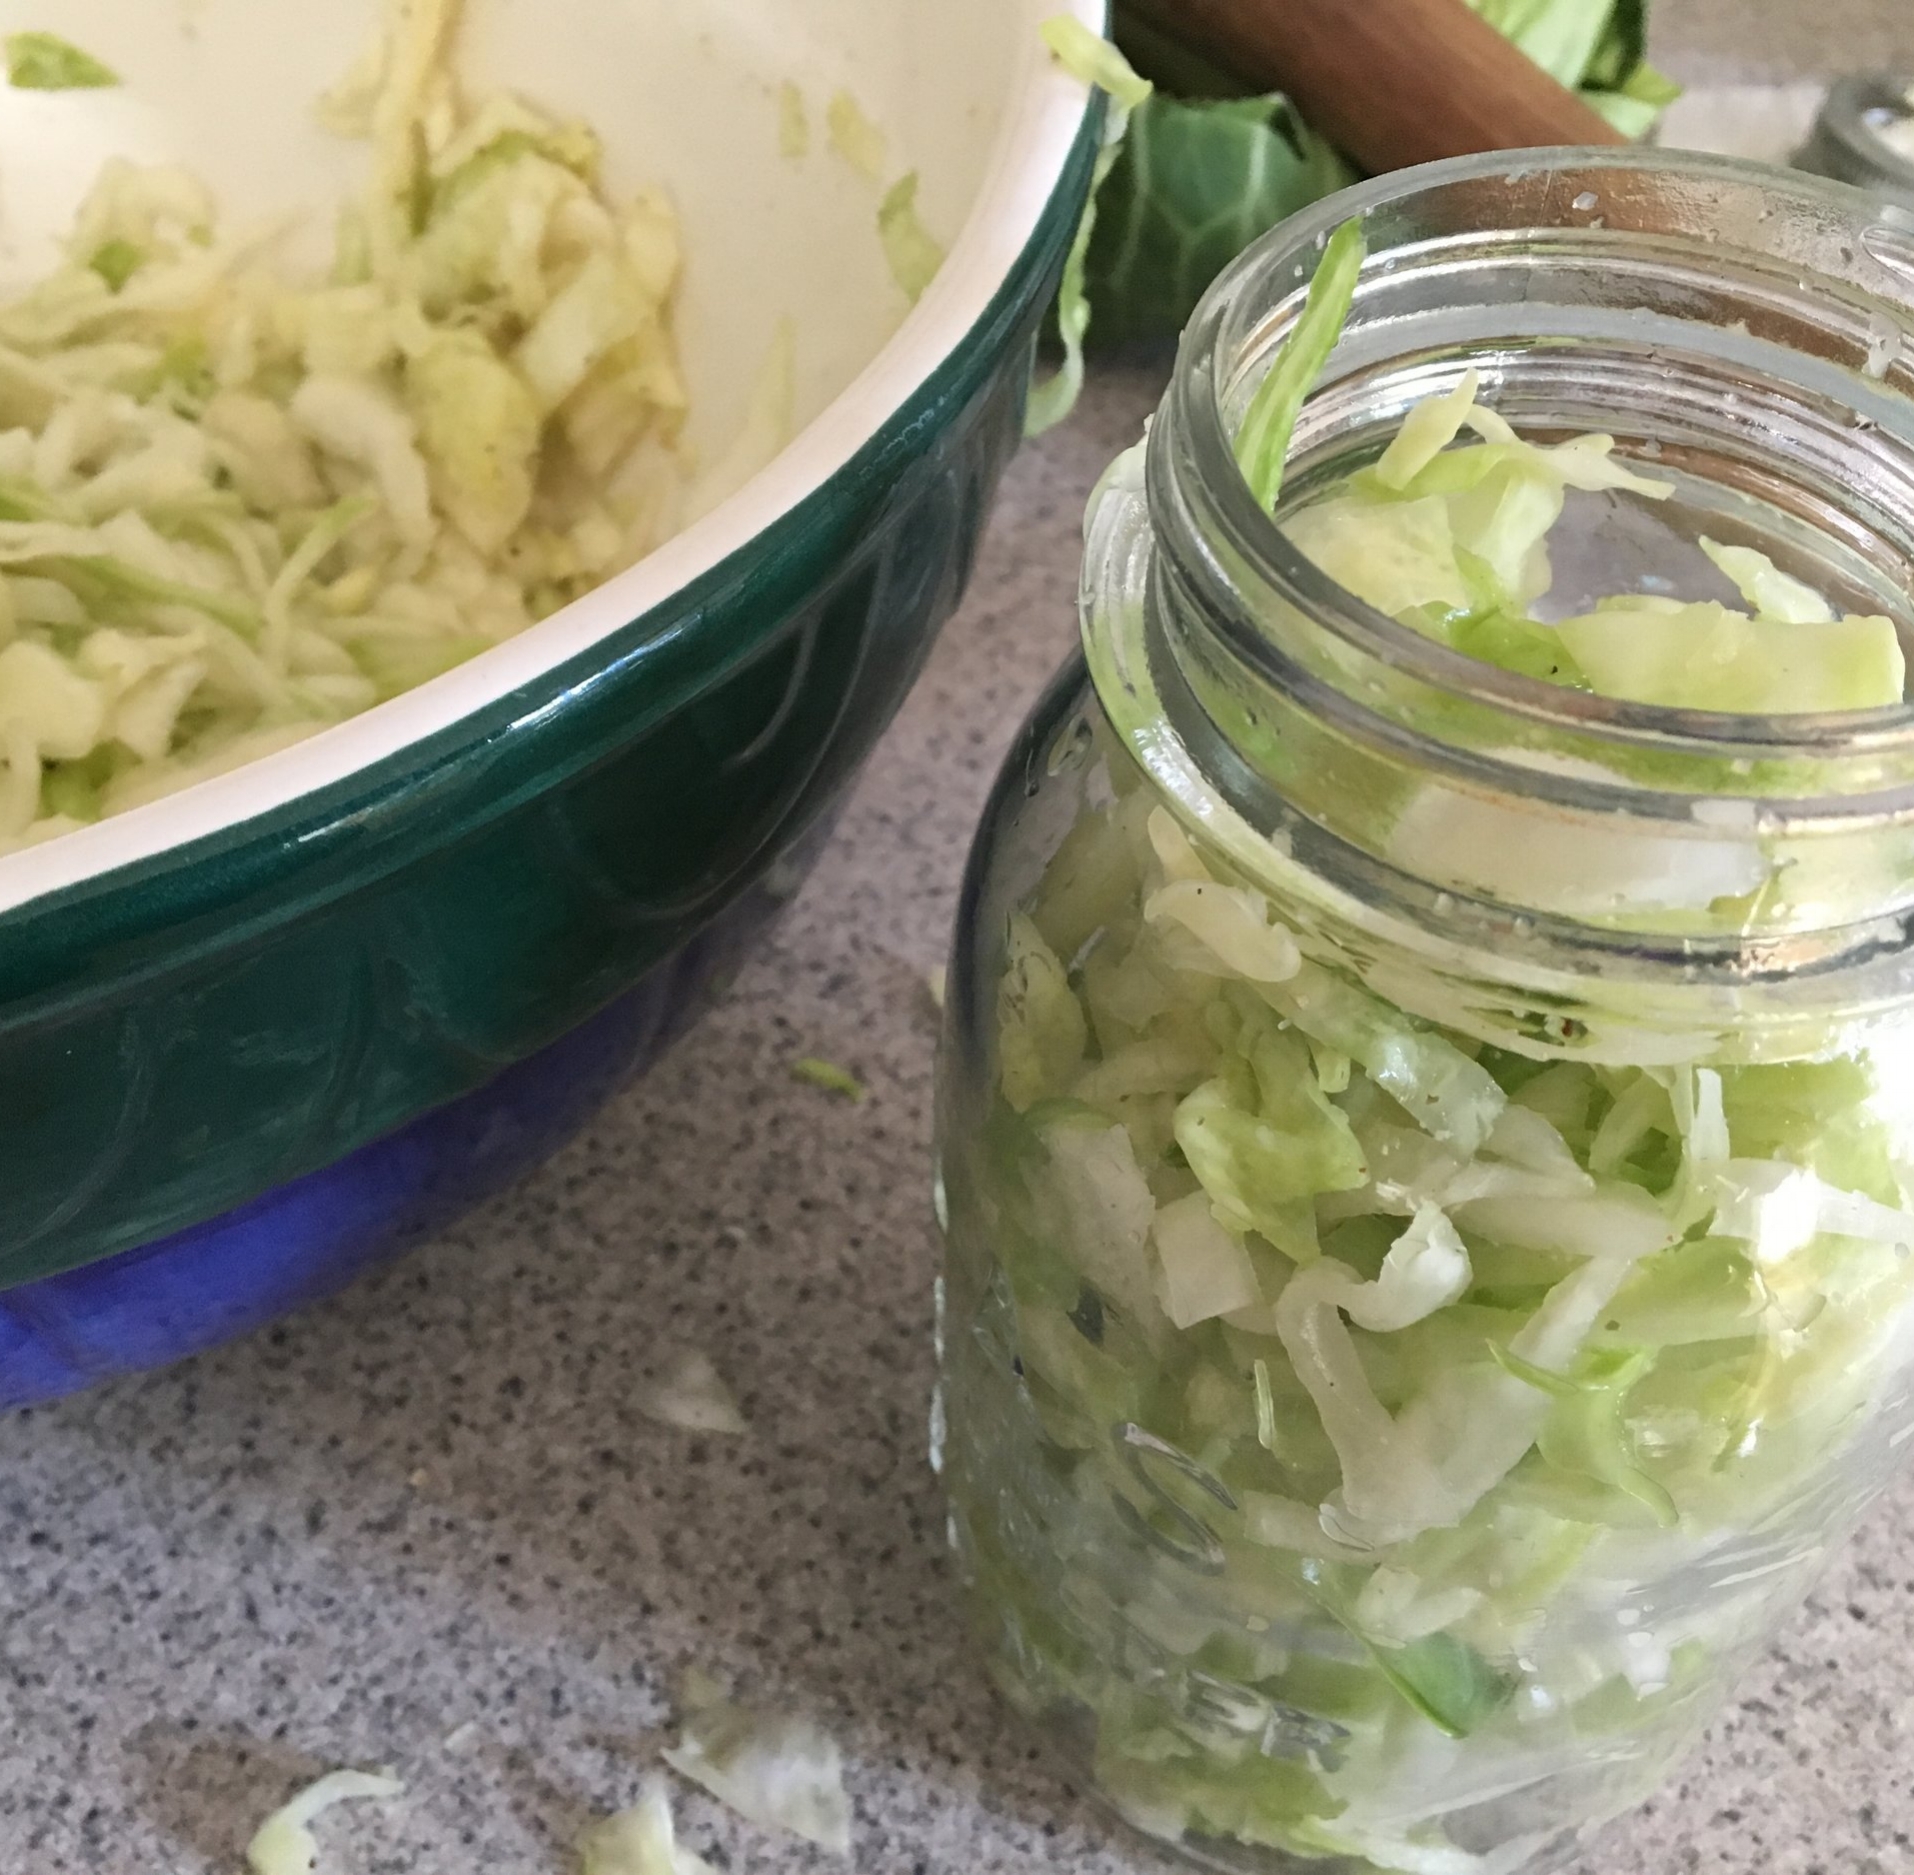
After a couple of hours, add handfuls of cabbage mixture to mason jar (s). Pack down with hand, spoon, any kitchen instrument with a dull end, or The Pickle Packer from www.masontops.com. I stumbled across this company while searching for how to make sauerkraut. I am all about ease, and this tool is pretty cool. The goal is to pack the cabbage ultra-tight and let it soak in its brine. The cabbage should be under the brine during fermentation.
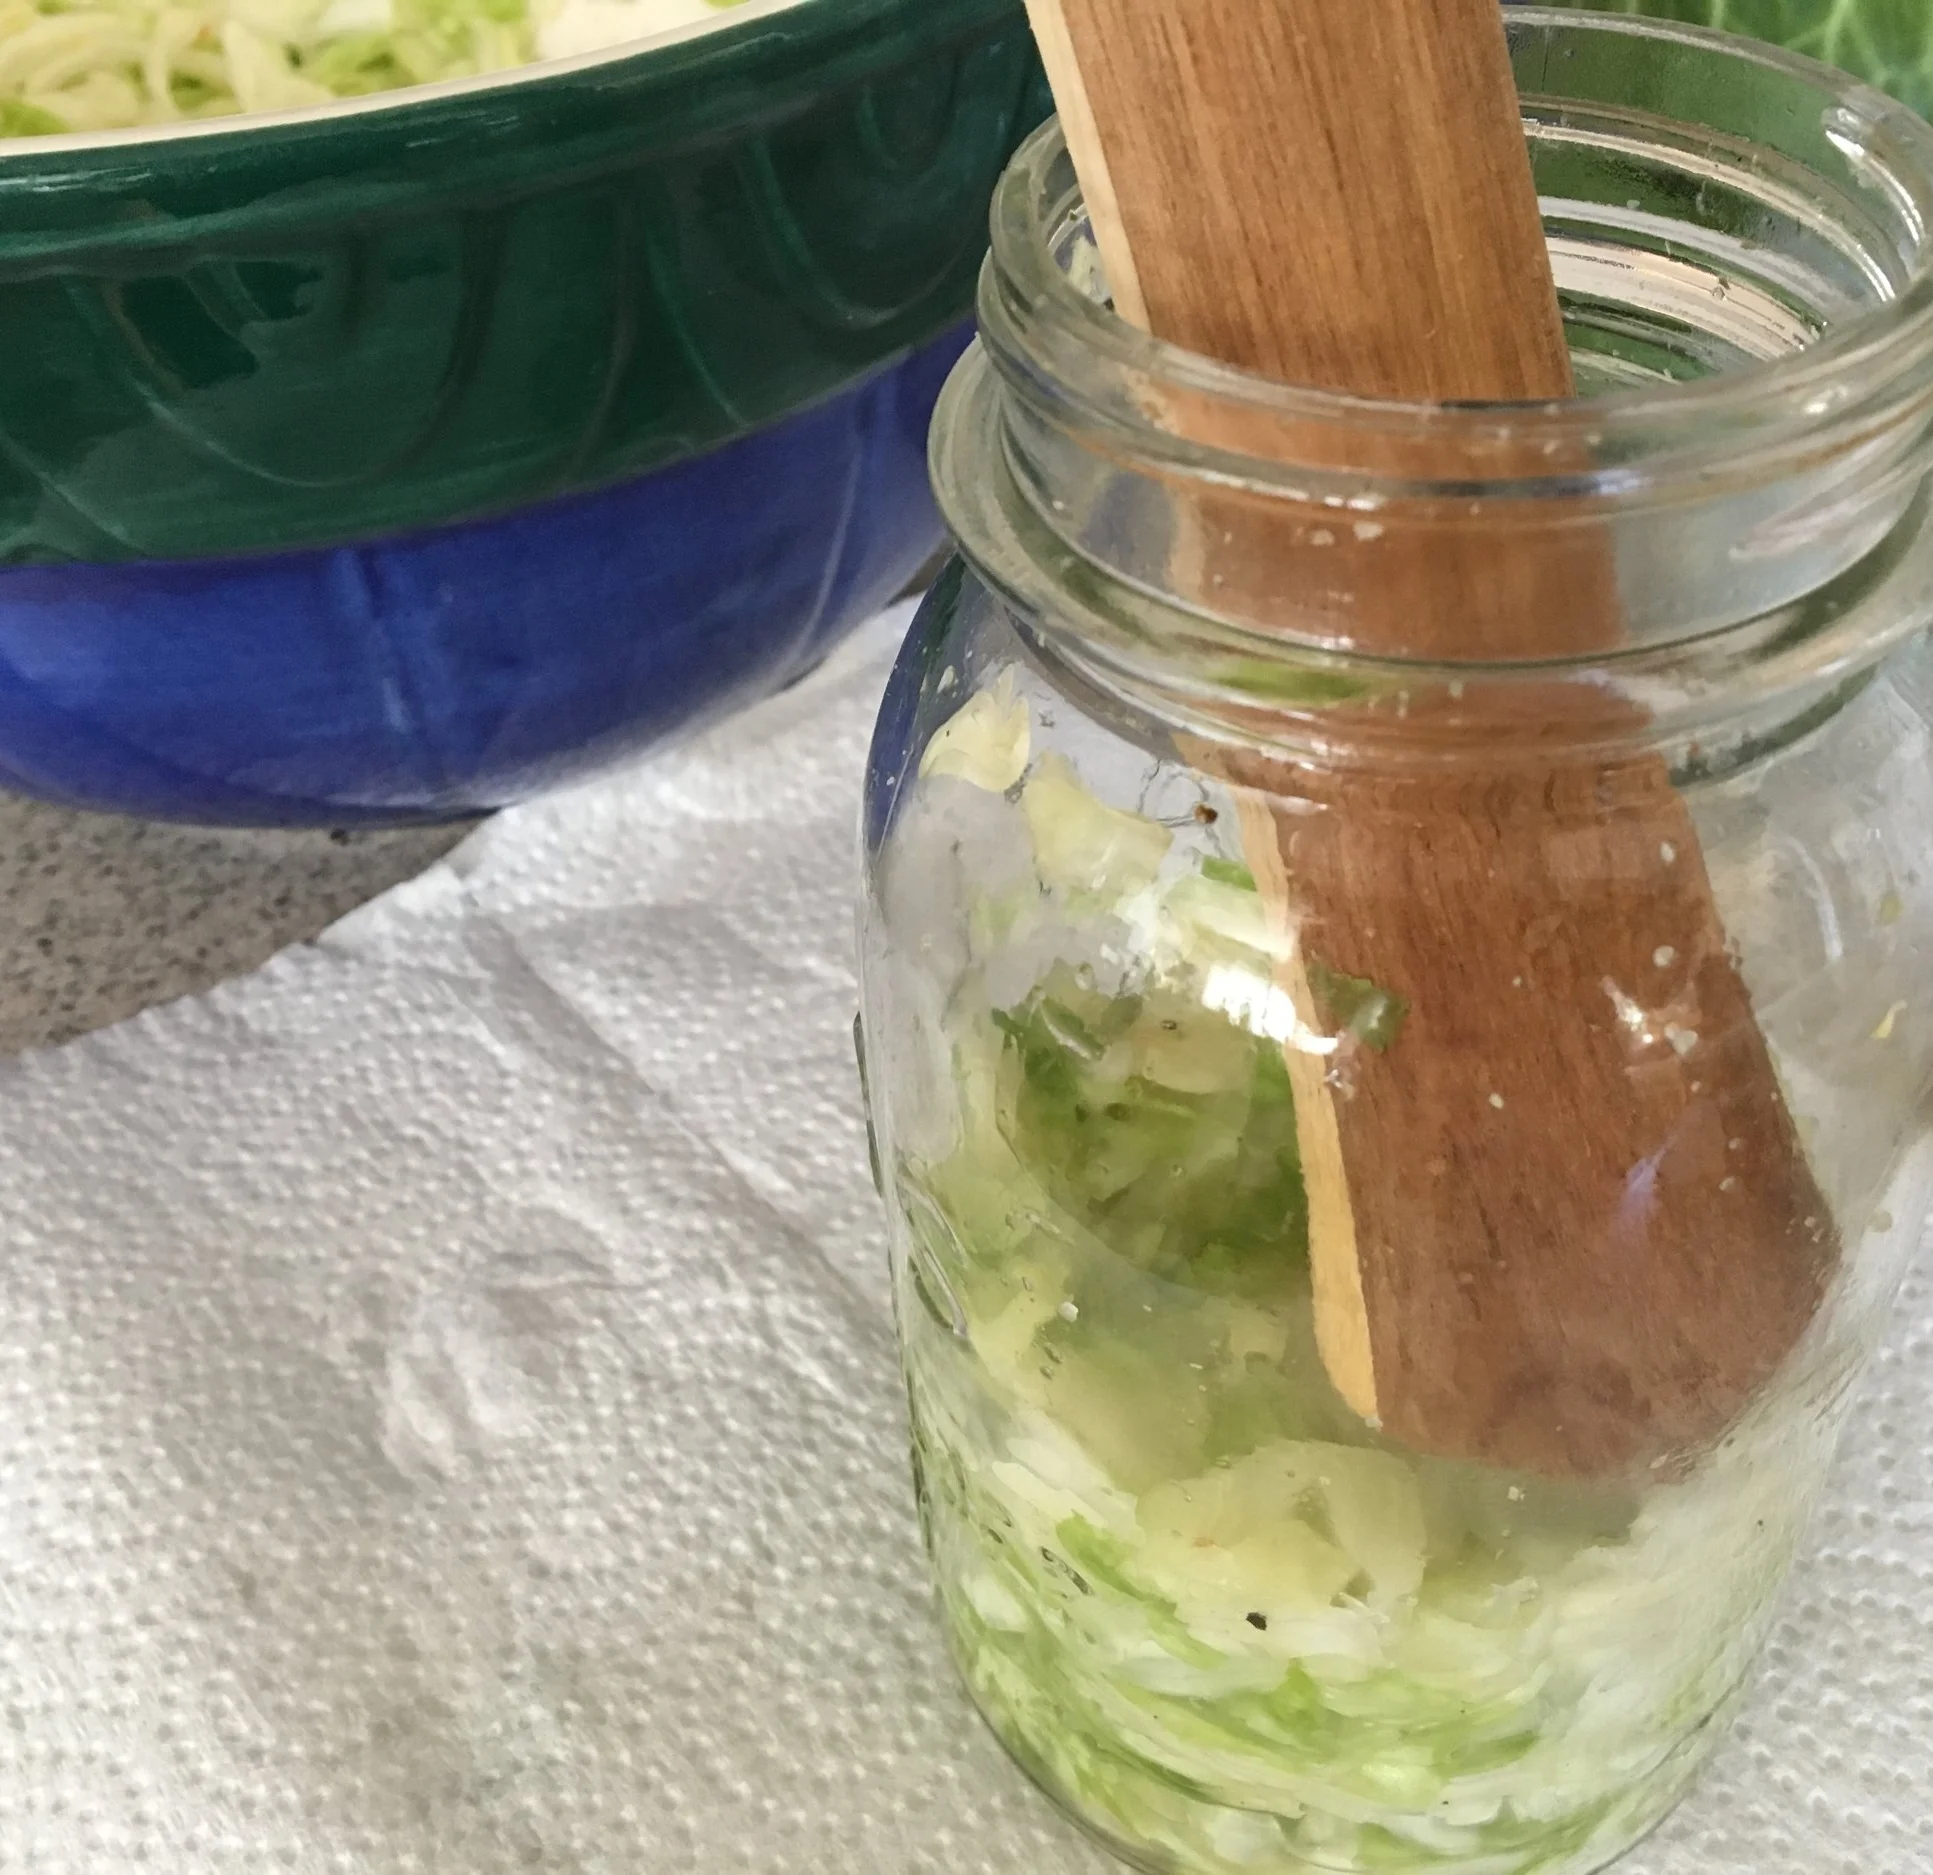

You will need some sort of weight for this step; a smaller glass jelly jar that fits inside the mason jar, marbles, or these helpful glass weights I found at masontops.com.
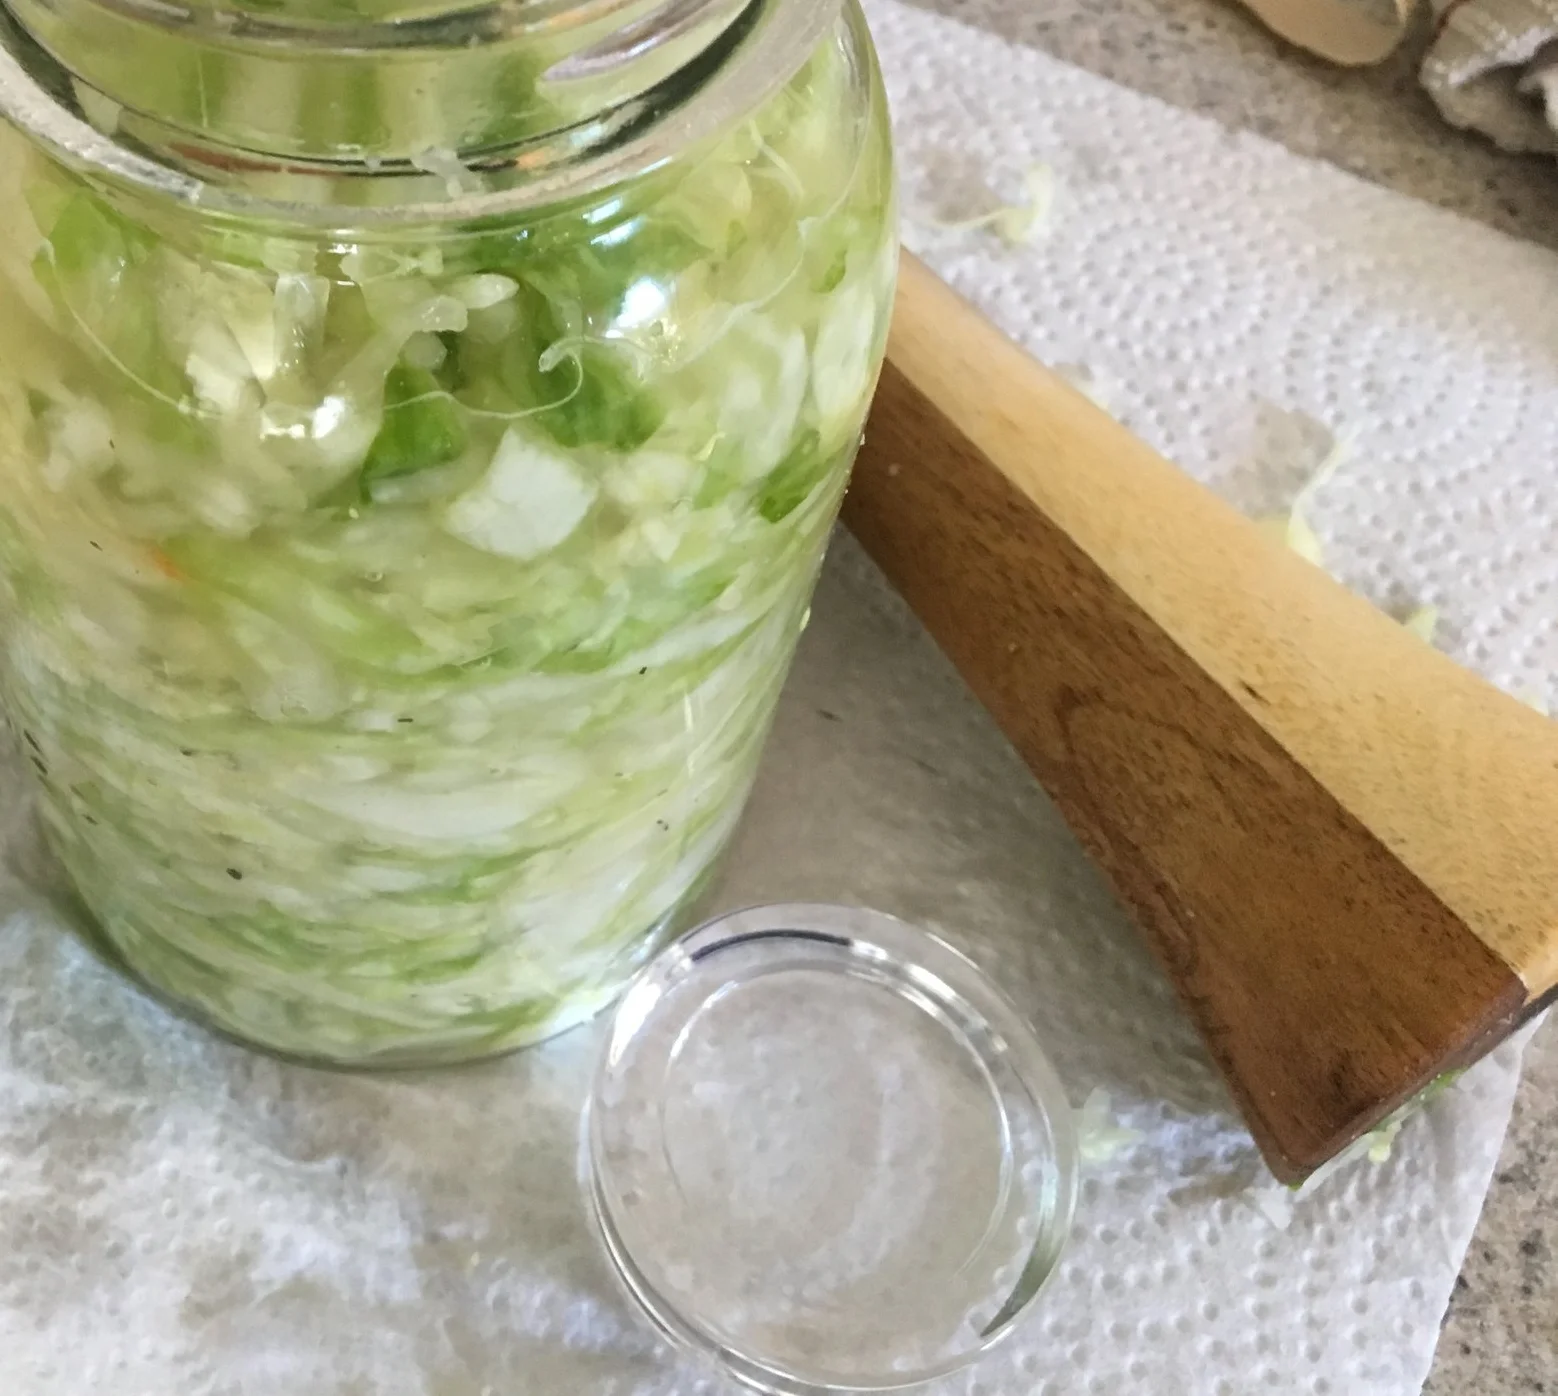
Once the jar is filled (leave about an inch from the top), place your weight on top of the cabbage, making sure to submerge the cabbage under the brine. Some folks have recommend using the discarded cabbage leaves to cover the mixture and then place weights on top of the leaves. (I only did this for one jar. I must have had a larger cabbage then normal this time and had extras left over).
If you need to add a small amount of filtered water to brine to ensure cabbage is submerged, do so at this time. Seal up your mason jar with either a clean cloth and rubber band (this will allow your cabbage to breathe, a canning lid, or a canning lid with one of these "burping" attachments that I also found at masontops.com. If you use only a canning lid, you will will need to manually "burp" the sauerkraut daily (to release the built up gases) by opening the lid slightly to allow the air to escape.
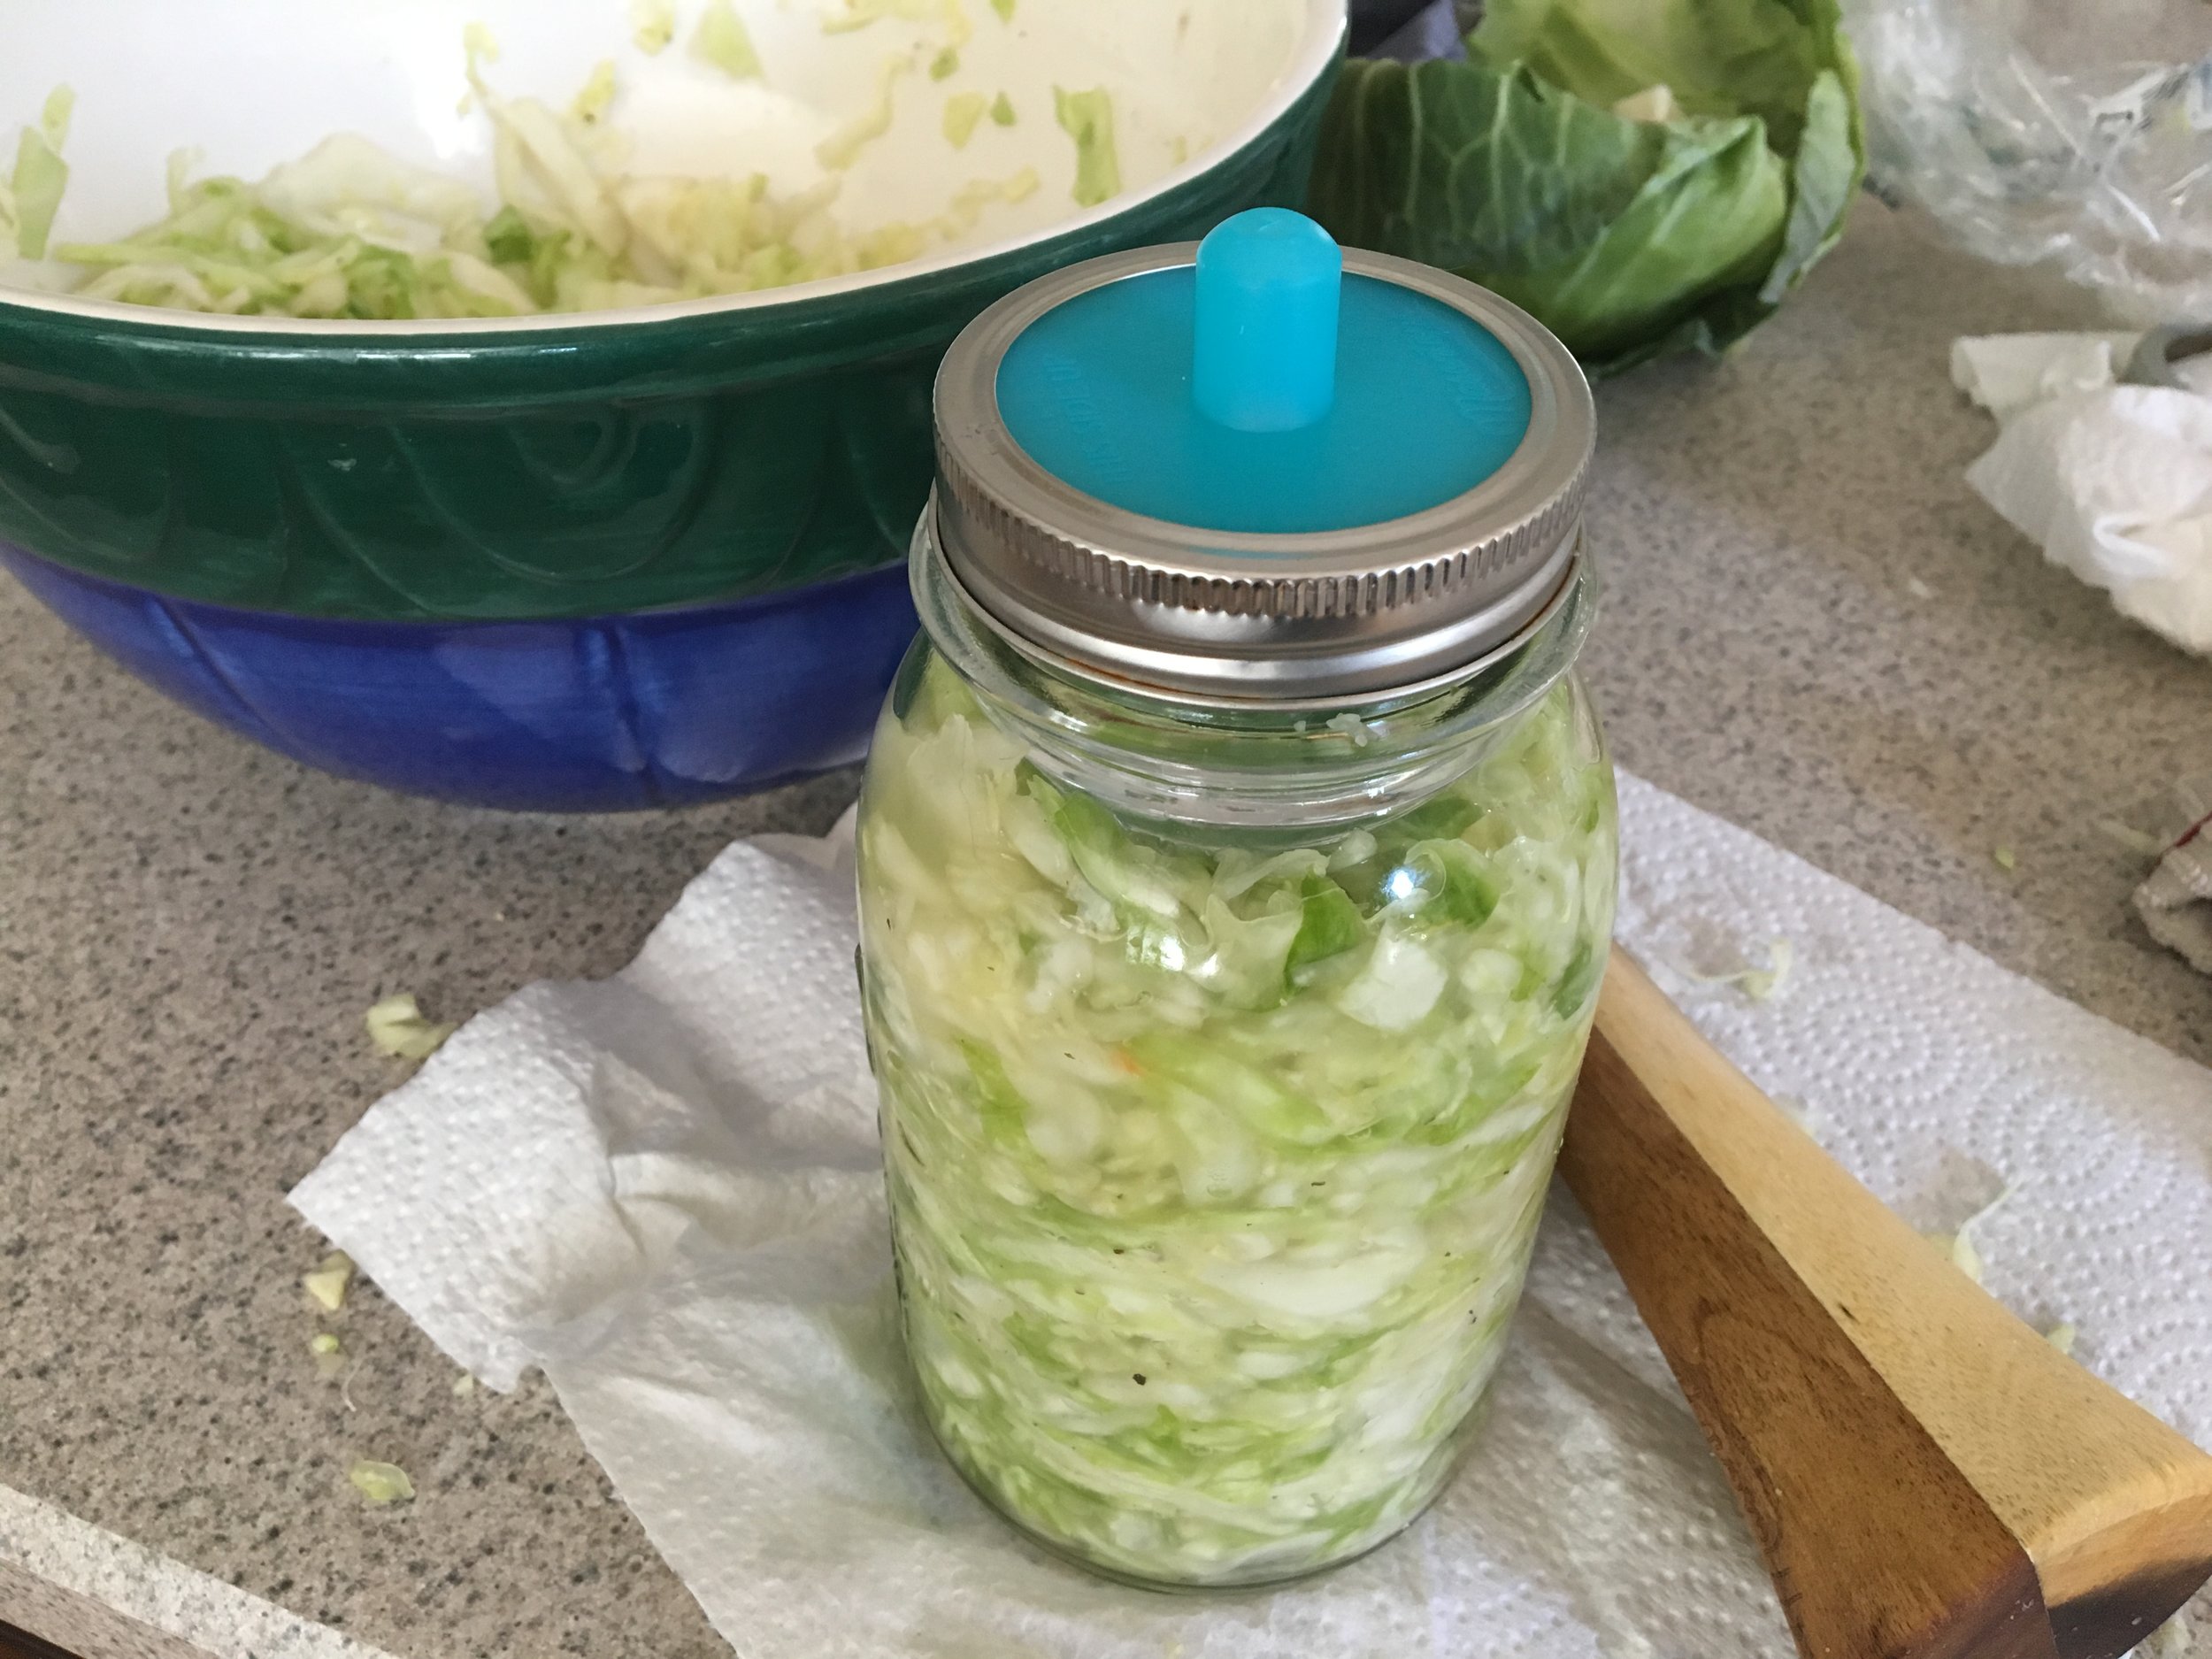
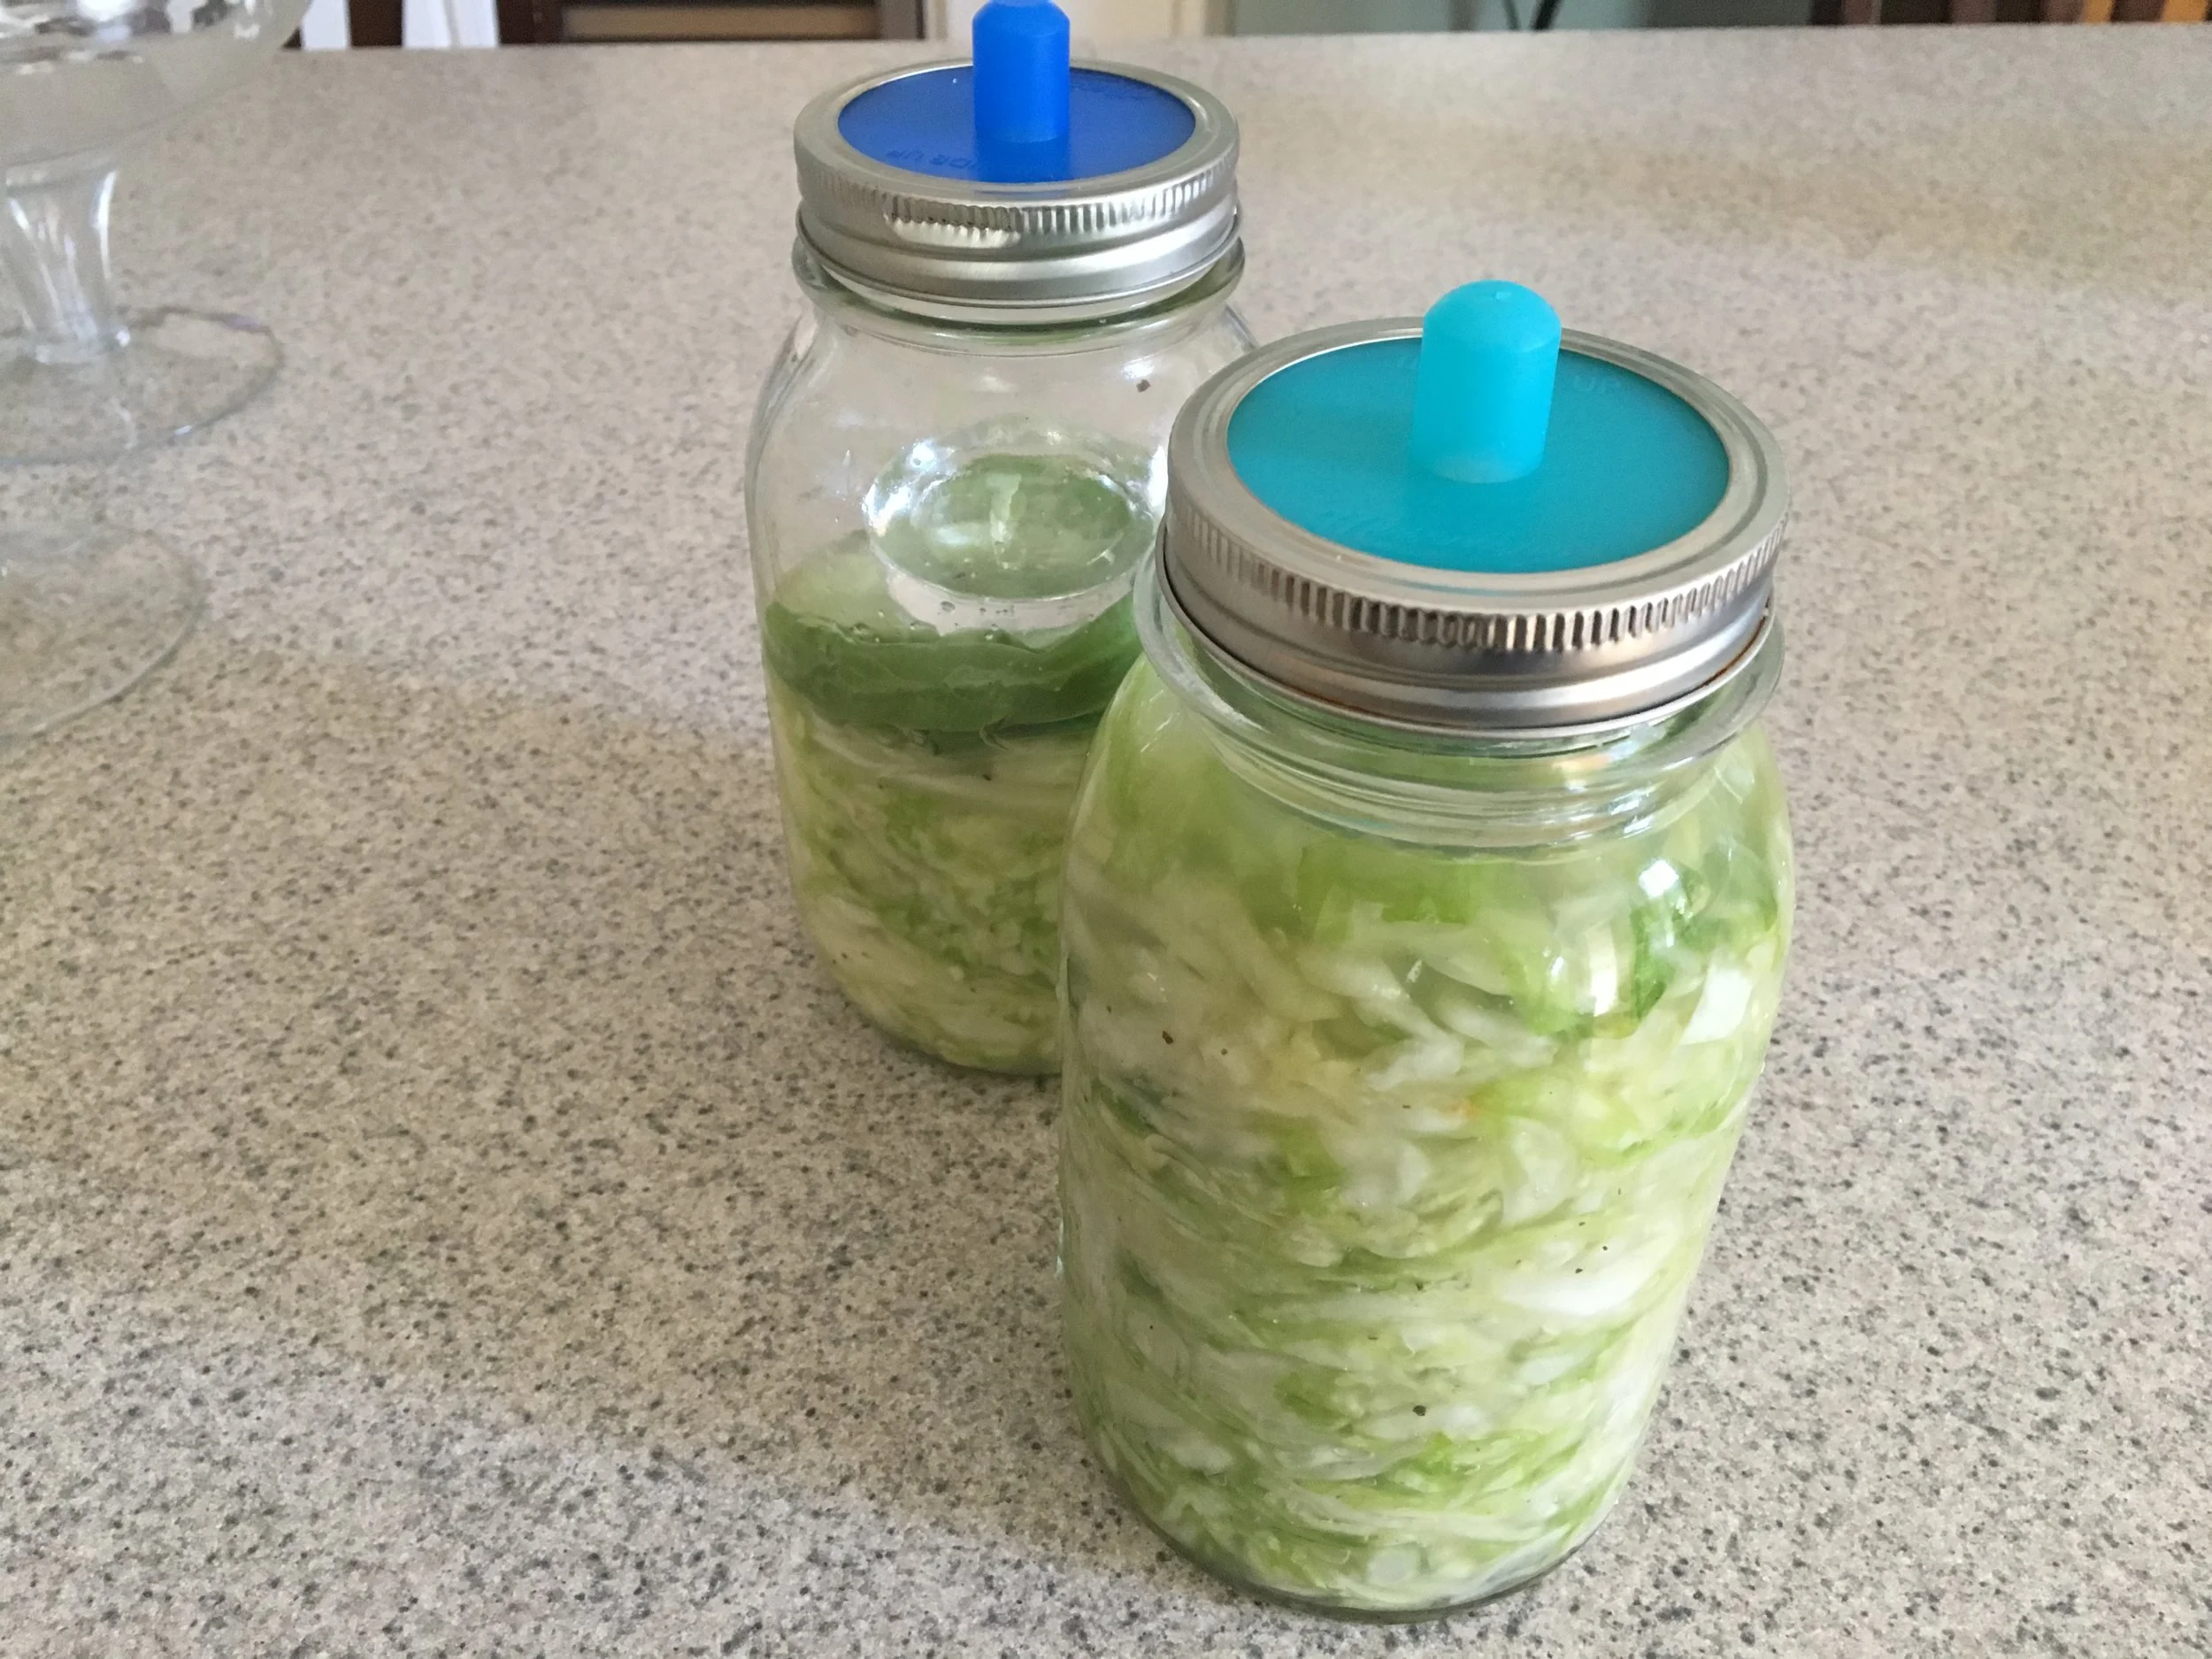
Leave the sealed sauerkraut on the counter for 3-10 days depending on desired tanginess. You will begin to see bubbles form after a couple of days. (Taste sauerkraut as you go along). Make sure the cabbage stays below the brine line or you may experience some discoloration, which you can easily remove. After a couple of days you may need to pack down a little further. I did this so as to keep the cabbage below the brine.
Once the sauerkraut has reached desired consistency (sour), transfer the jar to the refrigerator. The sauerkraut will continue to ferment, but at a slower rate. If using a "burping lid", you can replace it with a regular canning lid at this point. You can enjoy the sauerkraut right from the jar immediately.
*Note- I stumbled upon masontops.com by accident from another blogger. If you prefer another method or have your own tips for making homemade sauerkraut, please feel free to share it below so others can benefit:)
If you have children or grandchildren, let them help in the process. This would make a great family summer science experiment!
Happy fermenting!
Enjoy!
