Cherchies Blog

Shop Cherchies.com   Free Shipping on continental US orders over $100

Cherchies Blog

Pepper Steak Stir Fry Recipe

entreesSheri SpalloneComment

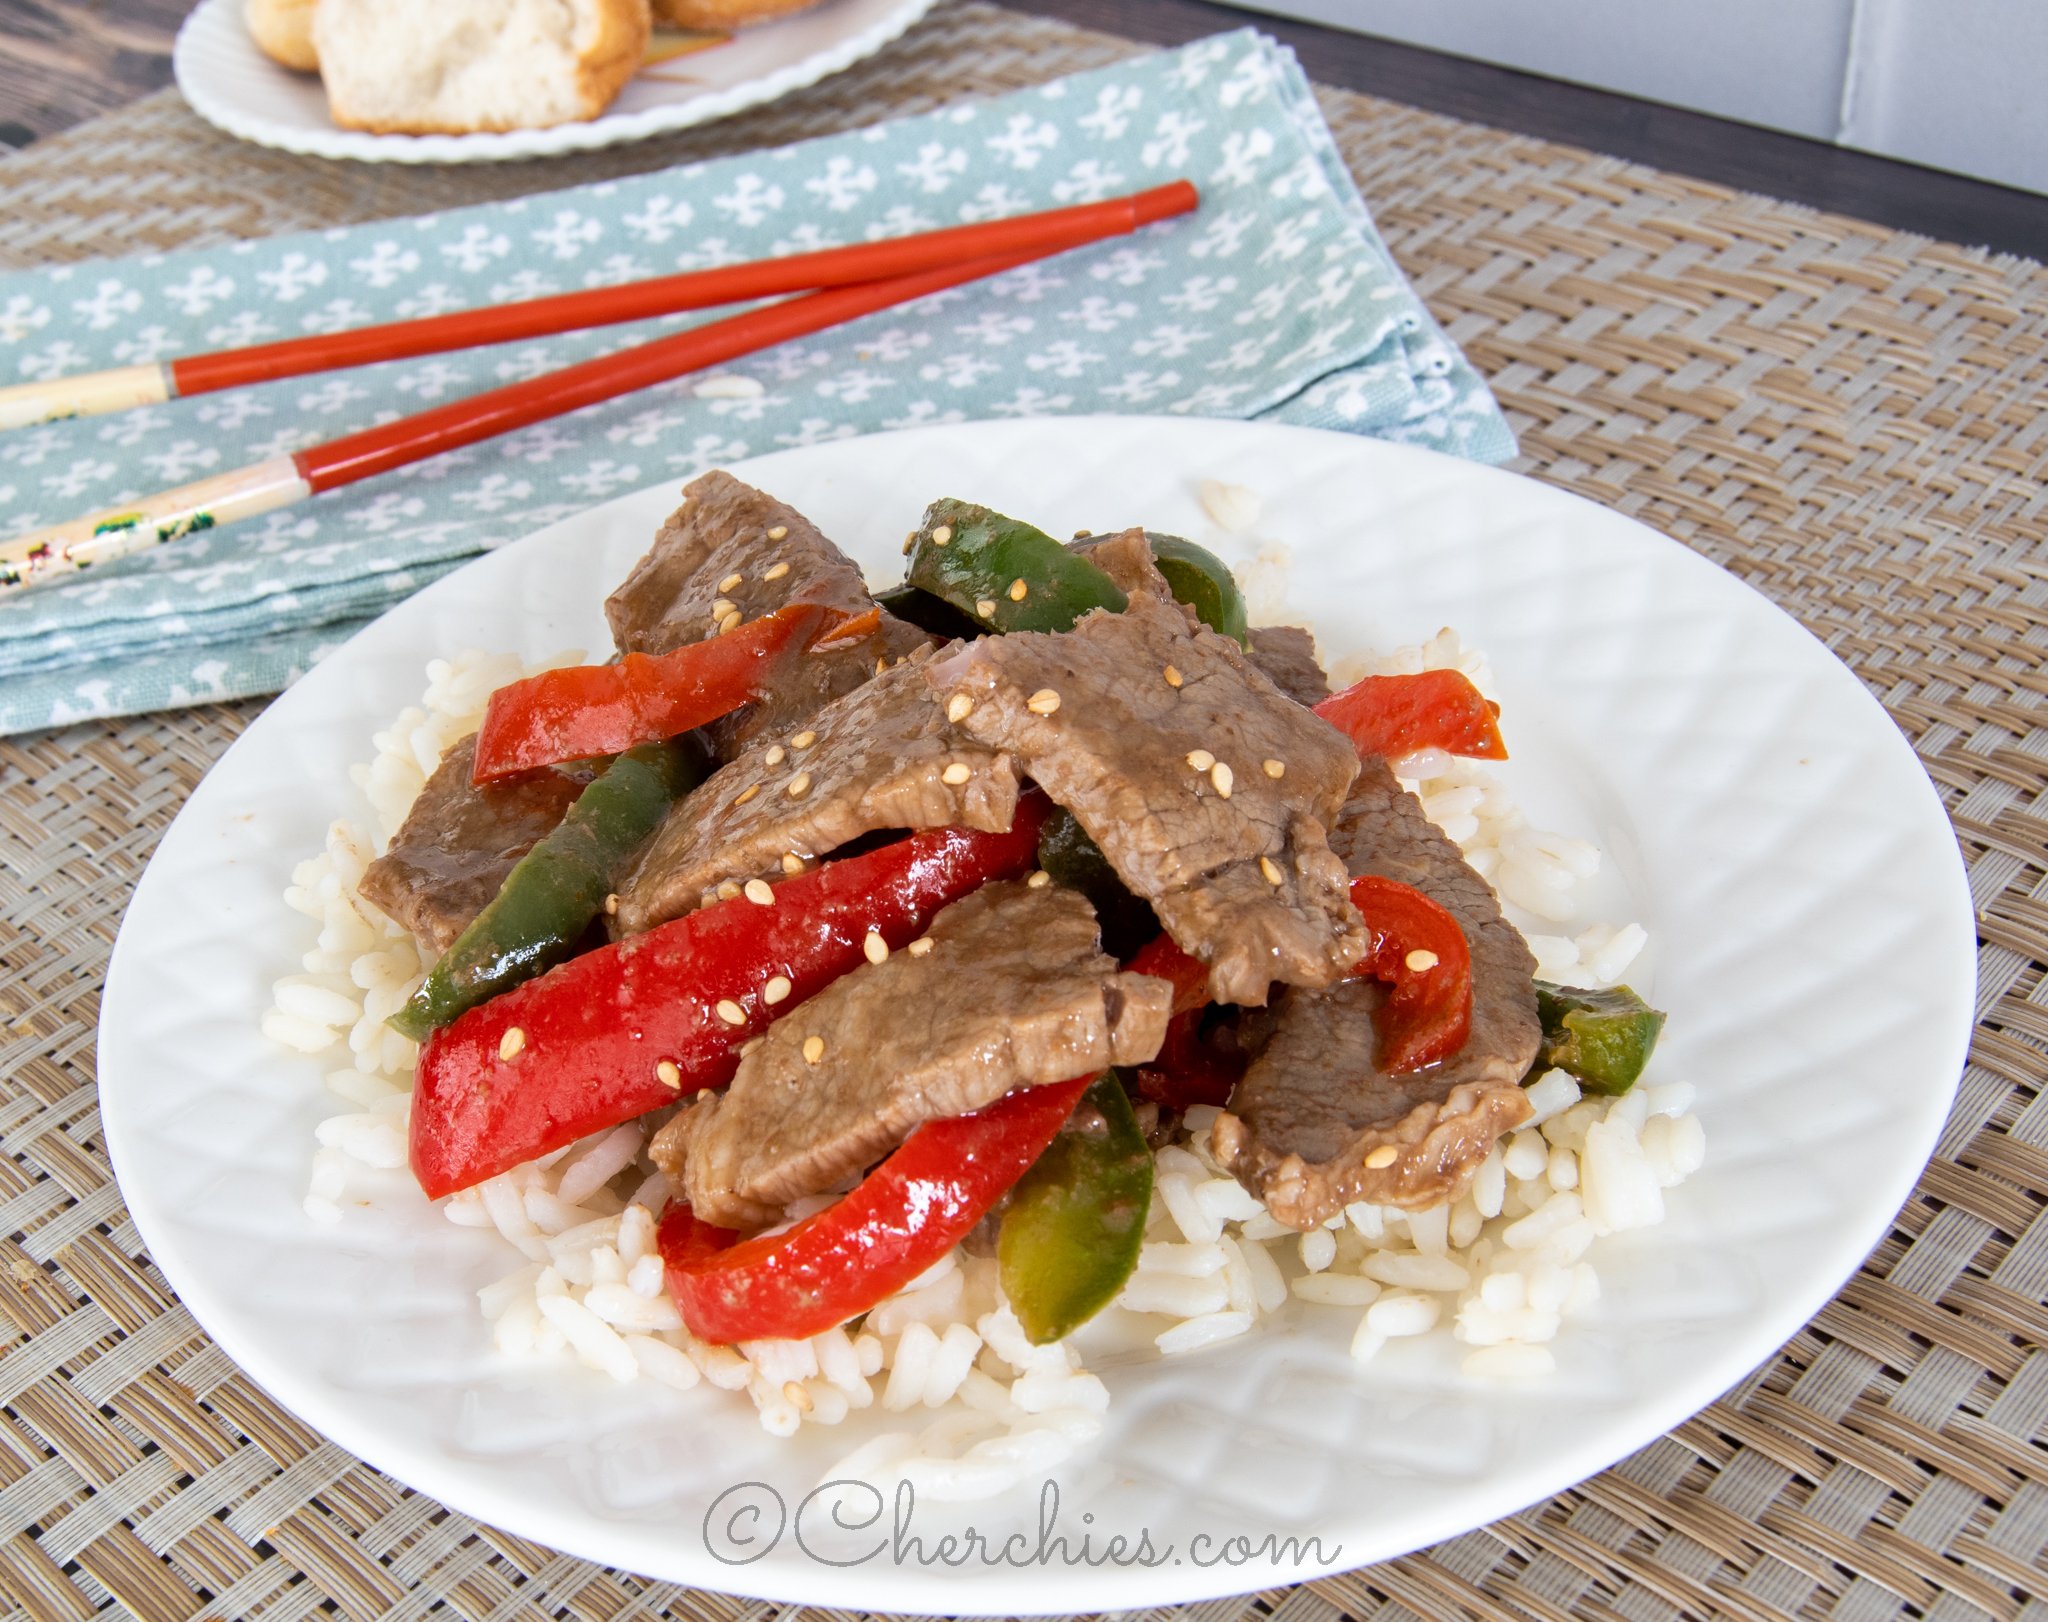
Peppered Steak Stir Fry Recipe

Prep Time:  10 Minutes (Plus 2 hours of marinade time)
Cook Time: 30 Minutes
Difficulty: Easy

We are excited to reintroduce one of our most requested products of the past, Cherchies® Brush ‘n Broil Sauce! This specialty non-ketchup sauce, Brush ‘n Broil, is like none other, a mildly hot sauce made with olive oil and a rich blend of spices and natural flavors. Grill, Broil, and sauté meat, seafood, chicken, pork, and vegetables with this unusually flavorful sauce. It makes an excellent marinade, dip, stir-fry sauce, and more! 

This mouth-watering peppered steak stir fry recipe, featuring Cherchies® NEW Brush ‘N Broil Sauce, is easy to make, will not disappoint in flavor, and is a recipe you will come back to again and again on those busy nights. Stay tuned for more delicious recipes featuring our newest addition, Cherchies® Brush ‘n Broil Sauce.

What would you make with this flavorful sauce?

Thanks for stopping by:) Comment below if you have made this delicious recipe. Come back again for more family-tested recipes, entertaining ideas, and cooking tips using all our favorite Cherchies® gourmet products.

Follow us on social media: Facebook, Instagram, and Pinterest.


Ingredients: 

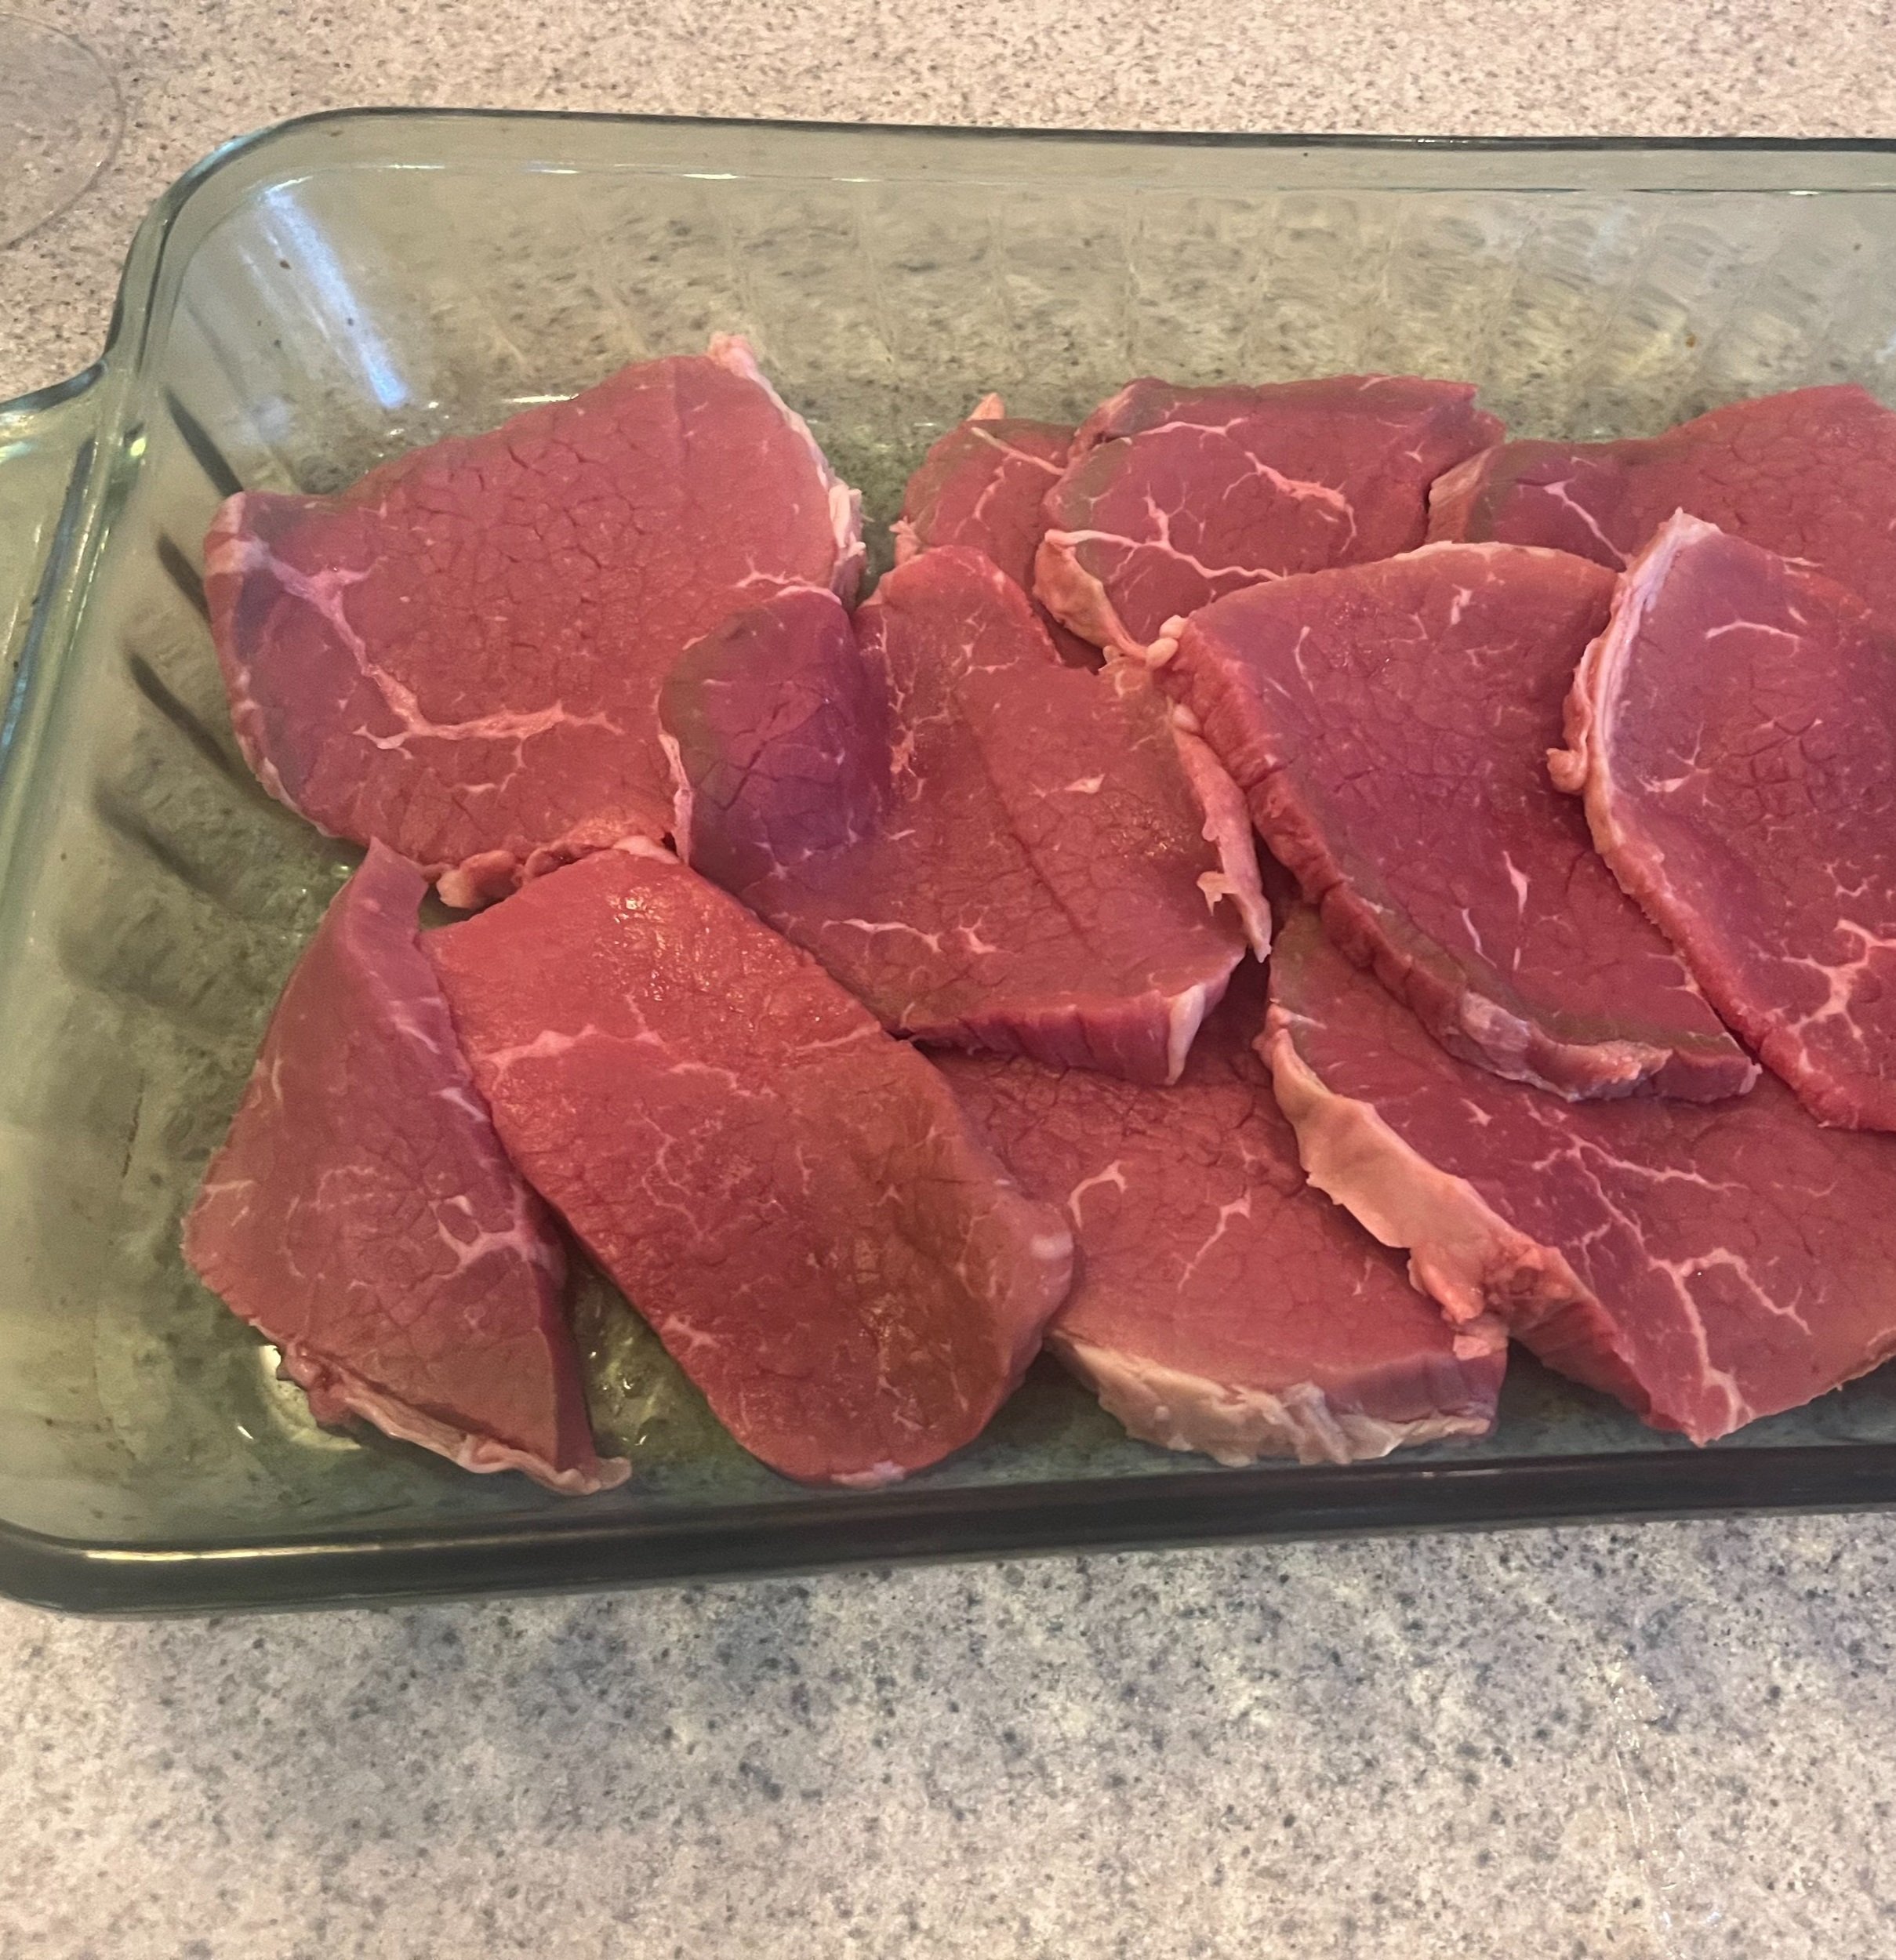
  • 1 lb. boneless round steak

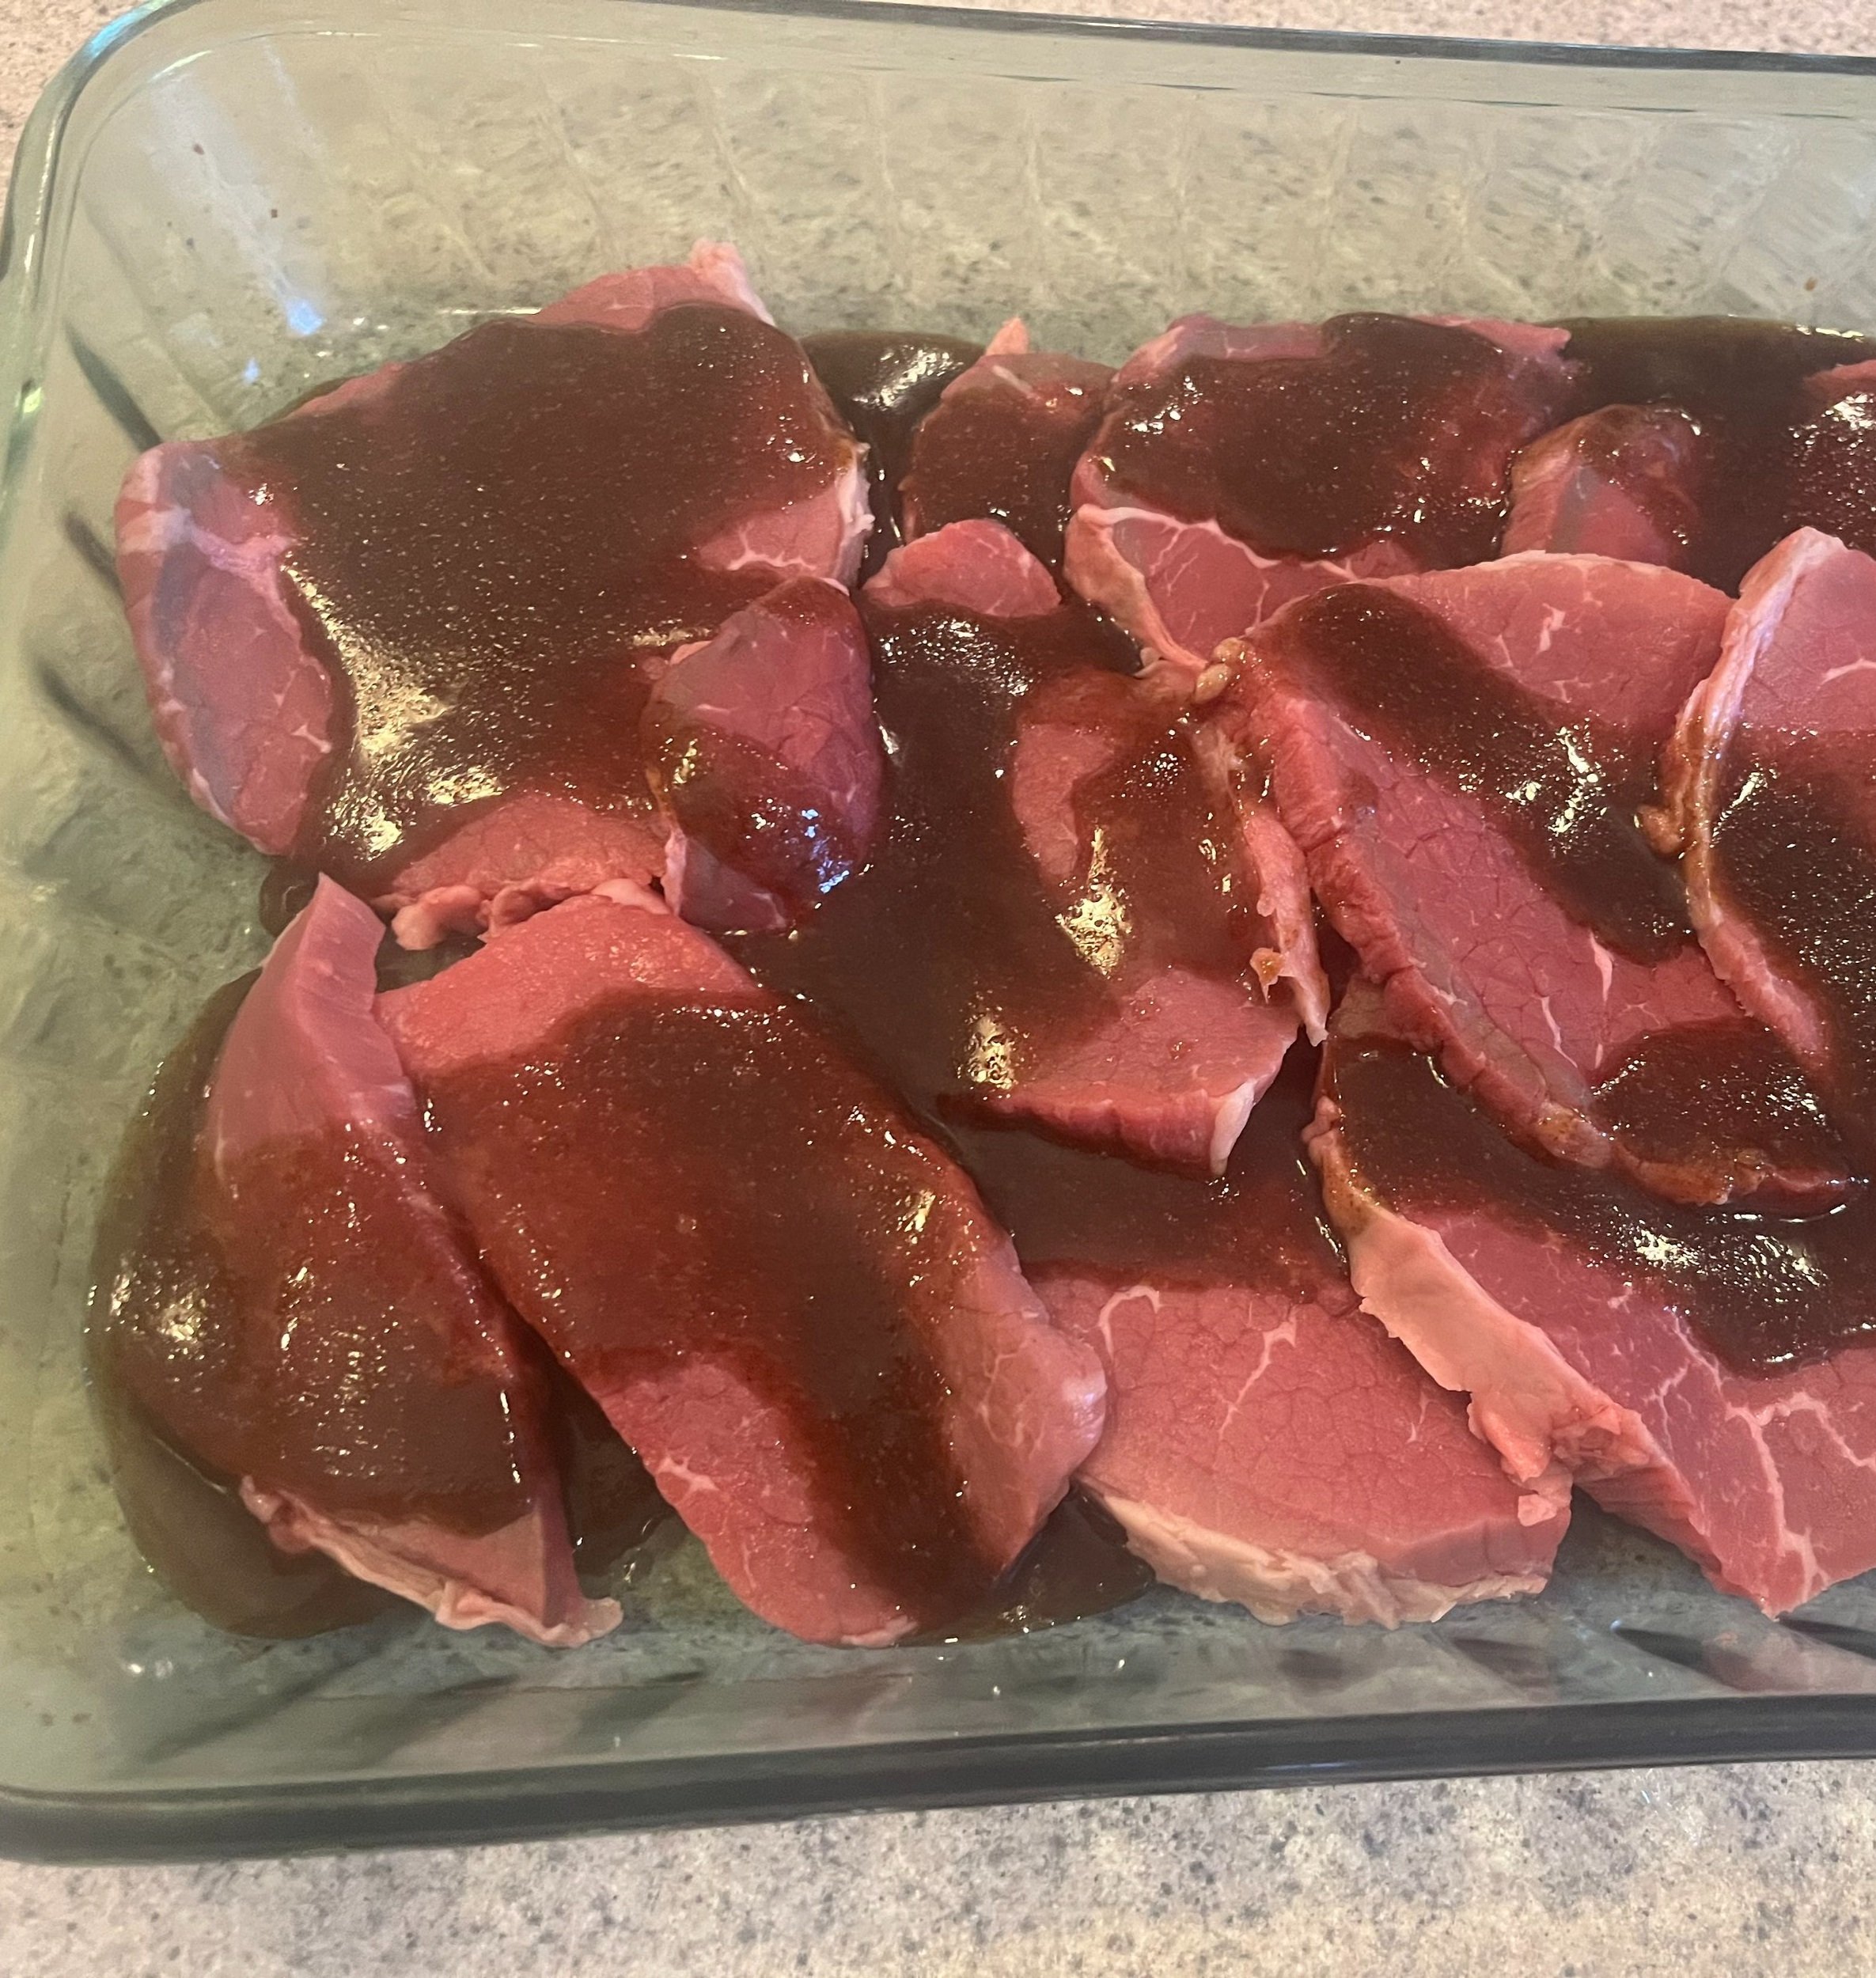
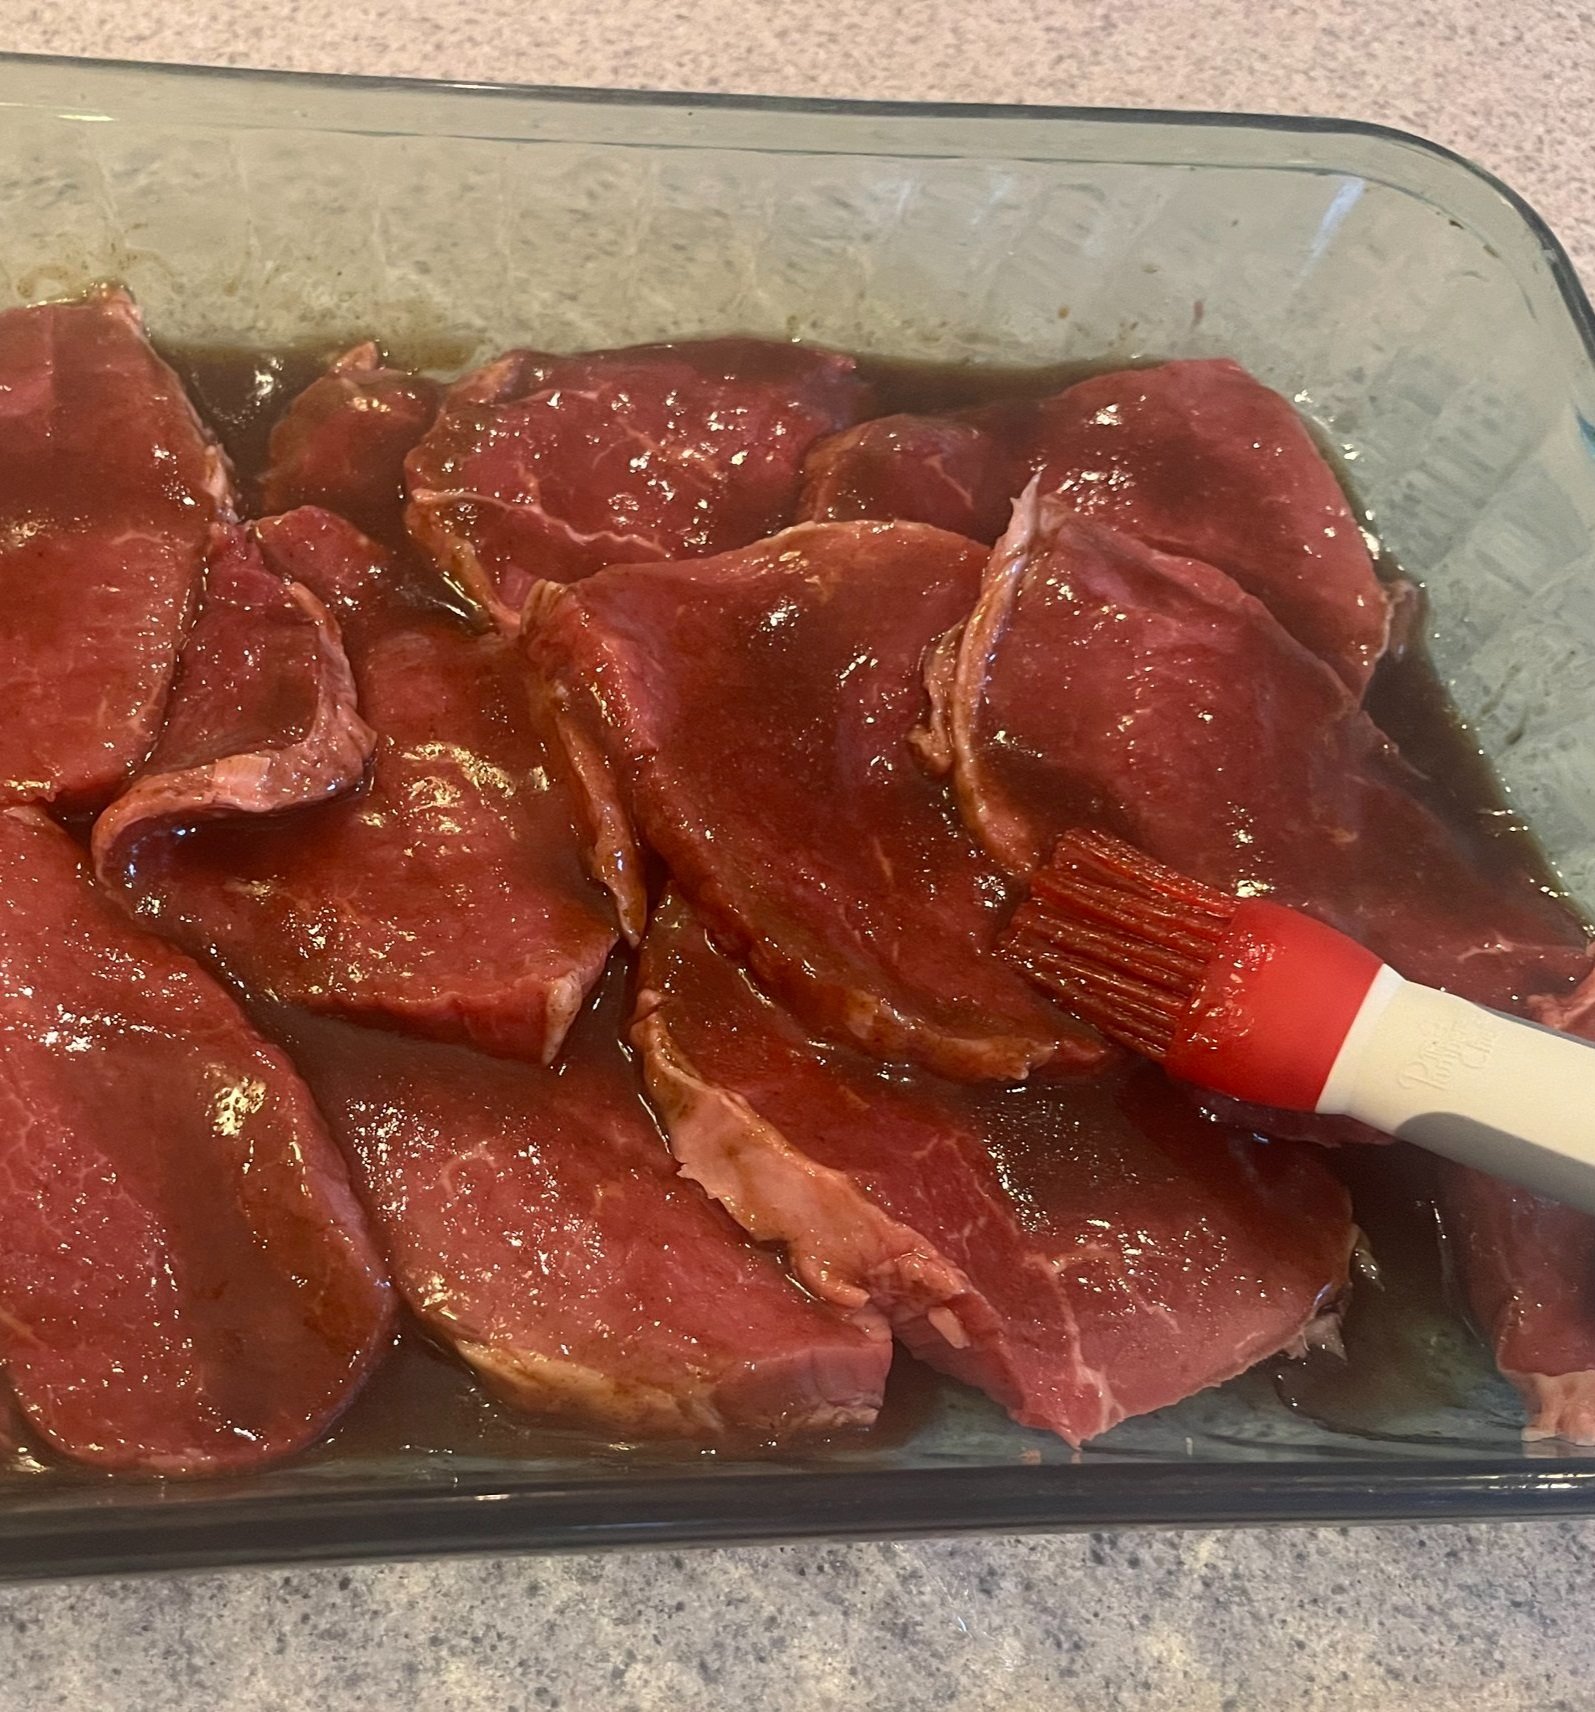
  • 1/2 cup Cherchies® Brush 'n Broil Sauce

  • 1 tsp. sugar

  • 2 large green peppers, cut into 1/4-inch strips (we used red and green peppers for a prettier presentation)

  • 4 servings of hot-cooked rice

  • Toasted sesame seeds or chopped scallions (optional for garnish)


Preparation 

Slice steak across the grain into 1/4-inch strips.  Place in a shallow bowl and set aside.  Mix sugar, Brush 'n Broil, and pour over steak strips.  Cover and refrigerate for at least 2 hours.

Using a wok or skillet, stir-fry meat for 2 to 3 minutes.  Reduce heat and add peppers.  Cook for an additional five minutes until the peppers are crisp/tender.

Garnish with toasted sesame seeds or chopped scallions for a beautiful presentation. Serve over rice.


Yum

Saucy Barbequed Beef Recipe

entreesSheri SpalloneComment

Prep Time: 15 minutes

Cook Time: 3 1/2 hours

Difficulty: Easy

This hearty beef dish is slow-cooked on the stovetop in a Dutch oven. Serve it with your favorite biscuits or rolls.

Ingredients

Preparation

Bring the roast to a boil in a Dutch oven with enough water to cover it.  Reduce heat to a simmer.  Cover and cook for an hour. 

Remove the cover and cook for an additional hour over low heat.  Drain.  Remove and discard all fat (and bone) from the roast. 

While still warm, cube the meat and set aside.  Combine the rest of the ingredients in the Dutch oven.  Stir the sauce while bringing it to a boil. 

Add the cubed meat to the sauce, reduce heat, and simmer uncovered for 1 to 1/2 hours.  Serve with your favorite biscuit or rolls.

Yum

Mardi Gras King Cupcake Recipe

dessertsSheri SpalloneComment
Mardi Gras King Cake Cupcakes Recipe

Mardi Gras King Cake Cupcakes Recipe

Prep Time: 10 minutes

Cook Time: 15 minutes

Difficulty: Easy

Originally posted in 2019.

Happy early Fat Tuesday, everyone! 

Did you know? Fat Tuesday (Mardi Gras) is the day before the Christian Lenten fasting season (Ash Wednesday) begins. "Because Lent is a time of fasting for Christians, the days leading up to Ash Wednesday provide the last opportunity for feasting (including simply eating forbidden items) until Easter. Traditionally it is a time dedicated to eating large quantities of sweets, cakes, and other meals usually not eaten during Lent". -https://en.wikipedia.org/wiki/Fat_Thursday.

"The cake" (the King Cake) for Mardi Gras is usually a ring-shaped, yeasted confection with cinnamon and sugar swirled throughout the batter, white icing on top, and sprinkles of gold (power), purple (justice), green (faith) colored sugar as garnish (mardigrasneworleans.com). And, "each king cake has a tiny plastic baby inside. The lucky person who receives the slice of cake with the baby has the next king cake party (or brings the next cake for the office)".-https://www.mardigrasneworleans.com/history/king-cakes.

Pretty cool, huh?

I tend to "bend the rules" in cooking, and my "take" on this New Orleans classic confection, is a cinnamon-swirled vanilla cupcake filled with apple butter, dolloped with a creamy buttercream frosting, and adorned with the traditional colors of Mardi Gras (gold, purple, and green). In our version, the apple butter filling (Cherchies® Apple Butter Spread) replaces the baby. (However, if you plan on bringing these tasty treats to a Mardi Gras party, by all means, add a plastic baby to one of the cupcakes! Or, for Easter, add a jelly bean and create a new tradition).  

To celebrate Fat Tuesday in style, make this tasty Mardi Gras King Cupcake Recipe, a delightfully moist vanilla cupcake filled with cinnamony apple butter and topped with creamy buttercream icing. Change the decorations, and you have the perfect cupcake to celebrate any occasion*.  

Thanks for stopping by:) Comment below if you have made this delicious recipe. Come back again for more family-tested recipes, entertaining ideas, and cooking tips using all our favorite Cherchies® gourmet products.

Follow us on social media: Facebook, Instagram, and Pinterest.

*Note: Try this recipe with any of our Butter Spreads or Preserves in the middle if you want to mix things up.    

Ingredients- "Perfect Vanilla Cupcakes"- Recipe adapted from Glorious Treats

Yields- 15-16 cupcakes

  • 1 1/4 cups cake flour*

  • 3/4 teaspoons baking powder

  • 1/2 teaspoon baking soda

  • 1/2 teaspoon salt

  • 3 eggs

  • 1 cup sugar

  • 1 1/2 teaspoons pure vanilla extract

  • 1/2 cup oil (vegetable or canola oil)

  • 1/3 cup milk (whole or low fat, but avoid fat-free)

  • 1/3 cup sour cream (full fat or light, but avoid fat-free)

  • 1/2 jar Cherchies® Apple Butter Spread

  • Ground cinnamon

  • Yellow, green, and purple sprinkles (optional for decoration)

*Note- if you do not have cake flour, use this simple substitution; for every cup of flour, remove 2 Tablespoons (Tbsp) of flour, substitute with cornstarch, and sift together several times.

*Another Note- You could substitute any yellow boxed cake mix for the cupcakes, using the ingredients mentioned in the box and following the directions. If you go this route, use the ingredients listed on the box, skip down to the “Preparation for cupcakes” directions below, and add the Apple Butter and cinnamon, as indicated below.

Ingredients for Icing

  • 1/2 cup butter-flavored shortening

  • 1/2 cup butter, room temperature

  • 1/4 teaspoon (tsp.) almond extract

  • 1/2 teaspoon (tsp.) vanilla

  • 4 Tablespoons half & half (milk is fine too)

  • 1 lb. powdered sugar

Preparation

Preheat oven to 325*F.

Prepare the icing.  Cream together shortening, butter, extracts, and milk.  Gradually add powdered sugar.  Mix until blended.  Set aside.

Preparation for cupcakes- In a medium bowl, add cake flour*, baking powder, baking soda and salt.  Sift the ingredients together and set aside. In another bowl, mix the eggs, sugar, vanilla and oil with an electric mixer and mix for about a minute.

Reduce mixer speed to low and slowly add about half of the flour mixture.  Add the milk, then the rest of the flour and the sour cream.  Beat until just combined.  Scrape down the side of the bowl and make sure no lumps are left at the bottom of the bowl.  Do not over mix.

The batter will be slightly thick.  Line muffin tins with cupcake liners. So here is the fun part. The goal is to layer the batter. Fill liners about 1/3 full with cake batter. Dollop a Tablespoon of Cherchies® Apple Butter Spread on top of the batter. Sprinkle enough cinnamon to cover the batter (teaspoon). Carefully add another 1/3 of batter over top of Apple Butter and Cinnamon, not exceeding filling the muffin tin to 2/3 full.

After you have carefully layered the batter, take a butter or table knife and gently run the knife through the batter to make swirls. You will only need a couple of swirls.

Bake at 325 degrees for 15-18 minutes, checking them at 15 minutes.  Insert a toothpick or a cake tester to check for doneness.  If toothpick or cake tester comes out clean, the cupcake is done.  If not, give it another minute or so until done.  You do not want to overcook the cupcakes.  Slightly under cooking is best, as the cupcakes will continue to cook when removed from the oven.

Allow cupcakes to cool completely on a wire rack for about ten minutes. Ice cupcakes with the buttercream icing, using a 195 tip, or your favorite tip.  Decorate with your favorite sprinkles and voila, moist fluffy cupcakes with a sweet apple-cinnamon filling inside, perfect for any occasion.

Note: The cupcakes and frosting can be made ahead 1 day in advance.  Make sure to cover tightly and store them in the refrigerator.  Unfrosted cupcakes can be frozen up to 2-3 months, but thaw overnight in the refrigerator when ready to use- Cooking tip from Sally's Baking addiction.

king cupcake 199.jpg


Yum

Cooking Tip: How To Make a Gameday Snack Stadium

cooking tipsSheri SpalloneComment
Cooking Tip: How To Make a Gameday Snack Stadium

Cooking Tip: How To Make a Gameday Snack Stadium

Updated February 7, 2025.

Round Two: Eagles vs. Kansas City!

Super Bowl Sunday is this Sunday, and our beloved Eagles (It's a "Philly Thing") are going to the Super Bowl! We couldn't be more excited! What better way to celebrate the Super Bowl than to score a touchdown with your guests with this easy peasy "snack stadium"; game day food at its most creative!

I have always had a weakness for themed celebrations, and game day is no exception, especially when our hometown NFL team is in the Super Bowl. Our family loves the decorations, the fun food, etc., of themed parties, so when I learned about "snack stadiums" seven years ago (the last time the Eagles won the Super Bowl), we were all on board to create a "snack stadium."

I was amazed on the internet at the lengths football fans went to build elaborate snack stadiums. Creating a "snack stadium" does not need to be complicated or expensive, as most containers can be found in your home (plastic containers, aluminum take-out trays, empty soda boxes, magazine holders, etc.). I purposely recycle those containers just for my snack stadium. The idea is to surround the field with stadium-like seating (containers) where you will host a variety of snacks.

Here’s how we did it:

Assemble your stadium

Every stadium centers around the obvious, the playing field, so start with that. I used a green plastic tablecloth I purchased at our local party store for the background. For the actual football field, we used a rectangular foil tray saved from a previous party and sectioned off two end zones with cardboard and aluminum foil. (This will eventually house the guacamole and dip playing field).

Then place the foil tray on a lazy Susan for easy access from all angles. (*This step is not necessary, We used what we had at home).

For the goal posts, we used flexible straws and tape, which can be anchored with olives, grapes, cheese, or whatever your heart desires (make sure to slice off the bottom so it doesn’t roll over).

Arrange the stands. Plan what snacks you want in your snack stadium, as it might dictate the types of containers you use. Recycle and upcycle! We covered magazine holders with white craft paper, take-out containers we saved, plastic cracker tray inserts, etc. Pinterest has many ideas for the stands (cut-up soda boxes, plastic containers, ice cube trays from your refrigerator...use whatever you have!) Once again, it should be easy and stress-free. Plus, if you have your children helping you, it makes for the perfect teaching moment about our environment and recycling.

In the first picture, we used dip containers (from our local restaurant supply store) for tasting at Cherchies® food shows. The other pictures I got from Pinterest show different containers you could use.

Our children had a lot of fun decorating everything, including our salt and pepper shakers that they turned into referees, covering them in white craft paper with Sharpie stripes. Once you have your plan in place, the fun begins, filling your stadium!


Here are some of our favorite stand ideas from those creative internet people…and you know who you are!

Filling your Snack Stadium

This is the best part! Most Gameday celebrations are about the food, and we went further with some fun, creative ideas. The guacamole was in the middle, flanked by two different salsas in the end zones.

On opposite sides, the magazine box “stands” and dip containers by the end zones were filled with our favorite snacks, fruits, and veggies, with dips and candies on the “sidelines.”

The last touch was a stadium monitor. We propped our iPad on some styrofoam inserts from something we had purchased. I have to say, this was my contribution, and I was very proud of myself:) We streamed the game on the iPad for the ultimate “snack stadium.” Of course, we all watched the game on the big tv in the family room.

And, if you are looking for tasty game-day recipes featuring Cherchies® Specialty Foods, check out these recipes.

So, score a touchdown with your guests this Super Bowl Sunday with your creativity and create your own “snack stadium” using household items. Comment below and send us your photos. Thank you for stopping by!
GO EAGLES!!

Yum