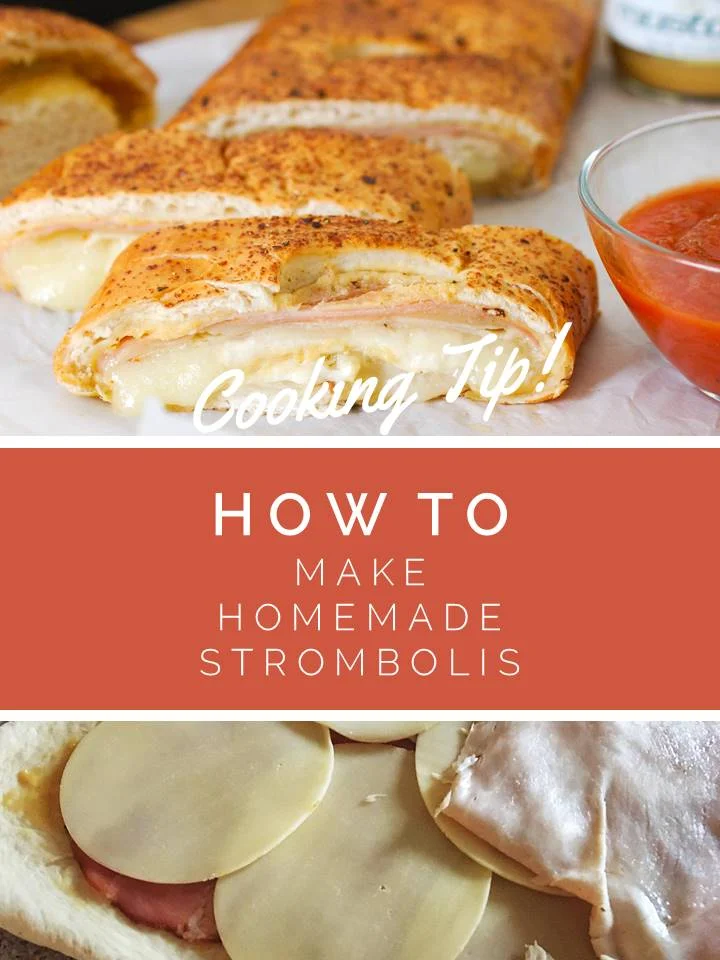
Cooking Tip: How To Make Homemade Stromboli
Prep Time: 10 minutes
Cook Time: About 20 minutes
Difficulty: Easy
Are you ready to get rolling and reinvent pizza night? Gather your gang, grab some pizza dough, and some toppings, because it is time to make homemade strombolis!
Strombolis, are rolled up deconstructed pizzas, stuffed with an infinite number of fillings (savory meats, gooey cheeses, vegetables, leftovers, sauces, etc.). Many fear that making strombolis is too tedious a task to master, but think again! It is simple and a lot of fun, especially if you want to include family or friends! Strombolis are the perfect make-ahead meal for pretty much any event and impressive enough to satisfy most guests.
Follow along as we share the steps to making delicious strombolis at home! You “knead” to try this! :) Comment below on your favorite filling and we would love for you to share your recipe. Thanks for stopping by. We hope you visit again.
Dough- It all starts with the dough. We have tested this process with refrigerated pizza dough, frozen bread dough, as well as fresh pizza dough (found at most grocery stores). Some pizza shops sell their pizza dough to the public. If you have a favorite homemade pizza dough recipe, by all means, use it!
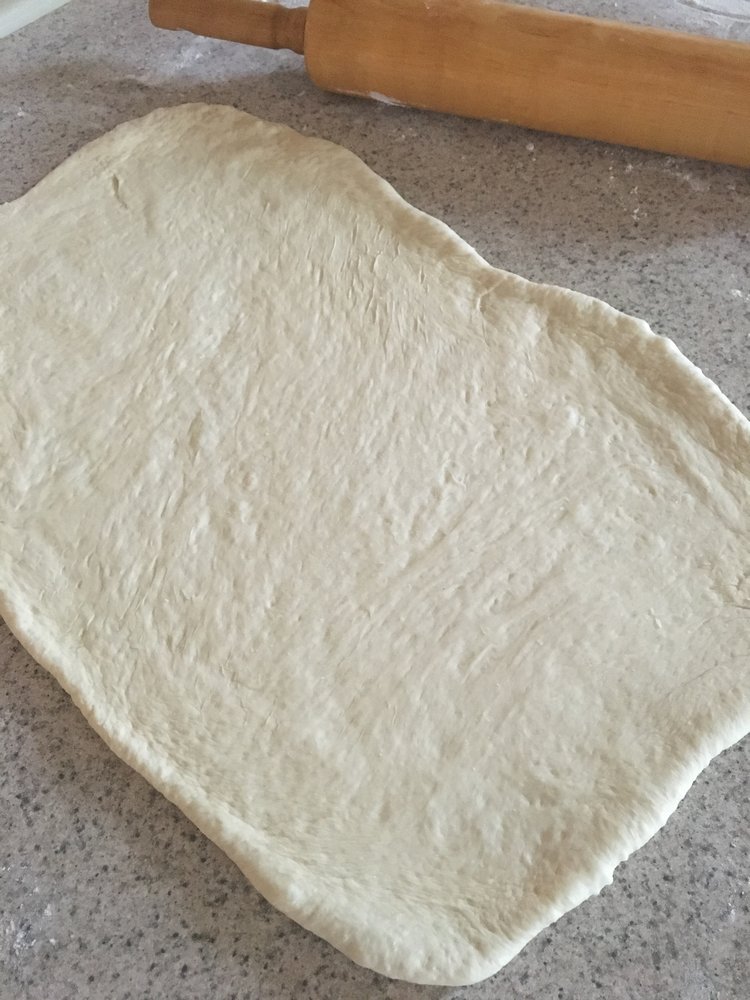
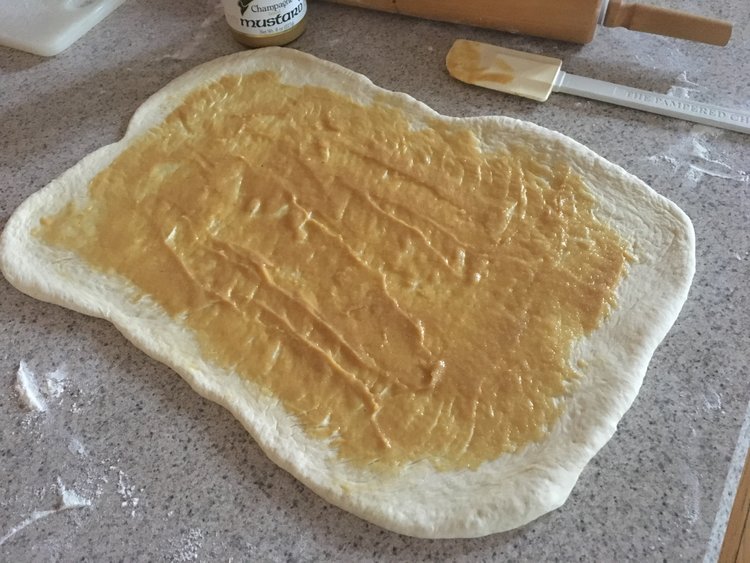
So now what? It’s time to get rolling! Preheat the oven to 350 degrees. Once you have your dough, on a lightly floured surface, roll out the dough into a large rectangle, about 15 inches give or take.
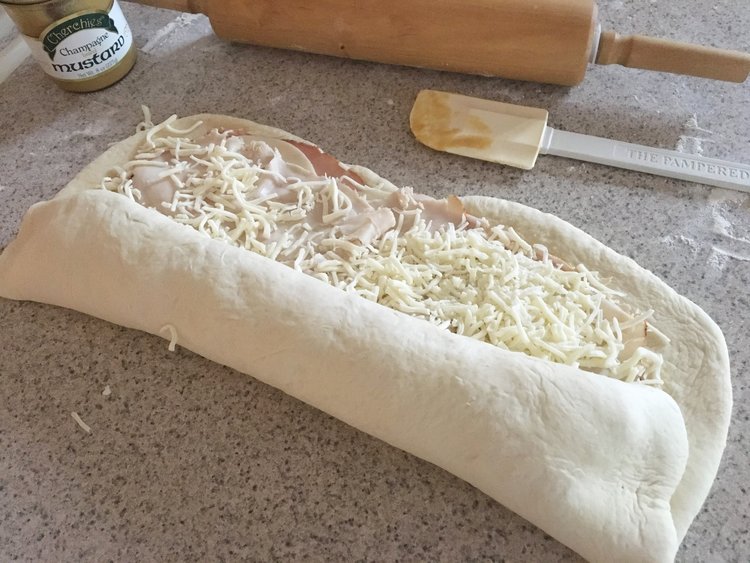
Fillings- This step is optional, but for us, it is the “pièce de résistance” that makes the flavors of the stromboli come alive, no matter the filling. The secret? Spread the dough with a thin layer of our famous Cherchies Champagne Mustard before adding the toppings! It makes a huge difference.
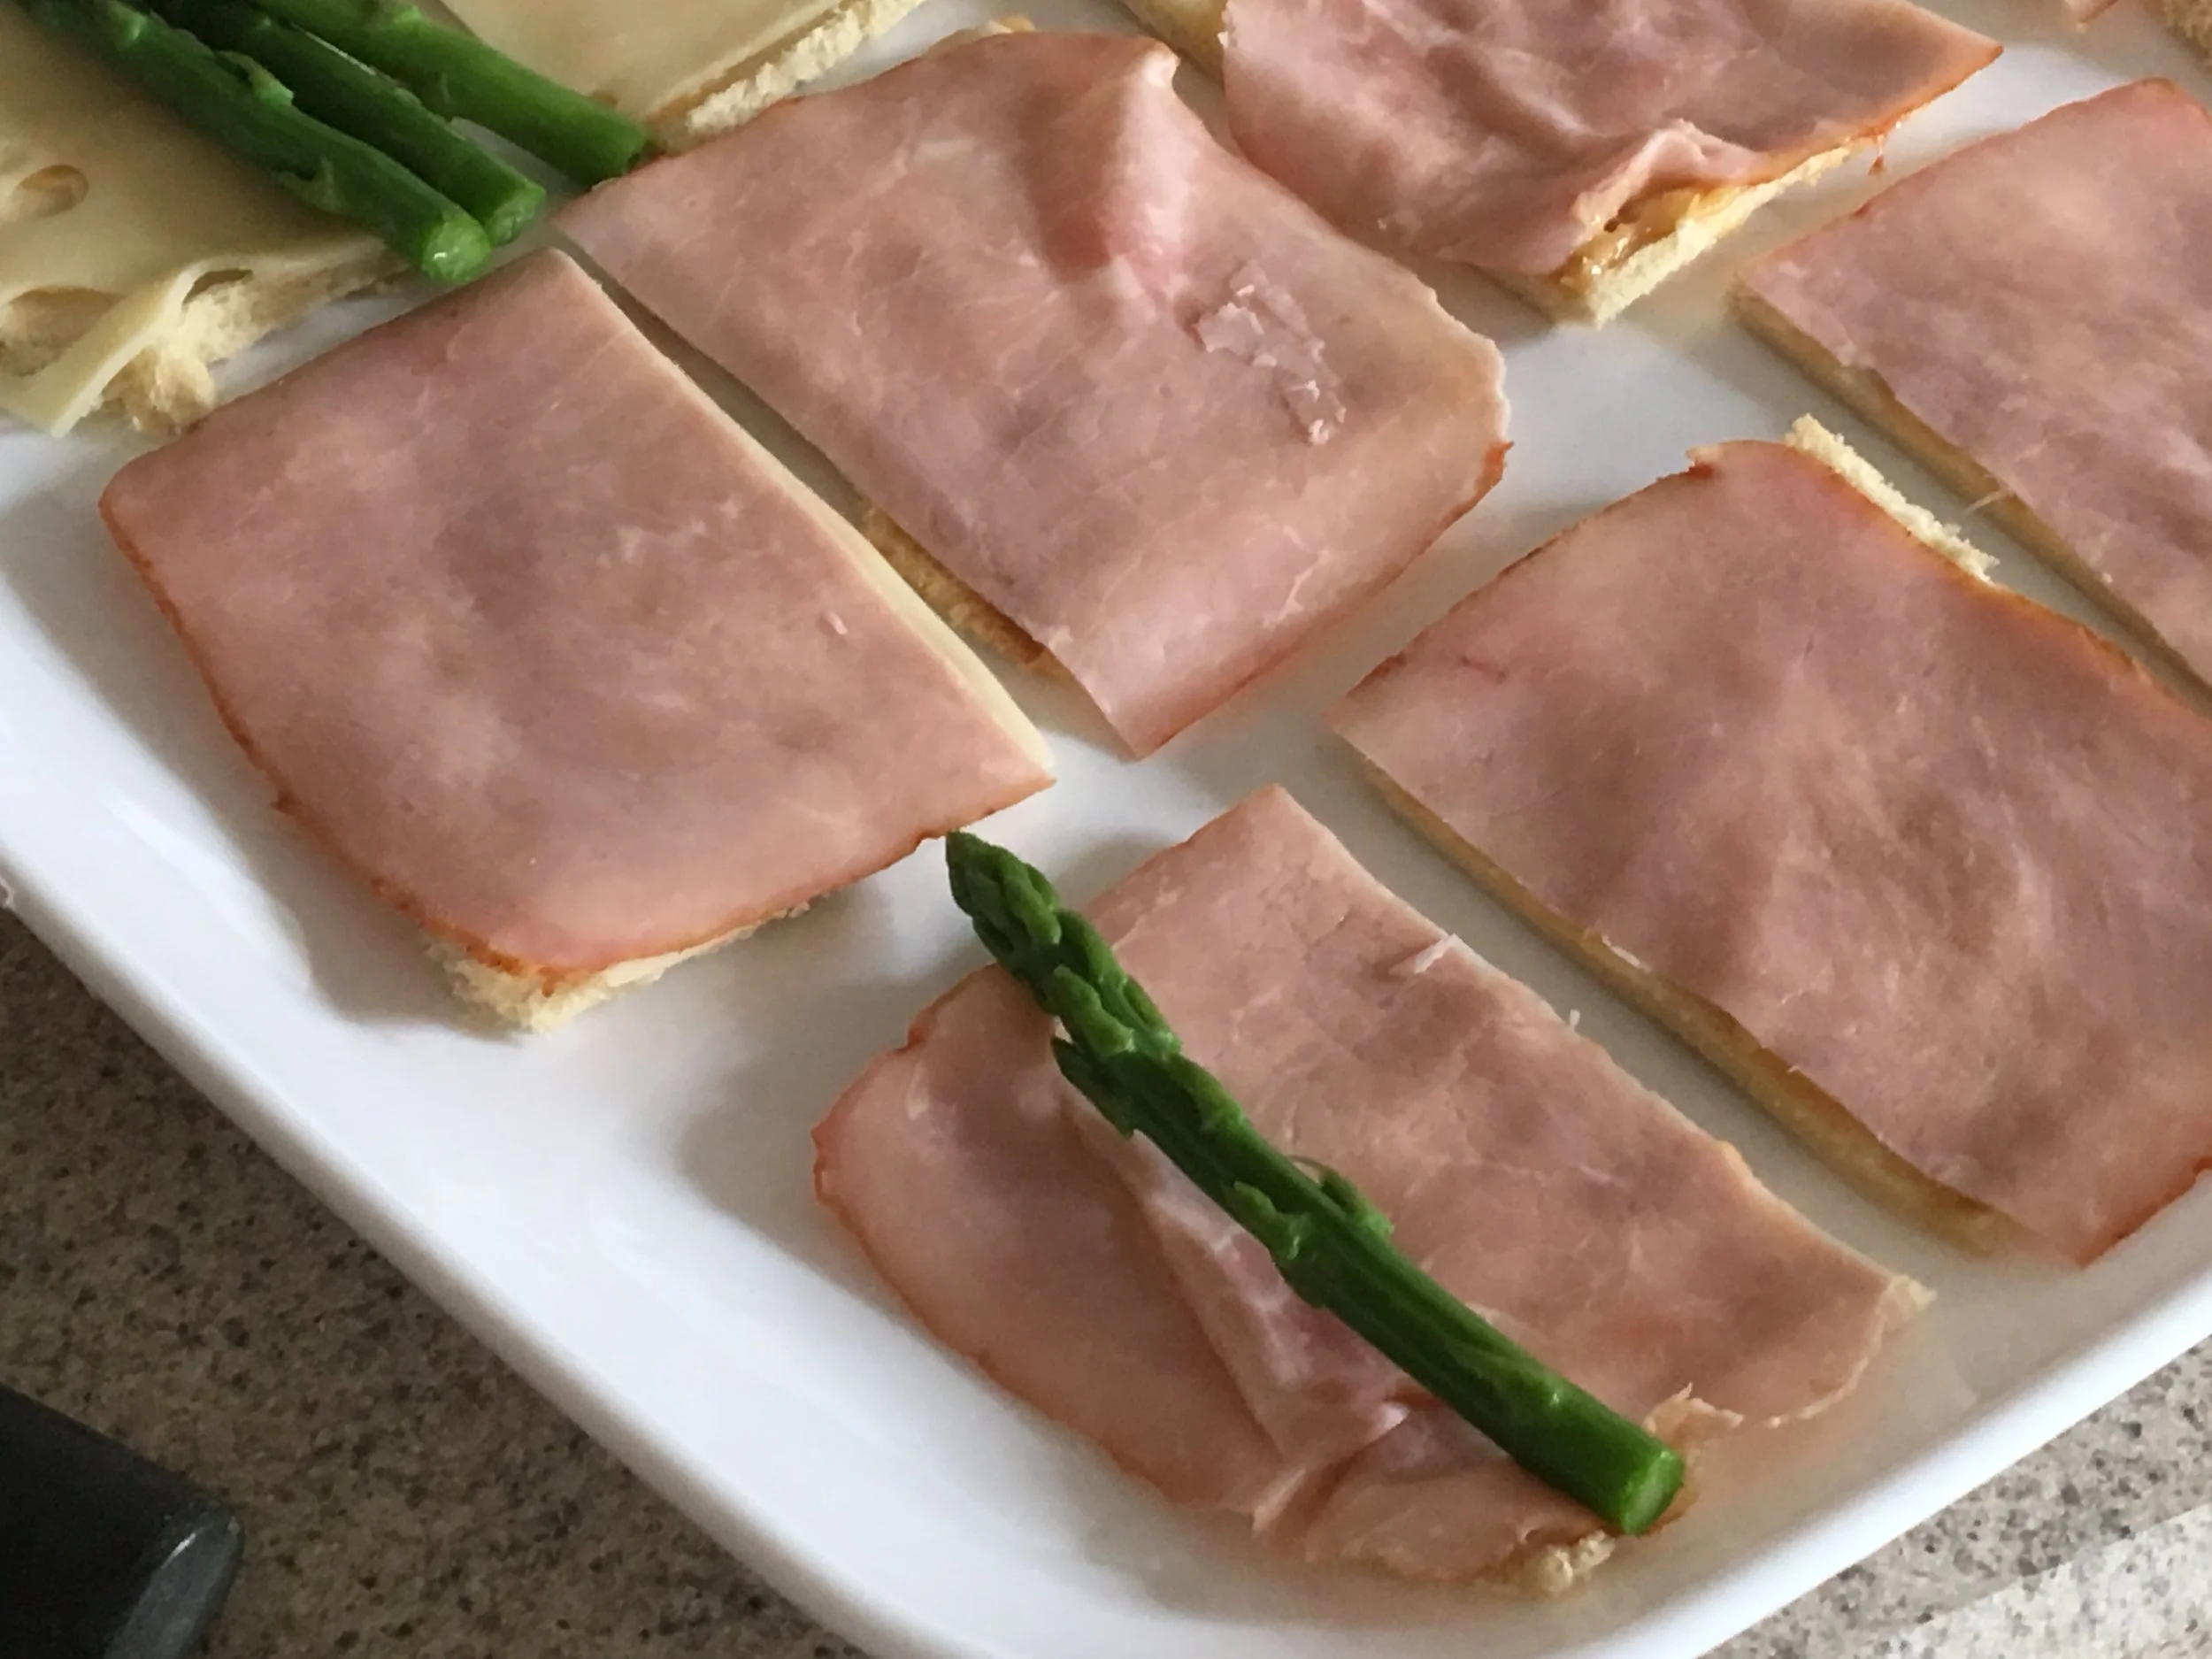
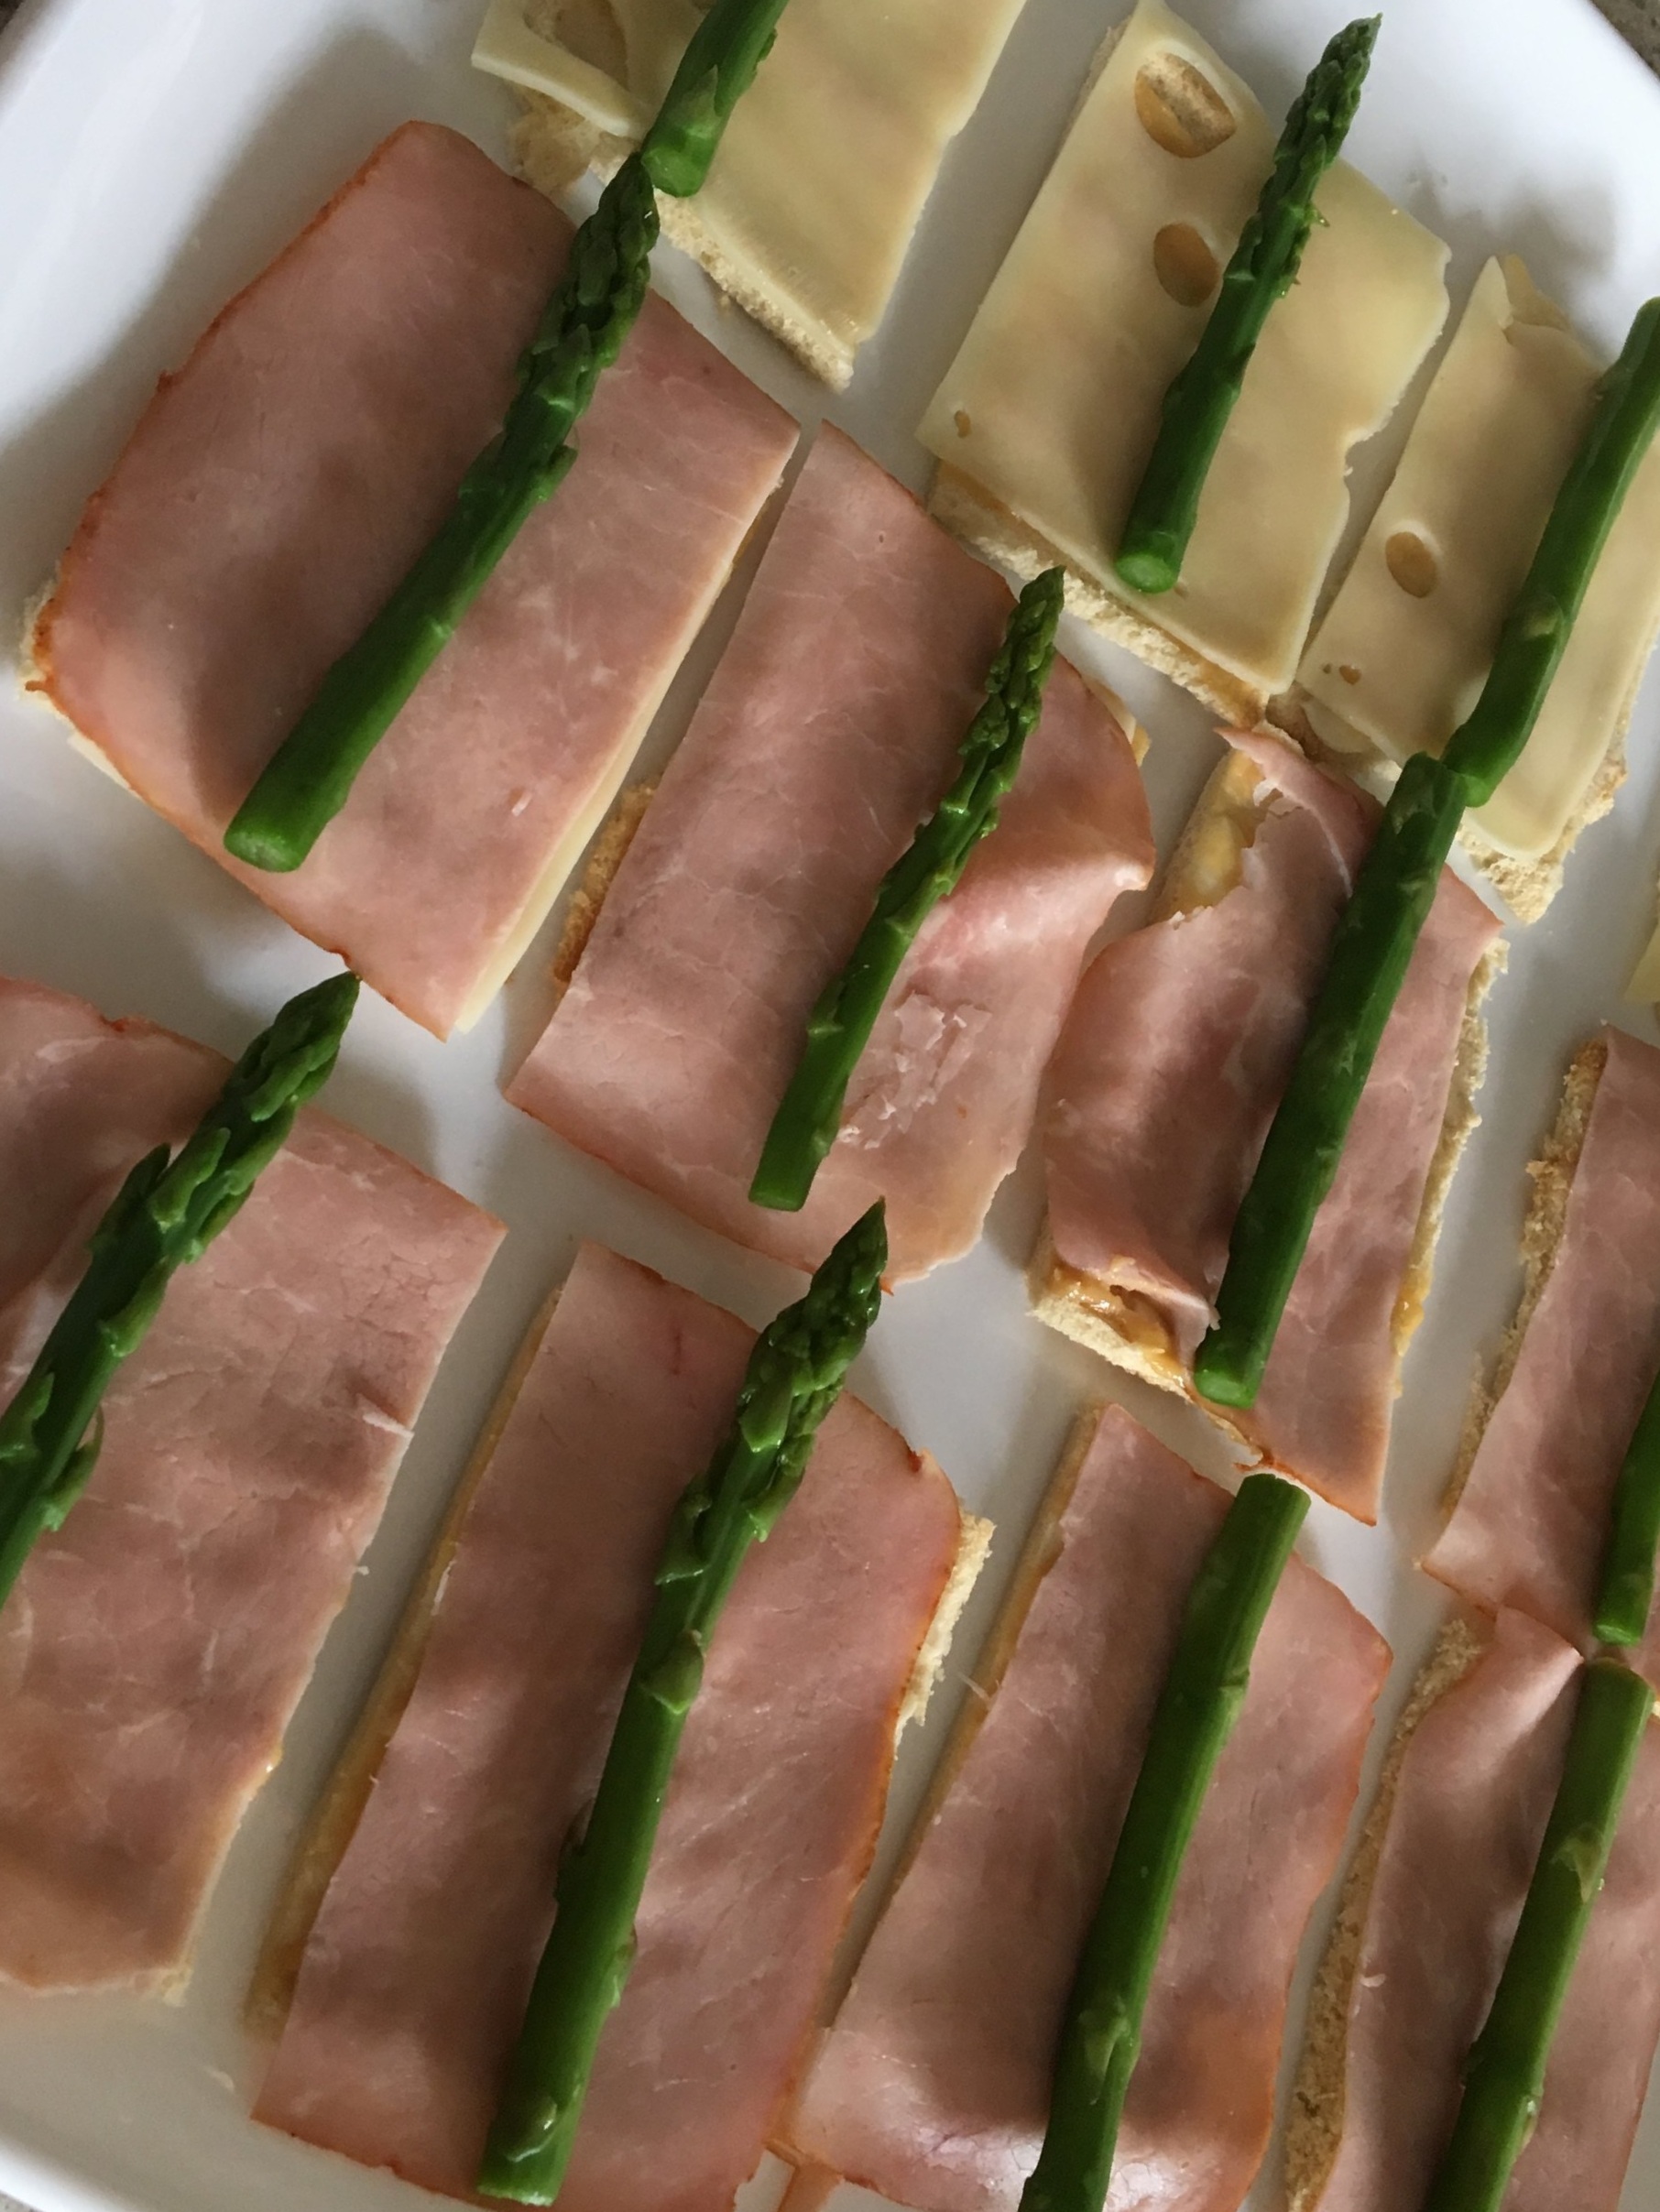
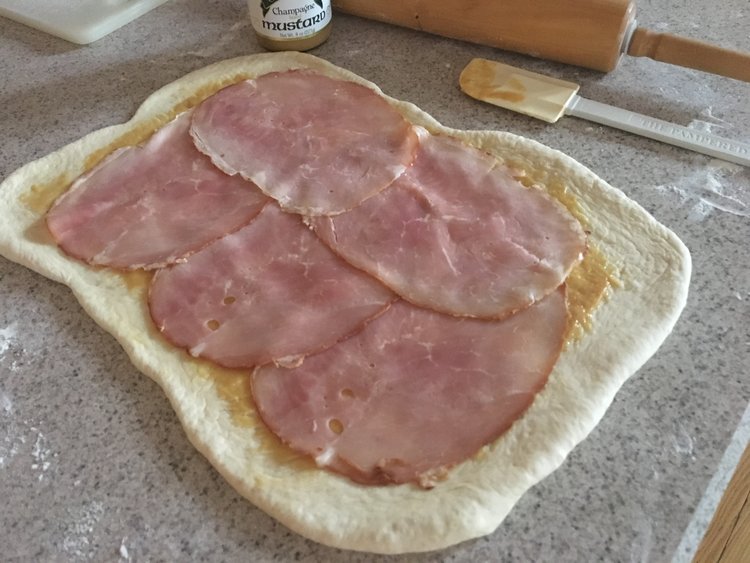
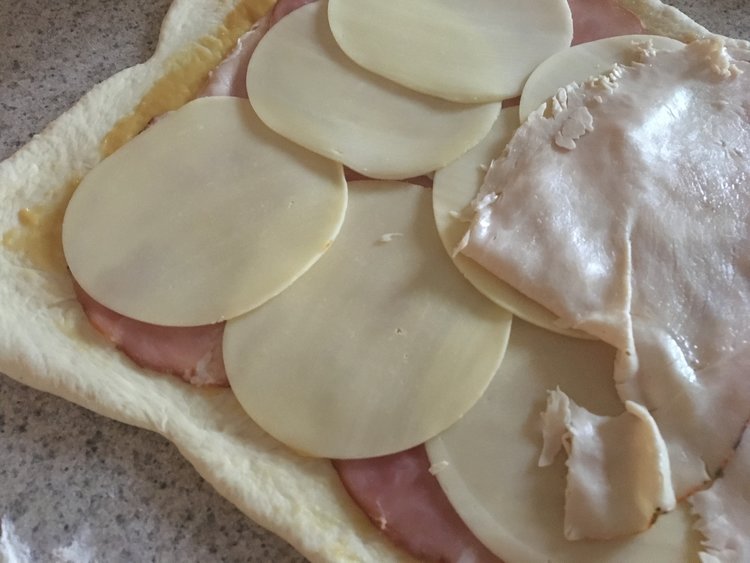
You will want to place all the toppings and fillings inside the rectangle, leaving about 1 inch around the perimeter free for rolling.
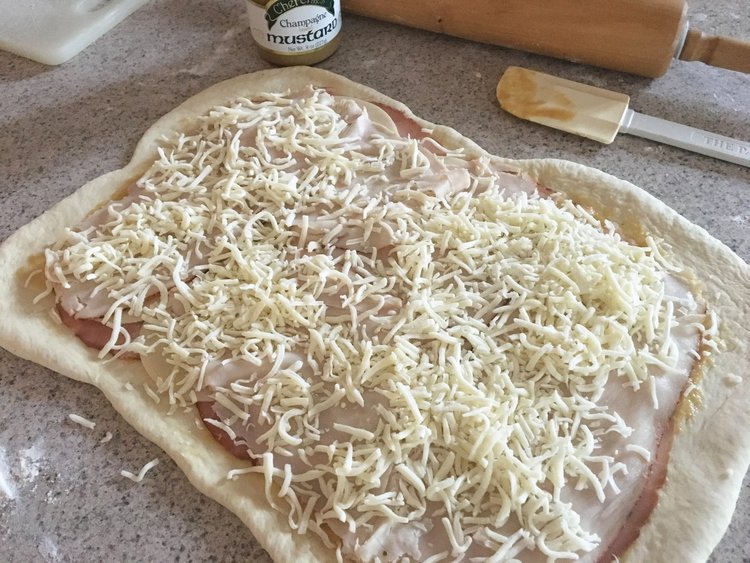
Next, fill the dough with your favorite combinations. Our favorite is our Ham, Turkey, and Cheese Stromboli Recipe, which consists of you guessed it, ham, turkey, two kinds of cheese, and of course our mustards!

Tasty Filling Ideas - Here are a few other ideas to inspire you:
Caprese- Featuring our Perfect Pesto, fresh juicy tomatoes, a drizzle of white balsamic vinegar, and creamy fresh mozzarella. Add leftover chicken for a heartier meal and use your favorite marinara sauce for dipping.
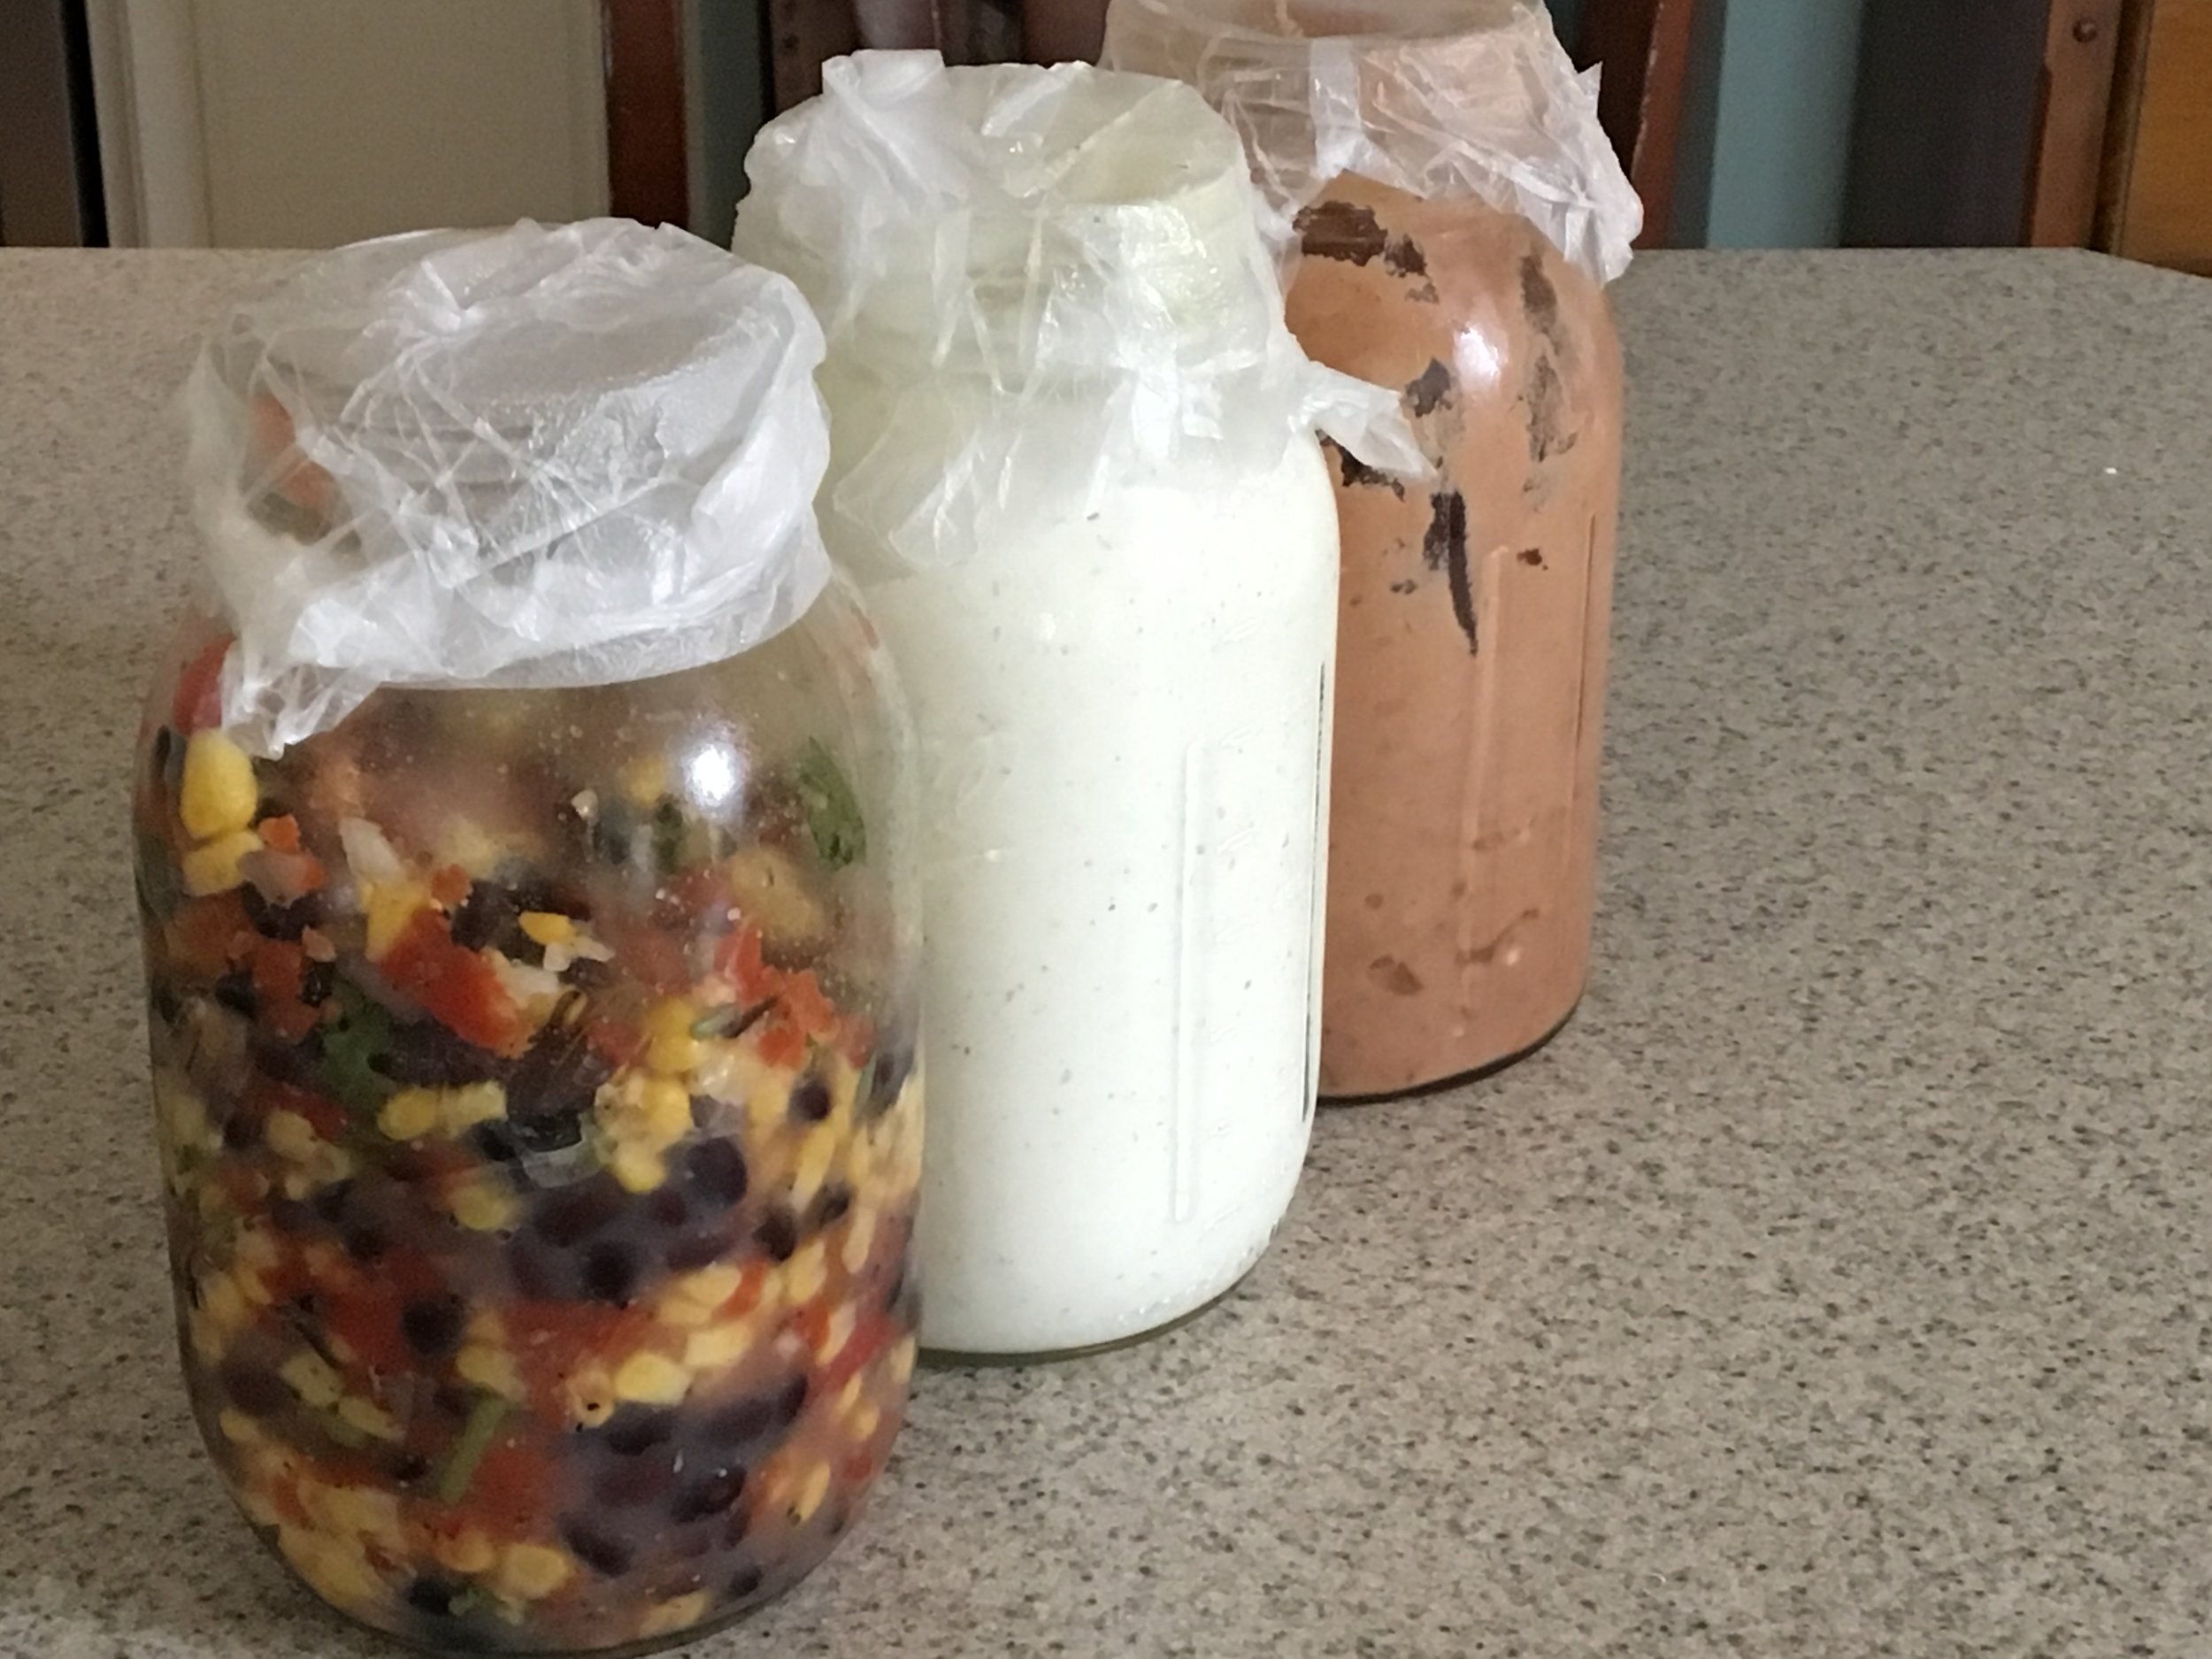
Tex-Mex- Featuring Cherchies Black Bean & Corn Salsa, leftover chicken, cheese, Cherchies Chardonnay Lime & Cilantro Seasoning. For measurements of these ingredients, checkout the filling for our Tex-Mex French Bread Pizzas, sans the French Bread.
Pulled Pork- Try our Peachy or Melt-in-Your-Mouth pulled pork recipies inside a stromboli with shredded mozzarella cheese.
Chicken Parmesan Meatballs- Stuff your stromboli with Stuffed Chicken Parmesan Meatballs.
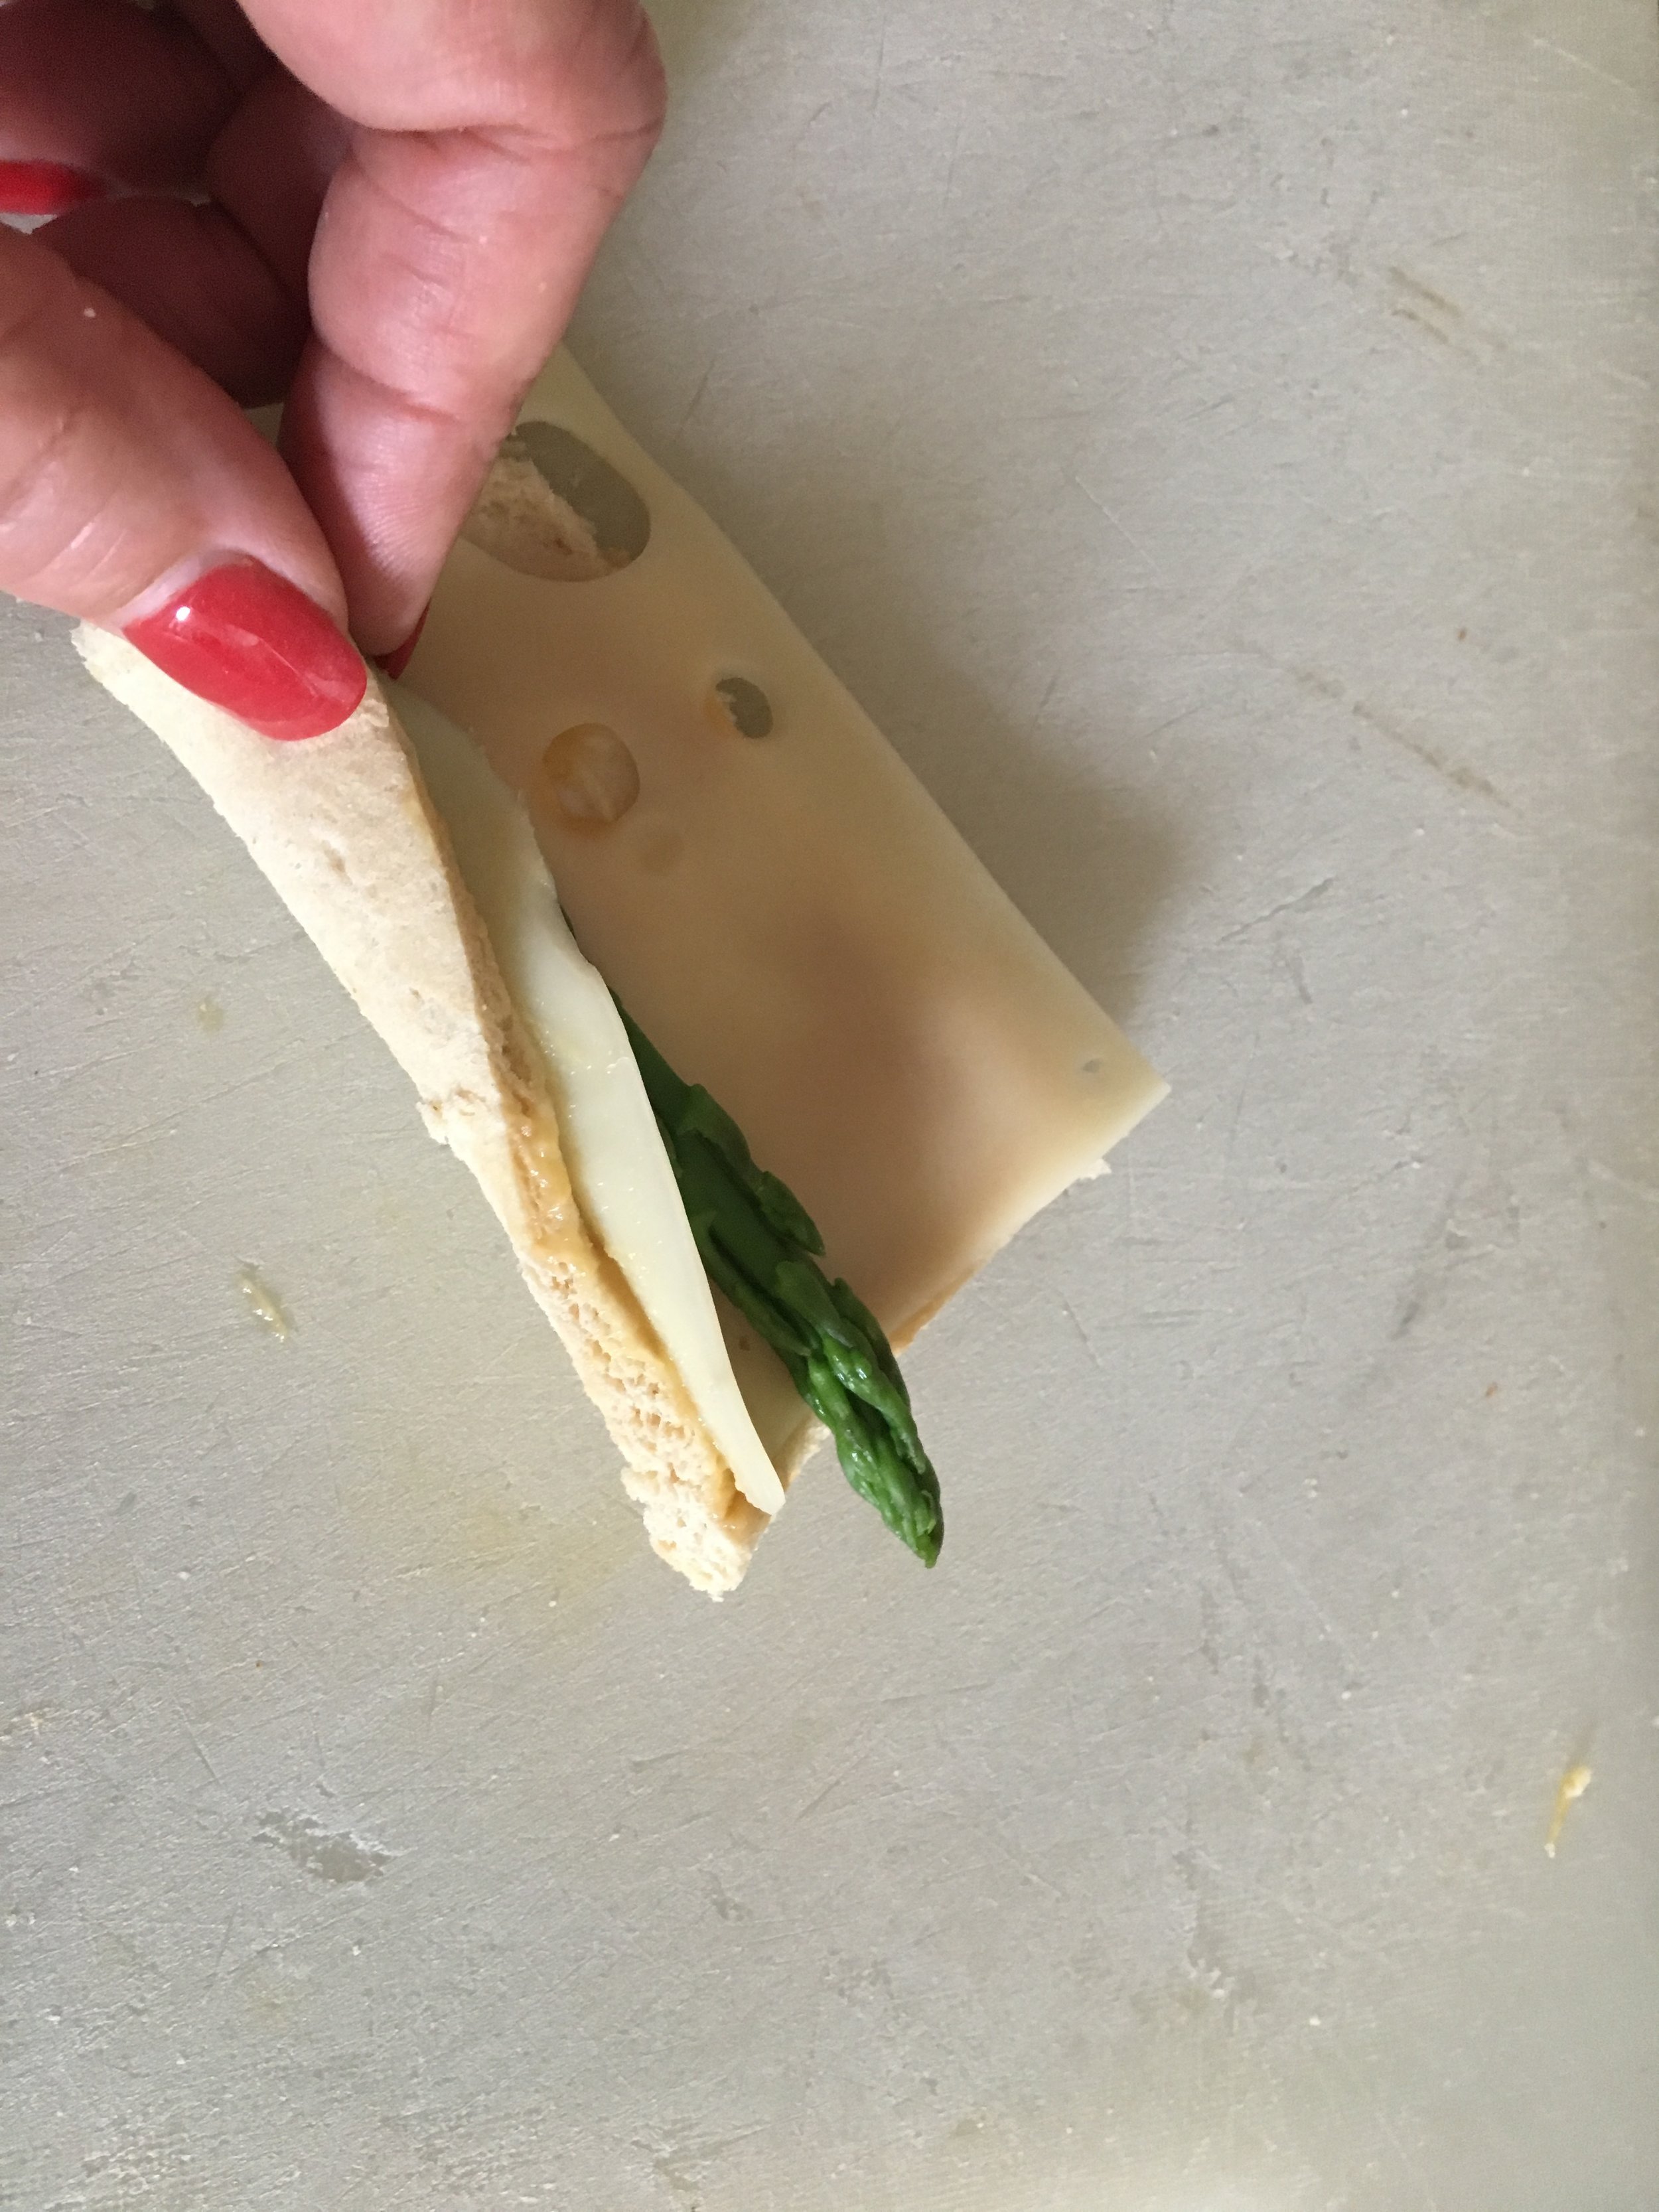
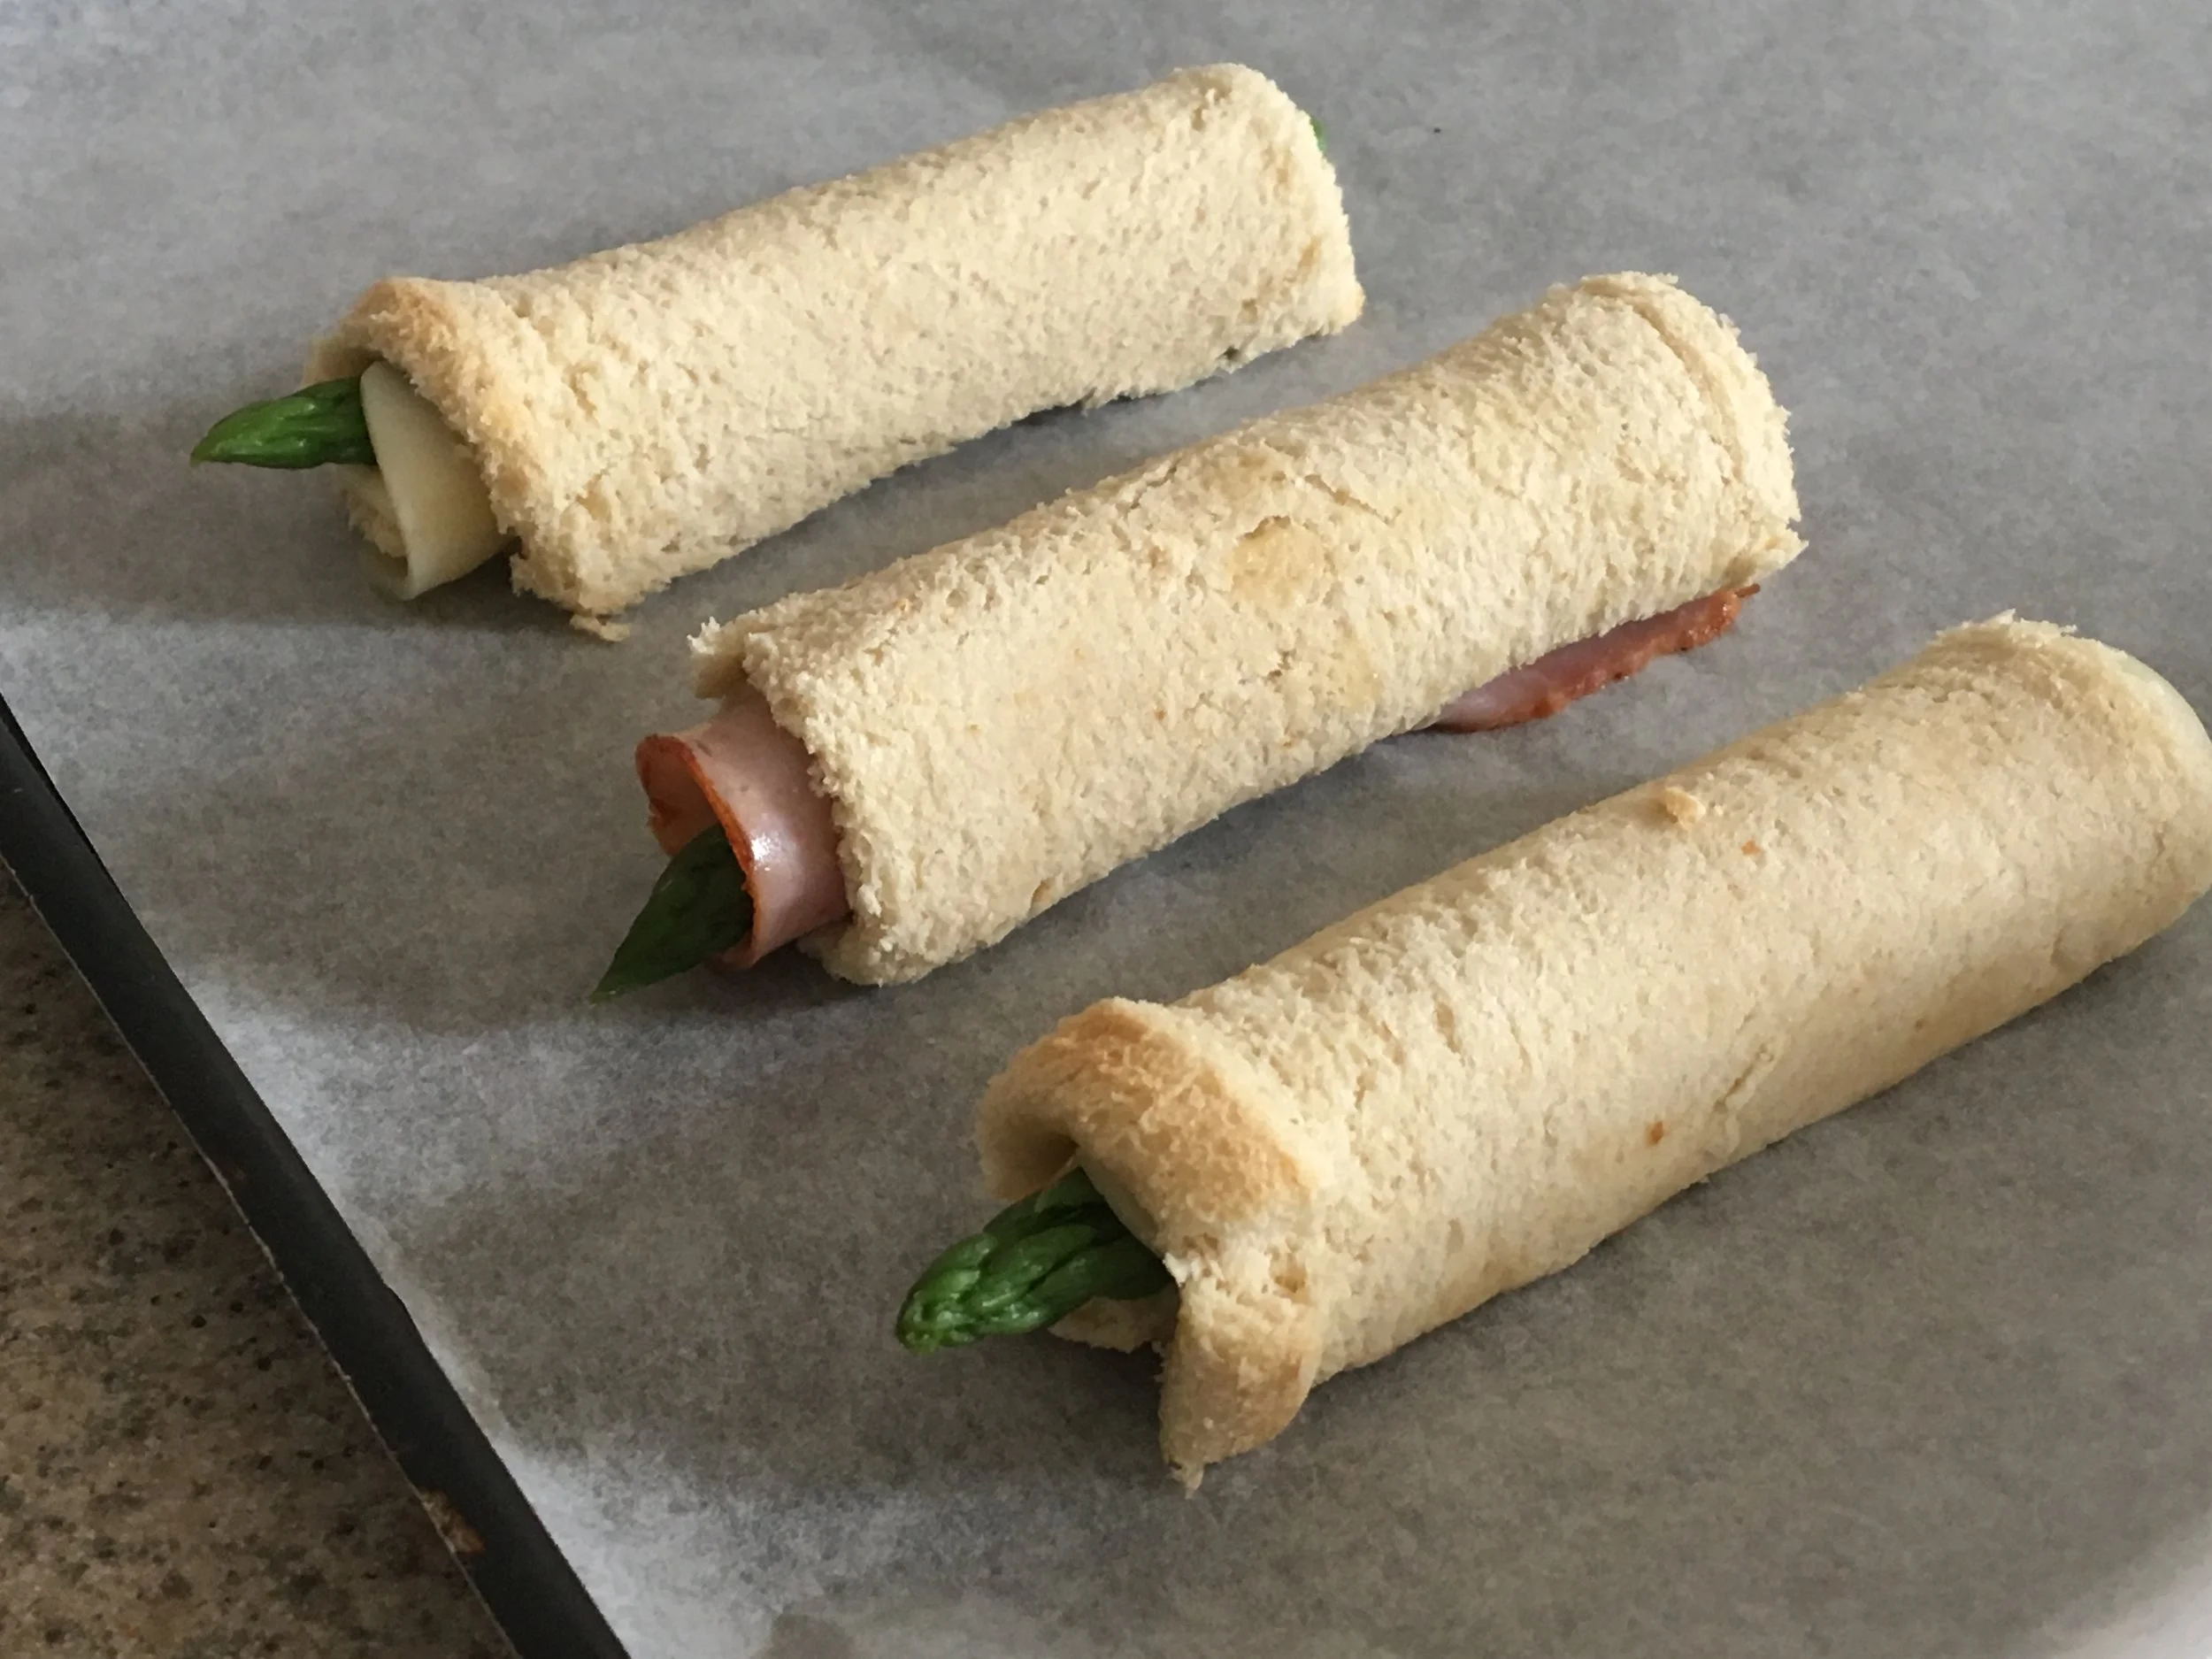
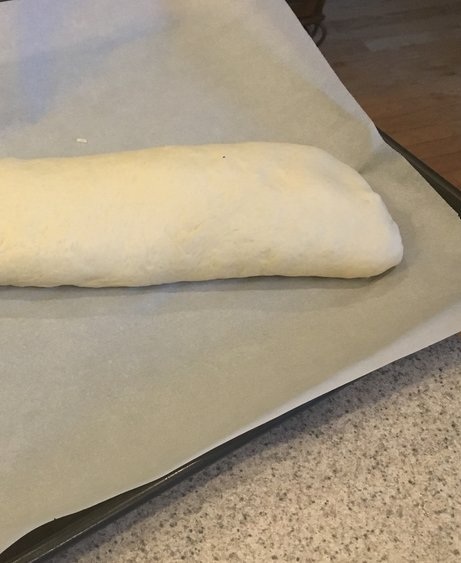
Sealing up- Now that you have your favorite filling in place, it is time to “seal the deal.” Sorry:) Starting with the long end of the rectangle, roll up your stromboli (jelly-roll style) and carefully make sure to tuck in ingredients that may have fallen out. Place on a parchment paper-lined tray, seam-side down and pinch the open ends closed.
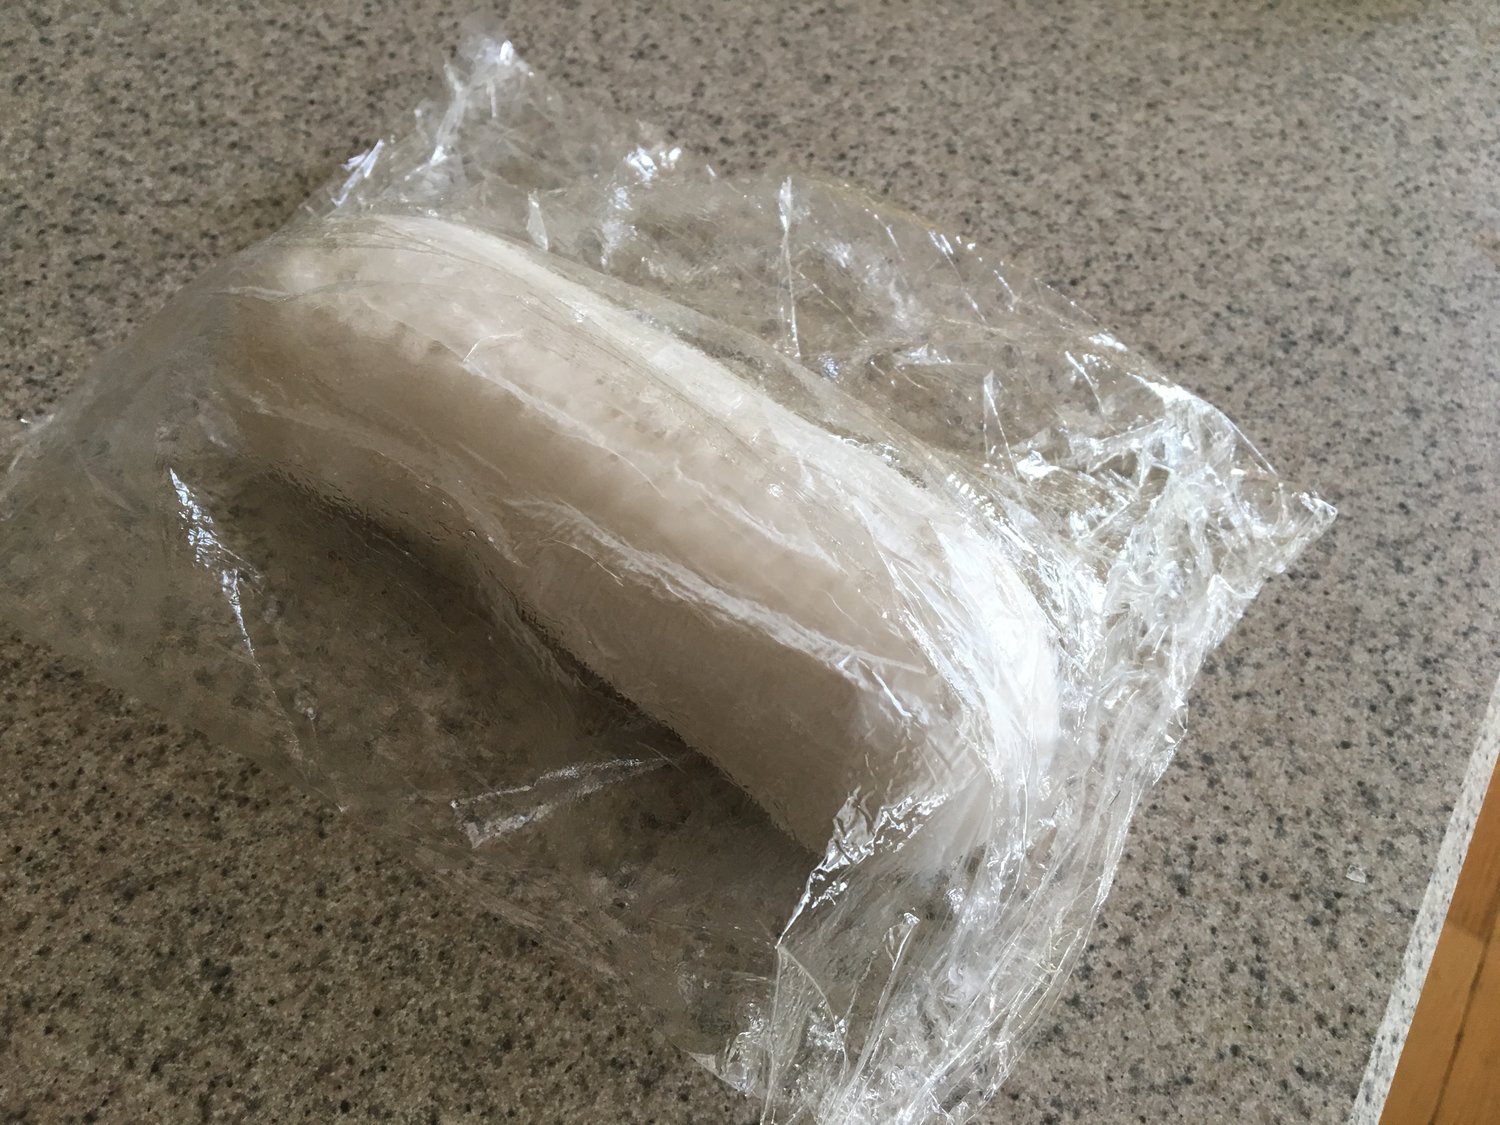
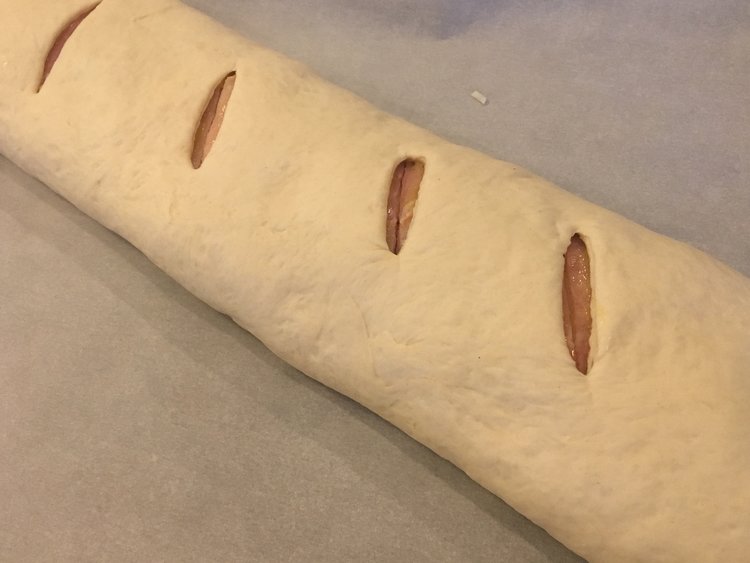
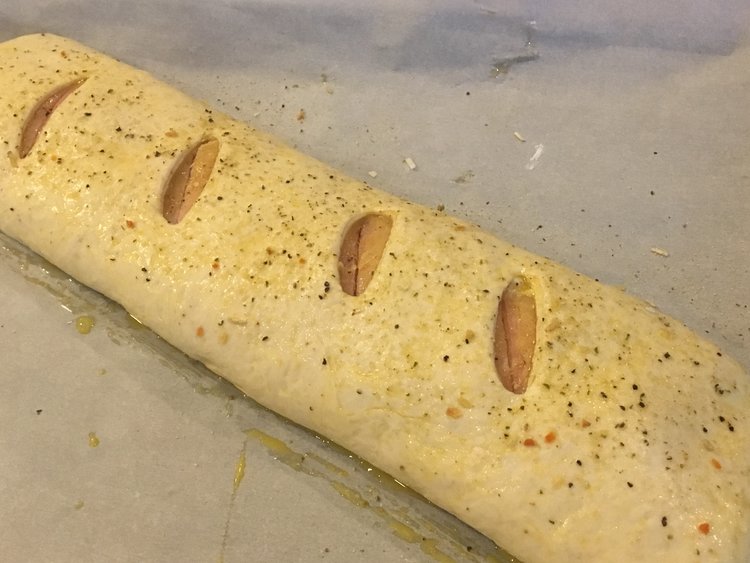
This next step is optional, but I have found it helps to keep all the ingredients from exploding out onto the pan. With a sharp knife, cut a couple of slits into the dough. If making ahead, cover the stromboli with plastic wrap and place in the refrigerator or freezer.
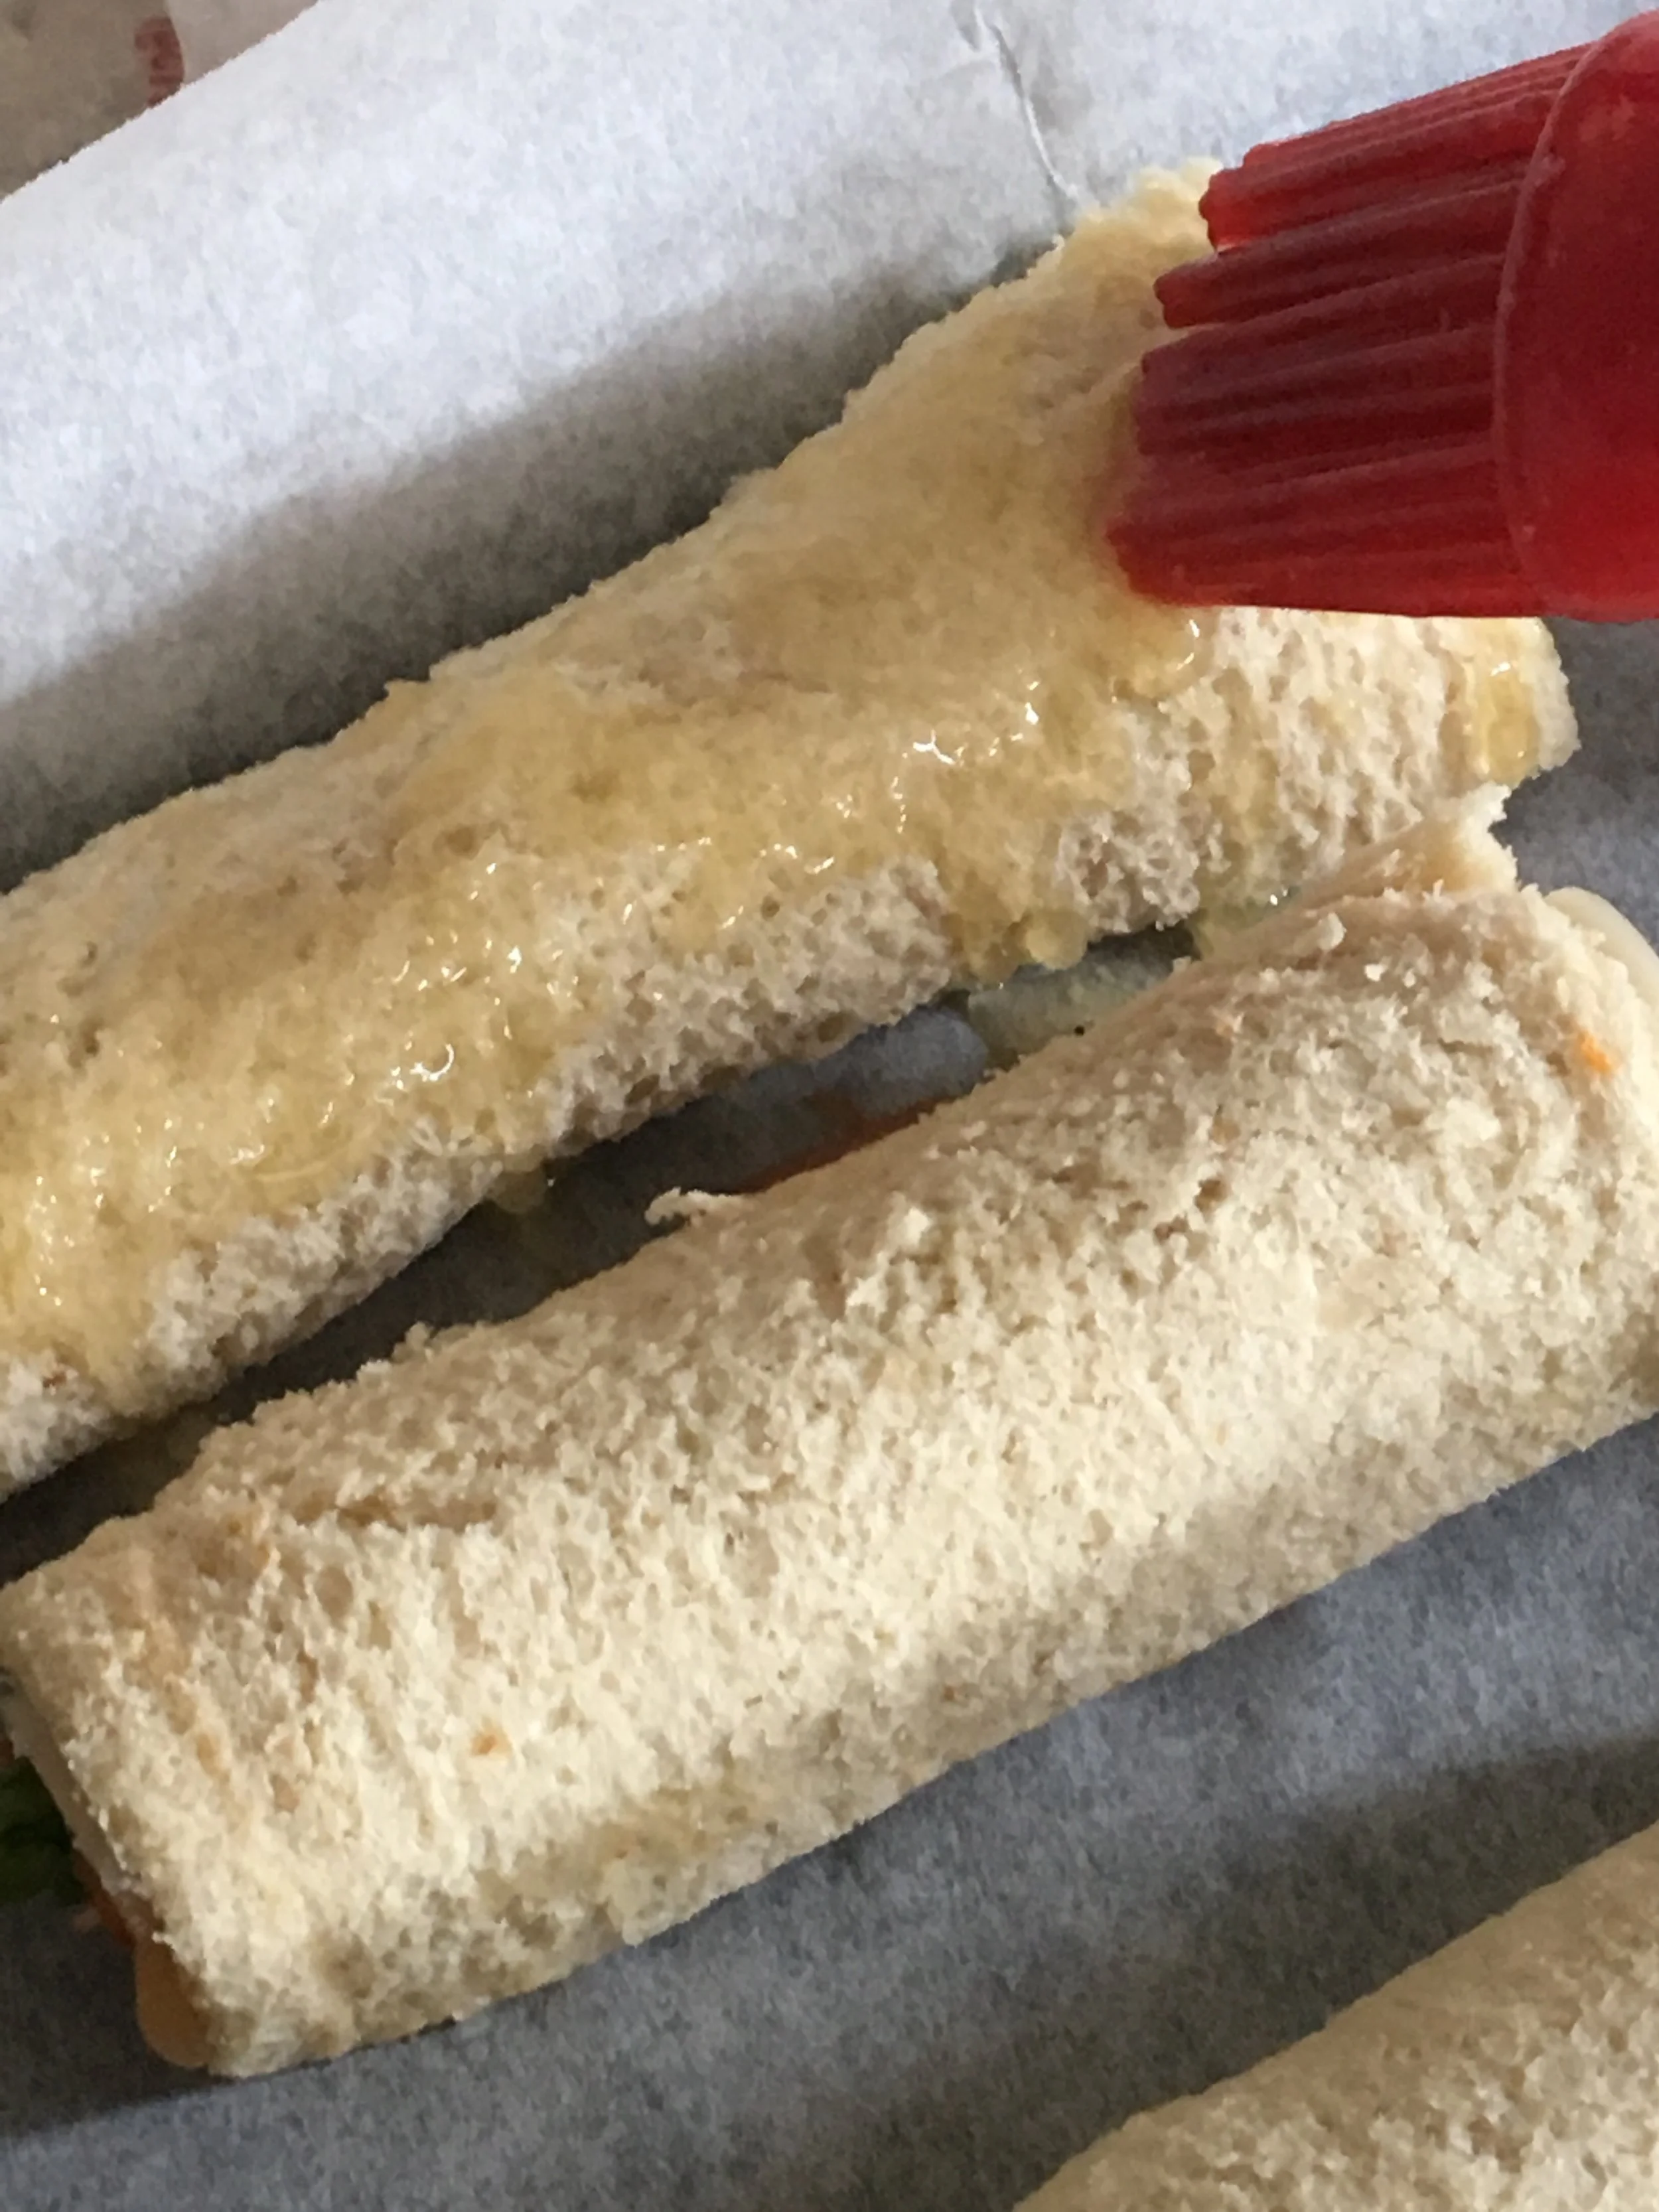
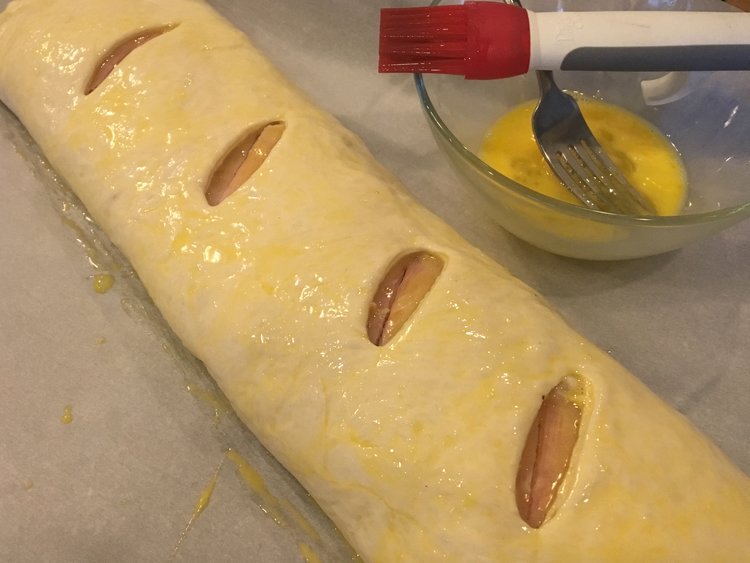
When ready to cook, in a small bowl, beat one egg until combined. Brush the top, sides, and ends of the stromboli with the egg wash and sprinkle with Cherchies Garlic Seasoning. Cook for about 20 minutes, or until the stromboli is golden brown on the outside.
Cook your stromboli until golden brown. Slice it up for easy, hearty appetizers and serve with your favorite marinara or dipping sauce or serve with one of our salads and some fruit for a complete meal. Look at that! A golden crispy crust on the outside, fluffy bread on the inside, surrounded by gooey, melty cheese, salty ham and turkey, and as mentioned our sweet-hot, tangy Champagne Mustard. Who wants some?
Enjoy!

Ham, Turkey and Cheese Stromboli Recipe