Cherchies Blog

Peachy Chicken And Vegetable Kabobs Recipe

grilling, gluten free, lunch, entreesSheri SpalloneComment
Peachy Chicken & Vegetable Kabobs Recipe

Peachy Chicken & Vegetable Kabobs Recipe

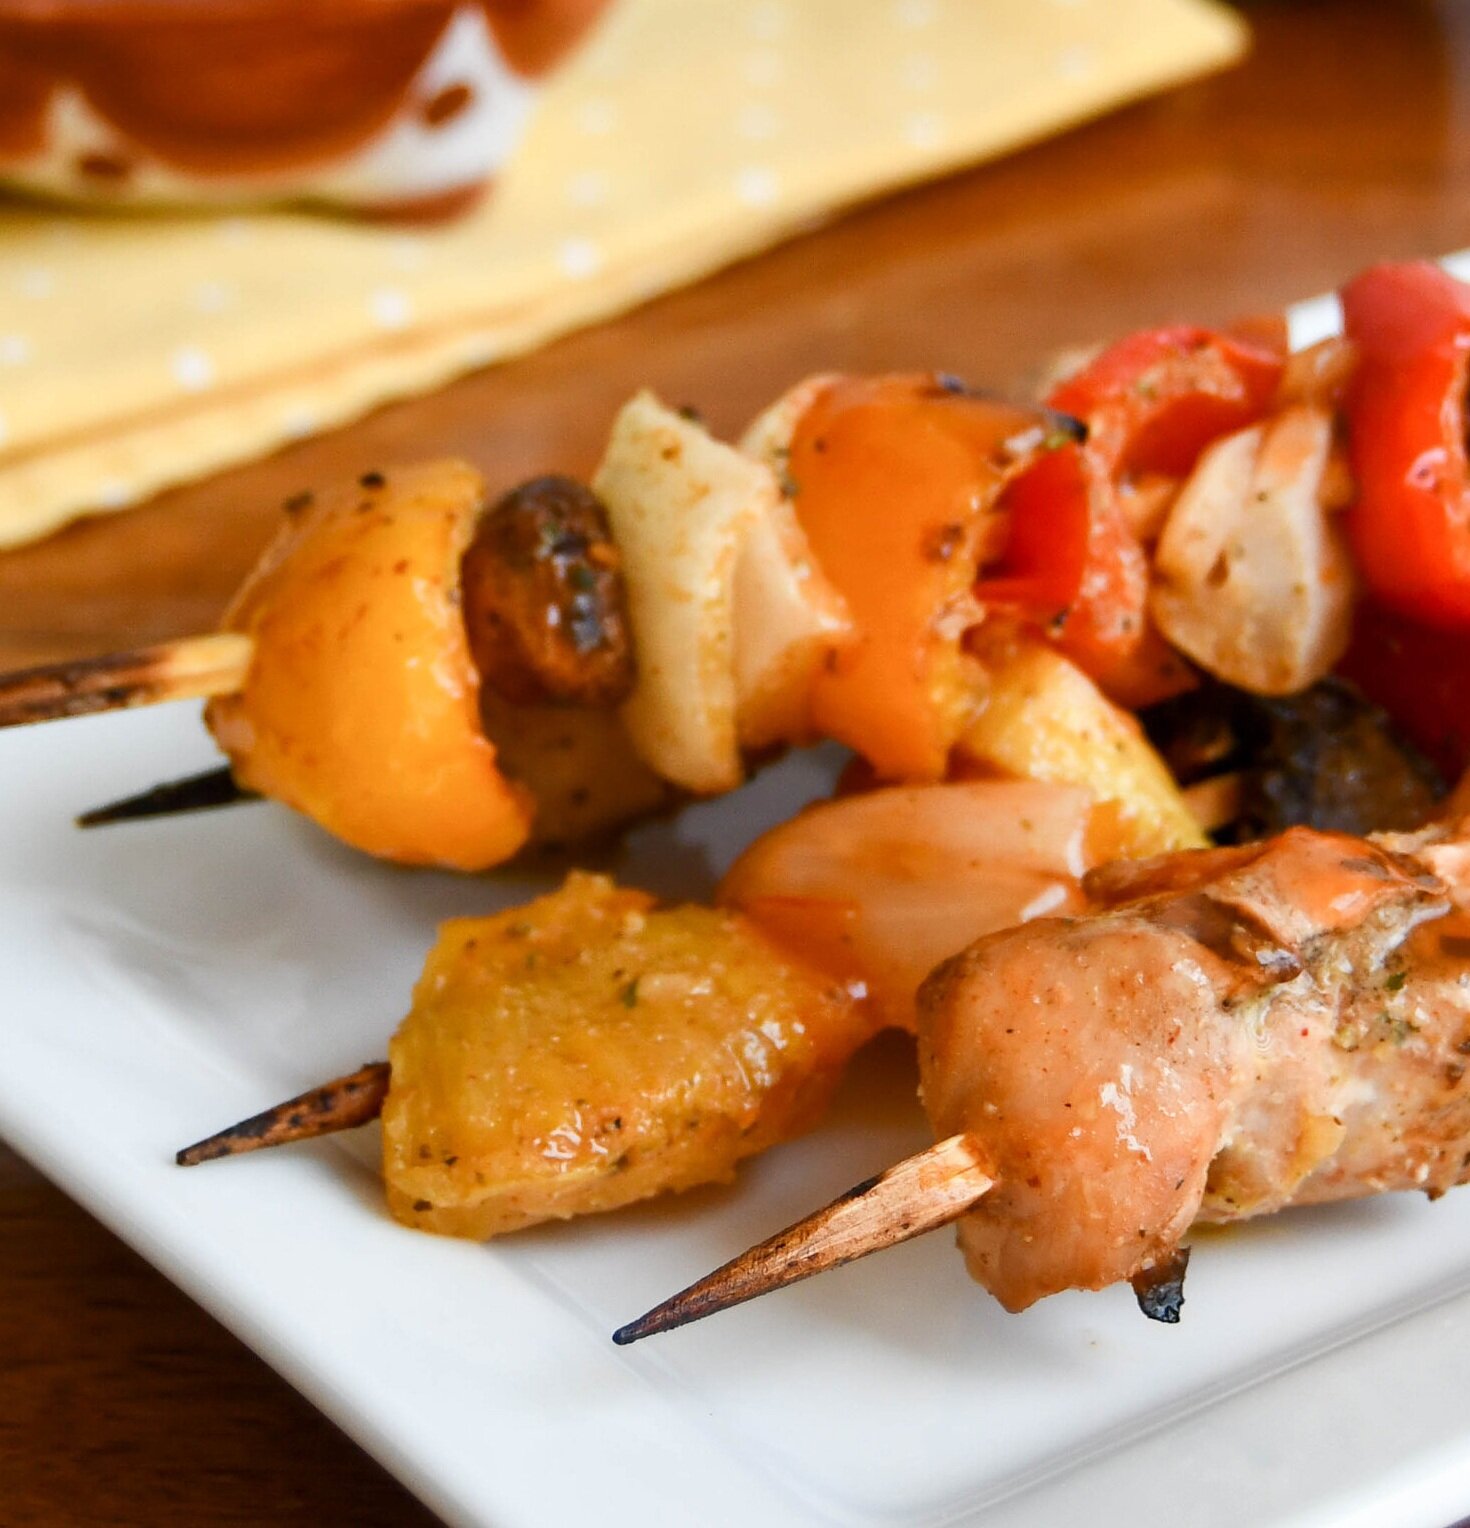
How was your weekend? Our summer kickoffs may have changed this year, but hopefully, everyone enjoyed themselves with family and stayed safe at home. The weather was finally beautiful here in Pennsylvania, so we all opted to go outside, enjoy the weather, and have a backyard family bbq, just the five of us. First on the menu was Peachy Chicken & Vegetable Kabobs.

Keeping holiday gatherings normal right now is an understatement, and with limited ingredients and limited trips to the grocery, it changes how we cook. Kabobs lend themselves to whatever protein and vegetables you have on hand, and for this holiday weekend, I made one of our family’s favorites, with a peachy twist. I added Cherchies Vidalia Onion Peach Salsa to the mix and hoped for the best. Probably not the best time to experiment, but challenging my family’s palate is something I often do:). Luckily my experiment worked, and my family devoured the kabobs.

If you are looking to tantalize your taste buds with a new sweet and spicy grilling recipe, look no further. The Vidalia Onion Peach Salsa mixed with soy sauce, garlic, hot sauce, and seasonings, elevate these kabobs from good to exceptional.

So, are you ready to tantalize your taste buds?

Thank you for stopping by. Come back again!

Comment below and let us know if you tried this recipe and if you made any substitutions. Or, you can comment on Instagram #cherchies_gourmet.

Stay safe, stay well, and enjoy time with your family.

Ingredients

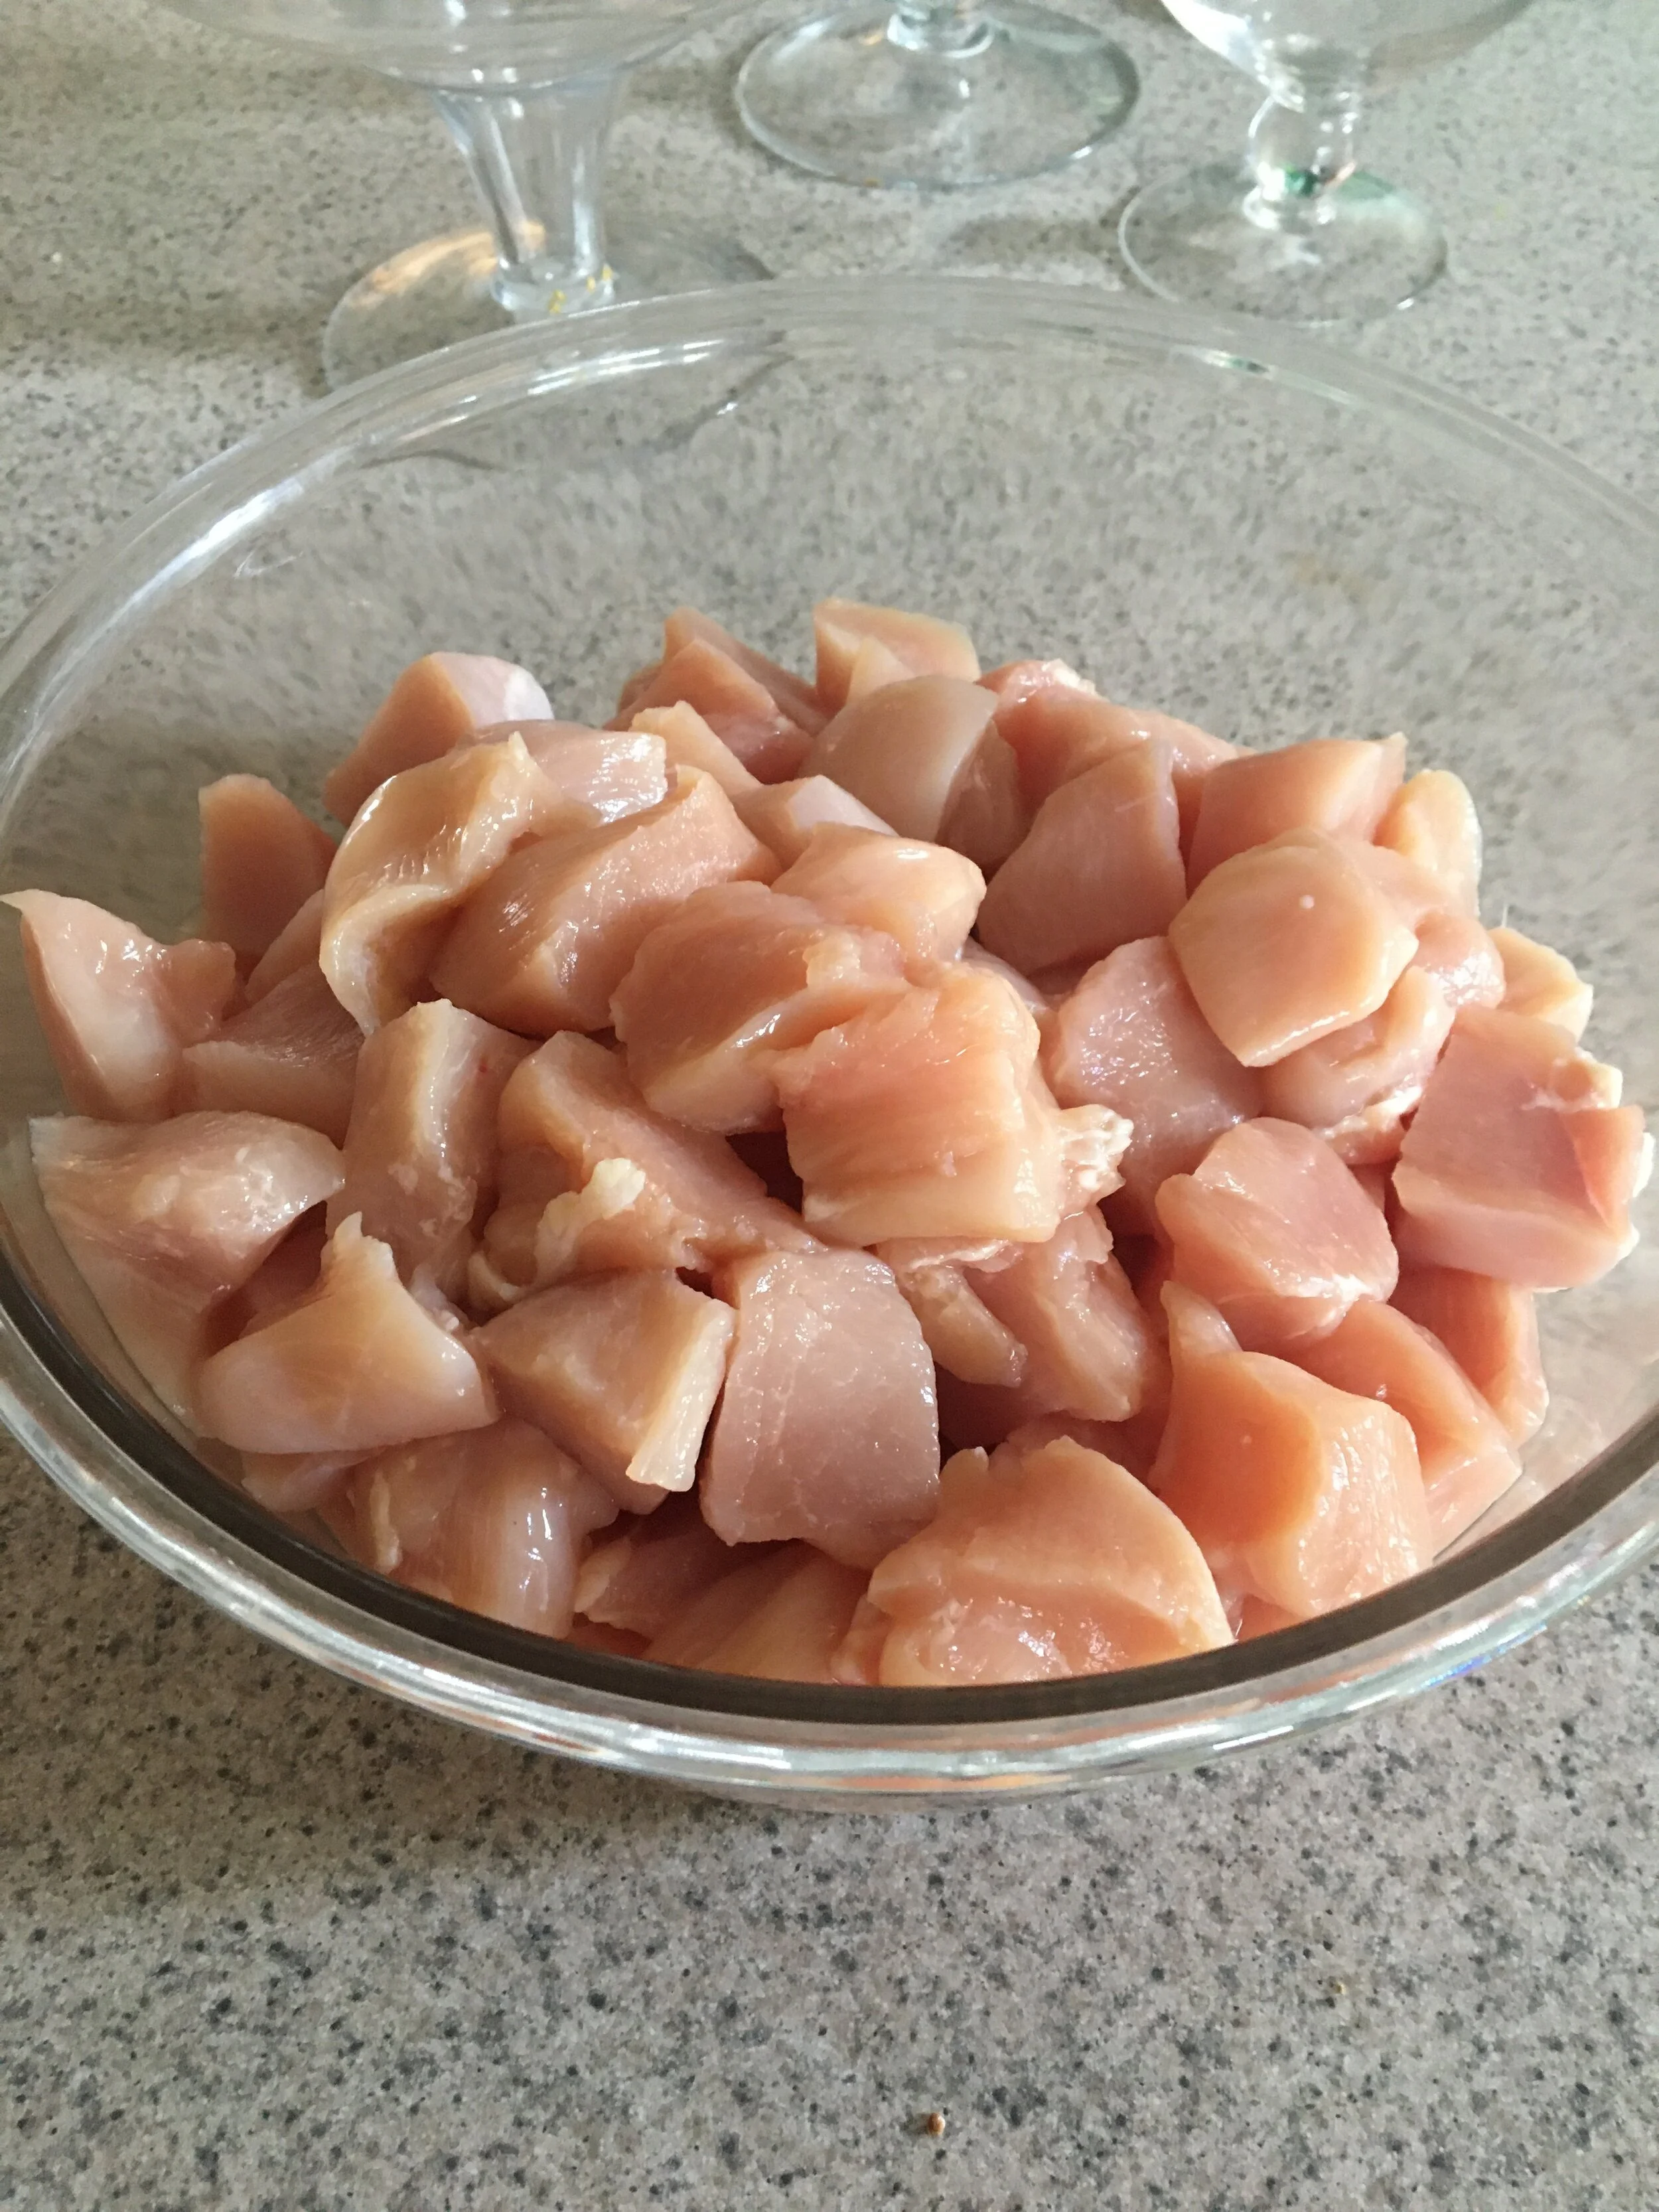
  • 2-3 Chicken breasts, cut into cubes (more for a crowd)

  • 2 Tablespoons (Tbsp.) Cherchies Garlic Seasoning (Can substitute Cherchies Garlic'n Herbs No Salt Seasoning)

  • 1 teaspoon (tsp) pepper

  • 2 cloves garlic, minced

  • 1/2 cup soy sauce

  • 1/2 cup Cherchies® Vidalia Onion Peach Salsa

  • 1/4 cup hot sauce

  • 1/2 Pineapple cut into 1 inch chunks (scales removed and cored).

  • 1 red pepper, washed, seeded, and cut into 1 inch pieces

  • 1 yellow pepper, washed, seeded, and cut into 1 inch pieces

  • 1 small container Baby Bella Mushrooms, washed with stems removed and cut in half

  • 1 medium onion, diced into 1 inch pieces

  • Cooking spray

  • Skewers (soaked 30 minutes prior to cooking)

  • Additional 1/2 cup Cherchies® Vidalia Onion Peach Salsa for dipping (optional)

Preparation

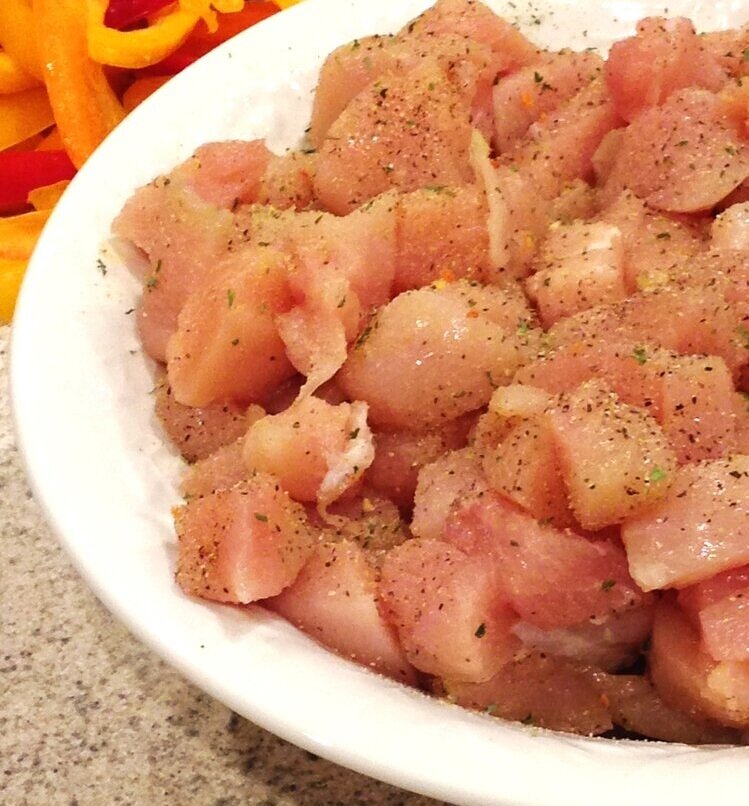
In a small bowl, mix the garlic, soy sauce, Cherchies® Vidalia Onion Peach Salsa, and hot sauce. Cut the chicken into 1 inch pieces and place into a medium bowl. Season the chicken with Cherchies® Garlic Seasoning and pepper. Mix. Add 2/3 of the marinade to the chicken. Mix thoroughly. Cover the bowl with plastic wrap and refrigerate several hours.

Wash and chop the vegetables and pineapple, and place in a shallow pan. Add the rest of the marinade and mix until completely covered. Cover with plastic wrap and refrigerate for several hours.

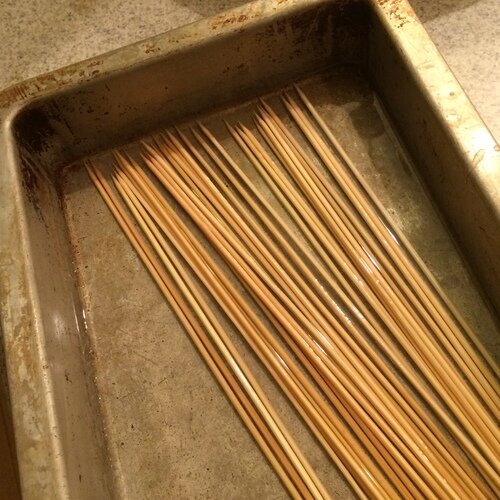
30 minutes prior to grilling, soak the skewers in a shallow casserole dish.

*Remove the marinated chicken and vegetables from the refrigerator. Save the marinade from the vegetables to use for basting the kabobs later. (If you want to use the marinade from the meat, make sure to boil the marinade until it reaches a temperature of at least 165 degrees. This way, any harmful bacteria will be removed). See FDA Guidelines.

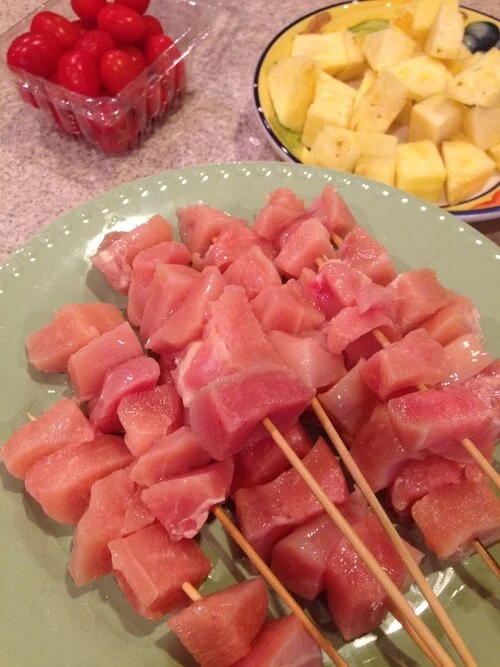
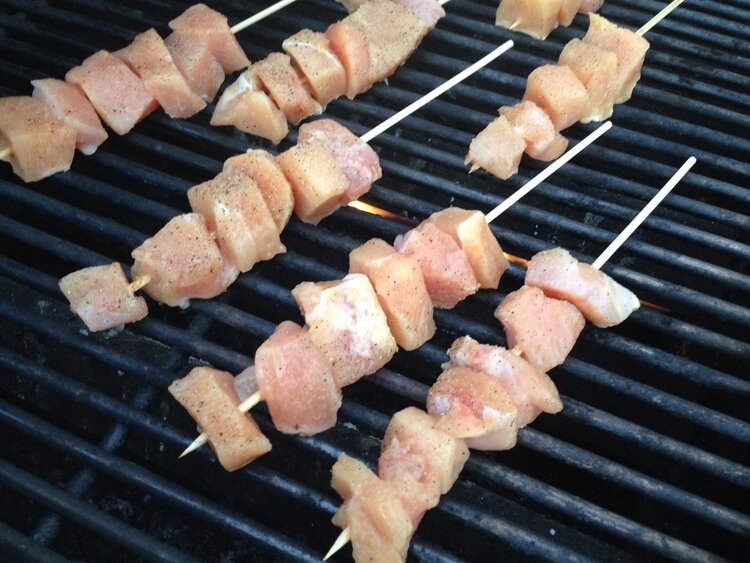
Thread the chicken on separate skewers from the vegetables. (I find this works better with the different cook times of the chicken and vegetables). Next, alternate the peppers, onions, mushrooms, pineapple on different skewers in any arrangement you prefer.

Spray the grill with cooking spray, light the grill, and turn grill onto high for a few minutes. We use a gas grill, but you can easily grill these on a charcoal grill.

When you are ready to cook the skewers, turn the grill down to low.  Place chicken on grill and cook for a few minutes on each side.

After the chicken has cooked for a few minutes, add the vegetable/pineapple skewers to the grill, and cook for a few minutes on each side. I love adding pineapple to the vegetables because it adds so much flavor. If you've never had grilled pineapple, you're in for a real treat!  All the sugars in the pineapple come to life, for flavors that will make your taste buds tingle.

Baste the skewers with the leftover vegetable marinade as the kabobs cook.  *(See above guidelines for marinade safety). The chicken should no longer be pink on the inside and the vegetables should be tender crisp with grill marks.

Remove the kabobs from the grill and set aside on a platter for about five minutes. This allows the meat to rest and absorb all the juices.   Add Cherchies® Vidalia Onion Peach Salsa for dipping.

Serve with Aunt Ester’s Potato Salad and dinner is served! Enjoy.

Peachy Chicken & Vegetable Kabobs Recipe

Peachy Chicken & Vegetable Kabobs Recipe

peachy chicken kabobs recipe3-.jpg
Yum

Sourdough Pretzel Bites With Mustard Recipe

snacks, side dishesSheri Spallone8 Comments
Sour Dough Pretzel Recipe

Sour Dough Pretzel Recipe

How are you doing? I hope you all are safe and well. Have you learned anything new during this downtime? Our family has jumped on the sourdough bandwagon during this isolation time, and it has been a lot of fun!

Life as we know it has drastically changed the past couple of months, including how we socialize, work, learn, shop, and cook. We are being challenged daily with having to balance work, children, home, and responsibilities. I understand. During these uncertain times, it is imperative to unplug, step away from the news, and spend some good old fashioned family time together. Your family is feeling your stress and concerns too, and aside from the puzzles, movie and game nights, perhaps use this time to tackle a new skill, like cooking or baking with your family.  

I have always been curious about sourdough bread, and not until recently did I have an interest because it always seemed too tedious a project. As life was unfolding a couple of months ago, just as they announced the closing of our school district, I remember my first grocery trip and the daunting feeling of seeing the barren grocery shelves. Luckily, we had done our extensive monthly grocery shopping before this development, so we were good, but we were low on bread. My trip the following day presented the same slimmed emergency essentials, so later that evening, I researched making bread and sourdough was all over the internet. I became intrigued, did some research, and realized this was something different we could tackle as a family activity. Coincidently, I learned that naming your sourdough starter was appropriate. So it began, a sourdough starter named “Corona” (it seemed fitting), and lots of yummy treats to follow, including pizza dough, baguettes (both coming soon), and these irresistibly warm sourdough pretzels with Champagne dipping mustard. Who wants some?

There are countless examples of how to begin your sourdough starters, but the three main ingredients are flour, water, and wild yeast (found everywhere, in the air, the flour, etc.). All you need is a couple of days of patience, and you will have a sourdough starter to create plenty of tasty goodies with your family. I love this post from Thekitchn.com. I used their steps to start our sourdough “Corona” and have listed them below. I also like the recommendations from Zerowastechef.com because she explains how to use your starters without throwing anything away (discard). During this time, when groceries are precious, throwing away anything seemed to be incredibly wasteful, especially flour. I have slightly adapted this pretzel recipe from iambaker.net and added our tasty mustards as a dipping sauce.

So are you ready to join us on the sourdough bandwagon? Unplug, enjoy the slower pace for a bit with your family, and add sourdough pretzels to your list of activities, the perfect boredom buster. For those homes with children, this is an excellent activity for developing math skills, enriching vocabulary, teaching scientific concepts, and connecting as a family. Are you ready to get started and follow along in the delicious world of sourdough?

Comment below and let us know if you made these delicious pretzels and how they turned out. We would love to hear from you!

From our kitchen to yours, stay safe and well, and do things together. 

Thank you for stopping by. Come back again!

Enjoy!

Ingredients (Adapted from thekitchn.com)

Sour Dough Starter

  • All-purpose flour (or a mix of all-purpose and whole grain flour)- (4 oz. all purpose flour (or 3/4 cup plus 2 Tablespoons))

  • Water, preferably filtered (4 ounces water (or 1/2 cup)

  • 2-quart glass or plastic container (not metal)

  • Scale (highly recommended) or measuring cups

  • Mixing spoon

  • Plastic wrap or clean kitchen towel

Preparation (The directions are from thekitchn.com) Making sourdough starter takes about 5 days. Each day you "feed" the starter with equal amounts of fresh flour and water. As the wild yeast grows stronger, the starter will become more frothy and sour-smelling. On average, this process takes about 5 days, but it can take longer depending on the conditions in your kitchen. As long as you see bubbles and signs of yeast activity, continue feeding it regularly. If you see zero signs of bubbles after three days, take a look at the thekitchen website for troubleshooting.

  • Day 1: Make the Initial Starter
    4 ounces all-purpose flour (3/4 cup plus 2 tablespoons)
    4 ounces water (1/2 cup)

  • Weigh the flour and water, and combine them in a 2-quart glass or plastic container (not metal). Stir vigorously until combined into a smooth batter. It will look like a sticky, thick dough. Scrape down the sides and loosely cover the container with plastic wrap or a clean kitchen towel secured with a rubber band.

  • Place the container somewhere with a consistent room temperature of 70°F to 75°F (like the top of the refrigerator) and let sit for 24 hours.

  • Day 2: Feed the Starter
    4 ounces all-purpose flour (3/4 cup + 2 tablespoons)
    4 ounces water (1/2 cup)

  • Take a look at the starter. You may see a few small bubbles here and there. This is good! The bubbles mean that wild yeast have started making themselves at home in your starter. They will eat the sugars in the flour and release carbon dioxide (the bubbles) and alcohol. They will also increase the acidity of the mixture, which helps fend off any bad bacteria. At this point, the starter should smell fresh, mildly sweet, and yeasty.

  • If you don't see any bubbles yet, don't panic — depending on the conditions in your kitchen, the average room temperature, and other factors, your starter might just be slow to get going.

  • Weigh the flour and water for today, and add them to the starter. Stir vigorously until combined into a smooth batter. It will look like a sticky, thick dough. Scrape down the sides and loosely cover the container with the plastic wrap or kitchen towel secured again. Place the container somewhere with a consistent room temperature of 70°F to 75°F (like the top of the refrigerator) and let sit for 24 hours.

  • Day 3: Feed the Starter
    4 ounces all-purpose flour (3/4 cup + 2 tablespoons)
    4 ounces water (1/2 cup)

  • Check your starter. By now, the surface of your starter should look dotted with bubbles and your starter should look visibly larger in volume. If you stir the starter, it will still feel thick and batter-like, but you'll hear bubbles popping. It should also start smelling a little sour and musty. Again, if your starter doesn't look quite like mine in the photo, don't worry. Give it a few more days. My starter happened to be particularly vigorous!

  • Weigh the flour and water for today, and add them to the starter. Stir vigorously until combined into a smooth batter. It will look like a sticky, thick dough. Scrape down the sides and loosely cover the container with the plastic wrap or kitchen towel secured again. Place the container somewhere with a consistent room temperature of 70°F to 75°F (like the top of the refrigerator) and let sit for 24 hours.

  • Day 4: Feed the Starter
    4 ounces all-purpose flour (3/4 cup + 2 tablespoons)
    4 ounces water (1/2 cup)

  • Check your starter. By now, the starter should be looking very bubbly with large and small bubbles, and it will have doubled in volume. If you stir the starter, it will feel looser than yesterday and honeycombed with bubbles. It should also be smelling quite sour and pungent. You can taste a little too! It should taste sour and somewhat vinegary.

  • When I made my starter here, I didn't notice much visual change from Day 3 to Day 4, but could tell things had progress by the looseness of the starter and the sourness of the aroma.

  • Weigh the flour and water for today, and add them to the starter. Stir vigorously until combined into a smooth batter. It will look like a sticky, thick dough. Scrape down the sides and loosely cover the container with the plastic wrap or kitchen towel secured again. Place the container somewhere with a consistent room temperature of 70°F to 75°F (like the top of the refrigerator) and let sit for 24 hours.

  • Day 5: Starter is Ready to Use Check your starter. It should have doubled in bulk since yesterday. By now, the starter should also be looking very bubbly — even frothy. If you stir the starter, it will feel looser than yesterday and be completely webbed with bubbles. It should also be smelling quite sour and pungent. You can taste a little too! It should taste even more sour and vinegary.

  • If everything is looking, smelling, and tasting good, you can consider your starter ripe and ready to use! If your starter is lagging behind a bit, continue on with the Day 5 and Beyond instructions.

  • Day 5 and Beyond: Maintaining Your Starter
    4 ounces all-purpose flour (3/4 cup + 2 tablespoons)
    4 ounces water (1/2 cup)

  • Once your starter is ripe (or even if it's not quite ripe yet), you no longer need to bulk it up. You are ready to make your sourdough pretzels (See below)!

  • **Note- If you're using the starter within the next few days, leave it out on the counter and continue discarding half and "feeding" it daily. Don’t waste it! There are plenty of recipes you can make using discarded starters. If it will be longer before you use your starter, cover it tightly and place it in the fridge. Remember to take it out and feed it at least once a week — Usually let the starter sit out overnight to give the yeast time to recuperate before putting it back in the fridge.

  • How to Take a Long Break from Your Starter
    If you're taking a break from baking, but want to keep your starter, you can do two things:
    1) Make a Thick Starter: Feed your starter double the amount of flour to make a thicker dough-like starter. This thicker batter will maintain the yeast better over long periods of inactivity in the fridge.
    2) Dry the Starter: Smear your starter on a Silpat and let it dry. Once completely dry, break it into flakes and store it in an airtight container. Dried sourdough can be stored for months. To re-start it, dissolve 1/4 cup of the flakes in 4 ounces of water, and stir in 4 ounces of flour. Continue feeding the starter until it is active again.

Now that you have successfully made your sourdough starter, let’s get started!

Ingredients (Adapted from iambaker.net)

Pretzel Dough

  • 1 cup (245g) milk, warmed

  • 2 tablespoons butter, room temperature

  • 1 tablespoon granulated sugar

  • 1 1/2 cup sourdough starter, discard or fed

  • 4 cups (500g) all-purpose flour

Pretzel Boiling

  • 12 cups (839g) water

  • 1 tablespoon baking soda

Topping

  • 1 large egg, beaten for egg wash plus 1 Tablespoon water

  • 2 teaspoons sea salt

Dipping

Preparation (Adapted from iambaker.net)

  1. In the microwave, warm up the milk. (About 30 seconds should be fine).

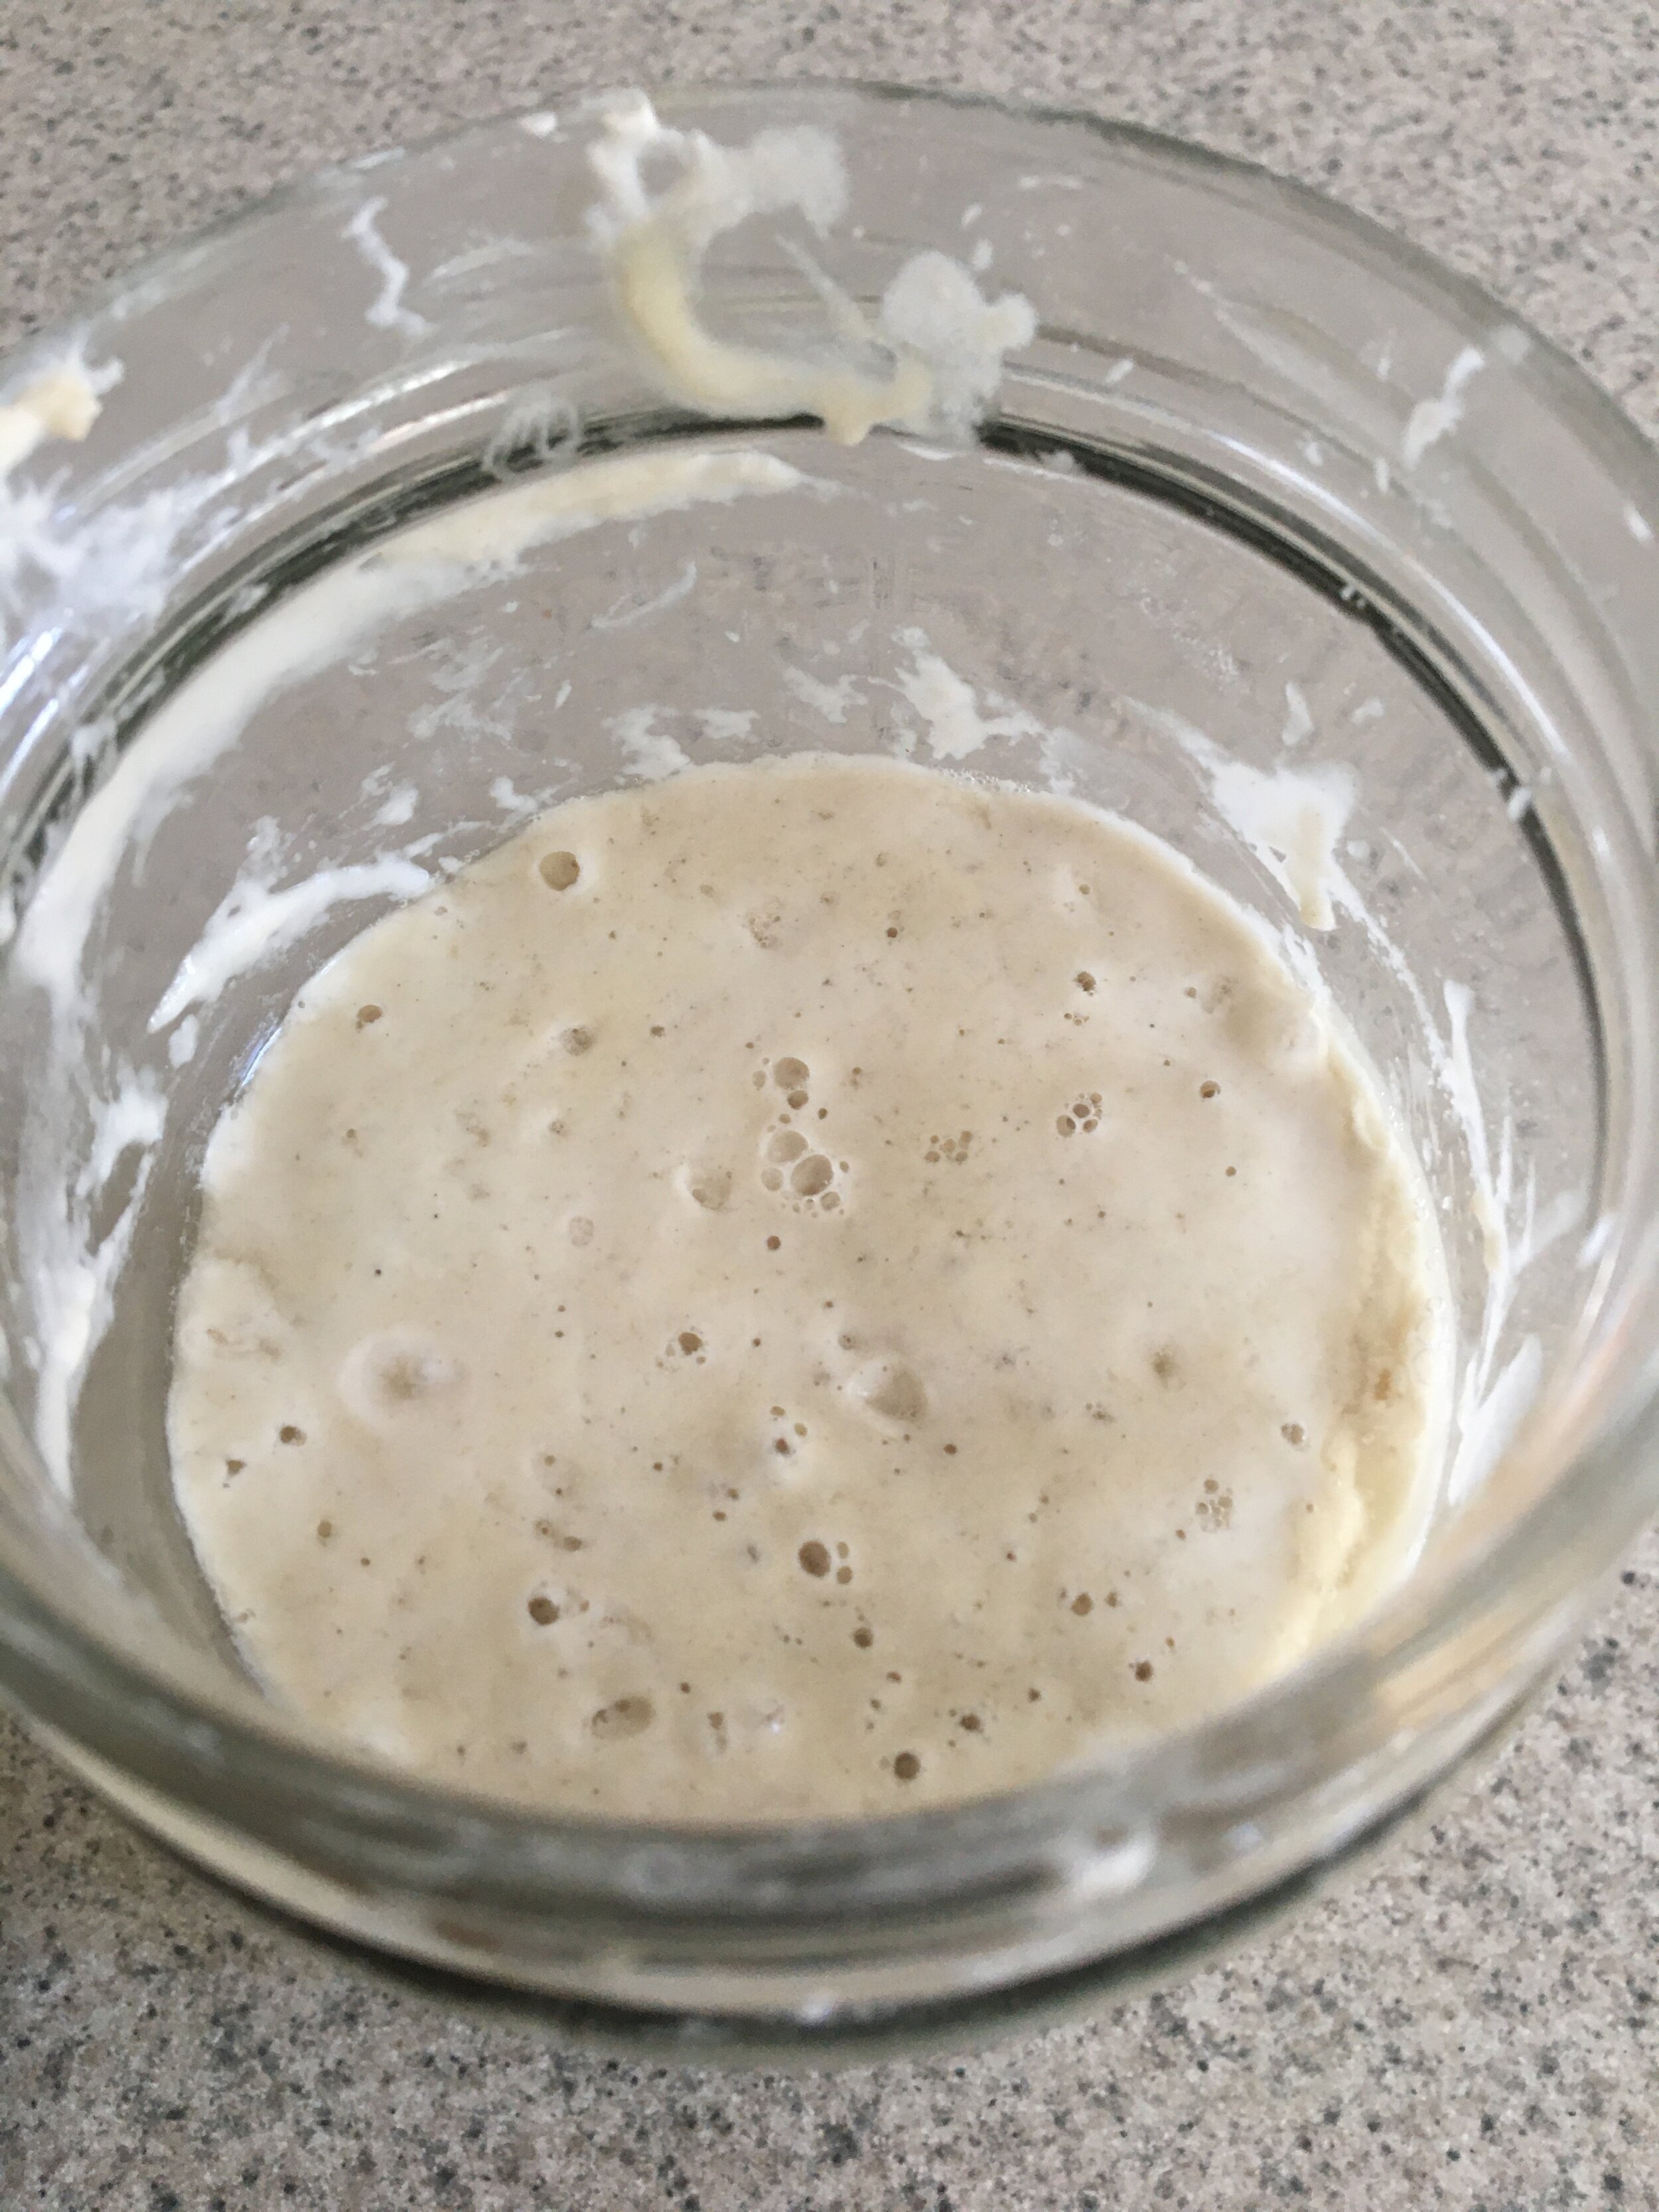
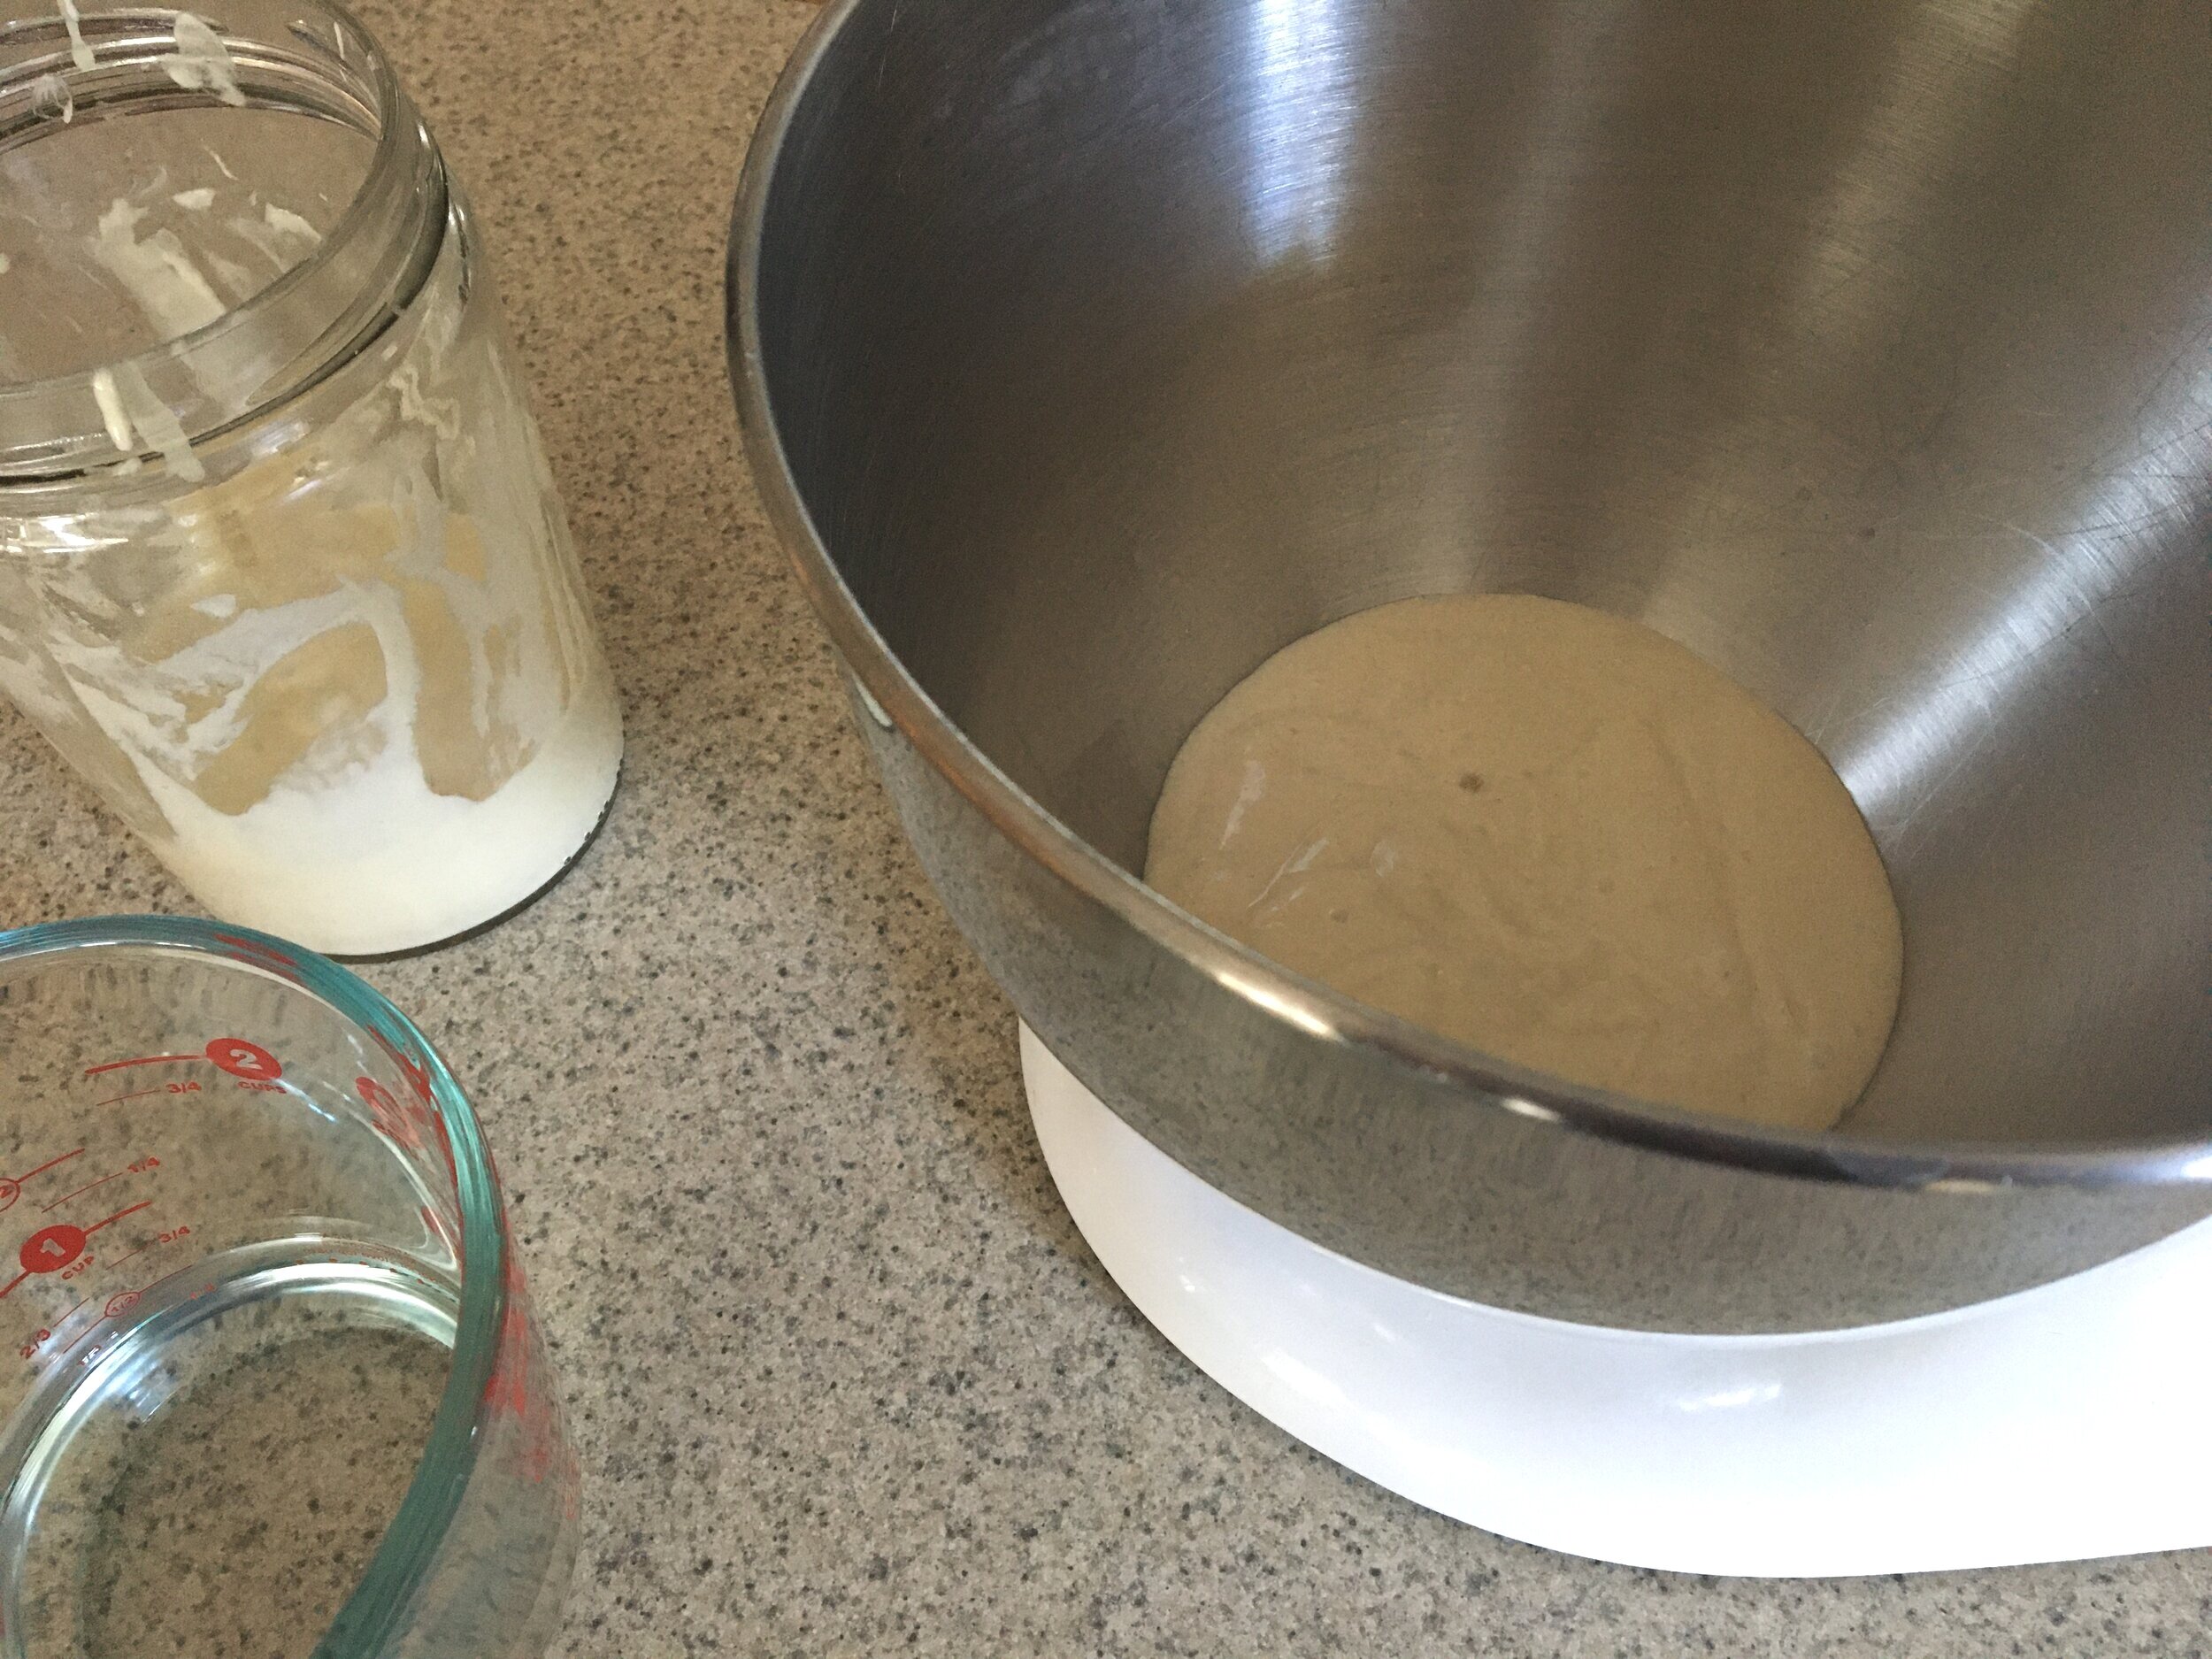
  2. In the bowl of a stand mixer with a dough hook attachment, combine the warm milk with the softened butter, sugar, and sourdough starter (pictured on the left- full of bubbles).

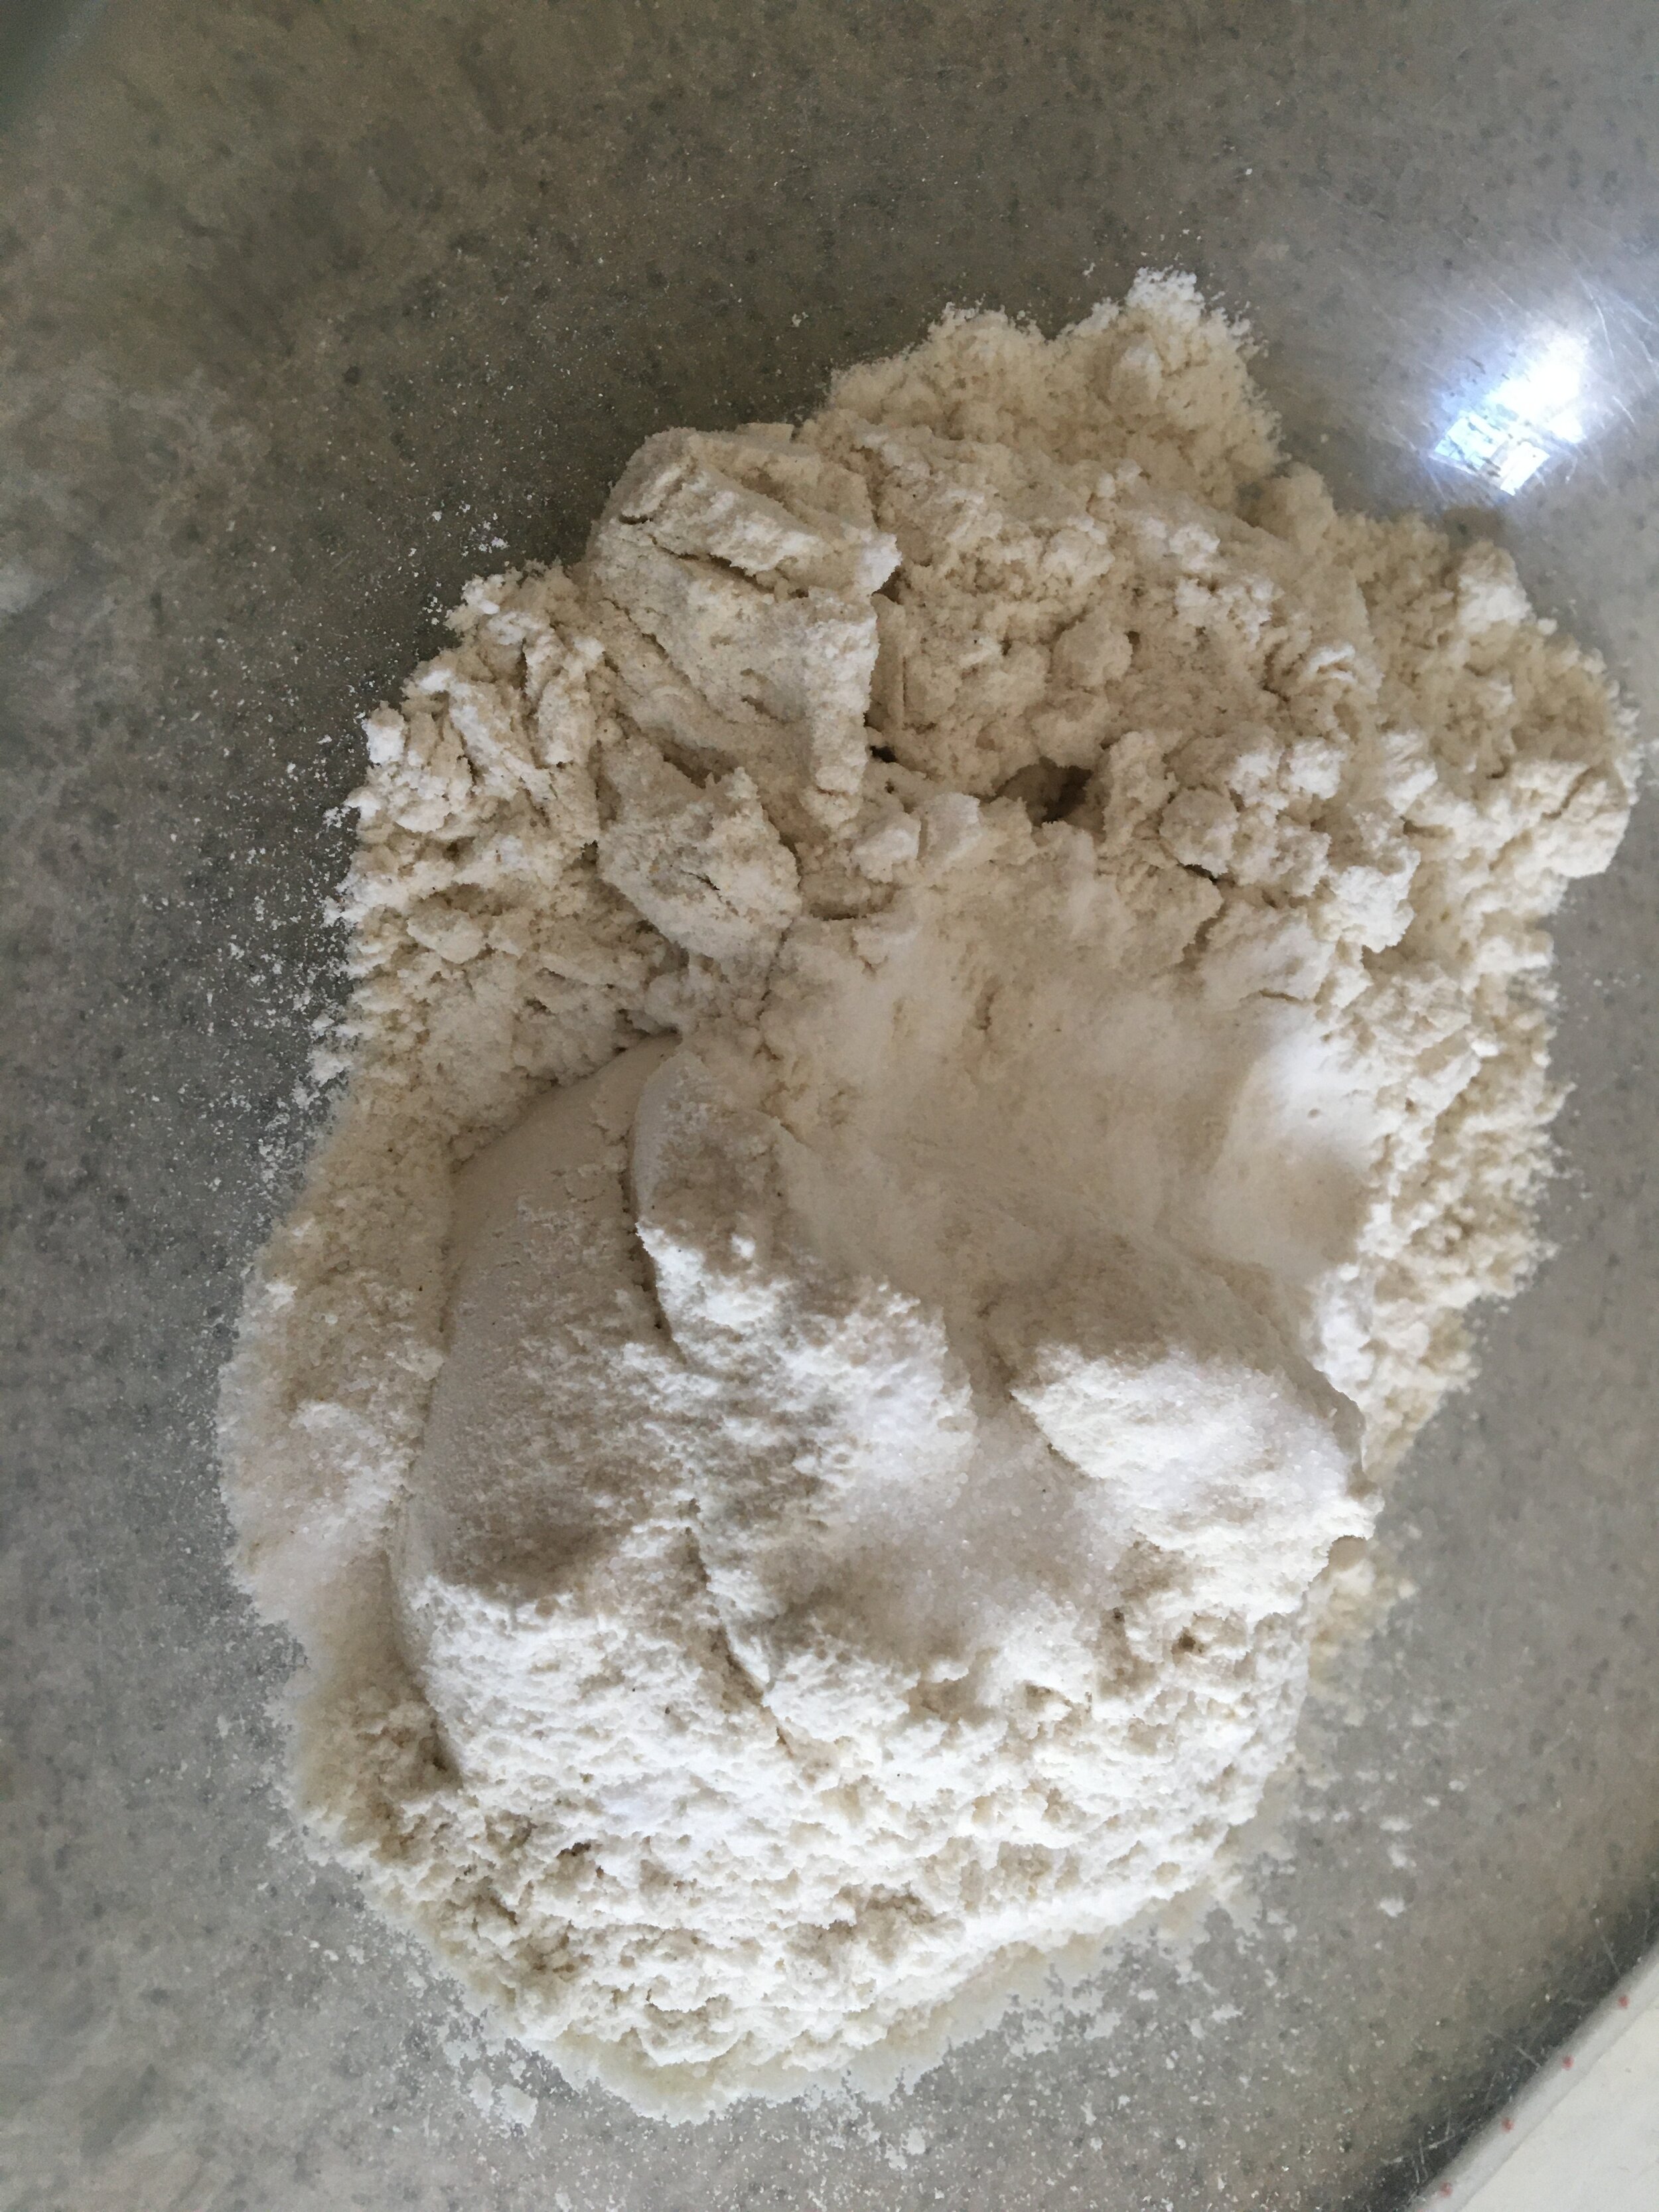
  3. Add the flour and turn the mixer on 1-2 (never higher than 2 or medium-low) and let the mixer knead the dough for about 5 minutes.

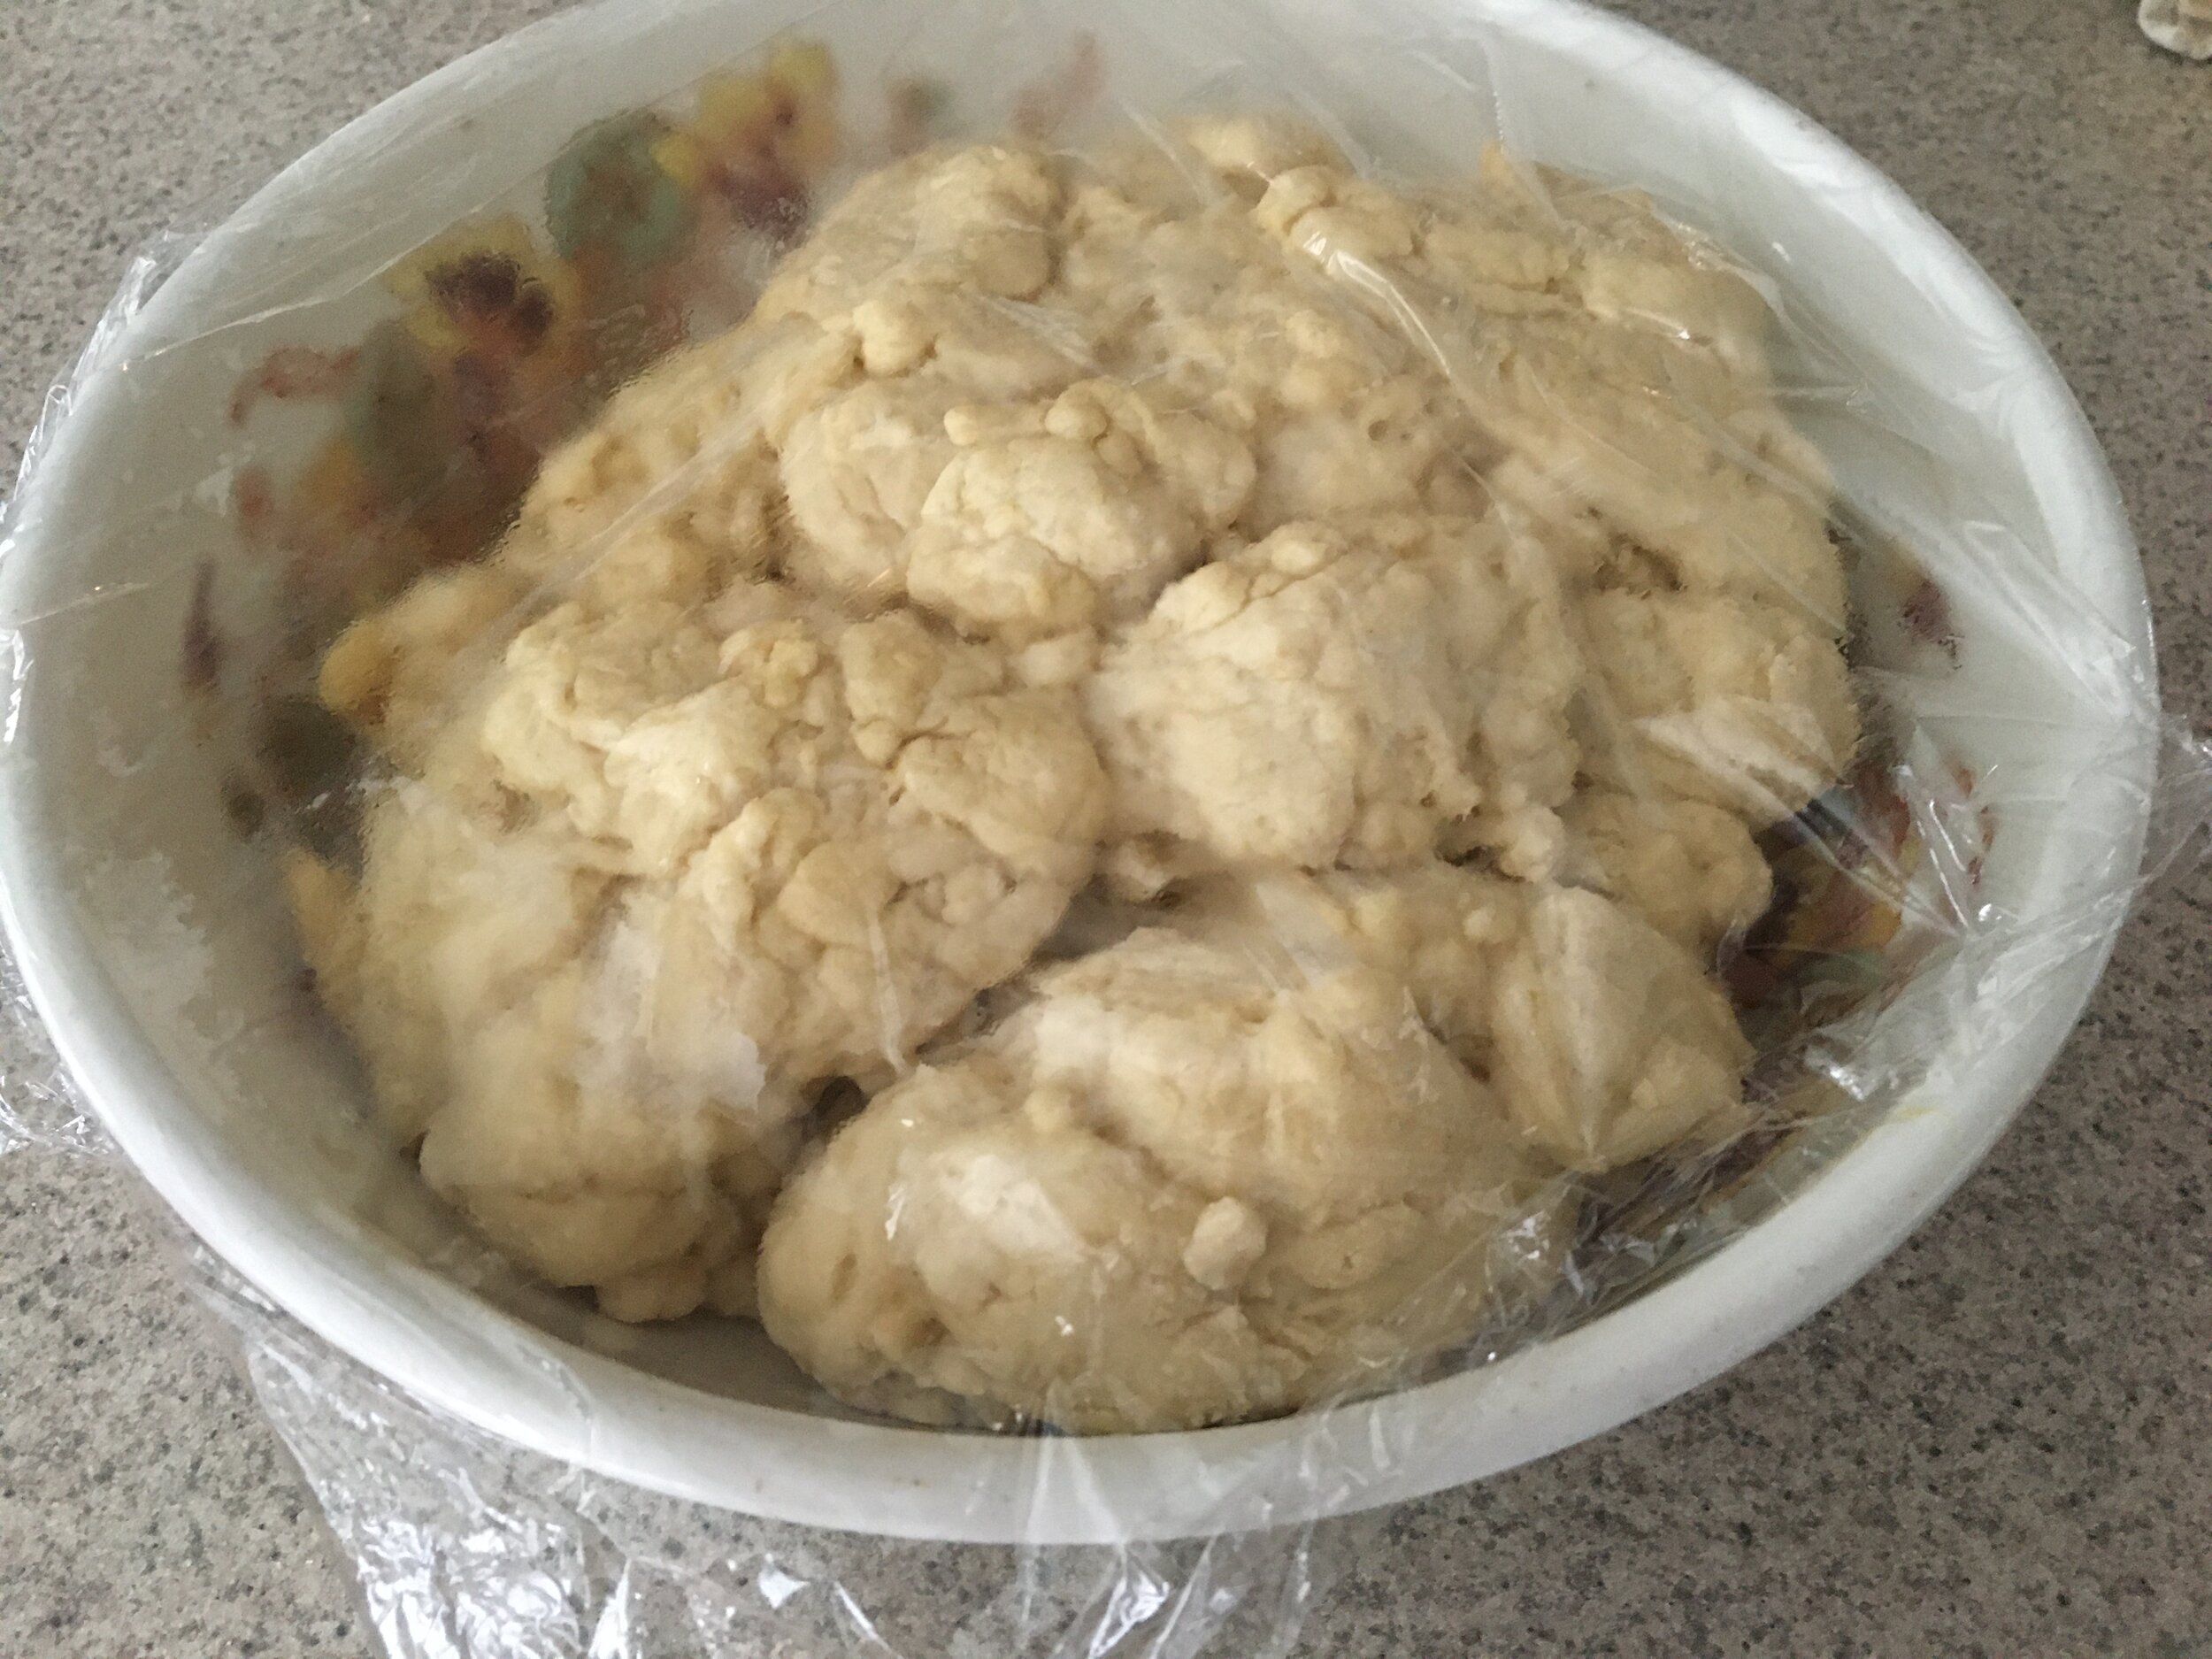
4. Turn off the mixer and scrape the dough into a medium bowl that has been lightly coated with oil. Cover with plastic and set aside for about 2 hours while the dough rises, or until dough has almost doubled in size.

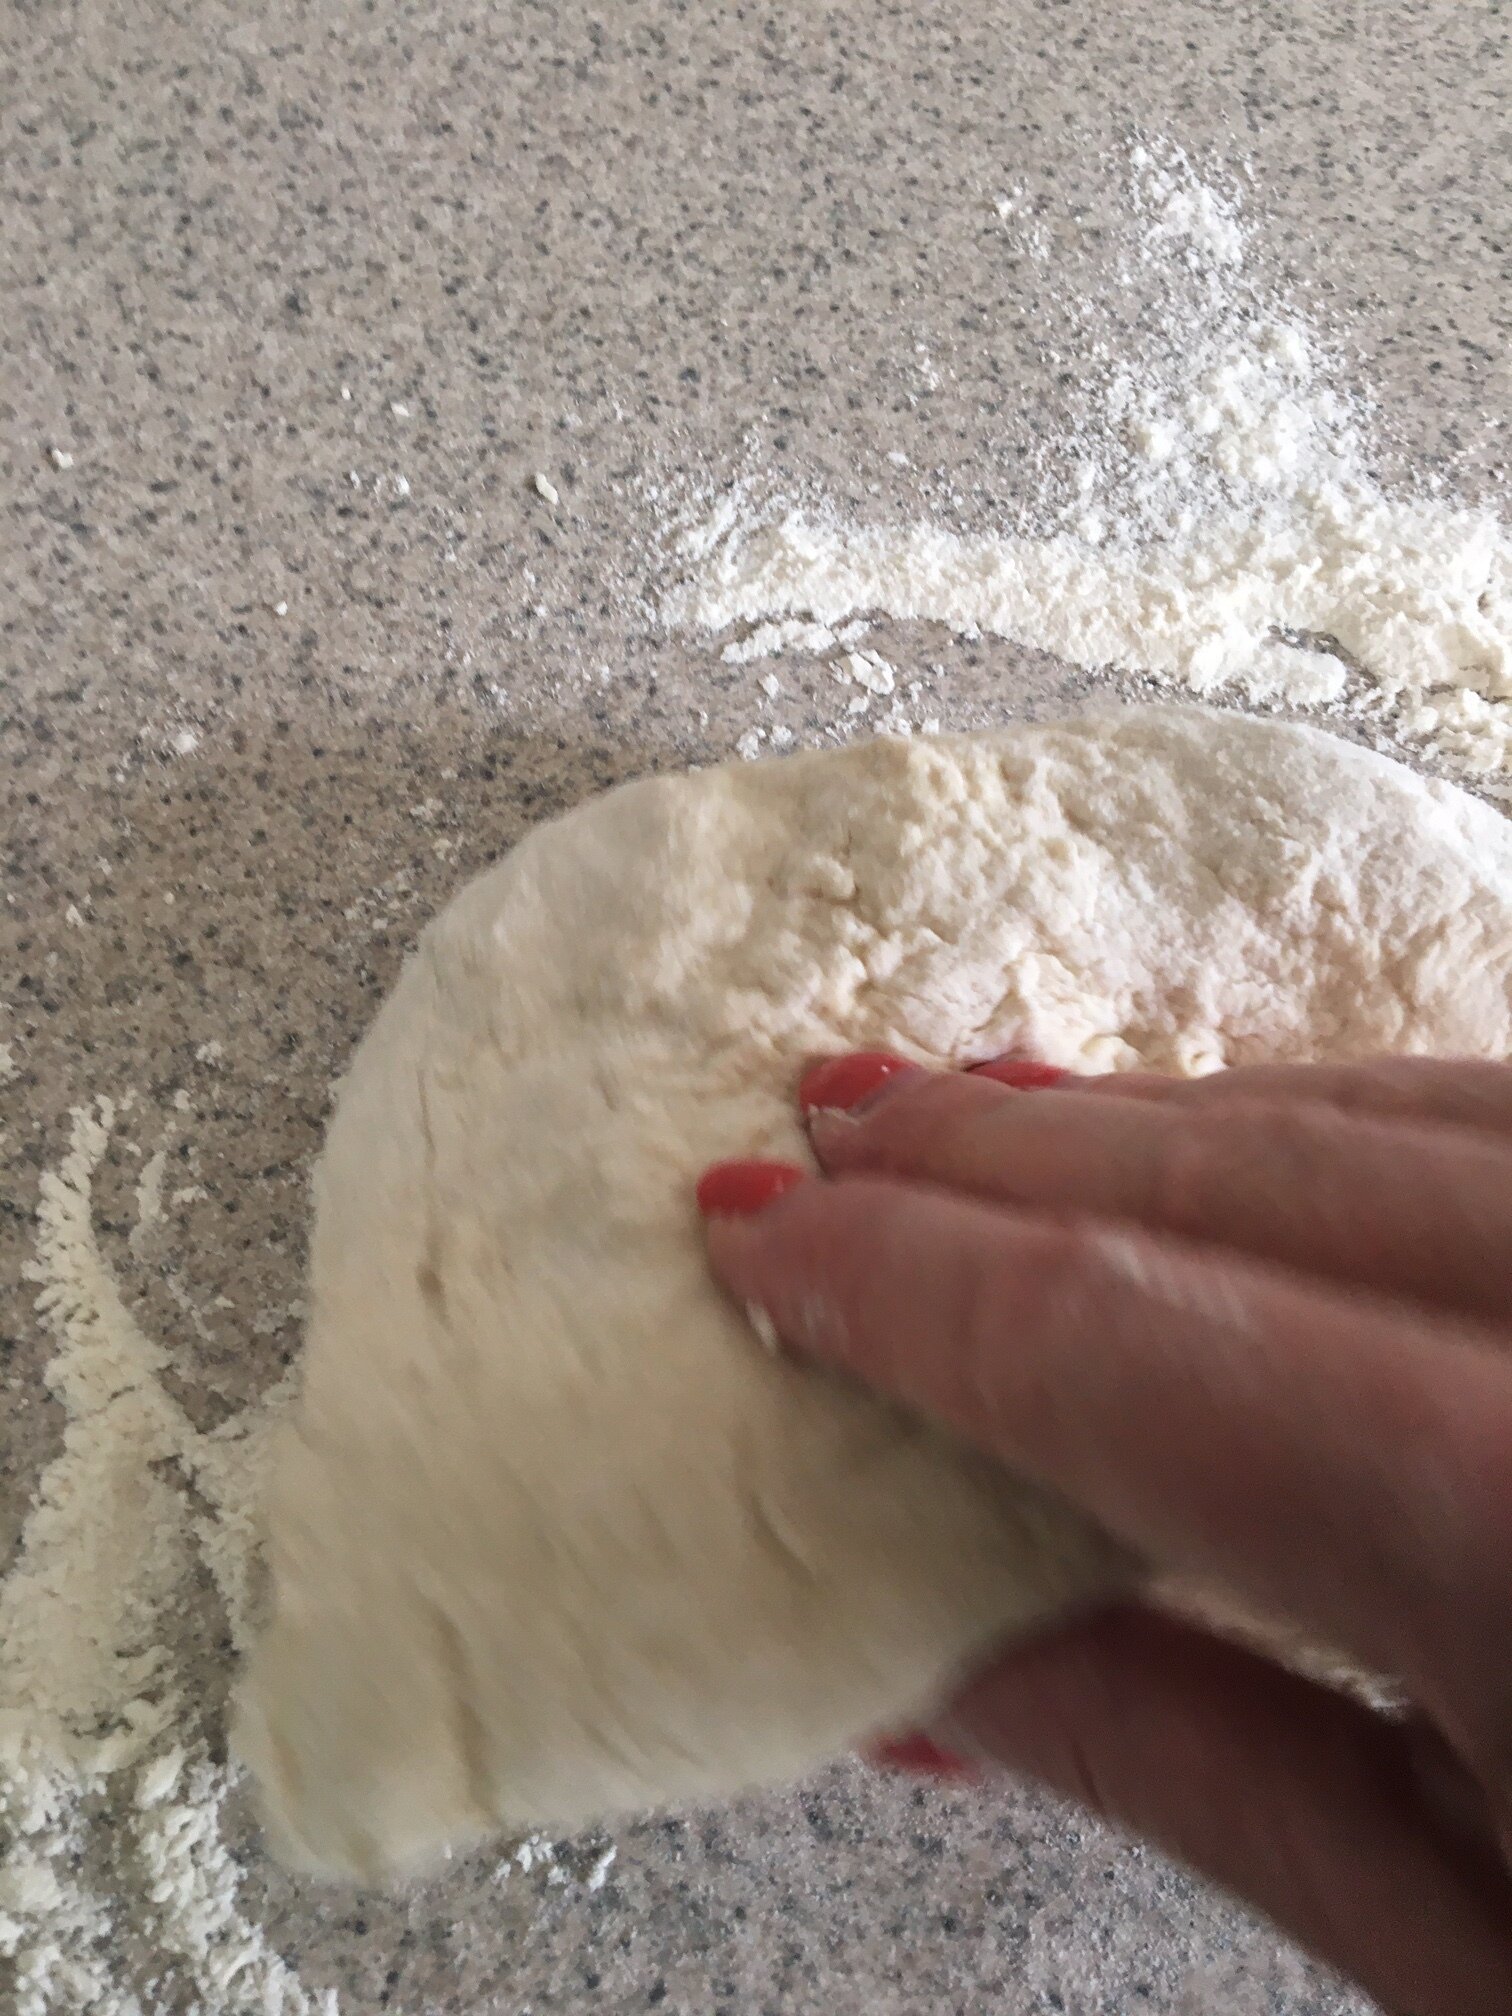
5. After 2 hours, turn the dough out onto a floured surface. Gently knead the dough for a couple of minutes.
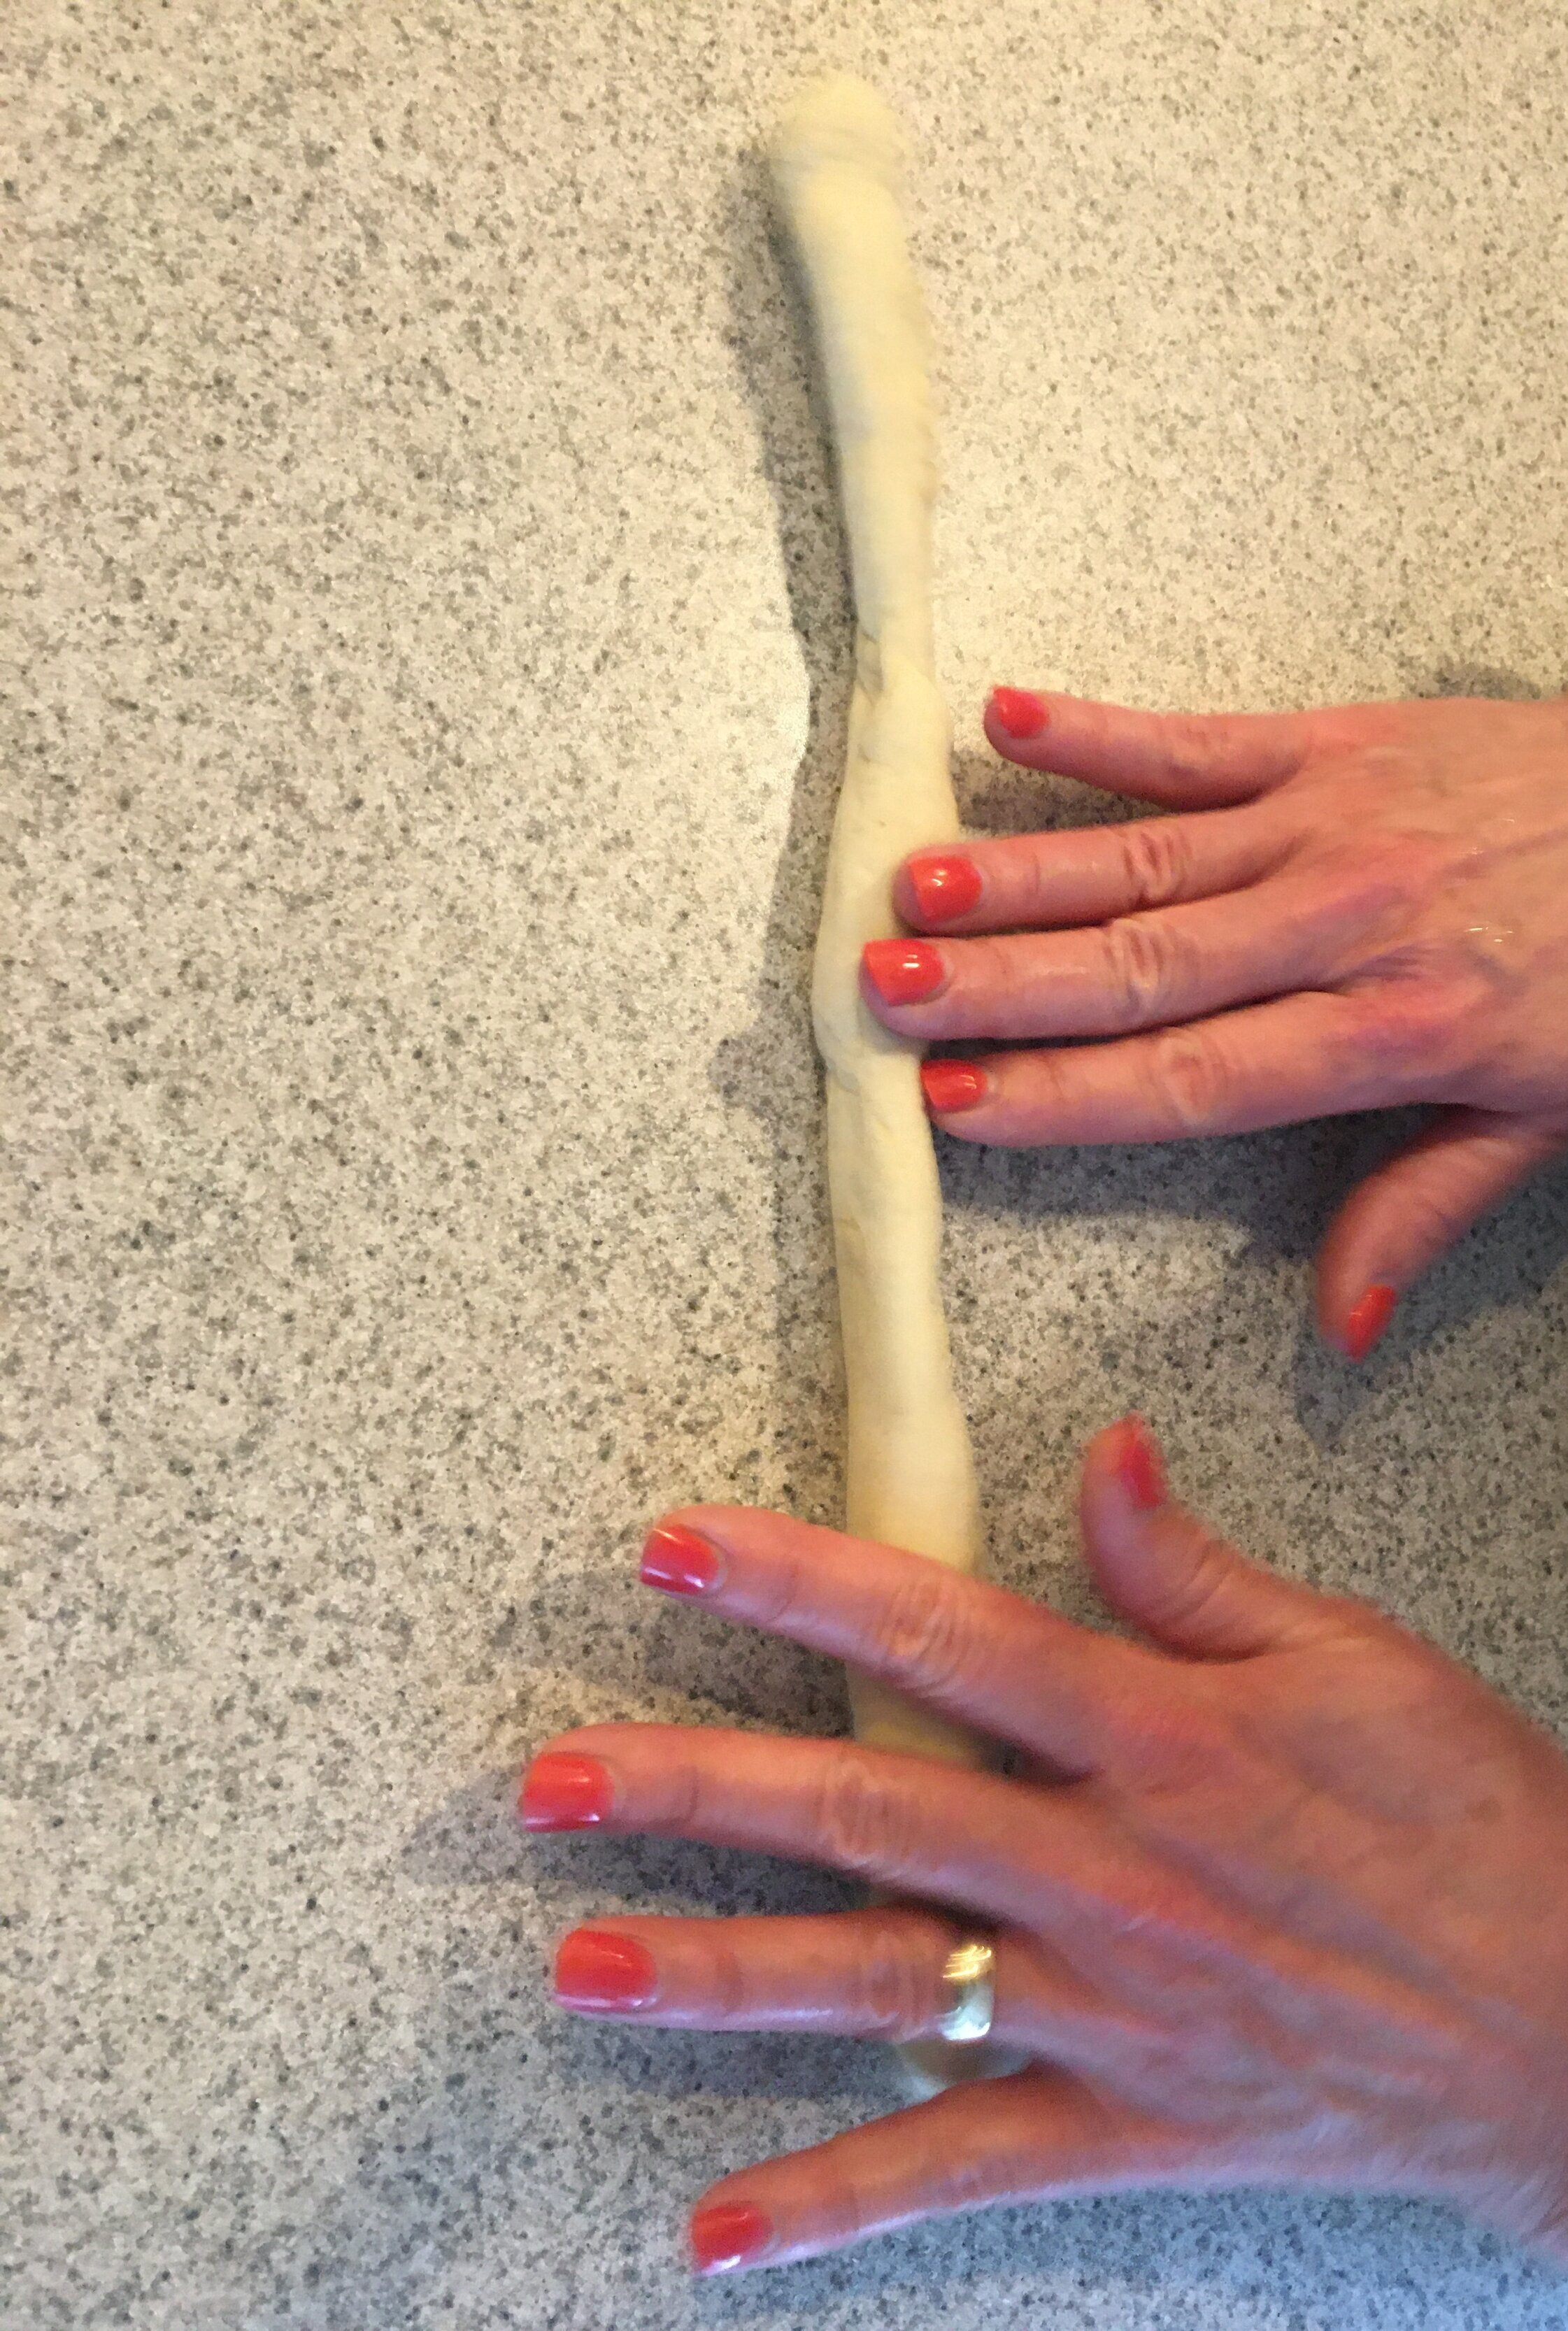
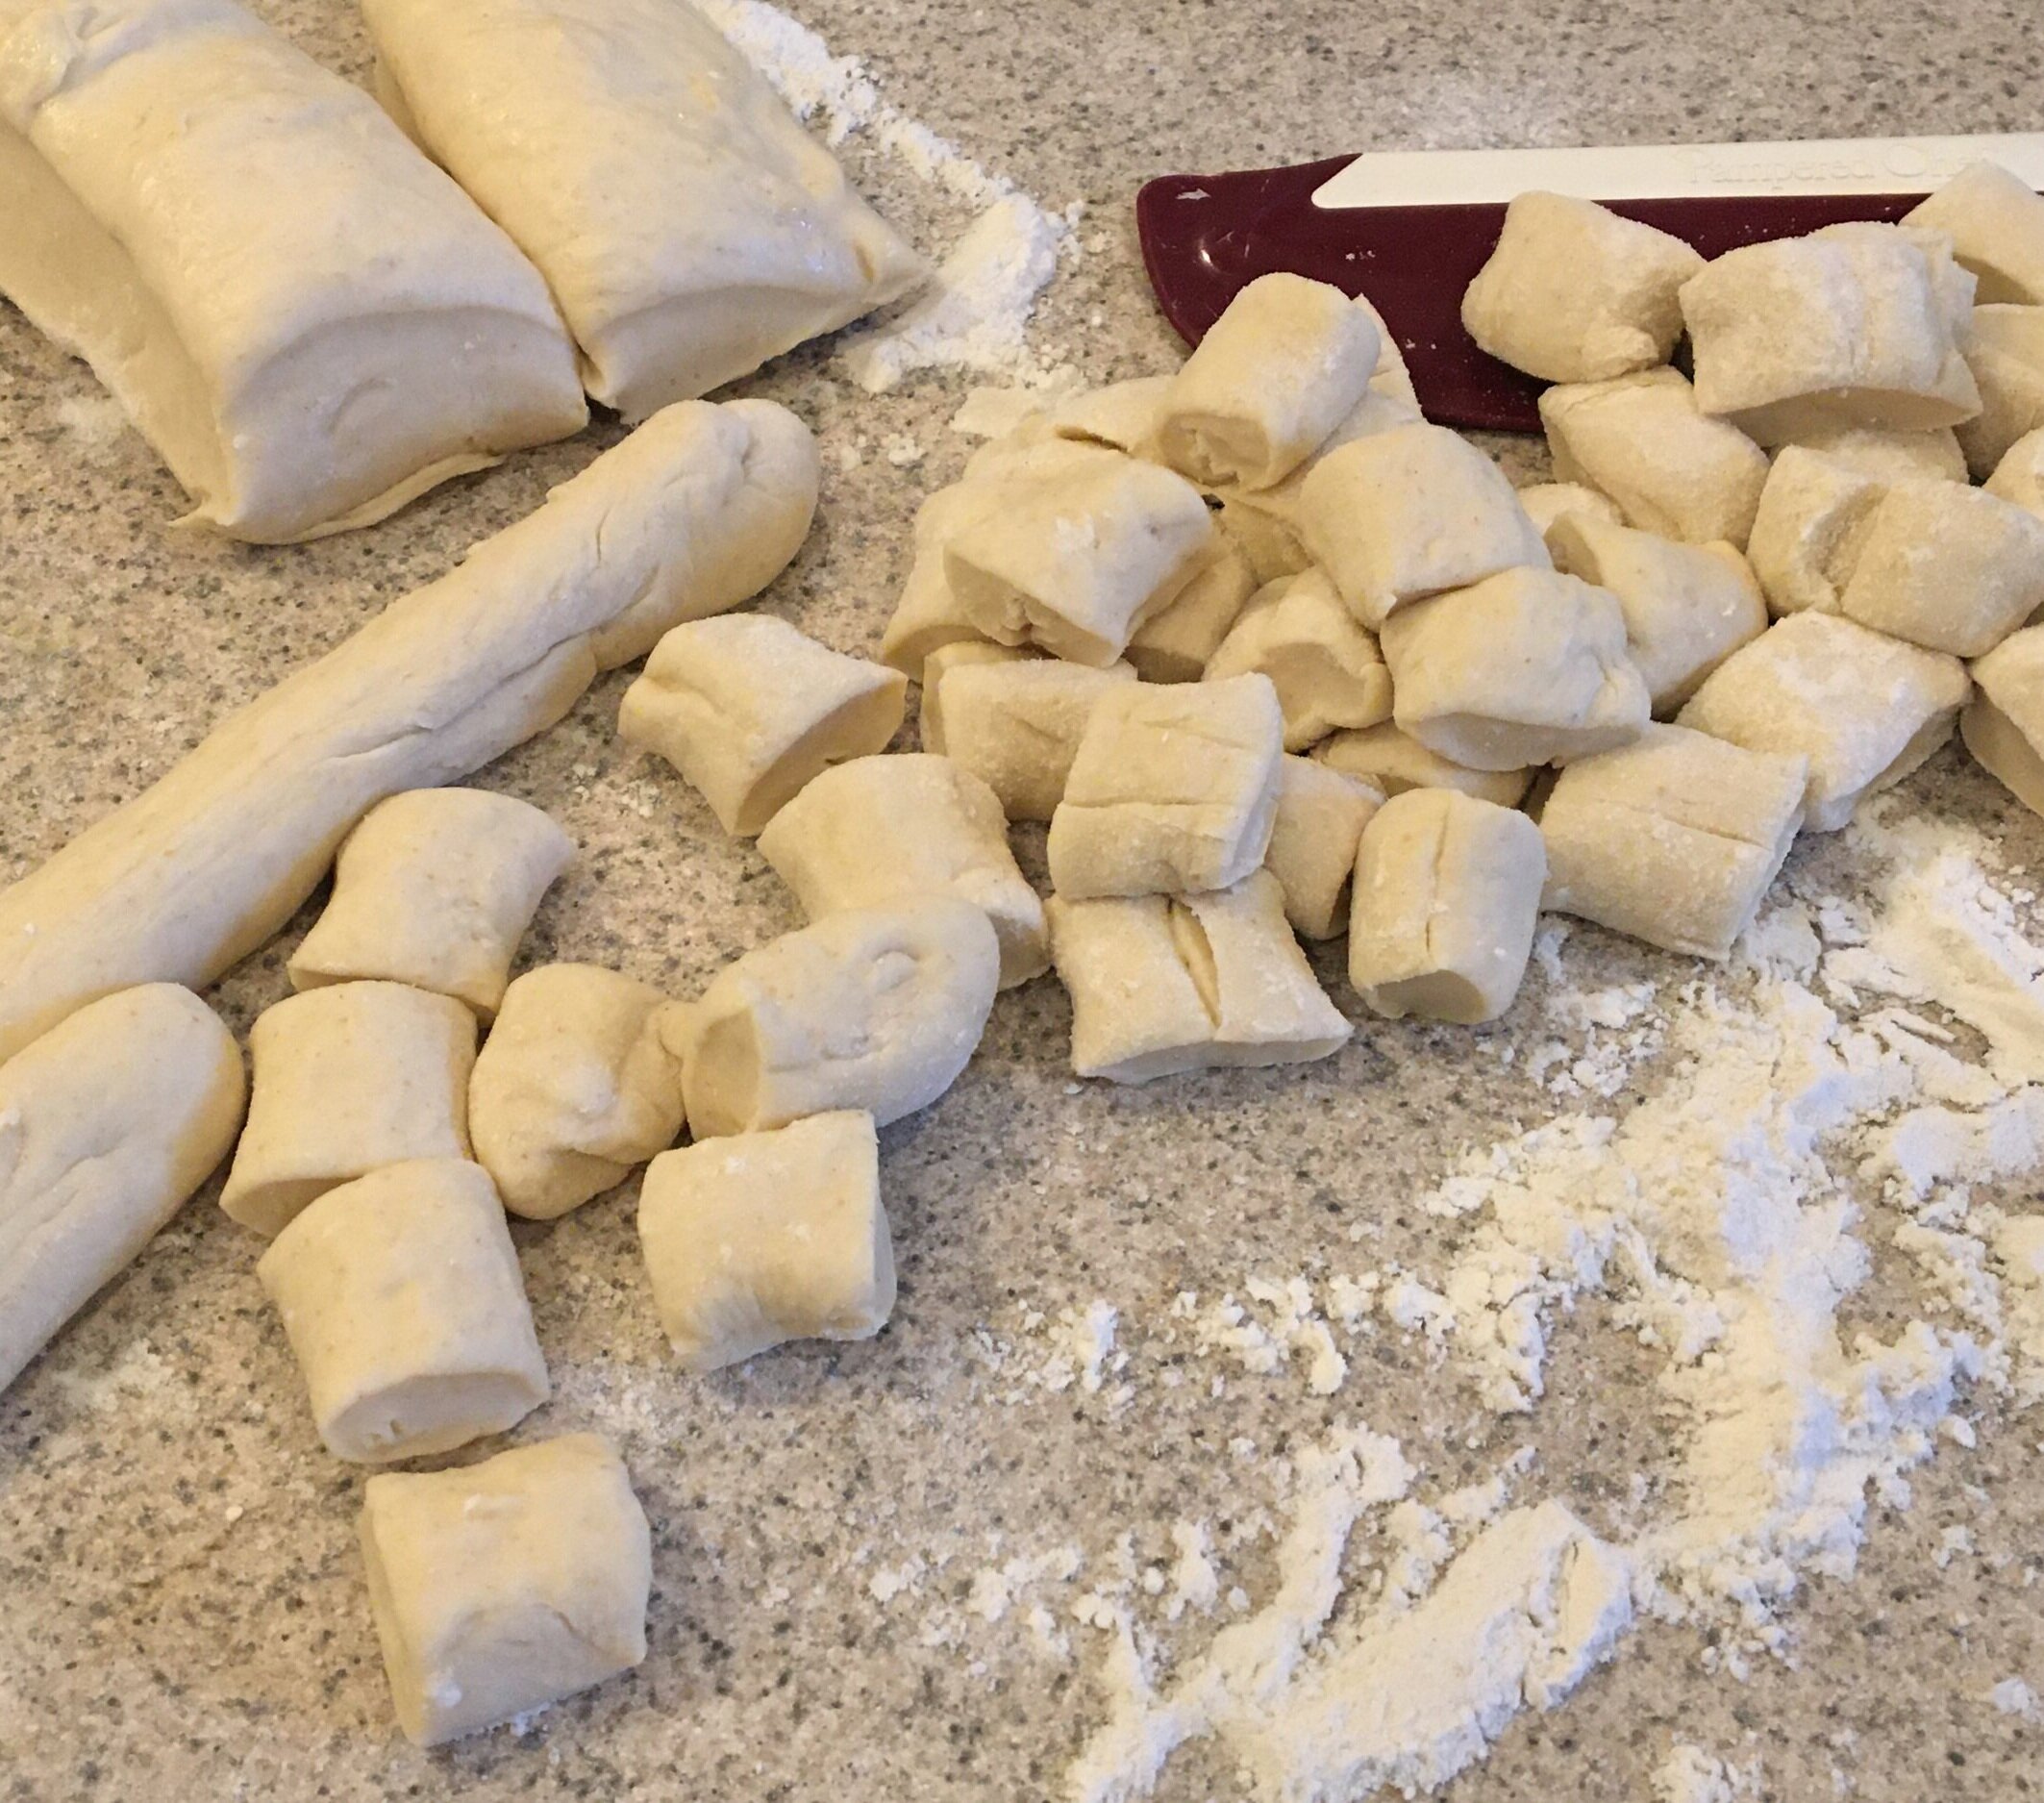
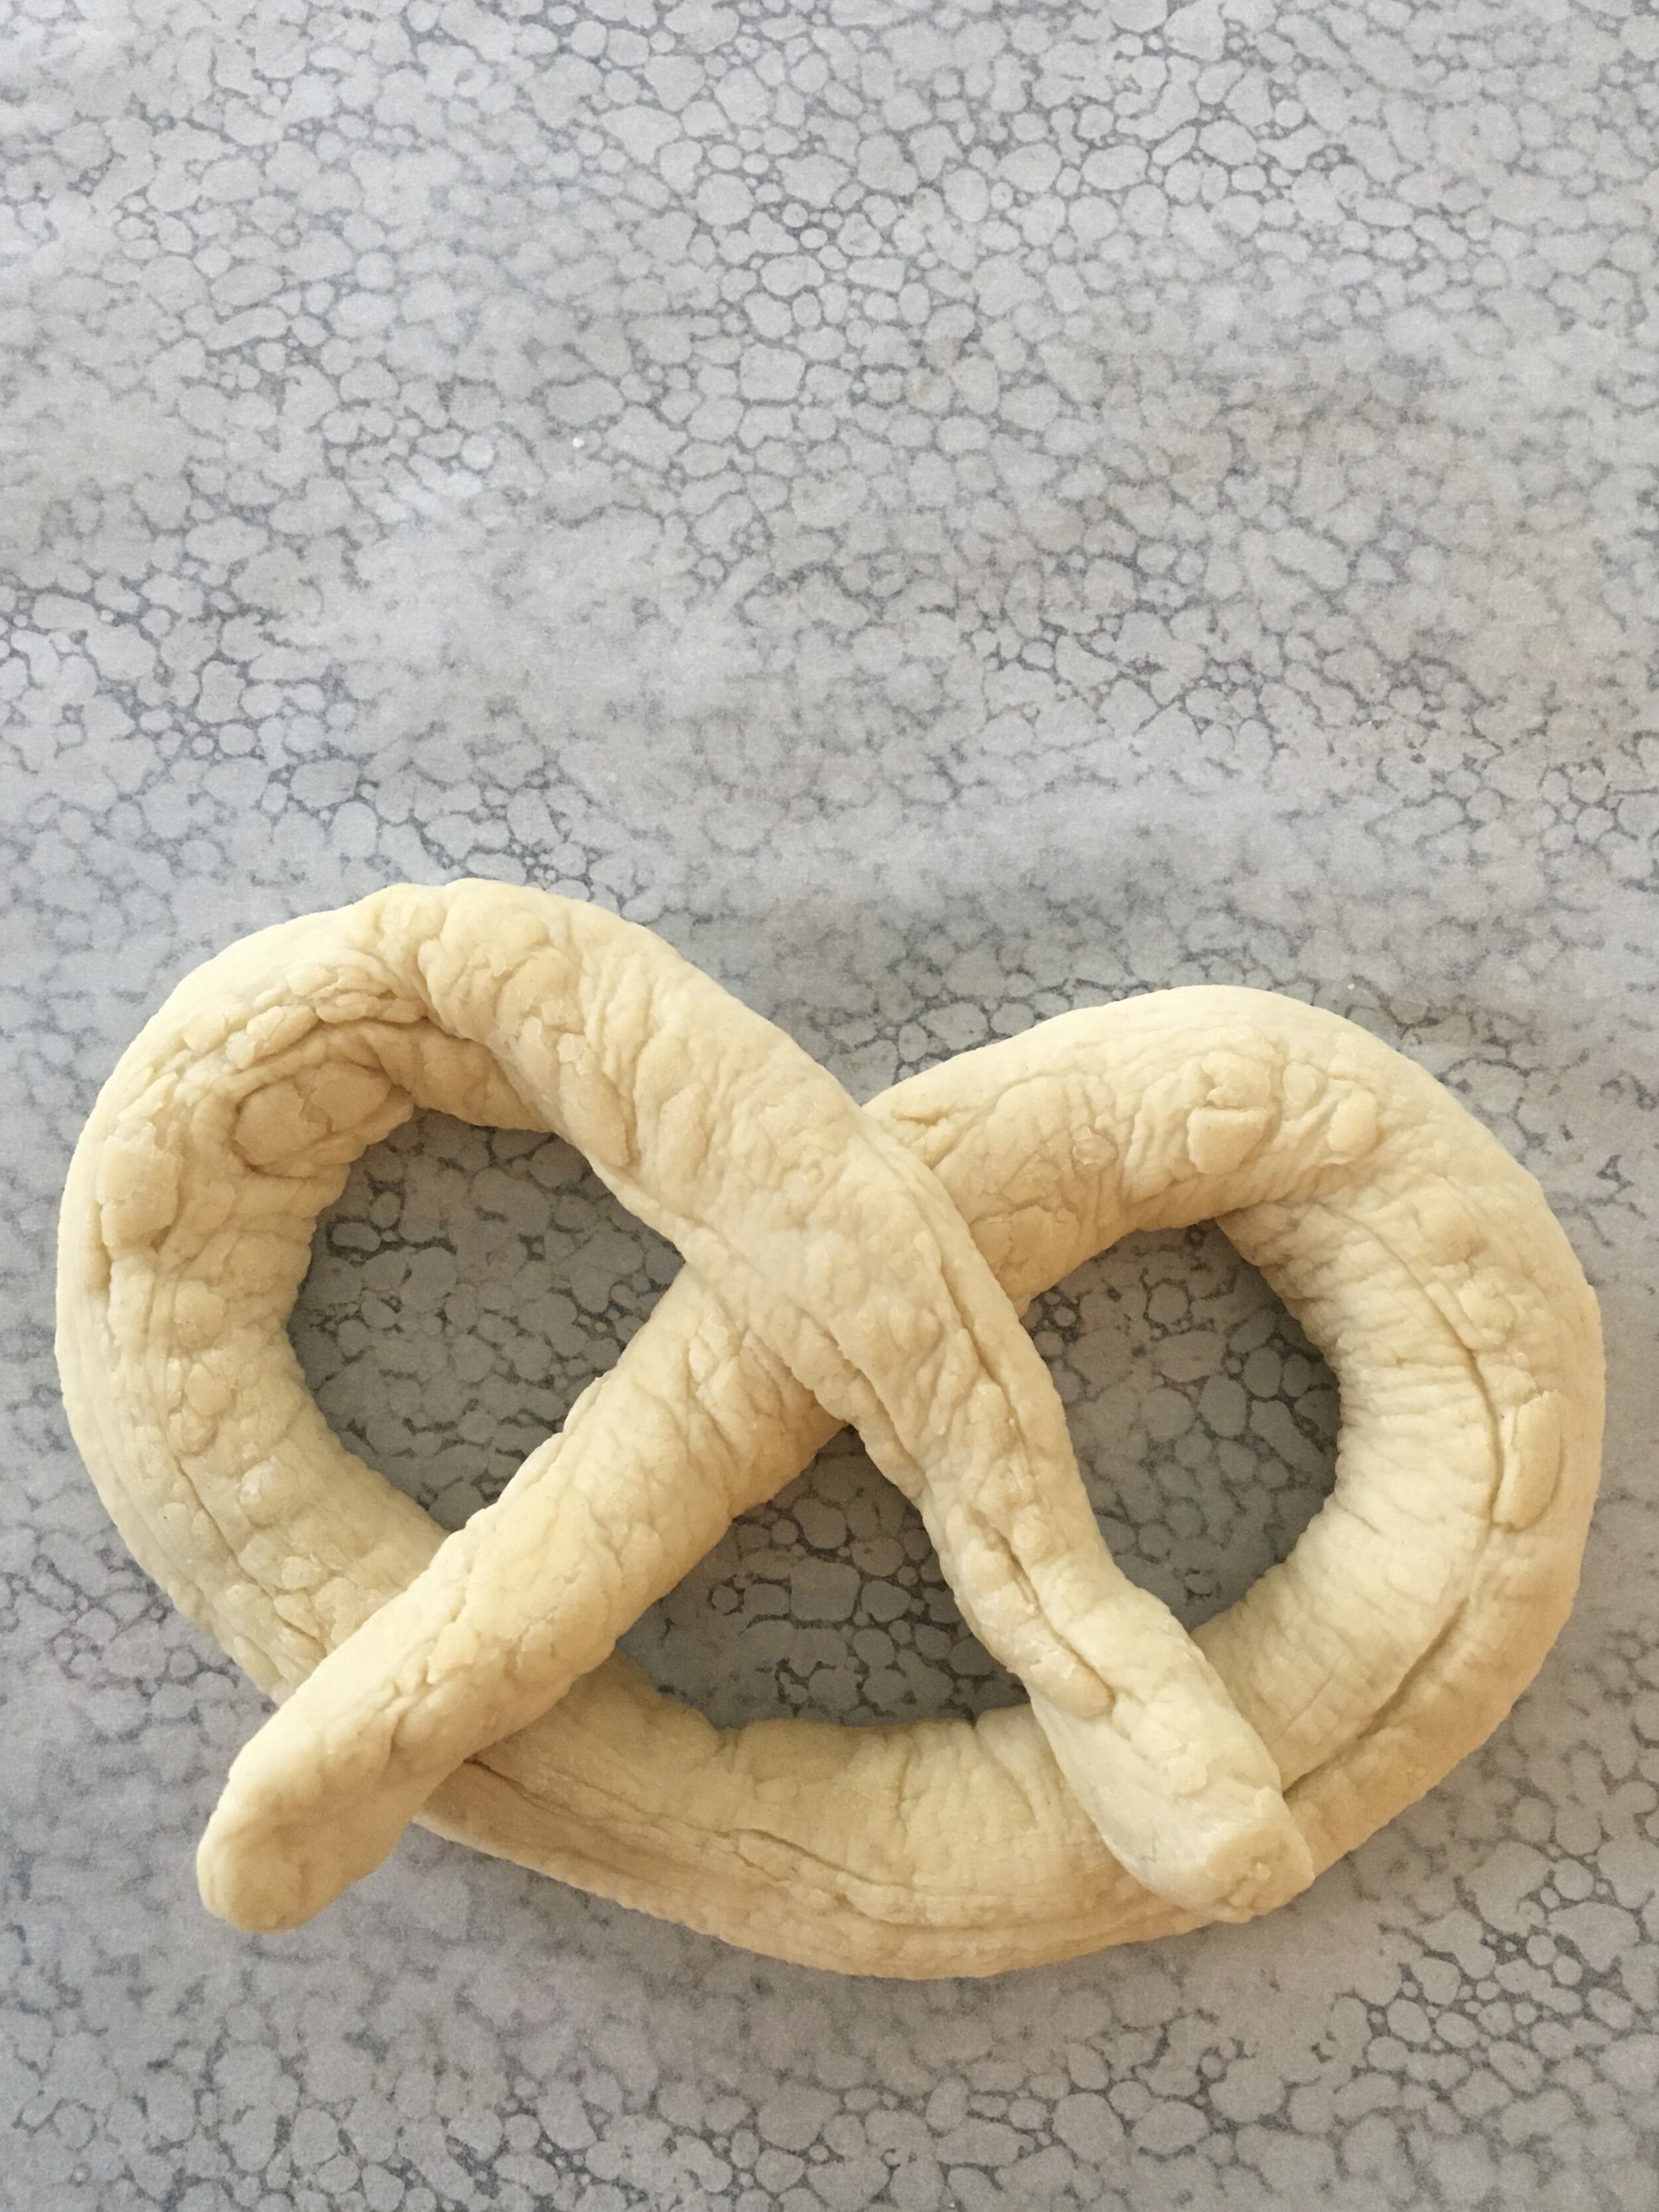
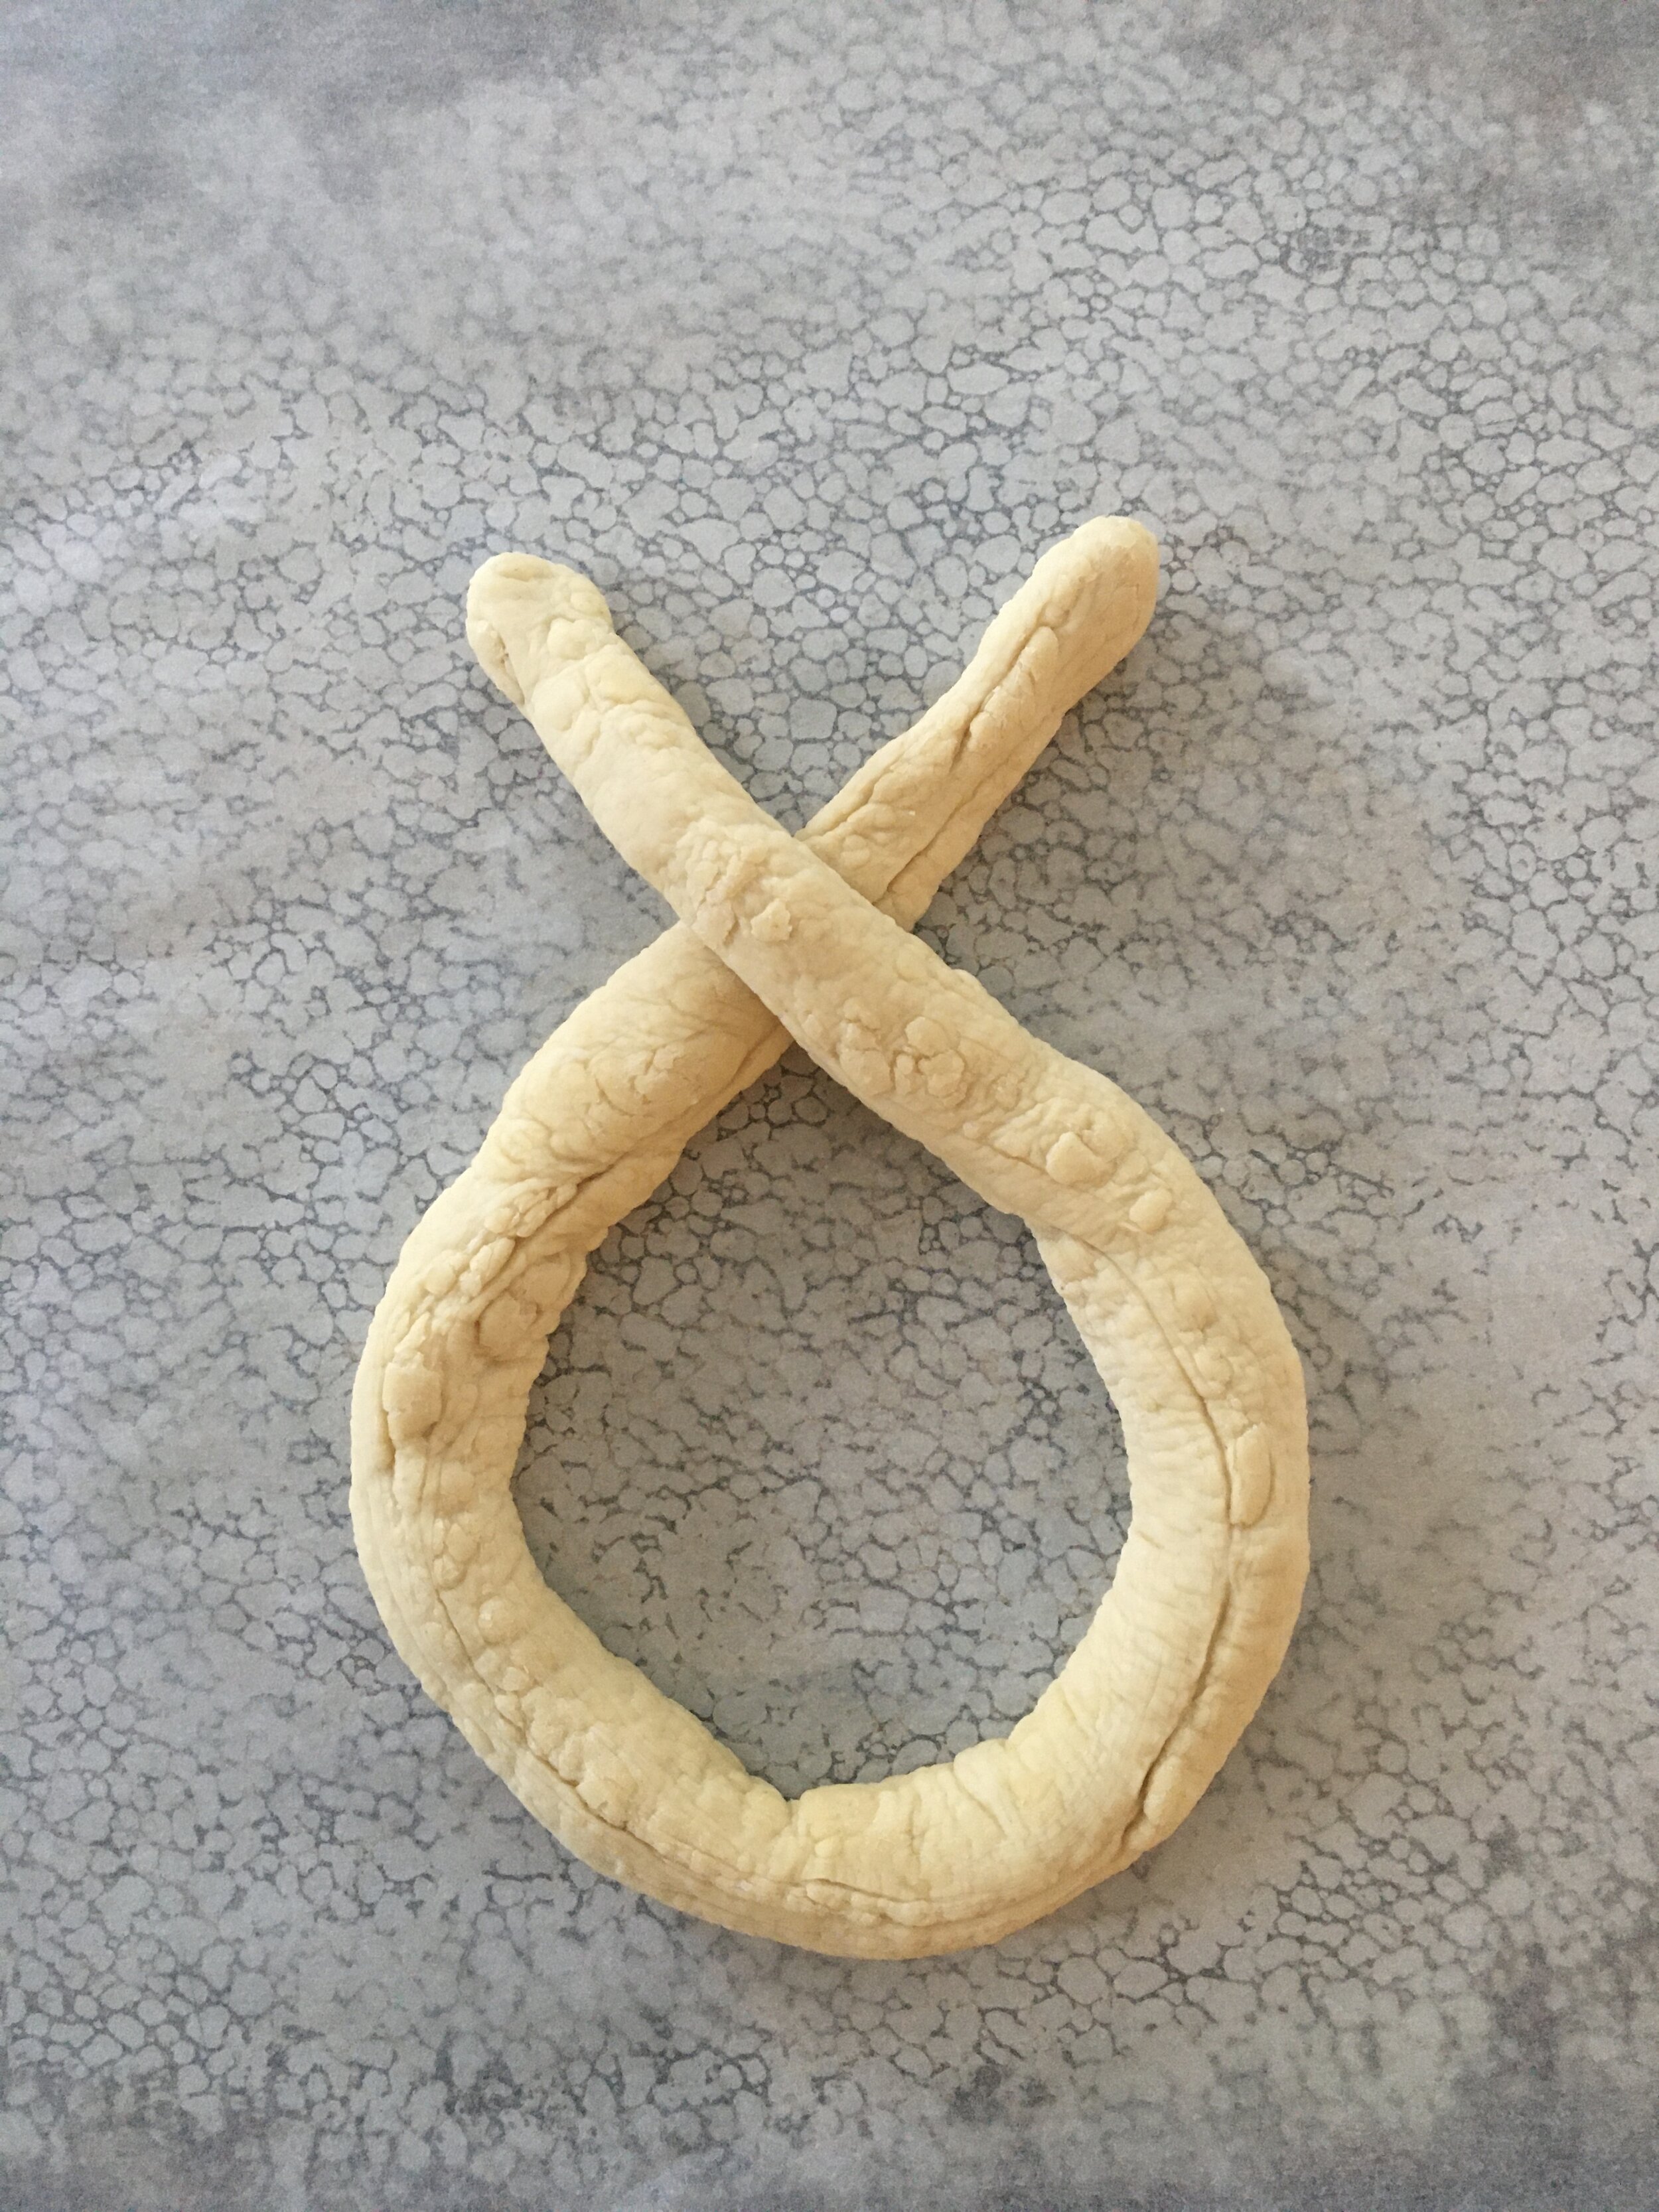
6. Separate dough into 12 pieces. Roll the pieces into 30 inch ropes (about 1 inch thickness).

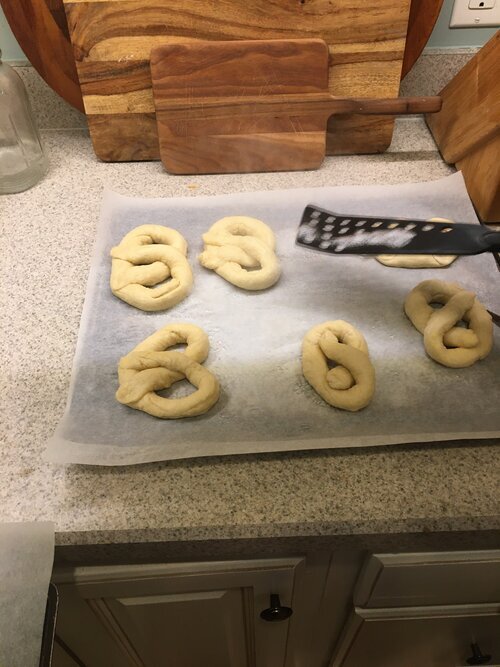
7. With a sharp knife, cut the pretzel rope into 1 inch pieces or shape each rope into a pretzel and place them on parchment-lined baking sheets. Put them in the freezer for 20-30 minutes before the water bath.

8. Preheat the oven to 450°F while the pretzels are in the freezer.

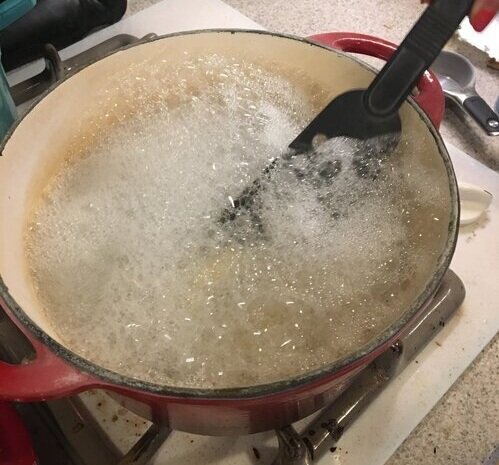
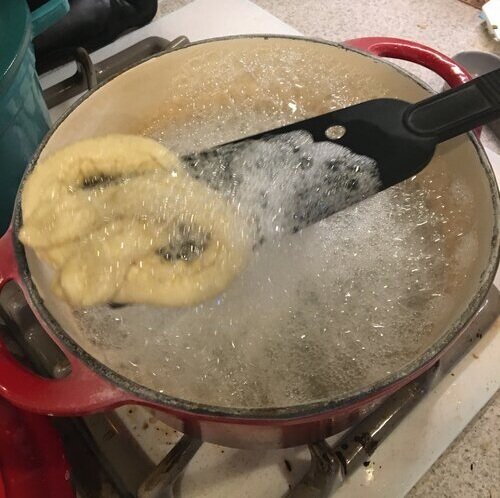
9. In a large stockpot, add water and baking soda. Cook over high heat. Once water is boiling, place a few of the pretzel bites (or preztels) into the water. Remove with a slotted spoon after about 30 seconds (or after they have floated to the top) and place the pretzels back onto the lined baking sheets. (I forgot to take pictures of the pretzel bites going into the water bath, but the process is the same as for the pretzels.)

10. Brush the dough lightly with the egg wash and sprinkle the salt on top of each pretzel.

11. Bake for 15 minutes, or until golden brown. Let them cool before serving.

12. Serve with Cherchies® Champagne Mustard, Cherchies® Cranberry Mustard, or Cherchies® Hot Banana Pepper Mustard. The perfect anytime snack!

Enjoy!

pretzel bites 384a.jpg


Yum

Recipe Roundup- 31 Creative Uses for Leftovers

leftovers, recipe round upSheri SpalloneComment
Recipe Roundup- 31 Creative Uses for Leftovers

Recipe Roundup- 31 Creative Uses for Leftovers

So how are you feeling today? Are you feeling a bit overwhelmed with the current situation? You are not alone. Everything we know and enjoy has turned upside down, but we will get through this. Even the way we cook has changed with limited ingredients and eating at home every day. Leftovers are becoming the norm to stretch the budget and limit trips to the grocery store.

Along with the increased pressures of how to survive our new daily routines, planning meals should not add to that stress. We have gathered up some of our favorite leftover recipes to bring you perhaps a sense of order and calm.

These recipes are perfect when choices are limited, and they are flexible and easily adaptive to stretch whatever is available in your pantry and refrigerator.

Please comment below and share the creative ways in which you use leftovers. We would love to hear from you. Stay safe and well, friends!

Leftover Poultry

Italian Dishes

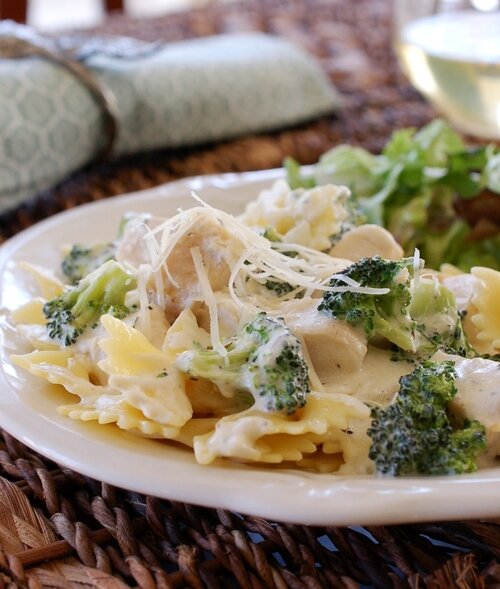
Chicken Pasta Recipe- An easy pasta dish featuring chicken, broccoli, pasta, and Cherchies® Lem’n Dill Seasoning.

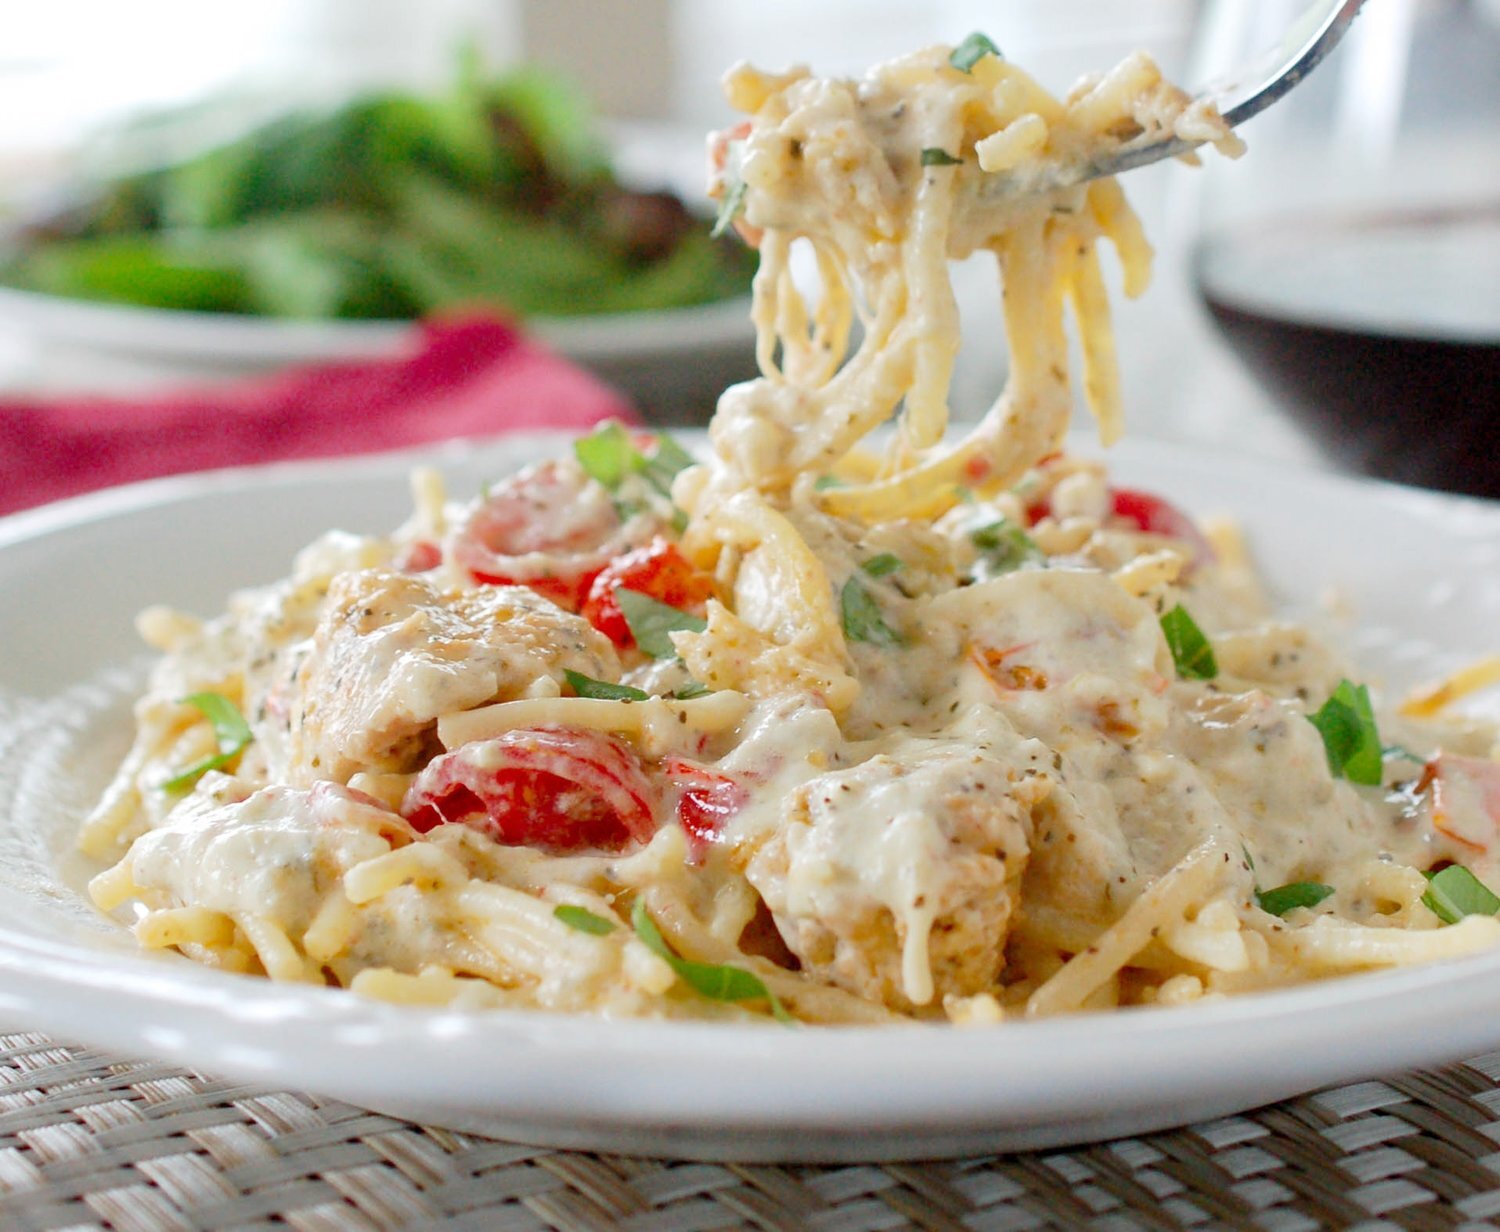
Chicken Caprese Pasta Recipe- Easy and refreshing, featuring chicken, tomatoes, pasta, mozzarella cheese, and Cherchies® Basil Pizzazz Seasoning.

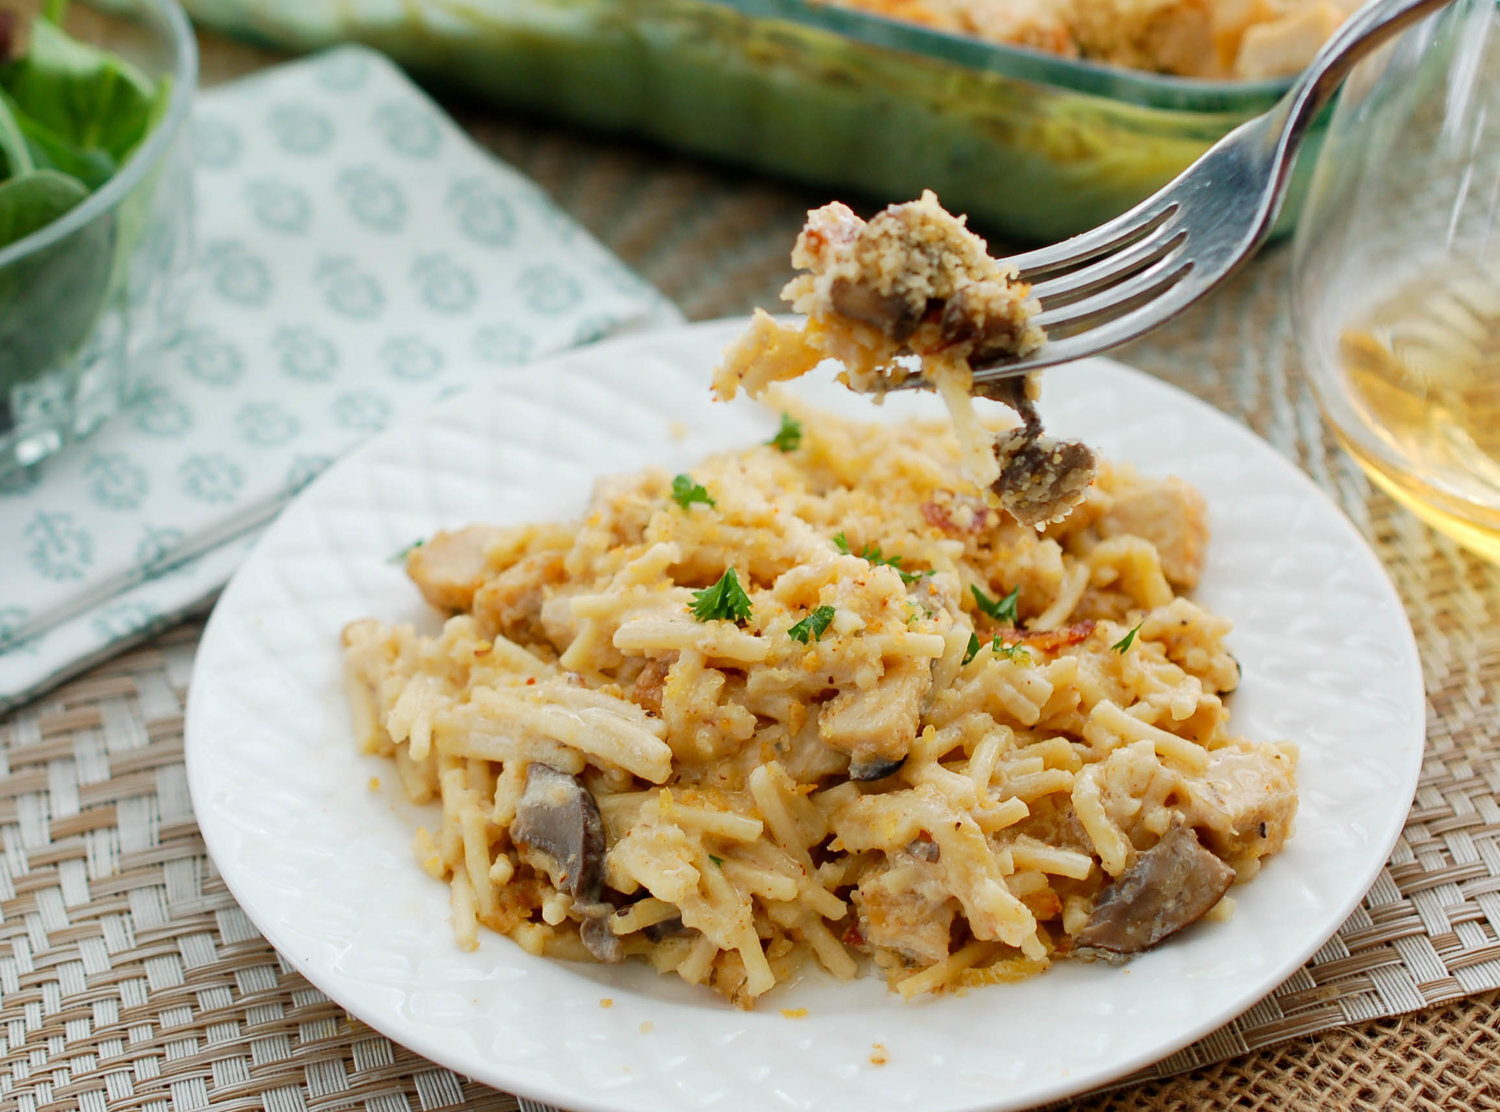
Champagne Chicken Tetrazzini Recipe- Perfectly comforting featuring chicken, mushrooms, Cherchies® Champagne Mustard, Cherchies® Garlic Seasoning, and Cherchies® Select Grilling Rub & Seasoning Blend.

Leftover Poultry (Substitute any meat you have on hand)

Asian Dishes

Kathy's Thai Chicken Recipe- featuring chicken, onions, Cherchies® Chardonnay Lime & Cilantro Seasoning and Cherchies® Garlic 'n Herb No-Salt Seasoning.

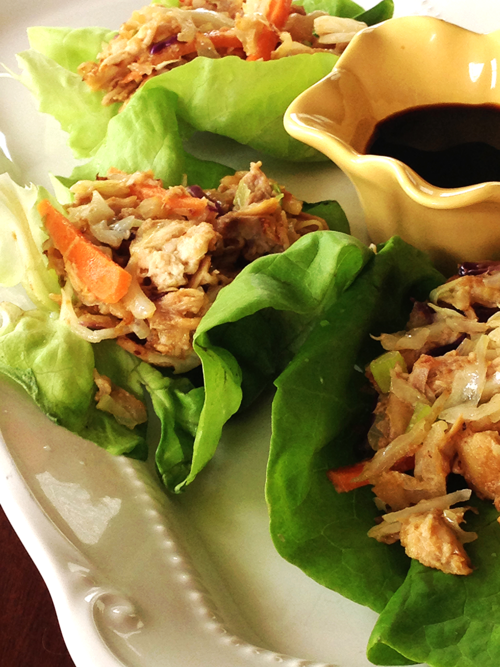
Champagne Chicken Lettuce Wraps Recipe- Featuring chicken, coleslaw mix or cabbage and Cherchies® Champagne Mustard.

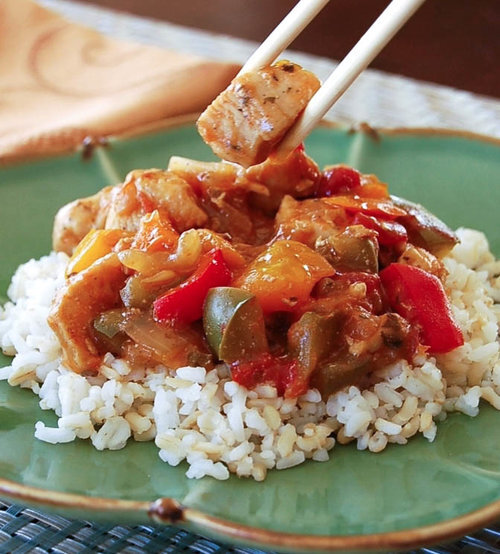
Peachy Sweet and Sour Chicken Recipe- Who needs take out when you can make this chicken dish featuring Cherchies® Garlic Seasoning and Cherchies® Vidalia Onion Peach Salsa.

Leftover Poultry

Mexican

Leftover Sassy Chicken Tostada Recipe- Switch up Taco Night and pile on the fixings. This recipe features Cherchies® Chardonnay Lime & Cilantro Seasoning and Cherchies® Select Grilling Rub & Seasoning Blend.

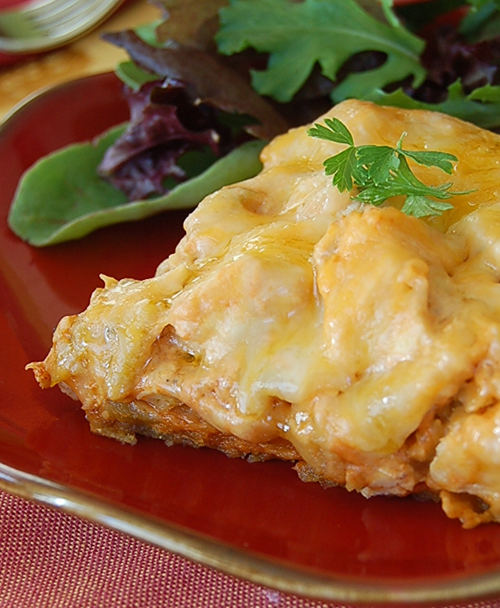
Chicken Tortilla Casserole- A unique Mexican dish featuring Cherchies® Lem’n Pepper Spicy Blend Seasoning.

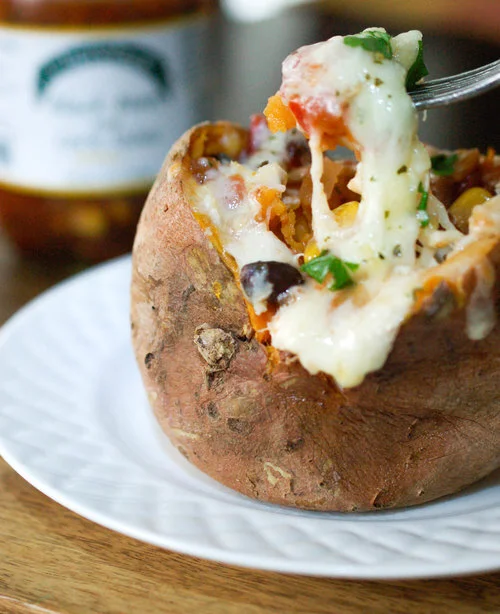
Southwest Stuffed Sweet Potato Recipe- Featuring Cherchies® Chardonnay Lime & Cilantro Seasoning and Cherchies® Black Bean & Corn Salsa.

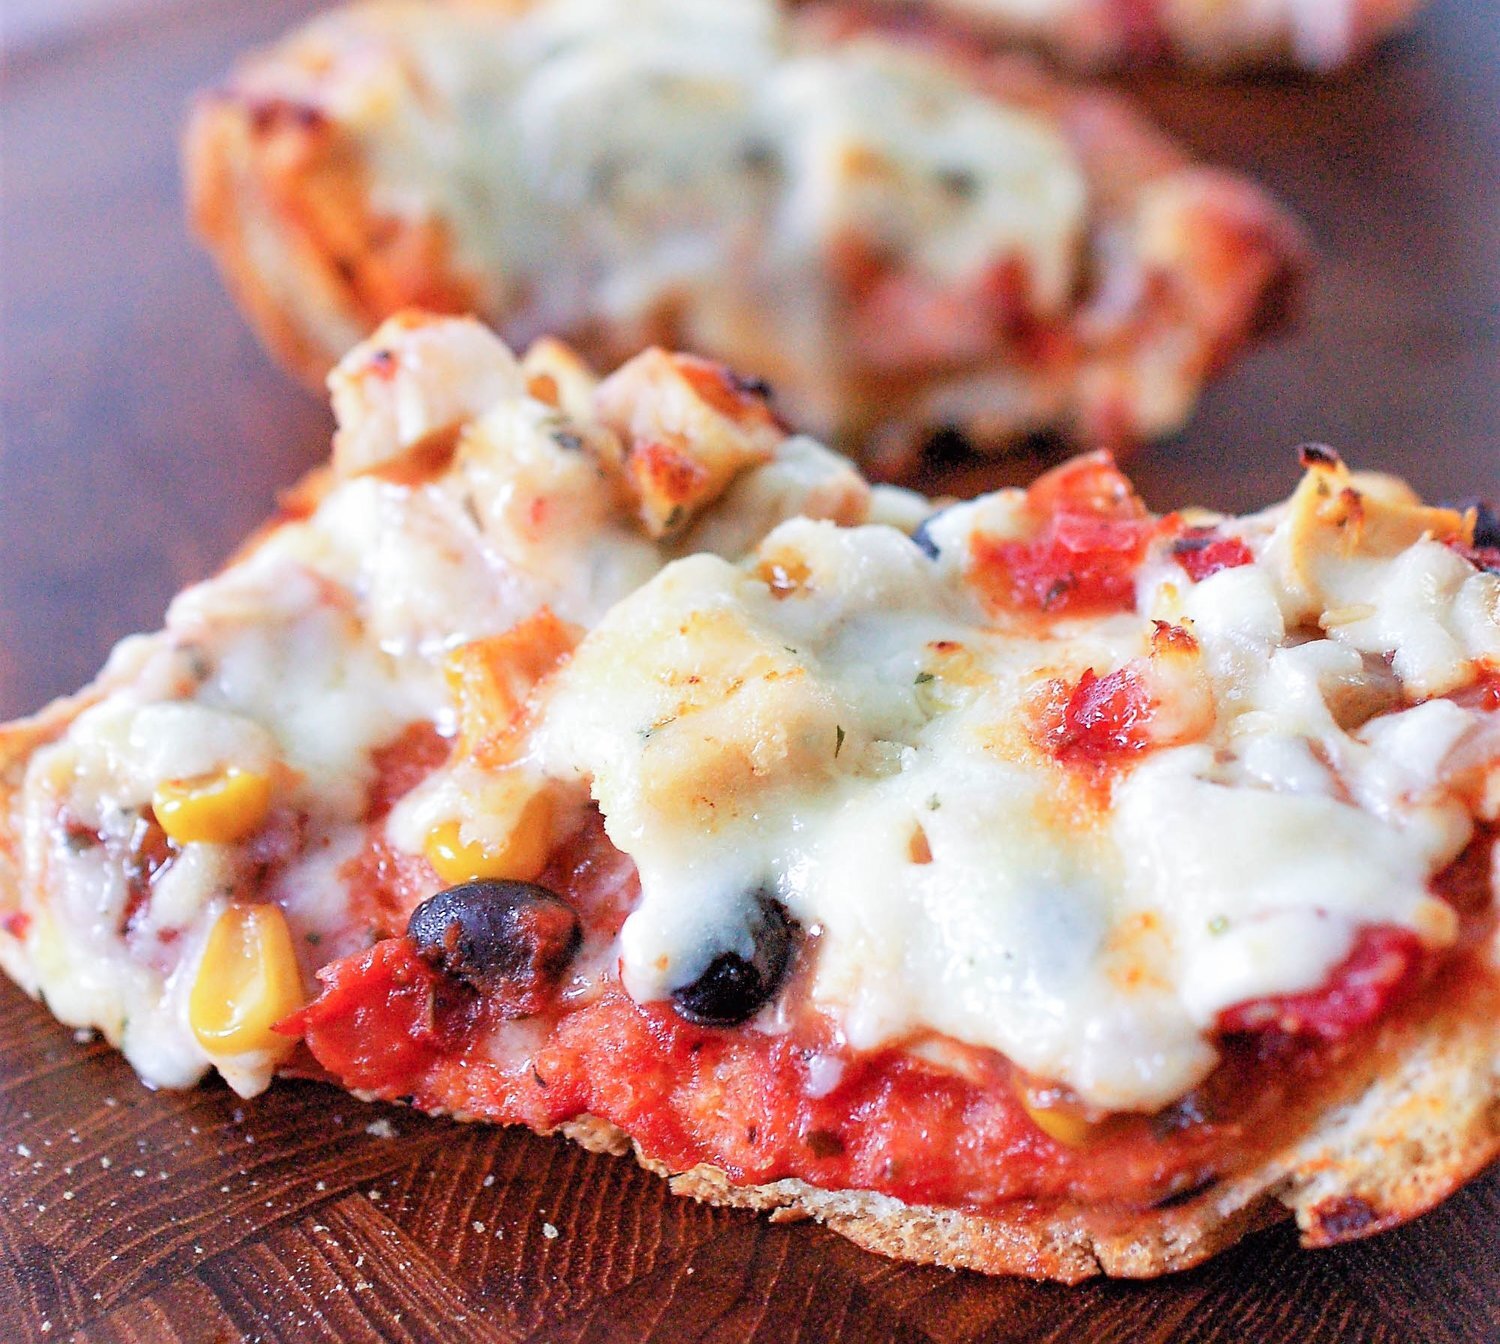
Tex-Mex French Bread Pizza Recipe- Quick and easy! This recipe features Cherchies® Black Bean & Corn Salsa and Cherchies® Chardonnay Lime & Cilantro Seasoning Blend.

Leftover Poultry

American

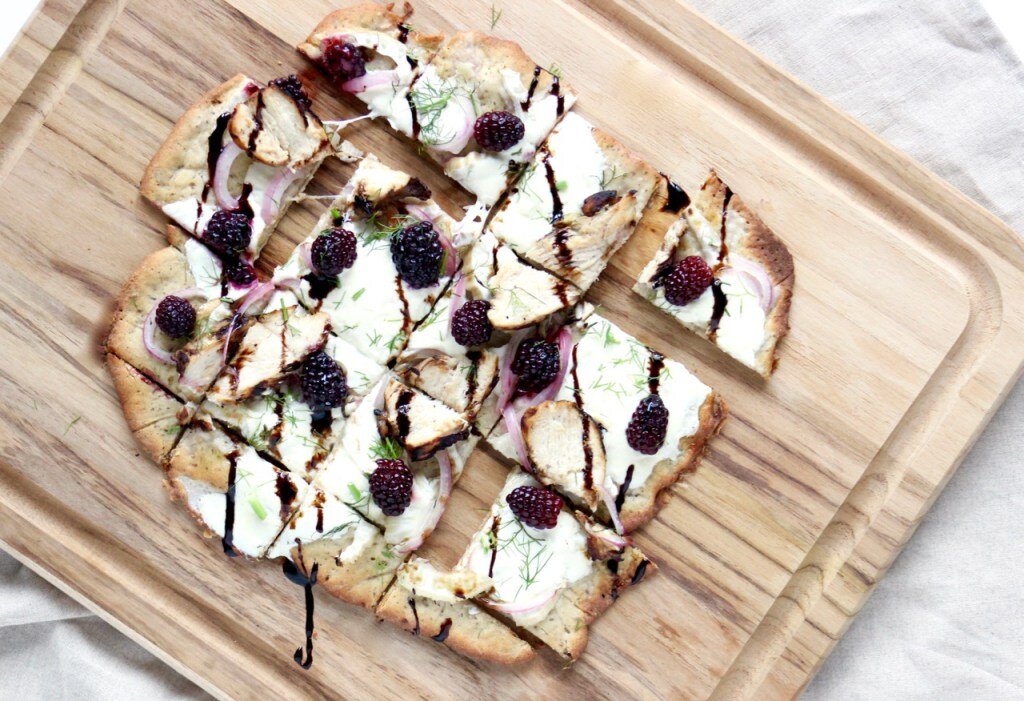
Blackberry Chicken Flatbread Recipe- Perfect for an appetizer or light lunch featuring Cherchies® Garlic Seasoning and Cherchies® Champagne Mustard.

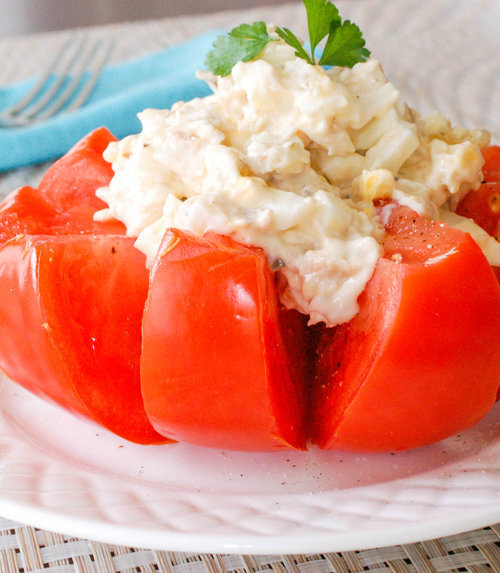
Blooming Tomato With Chicken Salad Recipe- Refreshing and tasty featuring Cherchies® Champagne Mustard.

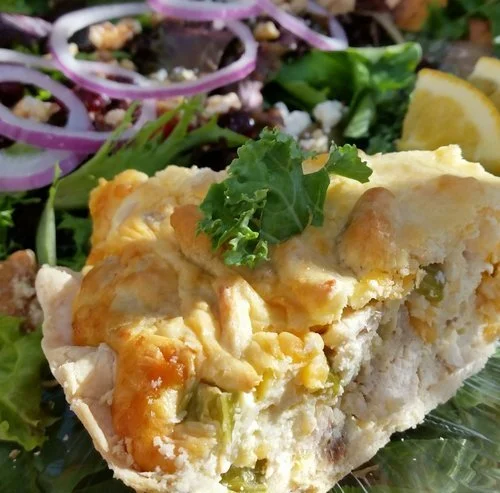
Chicken Salad Pie Recipe- This delicious recipe comes from Sherry Pfaender from St. Charles, MO, formerly Miss Aimee B's Tea Room. Sherry says that the secret ingredient is Cherchies® Champagne Mustard - "it just doesn't come out the same without it!"

Leftover Poultry

American Classic

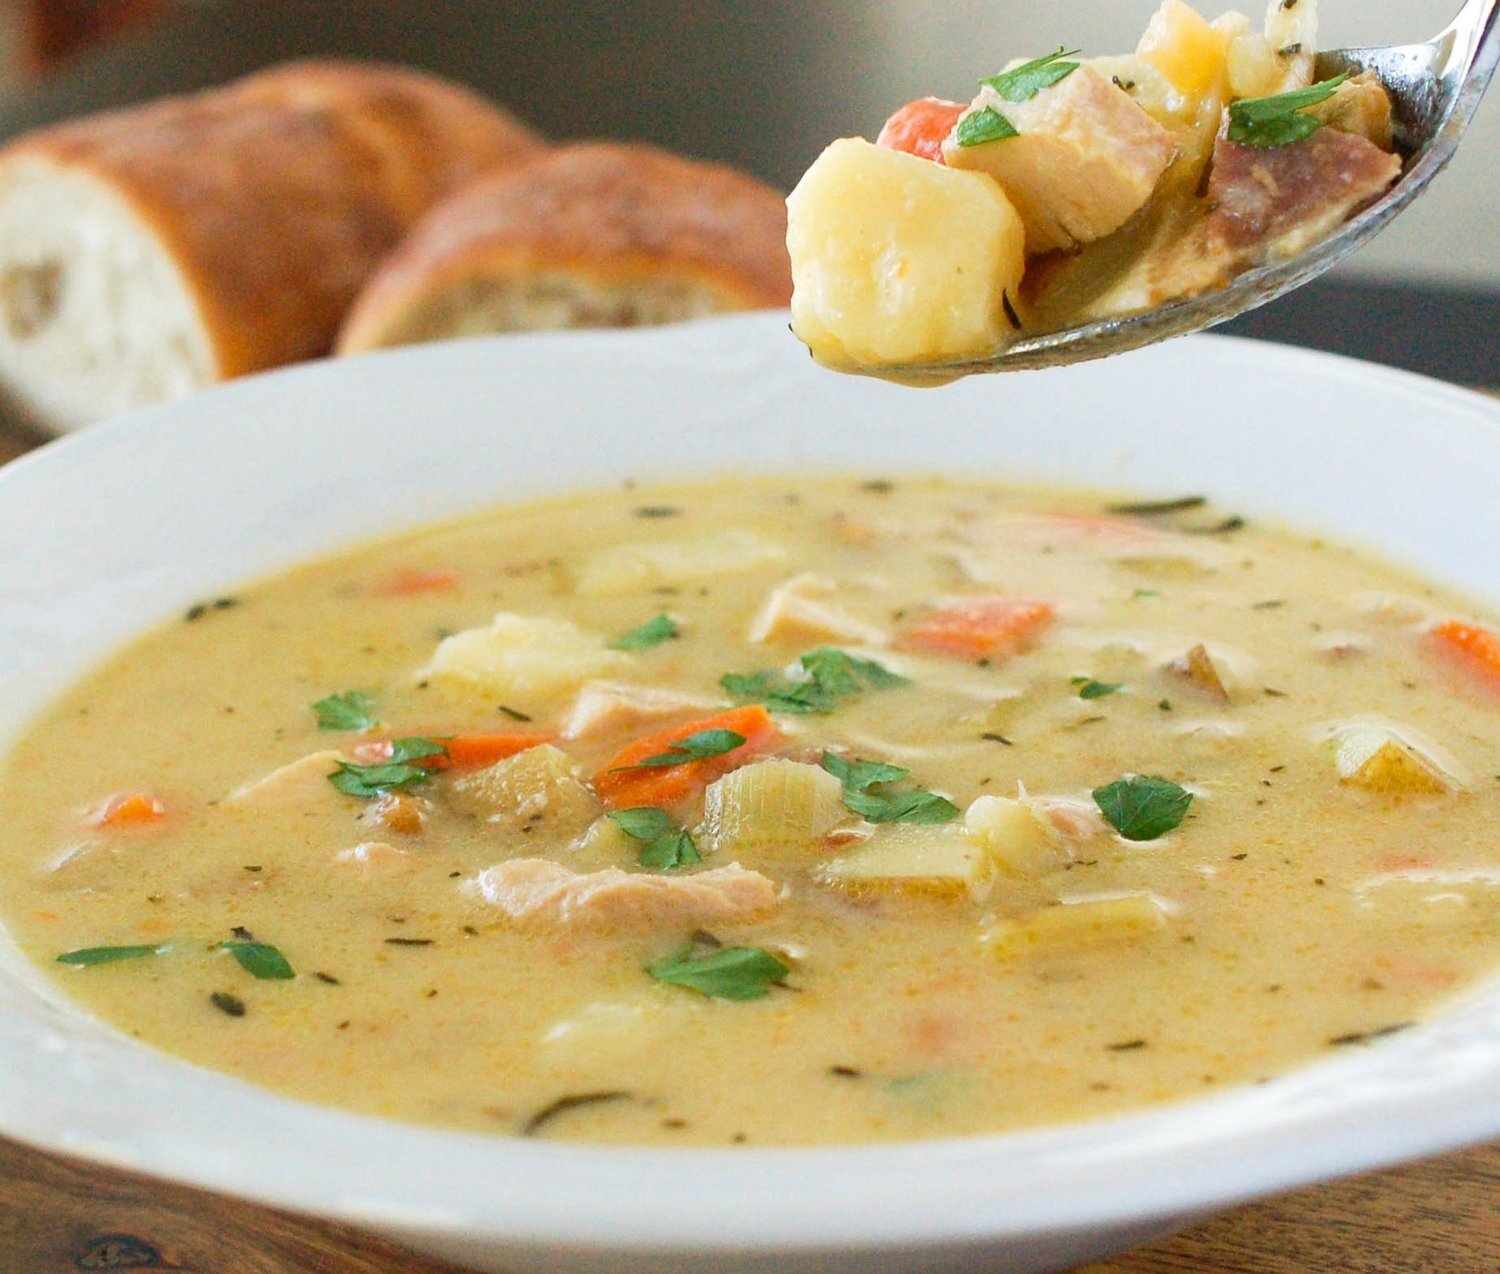
Chicken Cordon Bleu Soup- Perfect for leftover ham and chicken, Cherchies® Champagne Mustard, and Cherchies® Basil Pizzazz.

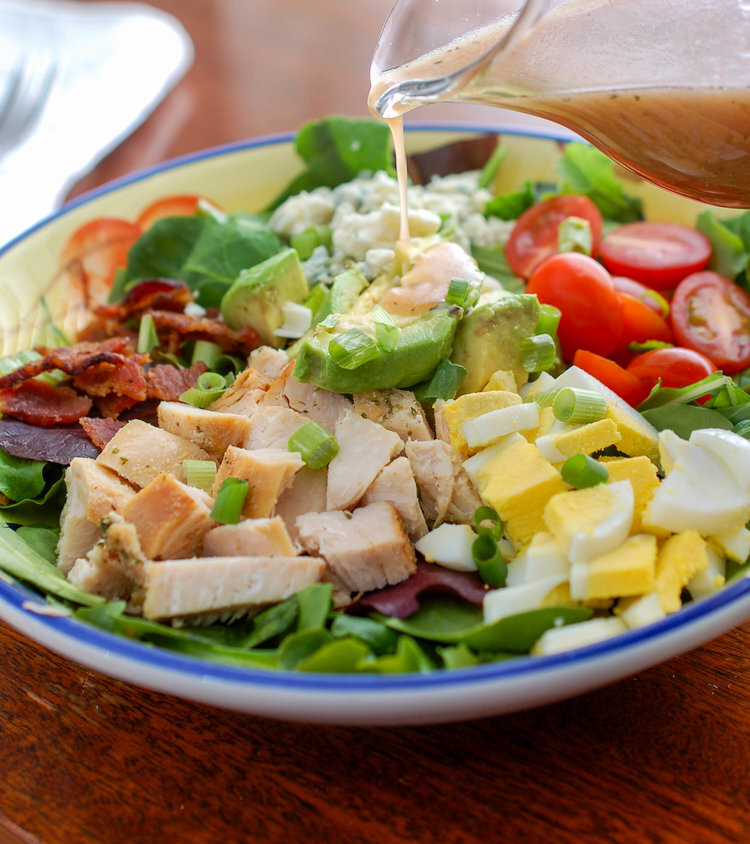
Cobb Salad With Brown Derby Dressing Recipe- This famous salad originated in Hollywood, back in the 1920's, and features Cherchies® Champagne Mustard.

Chicken Broccoli Casserole Recipe- Easy, delicious and comforting, featuring Cherchies® Garlic Seasoning and Cherchies® Champagne Mustard.

Leftover Pork

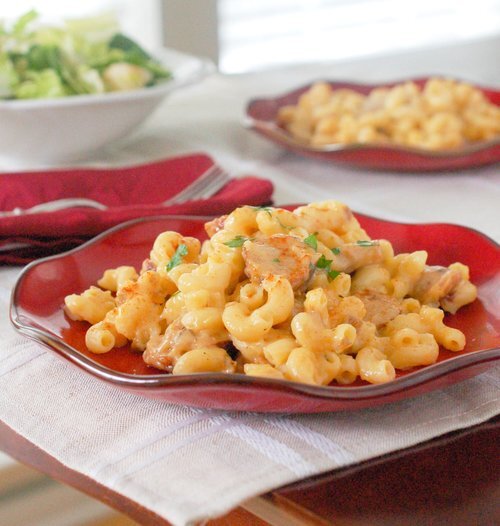
Cajun Mac and Cheese Recipe- Add Cherchies®Cajun Seasoning and Andouille sausage to heavenly mac and cheese, and you've just transported yourself into the heart of Bayou Country! 

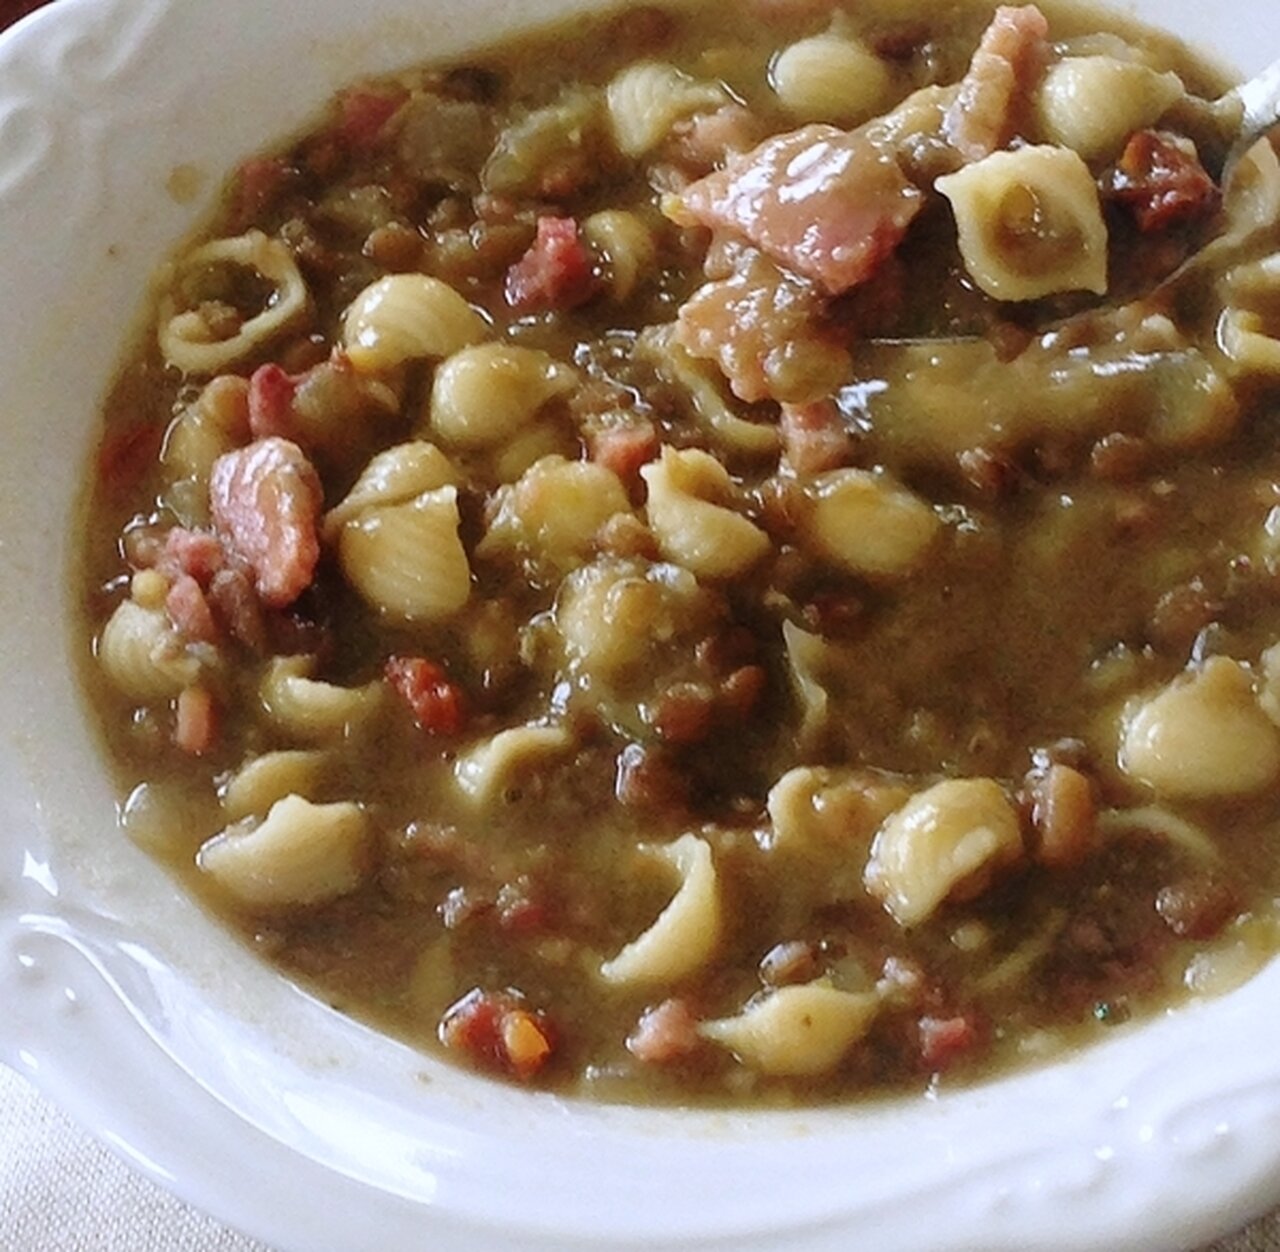
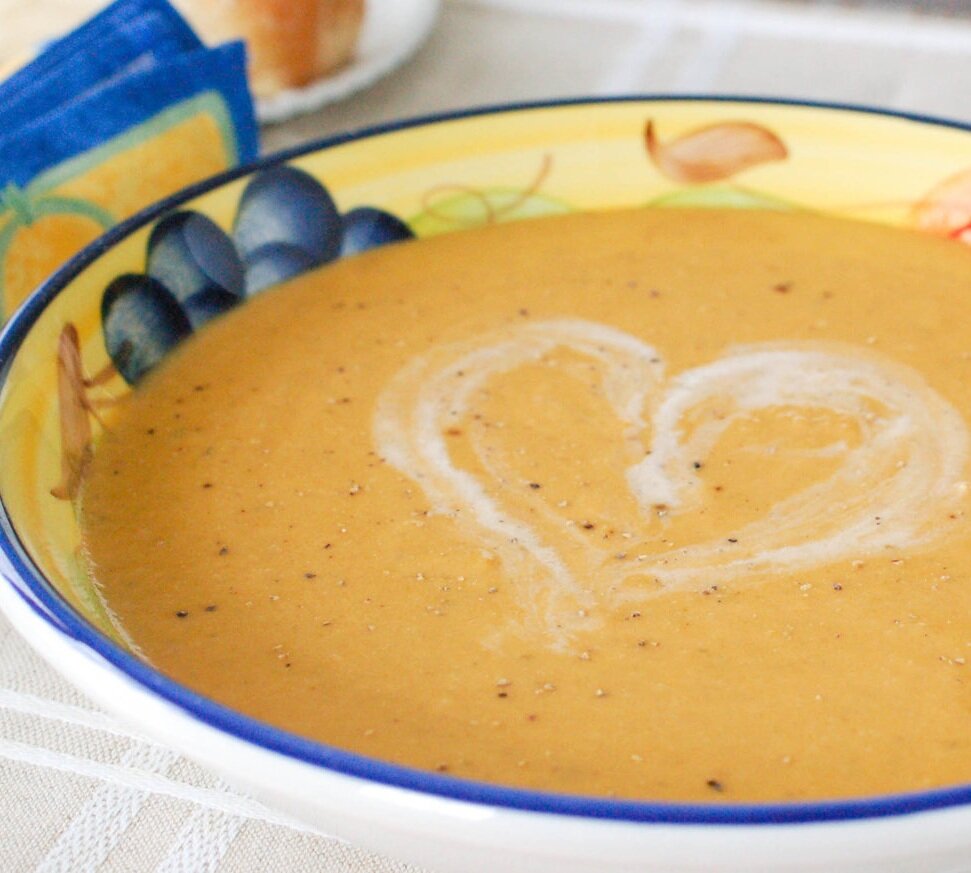
Split Pea & Lentil Soup- In 35 minutes you could have a piping hot bowl of this deliciously comforting soup! Perfect for leftover ham!

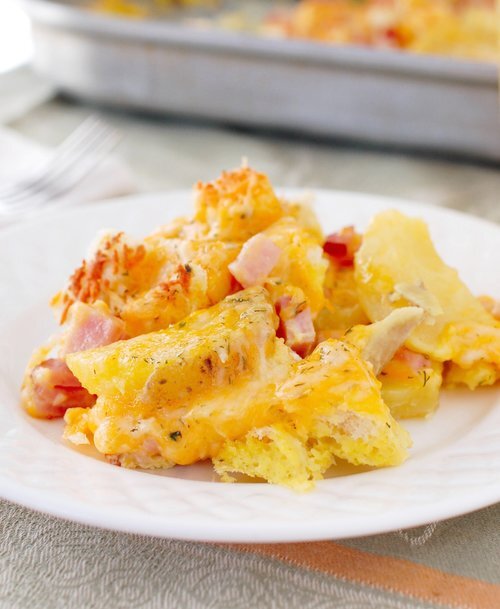
Canadian Bacon Egg Casserole Recipe- Cherchies® Lem’Dill Seasoning is the secret ingredient to make this egg dish divine!

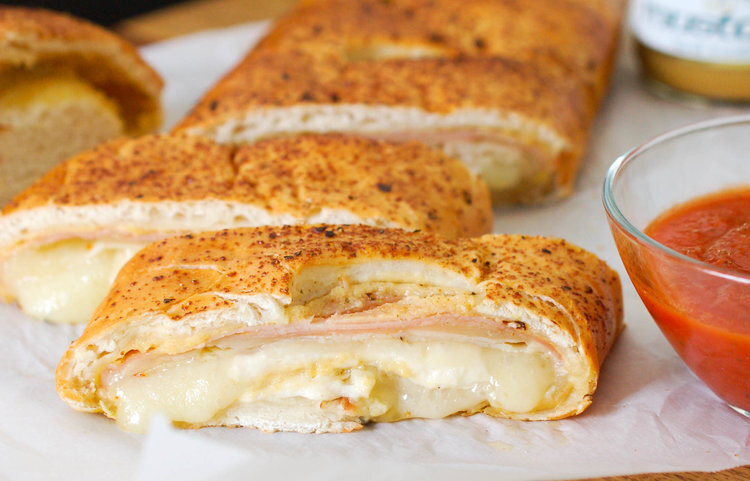
Ham, Turkey, and Cheese Stromboli Recipe- Add a twist to pizza night and make these delicious strombolis featuring Cherchies® Mustards.

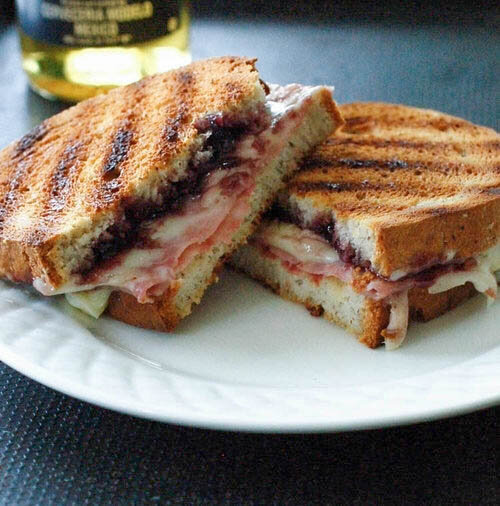
Champagne Blackberry Grilled Ham and Cheese Recipe- Gooey melty cheesy sandwiches with salty ham, tangy Champagne Mustard, sweet Blackberry Preserves, and brie cheese. Oh my!

Ham and Mustard Biscuit Recipe- What could be better than biscuits and ham?  Biscuits with ham and our signature champagne mustard.

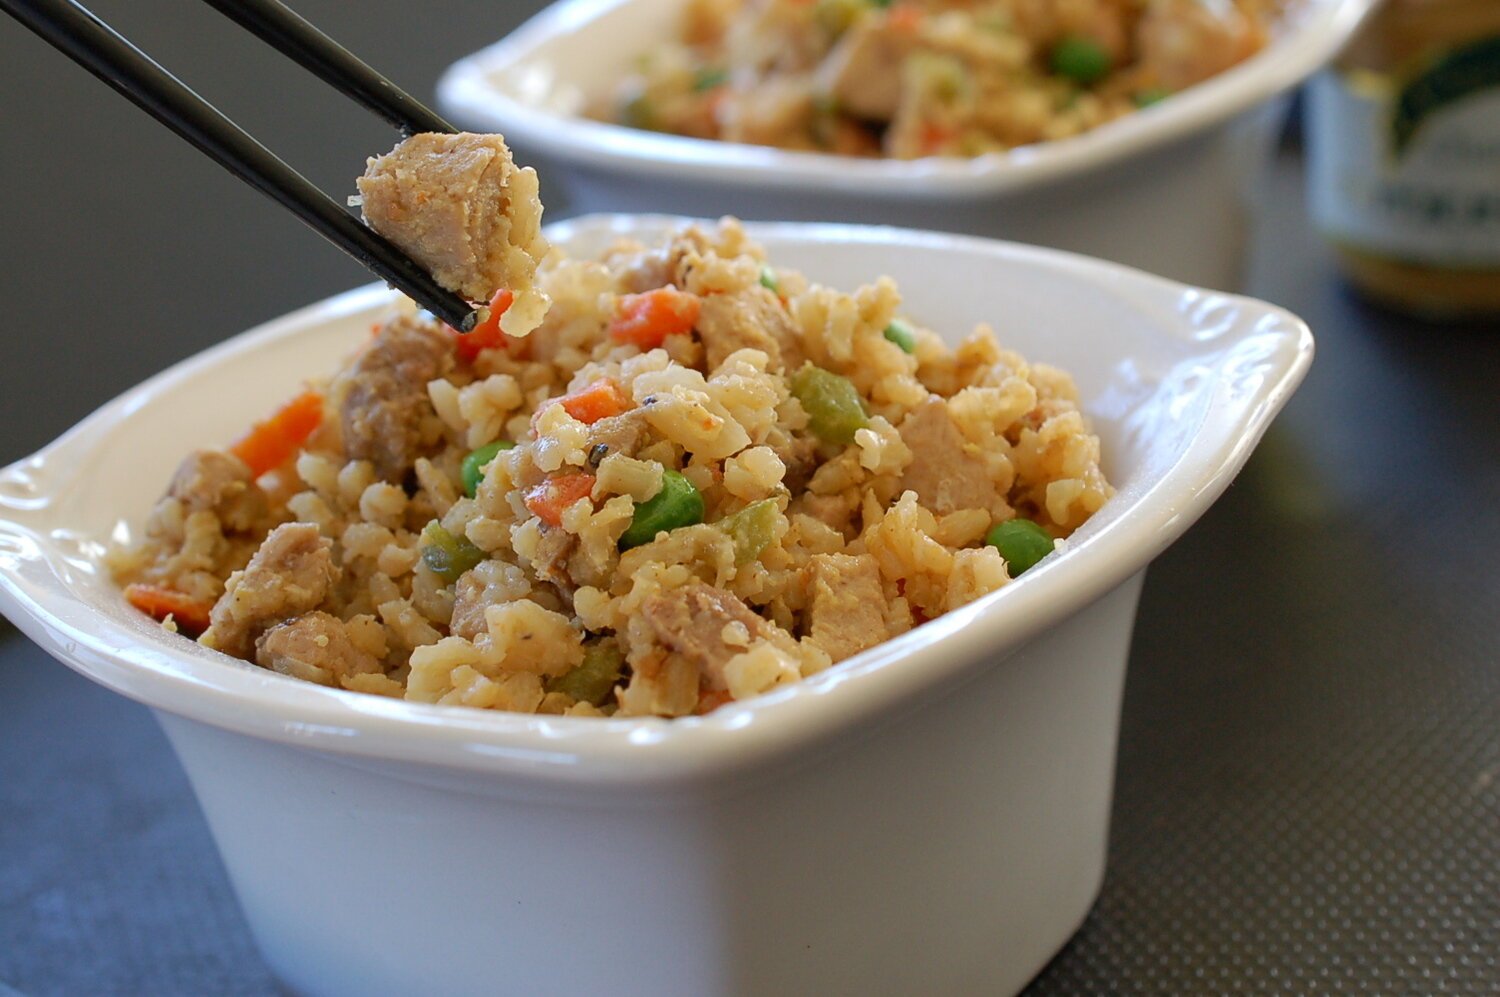
Fried Rice Recipe- Perfect for leftover chicken and veggies, featuring Cherchies®Garlic ‘n Herbs Seasoning and Cherchies® Champagne Mustard or Cherchies® Hot Banana Pepper Mustard.

Leftover Veggies

Irish Vegetable Soup Recipe- Perfect for whatever fresh or canned vegetables you have available. This recipe features Cherchies® Garlic Seasoning.

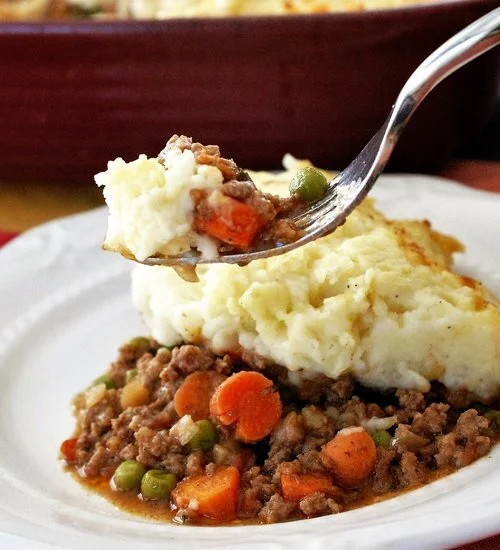
The Real Deal "Shepherd's Pie" Recipe- An authentic Irish recipe tweaked to feature Cherchies® Champagne Mustard, Cherchies® Garlic Seasoning, and Cherchies® Basil Pizzazz.

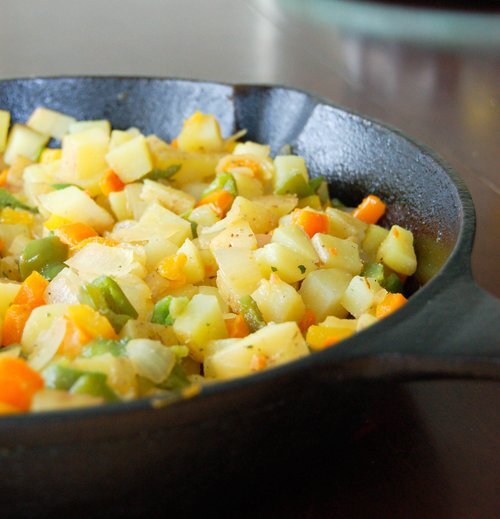
Homemade Potatoes O'Brien Recipe- Add some leftover meat for a complete meal. Featuring Cherchies® Garlic Seasoning and Cherchies® Pretty Peppers.

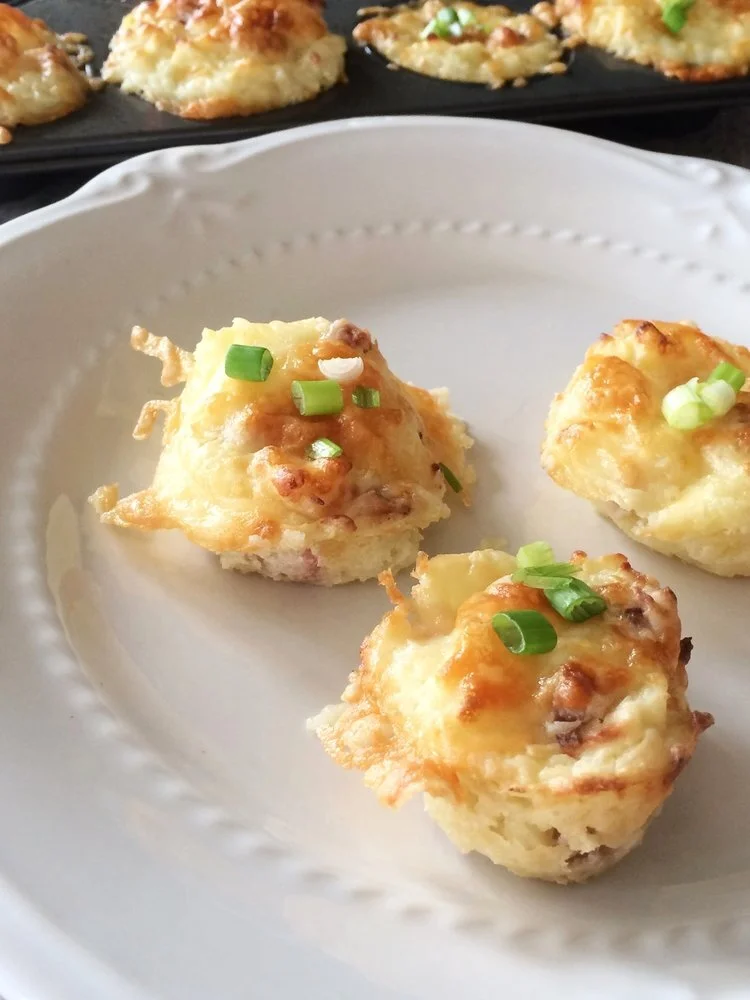
Leftover Mashed Potato Cups Recipe- A fun re-make that you could either serve as a side or serve it as an appetizer for guests, featuring Cherchies® Lem’n Dill Seasoning.

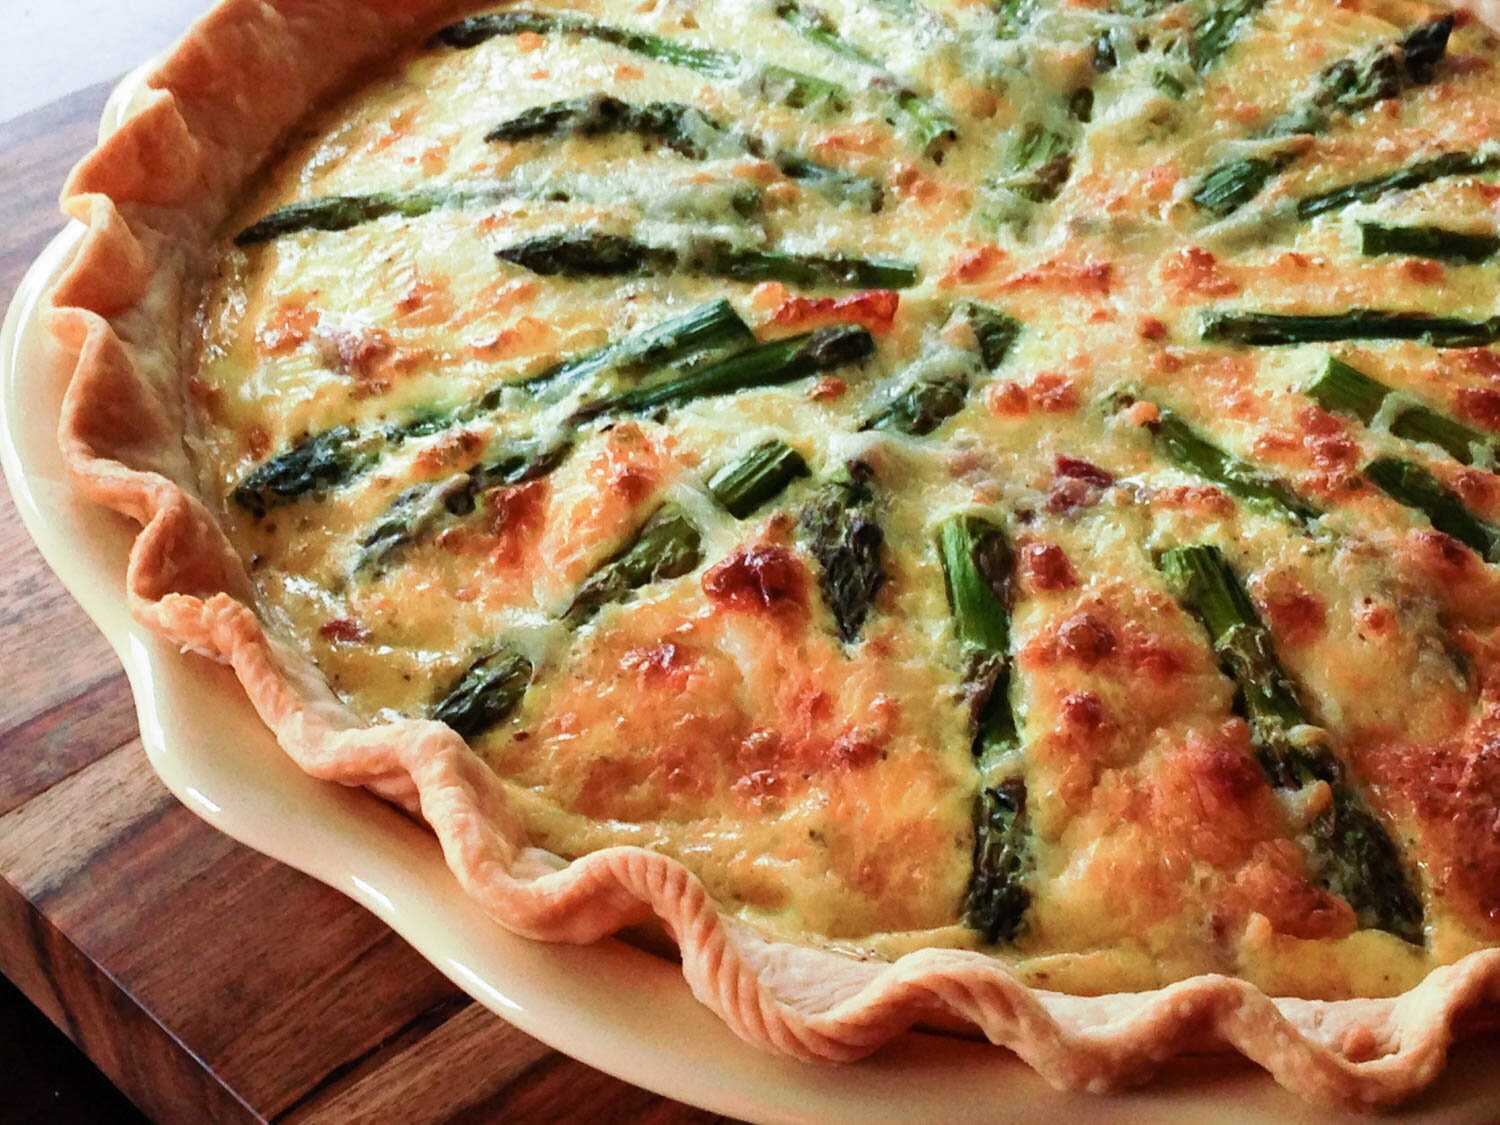
Teresa's Ham & Asparagus Quiche Recipe- Yes, real people (men and women alike) eat quiche;) This recipe features Cherchies® Champagne Mustard and Cherchies® Garlic Seasoning.

Leftover Salsa

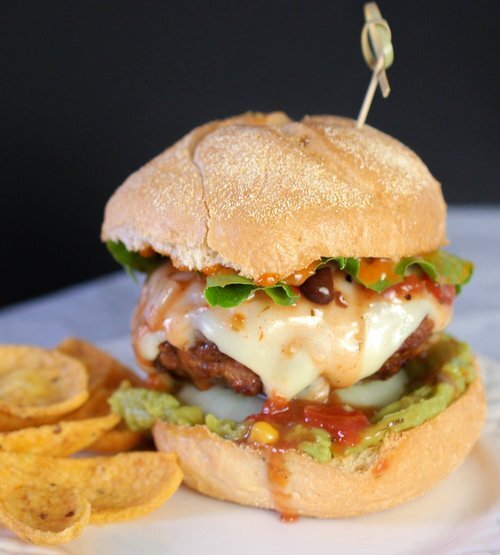
Tex-Mex Burger Recipe- This burger recipe is a force to be reckoned with, as it hits all the flavor notes, sweet, spicy, and smoky, all wrapped up in one lip-smacking package! It features Cherchies® Black Bean & Corn Salsa.

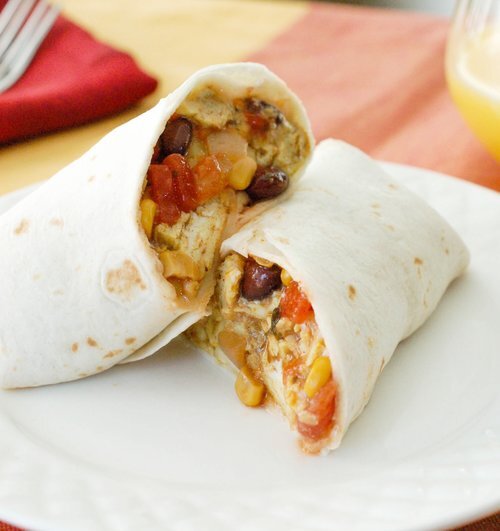
Black Bean and Corn Breakfast Burrito Recipe- A bold and robust breakfast burrito featuring Cherchies® Bean & Corn Salsa.

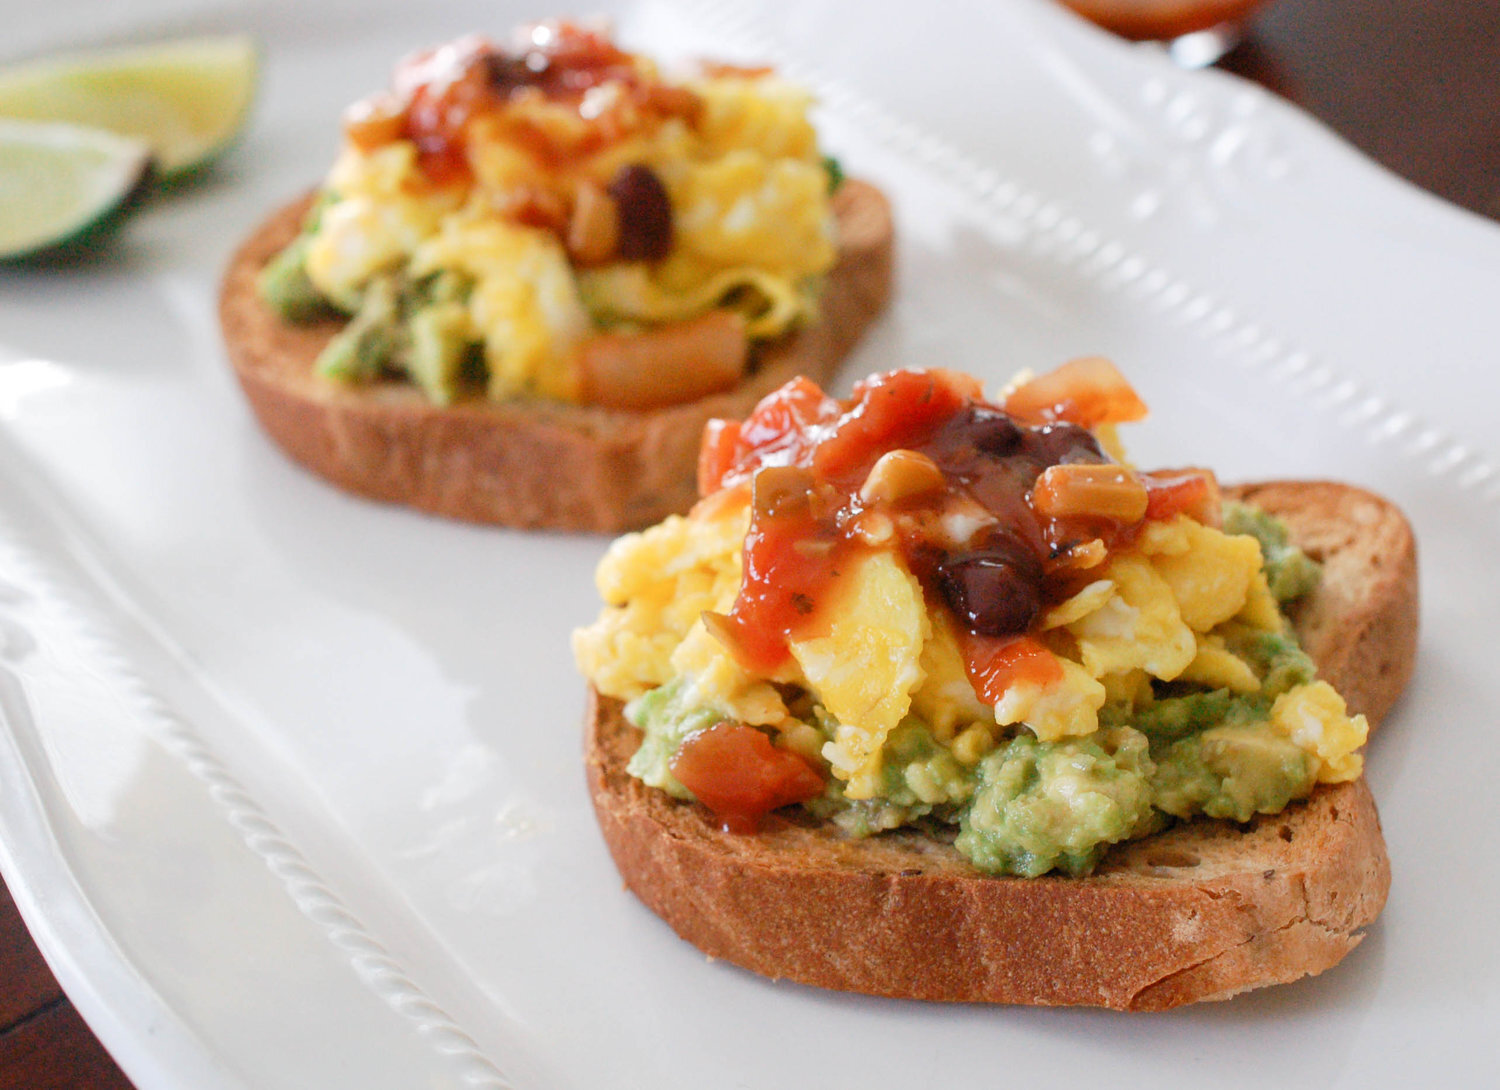
Tex-Mex Avocado Toast Recipe- Are you ready for a flavor party for your mouth? This recipe is perfect for breakfast or an afternoon snack and it features Cherchies® Black Bean & Corn Salsa.

Yum

Cooking Tip- How To Make Powdered Sugar

cooking tipsSheri SpalloneComment
Cooking Tip: How To Make Powdered Sugar

Cooking Tip: How To Make Powdered Sugar

Have you ever started a recipe, only to learn an ingredient was missing? I know friend, I feel your pain! It happened to me the other day when our kiddos and I made a cake, only to realize late in the process we were out of powdered sugar (the quintessential pantry staple necessary for icing cakes). What?? Have no fear, perhaps you will be comforted to know that you can make homemade powdered sugar in a pinch.

With being confined to home, we as a family are doing more baking together, and not having all the ingredients when I needed them is a significant buzz-kill, especially during this pandemic, and especially when you have bored teens at home looking to make things.

The thought of going to the grocery store during these uncertain times for one ingredient, in my opinion, is an unnecessary risk I was not willing to take.

Luckily there is the internet;) You can pretty much find the answer to most questions, and it blew me away when I researched "how to make powdered sugar." It had never occurred to me to make powdered sugar from scratch, as I always had this pantry staple on hand. But, with a blender or food processor, any granulated sugar you have on hand (white, raw, coconut, etc.), and cornstarch (or arrowroot, etc.), you can turn granulated sugar into a silky, powdered pantry staple in minutes. I prefer to add cornstarch to keep the powdered sugar from caking or clumping together, but you can omit altogether, as long as you sift before using.  
So, let's get started!

  • 1 cup granulated sugar or half the amount of granulated sugar you need for your recipe.

  • For each 1 cup of sugar, add 1 teaspoon (tsp) of cornstarch (to prevent caking or clumping, or omit altogether).

  • Add the sugar and cornstarch to a blender or food processor, cover the lid with a towel (to contain the fine dust) and pulse until the sugar has obtained a powdery texture.

  • Allow the powdered sugar to settle a bit before removing the lid.

  • Use powdered sugar immediately for your favorite sweet indulgence, or store in an air-tight container for later use.

That's it!

20180807-DSC_3519.jpg

Comment below if you have any questions or tips of your own to share.

Thank you for stopping by!  Come back and visit us again:)

Happy Baking!

Yum