Cherchies Blog

Salted Caramel Apple Cupcake Recipe

dessertsSheri SpalloneComment

Salted Caramel Apple Cupcake Recipe

Prep Time: 15 minutes

Cook Time: 1 hour 35 minutes
Difficulty: Easy

Servings: 14 cupcakes

Happy Fall!  

Here in Pennsylvania, the leaves are beginning to turn brilliant shades of crimson, orange, and gold, the air is getting crisper, and cozy spices like allspice, cinnamon, and cloves are starting to waft through kitchens across the country. What better way to celebrate the season than with a Fall-inspired recipe? It is the perfect nod to the season to introduce our newest recipe, Salted Caramel Apple Cupcakes, featuring Cherchies® Apple Butter Spread

If you are a cupcake fan or a salted caramel fan, you will love these moist, flavorful, rich cupcakes. However, do not let the “salty” scare you away because these cupcakes are emersed in a depth of sweet flavor from the spices and the apple butter. The salted caramel frosting is decadently creamy and buttery and perfectly accompanies this tasty cupcake.

So, in honor of Fall, indulge your palate and treat yourself to the season's flavors with a salty-sweet sensation featuring Cherchies® Apple Butter Spread! You will not be disappointed, and your kitchen will smell amazing!

Happy baking!

Thanks for stopping by:) Comment below if you have made this delicious recipe. Come back again for more family-tested recipes, entertaining ideas, and cooking tips using all our favorite Cherchies® gourmet products.

Follow us on social media: Facebook, Instagram, and Pinterest.


Cupcake ingredients (adapted from thefirstyearblog.com)

  • 2 cups all-purpose flour (we have made this recipe gluten-free by switching out King Arthur’s Measure for Measure Gluten-Free flour, using the same measurements).

  • 1 ½ teaspoon (tsp) baking powder

  • 1 teaspoon (tsp) baking soda

  • ½ teaspoon (tsp) salt

  • ½ teaspoon (tsp) cloves

  • ½ teaspoon (tsp) allspice

  • 1 stick butter (1/2 cup), room temperature

  • 1 cup brown sugar

  • 2 large eggs, room temperature

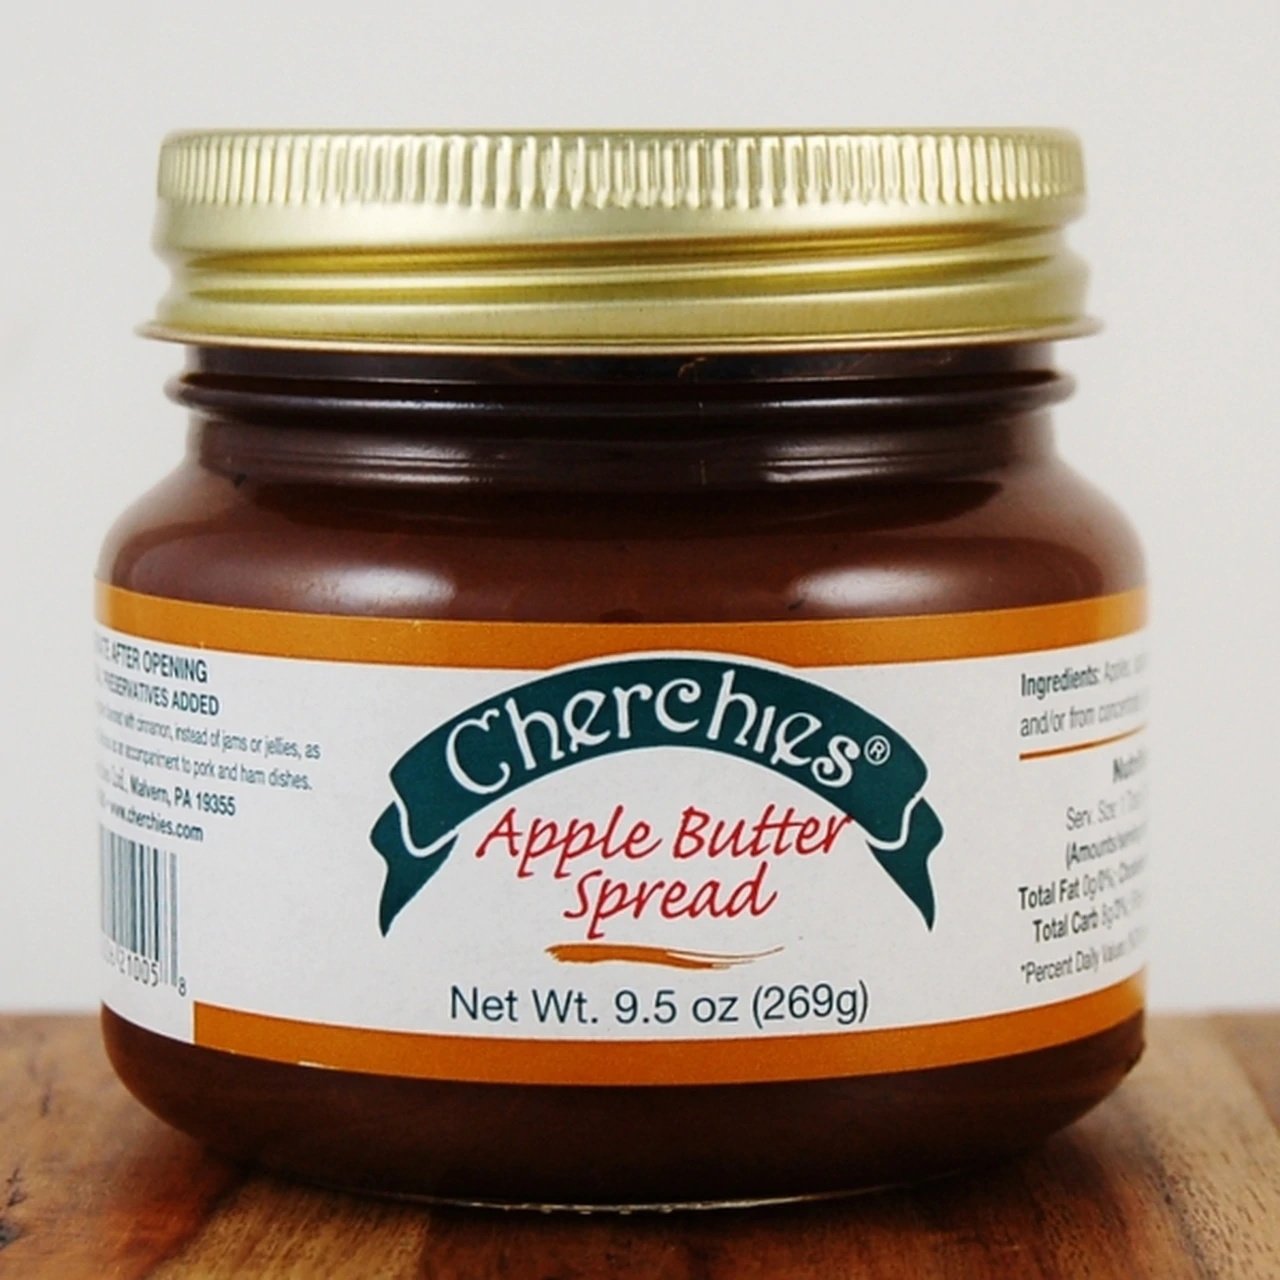
1 jar (9.5 oz.) Cherchies® Apple Butter Spread


Salted Caramel Icing Ingredients (adapted from thefirstyearblog.com)

  • 2 sticks butter (1 cup), room temperature

  • ⅓ cup Homemade Caramel sauce (or your favorite jarred caramel sauce)

  • ¼ teaspoon (tsp) salt

  • 2 cups powdered sugar

  • A little milk, cream, or half and half if needed to thin out the icing

  • Caramel sauce to drizzle on top (optional)

  • coarse sea salt to sprinkle on top (optional)


Cupcake Preparations (adapted from thefirstyearblog.com)

Preheat the oven to 350ºF.

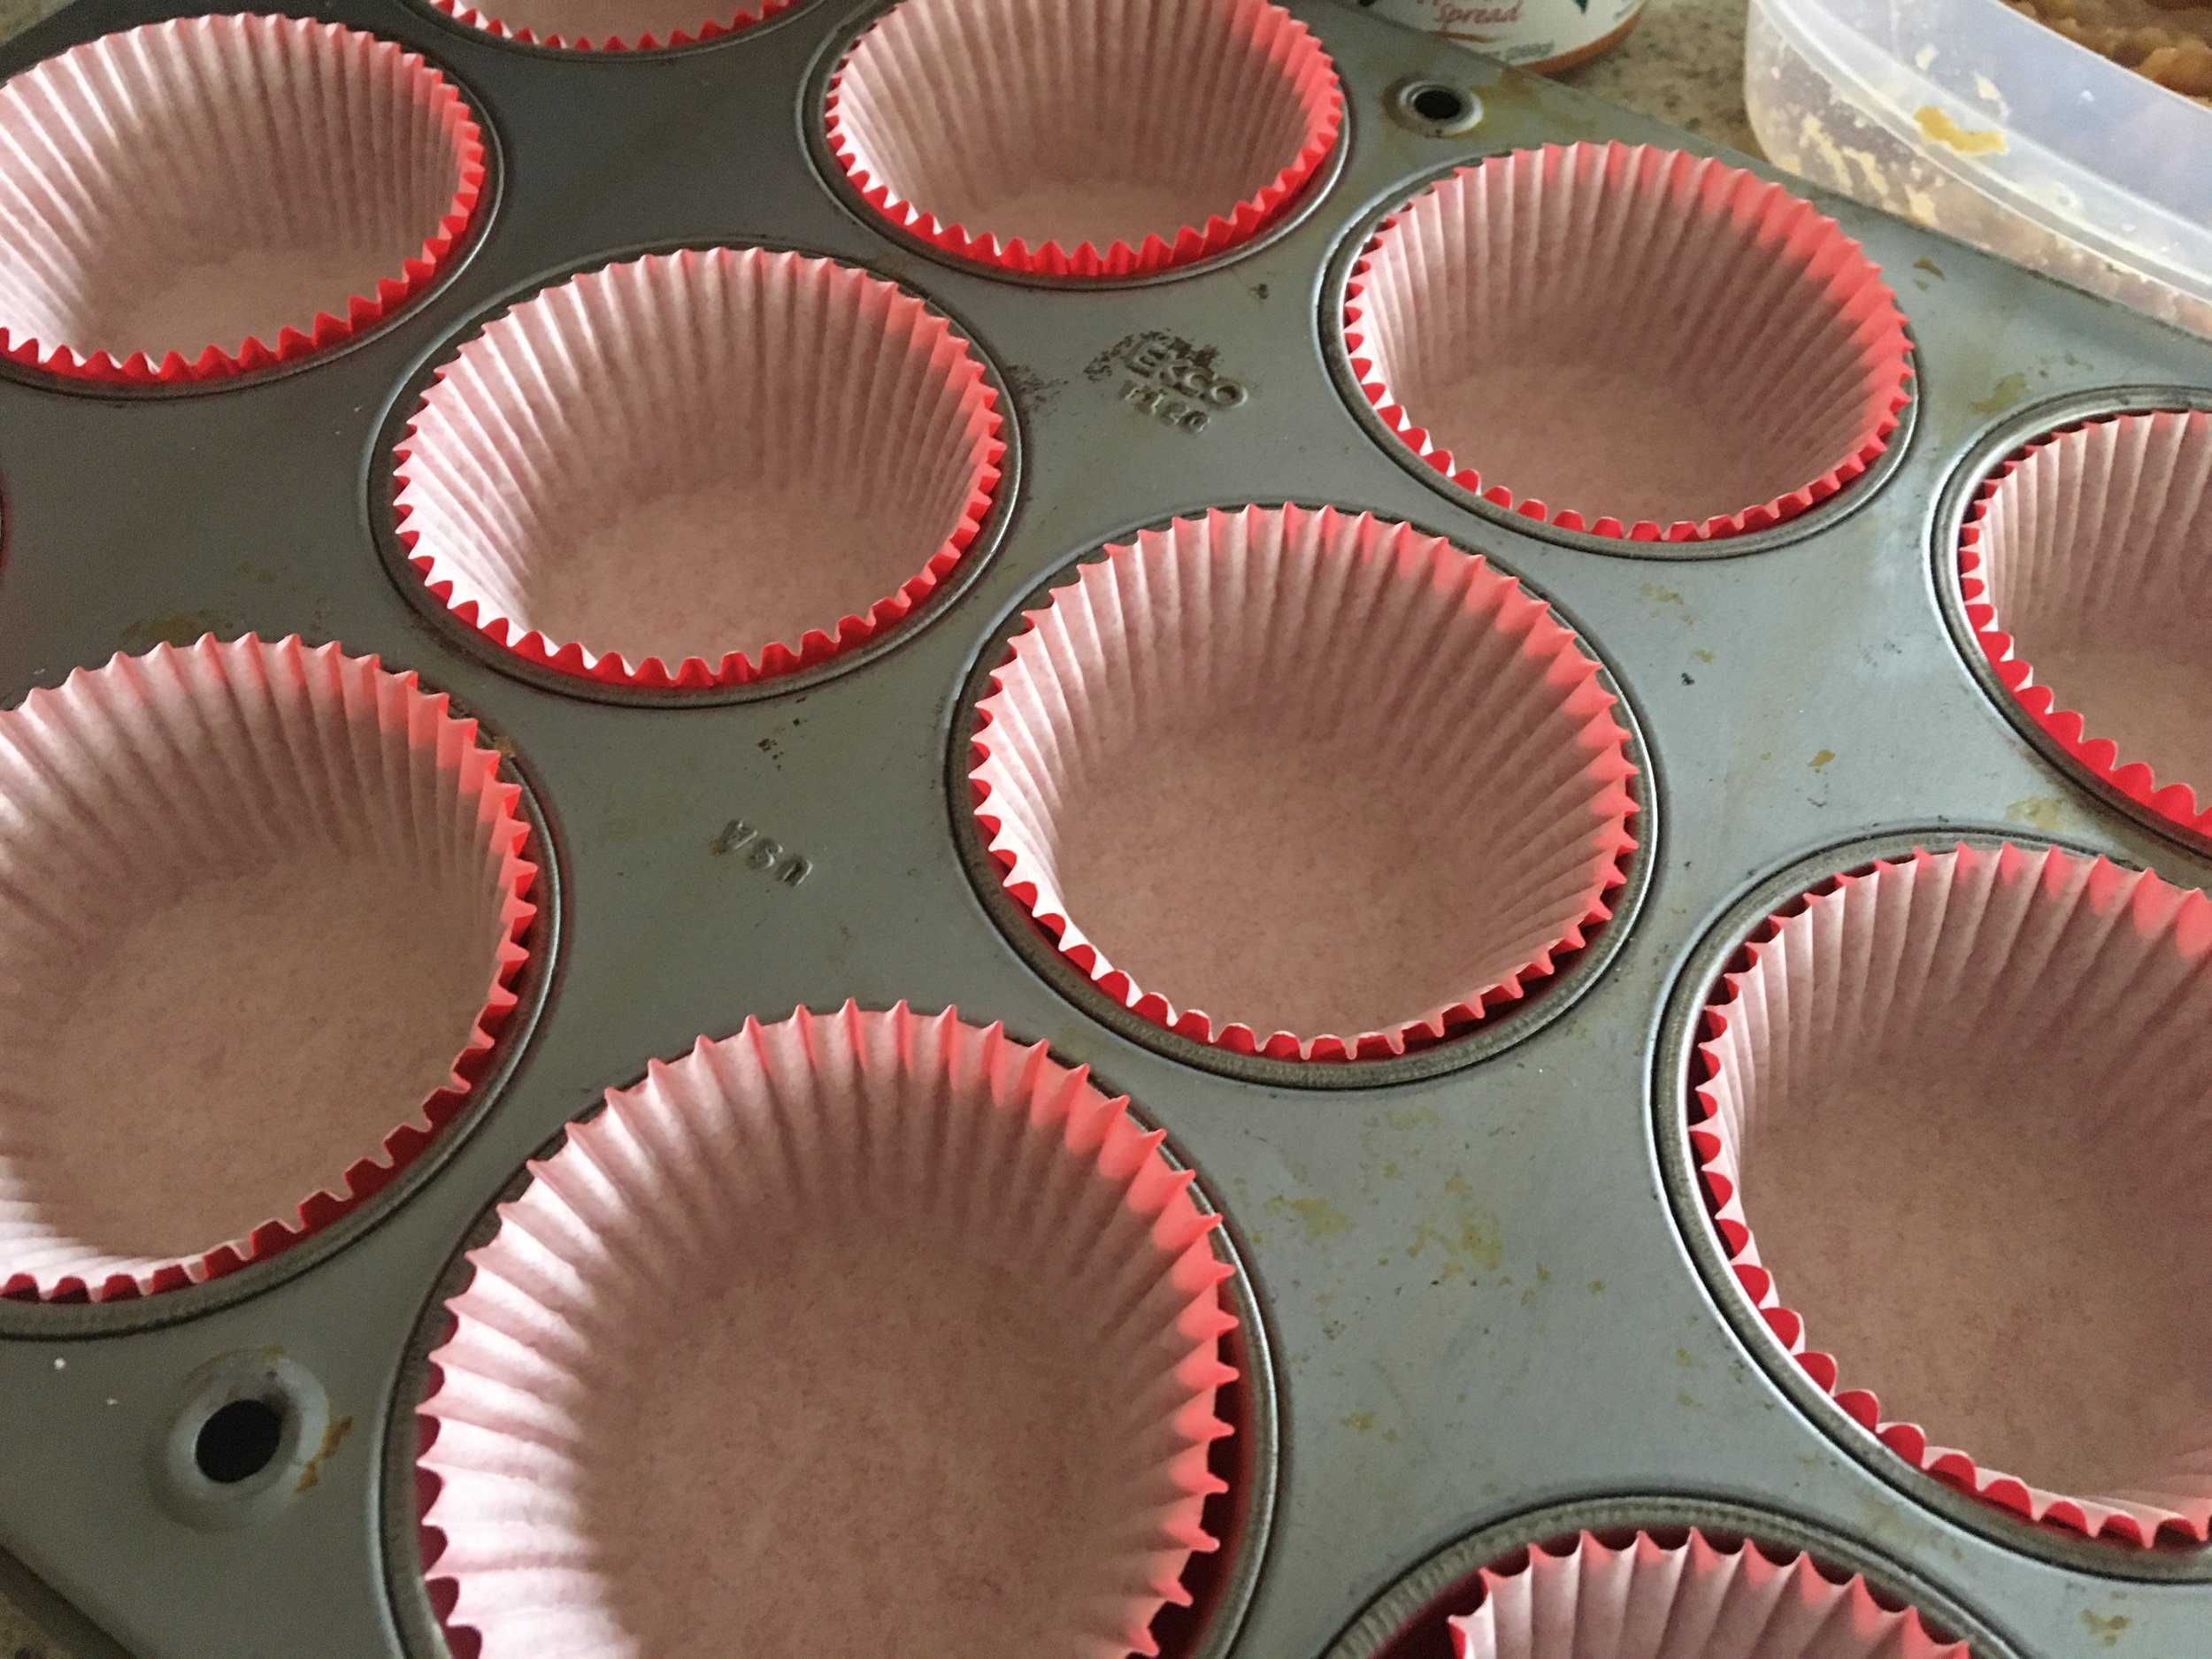
Line a 12-cup muffin pan with cupcake liners and set the pan aside. Line 1 more cupcake pan with two liners (this recipe makes about 14 cupcakes).

While the oven is preheating, make the homemade caramel sauce. (If using jarred caramel sauce, then skip this step. Homemade caramel sauce is so easy and comes together in minutes). Directions below.

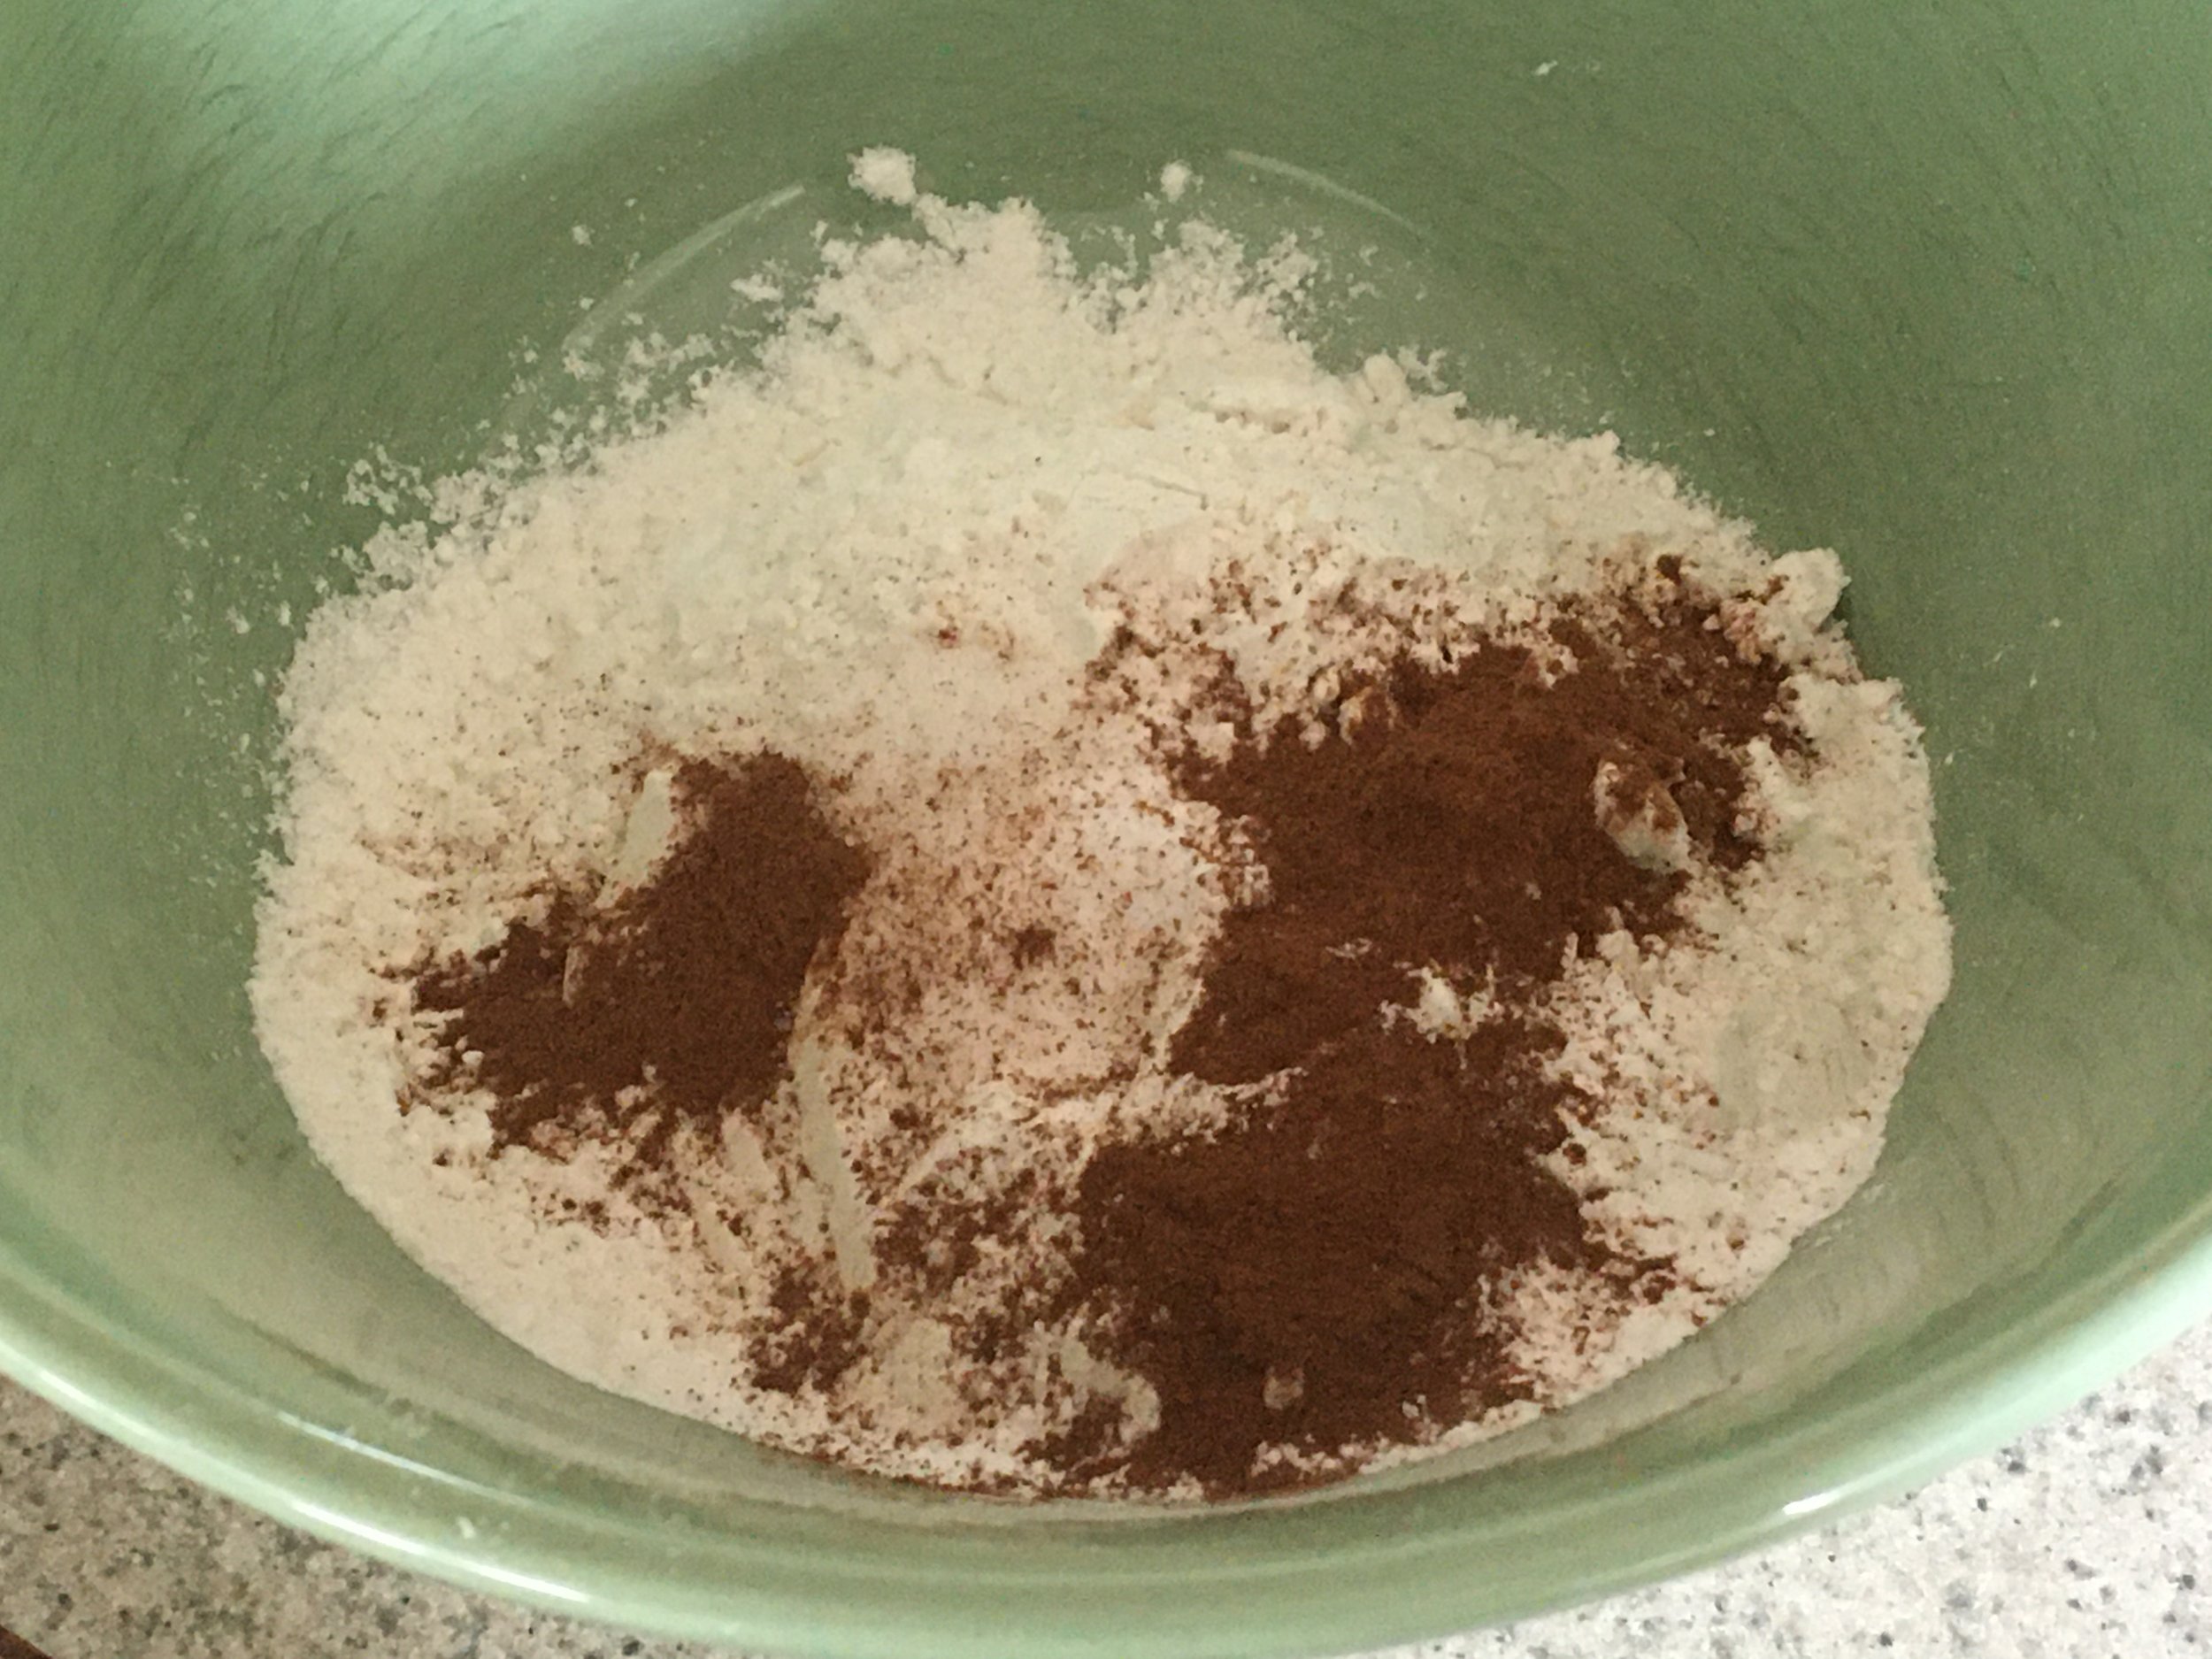
Whisk together the flour, baking powder, baking soda, salt, cloves, and allspice in a medium bowl. Set aside.

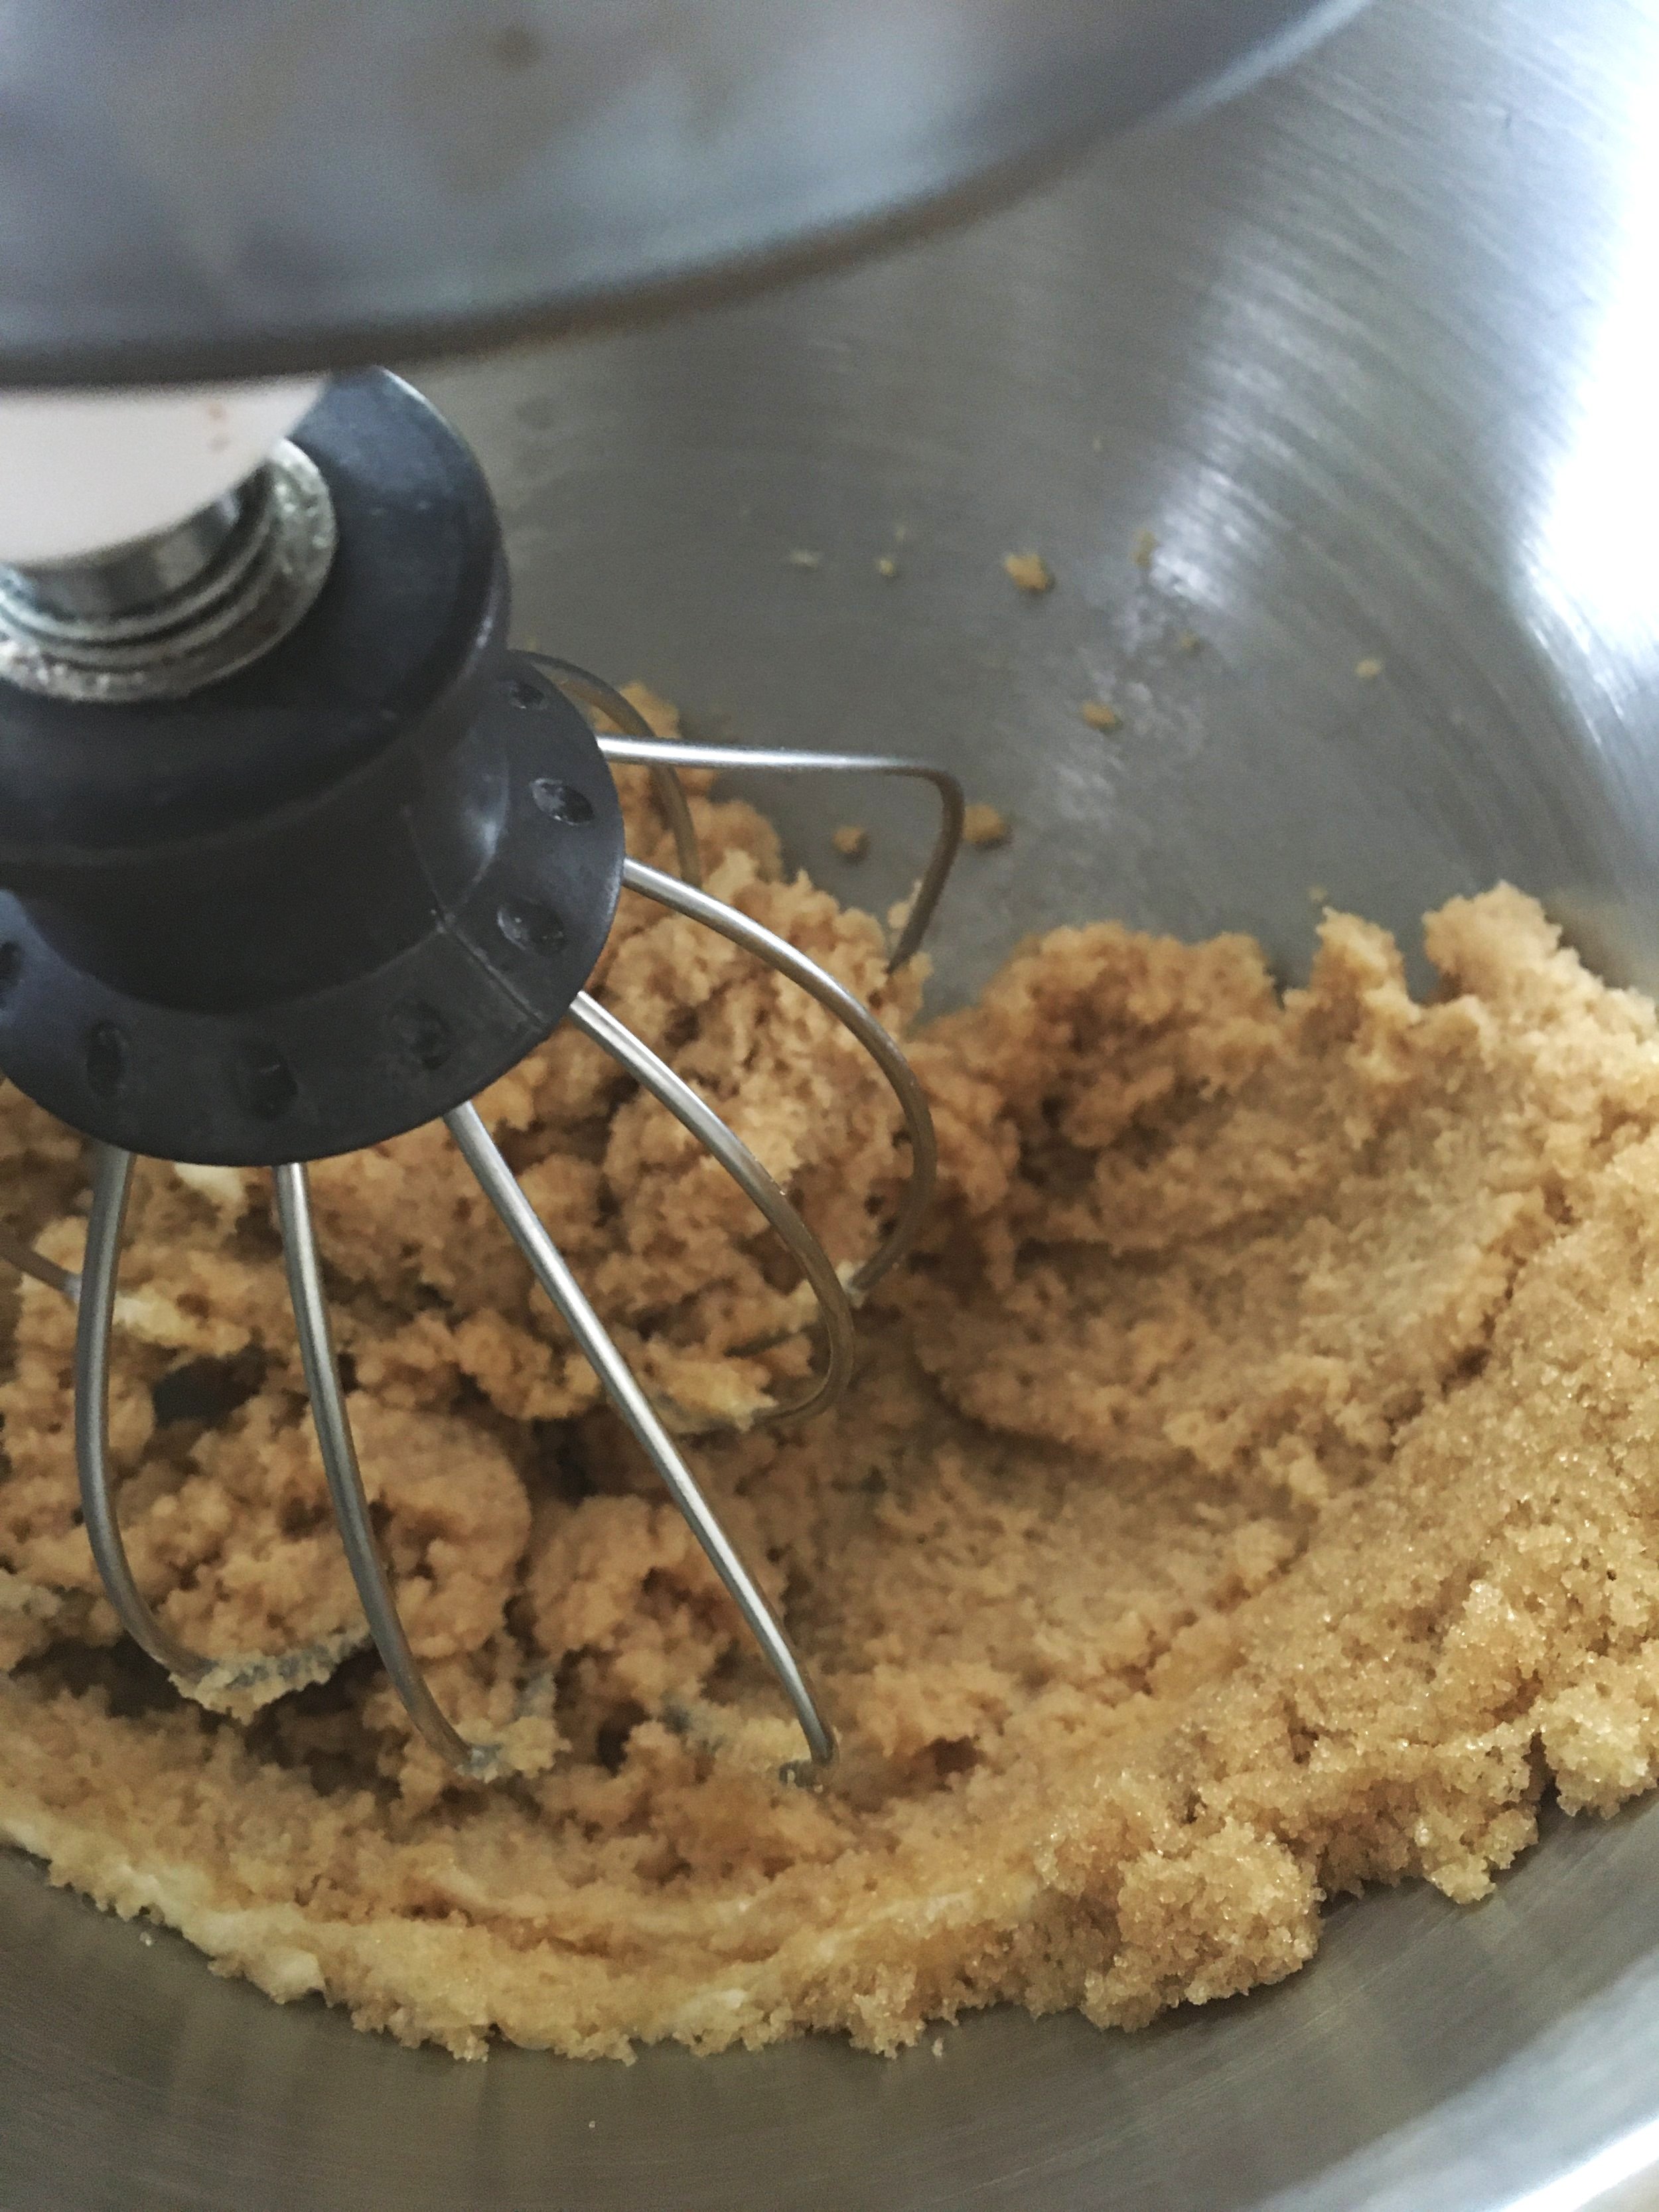
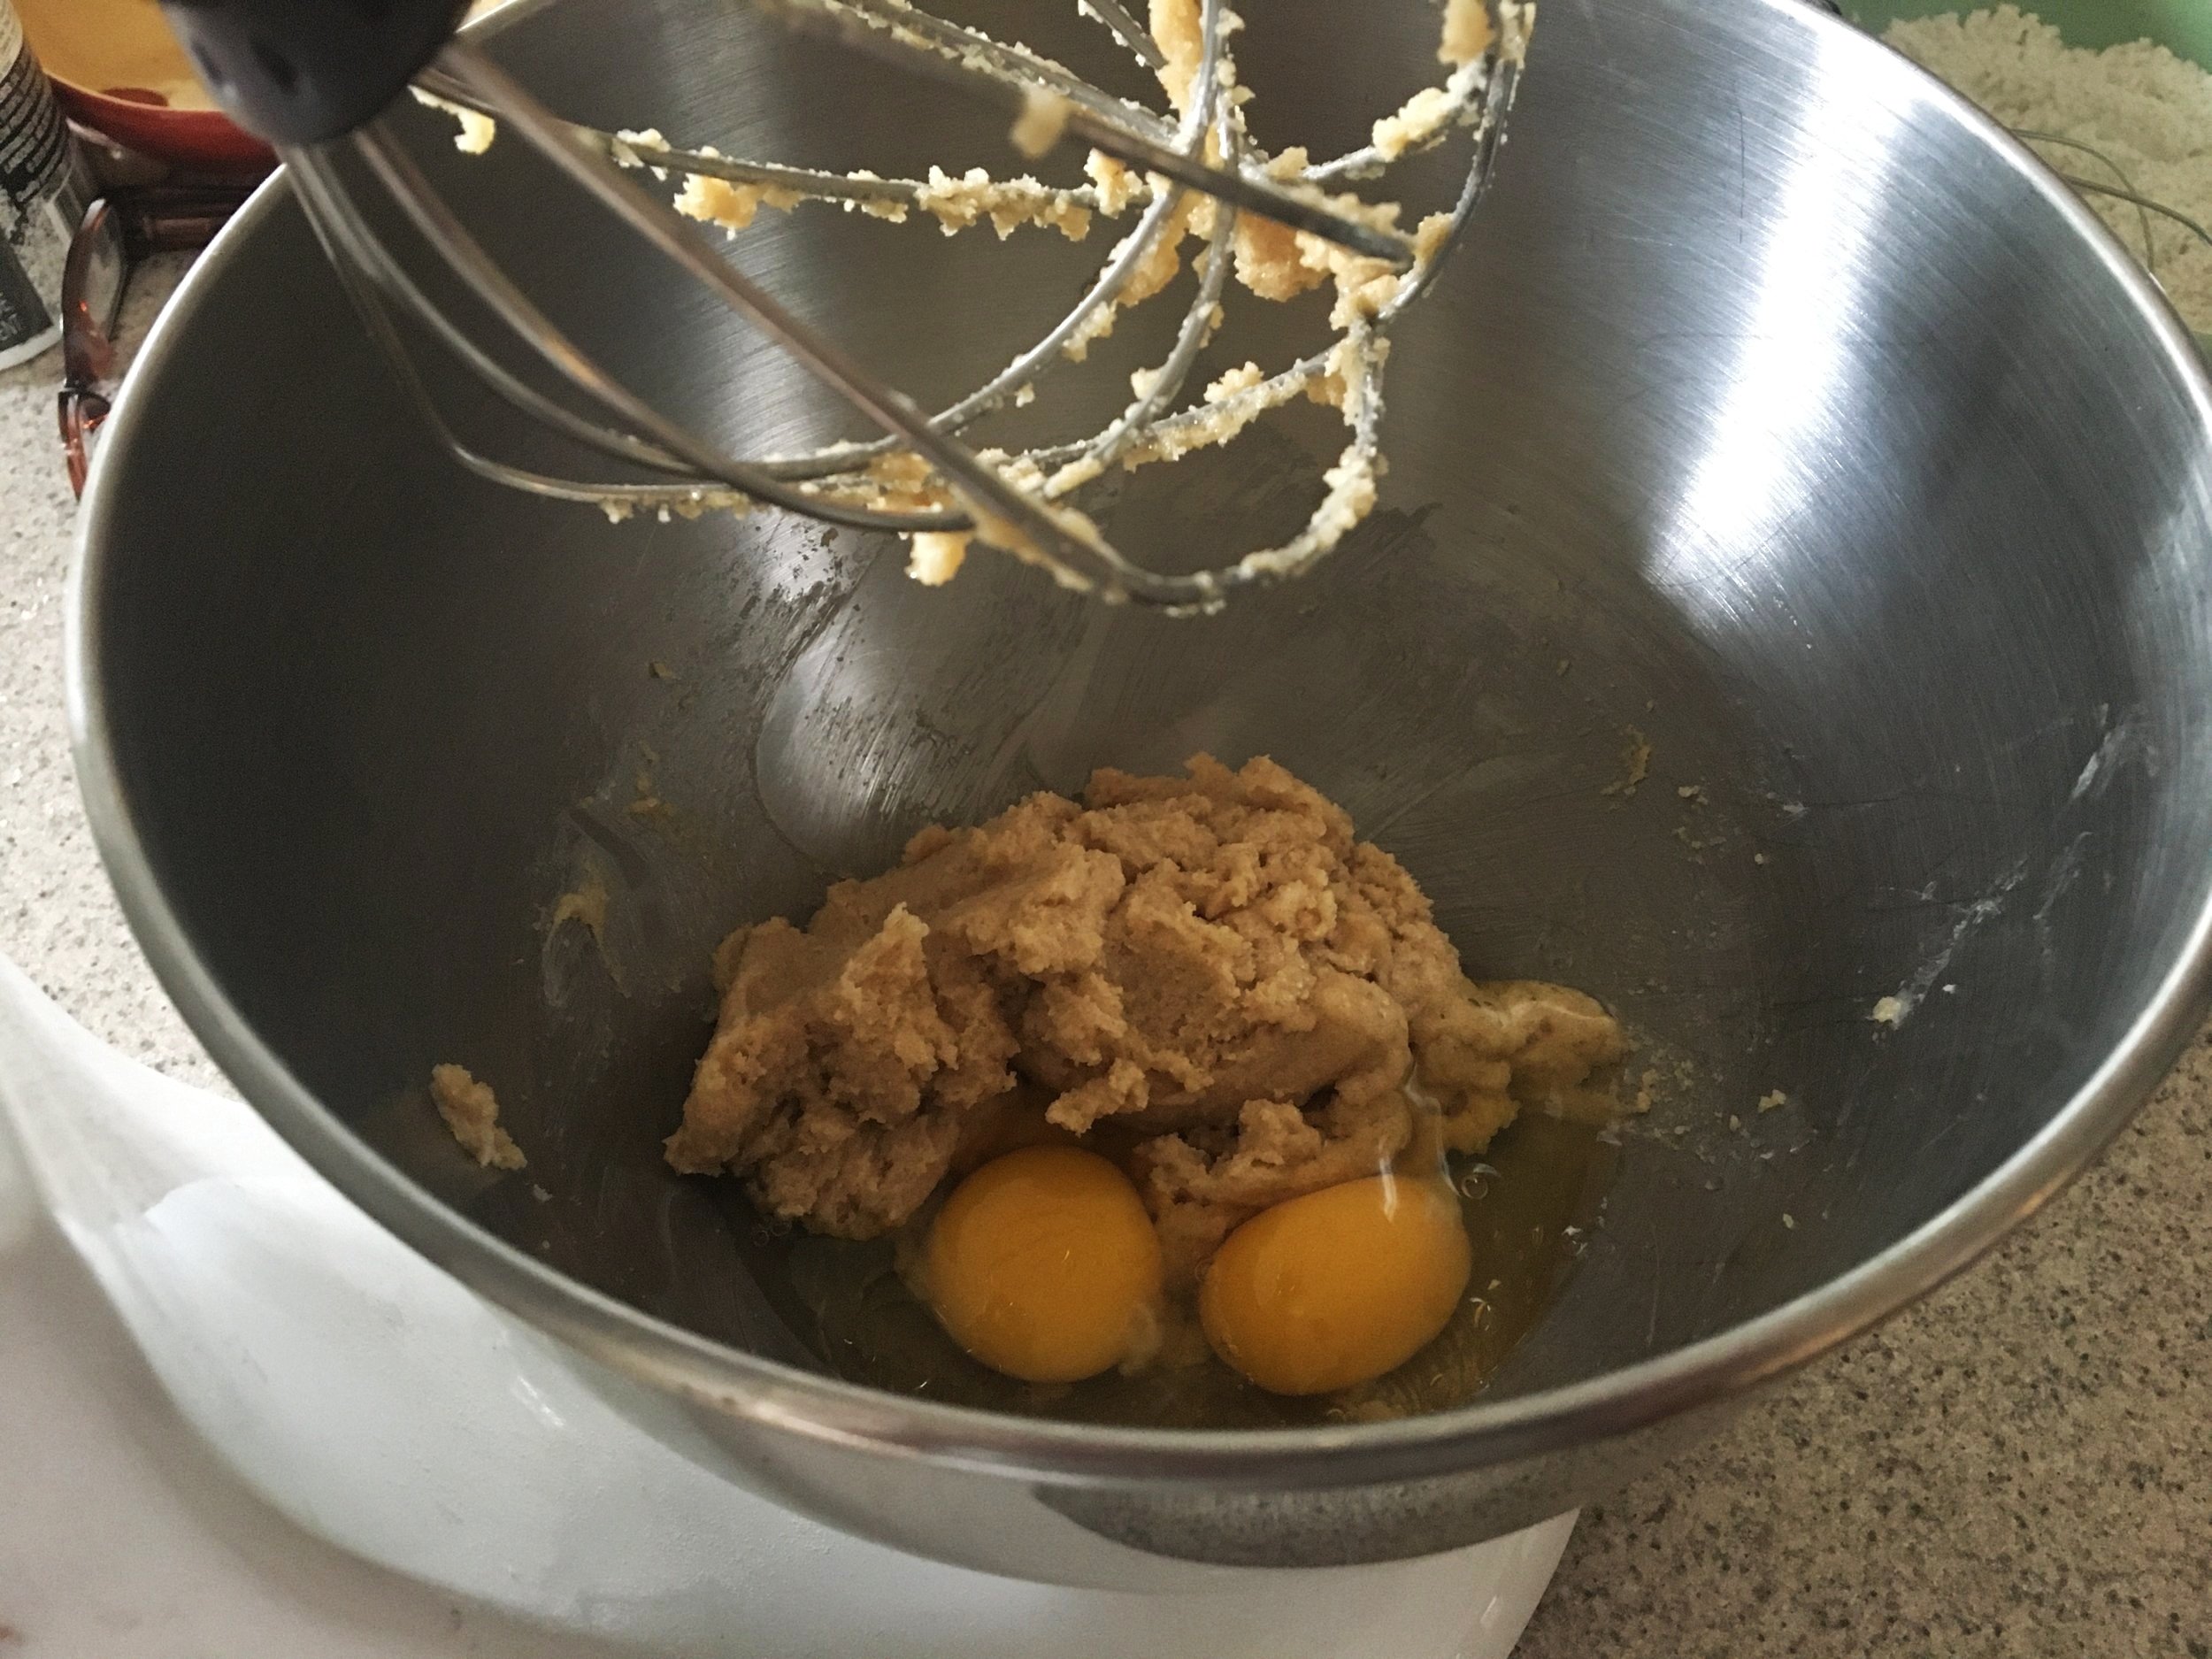
In a large mixing bowl, combine the room-temperature butter and brown sugar, and mix with an electric mixer until combined & creamy, about 30-60 seconds. Add in the room temperature eggs one at a time, and combine again with the mixer.

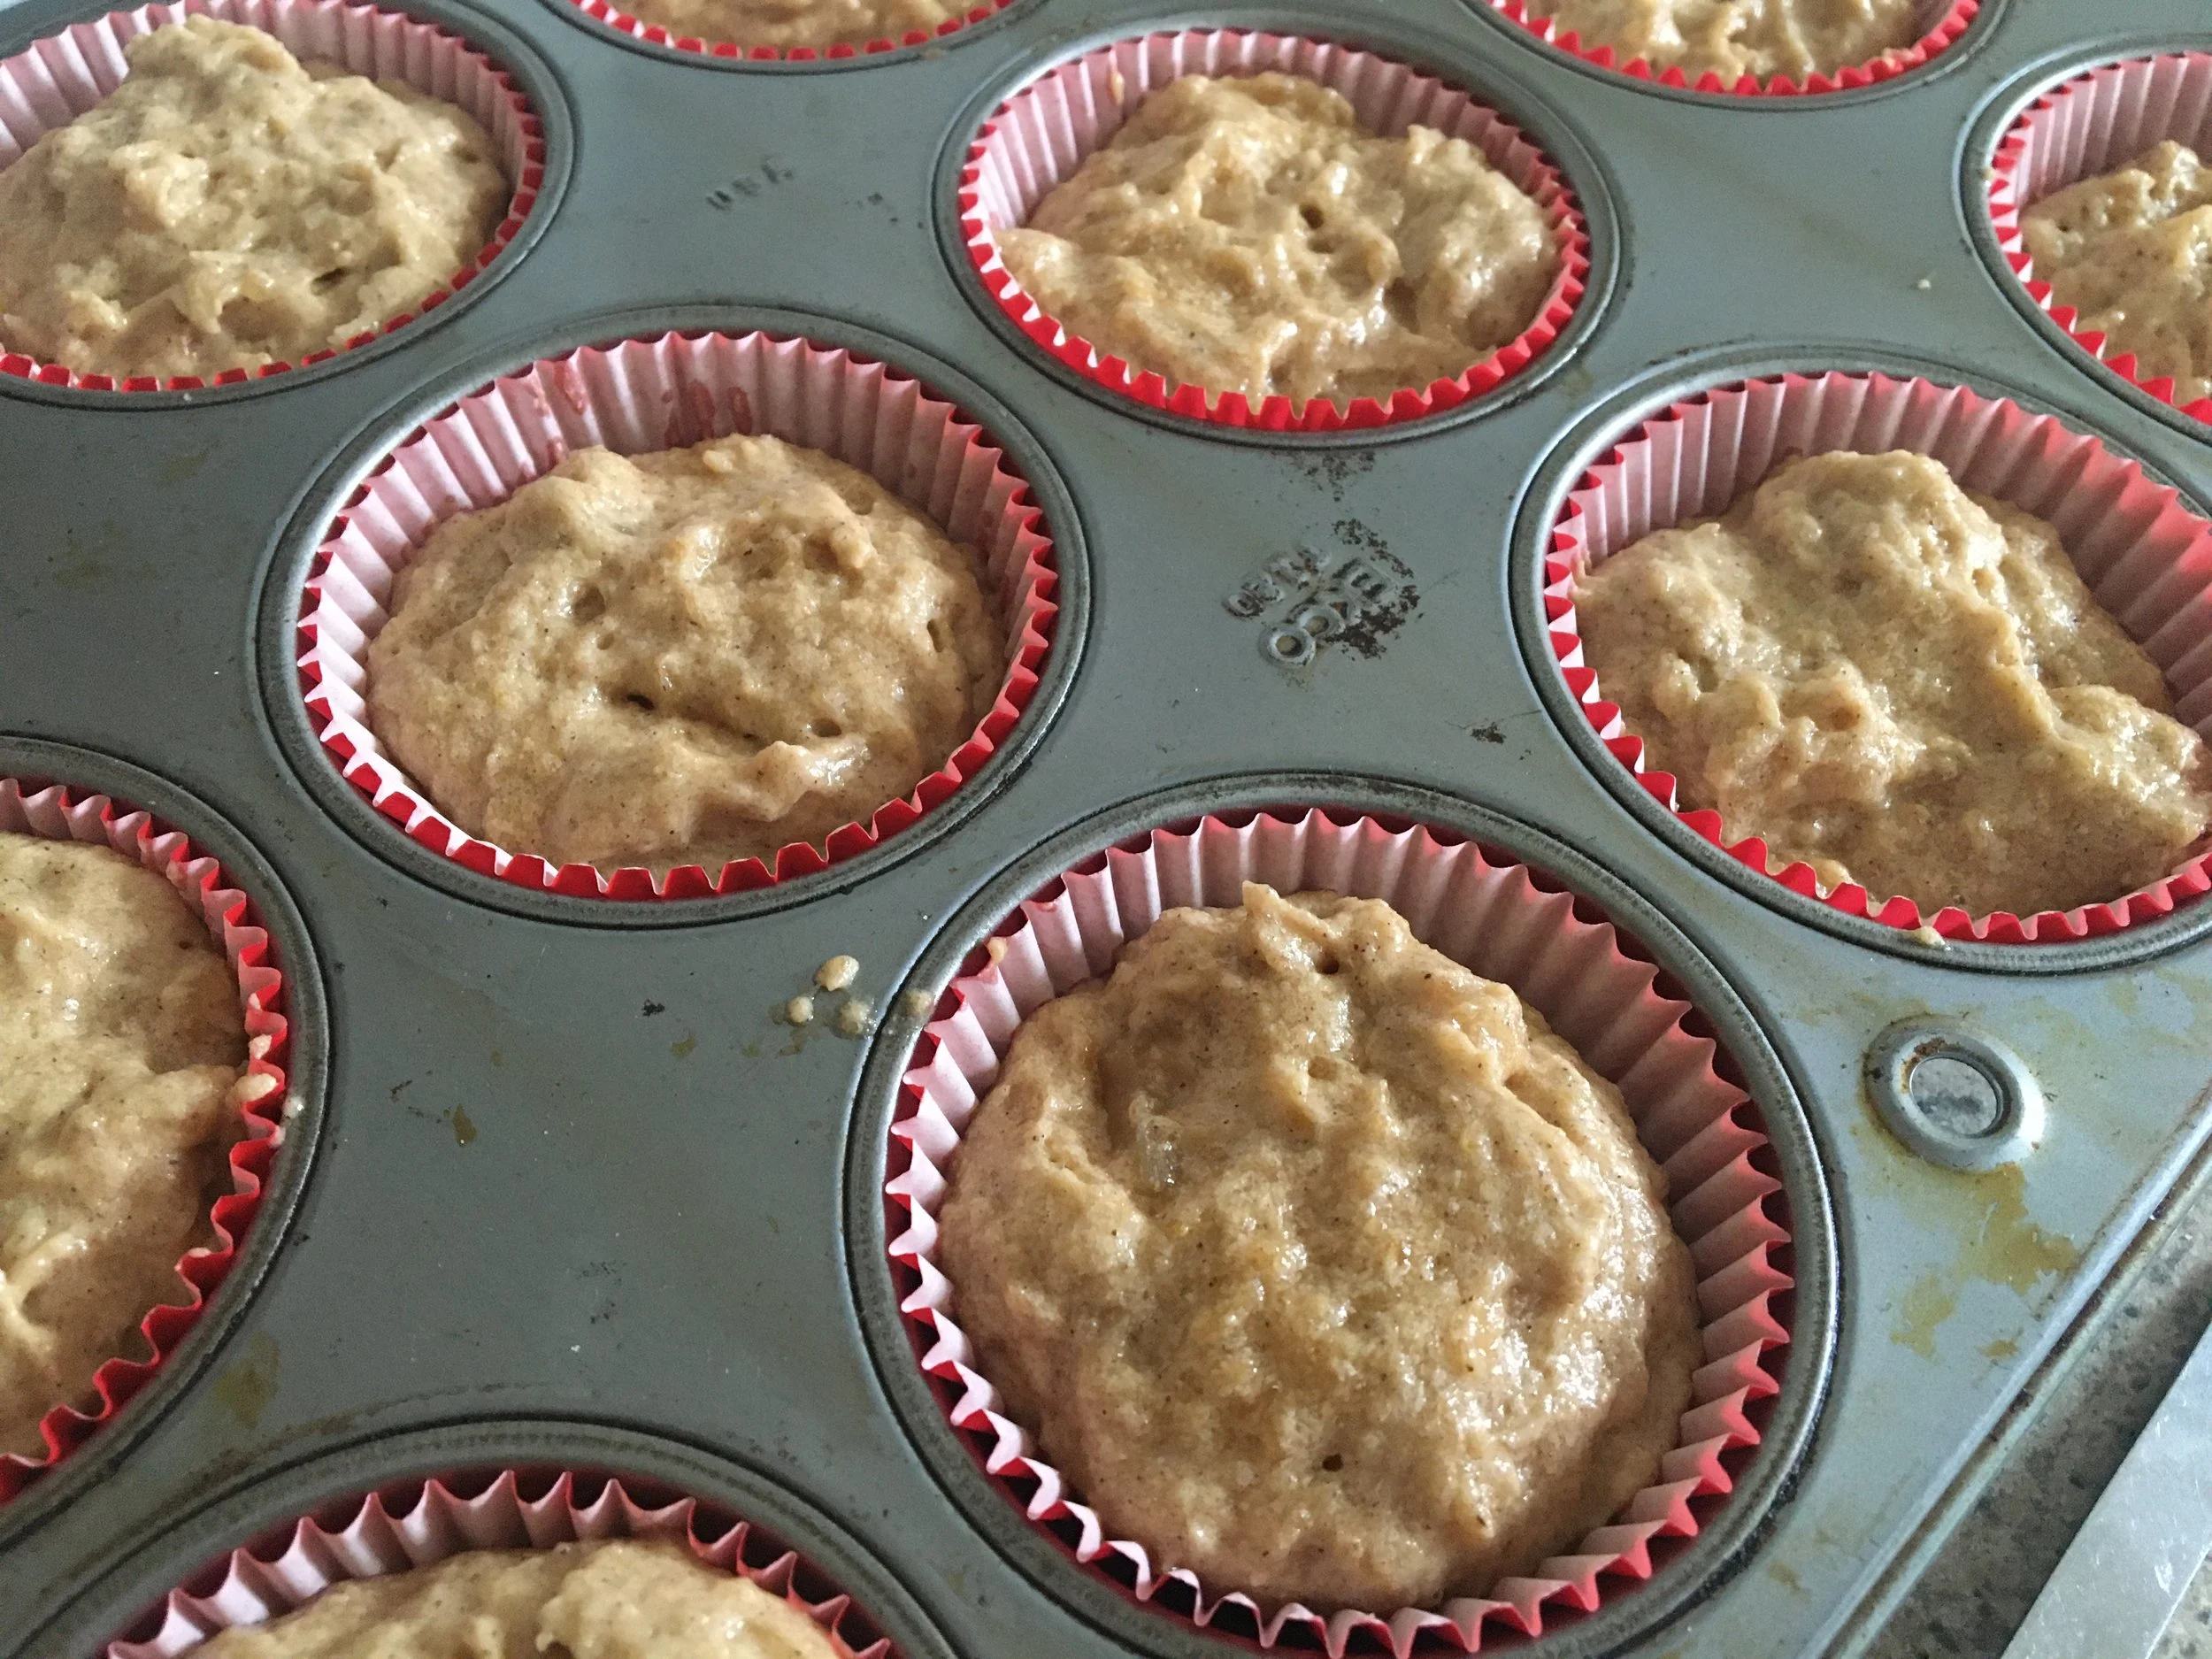
Add in Cherchies® Apple Butter Spread and lightly beat. Gradually add in the dry ingredients (flour mixture), mixing by hand with a spatula until it’s just incorporated. The batter will be thick. Fill each muffin cup 3/4 full with batter. Bake for 19-21 minutes (rotating cupcake pan halfway through cooking) or until a toothpick inserted in the center comes clean. Ovens vary, so start checking for doneness around 17-18 minutes.

Allow the cupcakes to cool in the pan for 5-10 minutes, then move them onto a cooling rack to cool completely.

Salted Caramel Icing Preparation

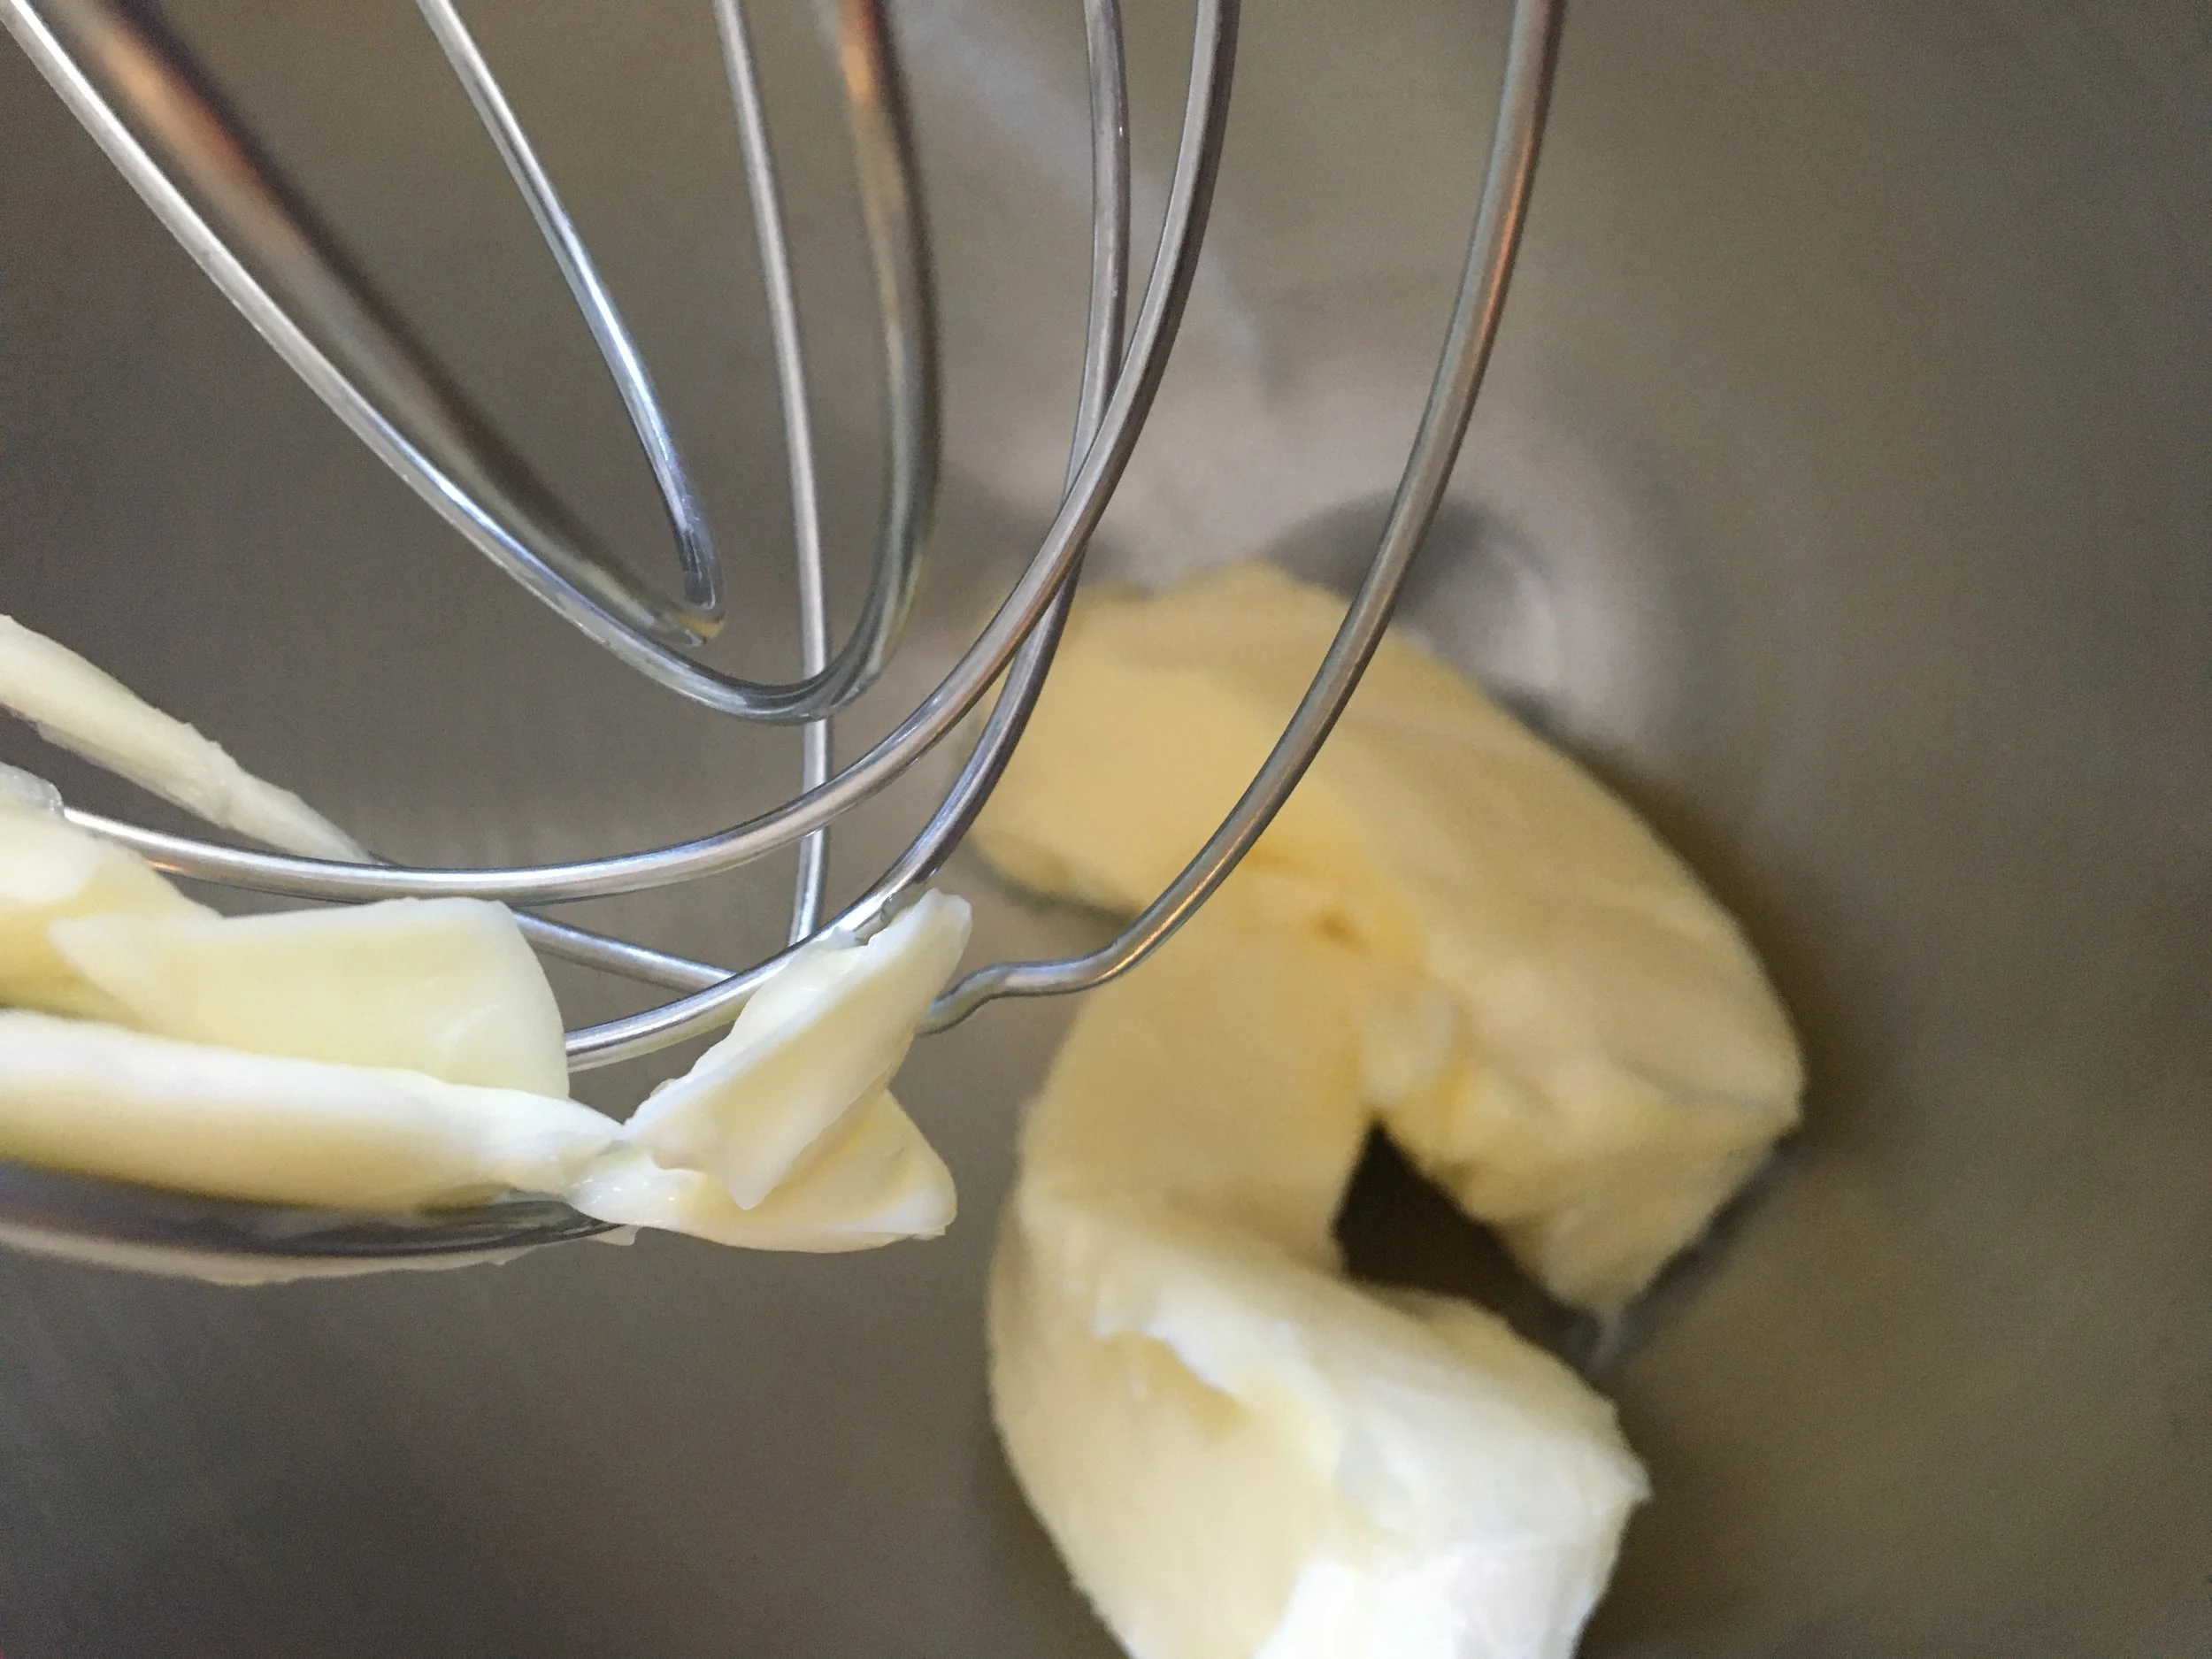
Place the room-temperature butter, cooled caramel sauce (if homemade), and salt in a mixing bowl. Turn an electric mixer on medium and beat the butter for 1 minute until it is whipped and fluffy.

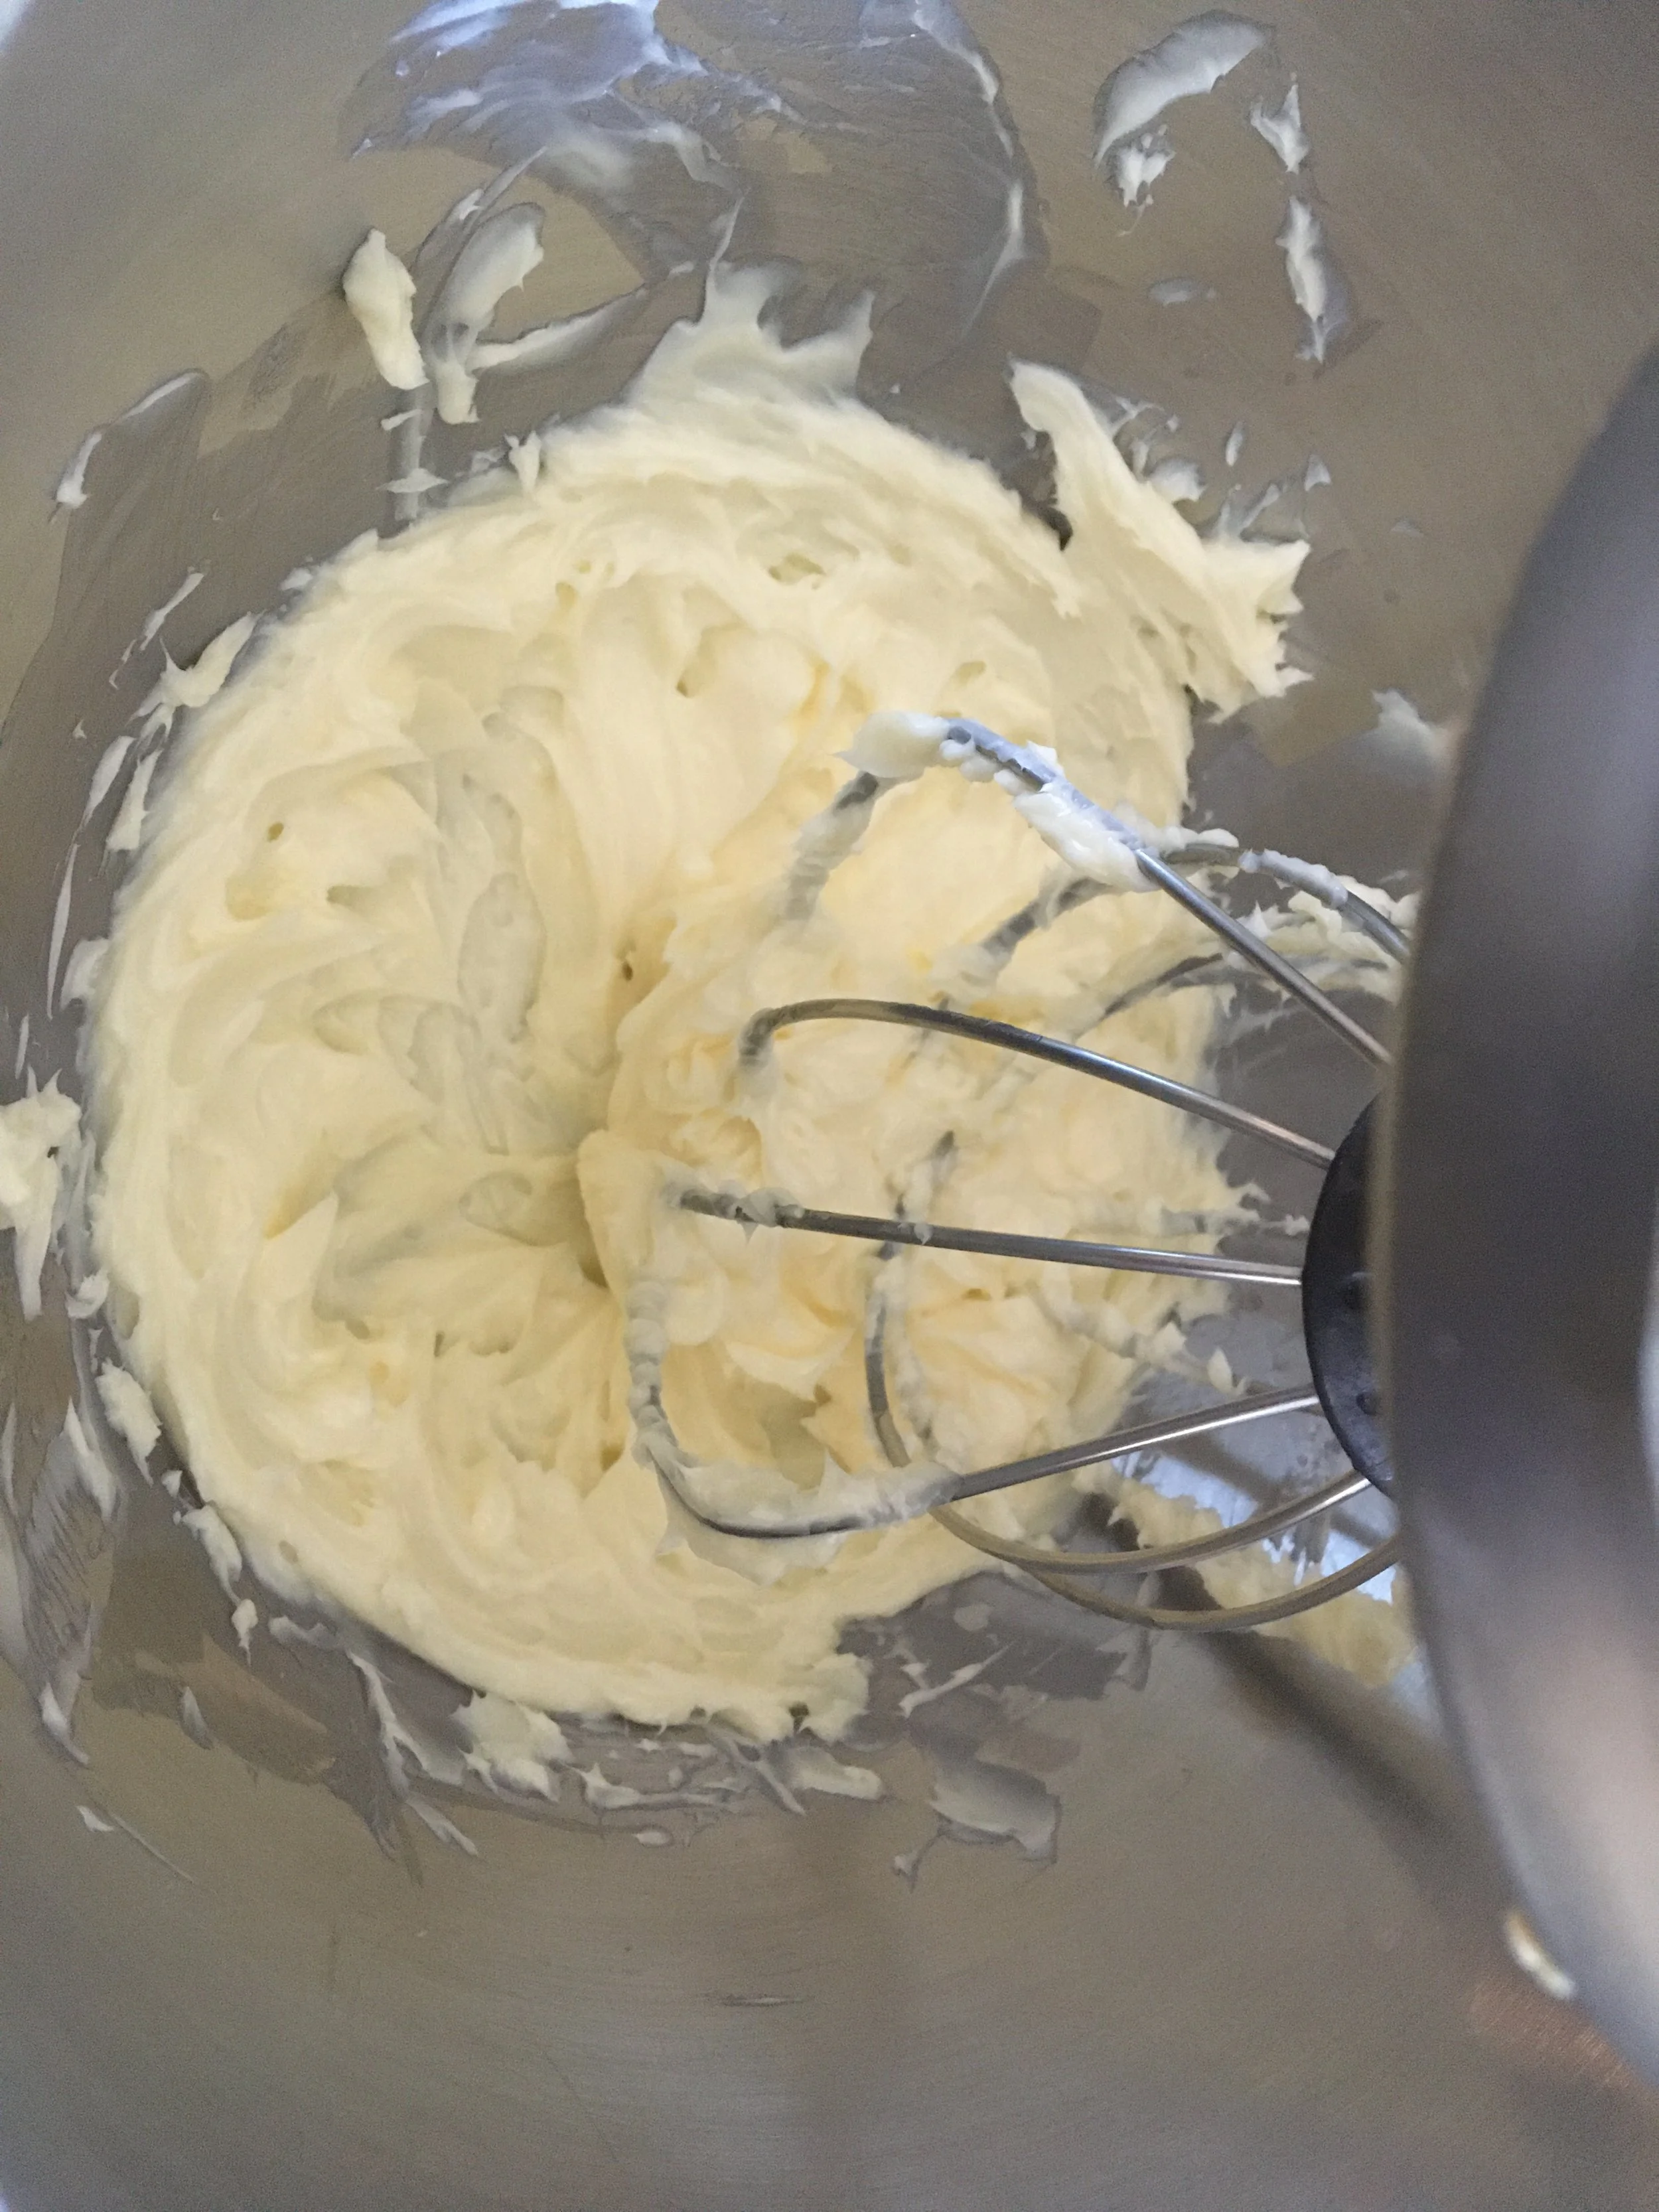
Add in the powdered sugar, and beat again on low for 1-2 minutes, scraping down the sides of the bowl with a rubber spatula or until everything is incorporated. Add a tablespoon of milk, cream, or half-and-half if the icing is too thick, and beat until creamy.

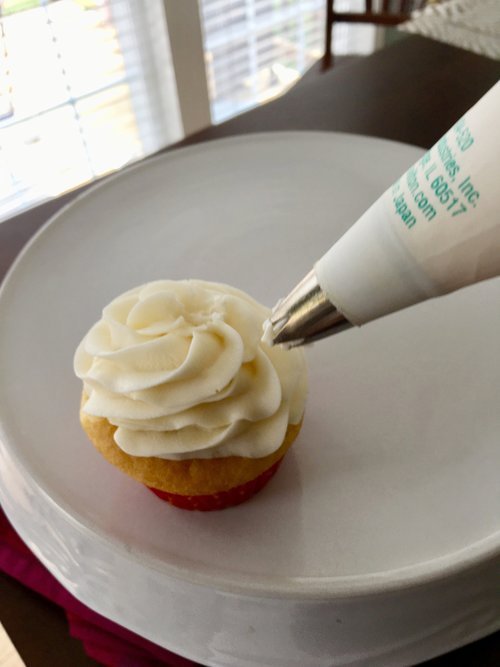
In a plastic piping bag (or ziplock bag with the corner snipped off), fit with a piping tip (I used a Wilton 1M tip) and add the frosting. Push the frosting down into the bag. Twist the top of the bag closed and pipe the frosting onto the cupcakes in a circular motion. Drizzle with caramel sauce and sprinkle with coarse sea salt (optional).
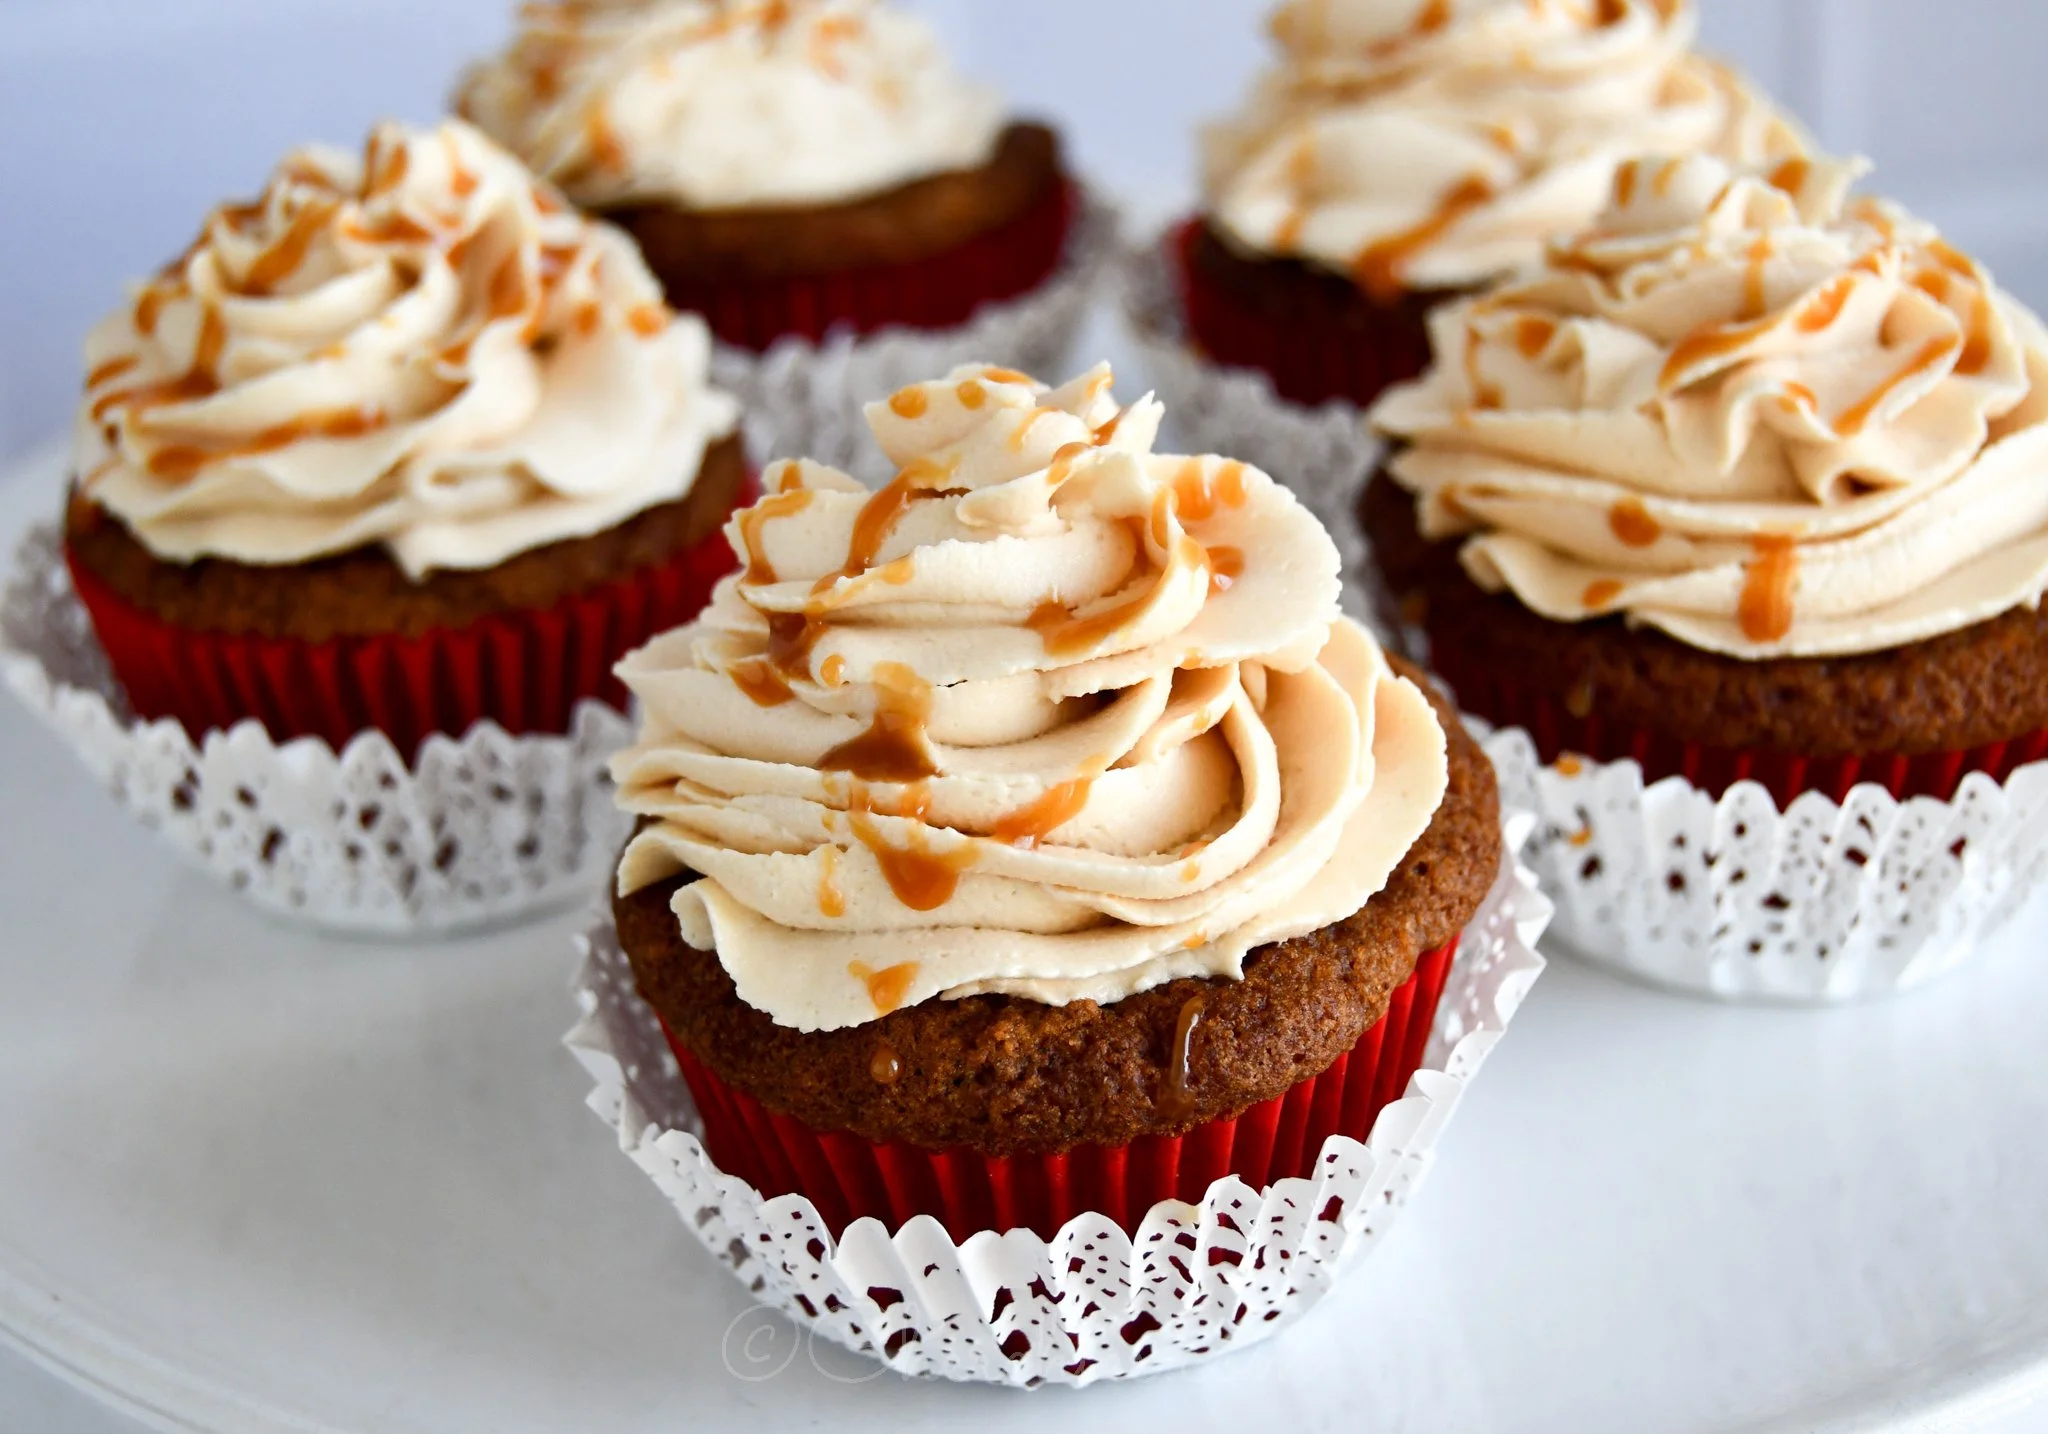
Enjoy!

Note** The cupcakes and frosting can be made one day in advance. Make sure to cover tightly and store them in the refrigerator. Unfrosted cupcakes can be frozen for 2-3 months but thaw overnight in the refrigerator when ready to use.- A cooking tip from Sally's Baking addiction.

How to Make Homemade Caramel Sauce

Ingredients

  • 1 cup of brown sugar

  • 6 Tablespoons (Tbsp.) unsalted butter, cut into small pieces

  • 1/2 teaspoon (tsp) sea salt (if you want salted caramel, add up to 1 tsp. salt- Kosher salt is acceptable too)

  • 1/2 teaspoon vanilla (you could substitute your favorite liquor for an extra special adult treat, we won’t tell, but make sure to keep away from the kiddos).

  • 1/2 cup heavy cream or half and half, room temperature

There seems to be some debate on the internet about making homemade caramel sauce. Some suggest melting the sugar with the butter first, whereas others swear by heating it until it dissolves and adding the butter and the rest of the ingredients at the end. I have tried both ways, with the result being the same. The caramelization process happens quickly, so you do not want to walk away, and you need to ensure all your ingredients are measured and in place before you begin.

Start with a medium-sized stainless steel saucepan (ceramic would work fine too). Add the butter chunks to the pan, turn the heat on low, and gently stir the butter with a wooden spoon (you can use a whisk, too) until it melts. Once the butter has melted, add the sugar and continue to stir until the sugar has dissolved. (Sugar will be HOT! Keep a small bowl of cold water nearby in case of splattering sugar). Continue stirring and scrape the sugar that forms on the side with the spoon or a rubber spatula and incorporate it into the mix.

Continue constantly stirring on low until all the sugar has dissolved and you have achieved this rich caramel color and a nutty aroma. Some of the butter may remain on the top. It is okay. It will incorporate once the half-and-half or cream is added. As the caramel comes to a rolling boil on low, continue rapidly stirring. Add salt and vanilla (or liquor) at this time. If you want salted caramel, add 1/2 teaspoon (tsp) of salt.

For the full directions with pictures, follow this link. http://blog.cherchies.com/home/2018/10/27/cooking-tip-how-to-make-homemade-caramel-dip

Yum

30 Favorite Labor Day Recipes

parties, recipe round upSheri SpalloneComment

30 Easy Labor Day, Memorial Day, or July 4th Recipes

Updated 8/31/2023.

Labor Day, the first Monday of September, typically means that white clothes are out, sales are in, summer holidays are over, and football season and classes begin. For many of us, "it's a welcome day off from work or school, to spend time with family and friends, ahead of what is likely to be a busier month than the last ".-Time Magazine.

Labor Day started as a part of the labor union movement to recognize the contributions of men and women in the US workforce, but it is now seen as a chance to celebrate the last weekend of summer. -www.dosomething.org.  

In honor of Labor Day, celebrate your day off and the "unofficial" end to summer with our 30 favorite easy recipes. These recipes would be perfect for Memorial Day, July 4th, and Labor Day!

Comment below and let us know if you made any of these recipes. As always, thanks for stopping by:) Please come back again for more tasty recipes, entertaining ideas, and cooking tips.

Happy Labor Day!

Breakfast

Yum

Lemon Dill Bread Recipe

snacks, side dishesSheri SpalloneComment

Lemon Dill Bread Recipe

Prep Time:  10 Minutes
Cook Time:  8-12 Minutes
Difficulty:  Easy

You will wonder how you ever served crescent rolls any other way when you serve these savory rolls, laced with lemon, butter, and dill.

Add a twist to your favorite crescent rolls. For this recipe, we used refrigerated crescent rolls, butter, parmesan cheese, and Cherchies® Lem’n Dill Seasoning. Our college students raved about this recipe and we are confident your family will too!

Thanks for stopping by:) Comment below if you have made this delicious recipe. Come back again for more family-tested recipes, entertaining ideas, and cooking tips using all our favorite Cherchies® gourmet products.

Follow us on social media: Facebook, Instagram, and Pinterest.

Ingredients 


Preparation 
Preheat the oven to 375 degrees (350 degrees for a non-stick baking sheet).

Unroll the dough and separate it into 8 triangles. Melt butter and add Cherchies® Lem'n Dill Seasoning and parmesan cheese.  Blend thoroughly. 

Baste each triangle from the crescent roll package with the mixture before rolling and baking.  Roll up triangles, beginning with the wide end, and place them on an ungreased cookie sheet or parchment paper.

For presentation, I like to dab the outside of the rolls with a little butter mixture.  This is optional.  Bake for 8-12 minutes or until golden brown. Enjoy!


Yum

Picked Red Onion Recipe

side dishesSheri SpalloneComment

Tasty Pickle Red Onions Recipe

If you want to add a pop of zing and an extra dimension of flavor and crunch to your sandwiches, Southwestern dishes, burgers, etc., you need to make these tangy-sweet pickled red onions. Beware, once you make them, you'll wonder why you never made them before, and you'll obsess about keeping a jar on hand in the refrigerator at all times:). Well, maybe not obsess:).

Homemade pickled onions are incredibly delicious and easy to make. They brighten up any dish with a tangy pop of flavor, require a handful of ingredients, and take minutes to prepare. If you haven't tried them, your tastebuds are missing out. The main ingredients for pickled onions are usually vinegar, water, and salt. There are fancier recipes on the internet, sometimes with fresh herbs, garlic, fruit, peppercorns, etc.; however, our version features red onions, Cherchies® Garlic Seasoning, apple cider vinegar, and red wine vinegar (* homemade-see notes).

As I've often mentioned in other blog posts, our children (now college students) are often guinea pigs and our best food critics for new recipes that I create. Over the years, it has been wonderful watching their palates mature with them trying different foods, including pickled red onions. When our daughter and son came home for the weekend recently for a visit, their favorite Taco Night was on the menu. It was the perfect time to introduce pickled red onions as one of the taco toppings, and I was pleasantly surprised at their reactions. They gave the pickled red onions a thumbs up!   

Still not convinced? Here are 19 mouth-watering examples of why you should make pickled onions today to have on hand when the moment strikes to add a burst of tanginess to your dishes. Your tastebuds will thank you.  

  1. As a topping for tacos

  2. In sandwiches and wraps

  3. As a fixing for bagel and lox boards

  4. As a topping for pizza

  5. In burgers

  6. On top of avocado toast

  7. In mayo-based fillings (eg. deviled eggs, salads)

  8. In salads

  9. As a topping for hotdogs or sausage

  10. As a topping on stews or chili

  11. In dips- rich dips like spinach artichoke

  12. Use the vinegar as a marinade when finished with the pickled onions.

  13. As a martini instead of Gimlet

  14. In coleslaw

  15. As a compliment to Indian food- it pairs nicely with the heat in their dishes

  16. As a topping for baked potatoes w/ sour cream, and/or butter

  17. As an accompaniment to charcuterie, especially pate

  18. In beans- a pot of pintos or black beans with sour cream, cornbread, and pickled onions

  19. Add to scrambled eggs.

  20. In BBQ sandwiches

If you haven’t tried pickled onions, then you are missing out. They are incredibly delicious and easy to make, and they bring a new depth of flavor and texture to your favorite dishes. Are you ready to give this recipe a try?

Thanks for stopping by:) Comment below if you have made this delicious recipe. Come back again for more family-tested recipes, entertaining ideas, and cooking tips using all our favorite Cherchies® gourmet products.

We would love for you to follow us on social media: FACEBOOK, INSTAGRAM, and PINTEREST!

Ingredients

  • 1 large red onion, thinly sliced into half-moons

  • 1 cup apple cider vinegar

  • 1/2 cup red wine vinegar (* we used homemade red wine vinegar- optional)

  • 1/4 cup sugar or honey

  • 1 teaspoon (tsp.) Cherchies® Garlic Seasoning (or Cherchies® Garlic ‘n Herbs No-Salt Seasoning)

  • 1/8 teaspoon (tsp.) ground allspice

  • A pinch of red pepper flakes or a few peppercorns

Ingredients for Homemade Red Wine Vinegar

  • equal parts of apple cider vinegar and leftover red wine. (best if made a few days to a week ahead)

Preparation

Remove the outer layer of the onion. Slice the onion at half beginning with the root side of the onion. Using a mandoline or sharp knife, thinly slice the onion into half-moon slices. Set aside.

Add to a medium saucepan, the apple cider vinegar, red wine vinegar, sugar, Cherchies Garlic Seasoning, allspice, and red pepper flakes. Turn the saucepan on low and cook for a few minutes (stirring occasionally) until the sugar or honey has dissolved. Turn the pan off.

Add the onions to the pan and allow the mixture to cool.

Remove the onions from the saucepan with tongs and add them to a clean mason jar (or jar with a lid). Pour the remaining liquid in the pan into the mason jar. Cover the jar with a lid or plastic wrap, refrigerate, and enjoy.


Yum