Cherchies Blog

Tuna Pinwheel Recipe

appetizers, snacks, lunchSheri SpalloneComment
Slide5.JPG

My mom used to make these all the time when my sister and I were growing up.  This recipe was from an old Betty Crocker cookbook (remember those?)  She would bring these pinwheels to our neighborhood parties and they would be gobbled up in no time. It's funny how tuna salad, presented in these tasty buttery bites, could be so addiciting.  Of course I took mom's recipe and tweaked it with a hint of Cherchies® Champagne Mustard and some with our Cherchies® Hot Banana Pepper Mustard.

The true test was trying them on our children, our favorite "taster-testers" (their word for themselves as they were growing up).  They have come a long way over the years in trying new things, but tuna is definitely not their favorite.   I made these delicious morsels just in time for their after school snack.   To my delight, they loved them, in fact, they were devoured in minutes, even the ones I brushed with our spicier Hot Banana Pepper Mustard!!  

This recipe would make the perfect tasty appetizer or afternoon snack, but save some for yourself, because they will disappear quickly.  

Thank you for stopping by:)

Ingredients 

  • 1 can (6 1/2 oz.) white tuna, drained and flaked

  • 1/2 cup mayonnaise

  • 1/2 cup finely chopped celery

  • 1 Tablespoons (Tbsp.) sweet pickle relish, drained

  • 1/2 teaspoon (tsp) dry mustard

  • 1 teaspoon (tsp) Cherchies® Champagne Mustard (or for a spicier palate, try our Cherchies® Hot Banana Pepper Mustard

  • 20 slices square sandwich bread, crusts removed

  • 4 Tablespoons (Tbsp.) melted butter

  • Paprika


Preparation   
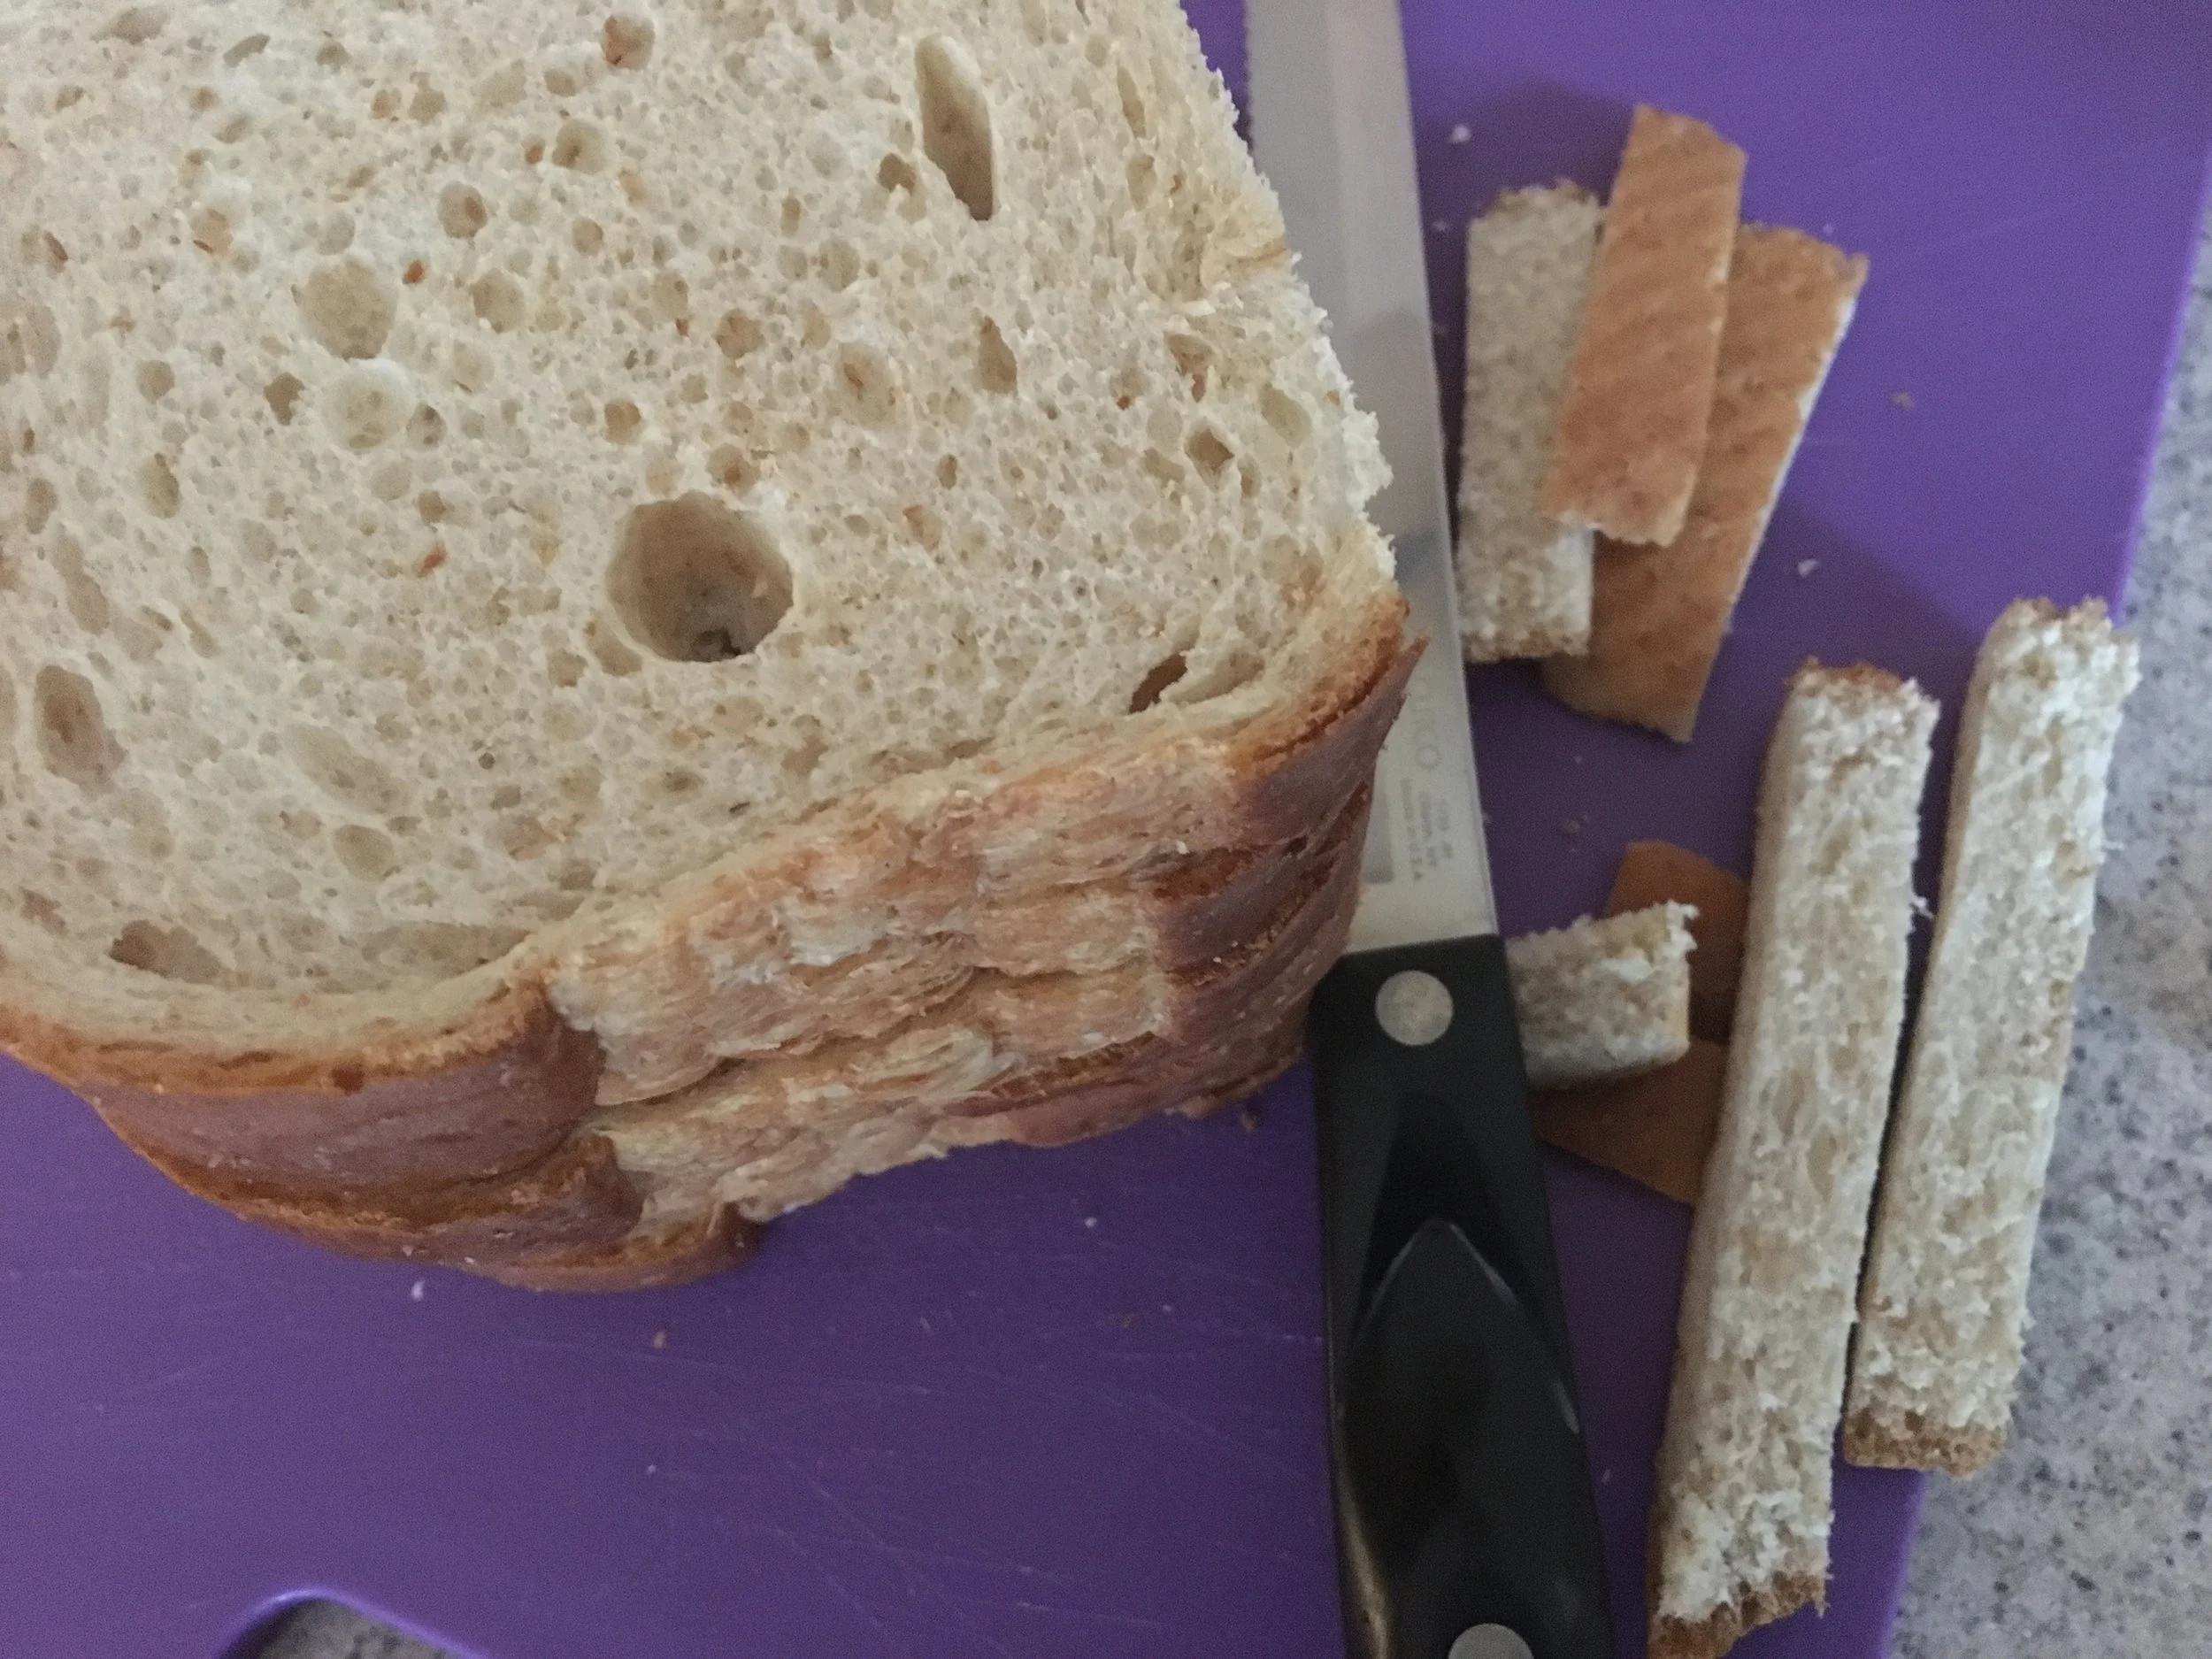
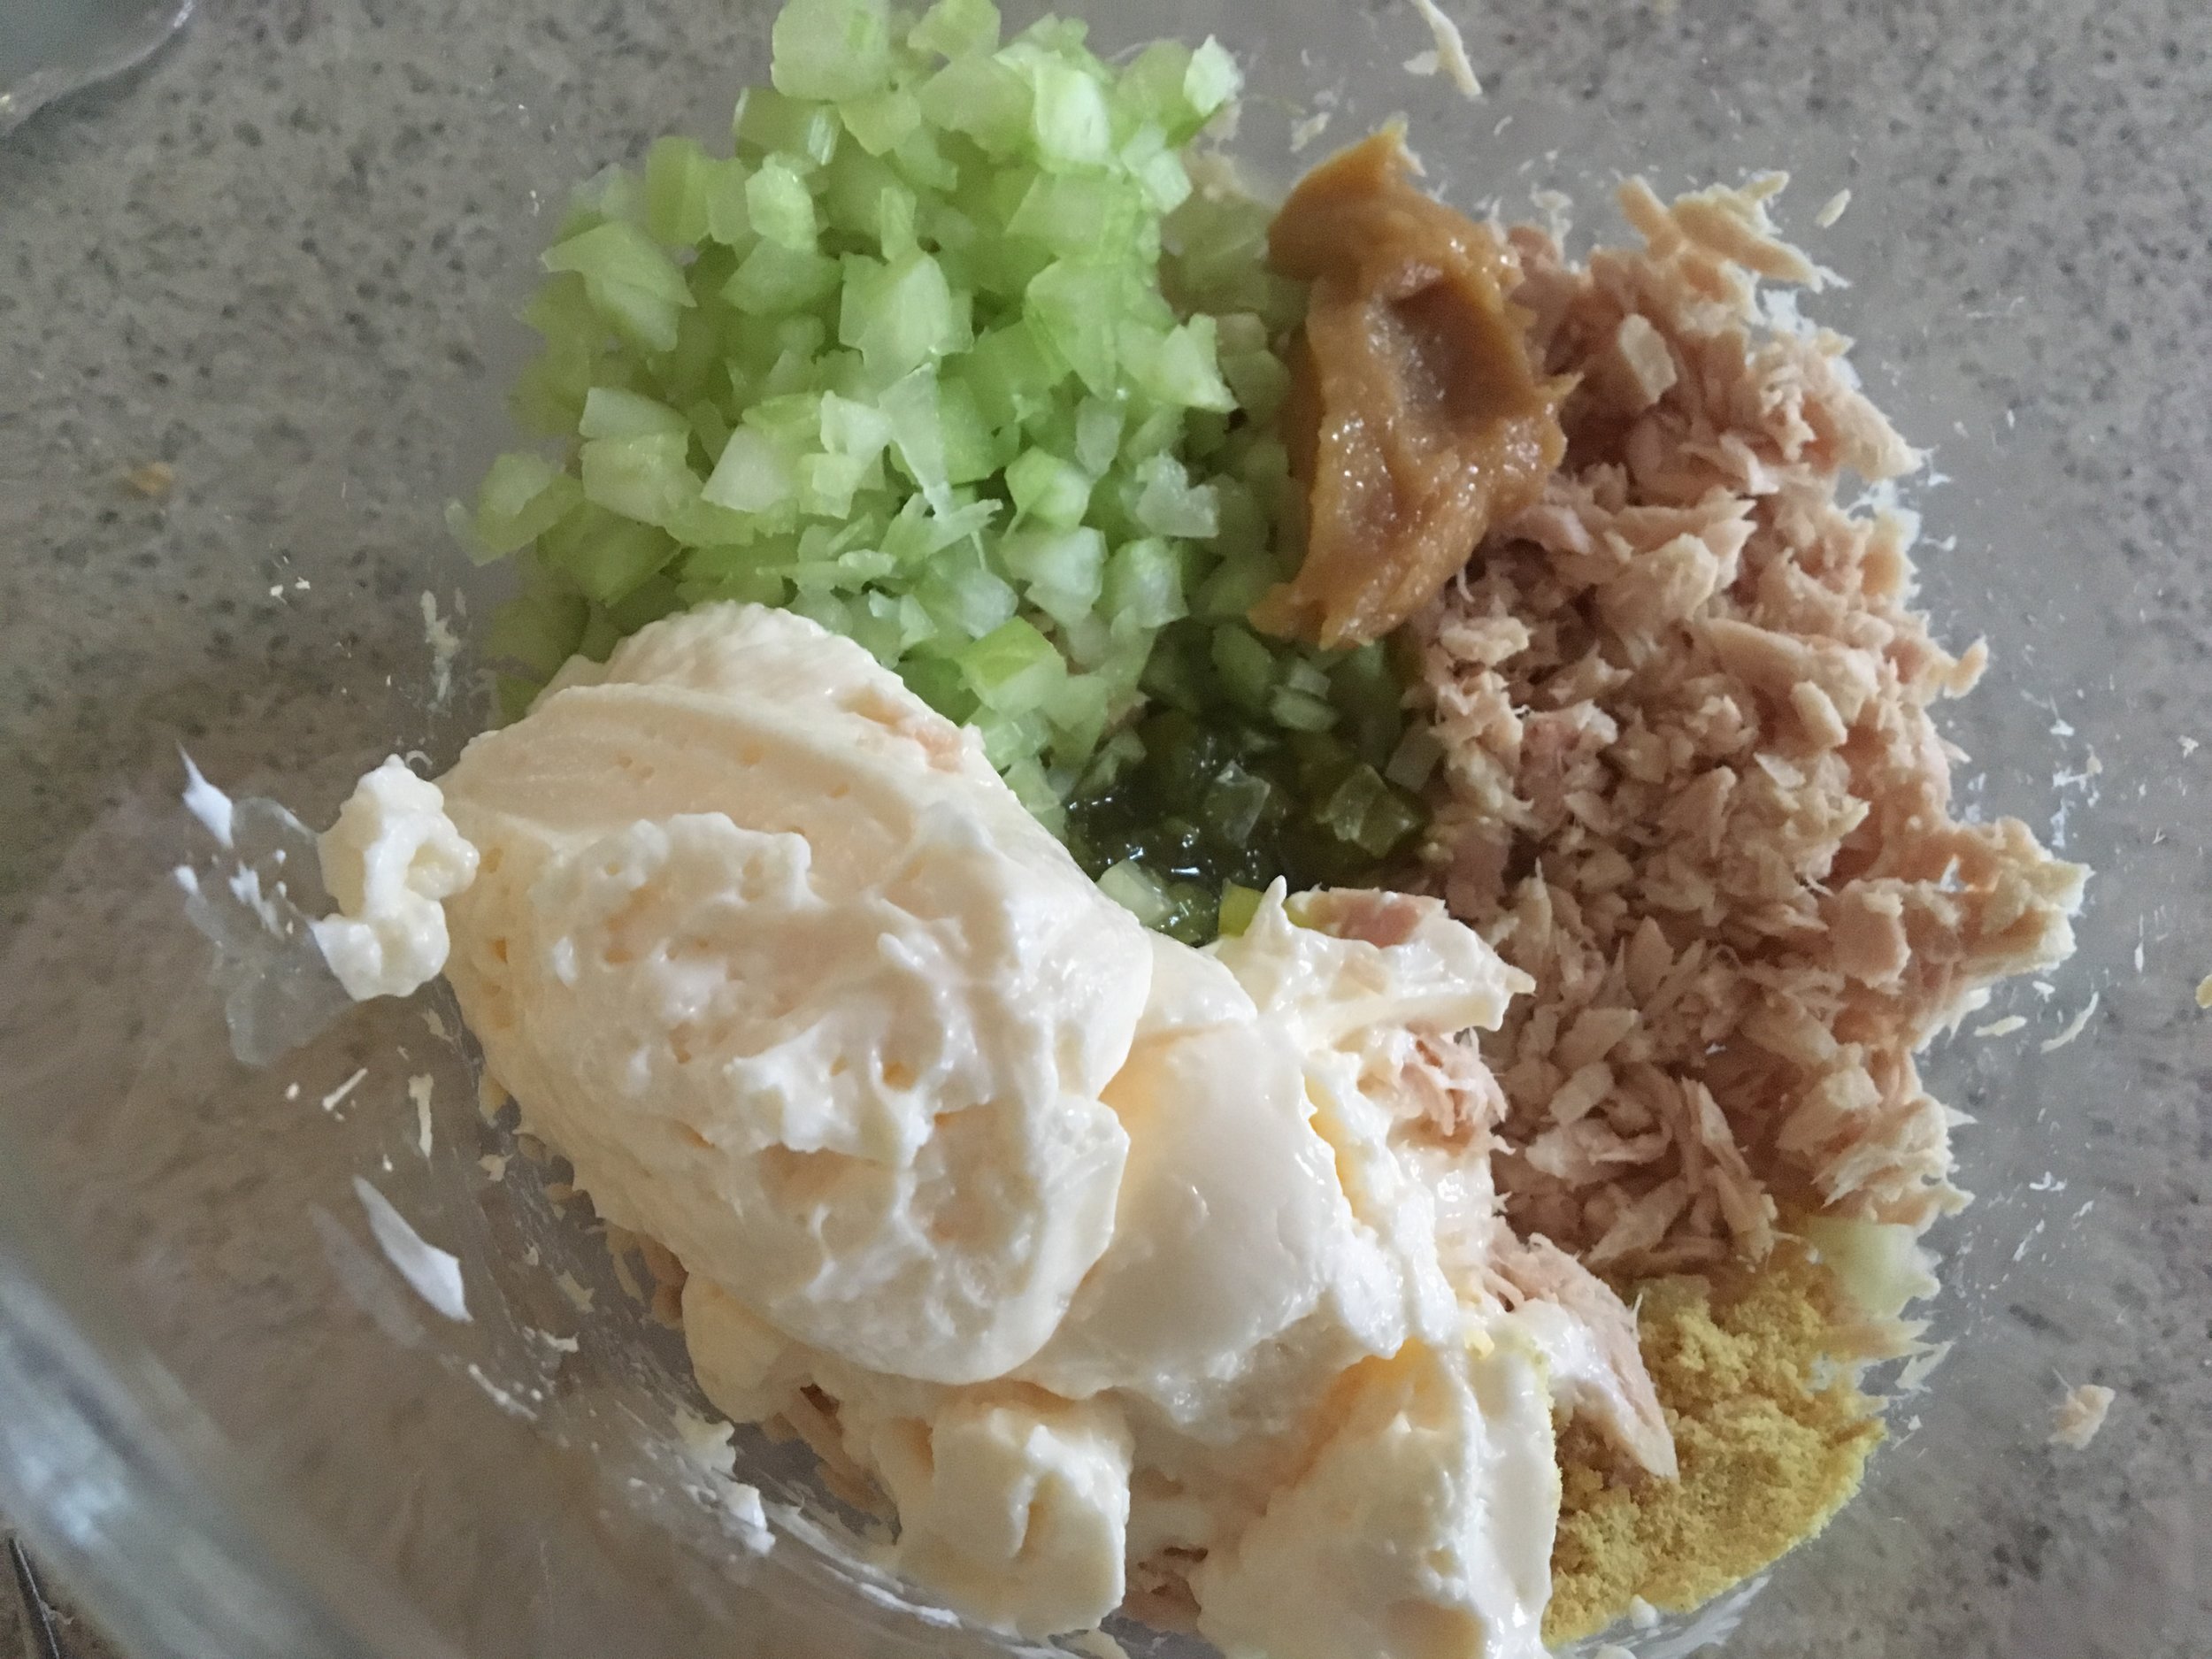
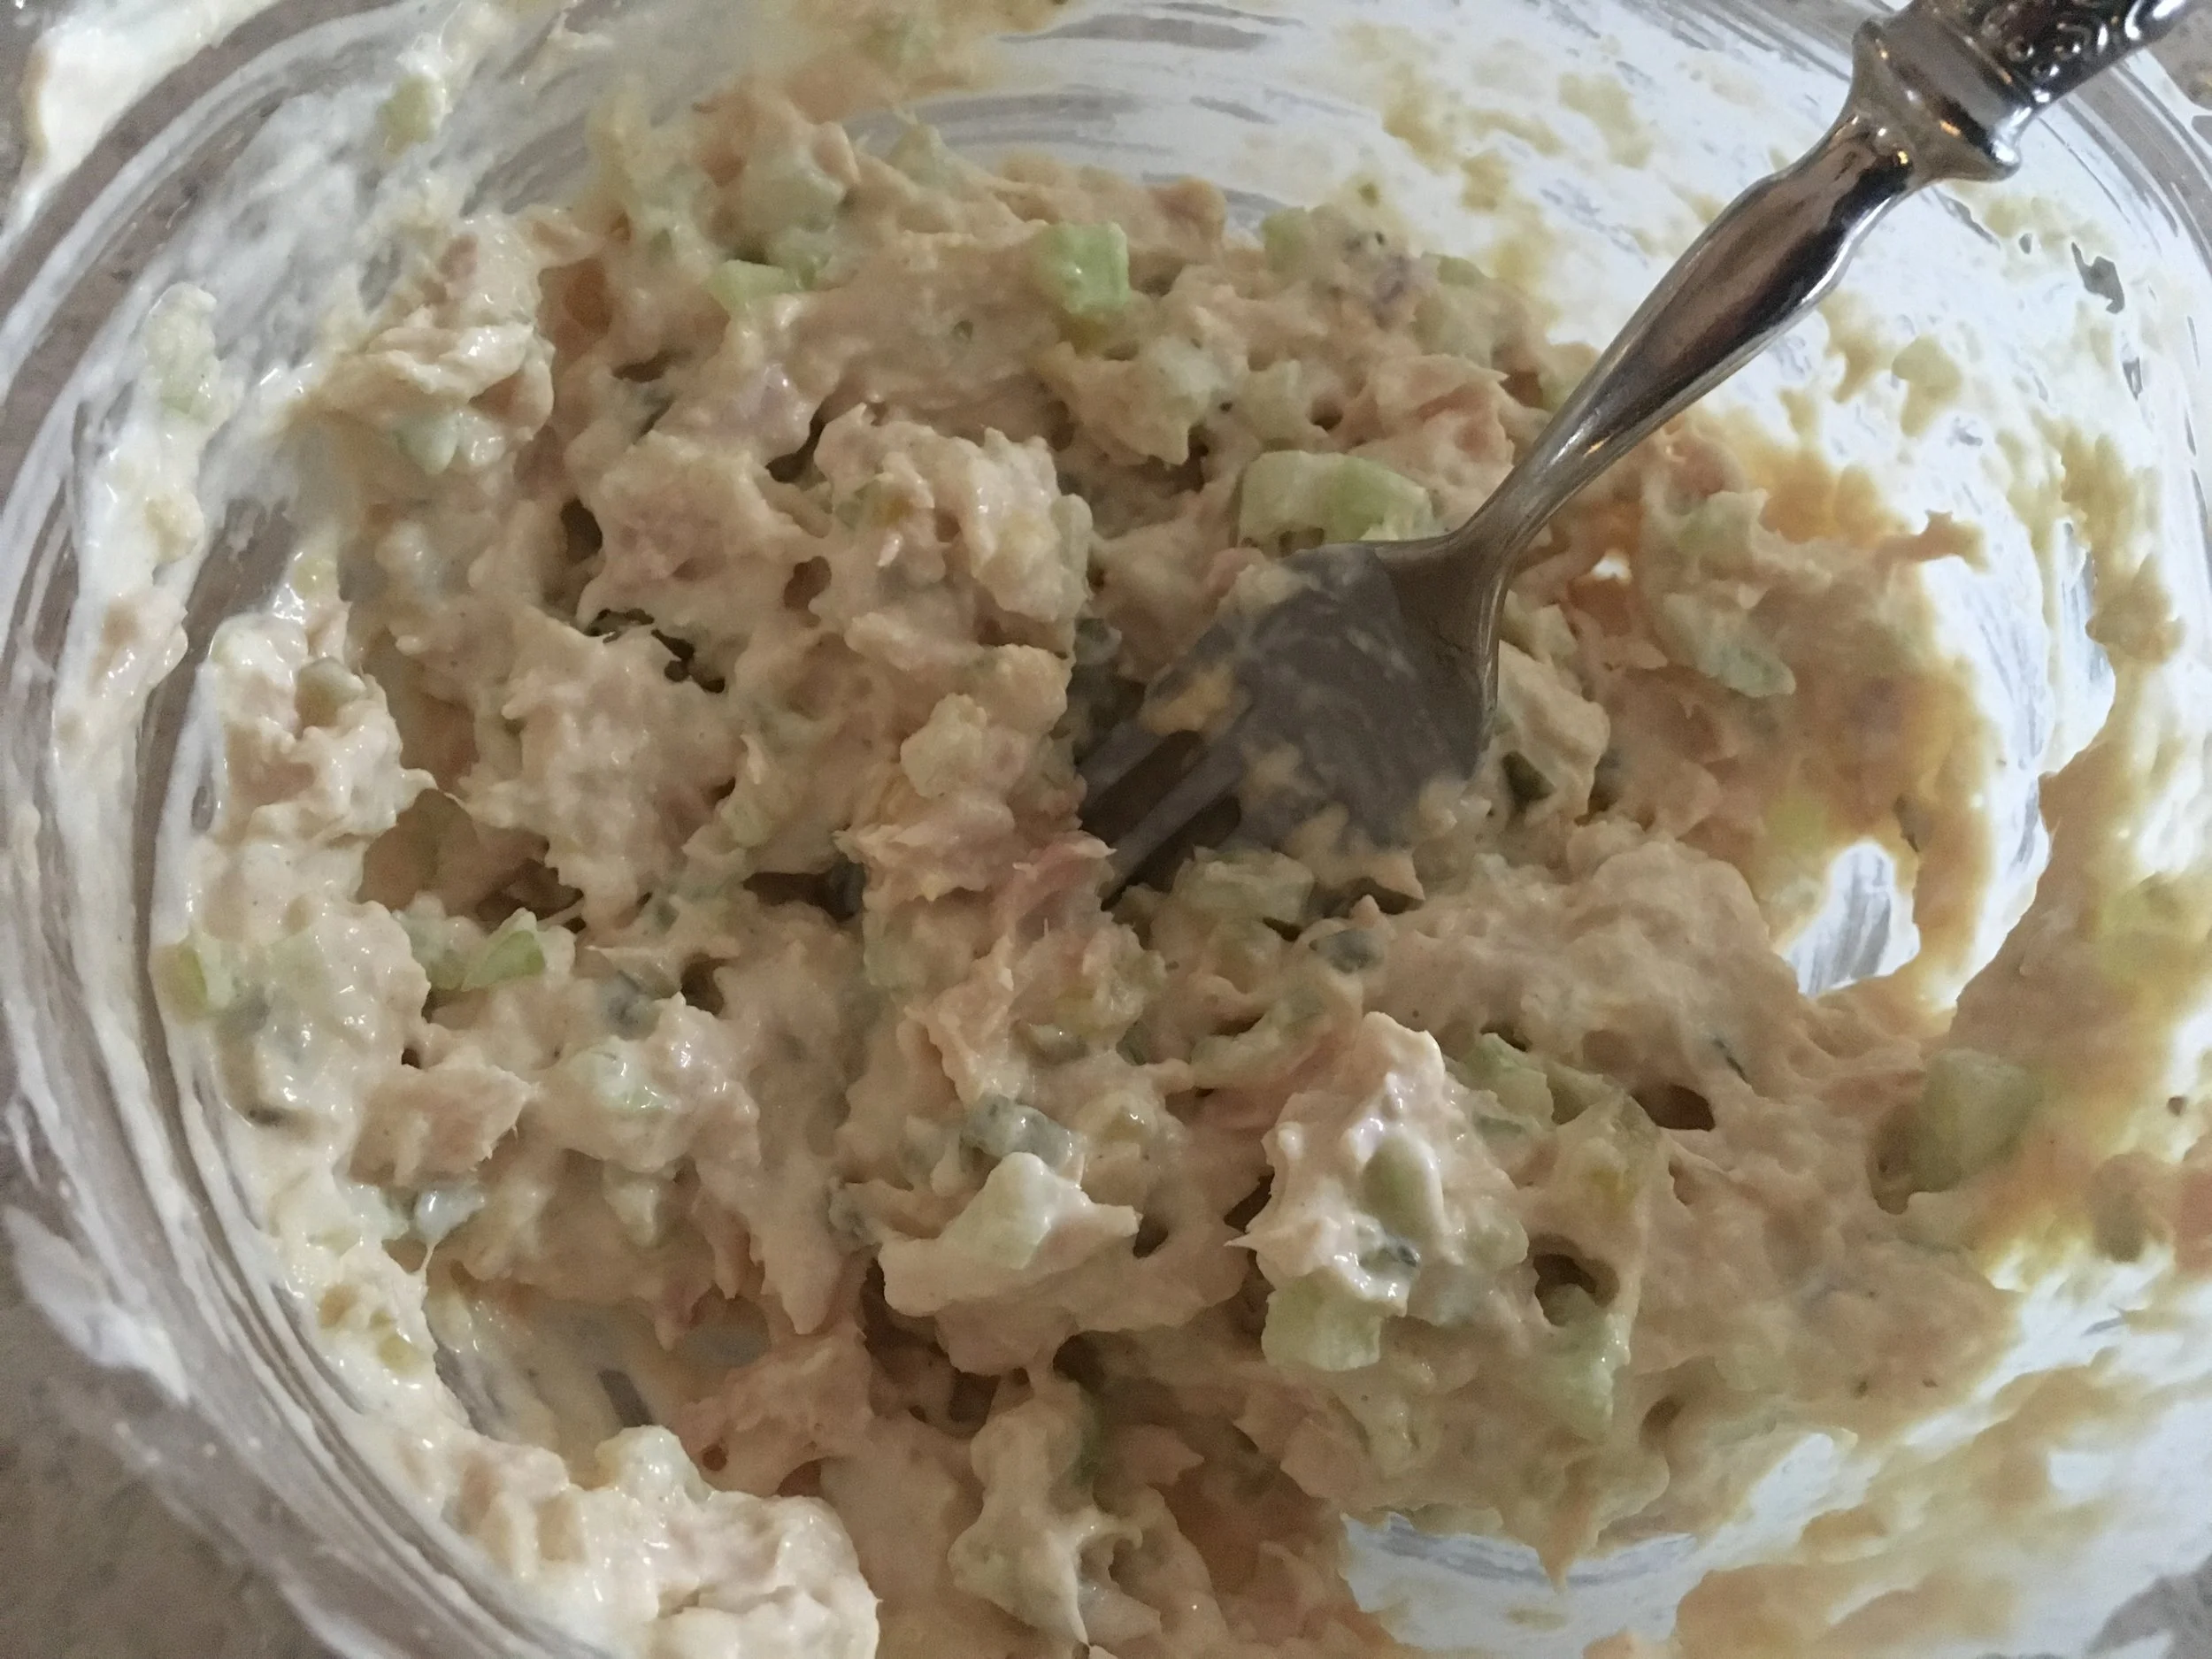
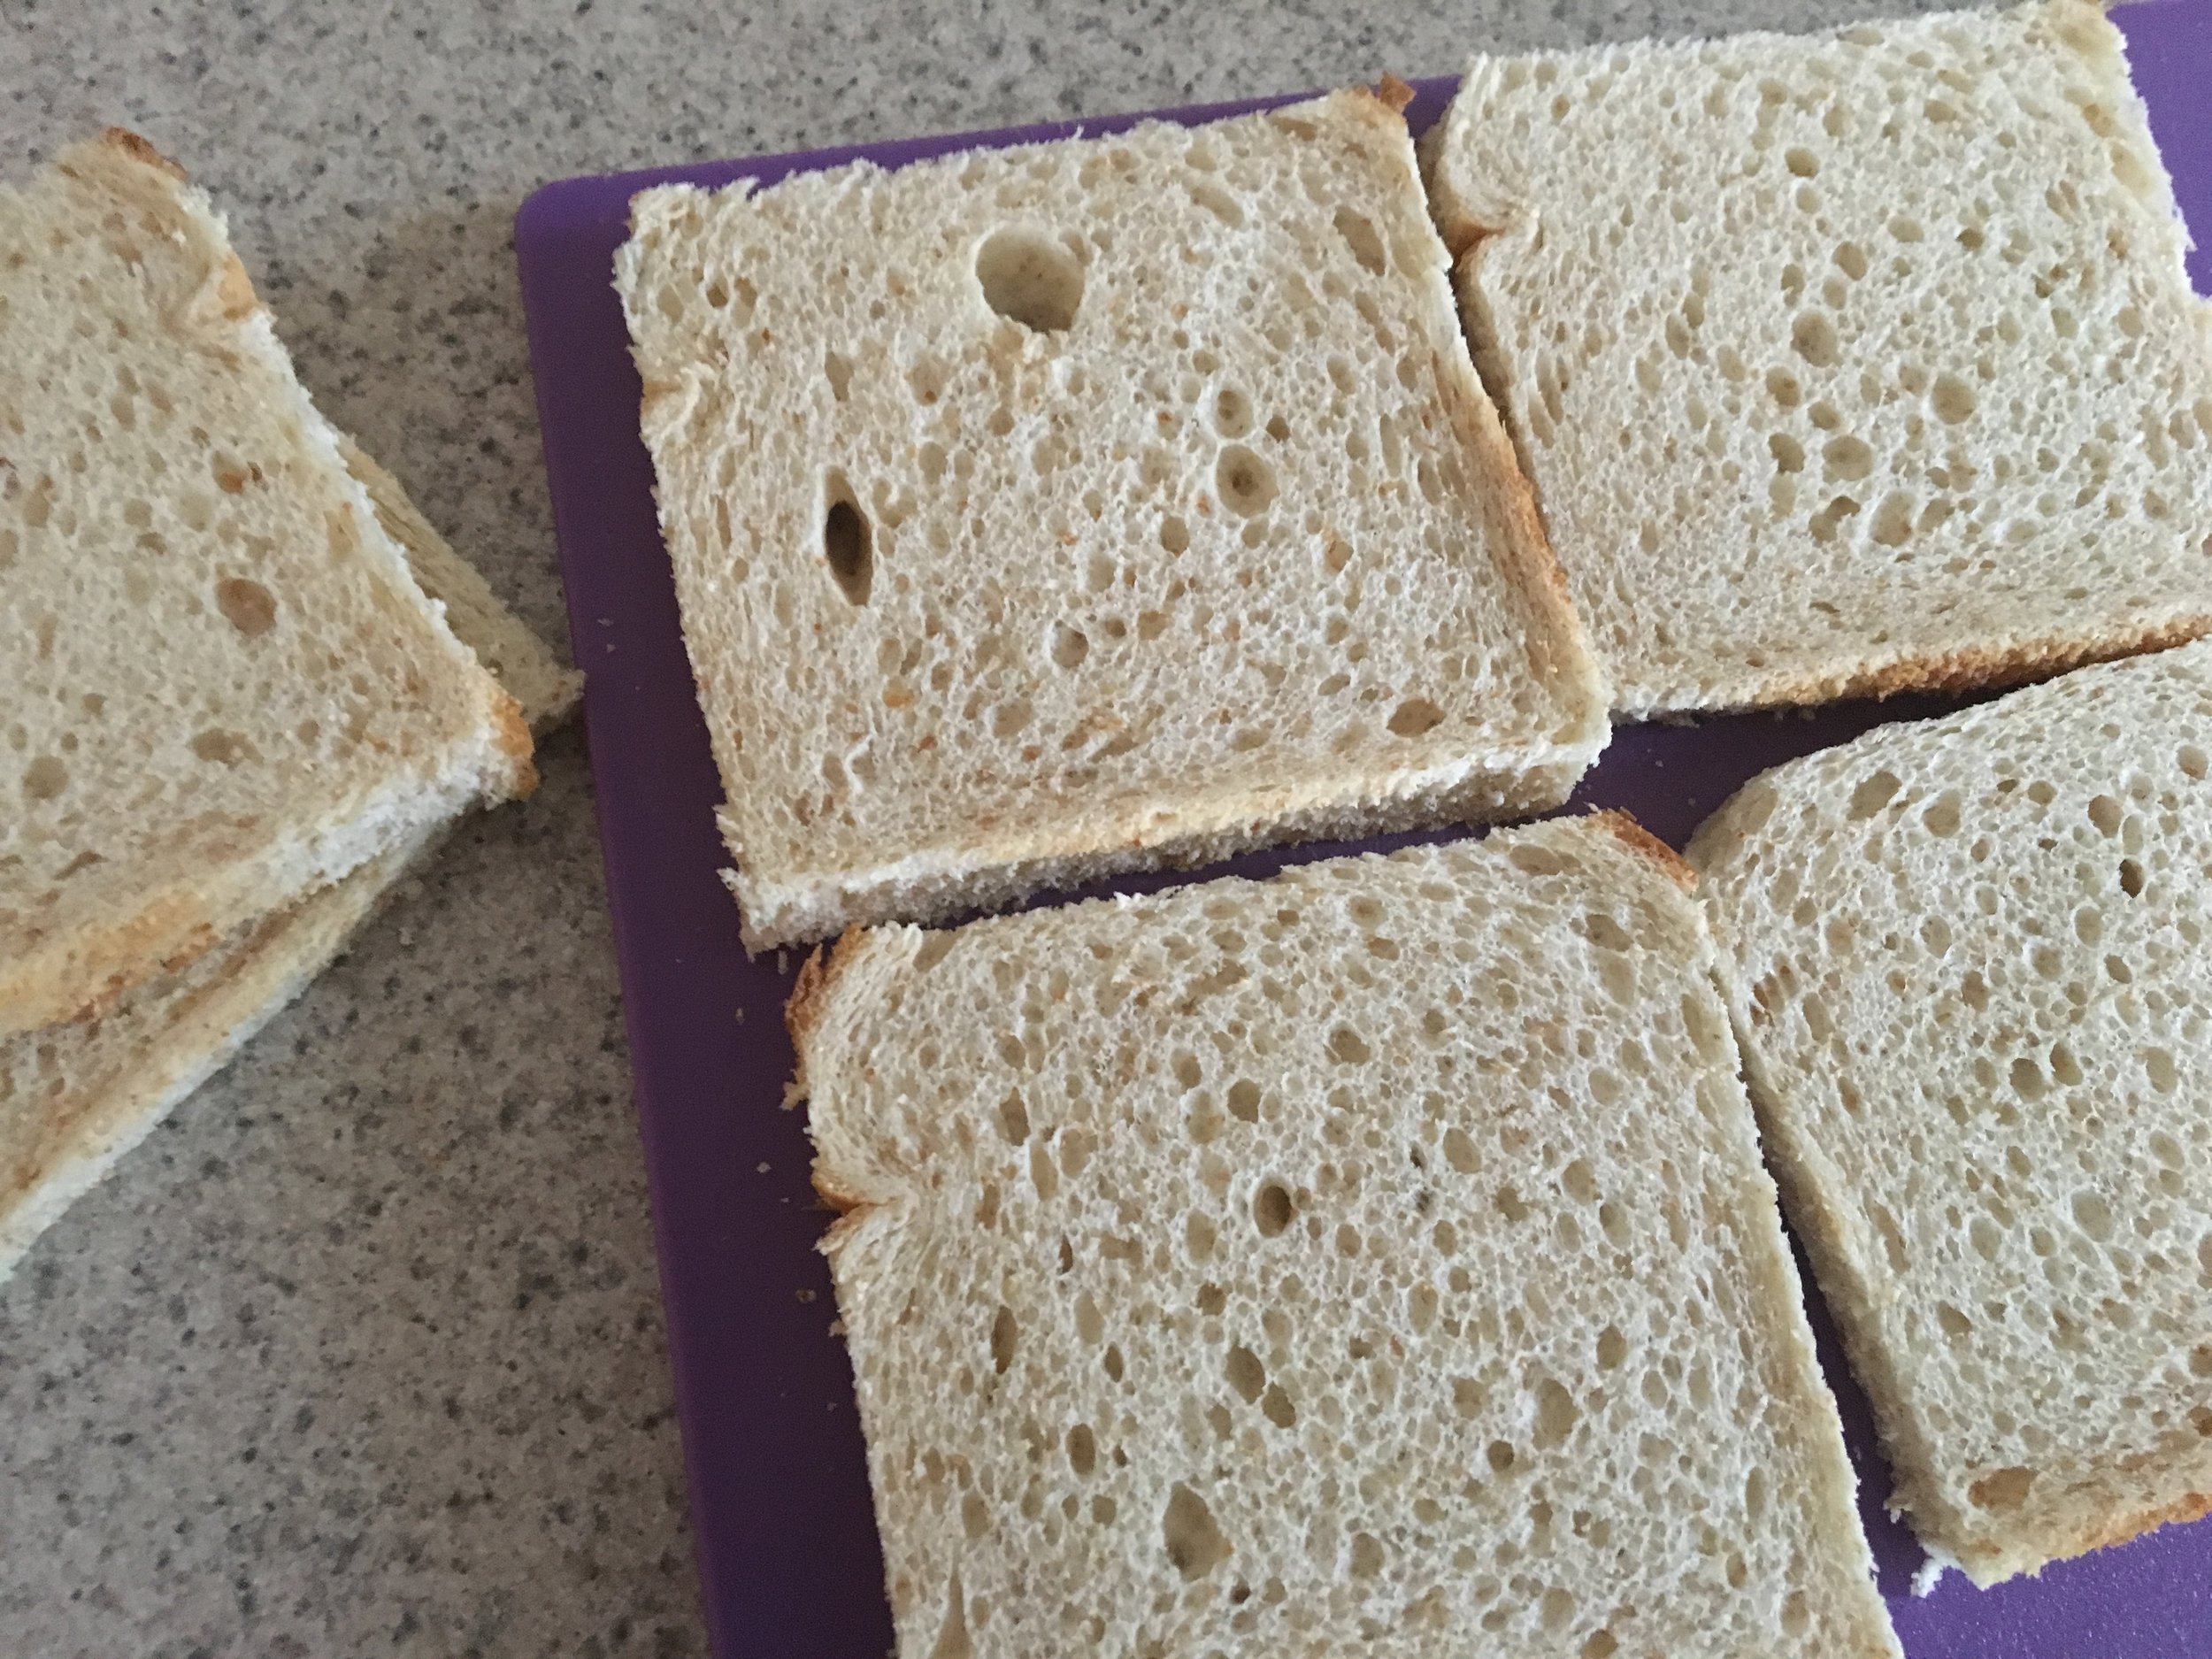
Carefully remove the crusts from the bread with a knife.  In a medium bowl, combine the tuna with the remaining 5 ingredients.  

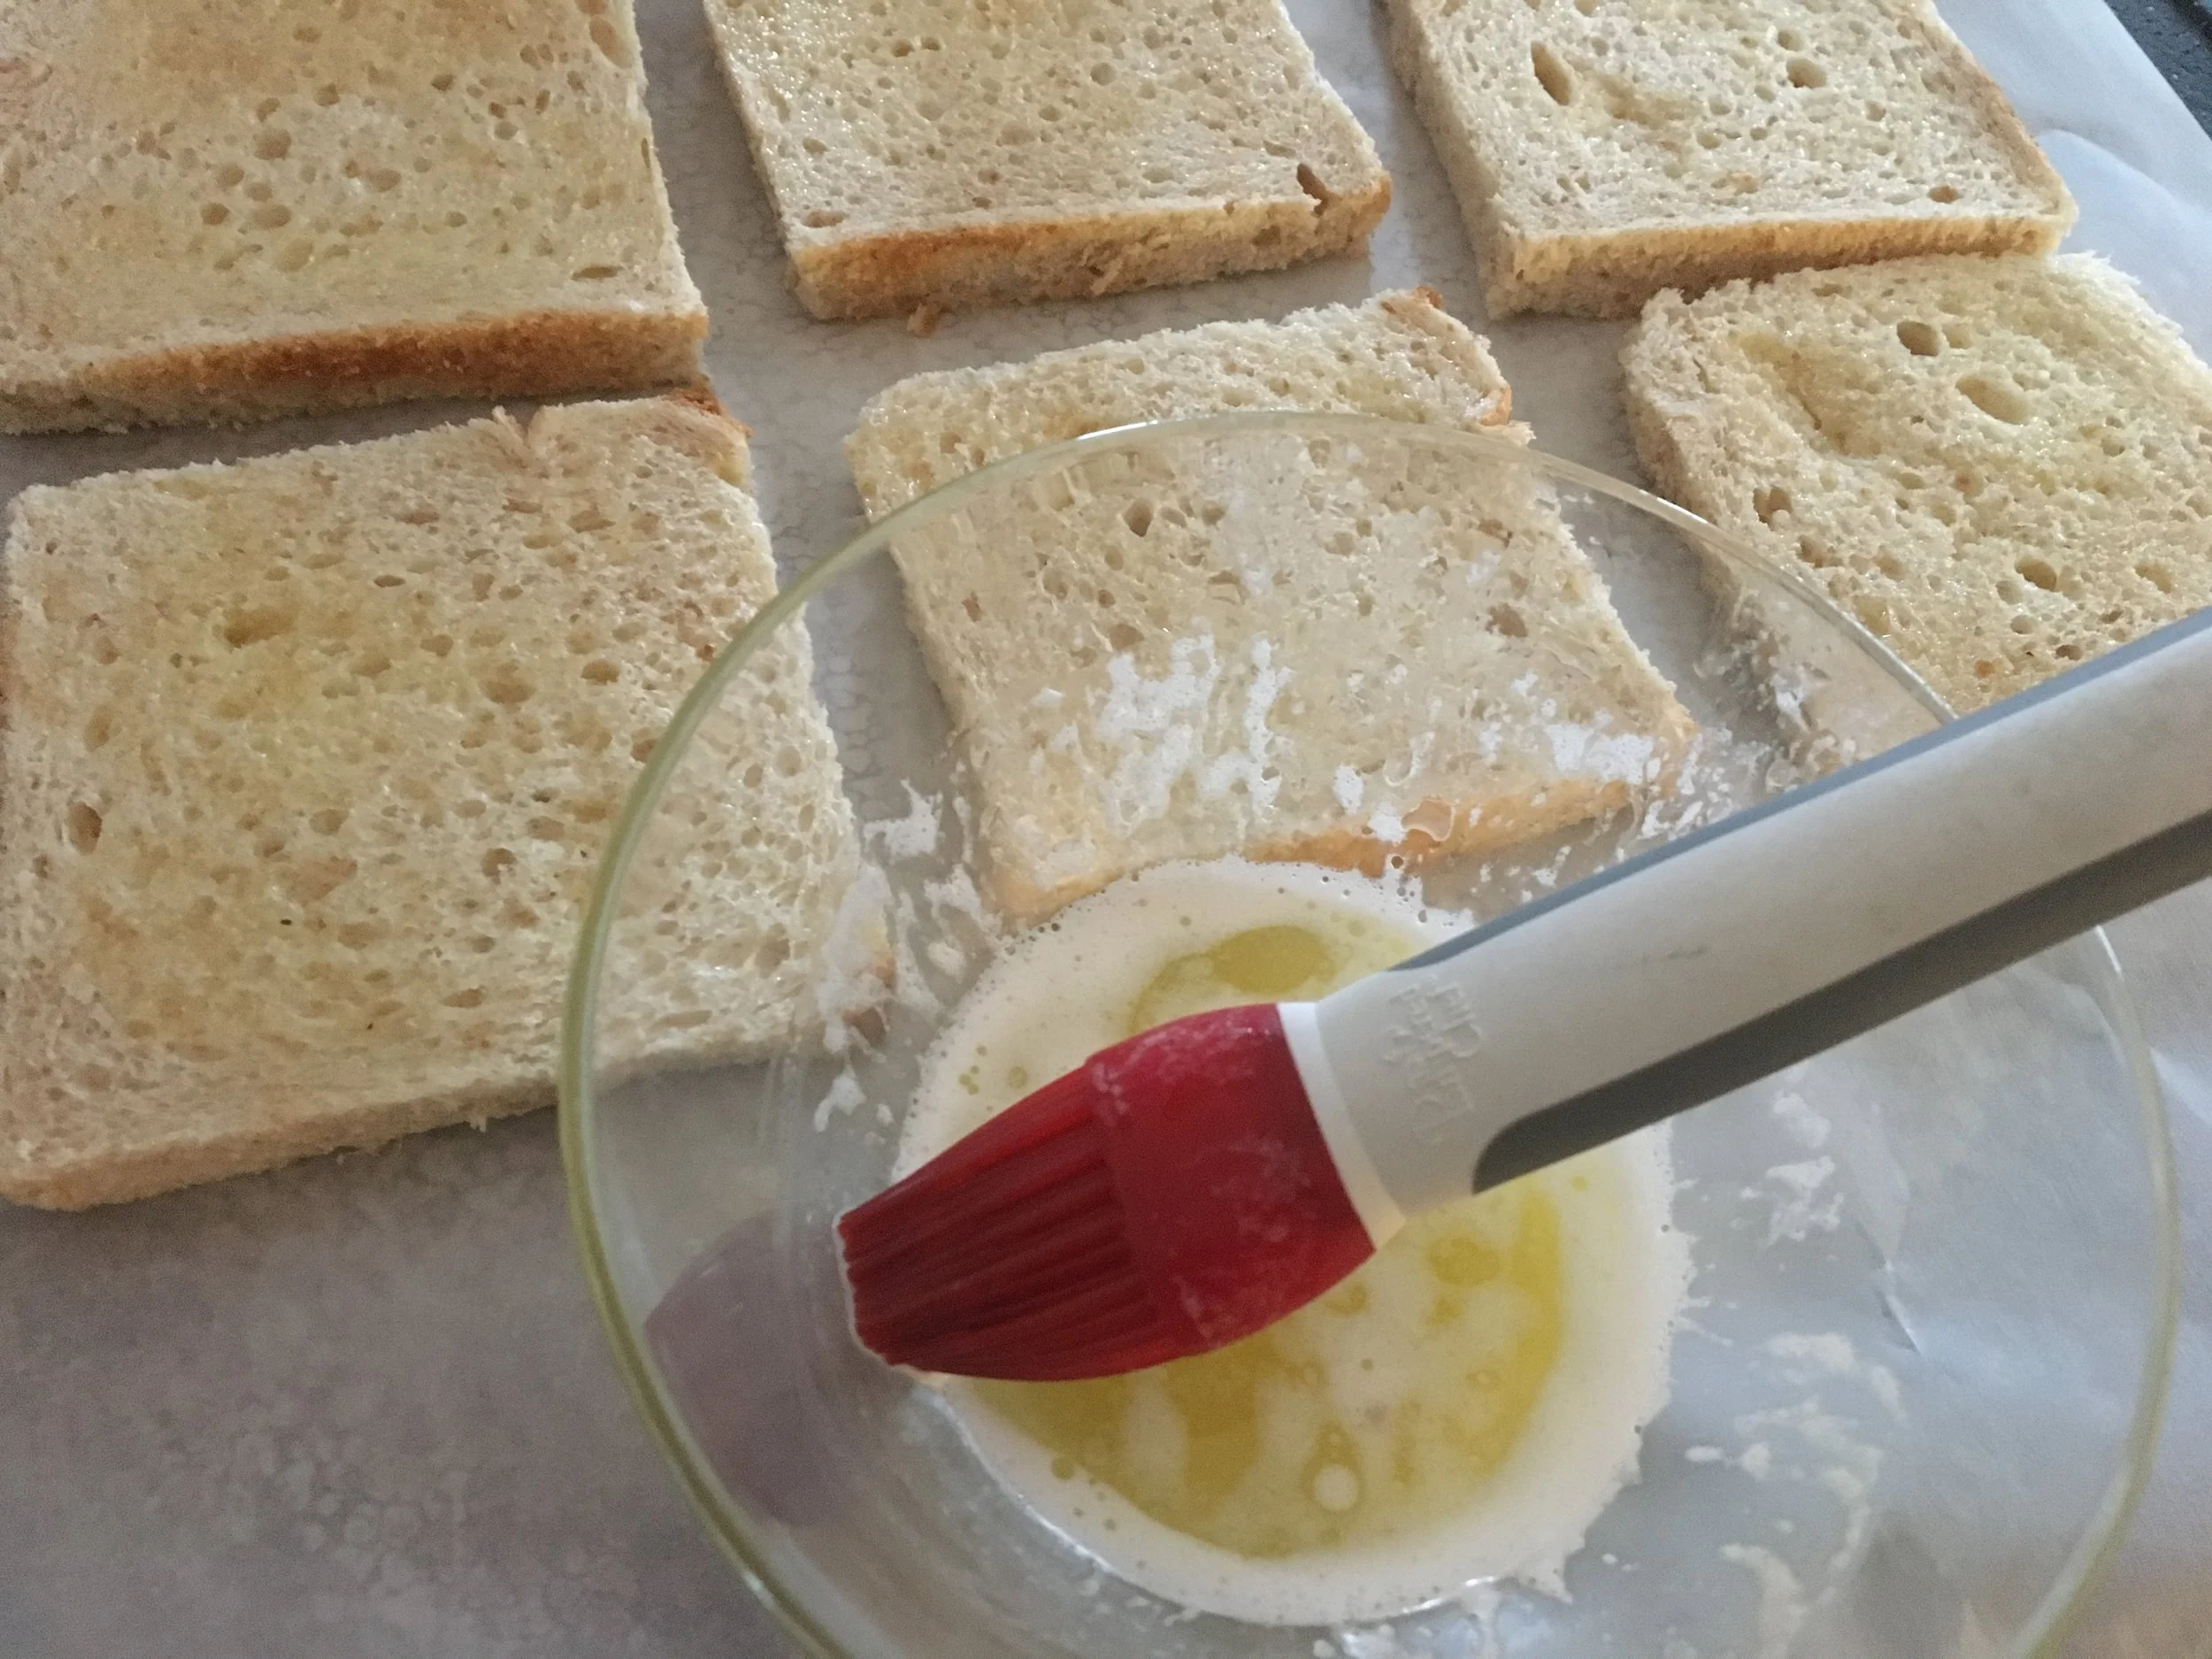
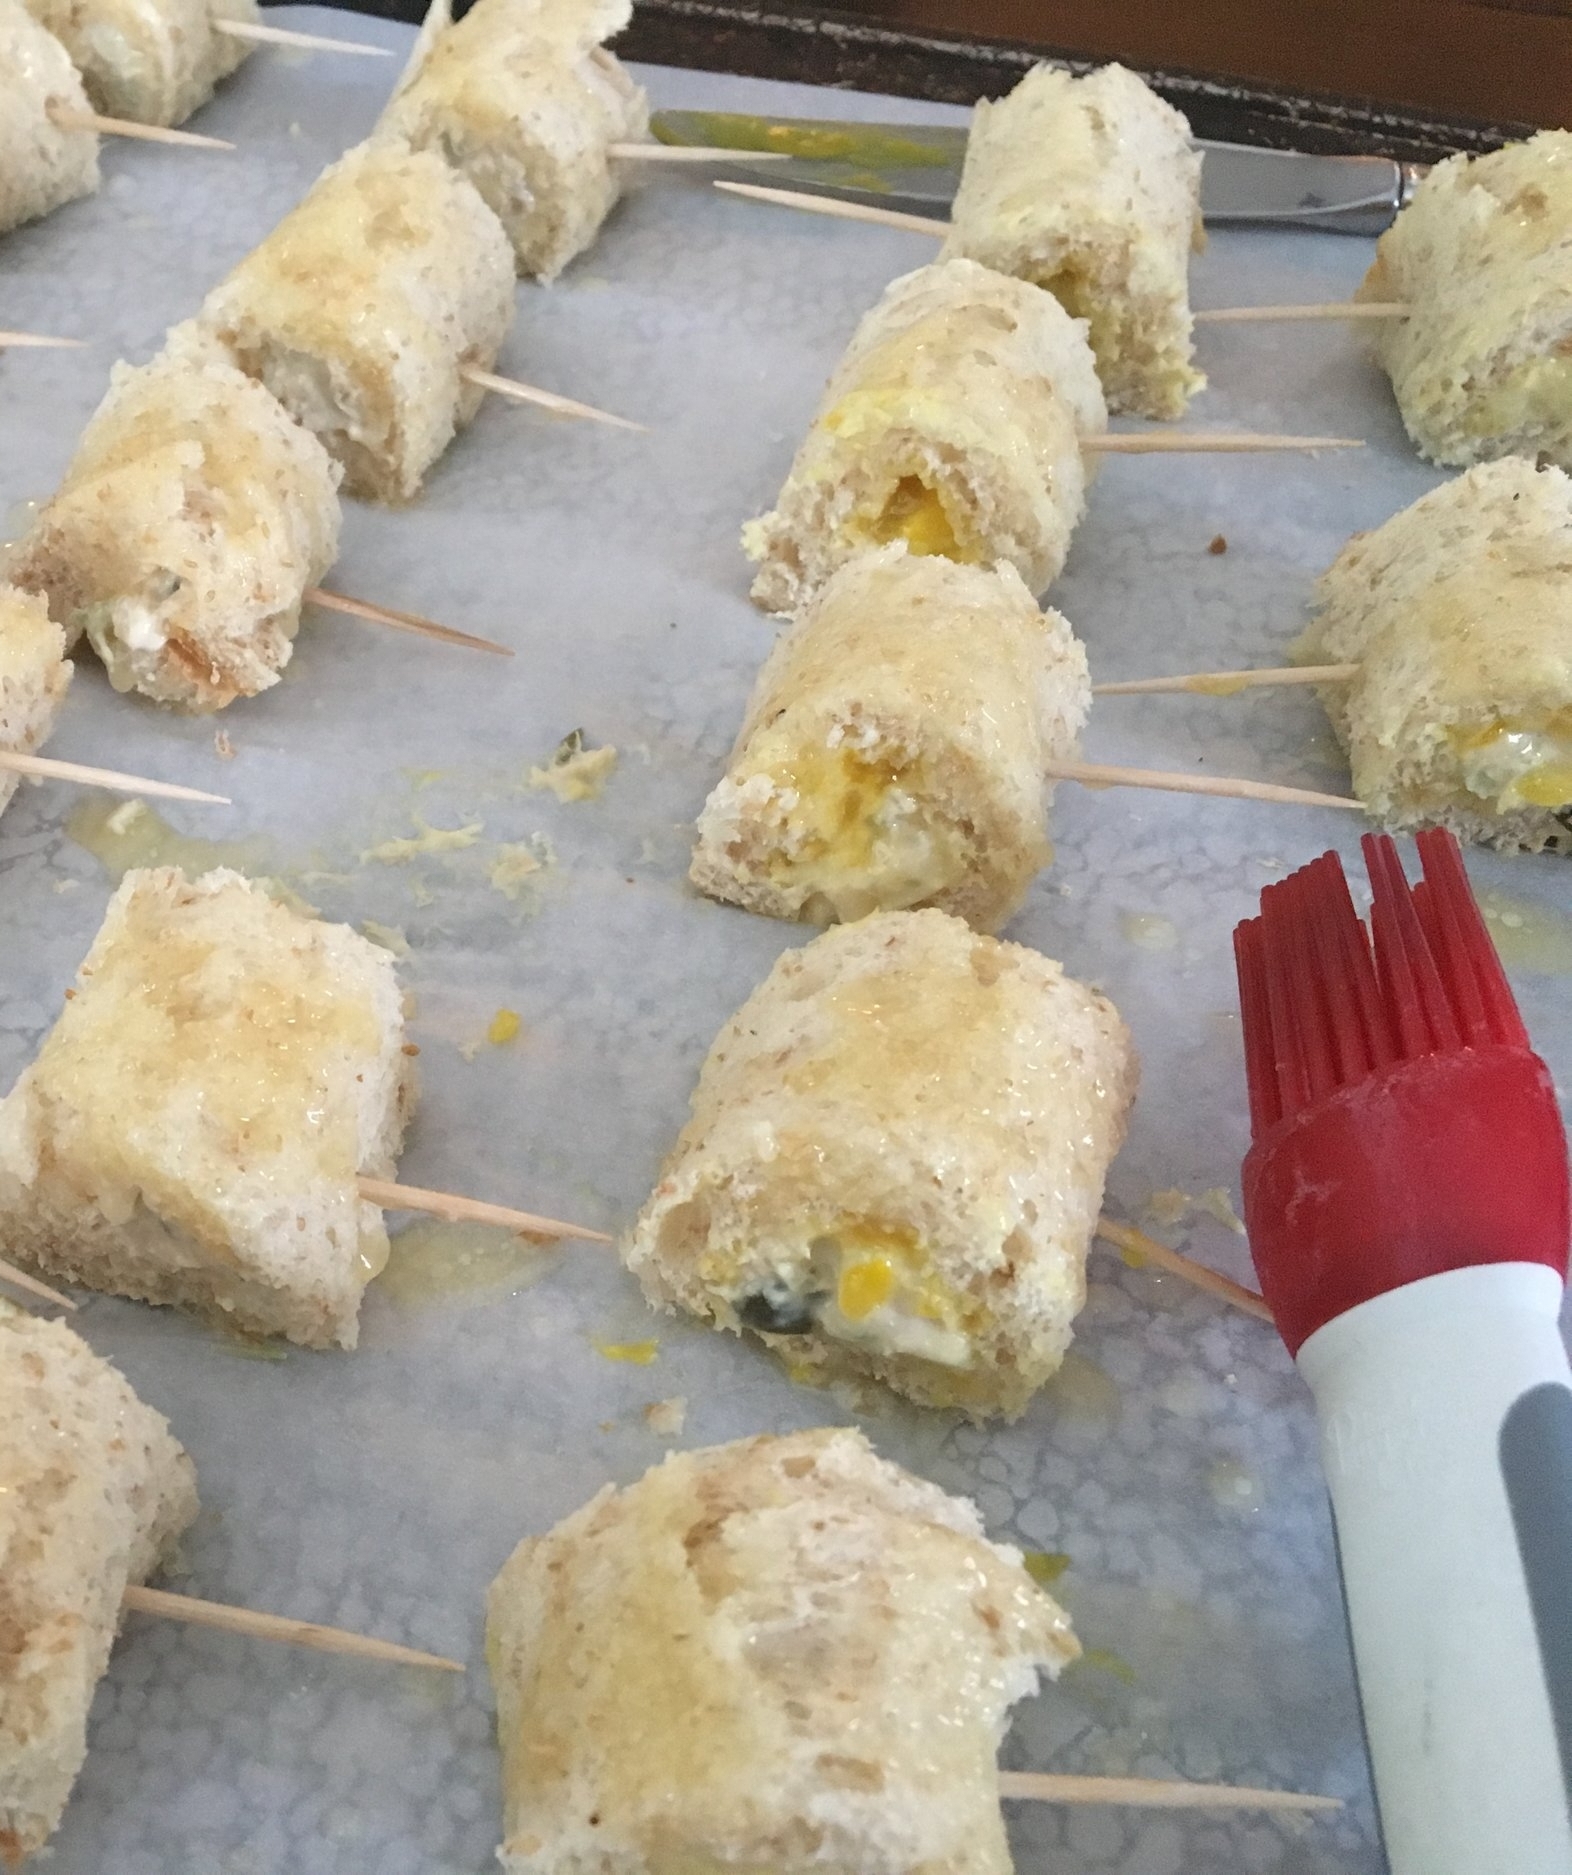
For easy clean-up, place a sheet of parchment paper over a baking sheet.  Line the slices of bread on the baking sheet.  Thinly brush each slice of bread with half of the melted butter, reserving the other half.  Spread each slice with tuna salad.  (This time, I spread a few slices with our Hot Banana Pepper Mustard to see how they would turn out).

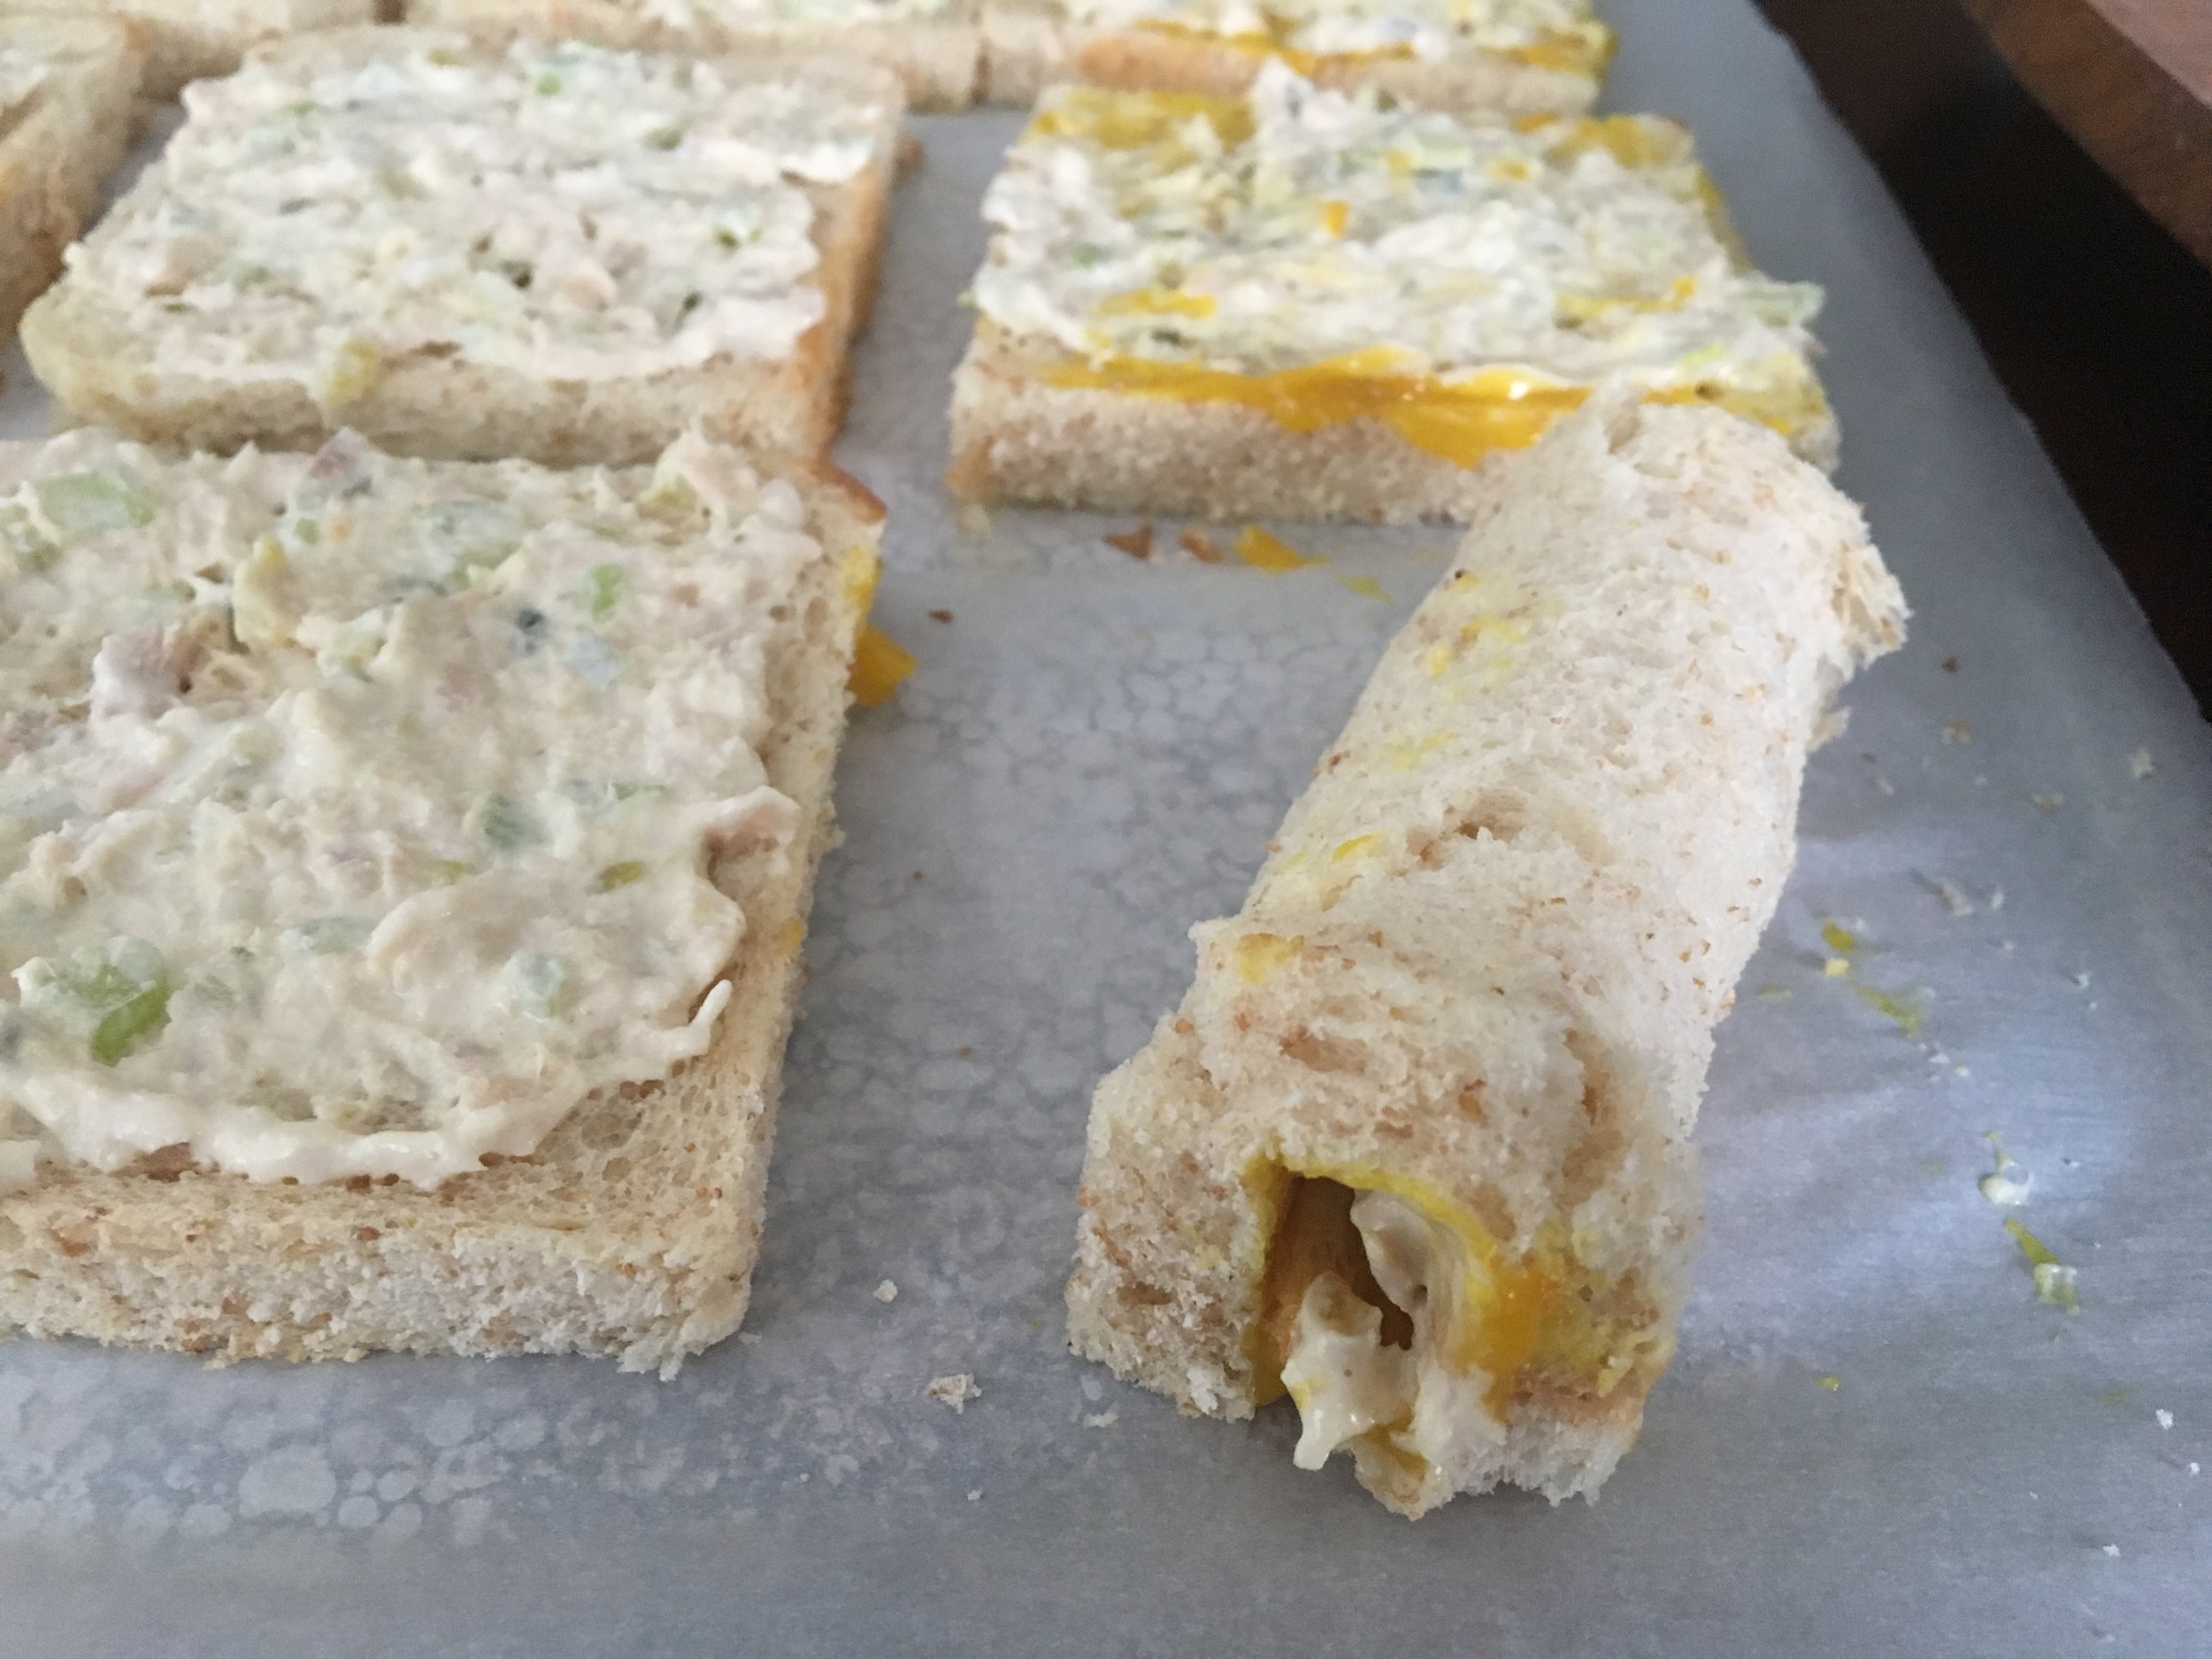
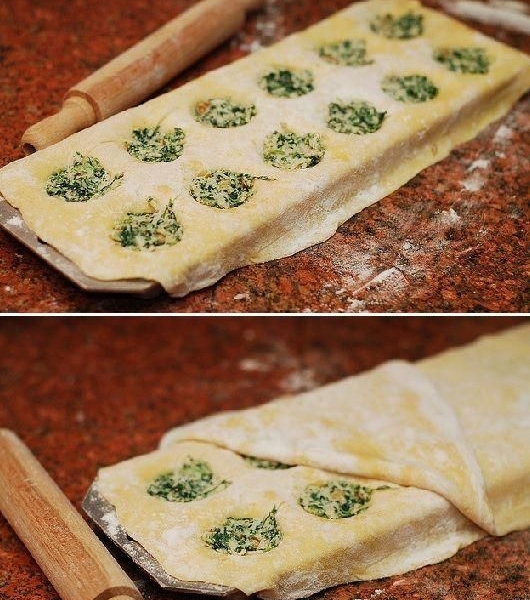
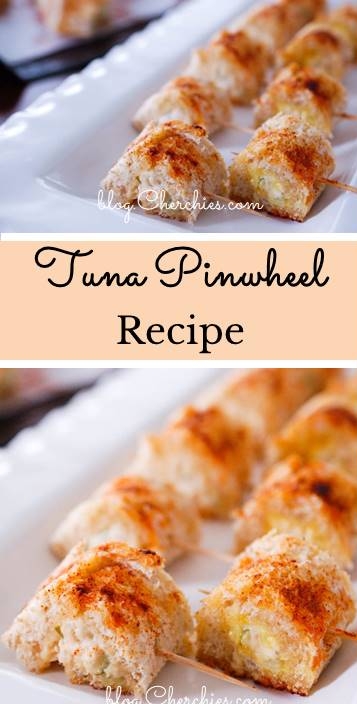
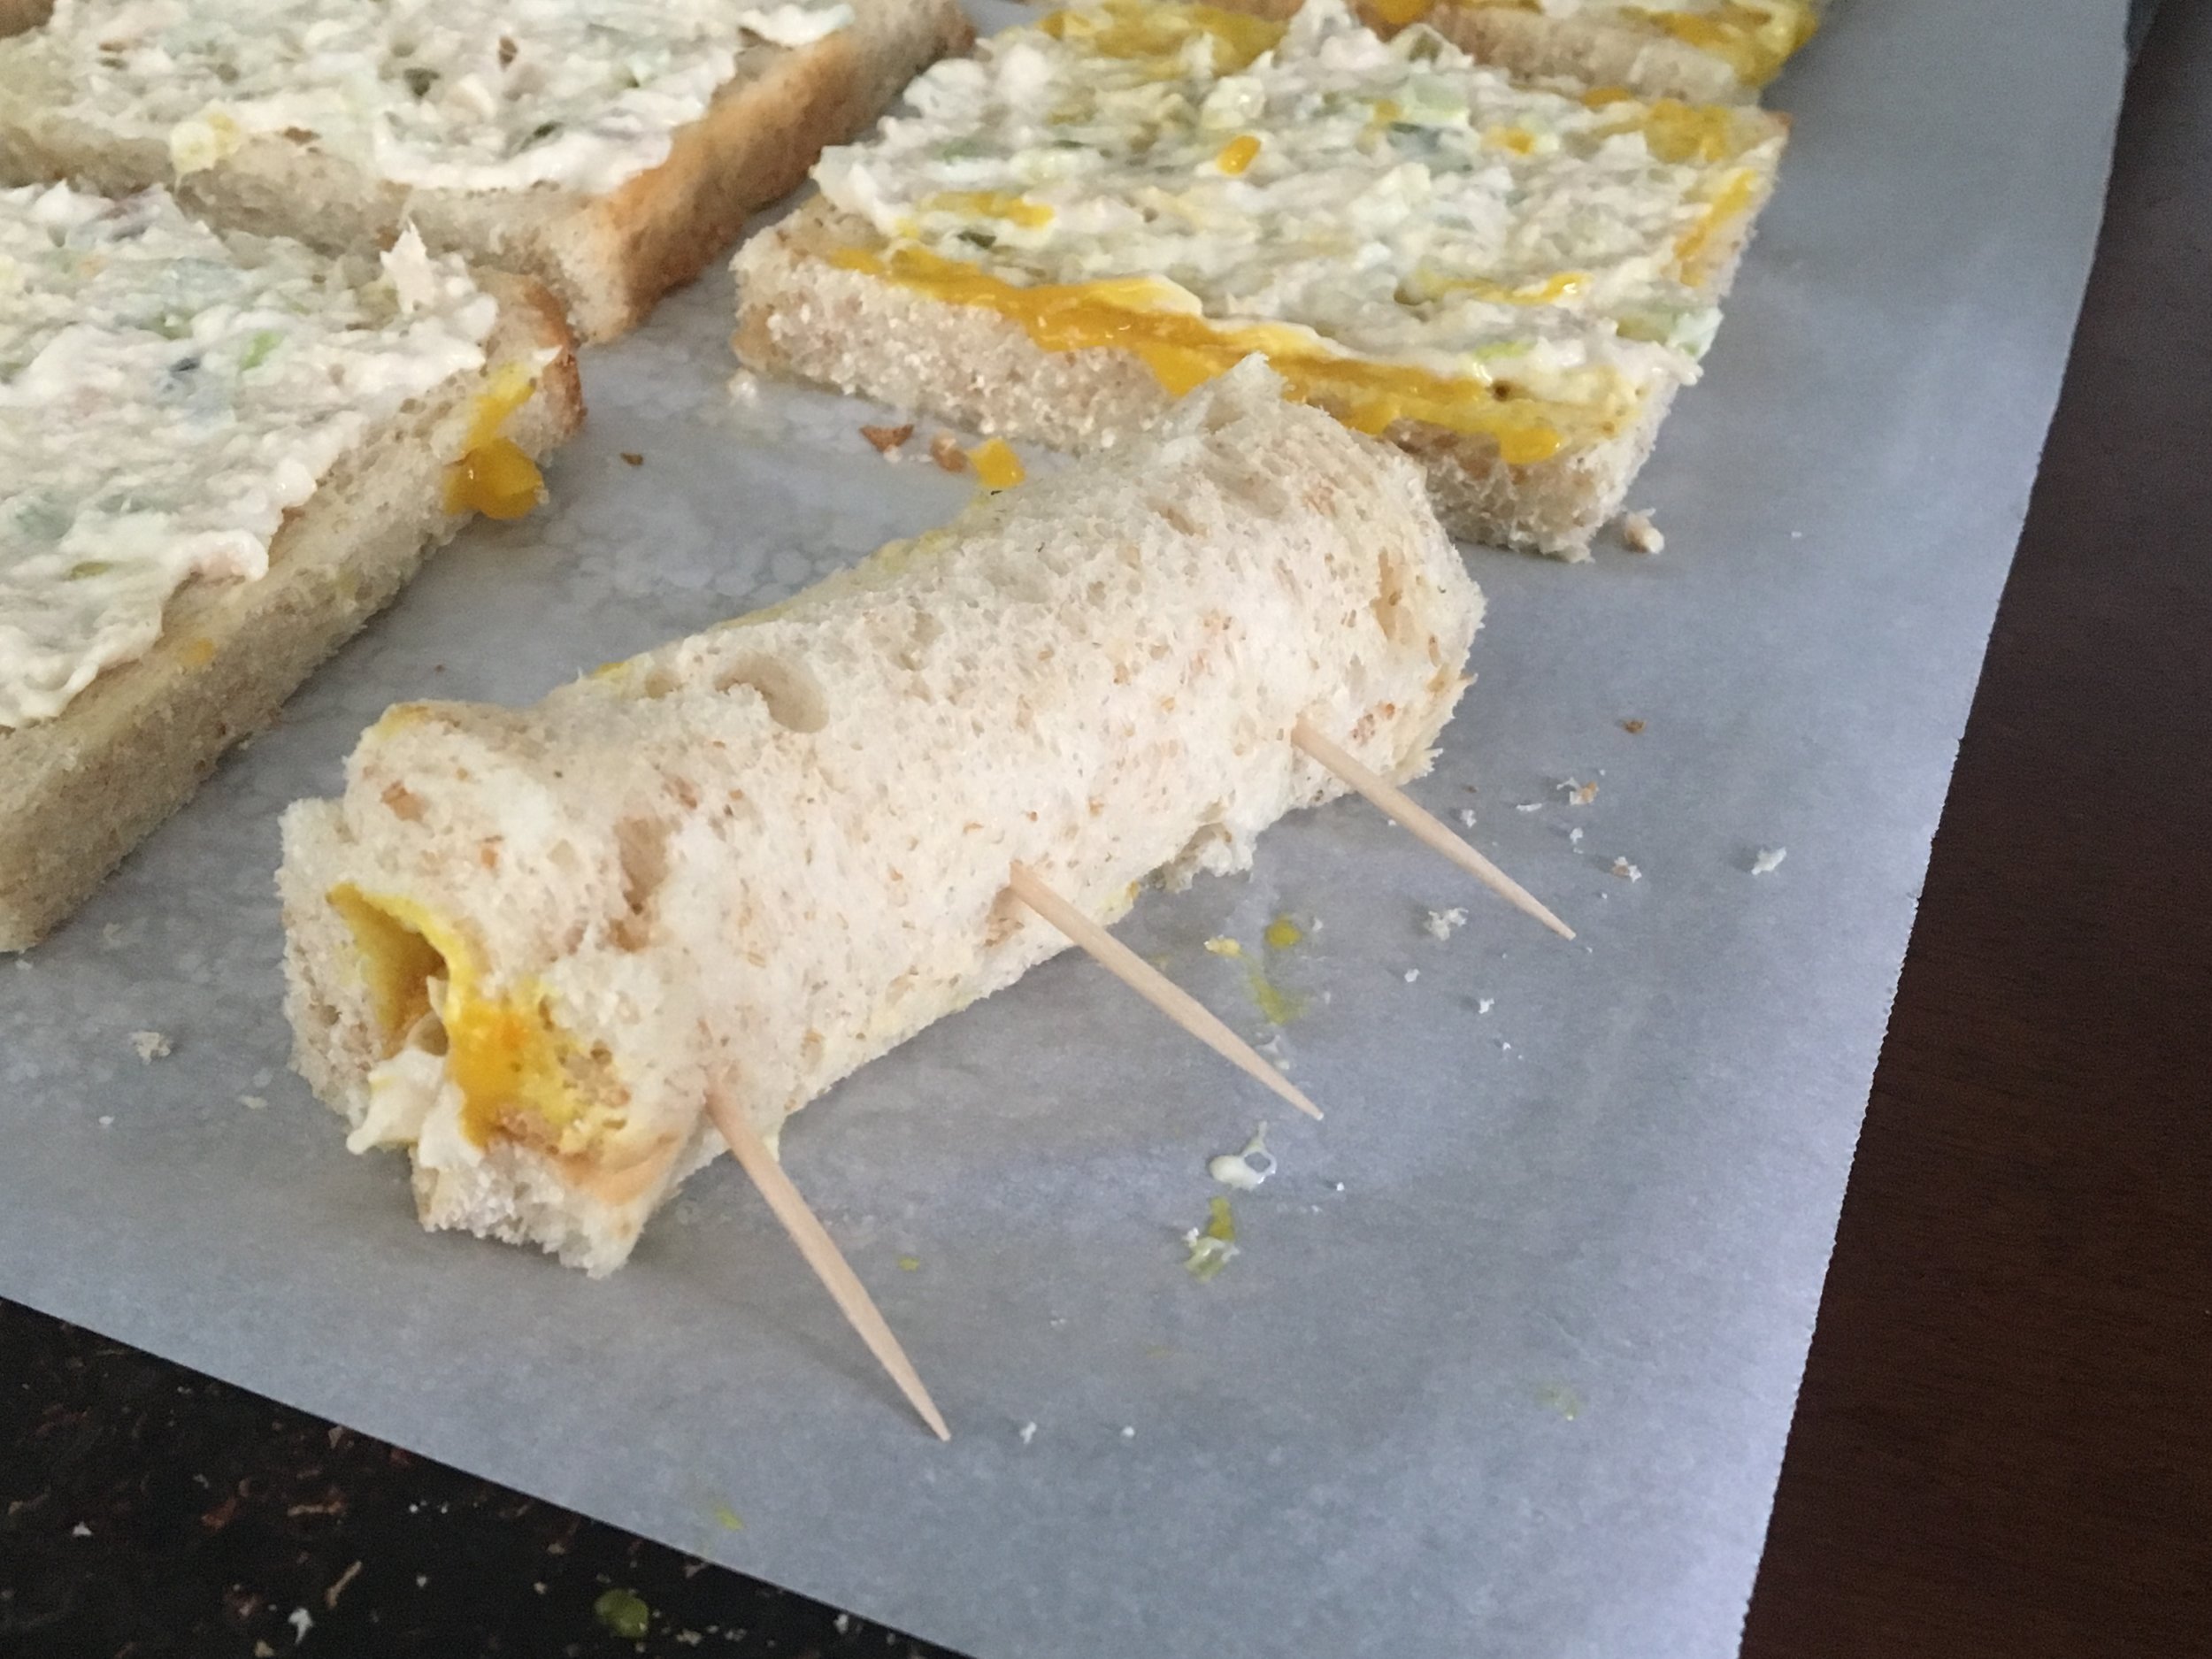
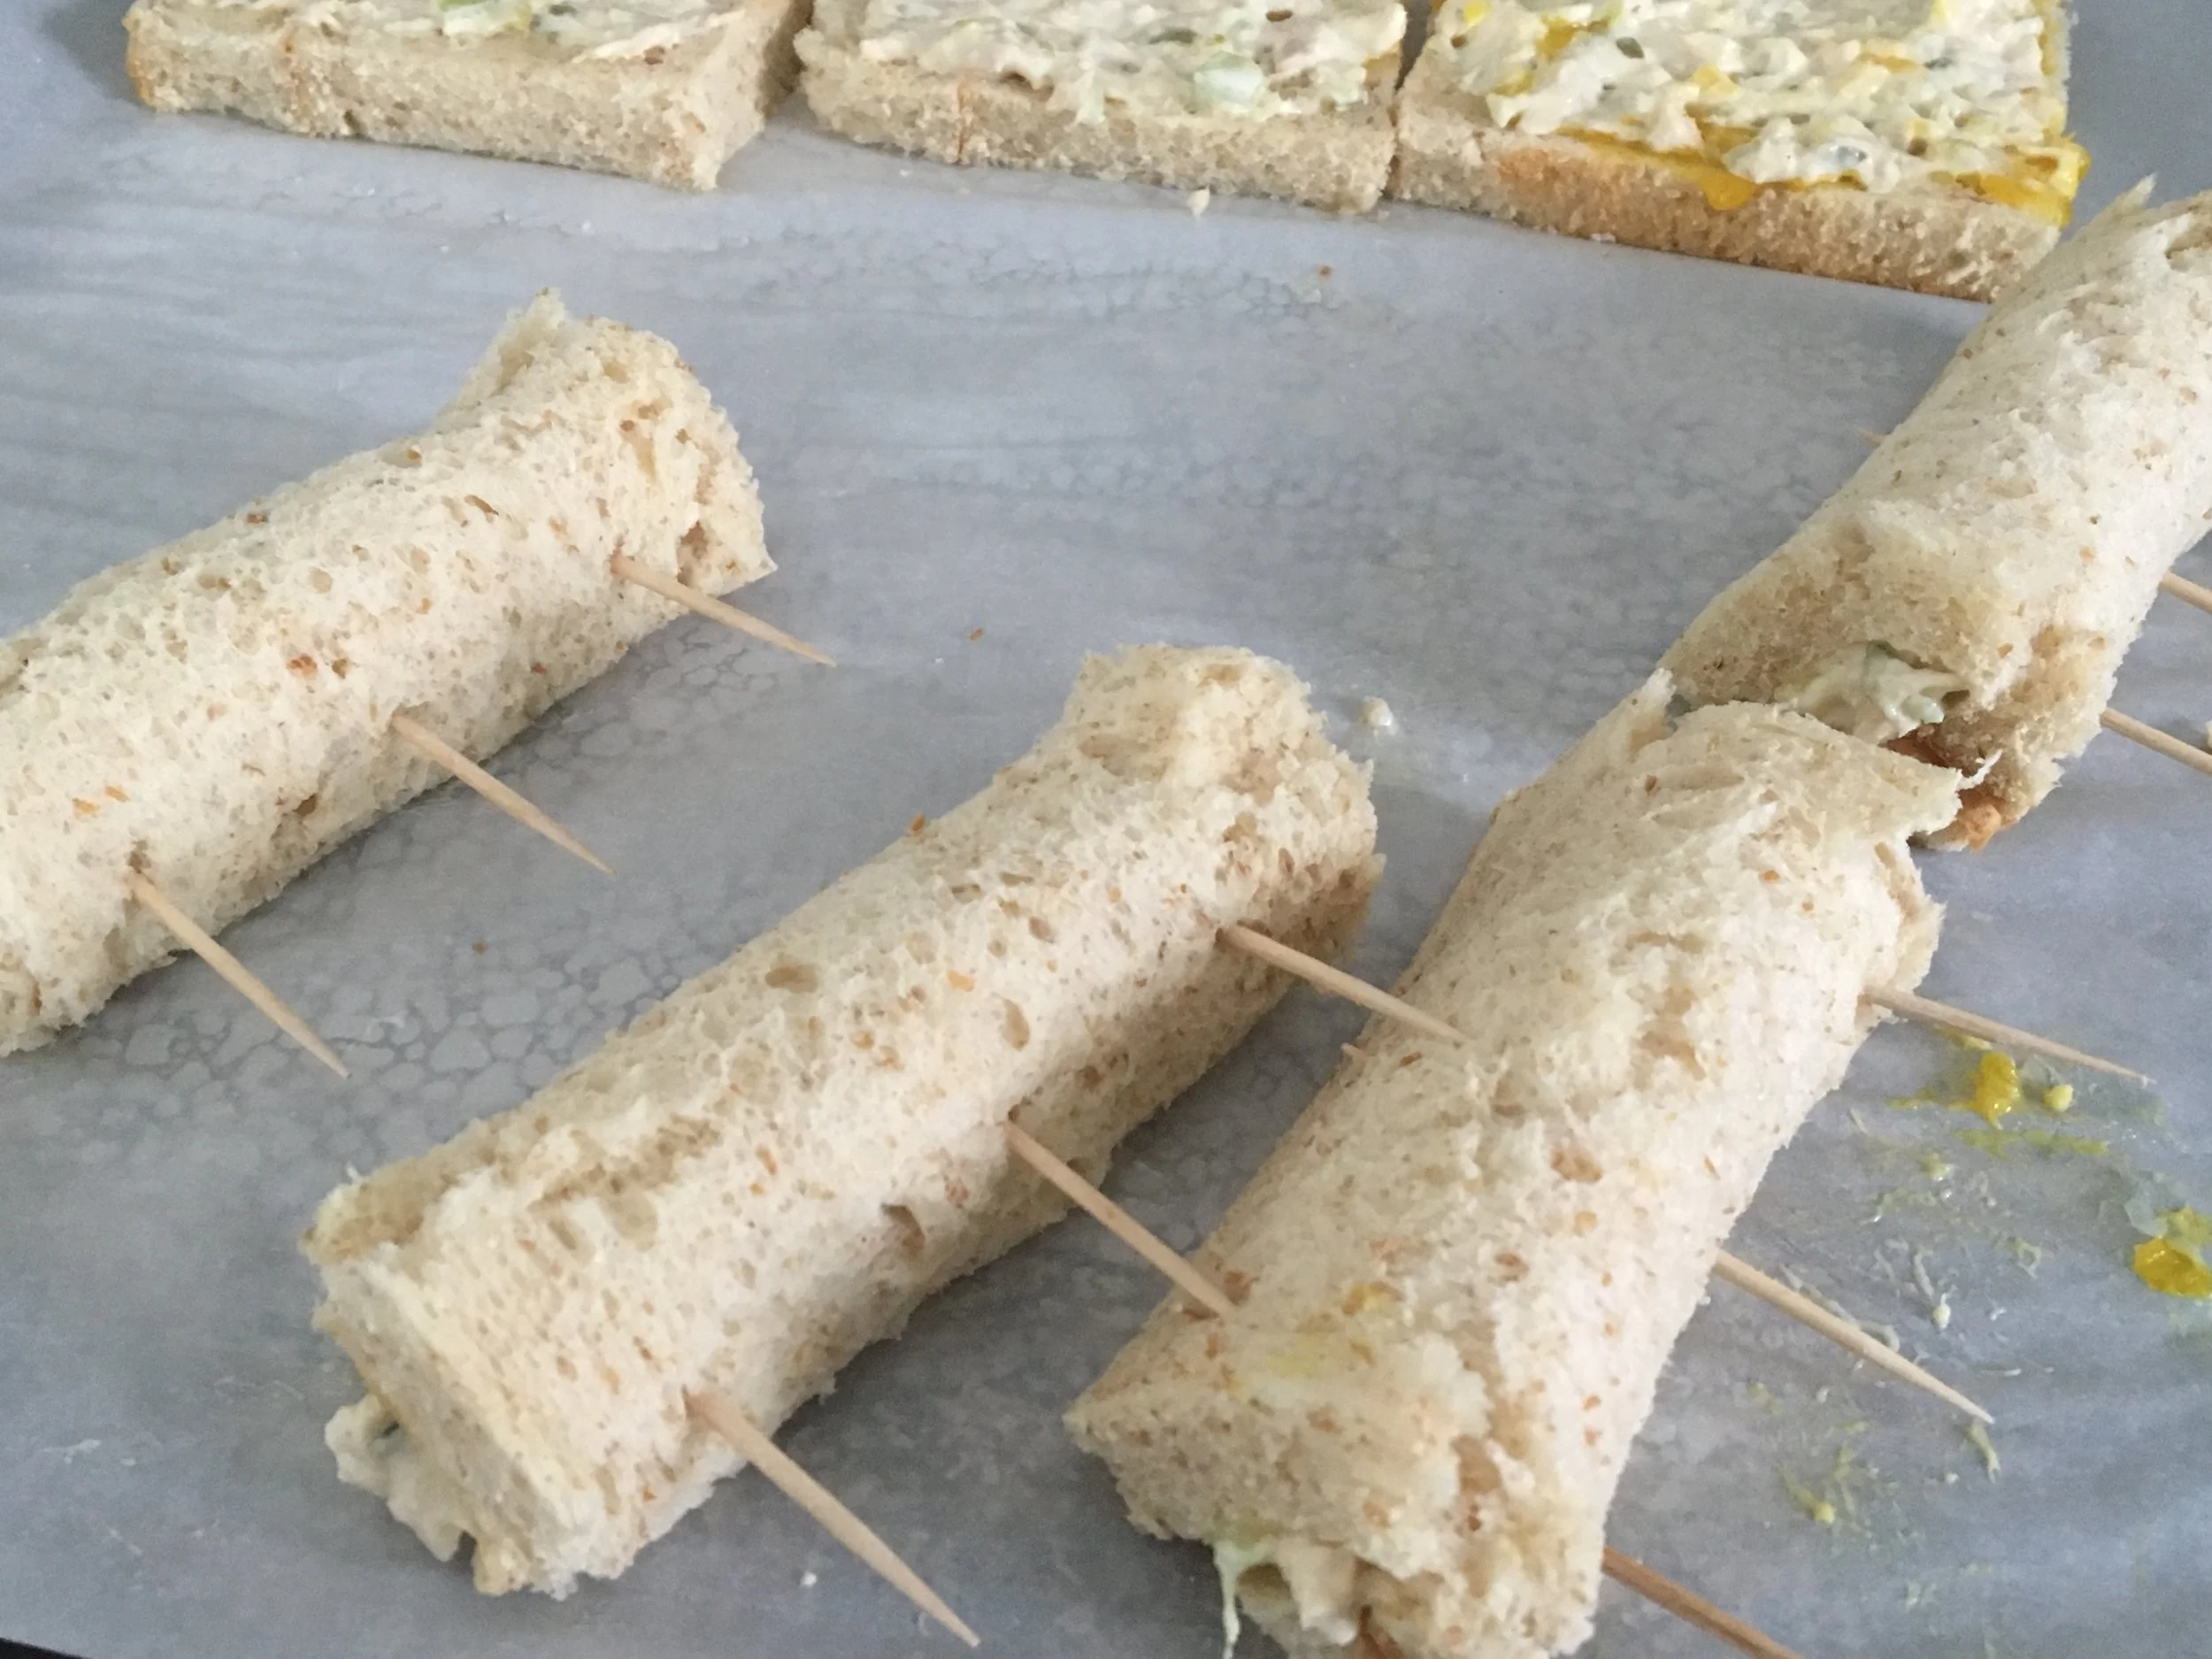
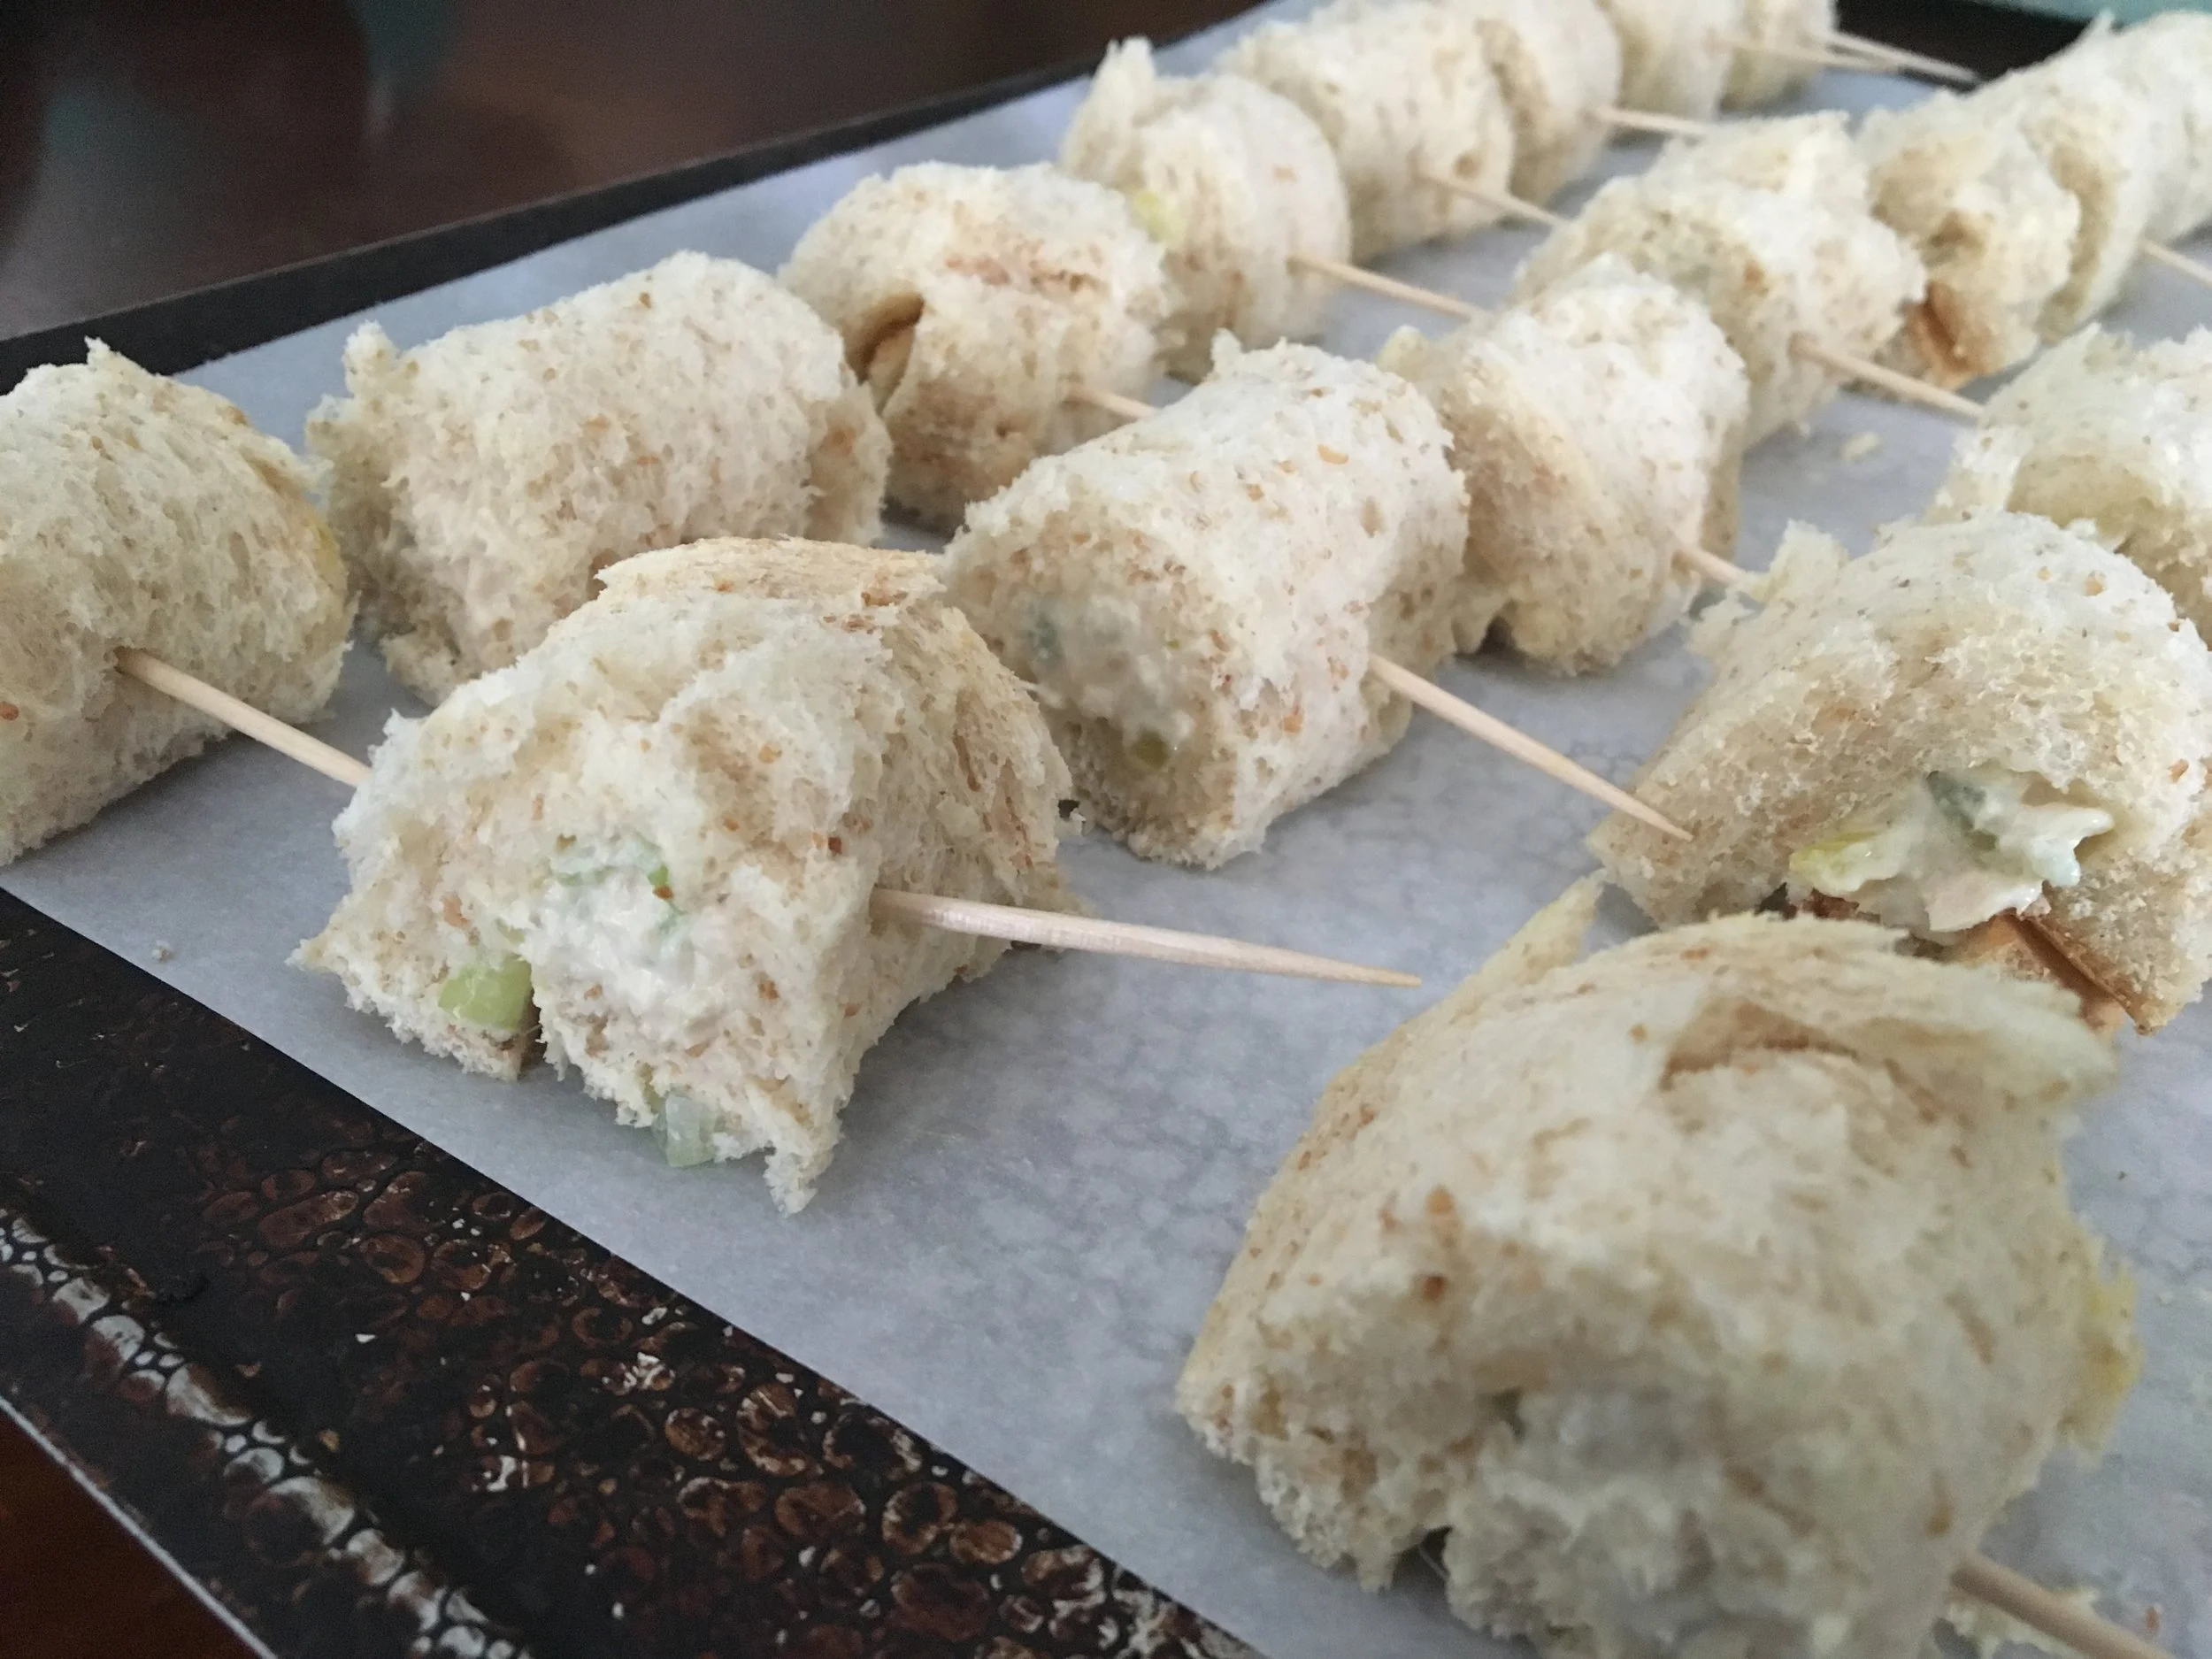
Roll each slice like a jelly roll and place three toothpicks into the bread to secure. Slice each tuna roll into 3 pinwheels.  

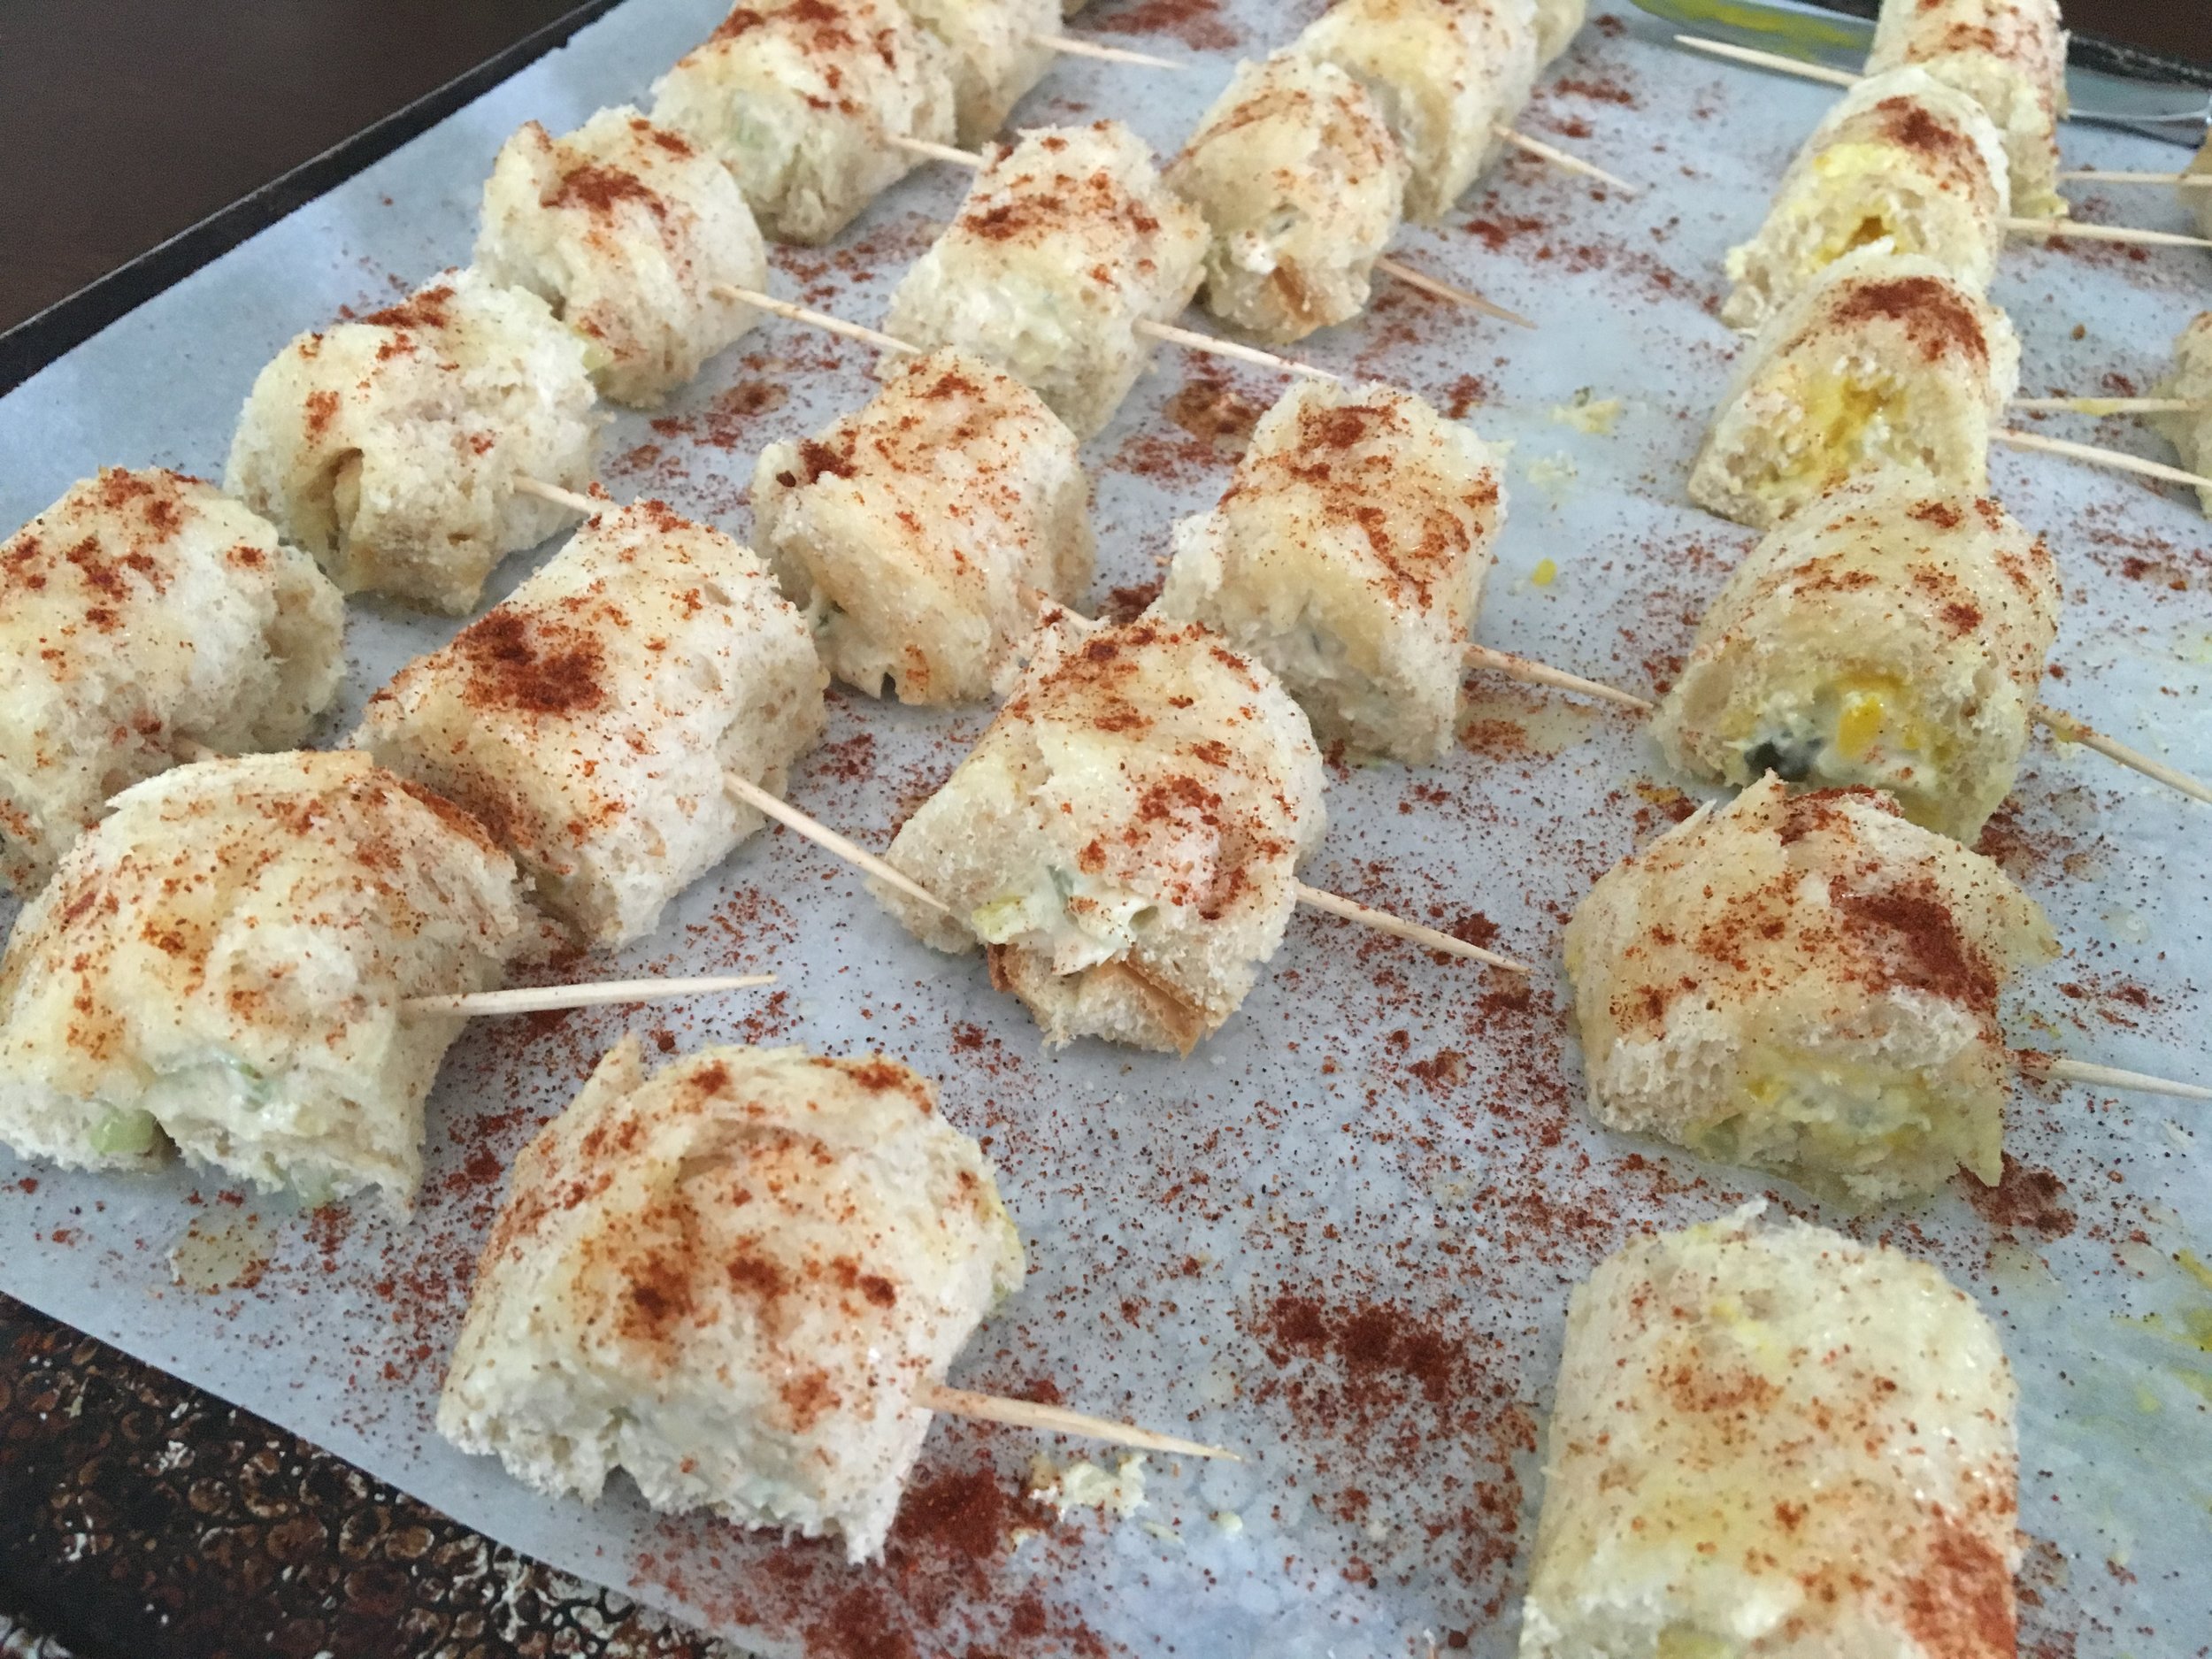
When ready to serve, brush the pinwheels with the remaining melted butter, sprinkle lightly with paprika, and broil the pinwheels until lightly toasted.  Makes about 60 pinwheels.

Remove these delicious morsels from the oven and serve immediately.  Enjoy!

Yum

Homemade Pop Tarts Recipe

breakfast, snacks, dessertsSheri SpalloneComment
Slide1.jpg

Happy Valentine's Day, friends! Last year, I posted a recipe for Homemade Toaster Strudels. This morning, before the kiddos went to school, I surprised my favorite valentines with sweet, tasty, fruity, homemade Valentine Pop-Tarts. Sweets for my sweeties:) Needless to say, Mom prevailed a hero (a great way to start the day).

I used the same idea as the Toaster Strudels, except this time, I substituted refrigerated pie dough to emulate the Pop-Tarts sold in grocery stores (our kiddos love, but I am not a fan). Yes, I certainly could have made the pie dough from scratch, but considering school mornings are crazy enough, I opted for grocery store refrigerated pie dough.

Since February is Cherry month (didn't know that did you?), I decided to go with our Cherry Butter for the filling (but any of our Butter Spreads or **Preserves (see below) could be used in this recipe).  And, because it is Valentine's Day, I went the extra step and used large heart-shaped cookie cutters to seal the deal.  These "Pop-Tarts" were delicious by themselves, and adding gooey icing and sprinkles made these semi-homemade "Pop-Tarts" irresistible! Hands down, these homemade Pop-Tarts are far better than the grocery store versions and are our children's new favorite. Try our homemade version today. You may never go back to store-bought Pop-Tarts again.

Happy Valentine's Day!

Thank you for visiting. Comment below if you have tried this recipe and if you have pictures to share.

Ingredients

  • 2 rolls of room temperature refrigerated pie dough

  • Cherchies® Cherry Butter (or could substitute Cherchies® Strawberry Butter, or Cherchies® Apple Butter, or any of our **delicious preserves, mixed with 1 Tablespoon of corn starch).

  • 1 egg, beaten

  • 1 cup powdered sugar

  • 1 Tablespoon (or more depending on consistency) heavy cream

  • 1 or two drops of food coloring (I actually used 1 Tablespoon of additional Cherry Butter in the icing in lieu of food coloring)

  • 1 large heart-shaped cookie cutter- Approx. 4 1/2 inches in diameter (optional)

  • Sprinkles (optional)

Preparation

Preheat the oven to 350 degrees.  Lightly flour your prep surface.  Roll out the dough over the counter or prep surface. Use cookie cutters to cut out desired shapes.  If making simple Pop Tarts (not using cookie cutters, cut off rounded ends of pie dough, and cut pie dough into rectangles).

Line a baking sheet with parchment paper.  Add about 1-2 Tablespoons (depending on size of cookie cutter) with Cherchies® Cherry Butter Spread to the center of the dough, making sure to leave at least 1/2 inch around the perimeter of the dough for sealing.

Place another piece of dough gently over the filling and crimp the edges with a fork to seal the tart.  Seal well to keep the tasty fruit inside from seeping out. 

Brush the egg over the entire tart, and bake in the oven until the tarts are golden brown.  Allow to cool slightly before icing the tarts.  

While tarts are baking, mix the icing.  In a small bowl, combine the powdered sugar, heavy cream, and food coloring (in my case, I used the Cherry Butter to color the icing).  If icing is too thick, add a couple drops of heavy cream at a time to thin the icing.  Icing should slightly ooze off the spoon.  While tarts are still warm, scoop a large spoonful of icing and drizzle it over the pop tarts.  If desired, add sprinkles and watch them disappear!  

Enjoy!

Homemade Pop Tarts Recipe


Yum

What To Do With Muffin Tins- 25 Amazing Hacks

cooking tipsSheri Spallone22 Comments

What To Do With Muffing Tins- 25 Amazing Hacks

Do you know the muffin pan? Yes, the muffin pan! The one who lives on Bakery Lane? Sorry:) Who knew that aside from baking, the simple muffin pan could be helpful in so many ways, in the kitchen, around the house, in craft projects, etc.? Re-purposing everyday kitchen gadgets, such as muffin pans (aka muffin tins), is an excellent strategy for saving money, saving space, and getting organized; plus, it's just plain fun. Amen! Who's with me?

I had no idea when I started this blog post about the infinite uses of a muffin tin! I knew this was one of my favorite kitchen tools, but now I am 100% convinced it IS my favorite!!! I kept finding more and more uses as I researched. Crazy! Aside from foods (muffins, quiches, appetizers, baked desserts, etc.), muffin pans are so versatile, and you will be blown away when you read this! Are you ready?

Thanks for stopping by:) Comment below if you have used any of these hacks or if you have some to add. Come back again for more family-tested recipes, entertaining ideas, and cooking tips using all our favorite Cherchies® gourmet products.

Follow us on social media: Facebook, Instagram, and Pinterest.

25 Amazing Muffin Tin Hacks

1. Doo dad (what exactly is a doo dad?) and desk organizer - www.homedit.com

2. The perfect holder for stuffed tomatoes or peppers-  www.betterrecipes.com

3. Use it to transport stuffed mushrooms or Festive deviled eggs- from www.selfproclaimedfoodie.com and www.justimagine-ddoc

4. Organize ingredients while you cook, otherwise known as "mise en place".   Add a liner and clean up is a breeze.- www.seriouseats.com

5. Bake eggs in the shell (What??) (www.popsugar.com) or pour into tins to make egg sandwiches.

6.  Turn muffin tin over to make cookie bowls, taco bowls, etc. - www.dreyers.com and www.eatingwell.com

7.  Freeze stock, sauce, or tomato paste and then place in freezer bags for future use- marthastewart.com

6.  Turn upside down to use as a cooling rack cooling rack- from www.realsimple.com

7.  Topping for taco or potato bar- www.weightwatchers.com

8.   A portable carrier for drinks -www.somedayilllearn.com

9.  Ravioli Maker??? (ok, mind blown.  I know this person used a ravioli mold, but you could easily use mini muffin tins) - www.juliasalbum.com

10.   Condiment holder for burgers, hot dogs, and sandwiches - www.yesterdayontoday.com

11.  Ice Cubes in a pinch, filled with fruit. - www.laughingcow.com

12.  Counting games- www.growingbookbybook.com

13.  Meal tray for children - www.yankeehomestead.com

14.  Home Decor- fill with family photos and hang-  www.simplestories.typepad.com

15.  Organizer for cupcake, cake, or ice cream toppings- www.catchmyparty.com

16.  School supplies organizer- www.scholastic.com

17.  rustic votive candle holder-www.onecrazyhouse.com

18.  Make new crayons using old crayons- Bake in a 350 degree oven until crayons are melted. -www.momwifebusylife.com

19.  Cup holder for the car- www.m.atchuup.com

20.  seed starter- www.thegardenglove.com

21.  Craft paint organizer- www.GluedToMyCraftsBlog.com

22.  Freeze leftover pesto or tomato paste-   www.littlethings.com

23.  Freeze individual portions of soup- www.crystalcattle.blogspot.com

24.   DIT bath bombs molds- www.babble.com

25.  Seed Spacer-www.athriftymom.com

26.  Ok, one more...bonus! Taco stand- www.foodnetwork.com


Yum

Tex-Mex Burger Recipe

grilling, entrees, lunch, partiesSheri SpalloneComment
Tex-Mex Burger Recipe

Tex-Mex Burger Recipe

Burger lovers, be prepared to be blown away! This Tex-Mex burger recipe is a force to be reckoned with, as it hits all the flavor notes, sweet, spicy, and smoky, all wrapped up in one lip-smacking package!

Inspired by a leftover jar of our sweet and robust Black Bean & Corn Salsa, my mission was to incorporate the leftover salsa and create a burger recipe that would send our taste buds into overload. Mission accomplished! This burger was a huge hit with our family! Are you drooling yet? Hang in there!

Aside from the tasty toppings, one key to this delicious burger is, no doubt, the freshly ground meat. A few years back, our friends introduced us to homemade ground meat, which has taken our burgers to the next level. Ask your grocery store butcher to grind the meat, or you can grind it at home. We purchased a food grinder attachment for our mixer, but there are plenty of other meat-grinding options if you don't have a mixer.  

Seriously consider adding this palate-tantalizing recipe to your favorites. You will not be disappointed, and your family will thank you! These would also make rockin' sliders for your next Game Day menu, everything the same, except smaller. 

Serve these burgers with our Cilantro Lime Corn on the Cob, Herbed Sweet Potato Fries, and Best Darn Colesalw for a complete meal. 

Ingredients

Preparation

Using a food processor, mix the mayonnaise with one chipotle pepper in adobo sauce. Set aside.

If grinding your own meat, cut the meat into 1-inch strips or pieces.  Grind the meat with a meat grinder into a large bowl (you can certainly use store-bought ground meat).  Add the egg, Cherchies® Grilling Rub & Seasoning Blend, and Worcestershire sauce to the meat.  Mix until just incorporated (meat tends to toughen up the more it is handled).  Divide the meat into 4 equal portions (more if you would like smaller burgers).    

Lightly oil the grill with cooking spray or oil.  Turn the grill onto high, then low after a few minutes. Make an indent in the center of the burgers.  This allows the burger to cook evenly.

Grill burgers for about 4-6 minutes on each side, depending on your "pink preference".  Add the cheese to the burgers the last couple of minutes of cooking.  Lightly toast the rolls either for a few minutes on the grill or broil for a few minutes in the oven.  

Now the fun part, building this beautiful tasty burger!  Arrange the rolls on a tray or plate.  Spread about 1 Tablespoon of the chipotle mayo mixture onto one roll half.  

Next add the Chardonnay Guacamole to the other half to the other half, followed by a slice of onion.

Add the lettuce to the aioli half and the burger to the guacamole half, and dollop the burger with about 1 Tablespoon of Cherchies Black Bean & Corn Salsa.  Place the lettuce half over the burger, pierce the burger with a large pick, and wait for it...

A juicy, mind-blowing, flavorful, Tex-Mex burger!   Grab some napkins and enjoy!

Tex-Mex Burger Recipe

Yum!

Yum