Cherchies Blog

grilling

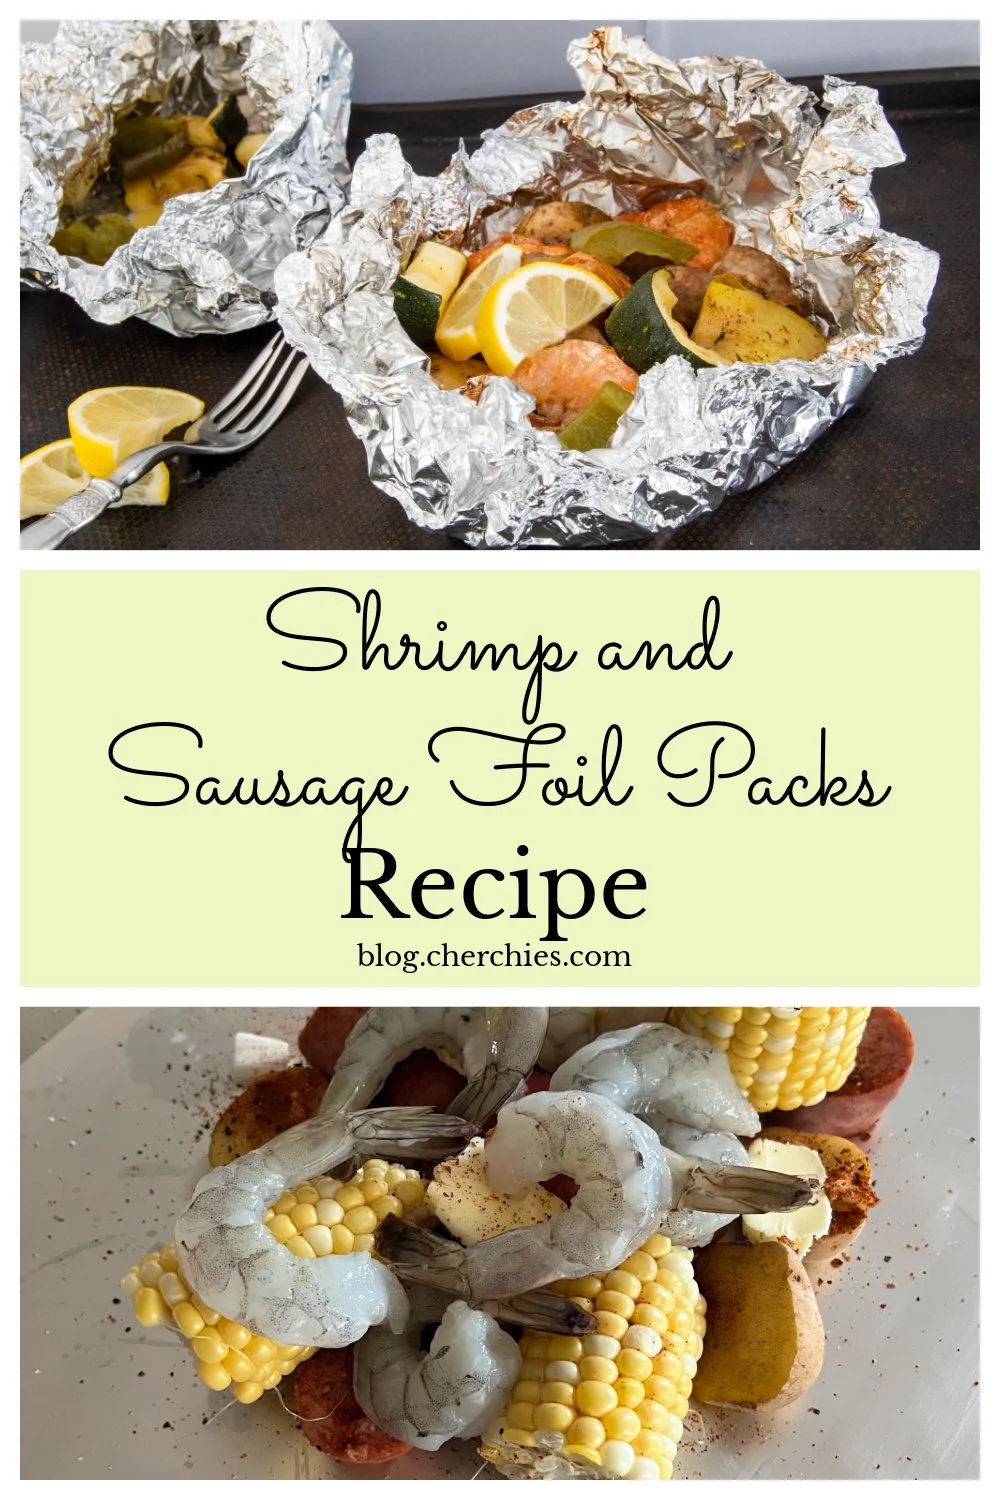
Easy Shrimp and Sausage Foil Packs Recipe

entrees, grilling, lunch, partiesSheri SpalloneComment

Shrimp and Sausage Foil Packs Recipe

Prep Time: 15 minutes
Cook Time: 15–20 minutes
Servings: 4

One of our family's favorite summer meals is these Easy Shrimp & Sausage Foil Packs. Whether we're cooking on the grill while friends are over or popping them into the oven on a busy weeknight, they're always a hit.

They're everything a summer meal should be:

  • Fun to assemble

  • Ready in no time

  • Easy cleanup

  • Completely customizable

Everyone gets their own little foil packet filled with their favorite ingredients.

One of the best things about foil packs is how easy they are to customize. Everyone can build their own with the ingredients they enjoy most. Not in the mood for shrimp? Simply substitute kielbasa, andouille sausage, chicken, or another favorite protein.

We love entertaining, especially during the summer, and these foil packs have become our go-to meal. They remind me of the sheet pan dinners everyone seems to be making these days, but I think they're even more fun because everyone gets their own individual foil packet to open at the table. Watching everyone open their own little foil "present" and discover what's inside always brings a smile to my face.

For this version, we seasoned everything with Cherchies® Cajun Seasoning, giving it those classic Cajun boil flavors we all love. The best part is that this recipe can become an entirely different meal simply by changing the seasoning blend.

Not sure which seasoning to choose? Each one brings its own unique flavor profile, so don't be afraid to experiment. You may just discover your new family favorite!

Here are a few of our favorites:

It's amazing how one simple recipe can create an entirely different flavor experience just by changing the seasoning.

If you love Cajun-inspired meals, be sure to check out our Cajun Shrimp Boil Recipe—another family favorite packed with shrimp, sausage, corn, potatoes, and plenty of bold flavor.

Whether you're feeding the family on a busy weeknight or hosting friends for a backyard cookout, these Easy Shrimp & Sausage Foil Packs are packed with flavor, incredibly easy to customize, and leave you with almost no cleanup—which means more time to relax and enjoy summer.

Thanks for stopping by! 😊 I hope these Easy Shrimp & Sausage Foil Packs become a favorite at your house just like they have at ours. If you make this recipe, we’d love to hear how it turned out! Leave a comment below and let me know which Cherchies® Seasoning you used—or share your favorite combination of proteins and vegetables.

Happy cooking!

Let's stay connected!

🌐 https://cherchies.com
📝 https://blog.cherchies.com
📸 Instagram: @cherchies_gourmet
📘 Facebook: Cherchies Specialty Foods
📌 Pinterest: @cherchies

Ingredients

  • 1 pound large shrimp, peeled and deveined

  • 12–14 ounces fully cooked kielbasa or andouille sausage, sliced

  • 1 pound baby potatoes, halved or quartered

  • 2 ears fresh corn, cut into thirds

  • 1 zucchini, sliced into ½-inch half-moons (optional, but cook in a separate foil pack)

  • 1 yellow squash, sliced into ½-inch half-moons (optional, but cook in a separate foil pack)

  • 1 red bell pepper, cut into 1-inch pieces (you can use whatever pepper you have on hand)

  • 1 small onion, cut into 1-inch pieces

  • 2–3 tablespoons olive oil

  • 2–3 tablespoons Cherchies® Cajun Seasoning (or your favorite Cherchies® seasoning)

  • Fresh parsley, chopped (optional)

  • Lemon wedges, for serving (optional)

Preparation

Preheat your grill or oven to 400°F.

If needed, par-boil the potatoes for 5–7 minutes until just beginning to soften. Drain well.

In a large bowl, combine the potatoes, corn, zucchini, squash, bell pepper, onion, sausage, olive oil, and Cherchies® Cajun Seasoning. Toss until everything is evenly coated.

Gently fold in the shrimp.

Divide the mixture evenly among four large sheets of heavy-duty aluminum foil. Fold and seal the foil packets tightly.

Grill or bake the foil packets for 15–20 minutes, or until the shrimp are pink and cooked through and the vegetables are tender.

Carefully open the foil packets (watch for the hot steam!), garnish with fresh parsley and lemon if desired, and serve immediately.

A Few Tips

  • Use baby potatoes, cut in half or even thirds. If they're on the larger side, par-boil them for 5–7 minutes before assembling the foil packets since shrimp cook so quickly.

  • We prefer fully cooked kielbasa or andouille sausage, sliced into bite-sized pieces. They cook perfectly alongside the vegetables and shrimp.

  • If you're using raw Italian sausage, we recommend cooking it beforehand or preparing it in a separate foil packet to ensure it reaches a safe internal temperature.

  • If you're grilling, consider cooking the vegetables in separate foil packets. They often need a little longer than the shrimp, so everything finishes cooking at the same time.

Yum

Grilled Cuban Sandwich Recipe

lunch, leftovers, grilling, Slow Cooker Recipes, entreesSheri SpalloneComment

Grilled Cuban Sandwich Recipe

Prep Time: 10 minutes

Cook Time: 10 minutes

Difficulty: Easy

Servings: 1

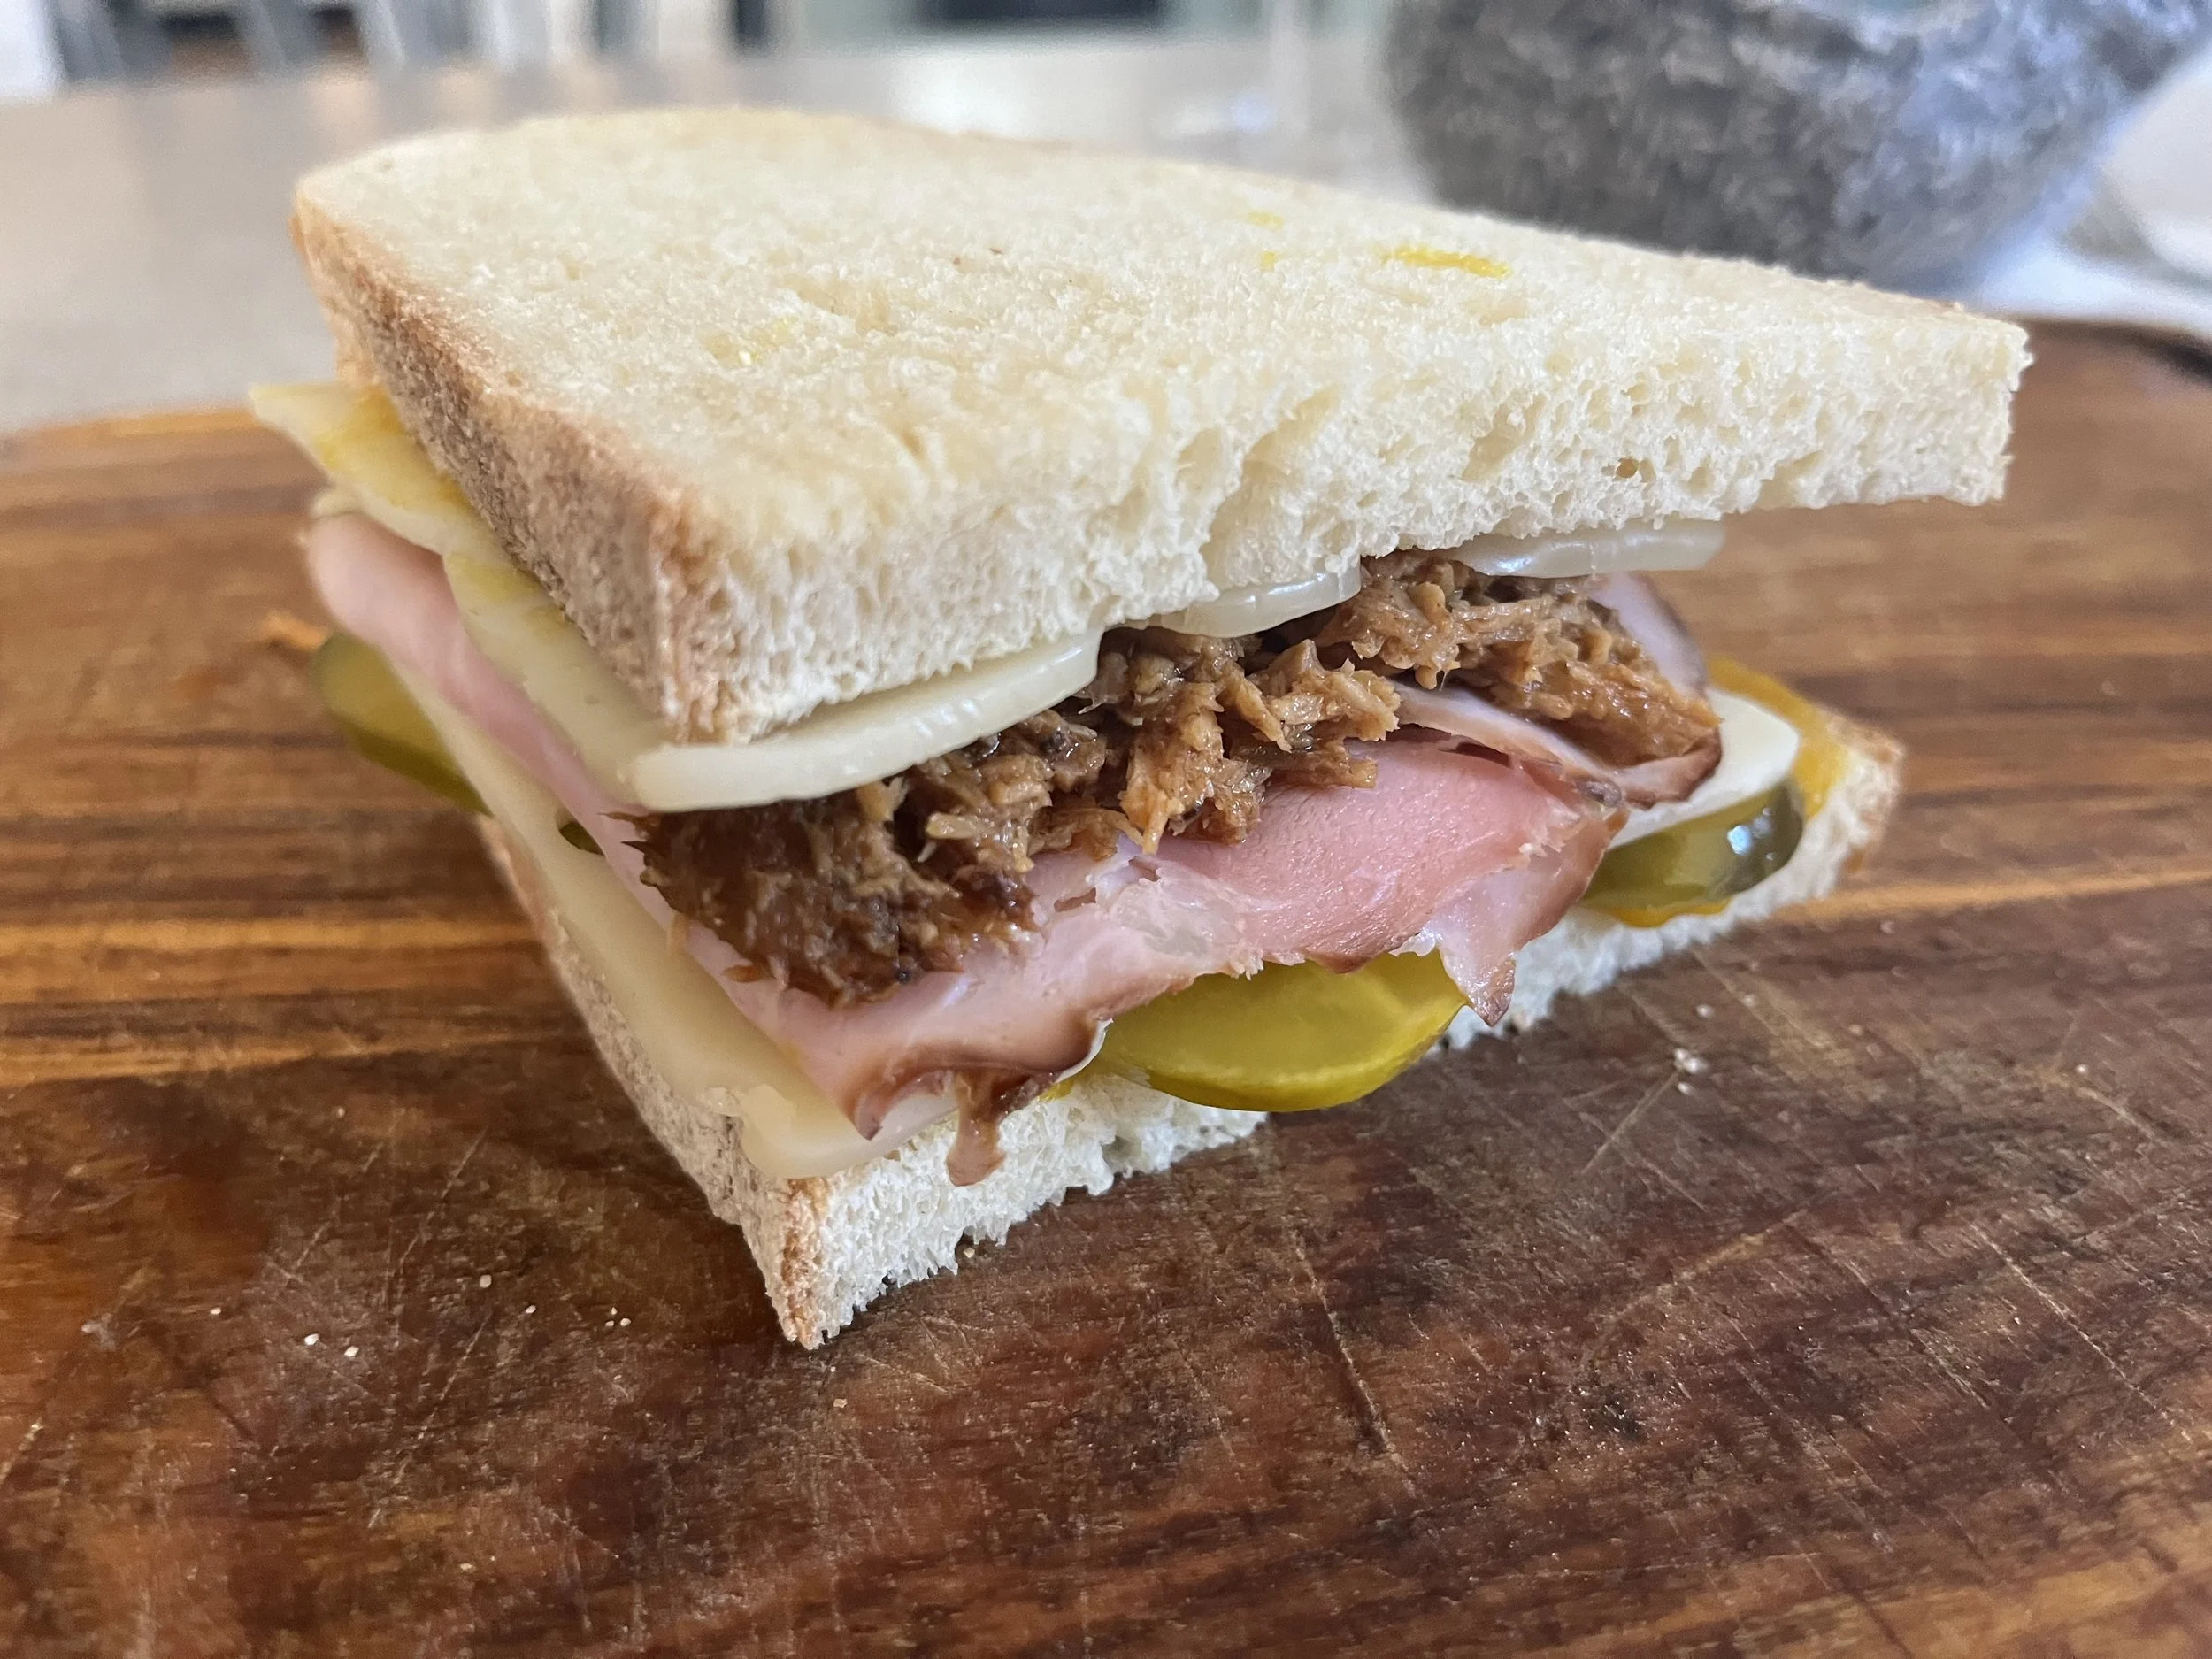
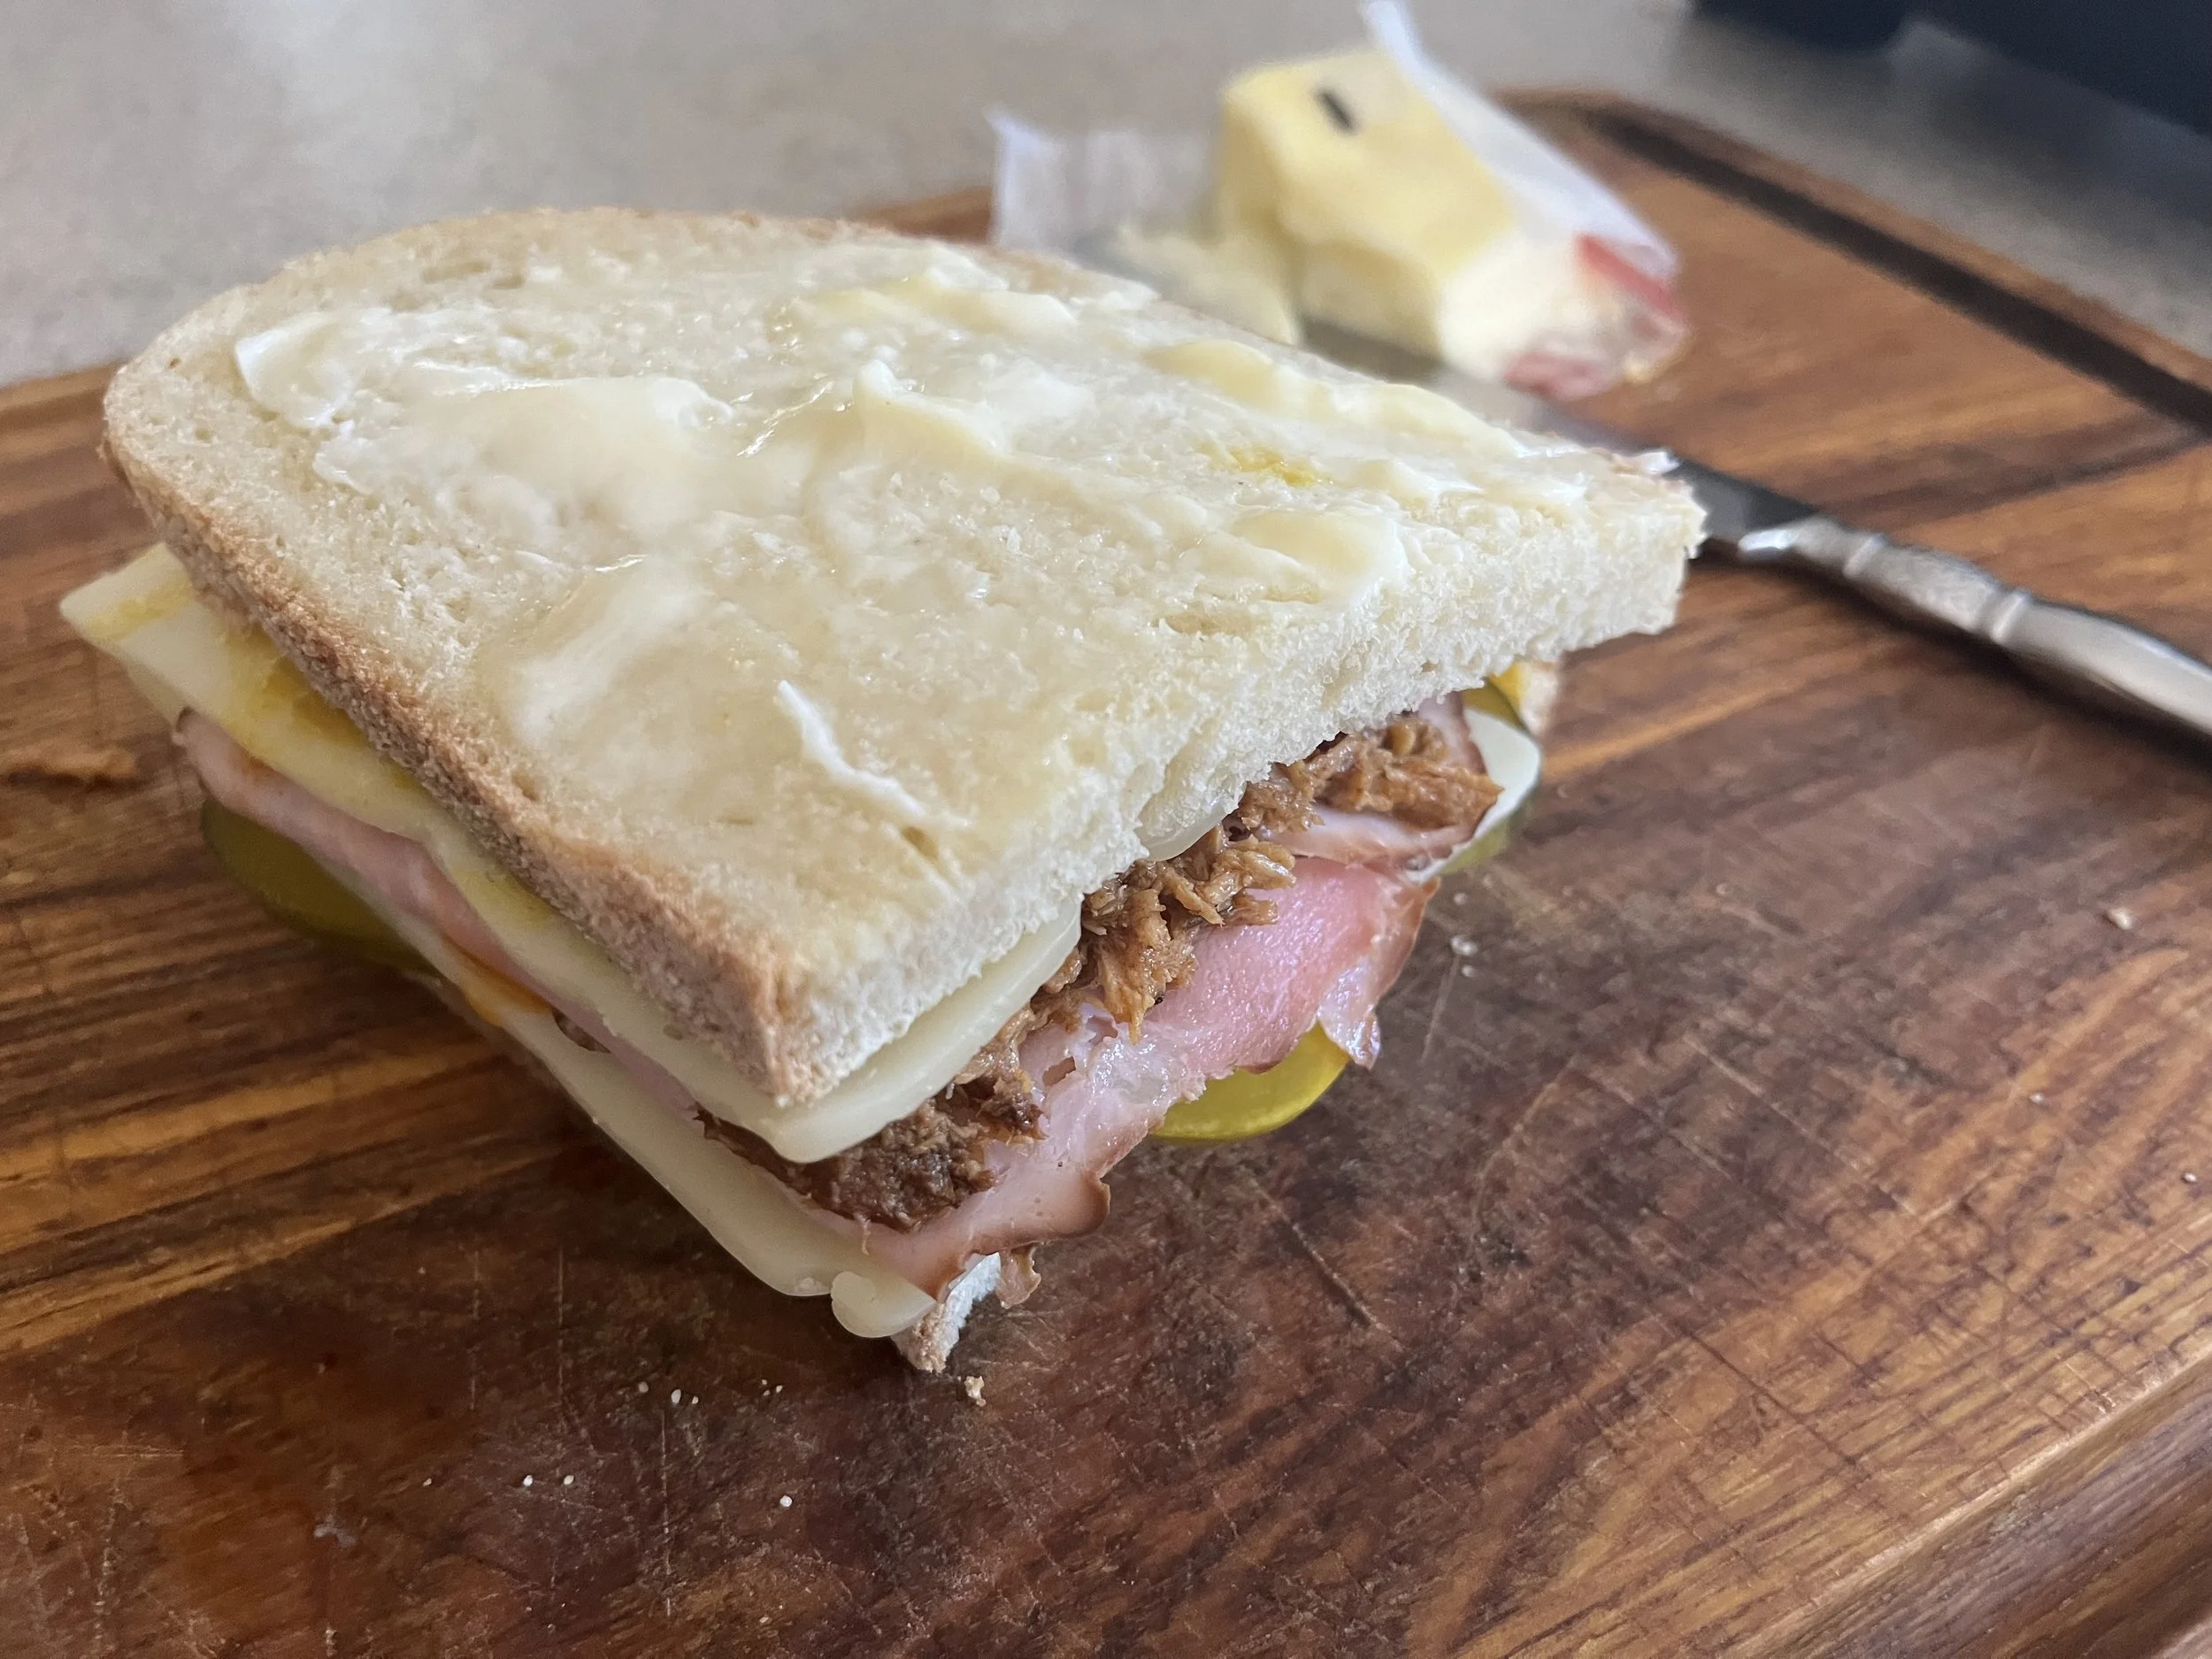
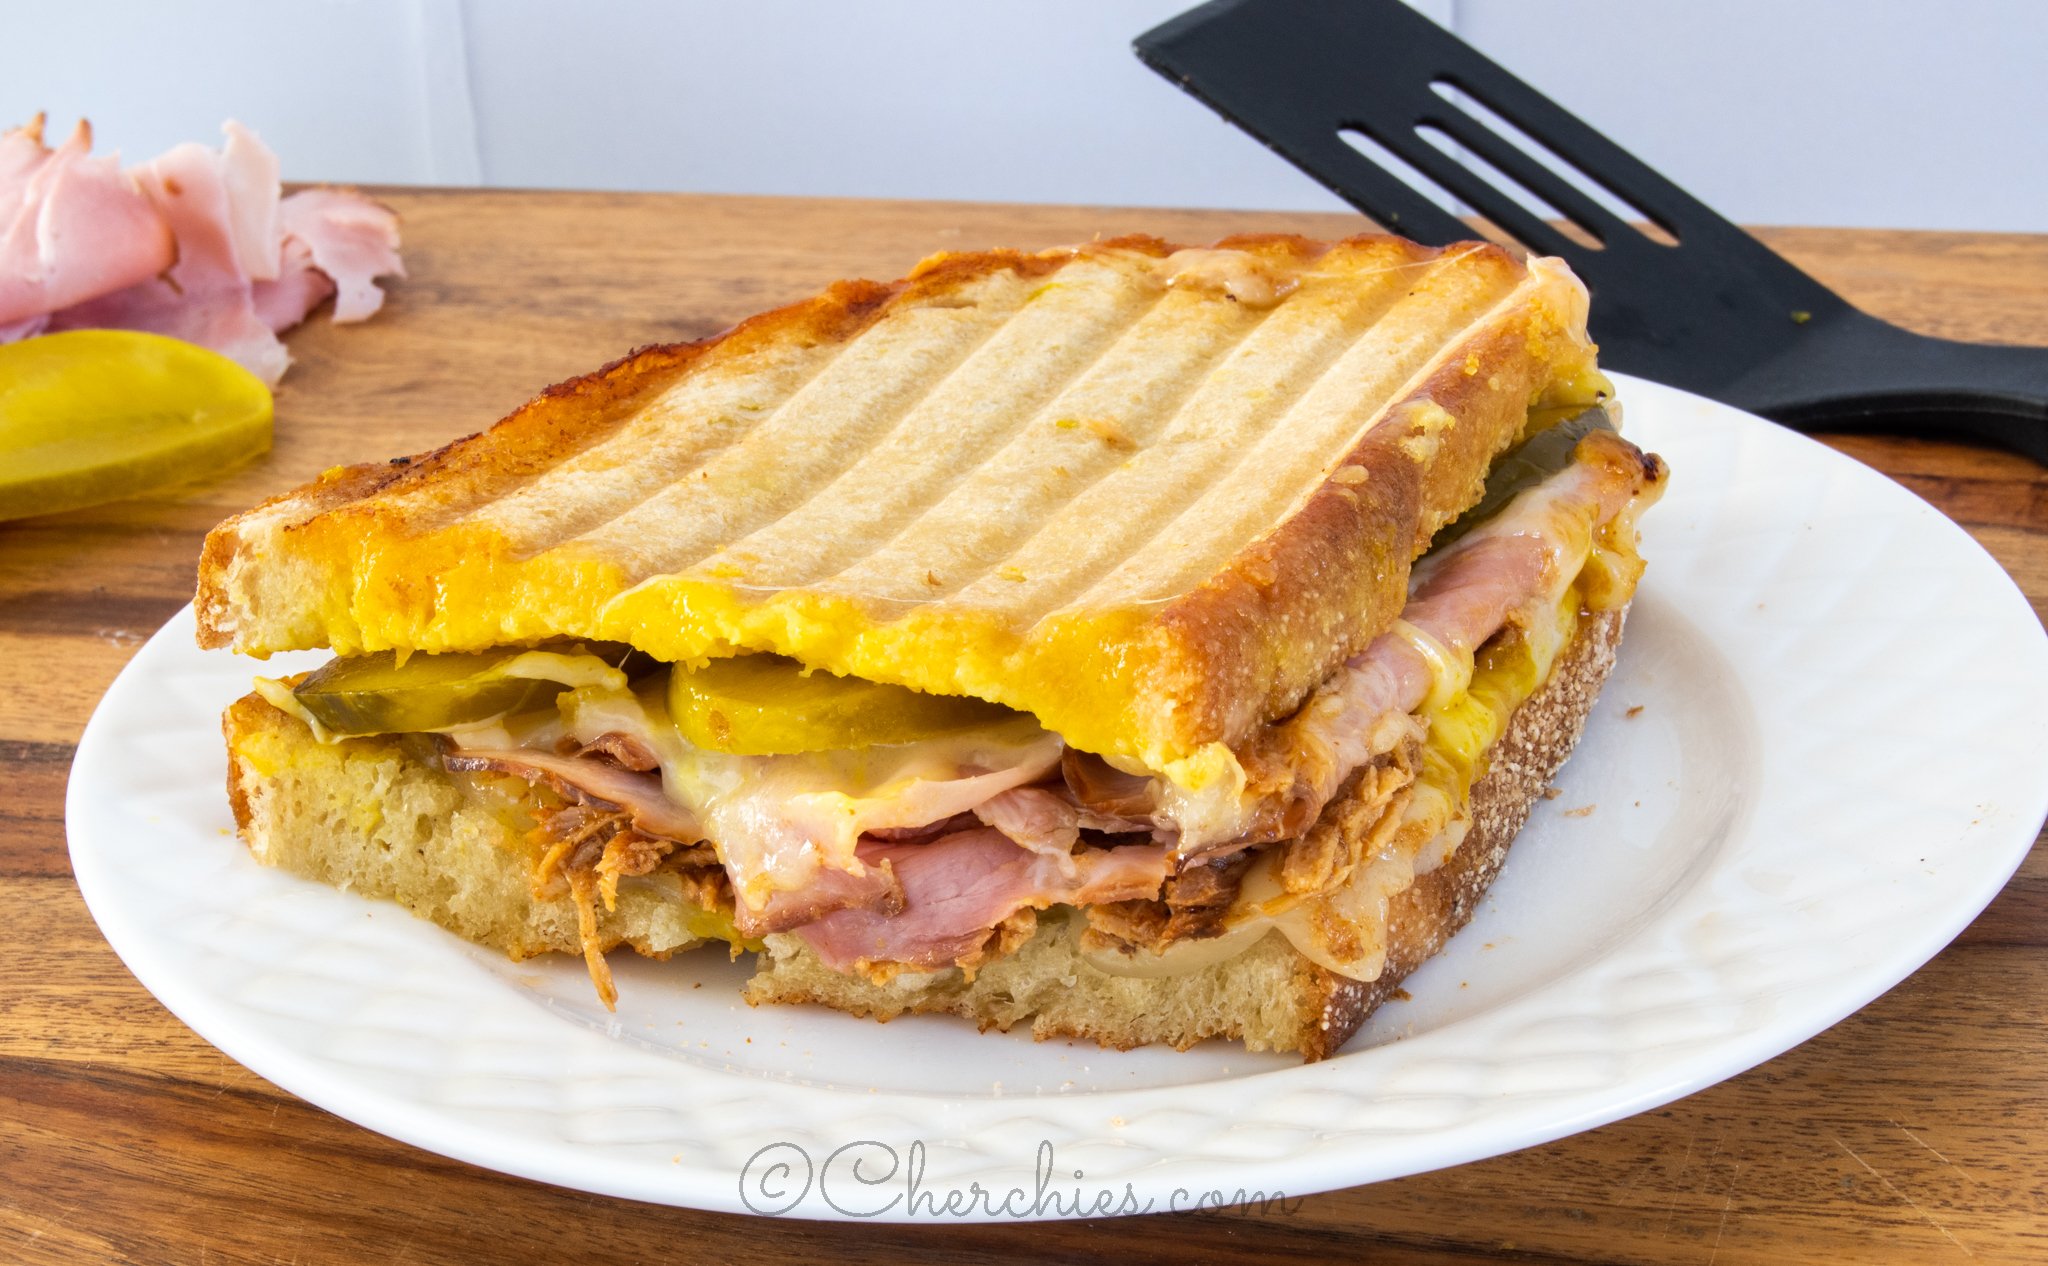
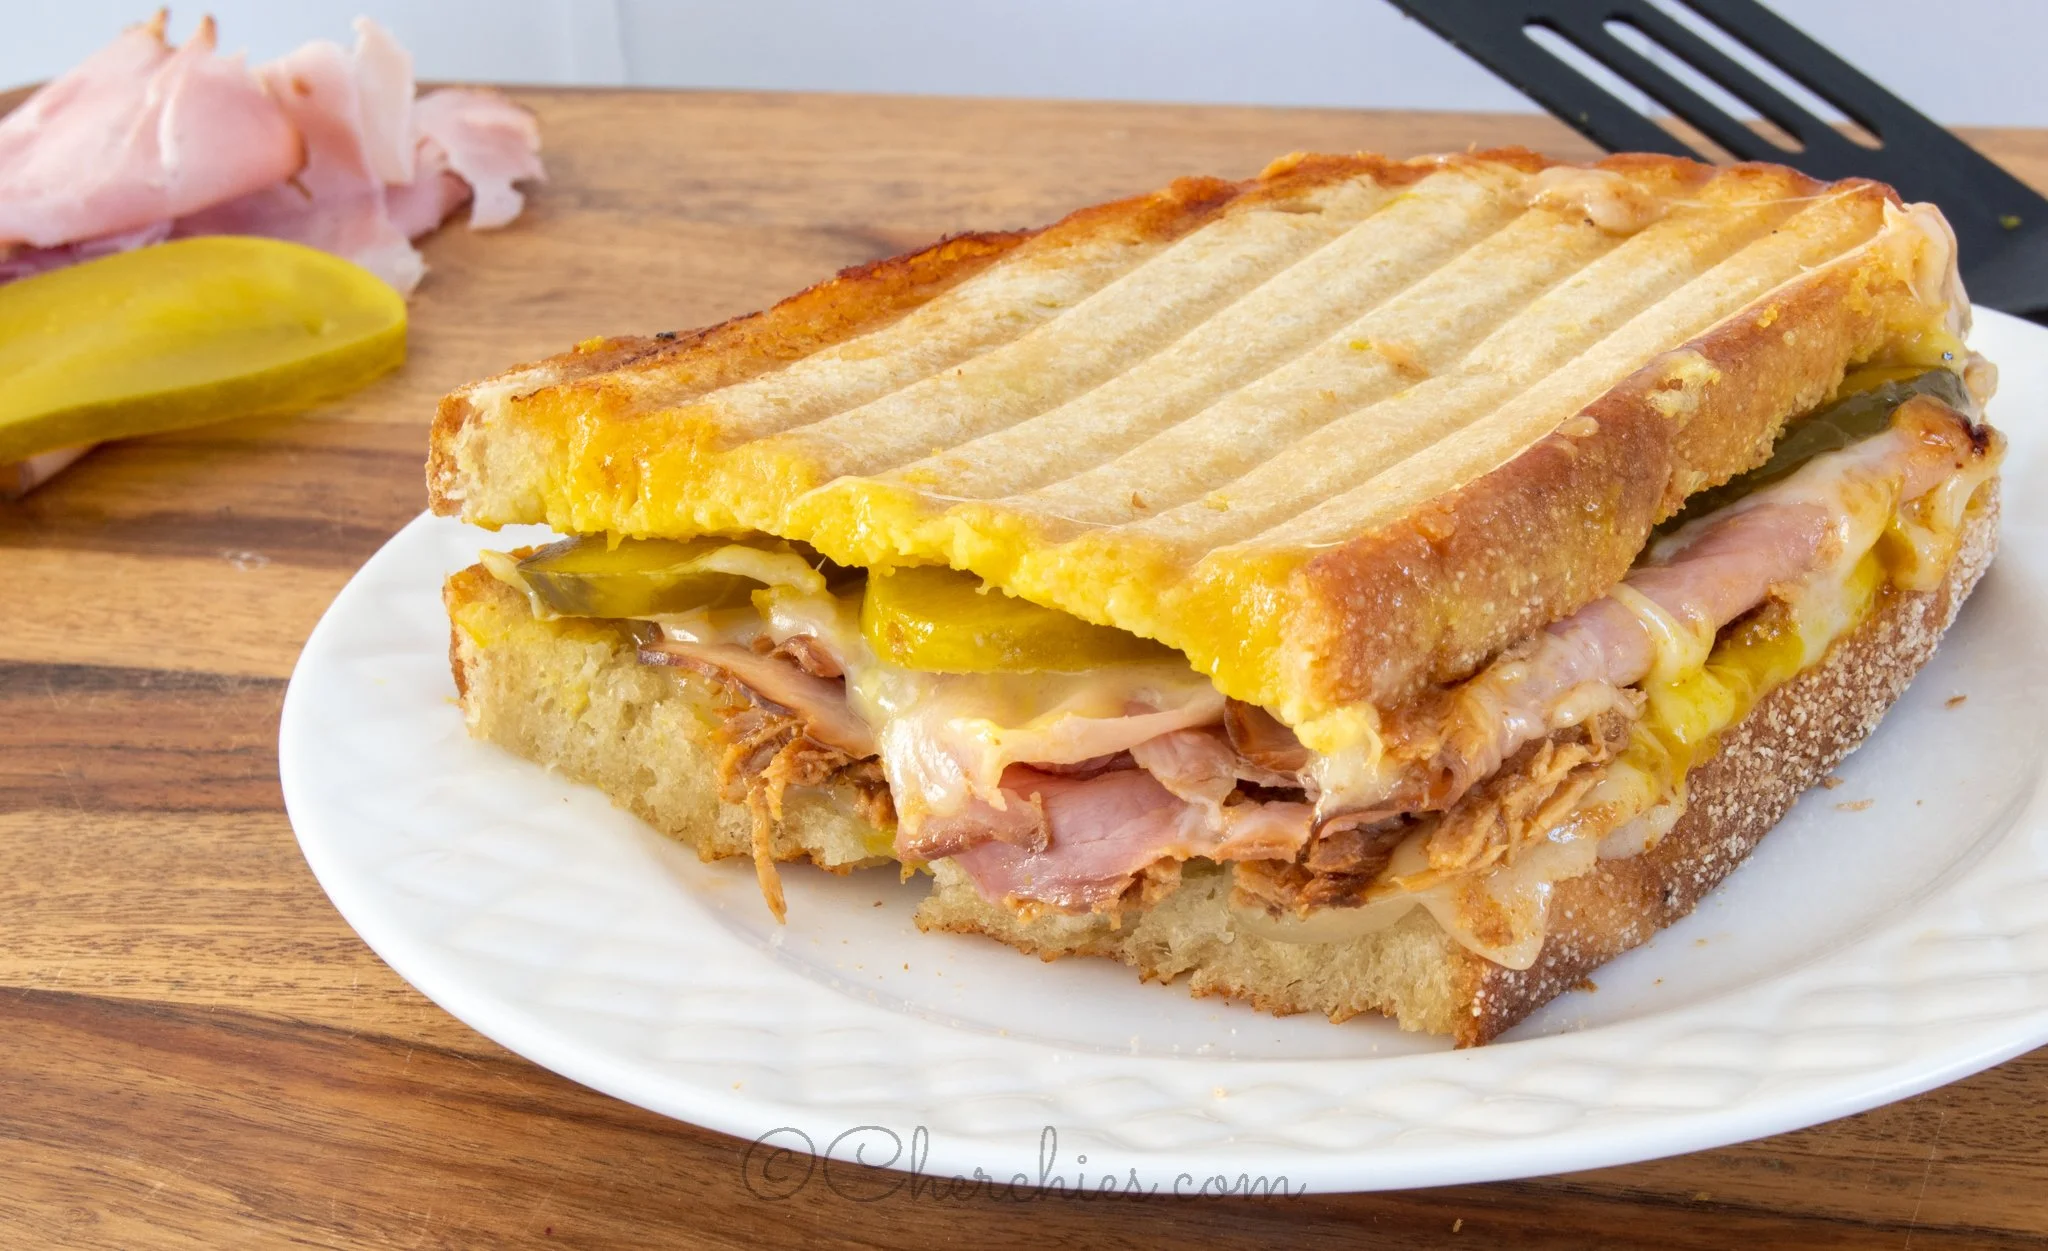
If you haven’t tried a Cuban Sandwich (Cubano) yet, you’re in for a treat. The combination of savory ham, tender pork, melty Swiss cheese, tangy pickles, and zesty mustard is pure magic in every bite—and it’s no wonder this sandwich has been a family favorite in our house for years.

While Cuban sandwiches have a few regional variations, the essentials stay the same: ham, roasted pork, Swiss cheese, pickles, and mustard, layered up and cooked until hot, crisp, and melty.

Our twist
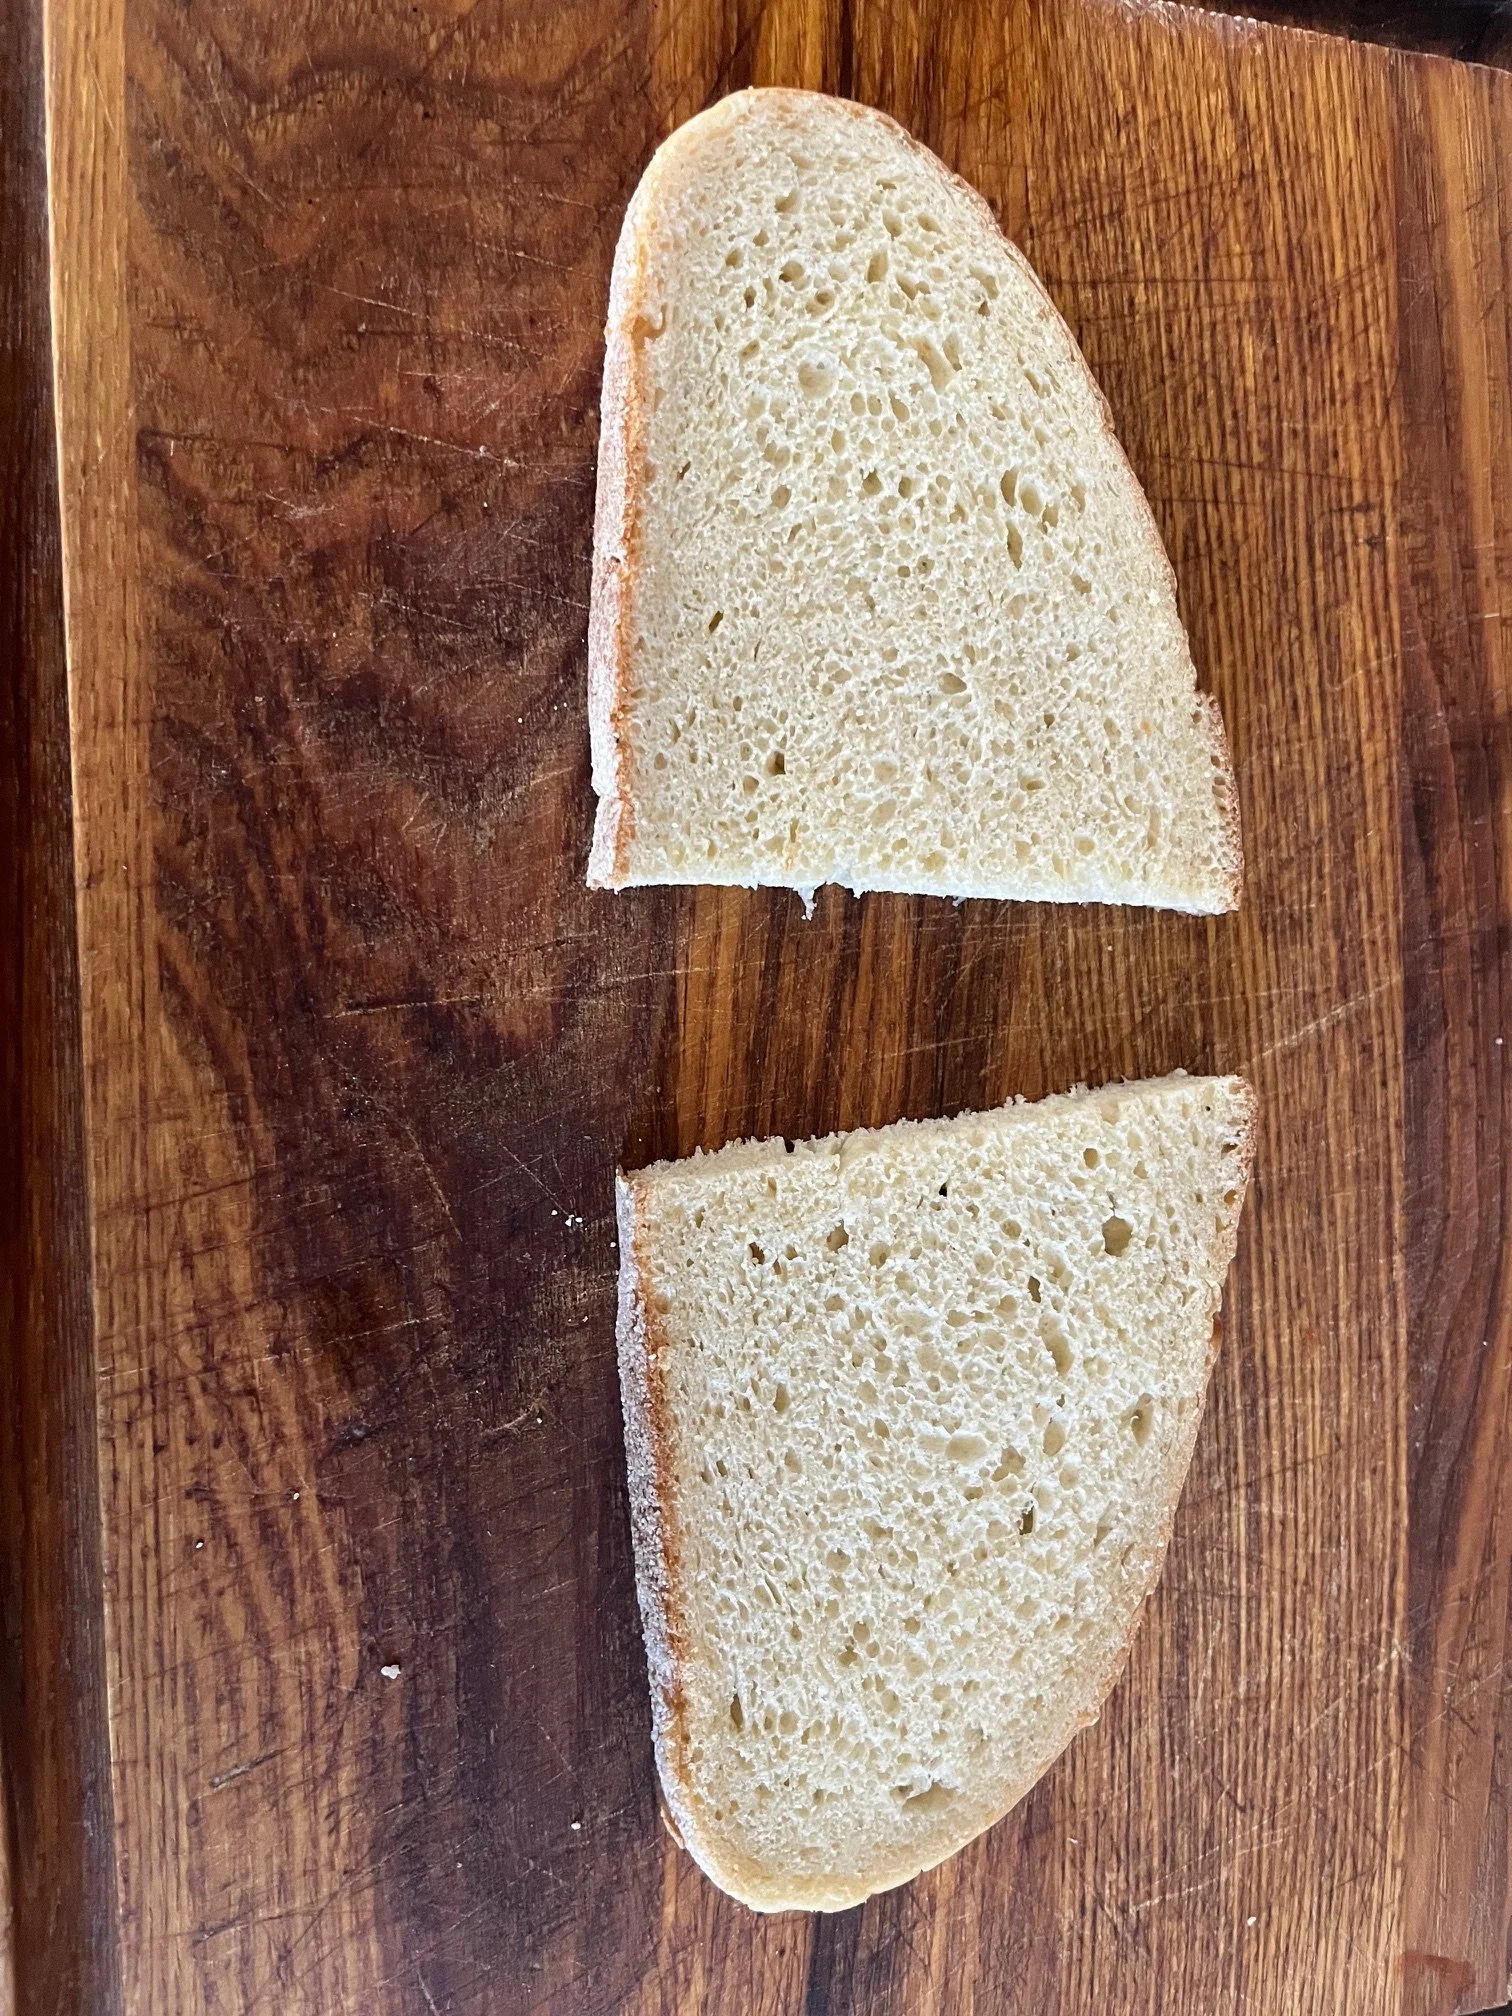
We swapped traditional yellow mustard for Cherchies® Award-Winning Hot Banana Pepper Mustard or Cherchies® Champagne Mustard for an extra flavor kick. And instead of classic Cuban bread, we used sliced sourdough, then grilled the sandwiches in a panini press until golden and irresistible.

Traditionally, Cubanos are cooked on a flat skillet or griddle and pressed until crisp. If you don’t have a panini press, no worries—use a skillet and press the sandwich down with a heavy pan for that classic texture.

If you’re switching up the bread, a long, soft loaf—Italian, French, or even Puerto Rican bread—works beautifully, too.

Tip: No Cuban bread? No problem.
Traditional Cuban bread can be tricky to find. If you don’t have access to a Hispanic bakery, Puerto Rican bread from BJ’s Warehouse is a great substitute. Any long, soft white bread will do the job!

The result? A Cubano that’s lip-smackingly delicious from the first bite to the last.

Ready to make your own gourmet Cuban sandwich at home? Try it out and tell us your favorite twist in the comments below!

Thanks for stopping by 🙂 Come back again for more family-tested recipes, entertaining ideas, and cooking tips featuring our favorite Cherchies® gourmet products.

Follow us on social media: Facebook, Instagram, and Pinterest.

“ Cherchies® Champagne Mustard- This is truly one of the finest mustards we have ever used. We’ve enjoyed it for more than 20 years!” – Jane

“ Cherchies® Hot Banana Pepper Mustard- Crazy delicious mustard! Once you try it you will be hooked!”- Brigitte

Ingredients (This recipe is for a single serving)

  • 2 slices sourdough bread (one for an extra-large loaf)

  • 2 heaping Tablespoons (Tbsp.) of Cherchies® Champagne Mustard (Cherchies® Hot Banana Pepper Mustard) for more of a kick (more or less depending on taste)

  • 1 heaping Tablespoon (Tbsp.) of Dijon Mustard (more or less depending on taste)

  • 2 slices of Swiss cheese

  • Slices of your favorite ham

  • 1/2 cup (or more, depending on hunger level) of our tasty pulled pork recipe

  • 2-3 sliced dill pickles (we tested with store-bought sandwich slicers)

  • 2 Tablespoons (Tbsp.) softened butter

Preparation

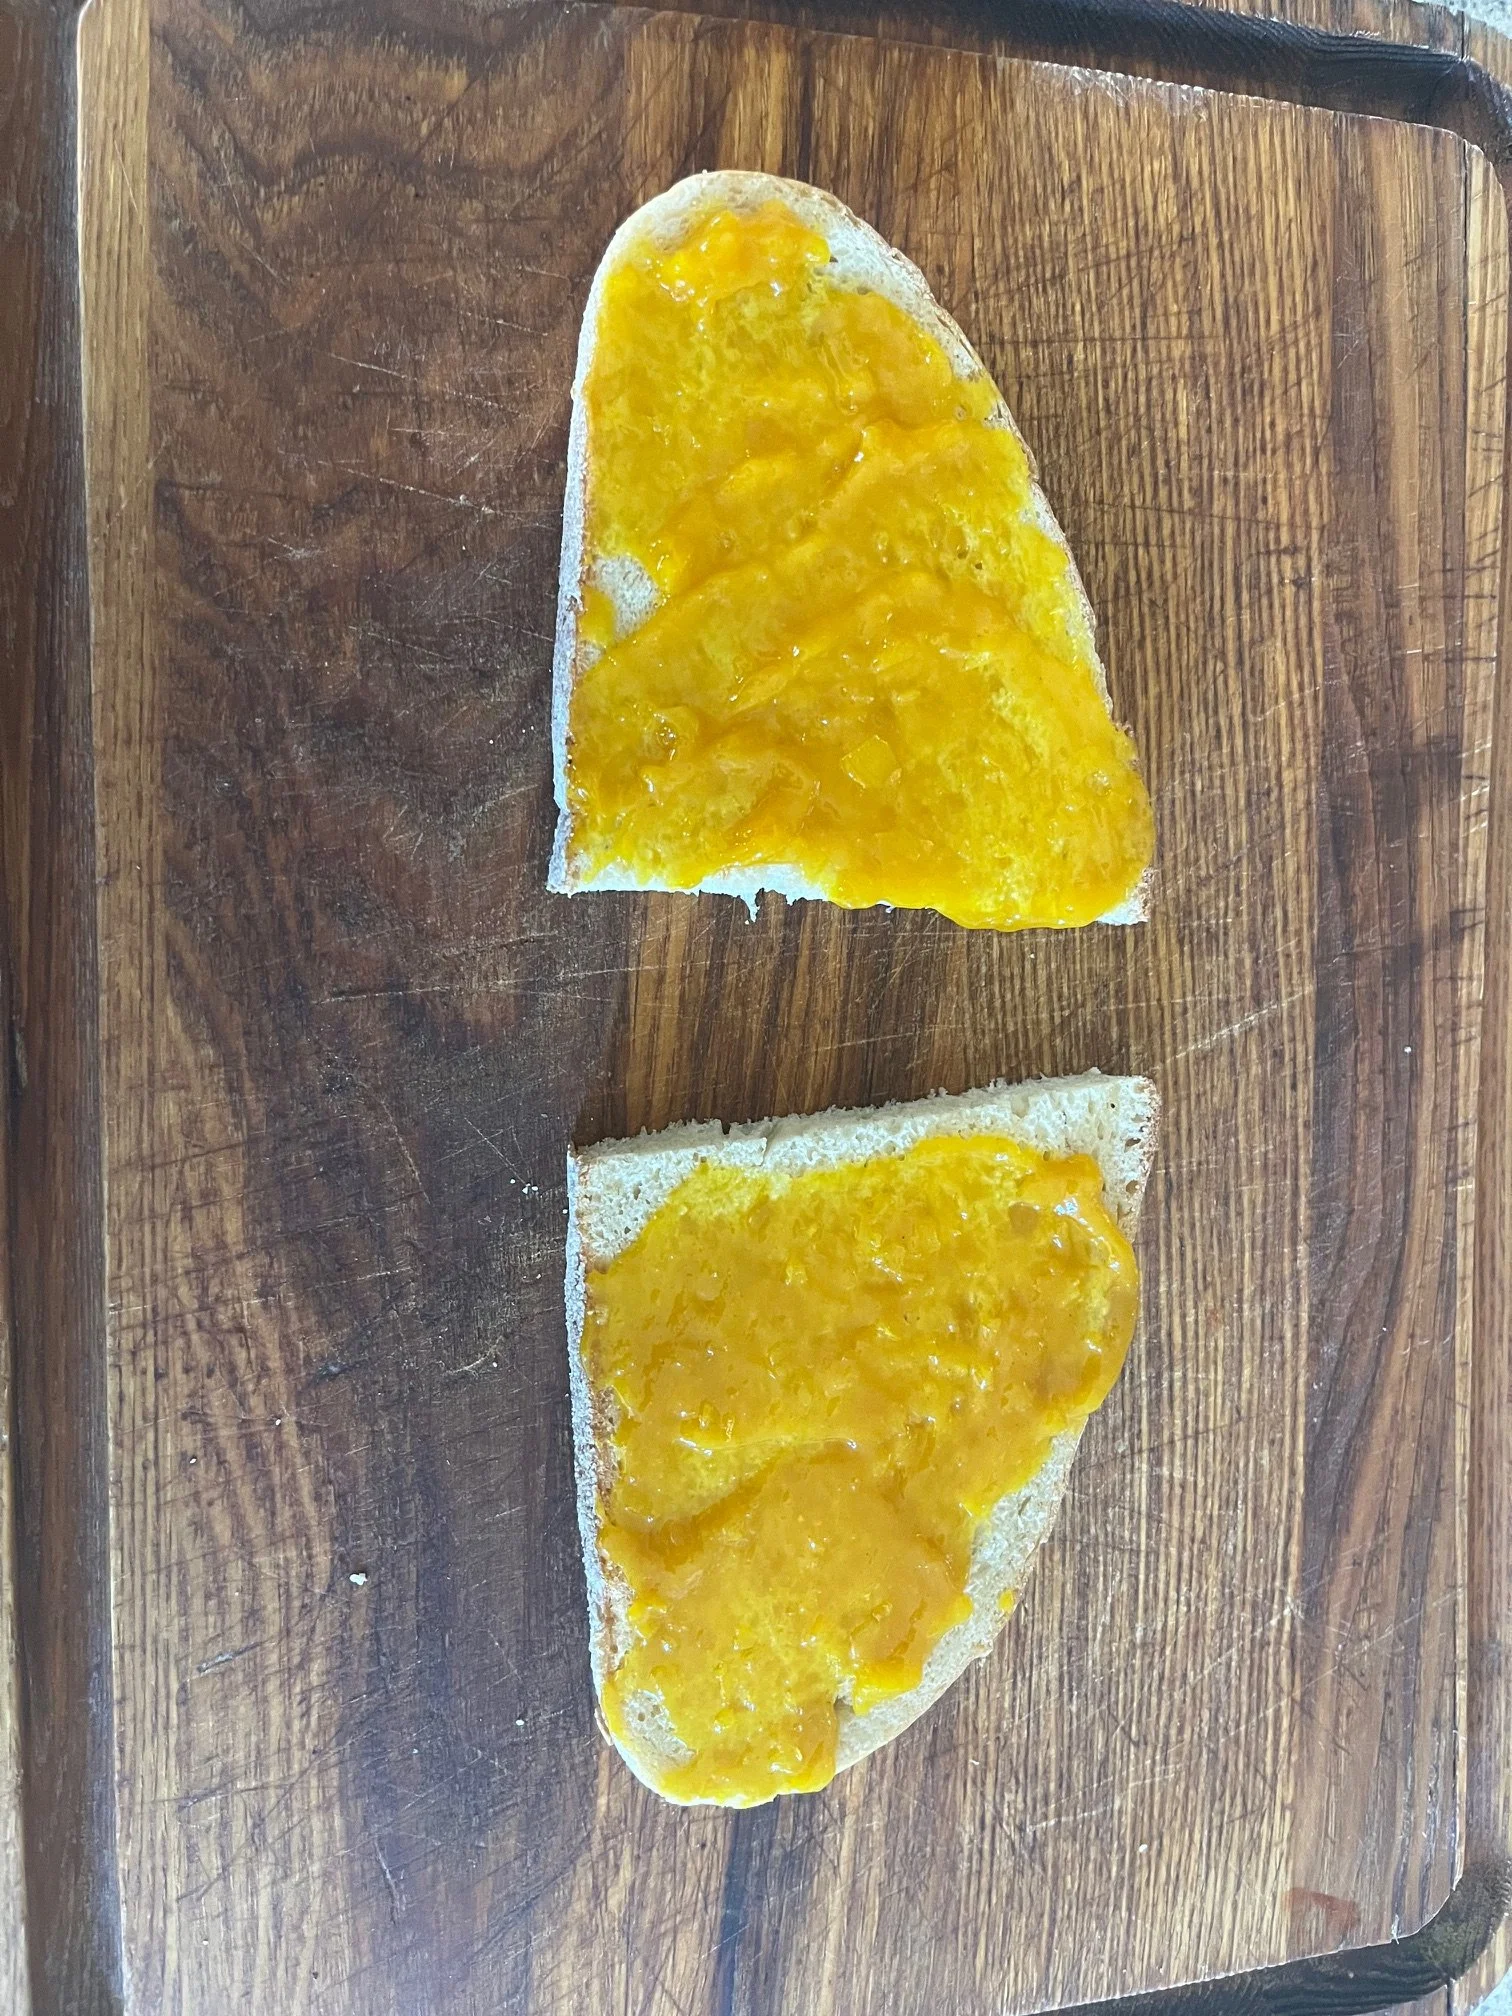
Combine the mustards and spread the mixture on both slices of bread.

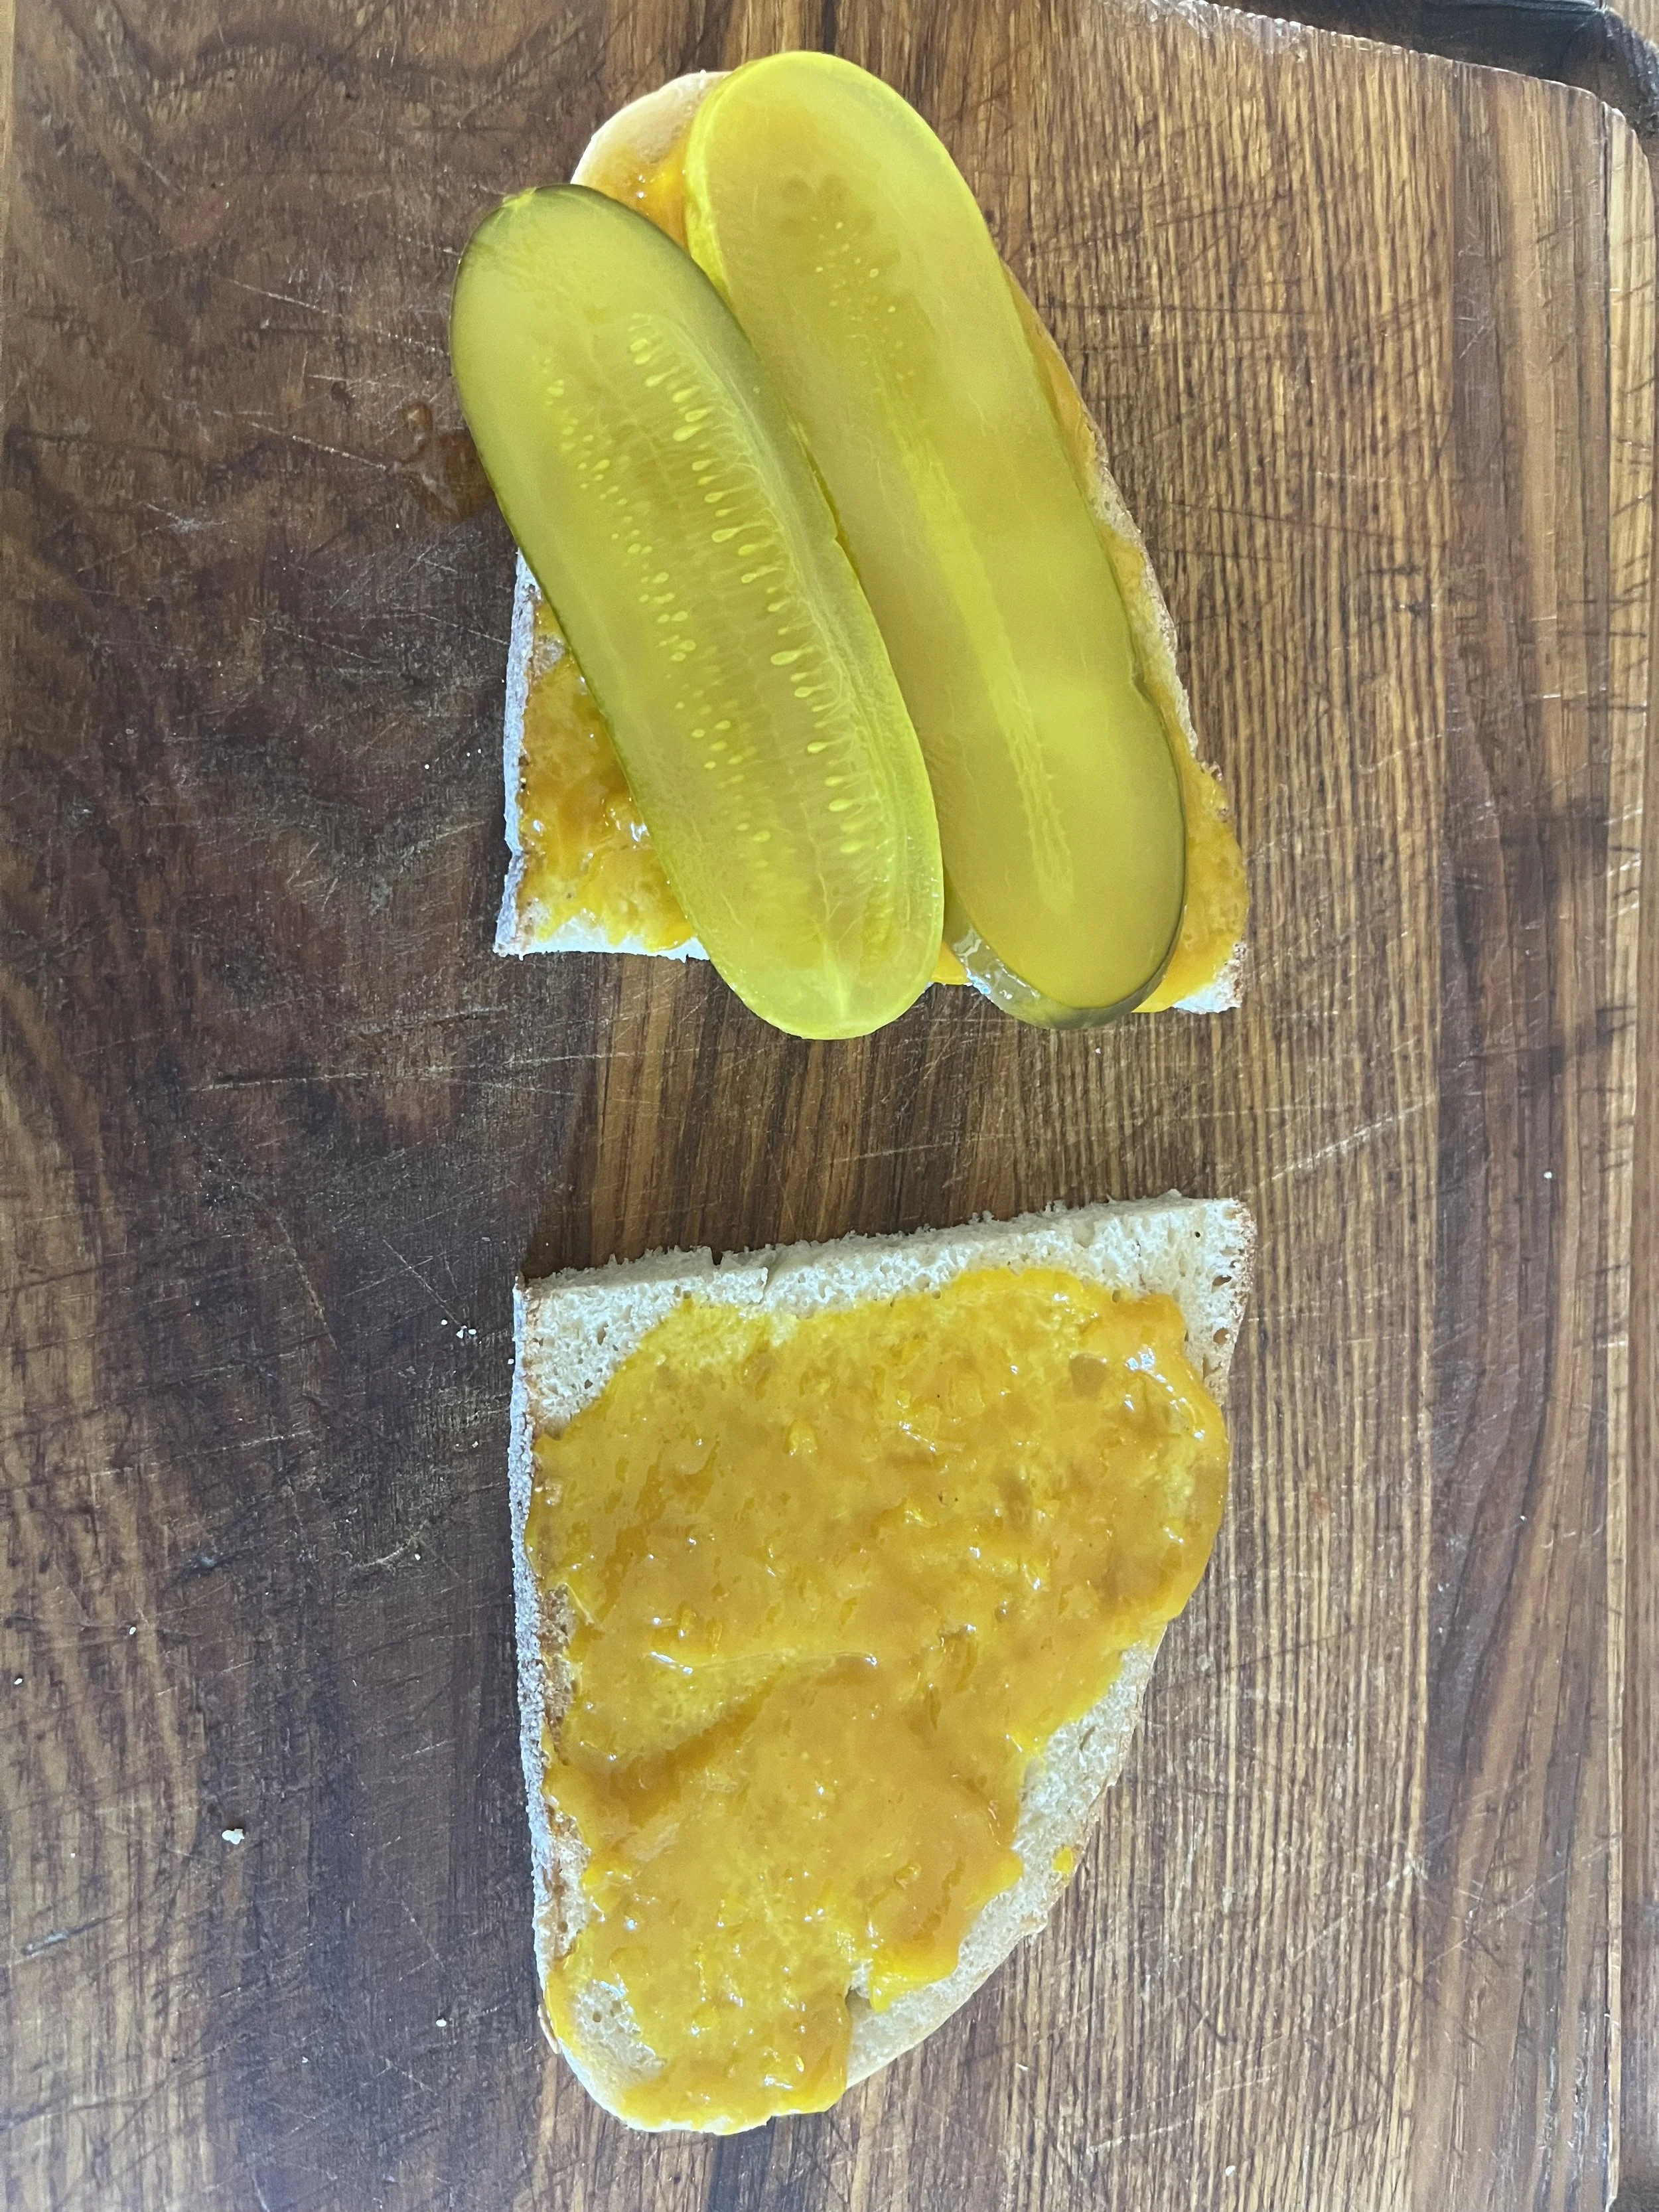
On one slice, layer the pickles over the mustard.

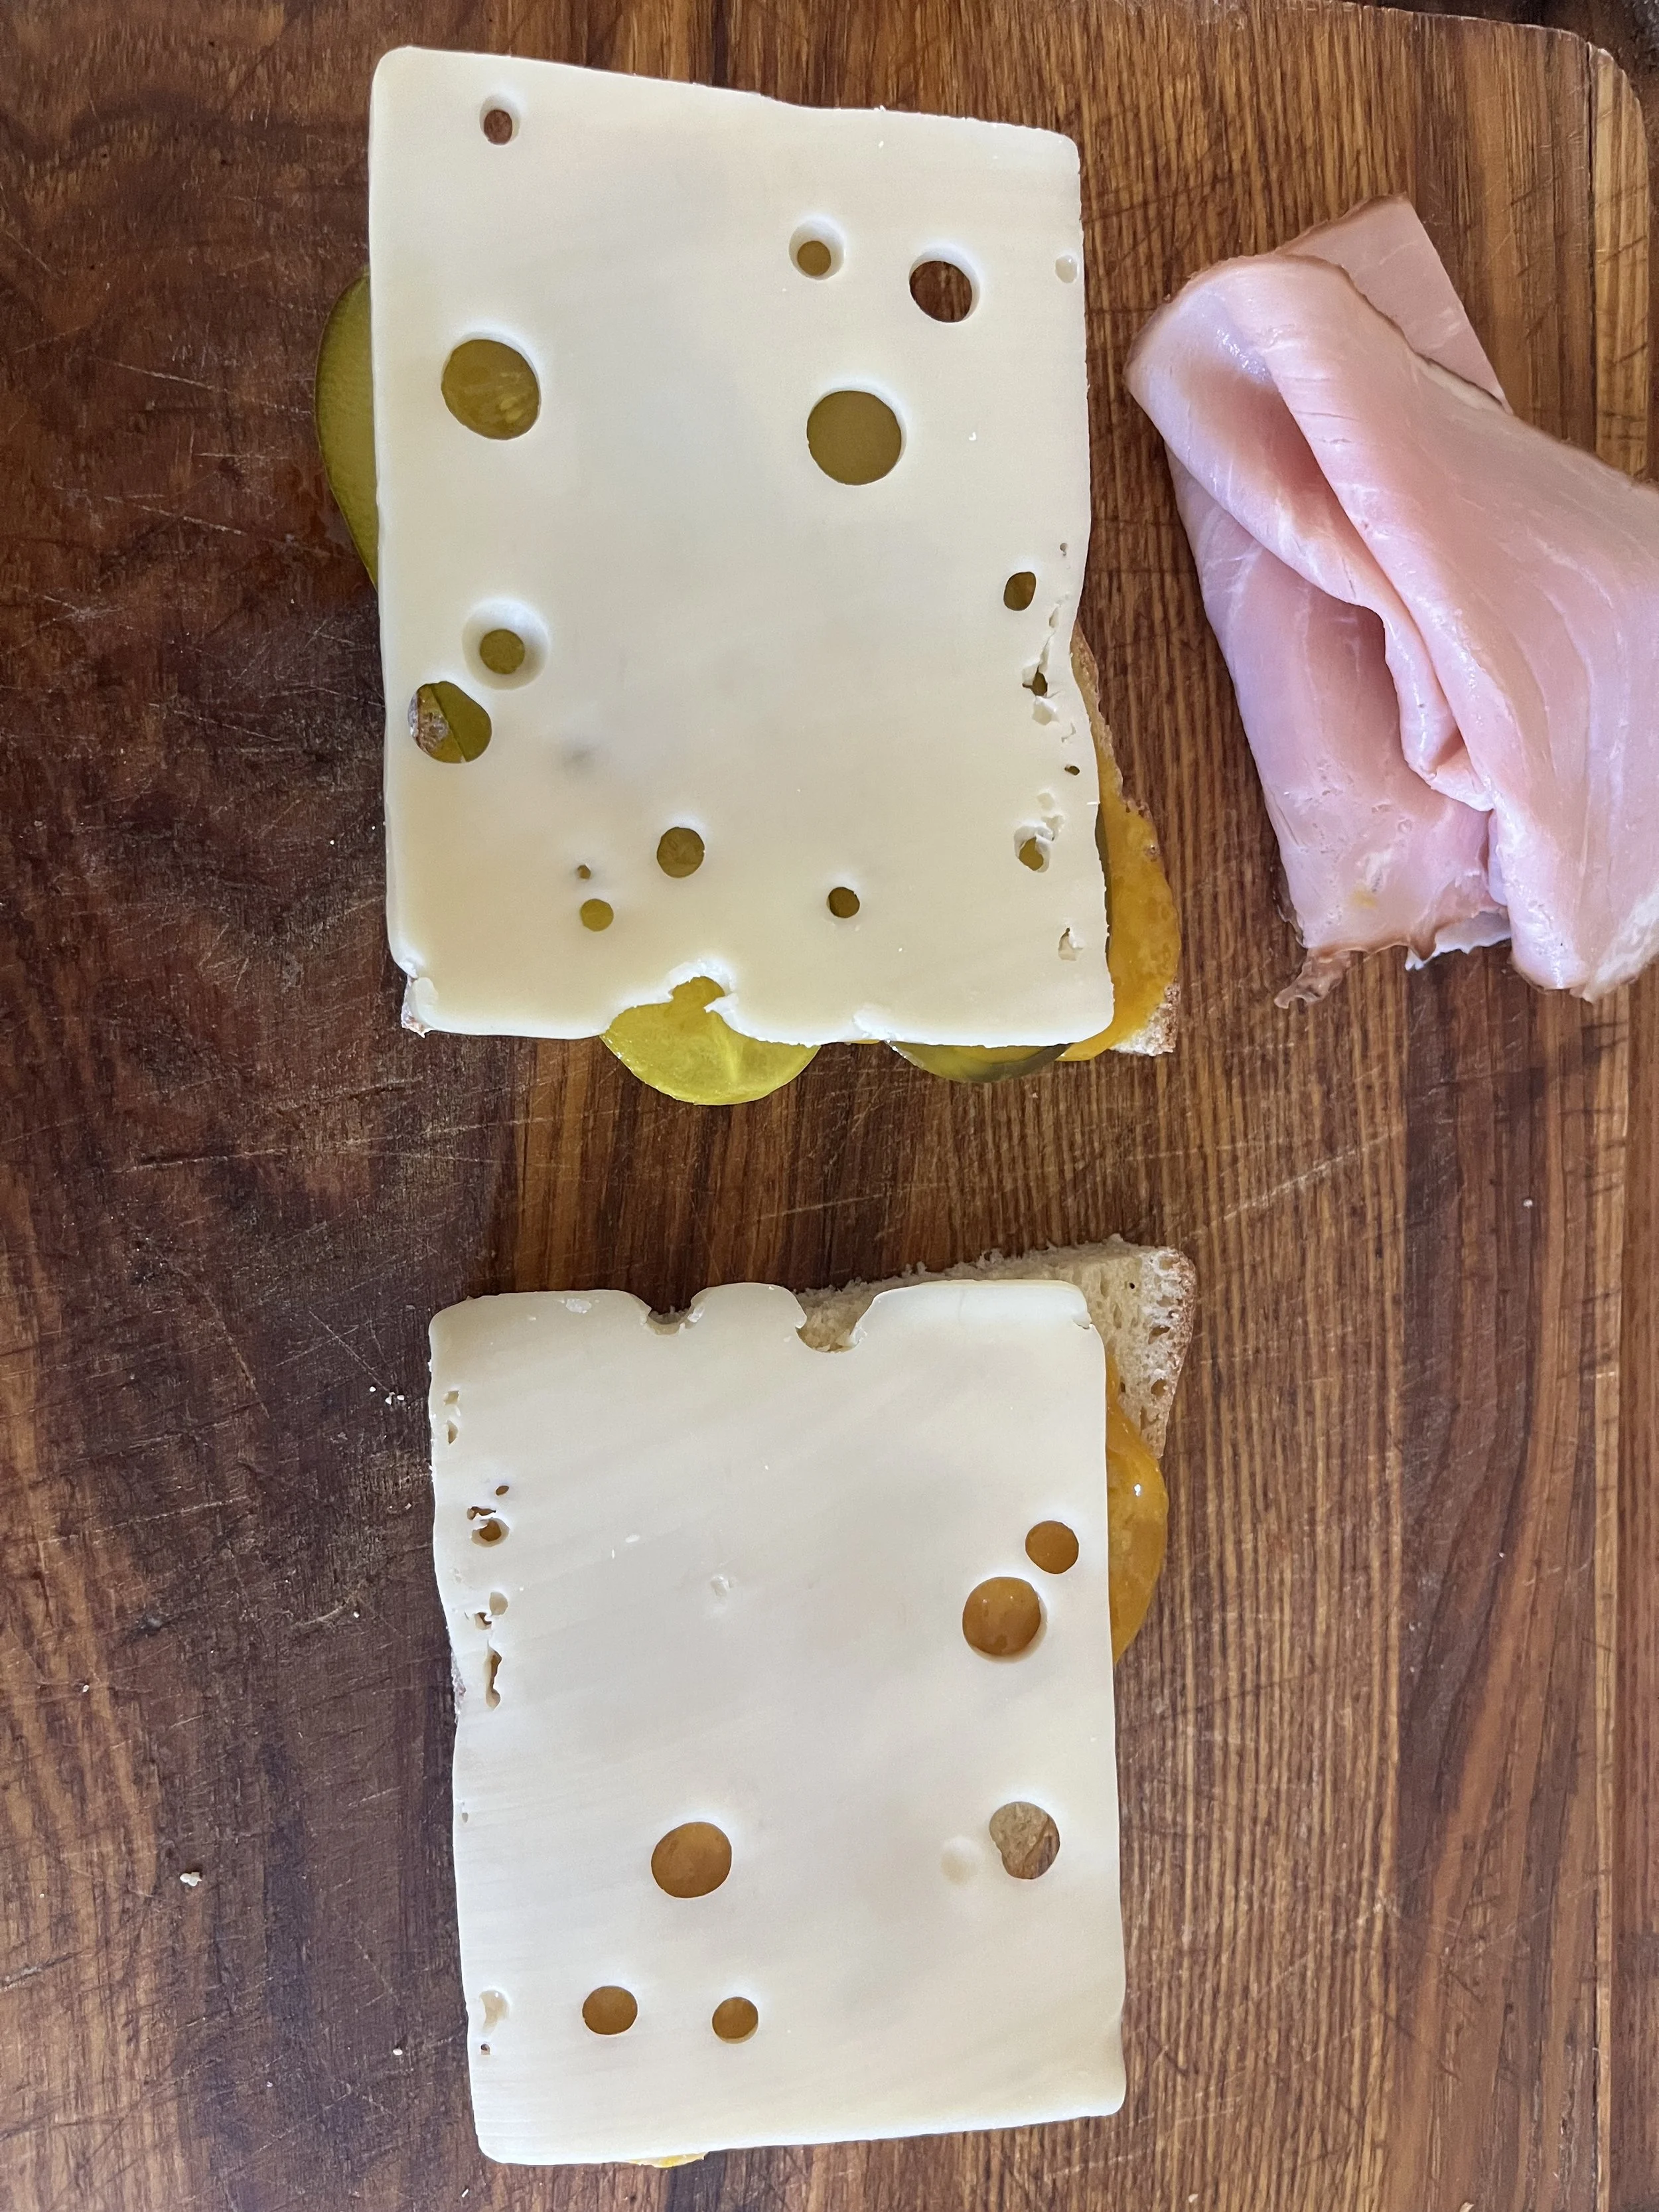
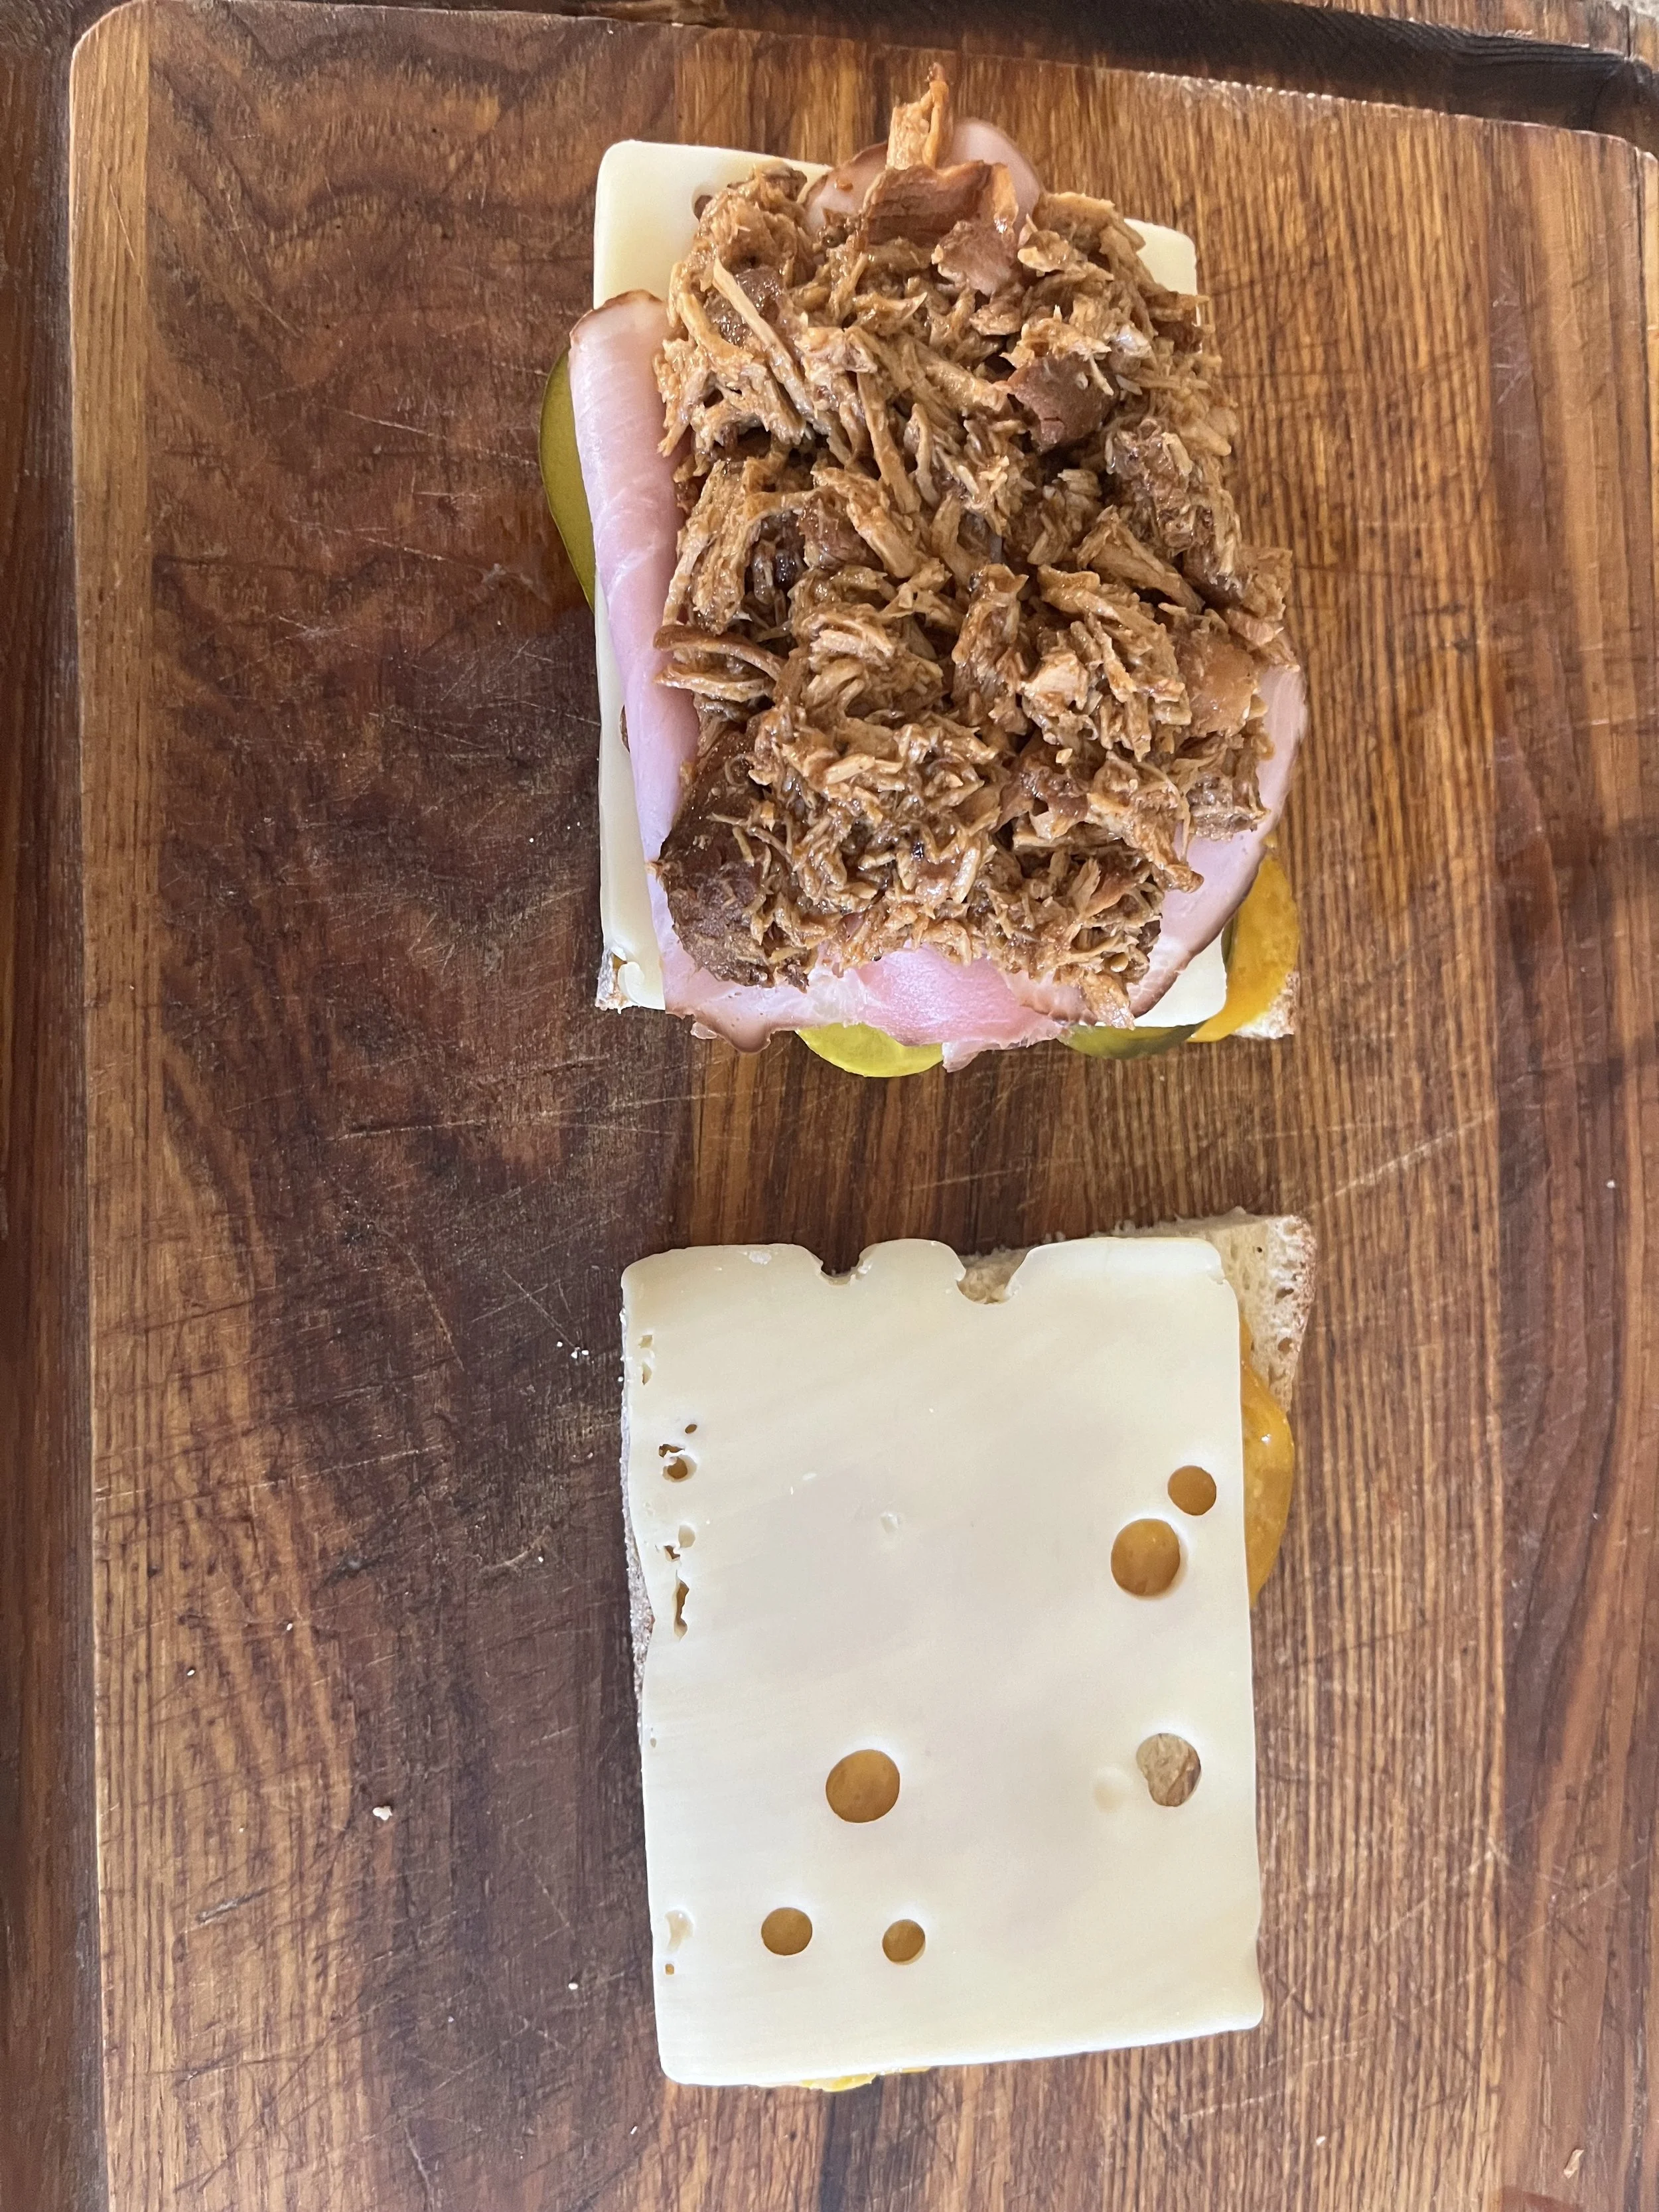
Add Swiss cheese to both slices. On the slice with the pickles, pile on the pulled pork and ham (add as much as you like—this sandwich is very flexible). Top with the second slice of bread to close the sandwich.

Butter the outside of the sandwich on both sides. Heat a panini press or a skillet over medium heat. Grill/press the sandwich until the bread is golden and crisp and the cheese is melted.

Enjoy!

Yum

Lemon Pepper Chicken Recipe

lunch, gluten free, entrees, grillingSheri SpalloneComment

Lemon Pepper Chicken Legs Recipe

Originally posted 2015. Updated with new content and photos.

Summer means grilling! My family and I grill year-round, and during the winter, my brave hubby battles the elements and grills in his winter coat and snow boots. I'm not that brave. I'm a wimp in the cold and opt to grill inside with my stove's attachment.

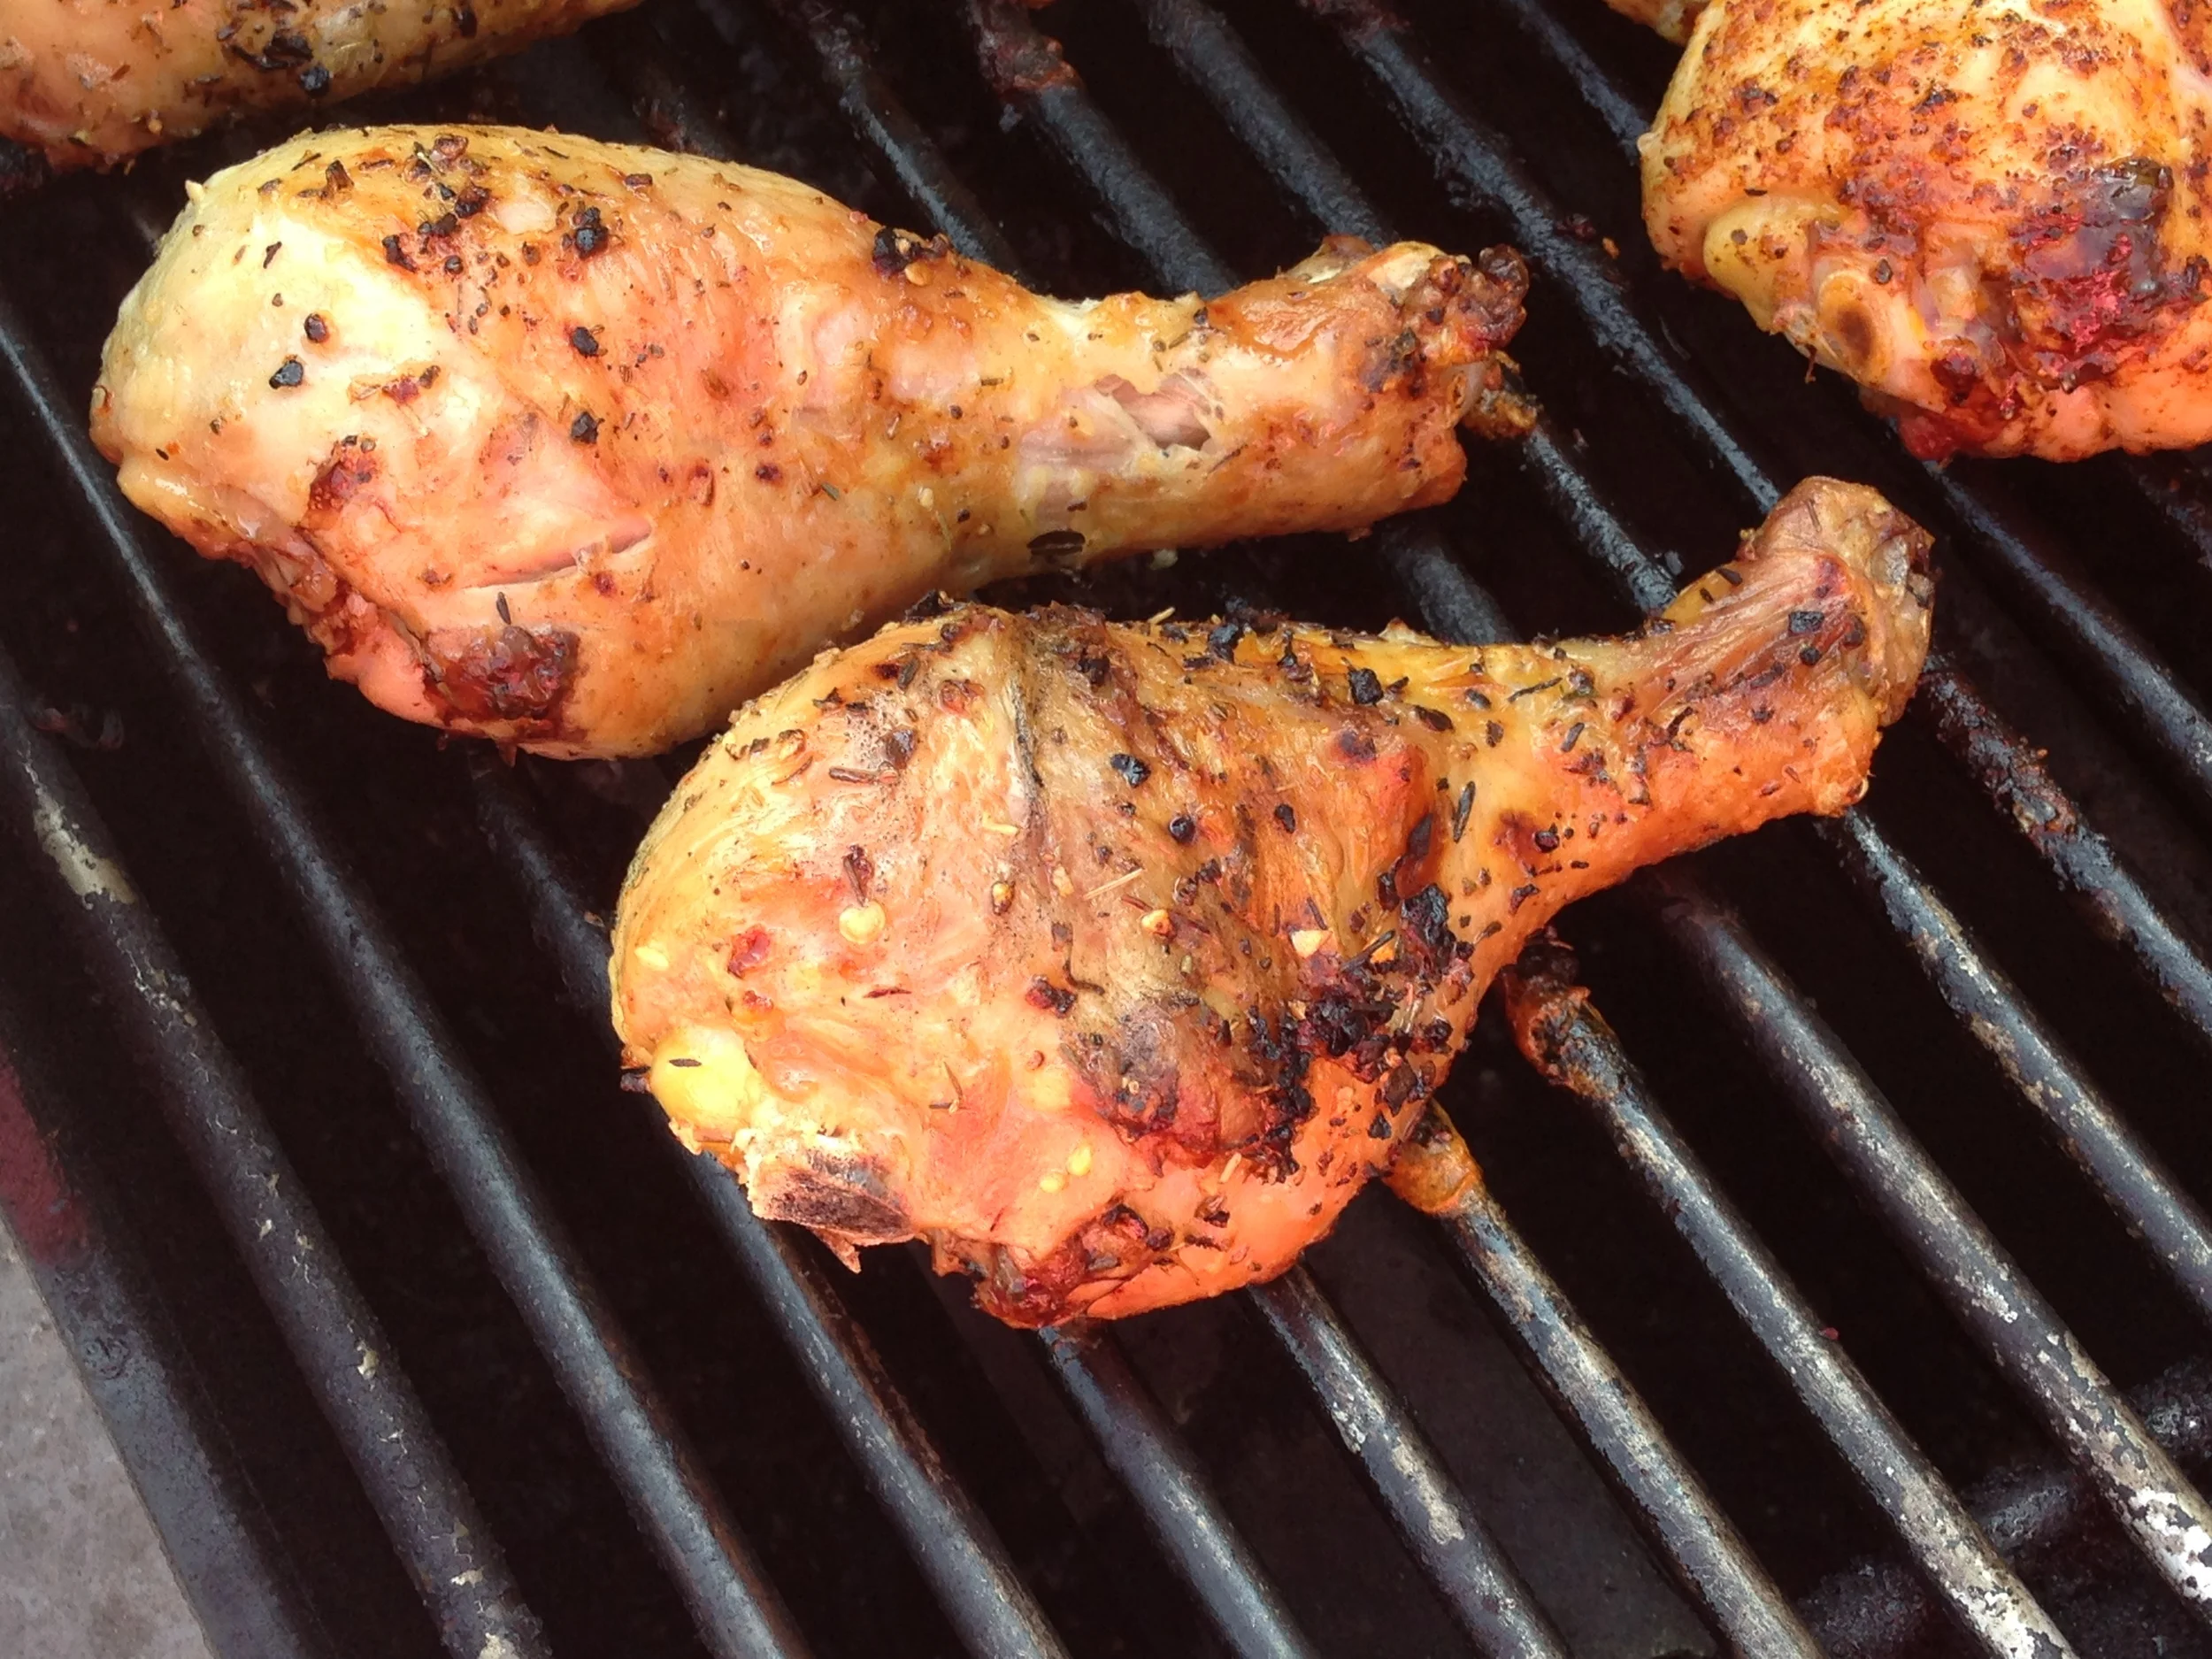
This easy recipe requires only a few ingredients and is perfect for those impromptu get-togethers. You could easily use this recipe on chicken breasts, wings, etc., but legs were the choice this time, and I chose to use Cherchies® Lem 'n Pepper Spicy Blend

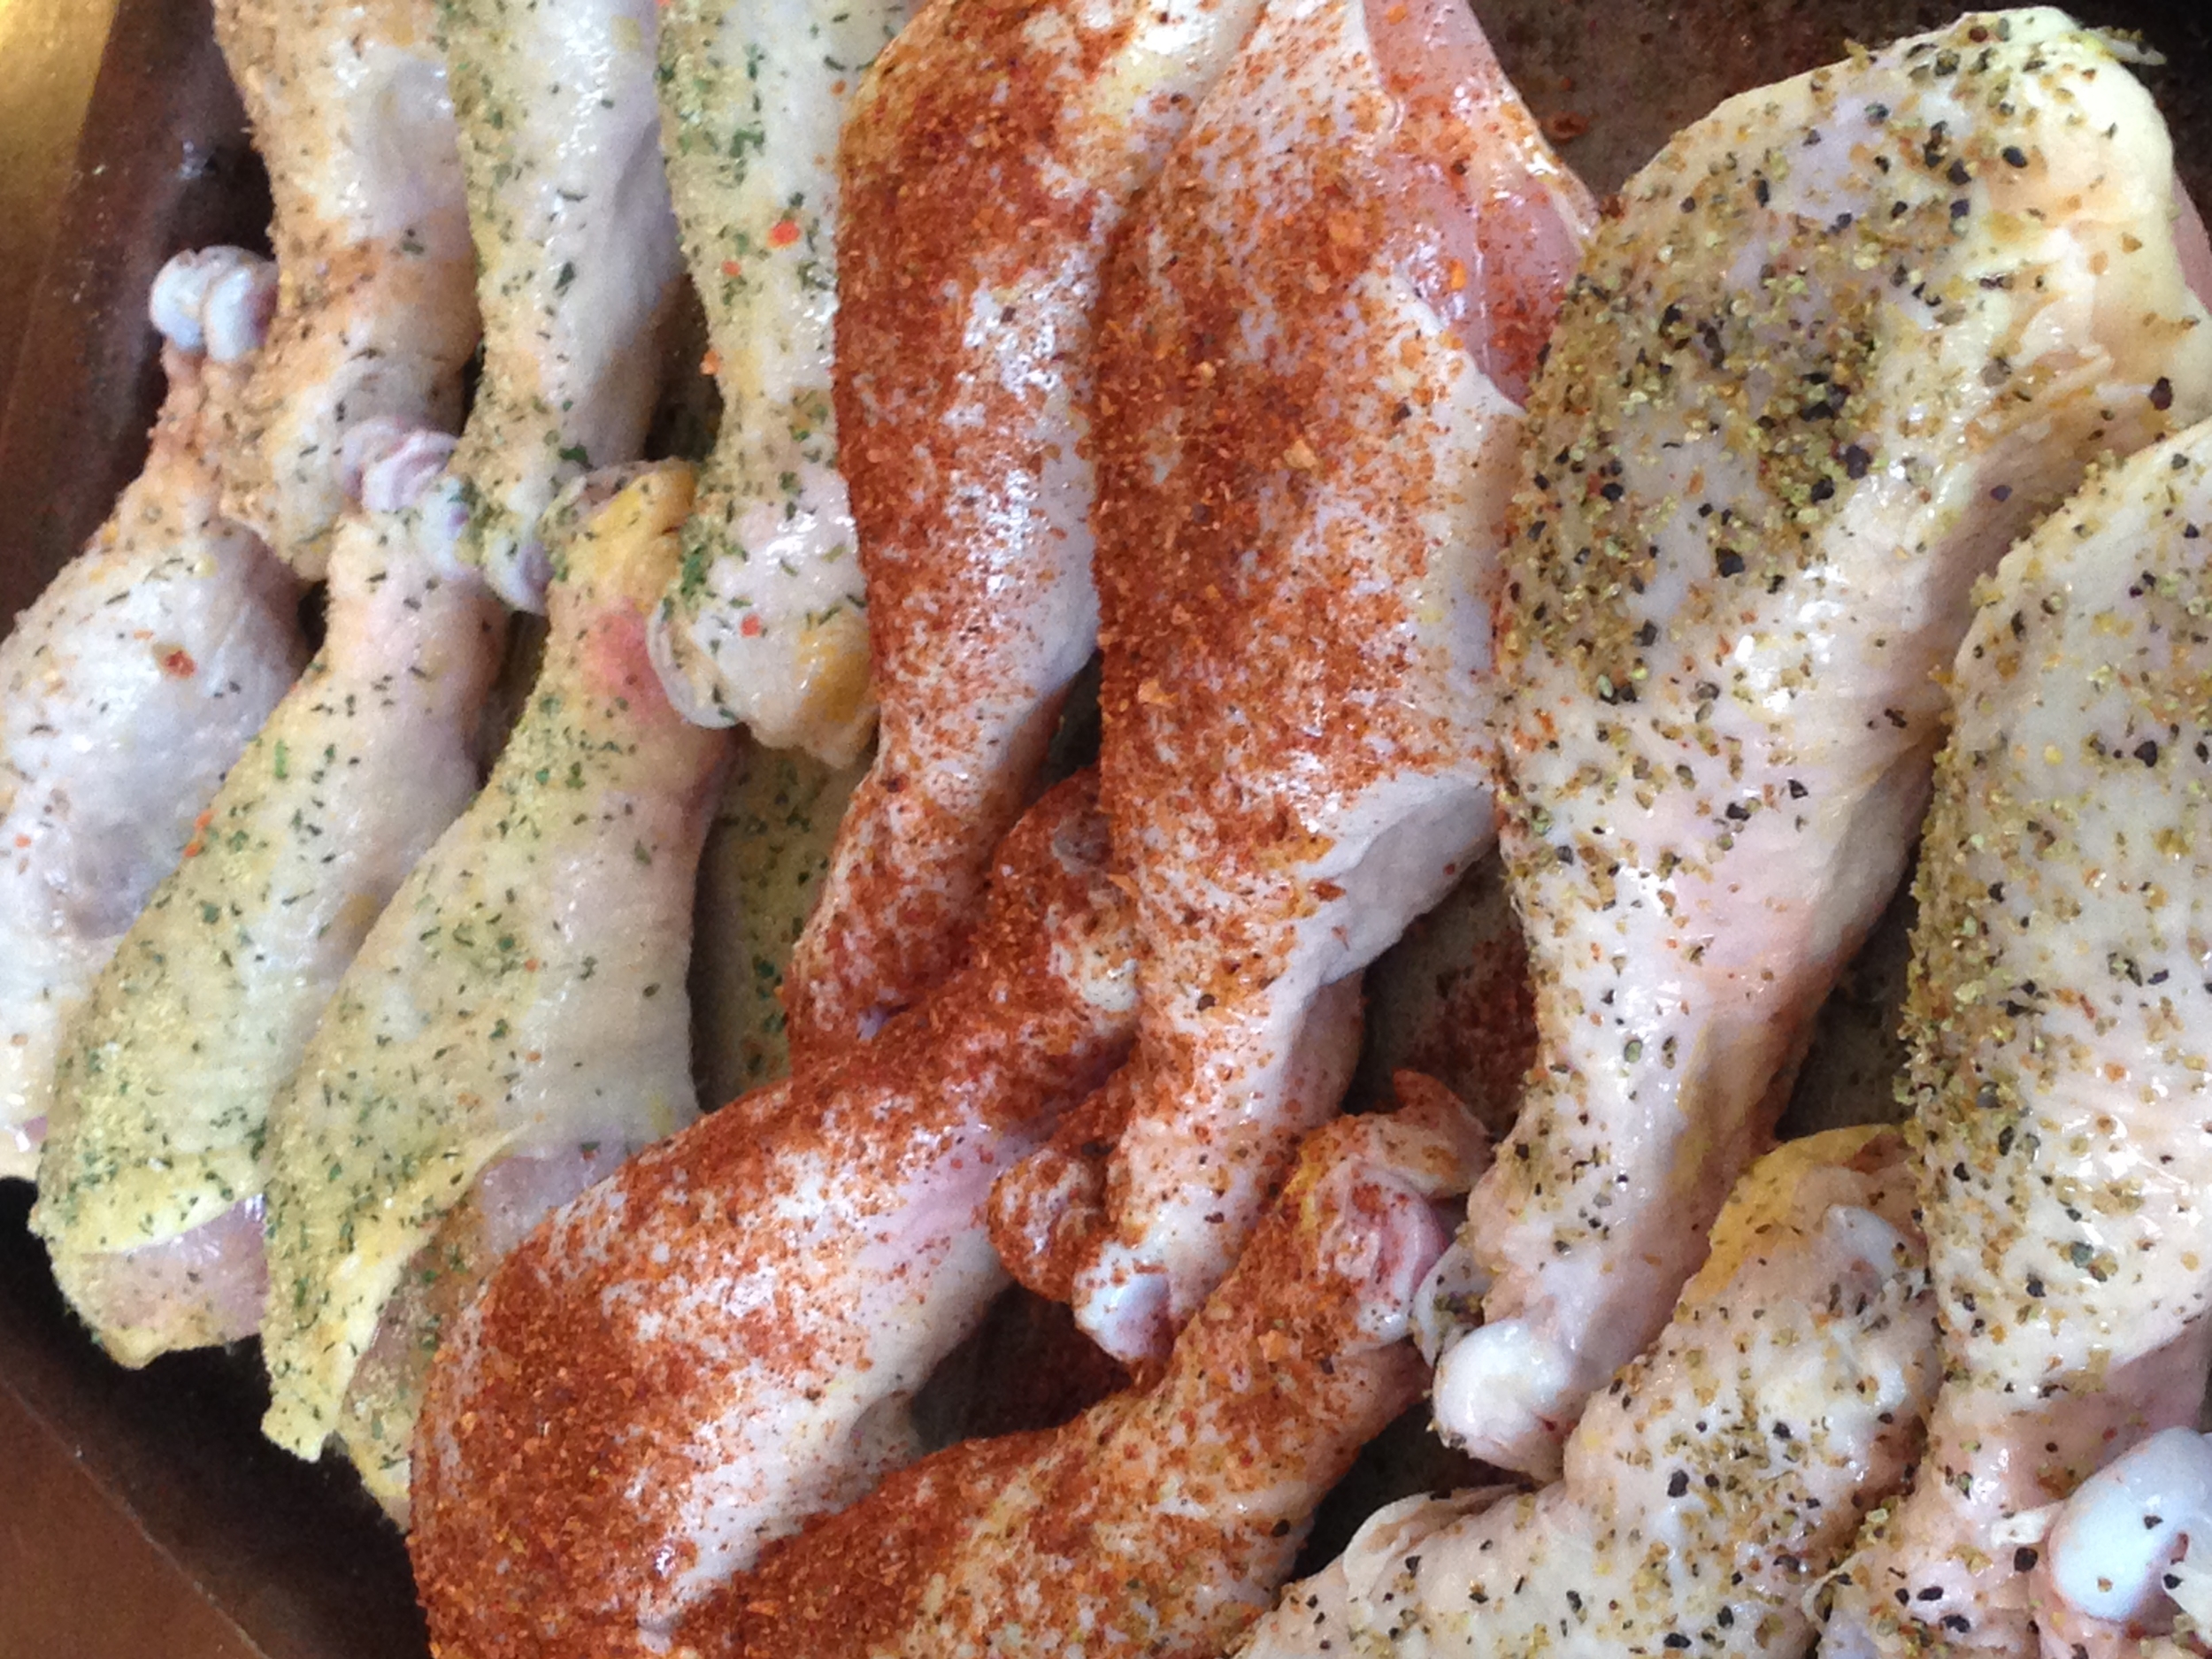
Try our other flavorful spices too! (I usually make a batch of chicken legs with an assortment of our seasoning blends and have our guests choose their favorites). This recipe would be a lot of fun for a game night meal.

Thanks for stopping by:) Comment below if you have made these chicken legs and your favorite Cherchies® Seasoning Blend. Come back again for more family-tested recipes, entertaining ideas, and cooking tips using all our favorite Cherchies® gourmet products.

Follow us on social media: Facebook, Instagram, and Pinterest.

Ingredients

**(Could substitute Cherchies®Select Grilling Rub & Seasoning, Cherchies®Chardonnay Lime & Cilantro Seasoning, Cherchies®Garlic Seasoning, Cherchies®Pepper Pizzazz Seasoning, Cherchies® Salsa Seasoning, or Cherchies®Pepper 'n Lime Seasoning for a completely different taste...or mix them up!)

Preparation

Light the grill and turn it on high.  After five minutes, turn the grill down to low.

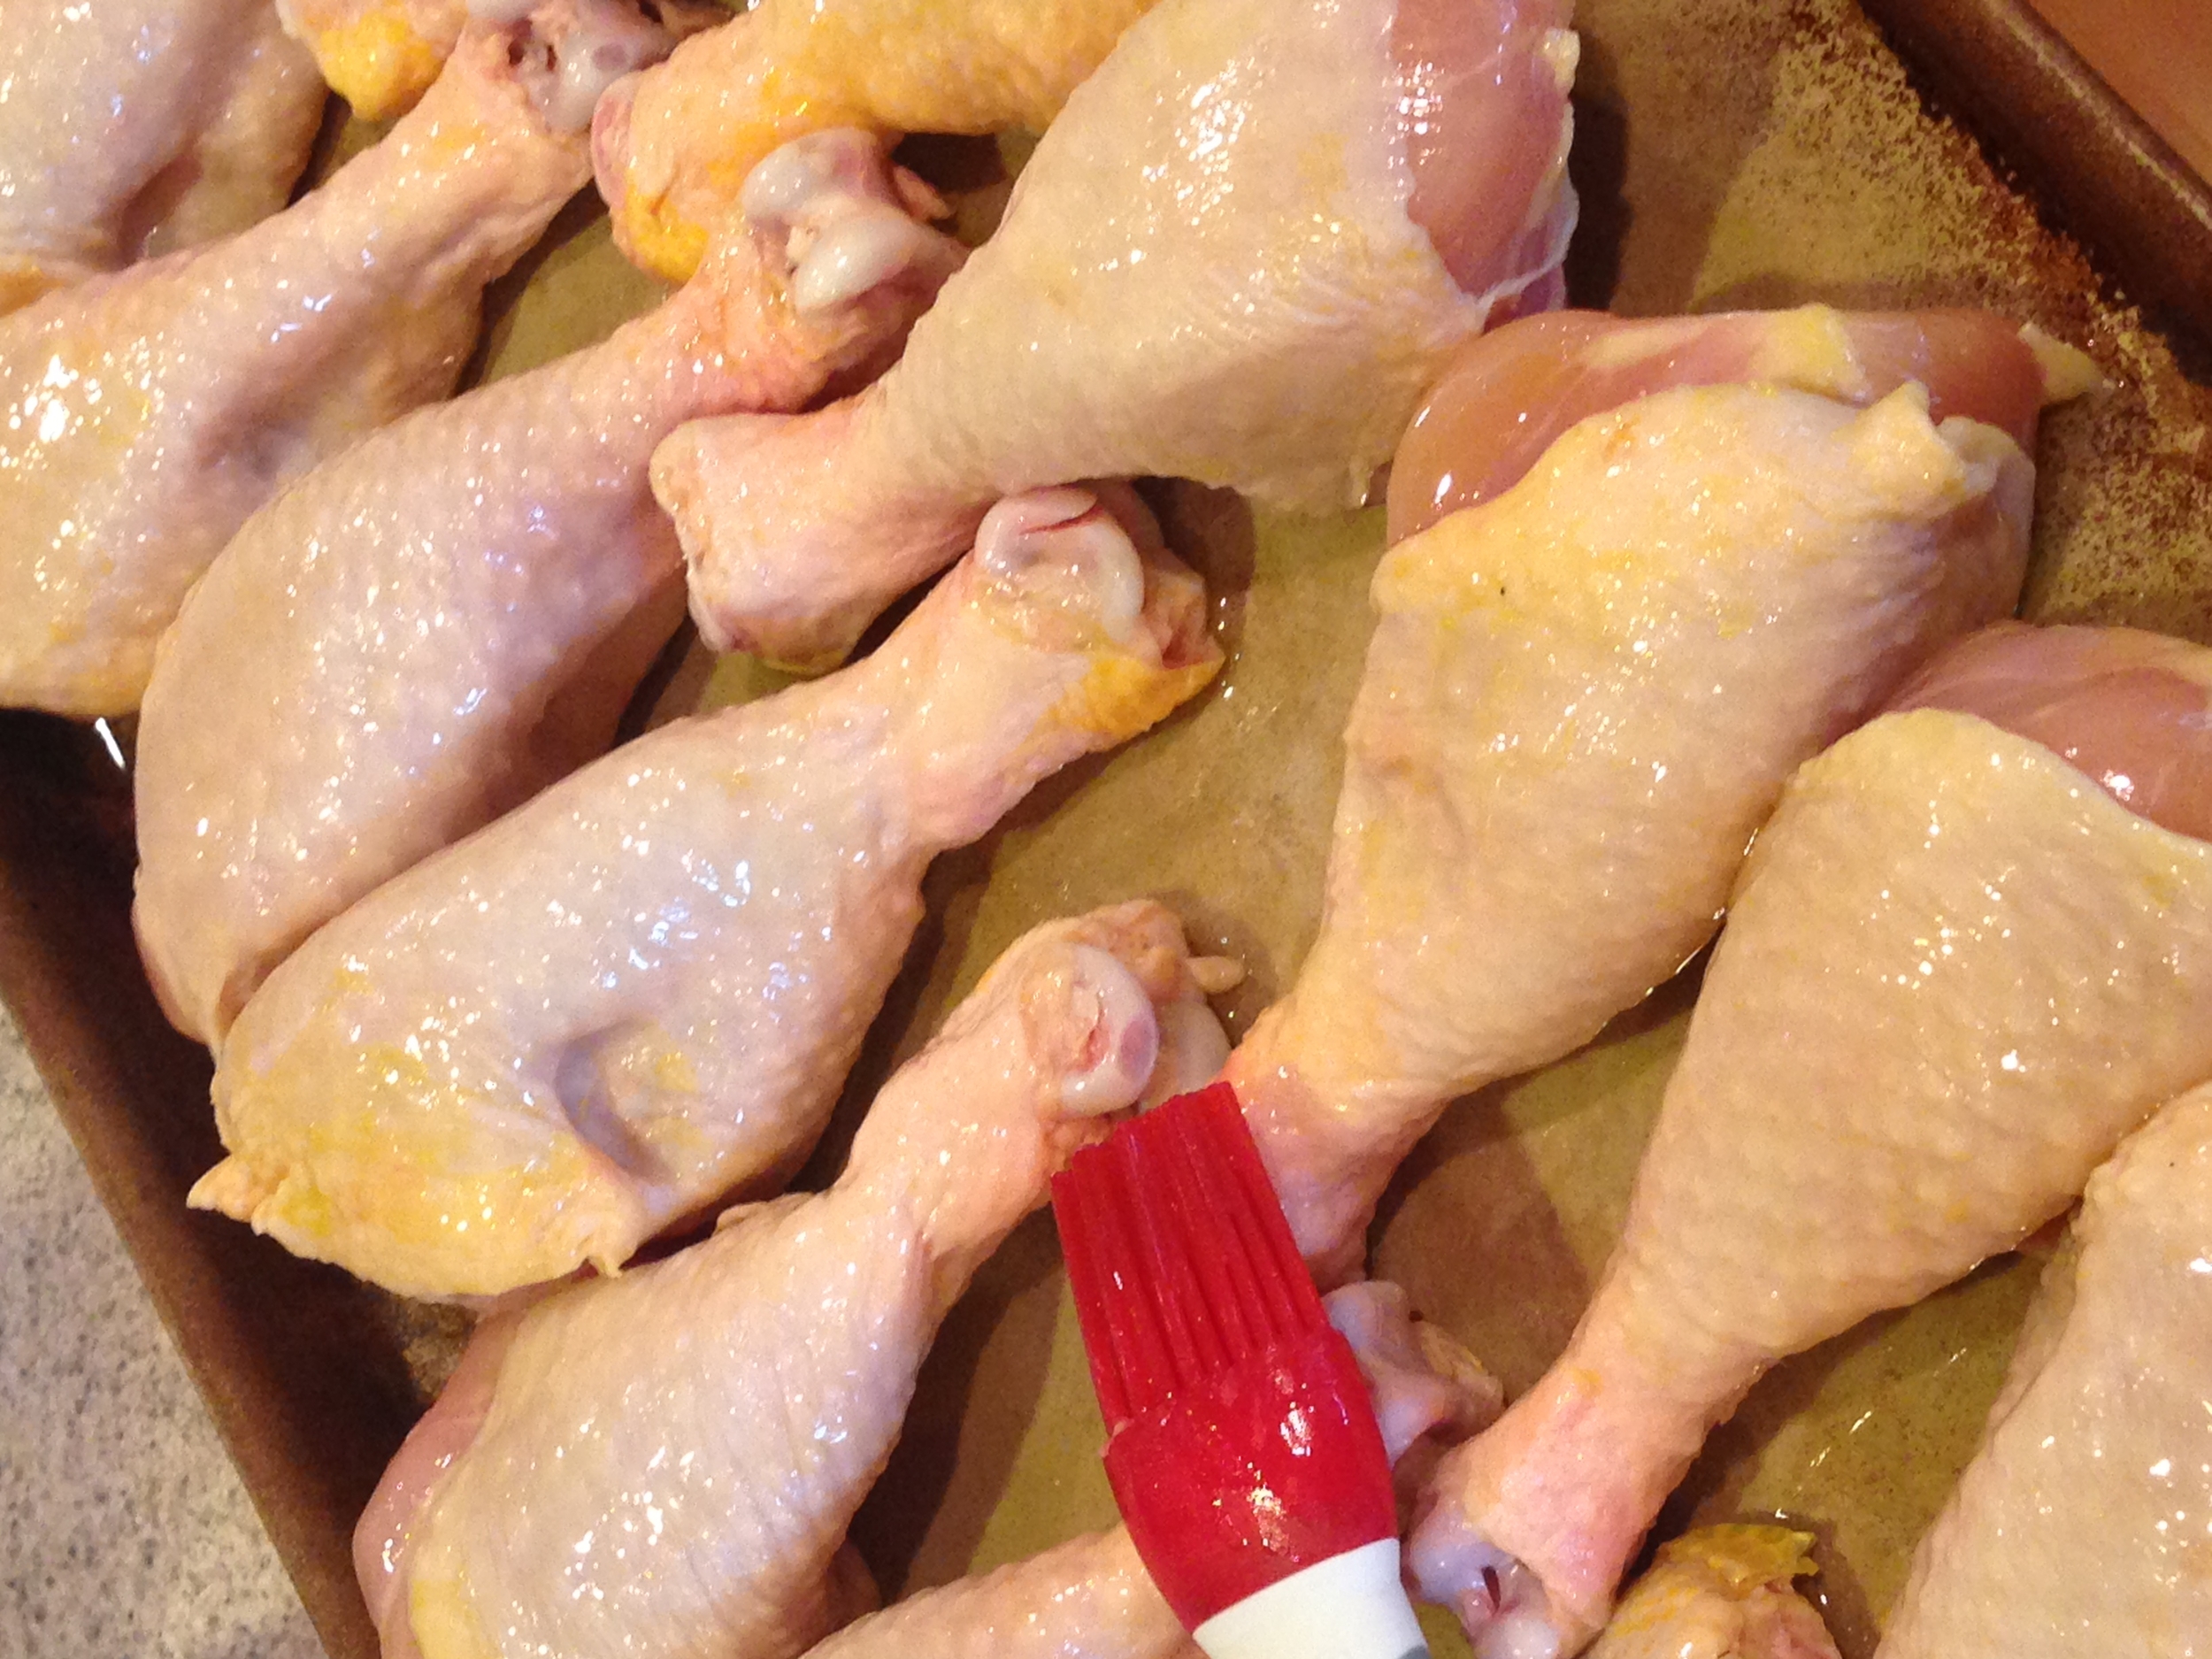
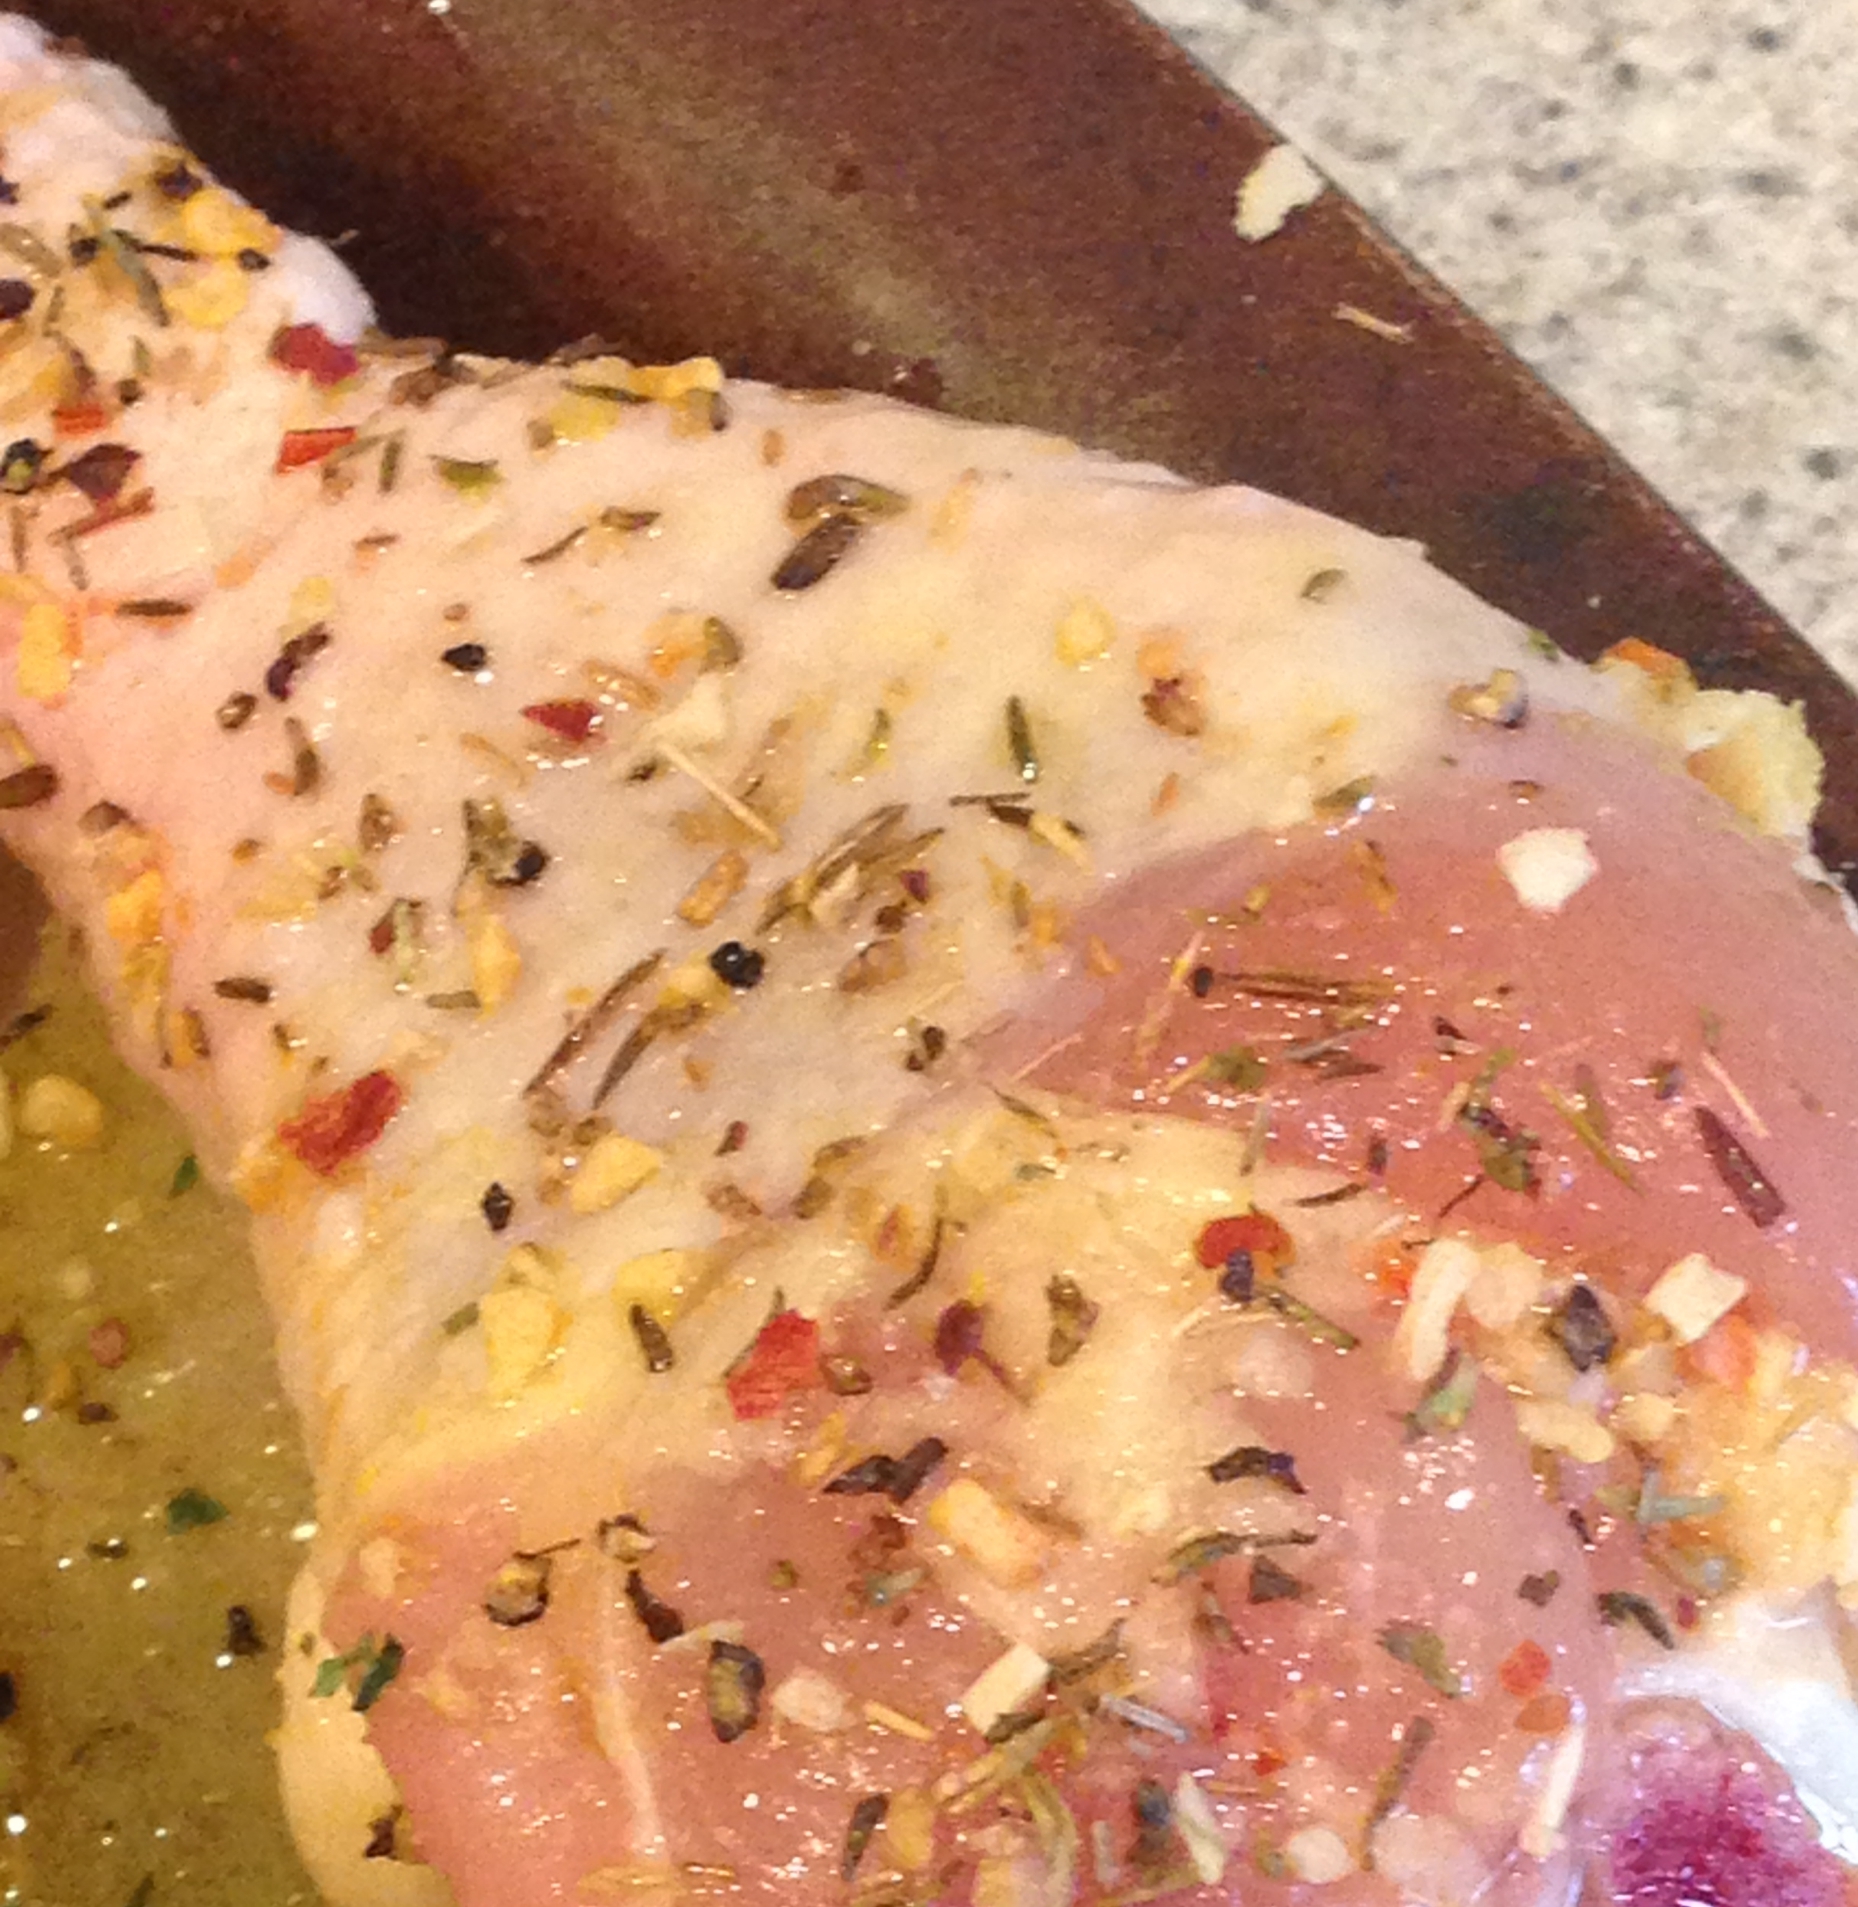
Brush Olive oil on Chicken legs.  Generously coat all sides of chicken with Cherchies® Lem 'n Pepper Spicy Blend (or any of our seasoning blends).

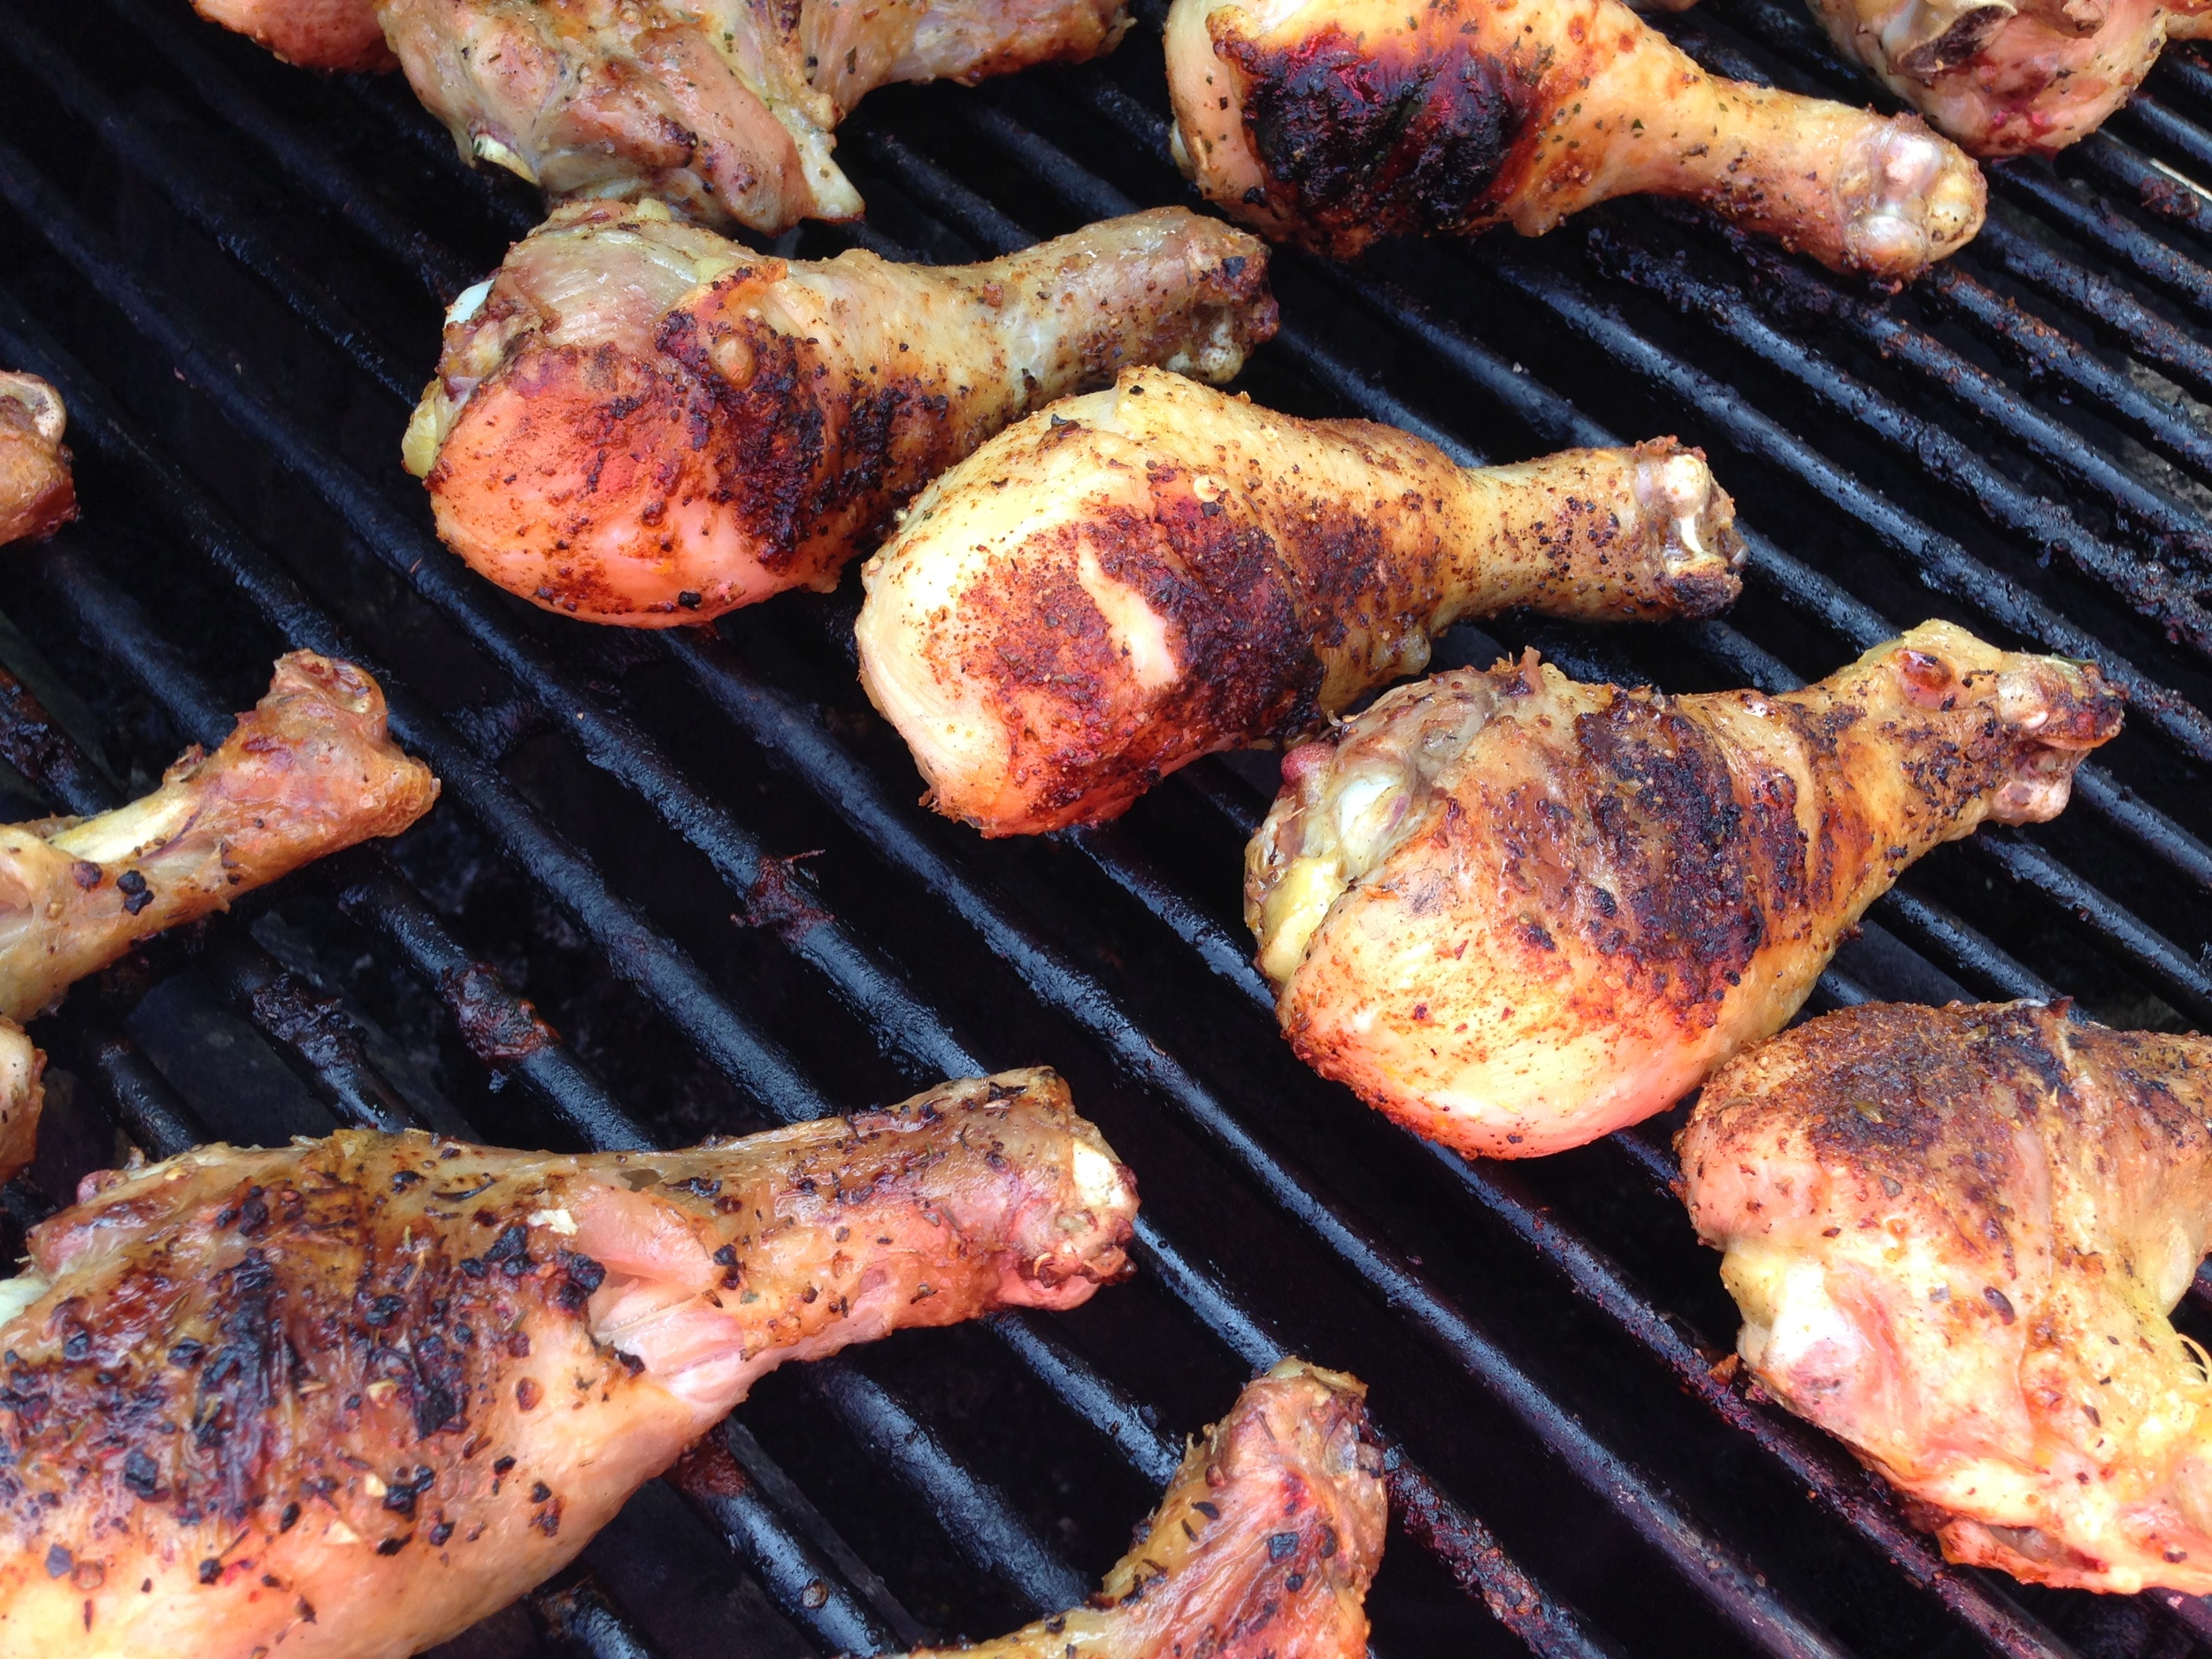
Place chicken legs on the grill and cook, turning every five minutes until juices run clear.  The result, lovely, juicy grilled chicken legs.  Enjoy!

Lem'n Pepper Chicken Recipe

Lem'n Pepper Chicken Recipe

Yum

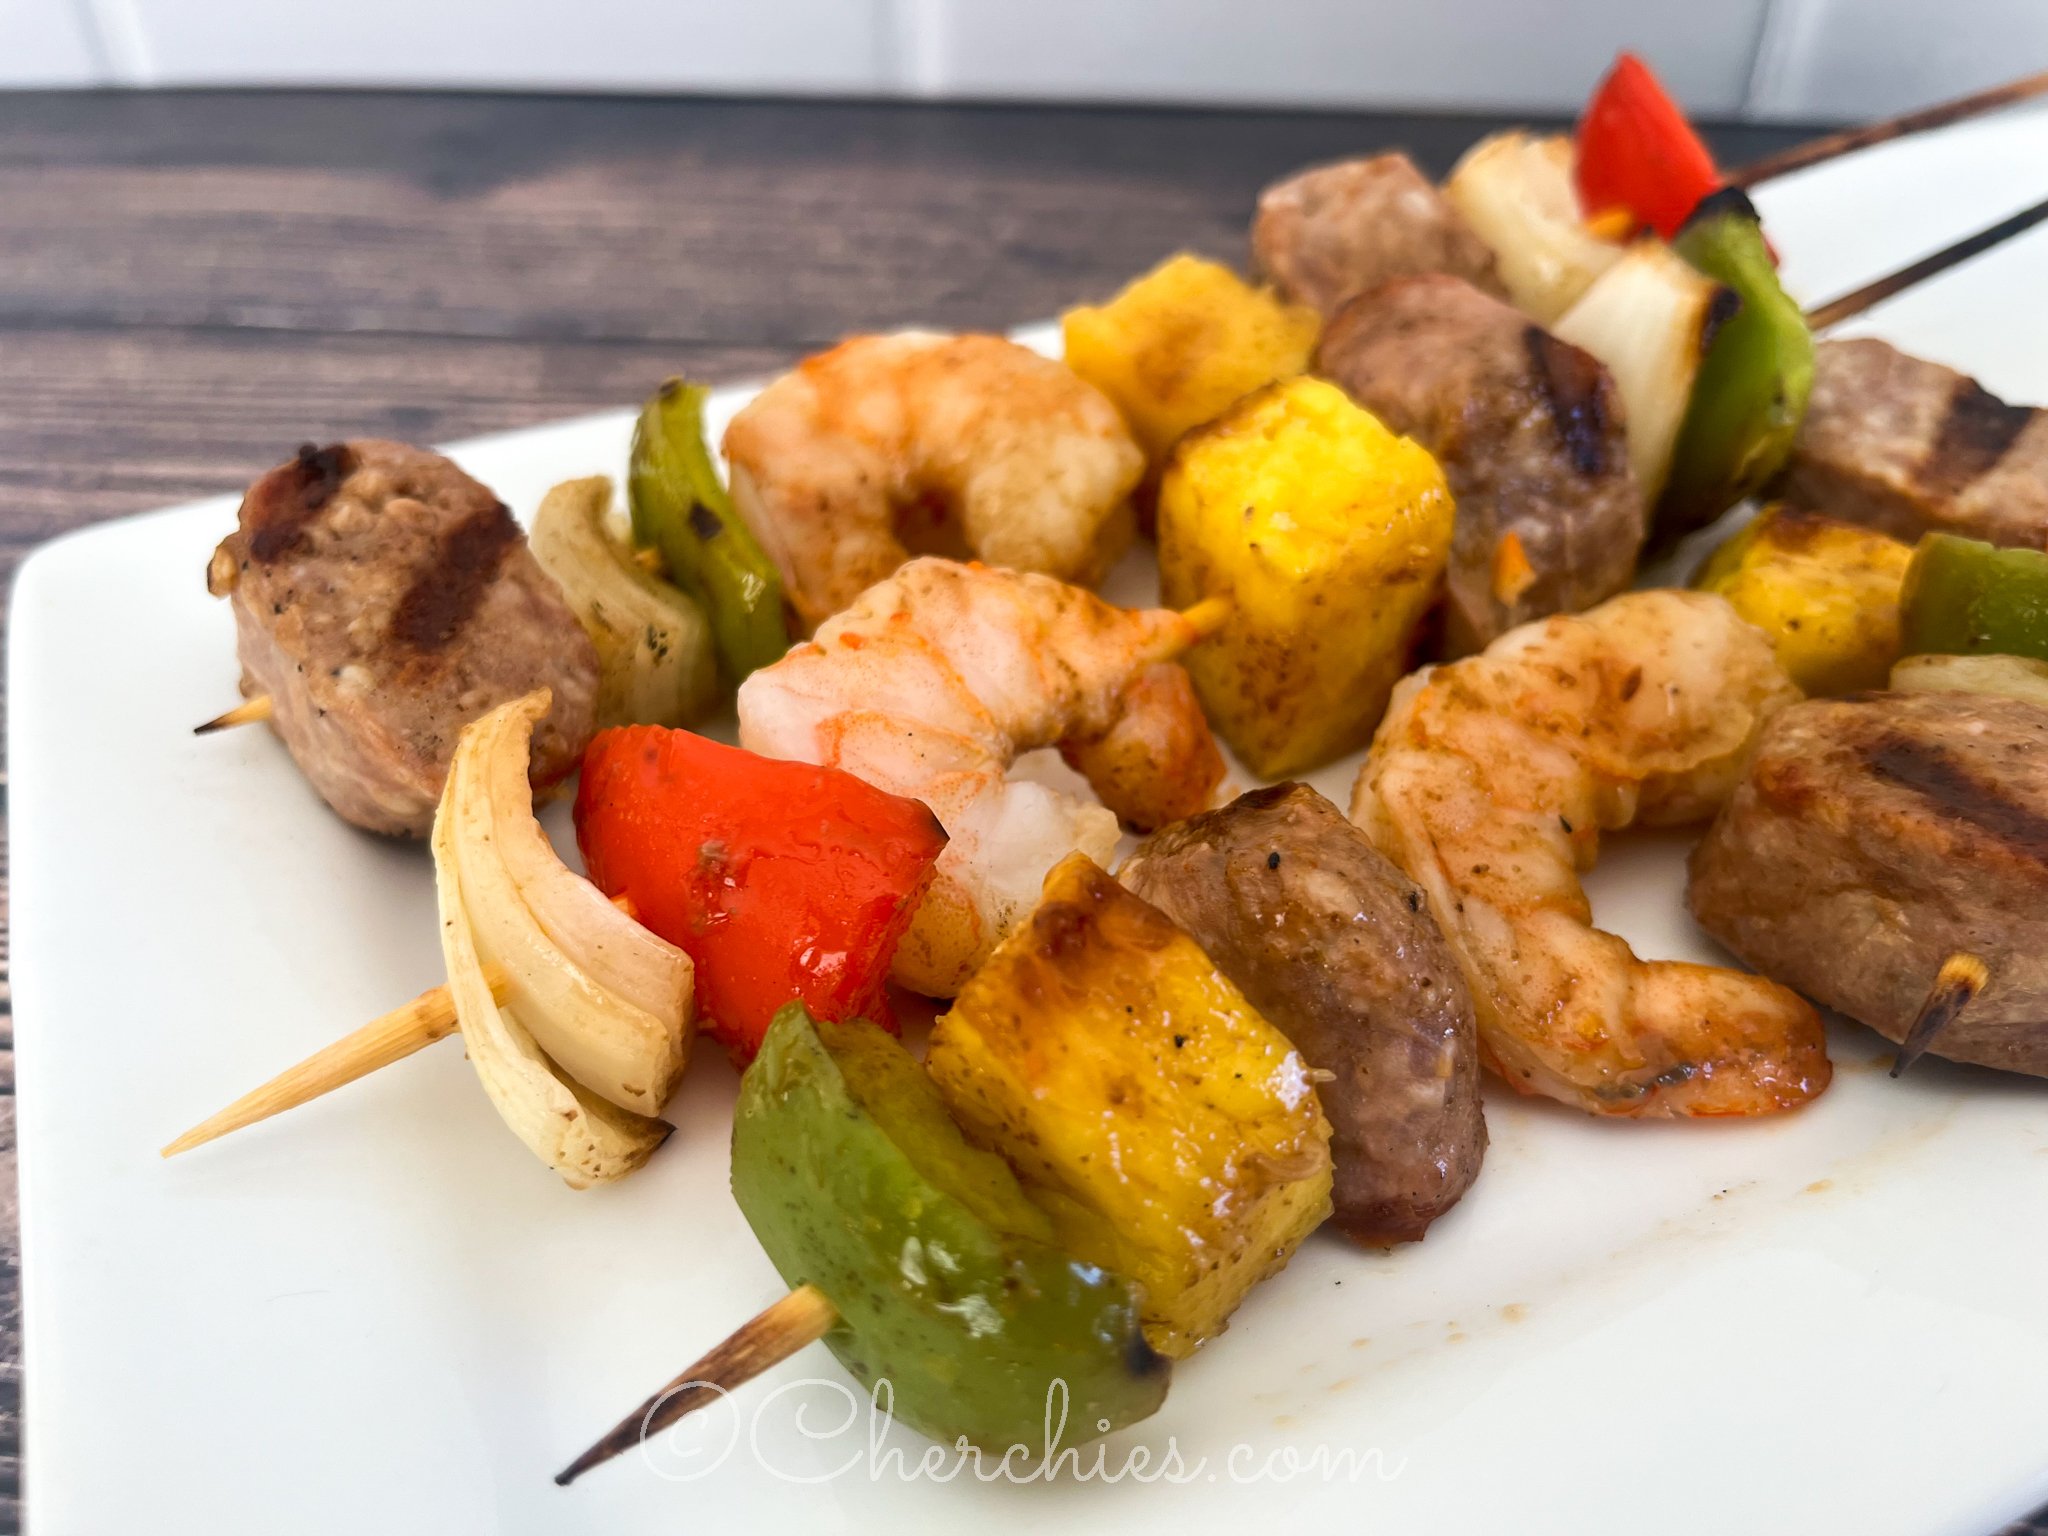
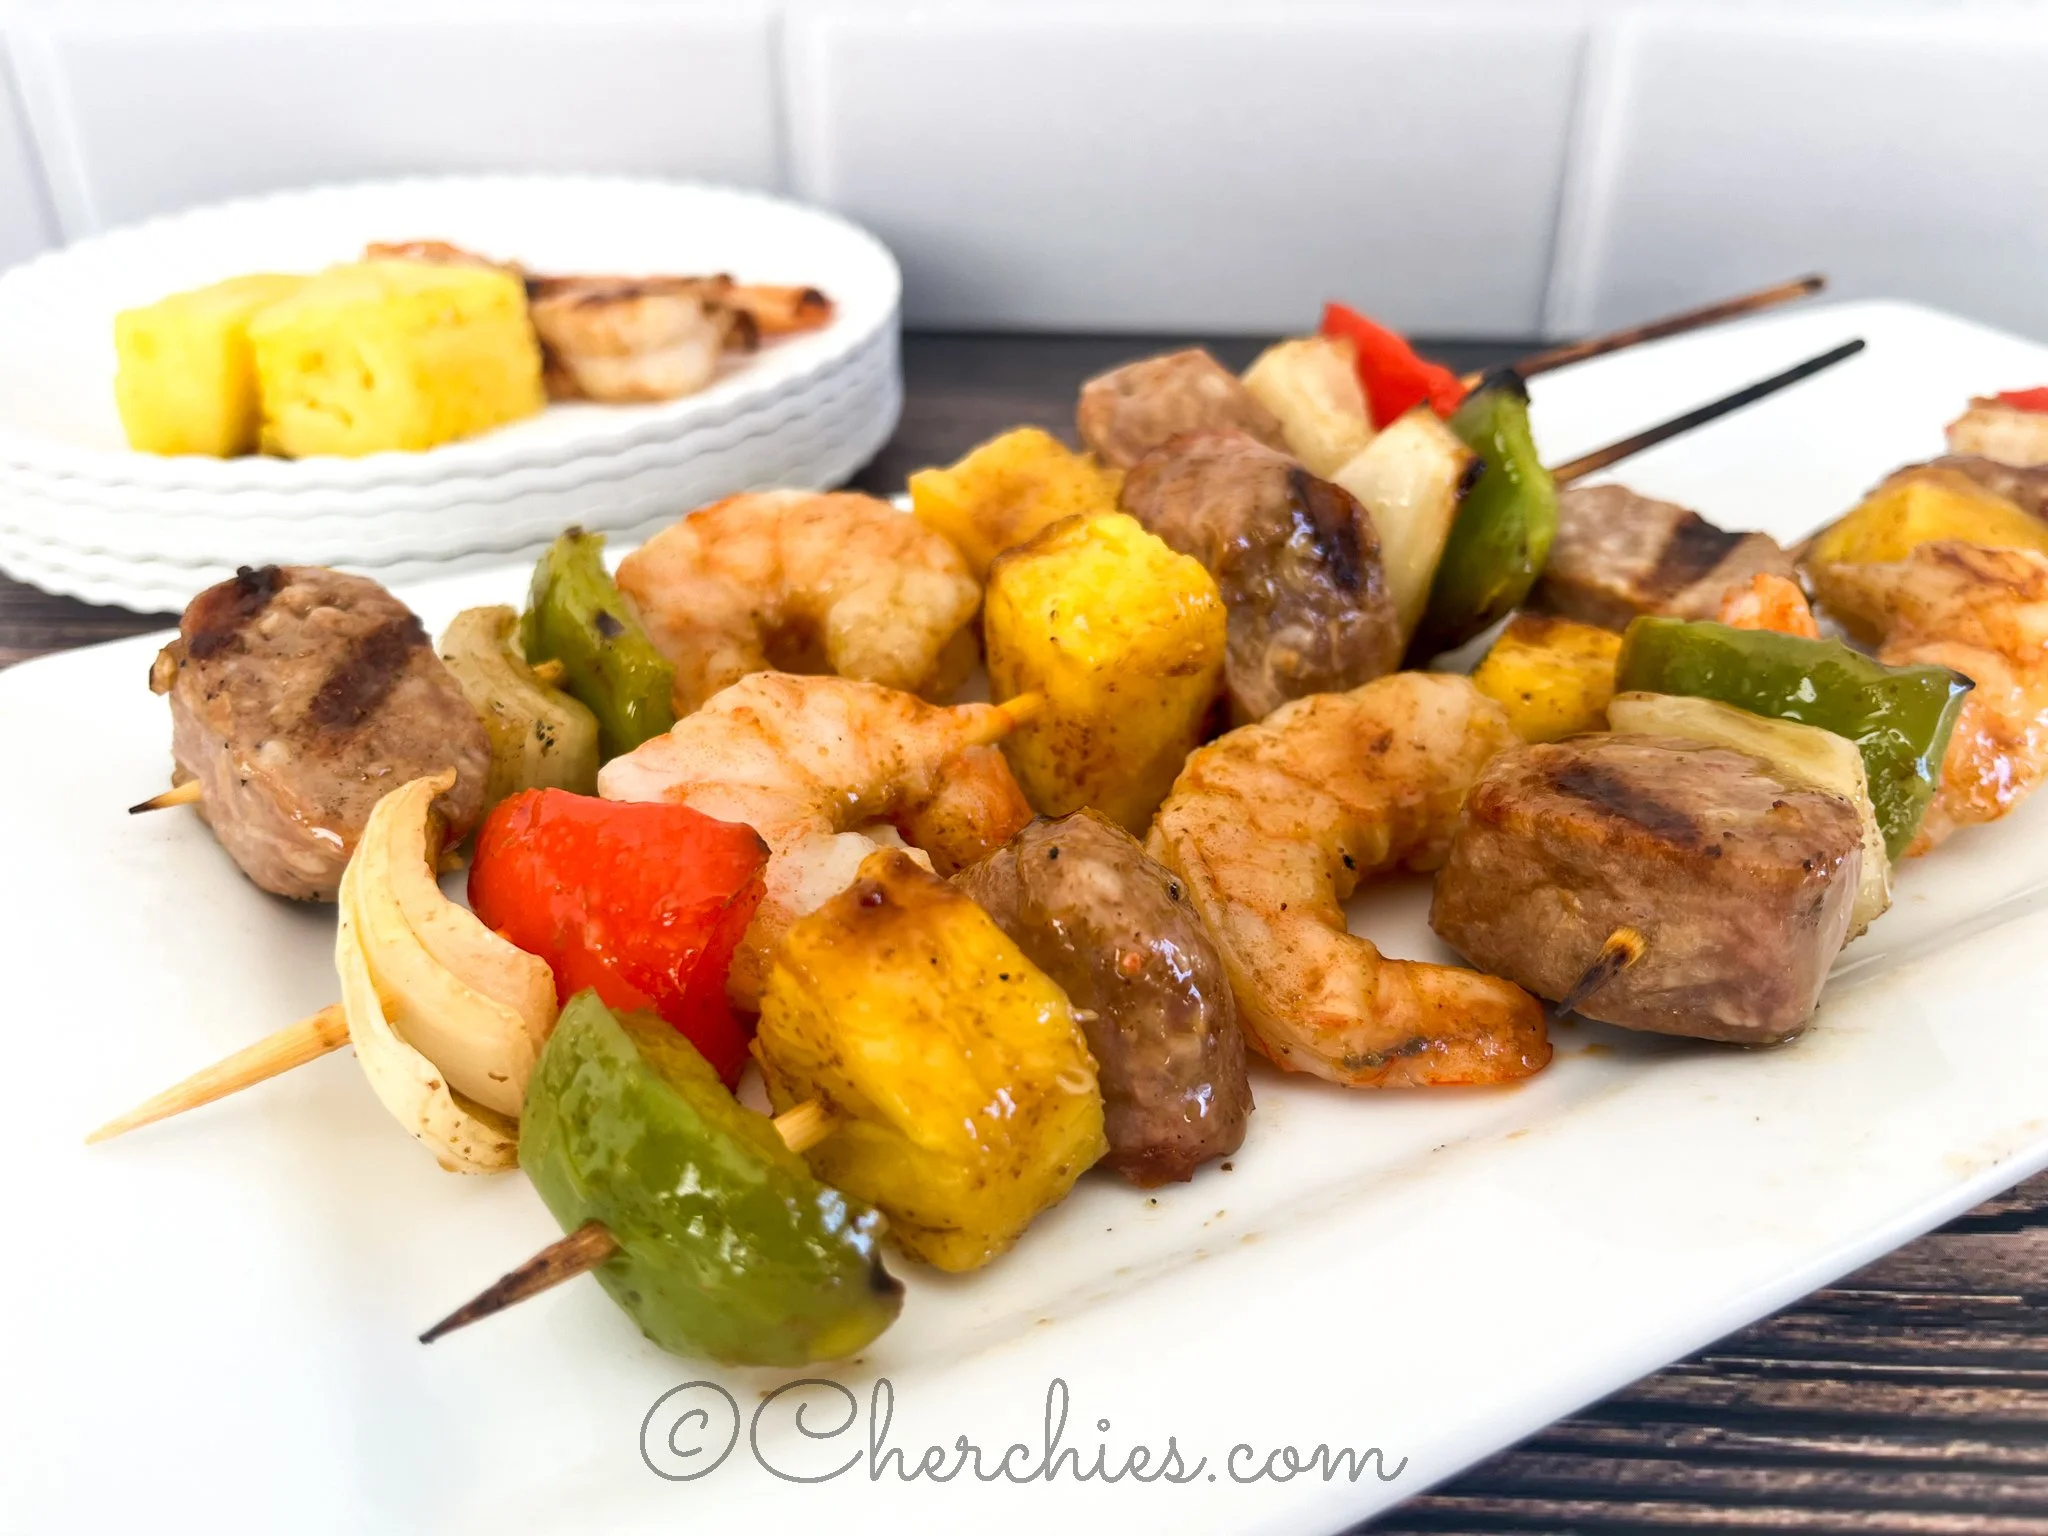
Creole Kabobs Recipe

entrees, grilling, lunchSheri SpalloneComment

Creole Kabobs Recipe

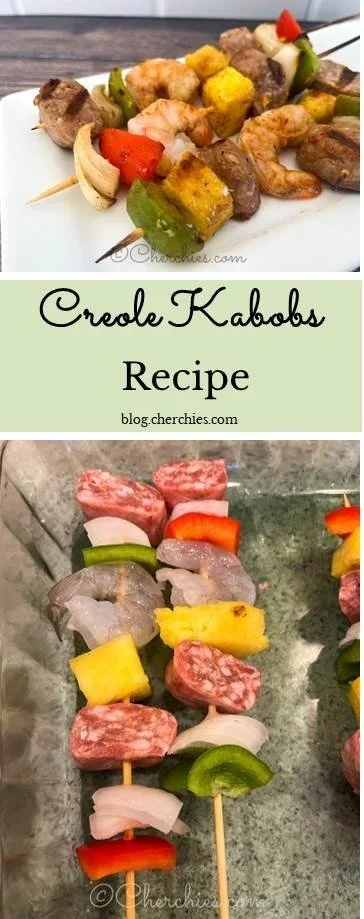
We love it when customers send us recipes using our gourmet products.  This tasty recipe, sent to us by Kim S. of Honeybrook, PA, features Cherchies® Brush 'N Broil sauce and Cherchies® Lem 'N Pepper Seasoning Blend.  It is “family-approved, and you will elicit oohs and aahs every time you make these tasty kabobs.”

Have you ever noticed people seem happier when the weather is warmer?  Did you know summer is the favorite season for most? I love Summer!  Flip flops, warm sunshine, flowers, swimming, the beach, the smells of barbeques wafting through the air... Summer is alive and vibrant!  It is a time for cookouts and to slow down, grill, and chill with family and friends, and easy peasy no-fuss meals are a must on the menu.  

Speaking of grilling, our Brush 'N Broil Sauce is like liquid gold in a bottle for all you grill masters out there and the key to this recipe's intense flavor.  This specialty non-ketchup sauce is like none other, a mildly hot sauce made with olive oil and a rich blend of spices and natural flavors.  It is perfect in stir-fries, as a dip, and especially as a marinade for meats, seafood, and vegetables. 

So if you are looking to amp up your grilling game with an easy recipe guaranteed to impress your family and friends, consider these flavorful kabobs featuring Cherchies® Brush 'N Broil Sauce!  You will not be disappointed.

Thanks for stopping by:) Comment below if you have made this delicious recipe. Come back again for more family-tested recipes, entertaining ideas, and cooking tips using all our favorite Cherchies® gourmet products.

Follow us on social media: Facebook, Instagram, and Pinterest.

Ingredients

Preparation

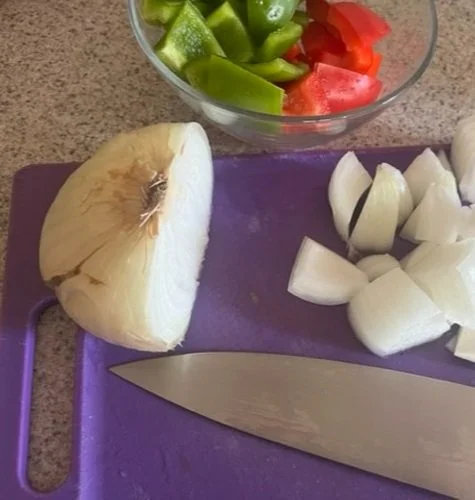
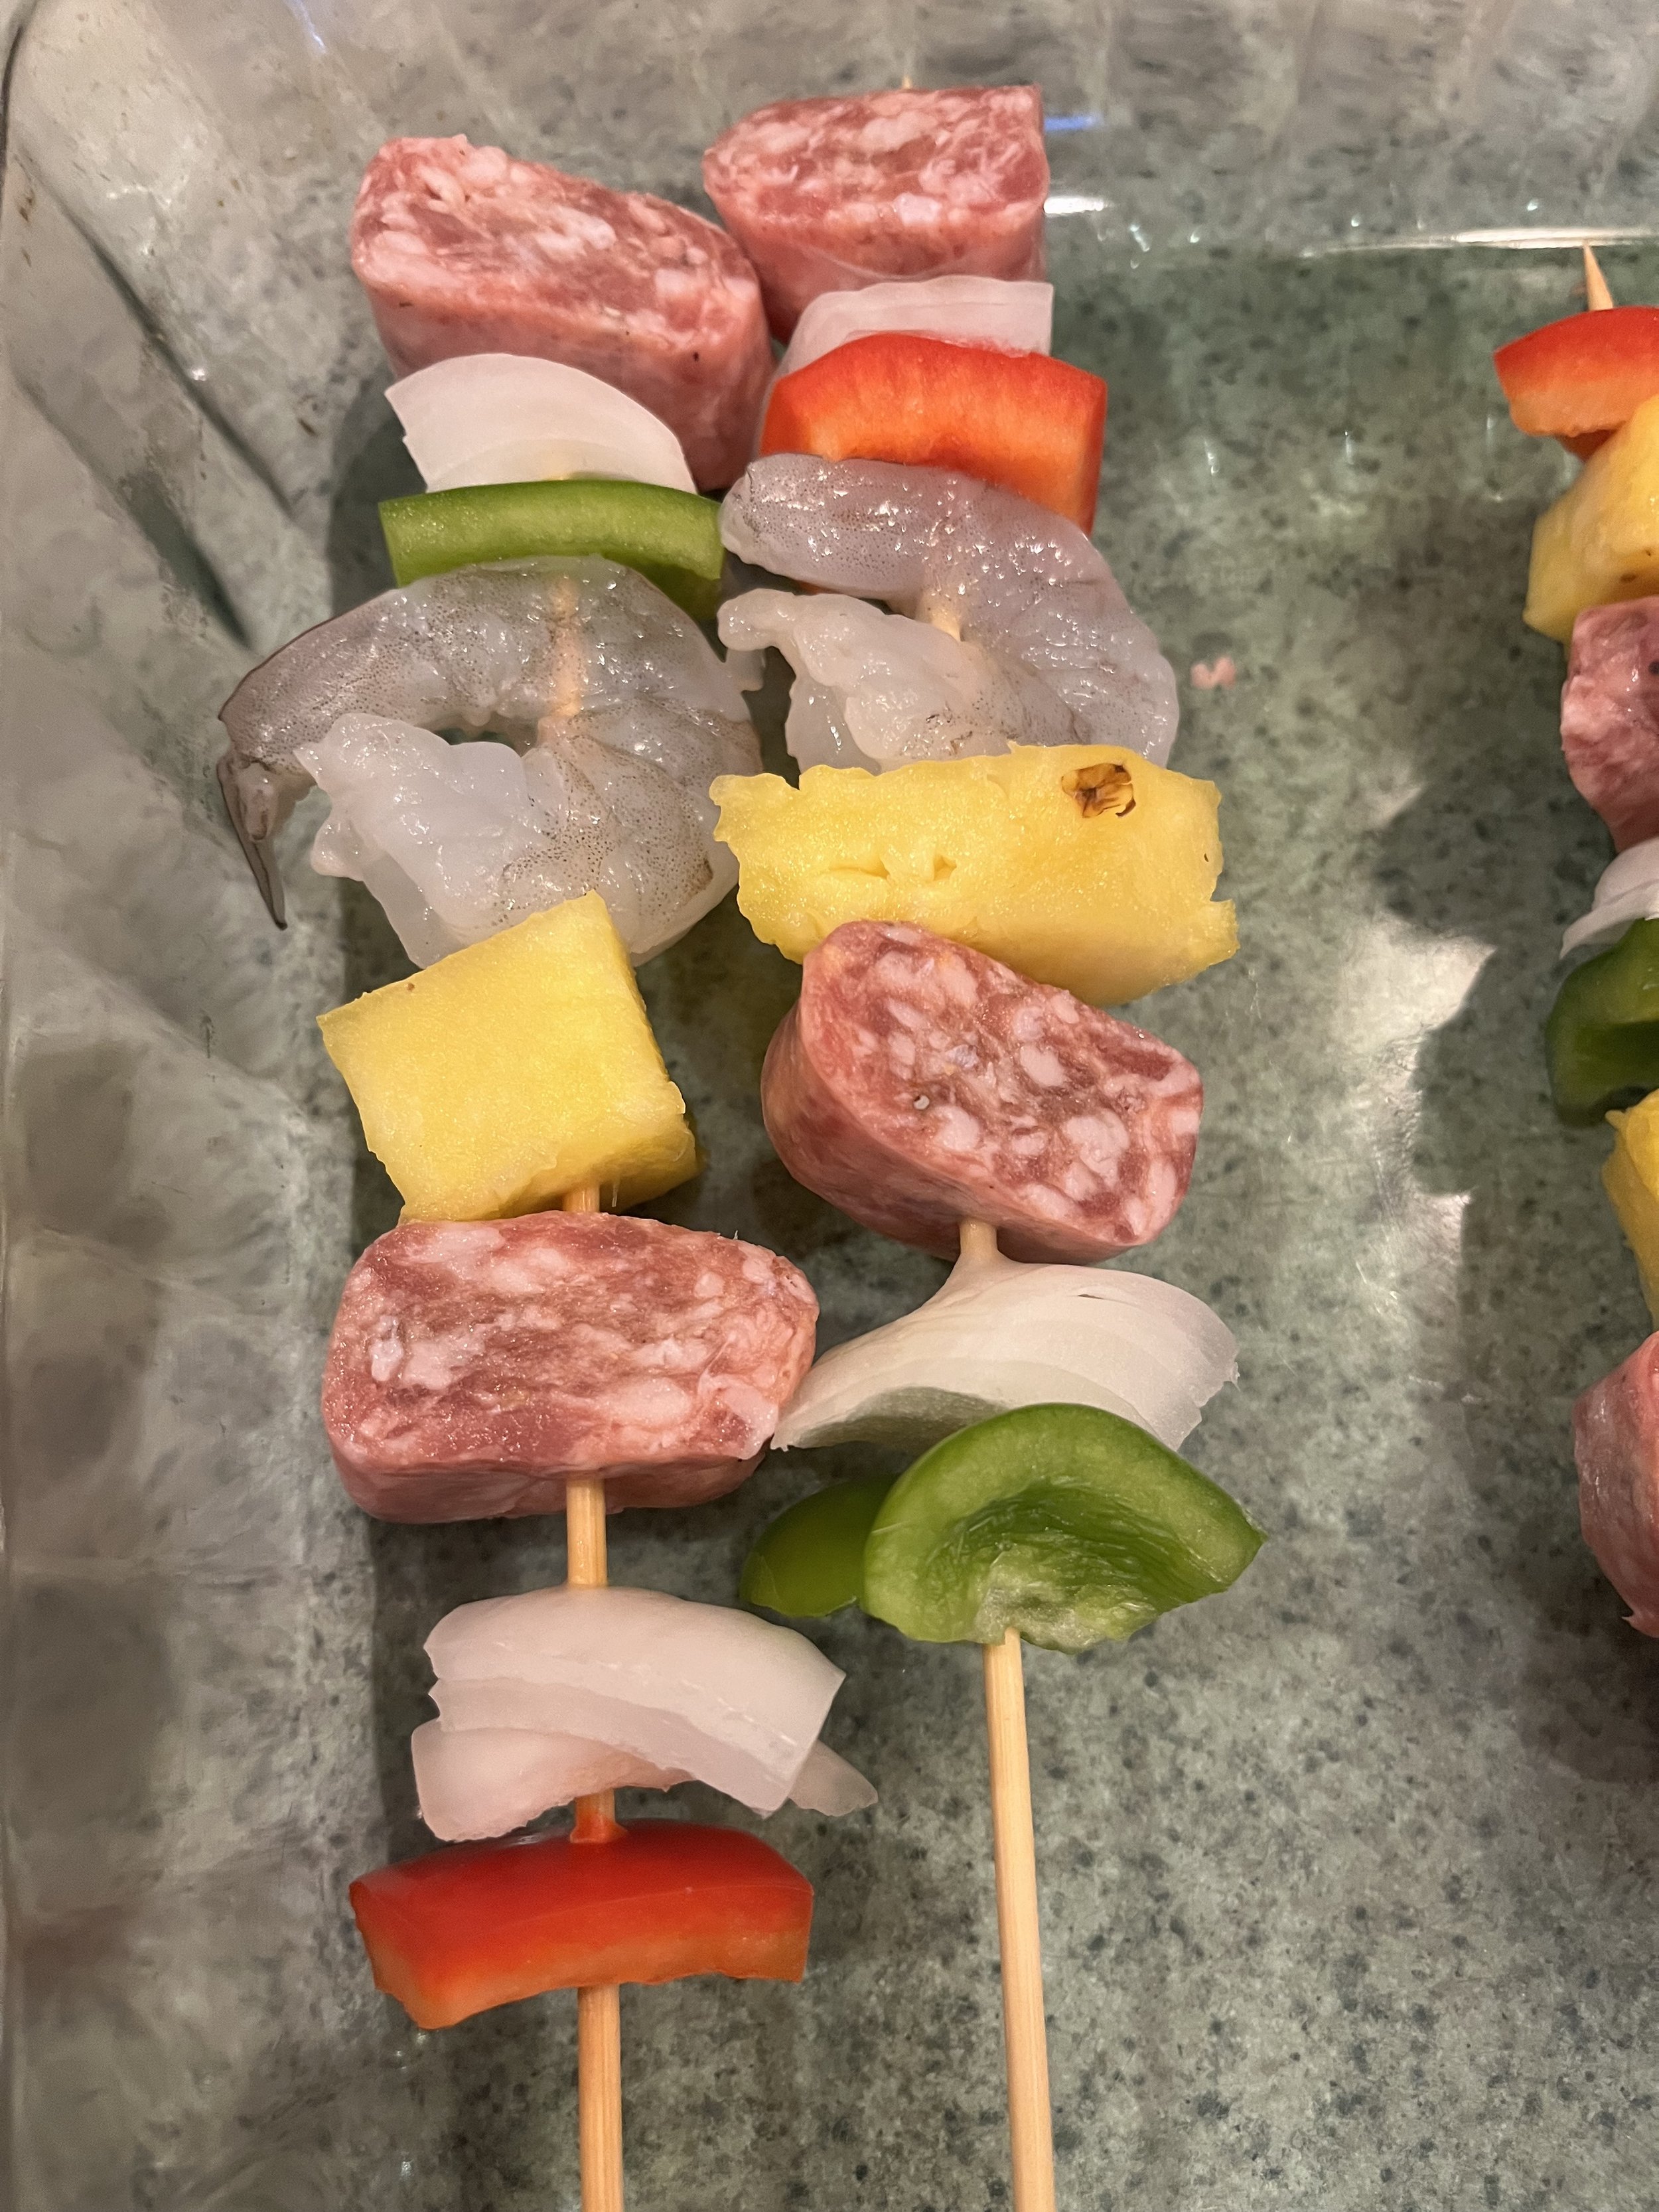
Spray 4 to 6 skewers with cooking spray. Put ingredients on a skewer in the order they are listed in the recipe. (Skewer the sausage through the casing, leaving the cut edge open for even cooking. Skewer the shrimp through the length of the shrimp.)

Place skewers on a cookie tray and brush generously with Brush 'N Broil, turning to coat evenly on all sides.

Place in refrigerator for at least 2 hours. Place on grill over medium heat and cook for about 5 minutes per 1/4 turn.

Sprinkle with Lem'n Pepper Spicy Seasoning Blend during the last two minutes of grilling.

Enjoy!


Yum