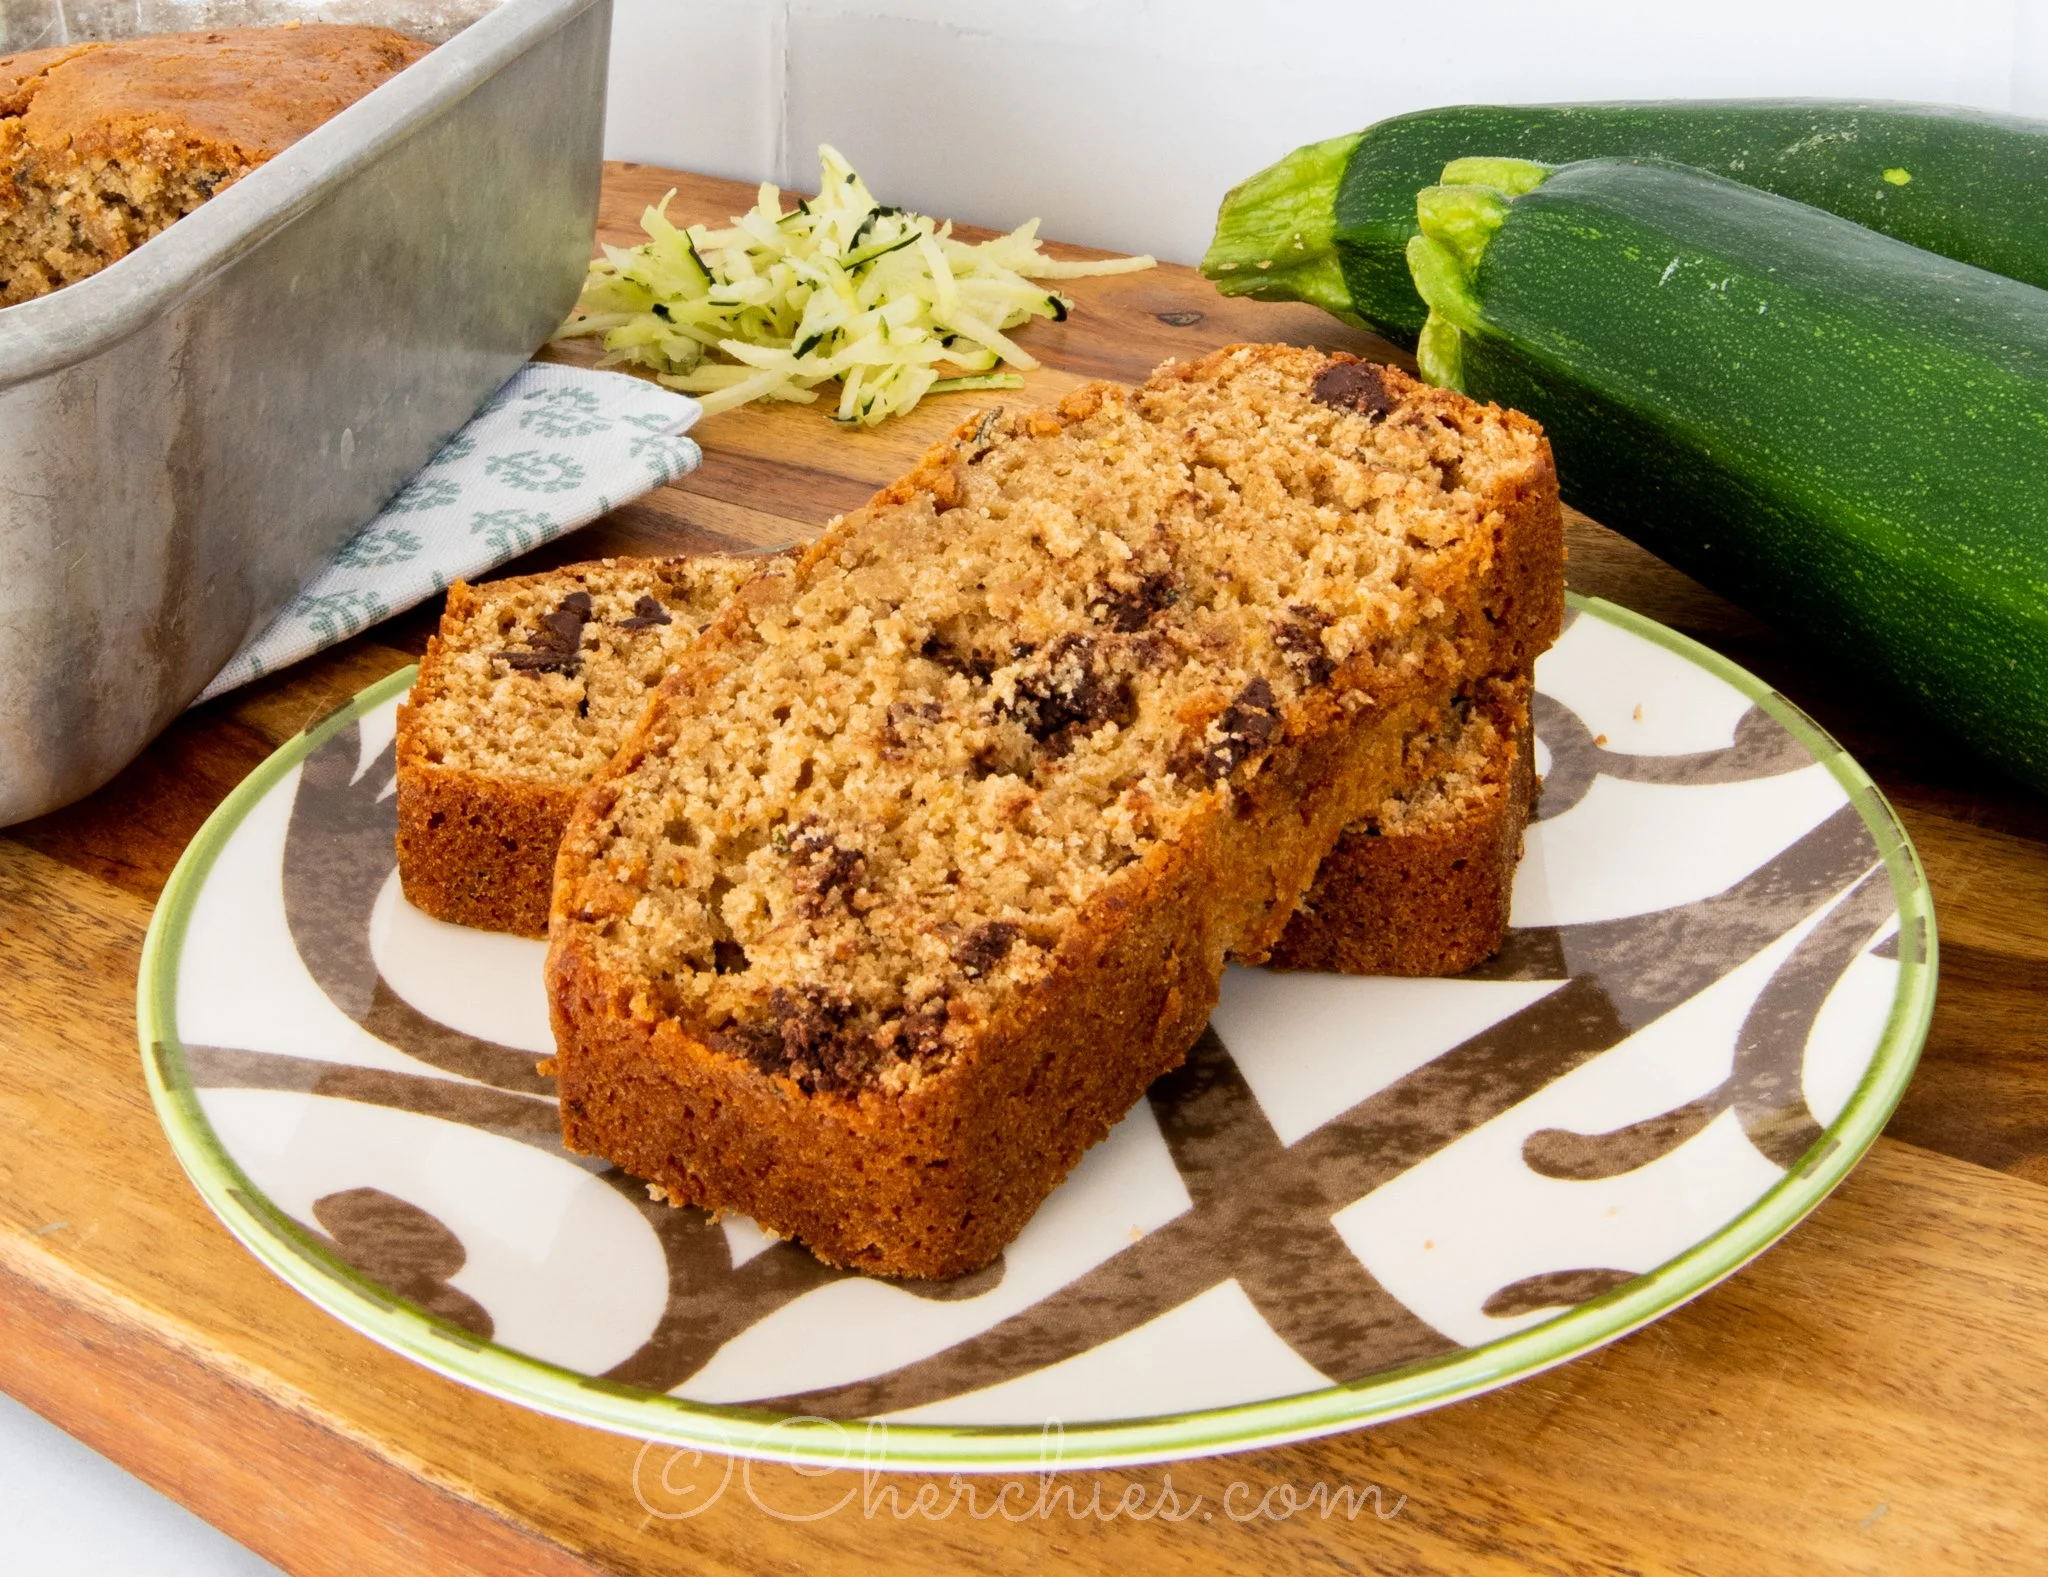
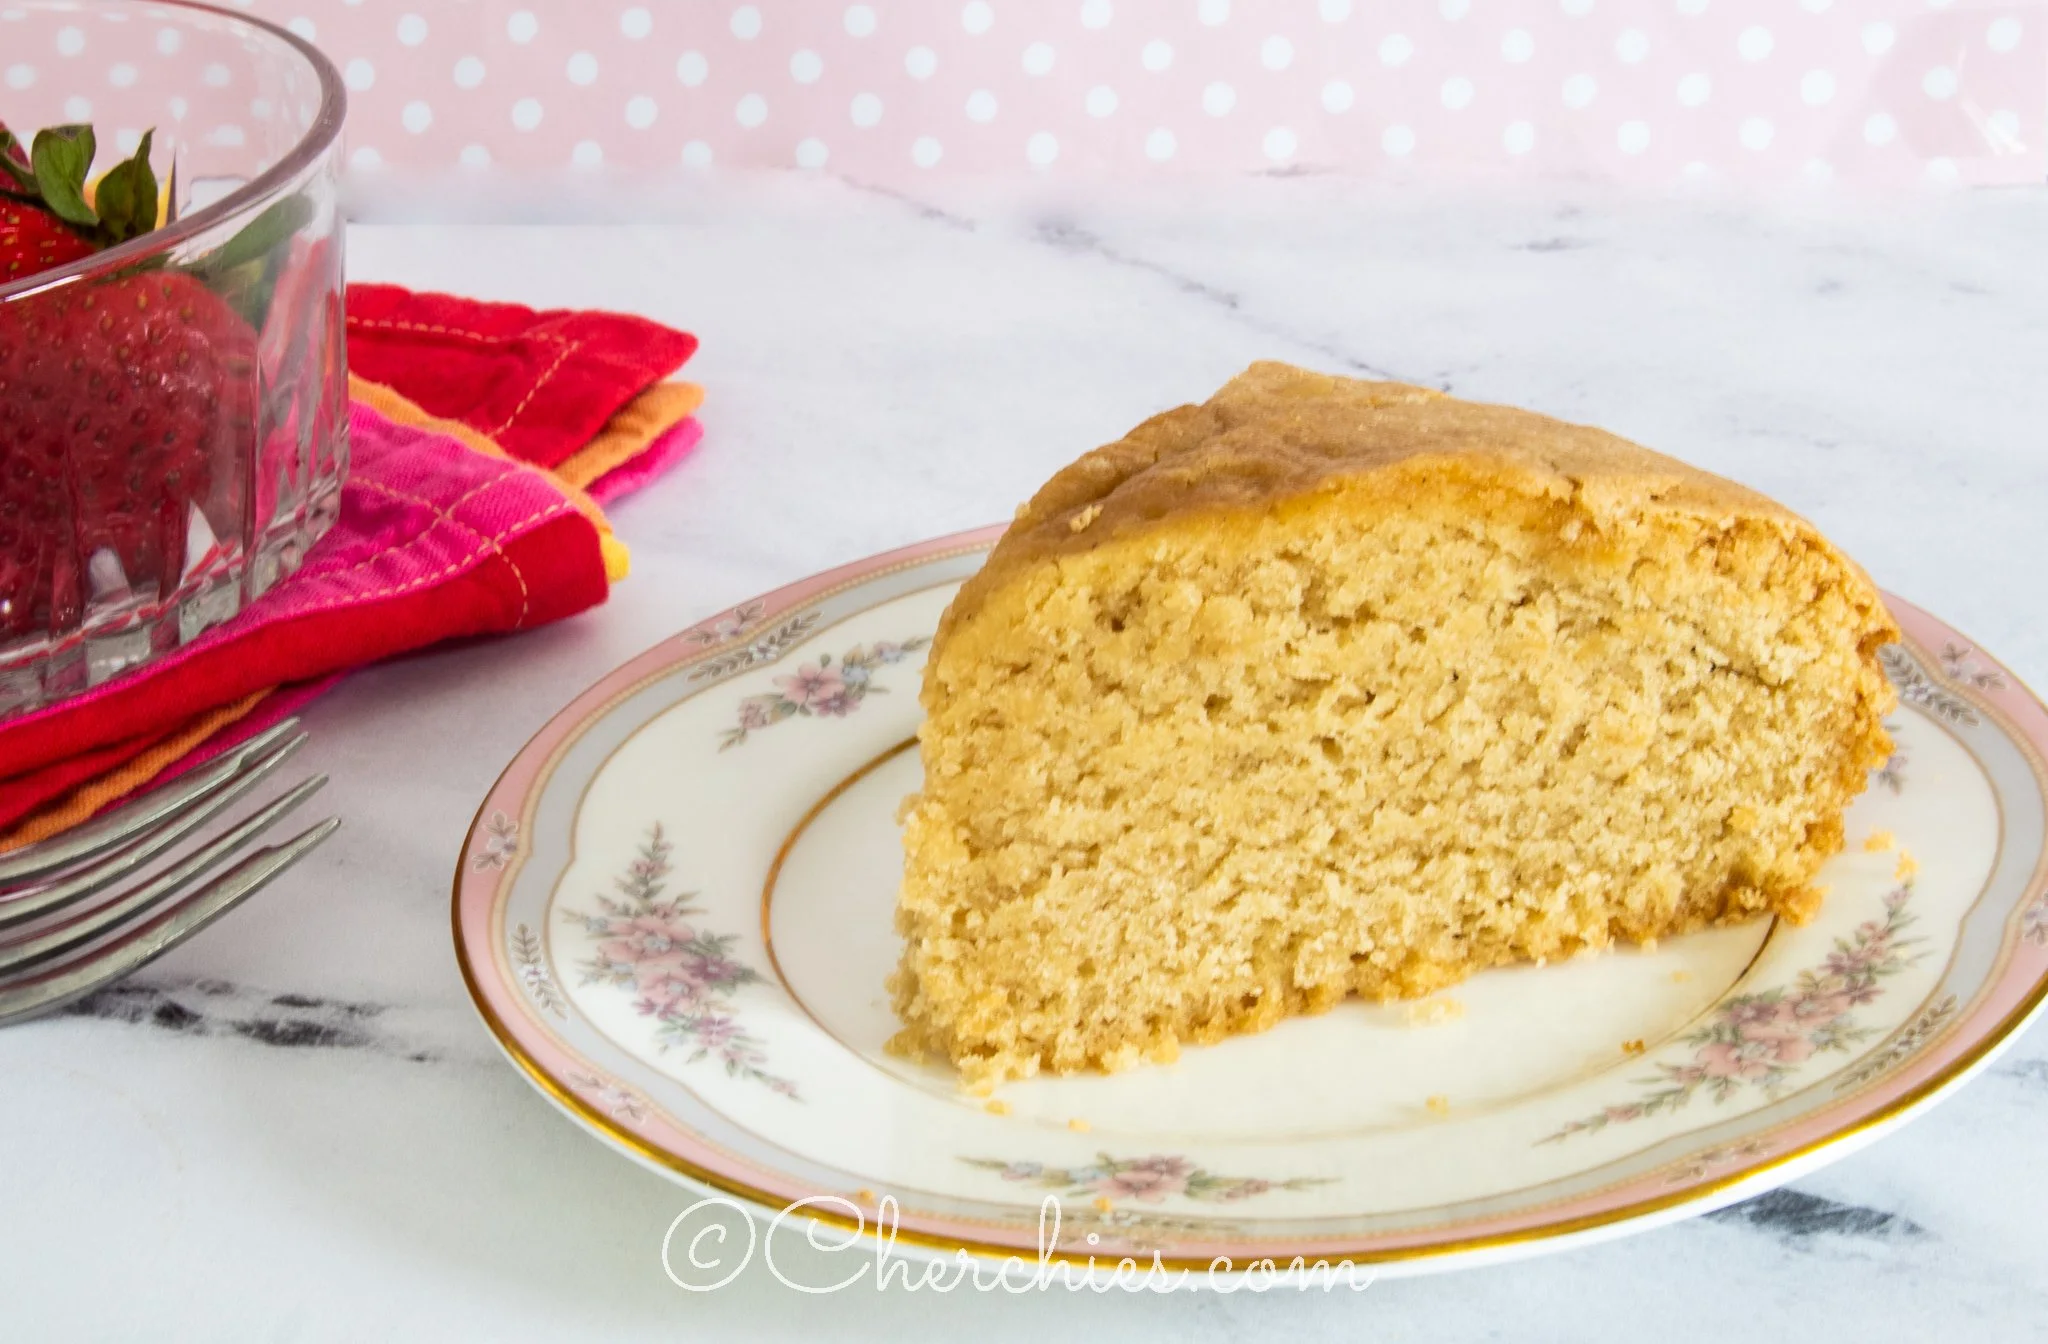
Zucchini Chocolate Chip Bread Recipe
Cook Time: 40-55 minutes
Prep Time: 10 minutes
Difficulty: Easy
Servings: 12
One of my favorite things about summer and early fall is the abundance of fresh vegetables—and zucchini is always at the top of my list. It’s easy to grow in the garden, adds excellent moisture to baked goods, and can be used in both savory dishes (like zucchini fritters or zucchini pie) and sweet treats (hello, zucchini bread!).
Vegetables weren’t always a hit in our household. When our children were younger, I became an expert at hiding veggies in their favorite meals—pureed, finely chopped, or disguised as “herbs” whenever little green or red specks raised suspicion. (Let’s be honest: the youngest child and my husband were the harshest critics.)
Fast forward to today, and while our children have happily embraced vegetables, my husband is still a little funny about anything “green.” I tell him, ‘Honey, they’re herbs; try it.’ Thankfully, zucchini bread has been the great equalizer. When zucchini is combined with sugar, flour, Cherchies Apple Butter Spread, and warm spices, those ‘green specks’ transform into something truly delightful.
This recipe has become a family favorite, and I usually double it—because a single loaf disappears in no time with a family of five.
Whether you’re baking for picky eaters, seasoned veggie lovers, or someone still on the fence about “green specks” in their food, this zucchini bread is proof that with a bit of creativity—and a lot of flavor—it can win anyone over.
Thanks for stopping by:) Comment below if you have tried this recipe. Come back again for more family-tested recipes, entertaining ideas, and cooking tips using all our favorite Cherchies® gourmet products.
Follow us on social media: Facebook, Instagram, and Pinterest.
Ingredients
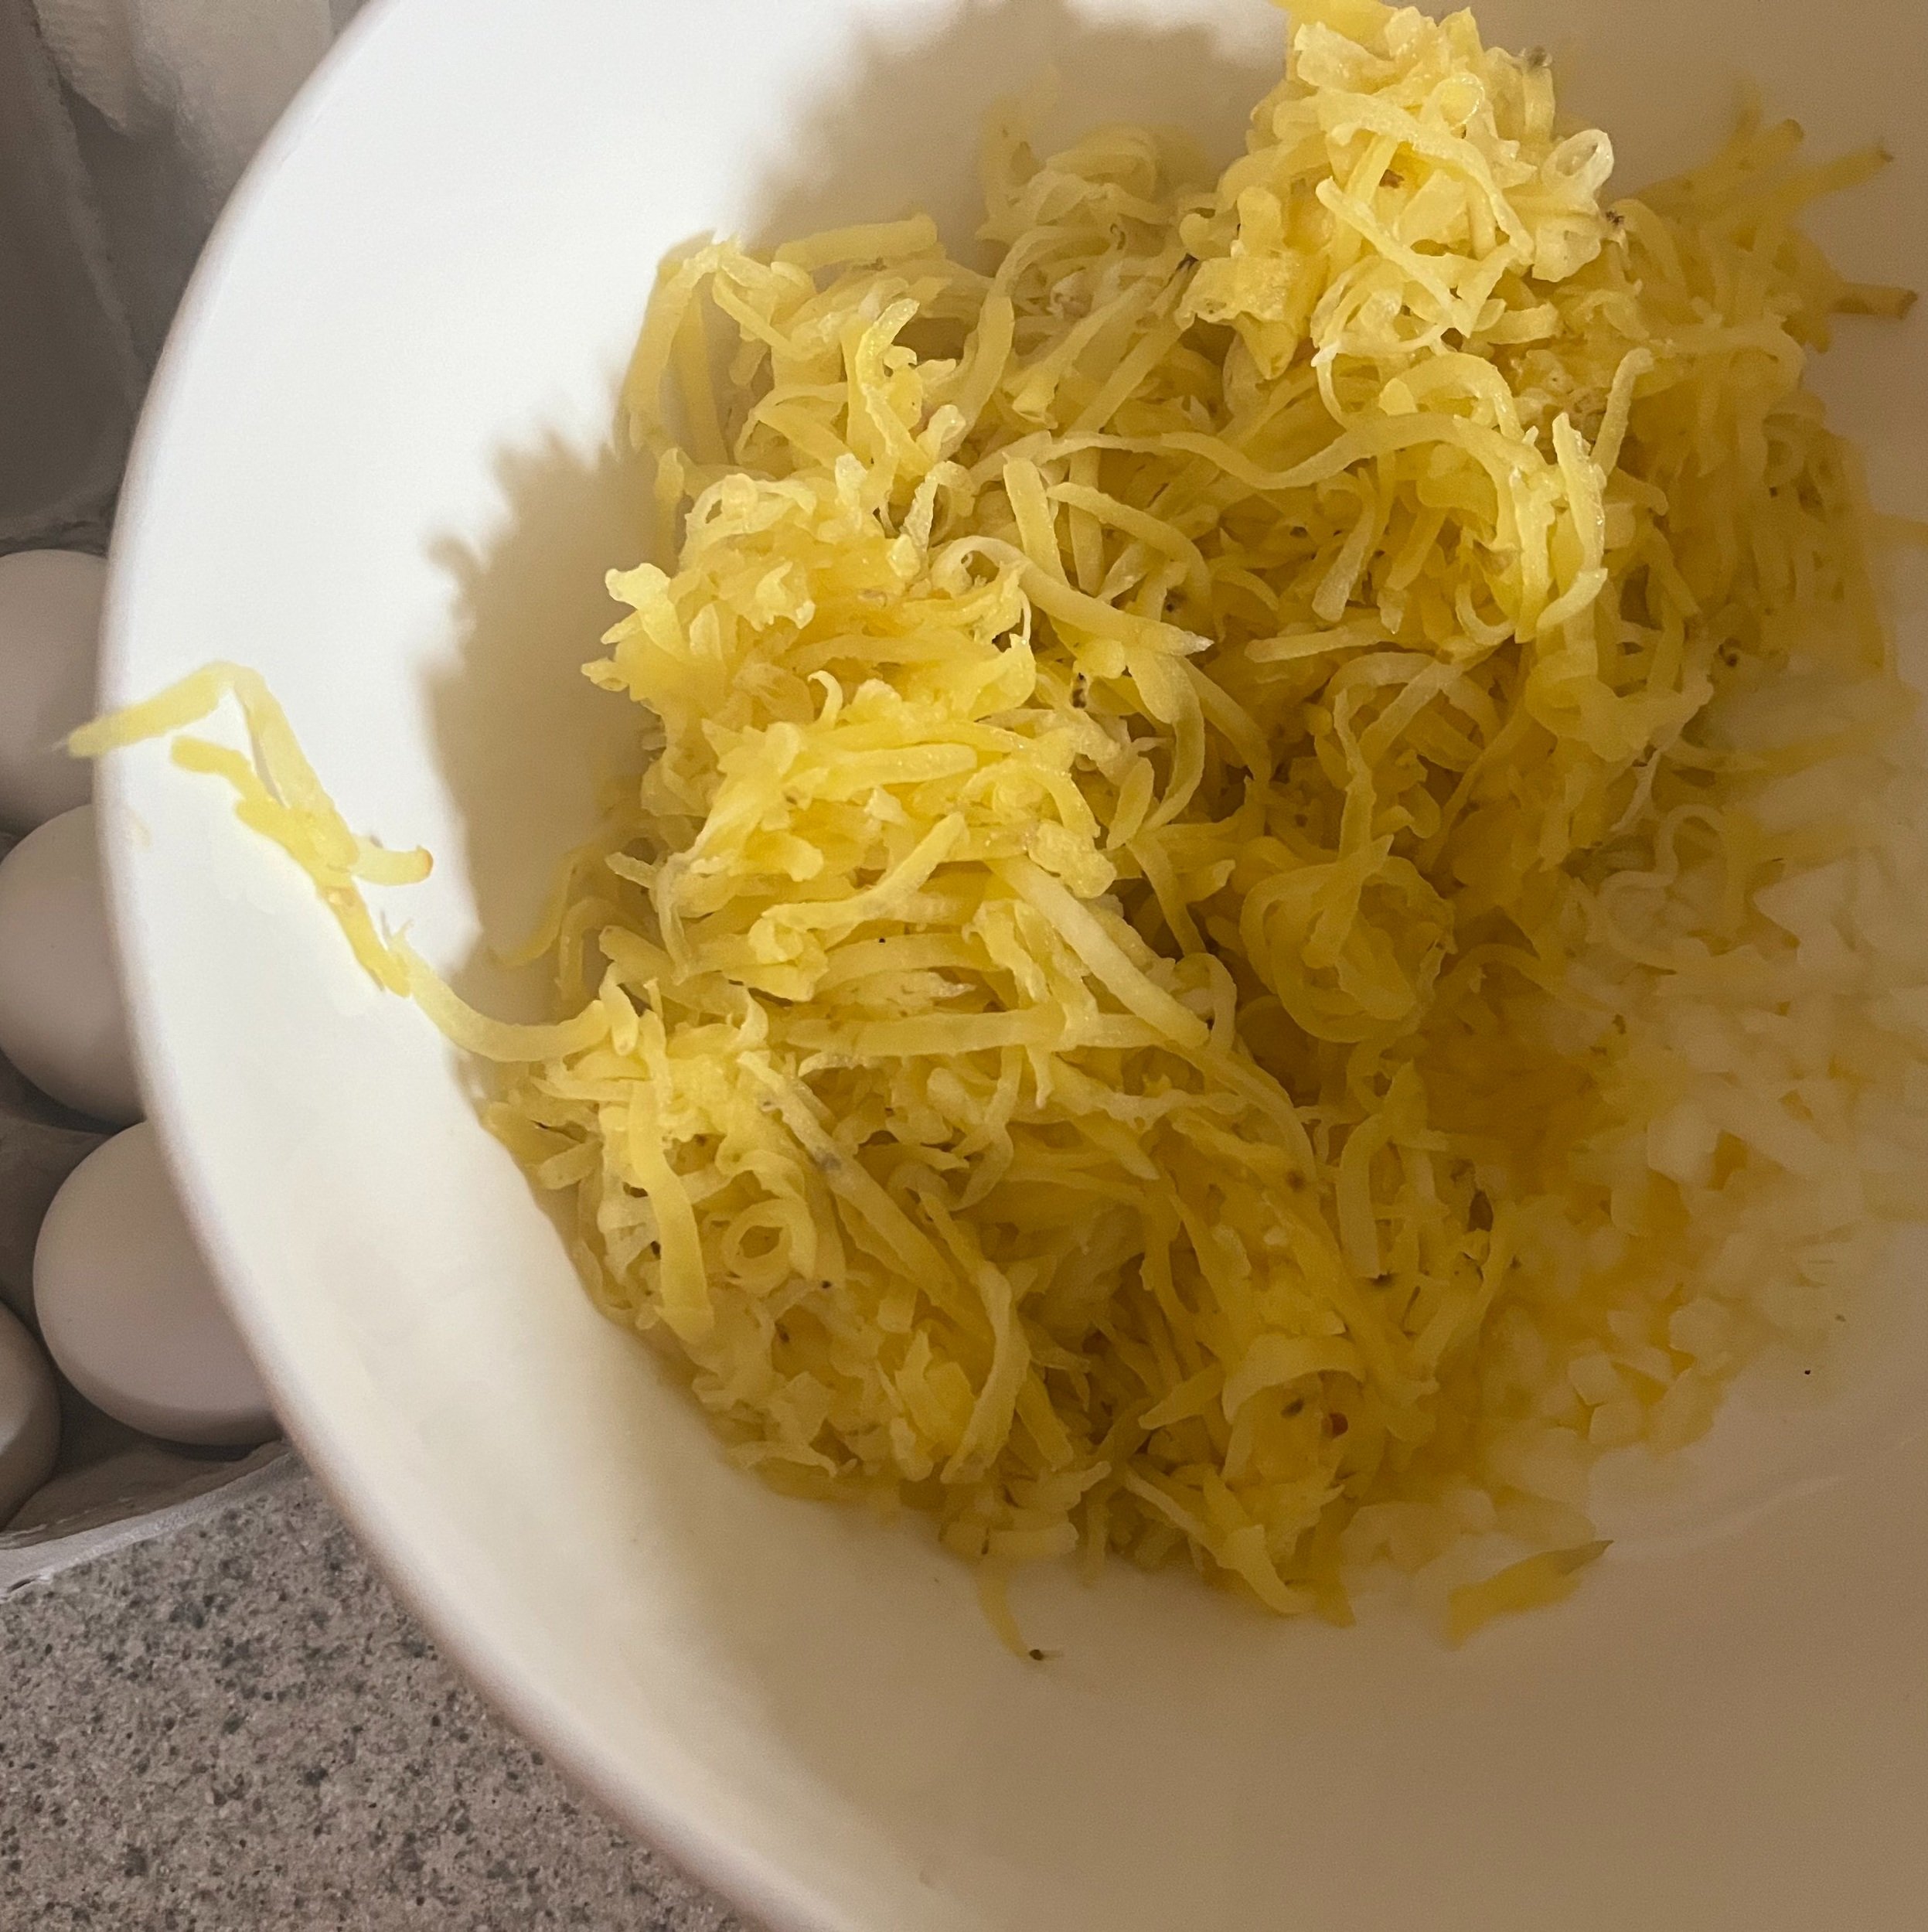
1 cup grated zucchini (about one medium zucchini)
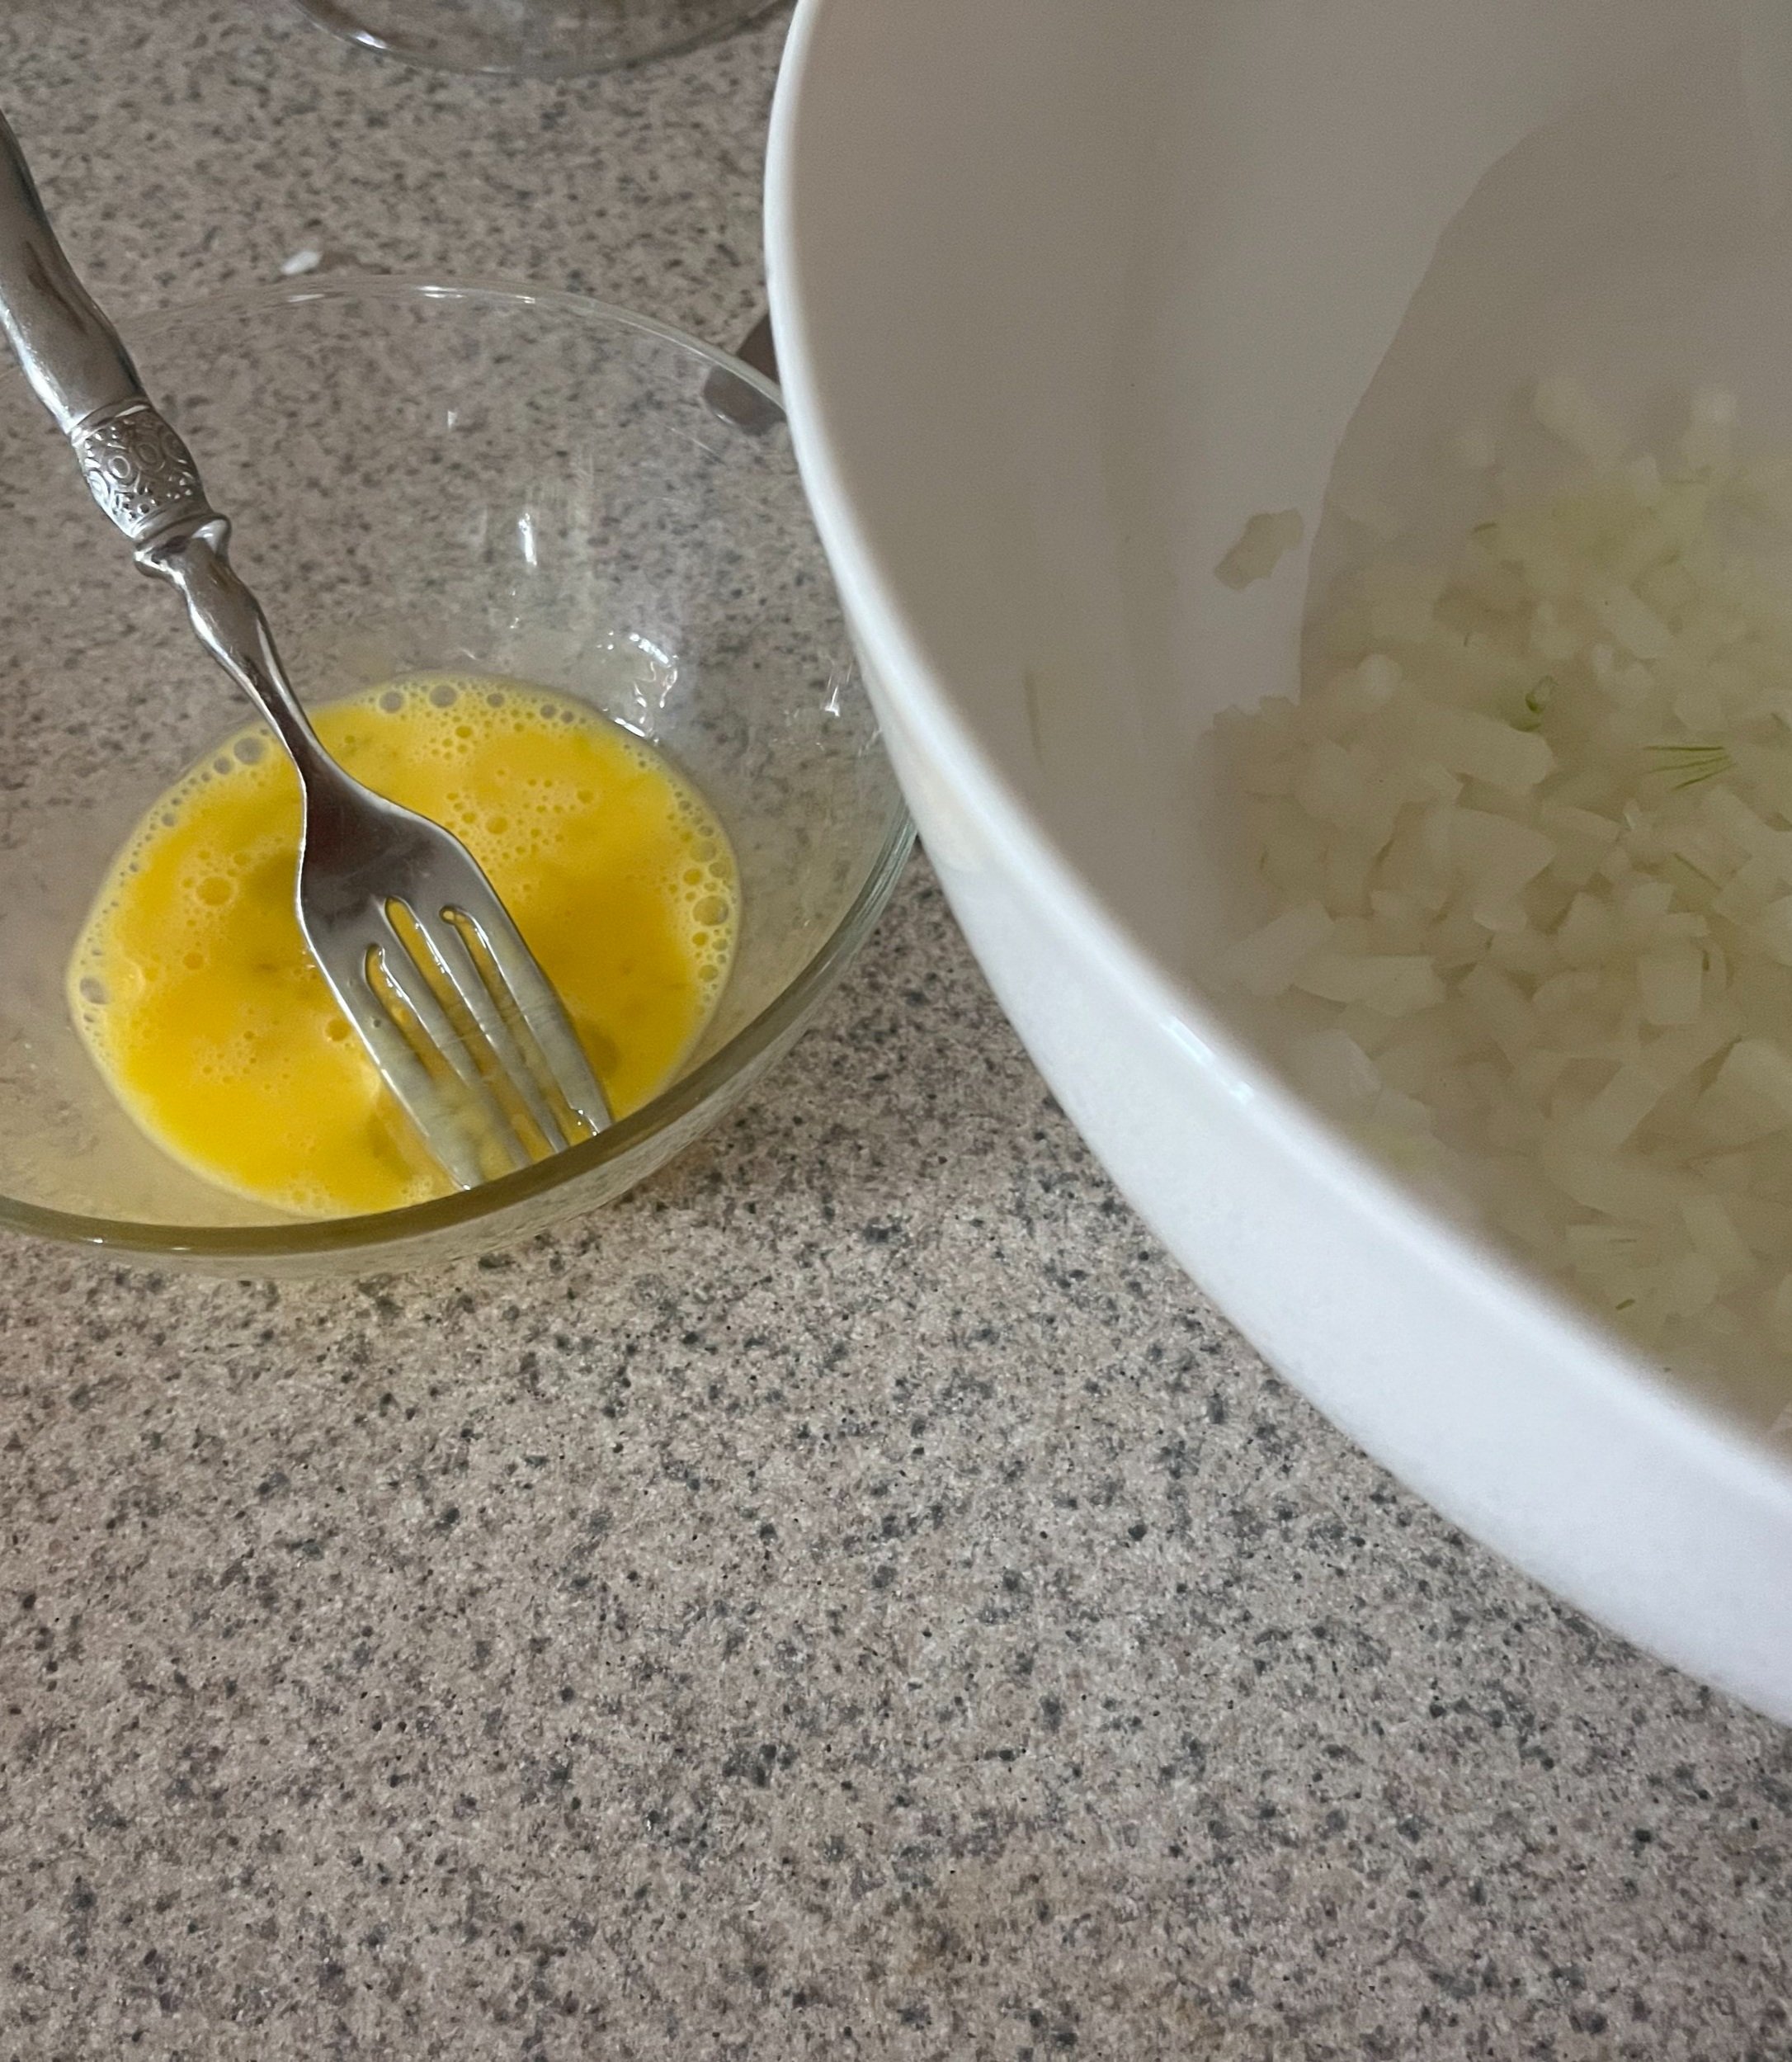
2 large eggs, room temperature
1/2 cup Cherchies® Apple Butter Spread (could substitute vegetable or canola oil)
3/4 cup granulated sugar
1/4 cup packed brown sugar
1 teaspoon (tsp.) pure vanilla extract
1/2 teaspoon (tsp.) salt
1/2 teaspoon (tsp.) baking soda
1/2 teaspoon (tsp.) baking powder
1/2 teaspoon (tsp) lemon zest (could substitute dried lemon zest)
1 tablespoon (tsp) ground cinnamon
1 1/2 cups gluten-free all-purpose flour with xanthan gum (I’ve tried various Gluten-Free flours, but Pillsbury’s blend is my favorite, with the Cup for Cup brand being a close second; if your flour already includes xanthan gum, omit it). We have also made this recipe with equal amounts of all-purpose flour. (**I’ve learned it is best to use the spoon and level method).
1 cup of chocolate chips (or walnuts or raisins for something different).
Preparation
Preheat your oven to 350°F.
Lightly coat a 4x8-inch loaf pan with gluten-free cooking spray.
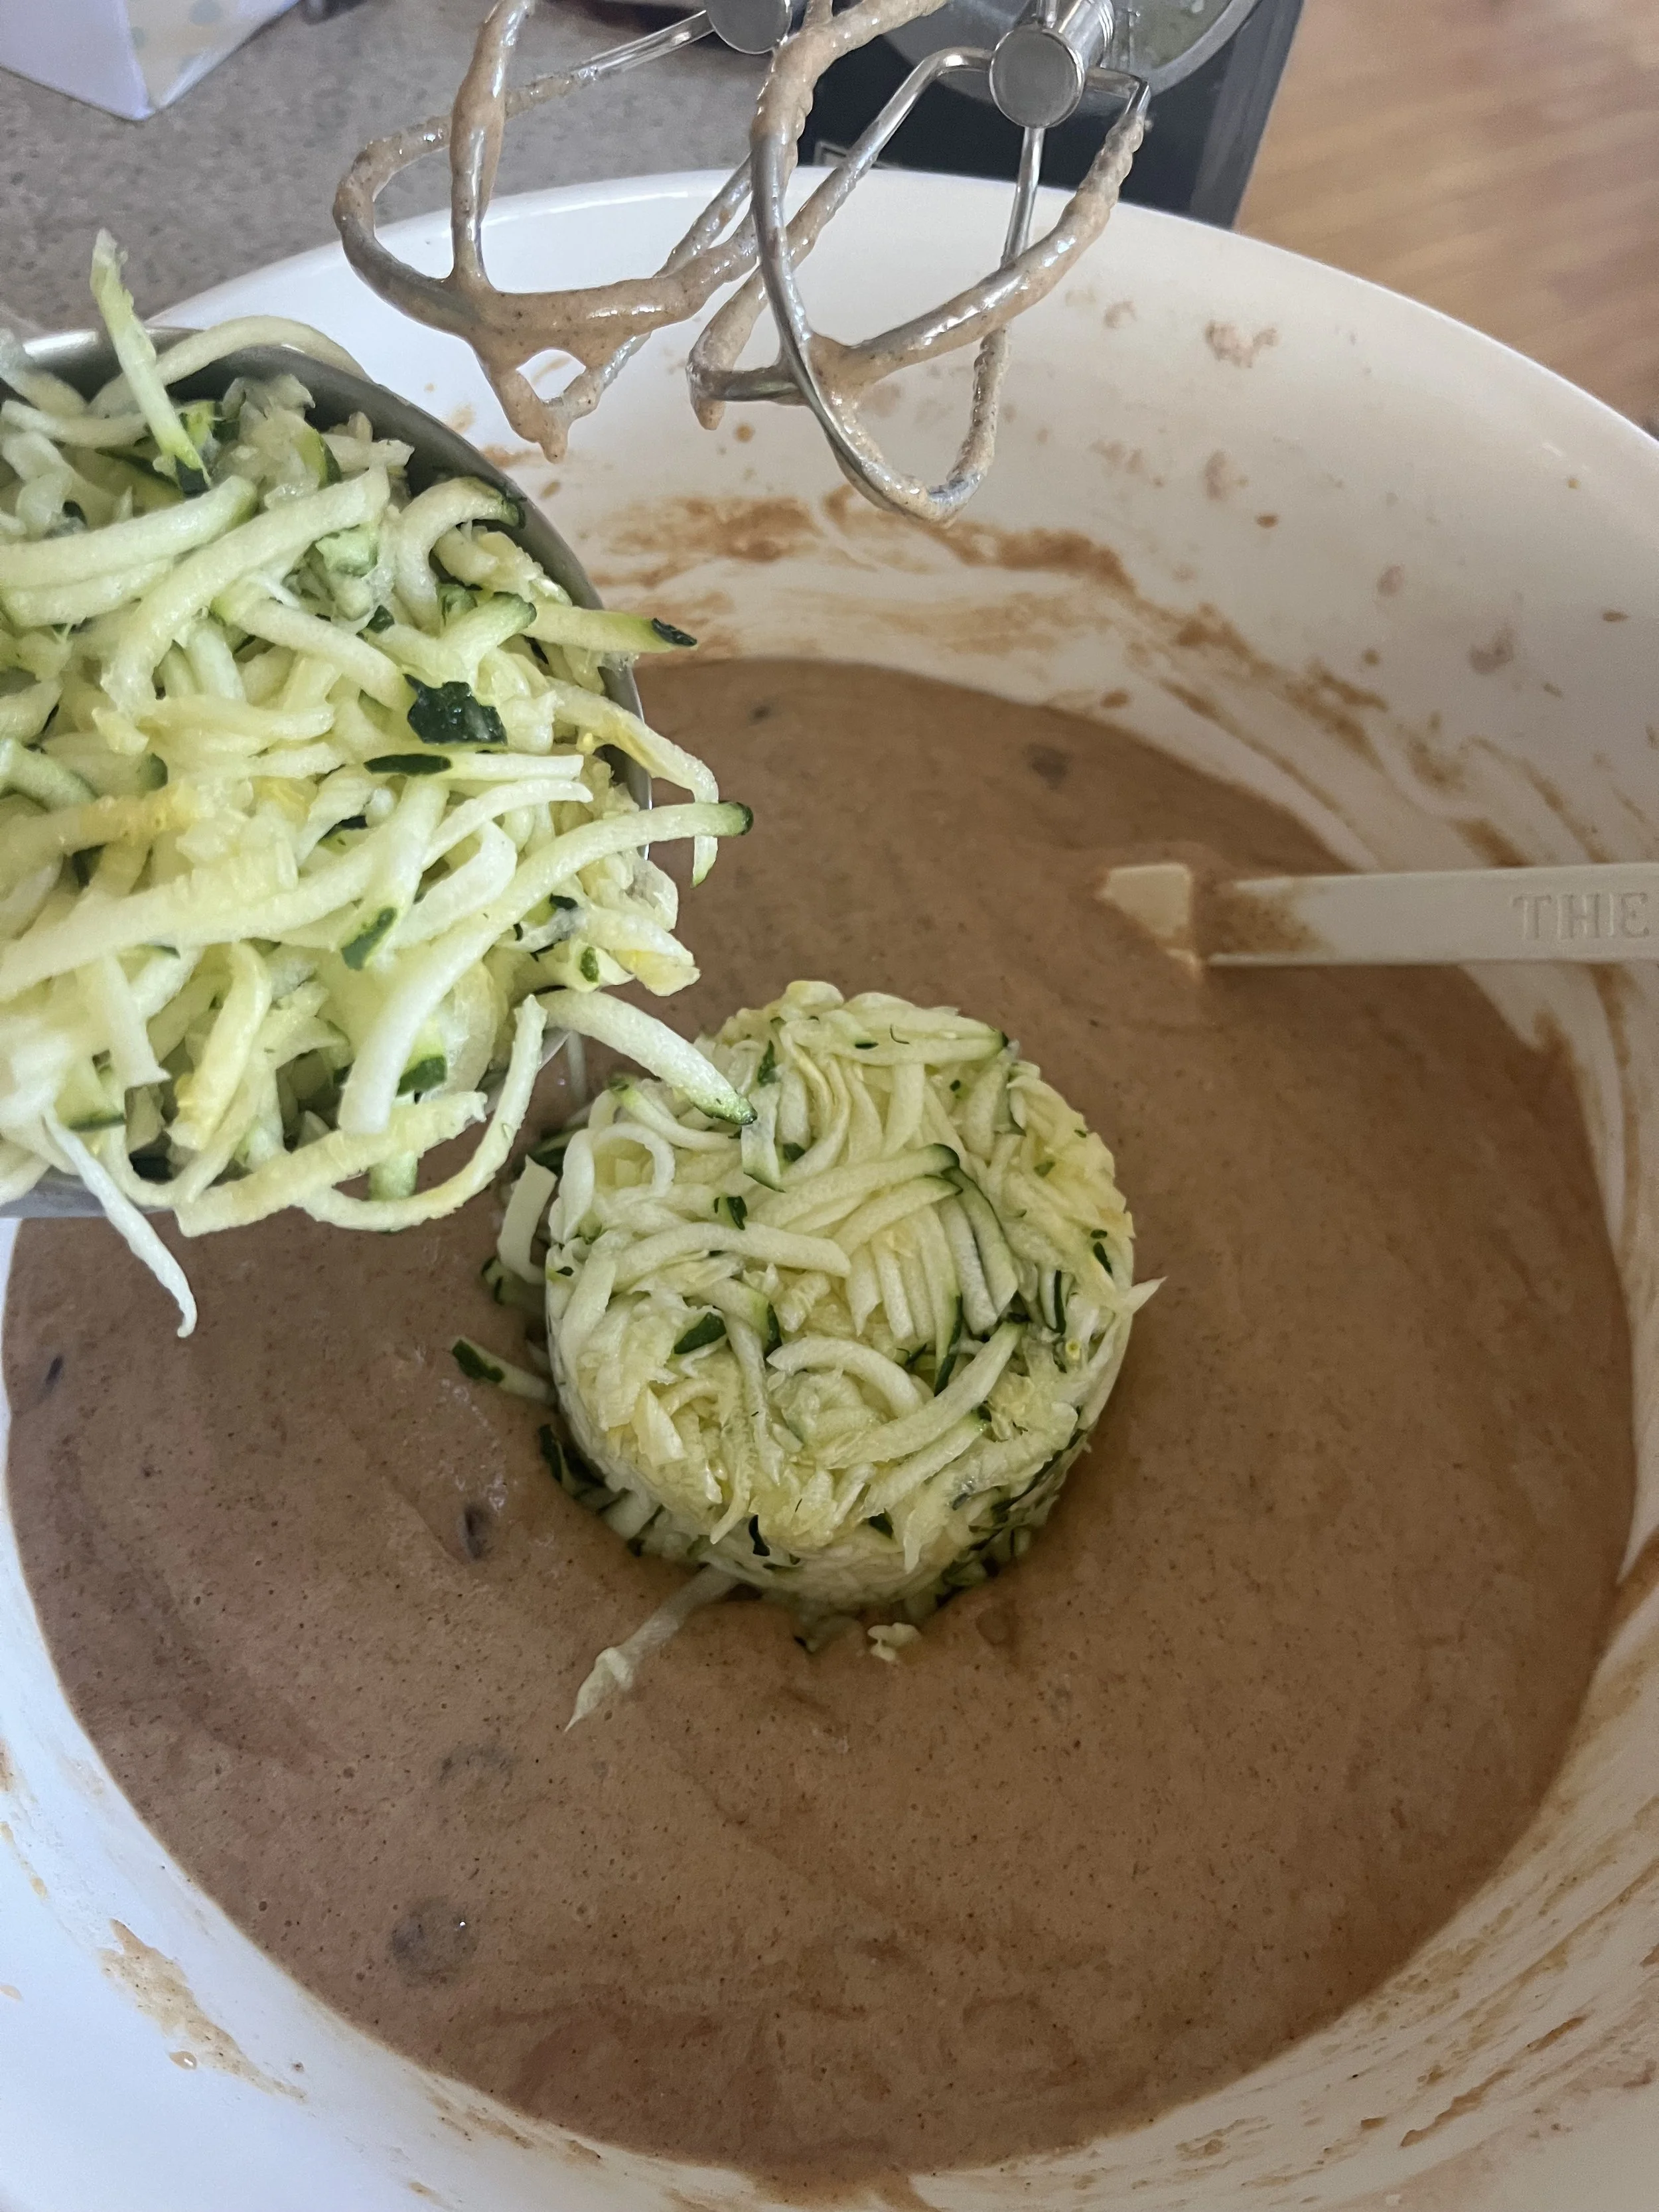
Grate one medium zucchini to make 1 cup—no peeling or squeezing needed. (I like to use the grater attachment on my food processor, but a hand grater works just as well).


In a large mixing bowl, whisk together the eggs, apple butter, sugar, and vanilla.


In a separate medium bowl, combine the salt, baking soda, baking powder, lemon zest (if using), cinnamon, flour, and chocolate chips, stirring until the mixture is well combined.


Gently fold in the shredded zucchini, and pour the batter into the prepared loaf pan.


Bake on the center rack for 40–55 minutes, or until a toothpick inserted into the middle comes out clean. (Every oven is different.)
Allow the bread to cool fully before cutting into it.
**Note: For best results, measure flour using the “spoon and level” method. Gently spoon the flour into your measuring cup, then level it off with the back of a knife. Avoid scooping directly from the bag or container, as this can result in using too much flour and negatively impact your recipe. Also, do not pack the flour down or tap the measuring cup.
Recipe adapted from- Mama knows gluten-free
Enjoy!