Cherchies Blog

Memaw's Strawberry Cake Recipe

dessertsSheri SpalloneComment
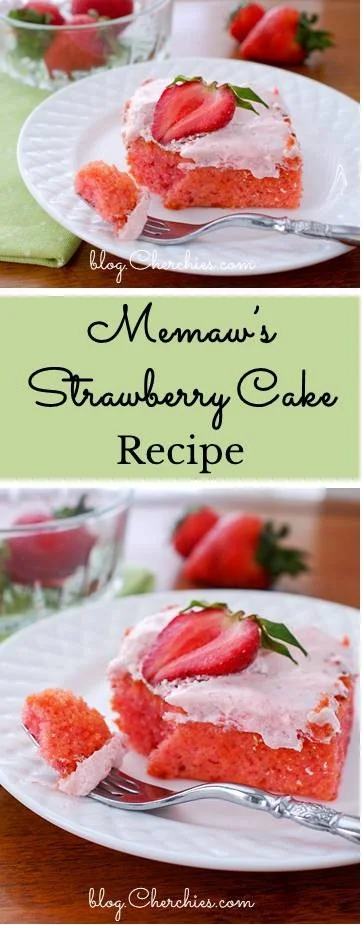
Memaw’s Strawberry Cake Recipe

Memaw’s Strawberry Cake Recipe

Cook Time:  35-40 minutes
Prep Time: 10 minutes
Difficulty:  Easy

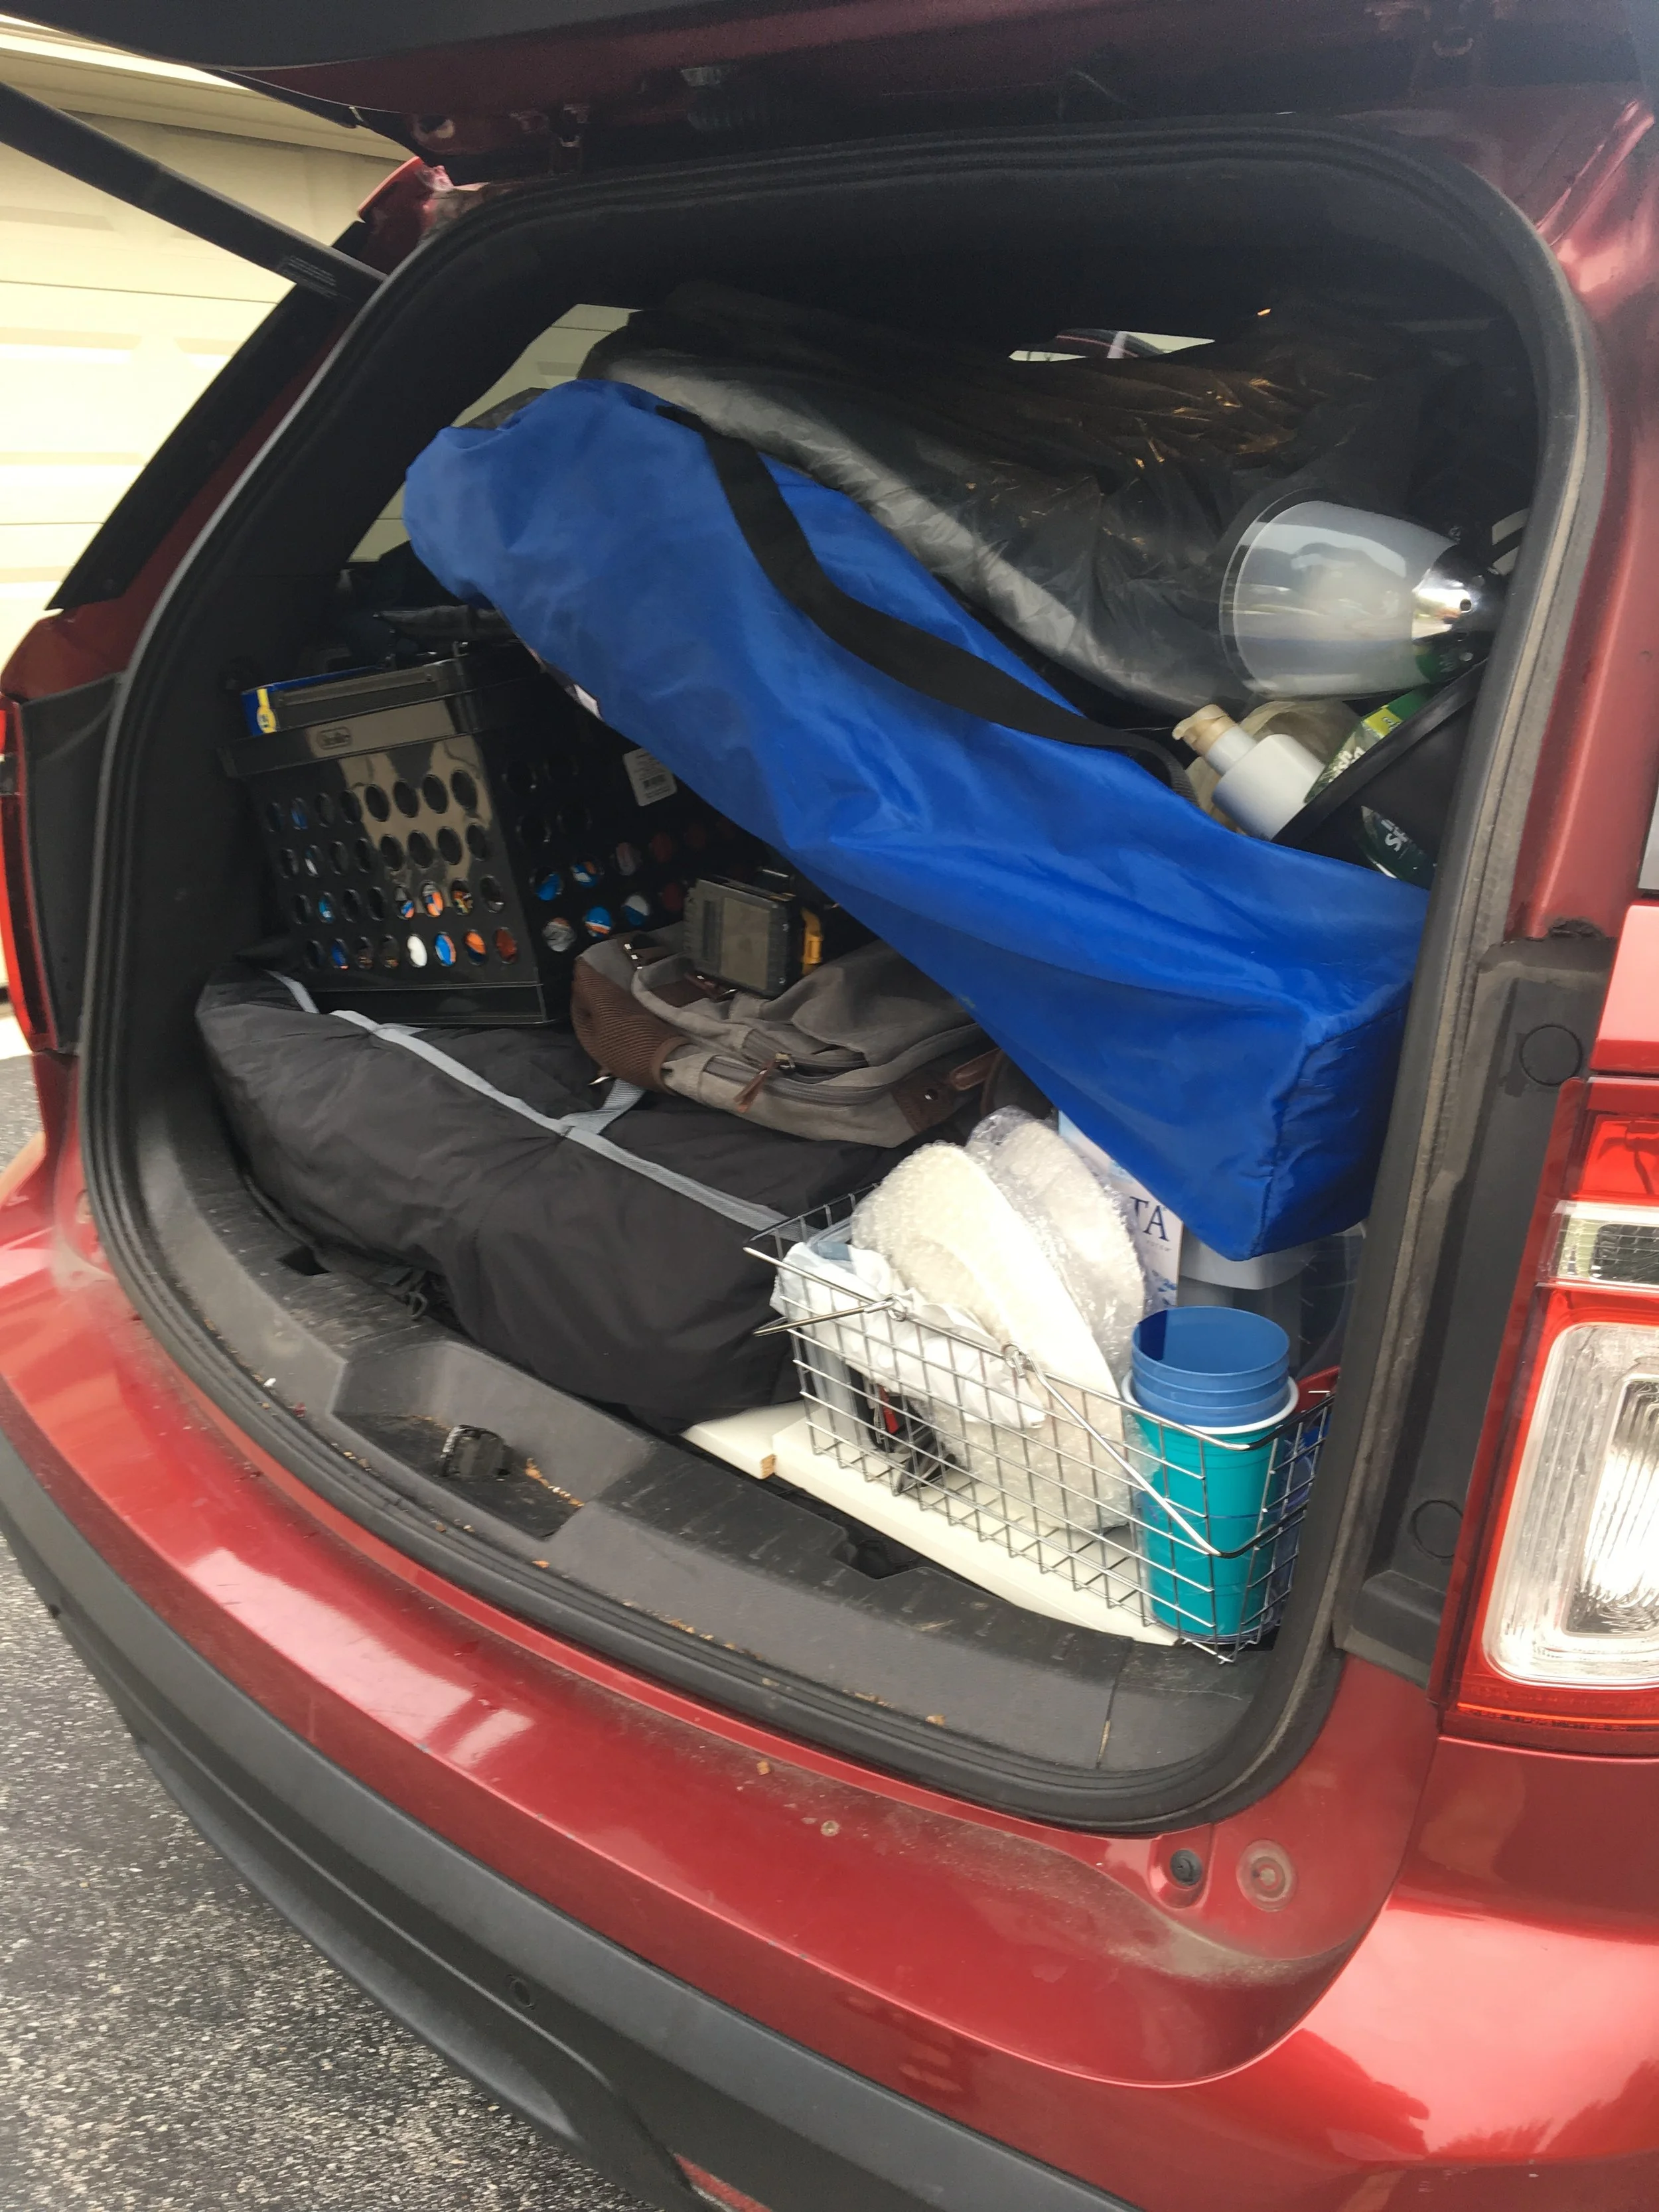
Hi friends. Today's mood is a bit more somber than in previous posts, so instead of the silly puns, leftover magic tricks, and cooking tips, I give you a piece of my heart, and it is hurting BADLY. You see, Monday was D-day (dread day) for our family. We dropped off our baby boy, hours away, to begin his new life as a college Freshman. It was the day my heart shattered into a million pieces. For anyone who is going through this (or has gone through or is just feeling blue), I feel your pain:( I have been dreading this past Monday's events all summer (in fact, for 18 years), but inevitably, the day came (to what seemed to be a blink in time), and all I can hope is hubby, and I prepared him enough. We are so proud of the young man he has become. It was bittersweet letting him go, but seeing him so happy and confident helped make the transition for Mom a tad better, that and CARBS…lots of them, particularly cake!

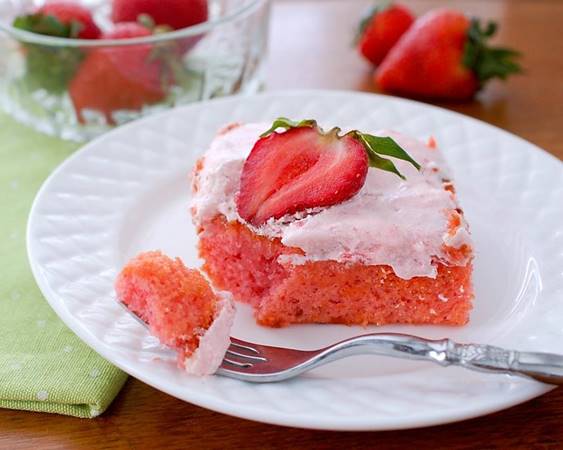
Baking cheers me when I'm down, so sharing this delicious strawberry cake featuring juicy strawberries and Cherchies® Strawberry Butter Spread makes sense. Imagine sinking your teeth into sweet strawberry comfort in every bite. Does it make you smile? It makes me smile:)

Are you feeling the pangs of college drop-off, the end of summer, the first day of school, or a child graduating from high school, or do you want to bring a smile to someone's face? If so, then make Memaw's Strawberry cake today. This easy cake recipe is so delicious and comforting that it will chase away any blues.

Thank you for letting me share my story. Below I have posted a glimpse of the college drop-off day. Let us know if you have tried this flavorful recipe. Come back again for more family-tested recipes, entertaining ideas, and cooking tips using all our favorite Cherchies® gourmet products. Thank you for stopping by.

**Now, it's time to spoil our baby girl for the next two years until the next and final Freshman college drop-off. (I may be making cake every day that summer).

*Note- This tasty recipe is best made the day ahead.


Ingredients:

  • 1 box yellow cake mix (We used Betty Crocker's Super Moist Cake Mix)

  • 4 Tablespoons (Tbsp.) flour

  • 4 eggs, room temperature

  • 1 cup strawberries and juice, mashed

  • 2 Tablespoons (Tbsp.) Cherchies Strawberry Butter Spread

  • 1 cup oil

  • 1 small box strawberry jello

  • Extra strawberries for garnish

Frosting Ingredients

  • 1 box powdered sugar

  • 1 stick butter, room temperature

  • 2 Tablespoons (mashed strawberries with liquid)

* To make this cake gluten-free, simply substitute the flour and cake mix with gluten-free flour and cake mix (we tested with King Arthur Gluten-free Yellow Cake Mix and flour)

Preparation

Preheat oven to 350 degrees. Spray a 9 x 13 baking pan with cooking spray.

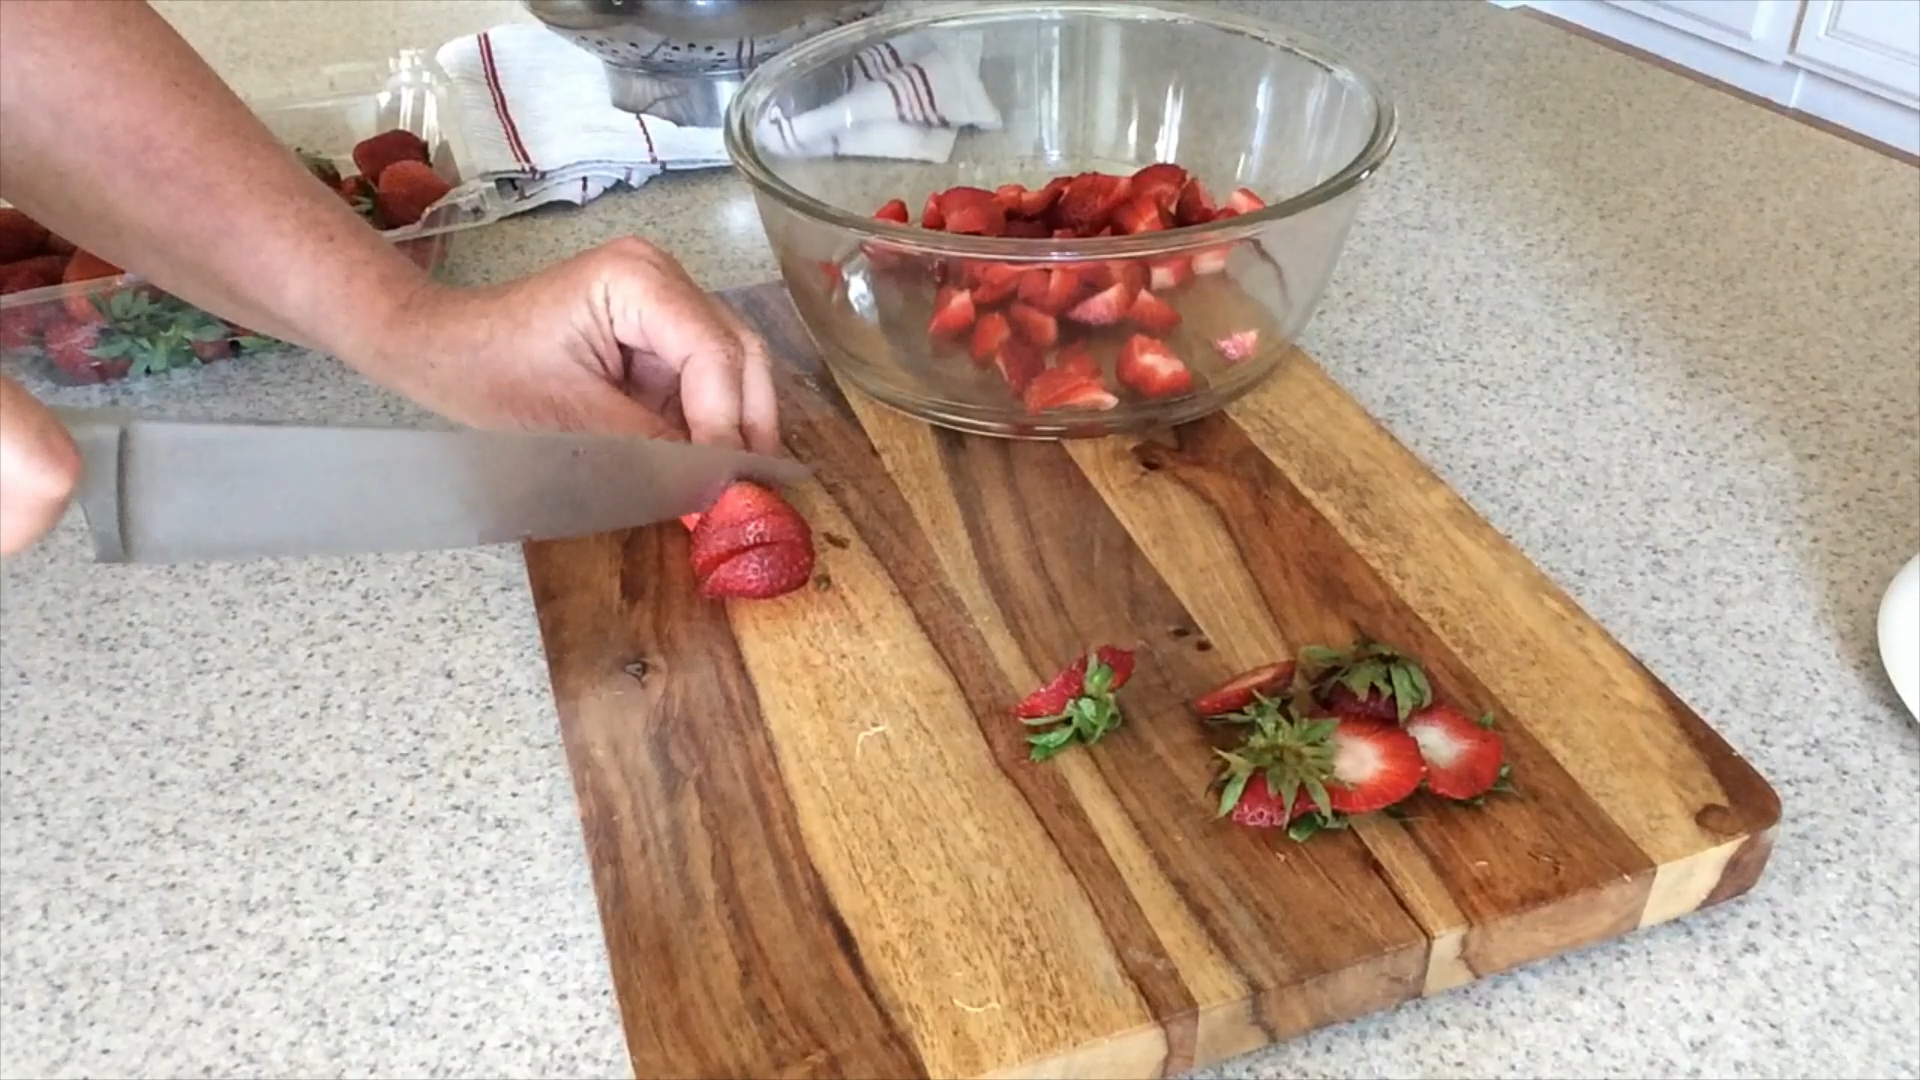
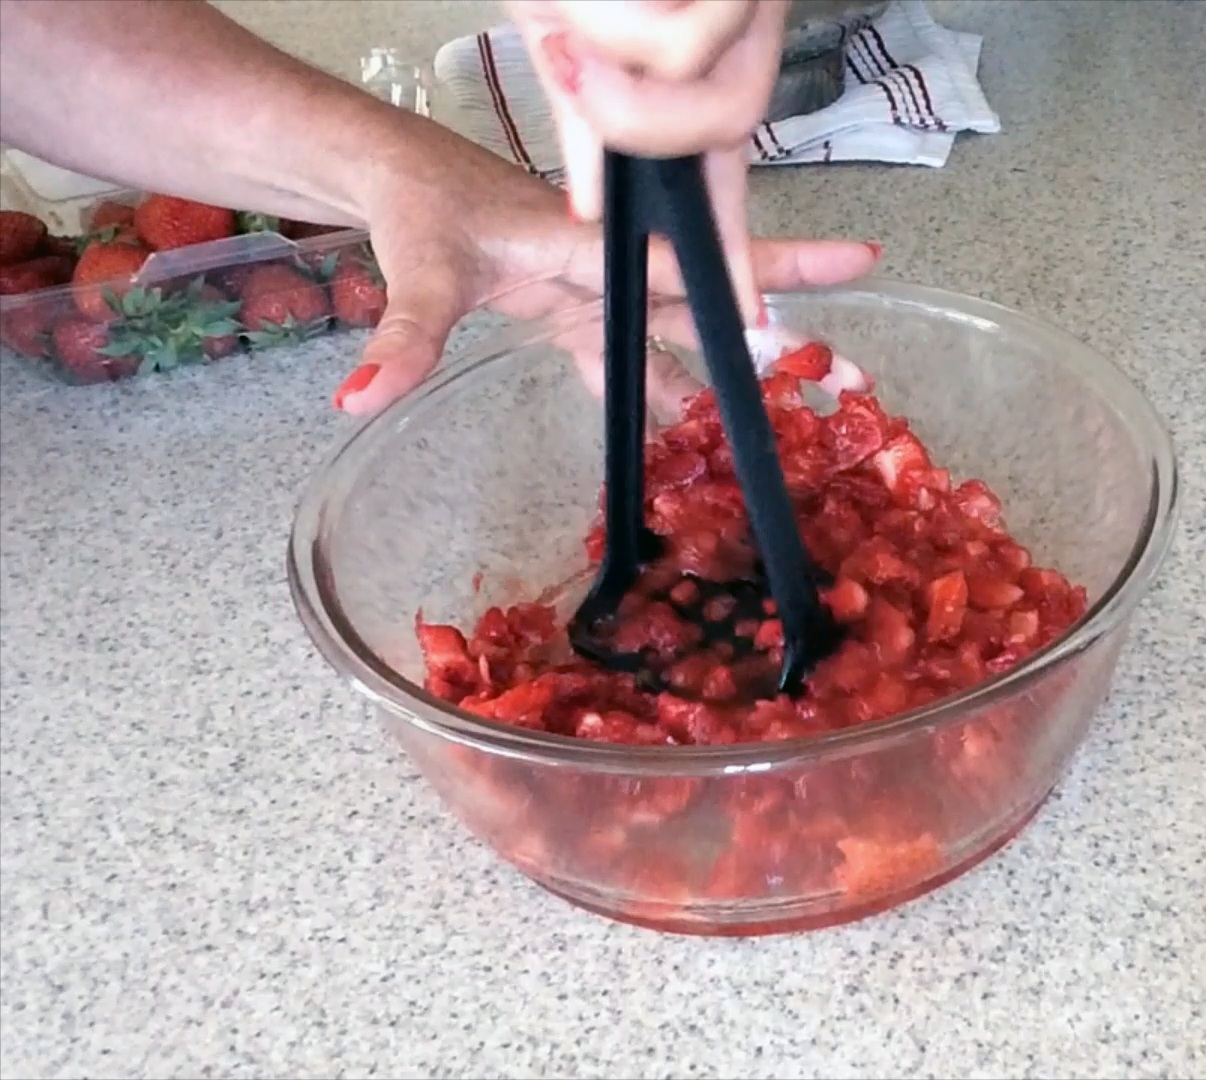
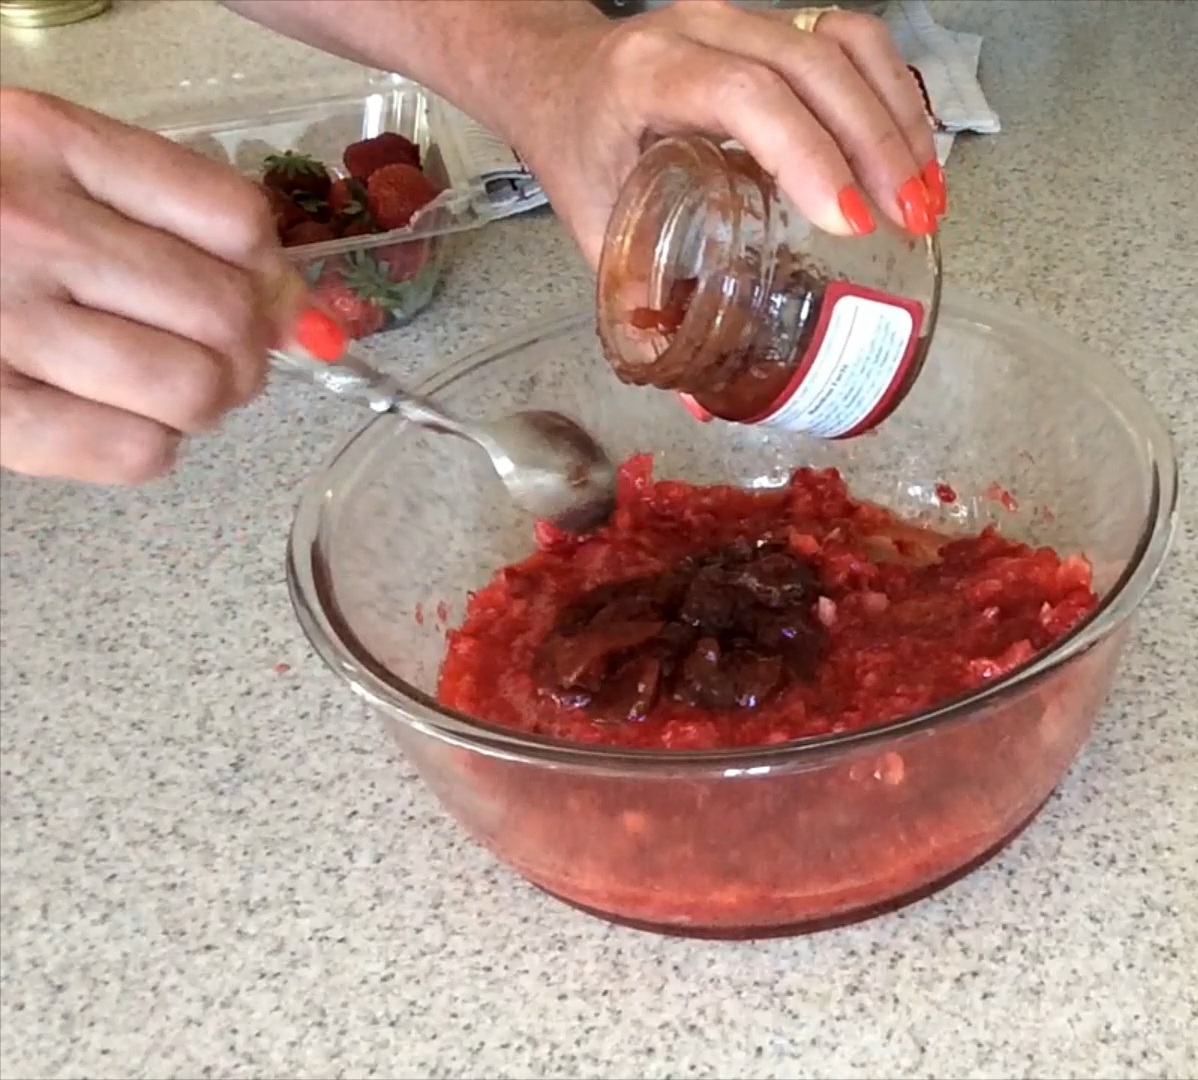
Wash, remove the ends, and roughly chop the strawberries. Place them in a medium bowl, add Cherchies® Strawberry Butter Spread, mash them with a potato masher, and set aside. Reserve 2 Tablespoons (Tbsp) of mashed strawberries for the icing.

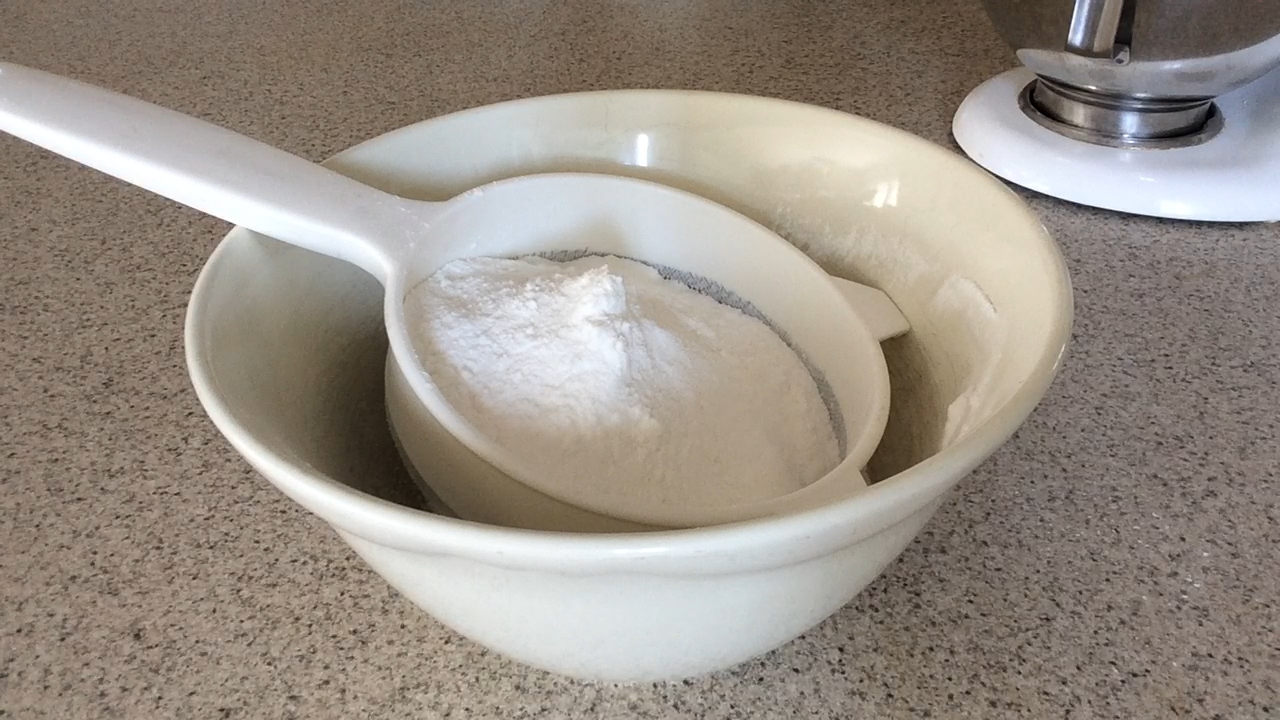
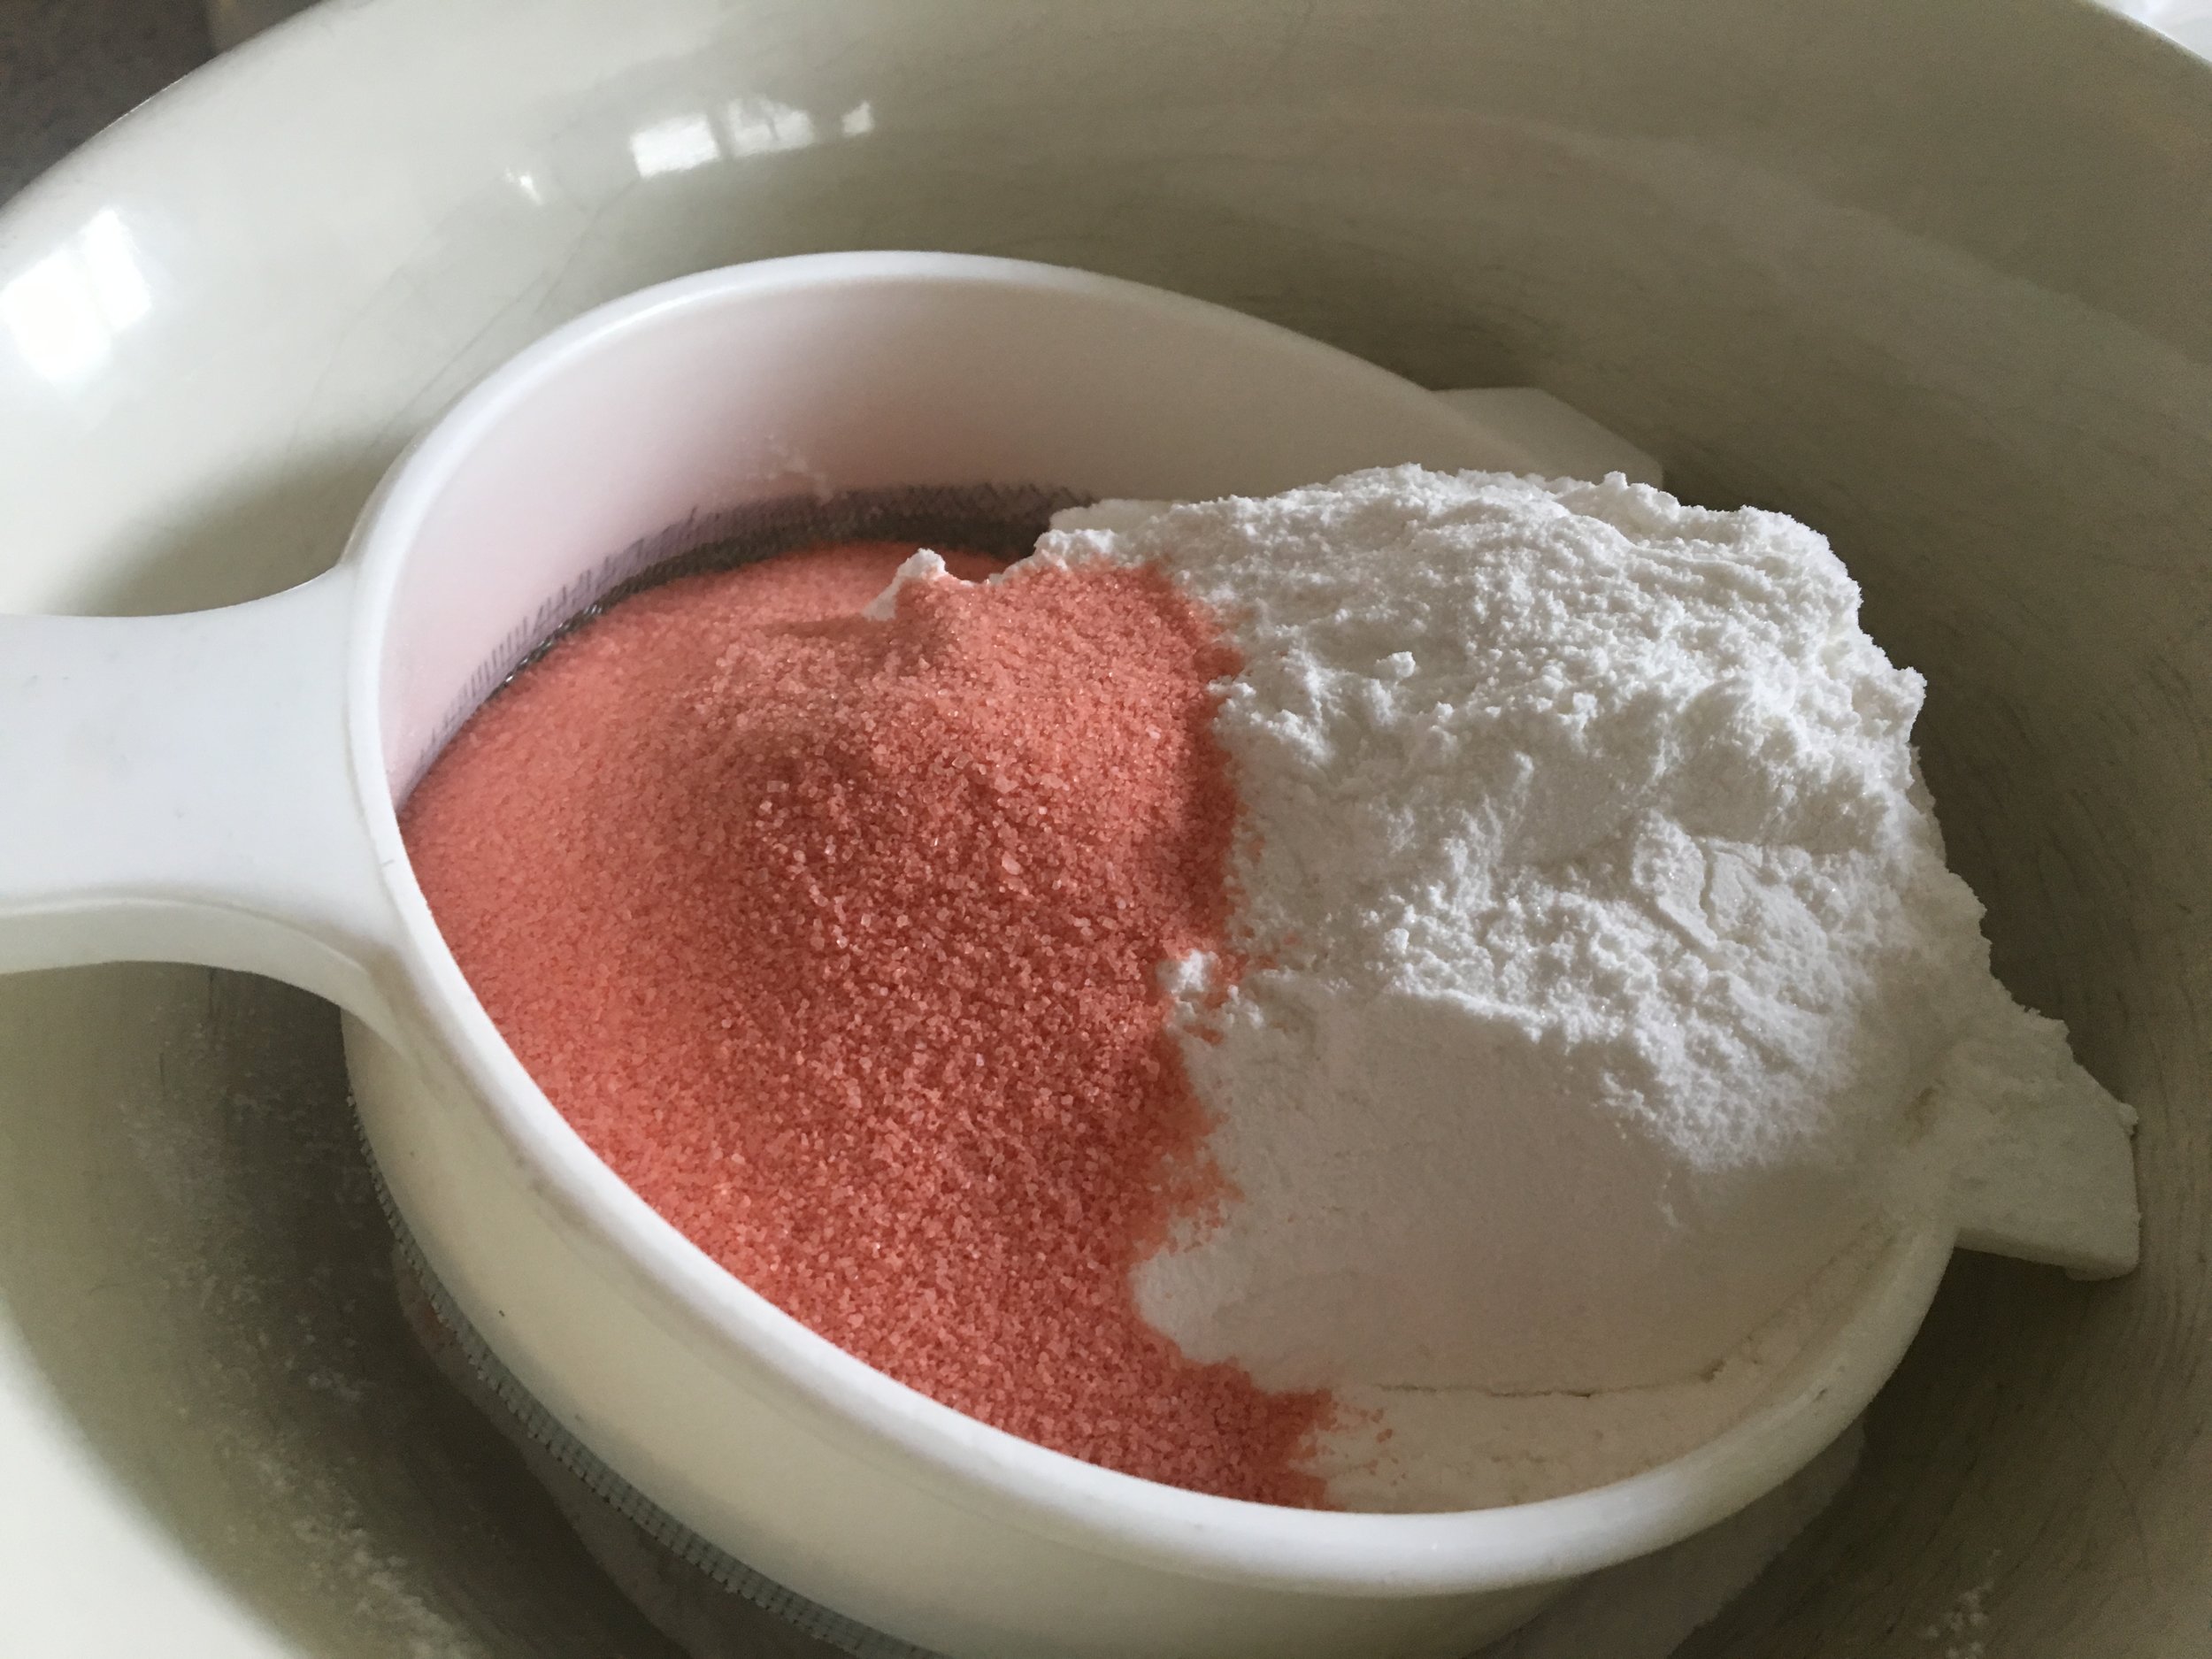
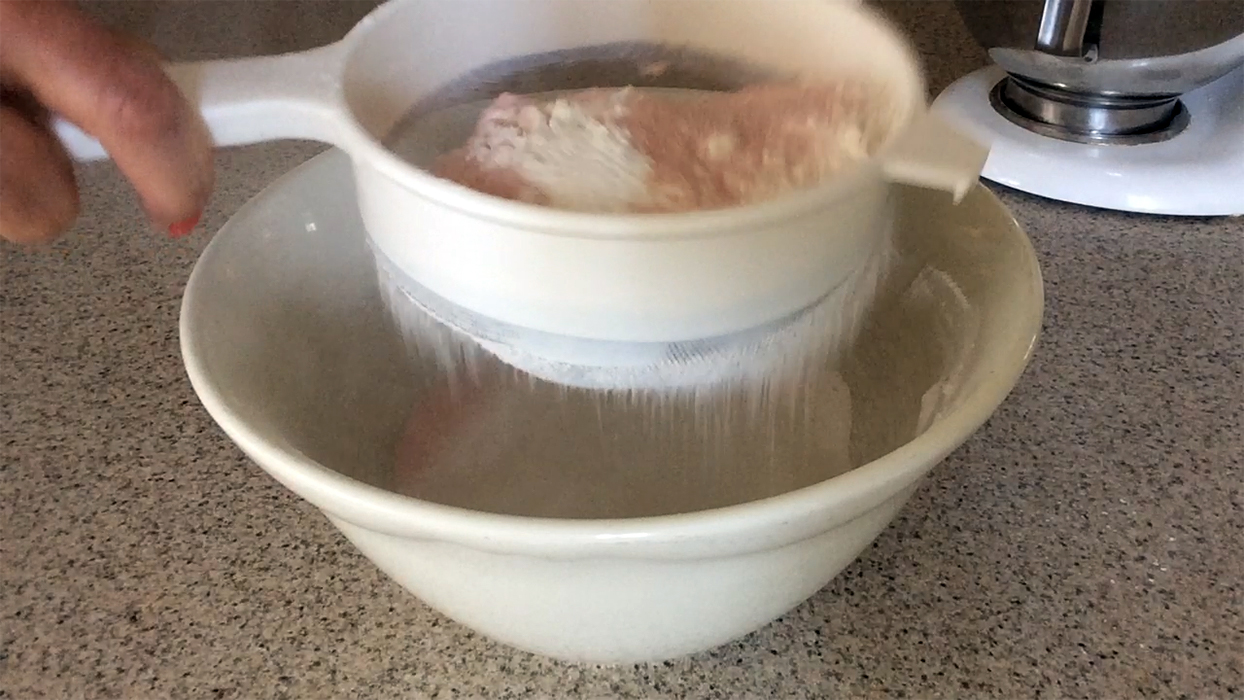
In a large bowl, sift the cake mix, flour, and jello together. Set aside. (I use a fine mesh strainer over a bowl to sift the ingredients together).

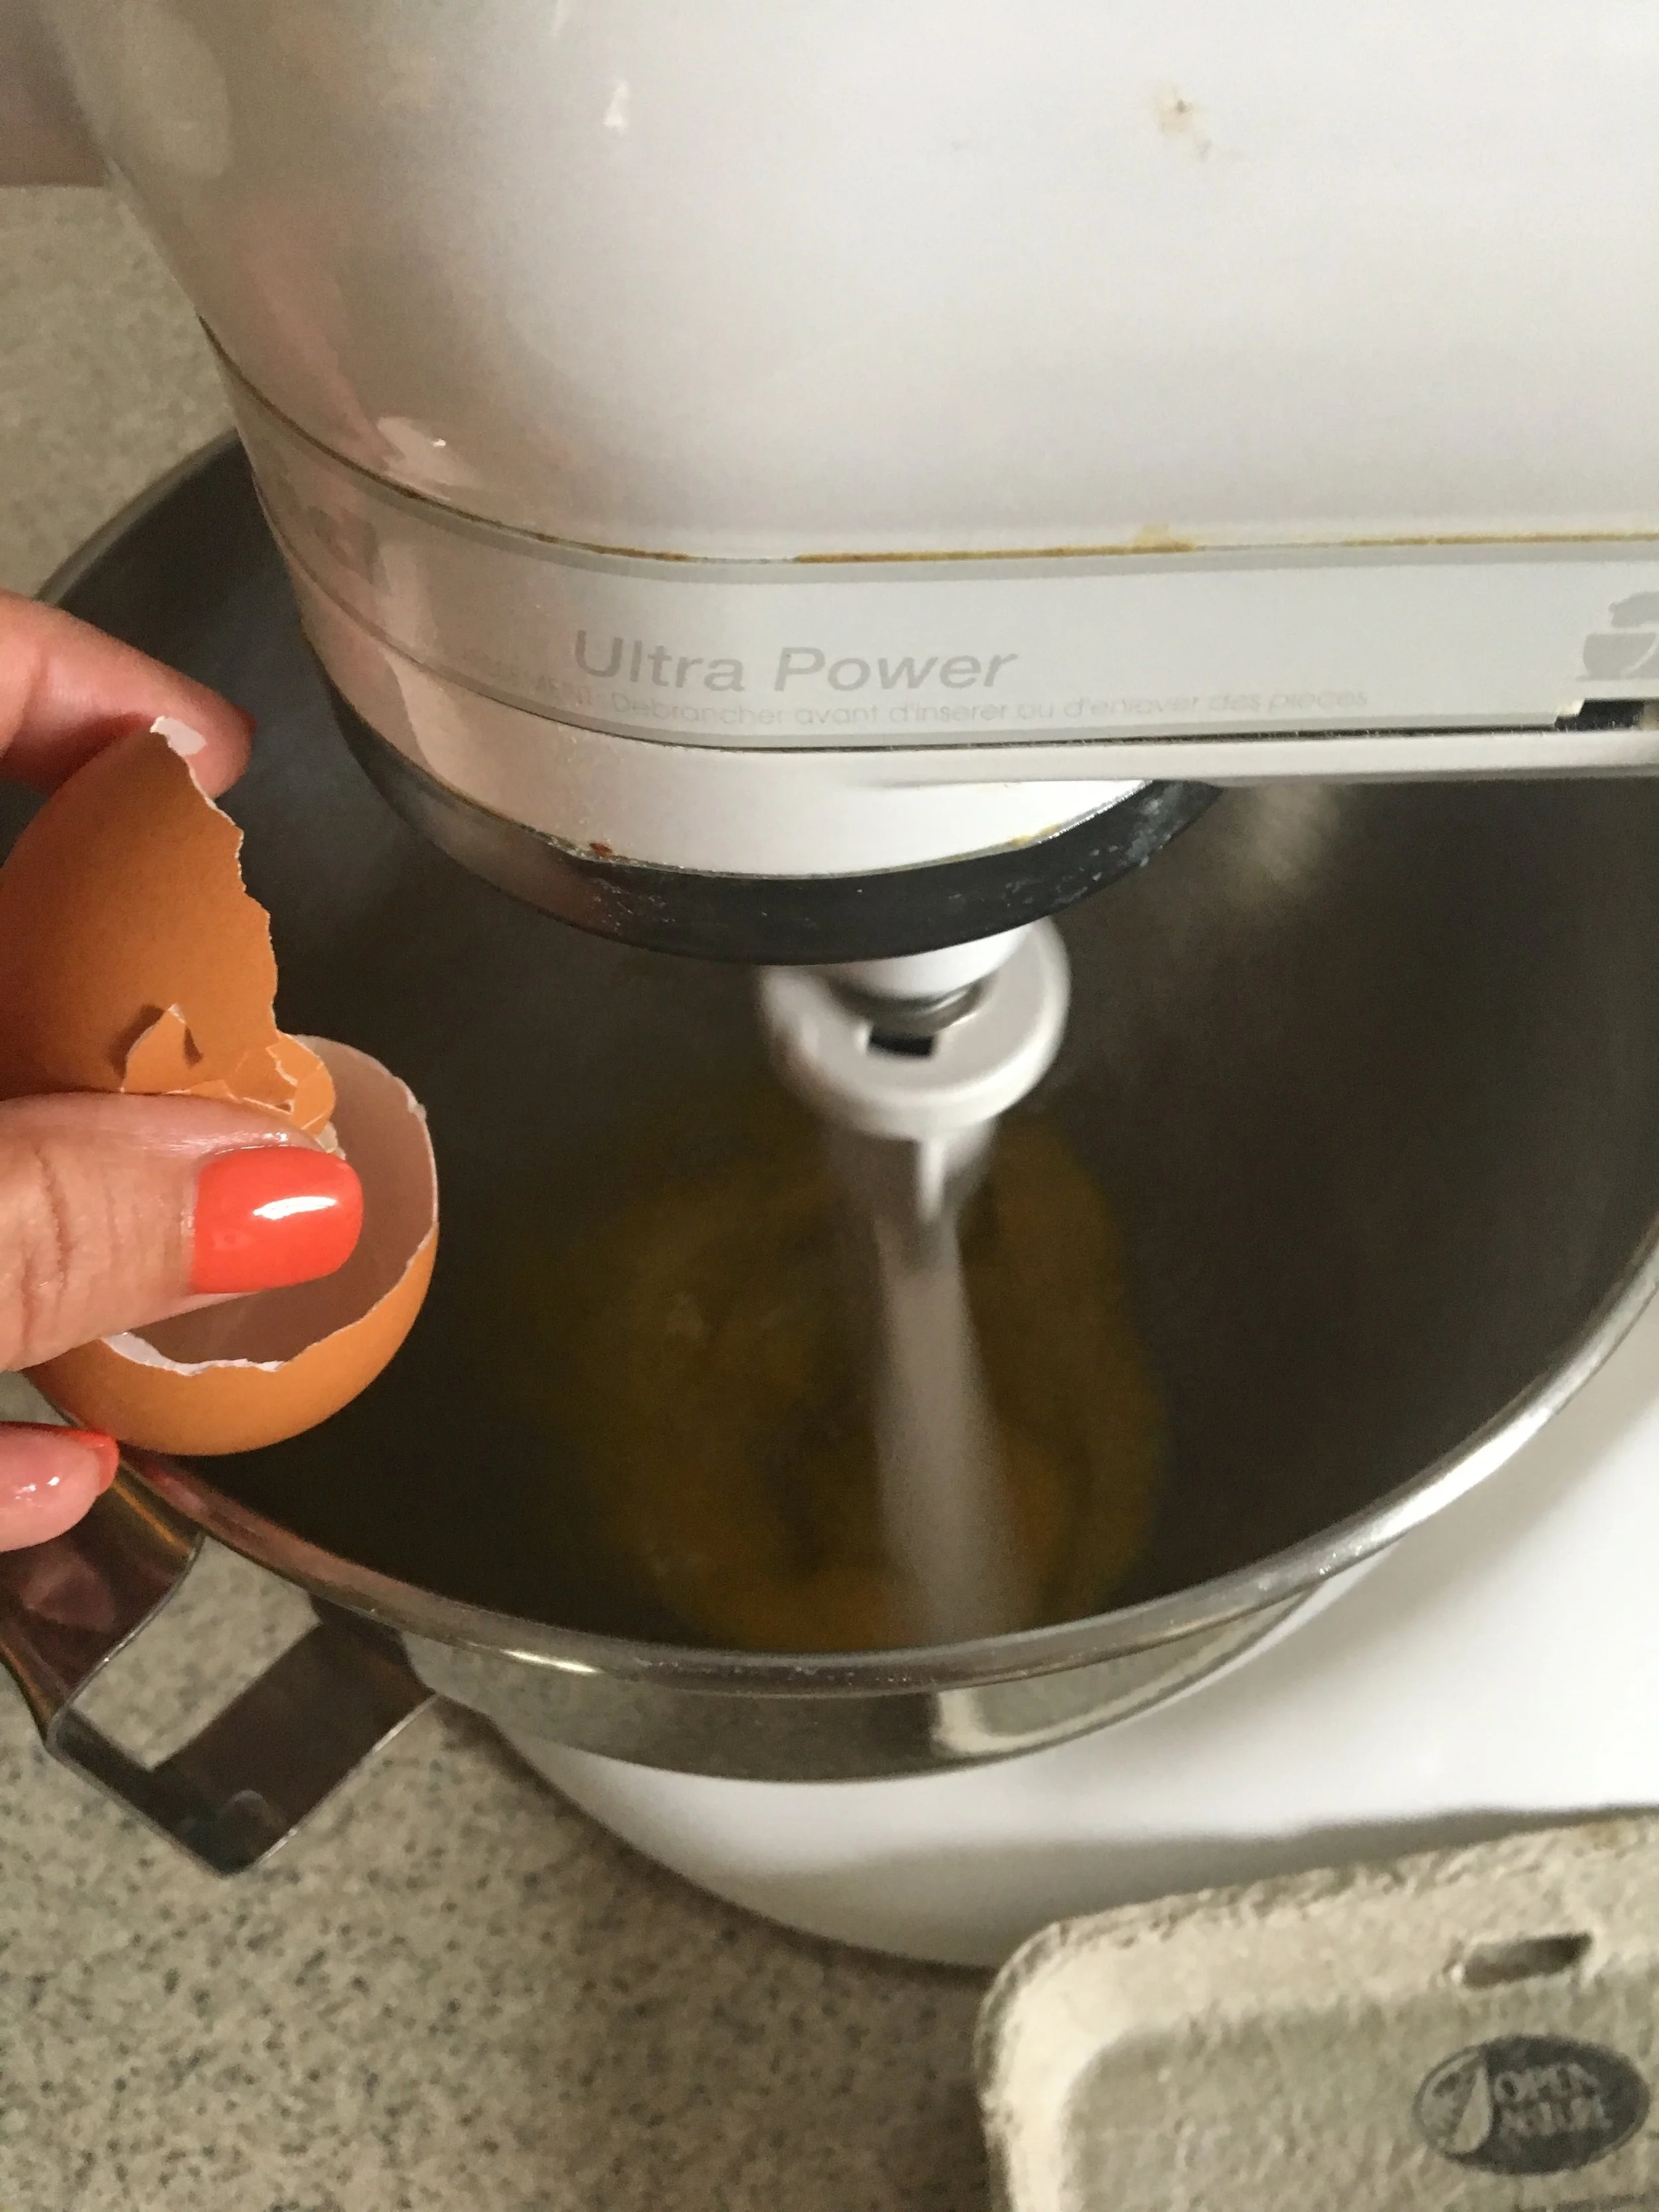
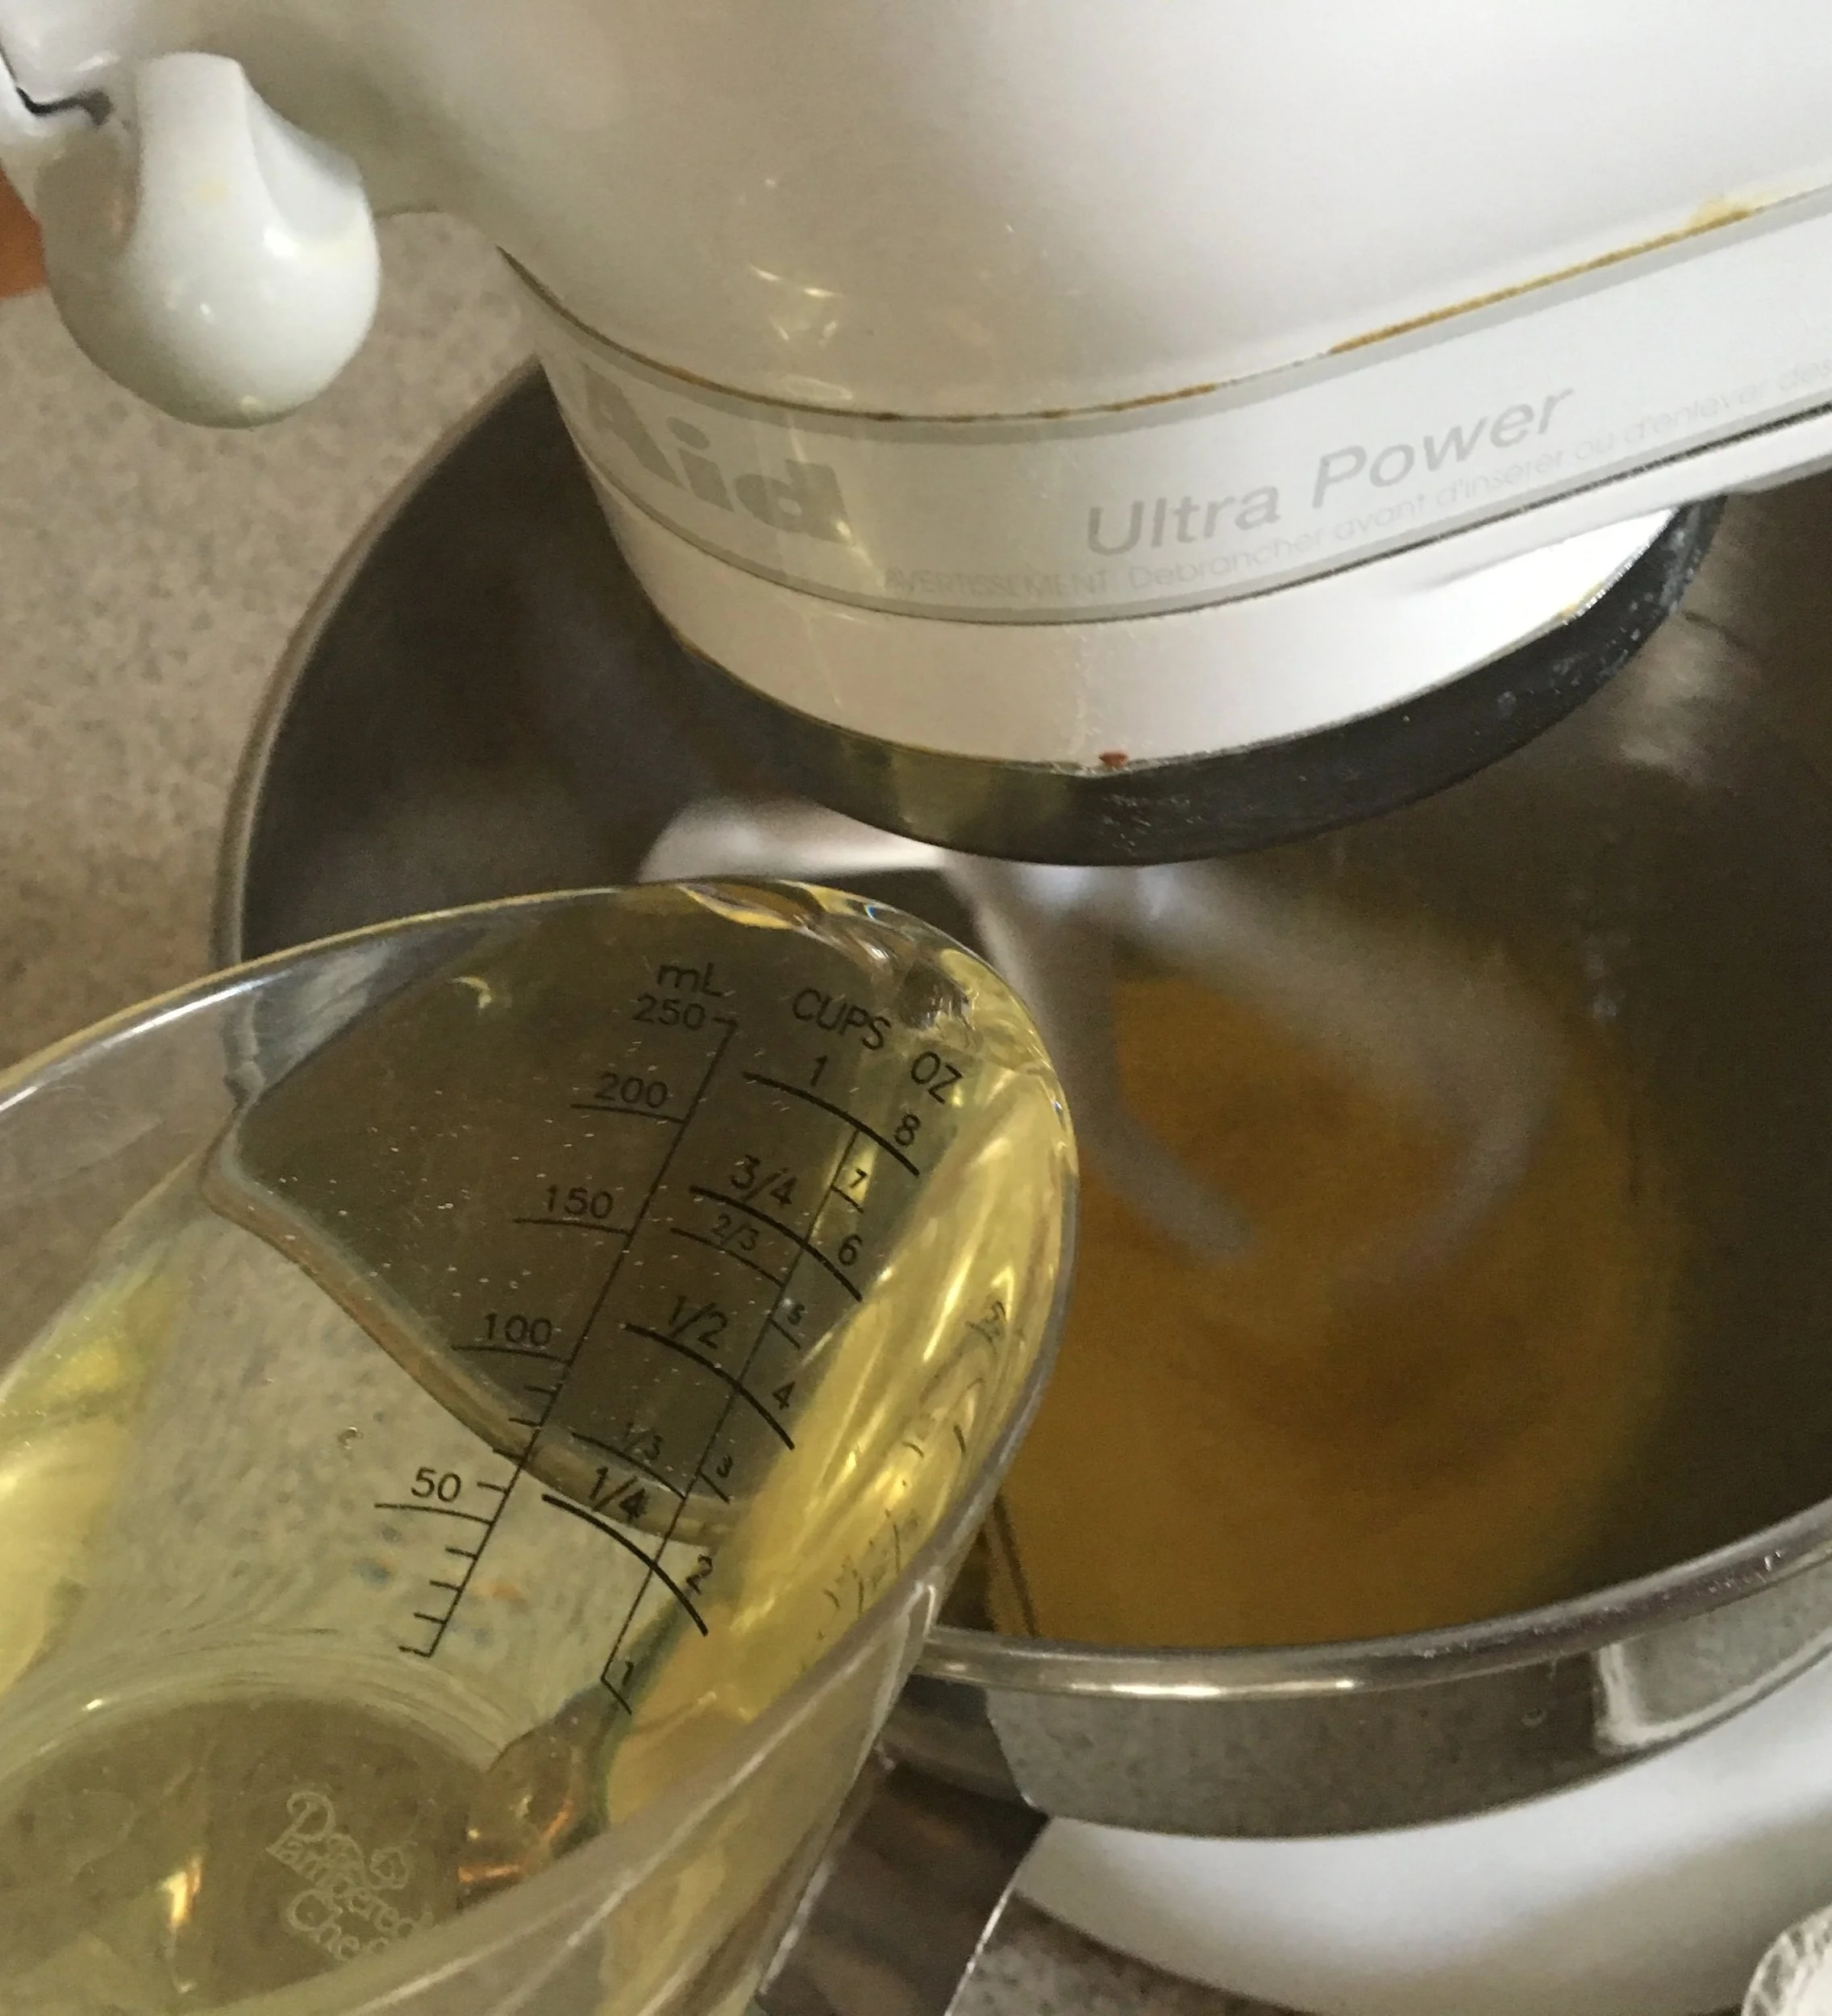
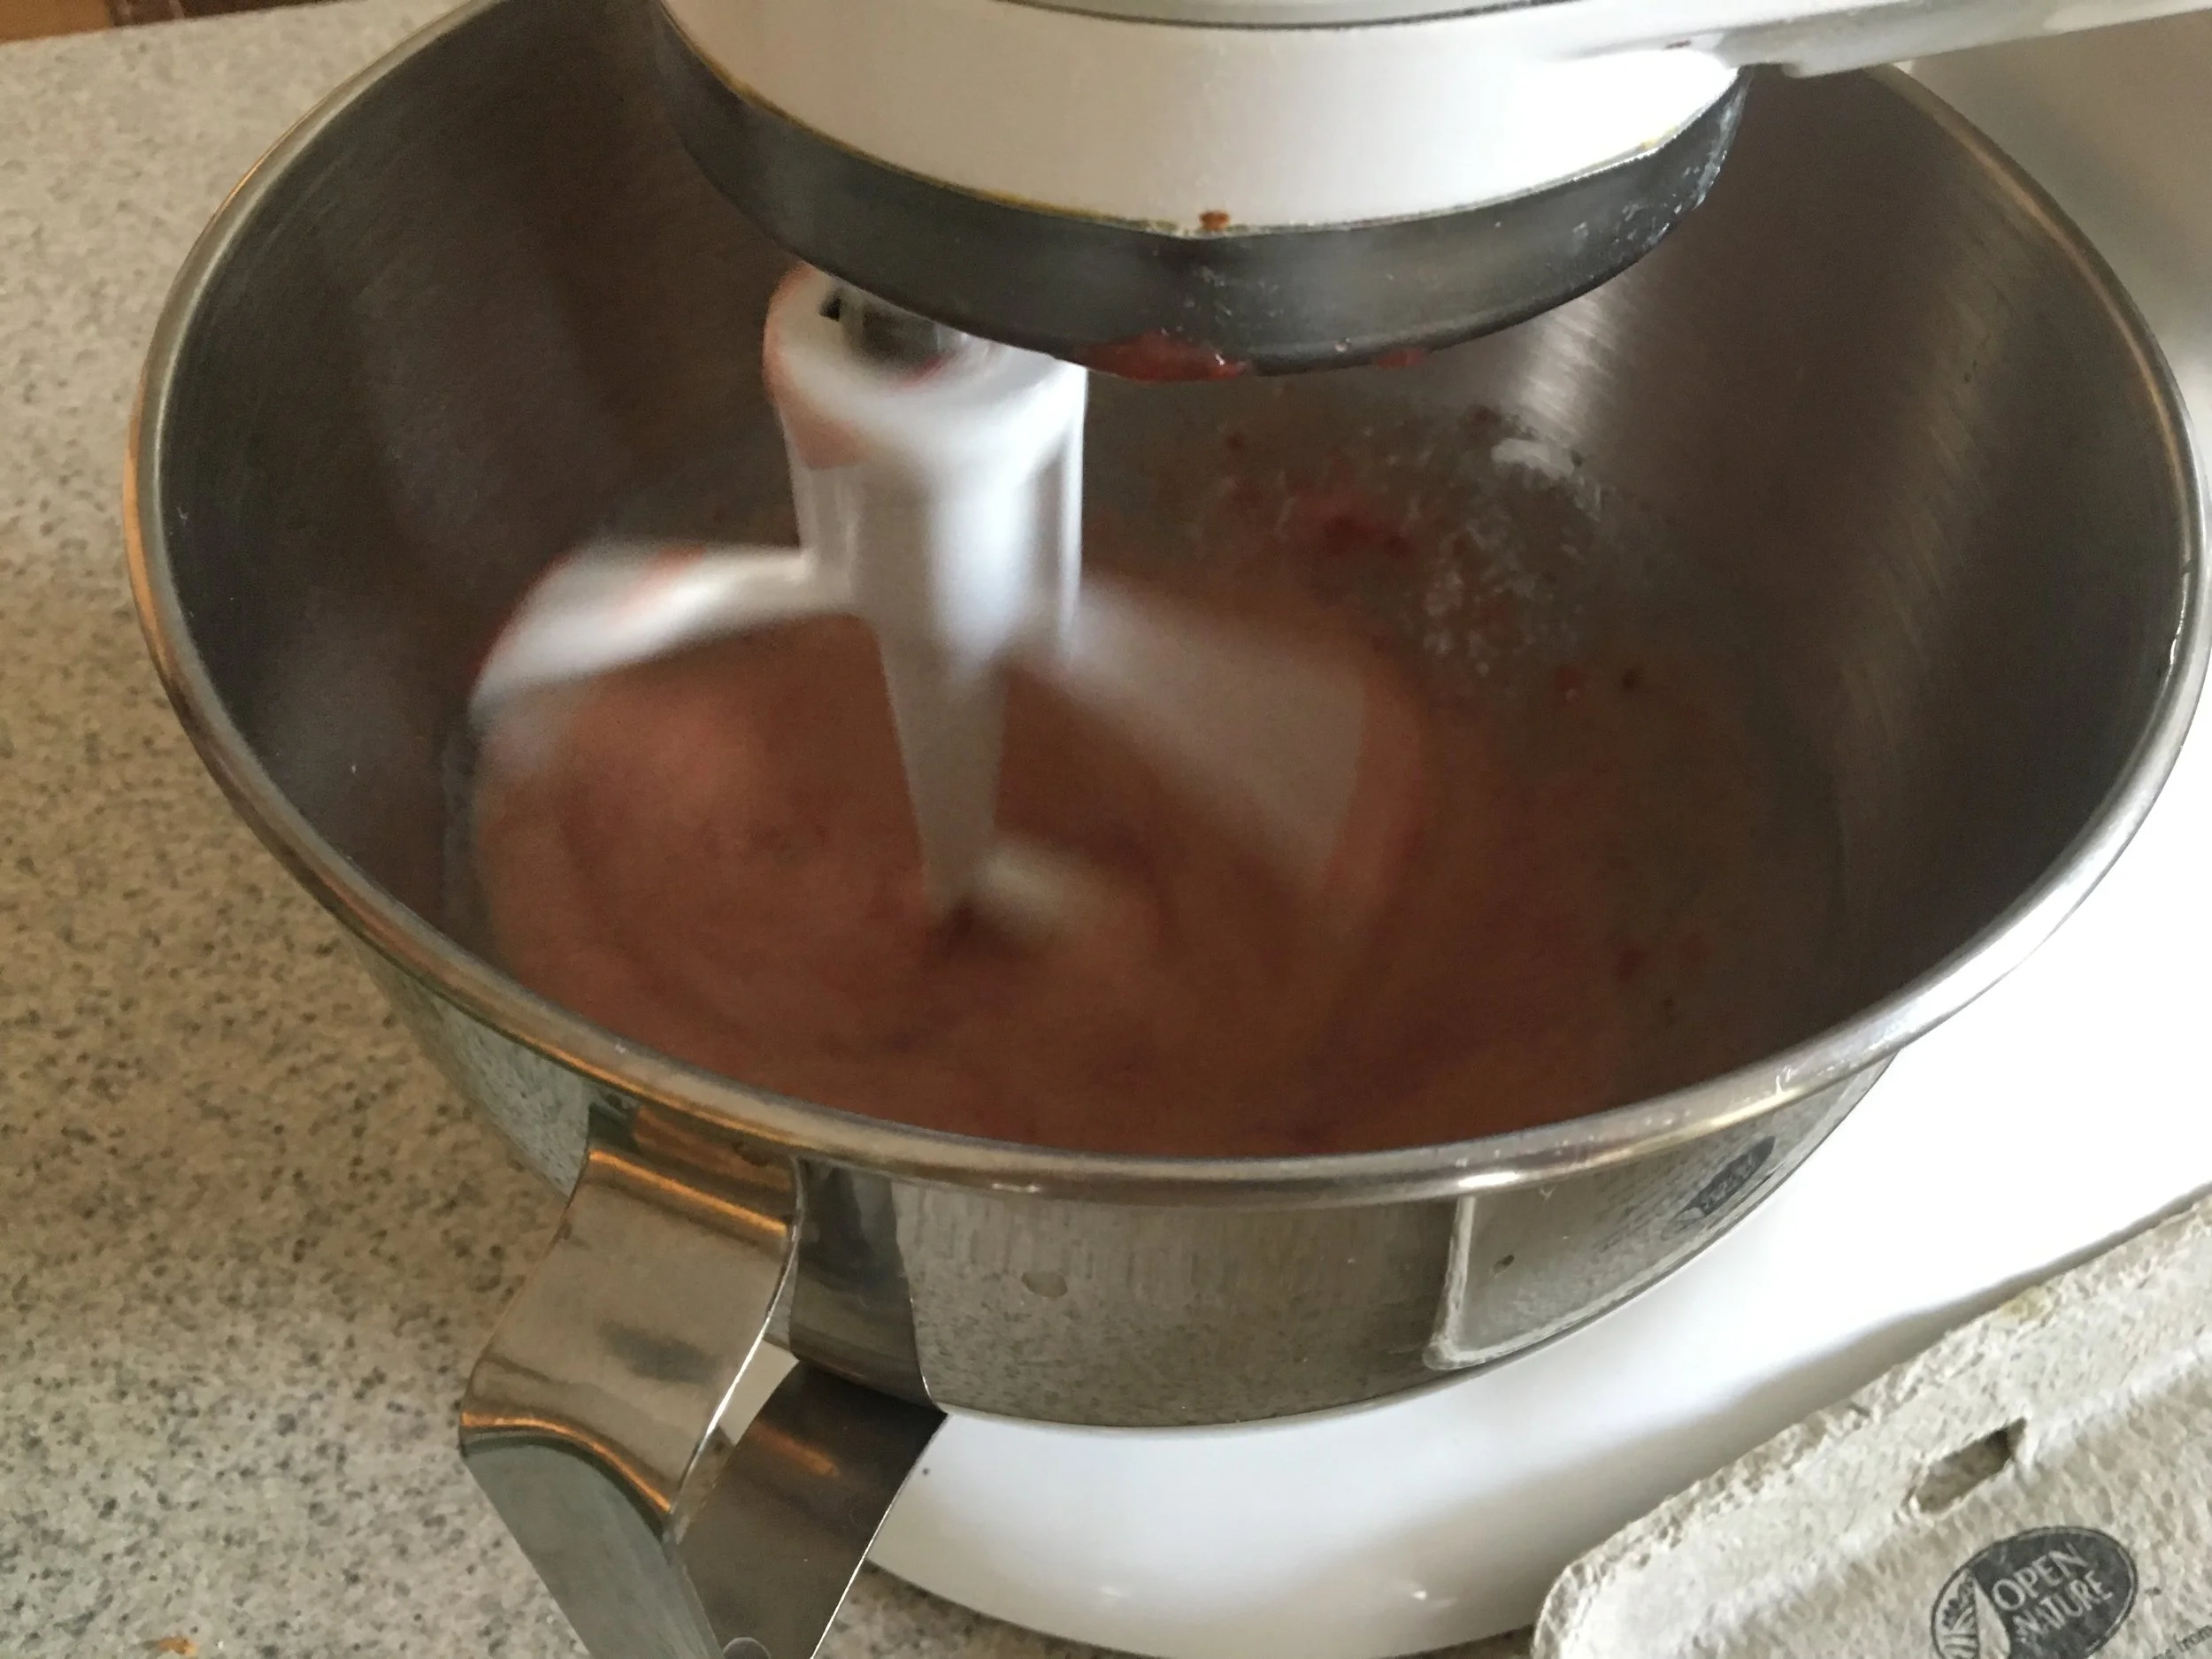
In another large bowl or standing mixer, add eggs, one at a time, beating after each addition. Add oil and beat well. Mix in strawberries and juice (this replaces the liquid called for on the cake mix box).

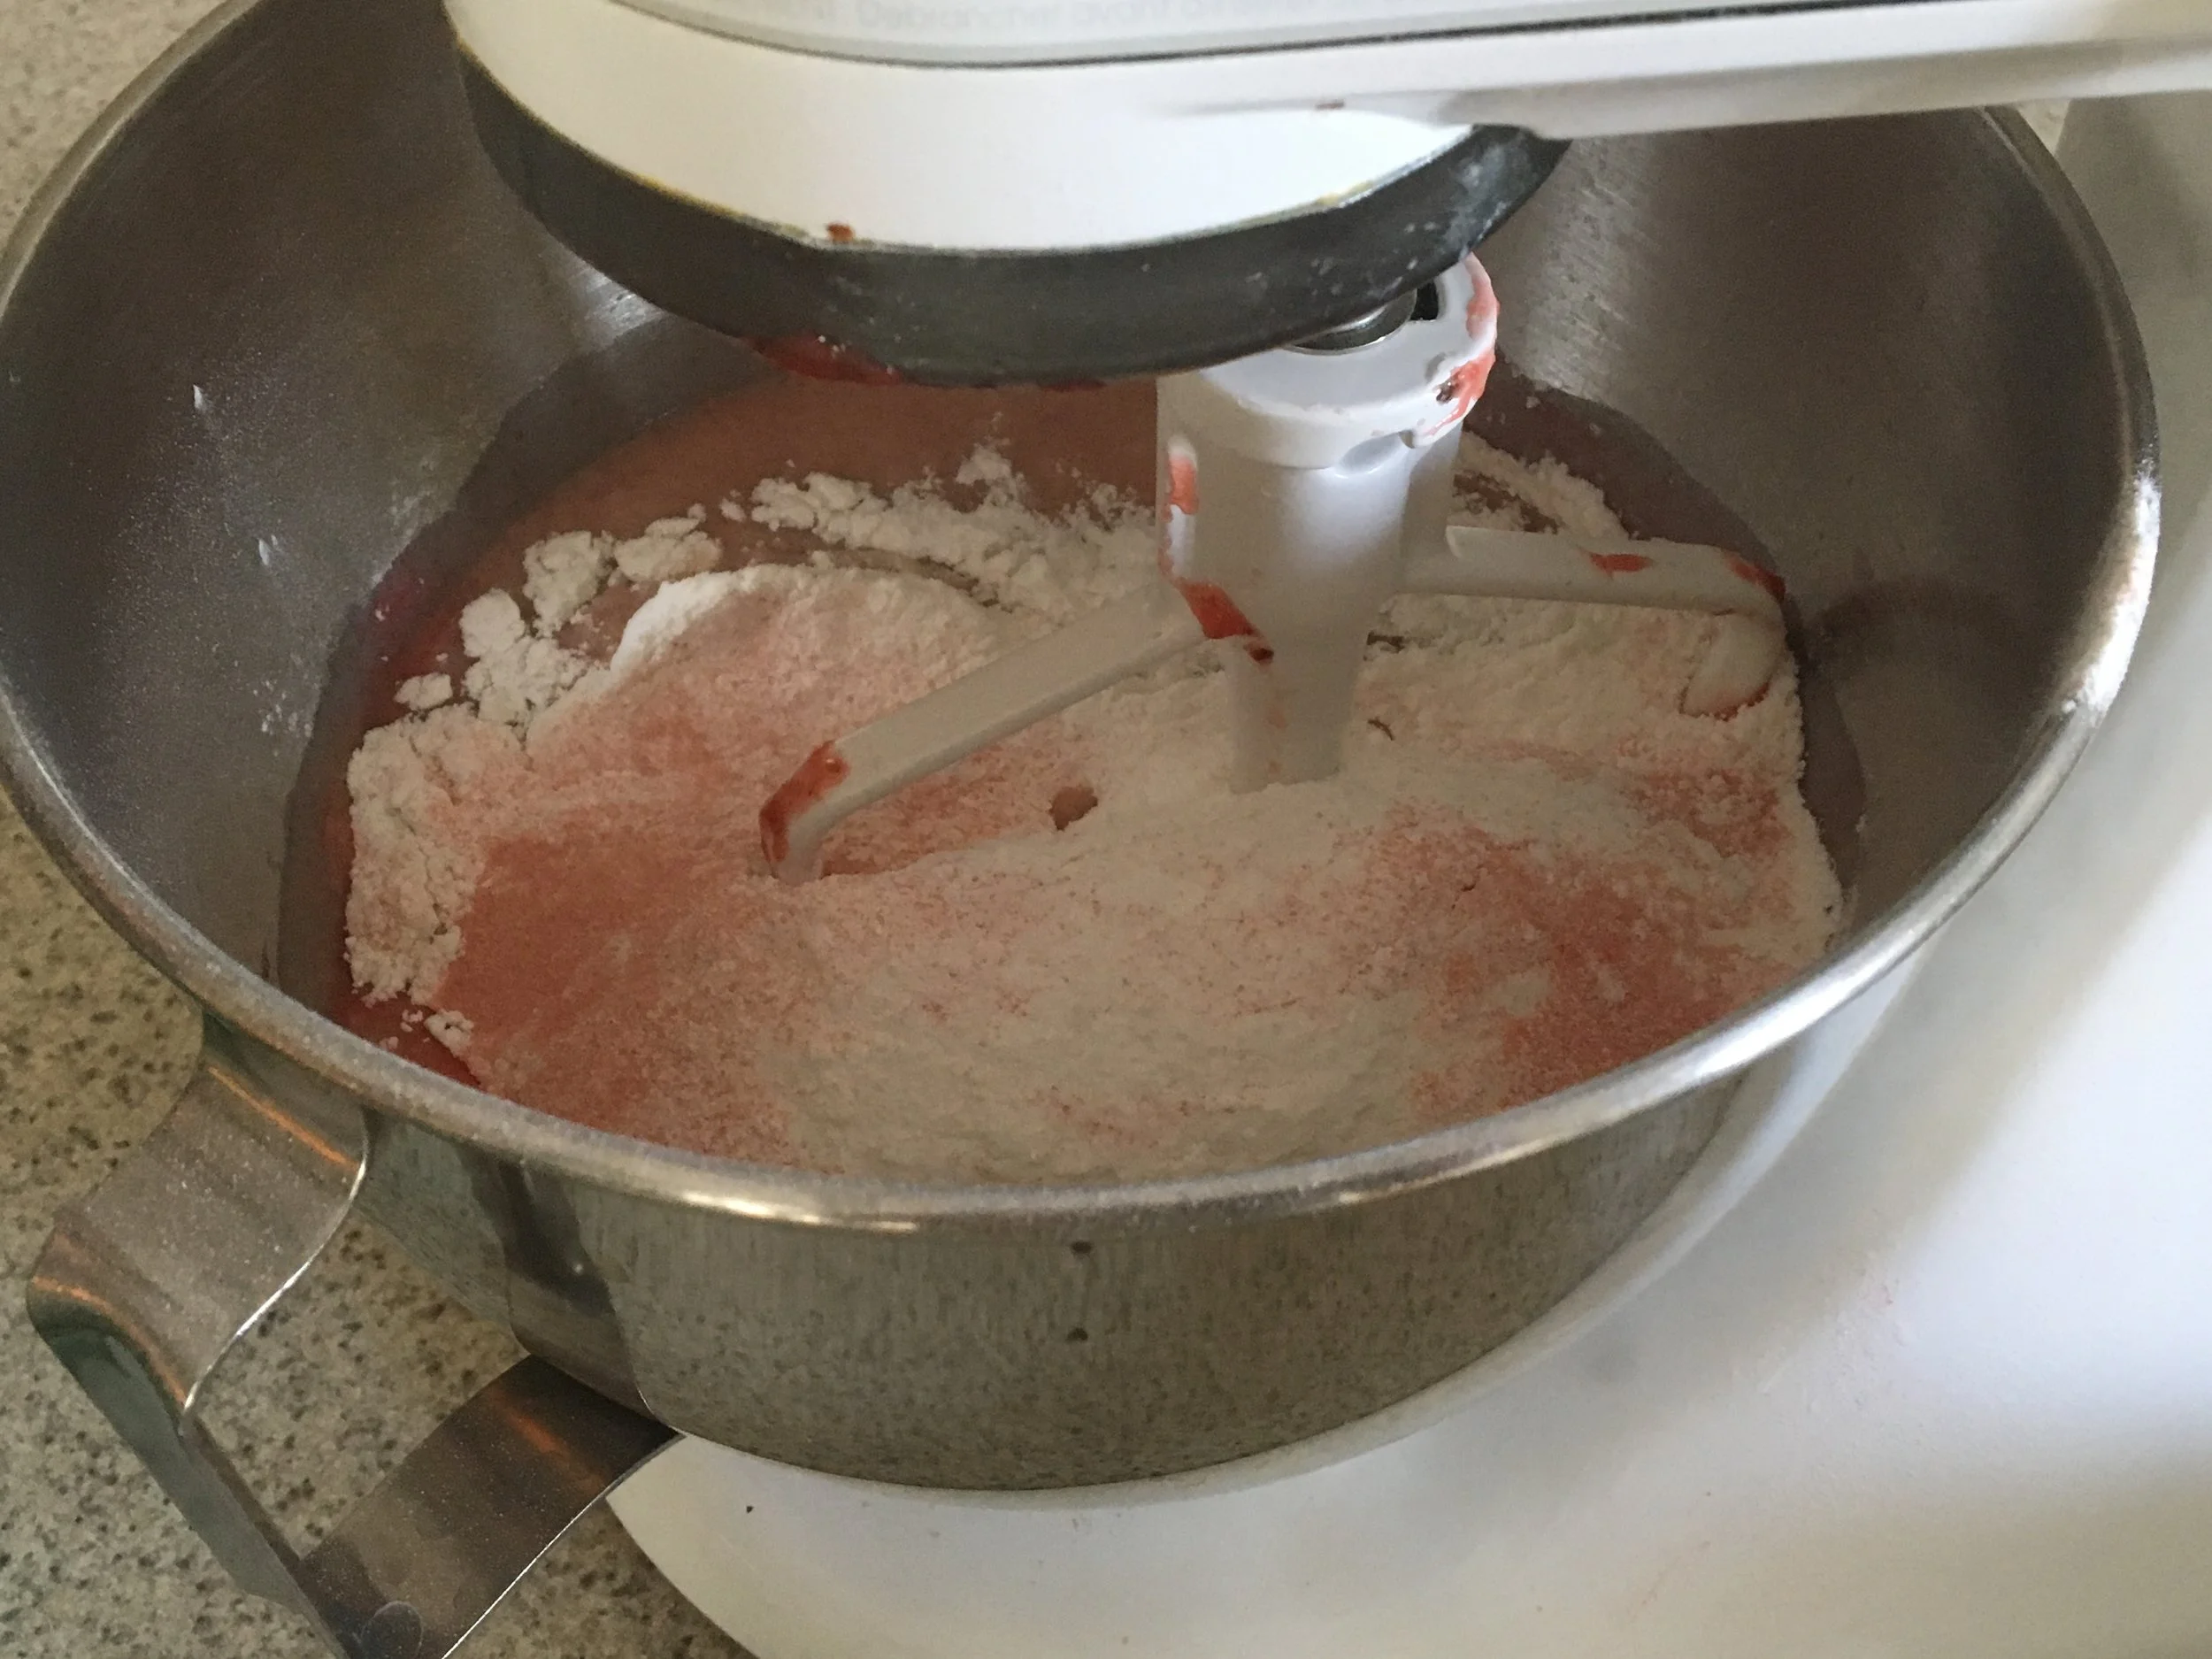
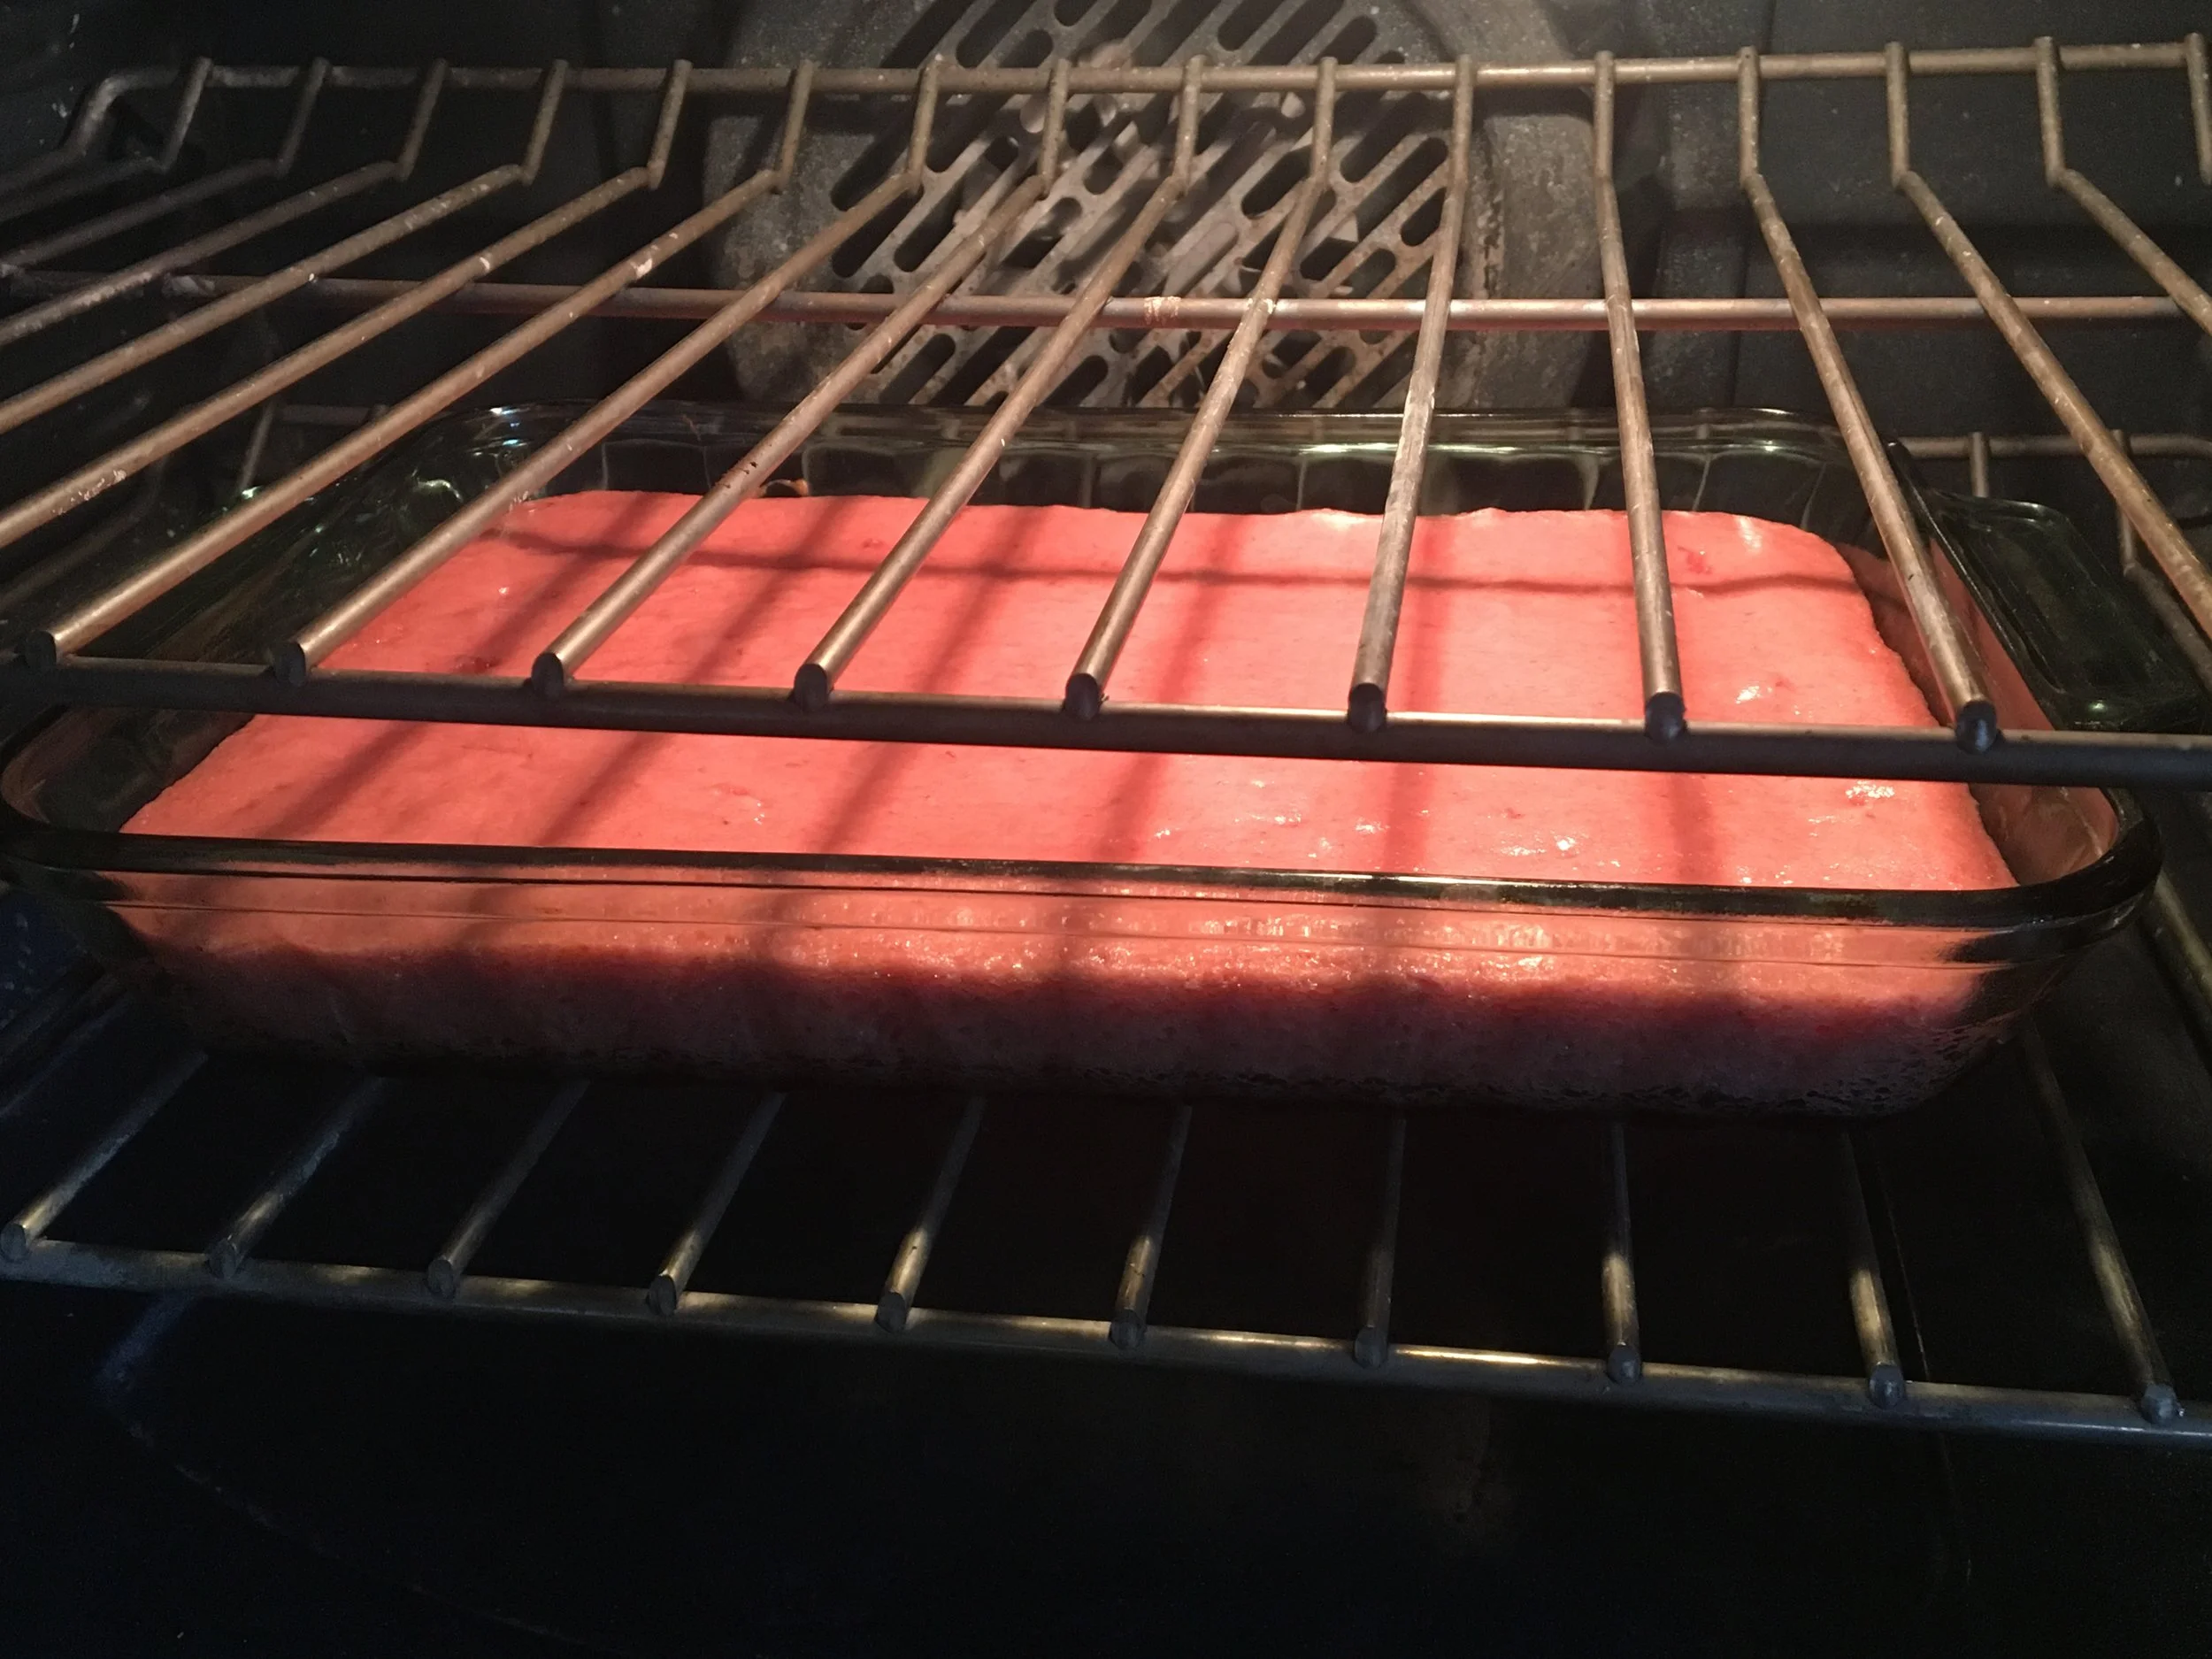
Slowly add the sifted dry ingredients to the bowl with the eggs. Pour the cake batter into a 9 x 13 pan and bake in the oven for 35-40 minutes, or until a toothpick inserted comes out clean.

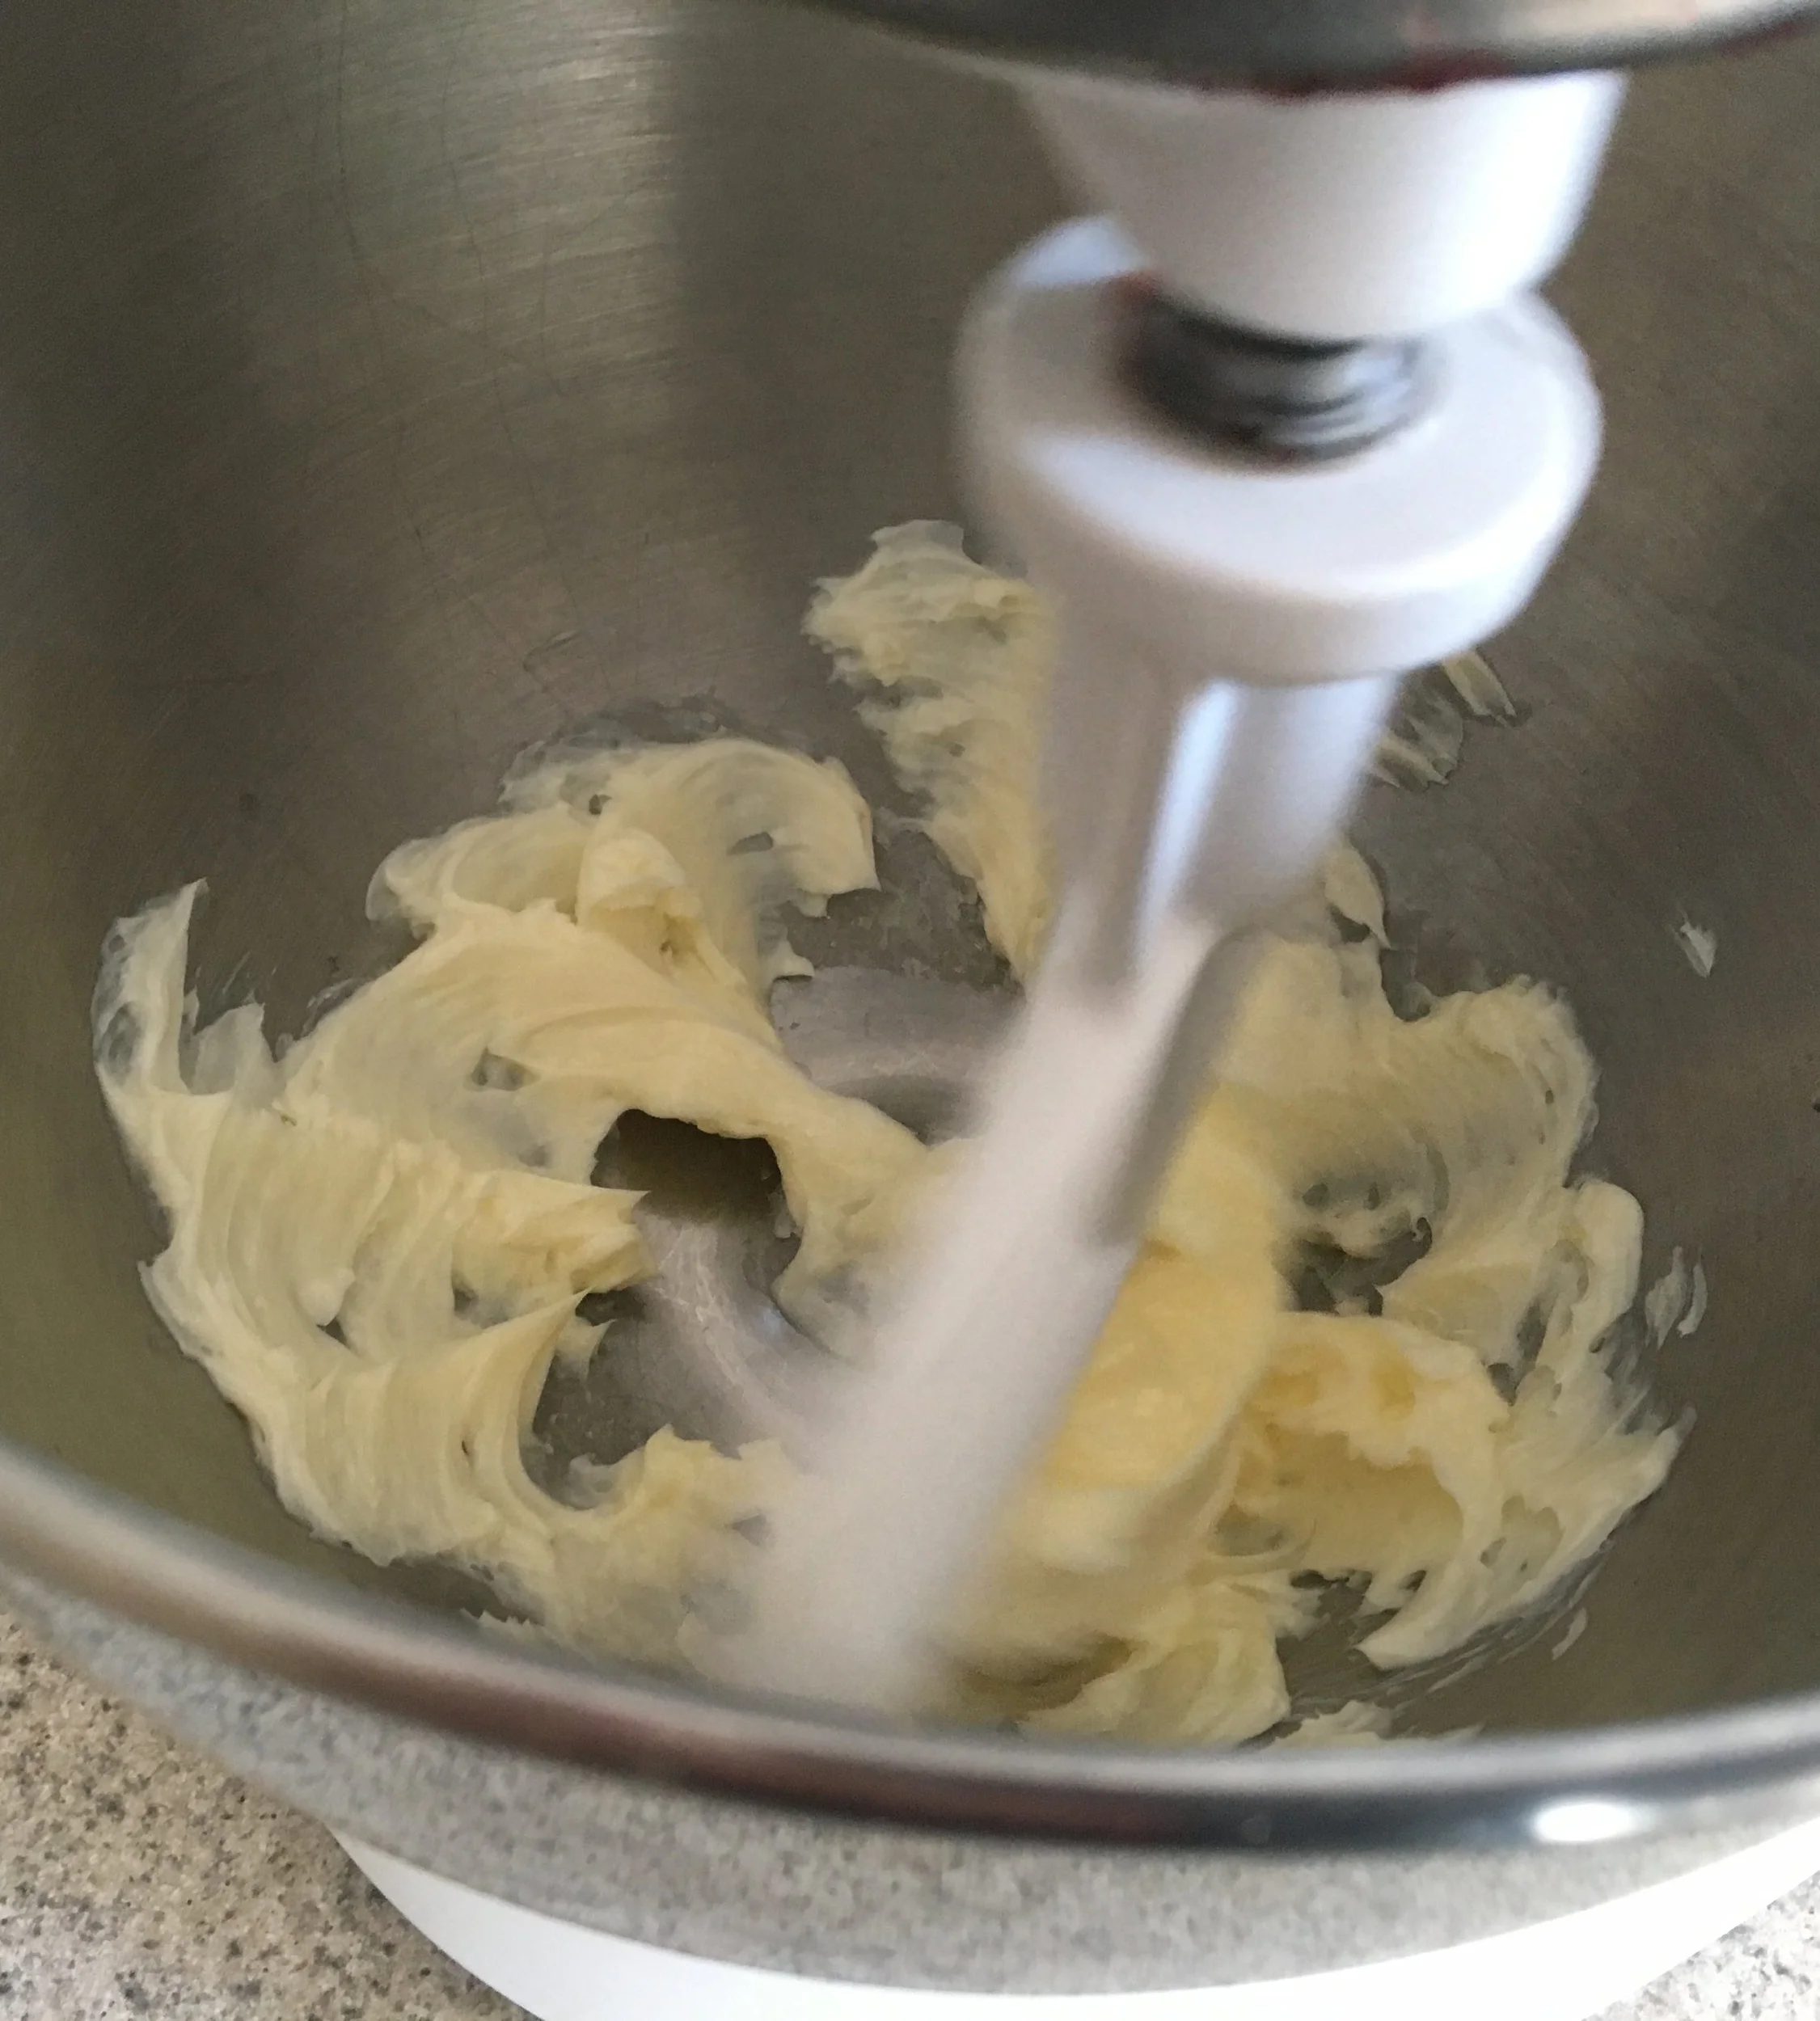
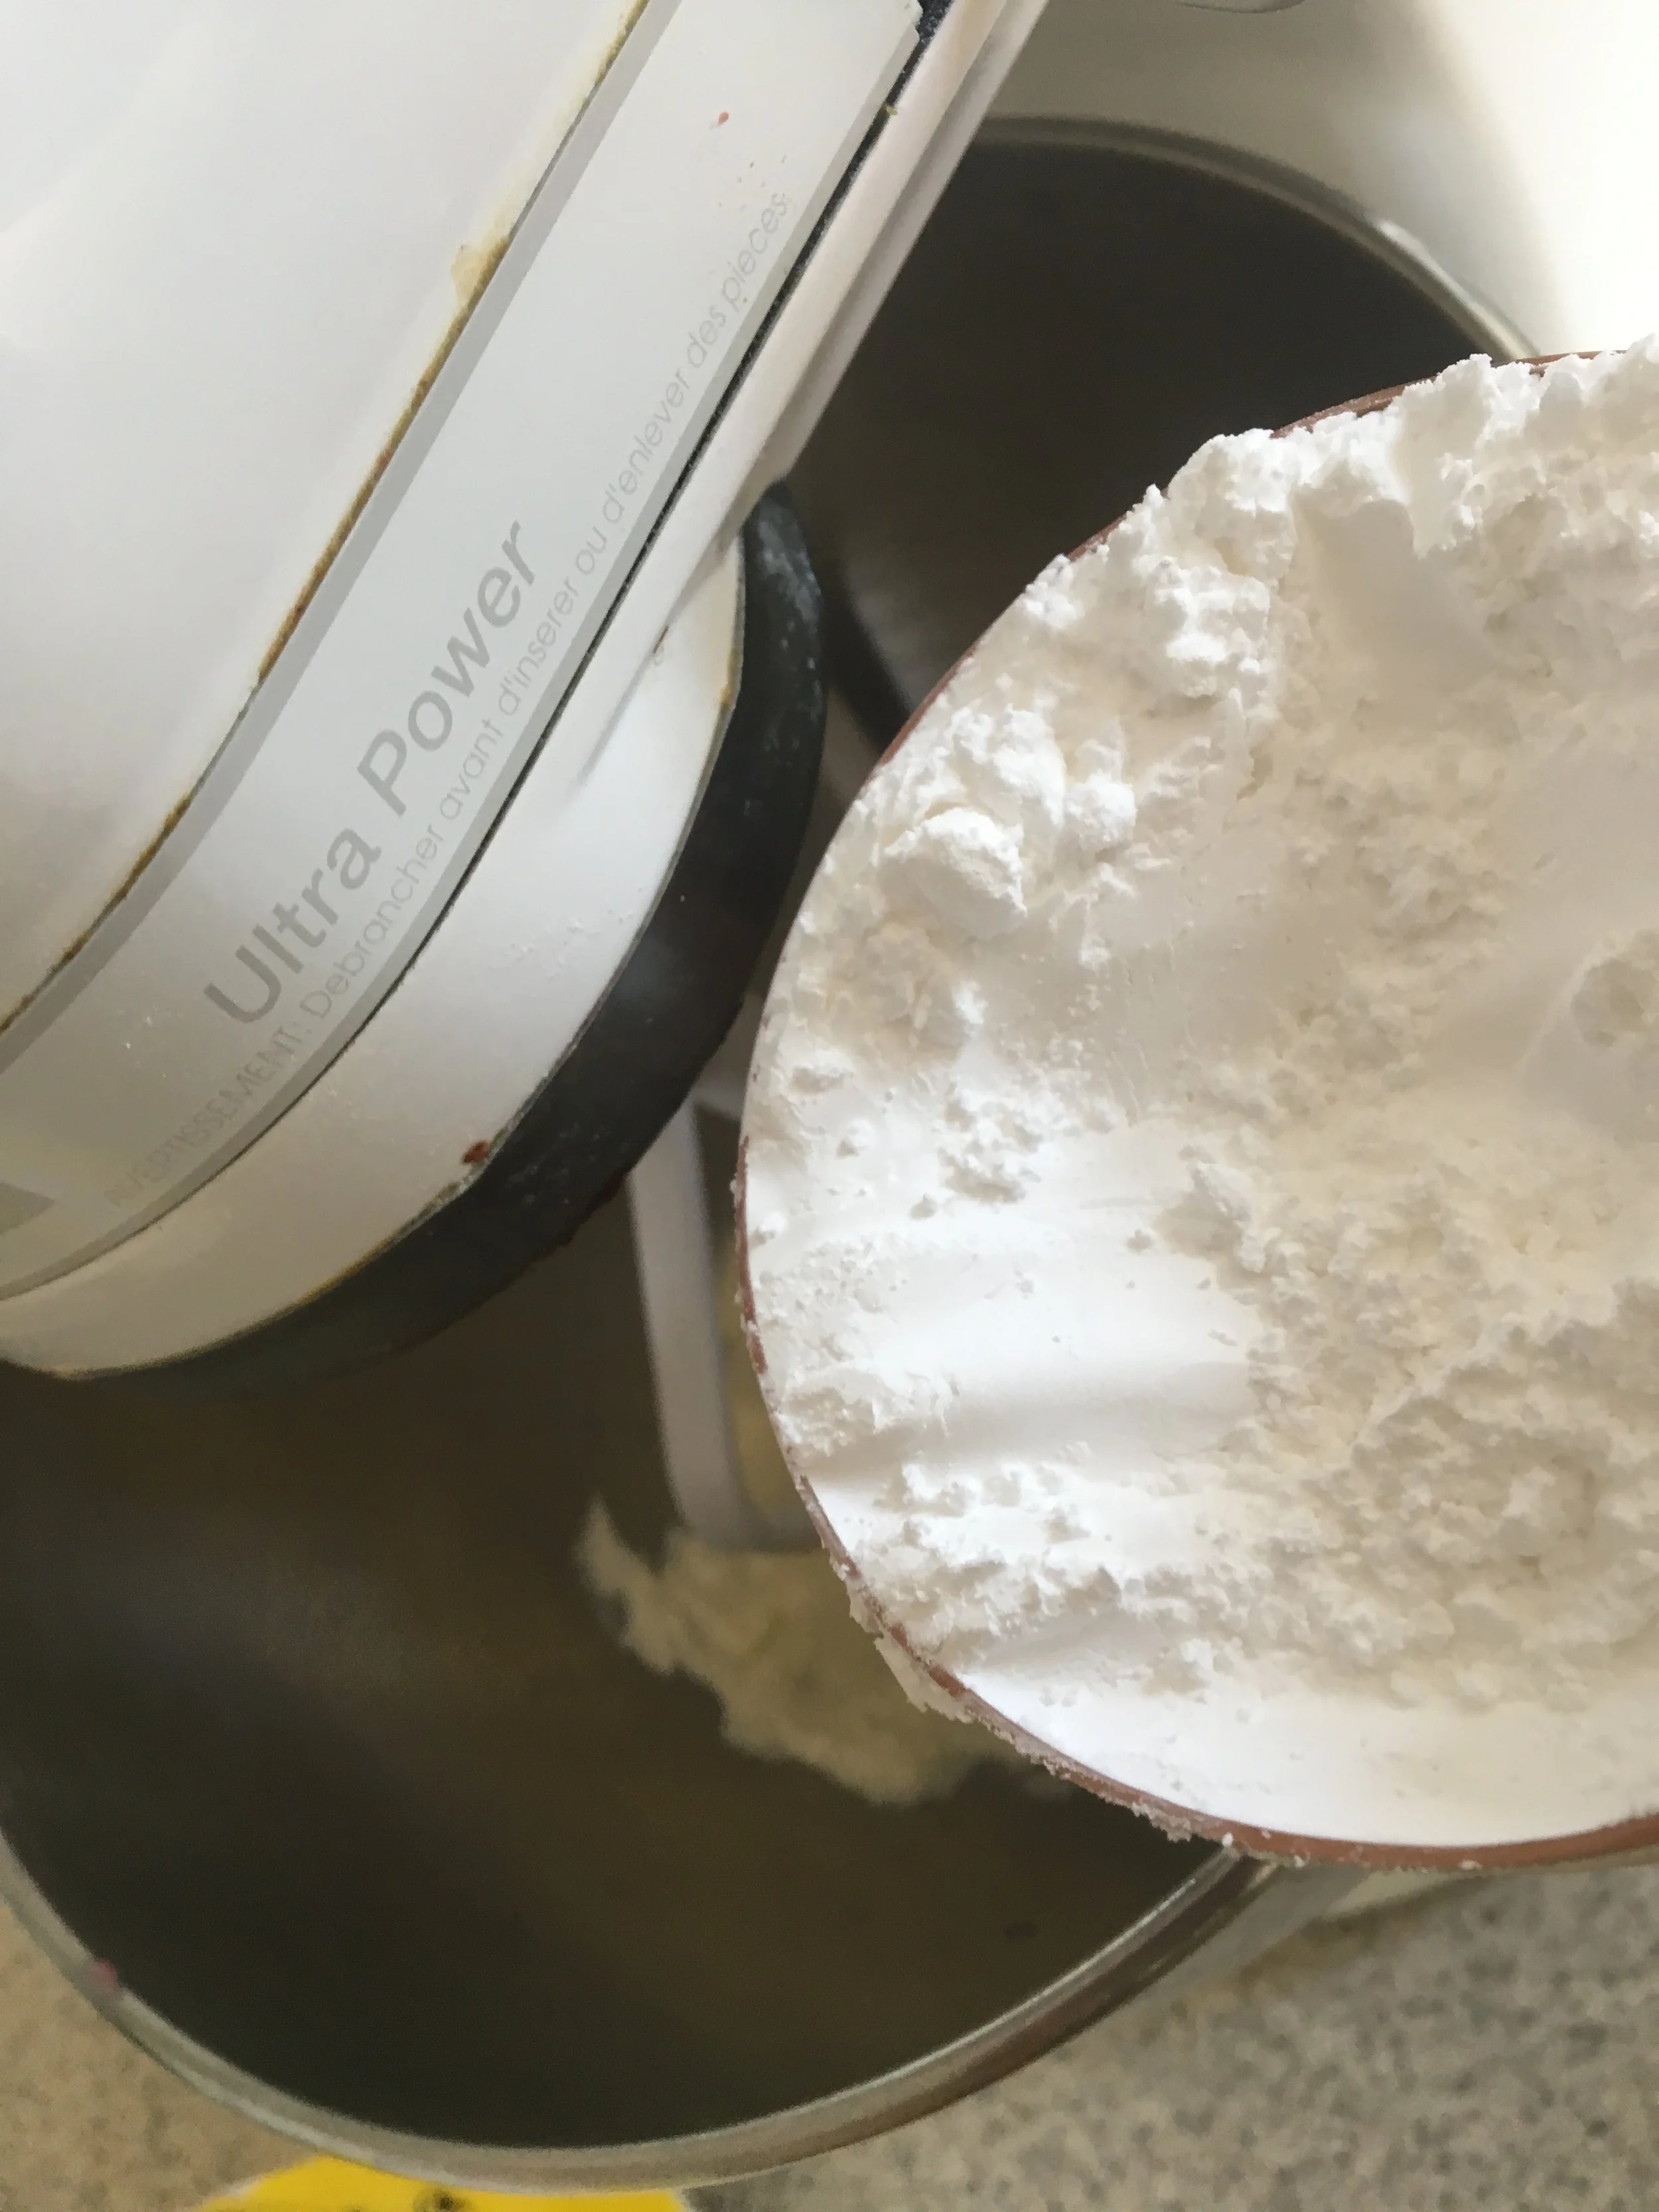
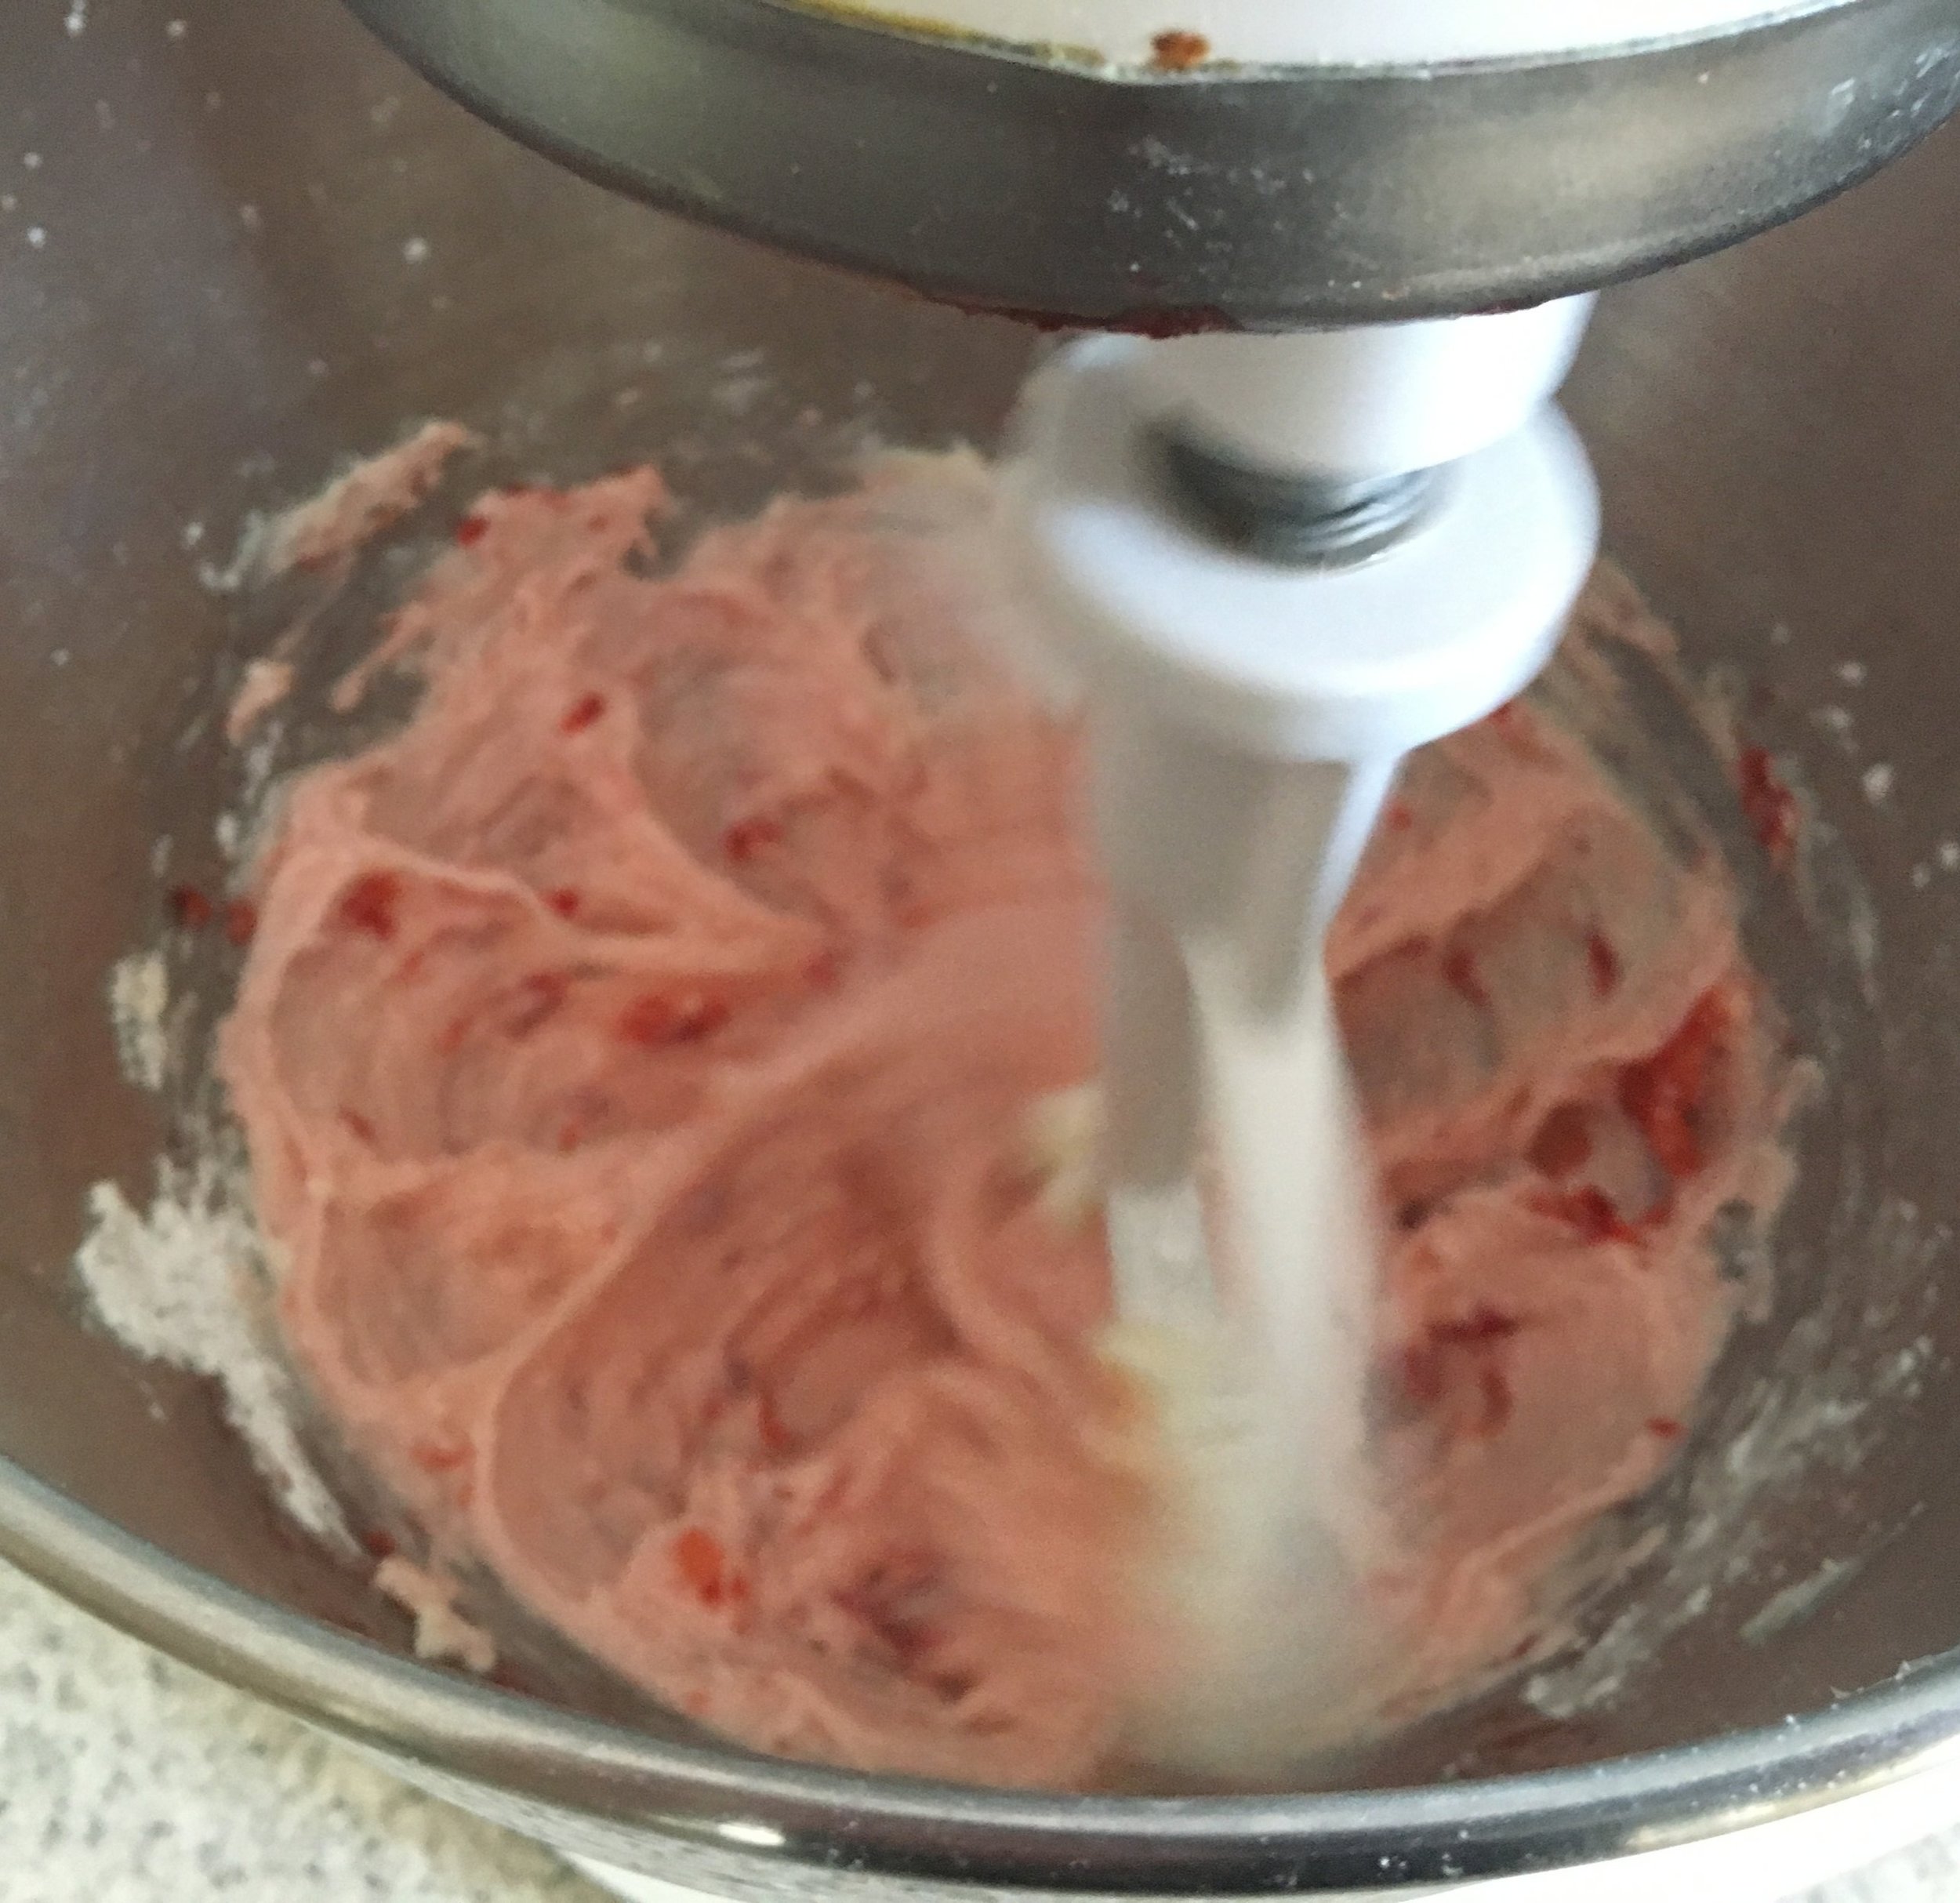
While the cake is baking, prepare the icing. Combine the butter, strawberries, and powdered sugar. Beat the ingredients together with a hand or standing mixer until combined. Icing should be somewhat thick. If icing is too thin, powdered sugar may need to be added until desired consistency.

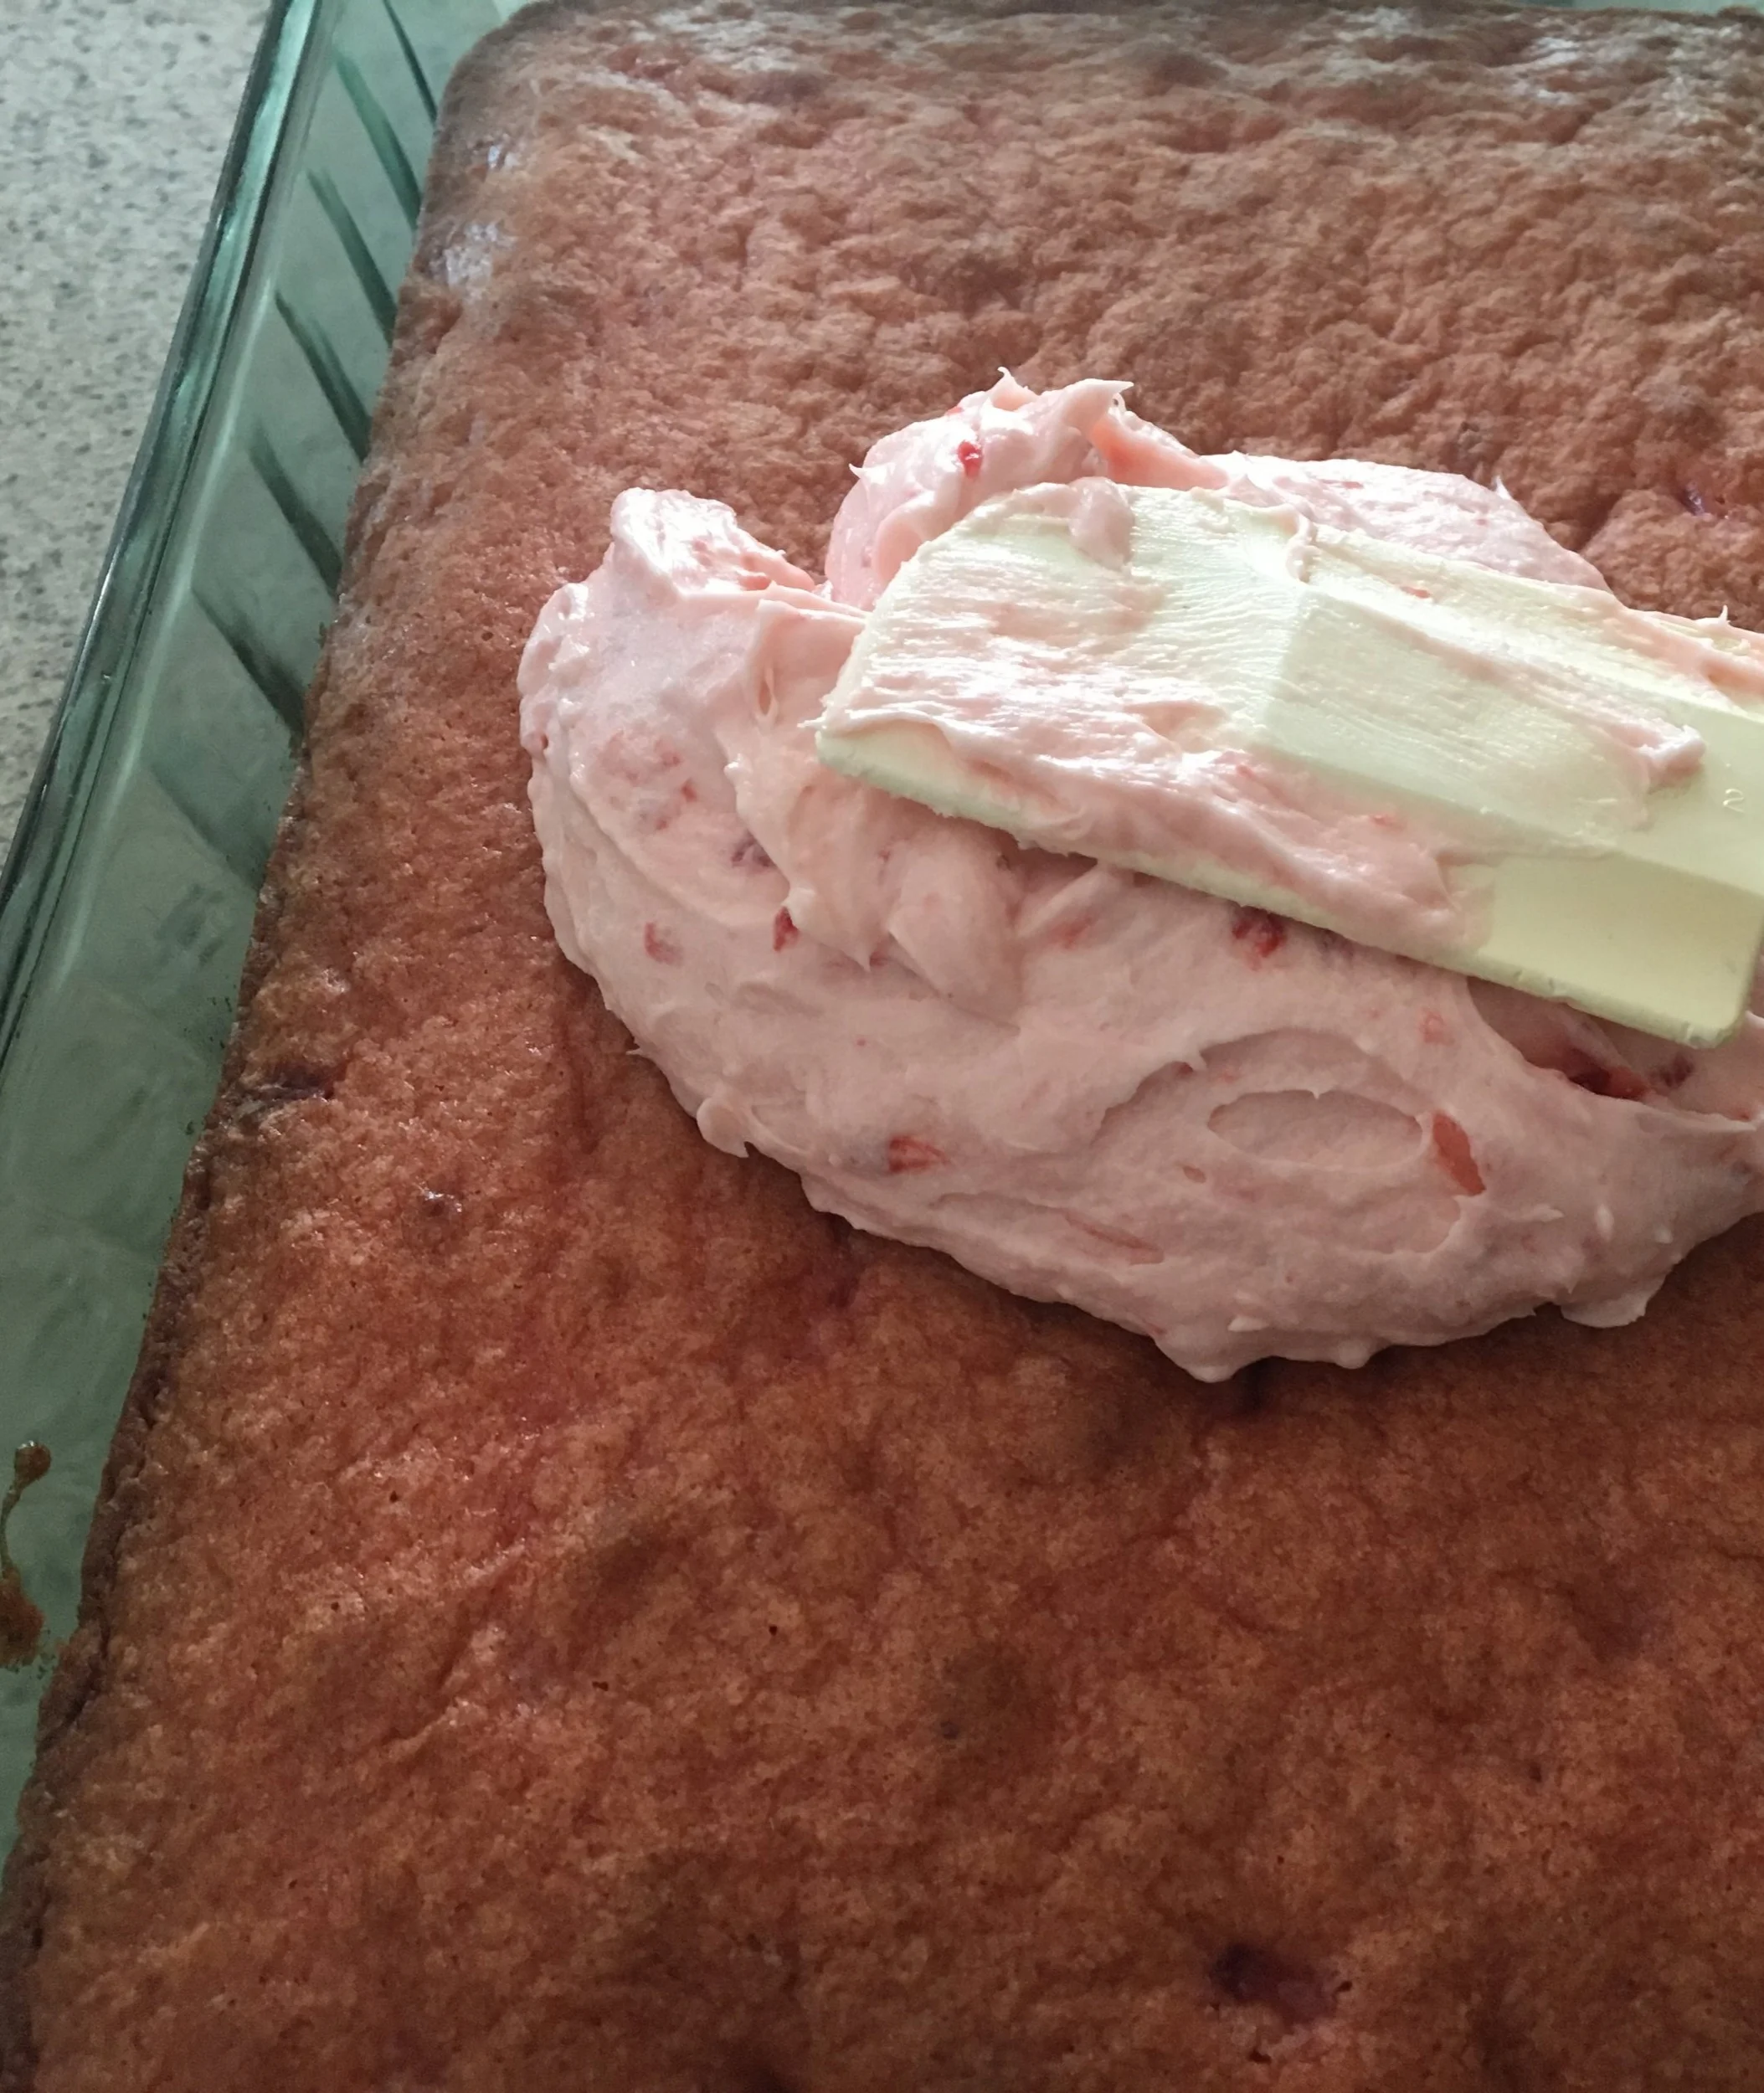
Once the cake is finished cooking, allow it to cool completely. Frost the cake generously with the icing and refrigerate.

Enjoy!

starwberry Cake.jpg
starwberry cake2.jpg

Move in day:(


Yum

Cooking Tip: How To Make Homemade Stromboli

cooking tipsSheri SpalloneComment
Cooking Tip: How To Make Homemade Stromboli

Cooking Tip: How To Make Homemade Stromboli

Prep Time: 10 minutes

Cook Time: About 20 minutes

Difficulty: Easy

Are you ready to get rolling and reinvent pizza night?  Gather your gang, grab some pizza dough, and some toppings, because it is time to make homemade strombolis!  

Strombolis, are rolled up deconstructed pizzas, stuffed with an infinite number of fillings (savory meats, gooey cheeses, vegetables, leftovers, sauces, etc.). Many fear that making strombolis is too tedious a task to master, but think again! It is simple and a lot of fun, especially if you want to include family or friends! Strombolis are the perfect make-ahead meal for pretty much any event and impressive enough to satisfy most guests.

Follow along as we share the steps to making delicious strombolis at home! You “knead” to try this! :) Comment below on your favorite filling and we would love for you to share your recipe. Thanks for stopping by. We hope you visit again.

Dough- It all starts with the dough. We have tested this process with refrigerated pizza dough, frozen bread dough, as well as fresh pizza dough (found at most grocery stores). Some pizza shops sell their pizza dough to the public. If you have a favorite homemade pizza dough recipe, by all means, use it!

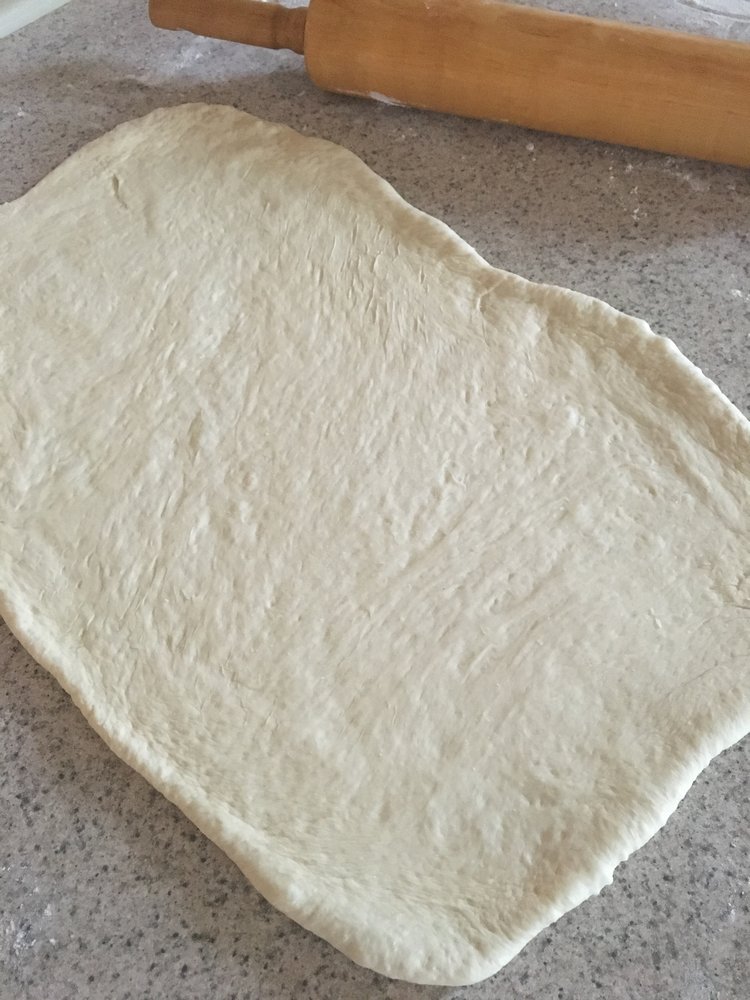
So now what? It’s time to get rolling! Preheat the oven to 350 degrees. Once you have your dough, on a lightly floured surface, roll out the dough into a large rectangle, about 15 inches give or take.

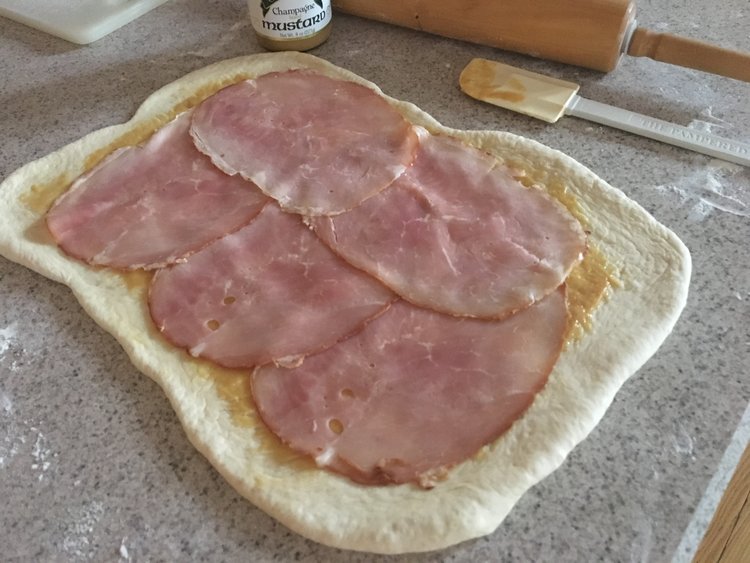
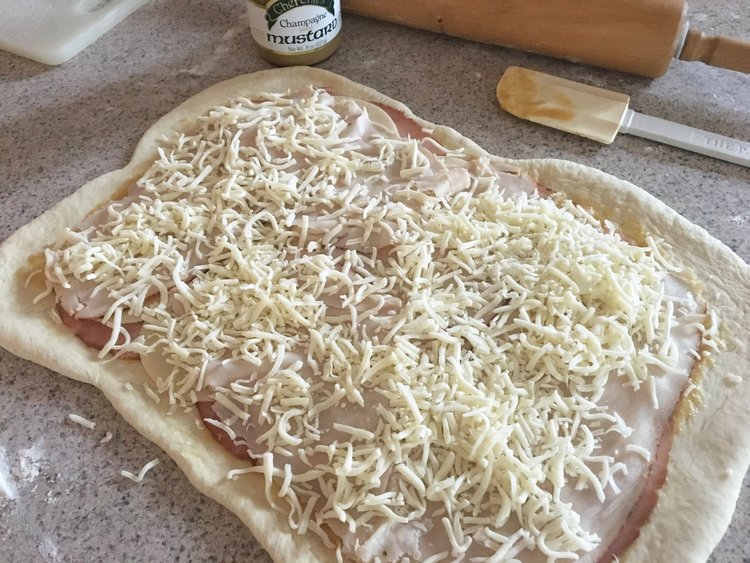
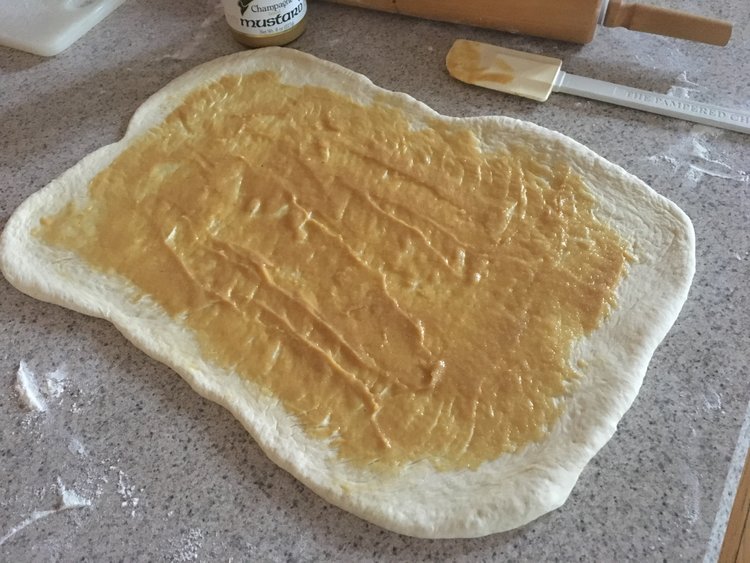
Fillings- This step is optional, but for us, it is the “pièce de résistance” that makes the flavors of the stromboli come alive, no matter the filling. The secret? Spread the dough with a thin layer of our famous Cherchies Champagne Mustard before adding the toppings! It makes a huge difference.

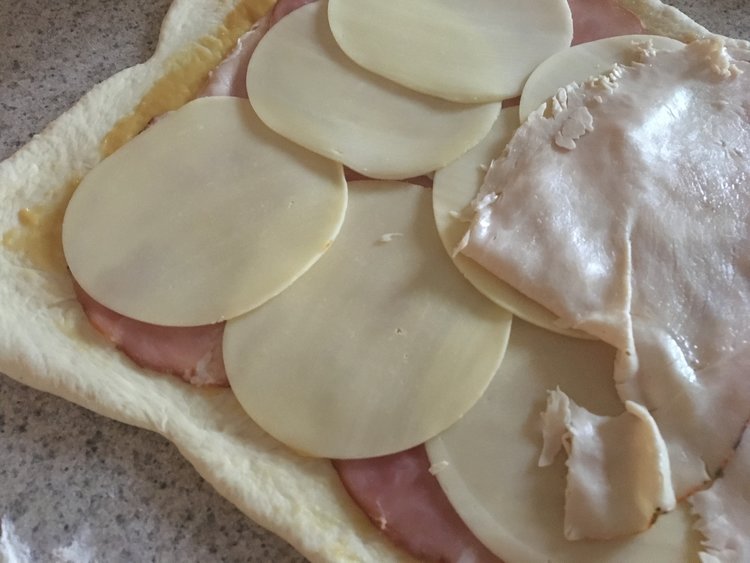
You will want to place all the toppings and fillings inside the rectangle, leaving about 1 inch around the perimeter free for rolling.

Next, fill the dough with your favorite combinations. Our favorite is our Ham, Turkey, and Cheese Stromboli Recipe, which consists of you guessed it, ham, turkey, two kinds of cheese, and of course our mustards!

Tasty Filling Ideas - Here are a few other ideas to inspire you:


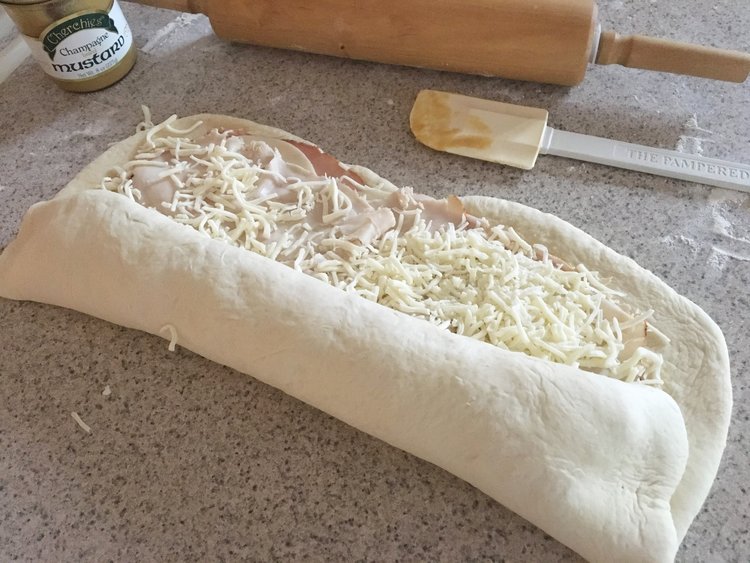
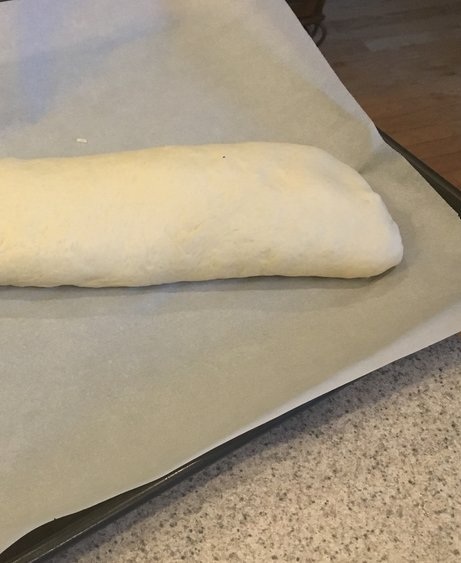
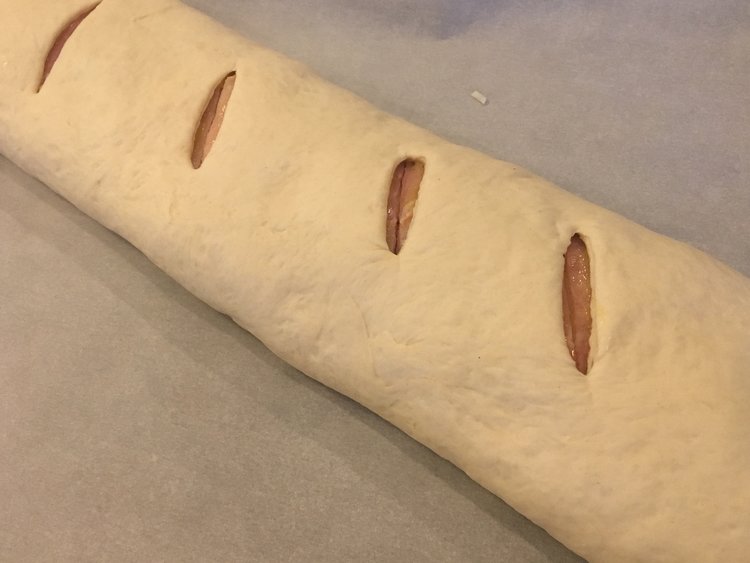
Sealing up- Now that you have your favorite filling in place, it is time to “seal the deal.” Sorry:) Starting with the long end of the rectangle, roll up your stromboli (jelly-roll style) and carefully make sure to tuck in ingredients that may have fallen out. Place on a parchment paper-lined tray, seam-side down and pinch the open ends closed.

This next step is optional, but I have found it helps to keep all the ingredients from exploding out onto the pan. With a sharp knife, cut a couple of slits into the dough. If making ahead, cover the stromboli with plastic wrap and place in the refrigerator or freezer.

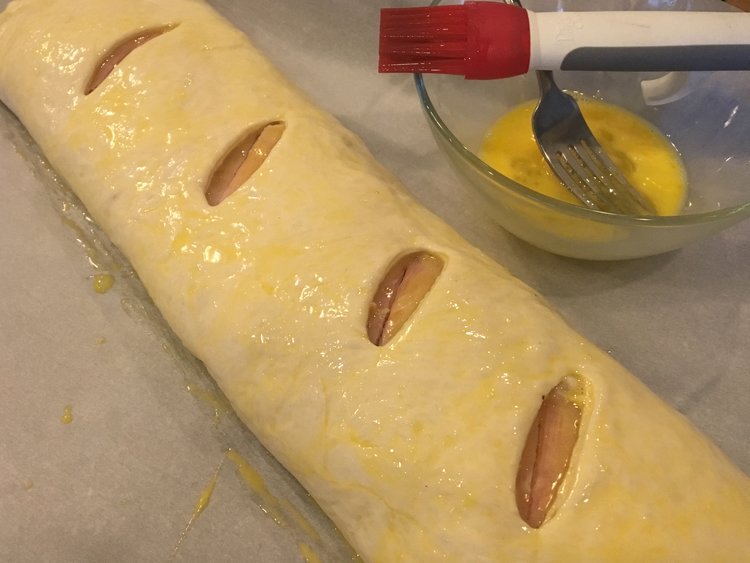
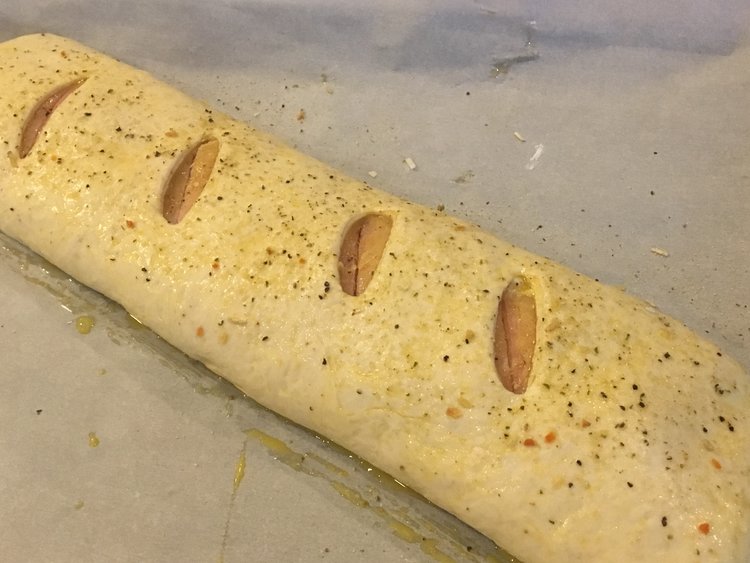
When ready to cook, in a small bowl, beat one egg until combined. Brush the top, sides, and ends of the stromboli with the egg wash and sprinkle with Cherchies Garlic Seasoning. Cook for about 20 minutes, or until the stromboli is golden brown on the outside.

Cook your stromboli until golden brown. Slice it up for easy, hearty appetizers and serve with your favorite marinara or dipping sauce or serve with one of our salads and some fruit for a complete meal. Look at that! A golden crispy crust on the outside, fluffy bread on the inside, surrounded by gooey, melty cheese, salty ham and turkey, and as mentioned our sweet-hot, tangy Champagne Mustard. Who wants some?

Enjoy!

Ham, Turkey and Cheese Stromboli Recipe

Ham, Turkey and Cheese Stromboli Recipe

Yum

Peanut Butter and Jelly Chocolate Cups Recipe

desserts, snacksSheri SpalloneComment
Peanut Butter & Jelly Chocolate Cups Recipe

Peanut Butter & Jelly Chocolate Cups Recipe

Cook Time:  About 20 minutes
Prep Time:  10 minutes
Difficulty: Easy

Chocolate and peanut butter lovers, gather around! Today we introduce to you these deliciously decadent Peanut Butter & Jelly Chocolate Cups, featuring Cherchies® Preserves and Cherchies® Fruit Butter Spreads. Chocolate covered everything I say, and if you are a chocolate lover like I am, I know you will surely understand.

What makes everything better, other than chocolate? (Maybe bacon, but I will save that for another day). These sweet and salty chocolate treats will melt your heart, but grab some for yourself because these tasty morsels will disappear right before your eyes. They did at our home!

Who wants some?

Comment below and let us know what Preserve or Butter Spread you liked most in this recipe.

Thank you for visiting! Come back again!

Ingredients

  • 2 cups chocolate chips/ dark chocolate chips 

  • 1 teaspoon (tsp) coconut oil

  • 12 muffin cup liners

  • 1 cup peanut butter

  • 1 cup powdered sugar

  • 1/2 cup Cherchies® Preserves of choice or Cherchies® Butter Spreads

  • Coarse sea salt for garnish (optional)

Preparation
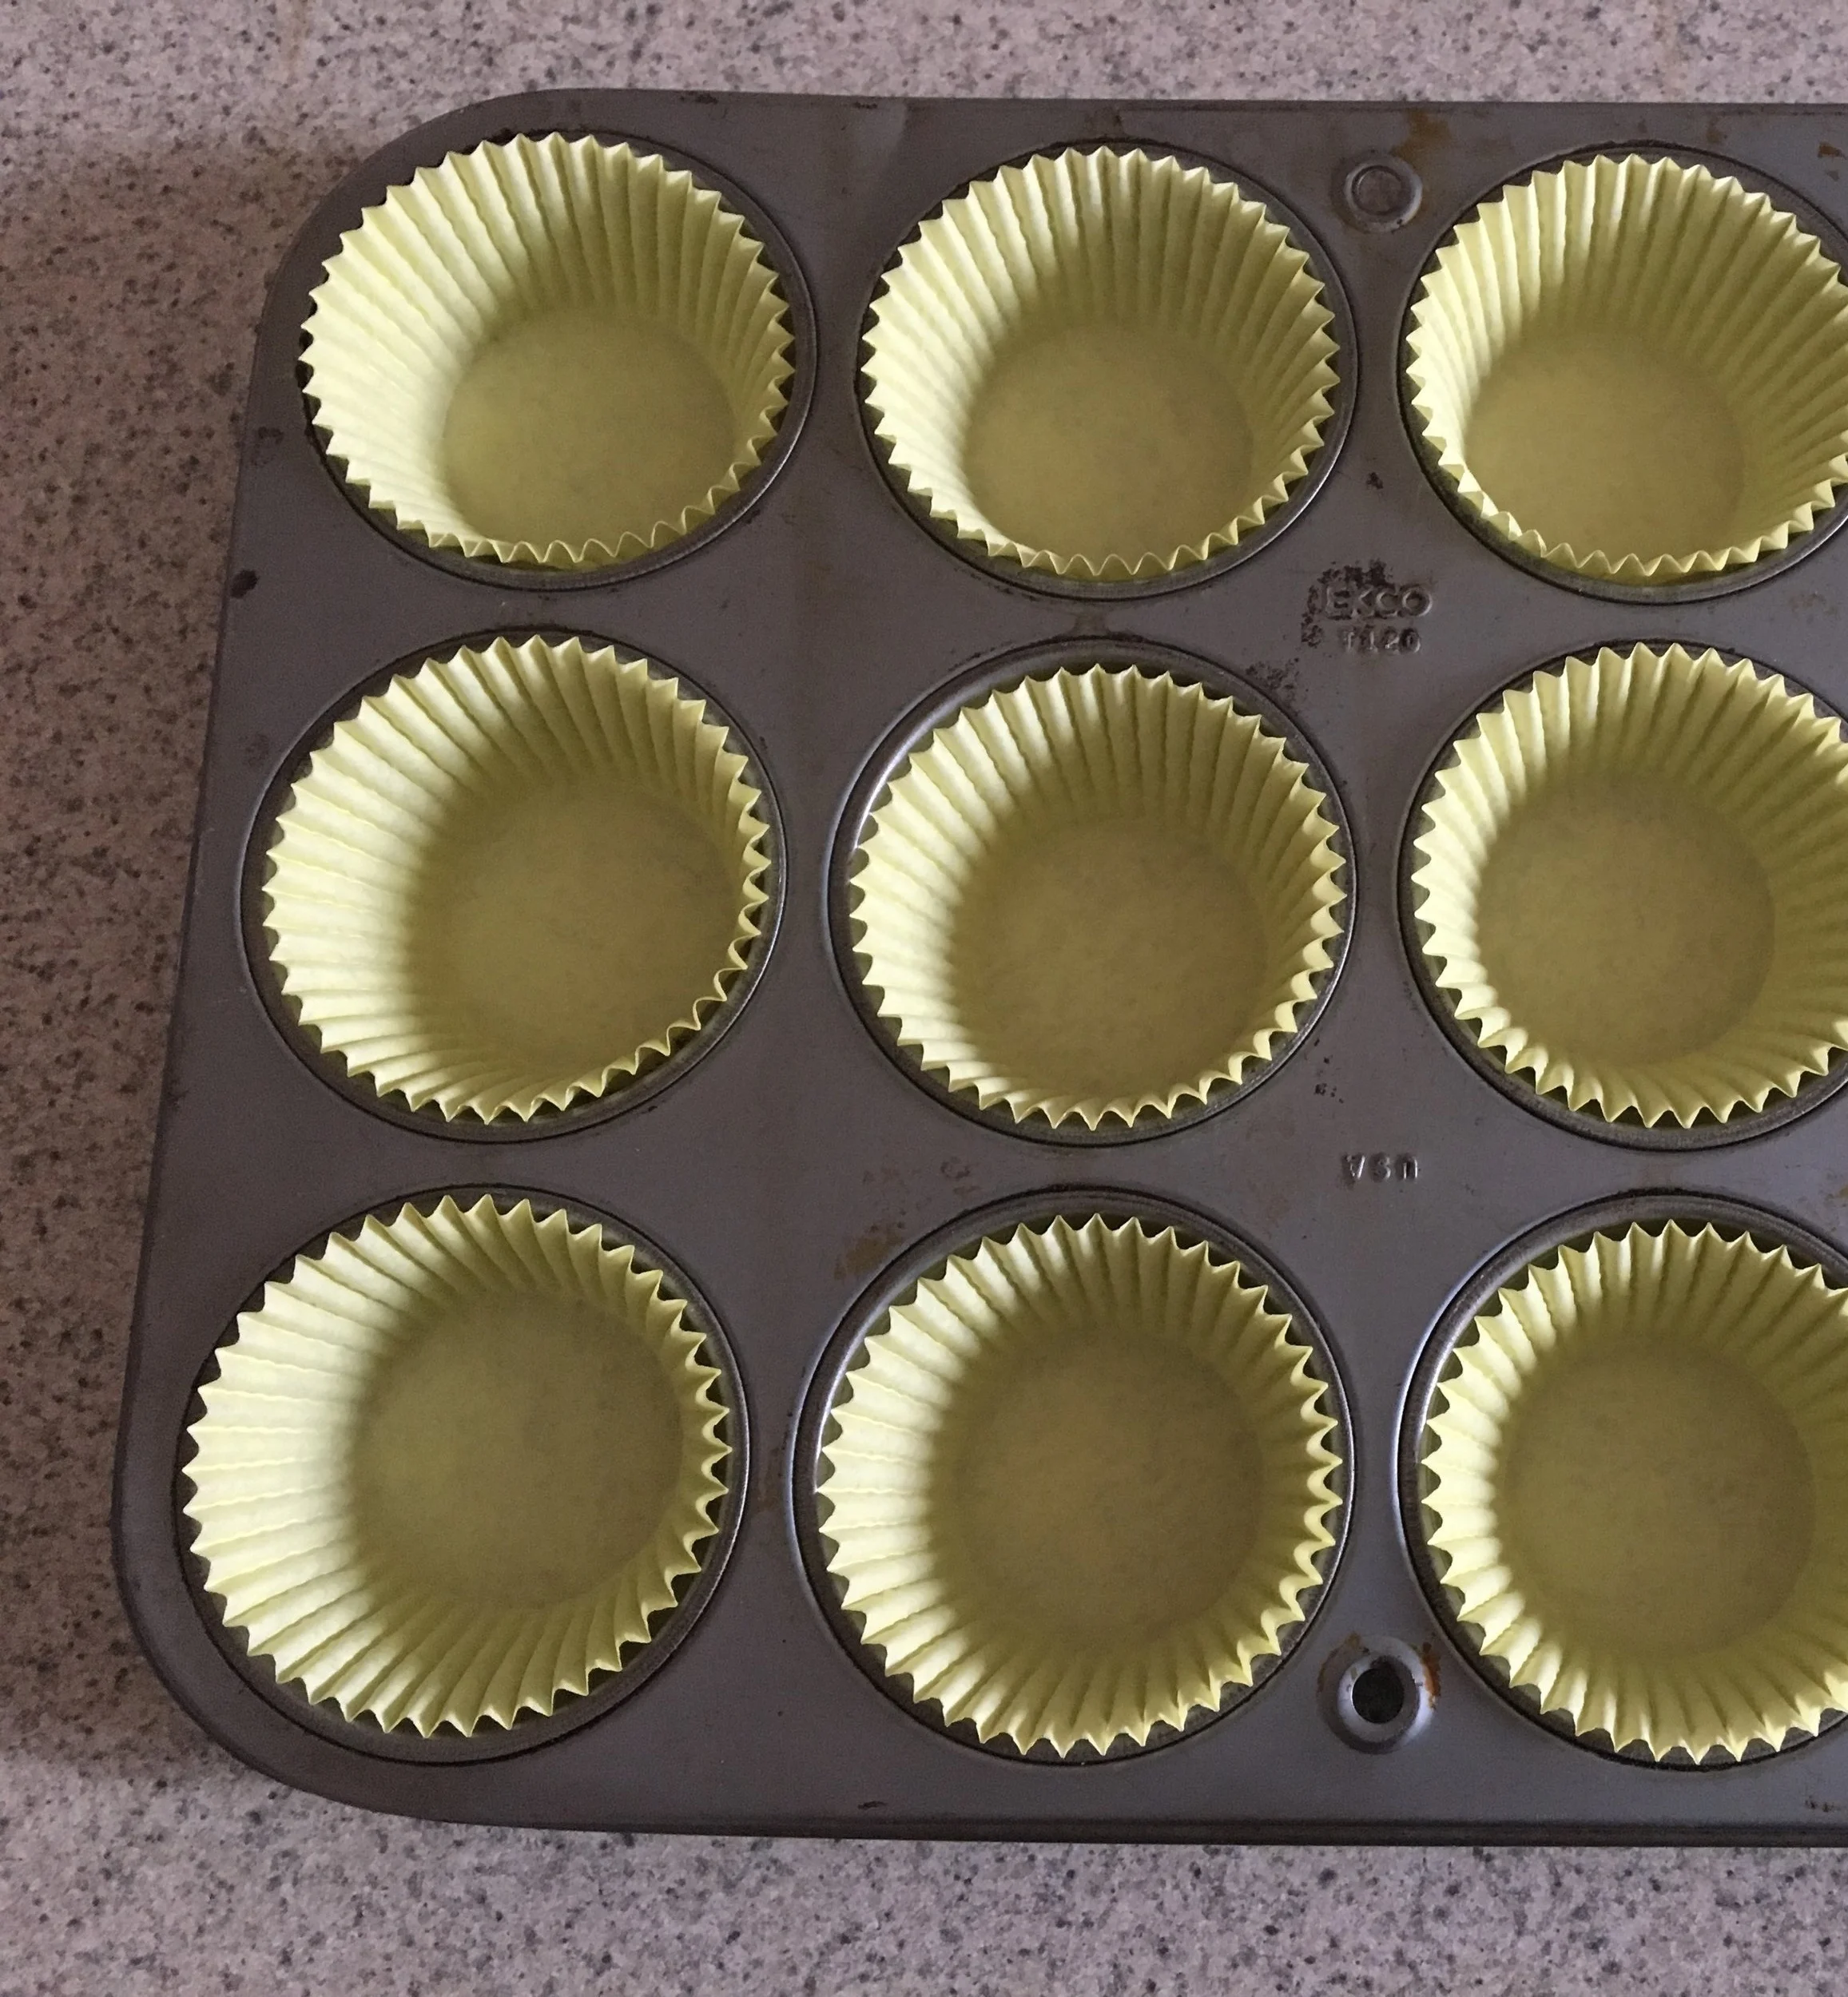
Line a 12 cup muffin tin with disposable cupcake liners.

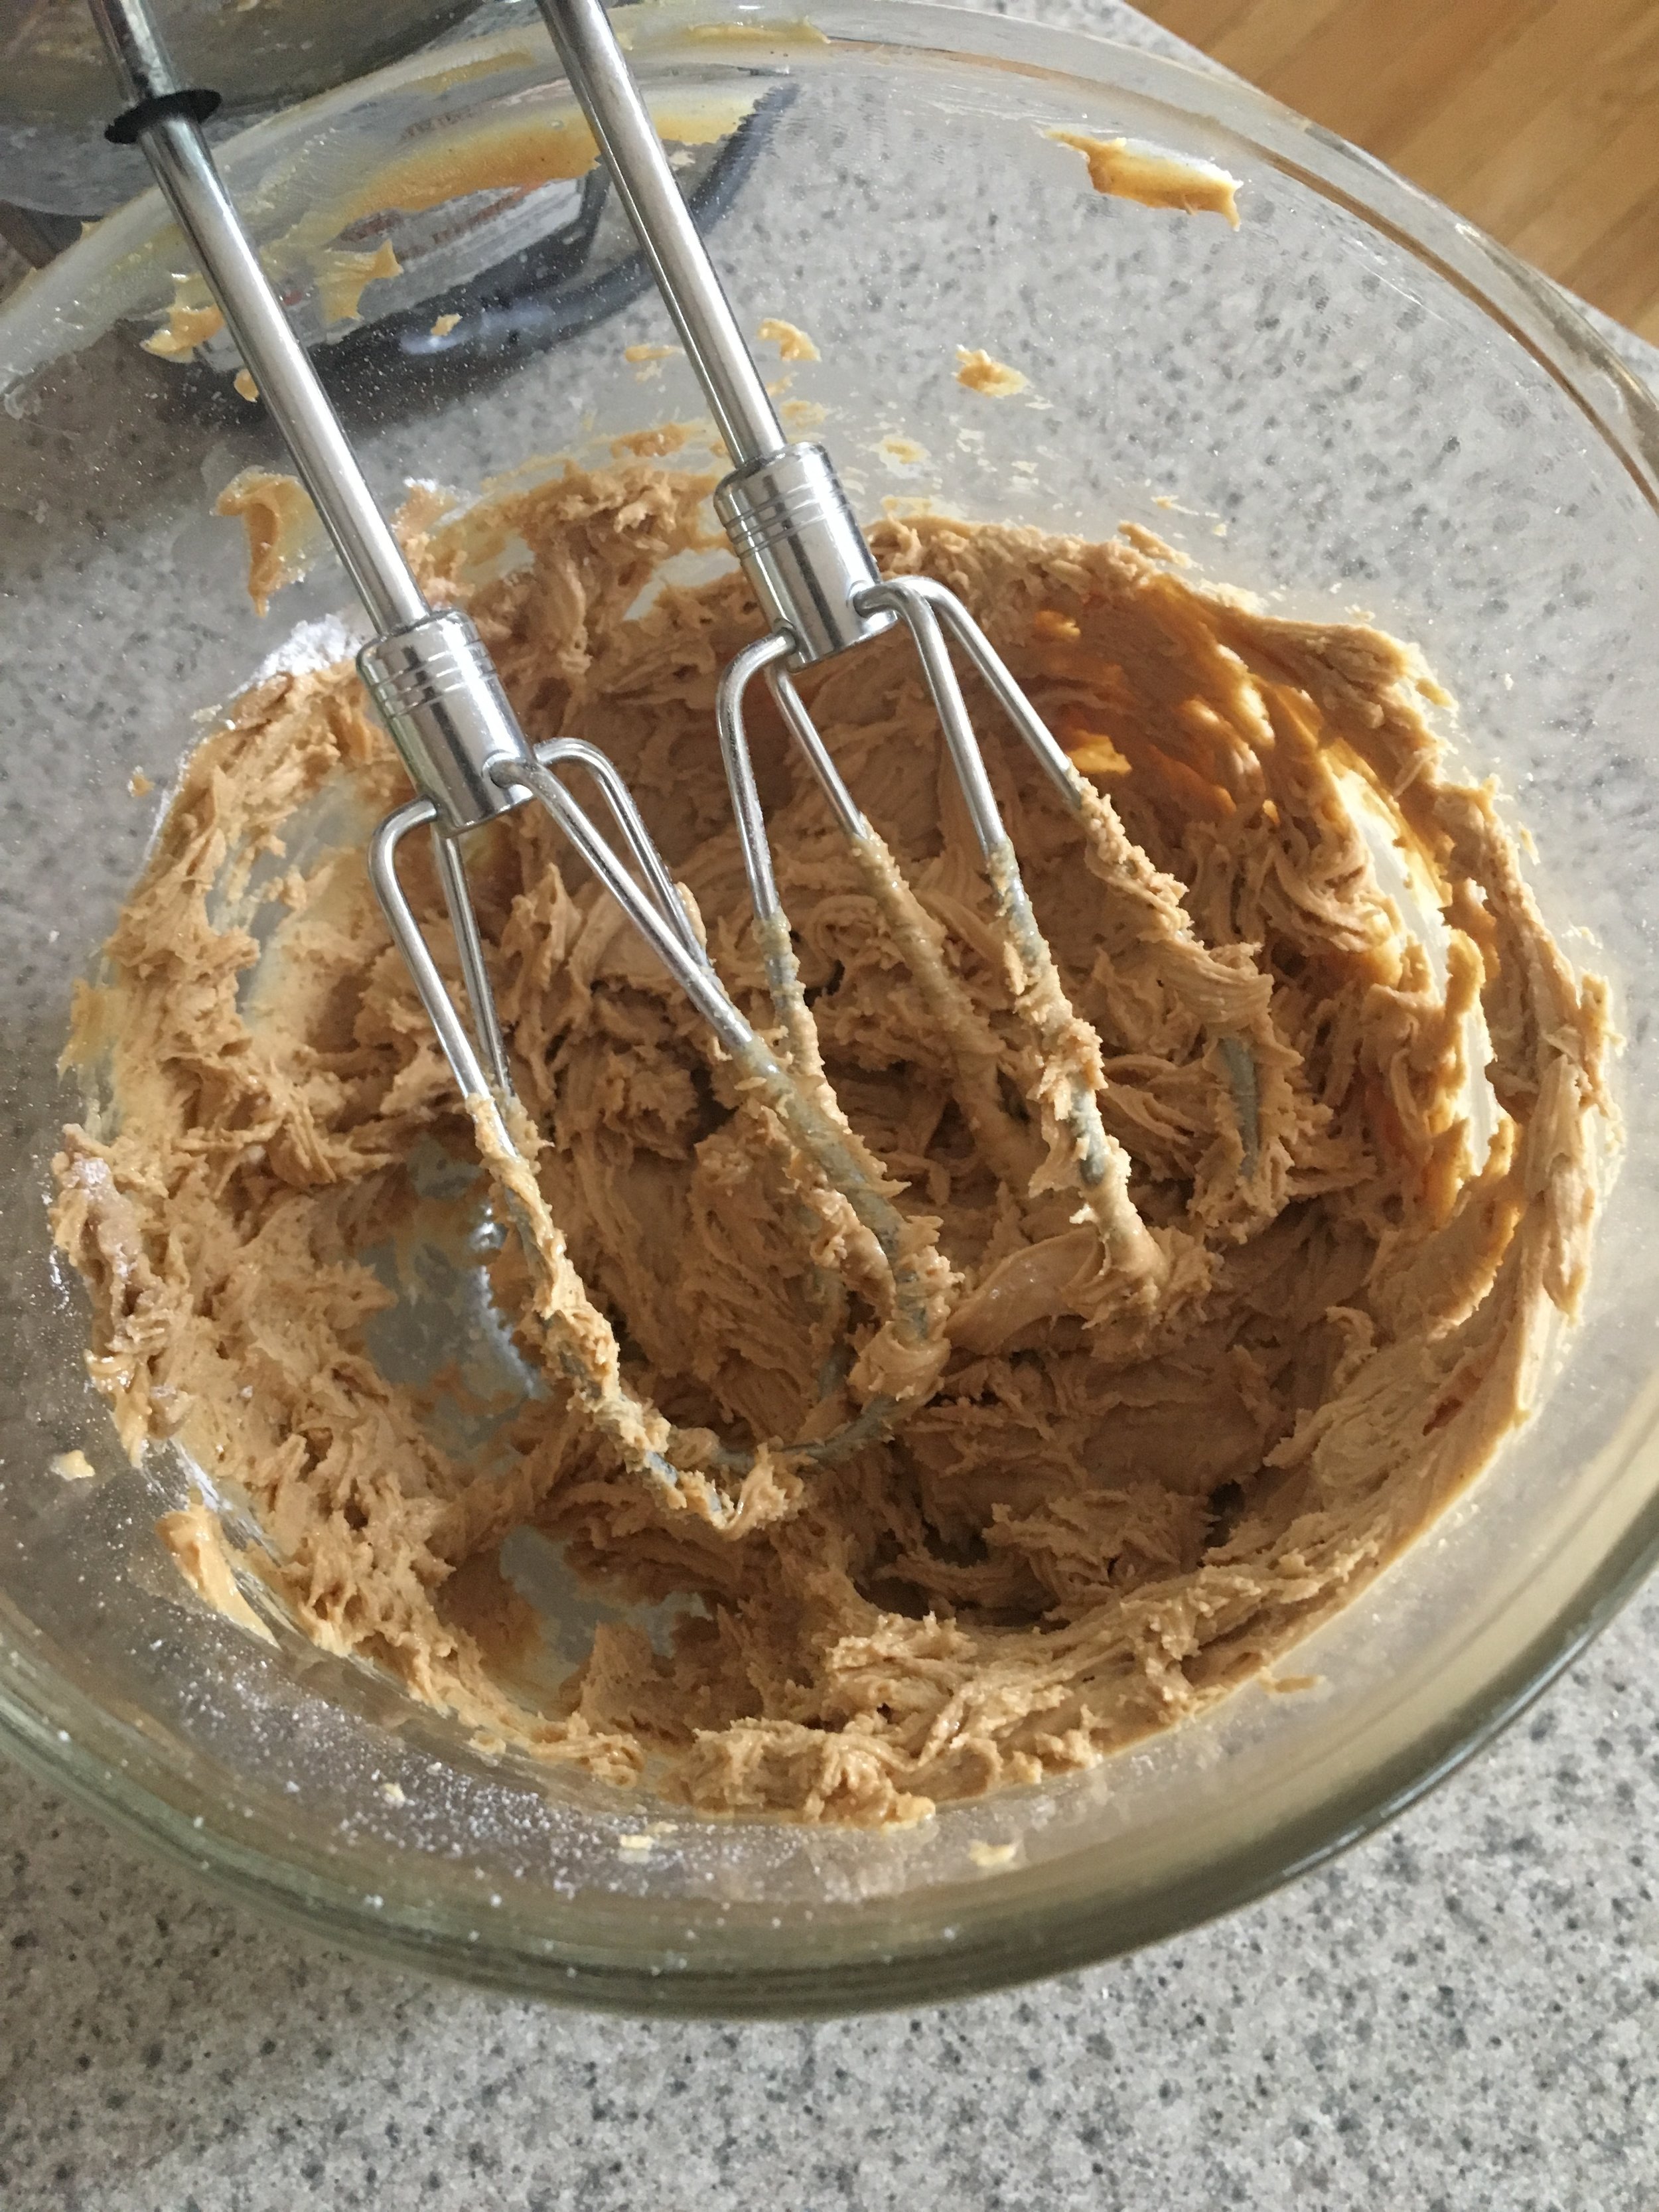
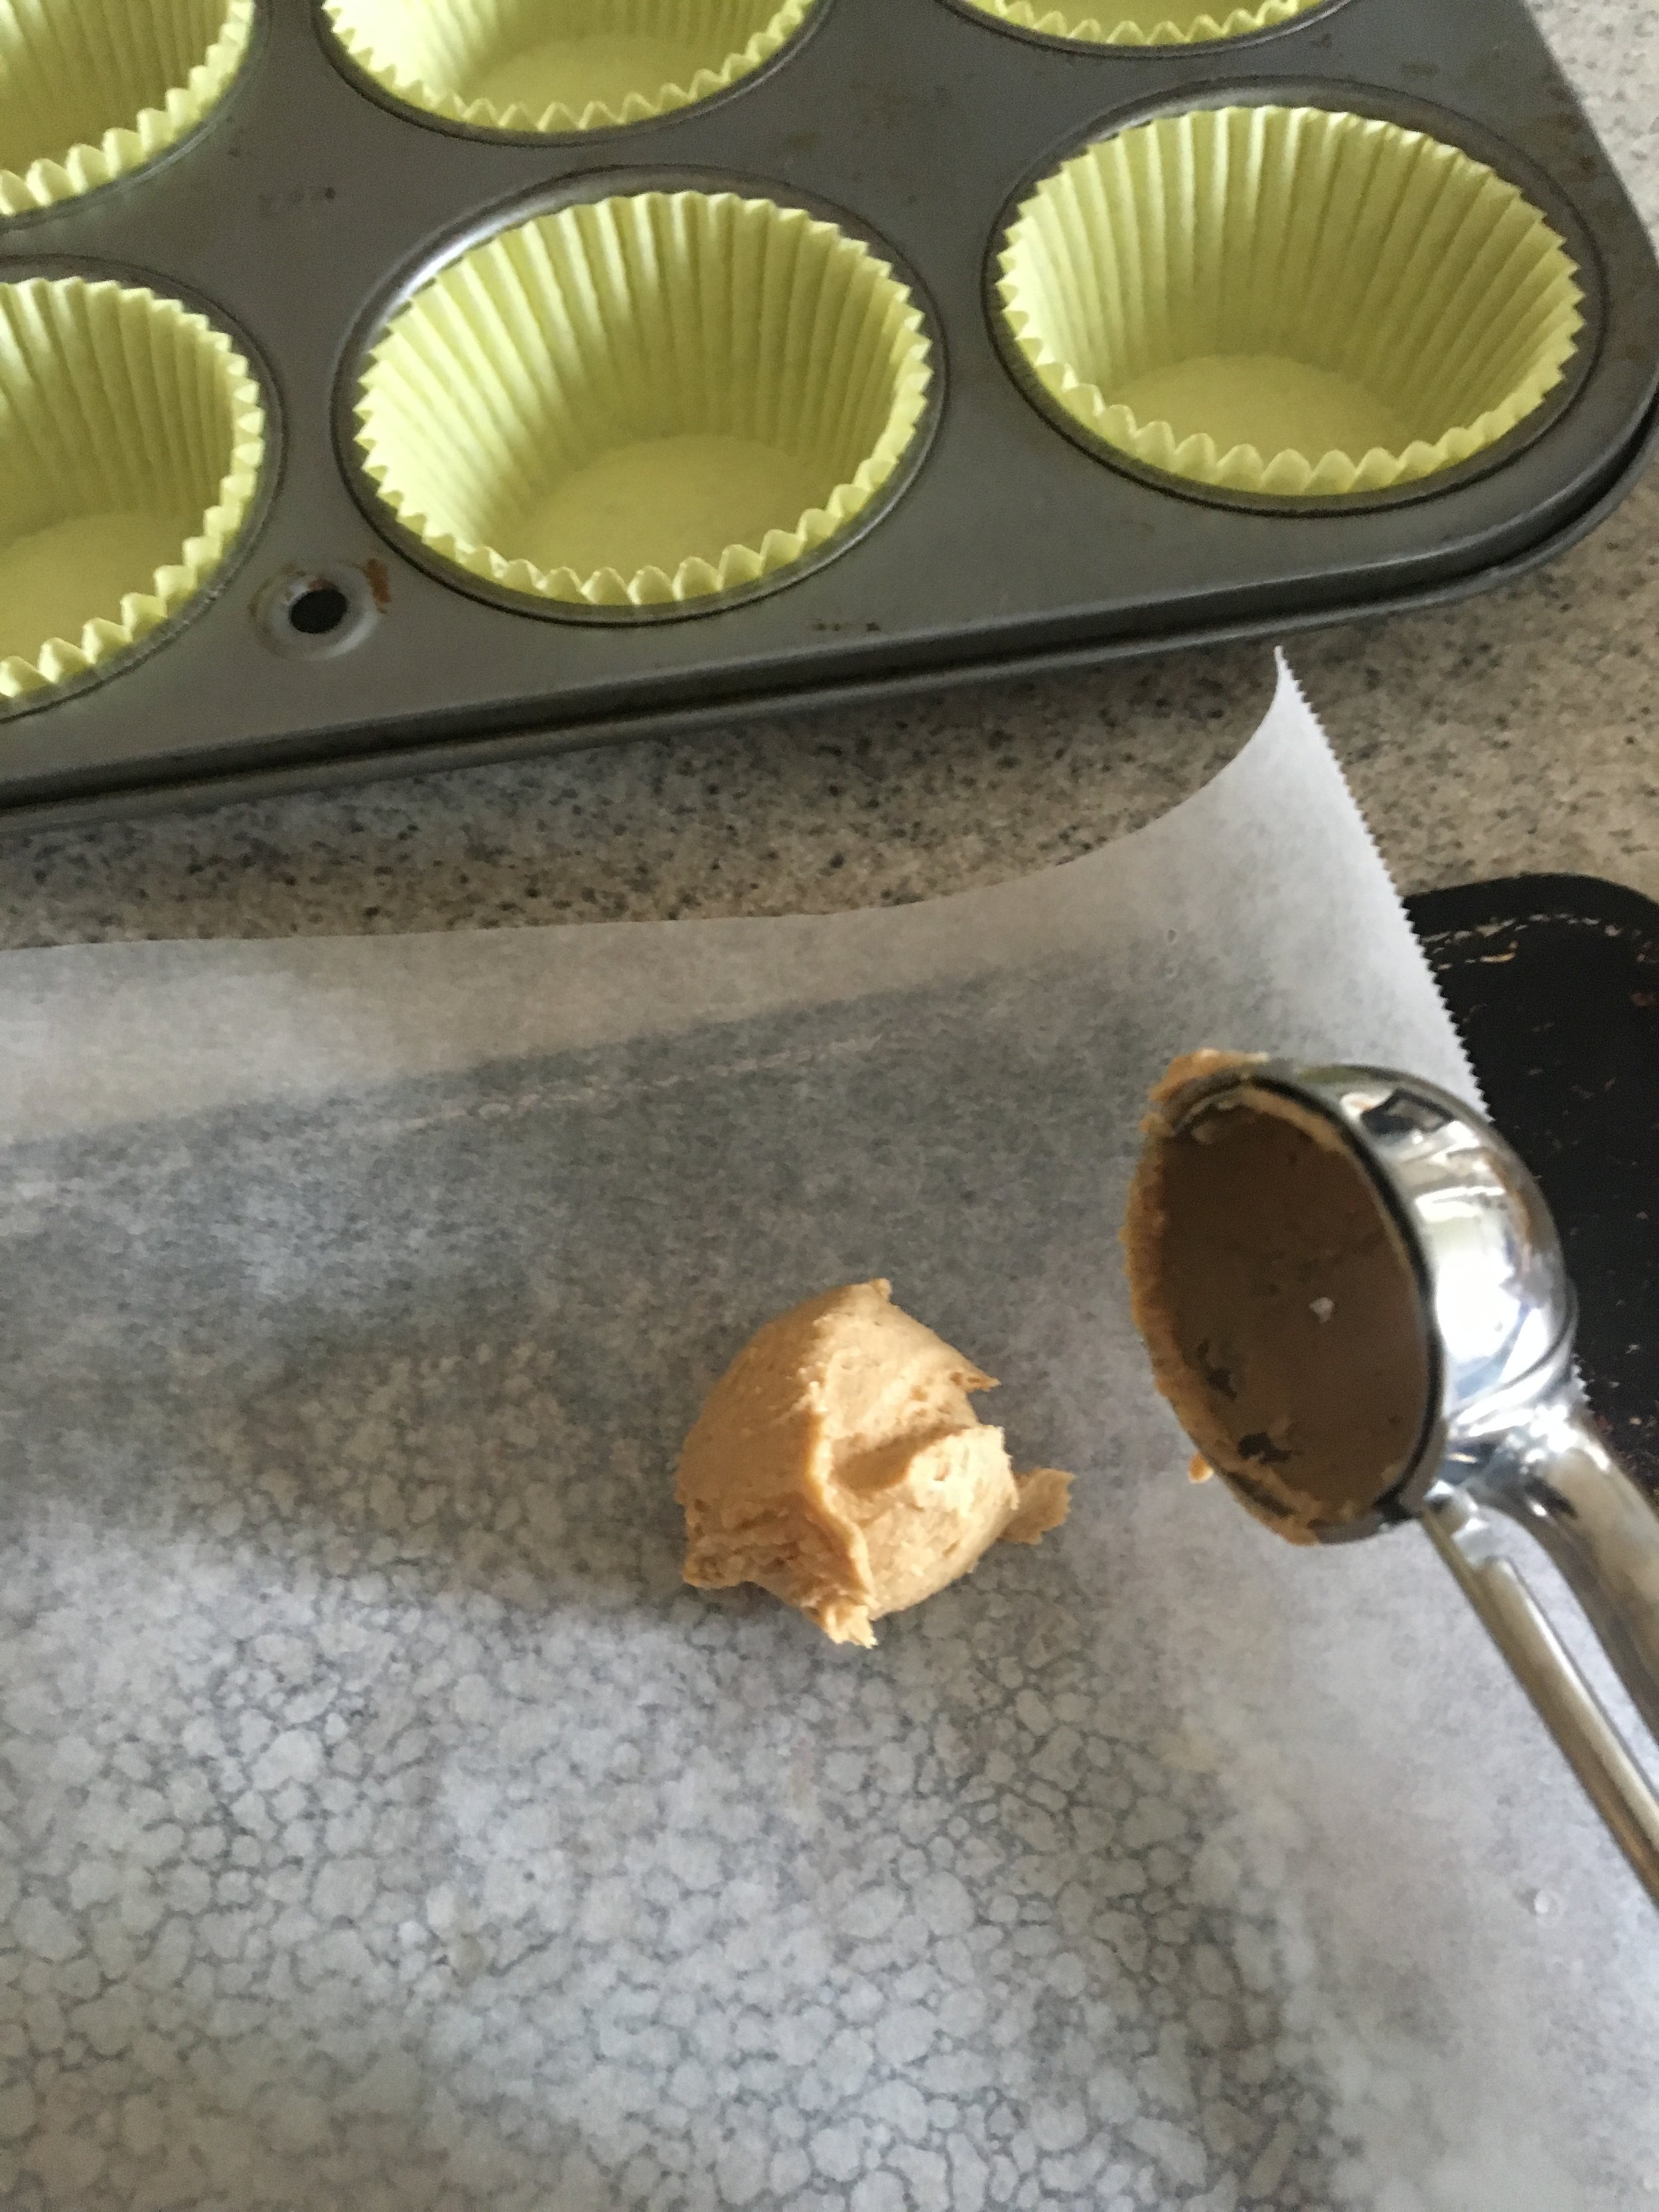
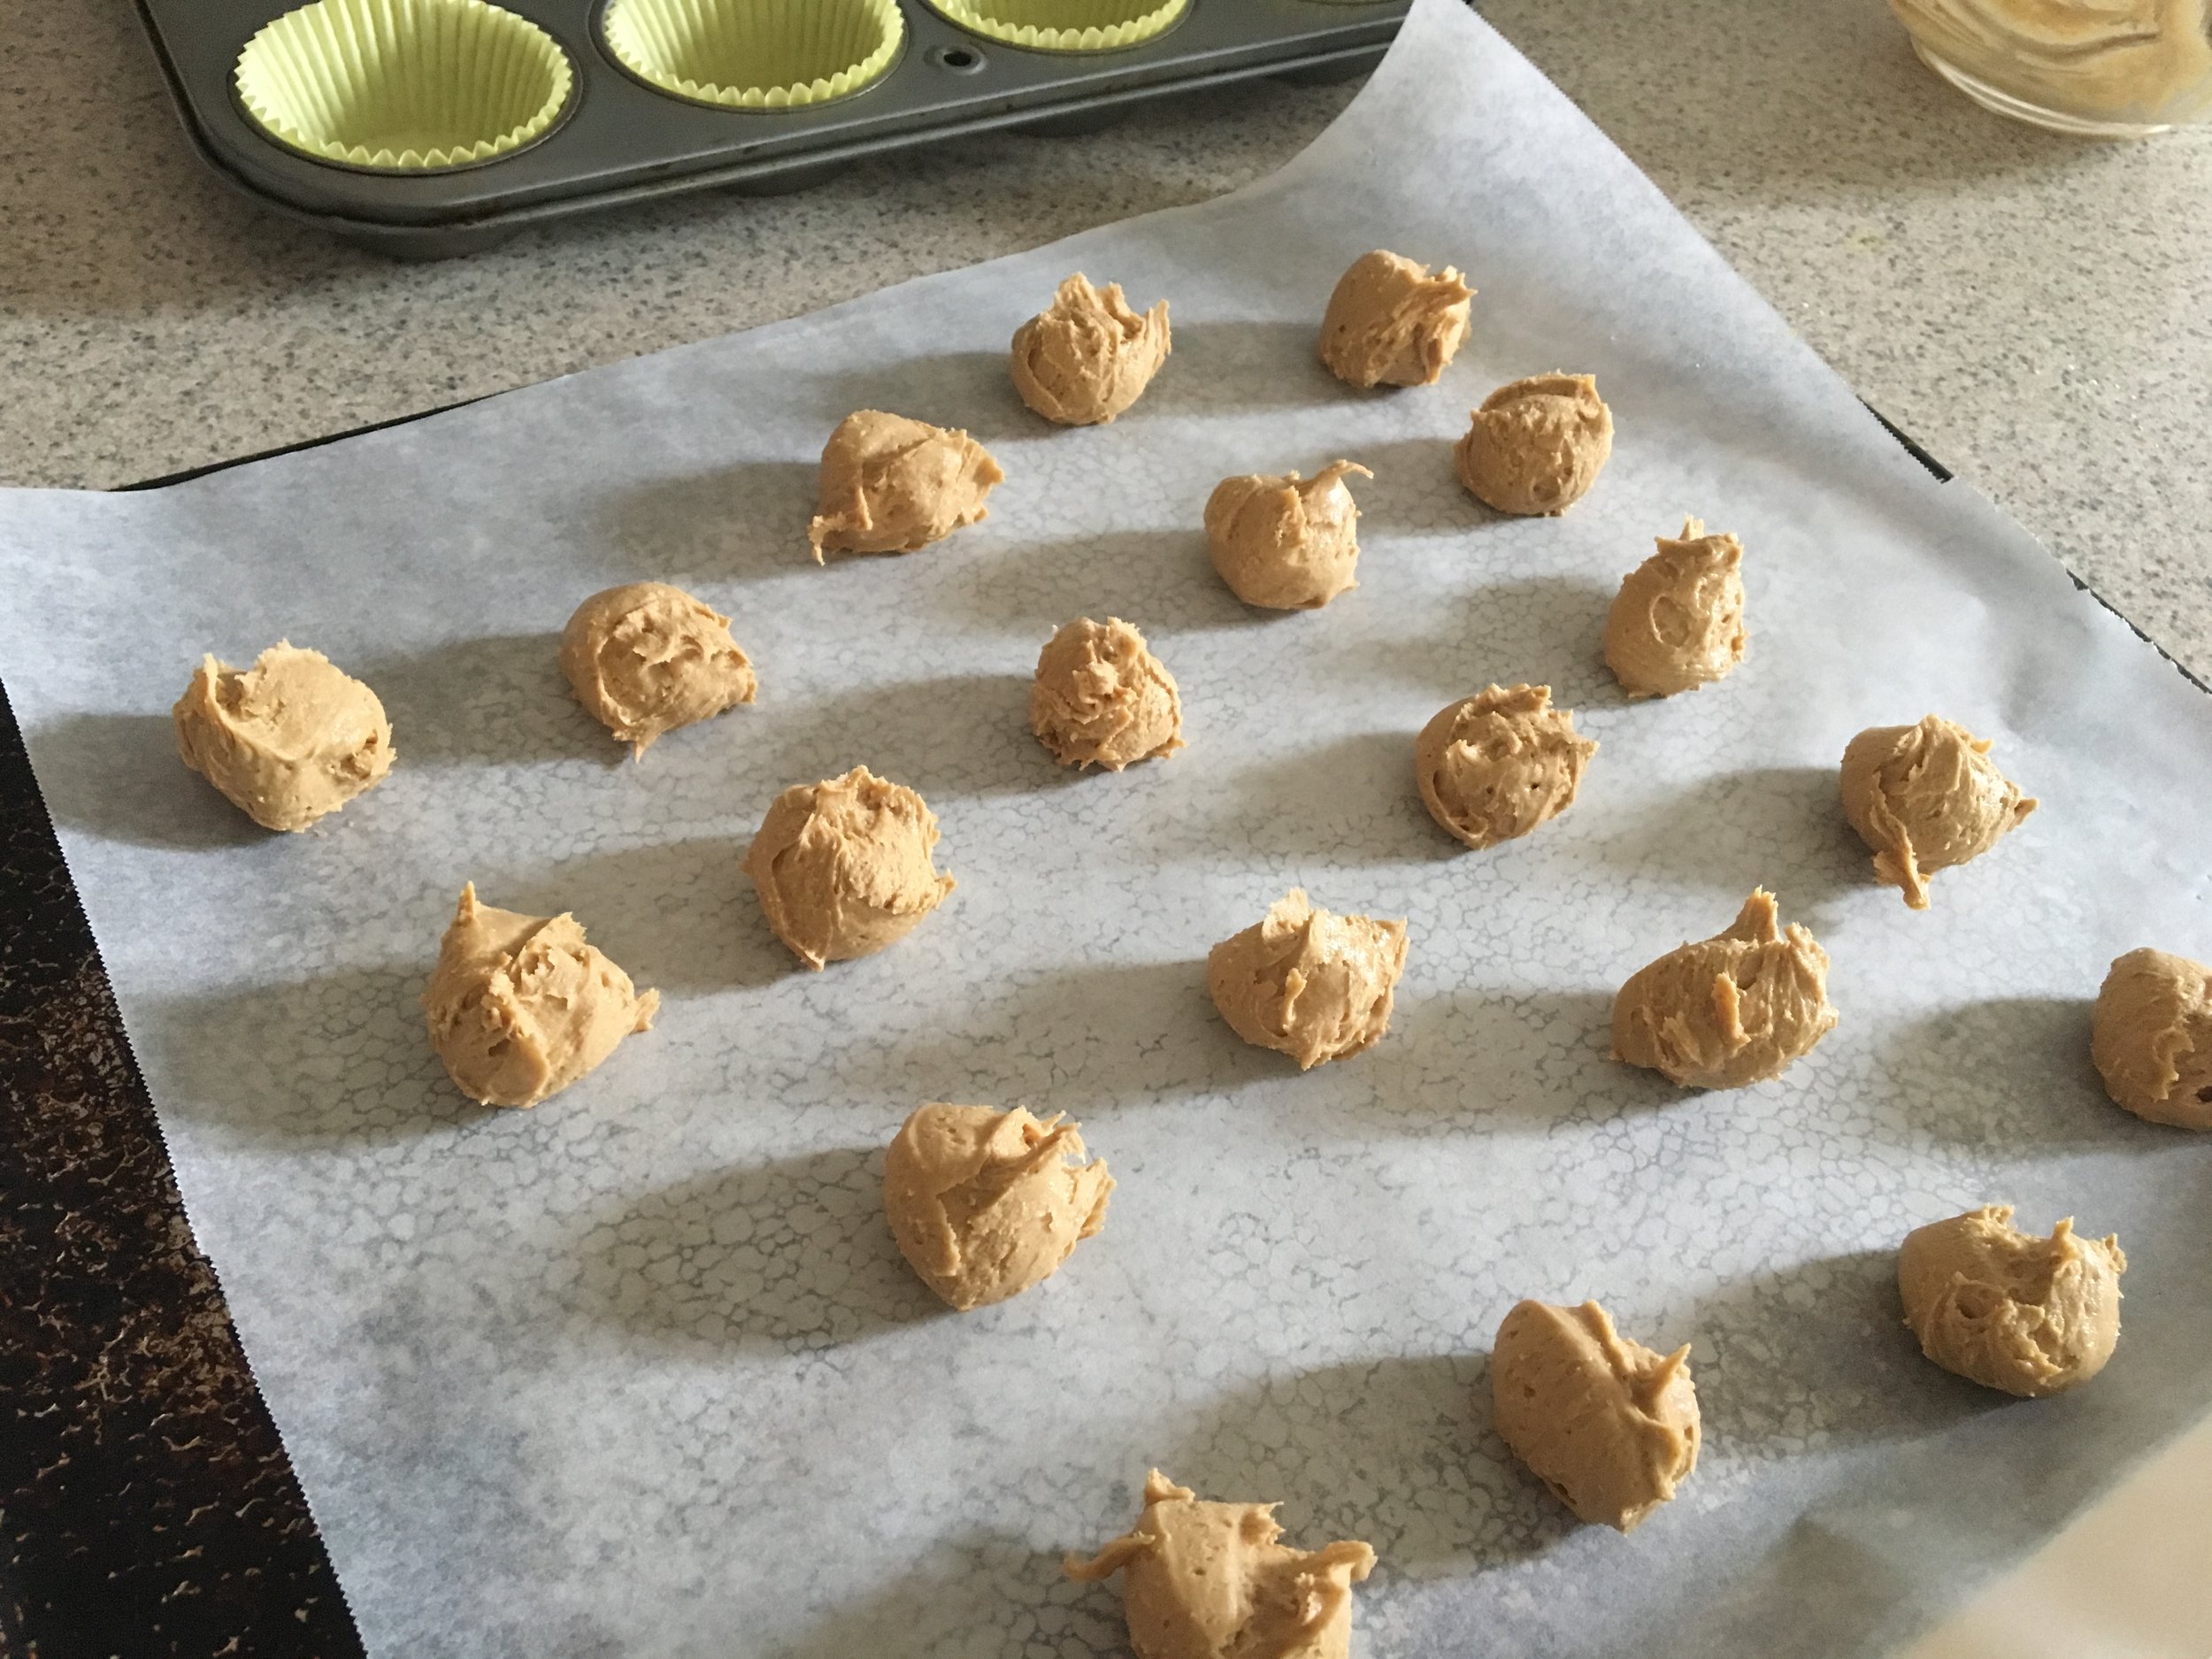
Combine Peanut Butter and powdered sugar in a medium bowl.  Mix ingredients with hand mixer until combined. Scoop mixture with melon ball scooper (1 inch) and place the mixture on a parchment paper lined tray. Place tray in freezer for about 10 minutes.  Remove Peanut Butter balls from the freezer and flatten with a spatula. Return to freezer while you prepare the chocolate.

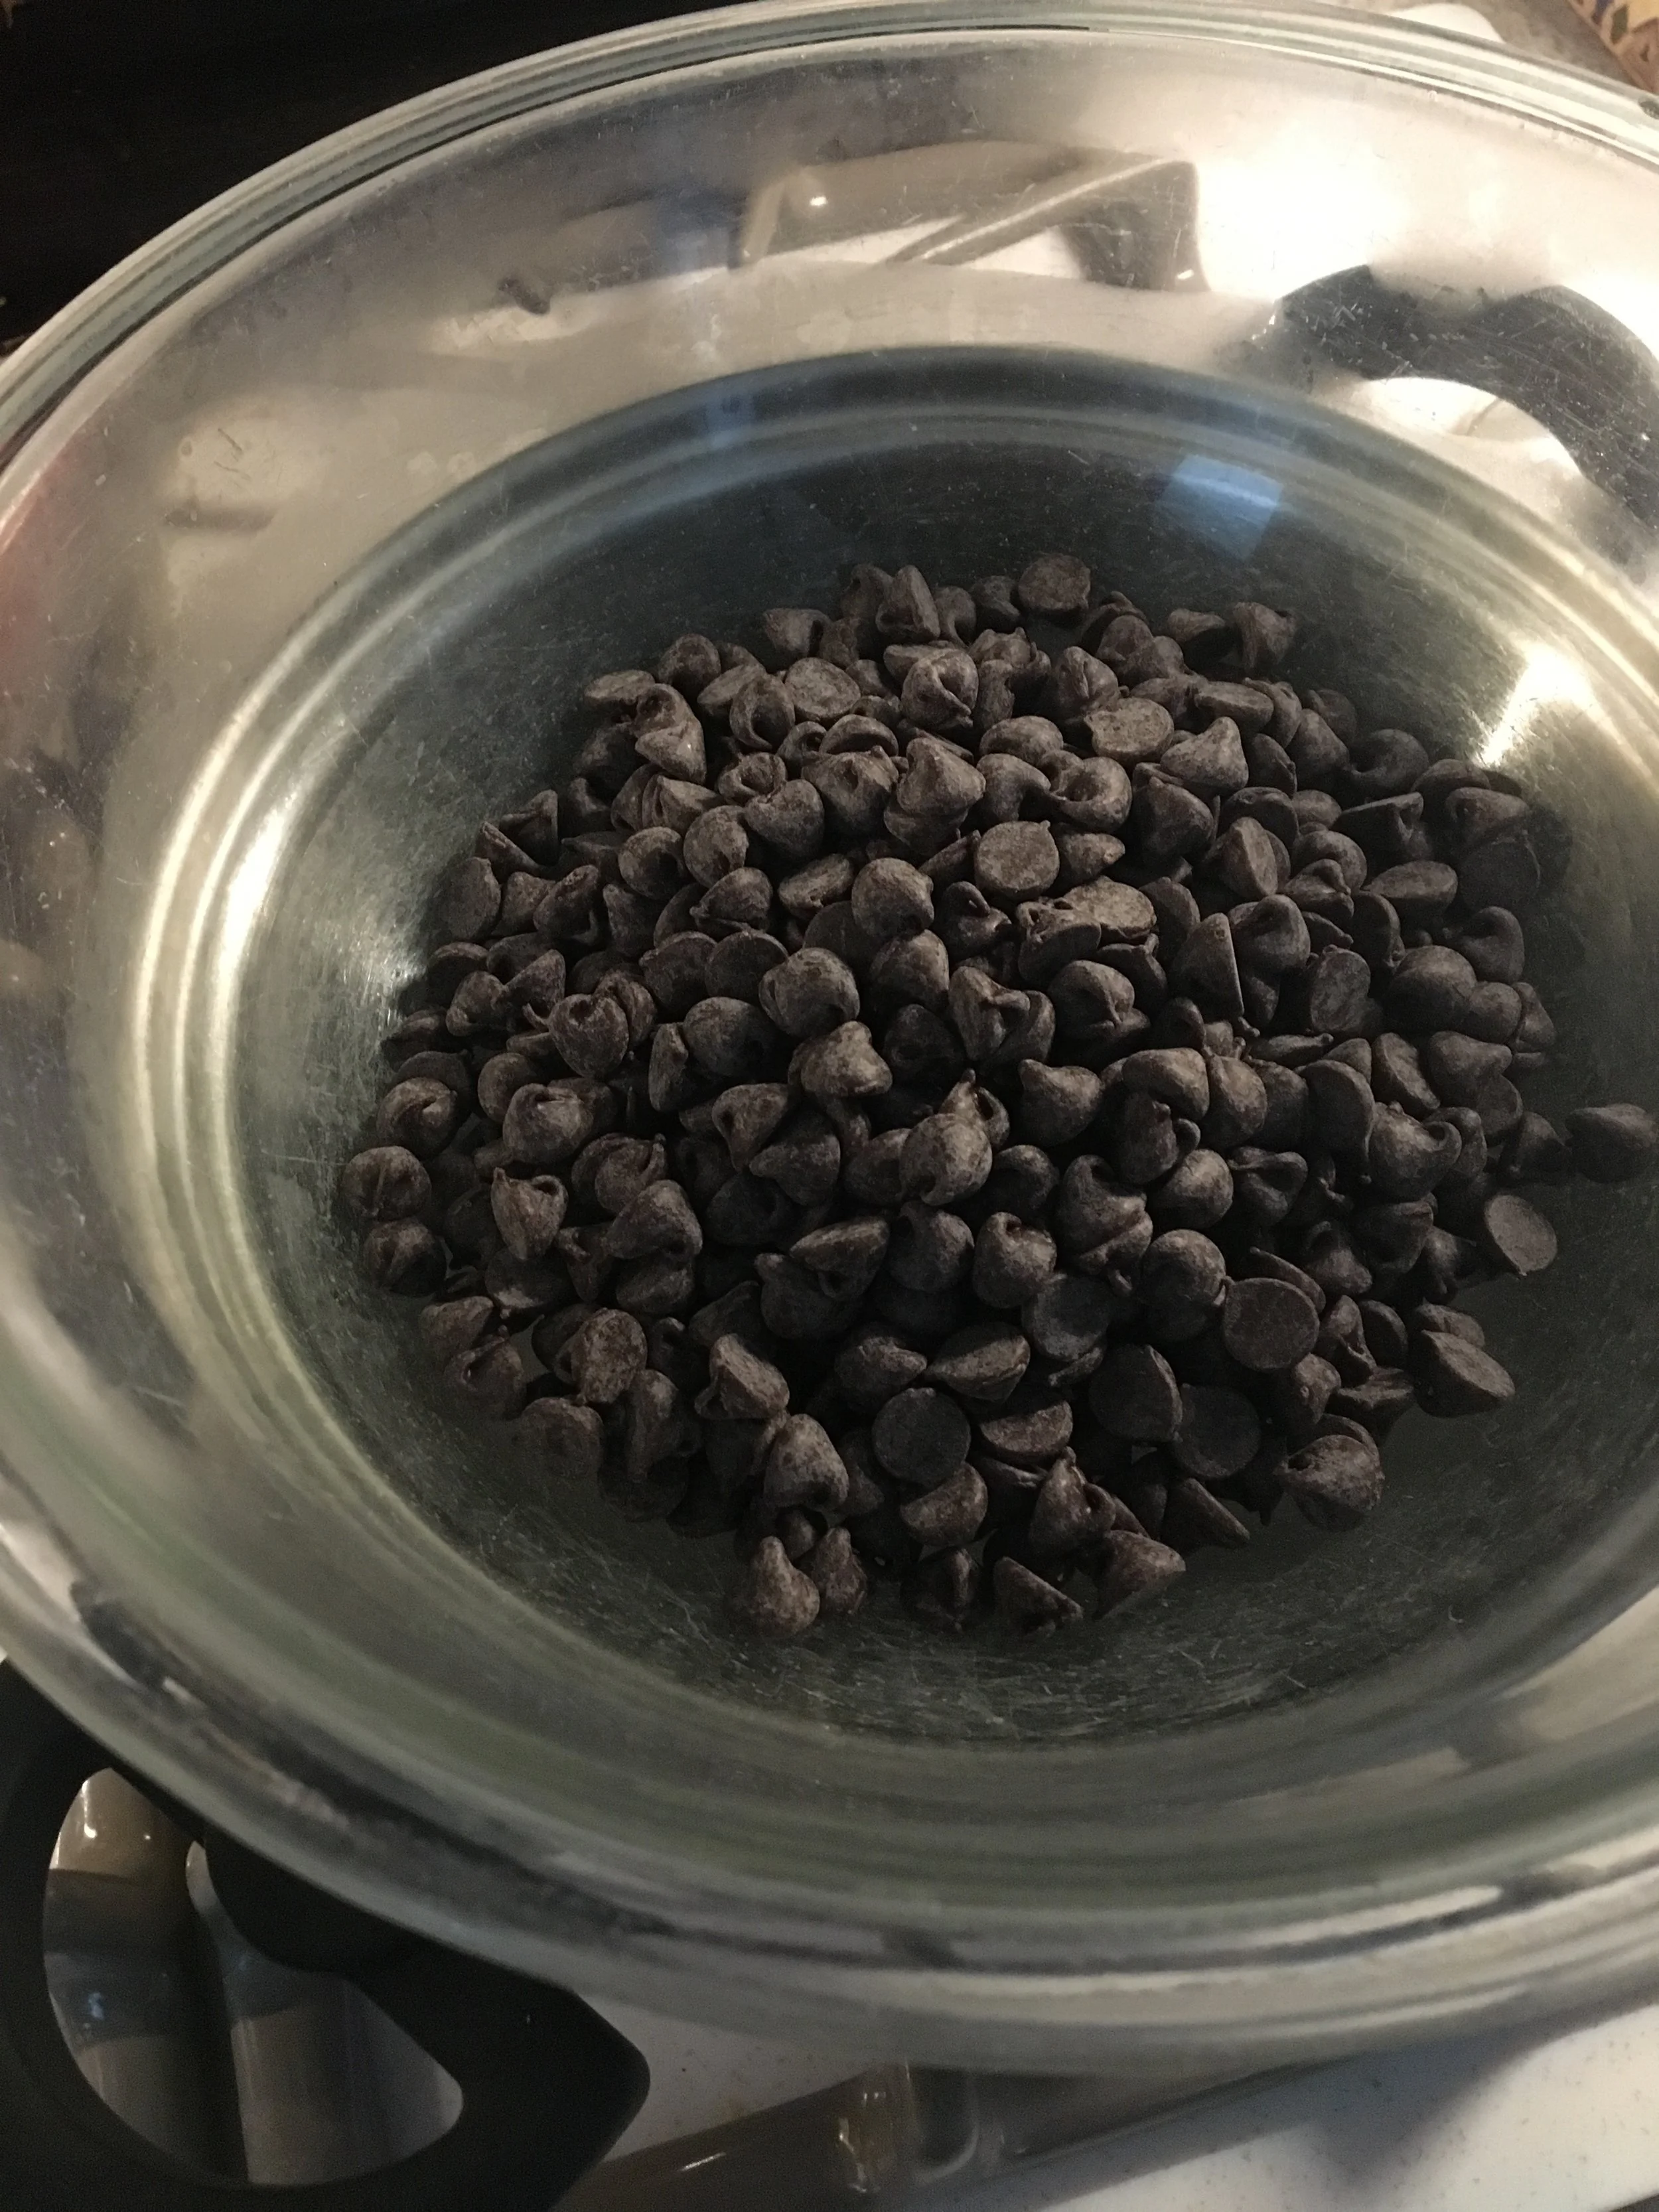
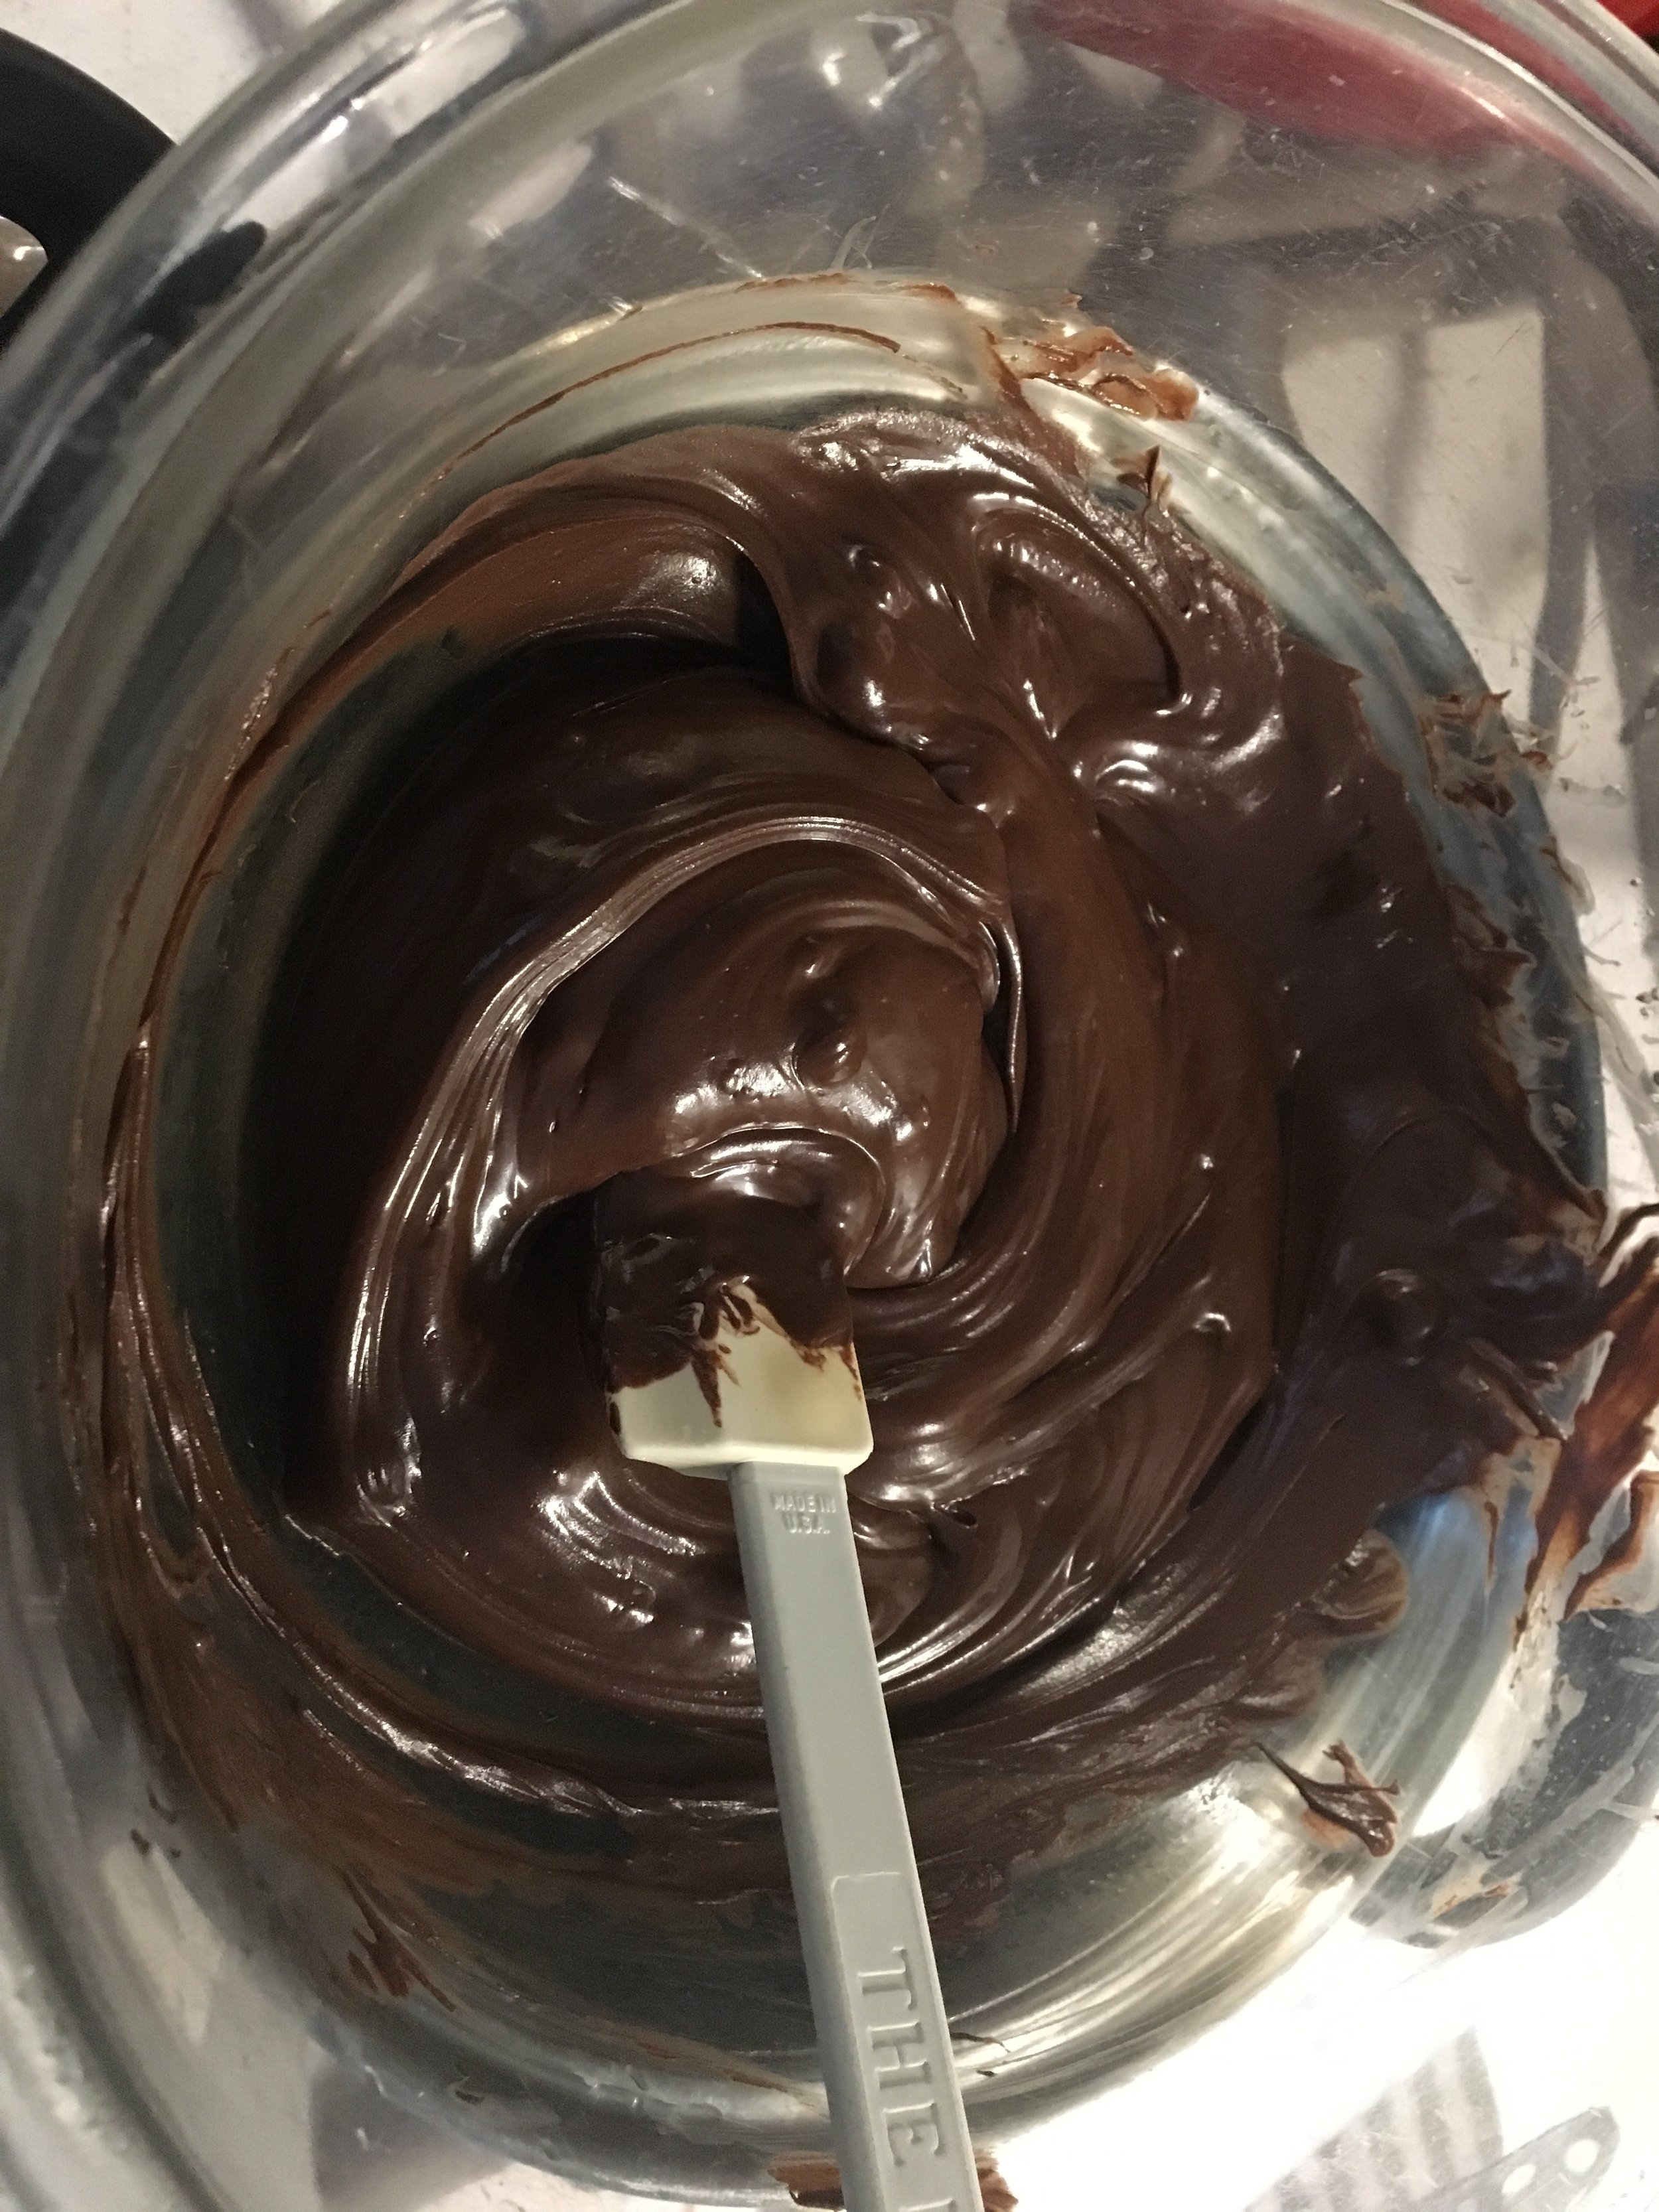
While peanut butter patties are chilling, prepare the chocolate. Melt the chocolate chips and 1 teaspoon (tsp.) coconut oil in a bowl over a pan filled with about 1 1/2" water.  Turn the burner on high and stir chips as they begin to melt. (You could melt chips in microwave if your prefer, heating on 50% power for 30 second intervals, stirring each time until completely melted).  When all the chocolate chips are melted, remove the pan and bowl from heat and turn off the stove.

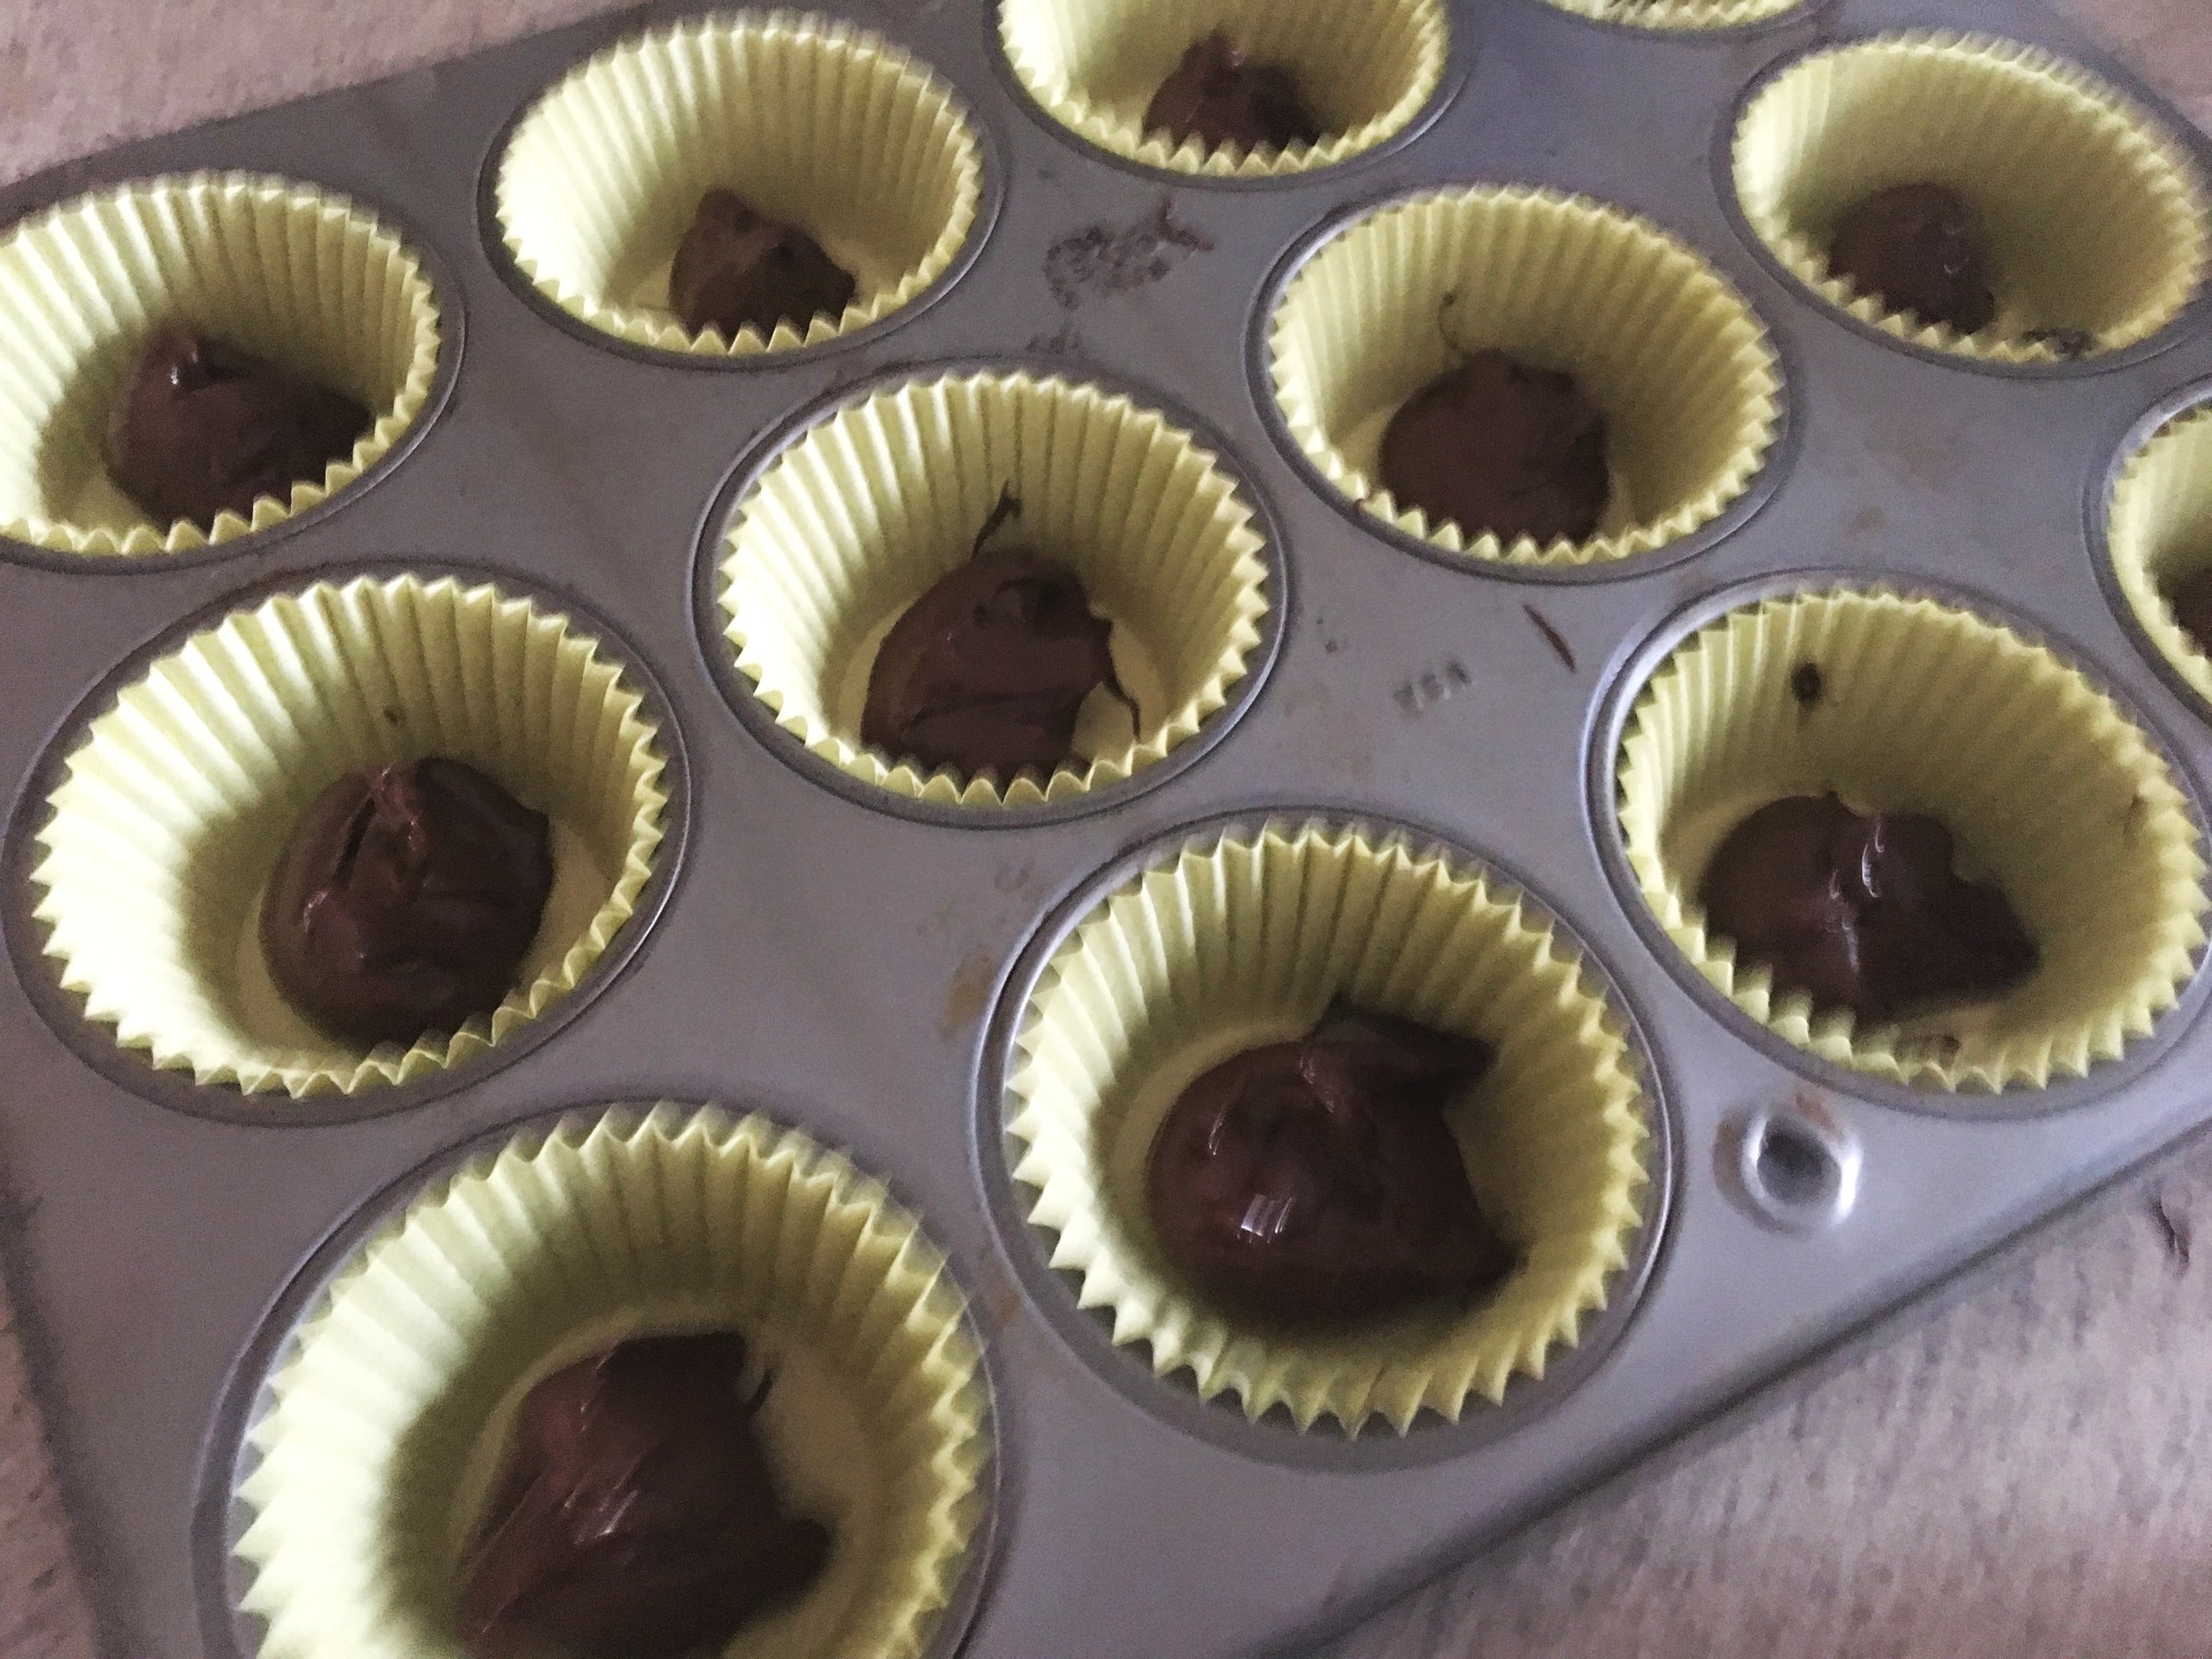
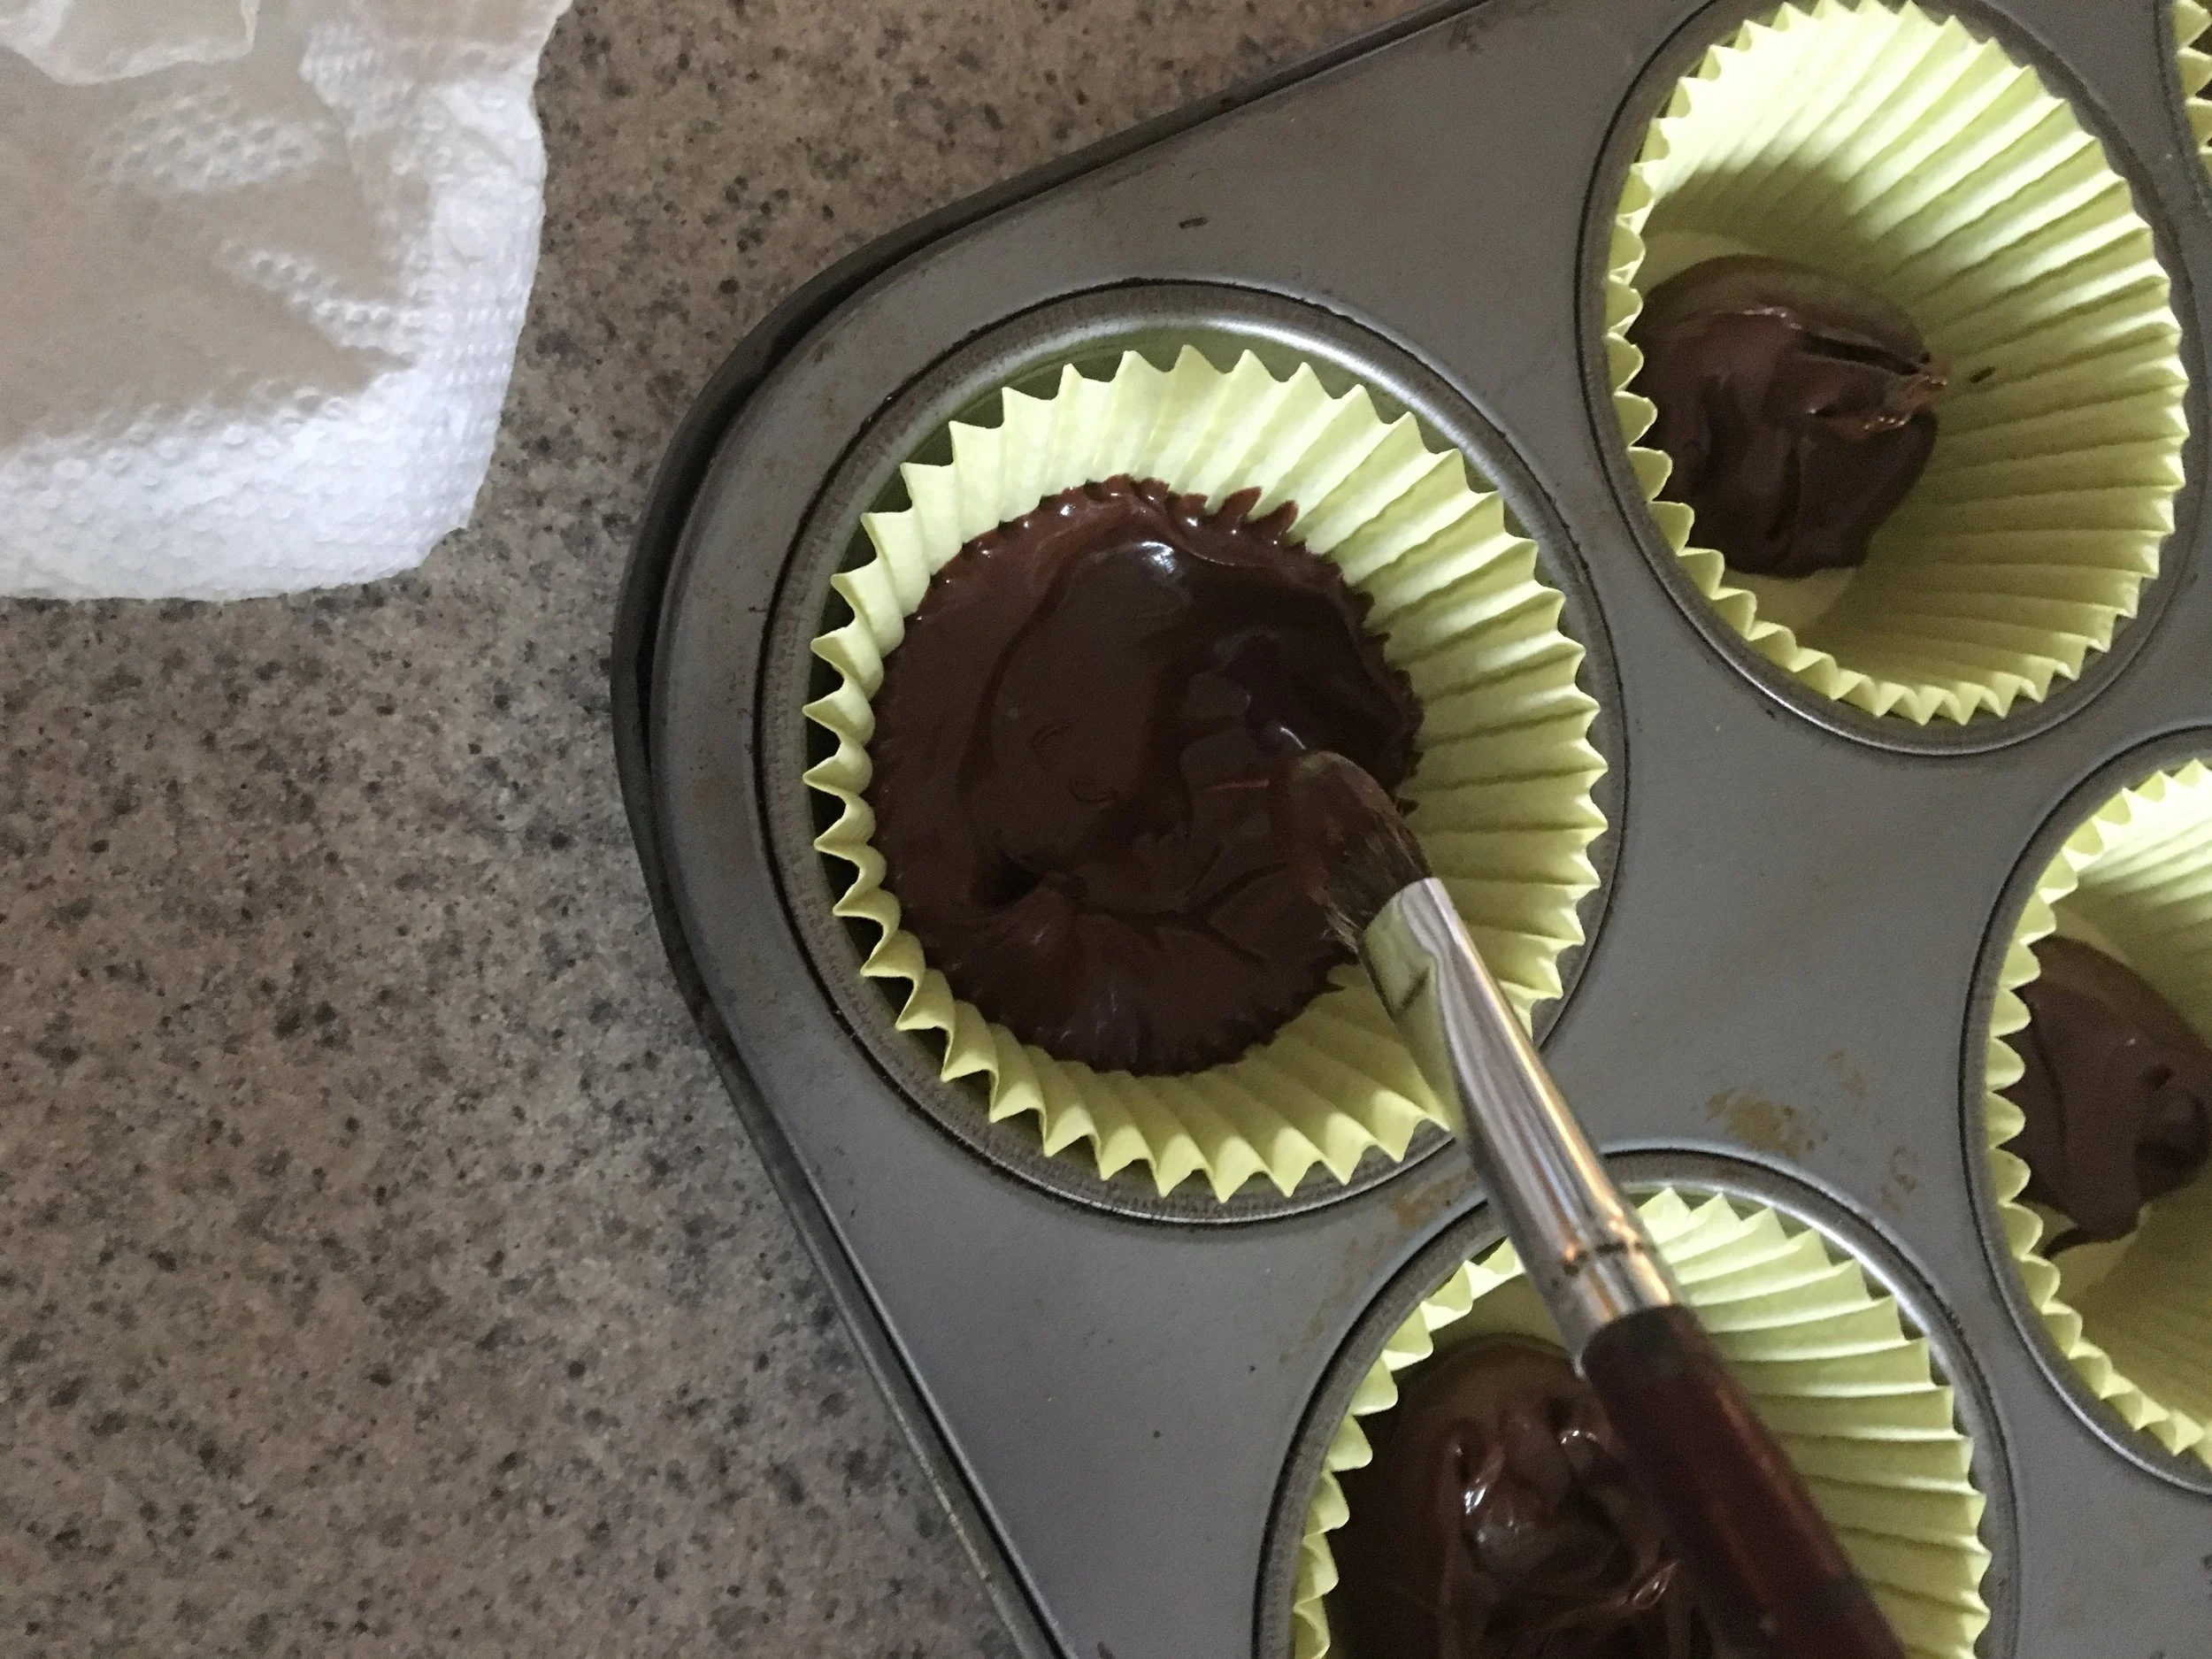
Add about 1 Tablespoon (Tbsp.) (dollop) of melted chocolate to each muffin cup.  Use a clean art brush to spread the chocolate up the sides.  Afterwards, tap the pan on the counter to even the chocolate in the cups.

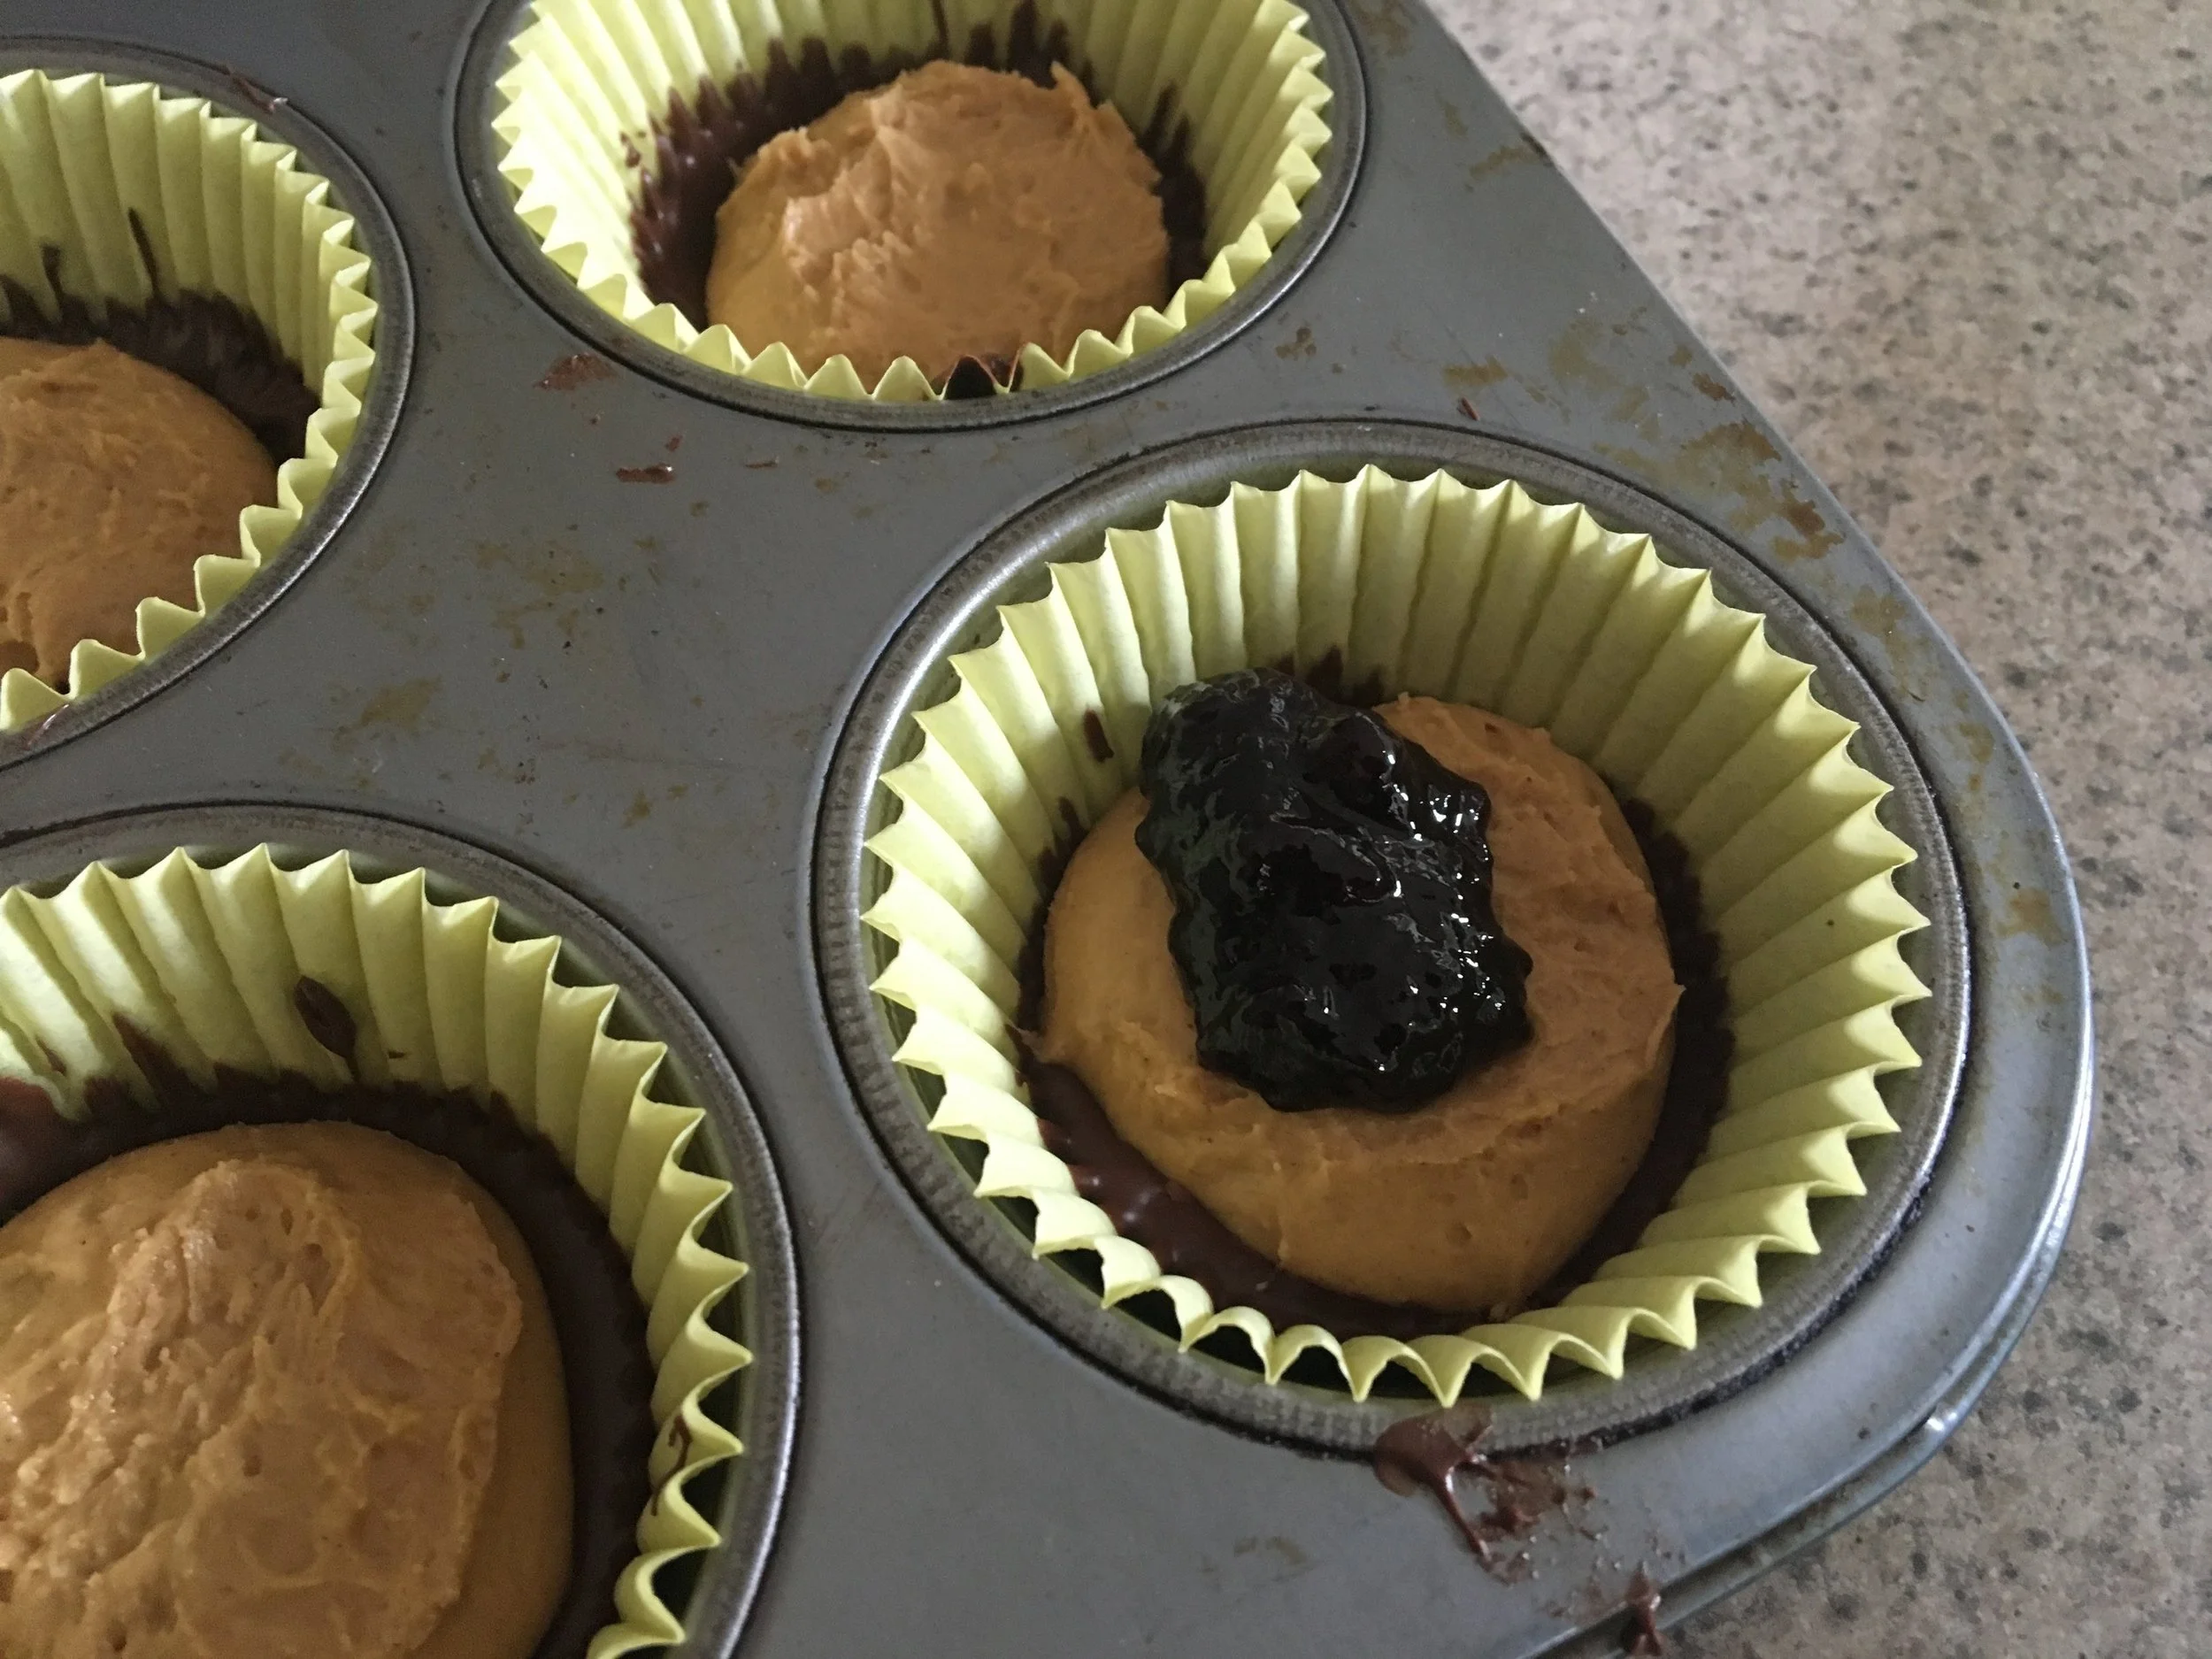
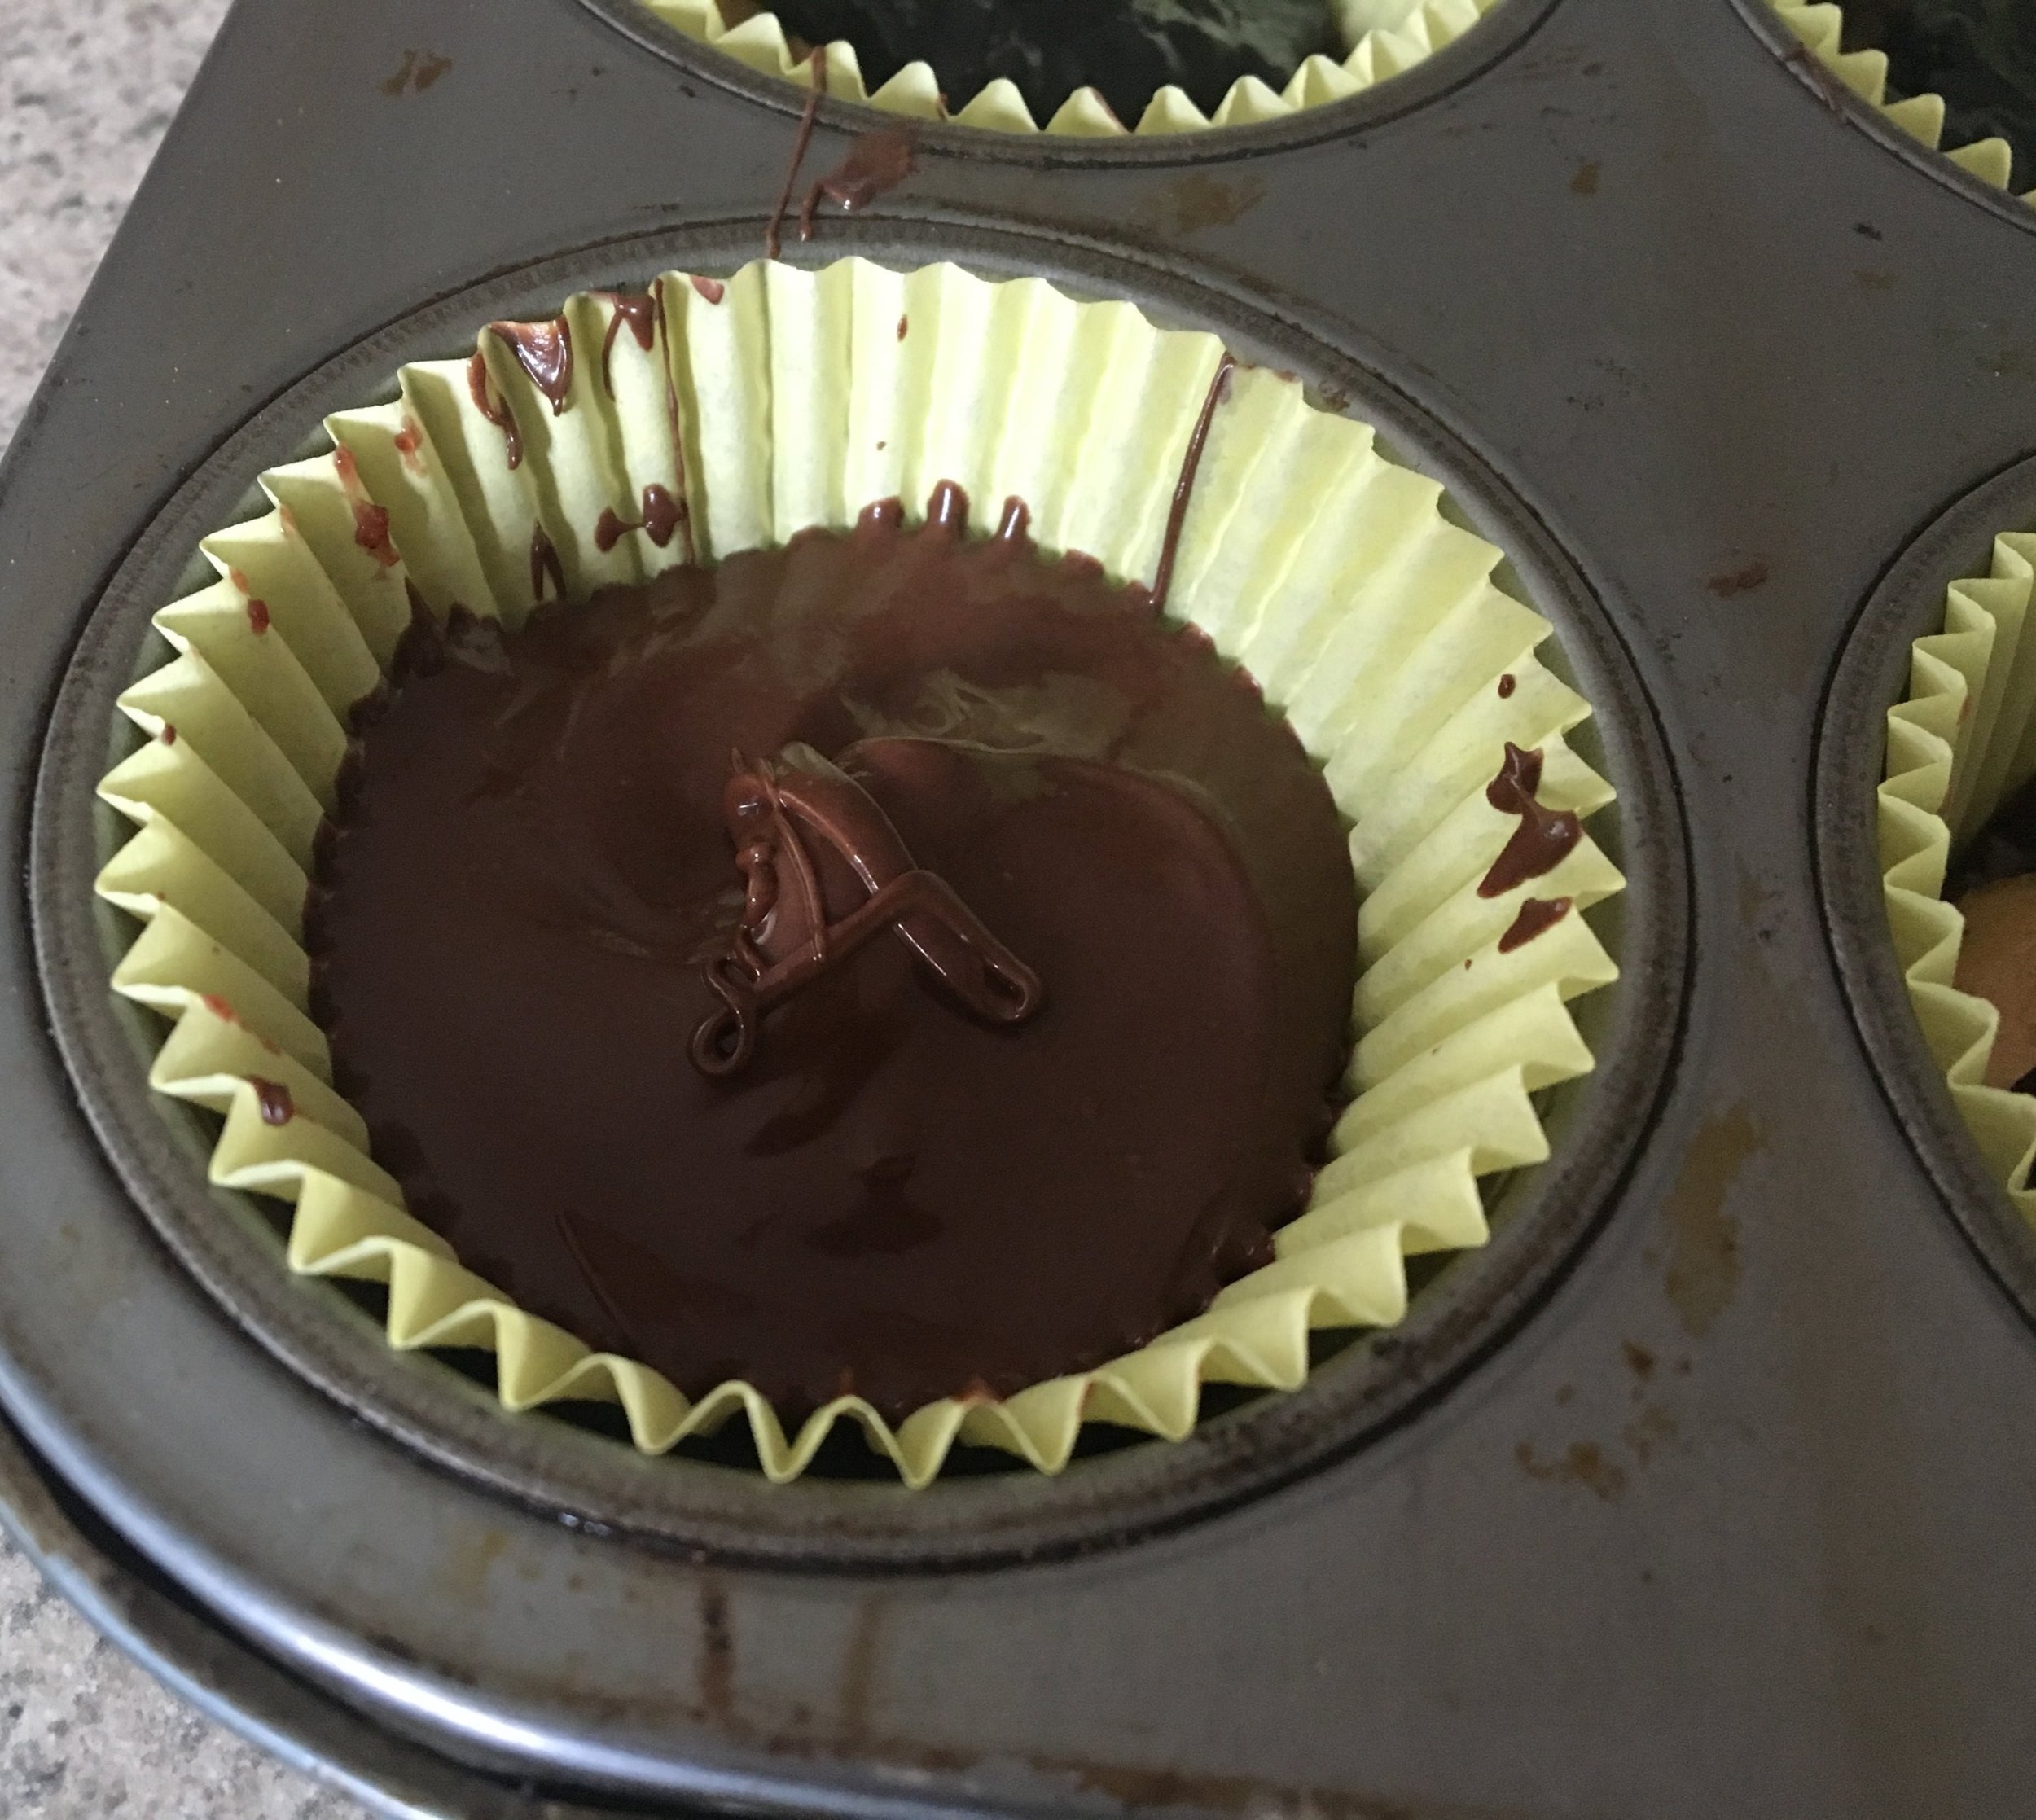
When peanut butter patties are not tacky, remove them from the freezer and place patties in the middle of the chocolate cup. Add 1 teaspoon (tsp) Cherchies® Preserves or Cherchies® Fruit Butter Spreads and carefully spread over peanut butter patty, making sure not to go to the edge.  The chocolate needs to go on the sides and top. 

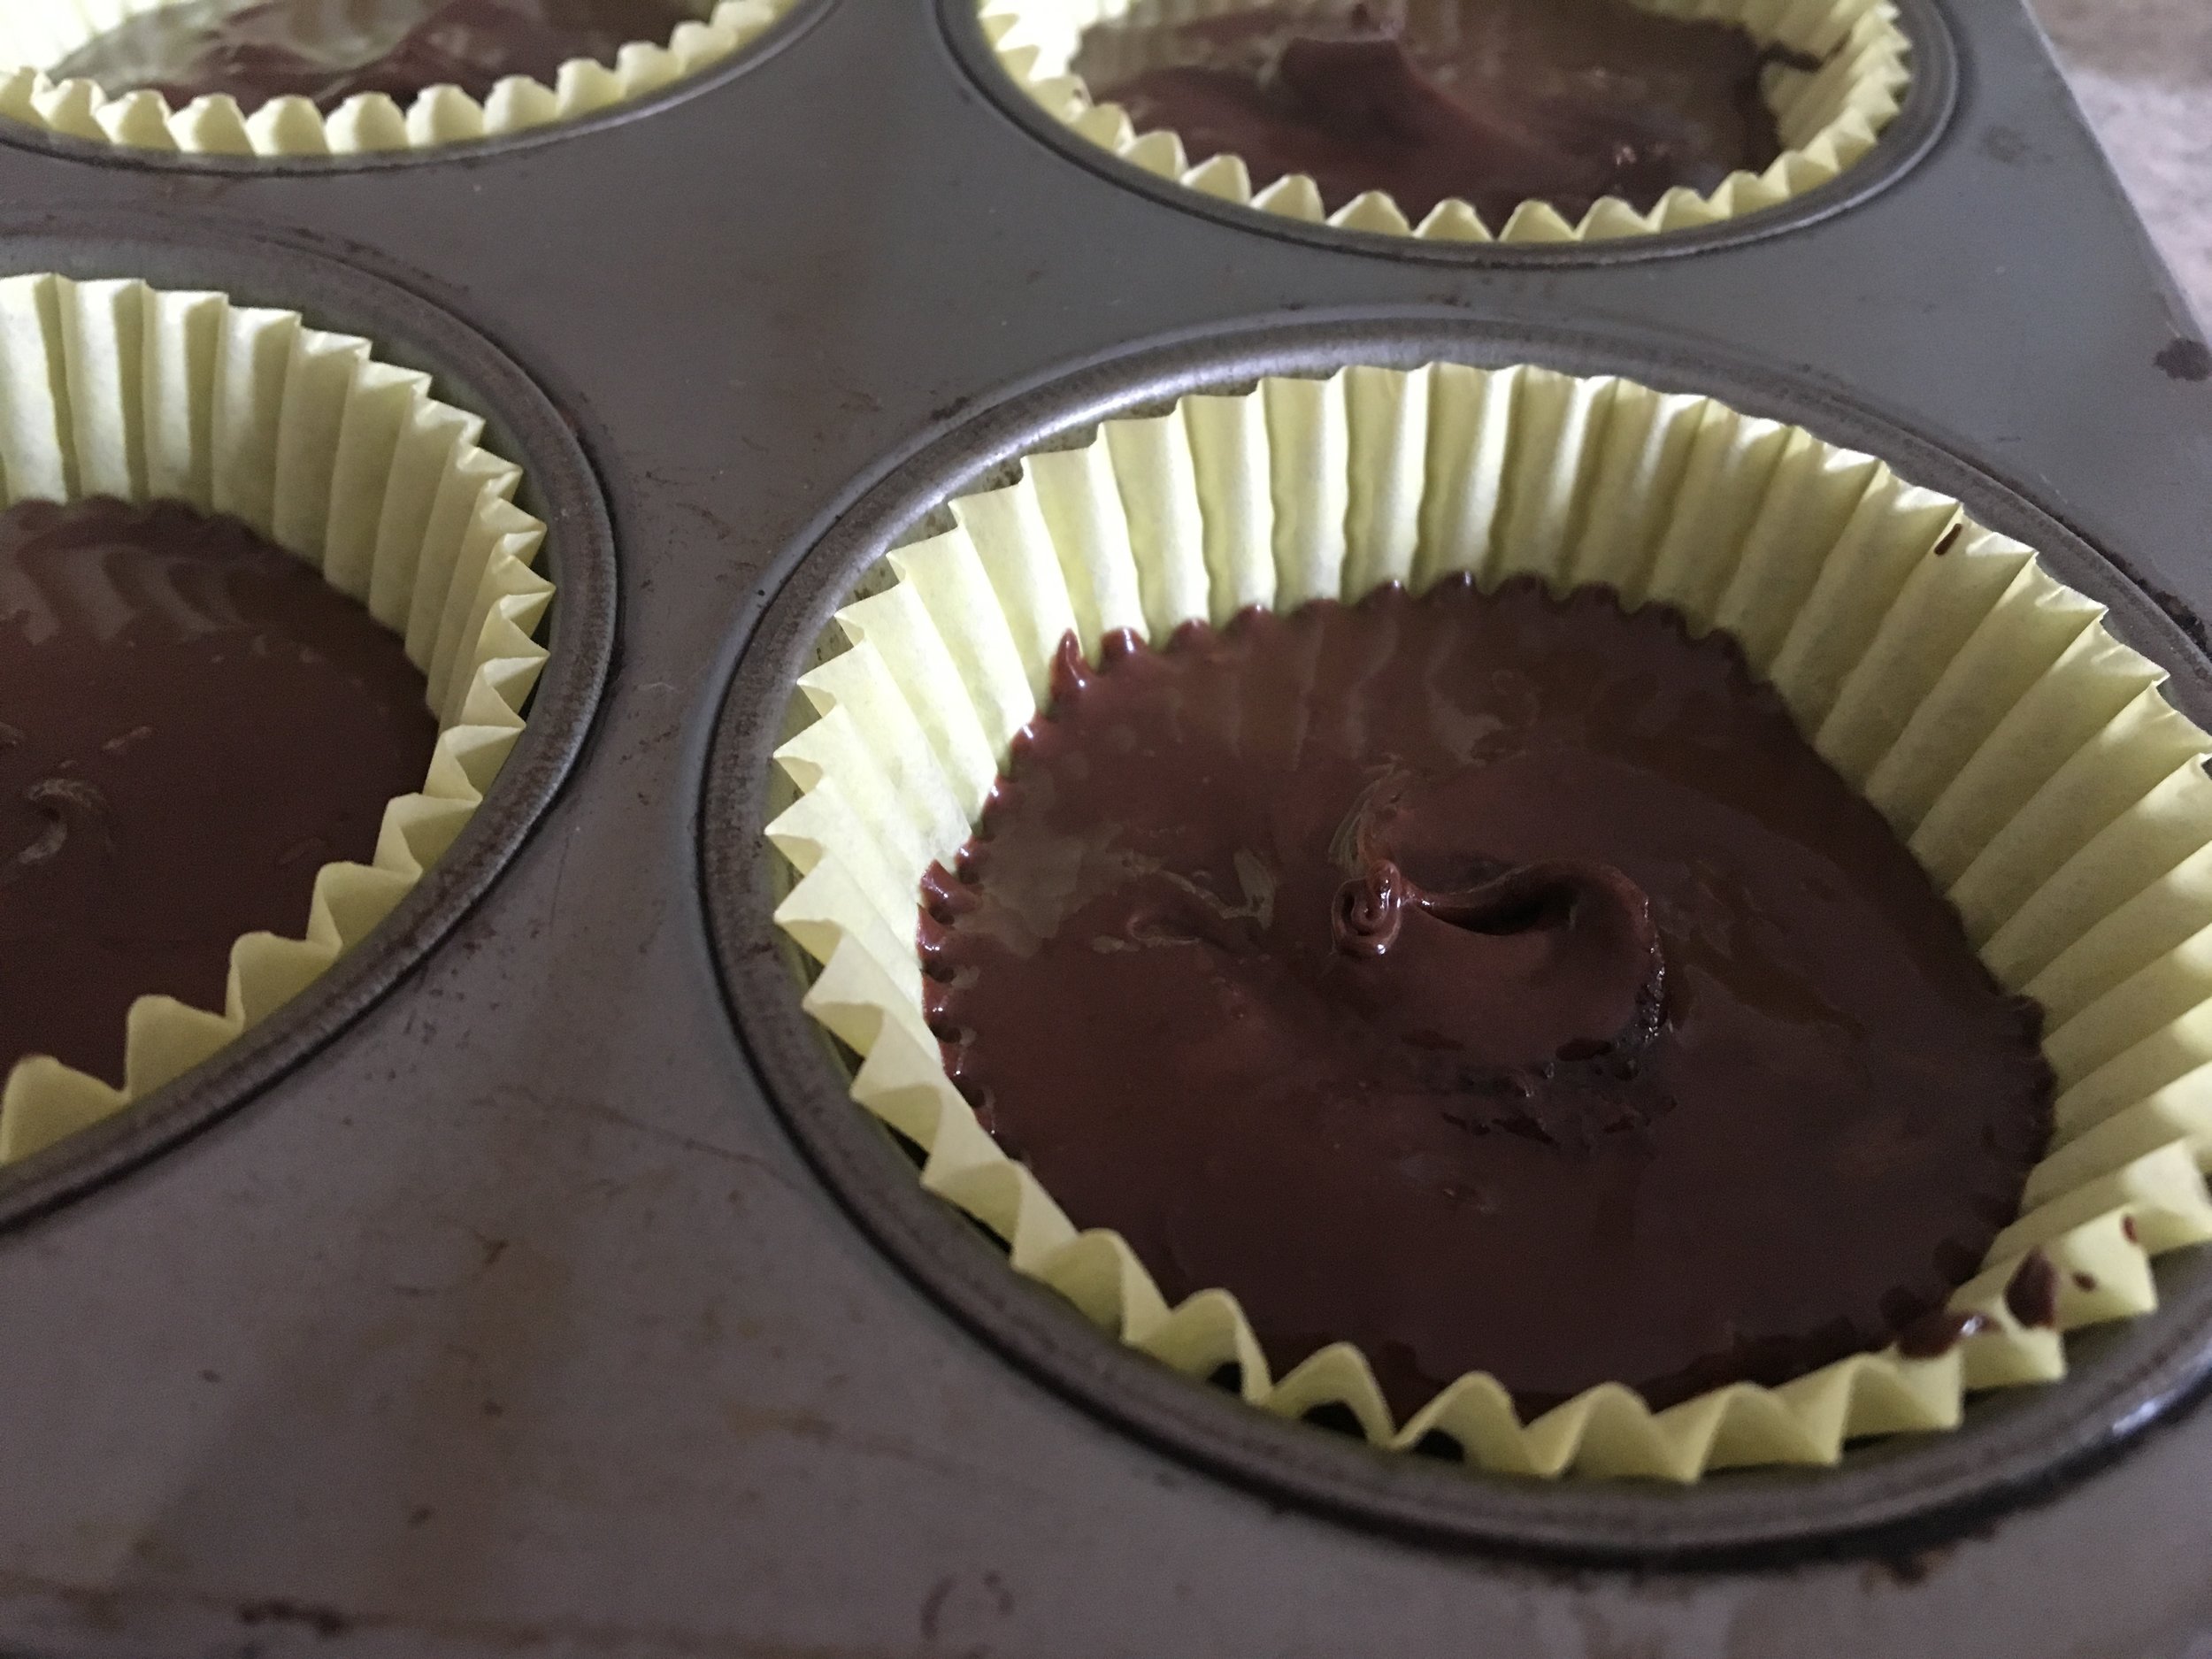
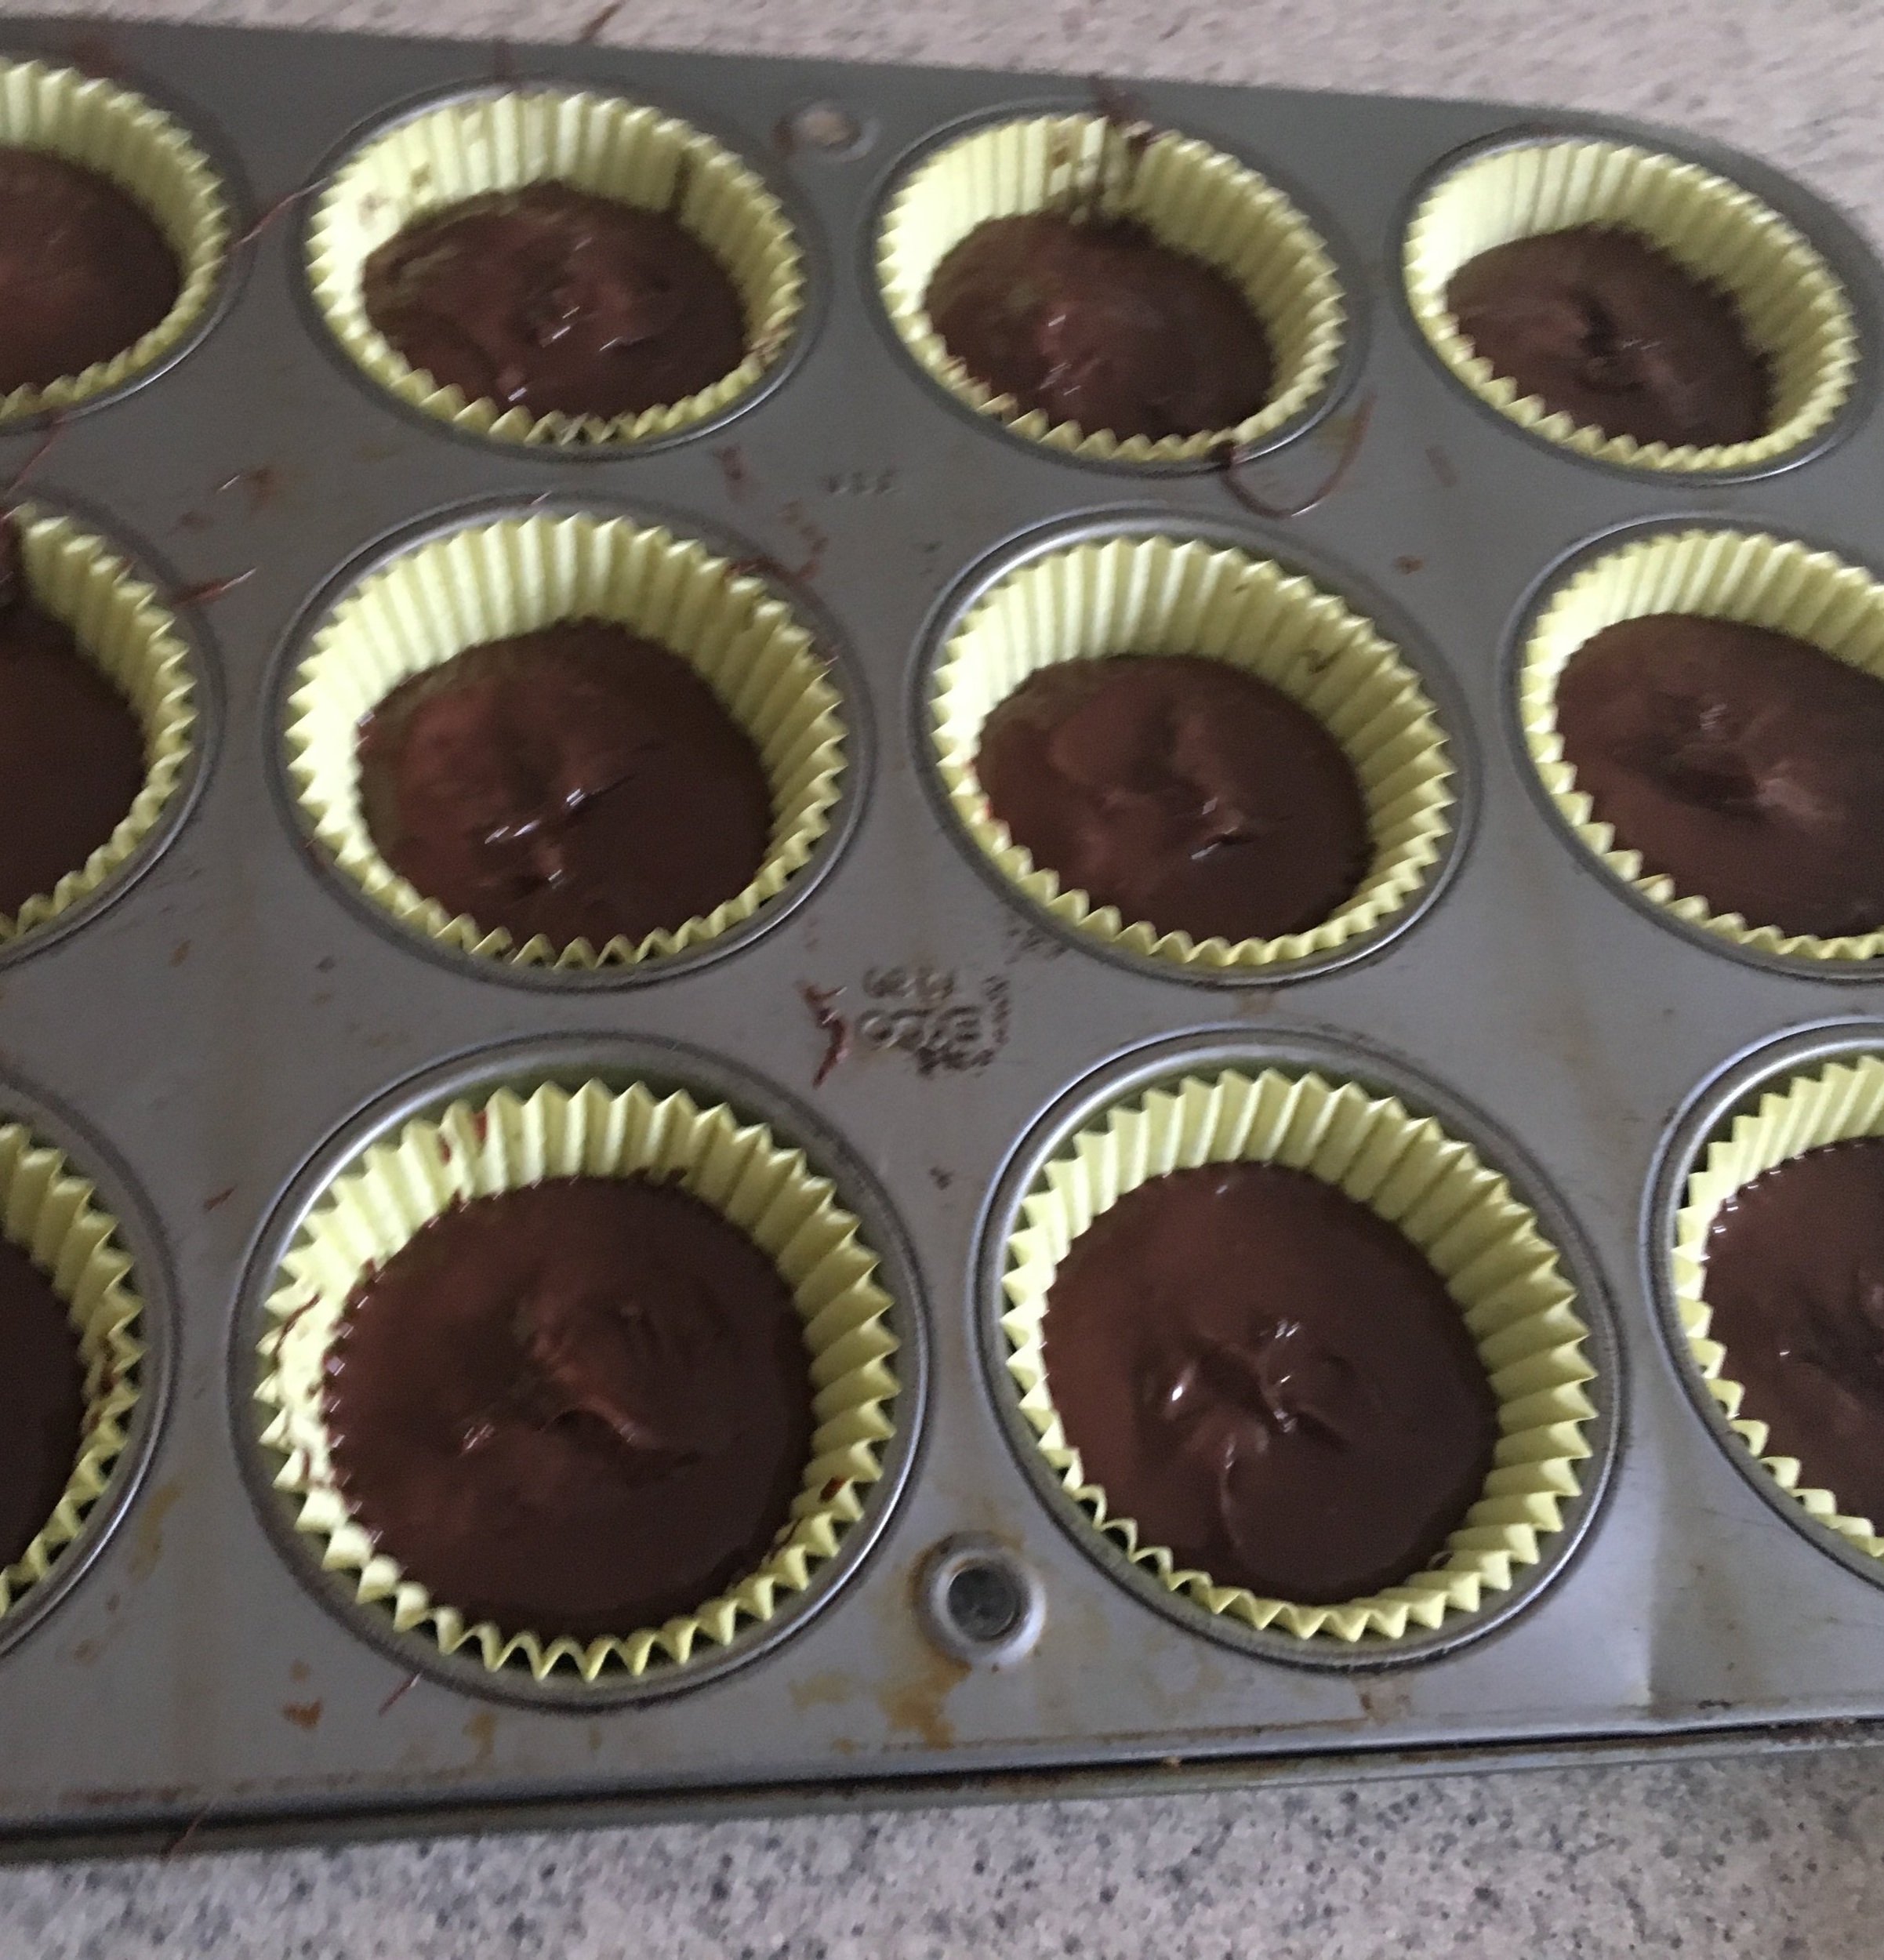
Add the remaining chocolate (1 Tablespoon (Tbsp)) to each of the cups.  Use a spoon or small spatula and spread chocolate over peanut butter and jelly to the edge of the cupcake liner to seal in the yumminess. Refrigerate for 20 minutes or until set.

Remove from refrigerator, sprinkle with coarse sea salt and enjoy!

pbj cups 3724b.jpg
pbj cups 3726.jpg
Yum

Recipe Roundup- How to Host a Fiesta Party

recipe round upSheri SpalloneComment
Recipe Roundup- How to Host a Fiesta Party

Recipe Roundup- How to Host a Fiesta Party

"Let's Taco 'Bout a Fiesta!"  (I know, overused, but still fun:)  Whether it is Taco Tuesday, Cinco De Mayo, or whenever you're in the mood you're for a fiesta, now is the perfect excuse to invite your friends and family over and celebrate your favorite Mexican dishes!   

Themes always make planning easier, but not everyone has the time to plan. We have taken the guess work out of planning the perfect Fiesta and shared our favorite Mexican Foods as well as some fun and festive decorating ideas to make your celebrations easy peasy.  

So, what are you waiting for?? There is no time to siesta, it’s time to fiesta!

Comment below and let us know how your celebration turned out.

Setting the Mood

Decorations- Creativity can go a long way on a budget. Your decorations do not need to be fancy or expensive. Check out these clever and fun ideas on the cheap.

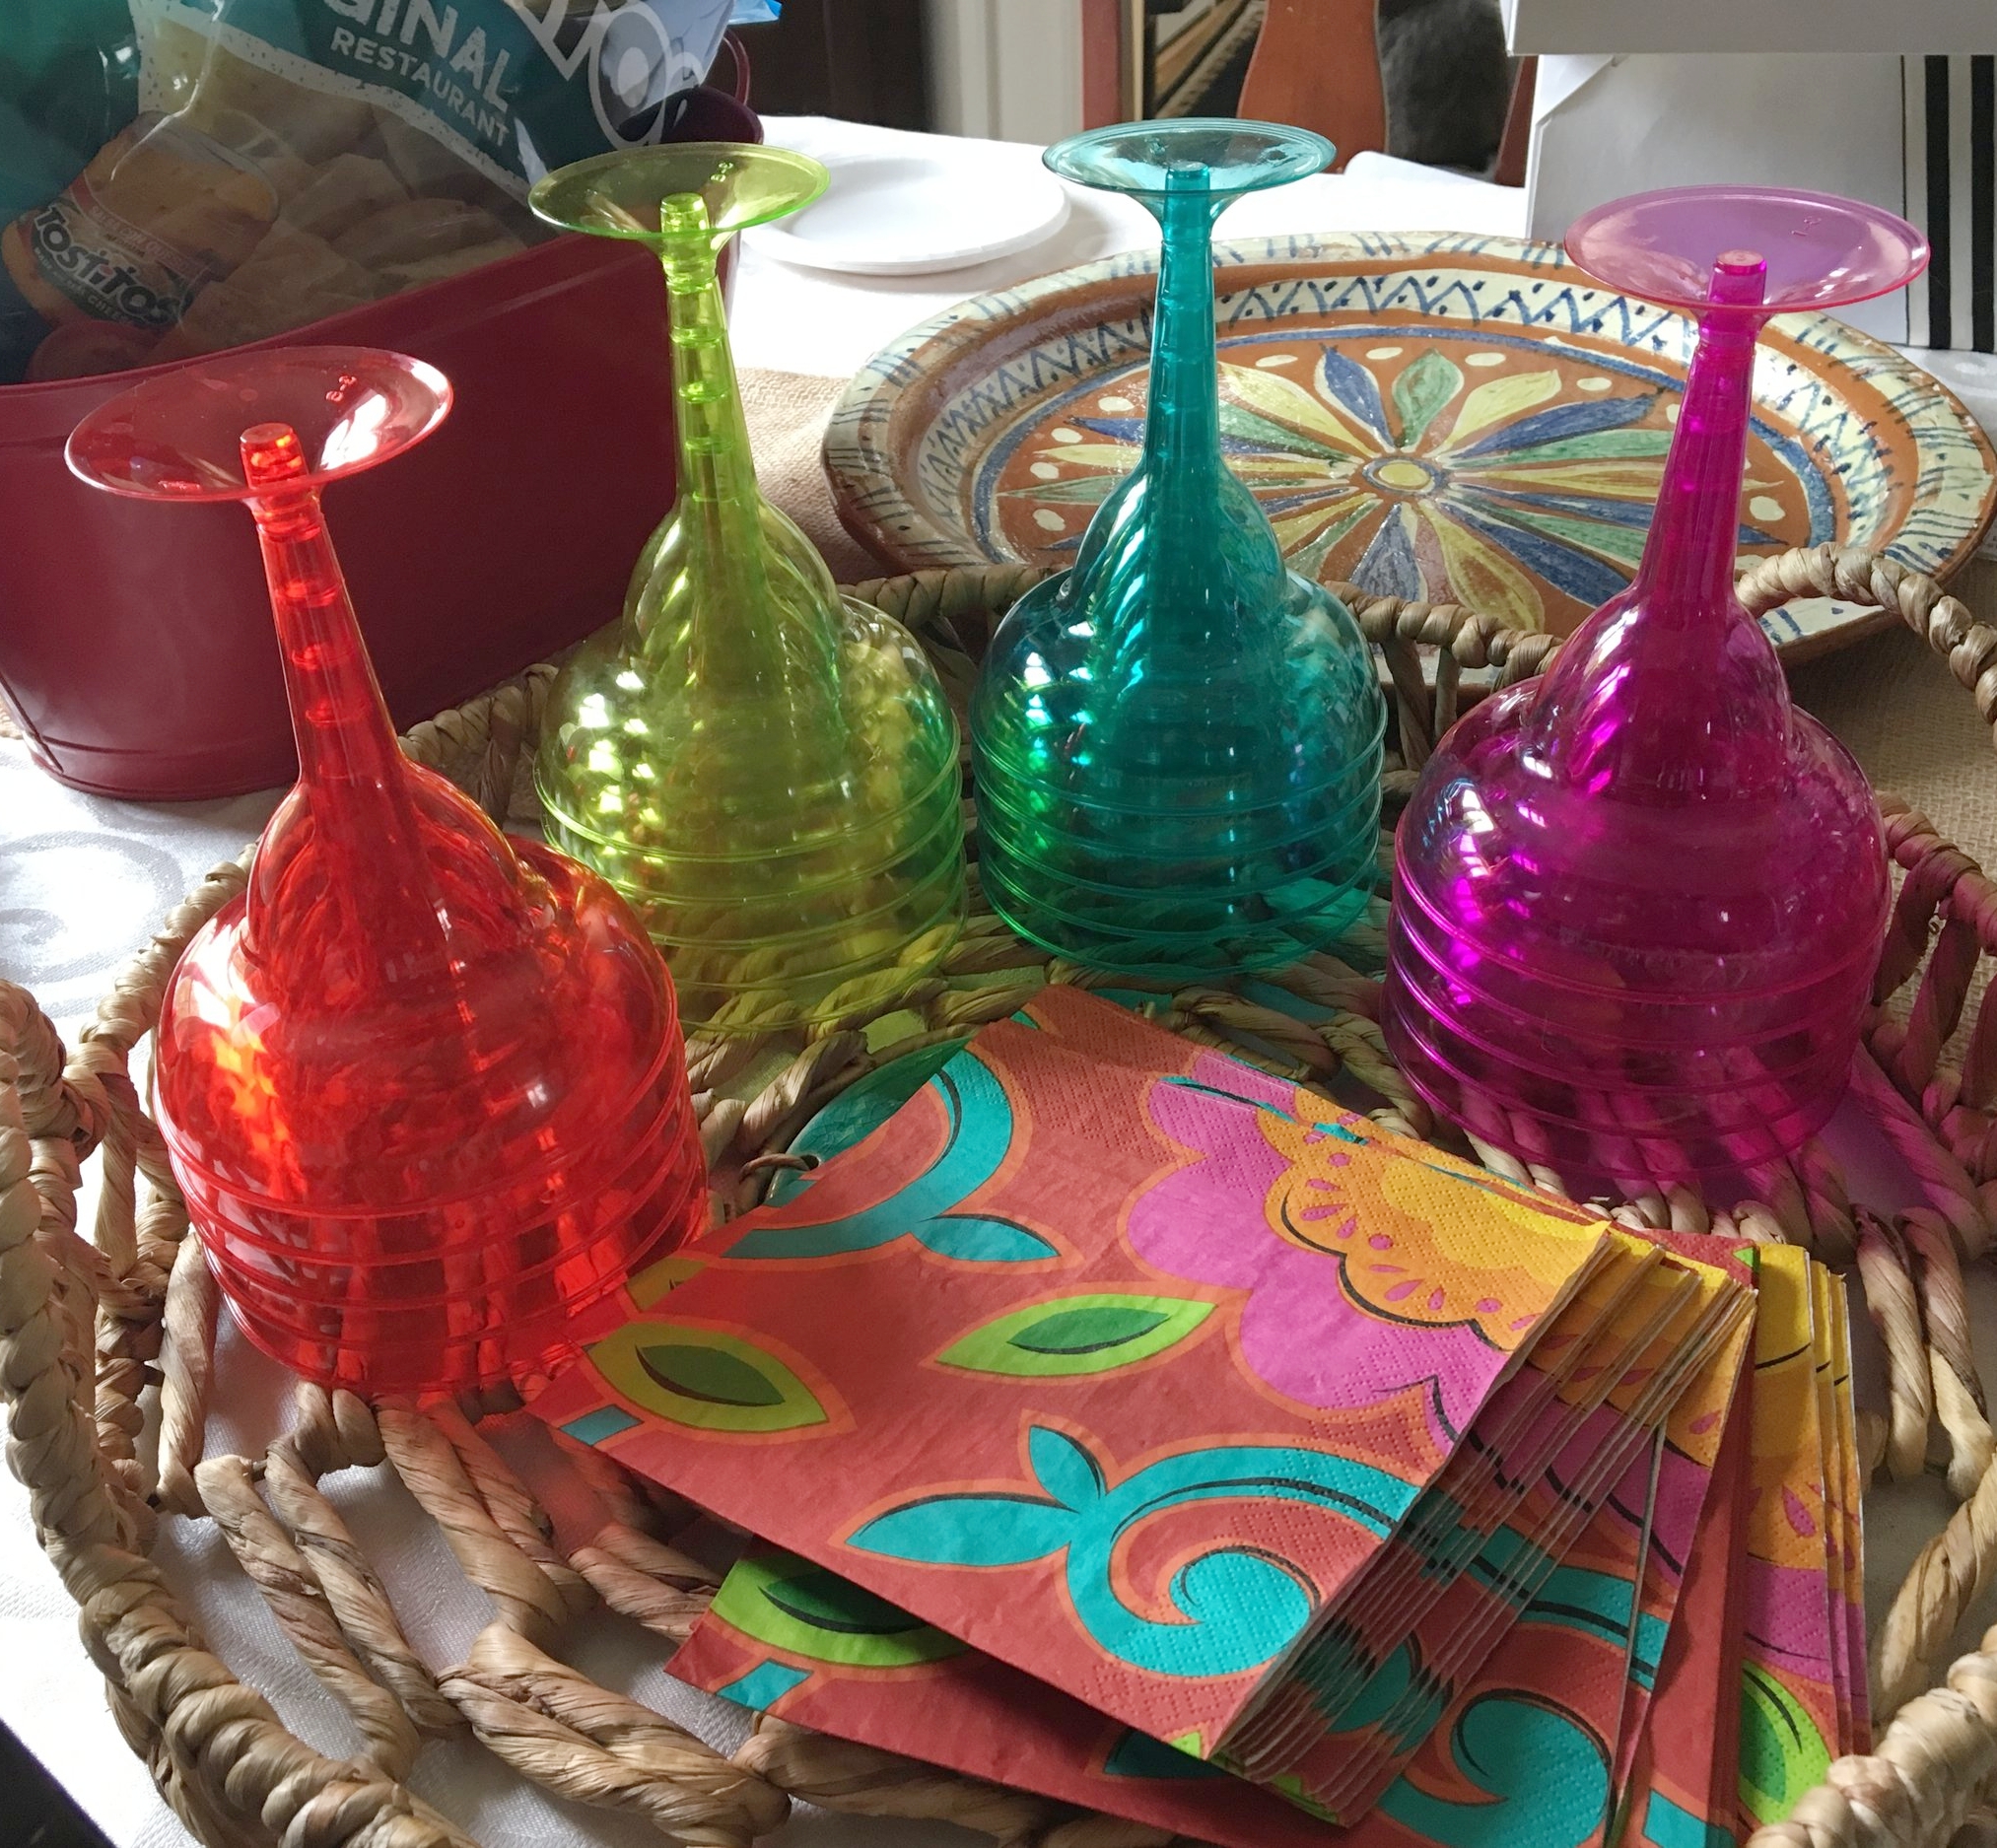
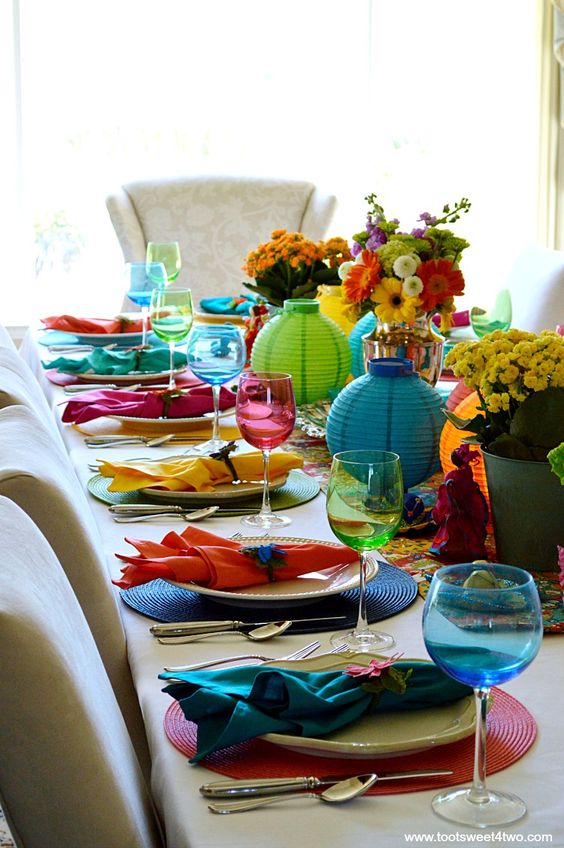
  • Make your celebration colorful and festive without breaking the bank- Use colorful napkins, glasses, and plates. Margarita glasses are a must!

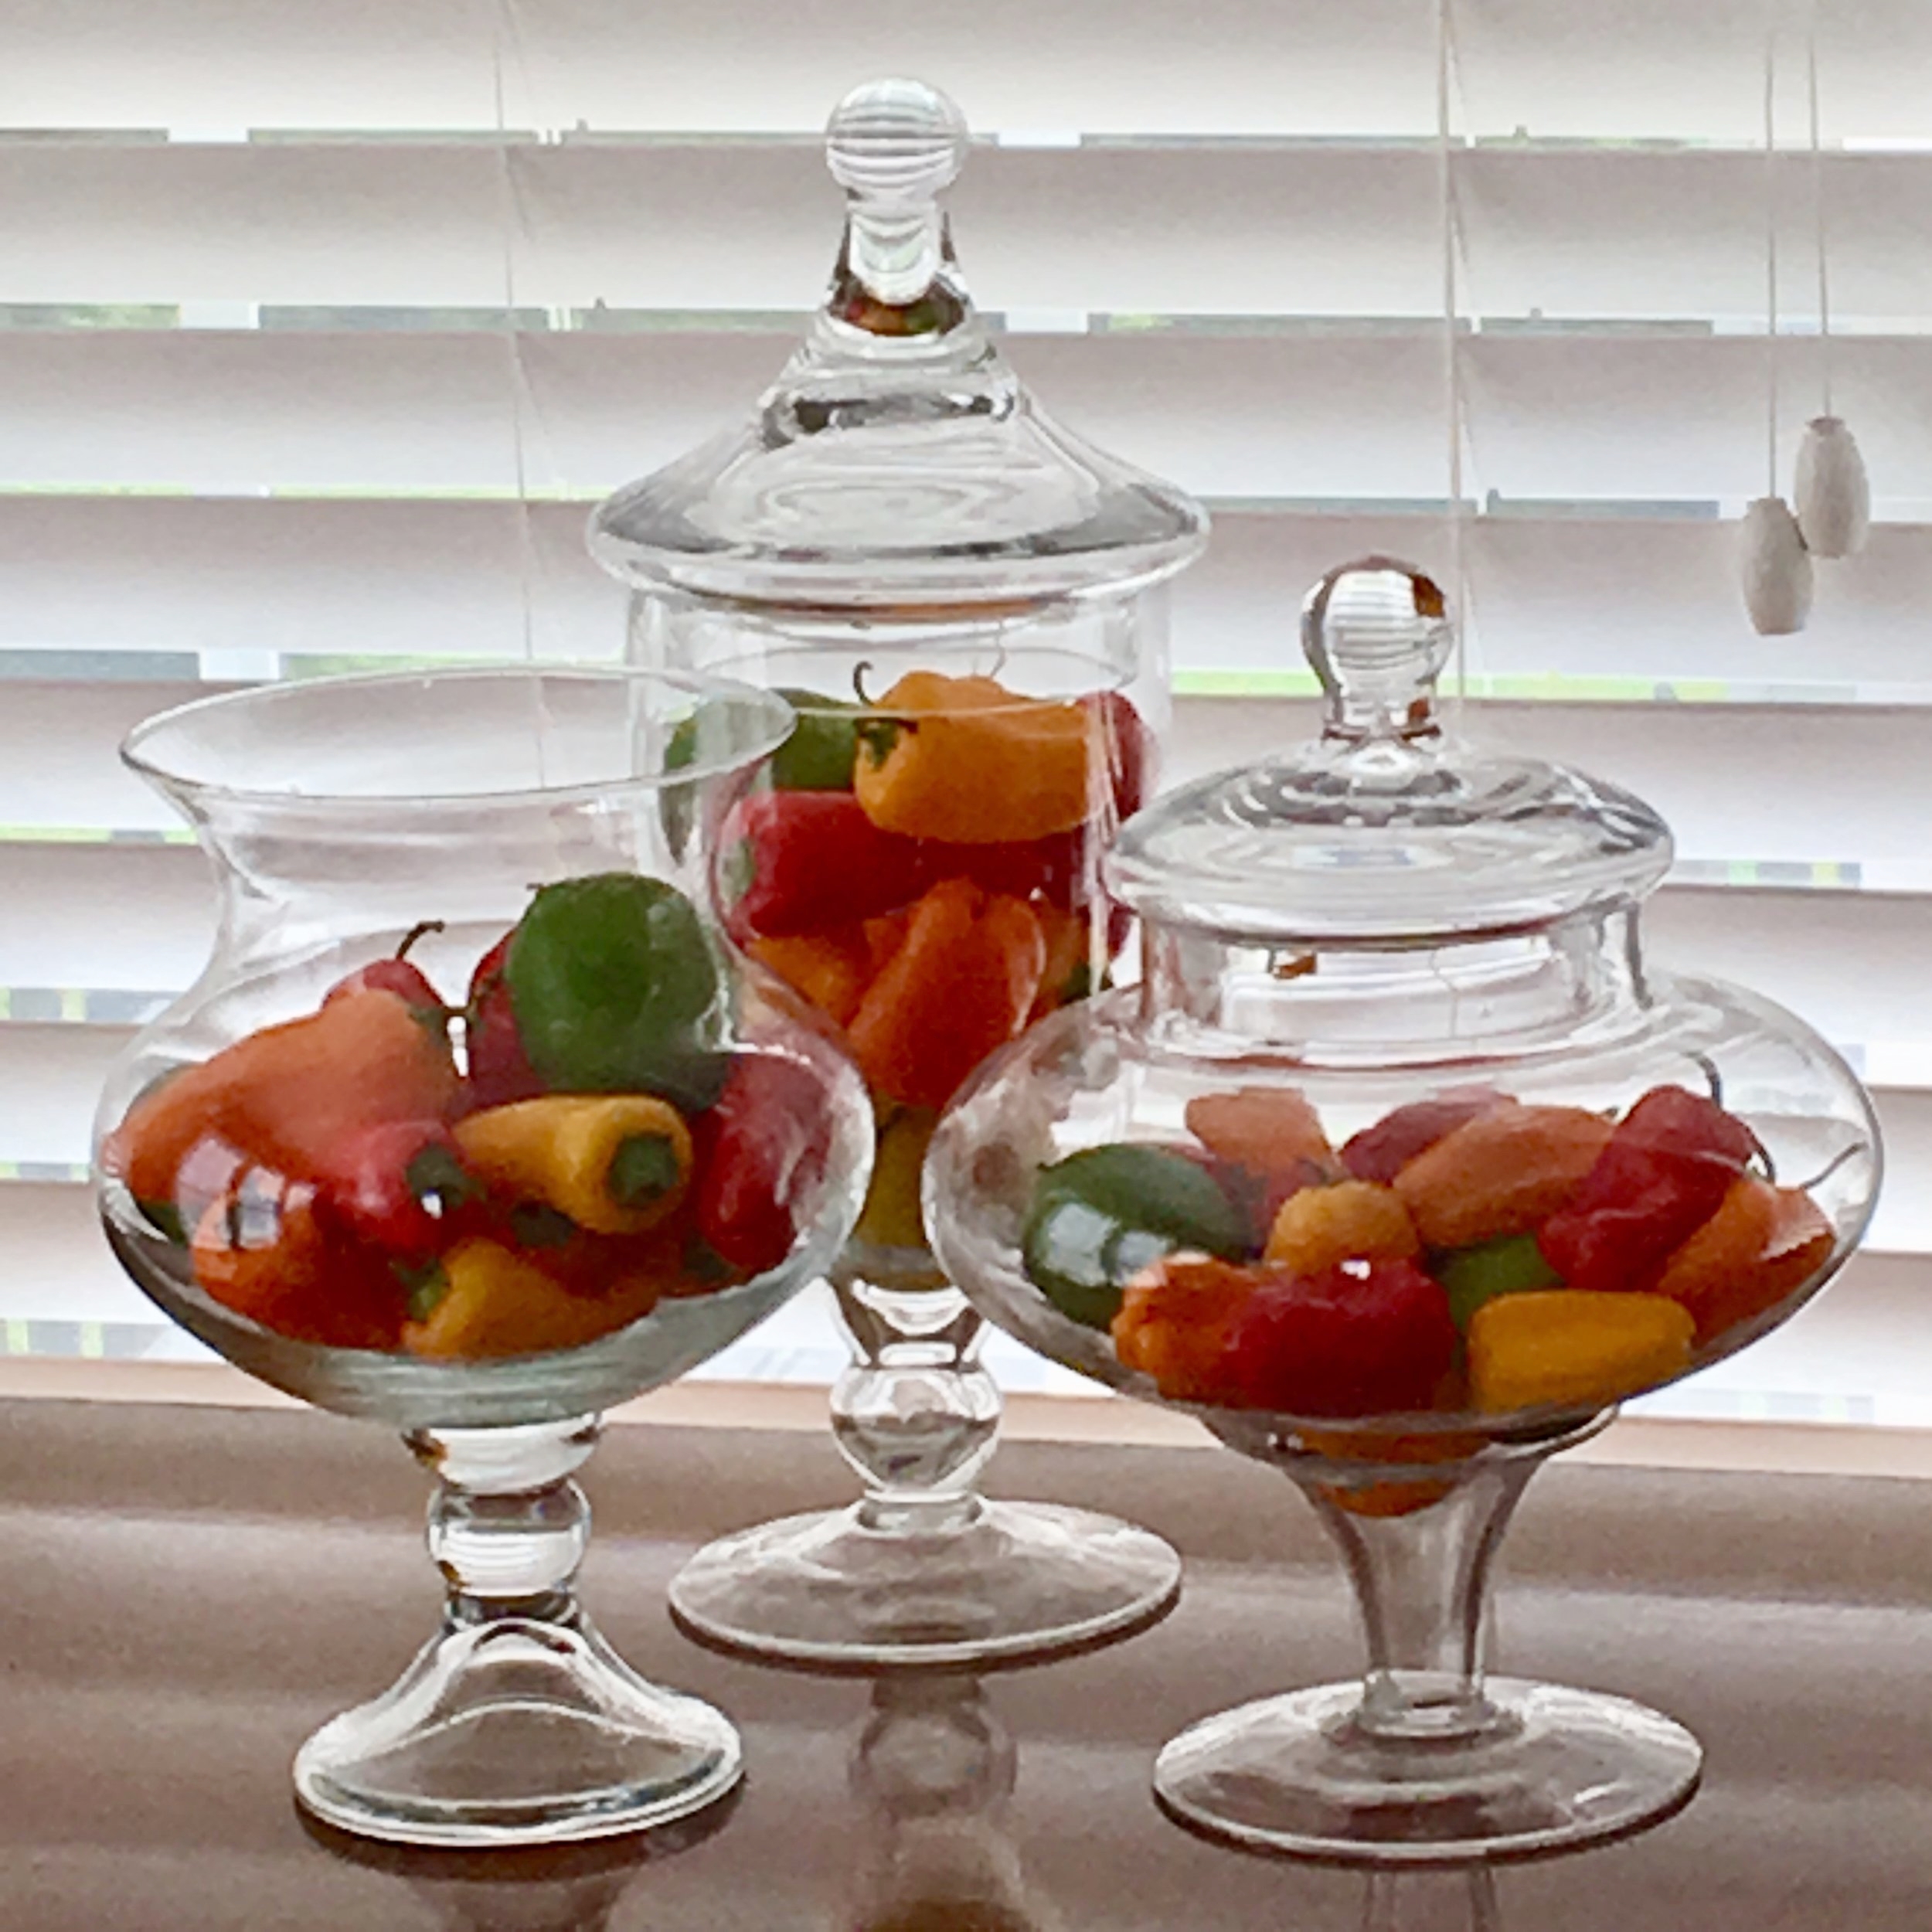
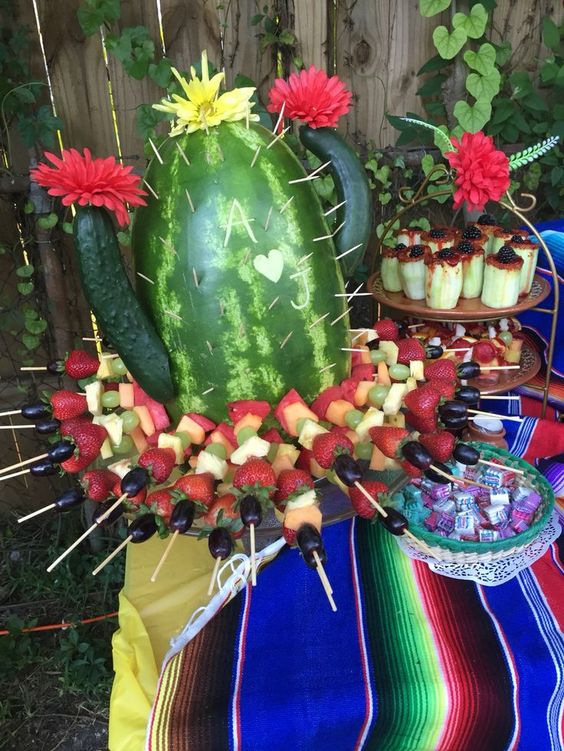
  • Decorate with flowers and fruit or vegetables- decorate today, cook with tomorrow.

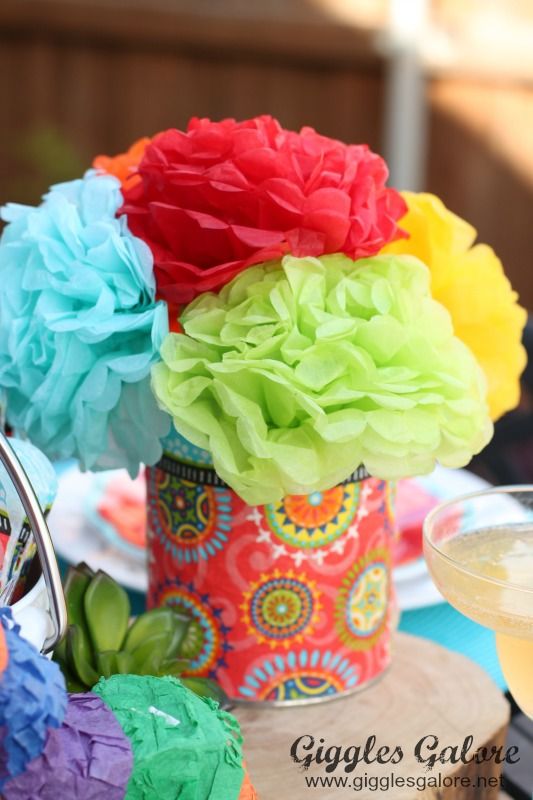
  • Make tissue paper flowers- easy and economical- gigglesgalore.net

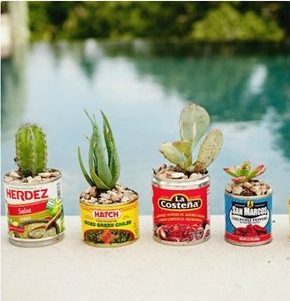
  • Add mini cacti or succulents to Mexican food cans with rocks for an adorable arrangement.

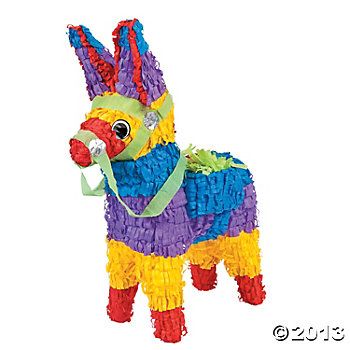
  • Pinata- A must for every fiesta. Kids and adults will all enjoy. Purchase one at your local party store or get creative and make your own! There are plenty of DIY tutorials on Pinterest to guide you.

Ambiance- Light up the place with these bright solutions.

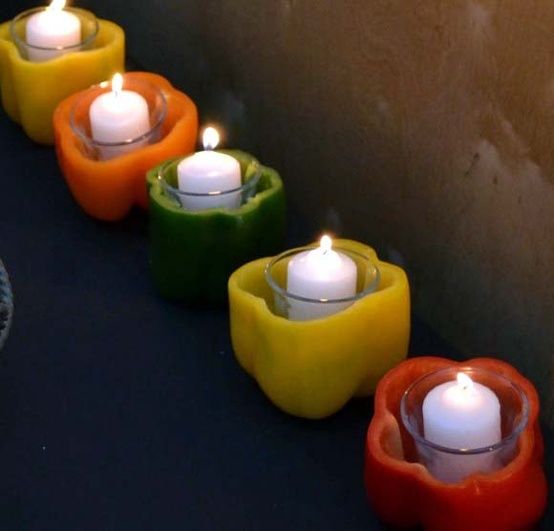
  • Veggie votives- Hollow out some peppers, add a votive candle for a festive flair.

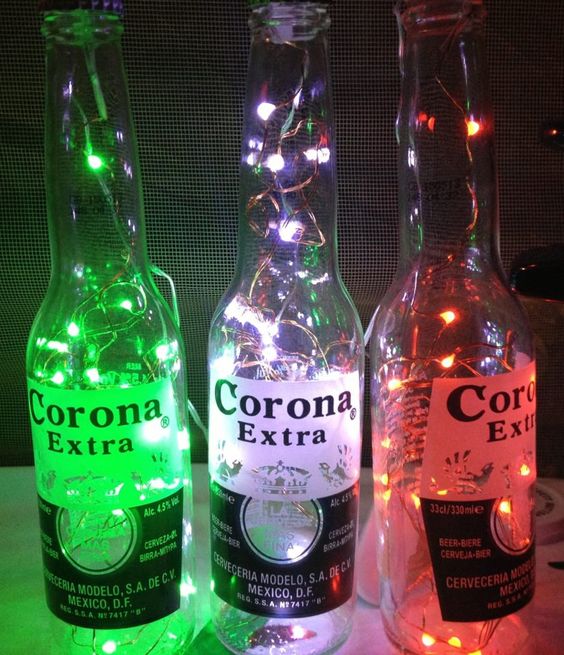
  • Add mini LED fairy lights to beer bottles.

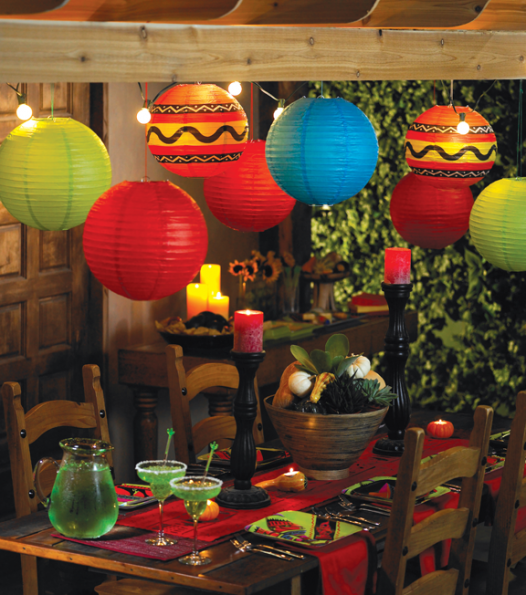
  • Paper lanterns, found at your local party supply or craft store add an instant ambiance.

  • Make a playlist of Mexican music to entertain your guests during your celebration.

Fiesta Food- Now that you've set the mood, it's time to enjoy food! Here are some of our favorite recipes!

Starters and Dips

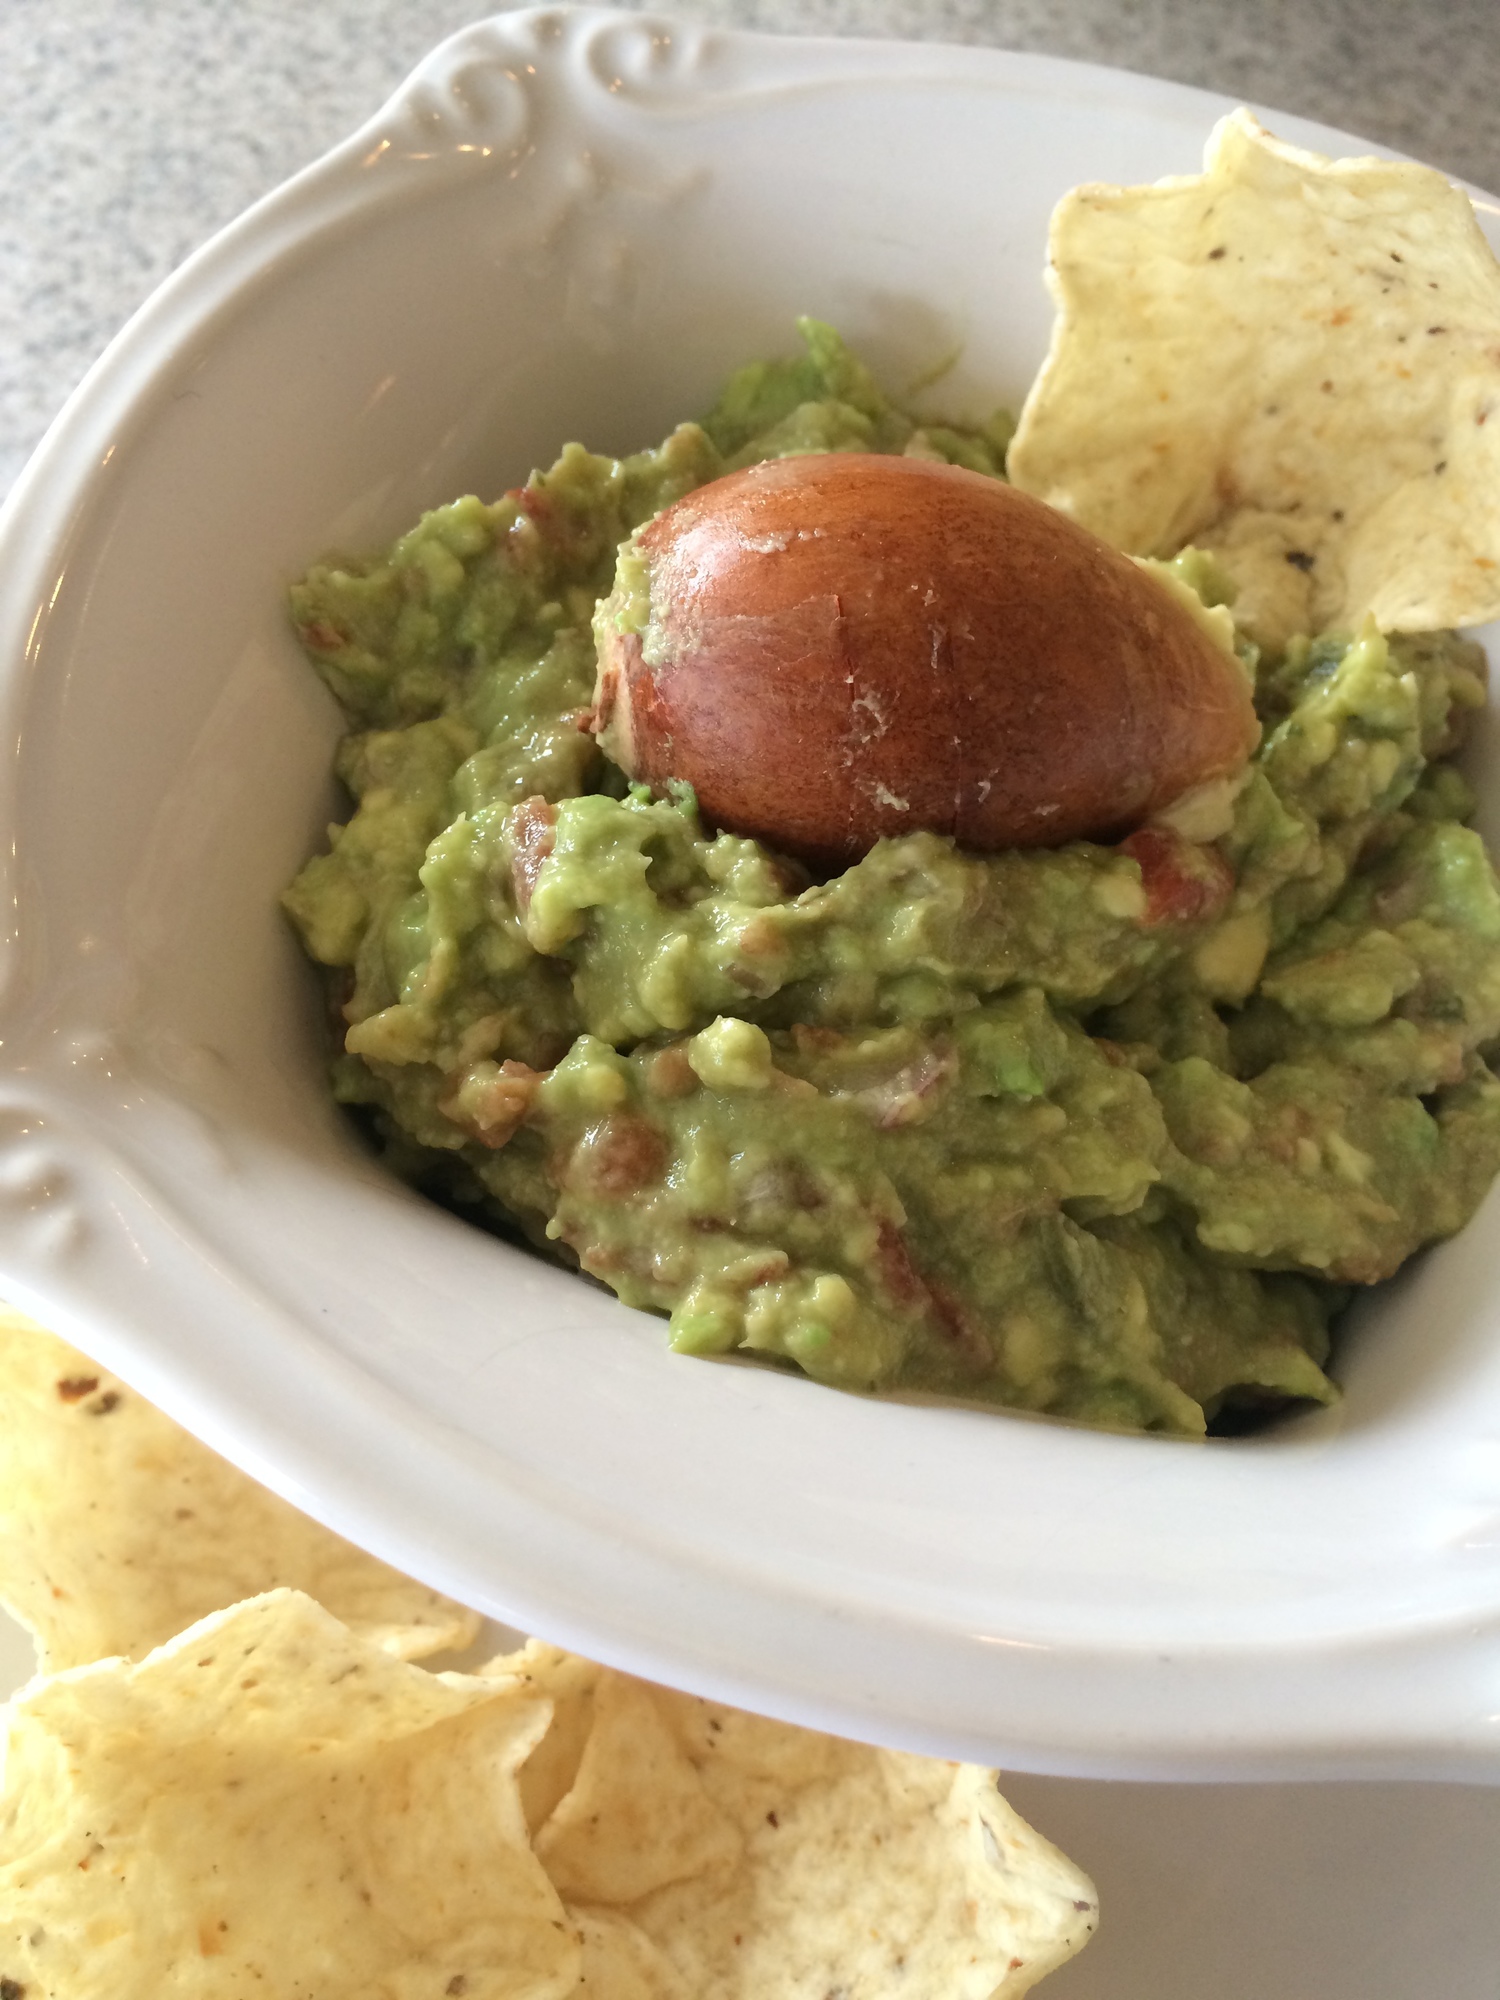
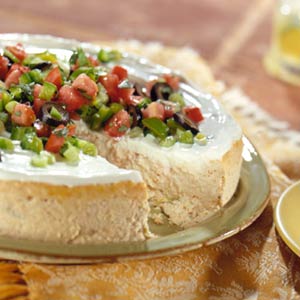
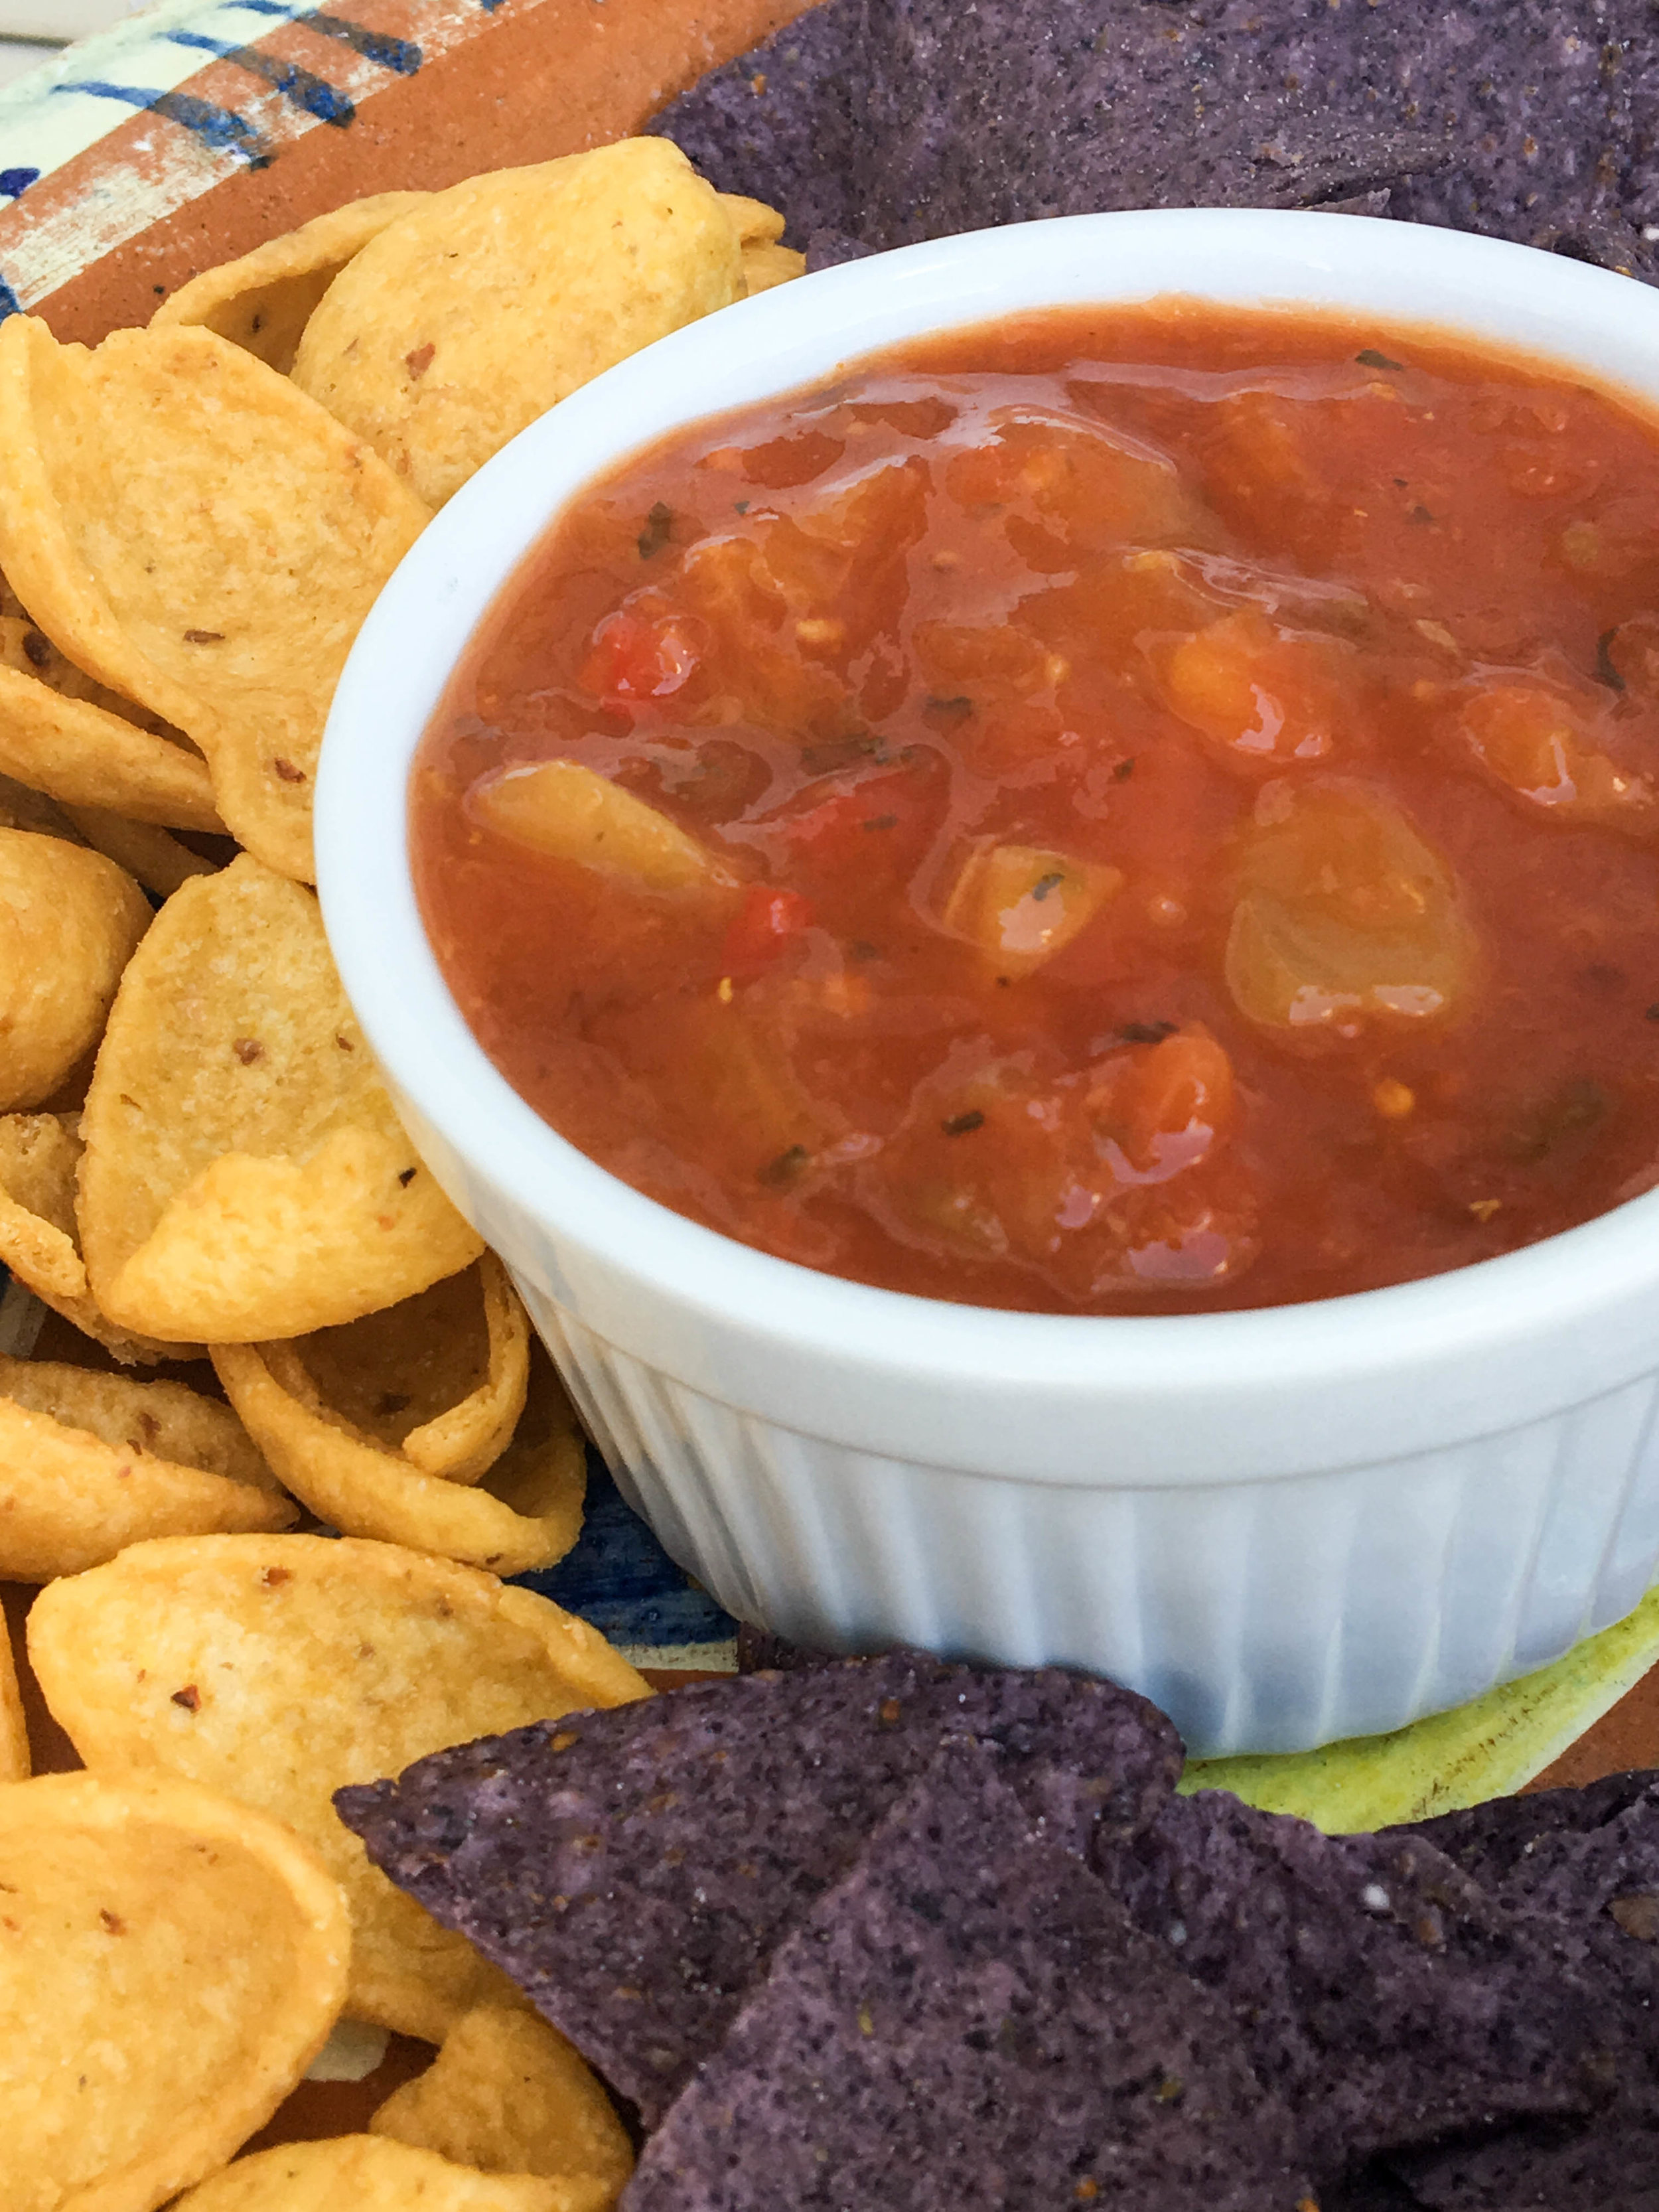
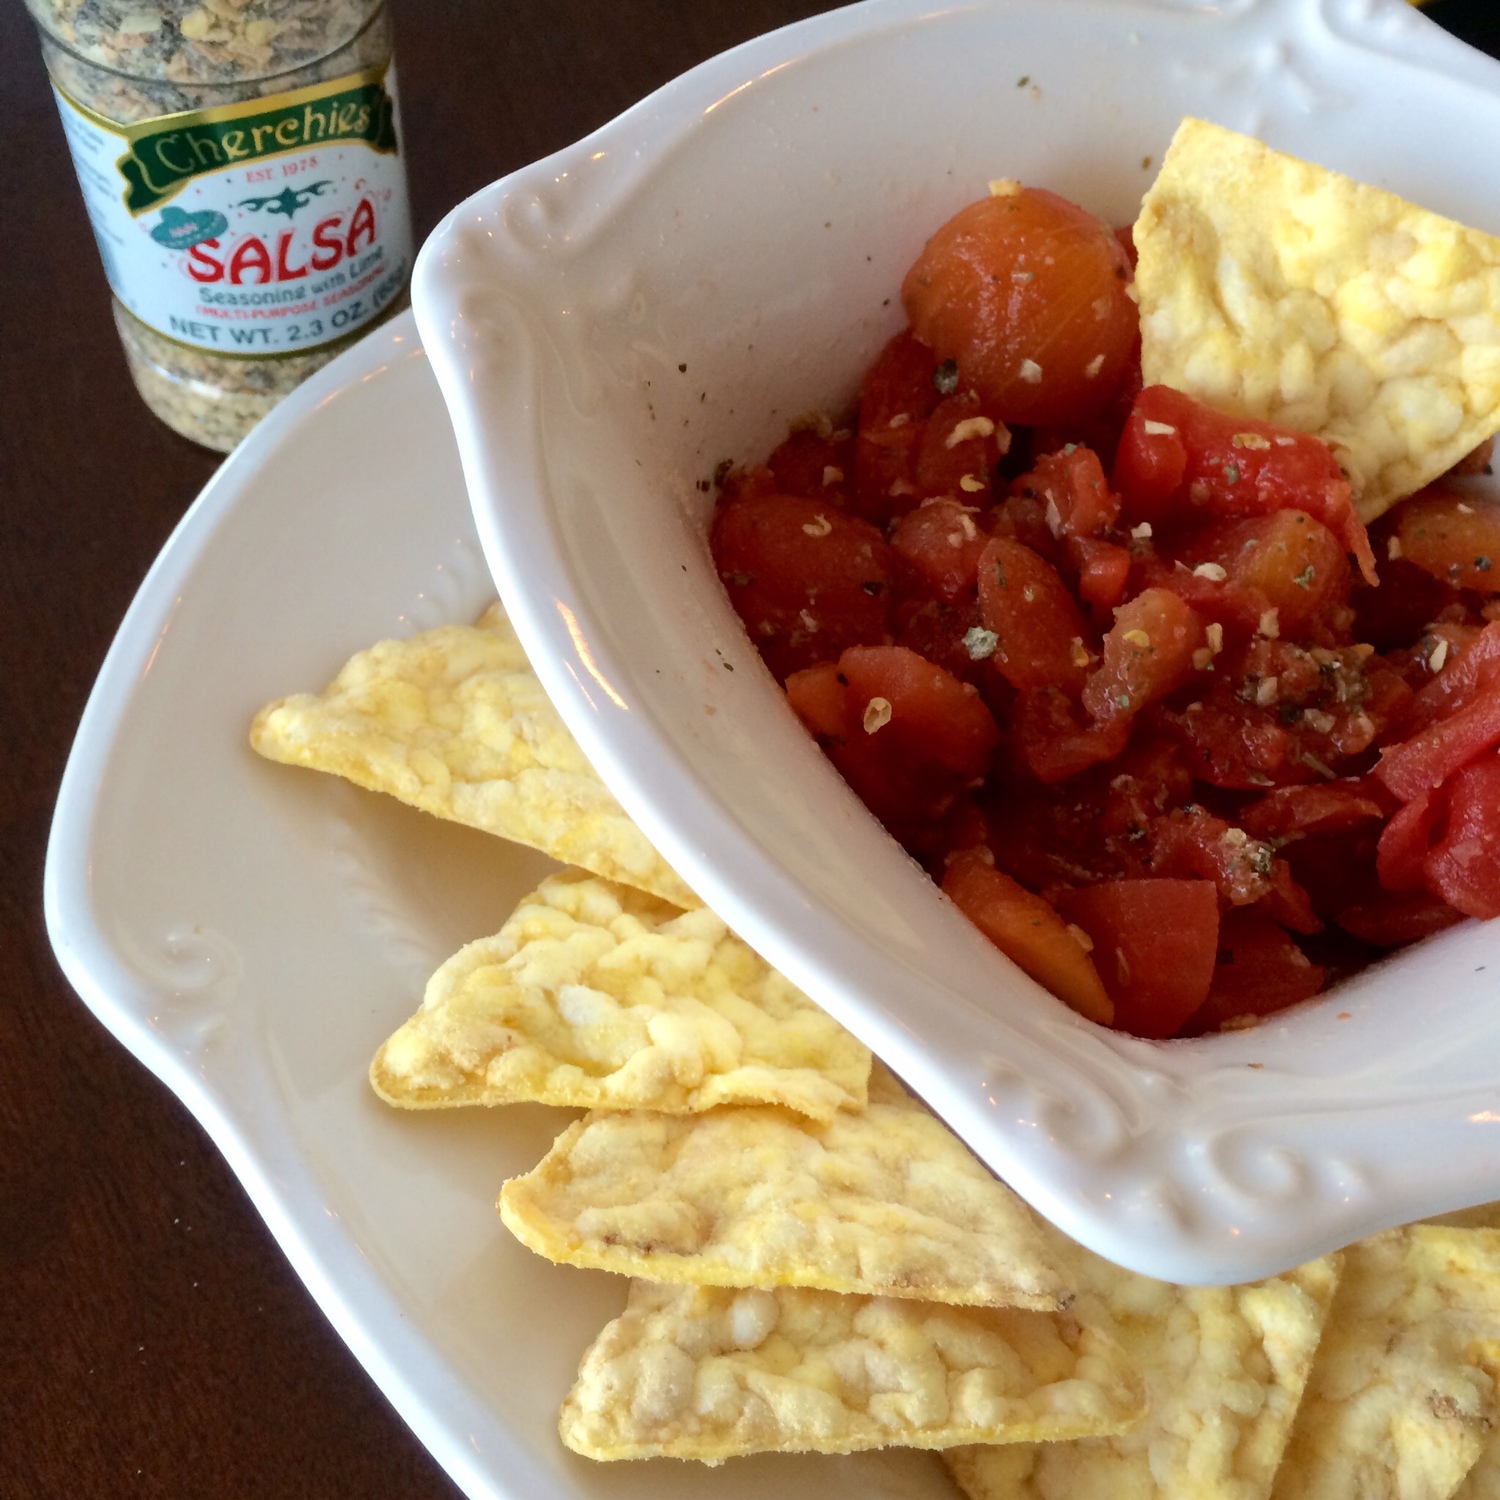
Salsas - When life hands you tomatoes, make salsa! Grab your favorite tortilla chips and serve with a variety of salsas.  Here we have three of our favorites.

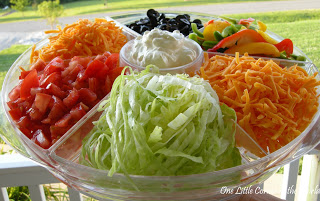
Taco Bar!  Gather up all your favorite fixings for a festive taco bar and invite your family and friends over for Taco night!  Serve in an array of fun containers. (After all, not only is it about the food, but also the presentation!)

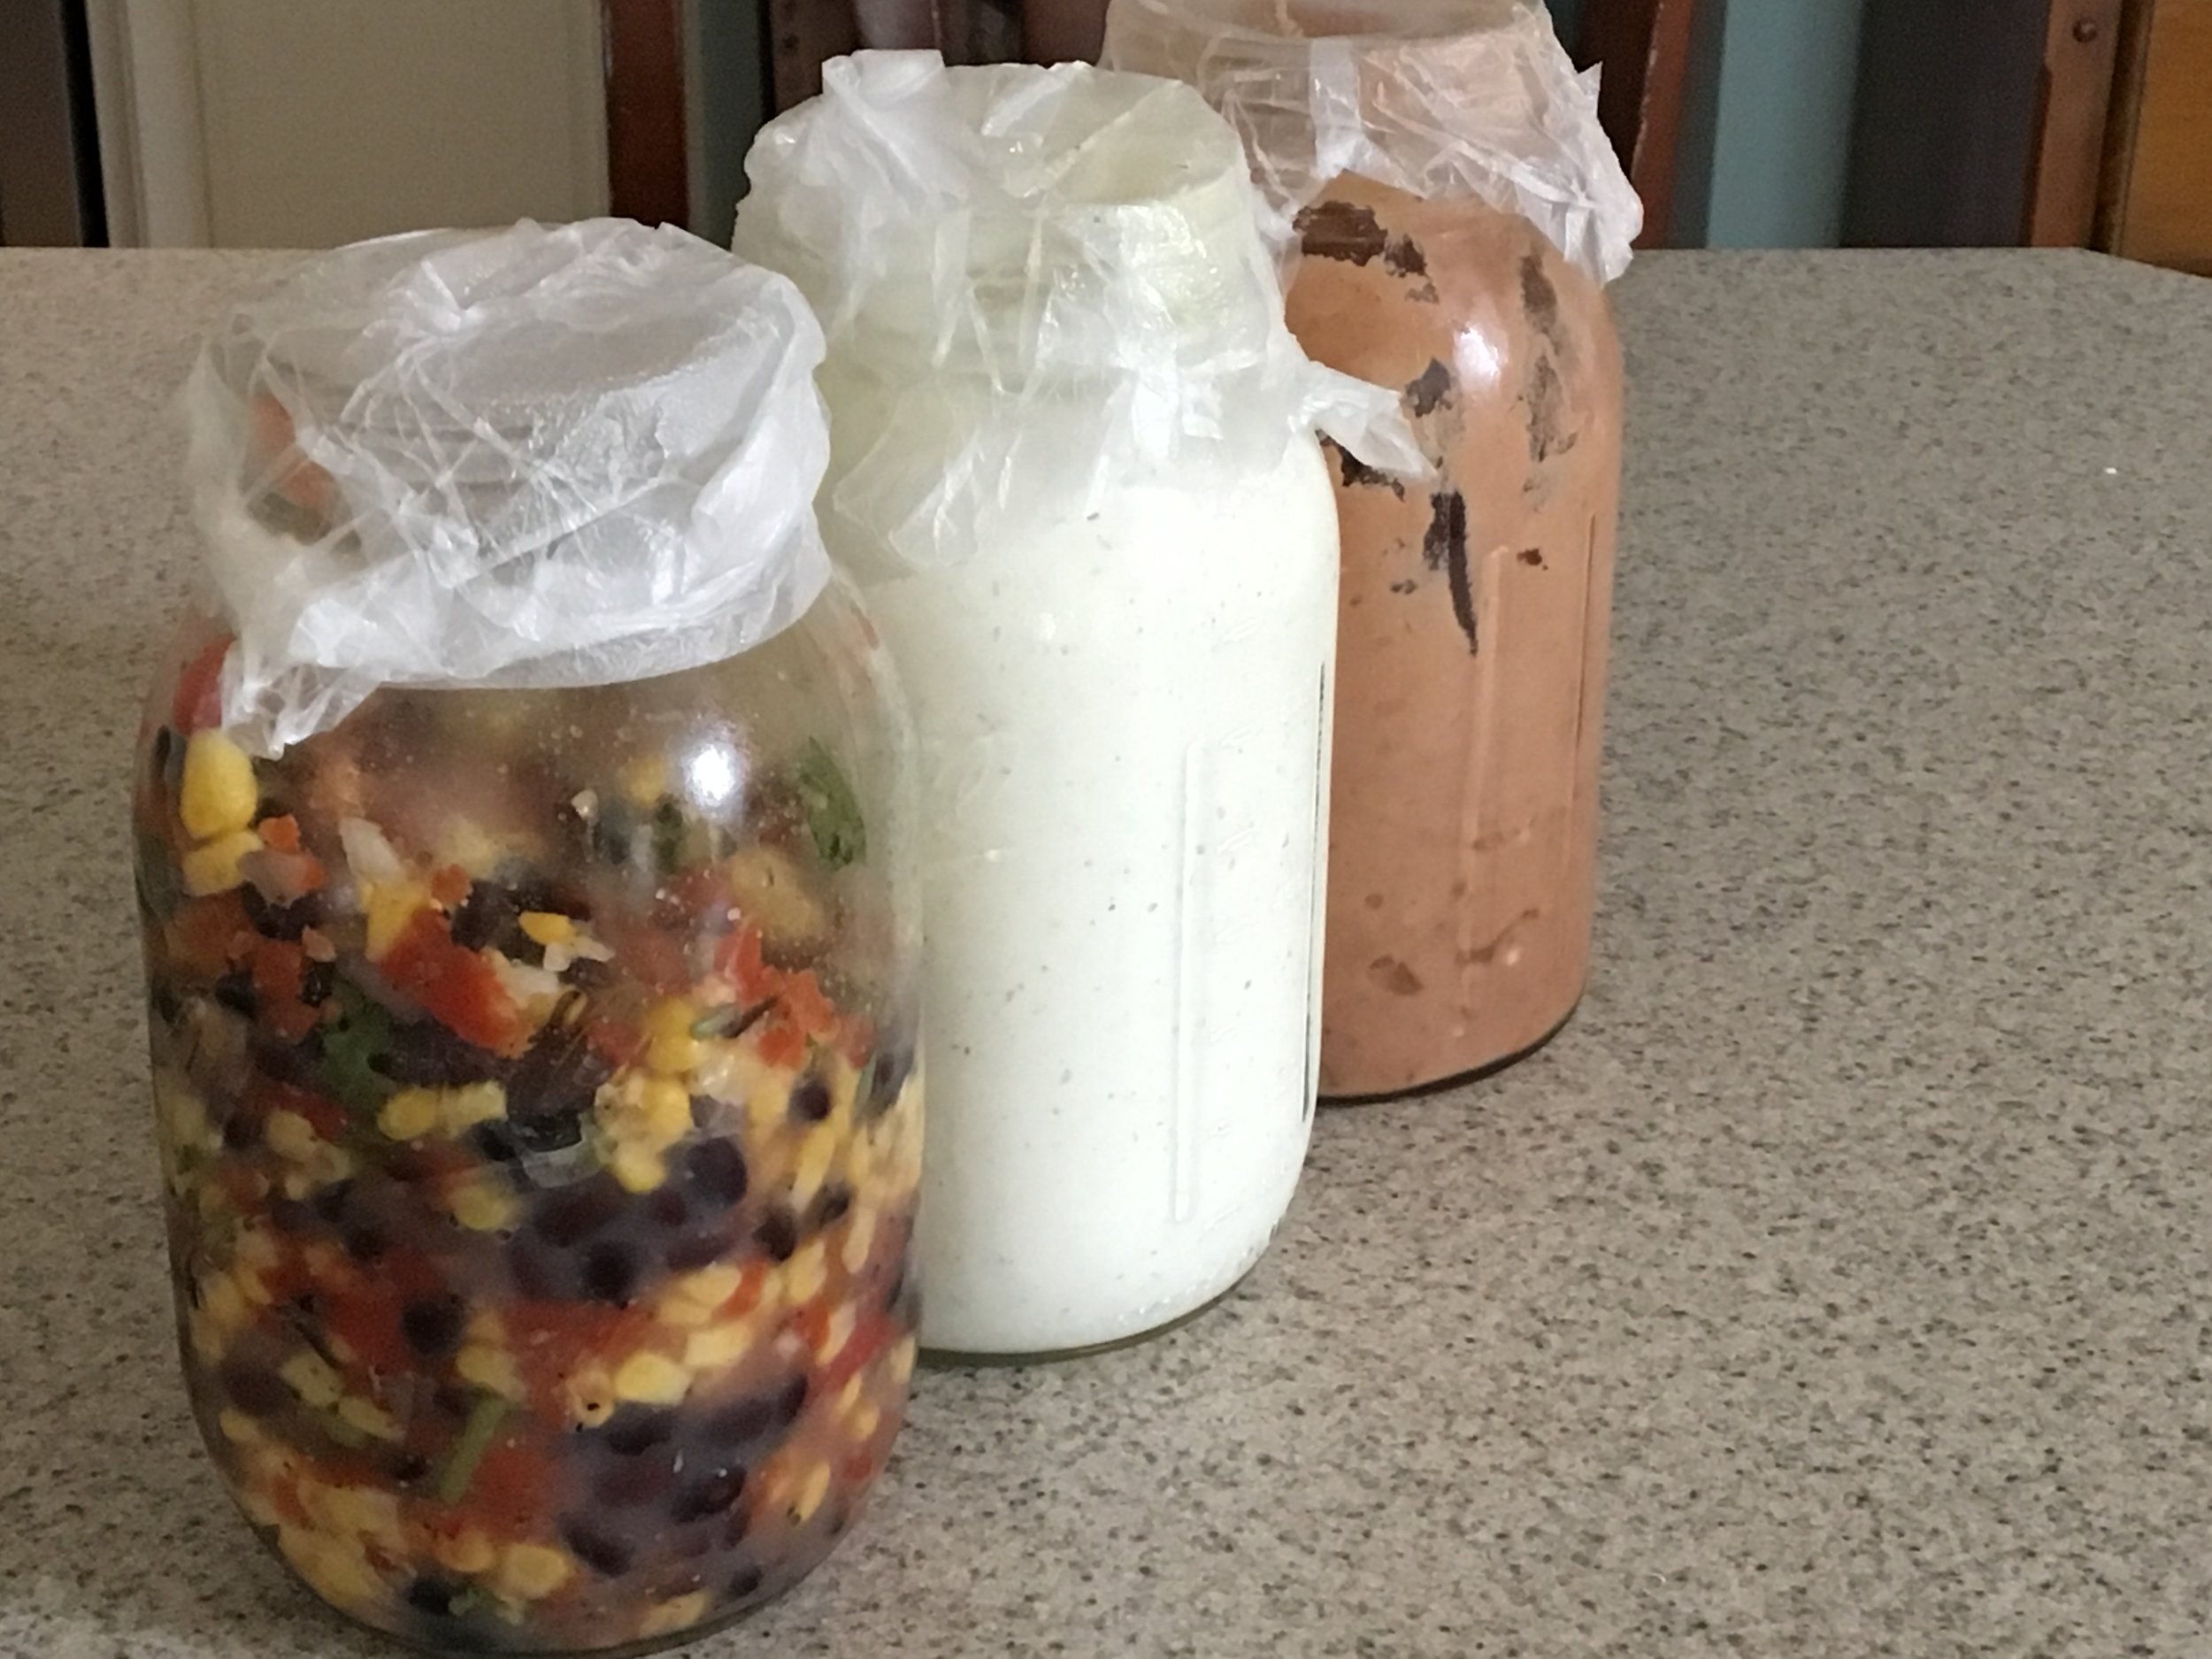
  • Mason jars- Another fabulous use for Mason Jars.

  • Veggie Tray Holder- perfect for taco 'fixins. - source anonymous

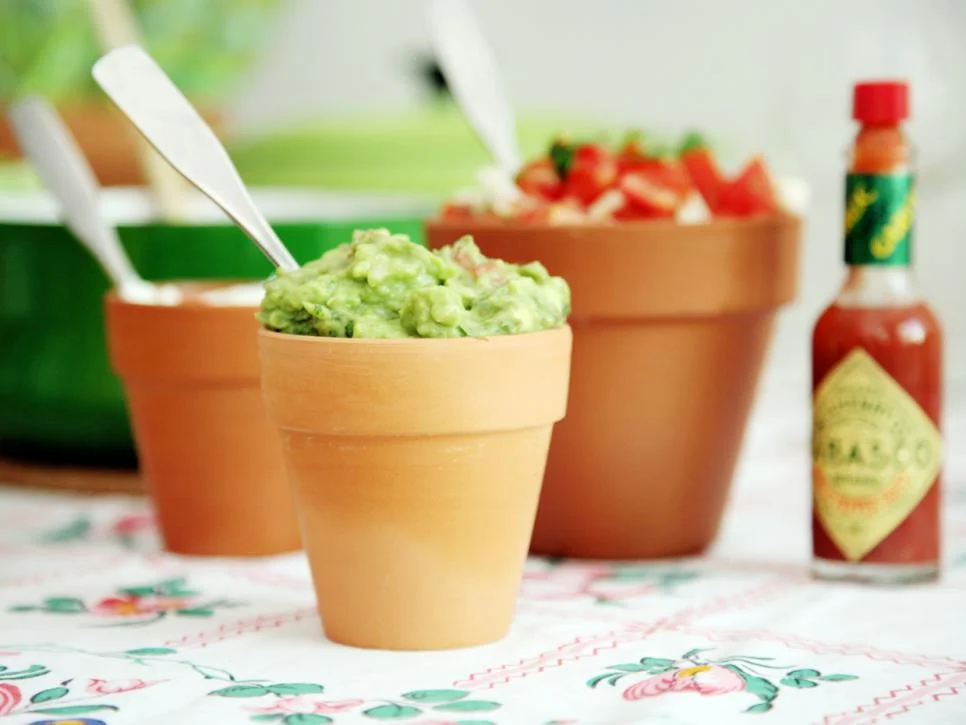
  • Flower power- Use inexpensive flower pots for your fixings- hgtv.com

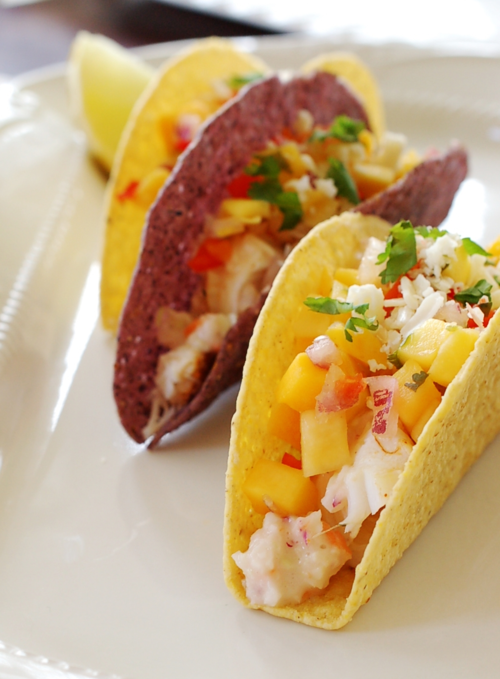
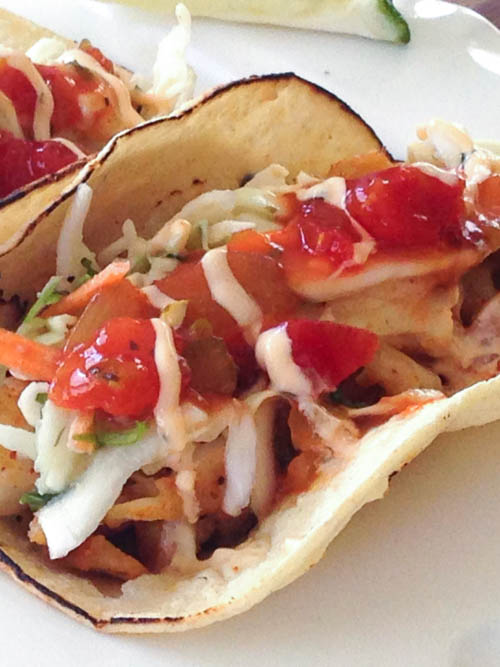
Tacos- Now that you have the perfect presentation, serve your fixings with your favorite tacos.  Here are a few of our favorites!

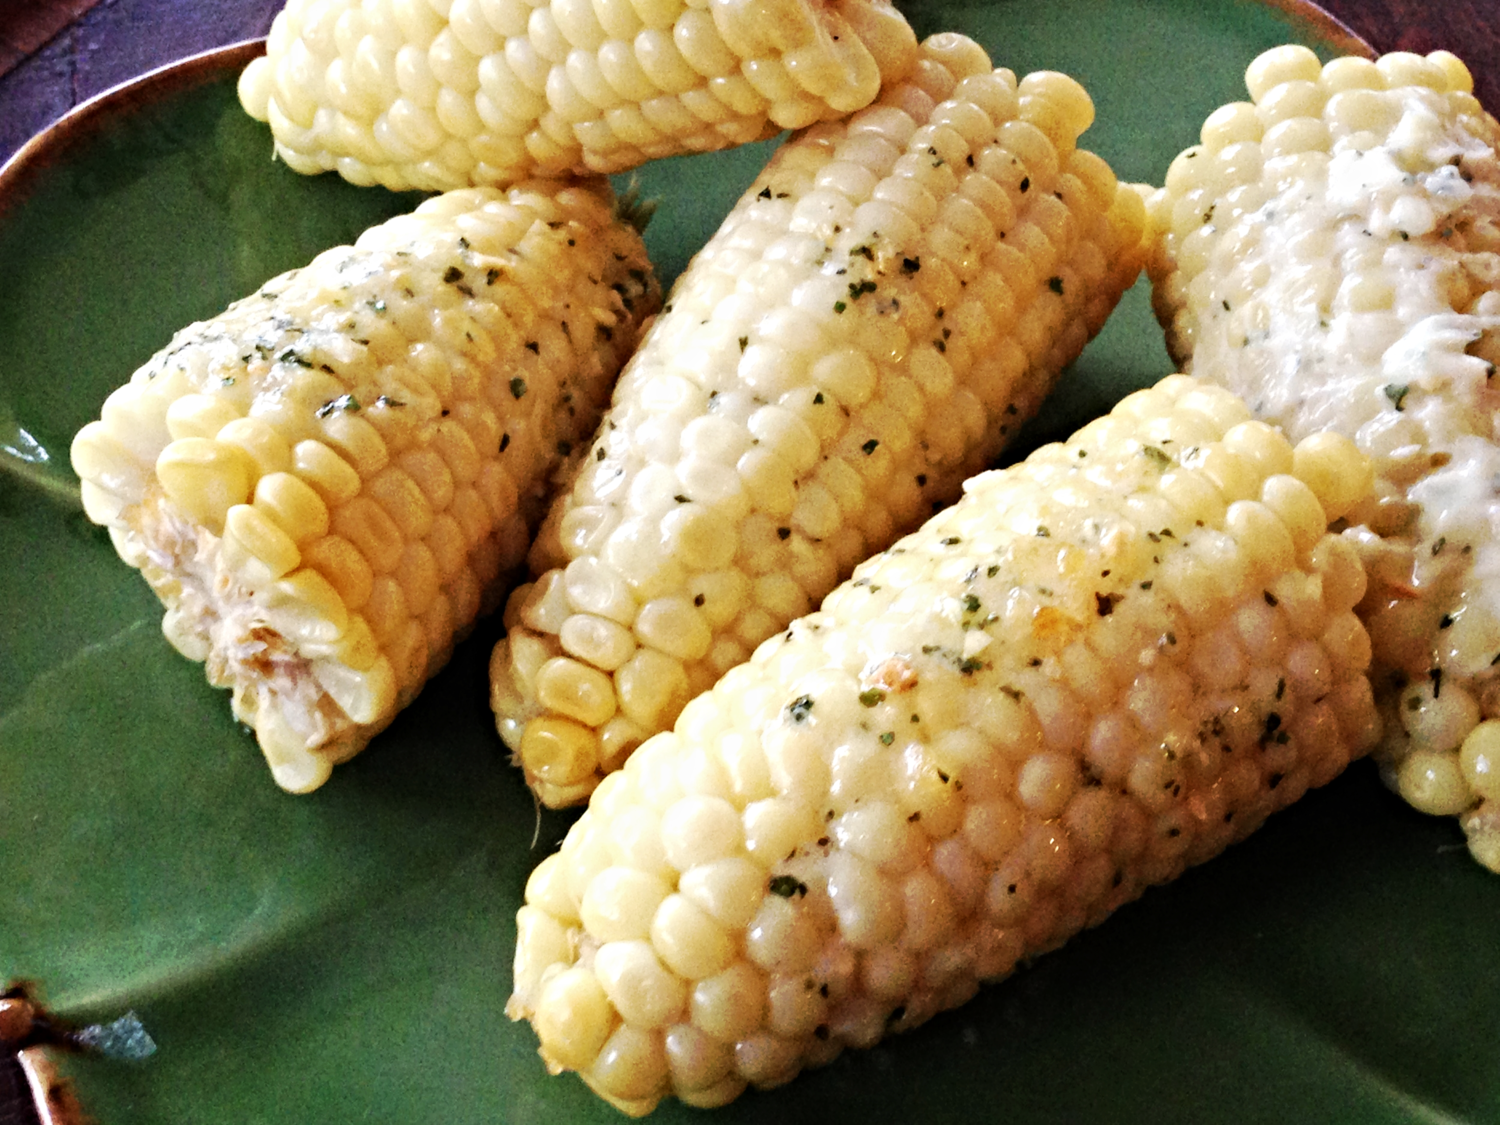
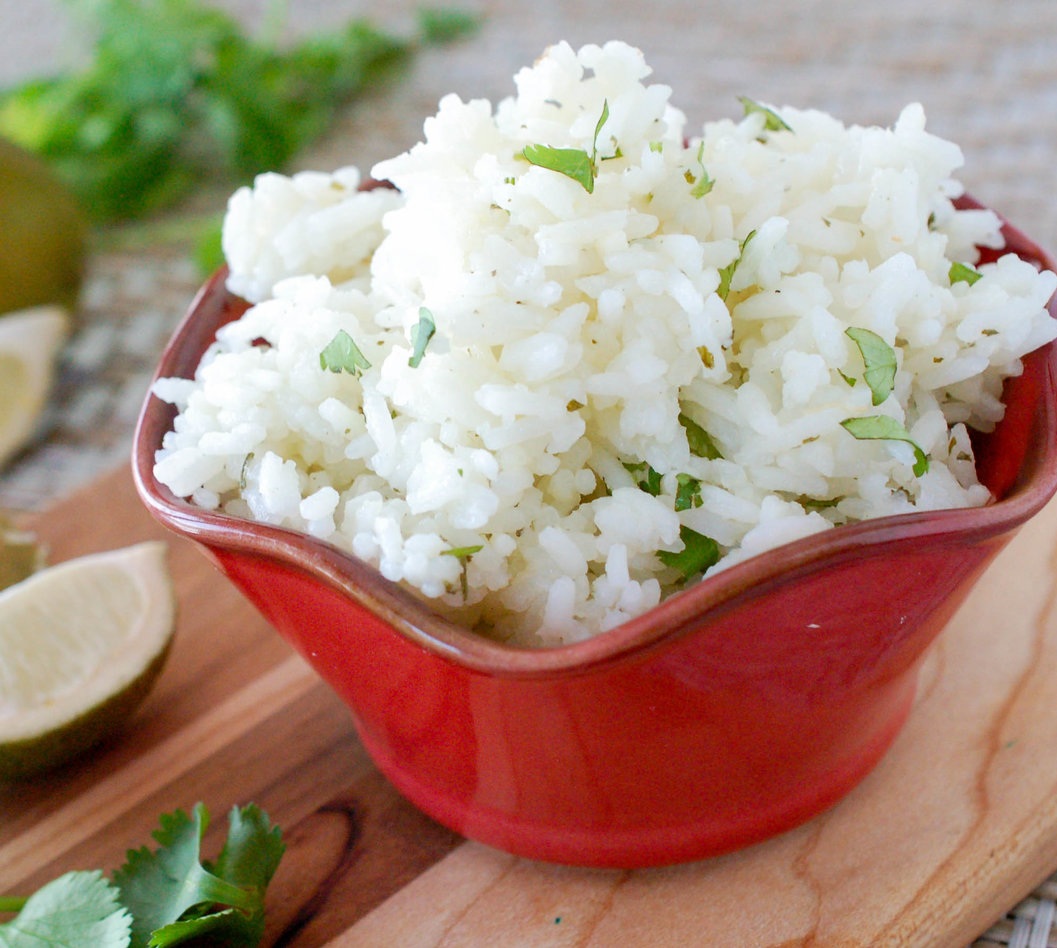
Sides- The perfect accompaniment to your fiesta celebration.

 Decadent Desserts- Sweet endings

Yum