Tex-Mex Burger Recipe
Burger lovers, be prepared to be blown away! This Tex-Mex burger recipe is a force to be reckoned with. It hits all the flavor notes: sweet, spicy, and smoky, all wrapped up in one lip-smacking package!
Sparked by a leftover jar of our delectable Black Bean and Corn Salsa, I created a burger recipe that would leave our taste buds in awe. And boy, did it deliver! This burger was a hit with our family, leaving us all craving more. Can you almost taste it?
Don't underestimate the power of freshly ground meat in this burger. It's a game-changer. A few years ago, our friends introduced us to the world of homemade ground meat, and it revolutionized our burgers. This step is crucial whether you ask your butcher to do it or grind it at home. We invested in a food grinder attachment for our mixer, but there are other options available if you don't have one.
Seriously consider adding this palate-tantalizing recipe to your favorites. You will not be disappointed, and your family will thank you! These would also make rockin' sliders for your Game Day menu, everything the same, except smaller.
For a complete meal, serve these burgers with our Cilantro Lime Corn on the Cob, Herbed Sweet Potato Fries, and Best Darn Coleslaw.
Thanks for stopping by! Comment below if you've tried this recipe. Come back again for more family-tested recipes, entertaining ideas, and cooking tips using all our favorite Cherchies® gourmet products.
Follow us on social media: Facebook, Instagram, and Pinterest.
Ingredients
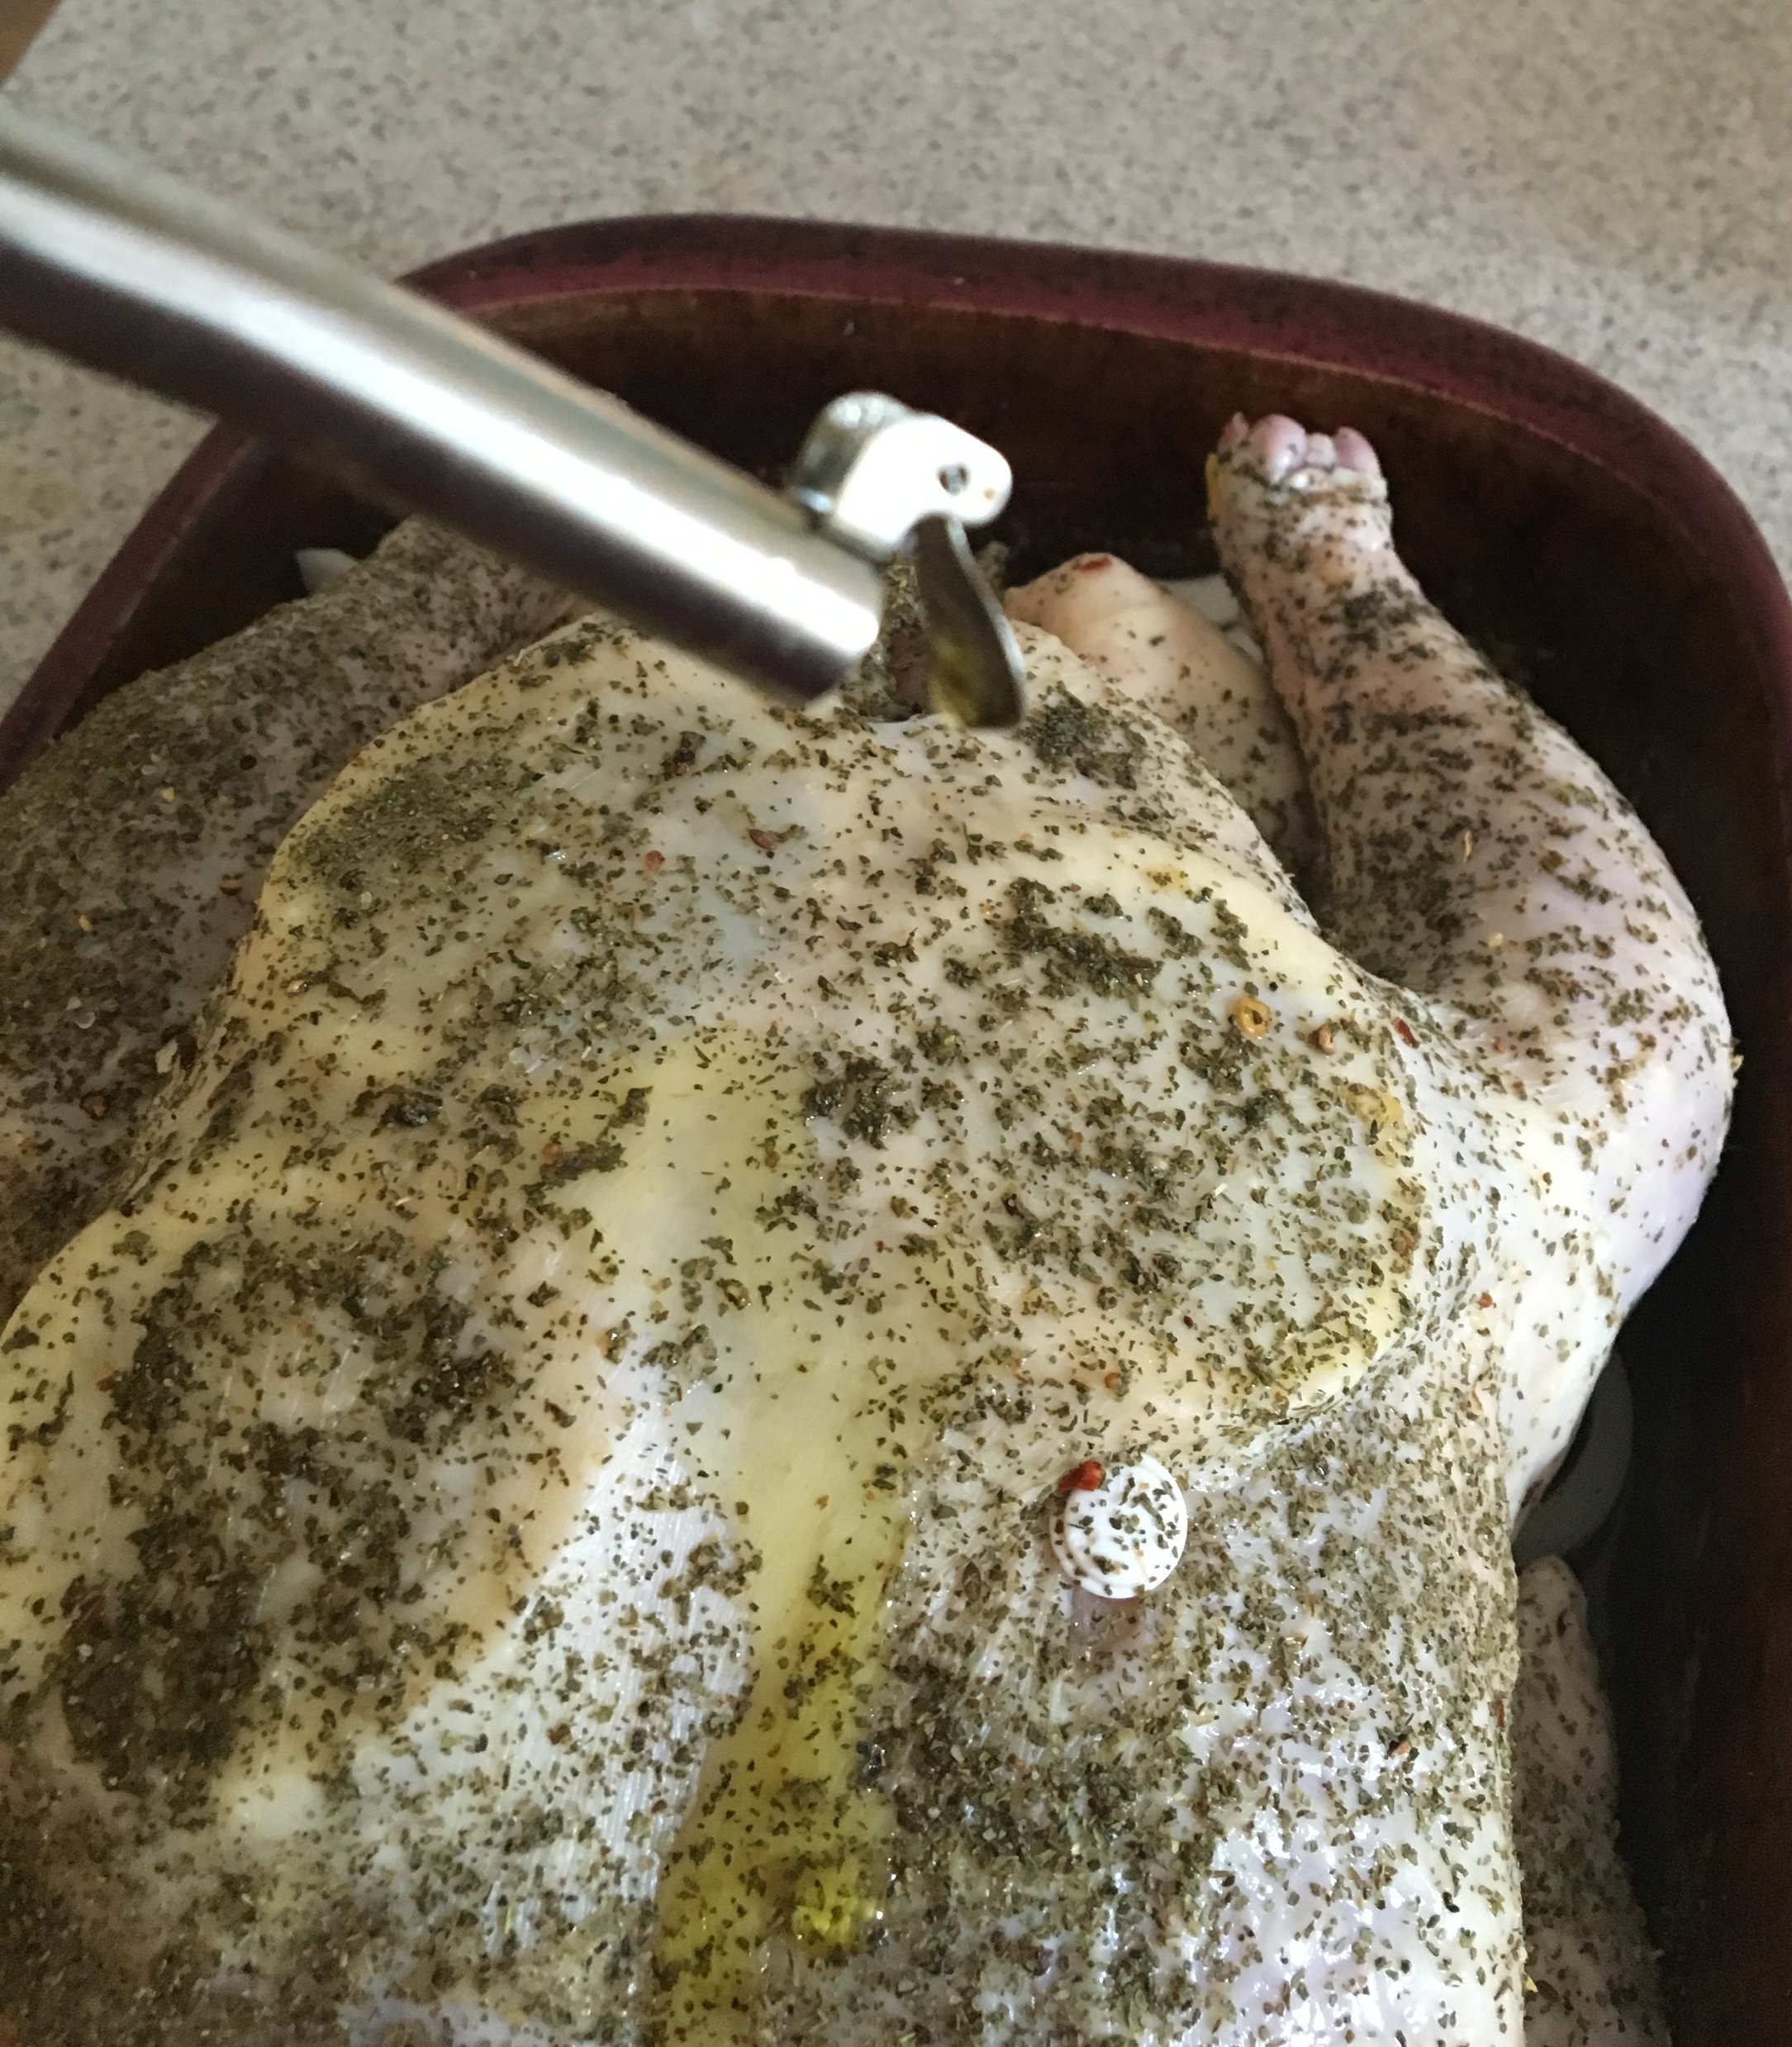
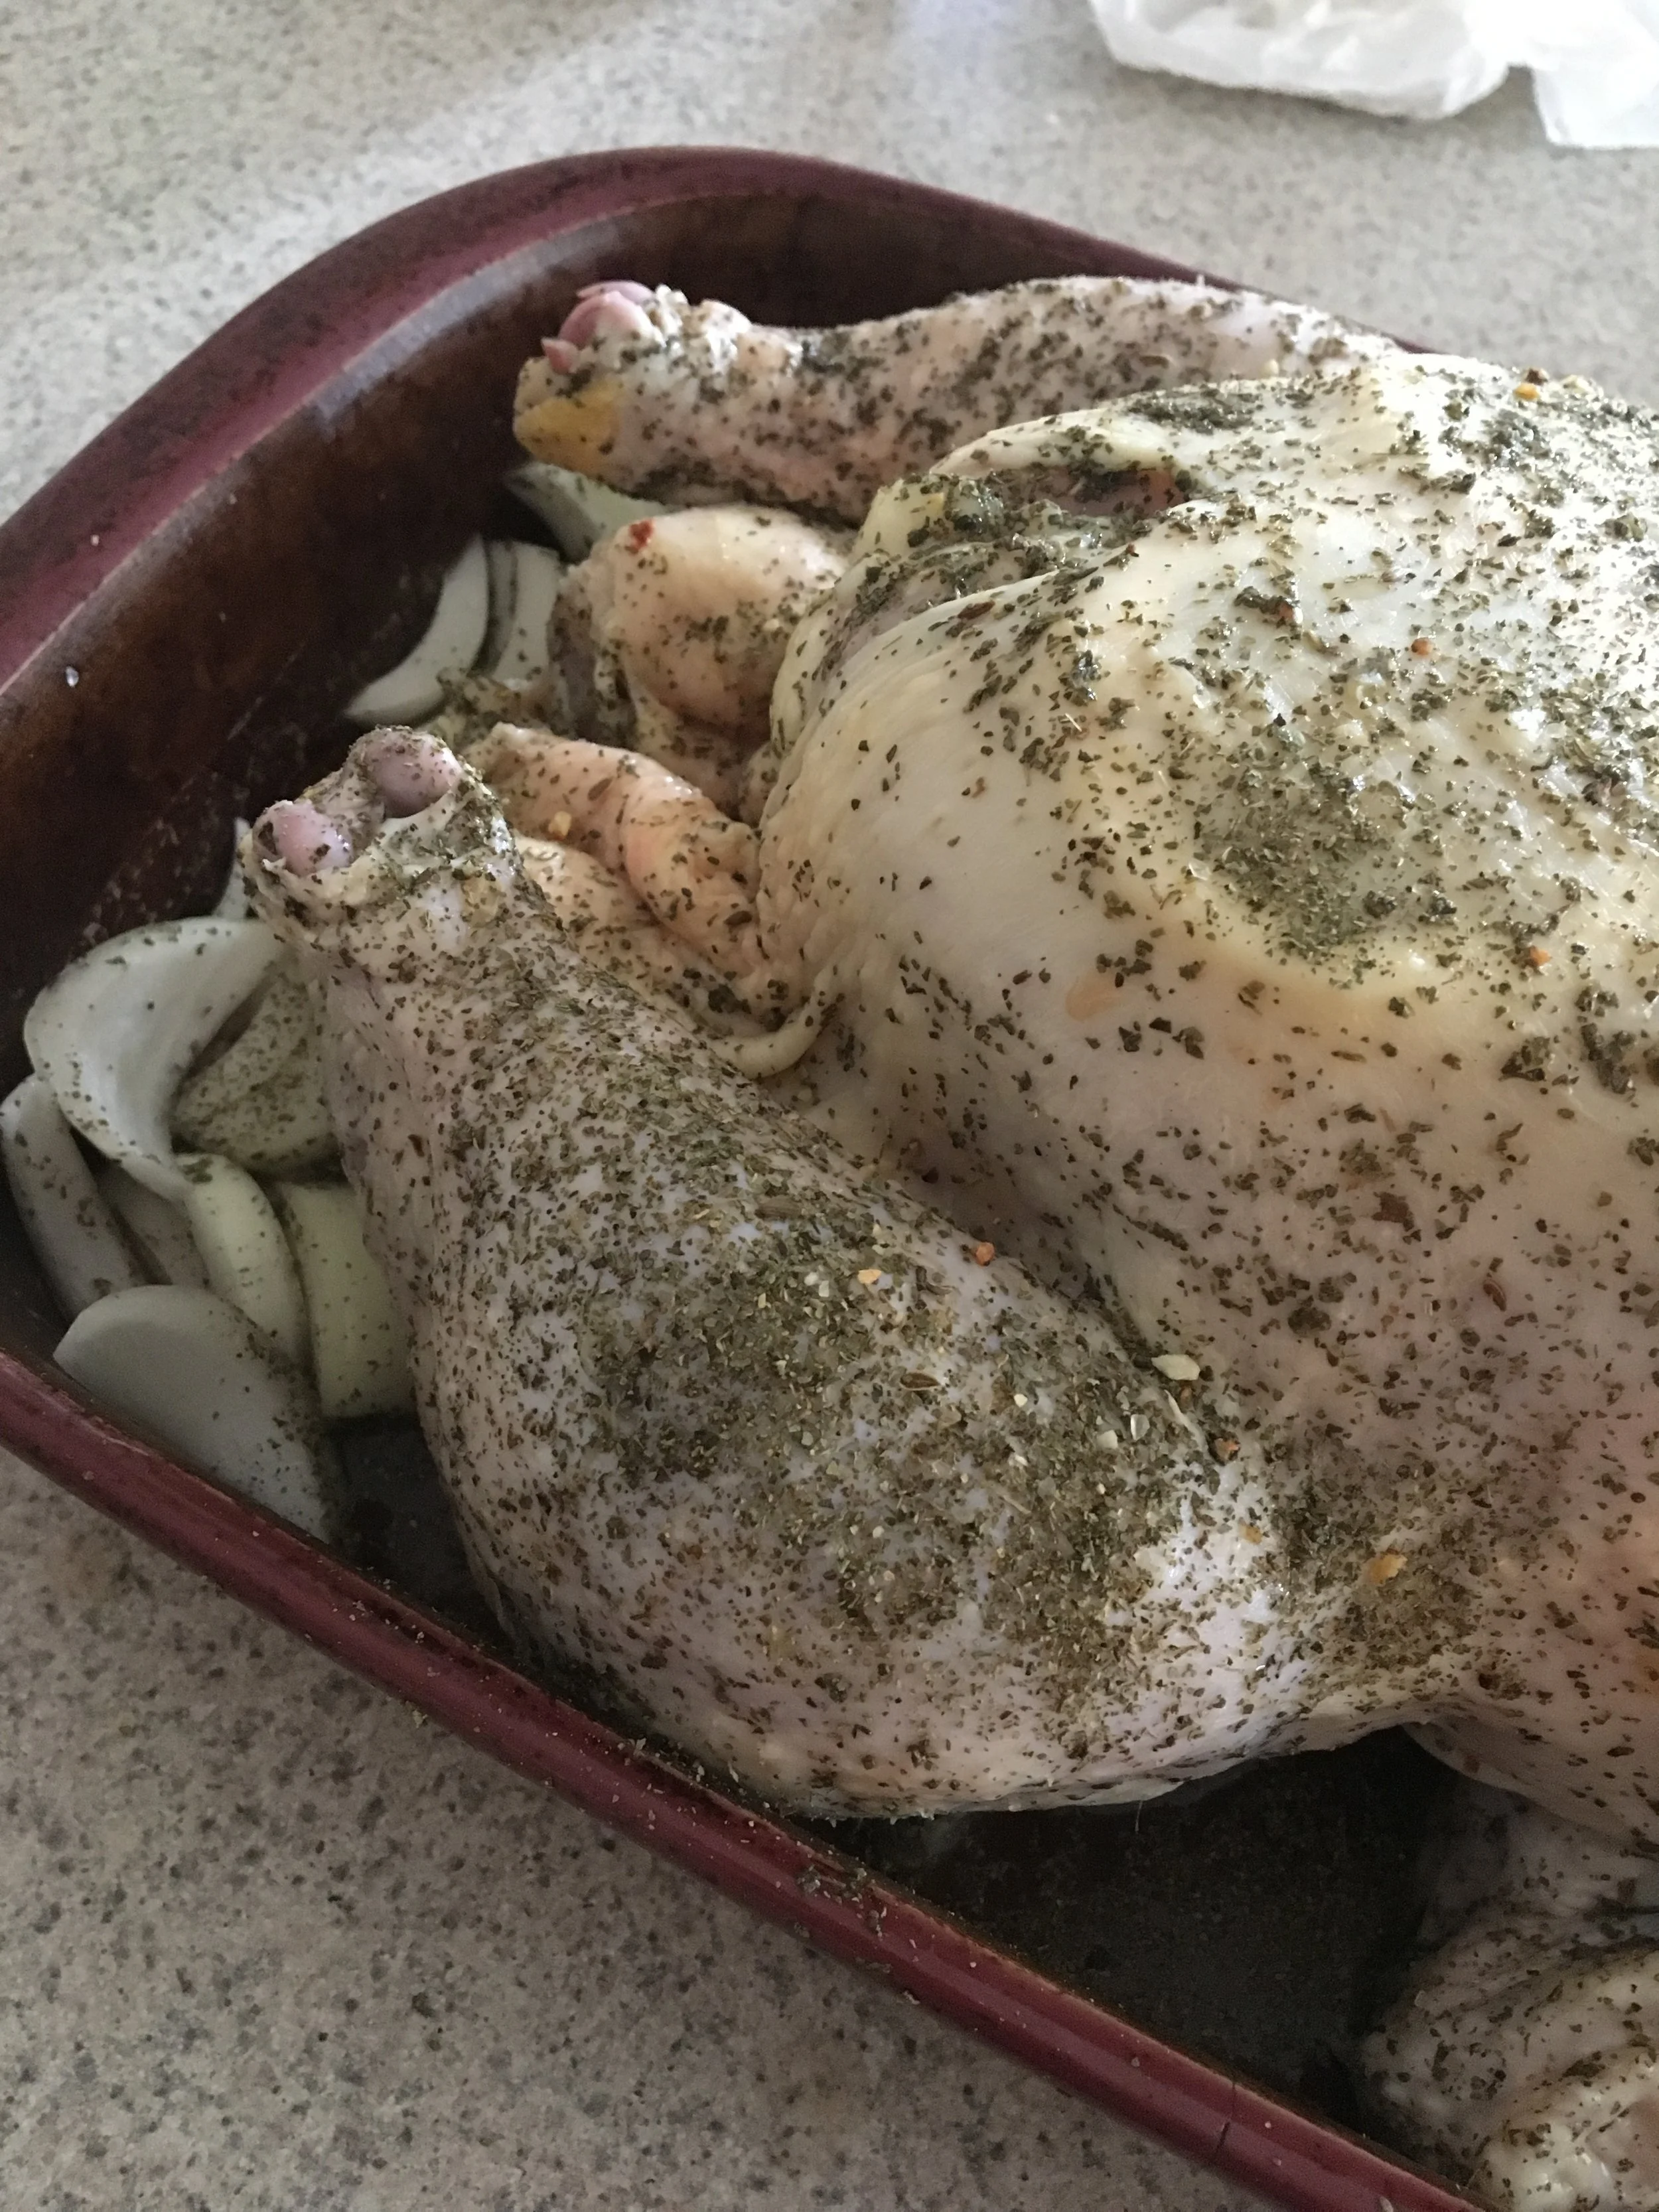
1 lb. ground beef (we used freshly ground sirloin and chuck roast with good marbling-ask the butcher to ground for you at the grocery store, or grind your own)
1 egg, beaten
2 Tablespoons (Tbsp.) Cherchies® Select Grilling Rub & Seasoning Blend (or Cherchies® Chardonnay Lime & Cilantro Seasoning Blend)
1 teaspoon (tsp) Worcestershire sauce
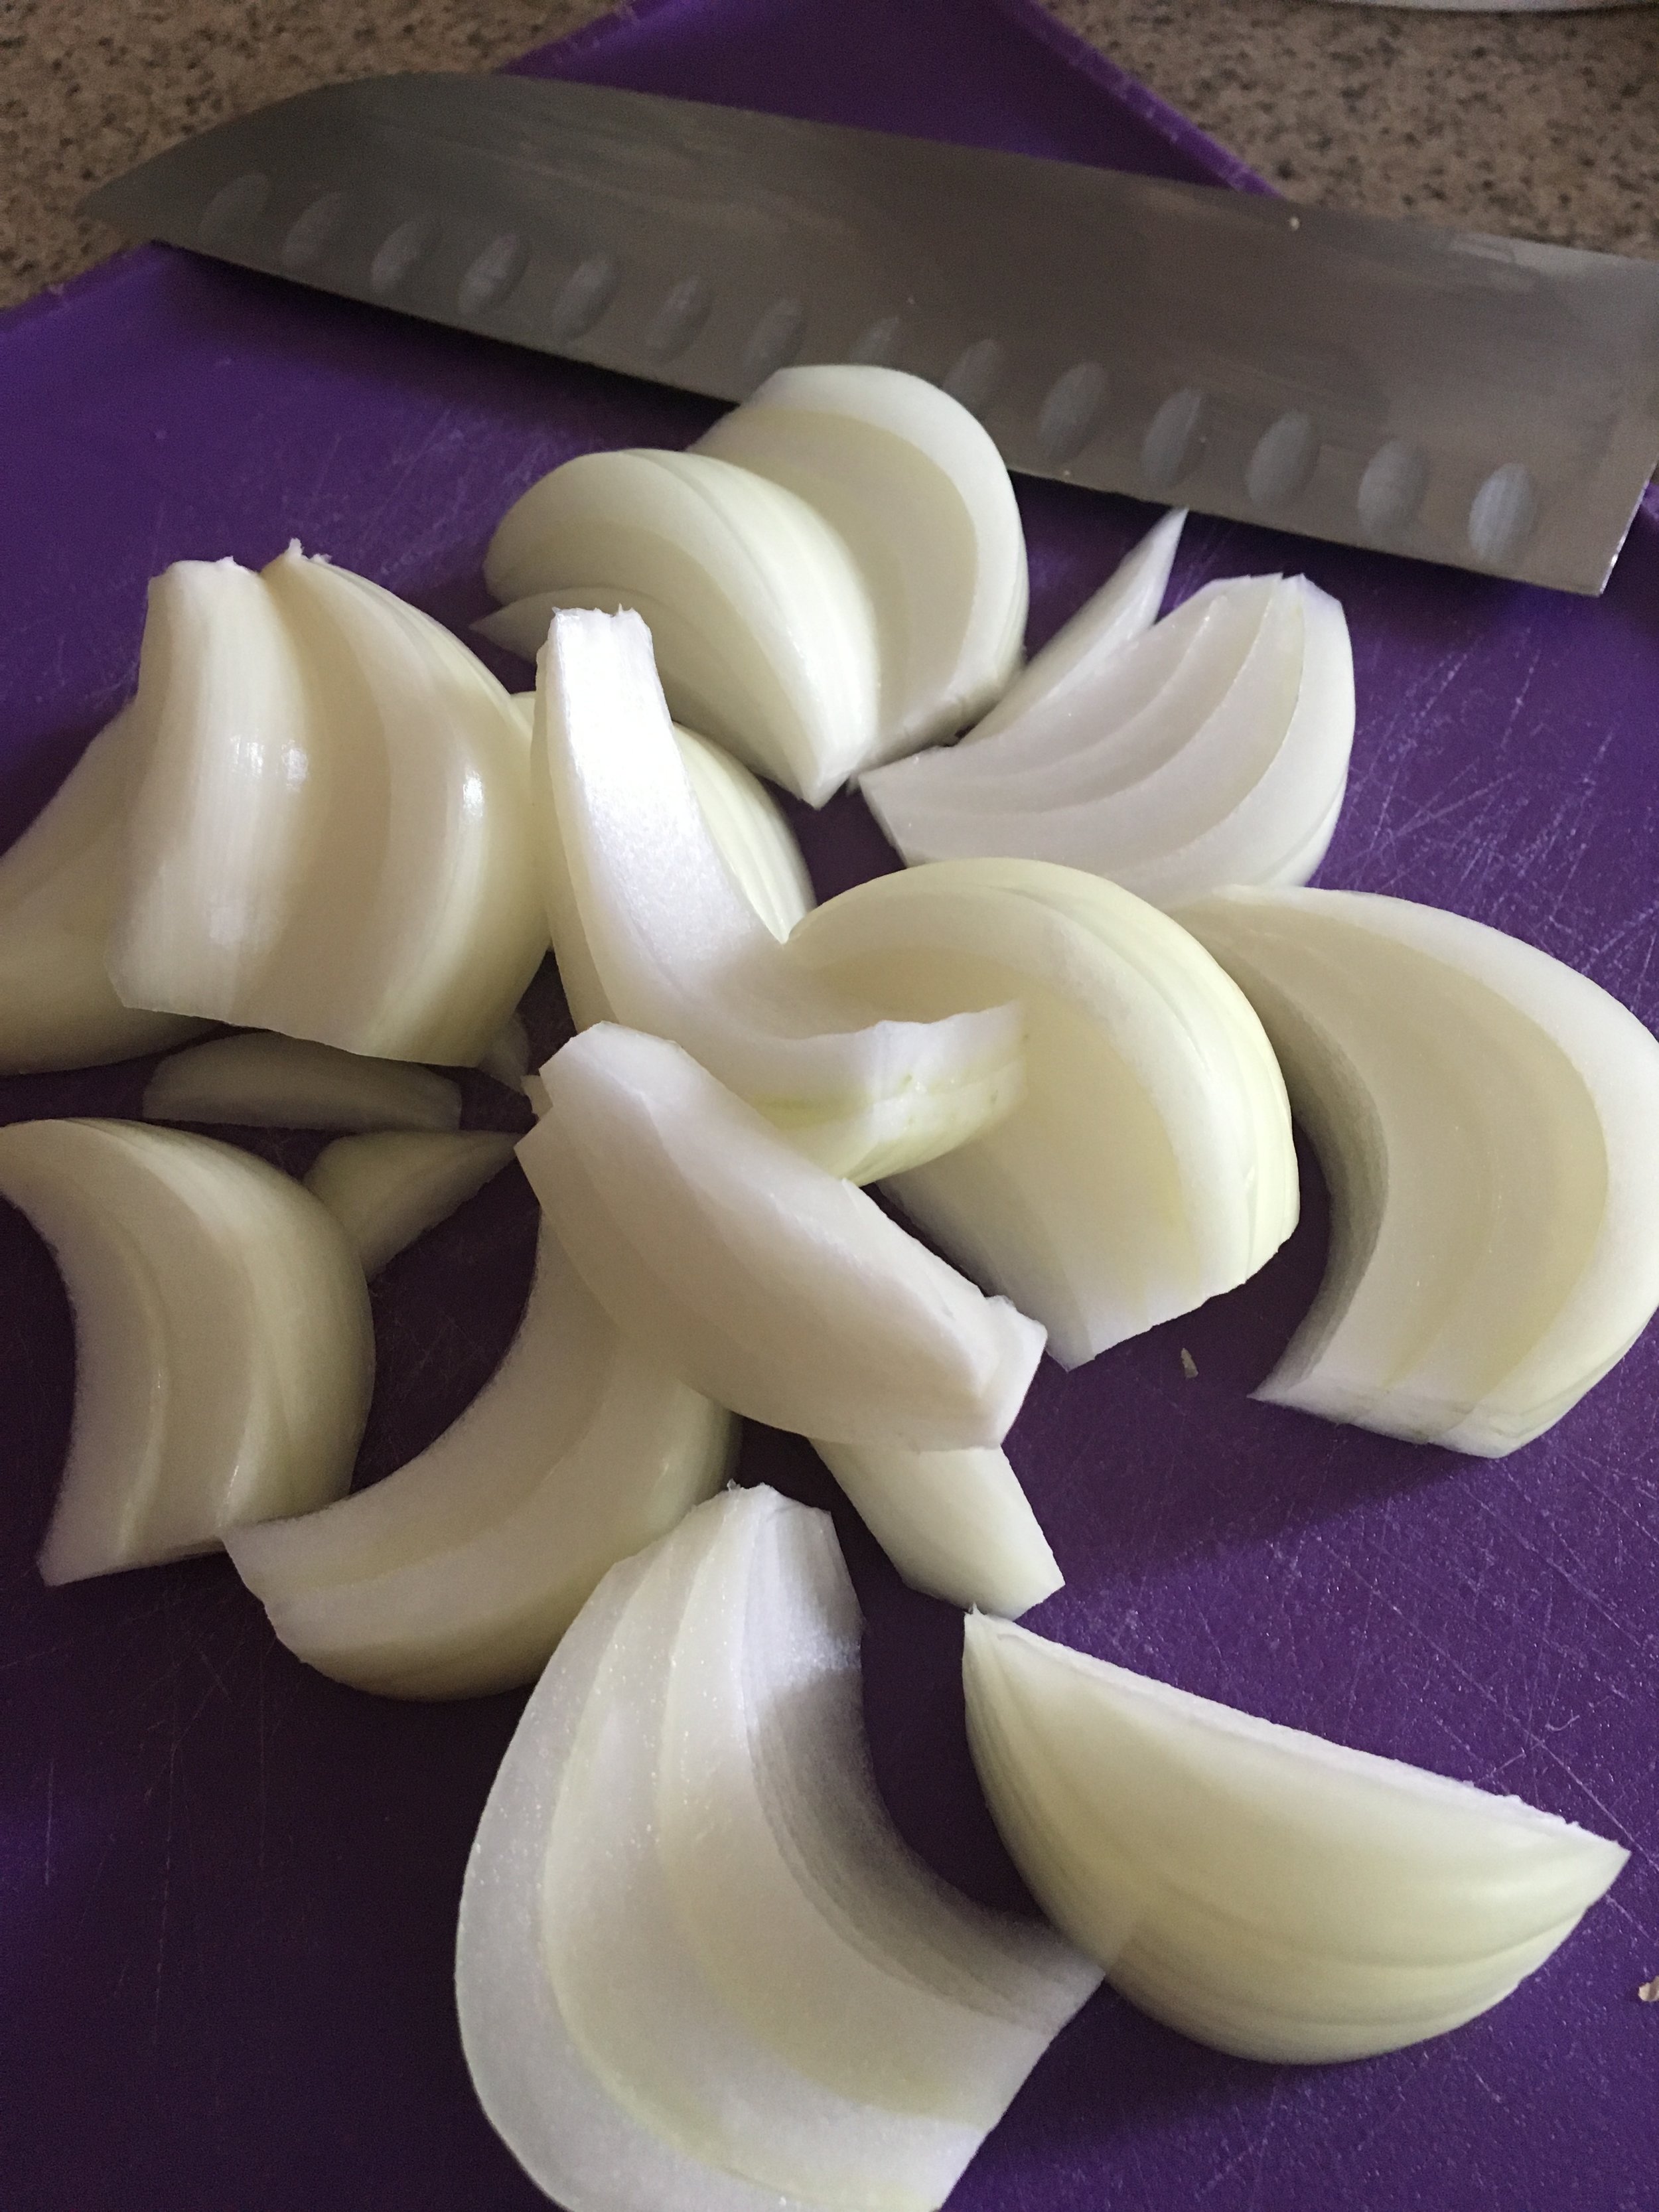
1/2 onion, sliced into 1/2 inch slices
Chardonnay Guacamole Recipe (or your favorite guacamole recipe)
4 slices of Monterey Jack cheese
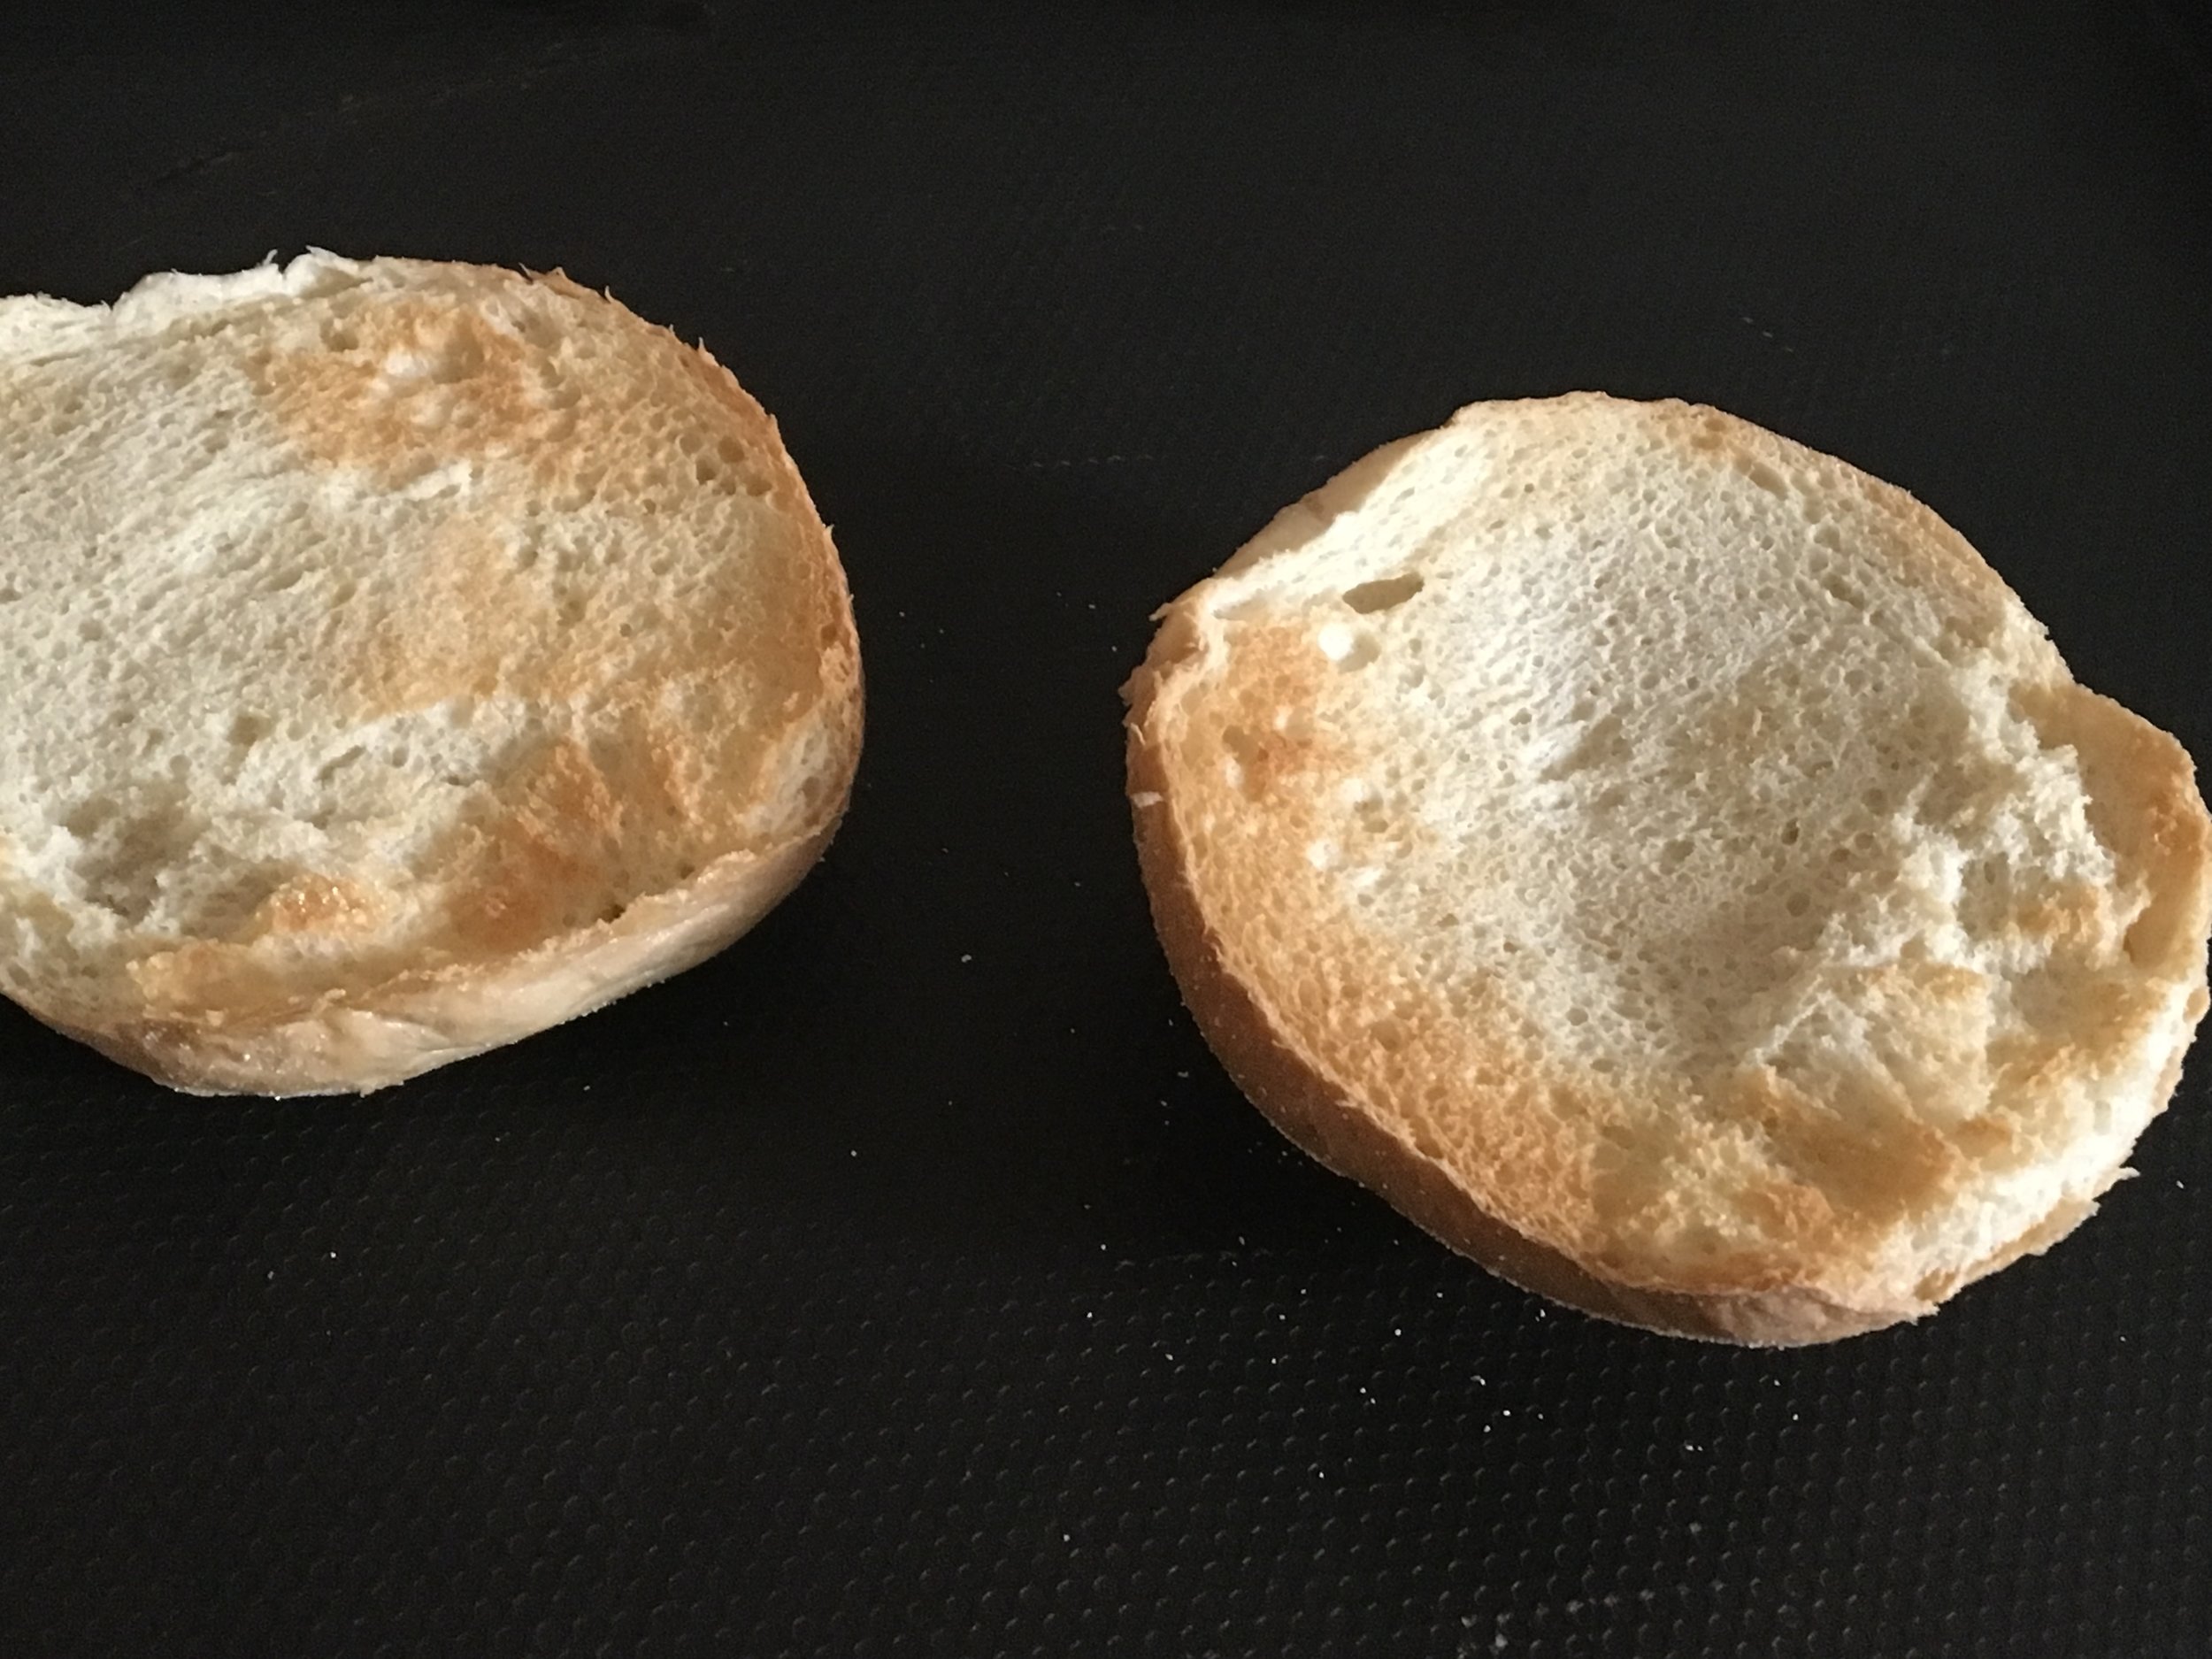
4 rolls of your choice, sliced in half
Romaine lettuce
1/4 cup mayo, mixed with one chipotle pepper in adobo sauce. (These can usually be found in the ethnic section of your grocery store)
Preparation
Using a food processor, mix the mayonnaise with one chipotle pepper in adobo sauce. Set aside.
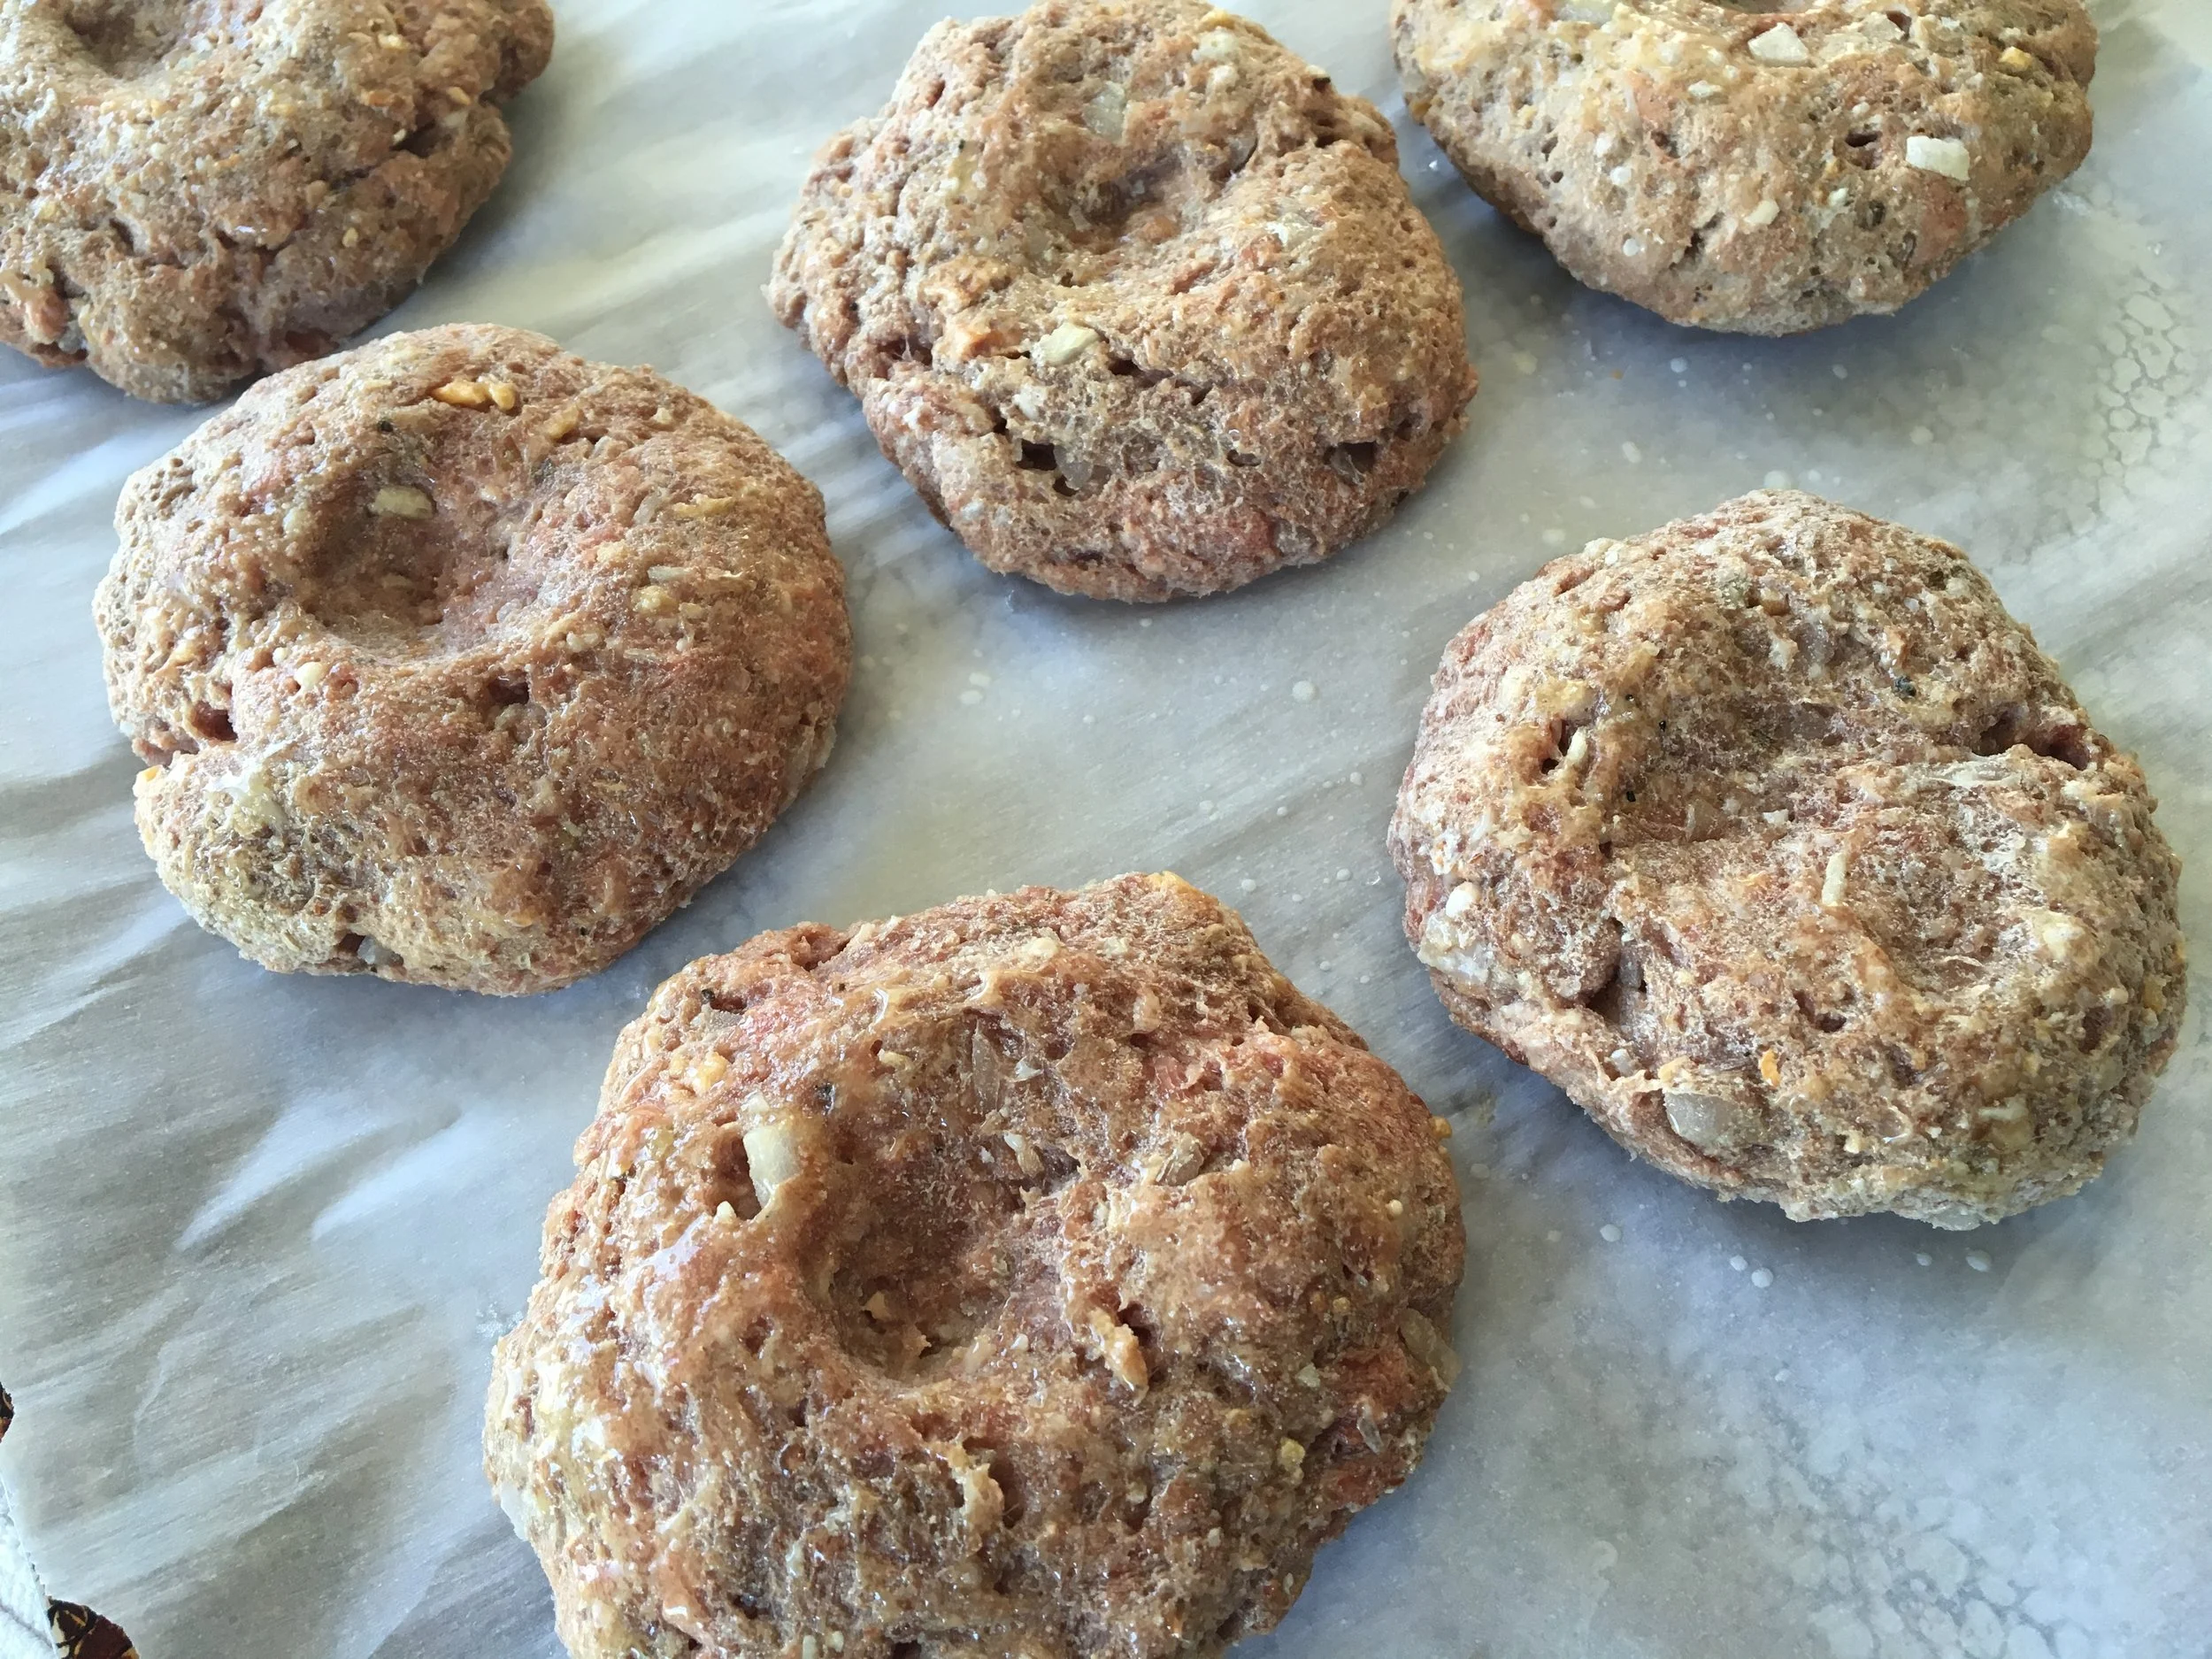
If grinding your own meat, cut the meat into 1-inch strips or pieces. Grind the meat with a meat grinder into a large bowl (you can certainly use store-bought ground meat). Add the egg, Cherchies® Grilling Rub & Seasoning Blend, and Worcestershire sauce to the meat. Mix until just incorporated (meat tends to toughen up the more it is handled). Divide the meat into 4 equal portions (more if you would like smaller burgers).
Lightly oil the grill with cooking spray or oil. Turn the grill onto high, then low after a few minutes. Make an indent in the center of the burgers. This allows the burger to cook evenly.
Grill burgers for about 4-6 minutes on each side, depending on your "pink preference". Add the cheese to the burgers the last couple of minutes of cooking. Lightly toast the rolls either for a few minutes on the grill or broil for a few minutes in the oven.
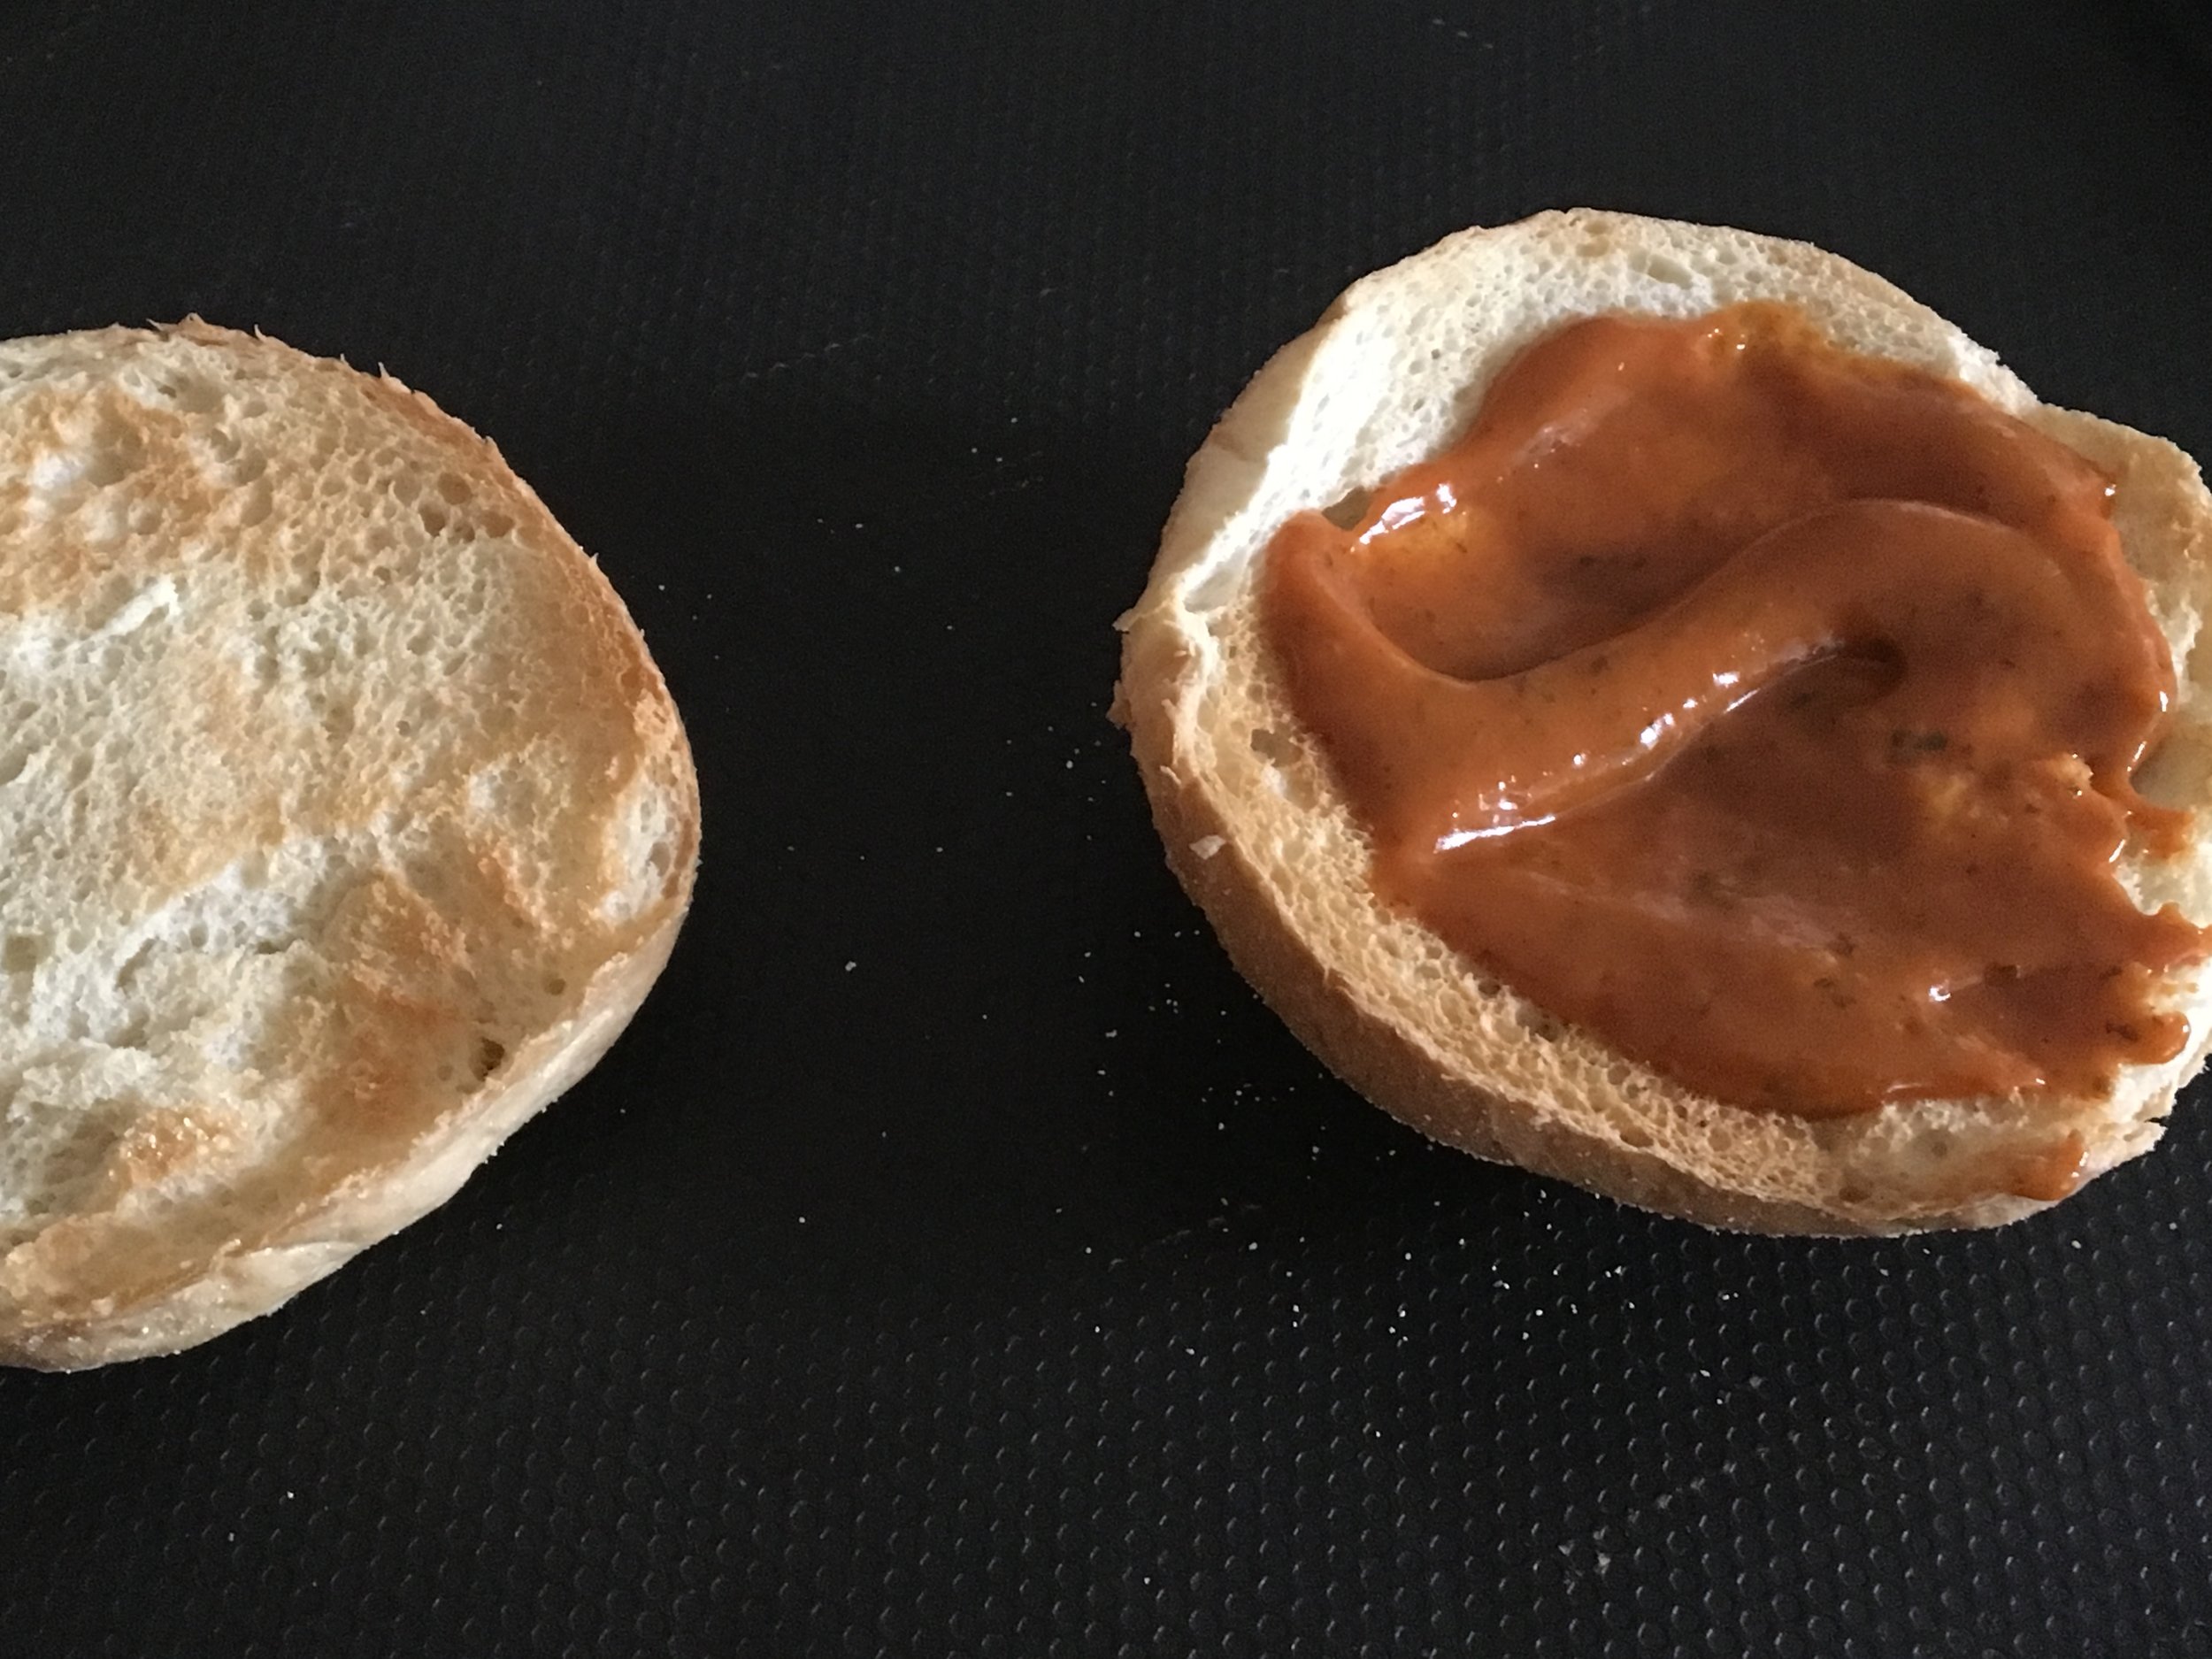
Now the fun part, building this beautiful tasty burger! Arrange the rolls on a tray or plate. Spread about 1 Tablespoon of the chipotle mayo mixture onto one roll half.
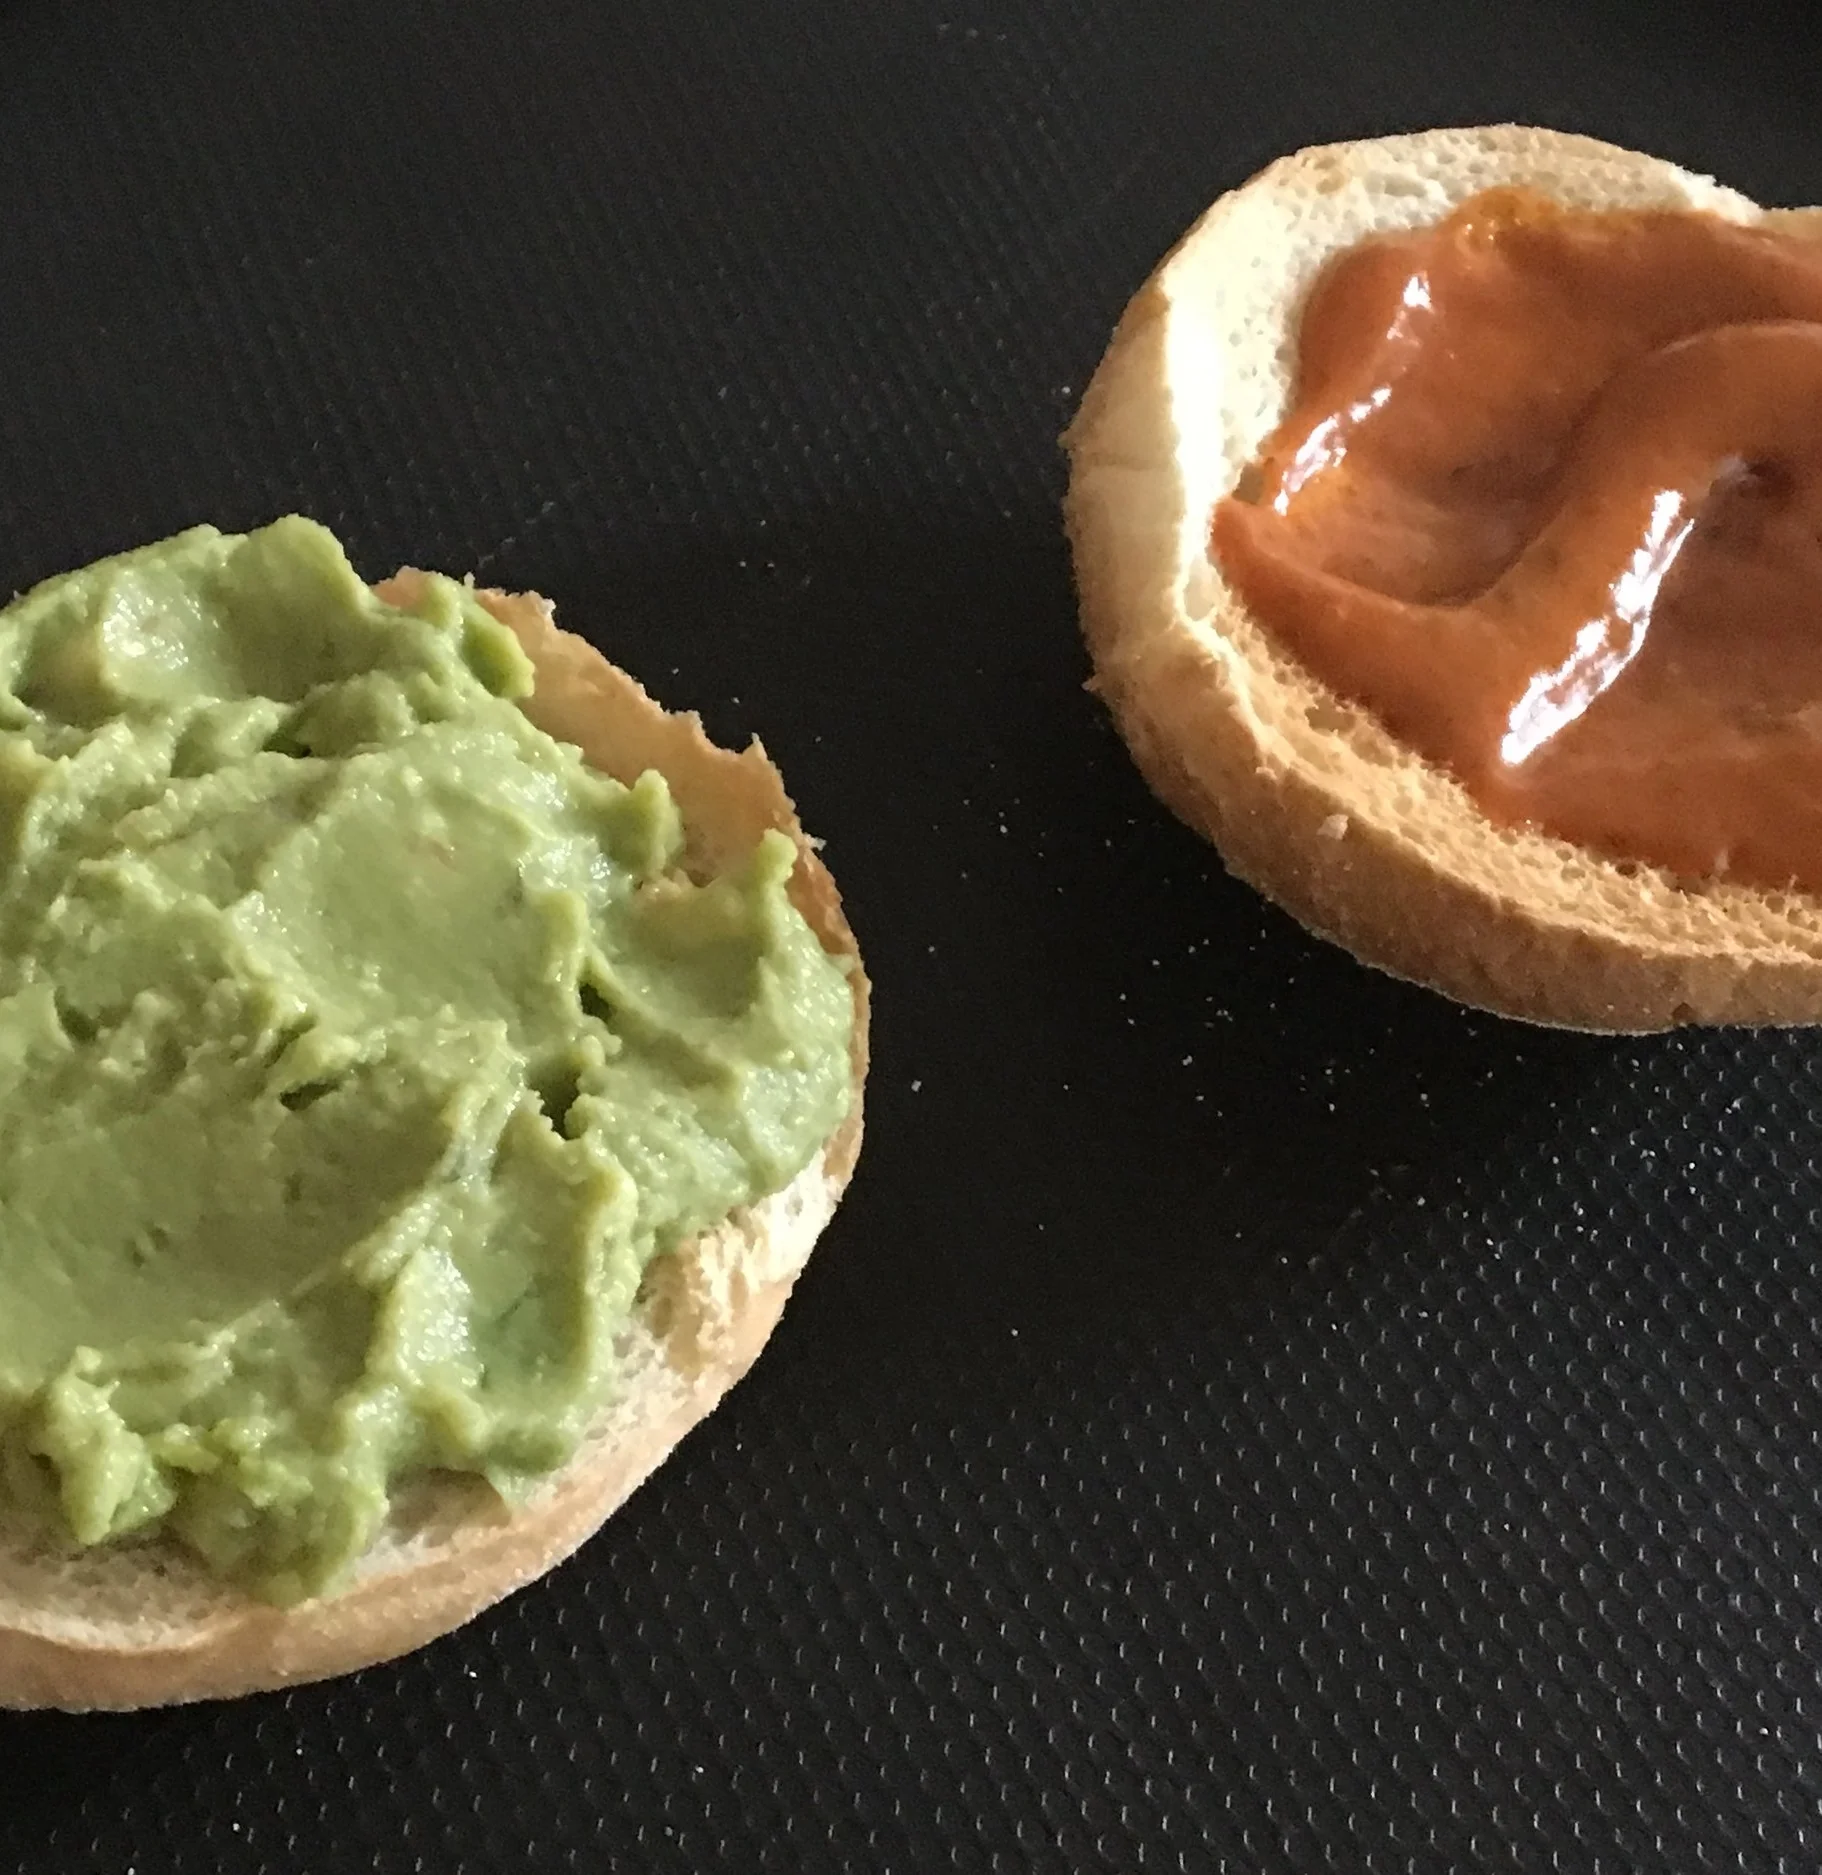
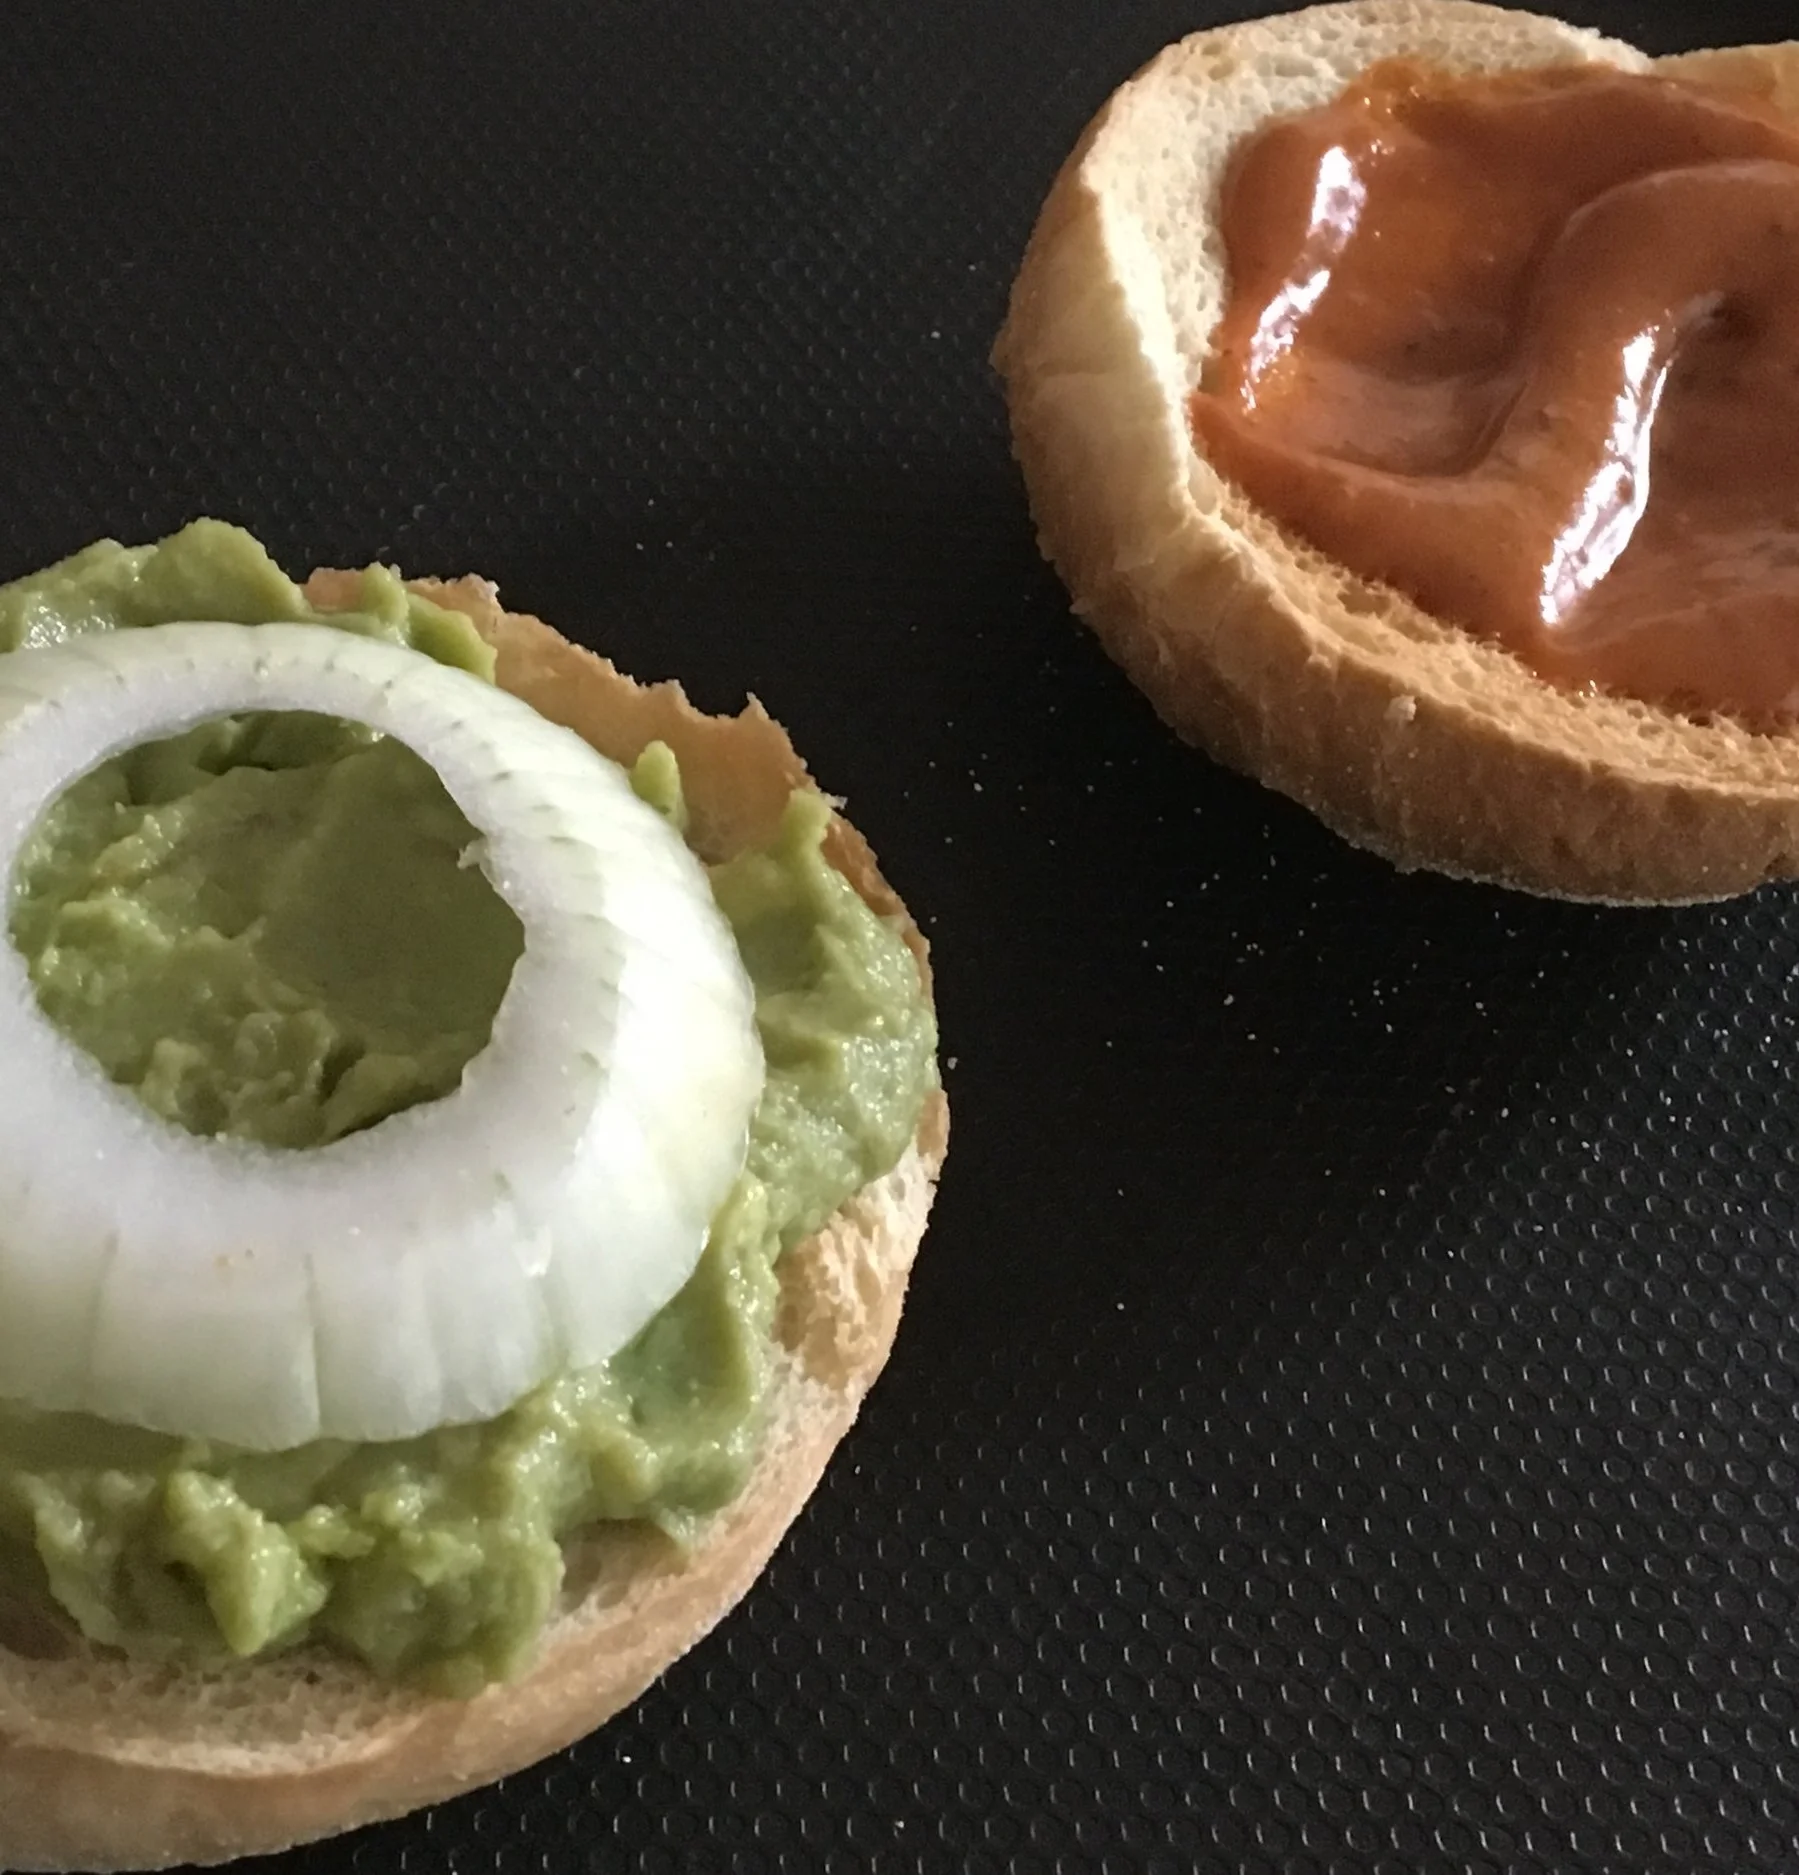
Next add the Chardonnay Guacamole to the other half to the other half, followed by a slice of onion.
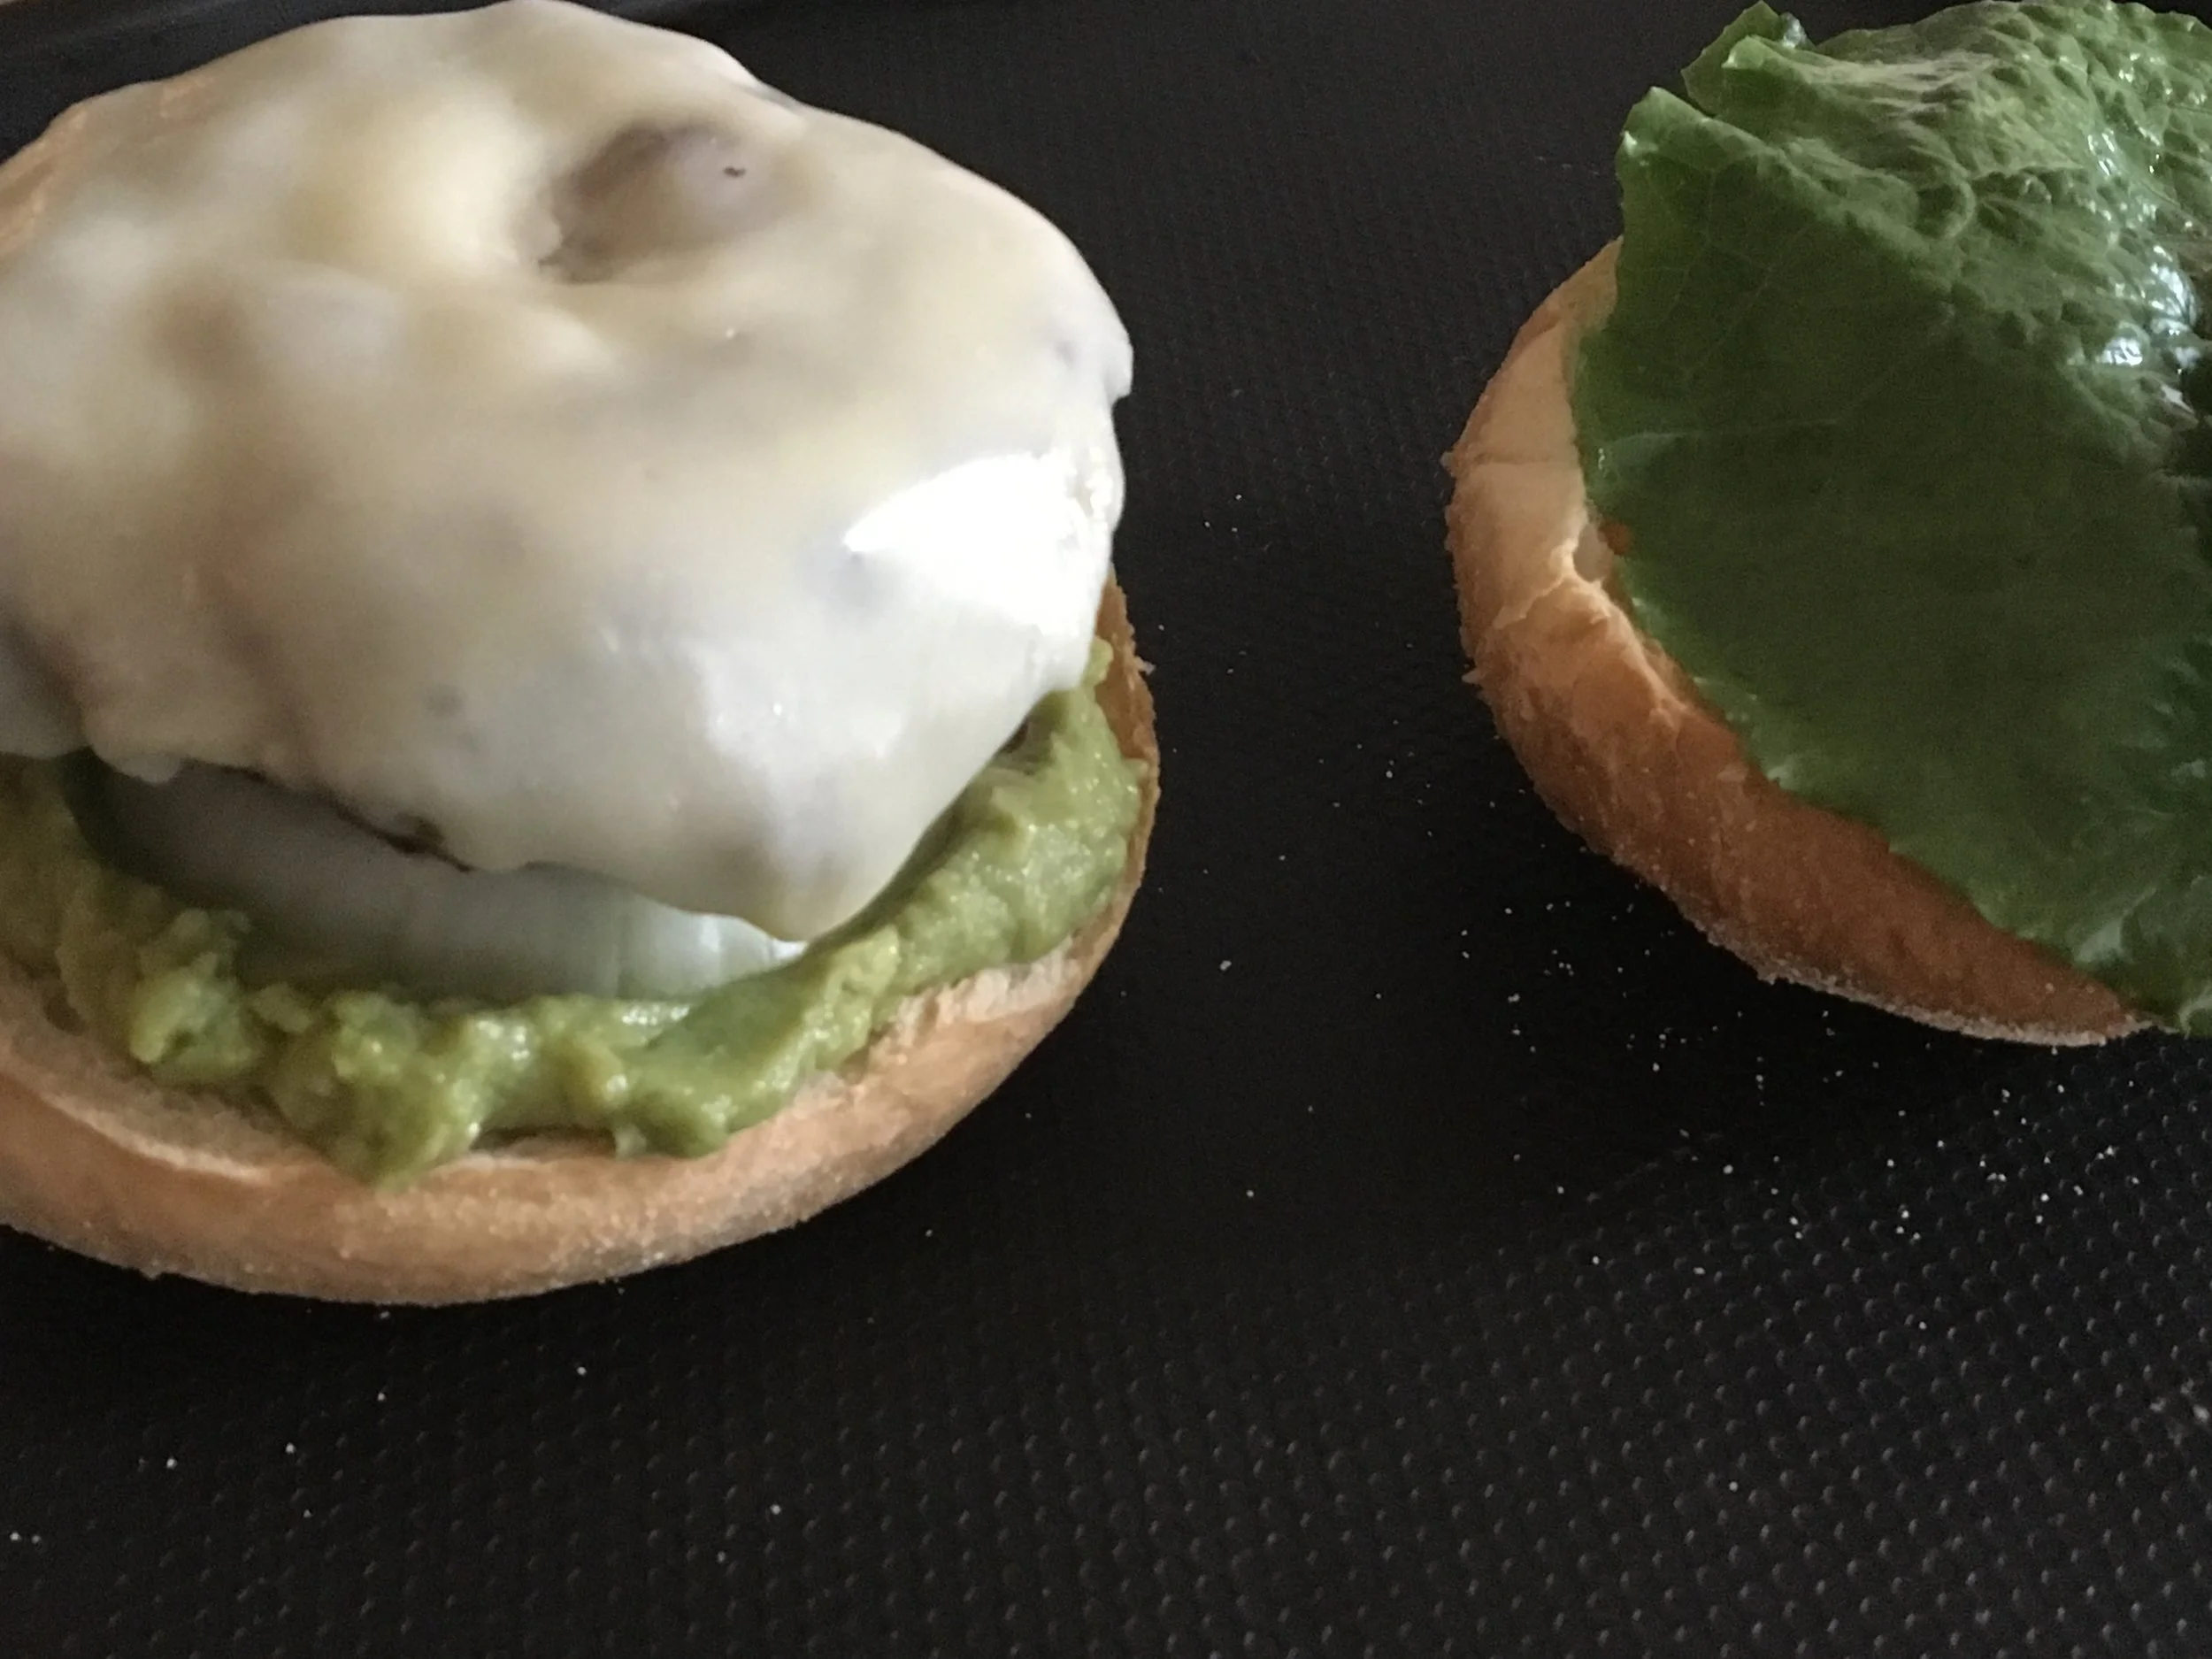
Add the lettuce to the aioli half and the burger to the guacamole half, and dollop the burger with about 1 Tablespoon of Cherchies Black Bean & Corn Salsa. Place the lettuce half over the burger, pierce the burger with a large pick, and wait for it...
A juicy, mind-blowing, flavorful, Tex-Mex burger! Grab some napkins and enjoy!
Tex-Mex Burger Recipe
Yum!