Cherchies Blog

side dishes

Easy Homemade Lemon Dill Pickles Recipe

side dishes, snacksSheri SpalloneComment

Easy Homemade Lemon Dill Pickles Recipe

One of the joys of summer is the abundance of vegetables—whether from your own garden, a farmers' market, or a CSA share —each week brings a bounty of farm-fresh produce. While cucumbers are the classic choice for pickling, they’re just the beginning.

There’s nothing quite like the satisfying crunch of a fresh homemade pickle. Whether you enjoy them on burgers, sandwiches, charcuterie boards, or straight from the jar, pickles are the ultimate snack that never goes out of style.

With Cherchies® Lem ’n Dill Seasoning, making your own pickles at home has never been easier—or more flavorful.

Why Lem ’n Dill?

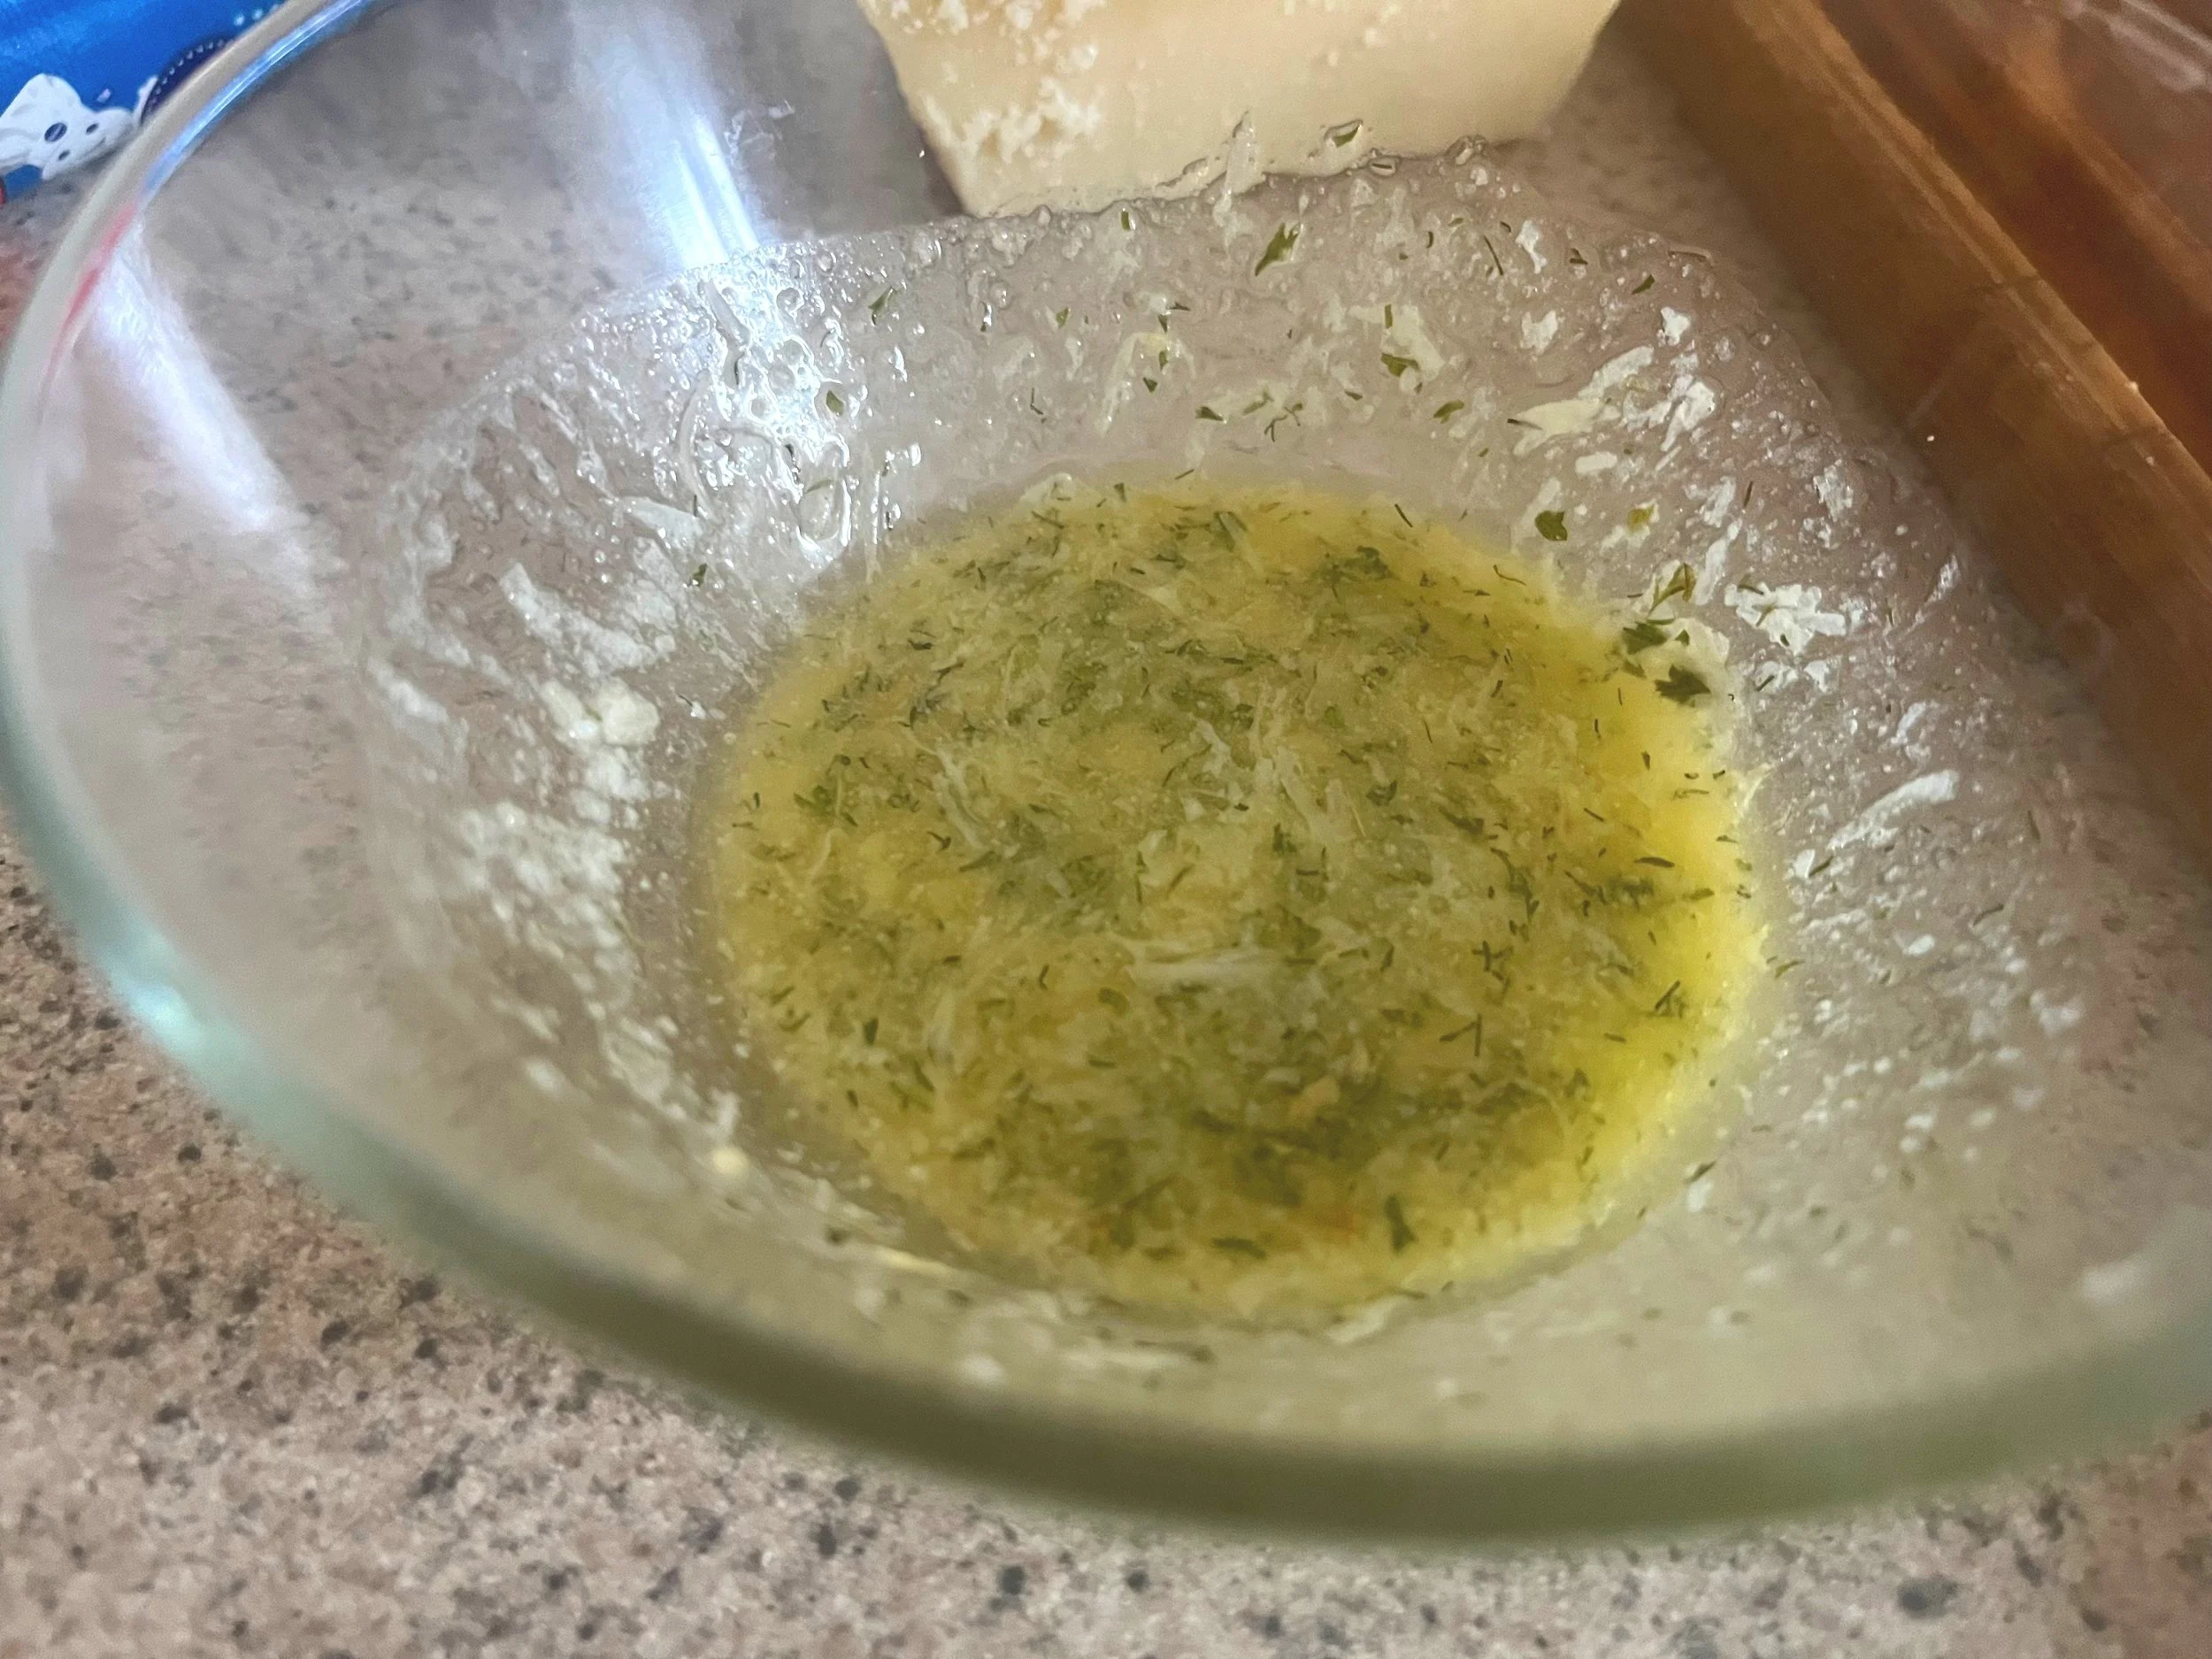
Cherchies® Lem ’n Dill Seasoning Blend is a classic blend of zesty lemon, aromatic dill, and savory seasonings that add brightness and depth to any dish. It’s a natural pairing for cucumbers, enhancing their crisp freshness with just the right balance of tang and herbaceous flavor. The result? Pickles that taste like summer in a jar.

But why stop there? With Cherchies® Lem ’n Dill Seasoning, you can transform a whole plethora of CSA veggies into crisp, tangy pickled treats that will brighten any meal. More on that below.

A Jar Full of Flavor

Making your own pickles is a fun, easy way to enjoy the flavors of Cherchies® Lem ’n Dill Seasoning all year long. With just a few simple ingredients, you’ll have a crunchy, tangy treat that everyone will love.

So grab a jar, some fresh cucumbers, and a shaker of Cherchies® Lem ’n Dill Seasoning—and get ready to pucker up with pickle perfection!

Thanks for stopping by:) Comment below if you have made this recipe. Come back again for more family-tested recipes, entertaining ideas, and cooking tips using all our favorite Cherchies® gourmet products.

Follow us on social media: Facebook, Instagram, and Pinterest.

Ingredients

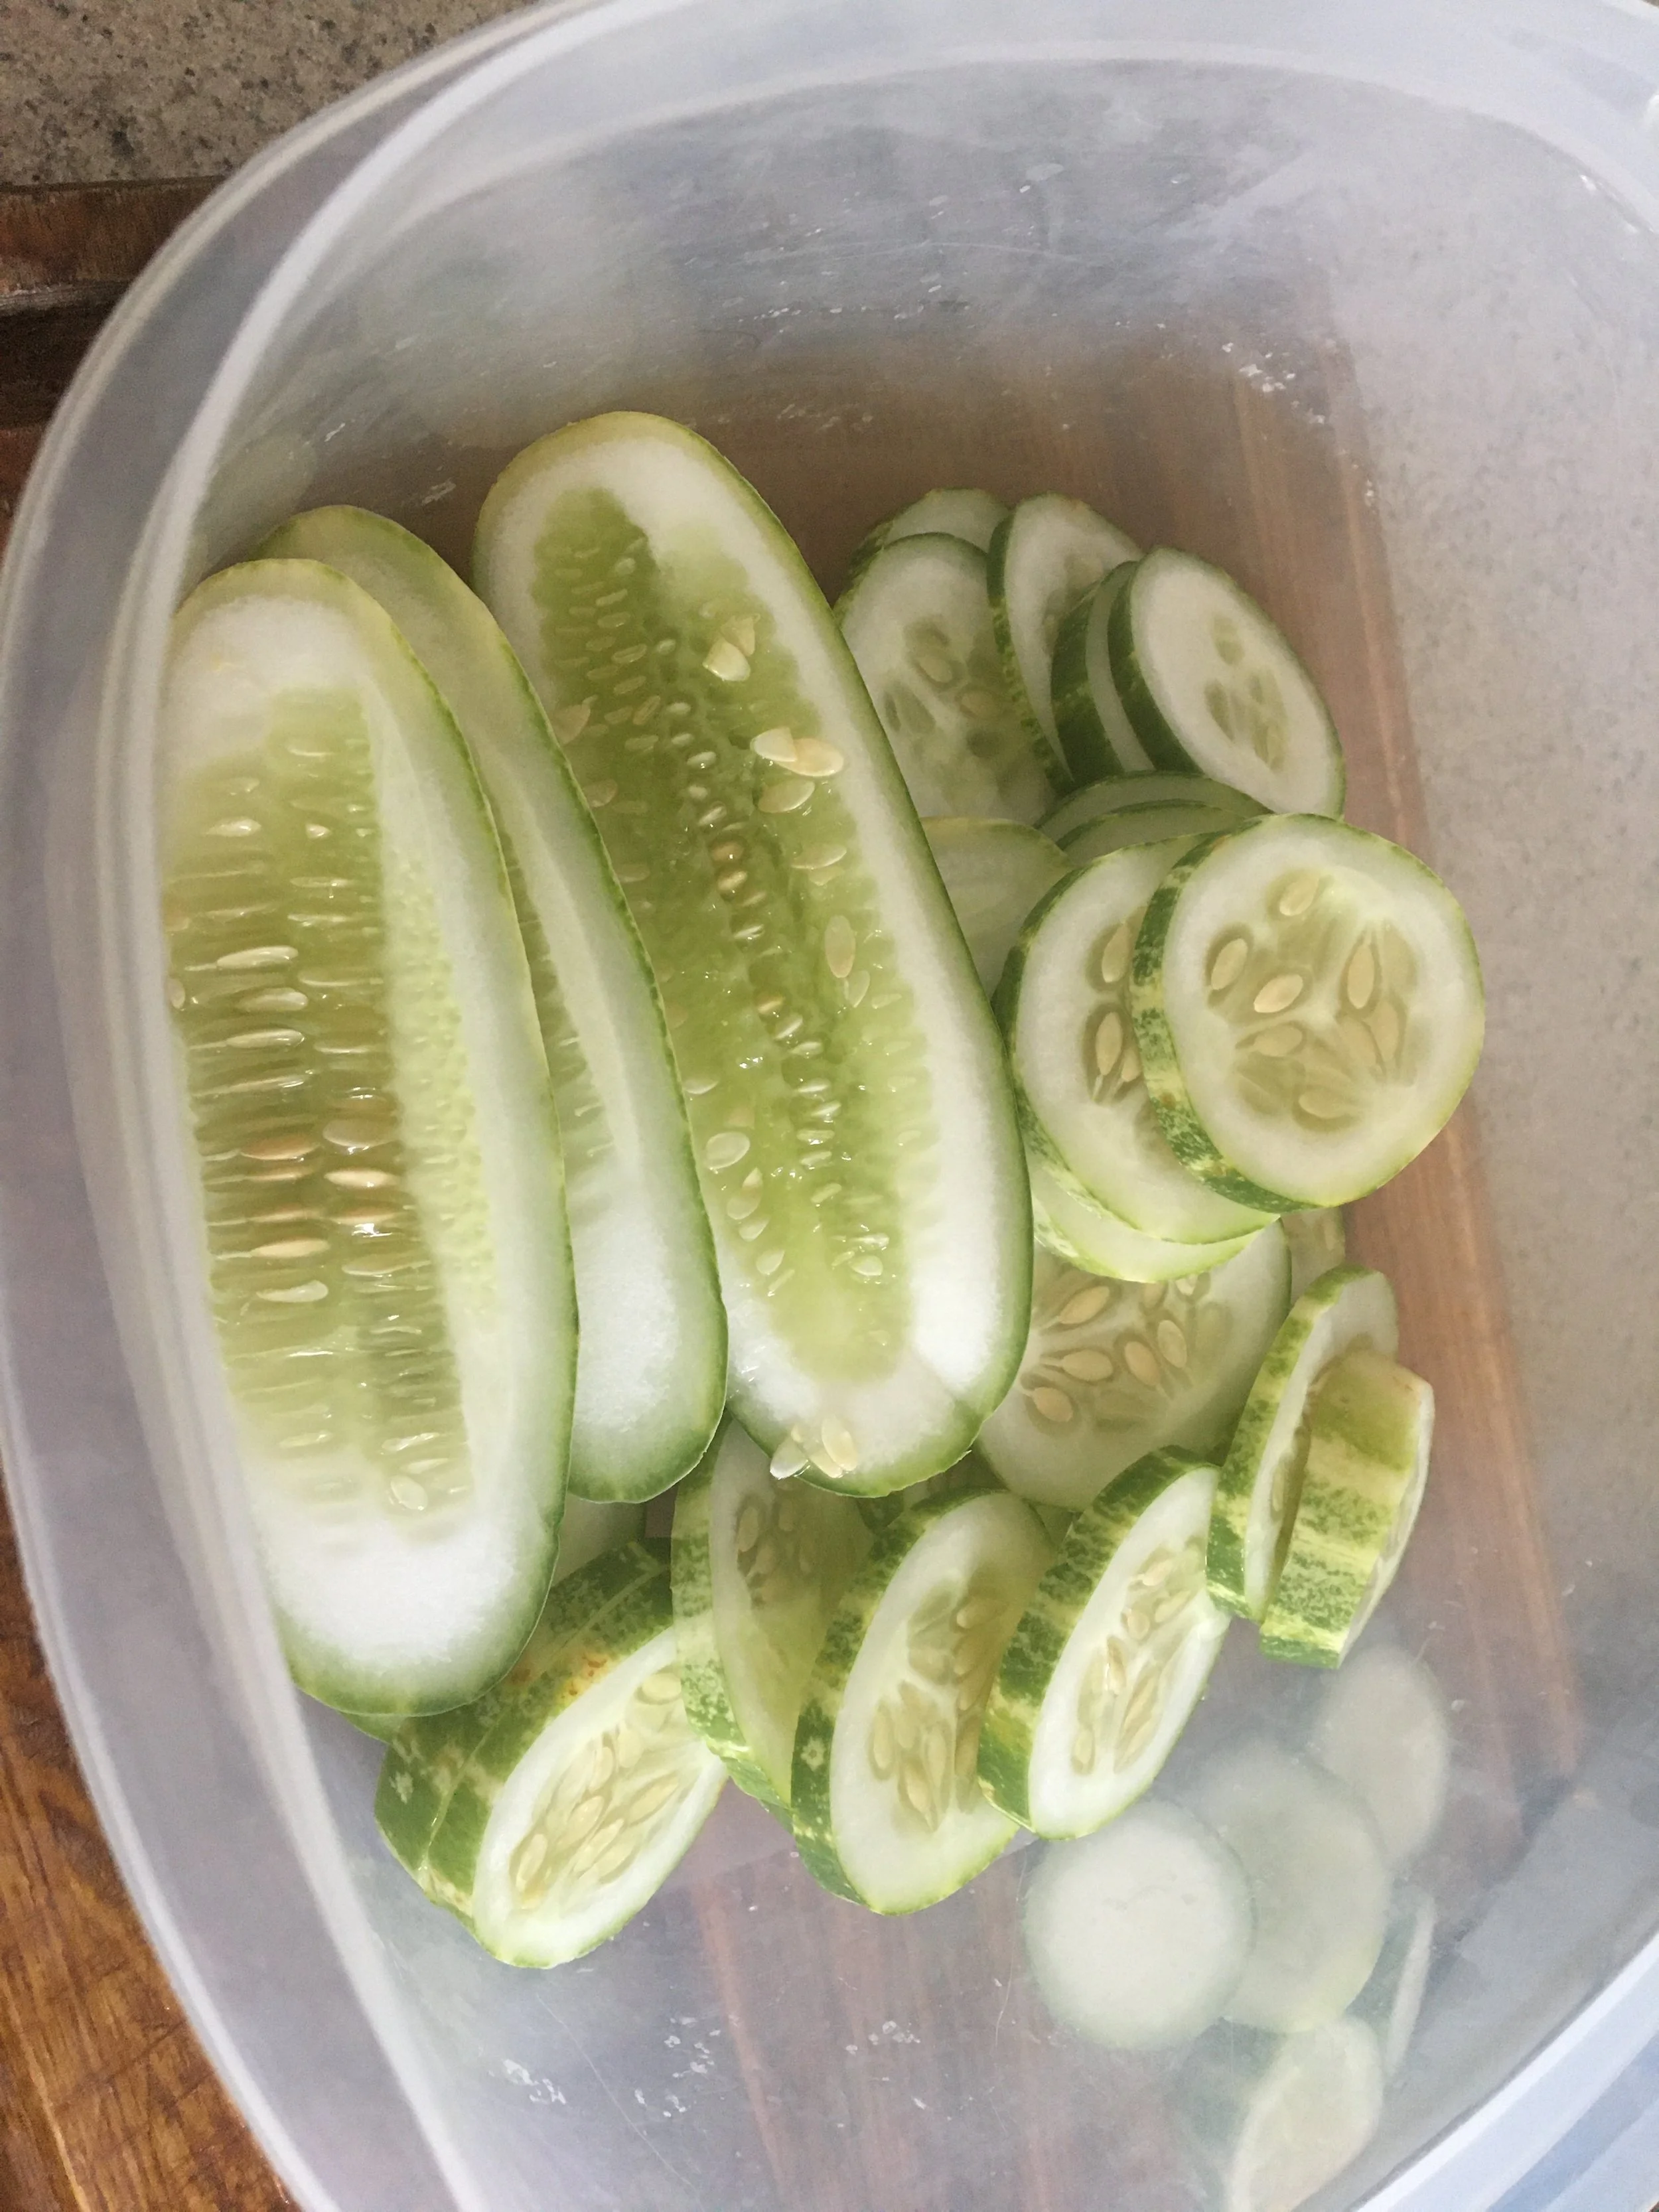
  • 6 cucumbers (Kirby-type), sliced into spears or discs (Seedless English cucumbers typically do not work well with this recipe)

  • 1 ½ cups white vinegar

  • 6 cups of water

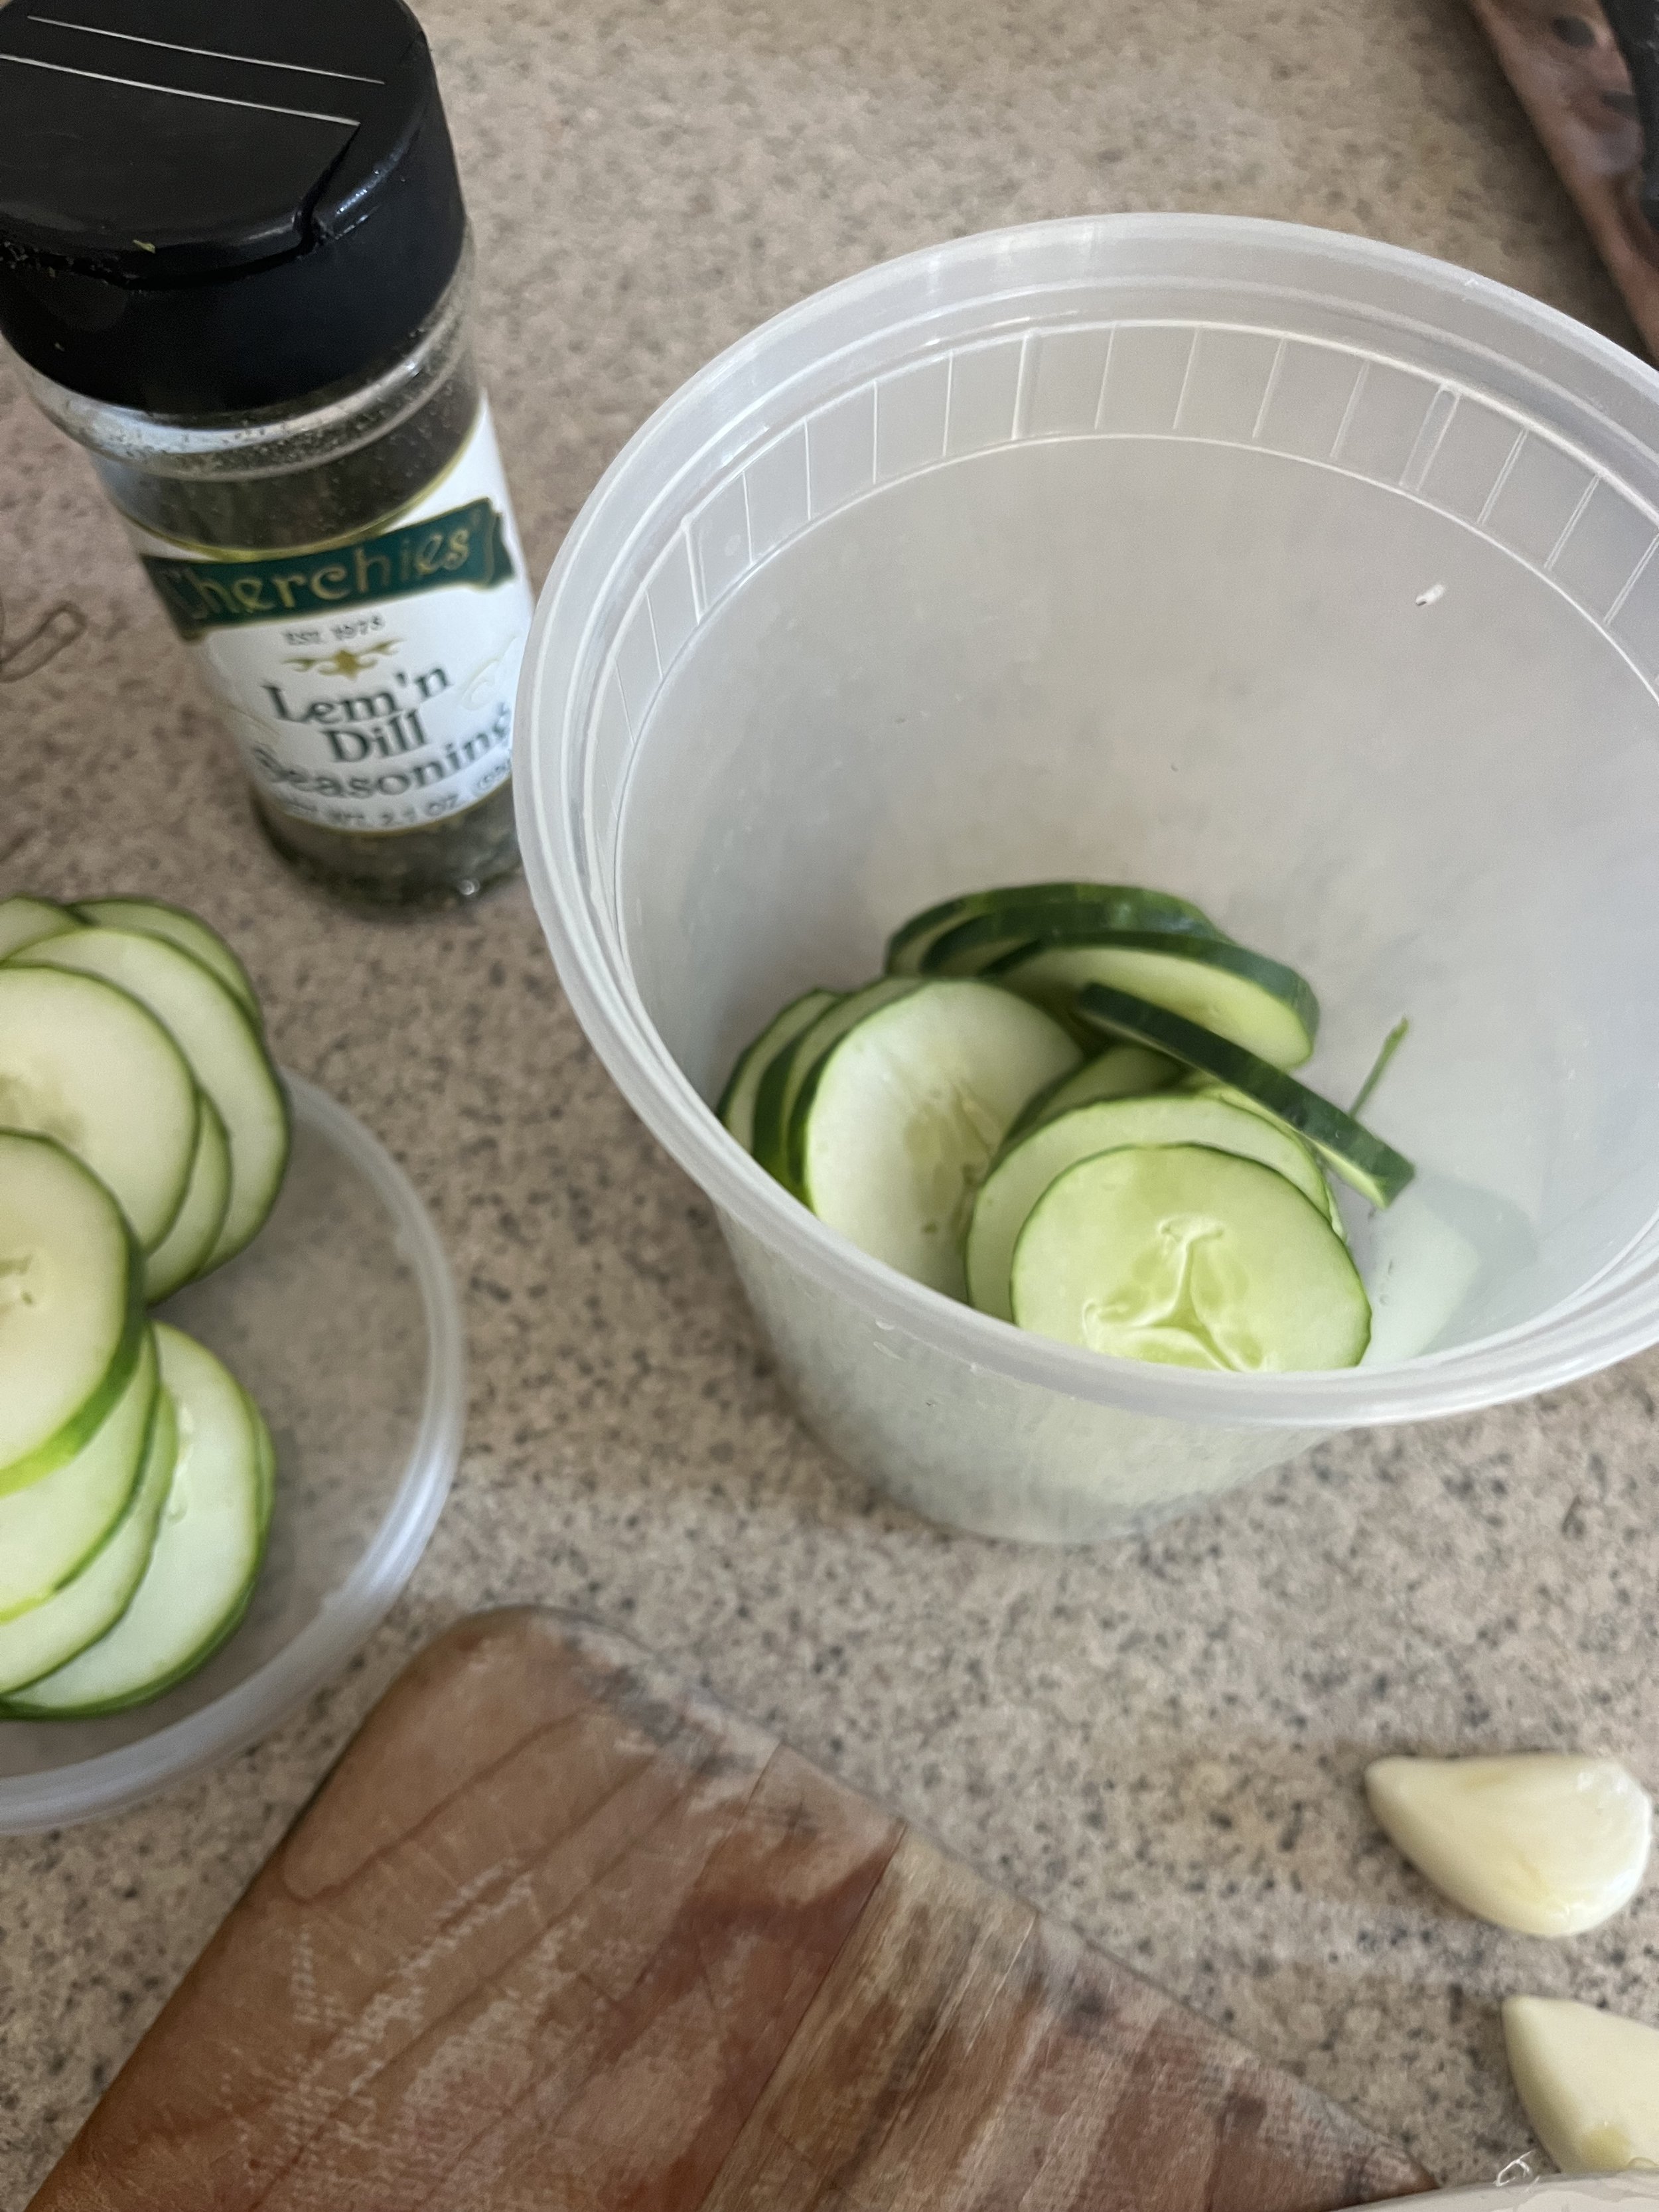
  • 16 garlic cloves (sliced or chopped)

  • ¼ cup Cherchies® Lem ’n Dill Seasoning

  • ¼ cup salt (about two tablespoons if halving)
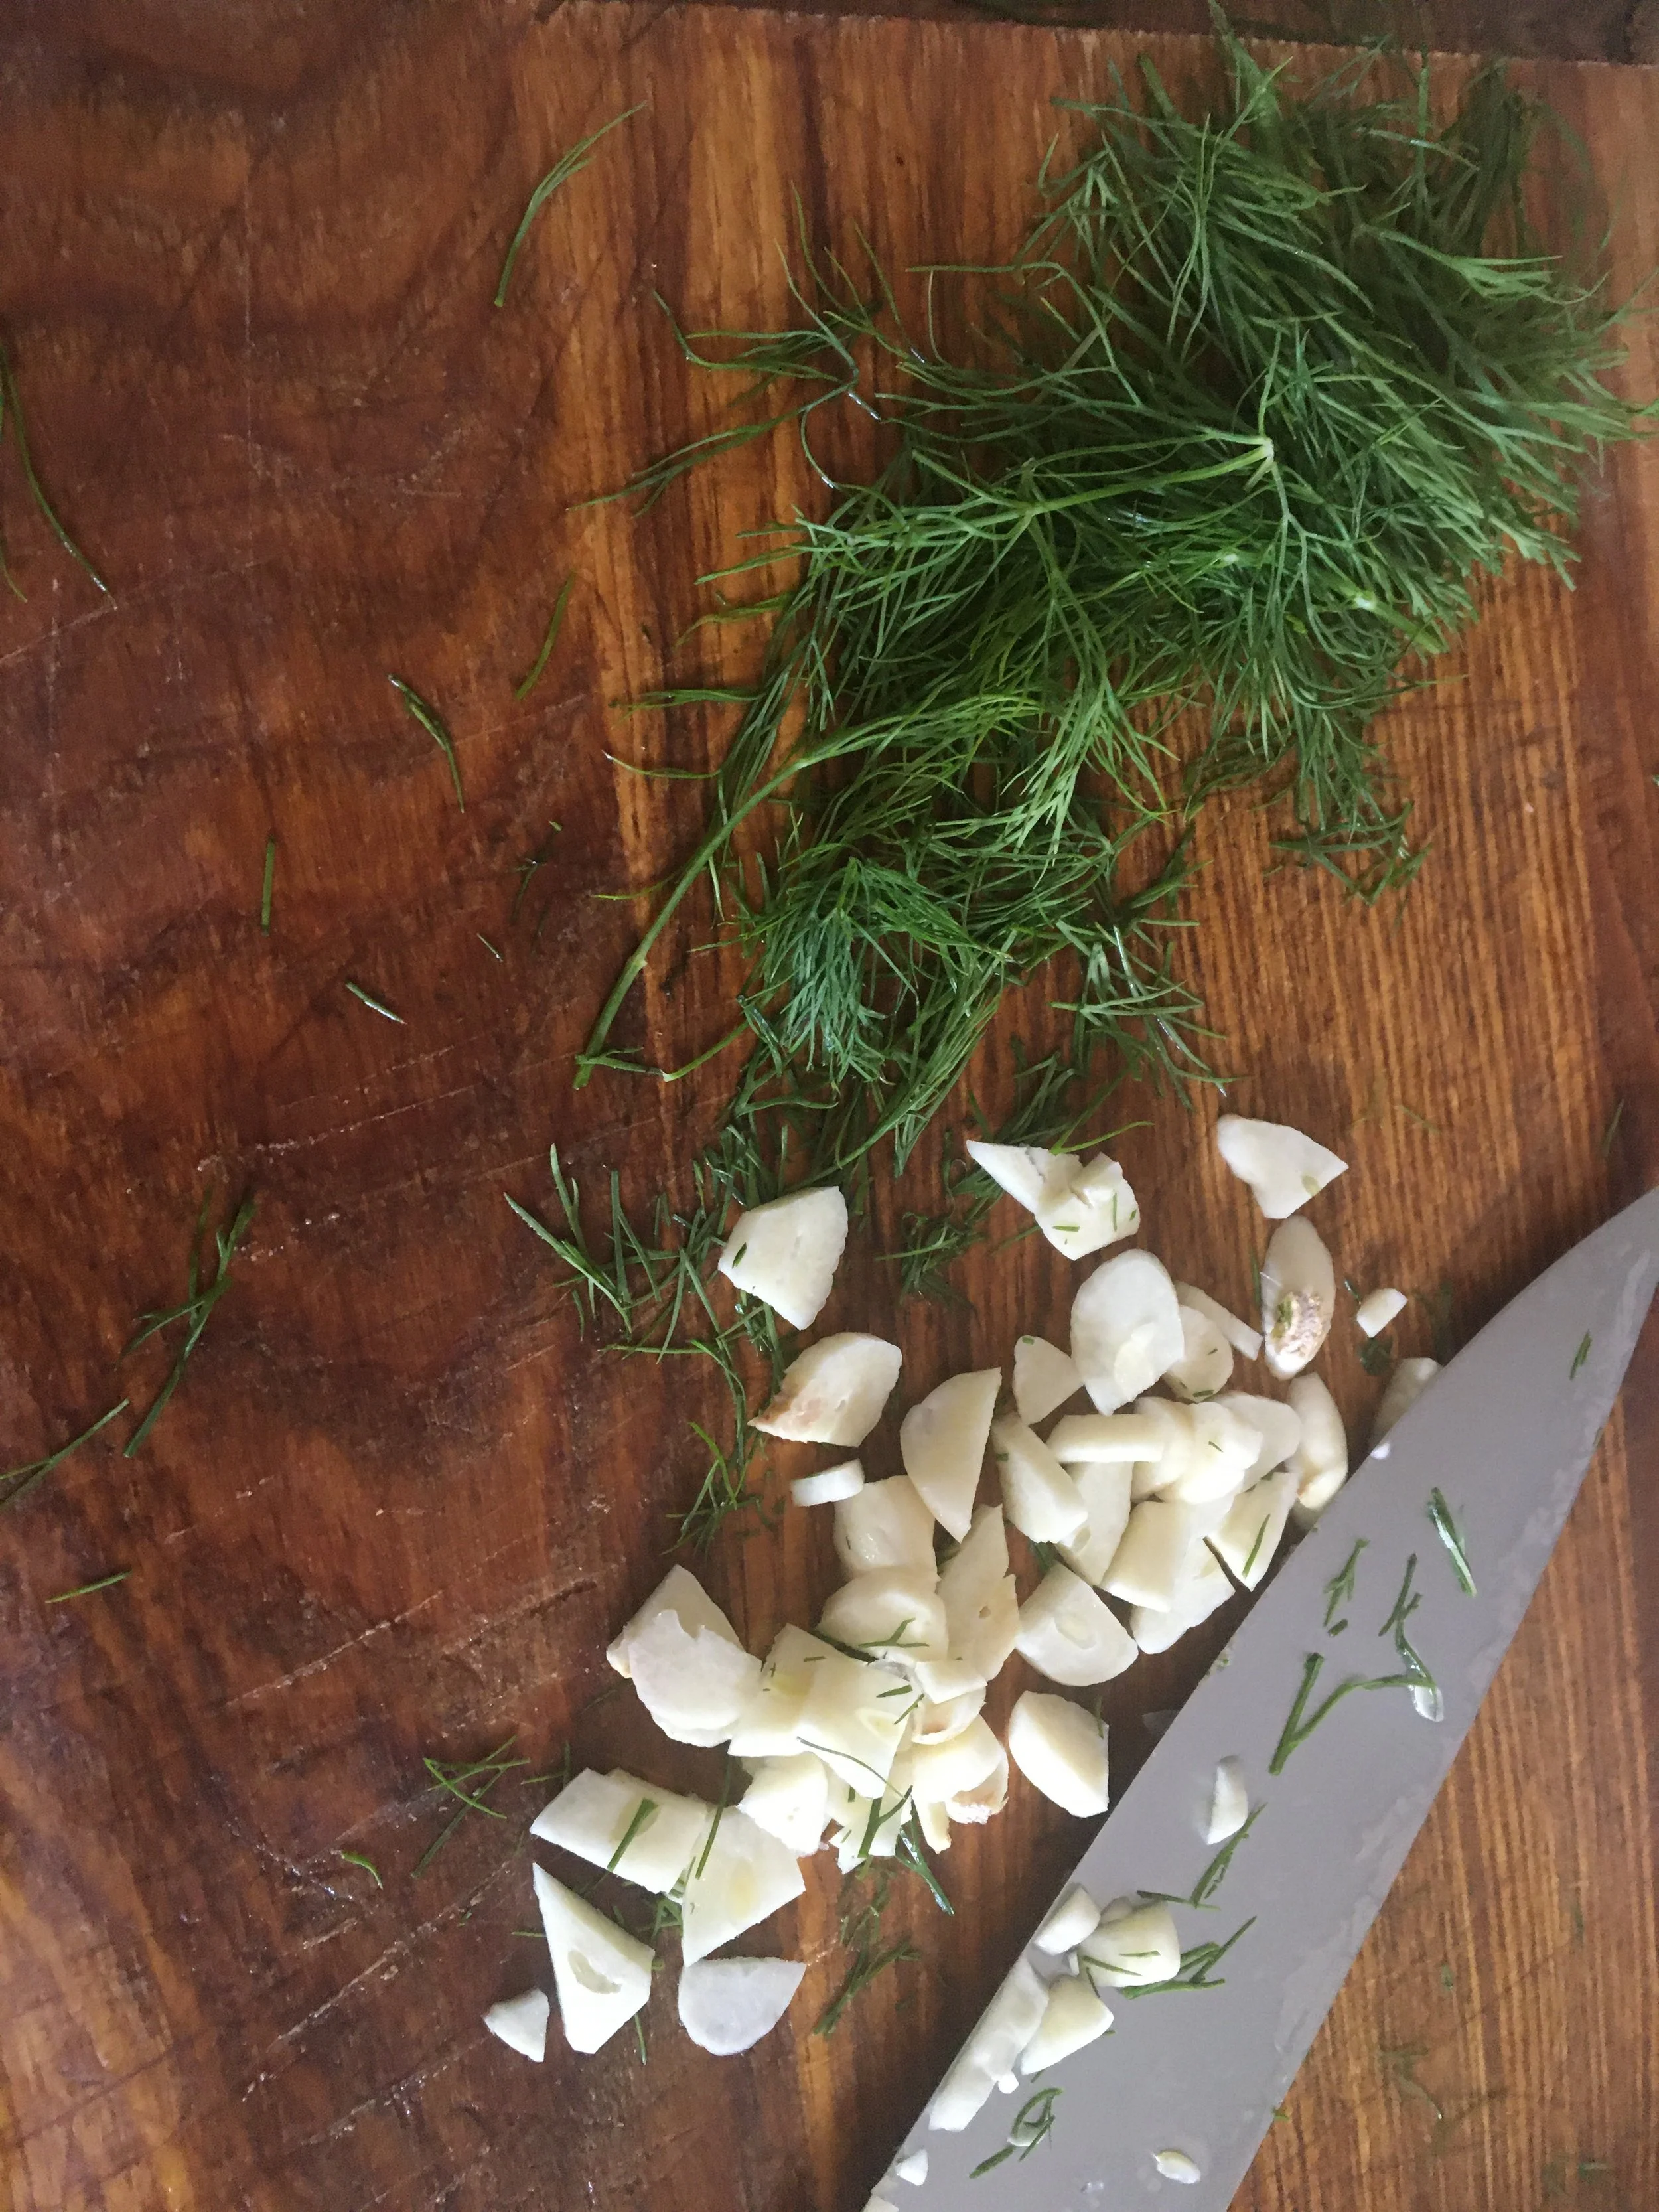
  • Fresh dill sprigs

Preparation

In a large pot, bring vinegar and 6 cups of water to a boil. Remove from heat, cool slightly, and stir in the salt.

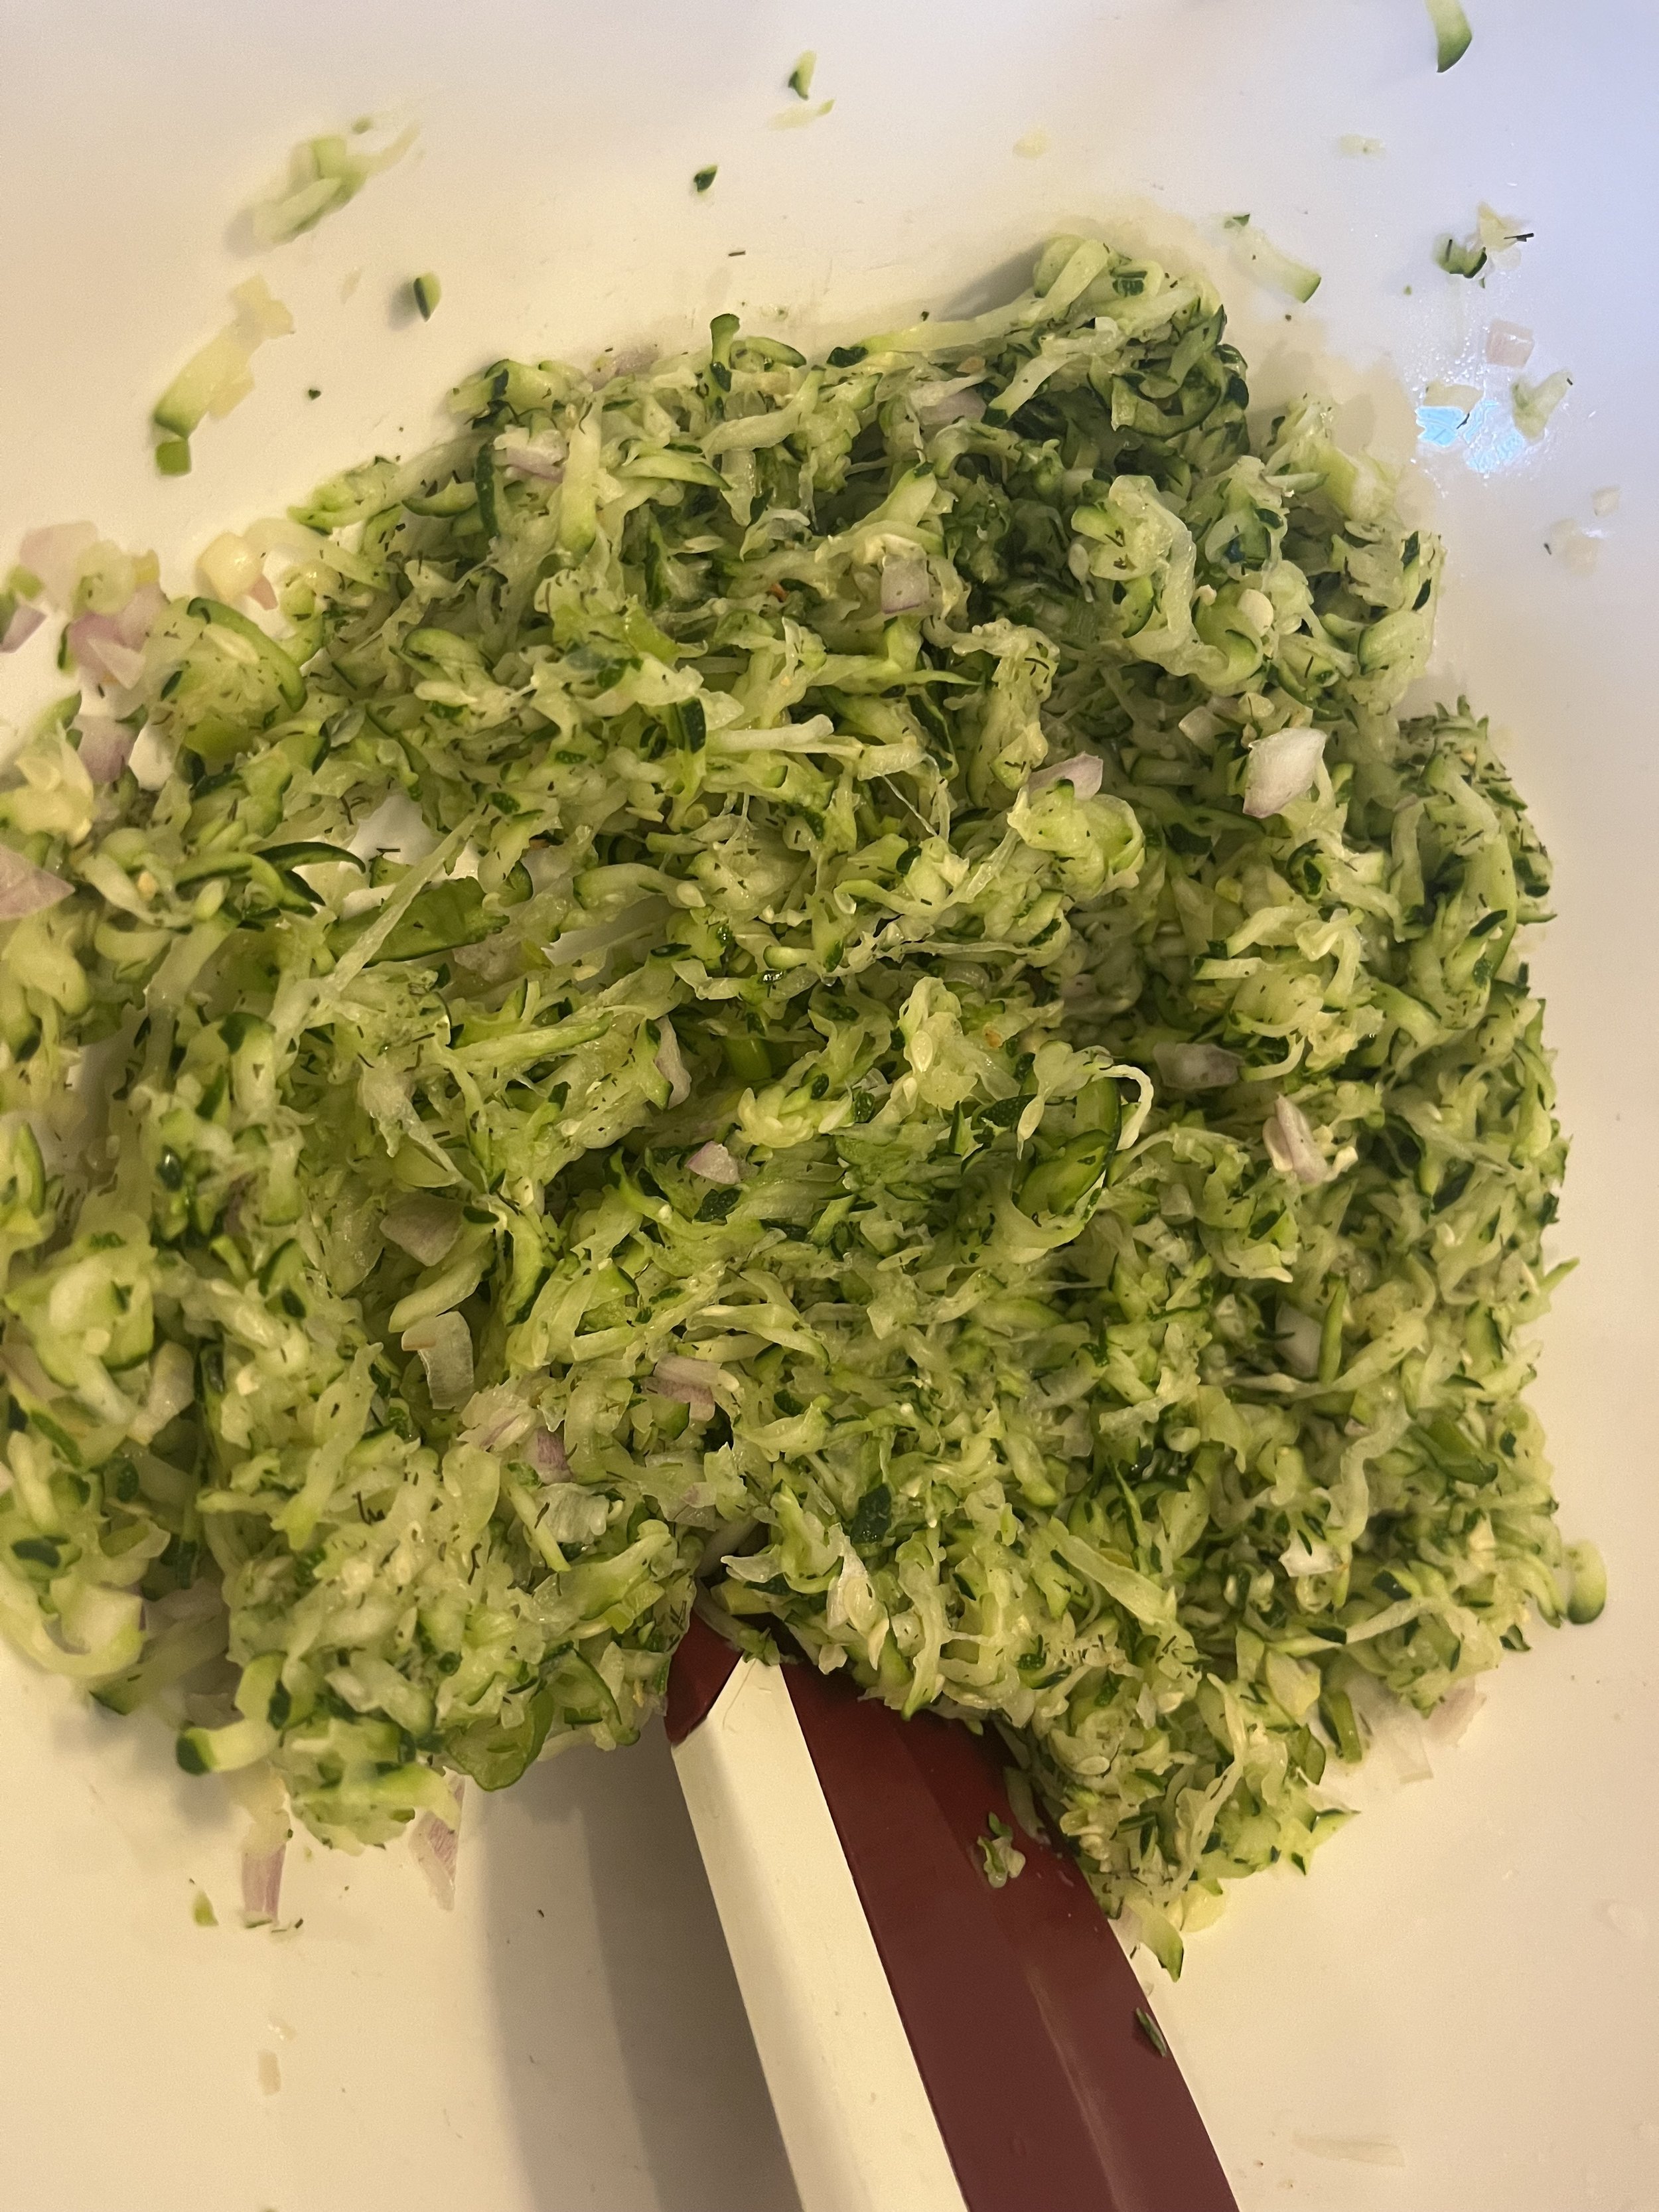
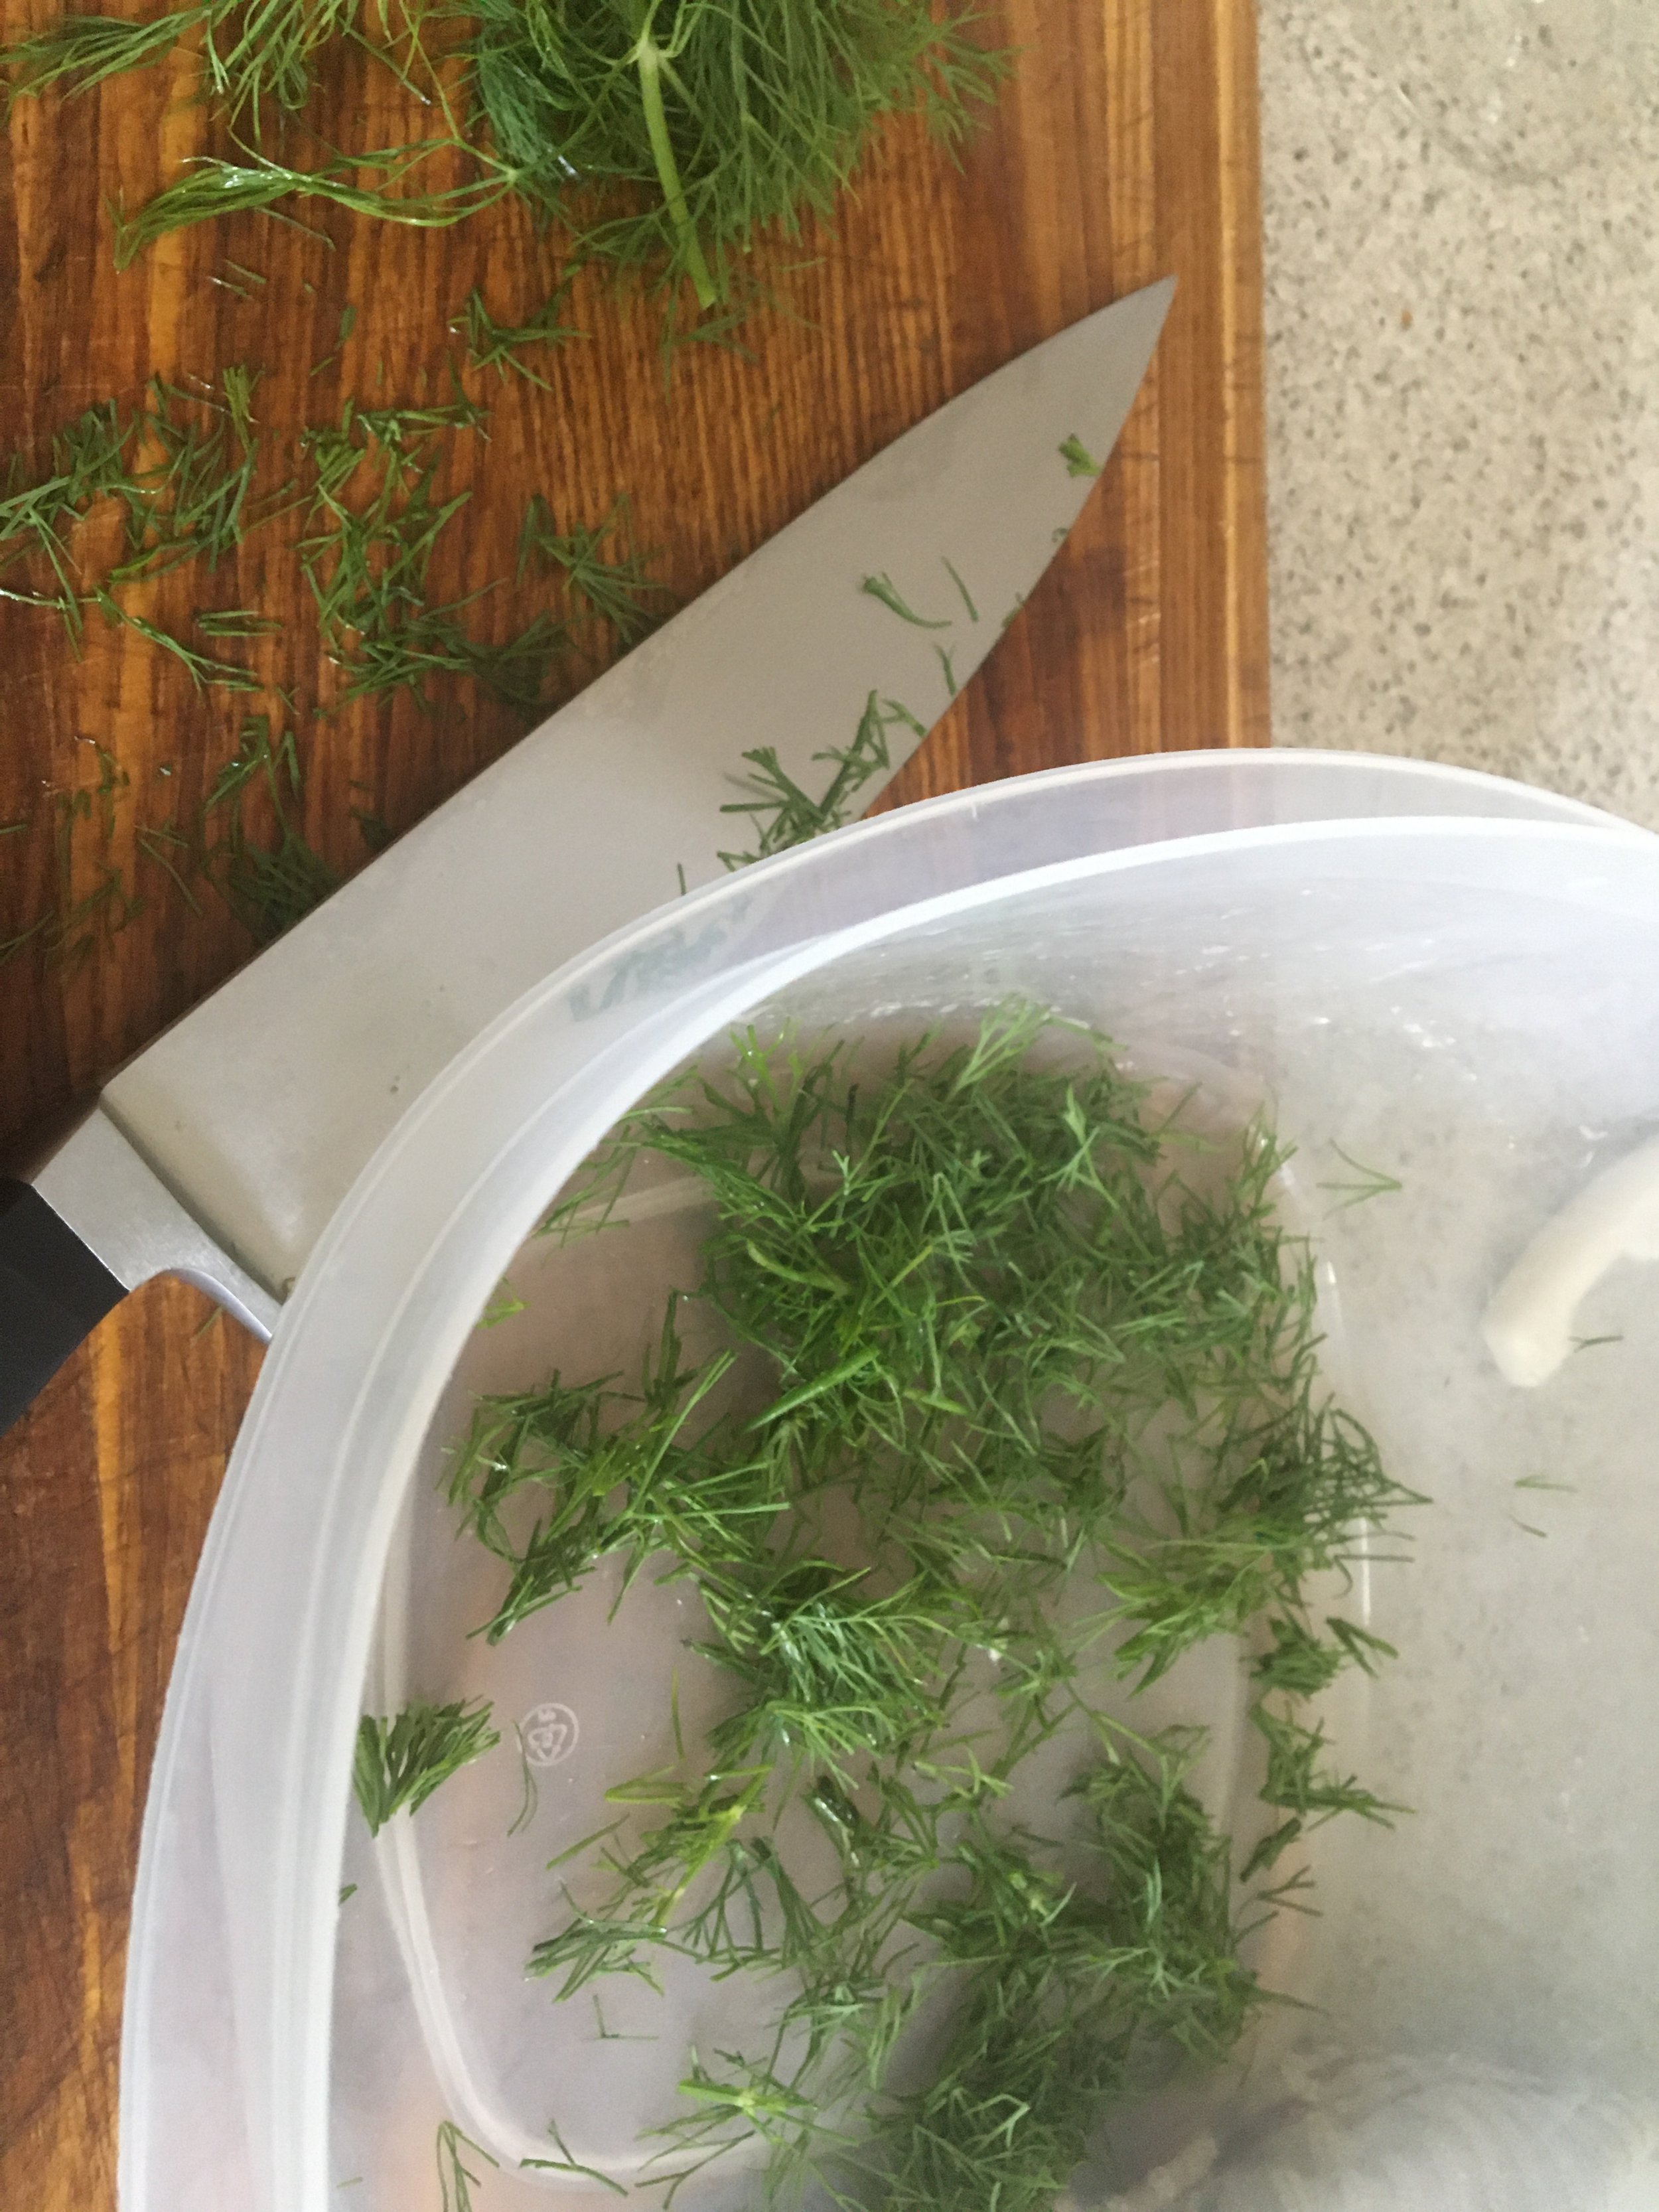
Slice or chop garlic and roughly chop dill. Set aside.

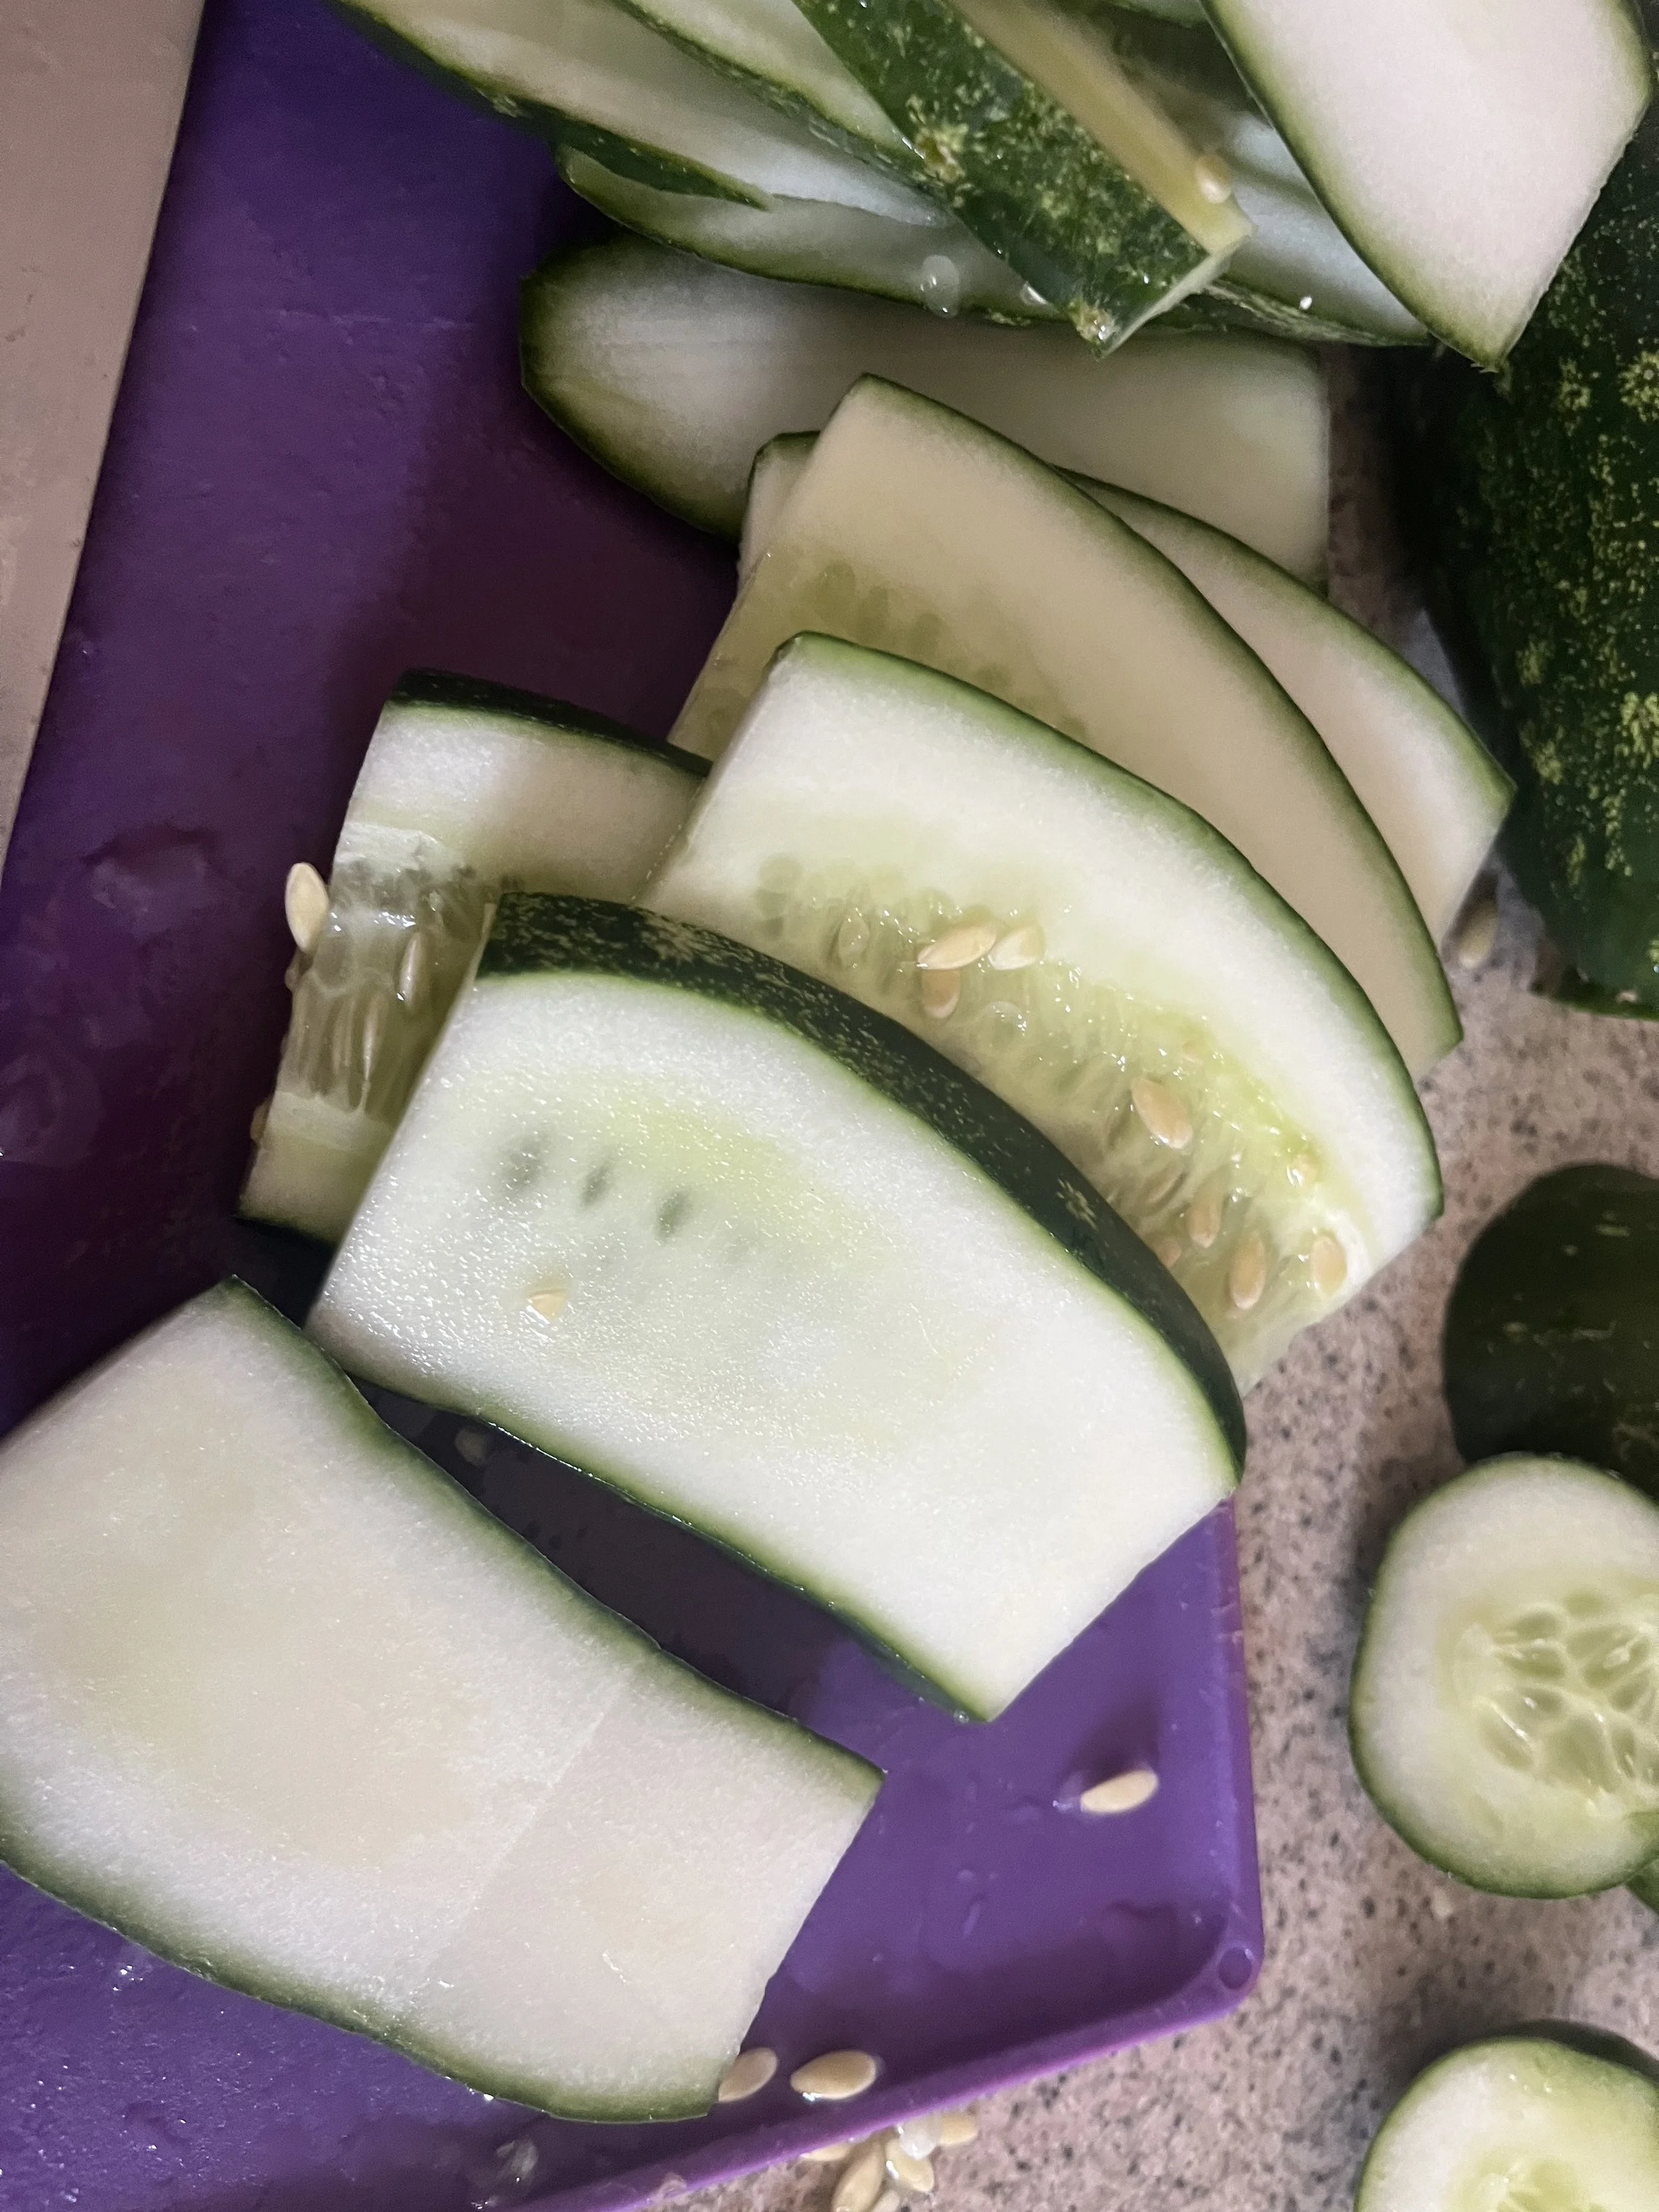
Wash cucumbers and slice into wedge spears, coin-like discs, or even sandwich slicers.

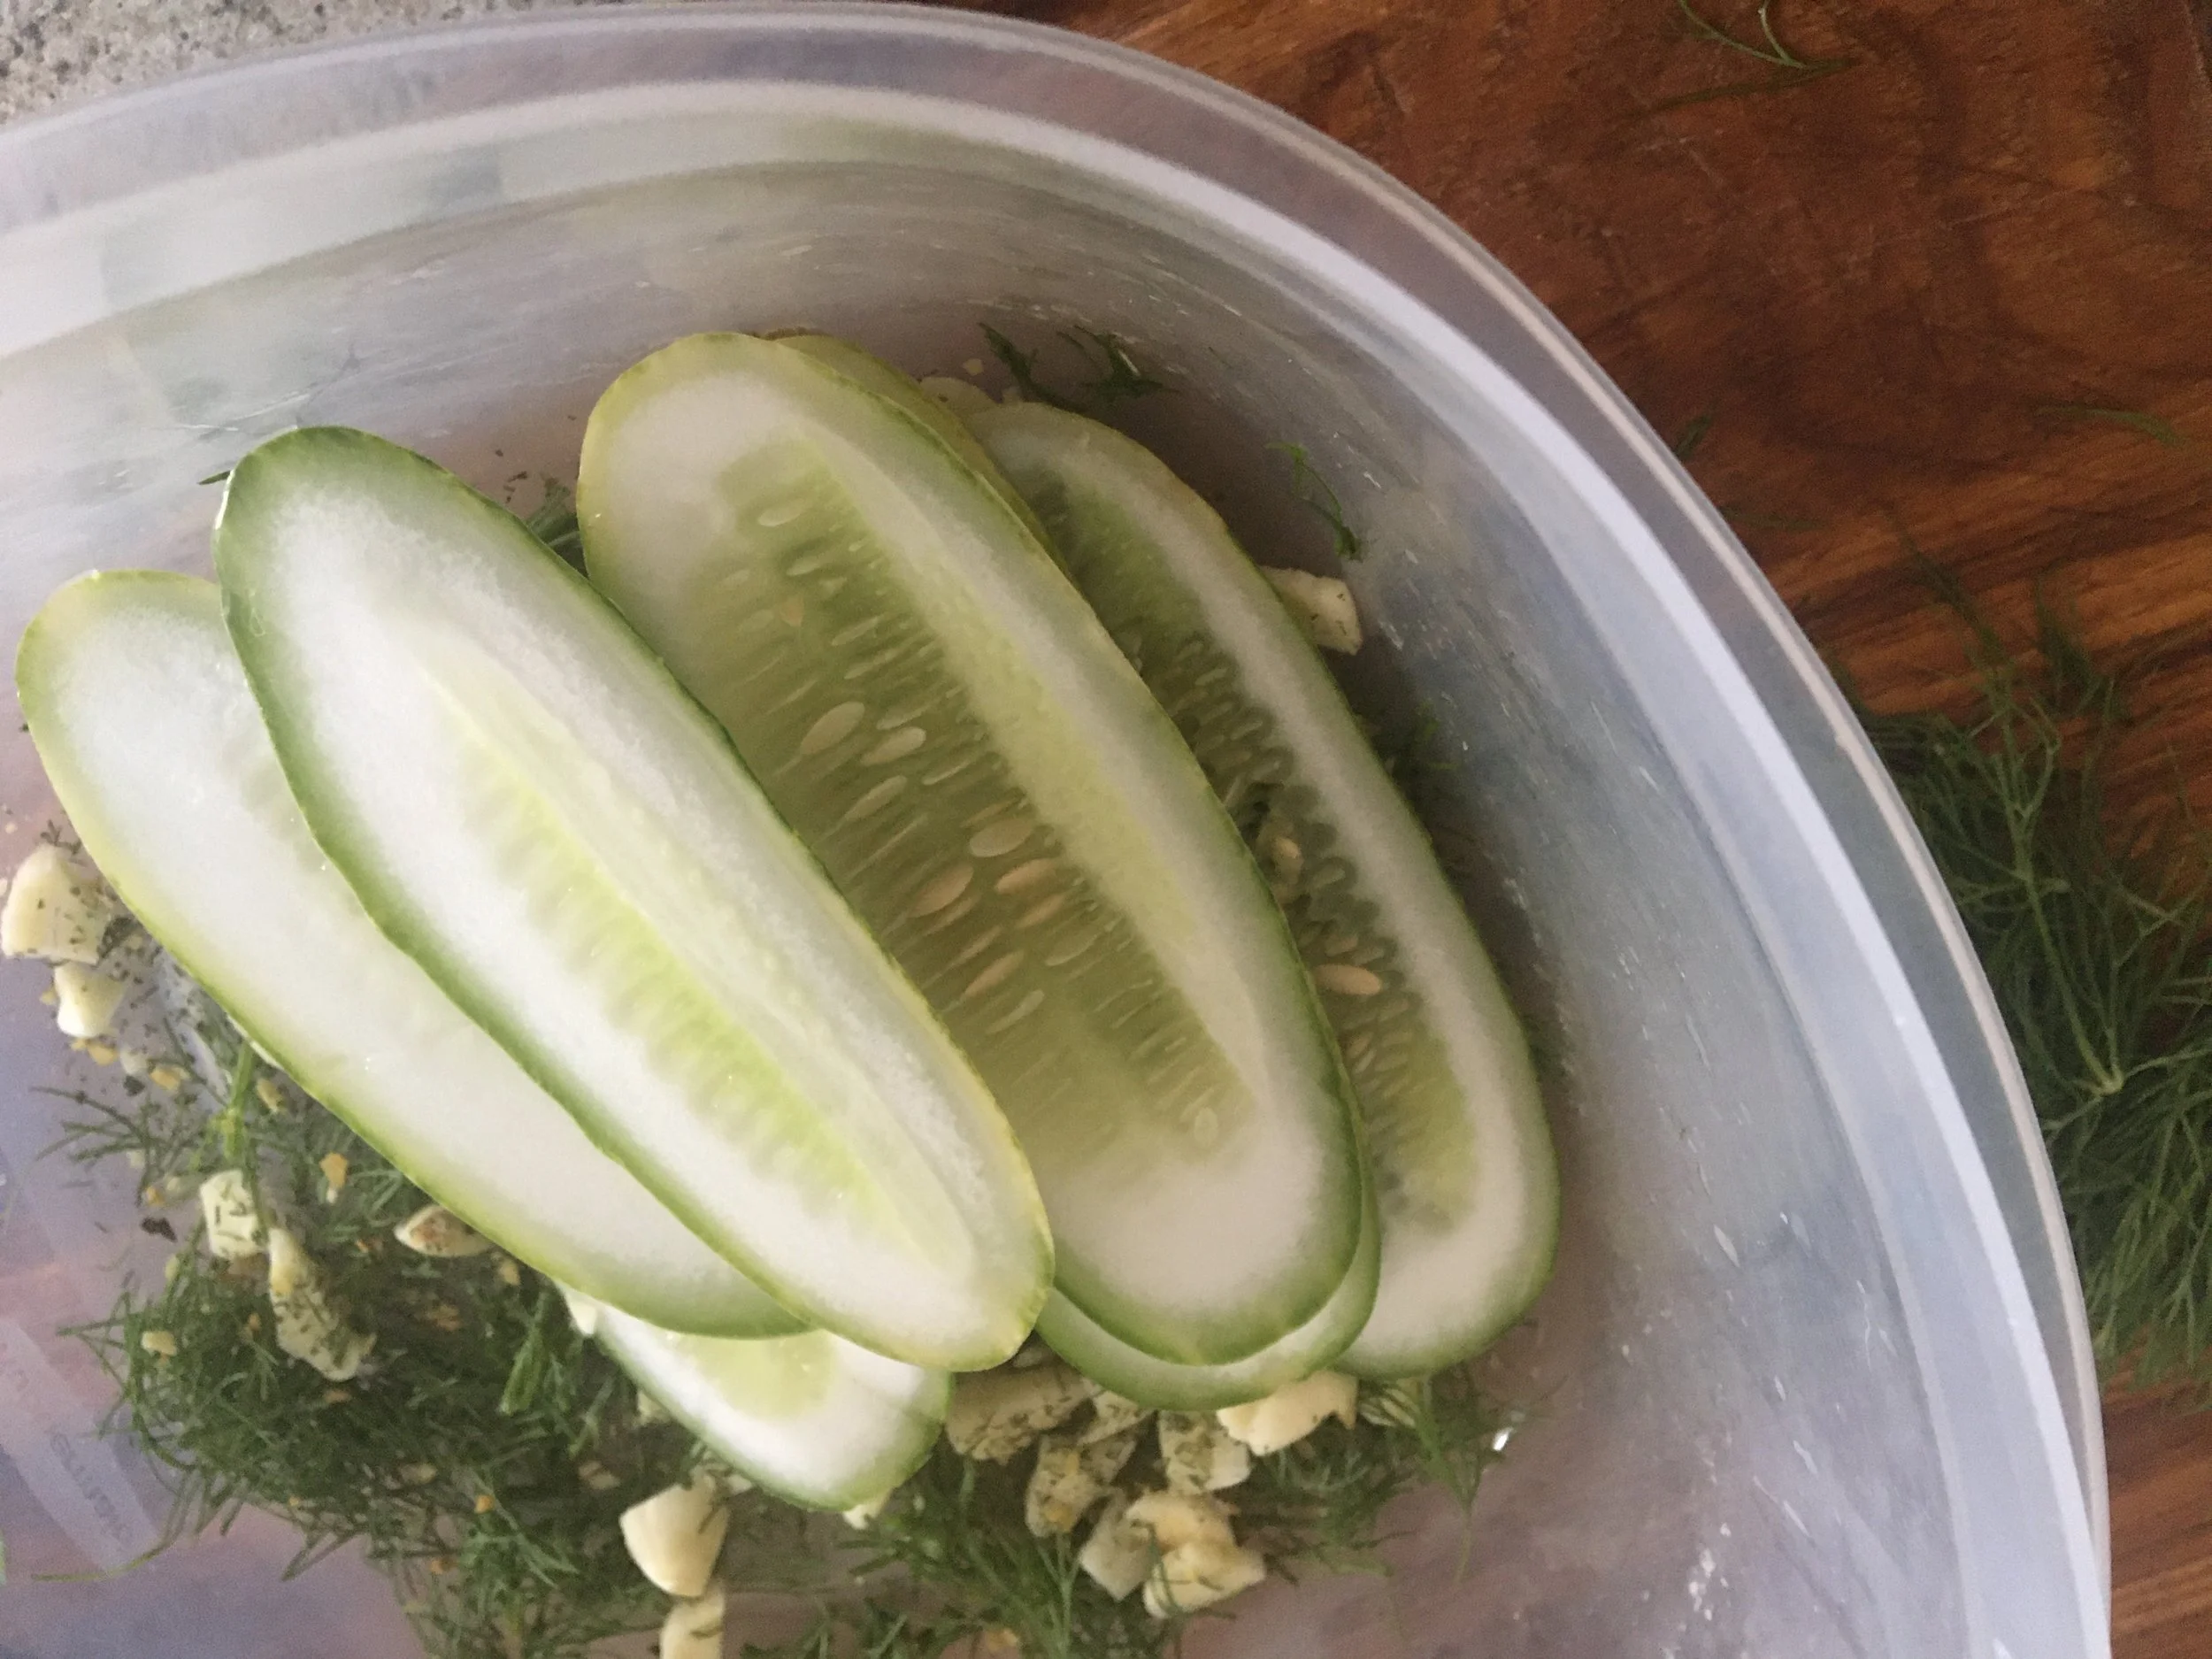
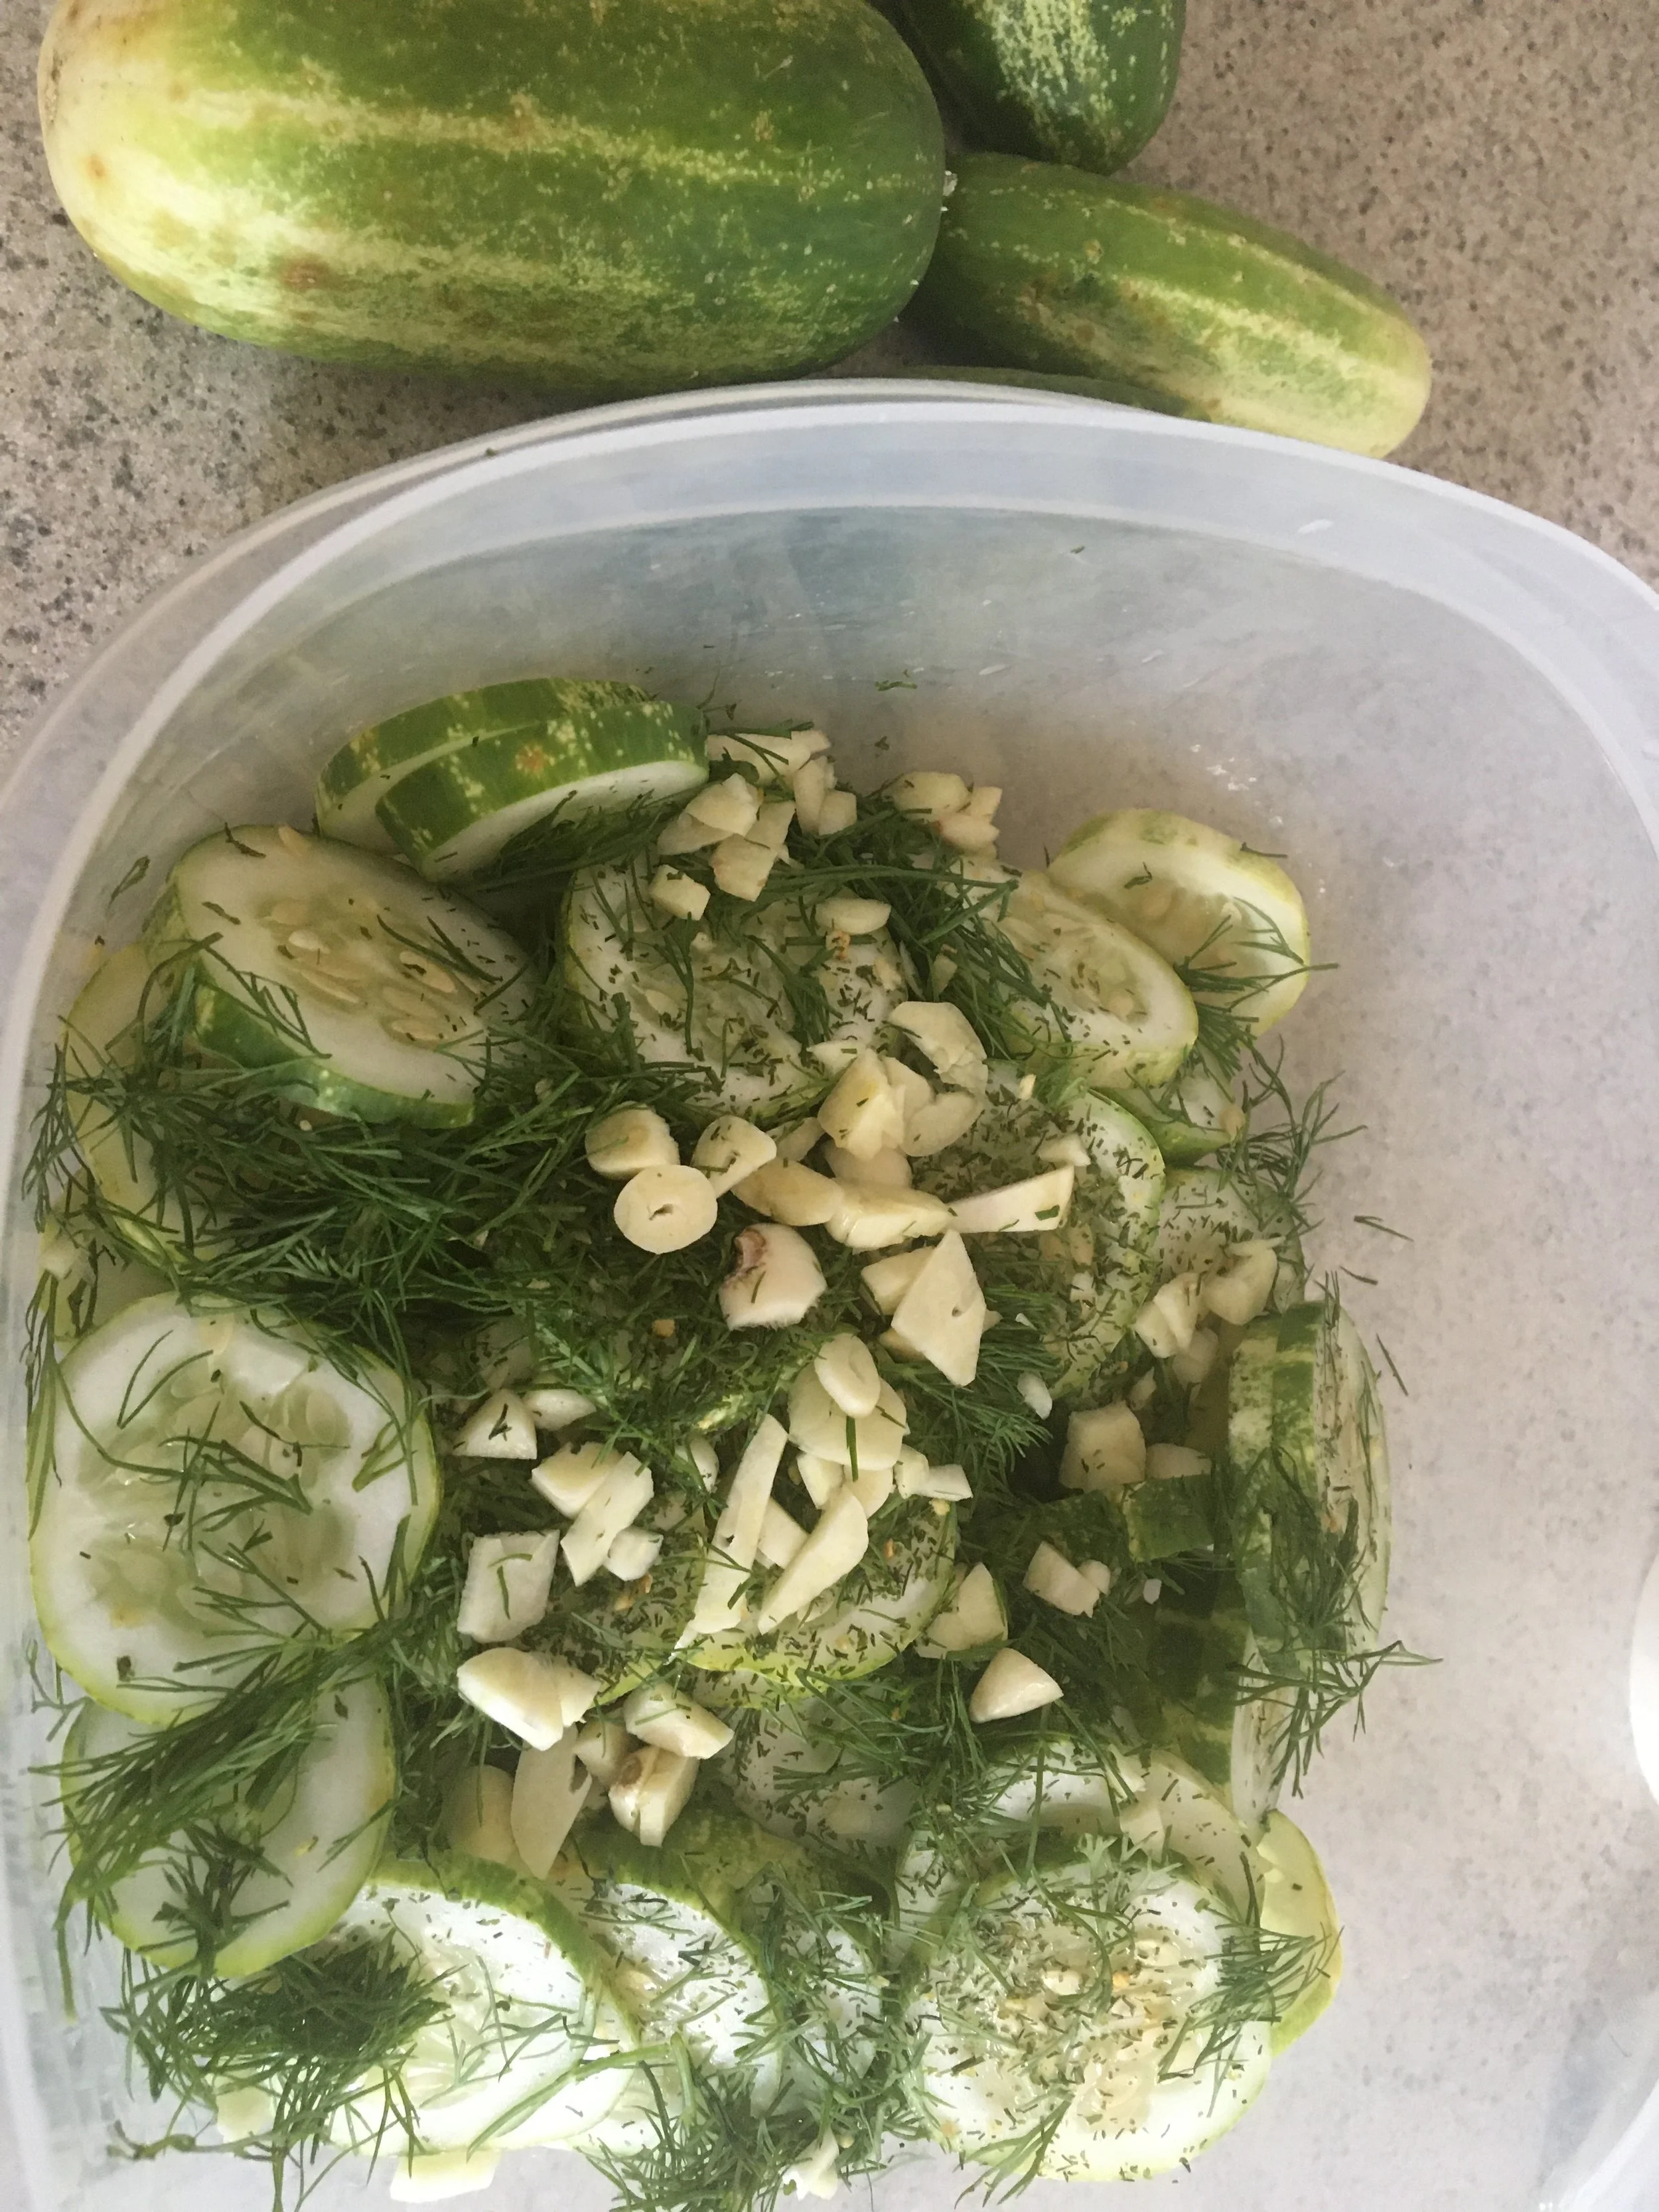
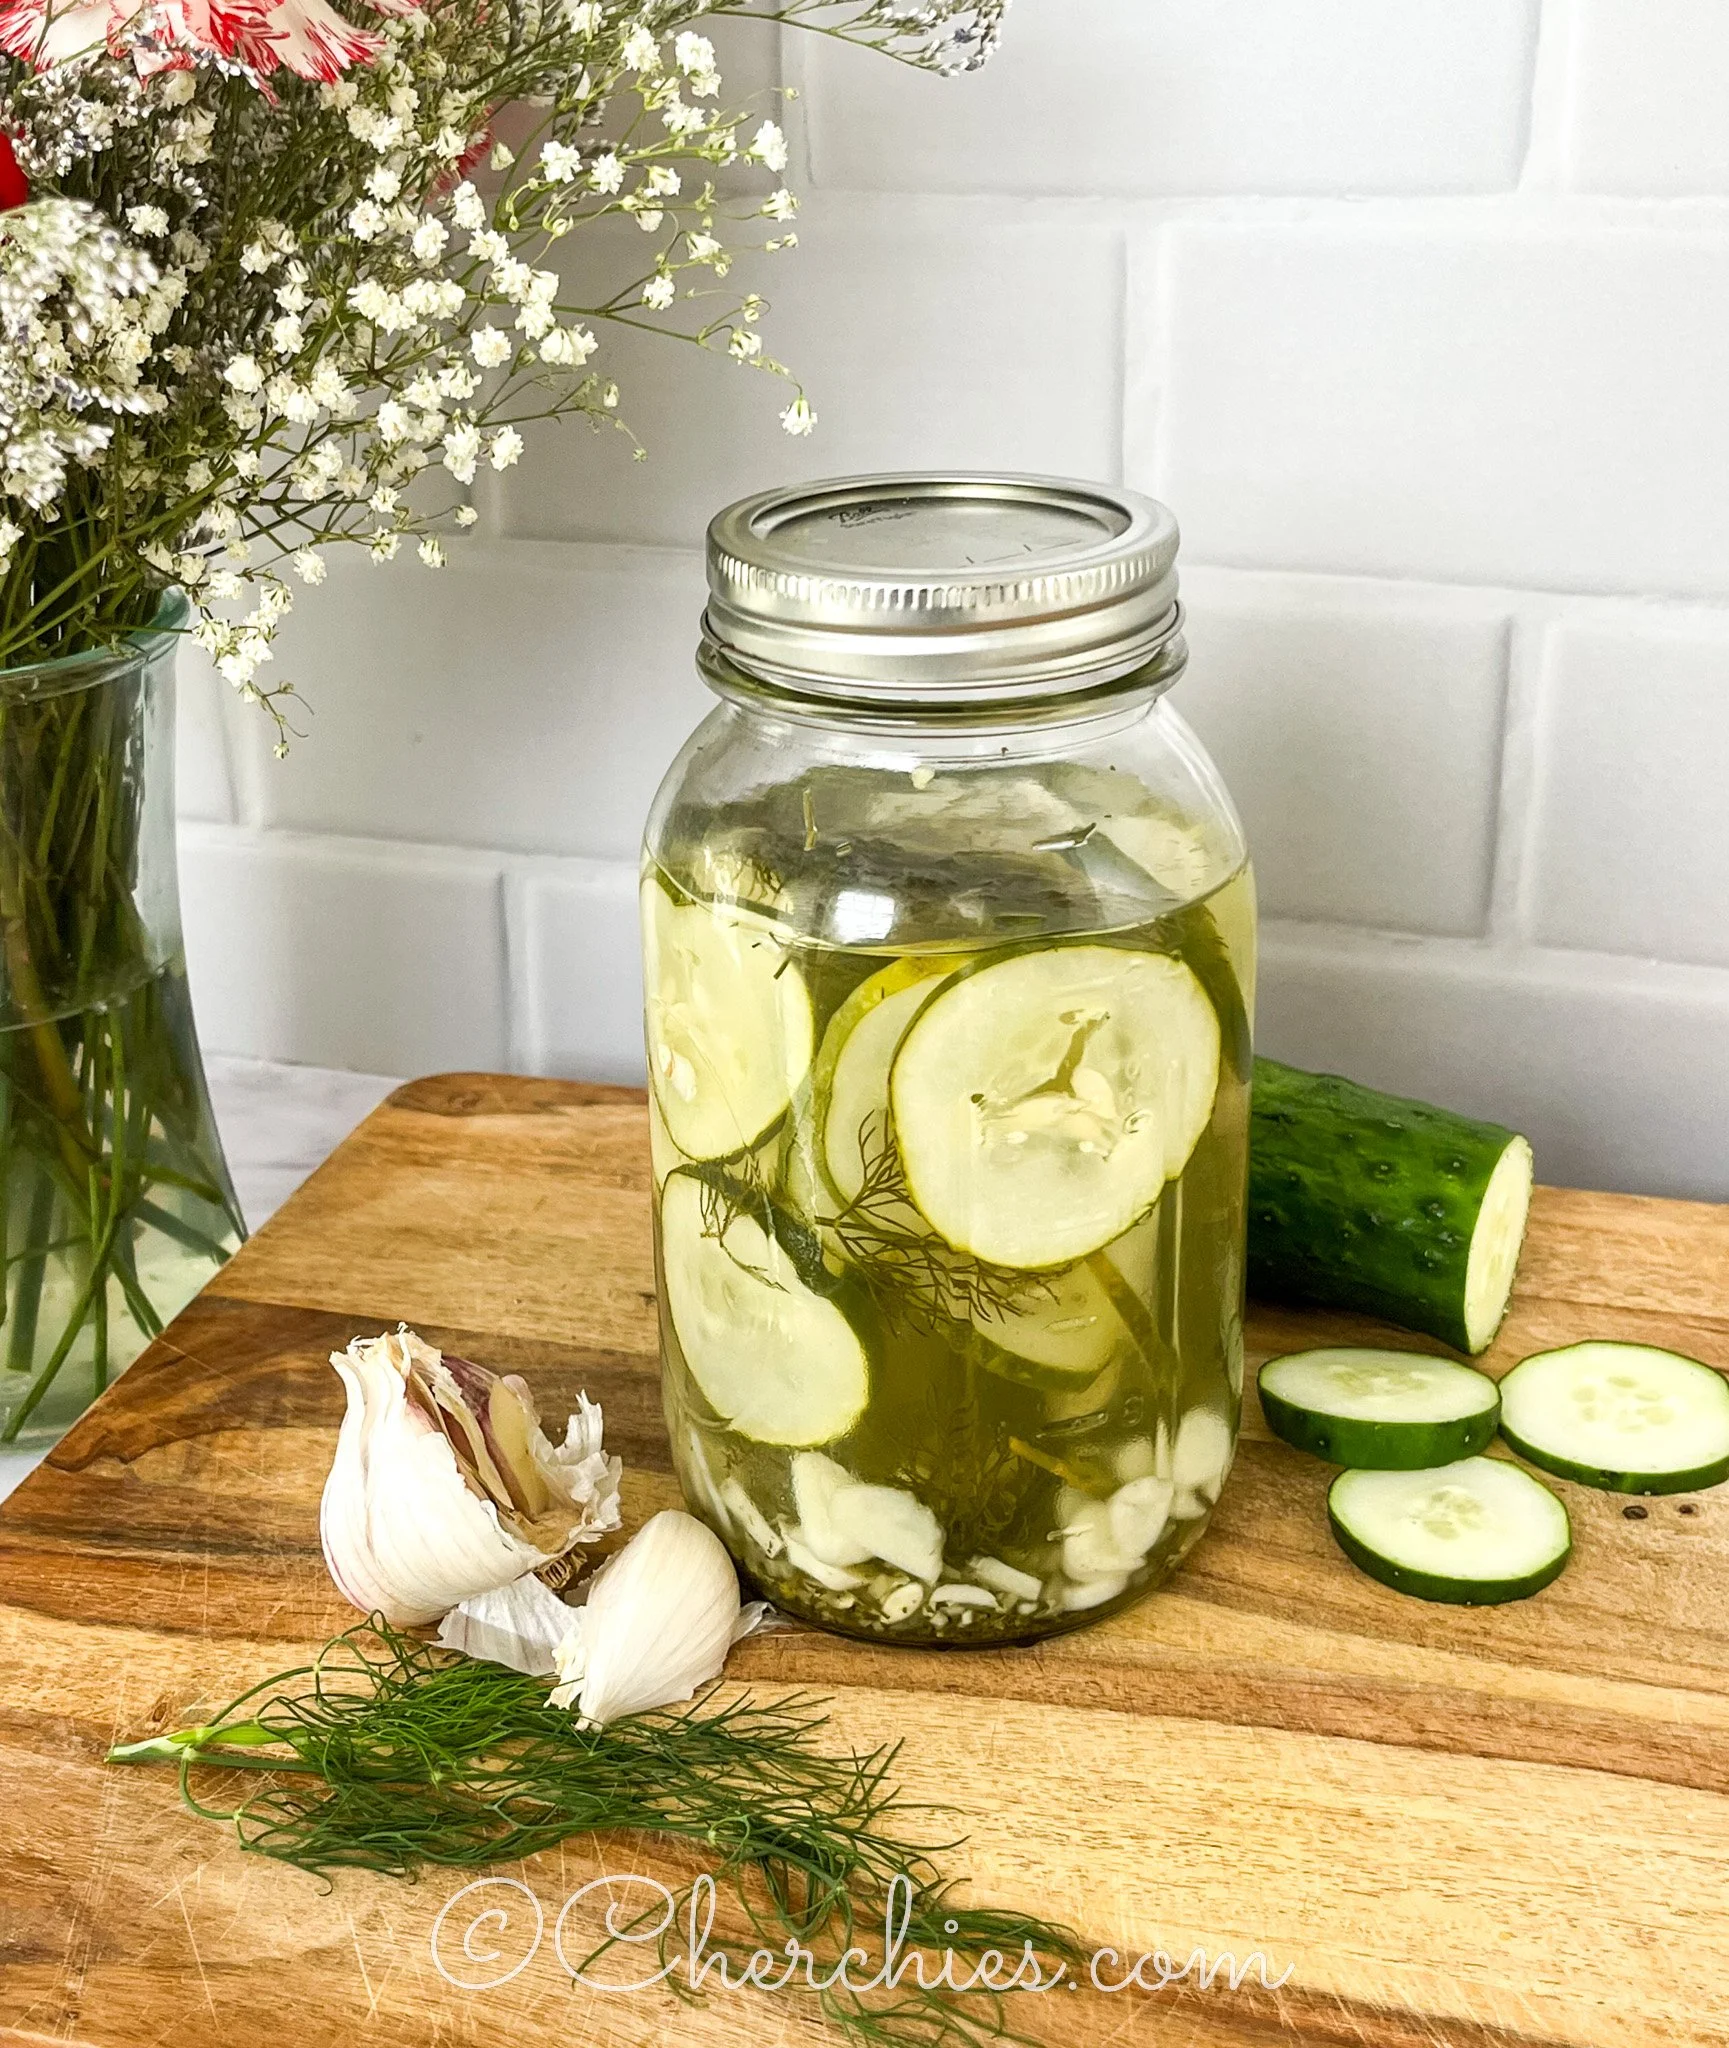
To a quart-size jar or deep container with a lid, add a layer of fresh dill to the bottom. (We often use cleaned take-out containers or mason jars with lids.) If you’re making a lot, a Rubbermaid-type container would also work.

Add garlic slices, then a spoonful of Cherchies® Lem ’n Dill Seasoning. Repeat layers of cucumbers, garlic, dill, and Cherchies® Lem ‘N Dill until the container is filled.

Pour the cooled brine over the vegetables, ensuring everything is submerged.

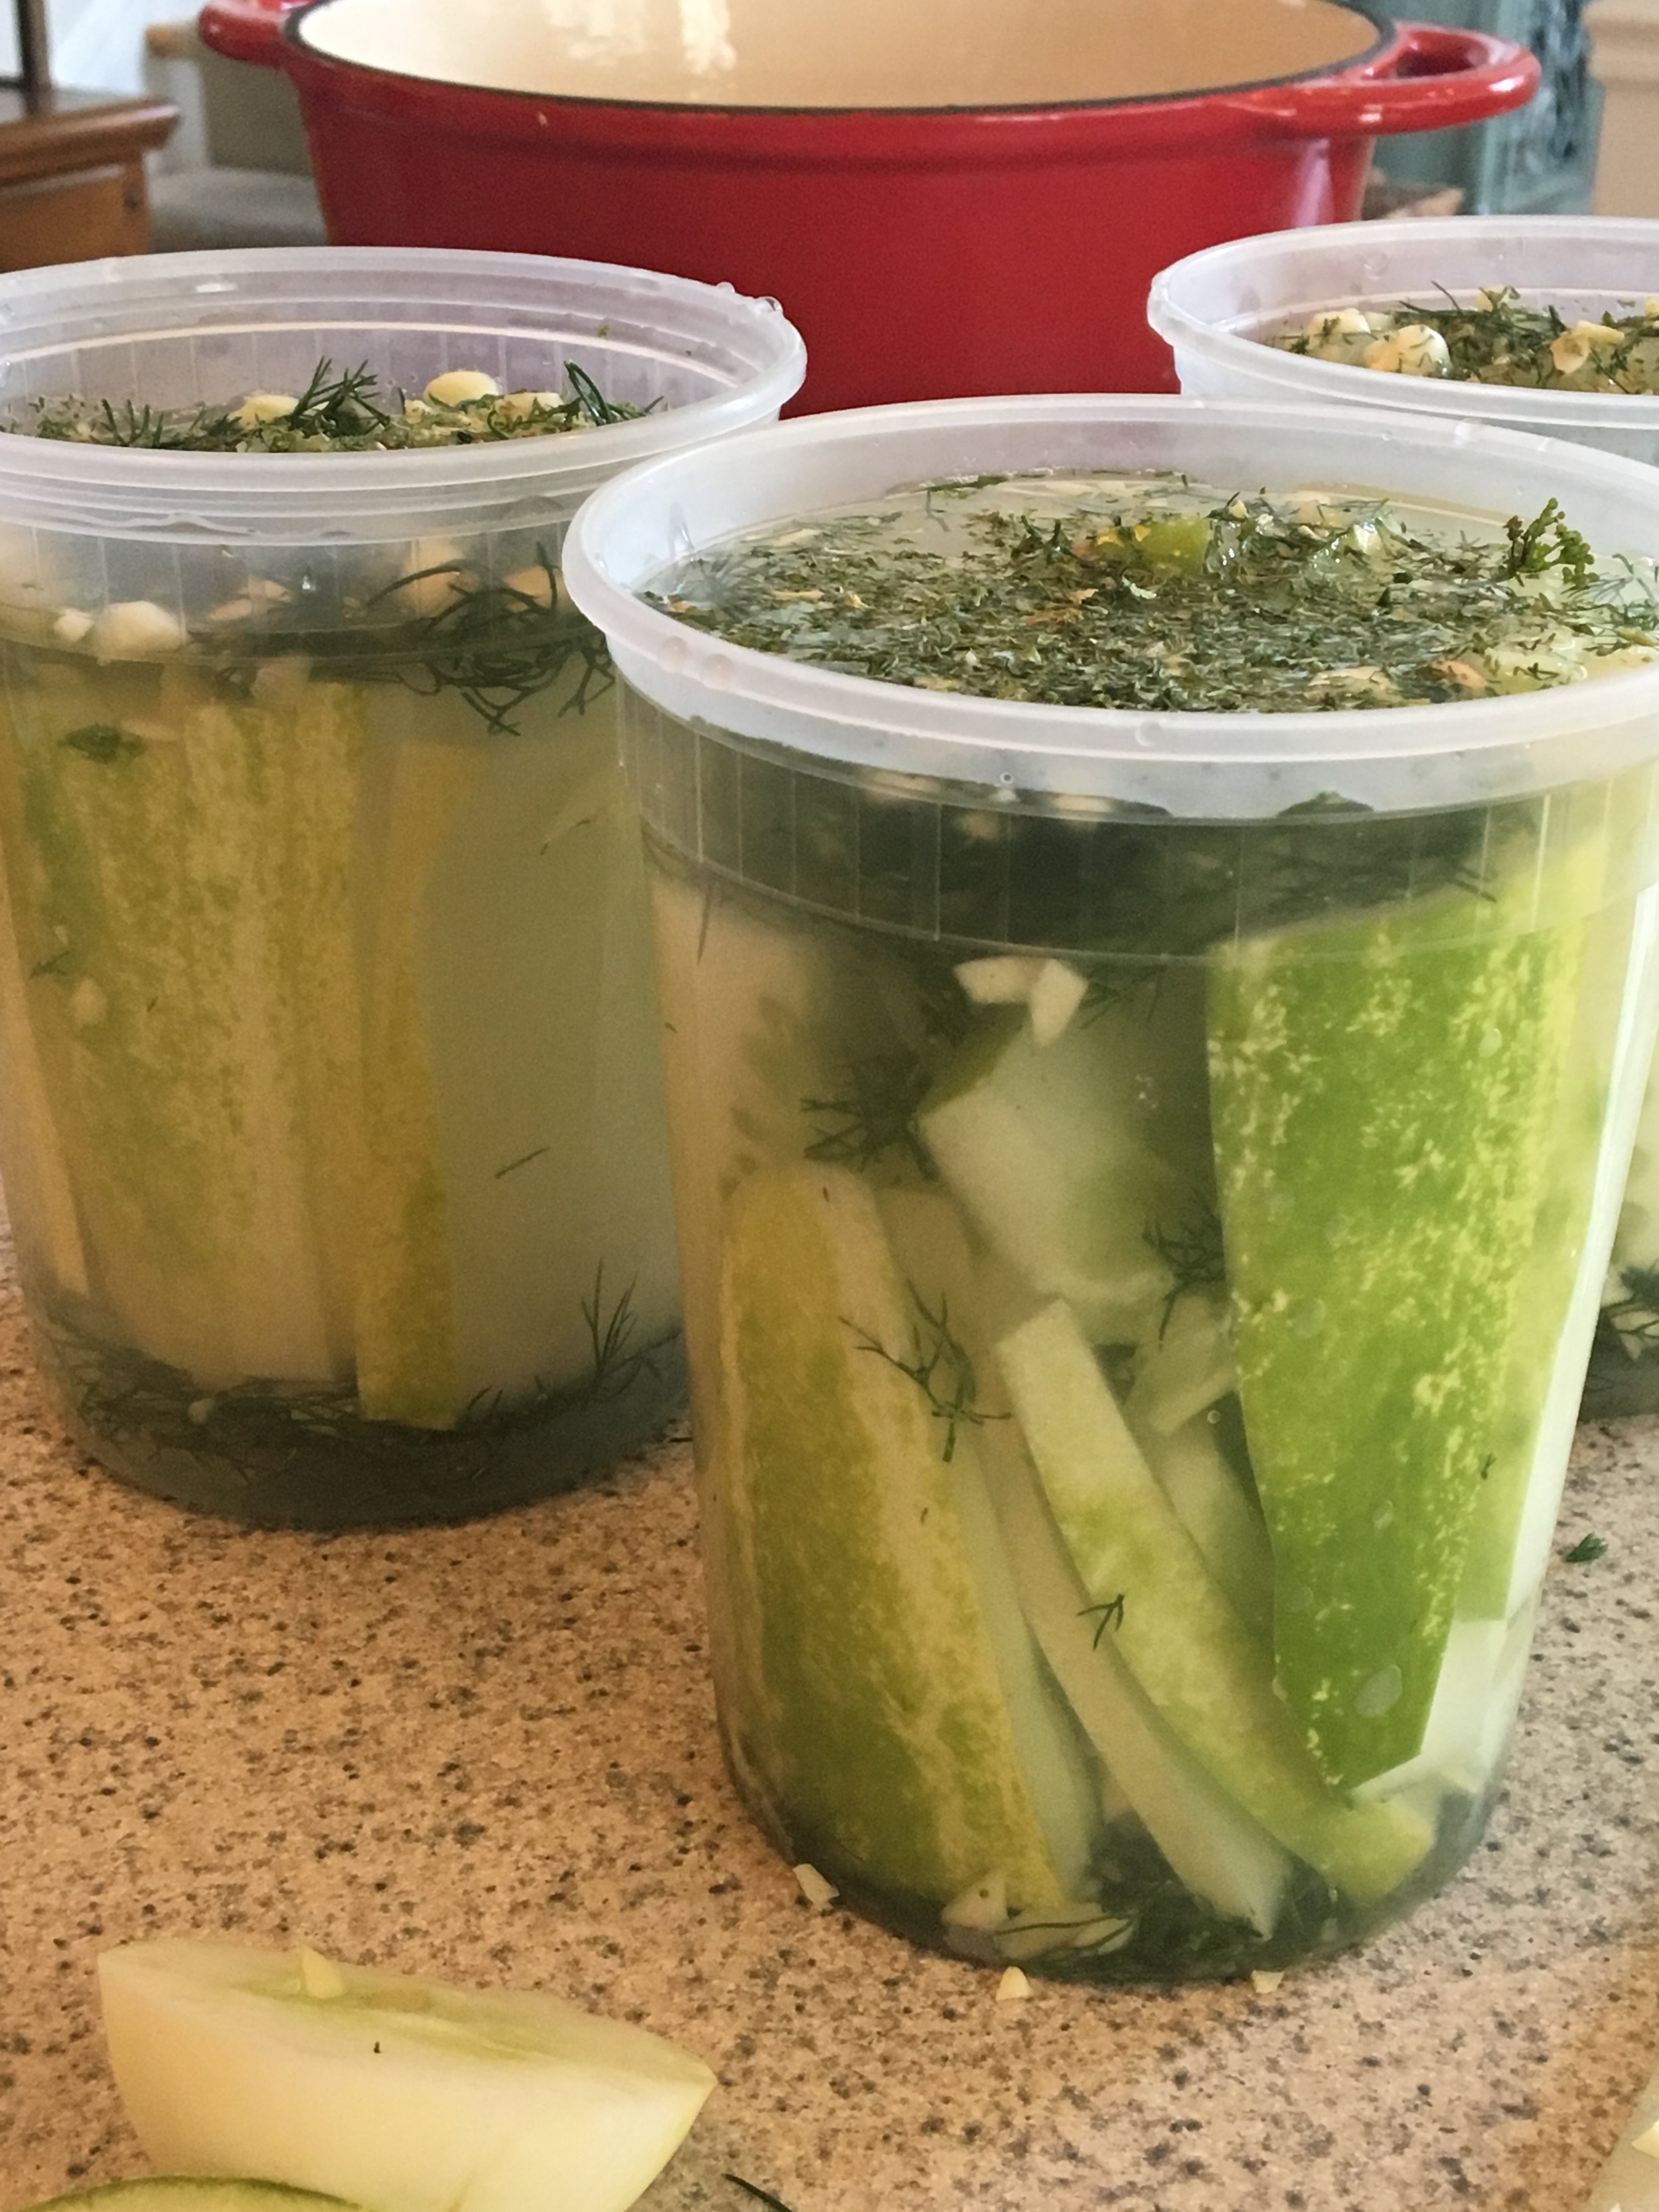
Seal with a lid and refrigerate. Pickles will be ready in 24 hours, but the flavor intensifies over several days. Pickles can be refrigerated for a few weeks.

*Note- We have made these tasty pickles several times and experimented with different shapes. For the sandwich stacker size (pictured on the right), we placed the sliced cucumbers standing up.

Here you have it, homemade lemon dill pickles! Enjoy!

Ways to Enjoy Your Homemade Pickles

  • On a burger: Add a zesty crunch to your favorite backyard classic.

  • As a snack: Pair with cheese and crackers for a quick, flavorful bite.

  • Chopped into salads: Add brightness and acidity to potato salad, chicken salad, or grain bowls.

  • Charcuterie boards: Impress your guests with fresh, homemade pickles alongside meats and cheeses.

Vegetables You Can Pickle

  • Cucumbers (classic spears or discs)

  • Carrots (cut into sticks or coins)

  • Green beans

  • Cauliflower florets

  • Radishes

  • Zucchini or summer squash

  • Bell peppers

  • Onions

Mix and match your favorites!

Here’s what some of our friends have to say about Cherchies® Lem ‘N Dill Seasoning. Wait until they hear about pickles!!

“Our family favorite. Used this for over 15 years on chicken, fish, veggies, eggs etc. Perfect balance of flavors! Enhances everything that we use it with. Love it!”- Ann

“Always a hit! One of my favorite dips and something I keep on hand!"- Unknown

“Been using this product since the late 1980's. Thanks for such a great product."- Kathy M.

“It is so versatile. I sprinkle it on cooked vegetables and most salads. I use the dip recipe for raw veggies. I make a cream cheese and mayonnaise mixture using lots if Lem’n Dill for a smoked salmon spread. It is wonderful added to sour cream for baked potatoes. I have been a fan for 40+ years!️"- Maryjane

Yum

Easy Pickled Jalapenos Recipe

side dishes, cooking tipsSheri SpalloneComment

Easy Pickled Jalapeño Recipe

Prep Time: 10 minutes

Cook Time: 5 minutes

Difficulty: Easy

Makes one jar

Hello friends. If you want to kick up your culinary repertoire and love spicy foods, tangy pickled jalapeños will elevate your cooking to a new level.  Even if you are not a spicy food lover, pickling jalapeños makes the peppers sweeter and milder than fresh jalapeños. They are easy to make and add incredible flavor to Mexican dishes, cheese balls, dips, sandwiches, soups, and much more.  More on that later.  And you'll wonder why you never made them sooner because you will always want them in your refrigerator.  

Have I convinced you yet?

Print Recipe

Here's my testimony. I have belonged to a CSA farm share for two summers, and jalapeños are part of the "pick-your-own crop." I avoided them two Summers ago because even though I love foods with a kick, I'm a wimp when it comes to fresh jalapeños or spicy peppers.  

That all changed last summer.  I put on my big girl pants, expanded my palate, and tried pickled jalapeños at a restaurant.  The rest is history, as I was hooked!  I LOVED THEM so much that I needed to make them at home so they would always be available.  

Luckily, last summer's CSA share included a plethora of jalapeños, so I had plenty on hand to experiment with and different recipes to use them in. At the end of the growing season, I sliced and froze the extras so my family and I could enjoy them all winter. This recipe includes only a few ingredients and features Cherchies® Garlic Seasoning.

Consider pickling these little gems if you're looking for a new go-to condiment to up your cooking game and add incredible flavor to your dishes.  You won't be disappointed.  

Thanks for stopping by. :) Comment below if you have made these zippy, pickled jalapeños. Revisit us for more family-tested recipesentertaining ideas, and cooking tips using all our favorite Cherchies® gourmet products.

Follow us on social media: FacebookInstagram, and Pinterest.

Ingredients

  • 6-8 jalapeños, thinly sliced

  • 1 clove of garlic, skins removed

  • 1 cup white vinegar

  • 1 cup water

  • 3 Tablespoons (Tbsp.) sugar

  • 1/2 teaspoon (tsp.) Cherchies® Garlic Seasoning

Preparation

I highly recommend using food-safe gloves to slice the jalapeños. The oil residue from these peppers stays on your hands, so be careful not to touch your eyes. Learn from my experience; it is not pleasant.

Wash and dry the jalapeños. Thinly slice the peppers and place them in a clean, sterilized jar with a lid, such as a Mason jar. (I have attached a link to the proper jar sterilizing techniques.) Add the garlic clove to the jar.

Now for the brine (salt water solution). In a small saucepan, simmer the vinegar, water, sugar, and Cherchies® Garlic Seasoning over low heat, stirring occasionally, until the sugar is dissolved, about 5 minutes. Pour the brine over the jalapeños. Let them cool to room temperature, then cover and chill them in the refrigerator for at least 30 minutes. They will keep in the fridge for two weeks.

That’s it. Super simple pickled jalapeños for whenever the craving hits.

*Note: The peppers will turn a lighter green once they connect with the brine.

How To Use Pickled Jalapeños:

  • Tacos, enchiladas, and pretty much any Mexican or Tex-Mex dish

  • Jalapeno popper dip or cheeseball

  • Sandwiches

  • Nacho cheese dip

  • Pimento Cheese

  • Combine with fruits for a delicious relish

  • Homemade Salsa, when combined with tomatoes, onions, cilantro

  • Egg dishes (omelets, avocado toast, casseroles (egg and chili casserole), deviled eggs

  • Beverages- lemonade, margaritas

  • Cream of jalapeno soup

  • Add to your favorite cornbread recipe for a little kick

  • So much more!

Enjoy!

Yum

Crispy Dilly Zucchini Fritters Recipe

appetizers, gluten free, leftovers, side dishes, snacksSheri SpalloneComment

Crispy Dilly Zucchini Fritters Recipe

Prep Time: 15 Minutes
Cook Time 10 minutes
Difficulty: Easy

Serves: 4

PRINT RECIPE

If you have been reading our blog (thank you), you will know that I often refer to our children as leftover haters and take pride in transforming last night's dinner into tonight's masterpiece. It is a great way to waste less and save money. I also love trying new recipes and surprising my family with new culinary creations to keep things fresh in our meal rotation. Today’s recipe: Crispy Dilly Zucchini Fritters featuring Cherchies® Lem ‘N Dill Seasoning.

Now that hubby and I are empty nesters, with the youngest two currently in college, I discovered that my biggest culinary challenge is my hubby, and changing his palate (who is, by far, the pickiest in our family) is my new mission. Our family has a one-bite rule. They do not have to like what we prepare but must try it, and the same goes for picky husbands. Challenge accepted;)

Let's talk zucchini, not necessarily my hubby's favorite but a colossal canvas for my mission. Our garden has abundantly provided us with a plethora of zucchini this summer, and aside from stir-fries, sauteeing, zucchini bread (more on that in another post), or even giving to neighbors, I needed a new recipe for zucchini fast, and this tasty zucchini fritter recipe is the perfect experiment for a picky non-veggie loving hubby.

The result, HE LOVED IT, as did our college students, who are home for the Summer. They even went for seconds! And the next day…hubby went looking for more leftover fritters for a snack but unfortunately came up short (our children had gobbled them up).

This easy recipe, featuring Cherchies® Lem ‘N Dill Seasoning Blend, comes together in minutes. It is crispy on the outside and flavorful and moist in the middle. The hardest part about this recipe is squeezing the water out of the zucchini. The more water you squeeze out of the zucchini, the better the fritters will turn out. I have yet to try this recipe in our air fryer but report back if you do.

So, if you have more zucchini than you know what to do with and are looking for a tasty vegetable recipe, consider making these crispy dilly zucchini fritters, but grab some for yourself, as they will disappear right before your eyes! Family and picky hubby approved.

Thanks for stopping by:) Comment below if you have tried this recipe. Come back again for more family-tested recipes, entertaining ideas, and cooking tips using all our favorite Cherchies® gourmet products.

Follow us on social media: Facebook, Instagram, and Pinterest.

Ingredients:

  • 2 medium zucchini (or one large zucchini)

  • 2 teaspoons (tsp.) salt

  • 4 scallions, diced

  • 1/4 cup parsley, chopped

  • 1 1/2 Tablespoons (Tbsp.) Cherchies® Lem'n Dill Seasoning

  • 1 large egg, beaten (might need more depending on zucchini)

  • 1/2 cup grated Parmesan cheese

  • 1/3 cup cornmeal

  • 1 Tablespoon (Tbsp) cornstarch

  • 1 Tablespoon (Tbsp) baking powder

  • Canola or olive oil for frying

  • Sour cream or **special sauce (optional) for dipping

  • Extra diced scallions or chives to garnish (optional)

**Special Sauce Ingredients: (optional)

Preparation
Grate zucchini into a colander with a box grater in the sink, or use a food processor with a shredding attachment. Toss the zucchini with two teaspoons of salt. Let the shredded zucchini sit in a colander over a large bowl for 10 minutes. The salt will draw out the moisture from the zucchini.

After 10 minutes, put the grated zucchini in a clean kitchen towel, and squeeze out as much liquid as possible. The more liquid squeezed out, the crispier the fritters will be.

Add the drained zucchini, scallions, parsley, Cherchies® Lem'n Dill Seasoning, egg, cheese, cornmeal, cornstarch, and baking powder to a large bowl. Mix to combine. (To make this dairy-free, omit Parmesan cheese or substitute with vegan parmesan cheese).

Add a thin layer of oil to a pan, and over medium heat, add spoonfuls of the zucchini mixture. Flatten with a spatula and pan-fry until golden brown (3-5 minutes per side). Once the fritters are cooked, remove them from the pan and drain them on a paper towel-lined plate.

Serve with sour cream or **special sauce, garnished with scallions or chives for dipping.

Yum

Lemon Dill Bread Recipe

snacks, side dishesSheri SpalloneComment

Lemon Dill Bread Recipe

Prep Time:  10 Minutes
Cook Time:  8-12 Minutes
Difficulty:  Easy

You will wonder how you ever served crescent rolls any other way when you serve these savory rolls, laced with lemon, butter, and dill.

Add a twist to your favorite crescent rolls. For this recipe, we used refrigerated crescent rolls, butter, parmesan cheese, and Cherchies® Lem’n Dill Seasoning. Our college students raved about this recipe and we are confident your family will too!

Thanks for stopping by:) Comment below if you have made this delicious recipe. Come back again for more family-tested recipes, entertaining ideas, and cooking tips using all our favorite Cherchies® gourmet products.

Follow us on social media: Facebook, Instagram, and Pinterest.

Ingredients 


Preparation 
Preheat the oven to 375 degrees (350 degrees for a non-stick baking sheet).

Unroll the dough and separate it into 8 triangles. Melt butter and add Cherchies® Lem'n Dill Seasoning and parmesan cheese.  Blend thoroughly. 

Baste each triangle from the crescent roll package with the mixture before rolling and baking.  Roll up triangles, beginning with the wide end, and place them on an ungreased cookie sheet or parchment paper.

For presentation, I like to dab the outside of the rolls with a little butter mixture.  This is optional.  Bake for 8-12 minutes or until golden brown. Enjoy!


Yum