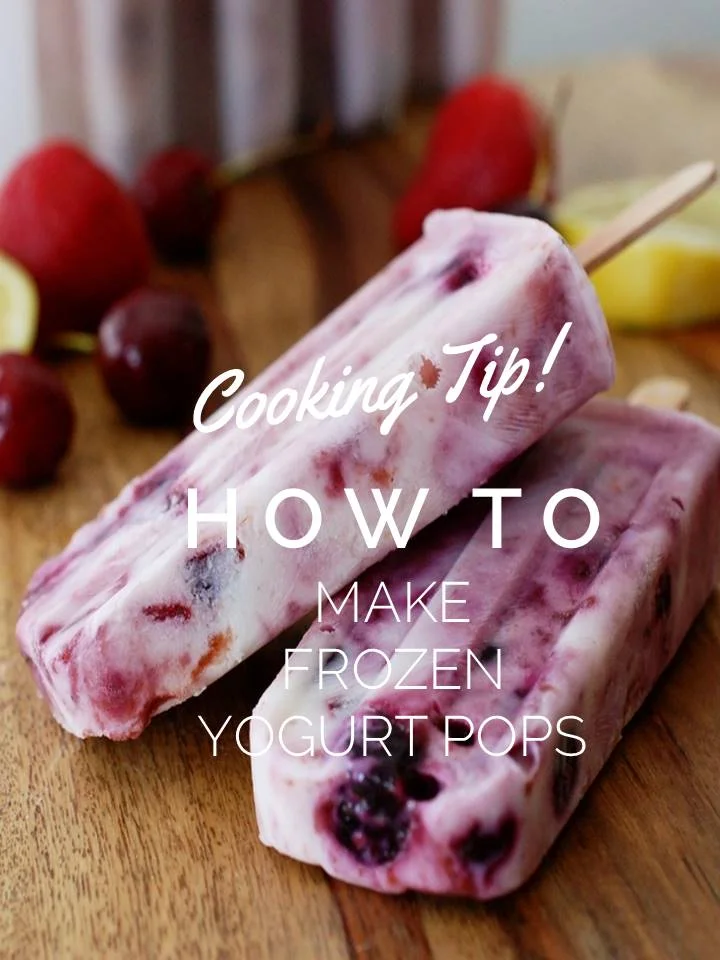
Cooking Tip: How to Make Frozen Yogurt Popsicles
Posted originally 9/7/16, but updated to reflect the times.
Frozen popsicles are just plain fun for kiddos and adults alike. Am I right? They are perfect heat busters, the flavor combinations are endless, they are easy to make with real pronounceable ingredients you have handy, and they are creative outlets for cooped up young adults. Yes!
How are you doing? A LOT has happened these last few months, but our family is safe, and for that, I am grateful, and I hope you and your family are as well. Do you have children at home? We have a full house once again (25, 19, and 16), and our younger two are always bored (even after they do something), and they are always hungry. Sound familiar? Luckily, they have always loved helping in the kitchen, so when they were practically bouncing off the walls the other day, with "nothing to do," I suggested making one of their favorite summer recipes, homemade frozen yogurt popsicles®.
Surprisingly, no eye-roll :). Problem solved, a creative project they could make and eat! Win-win! (I must have caught them at a weak moment).
A few years back, our middle child, Nicholas (15 at the time) suggested we not only use fruit and yogurt (instead of the typical fruit and fruit juices) but add our fruit butter spreads and preserves to the mix, an idea that had never crossed my mind before. It made sense, fruit butter spreads are fruits that have cooked down to a spreadable consistency, so why not use them in frozen pops? But preserves? Yes! What a bright kiddo:).
So we set forth on our quest and made frozen yogurt pops with whatever ingredients we had on hand, blueberries, cherries, vanilla yogurt, leftover Cherry Butter, Blackberry Preserves, and chocolate syrup. We created three different varieties, Blueberry Vanilla Yogurt Pops, Berry Cherry Yogurt Pops, and Ice Cream Sundae Yogurt Pops . The hardest part for young adults was waiting for the darn things to freeze;).
These velvety, fruity concoctions will be a hit with your family, as they were with ours. They are the perfect healthy snack, dessert, or breakfast treat, they are easy to make with real ingredients, and they are the ideal boredom-buster project for all ages. Homemade is the best, especially when you can make recipes with someone else, and for me, my friends, spending time with our young adults, is priceless!
Here's how we made them (We made three kinds. You can see the recipes below ).
Thanks for visiting! Come back again. Comment below if you made this recipe and any yummy variations.
Ingredients
1 large container (32 oz.) Greek Vanilla Yogurt
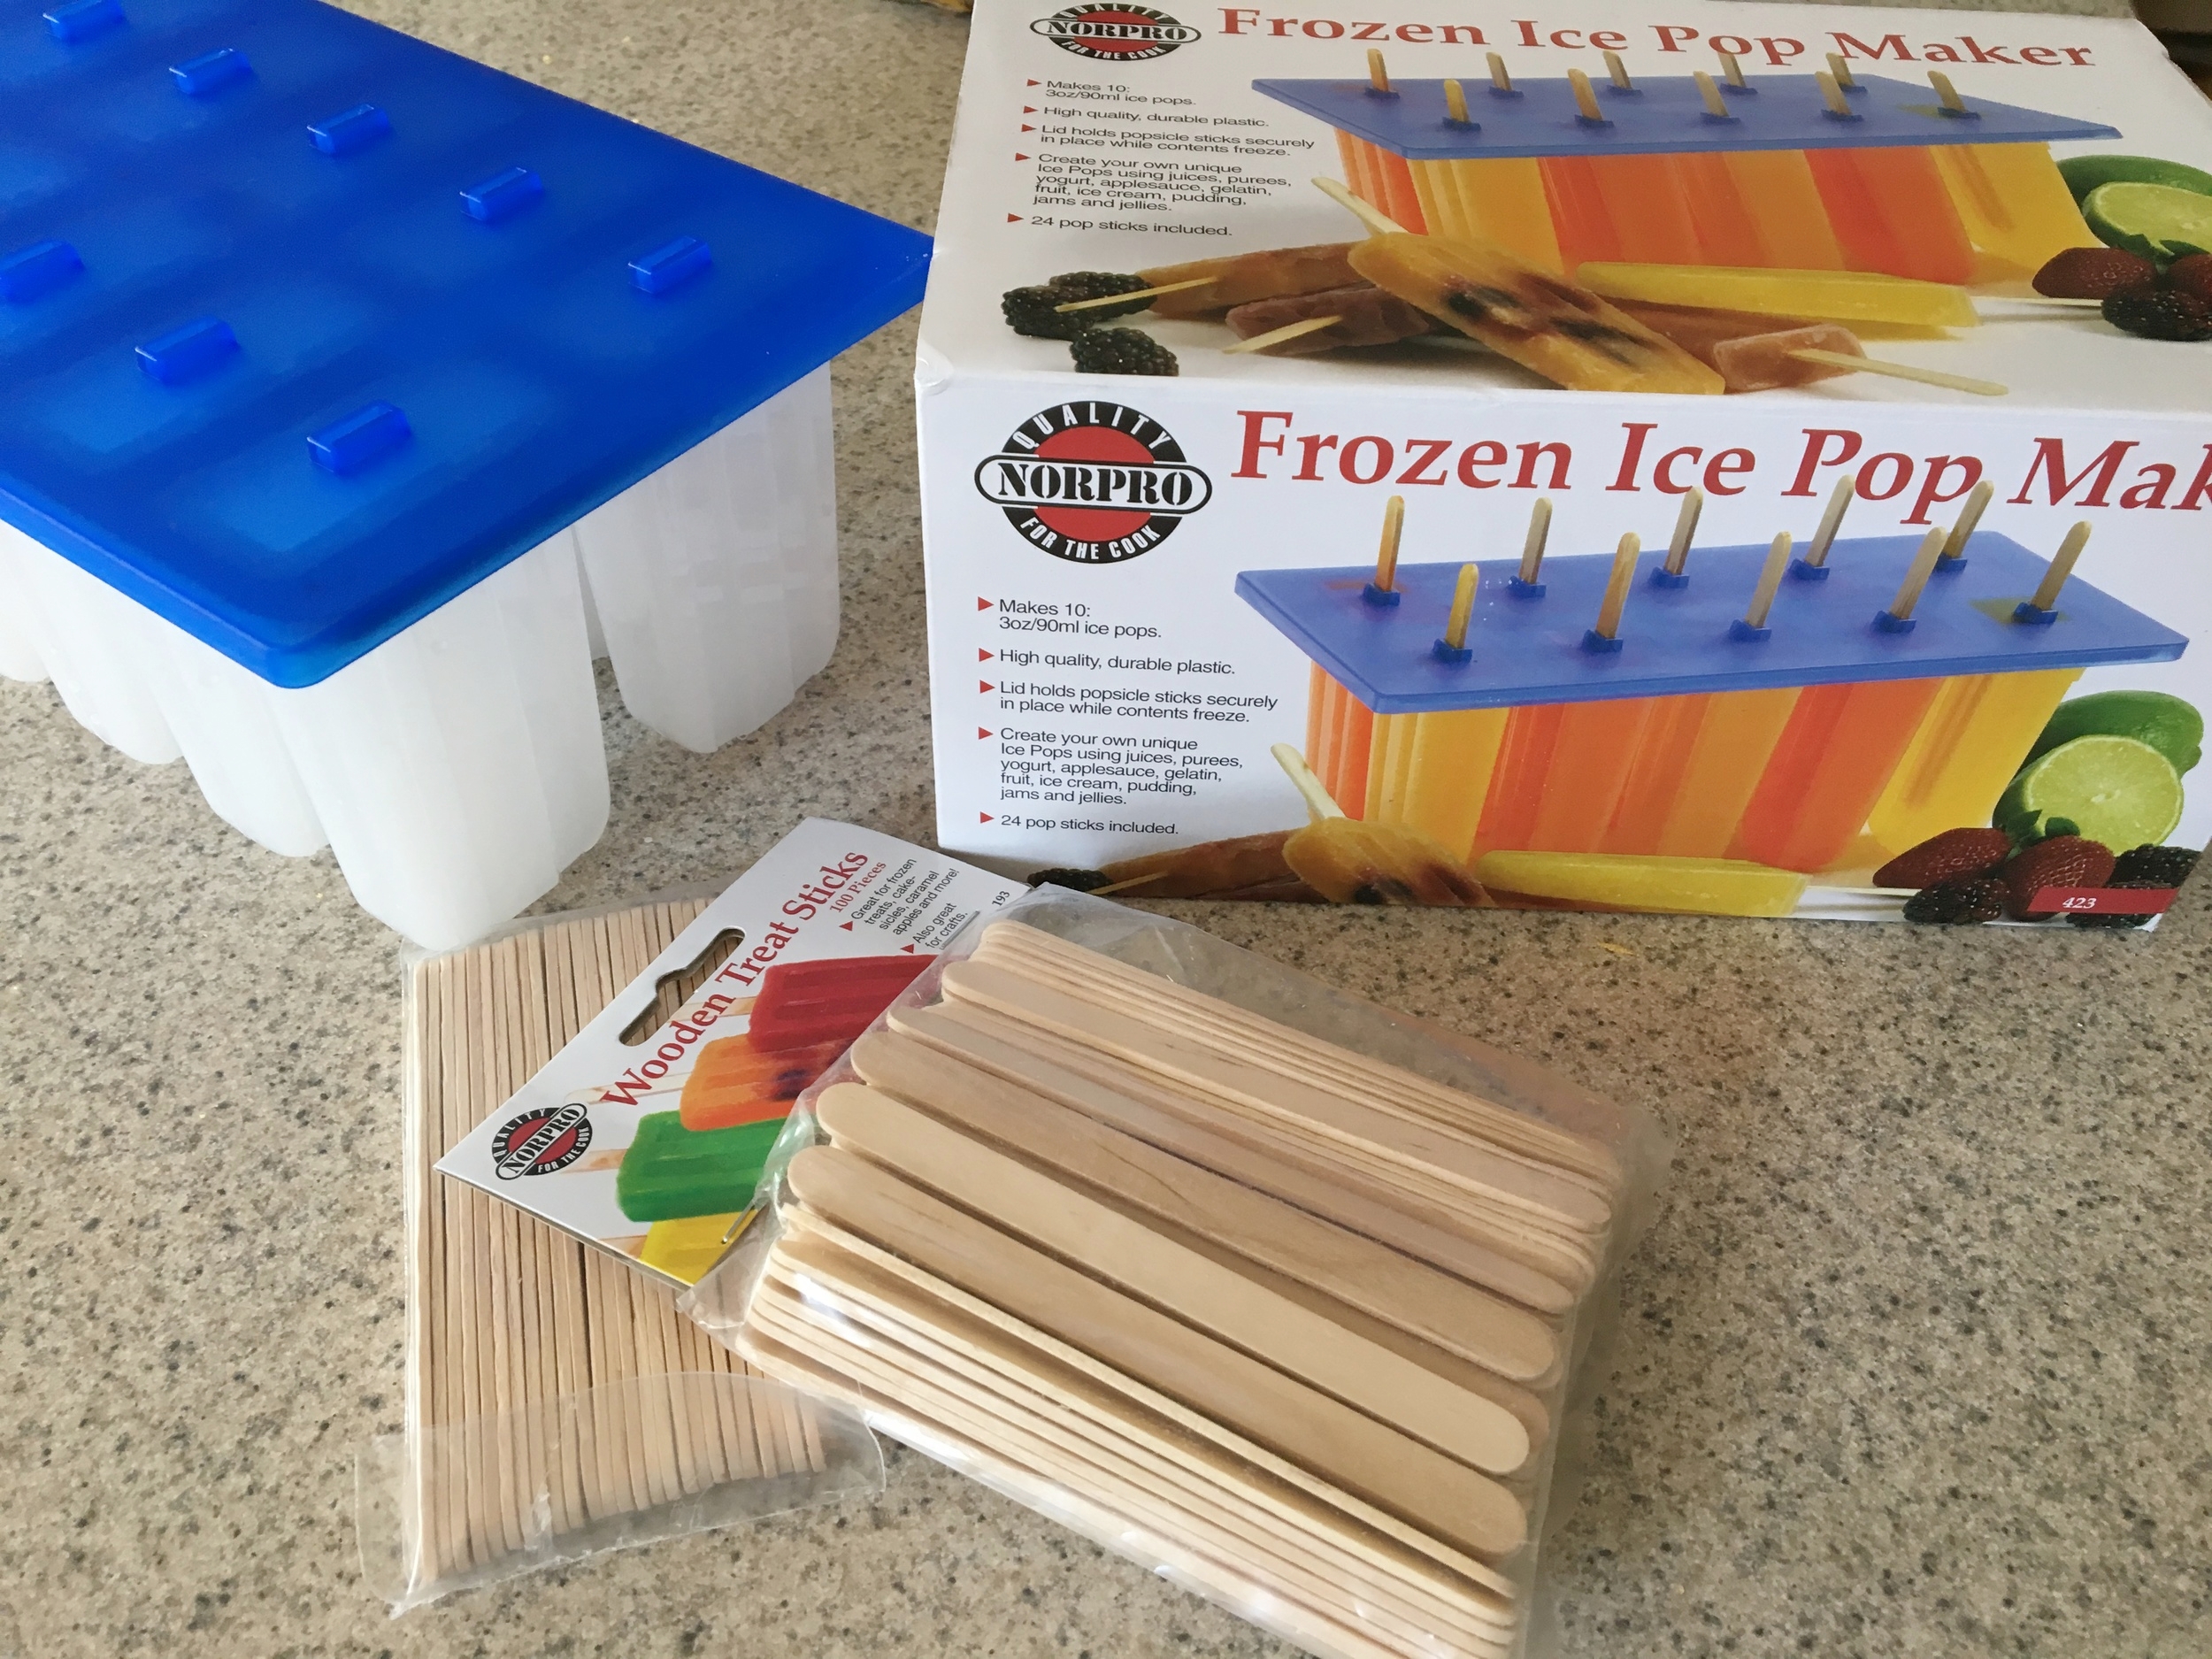
Popsicle molds
Popsicle sticks
1/2 cup chopped cherries
1/2 cup blueberries
2 Tablespoons (Tbsp) Cherchies® Blackberry Preserves
2 Tablespoons (Tbsp) Cherchies® Cherry Butter or Cherchies® Strawberry Butter
1 Tablespoon (Tbsp) Chocolate Syrup
Preparation
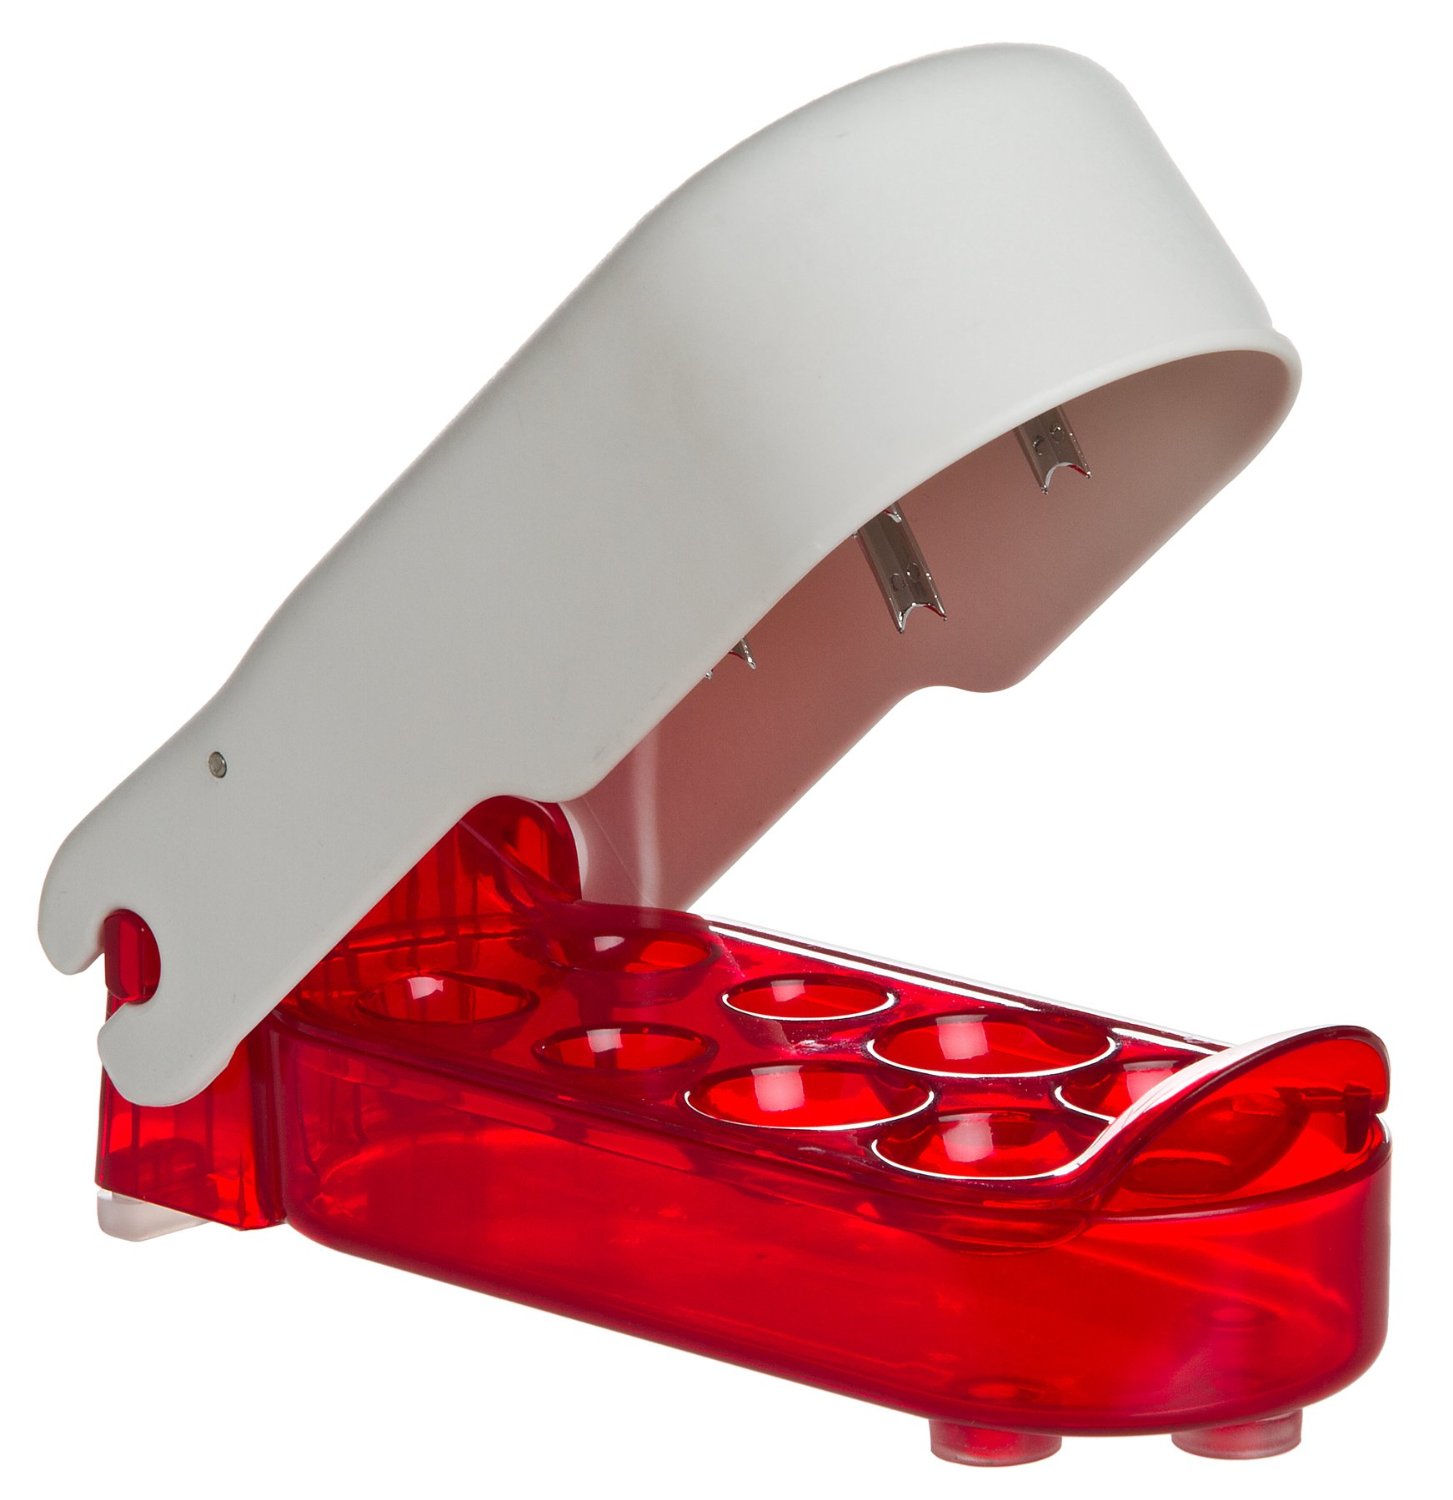
Before you begin, you'll need a few kitchen tools, a popsicle mold (I purchased this 10 serving mold on Amazon), and a cherry pitter (also to make my life easier).
1. Separate the greek yogurt into 3 medium bowls (not necessary if only making one variety), and set aside.
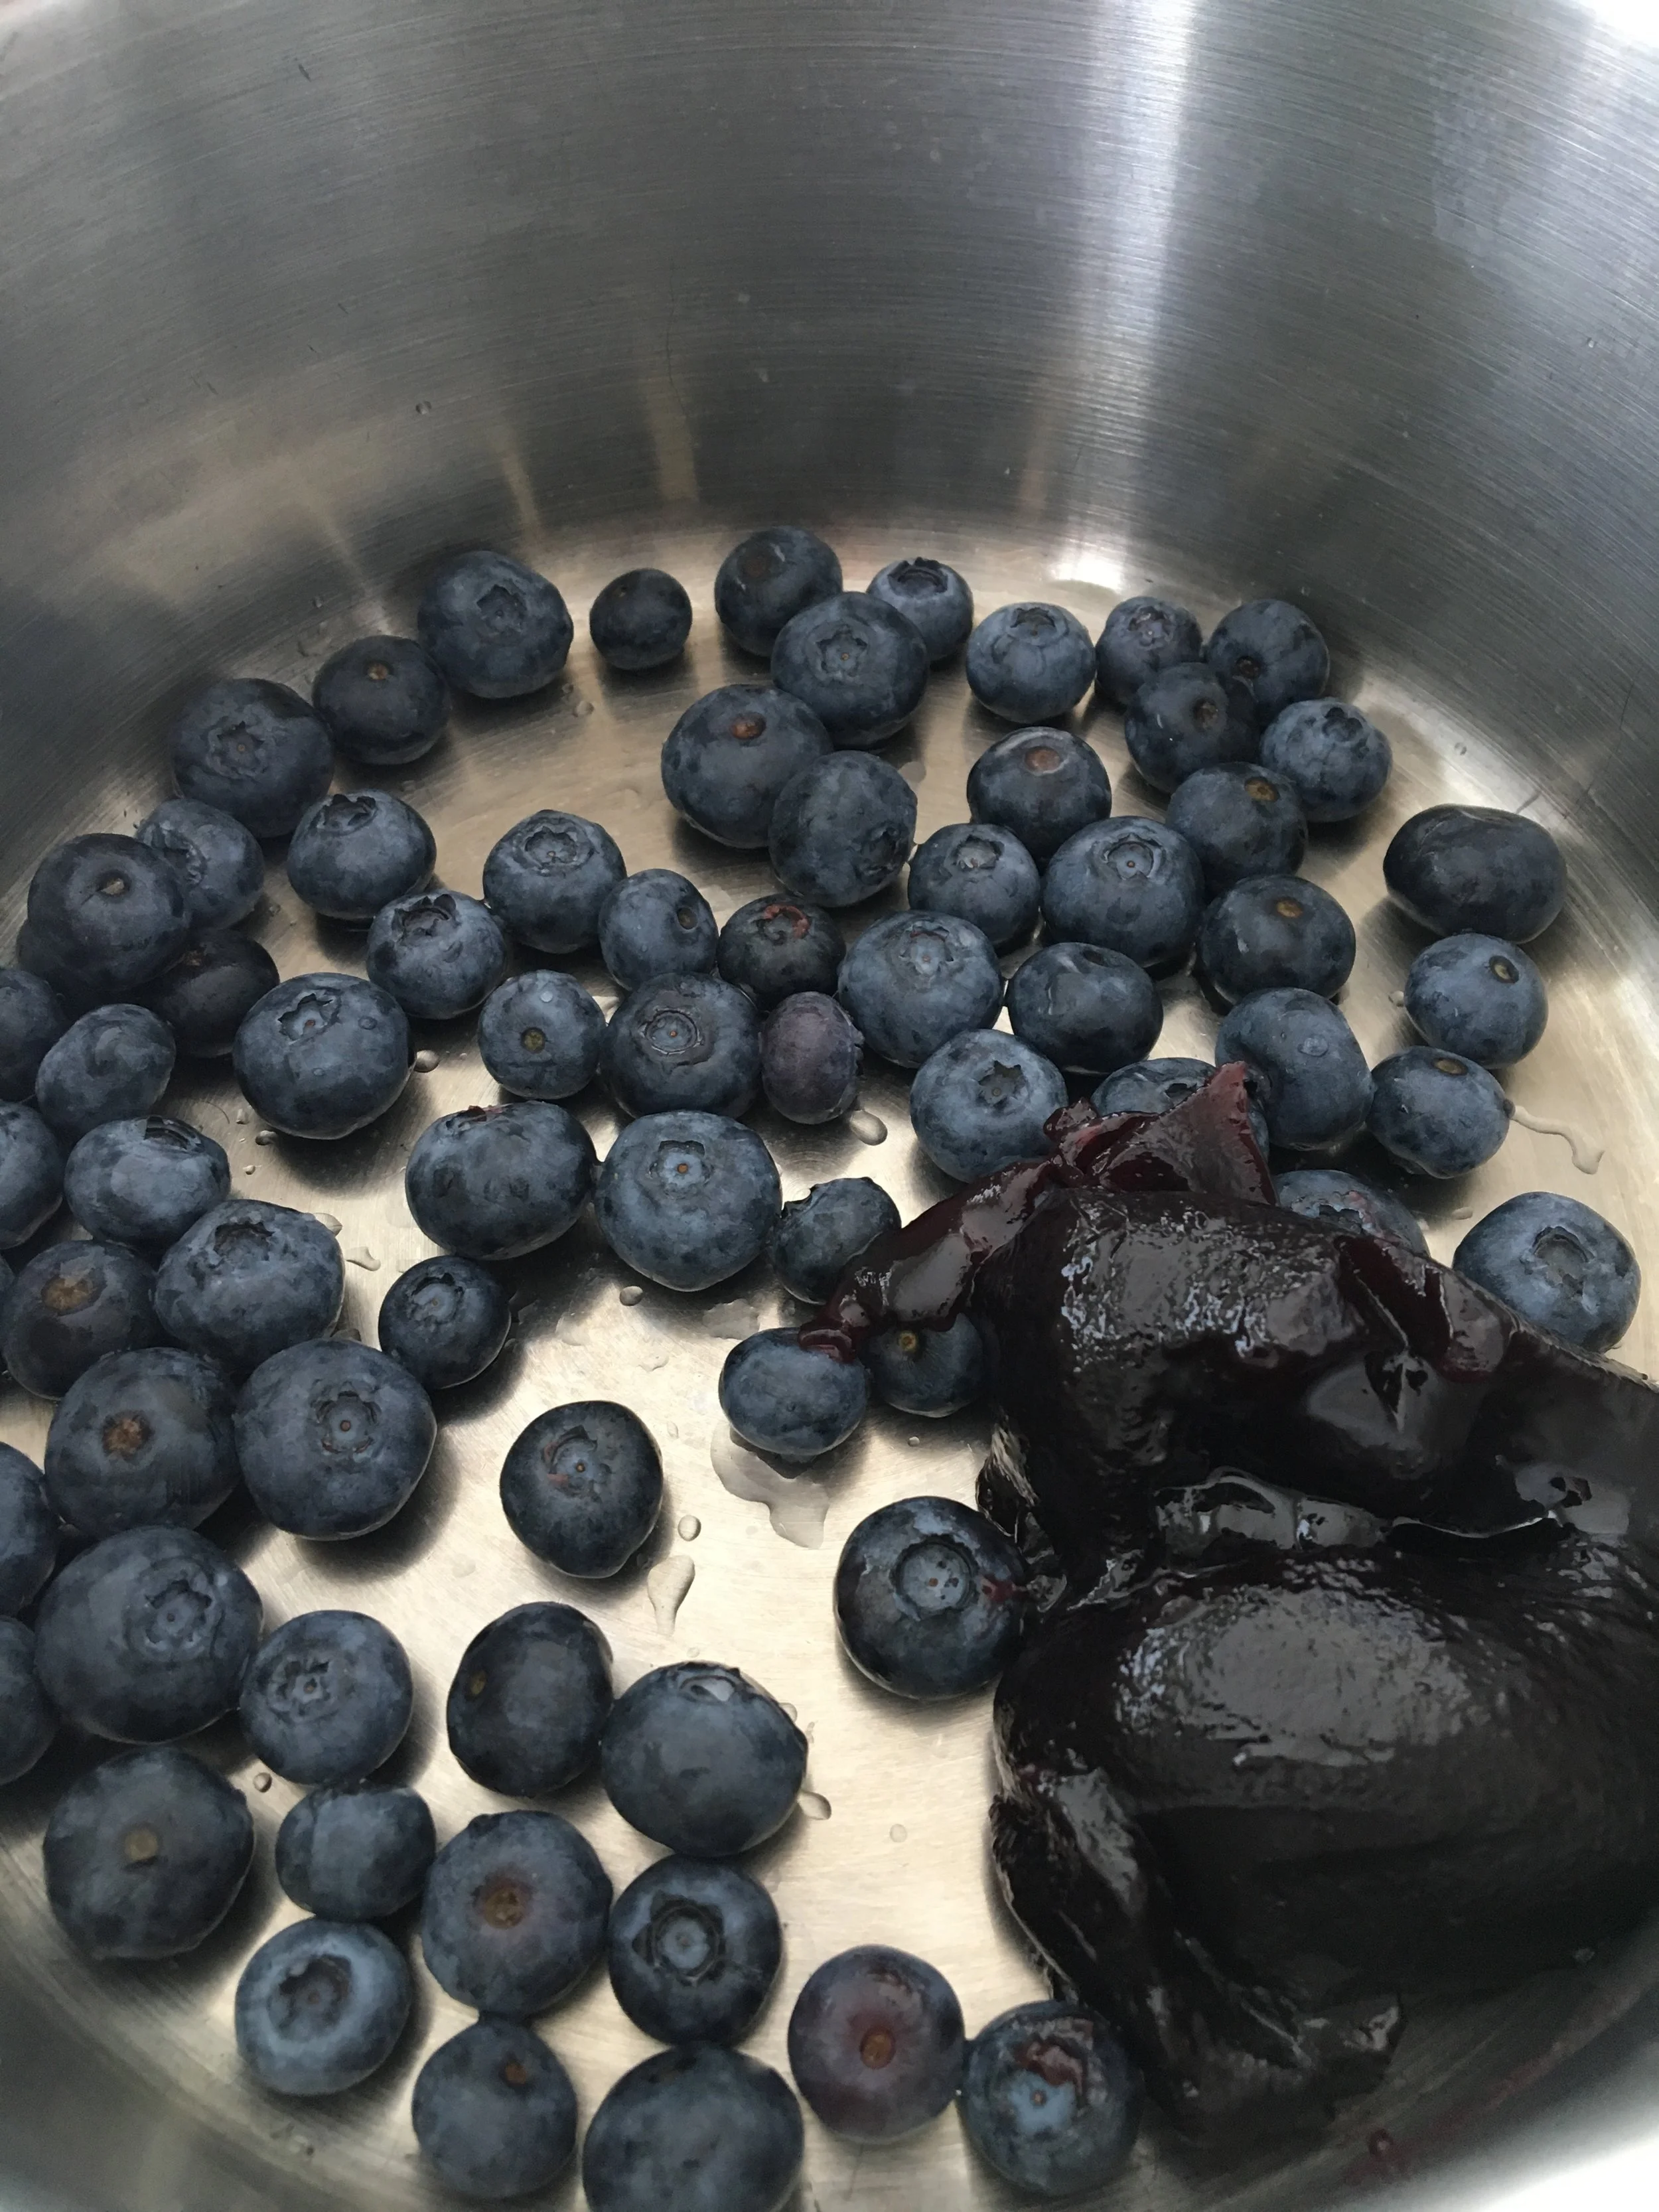
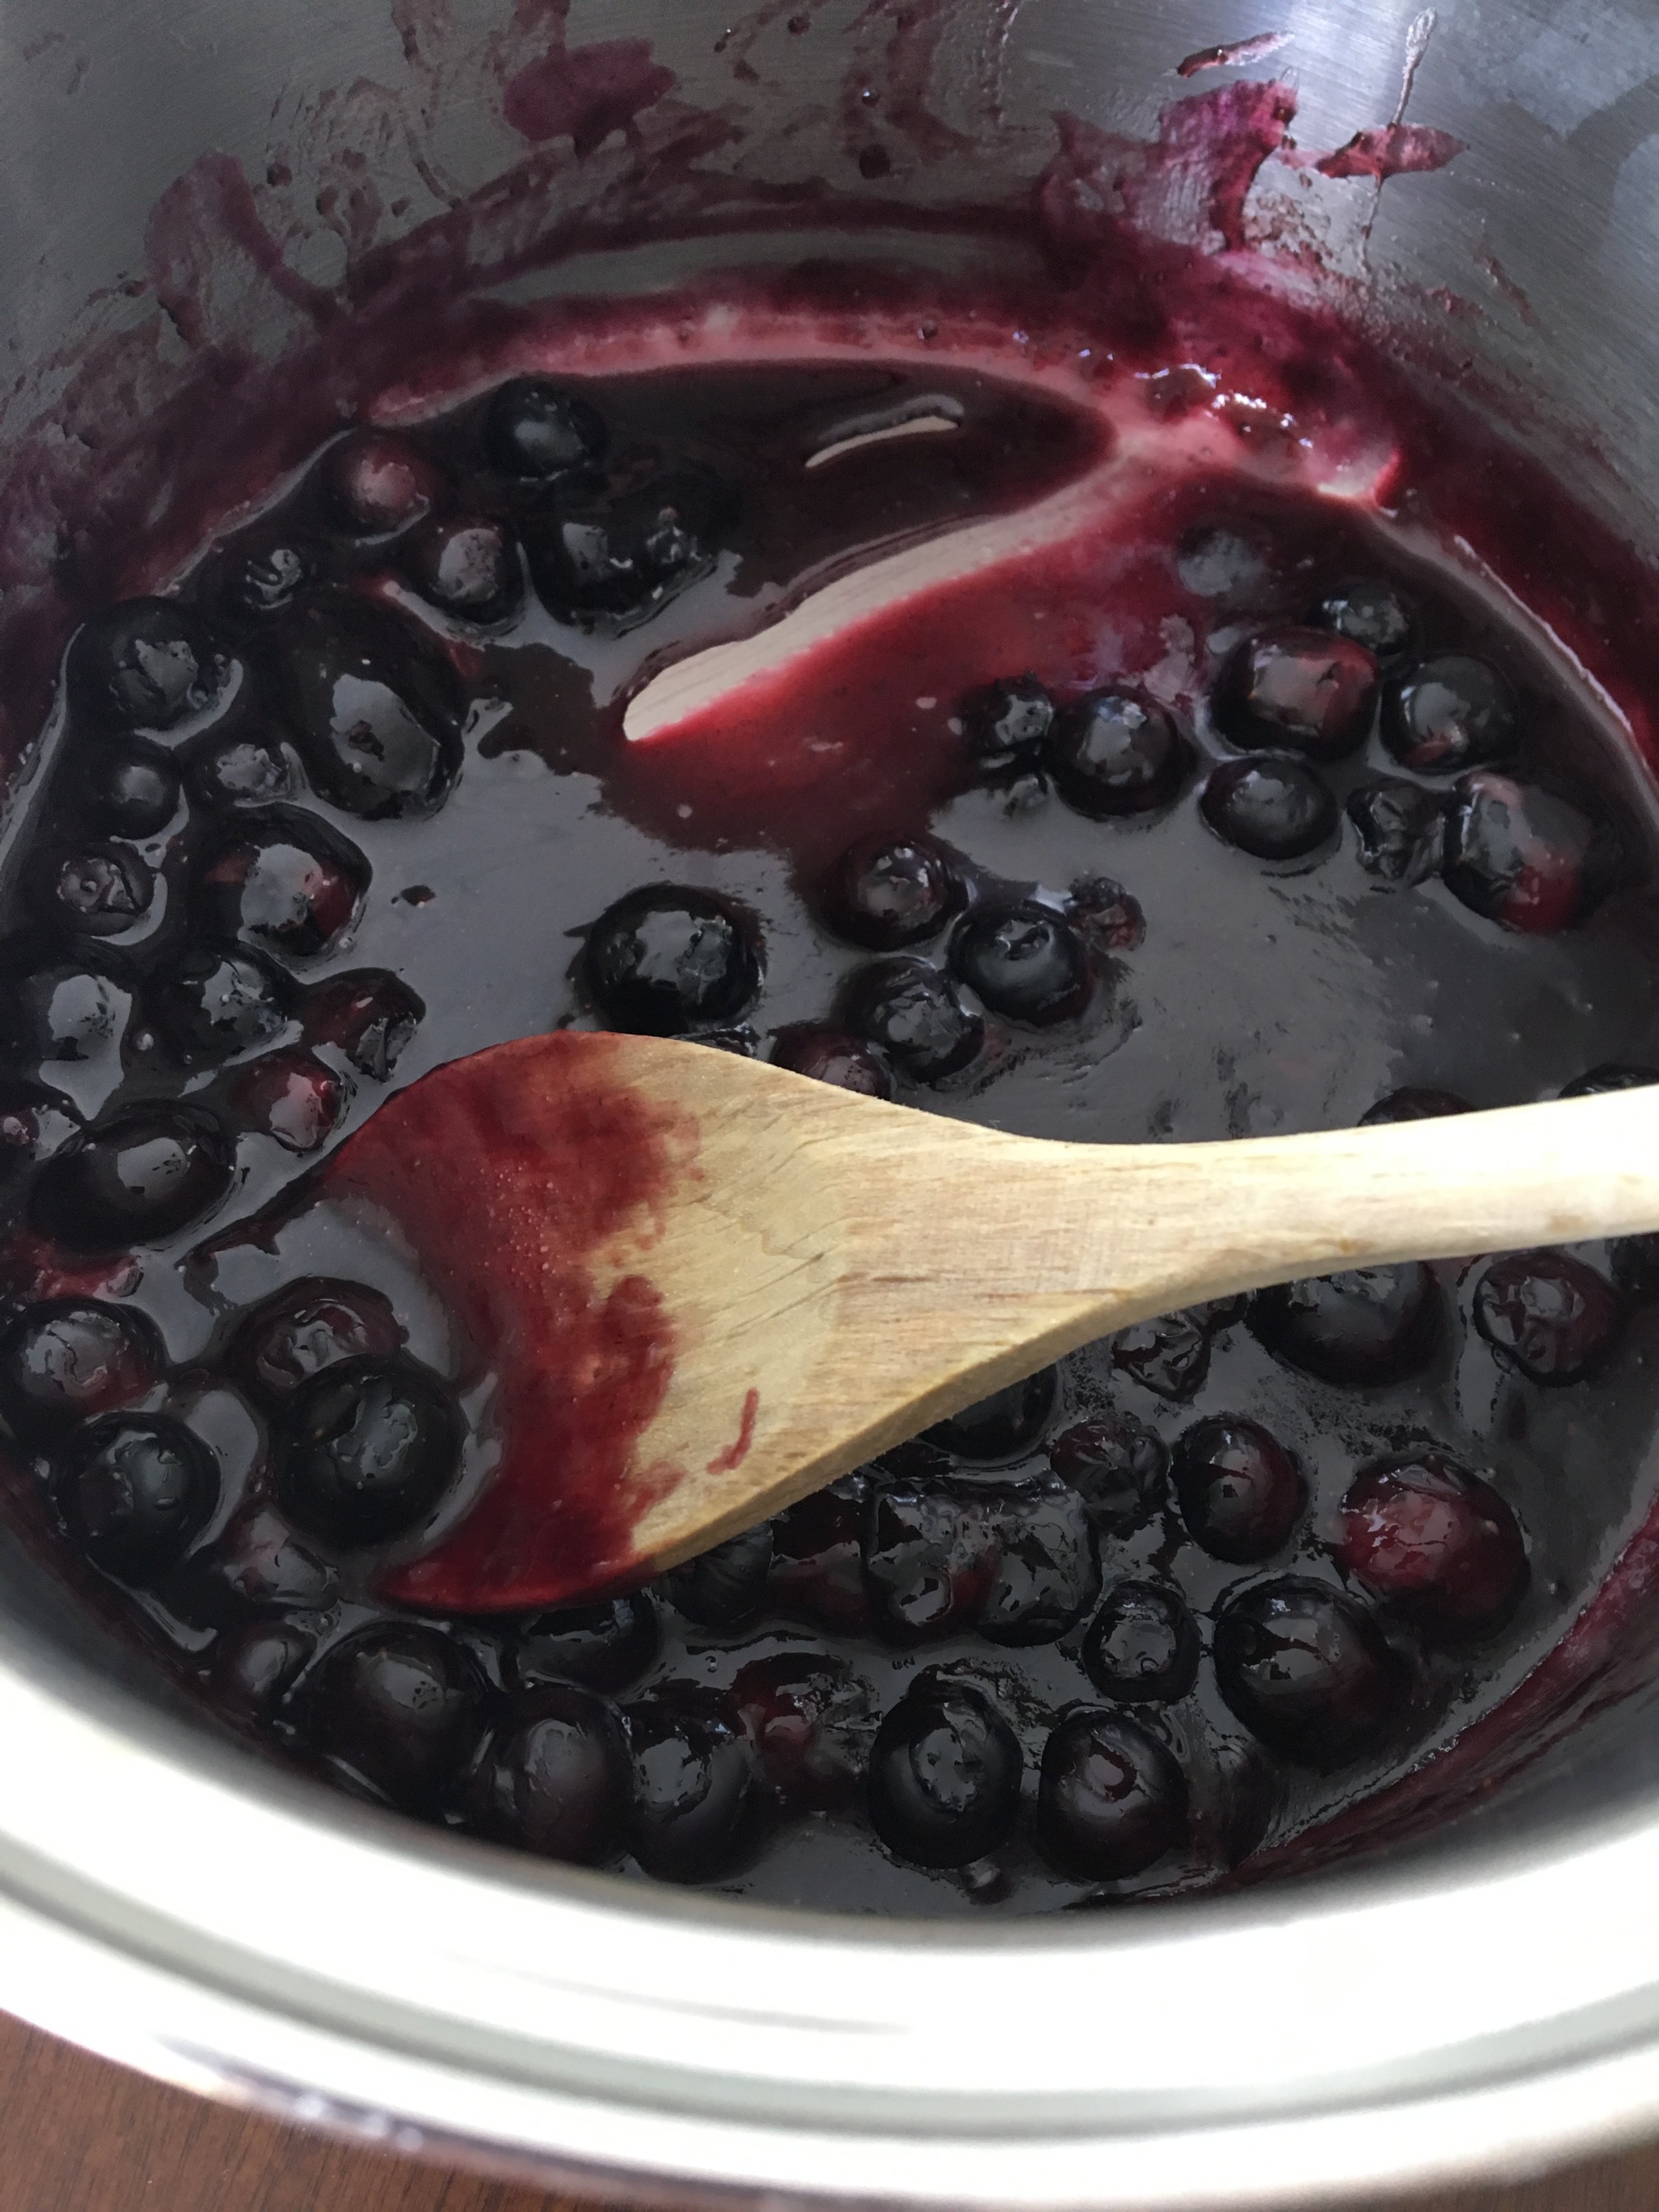
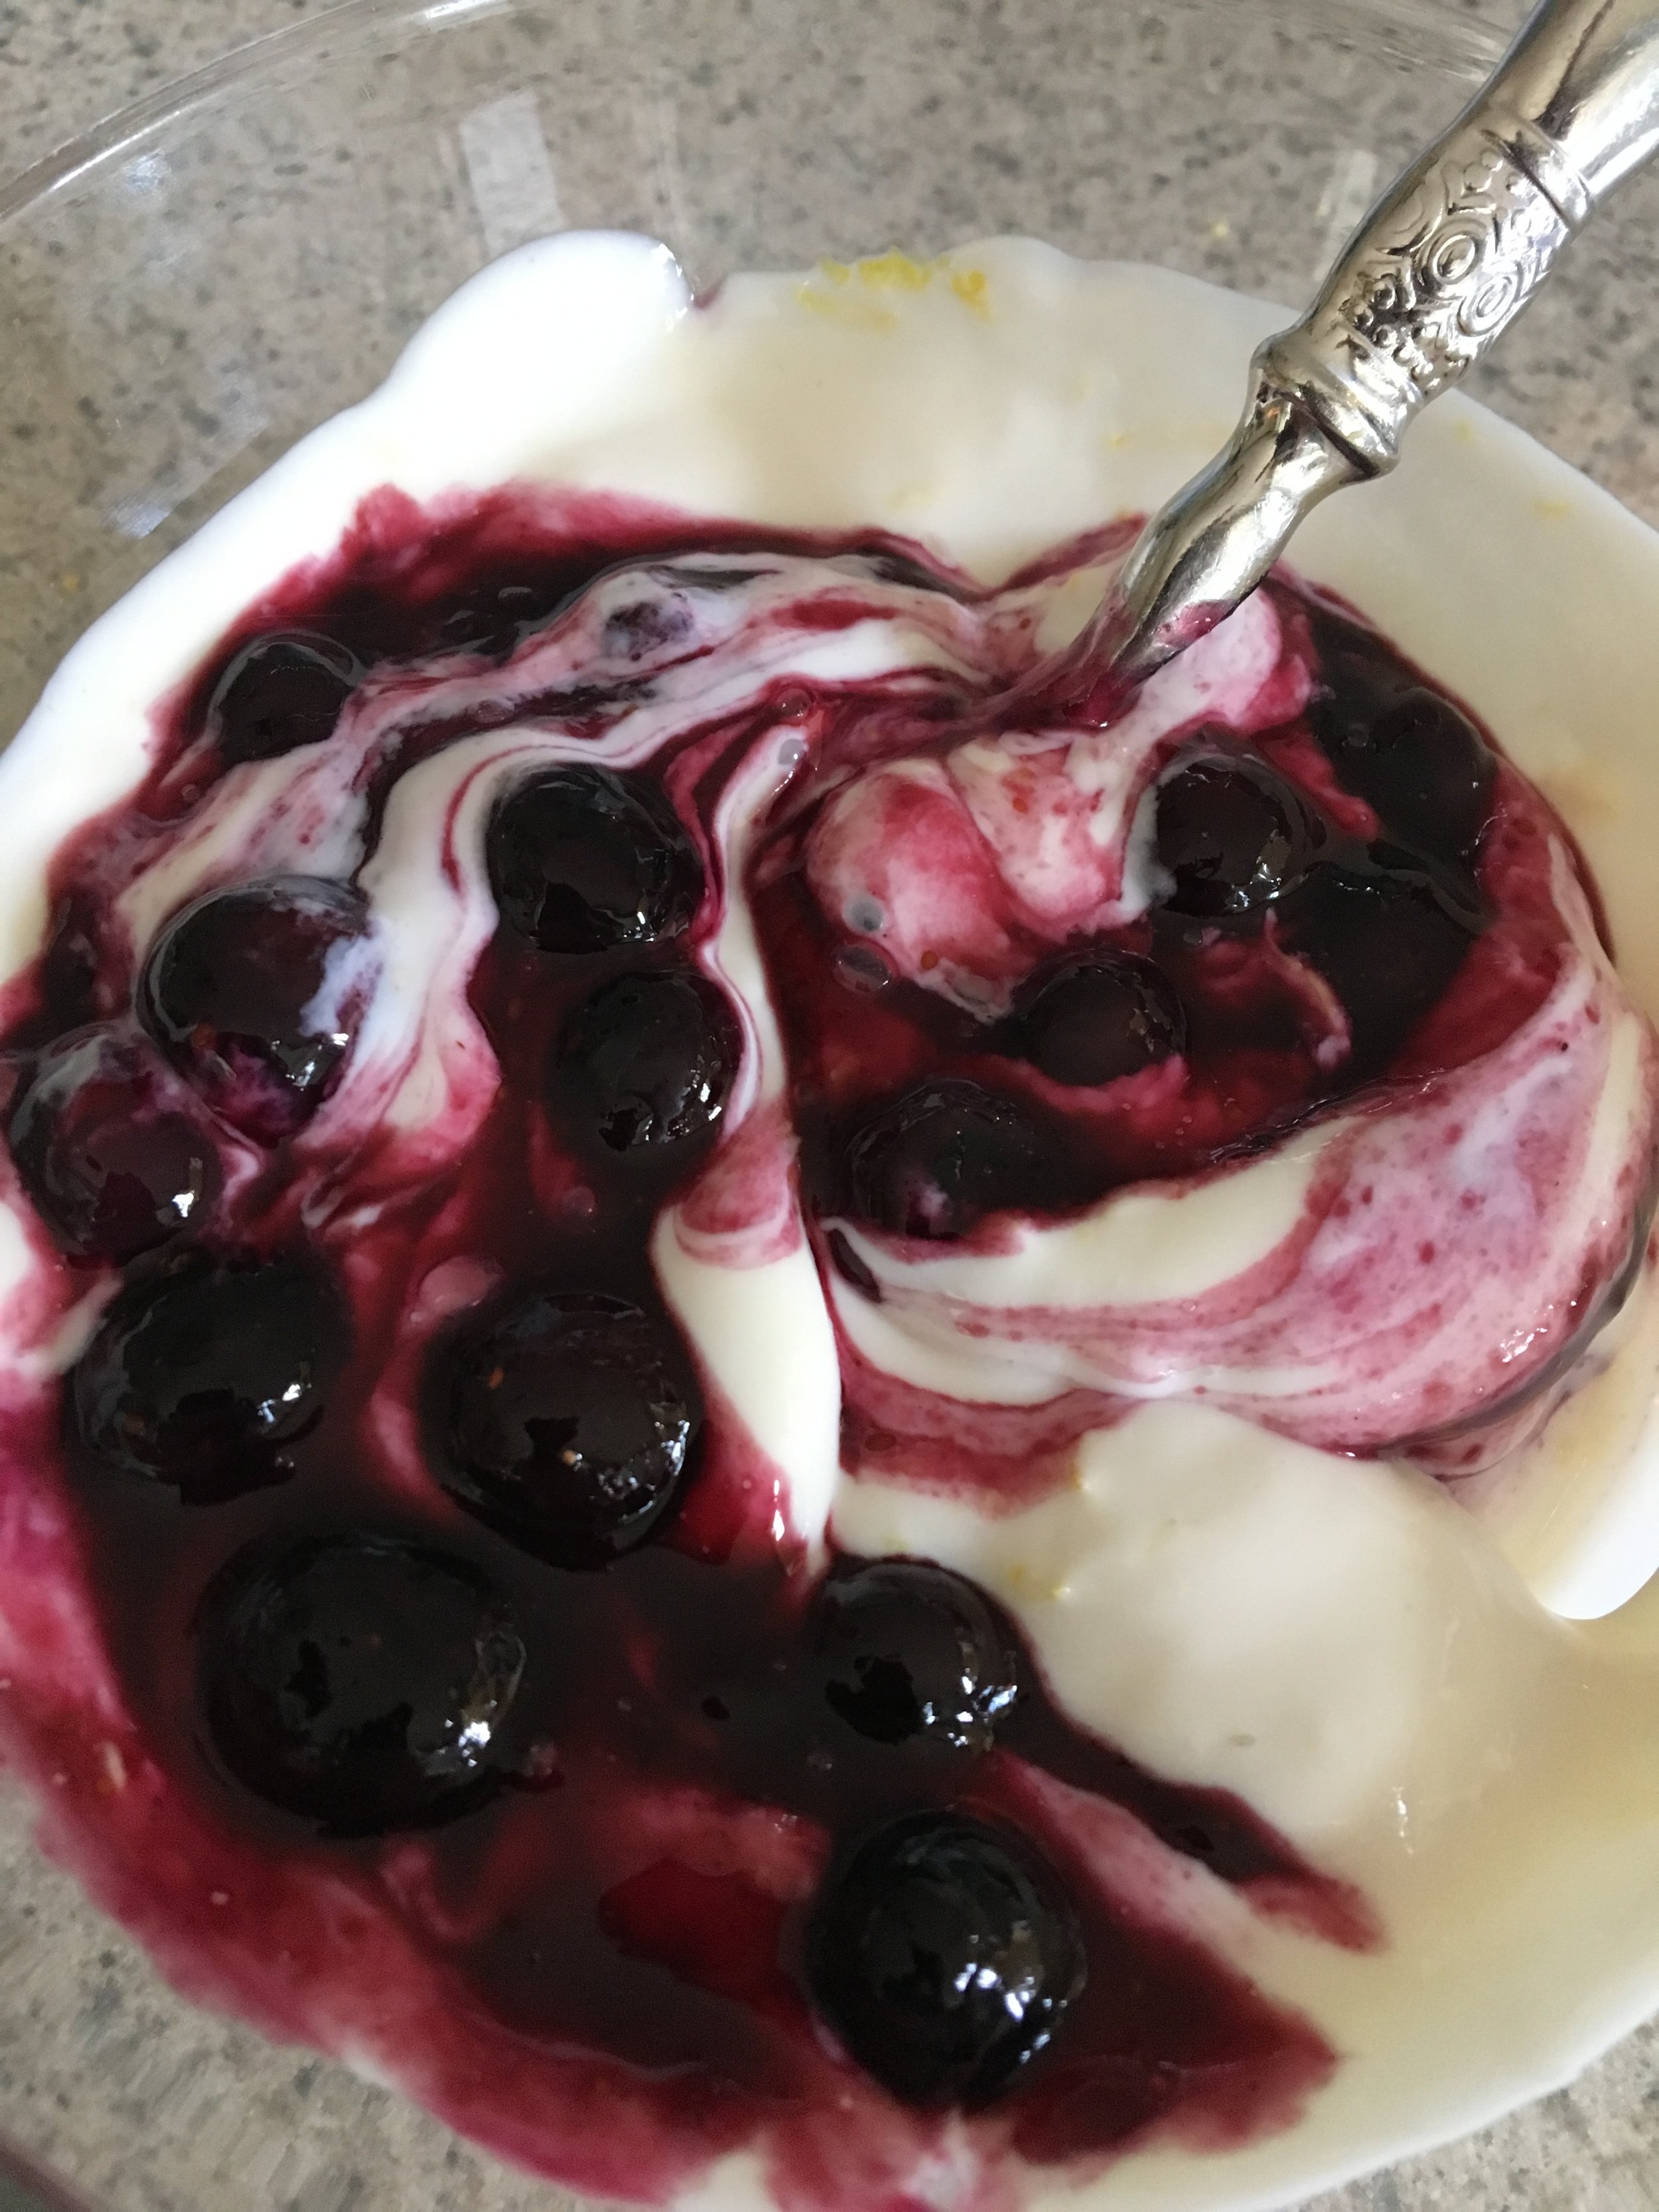
2. In a small sauce pan, cook the blueberries and the Blackberry Preserves on low until the preserves have dissolved (a few minutes). Turn off the heat and allow the preserves to cool about 5 minutes. Now the fun begins!
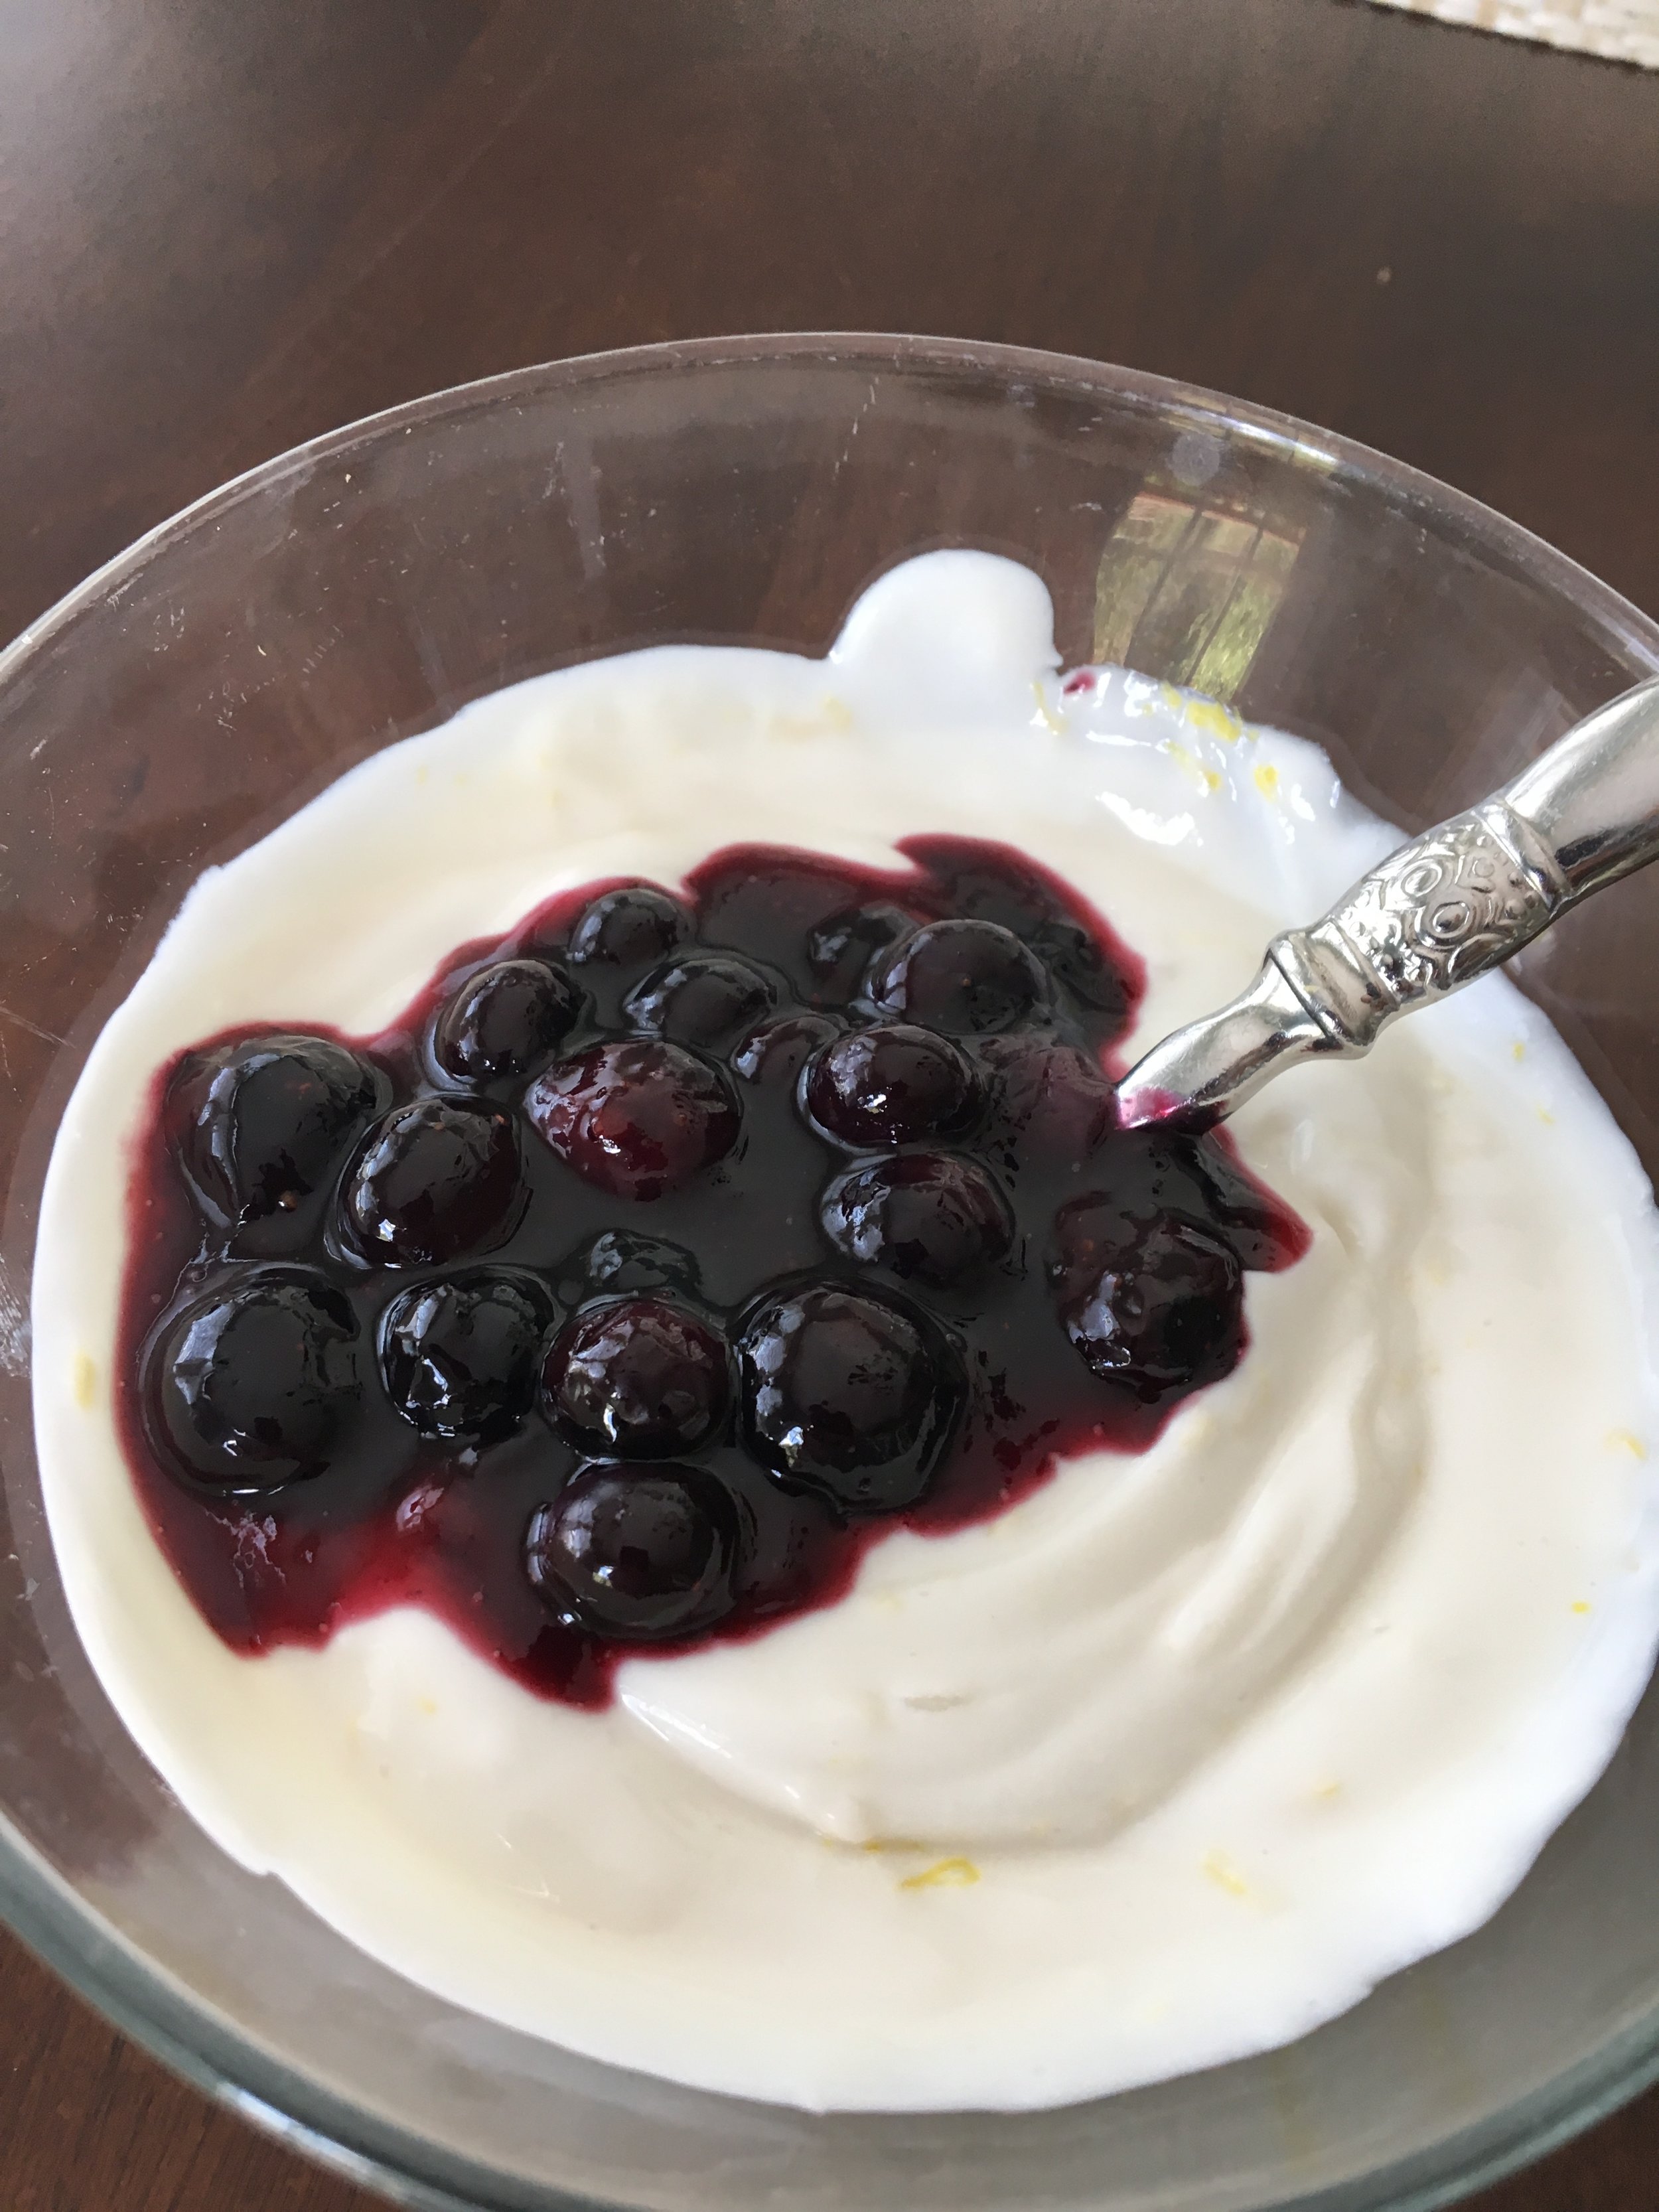
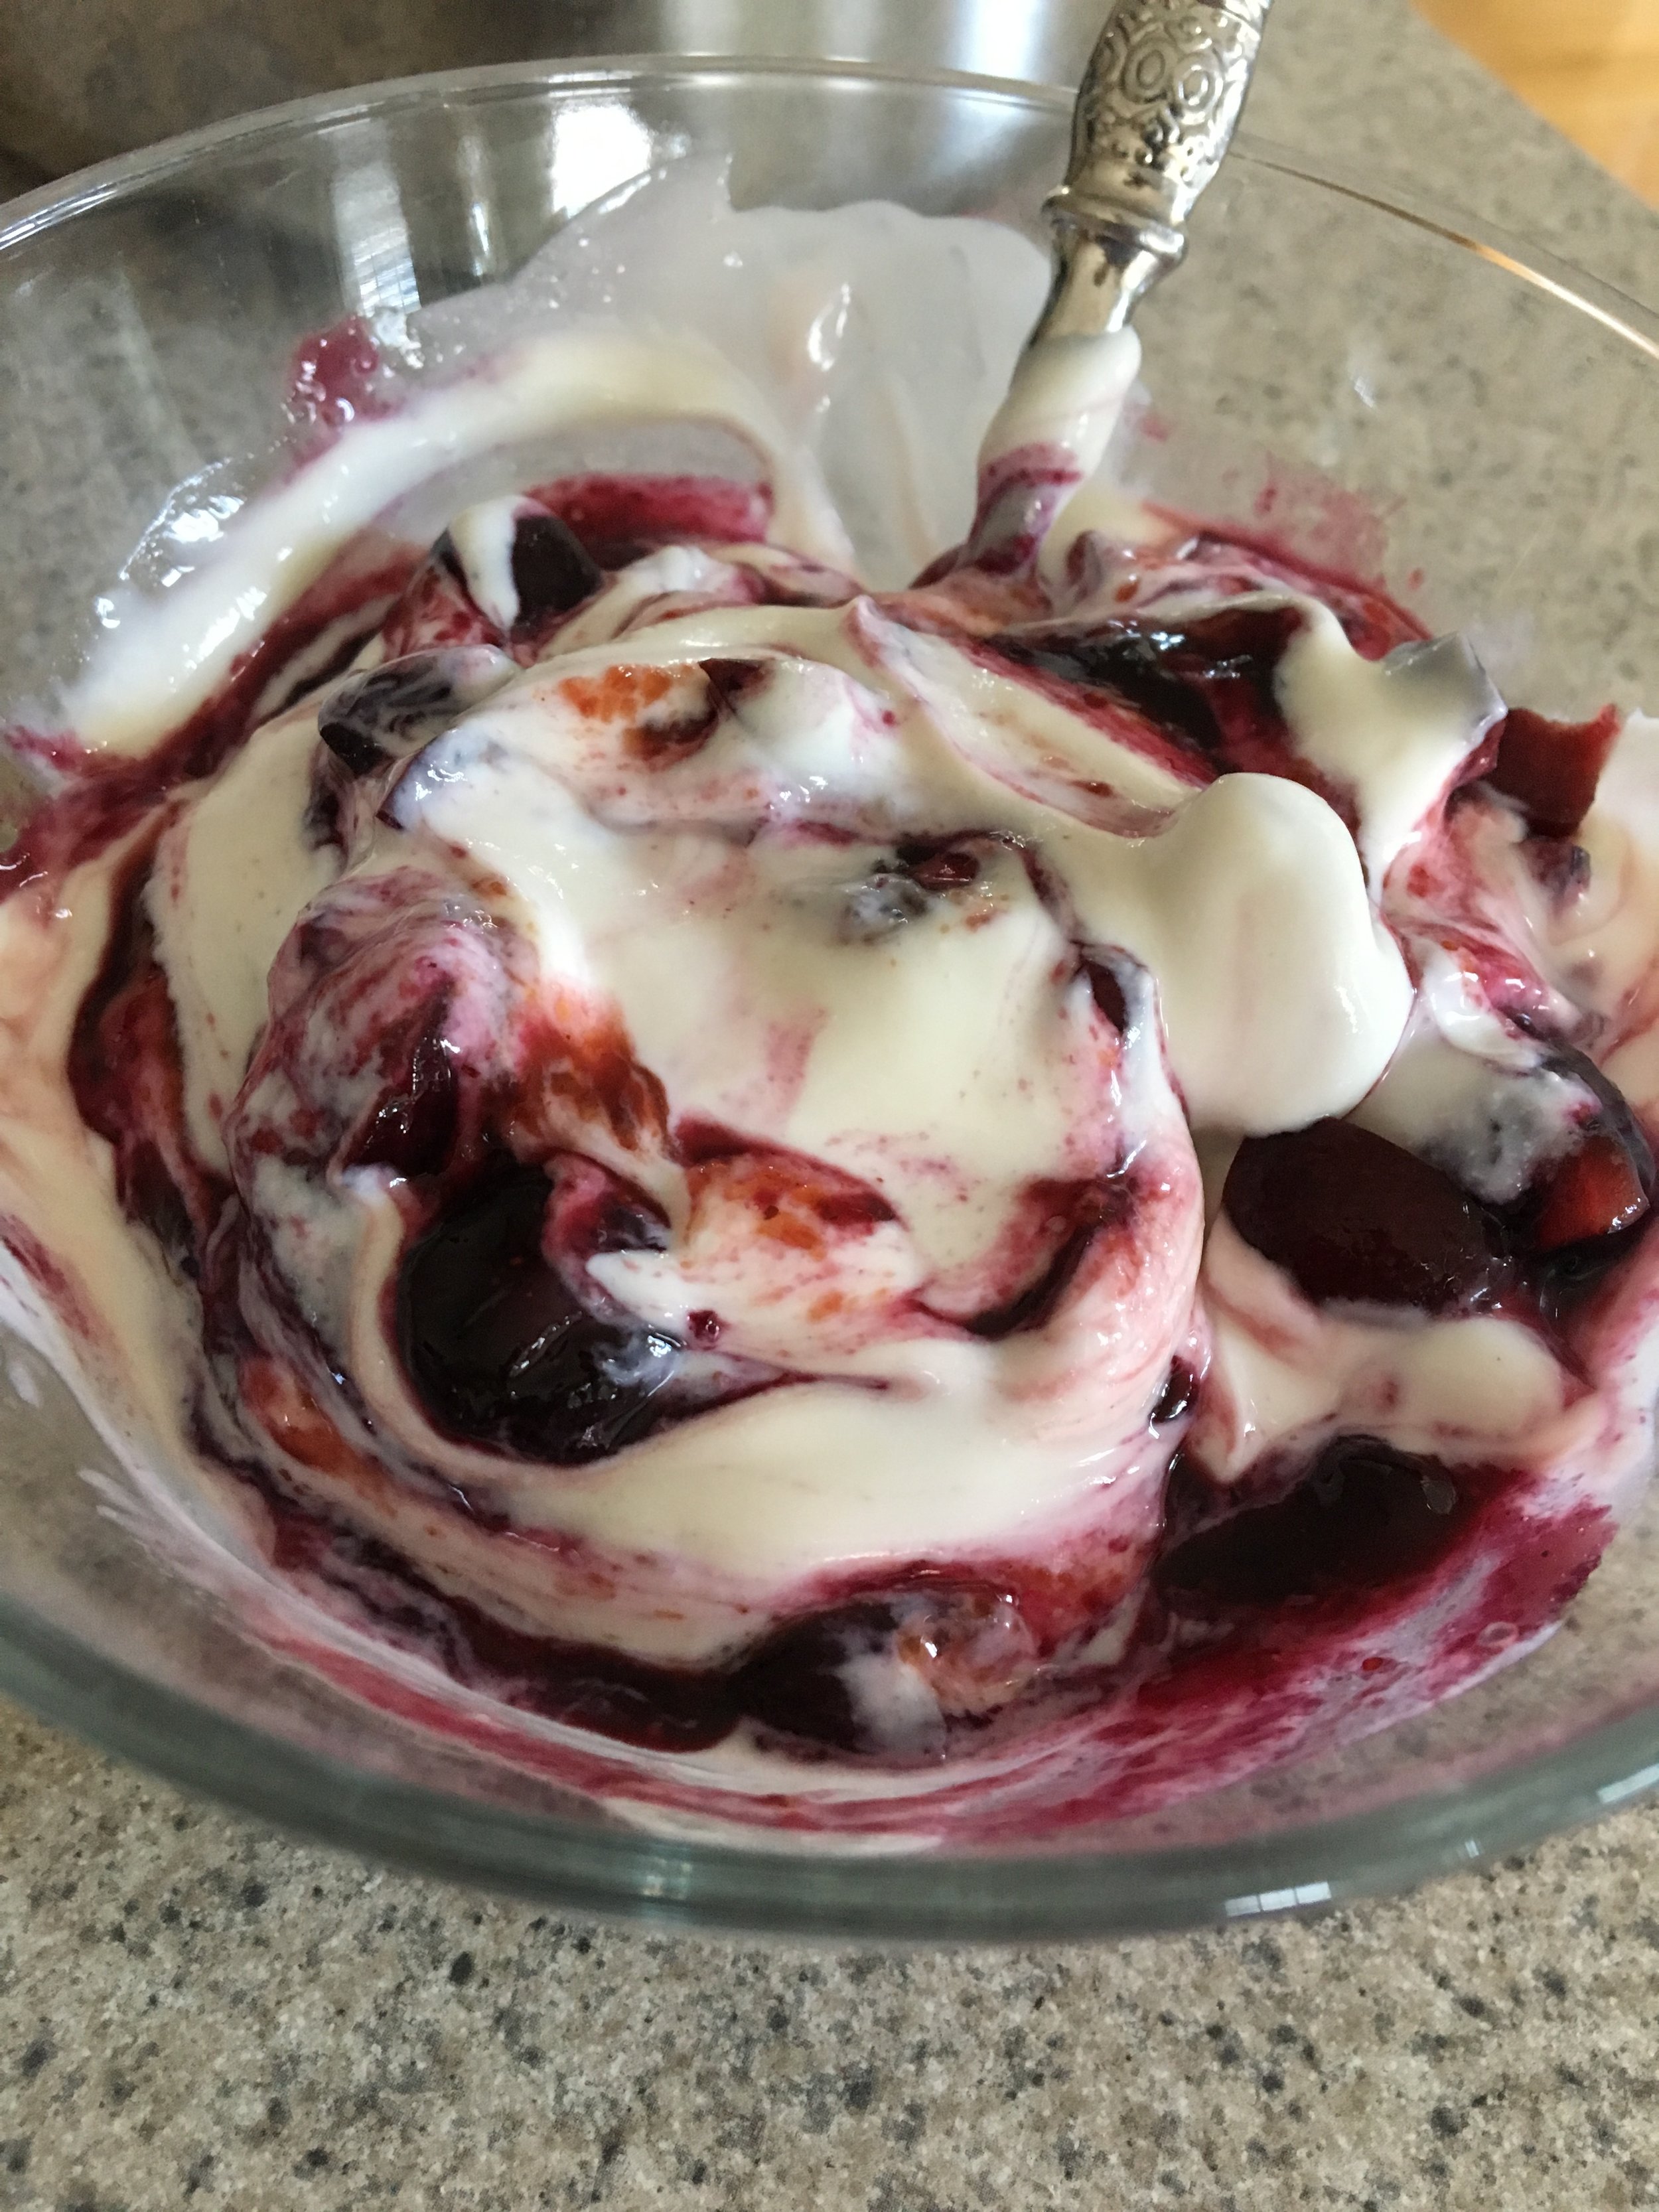
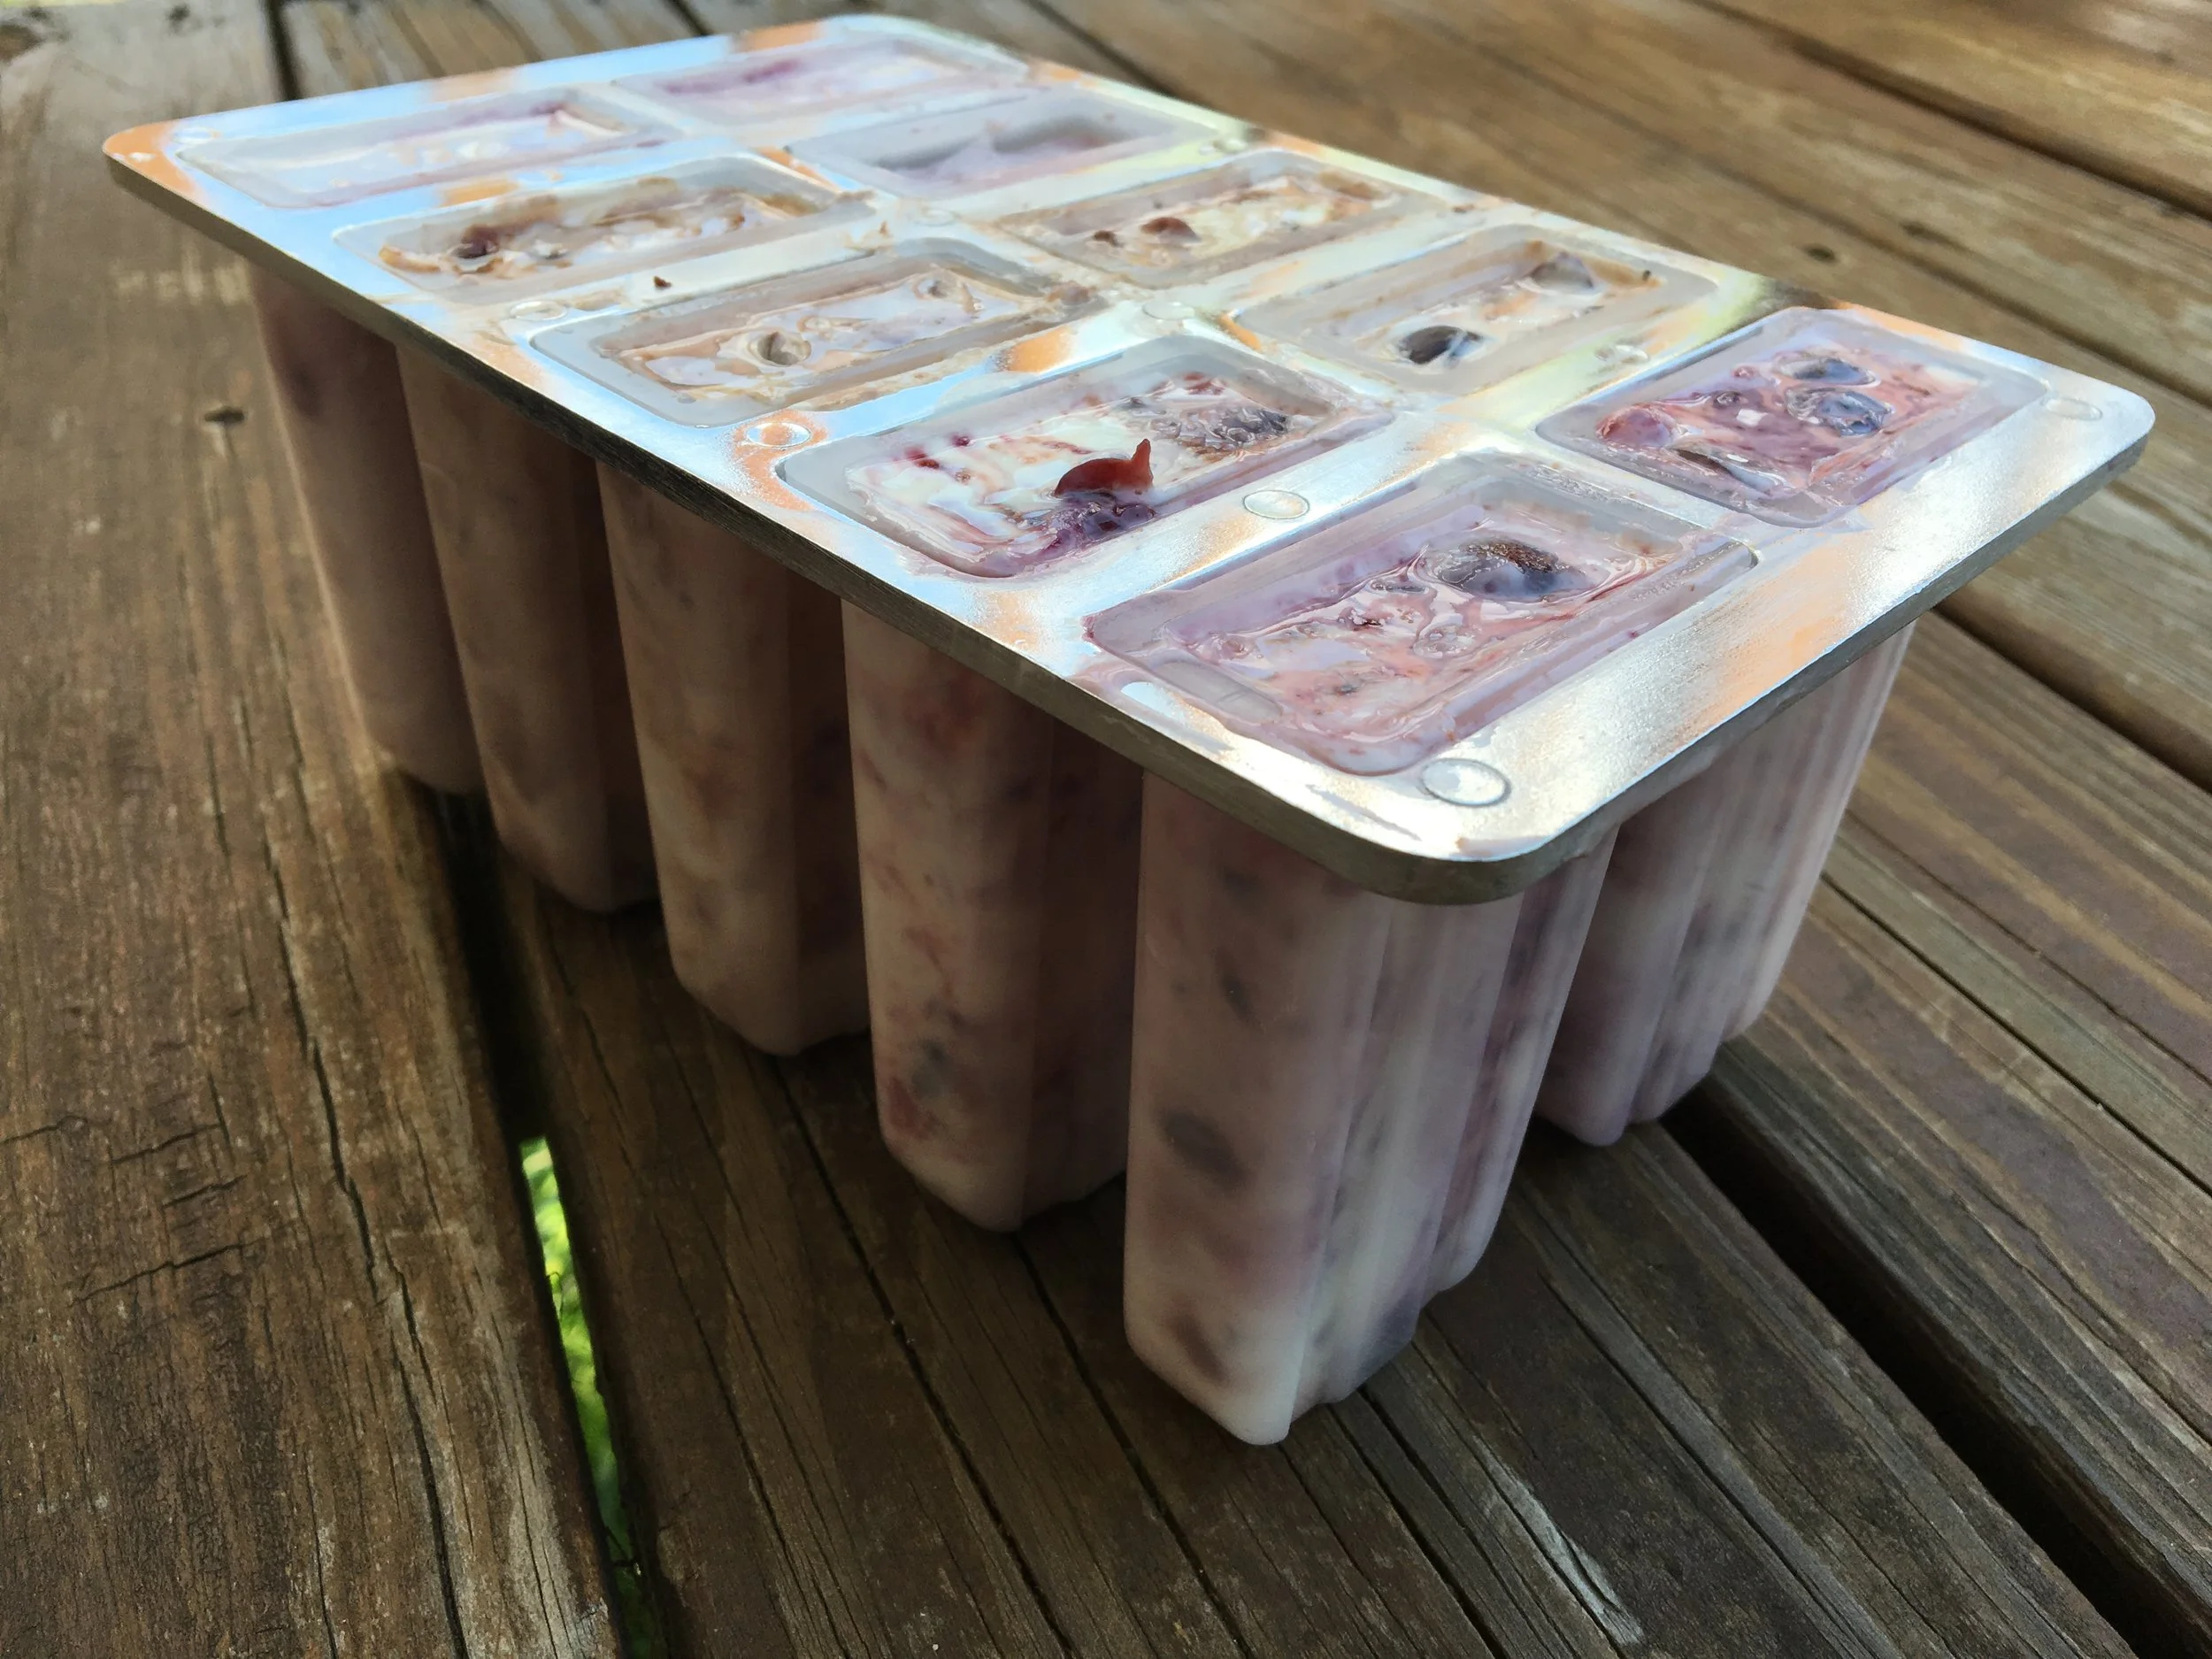
3. As I mentioned, we made three varieties. I'll post another blog in the future (maybe the next heat wave) of other combinations. For the Blueberry Vanilla Yogurt Pops, we added about 2 Tablespoons of the blueberry-preserve mixture. Gently swirl the blueberry mixture into the yogurt. Don't mix too much, as you want the swirled effect. Carefully pour into the molds.
4. For the Berry Cherry Pops, we followed Step 3 using 2 Tablespoons (Tbsp) of the Blueberry-Preserve Mixture and we added 1/4 cup of chopped cherries to the mixture, swirled ever so gently just as above, and poured into our molds.

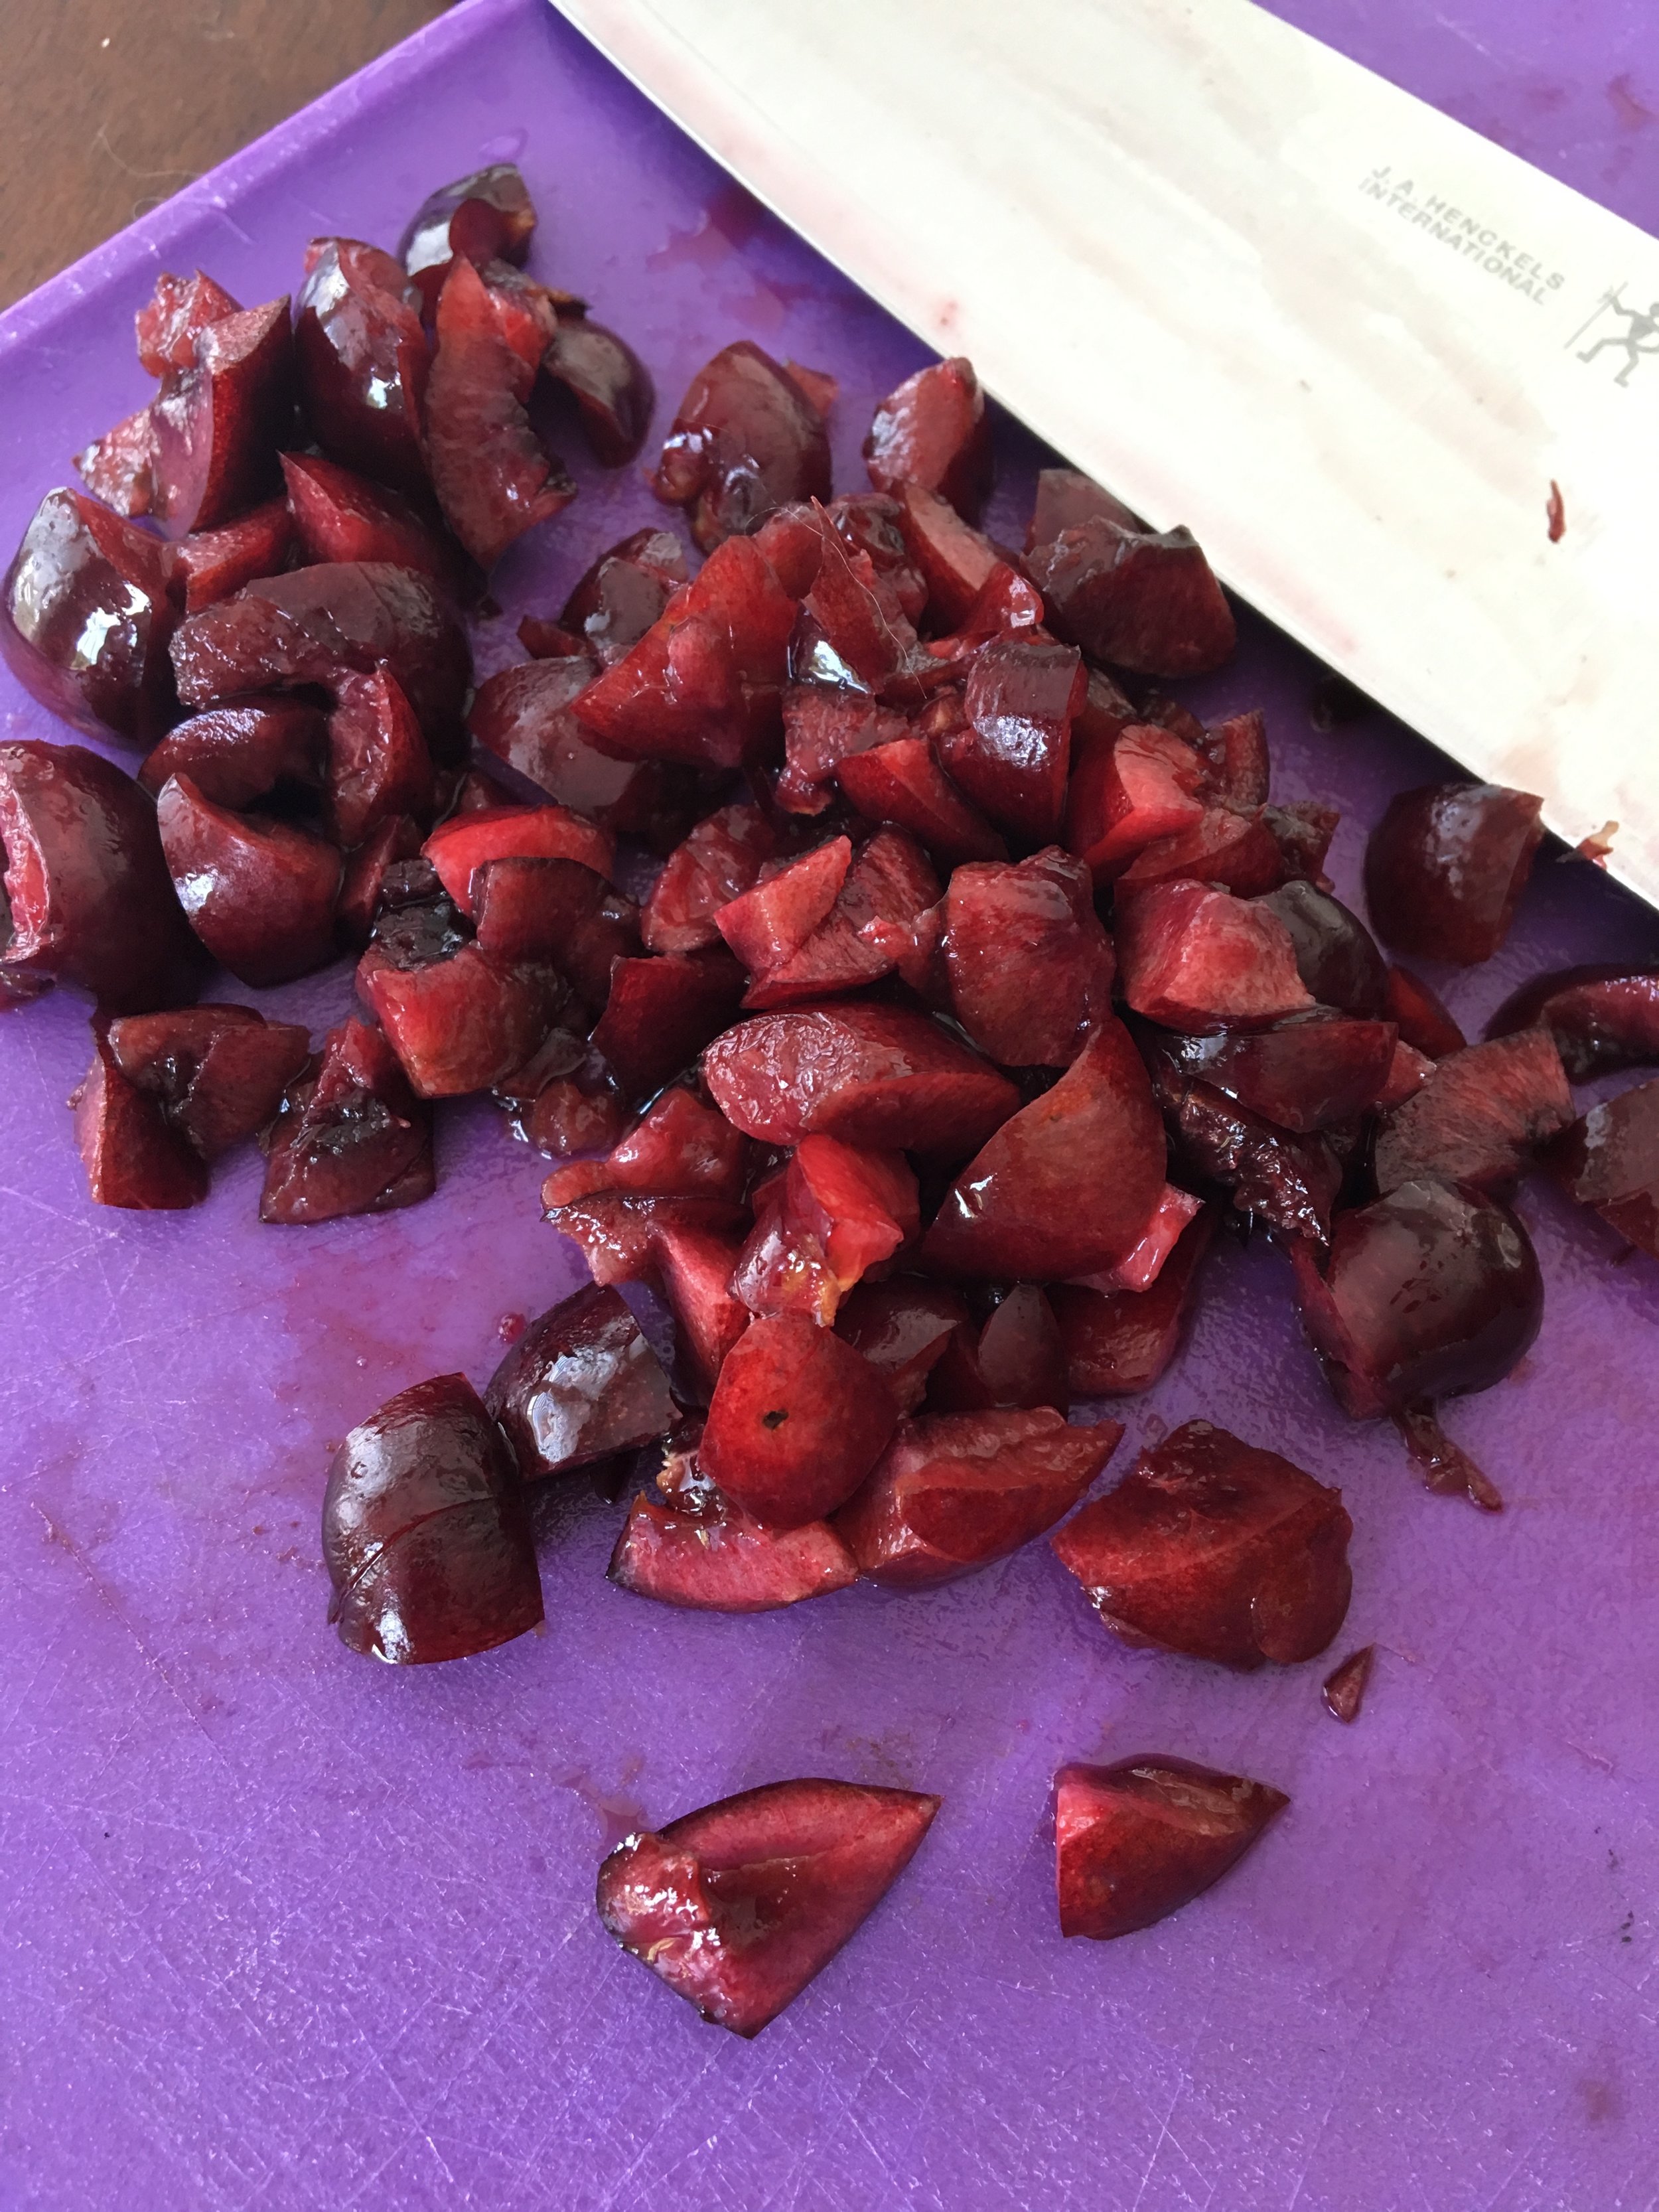
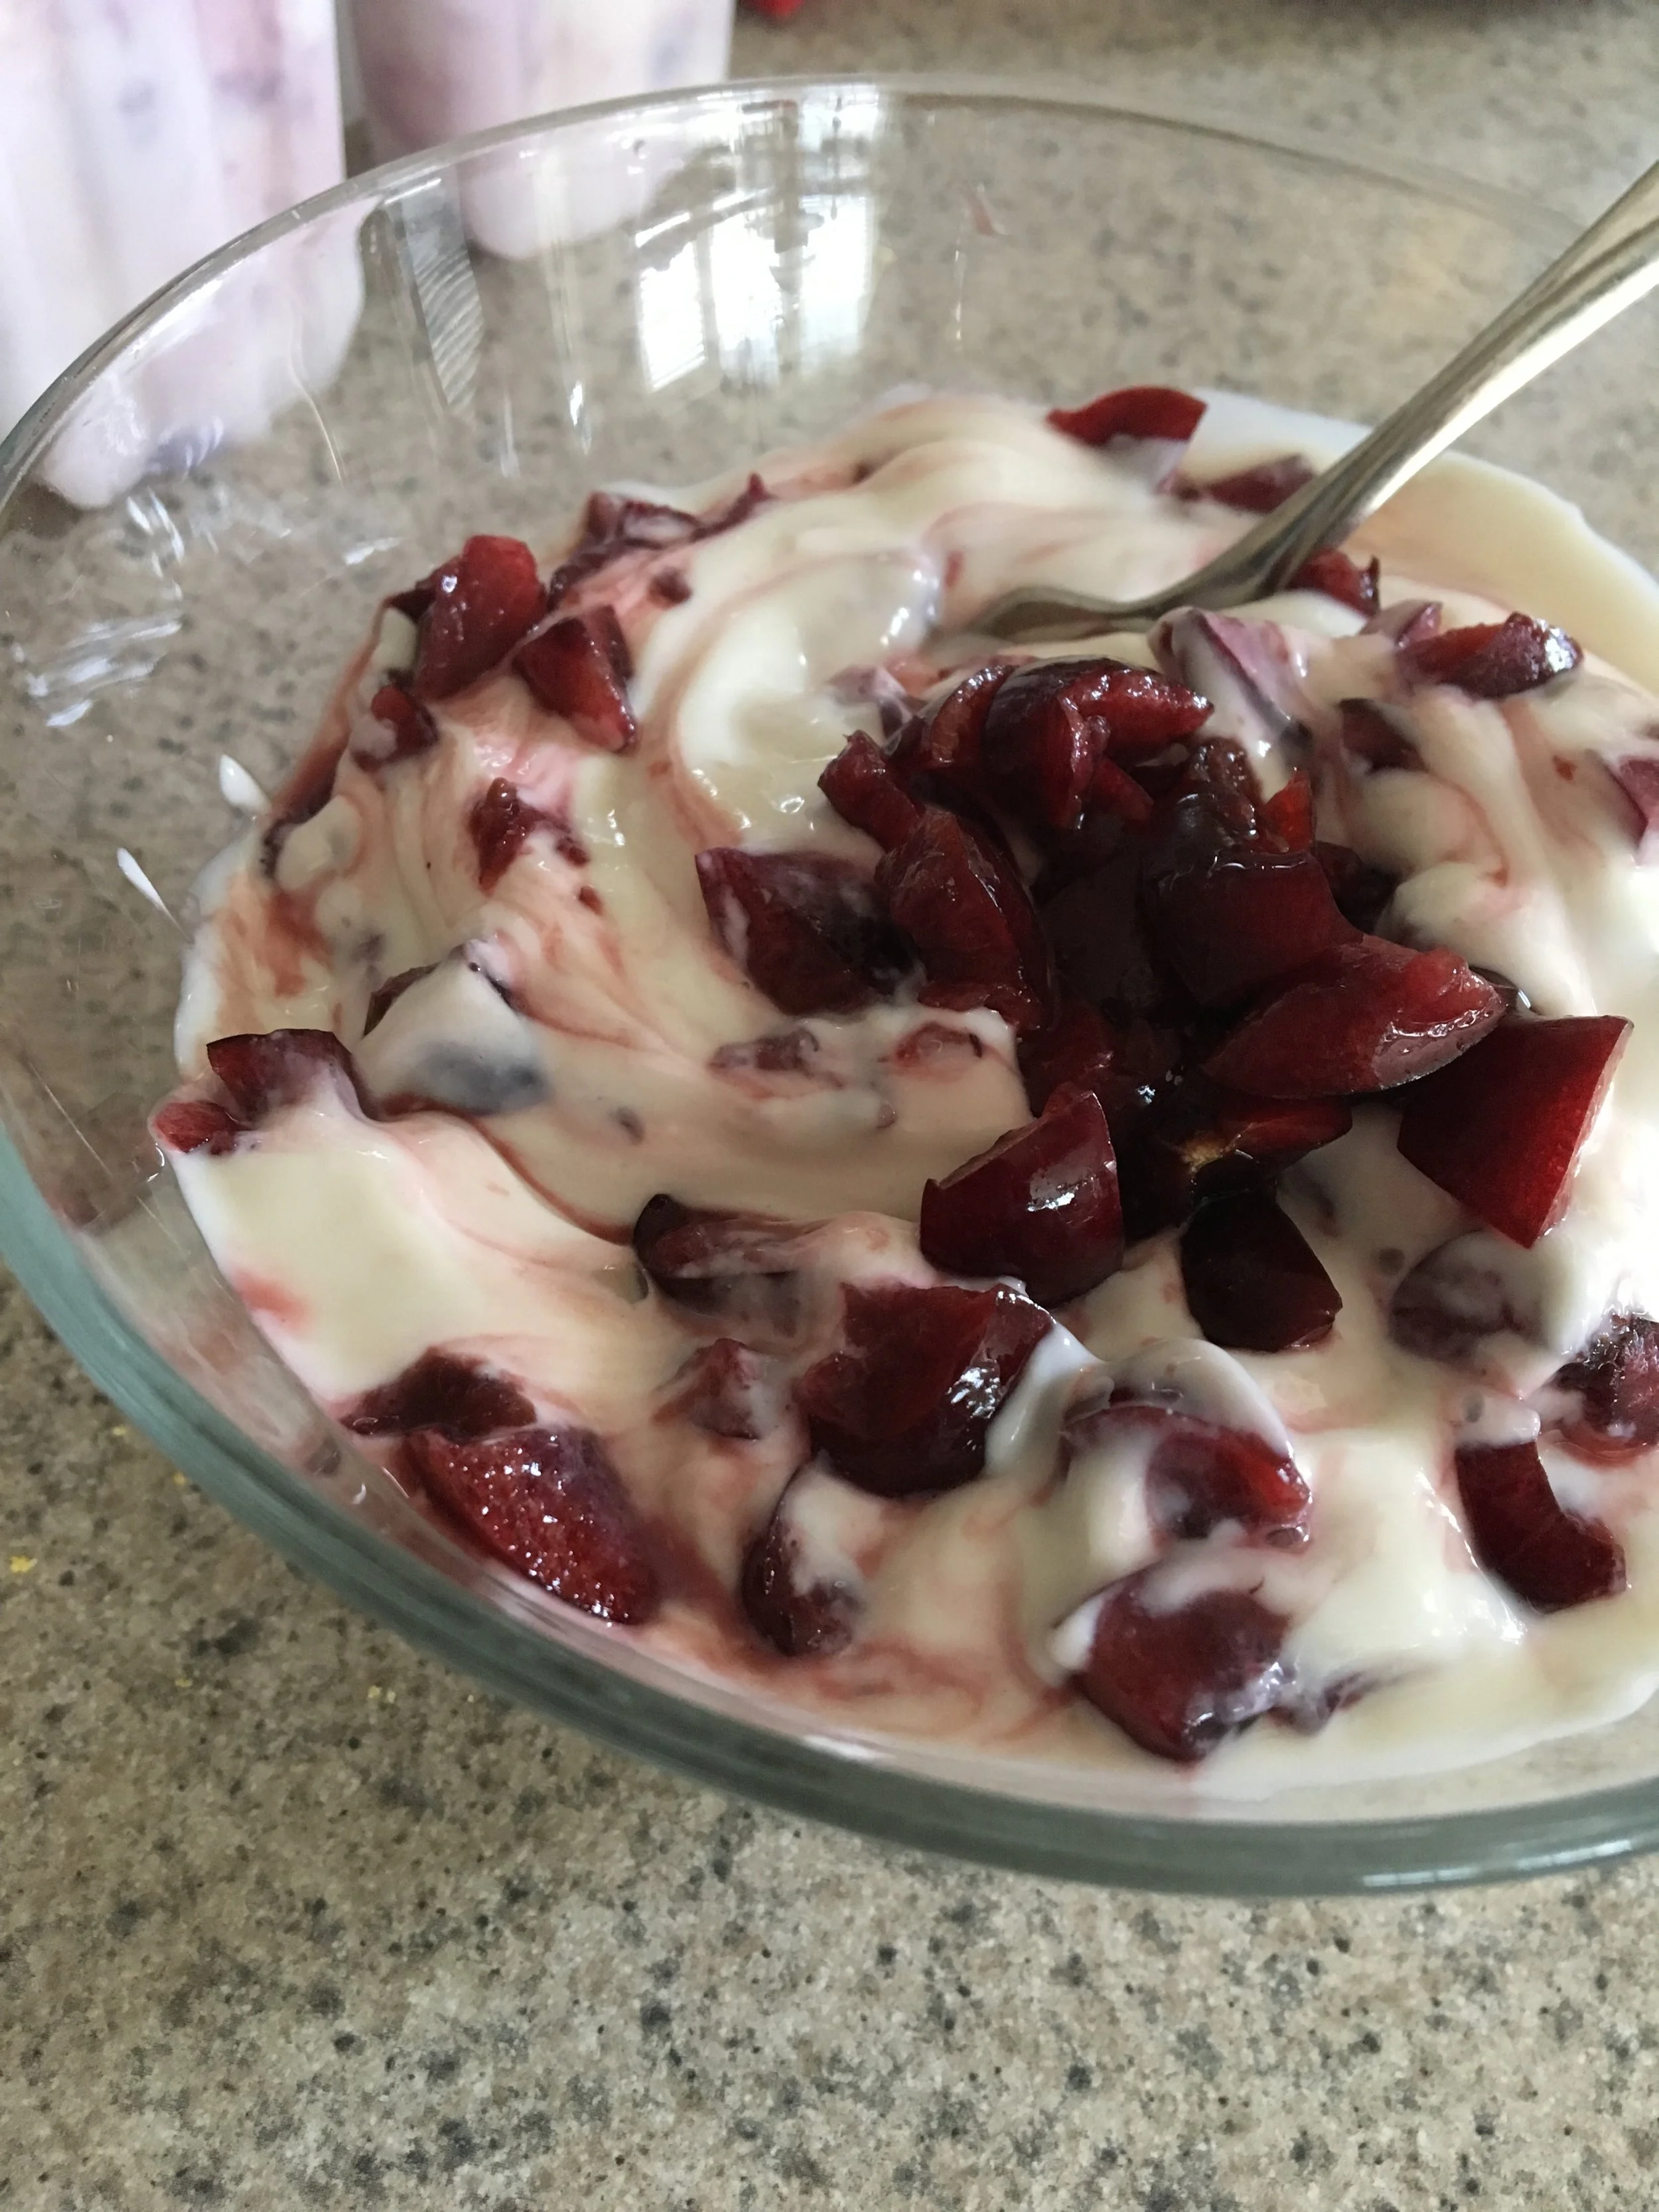
5. Finally, for the Ice Cream Sundae Pops, we added to the remaining bowl of greek yogurt, chopped cherries, 2 Tablespoons (Tbsp) Cherry butter (heated for 10 seconds in the microwave), and 1 Tablespoon of Chocolate Syrup.
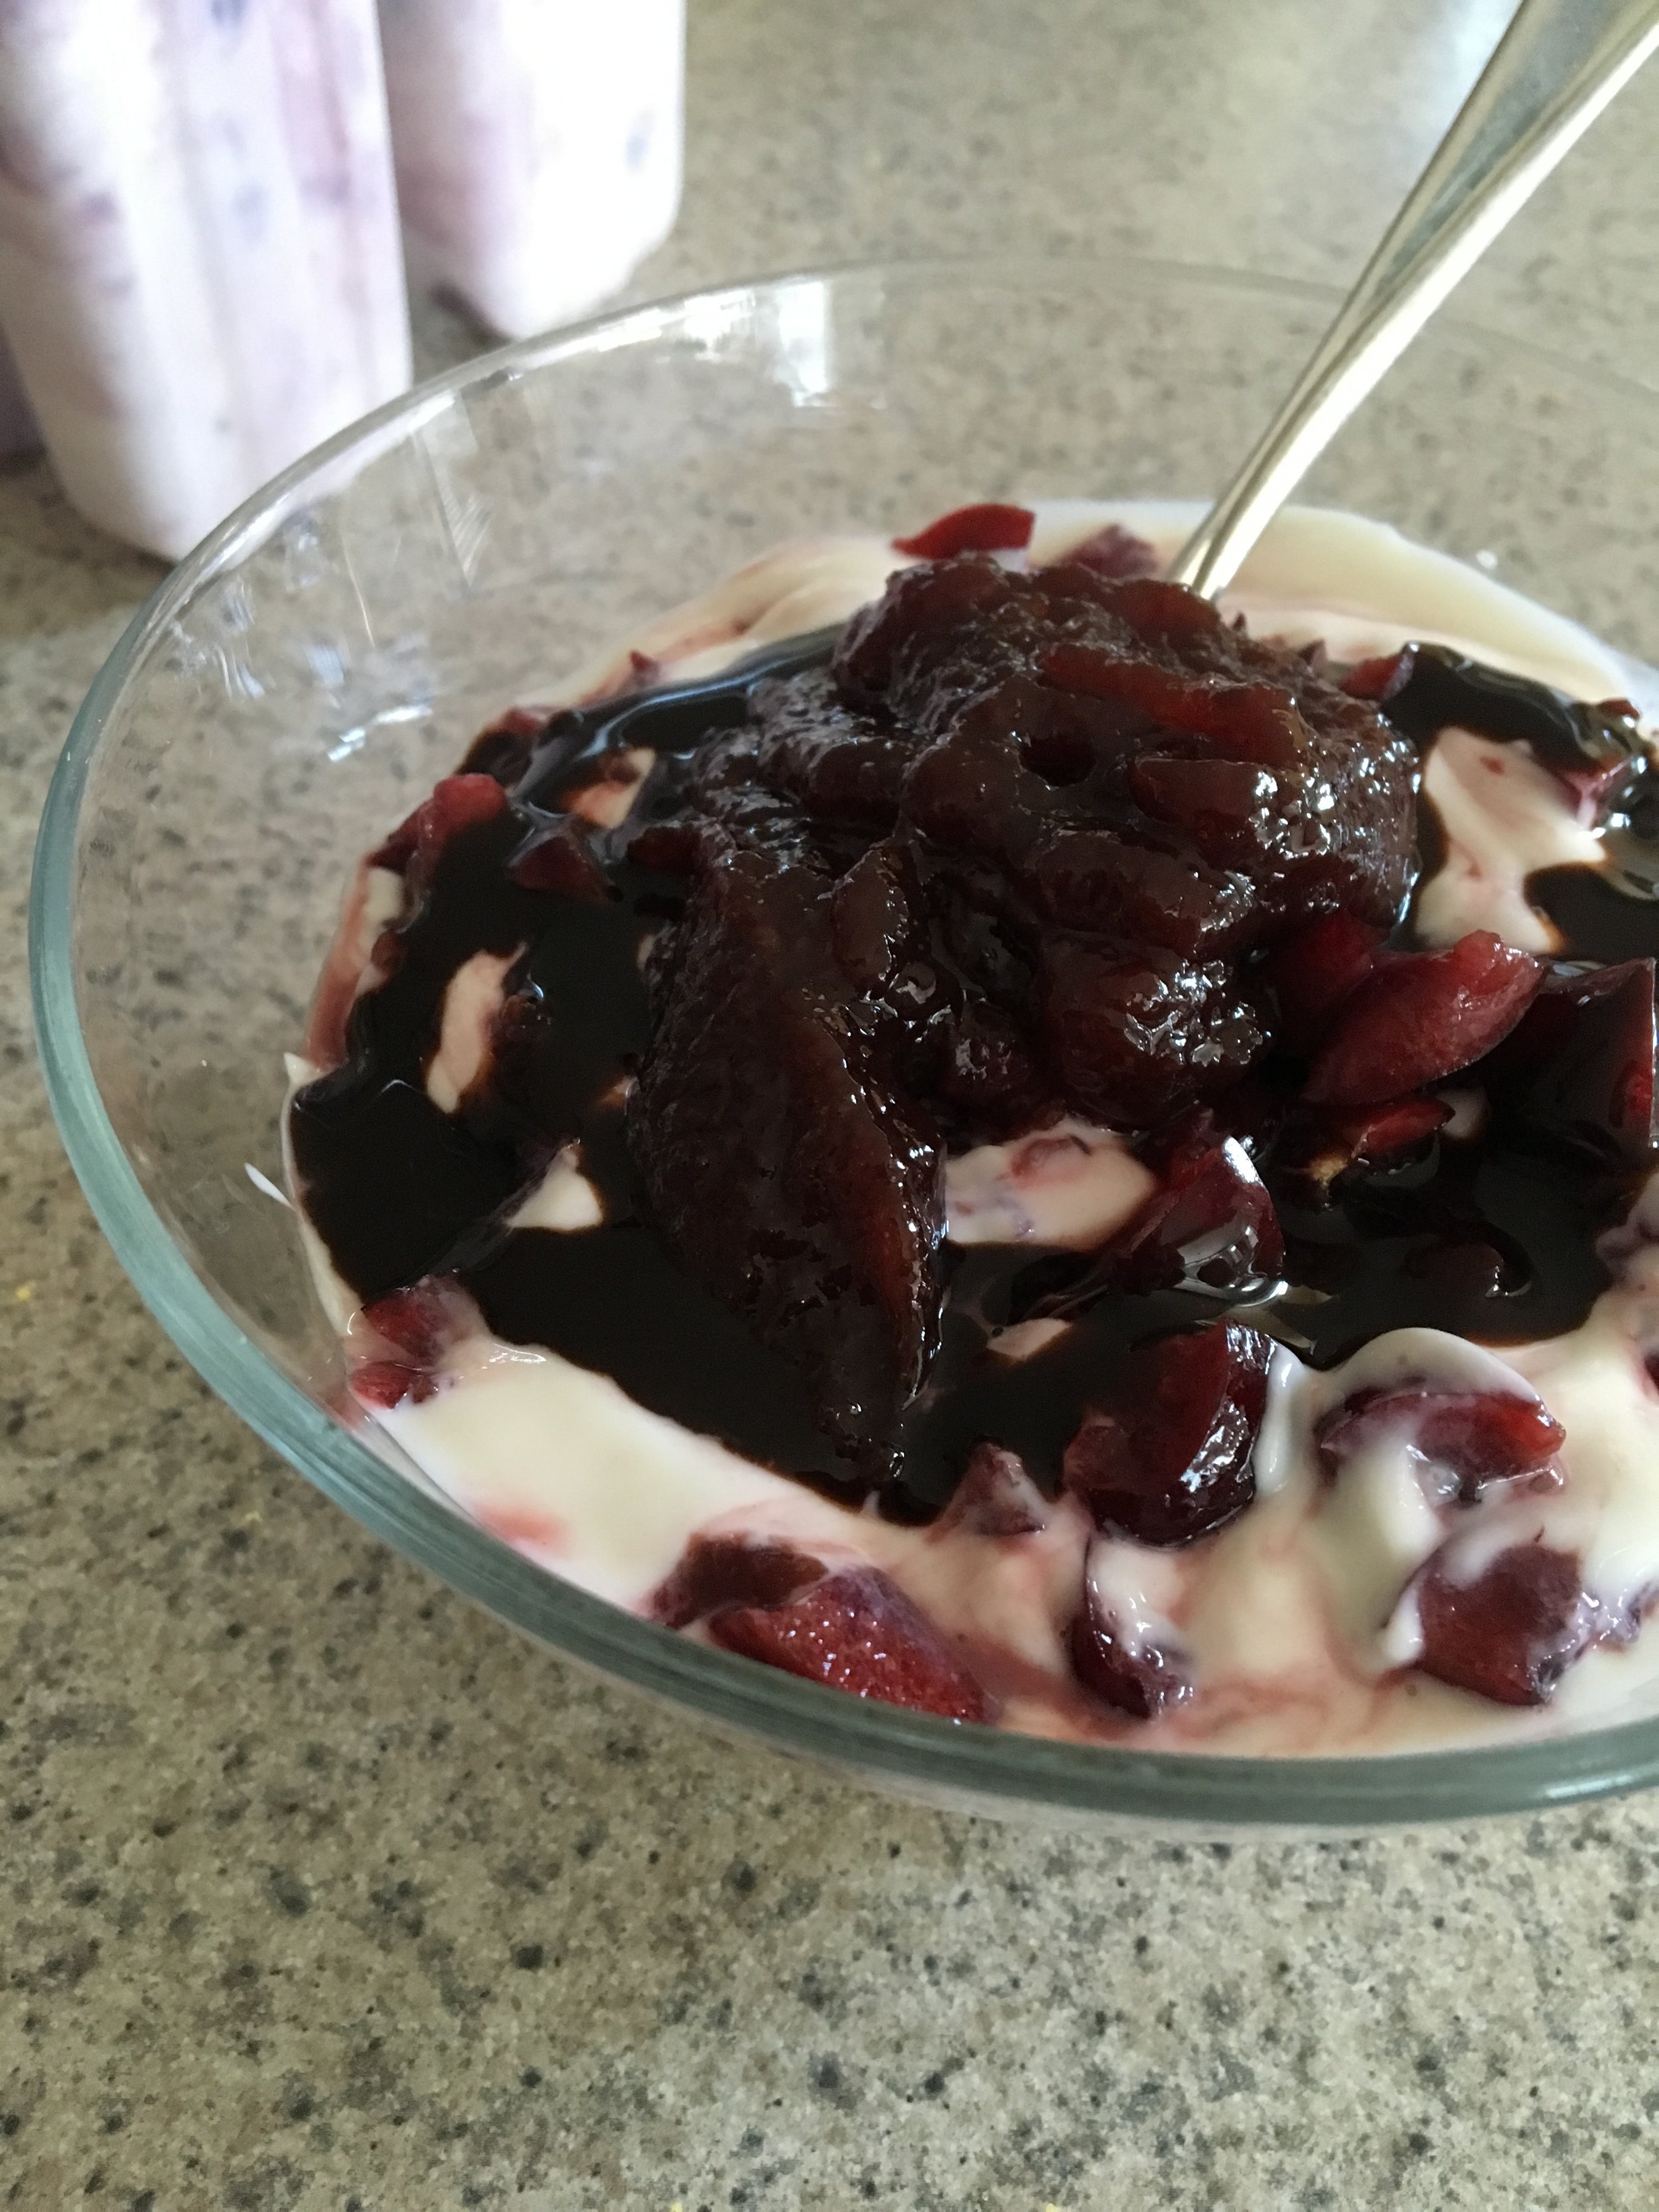
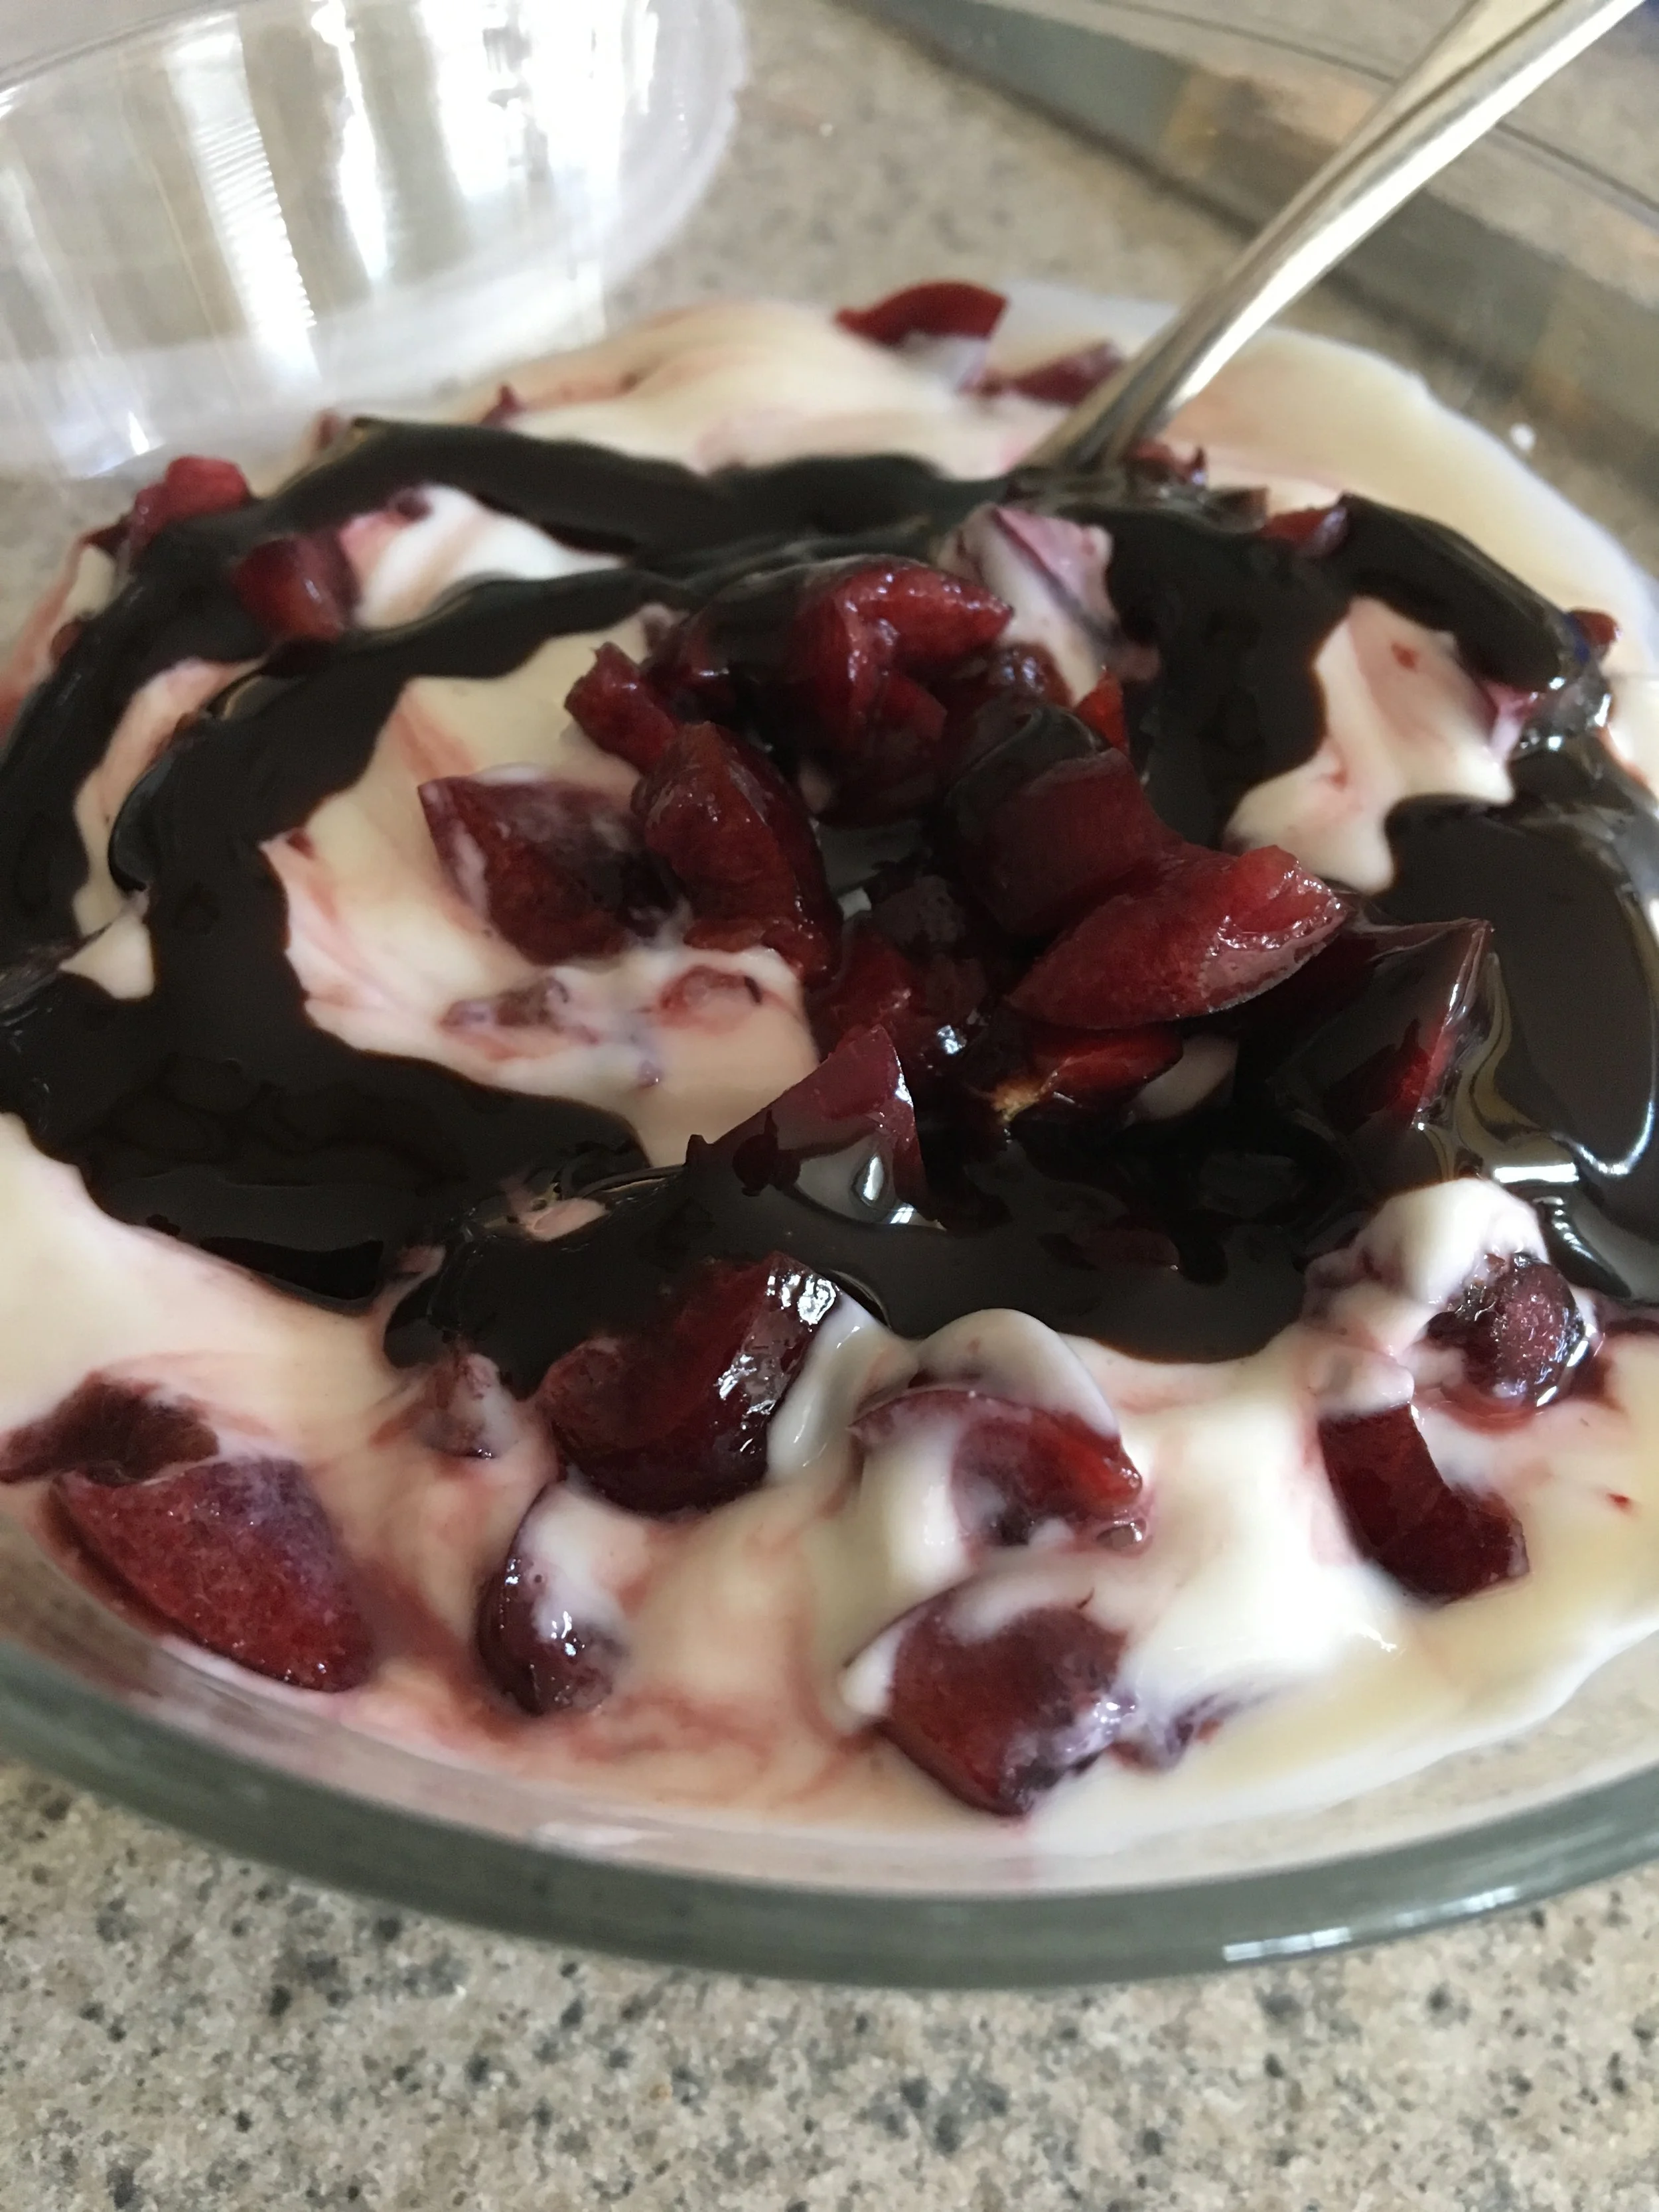
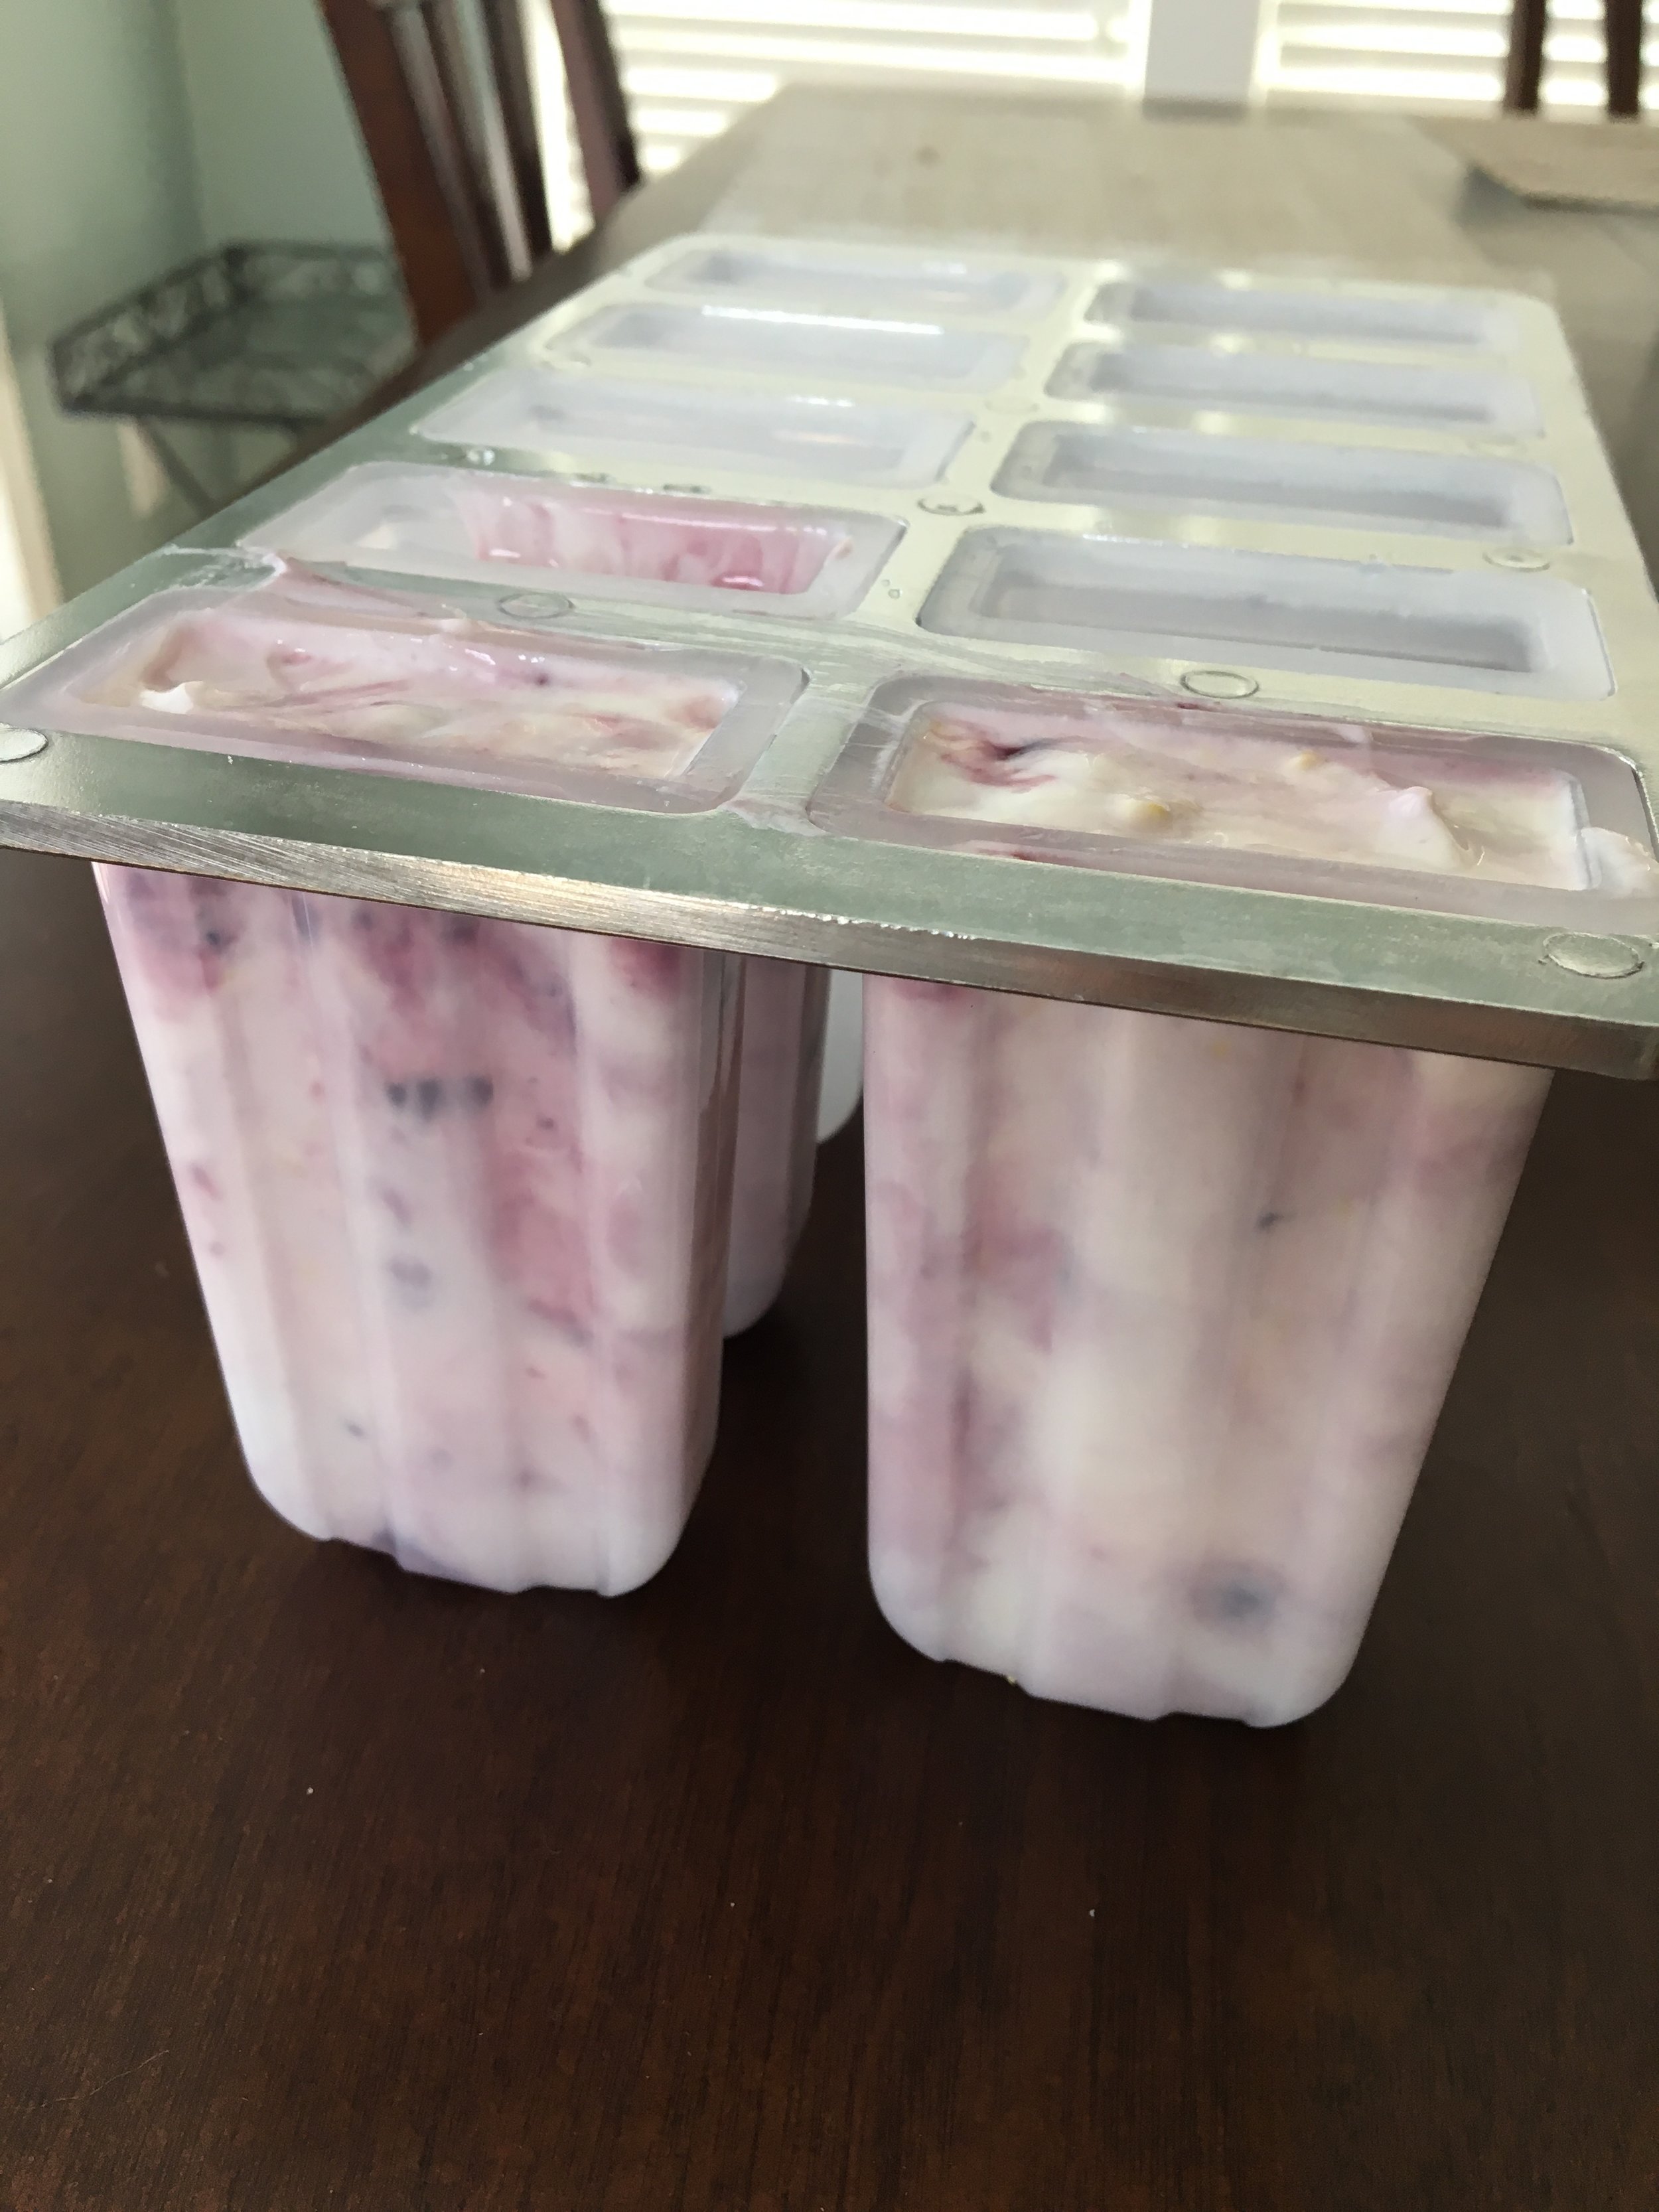
6. Once again, gently swirl the yogurt mixture and pour into the mold. The molds I purchased had this handy lid to insert the sticks, but you could easily cover with plastic wrap and insert the sticks into the plastic. Almost done! Place in freezer and wait...and wait...and wait!
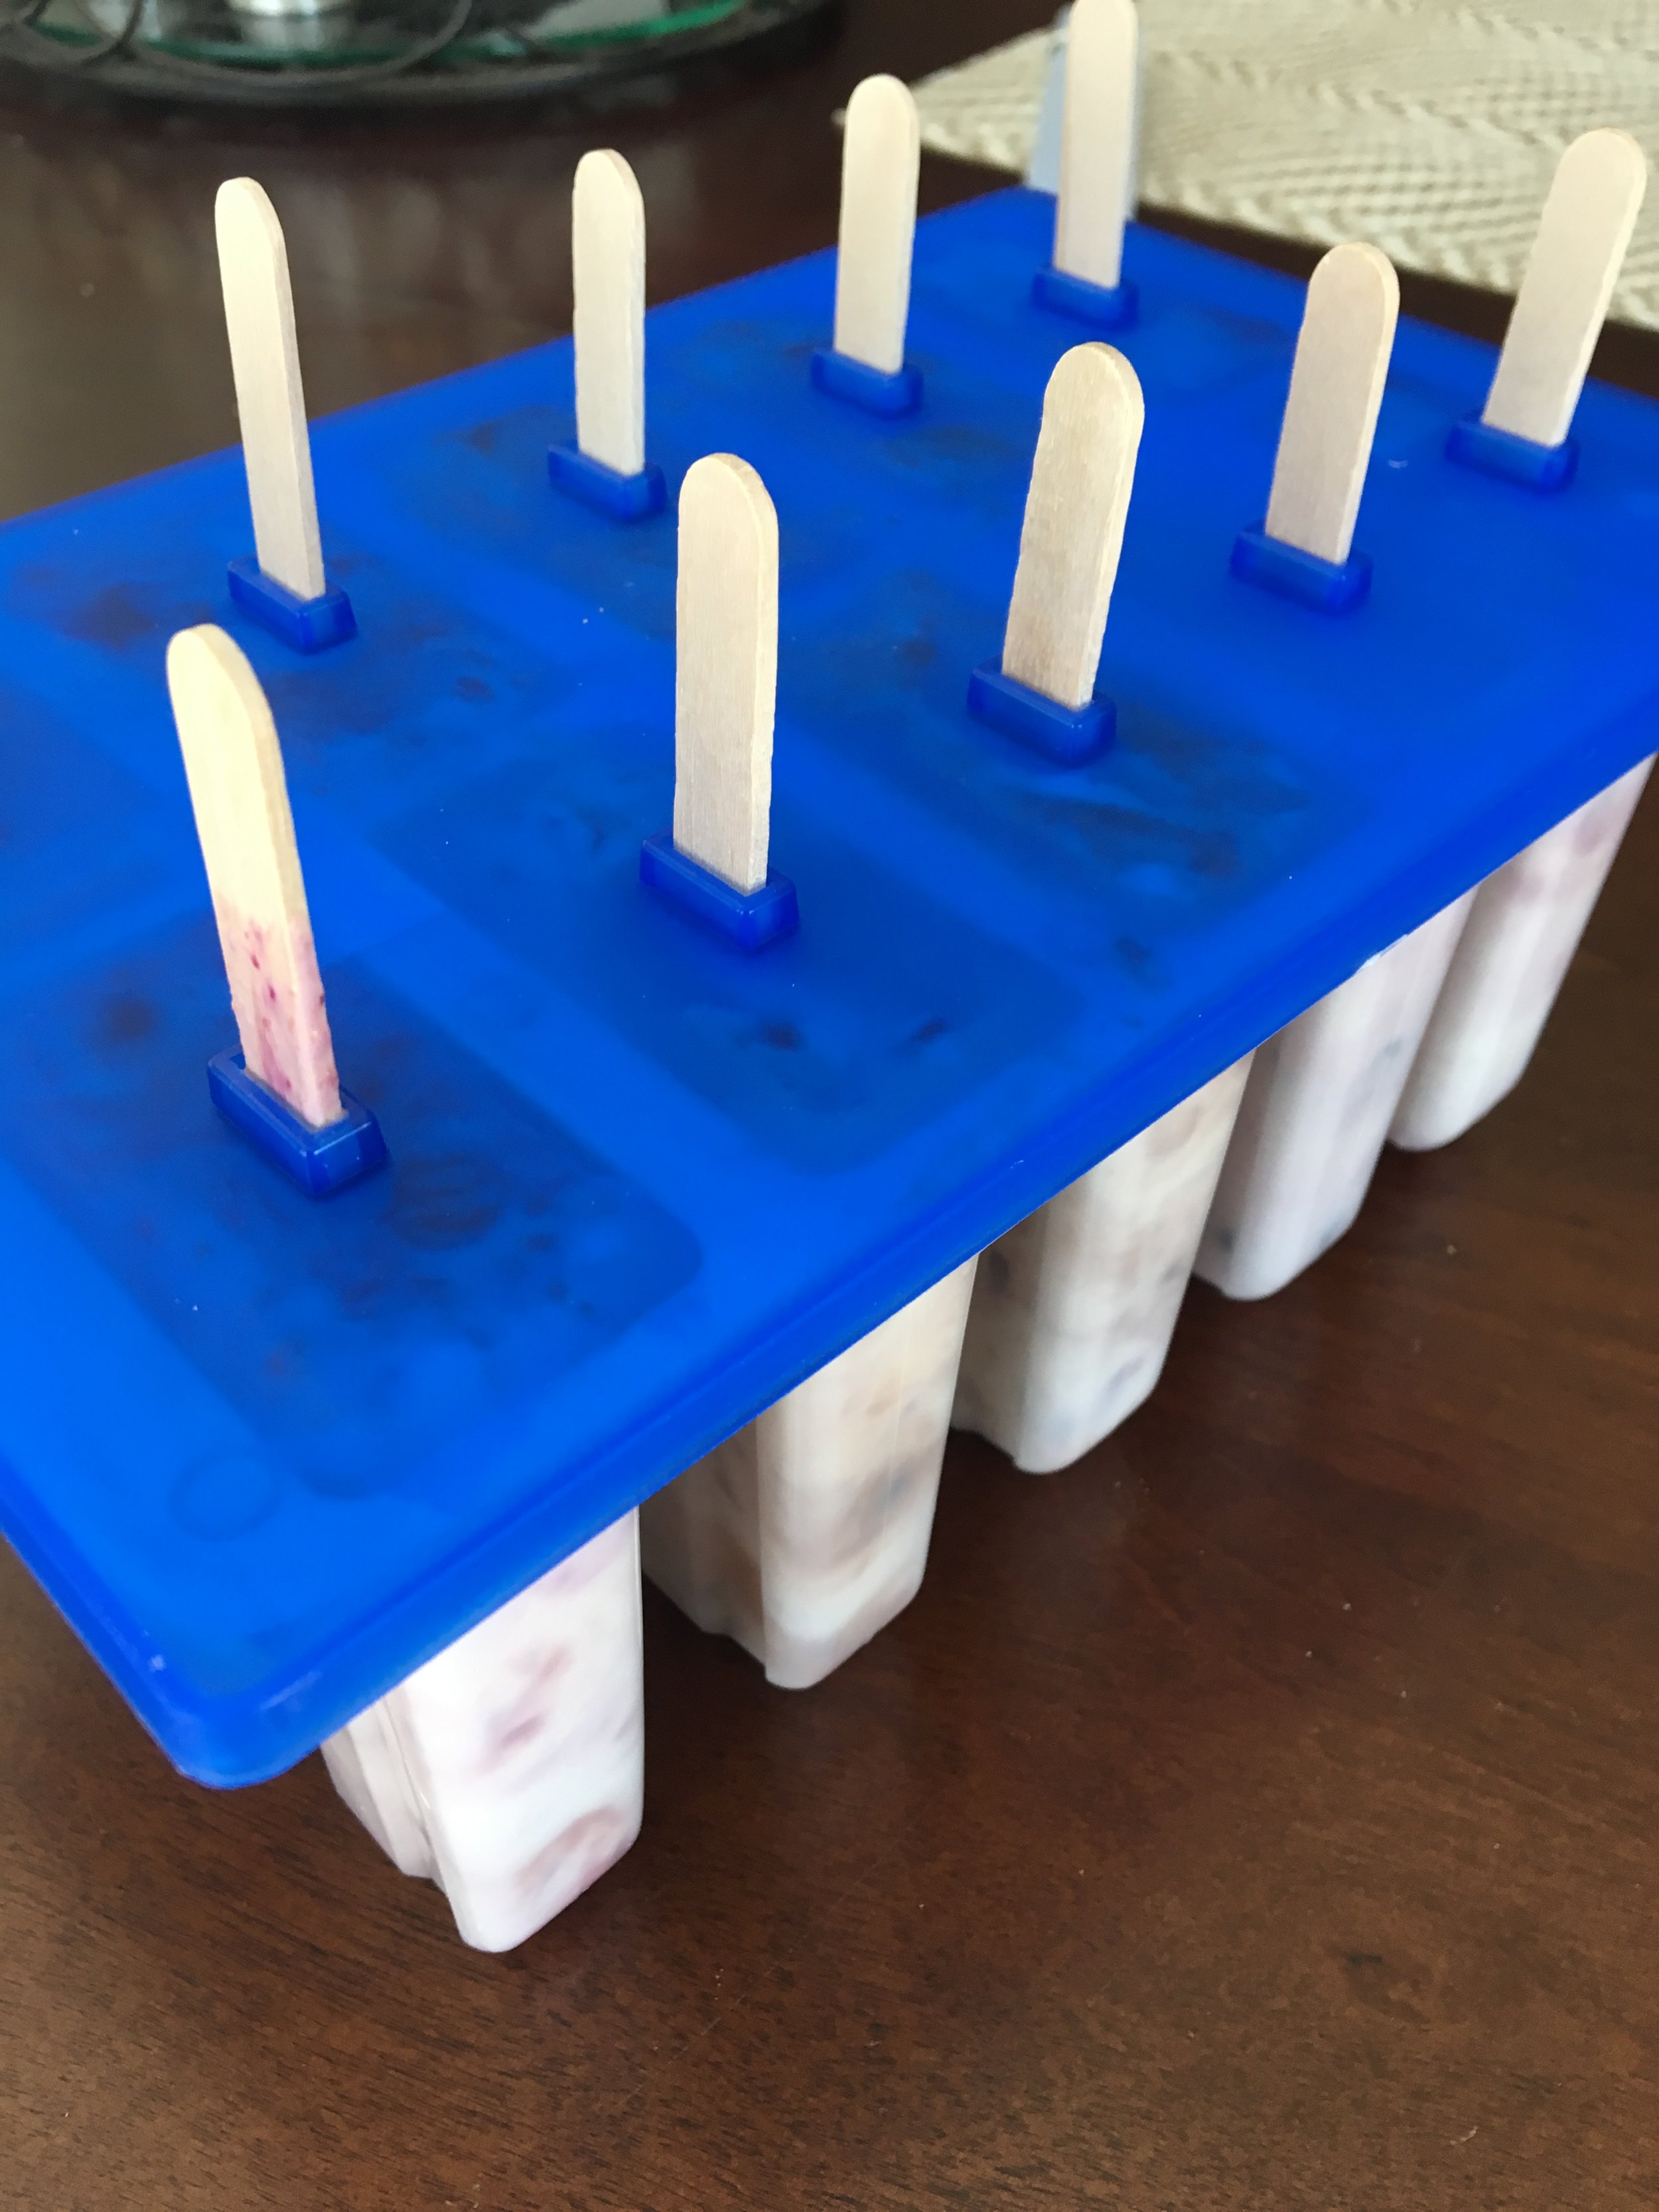
7. After a few hours (what seems like eternity), remove the lid or plastic wrap, run the desired mold bottoms under warm water and gently pull out pops. Voila! Homemade frozen yogurt fruit pops, a sure-fire heat buster and delicious treat anytime! Enjoy!
Frozen Yogurt Popsicles
Blueberry Vanilla Yogurt Pops
Vanilla Greek Yogurt (divided if making three separate batches)
2 Tablespoons (Tbsp) Blueberry-Preserve Mixture (mentioned in Step 2)
Follow directions above for making the pops
Berry Cherry Yogurt Pops
Vanilla Greek Yogurt (divided if making three separate batches)
2 Tablespoons (Tbsp) Blueberry-Preserve Mixture (mentioned in Step 2)
1/4 cup chopped cherries
Follow directions above for making the pops
Ice Cream Sundae Yogurt Pops
Vanilla Greek Yogurt (divided if making three separate batches)
1/4 cup chopped cherries
1 Tablespoon Chocolate Syrup
Follow directions above for making the pops