
Cherchies Blog

grilling

Peachy Chicken And Vegetable Kabobs Recipe

grilling, gluten free, lunch, entreesSheri SpalloneComment
Peachy Chicken & Vegetable Kabobs Recipe

Peachy Chicken & Vegetable Kabobs Recipe

Updated 2025.

How was your Memorial Day weekend? The weather was finally beautiful here in Pennsylvania, so we all opted to go outside, enjoy the weather, and have a backyard family BBQ. First on the menu was Peachy Chicken & Vegetable Kabobs.

Kabobs lend themselves to whatever protein and vegetables you have on hand, and for this holiday weekend, I made one of our family’s favorites, with a peachy twist. I added Cherchies Vidalia Onion Peach Salsa to the mix and hoped for the best. I often challenge my family’s palate by trying new recipes or tweaking some of their favorites. Luckily, my experiment worked, and my family devoured the kabobs.

If you are looking to tantalize your taste buds with a new sweet and spicy grilling recipe, look no further. The Vidalia Onion Peach Salsa mixed with soy sauce, garlic, hot sauce, and seasonings, elevates these kabobs from good to exceptional.

So, are you ready to tantalize your taste buds?

Thanks for stopping by:) Comment below if you have tried this tasty recipe. Come back again for more family-tested recipesentertaining ideas, and cooking tips using all our favorite Cherchies® gourmet products.

Follow us on social media: FacebookInstagram, and Pinterest.

Stay safe, stay well, and enjoy time with your family.

Ingredients

  • 2-3 Chicken breasts, cut into cubes (more for a crowd)

  • 2 Tablespoons (Tbsp.) Cherchies Garlic Seasoning (Can substitute Cherchies Garlic'n Herbs No Salt Seasoning)

  • 1 teaspoon (tsp) pepper

  • 2 cloves garlic, minced

  • 1/2 cup soy sauce

  • 1/2 cup Cherchies® Vidalia Onion Peach Salsa

  • 1/4 cup hot sauce

  • 1/2 Pineapple cut into 1 inch chunks (scales removed and cored).

  • 1 red pepper, washed, seeded, and cut into 1 inch pieces

  • 1 yellow pepper, washed, seeded, and cut into 1 inch pieces

  • 1 small container Baby Bella Mushrooms, washed with stems removed and cut in half

  • 1 medium onion, diced into 1 inch pieces

  • Cooking spray

  • Skewers (soaked 30 minutes prior to cooking)

  • Additional 1/2 cup Cherchies® Vidalia Onion Peach Salsa for dipping (optional)

Preparation

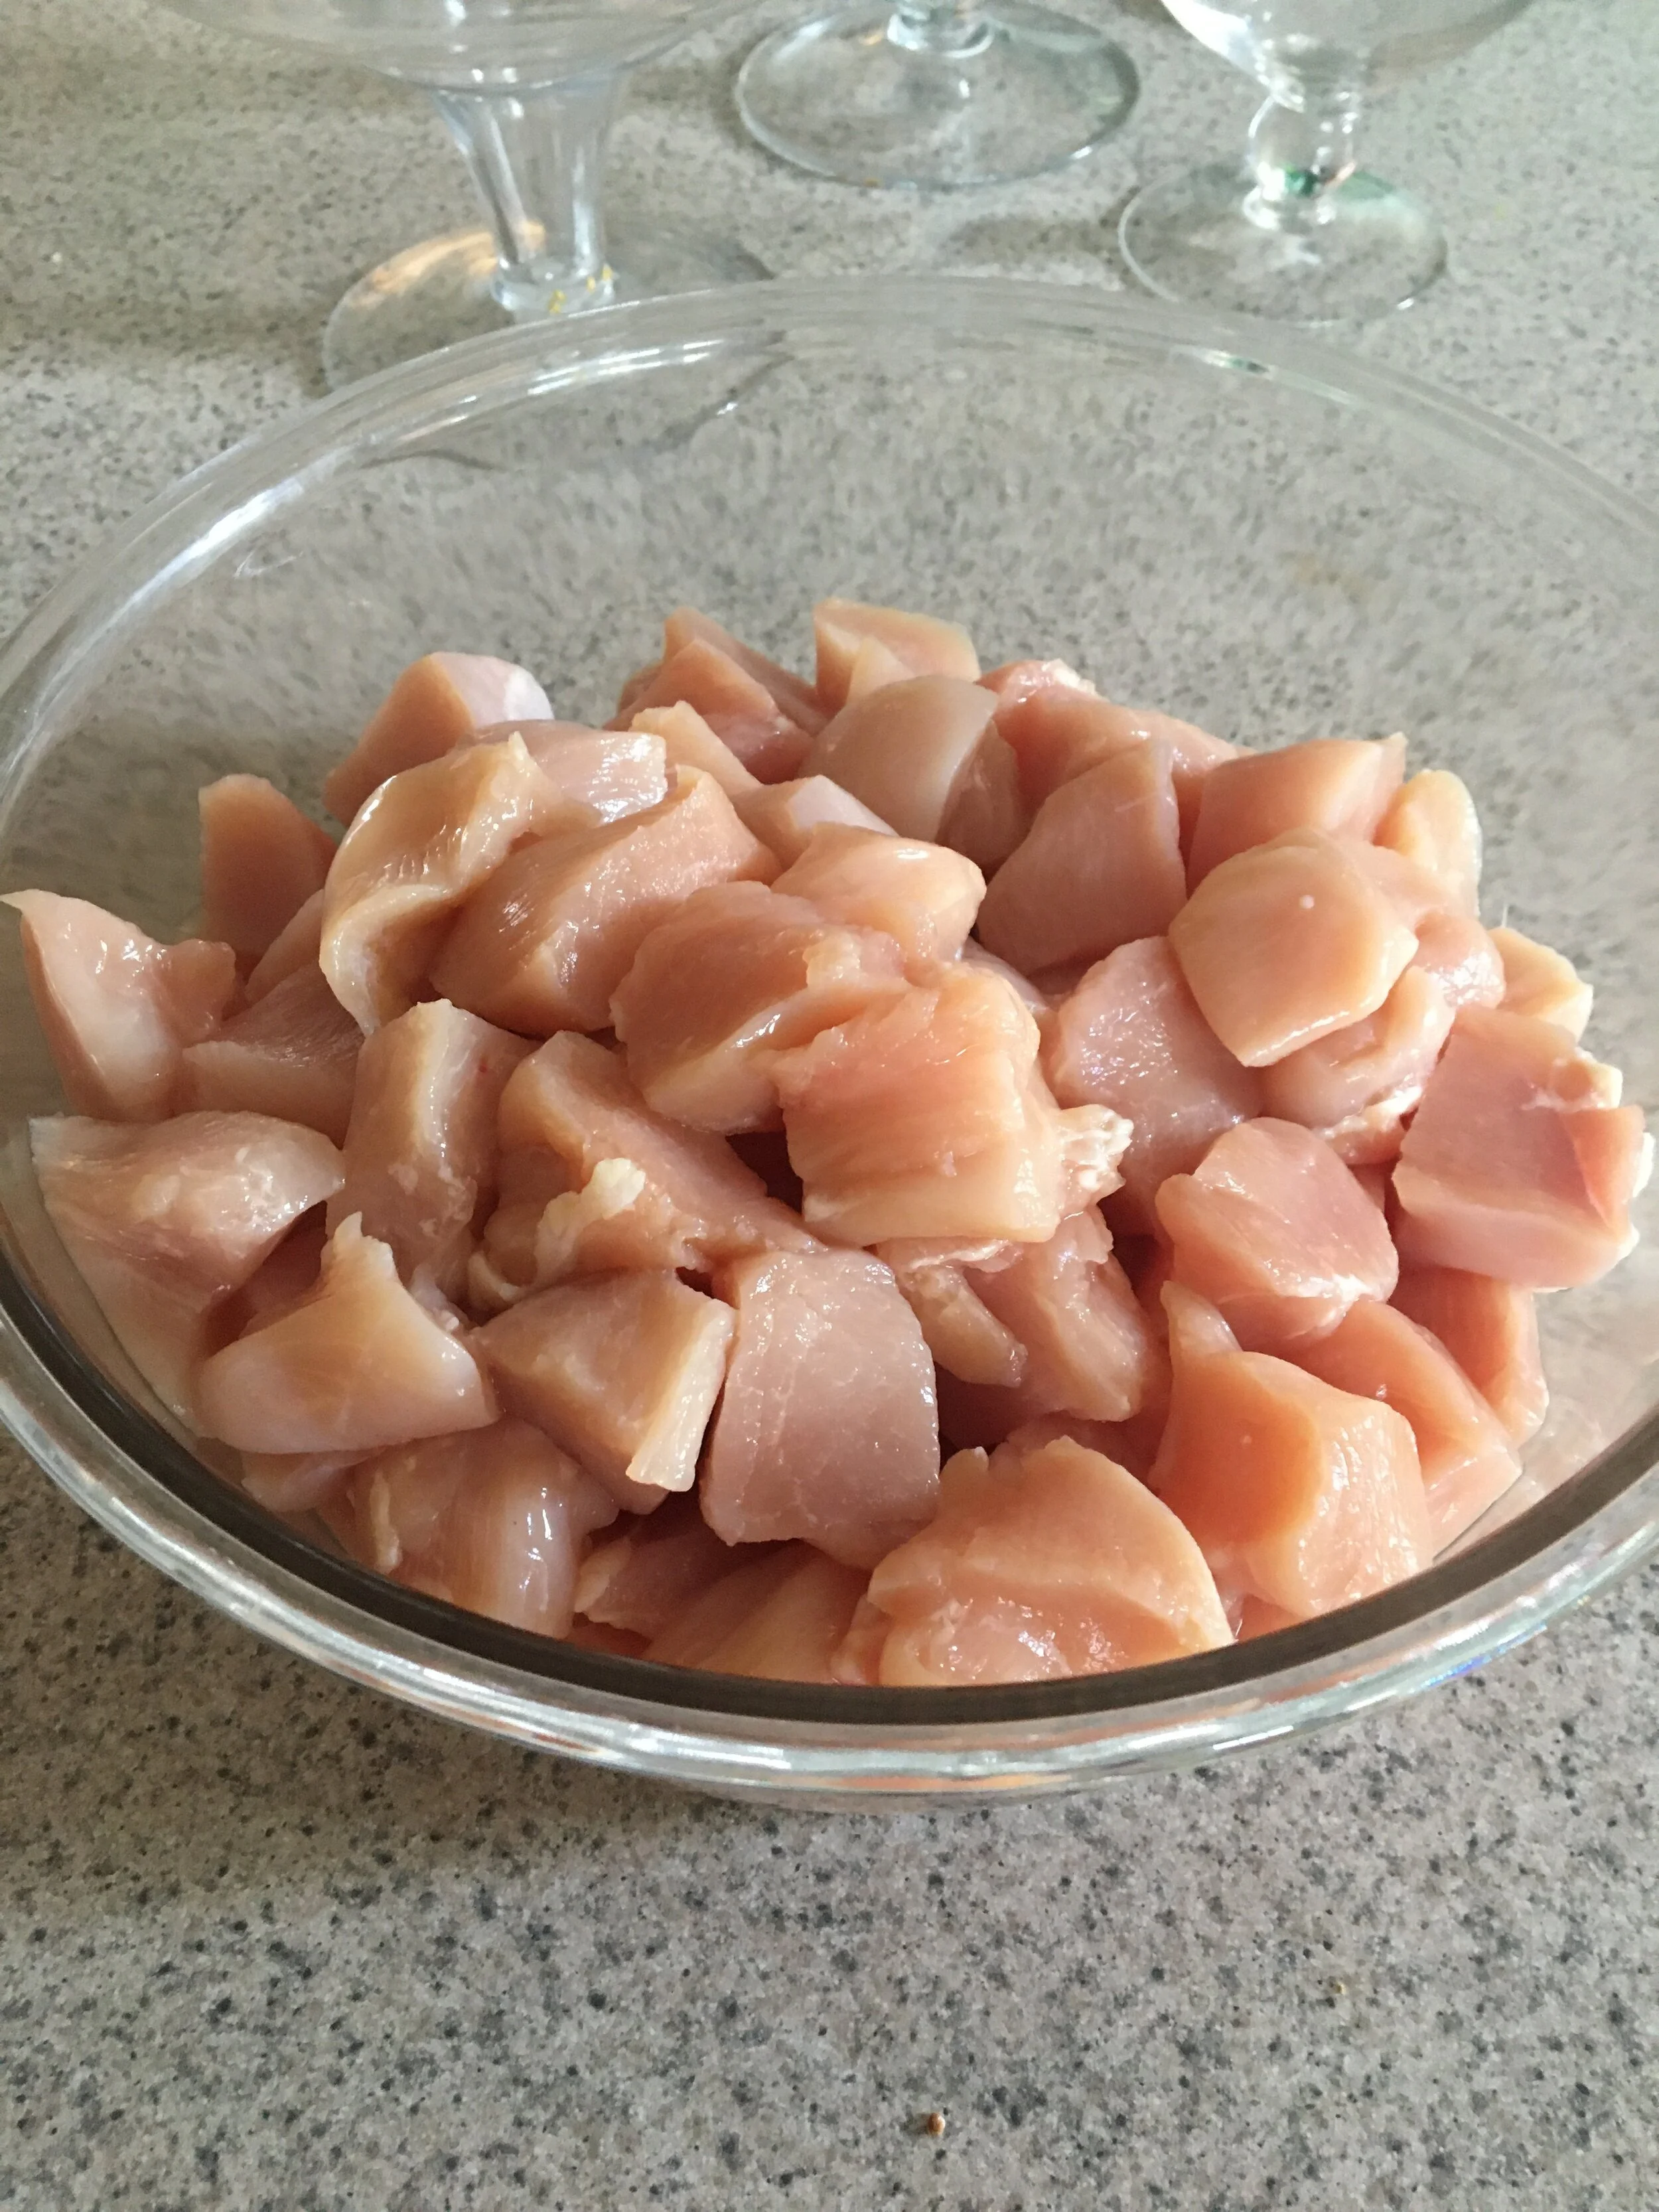
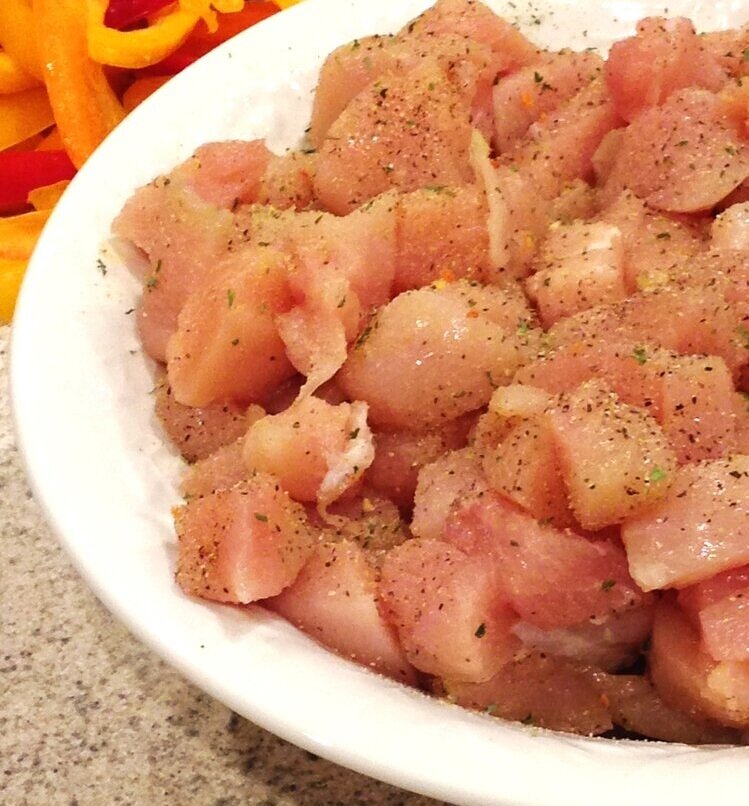
In a small bowl, mix the garlic, soy sauce, Cherchies® Vidalia Onion Peach Salsa, and hot sauce. Cut the chicken into 1 inch pieces and place into a medium bowl. Season the chicken with Cherchies® Garlic Seasoning and pepper. Mix. Add 2/3 of the marinade to the chicken. Mix thoroughly. Cover the bowl with plastic wrap and refrigerate several hours.
Wash and chop the vegetables and pineapple, and place in a shallow pan. Add the rest of the marinade and mix until completely covered. Cover with plastic wrap and refrigerate for several hours.

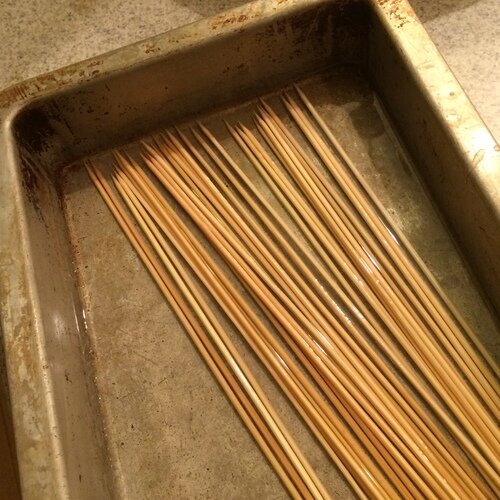
30 minutes prior to grilling, soak the skewers in a shallow casserole dish.
*Remove the marinated chicken and vegetables from the refrigerator. Save the marinade from the vegetables to use for basting the kabobs later. (If you want to use the marinade from the meat, make sure to boil the marinade until it reaches a temperature of at least 165 degrees. This way, any harmful bacteria will be removed). See FDA Guidelines.

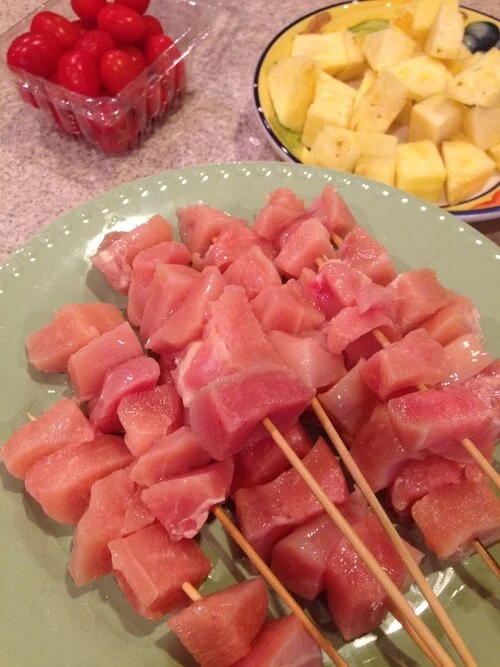
Thread the chicken on separate skewers from the vegetables. (I find this works better with the different cook times of the chicken and vegetables). Next, alternate the peppers, onions, mushrooms, pineapple on different skewers in any arrangement you prefer.
Spray the grill with cooking spray, light the grill, and turn grill onto high for a few minutes. We use a gas grill, but you can easily grill these on a charcoal grill.

When you are ready to cook the skewers, turn the grill down to low.  Place chicken on grill and cook for a few minutes on each side.
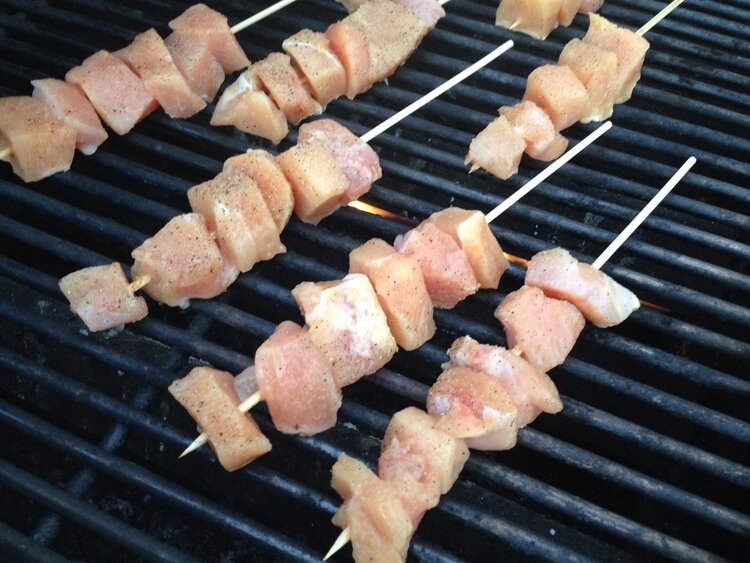
After the chicken has cooked for a few minutes, add the vegetable/pineapple skewers to the grill, and cook for a few minutes on each side. I love adding pineapple to the vegetables because it adds so much flavor. If you've never had grilled pineapple, you're in for a real treat!  All the sugars in the pineapple come to life, for flavors that will make your taste buds tingle.

Baste the skewers with the leftover vegetable marinade as the kabobs cook.  *(See above guidelines for marinade safety). The chicken should no longer be pink on the inside and the vegetables should be tender crisp with grill marks.
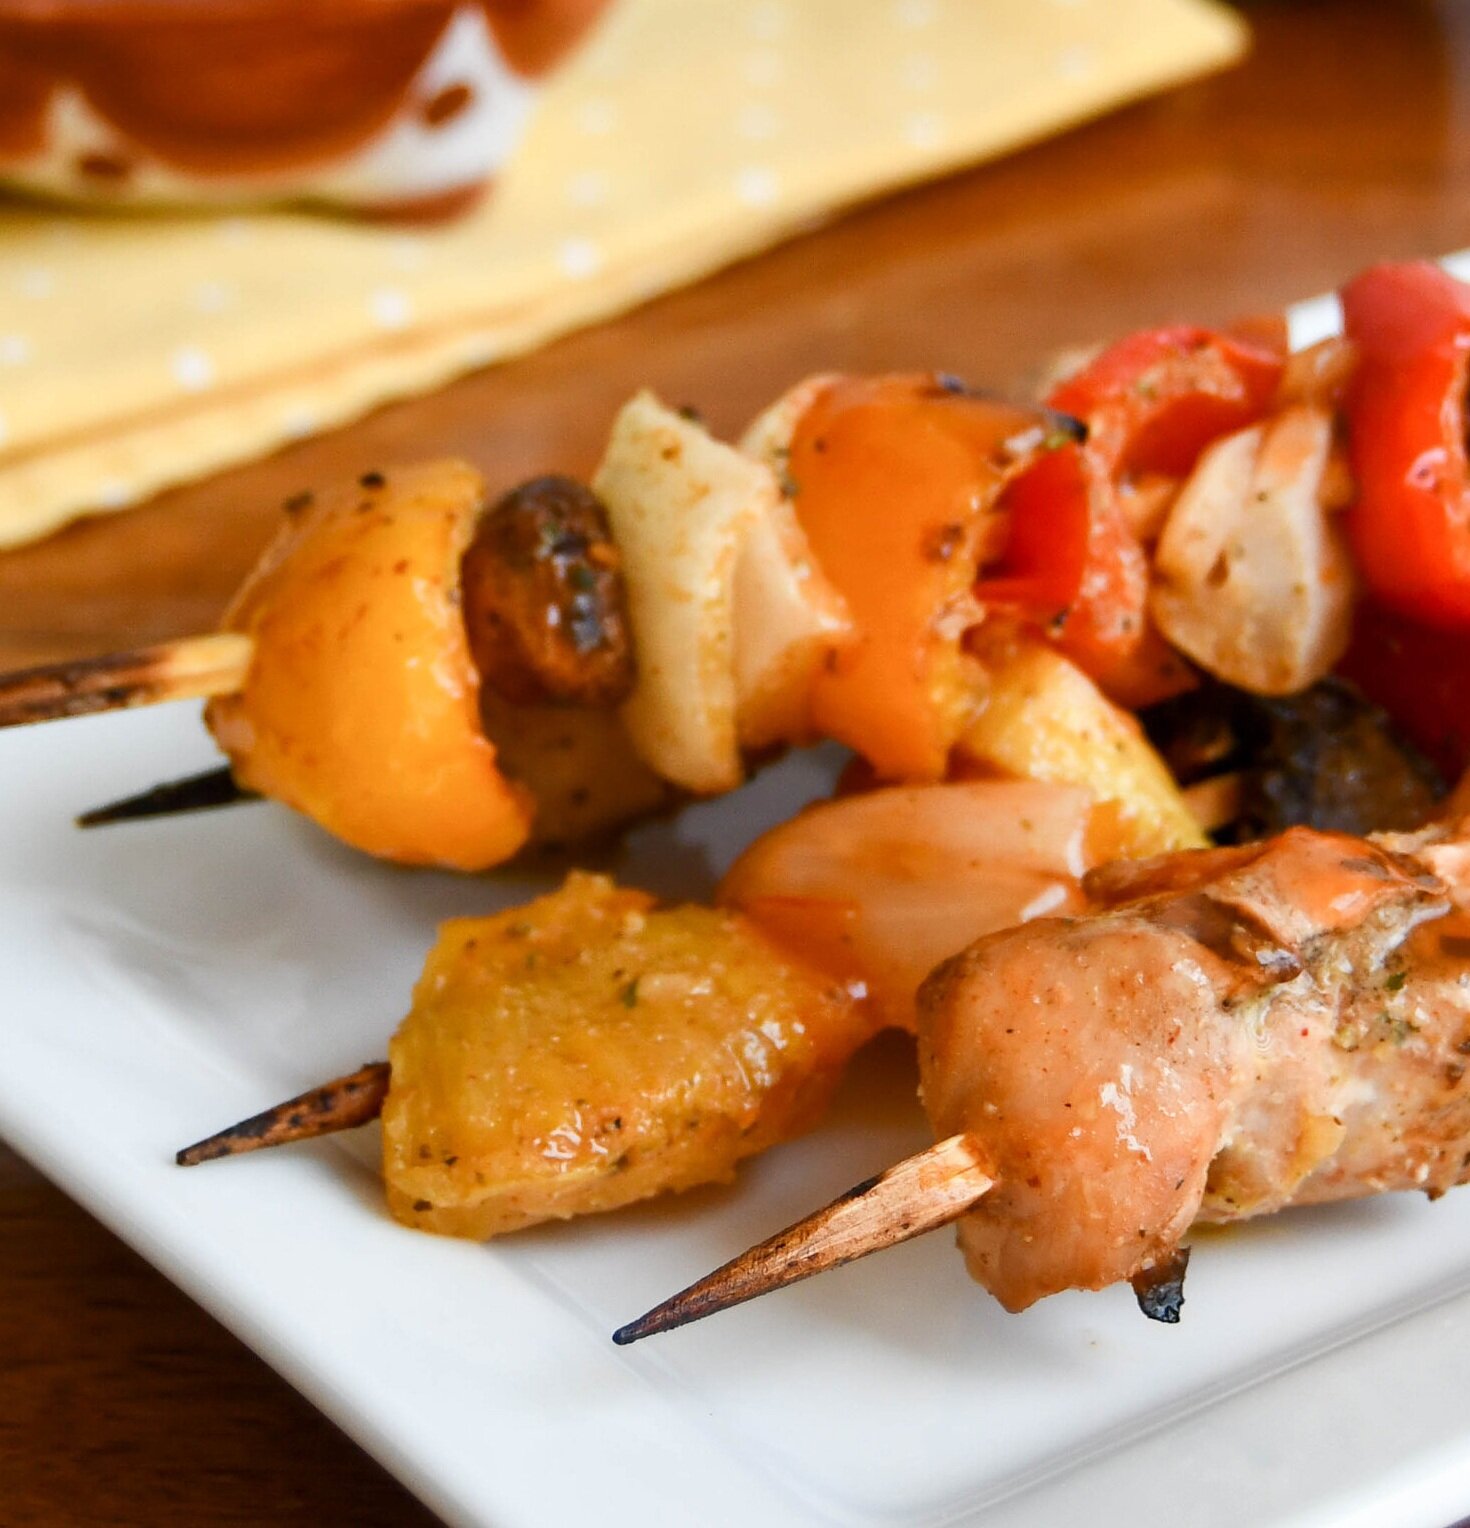
Remove the kabobs from the grill and set aside on a platter for about five minutes. This allows the meat to rest and absorb all the juices.   Add Cherchies® Vidalia Onion Peach Salsa for dipping.

Serve with Aunt Ester’s Potato Salad and dinner is served! Enjoy.
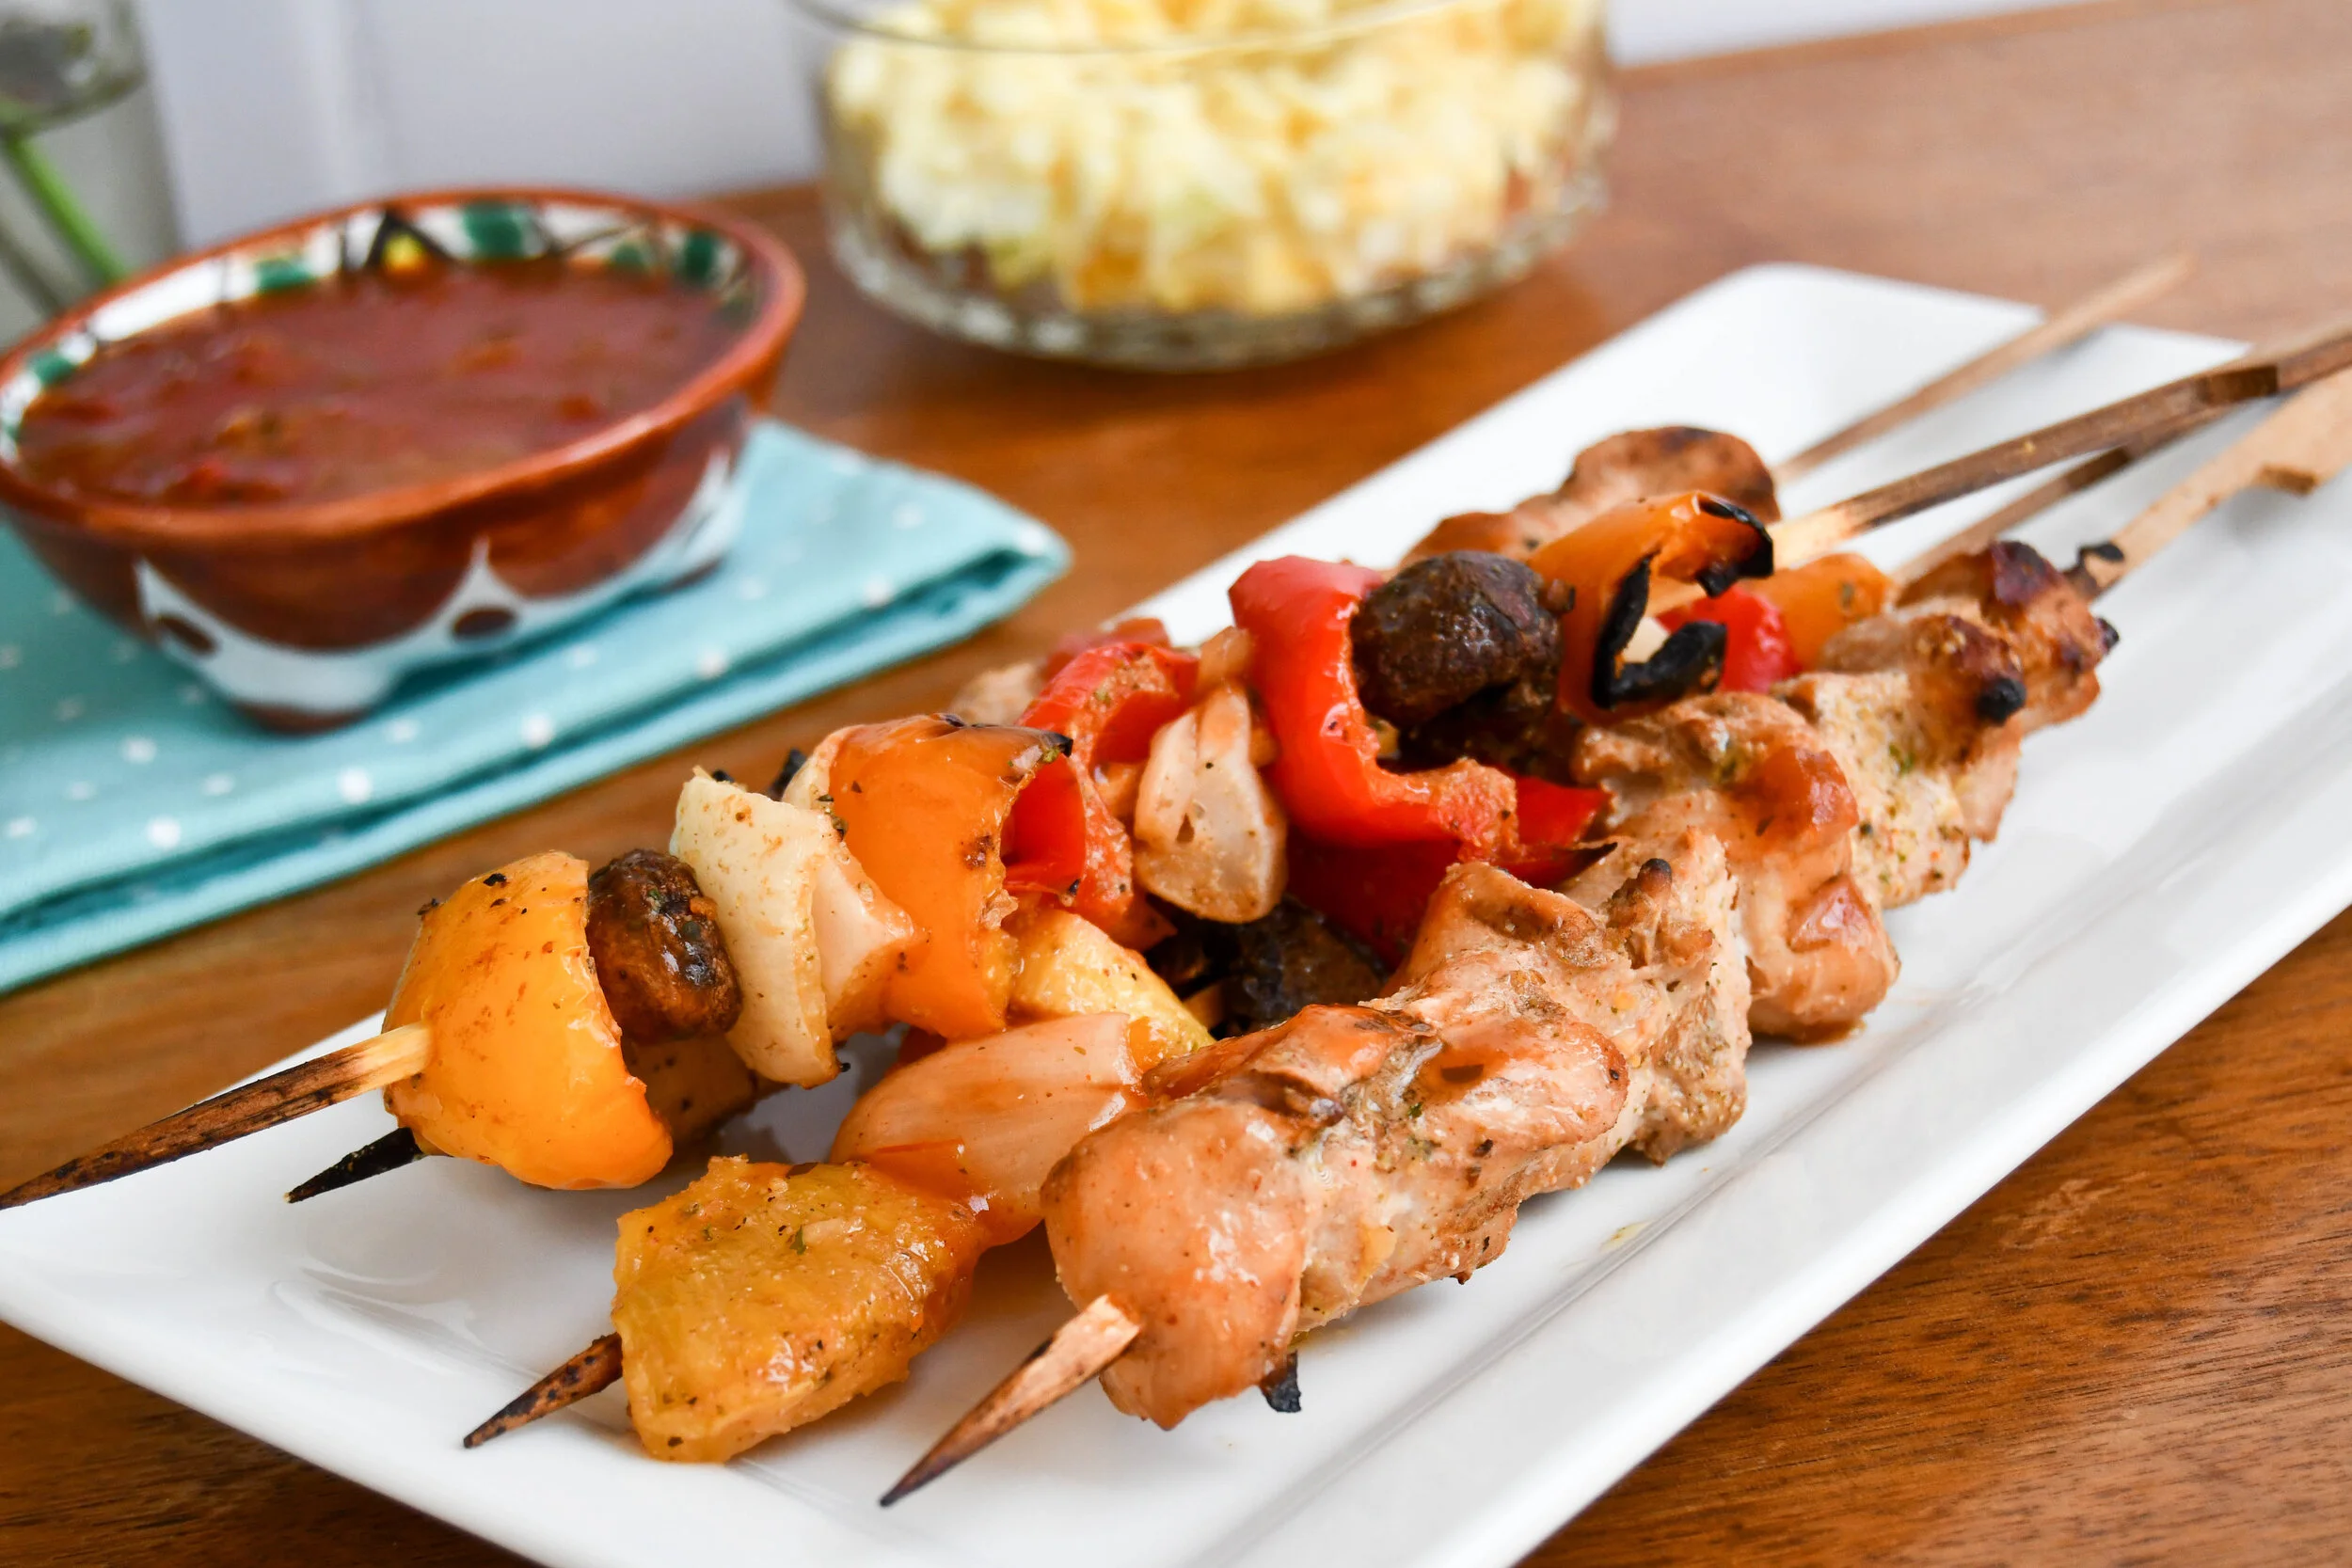
Peachy Chicken & Vegetable Kabobs Recipe
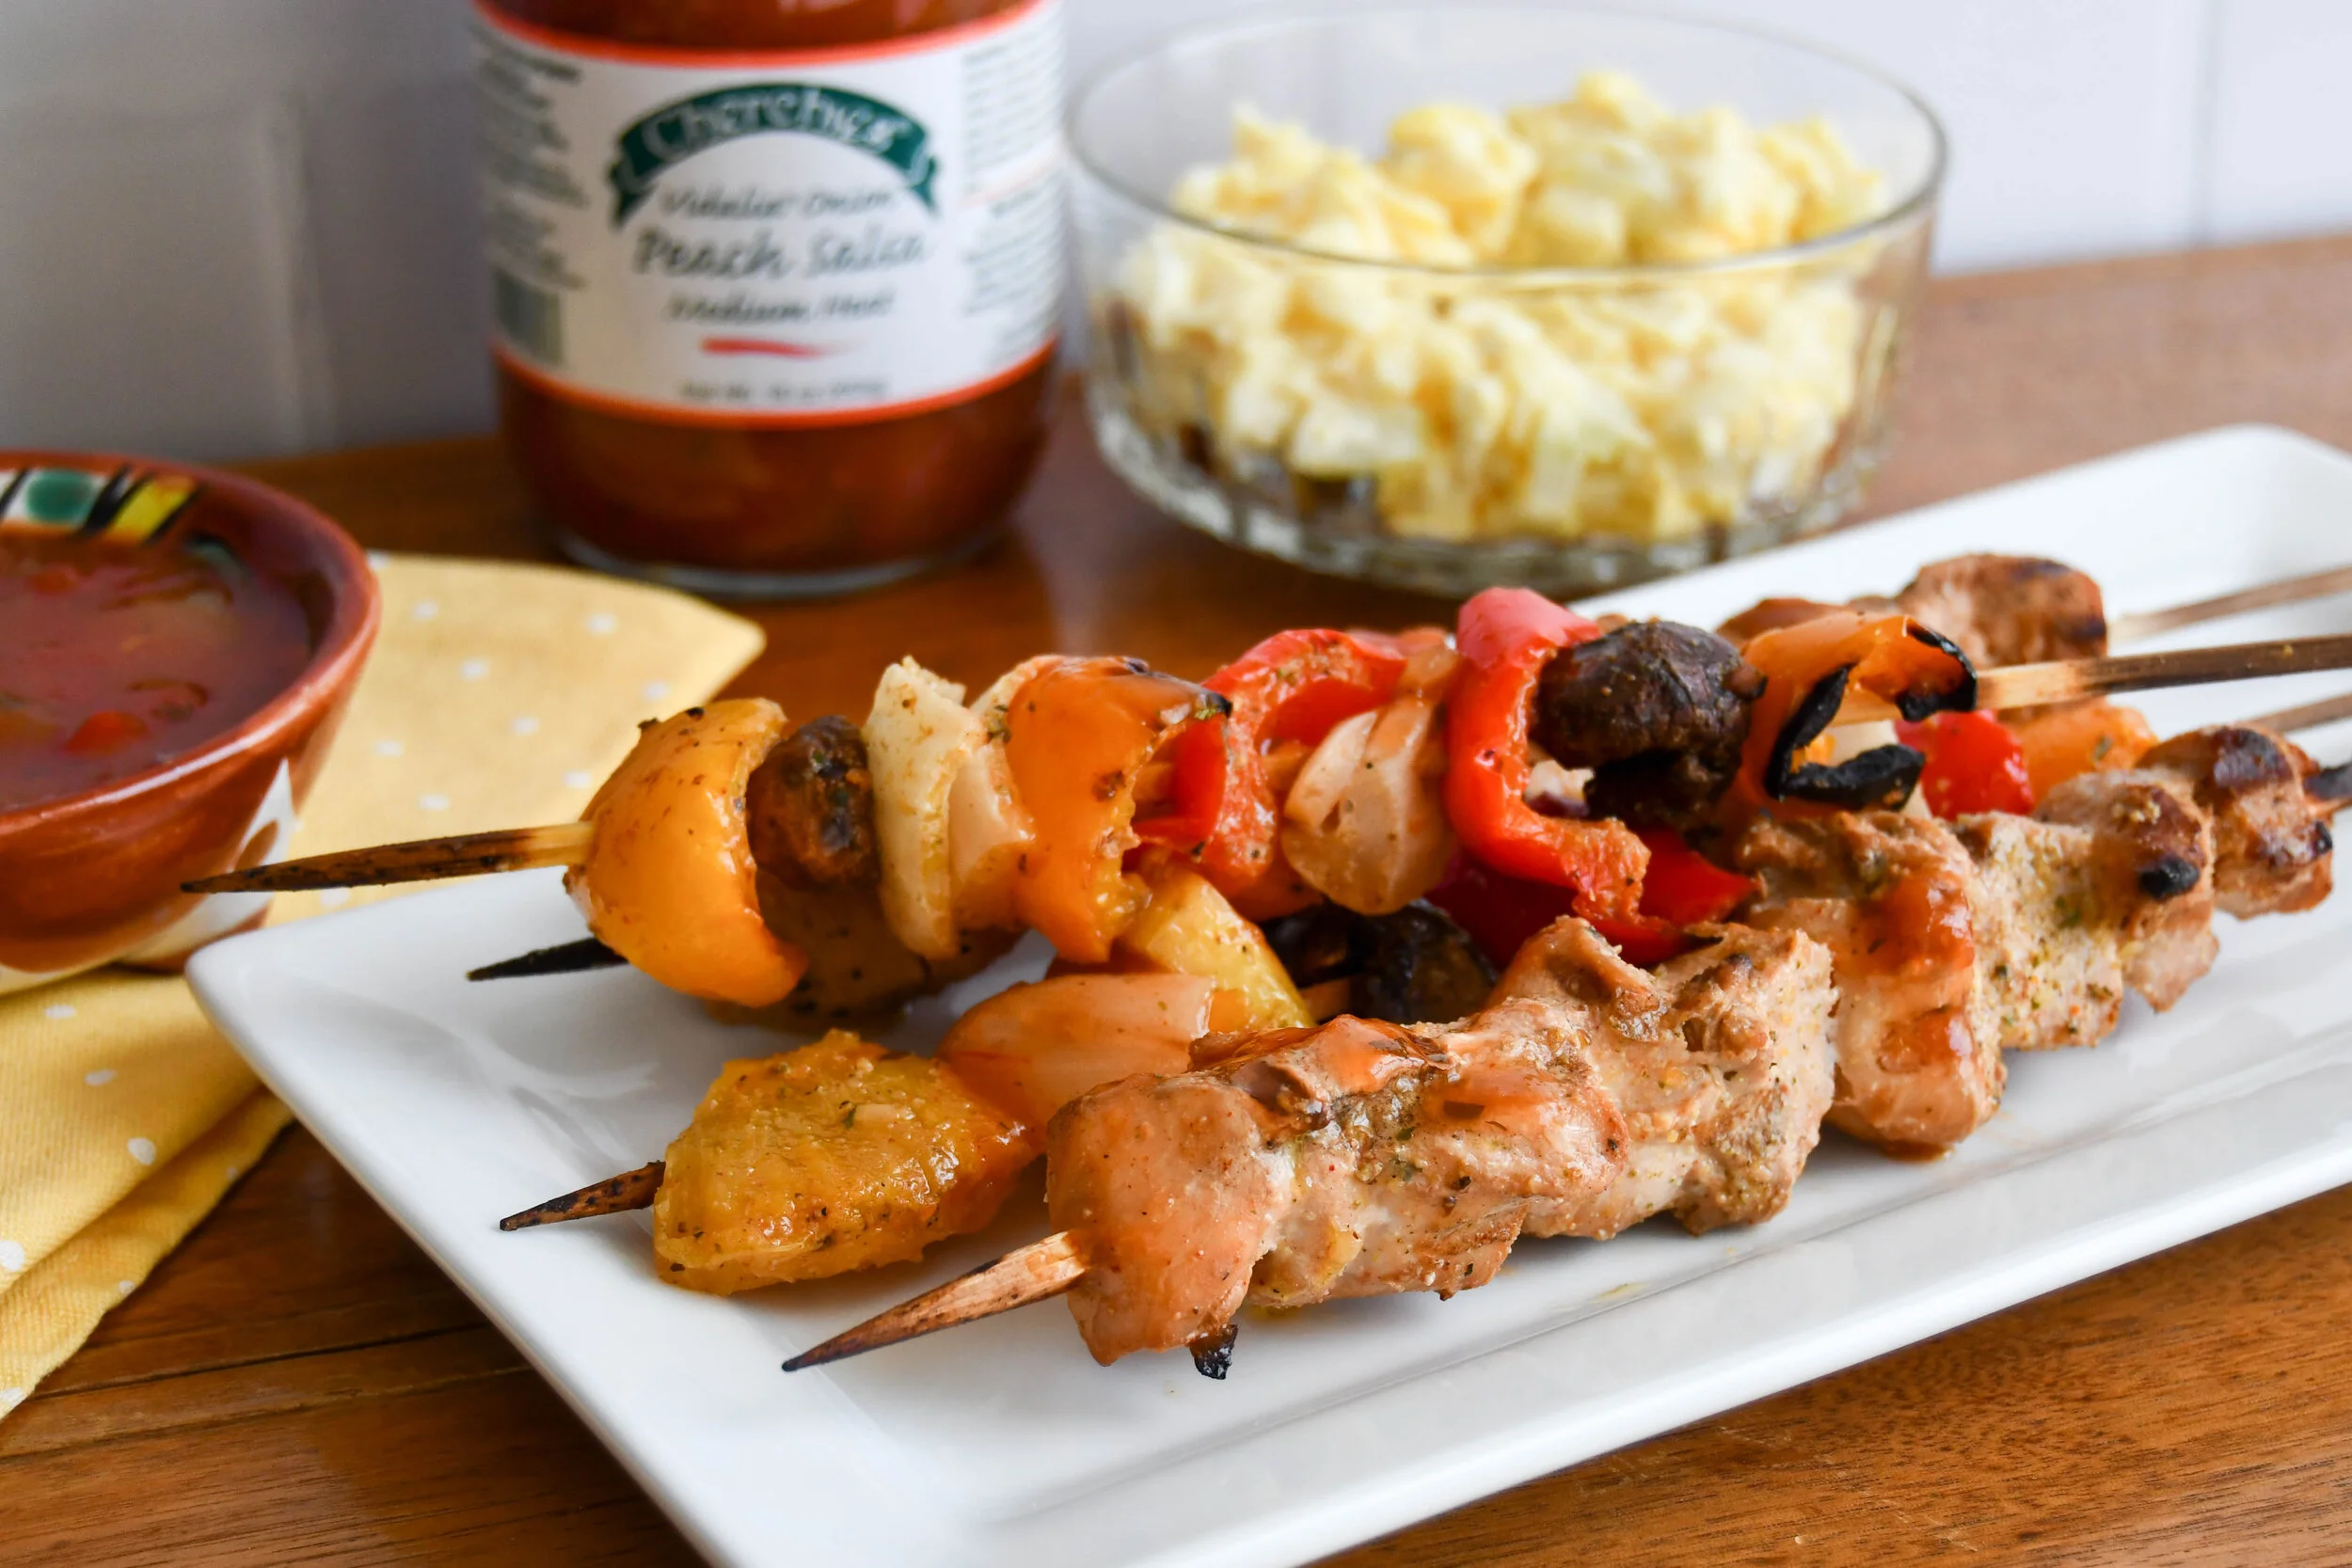
Peachy Chicken & Vegetable Kabobs Recipe
peachy chicken kabobs recipe3-.jpg
Yum

20 Sweet & Savory Compound Butter Recipes

glaze marinade & sauce, grillingSheri Spallone6 Comments
20 Sweet & Savory Compound Butter Recipes

20 Sweet & Savory Compound Butter Recipes

So what is “churning” in our kitchen today? Compound butter! If you have never made compound butter, then you are missing out! Compound butter is a cinch to make, and it adds a rich finish to pretty much everything, meats, seafood, bread, vegetables, pancakes, waffles, and so much more. We wanted to share 20 of our favorite compound butter combinations below (using, you guessed it, Cherchies® products) and directions on how to make them.

So what exactly is compound butter? It is softened butter infused with sweet or savory ingredients. The possibilities are endless for what can go into butter-herbs, cheese, fruit, mustard, spices, jams, fruit, bacon, etc. Talk about a blank canvas!

Sweet compound butter pairs well with scones, rolls, pancakes, waffles, biscuits, croissants, etc., whereas savory compound butter is better with meats, seafood, bread, vegetables, popcorn, and pasta. And sometimes, the sweet and savory are paired together to create something unusually delicious, such as Blackberry PreservesChampagne Mustard, and butter.

Compound butter is perfect for holidays and parties or anytime you feel fancy, but it also makes an ideal gift for the food-lover in your life. Wrap it up or spread the love into a pretty bowl or container, and voila, an instant homemade gift!

So what are you waiting for? Mix up your favorite Cherchies® products today and make tasty compound butter. You will not be disappointed! Comment below and let us know your favorite combinations or if you have a new mix to share. Have fun!

Enjoy!

Sweet Compound butters- Use on scones, rolls, pancakes, waffles, French Toast, biscuits, corn bread, croissants, and toasted bagels.

  • Fig, cinnamon, and honey butter- Combine 1/2 c. (8 Tablespoons) unsalted softened butter with 1/4 cup Cherchies® Fig Preserves with Cinnamon, and 1 Tablespoon honey.

  • Strawberry honey butter- Combine 1/2 c. (8 Tablespoons) unsalted softened butter with 1/4 cup Cherchies® Strawberry Butter Spread, and 1 Tablespoon honey.

  • Cranberry Butter with Champagne- Combine 1/2 c. (8 Tablespoons) unsalted softened butter with 1/4 cup Cherchies® Cranberry Preserves with Champagne, and 1 teaspoon (tsp) orange zest.

  • Blackberry Bourbon Butter- Combine 1/2 c. (8 Tablespoons) unsalted softened butter, 1/4 cup Cherchies® Blackberry Seedless Preserves, 2 teaspoons (tsp) honey, and 2 teaspoons (tsp) Bourbon (optional).

  • Cherry Vanilla Butter- Combine 1/2 c. (8 Tablespoons) unsalted softened butter, 1/4 cup Cherchies® Cherry Butter Spread, and 1 teaspoon (tsp) vanilla.

  • Apple Cinnamon Honey Butter- Combine 1/2 c. butter (8 Tablespoons) unsalted softened butter with 1/4 cup Cherchies® Apple Butter Spread, and 1 Tablespoon honey.

  • Strawberry Lemon Butter- Combine 1/2 c. (8 Tablespoons) unsalted softened butter, 1/4 cup Cherchies® Strawberry Butter Spread, and 1 Tablespoon (Tbsp.) lemon zest.

  • Blackberry Lemon Butter- Combine 1/2 c. (8 Tablespoons) unsalted softened butter, 1/4 cup Cherchies® Blackberry Preserves, and 1 Tablespoon (Tbsp.) lemon zest.

Savory Compound Butters- Add to meats, seafood, breads, vegetables, popcorn, and pasta.

Here is how it is done

Soften Butter

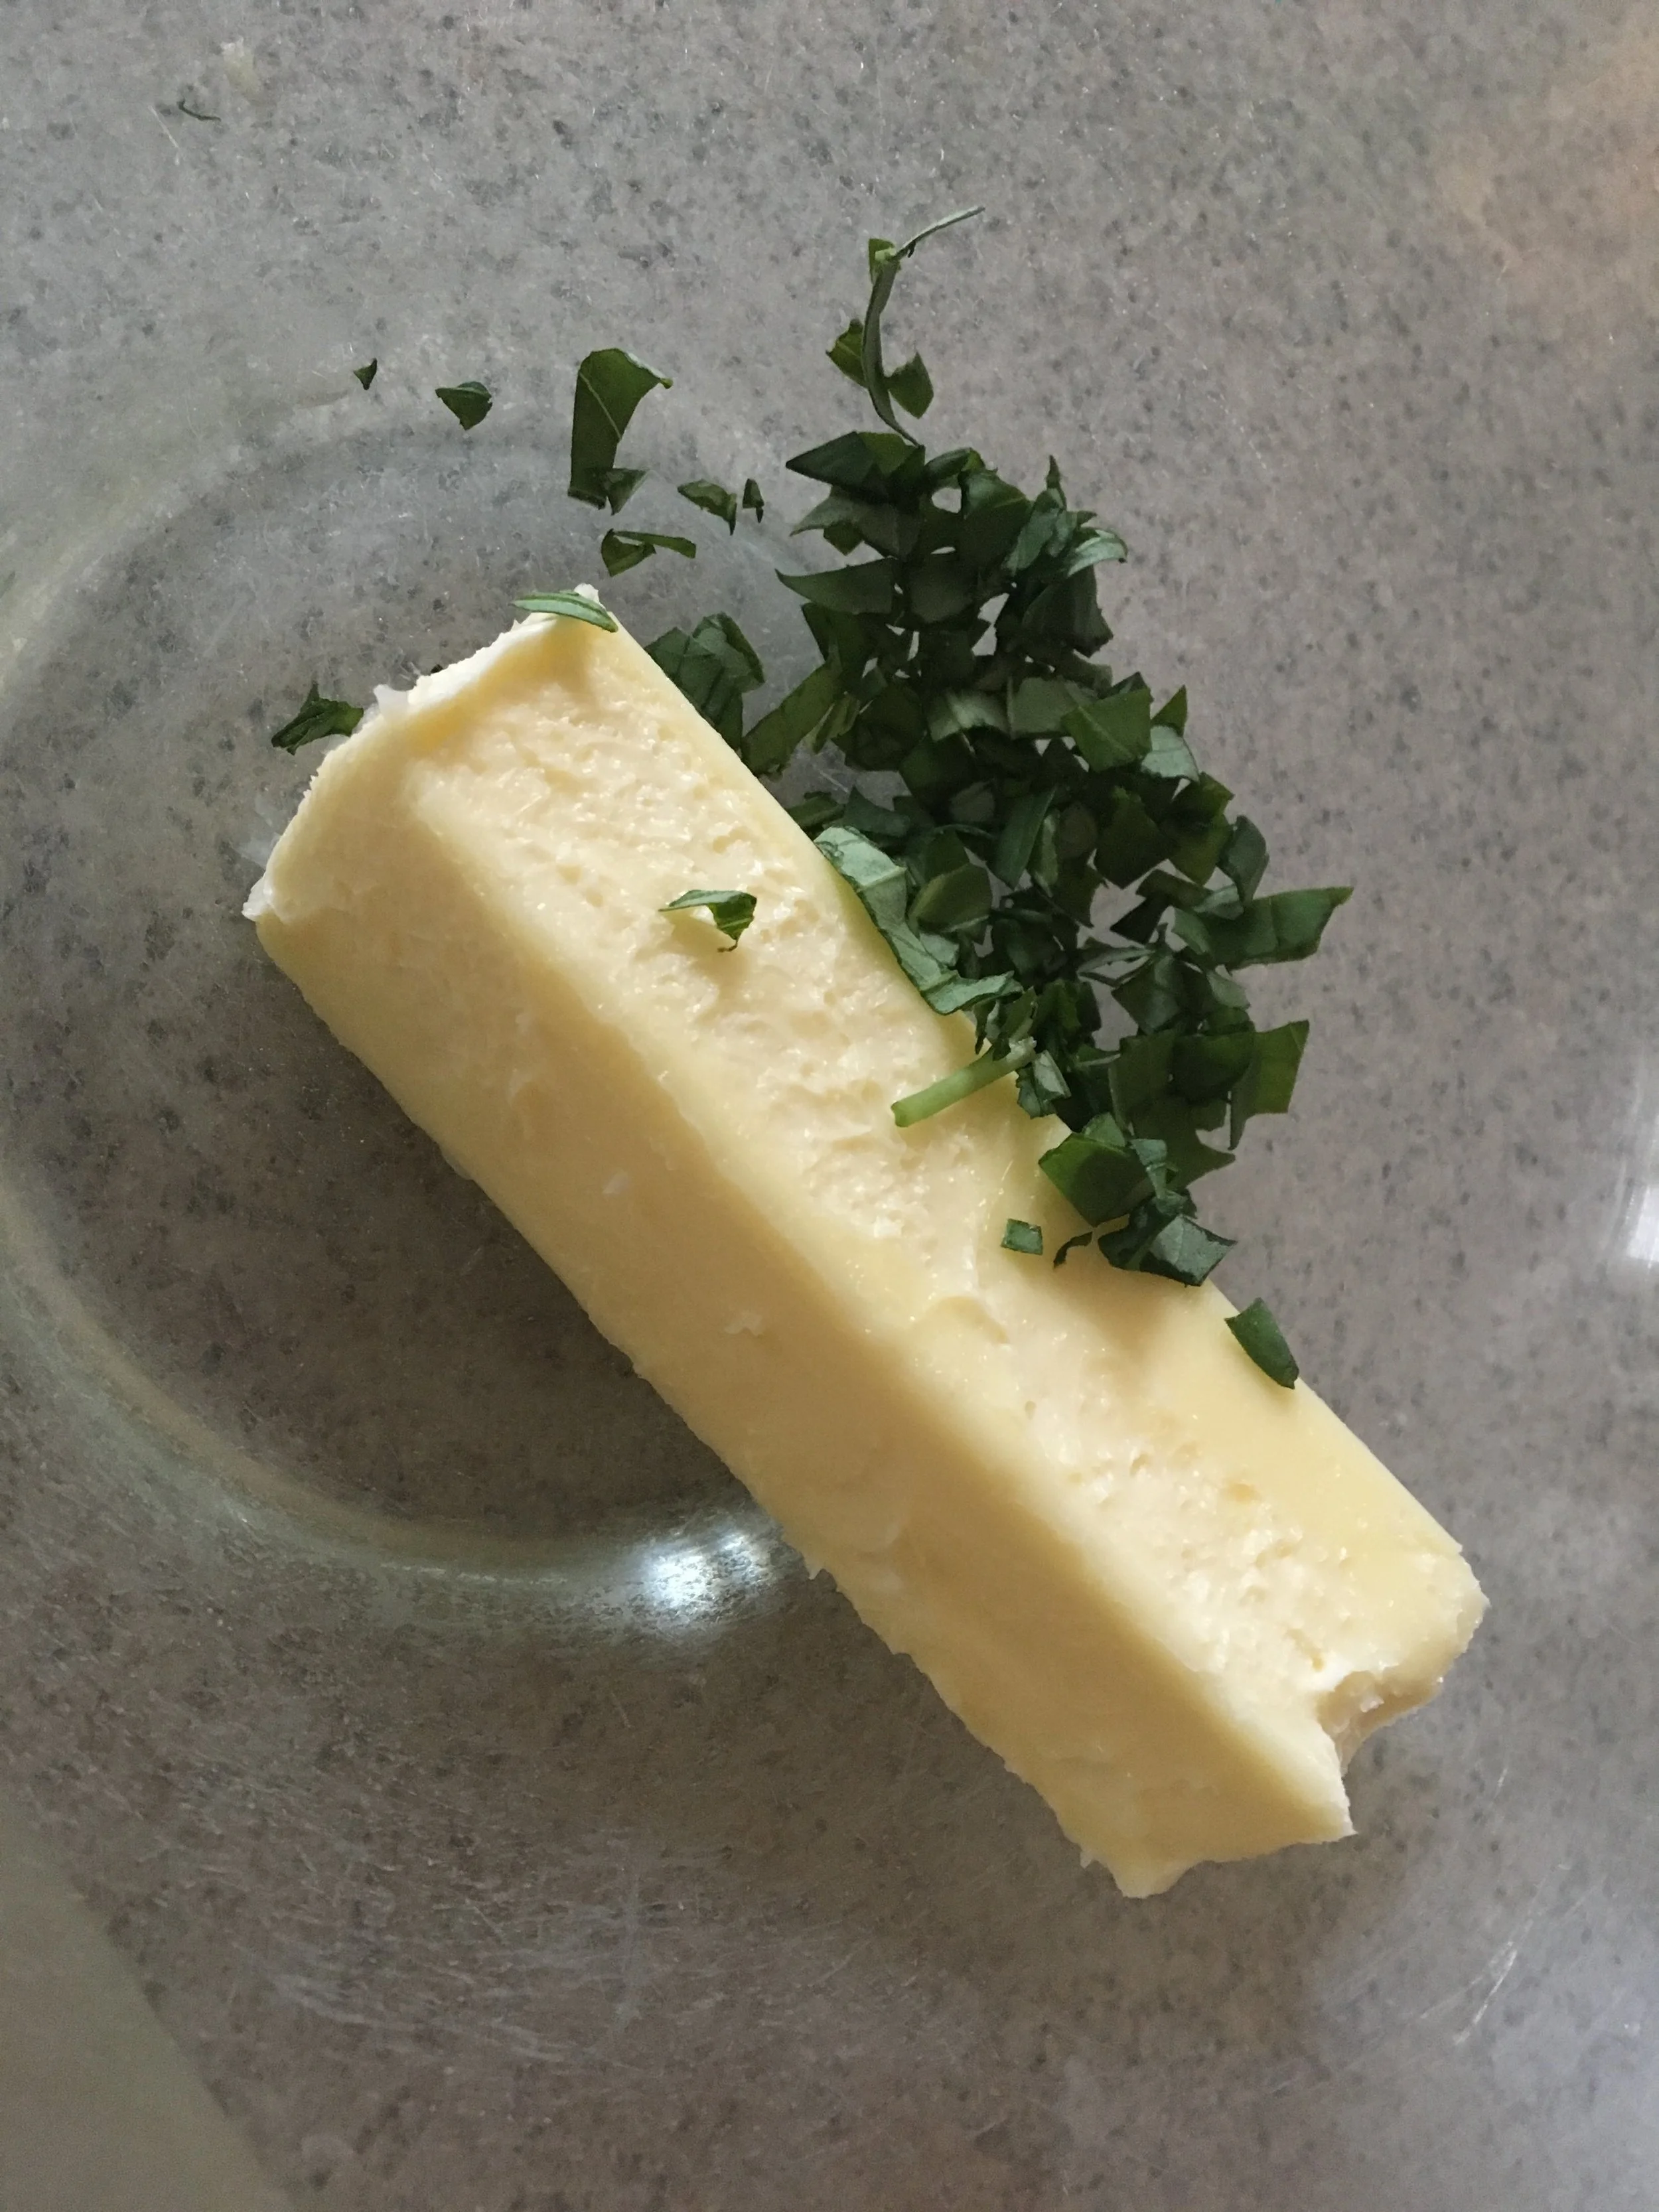
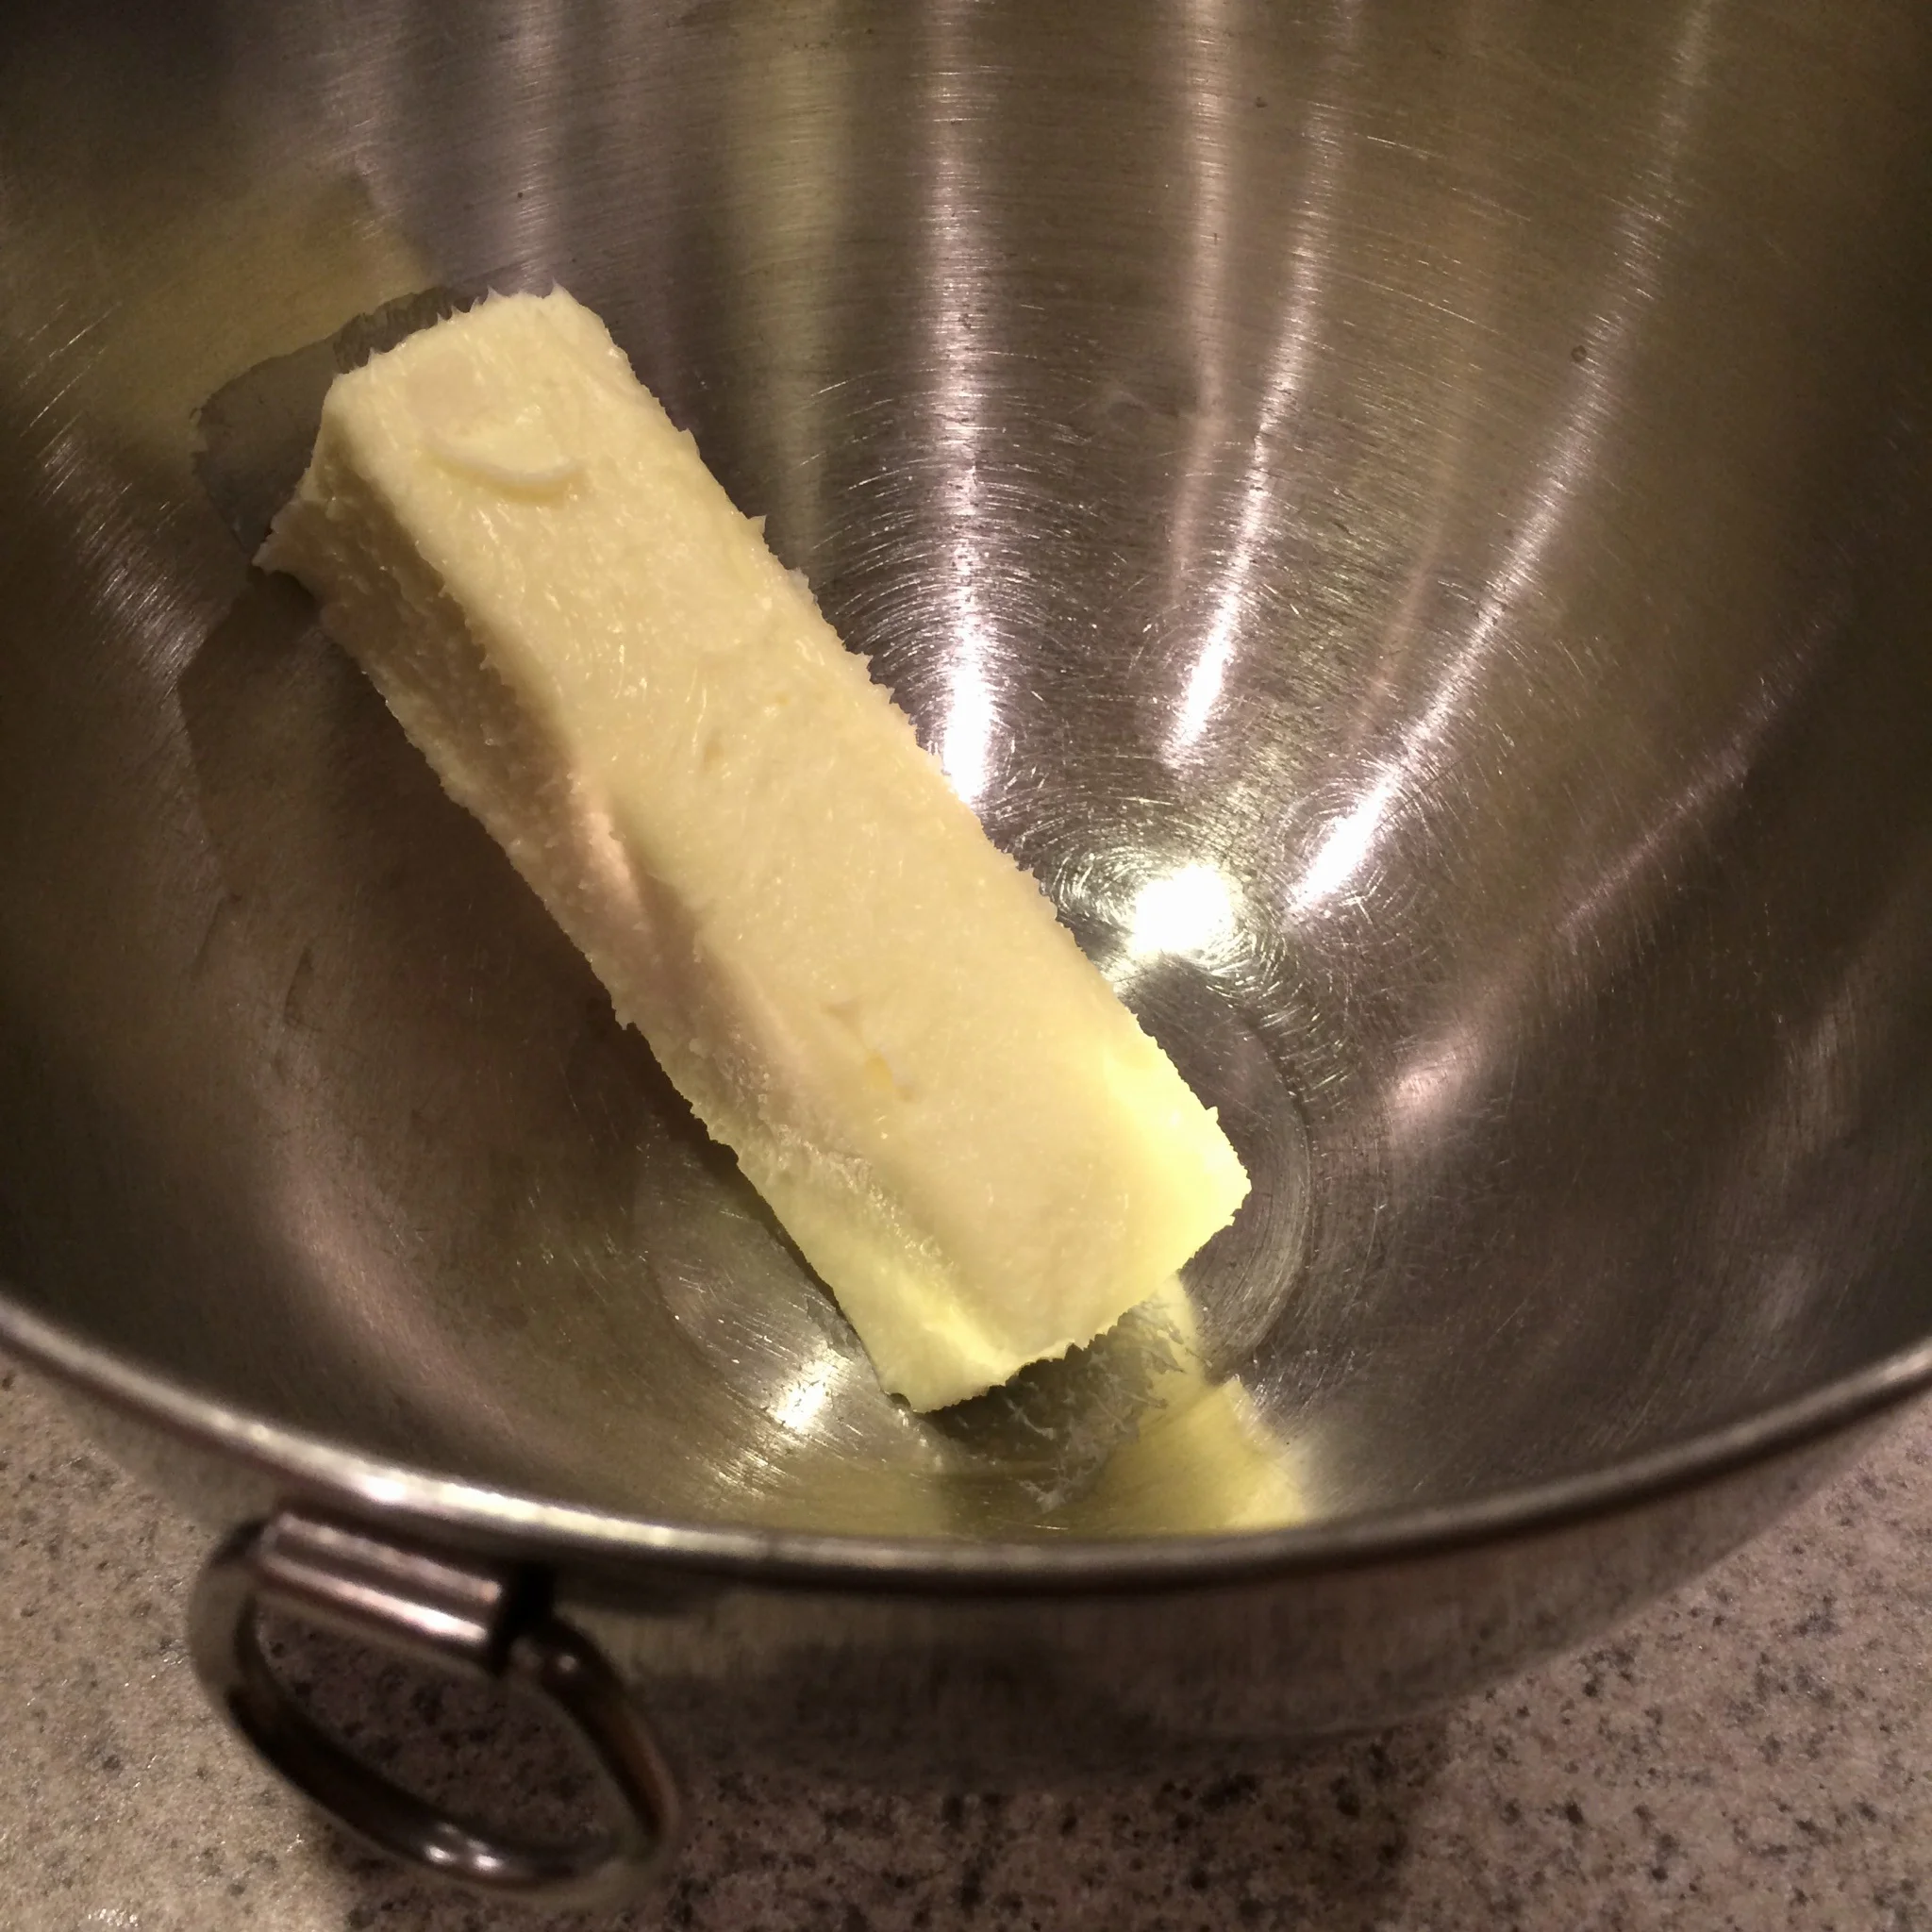
It all starts with this key ingredient...butter! Make sure to use unsalted butter so you can control the salt, unless directed otherwise. Allow the butter to come to room temperature. I usually leave the butter out on my counter for a couple of hours, but some sources suggest cutting the butter into chunks and setting aside.

Mix

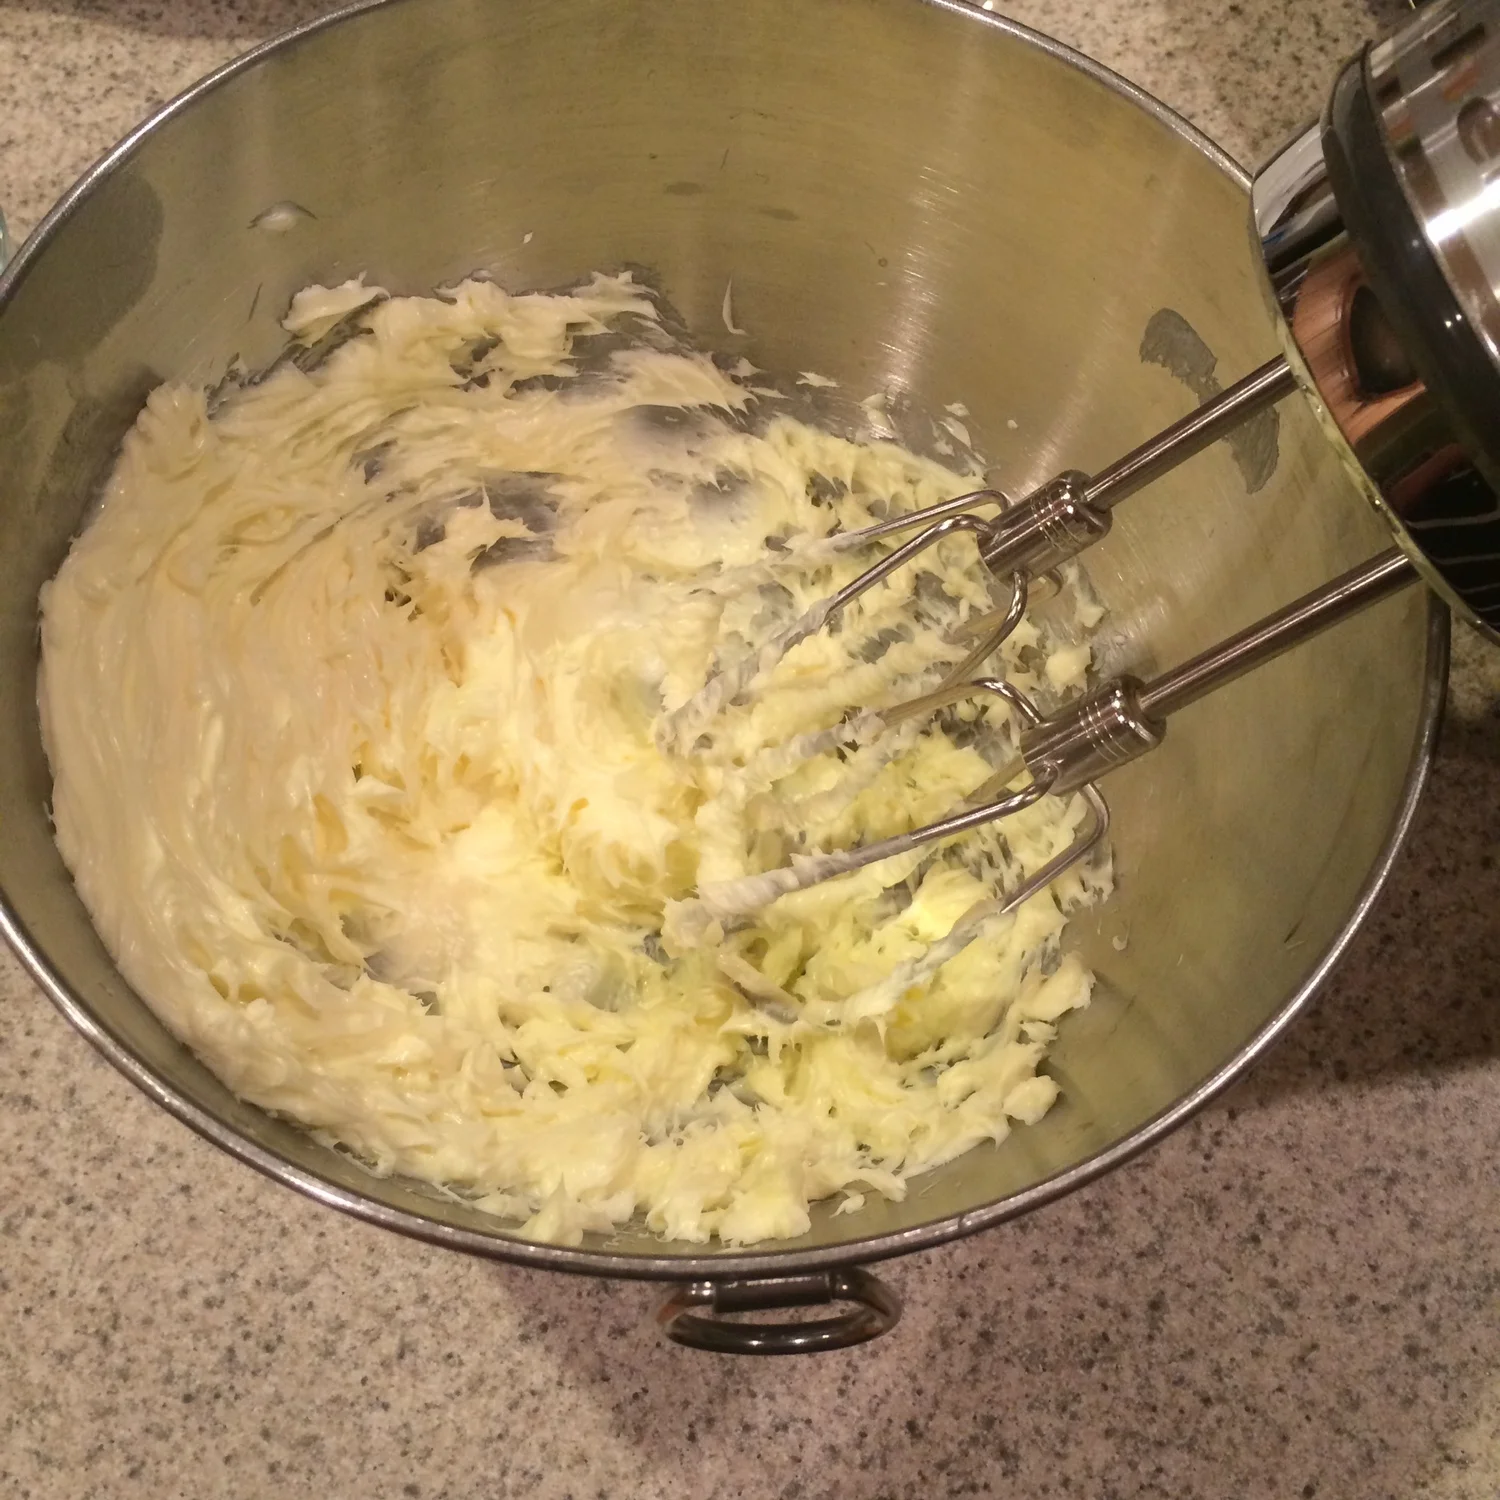
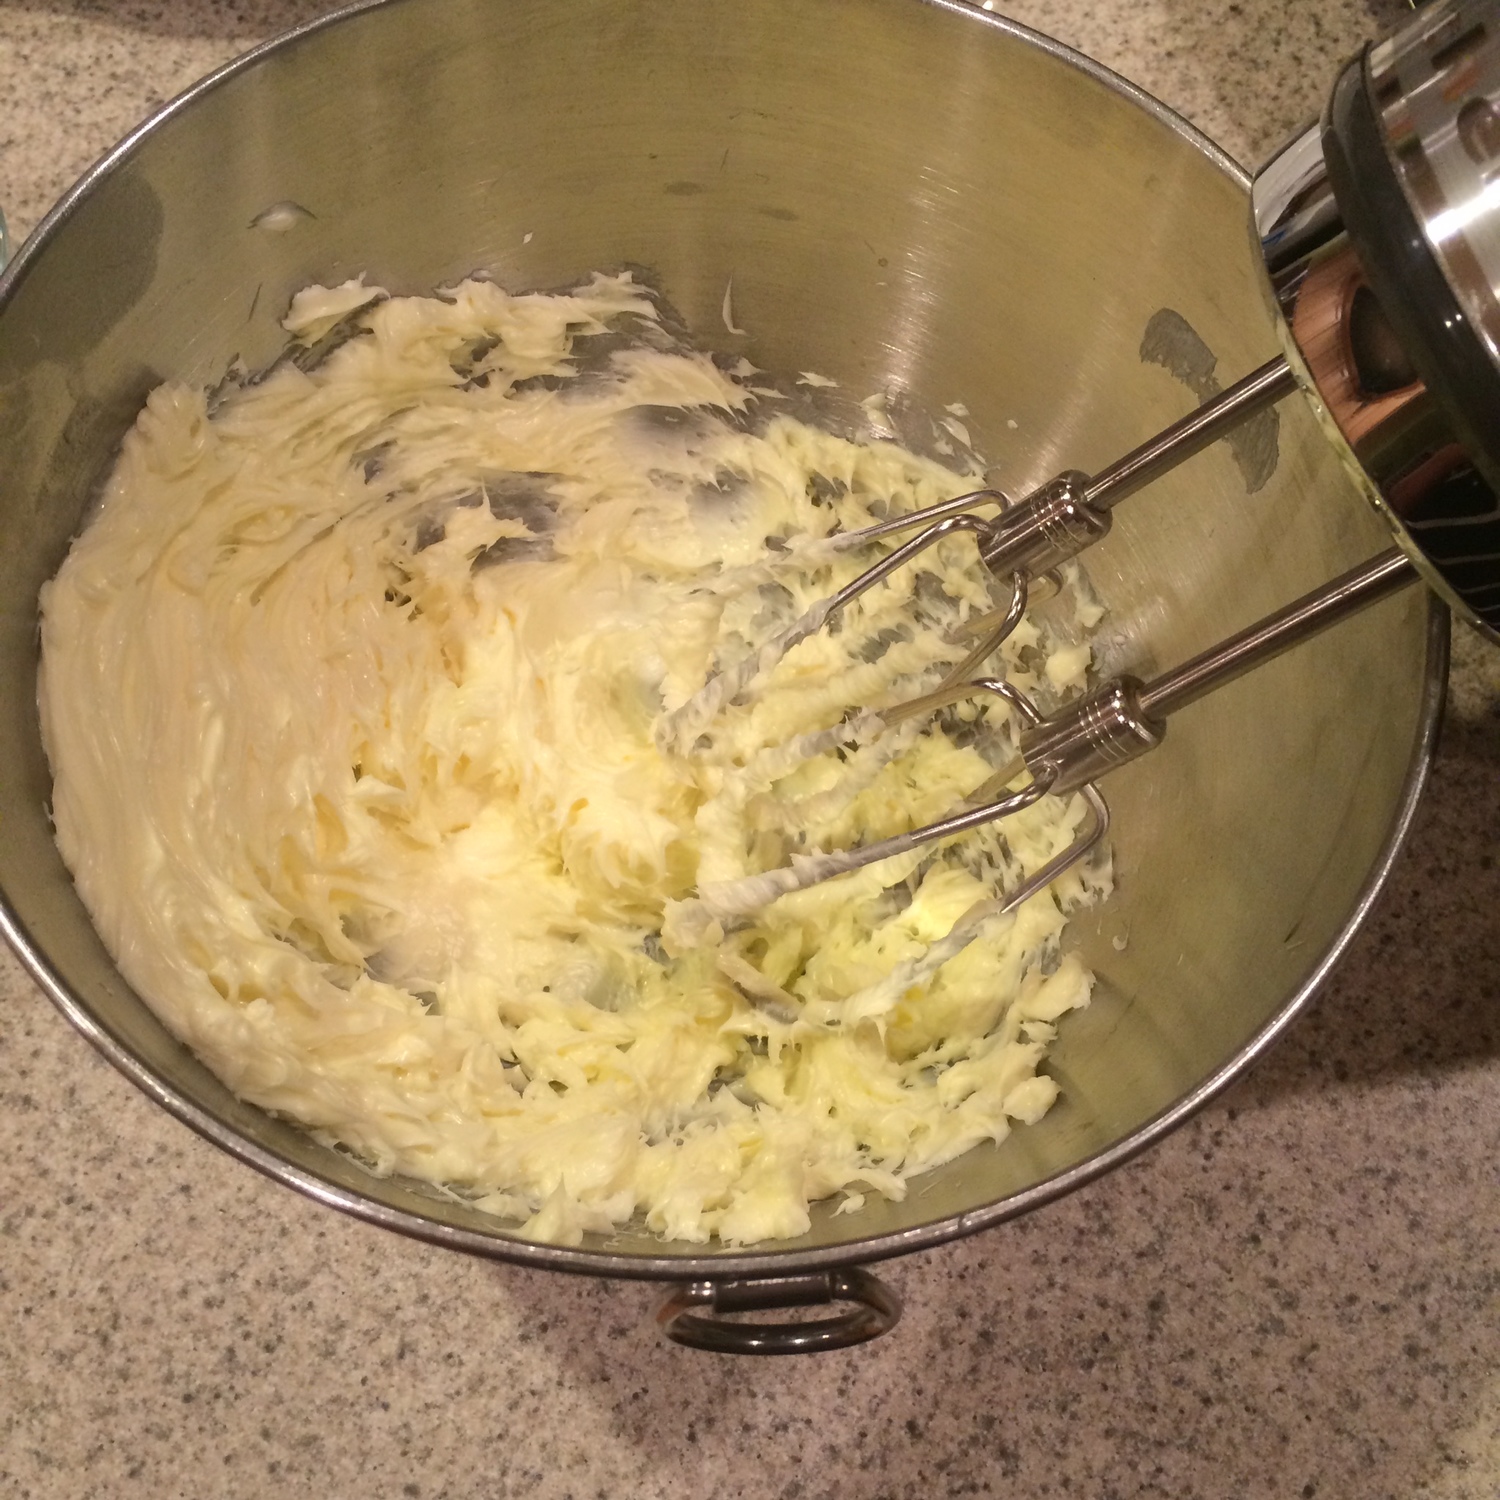
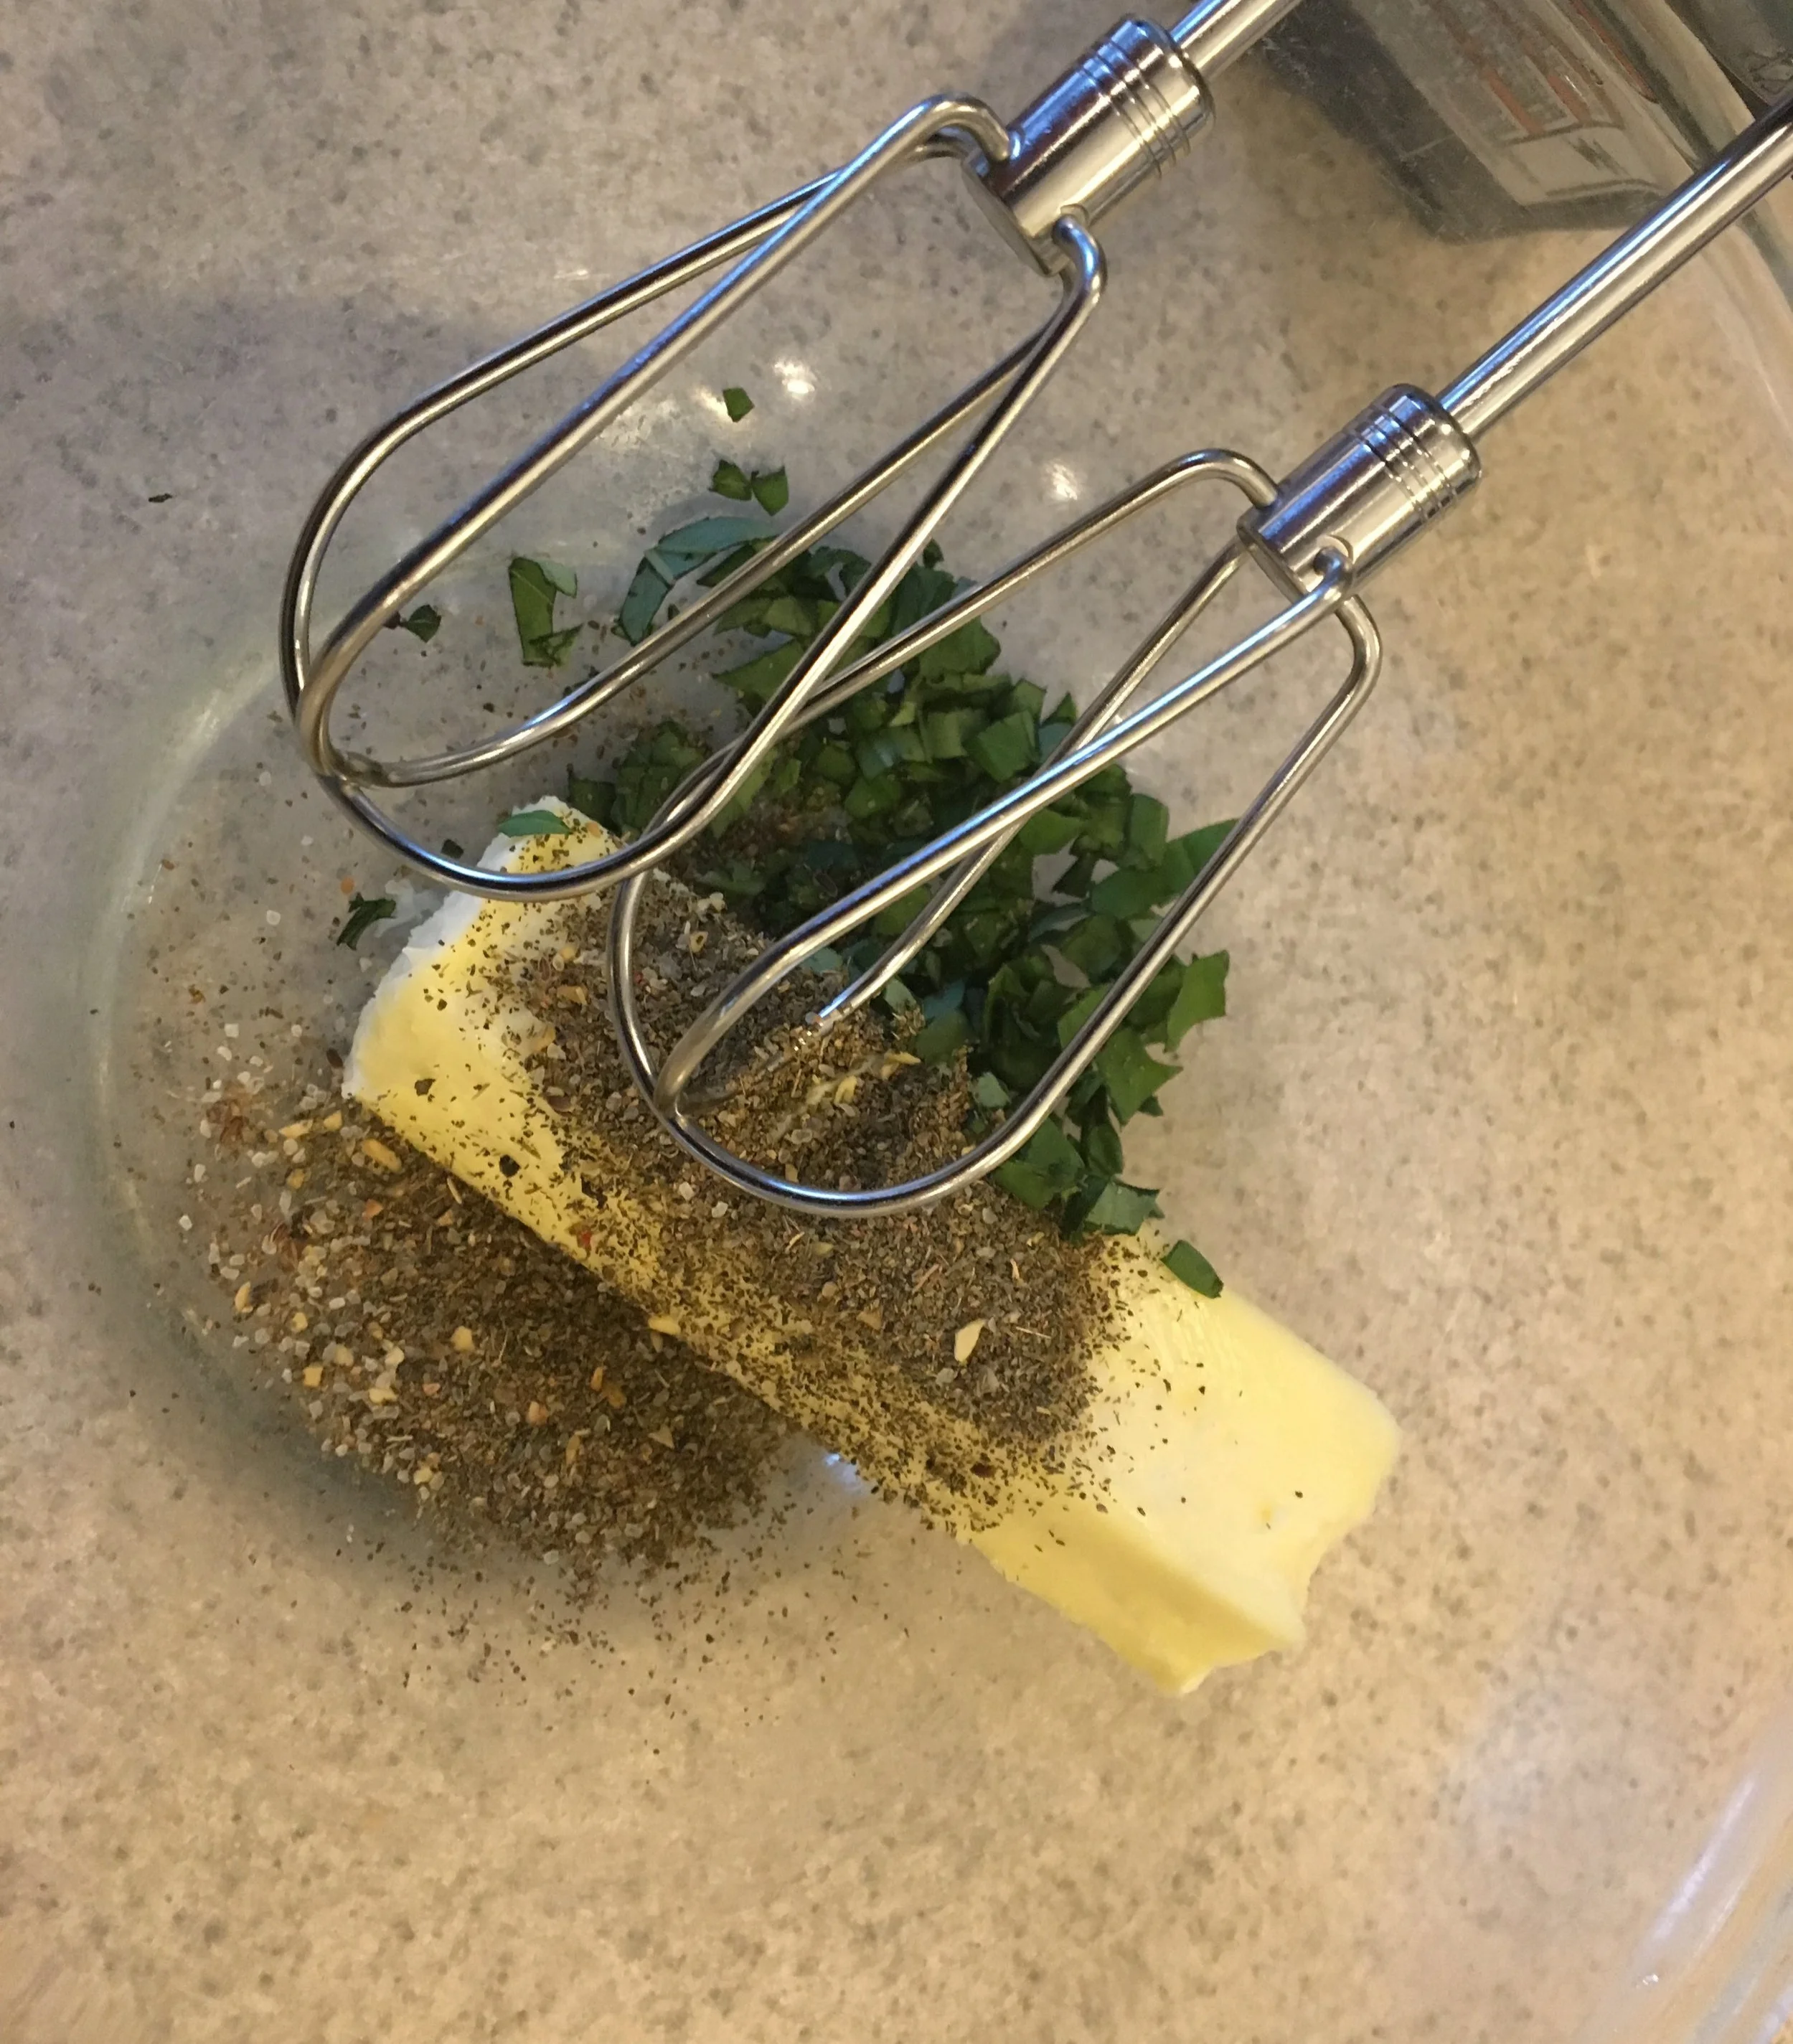
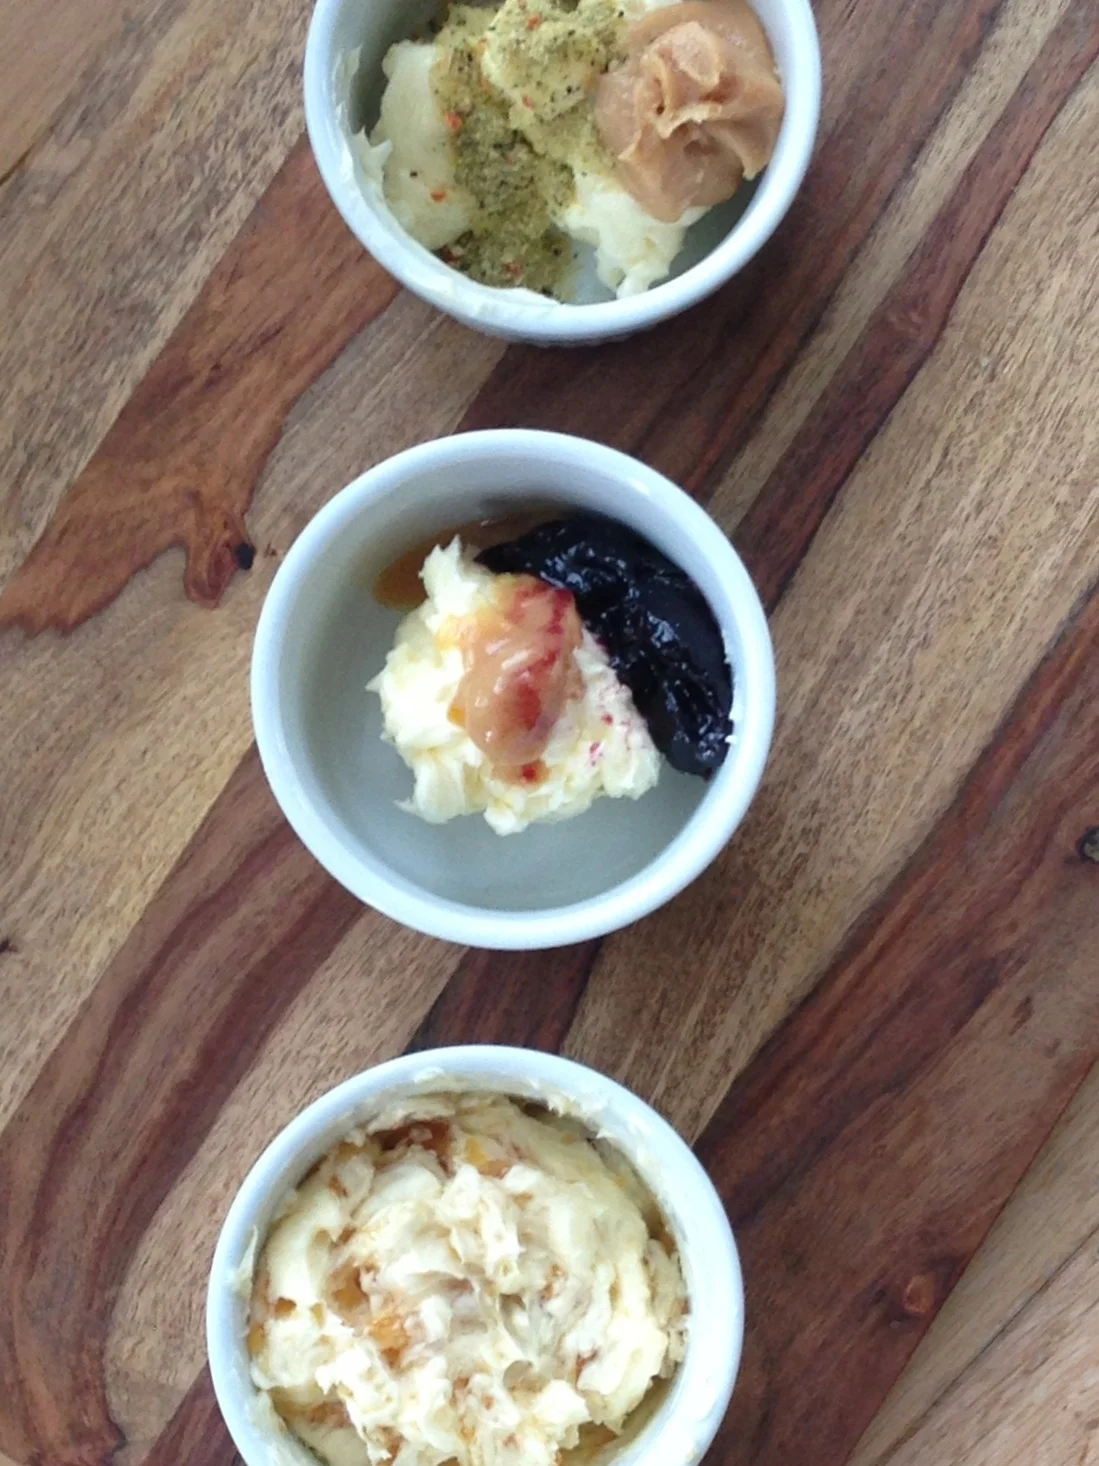
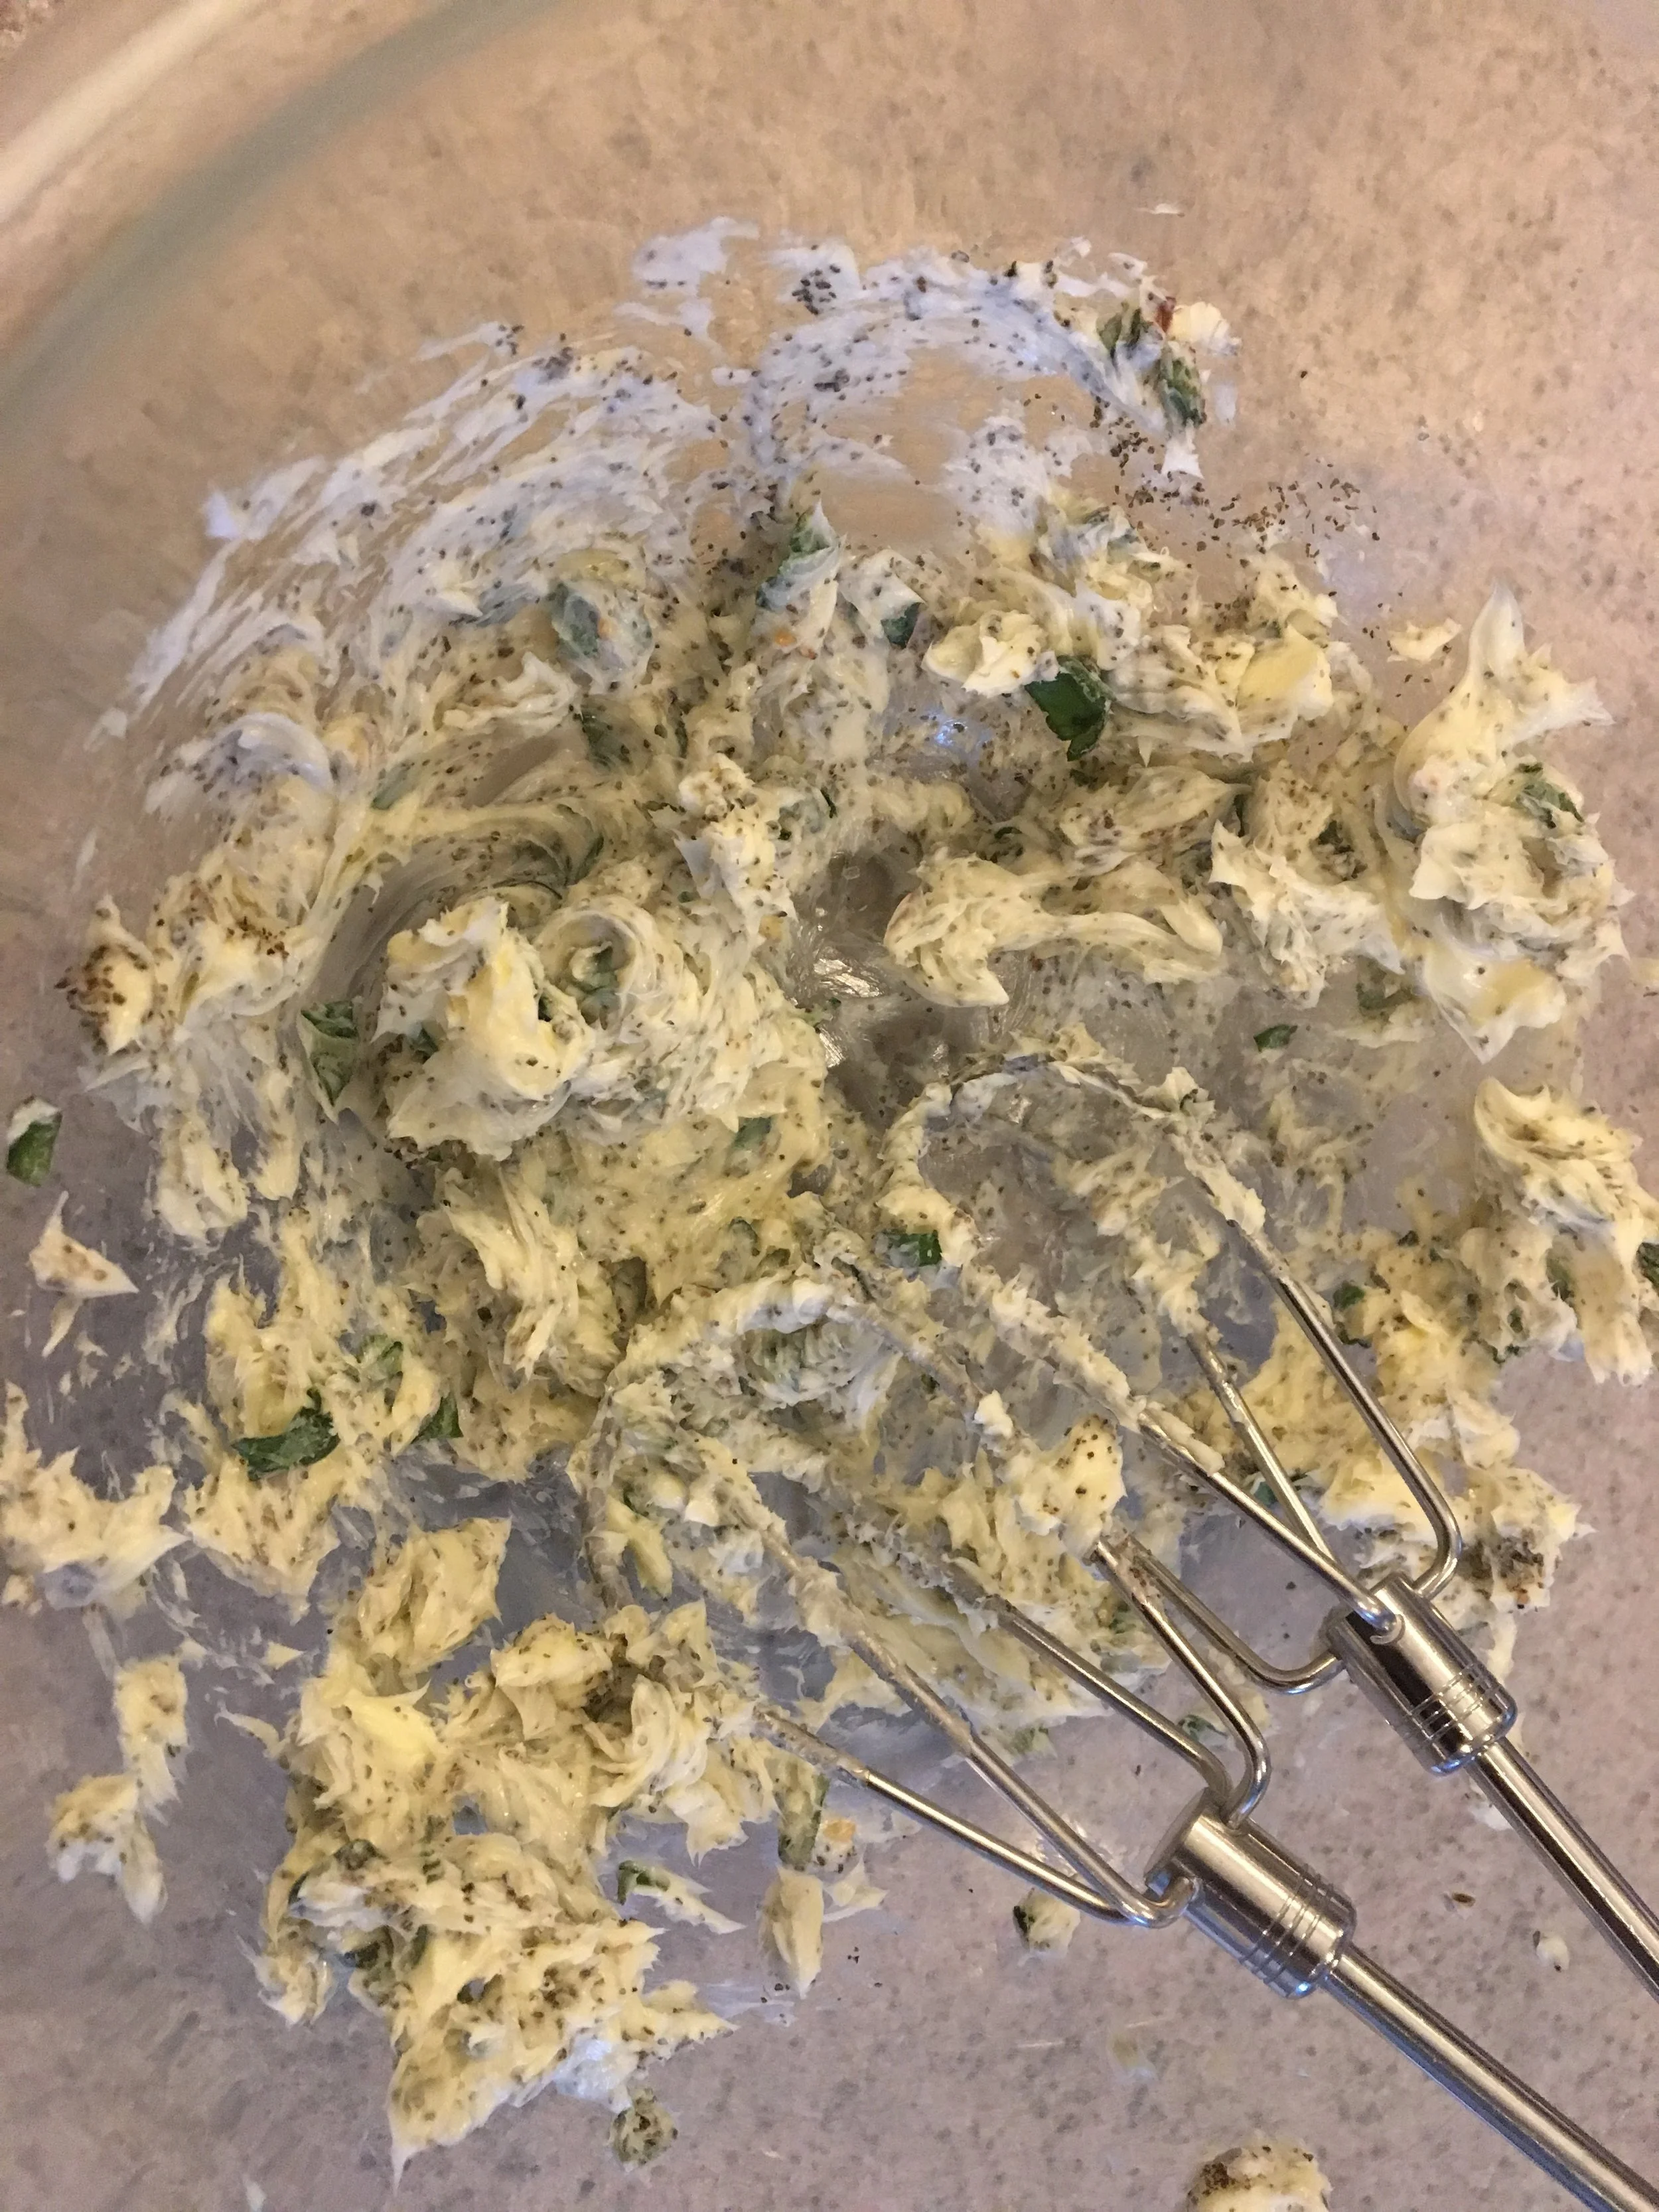
Once the butter is softened, combine the desired ingredients in a bowl with a whisk, rubber spatula, or a hand mixer. I will often soften several sticks of butter and divide them into ramekins so I can make several flavors.

Chill
Once the butter is in your desired container, chill the butter in the refrigerator for a couple of hours. The butter should be nice and firm when it is ready. Experiment and have fun!

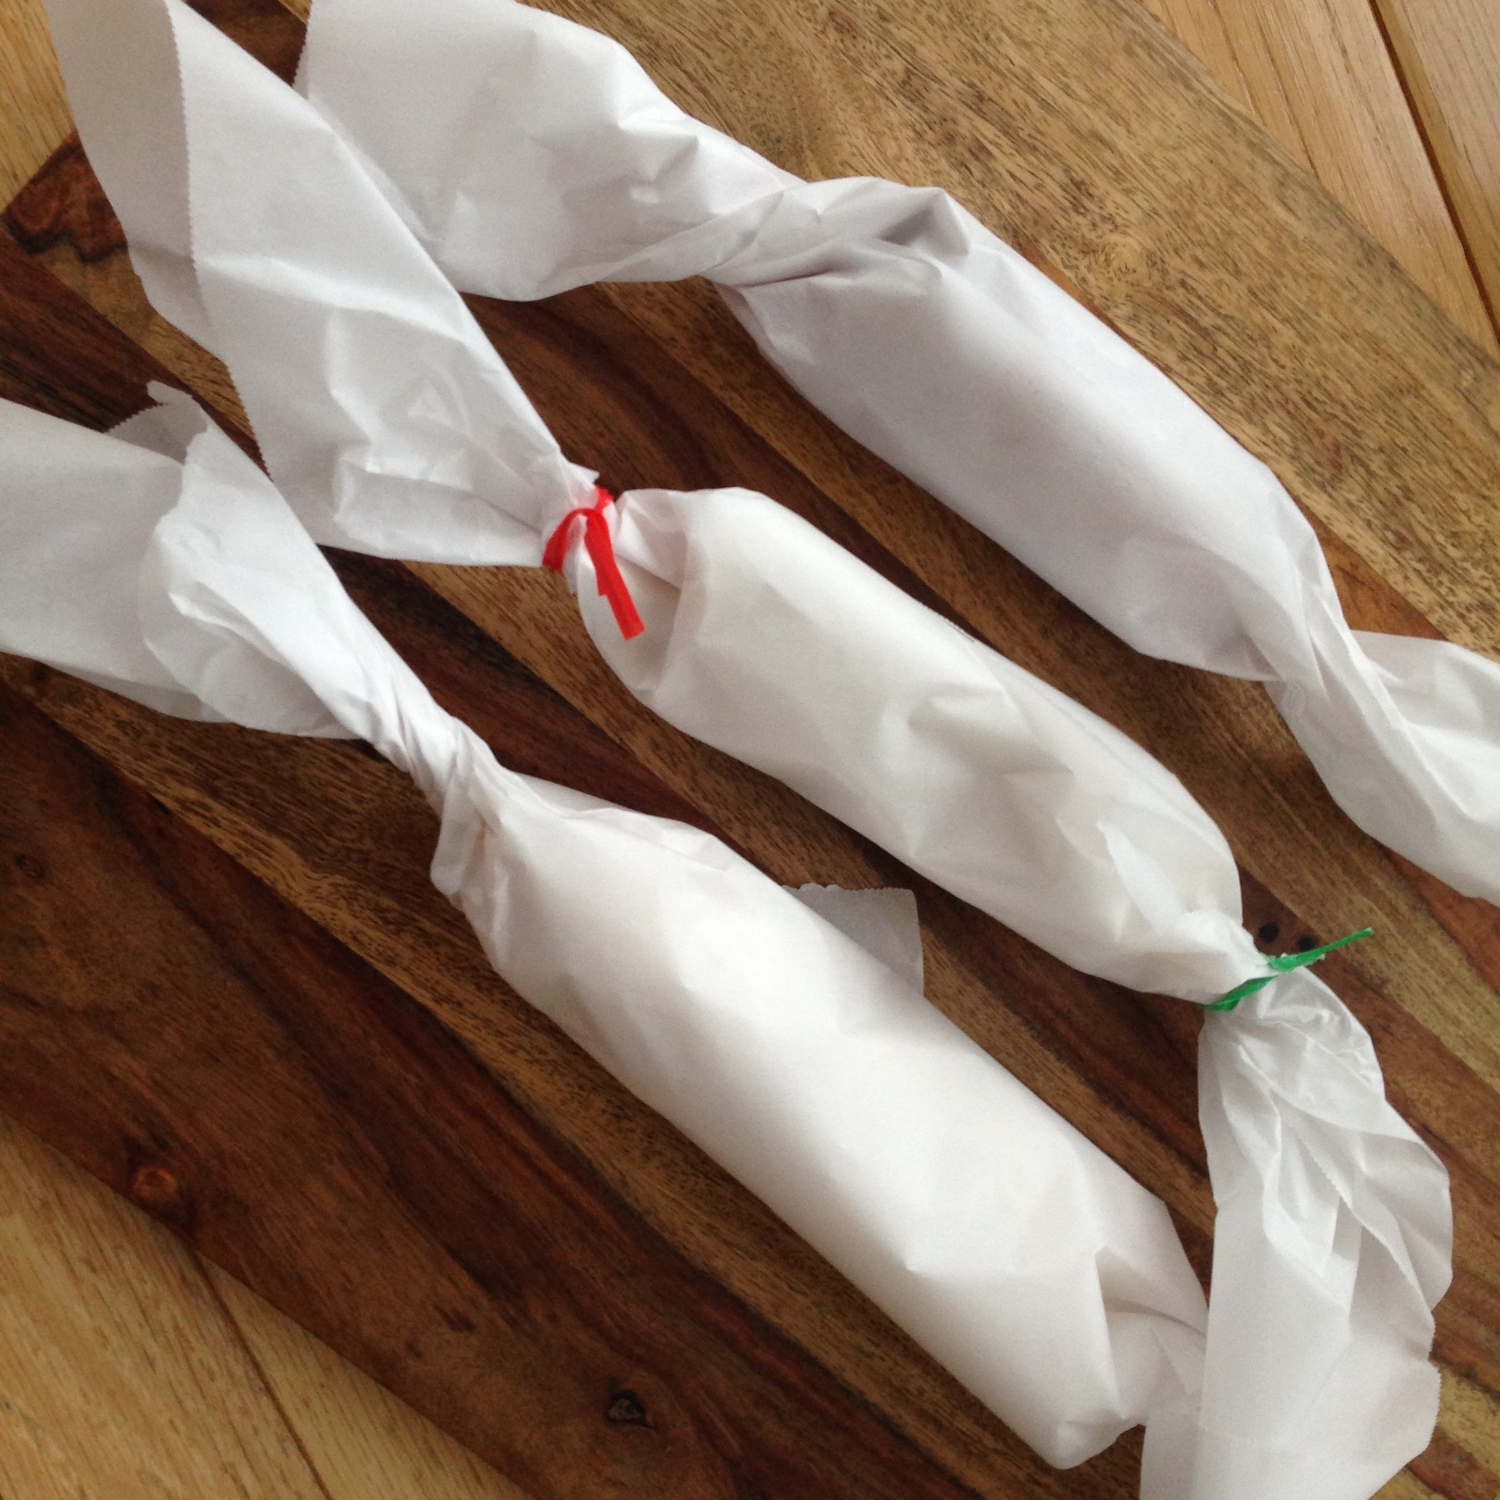
  • Cylinder/log- Turn the mixture out onto a long sheet of plastic wrap, aluminum foil, or parchment paper. Use the wrap/foil to roll the butter into a cylinder. Twist the ends, gradually applying more pressure as you twist in order to make the cylinder taut. Once the butter has chilled, slice the butter into discs or “coins” as some like to say.

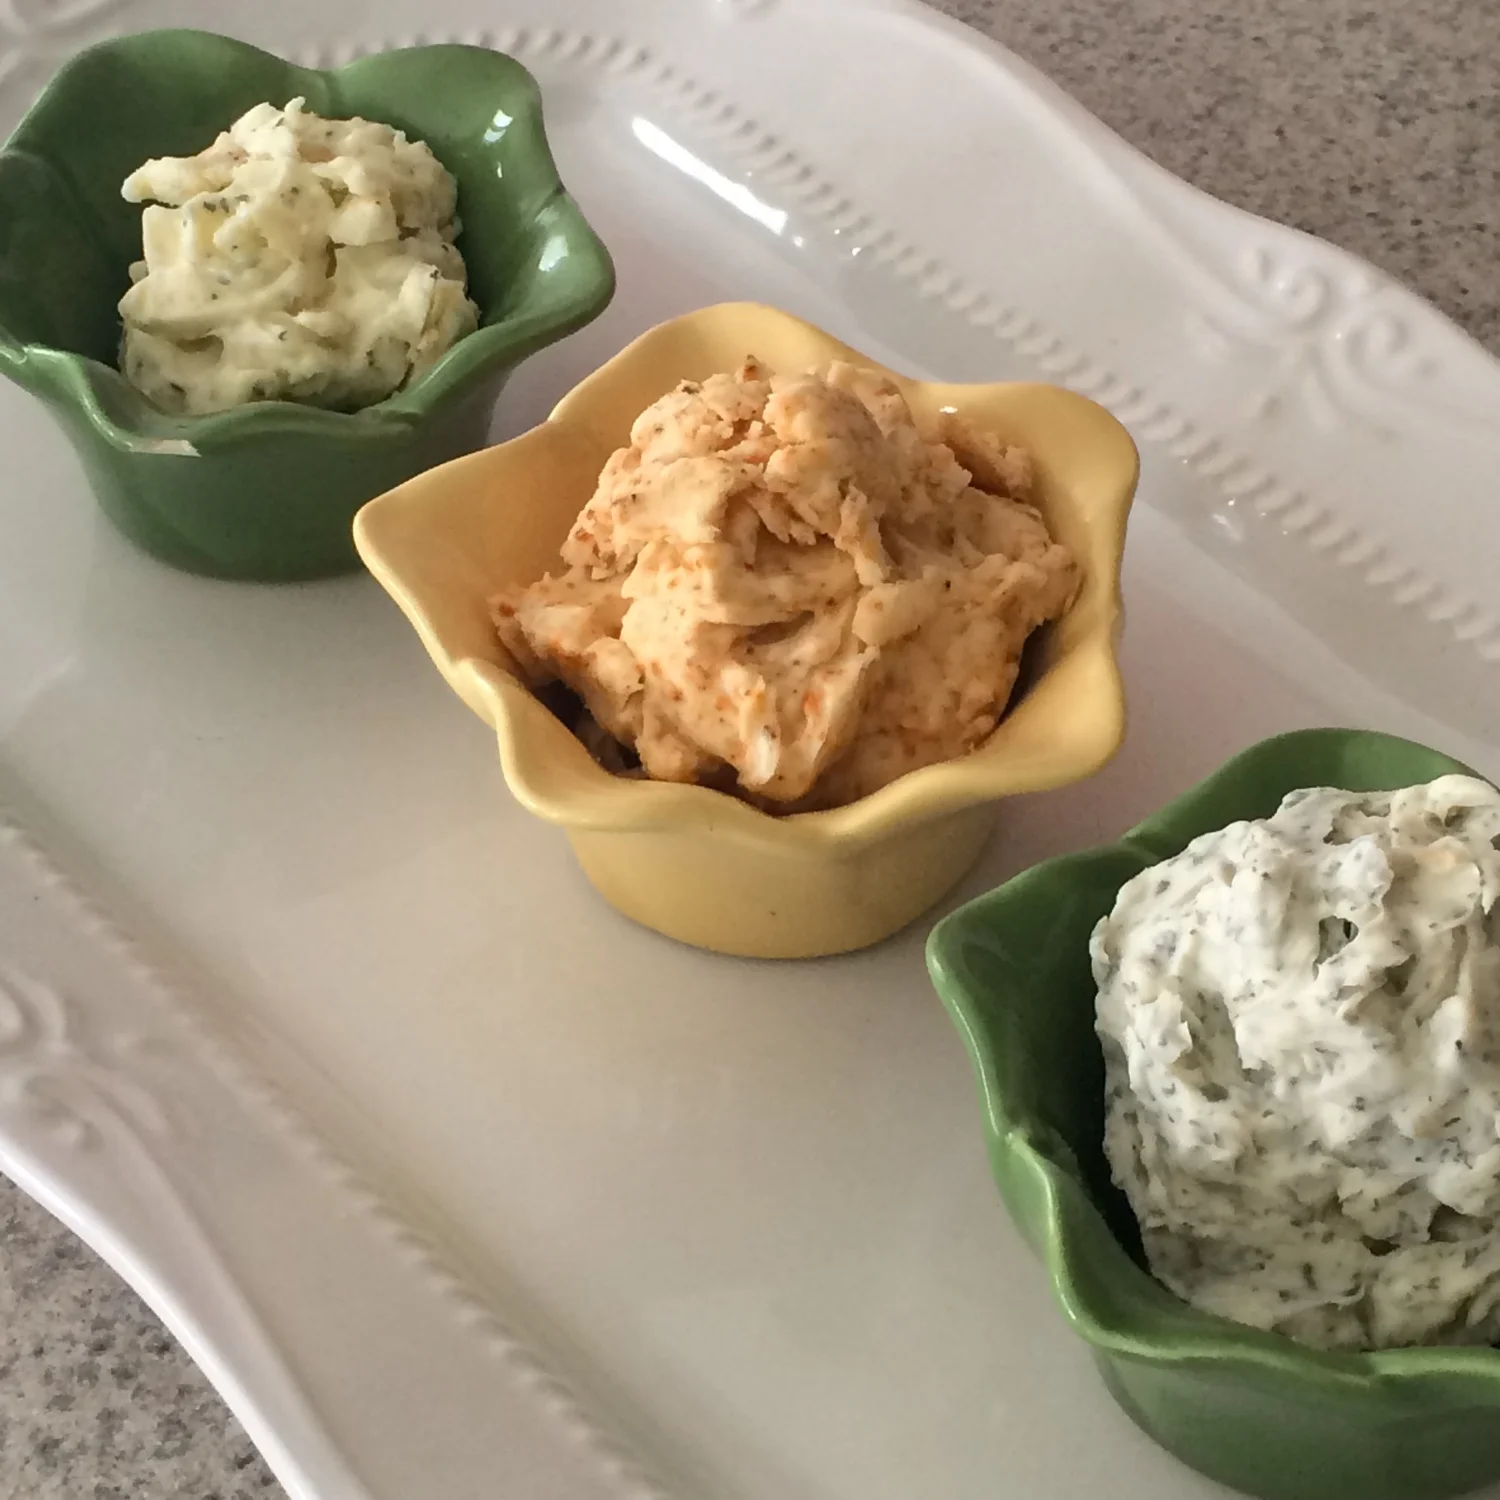
  • Bowl- For a more rustic presentation, spread the butter into a pretty bowl or container. Presented this way would make perfect gifts.

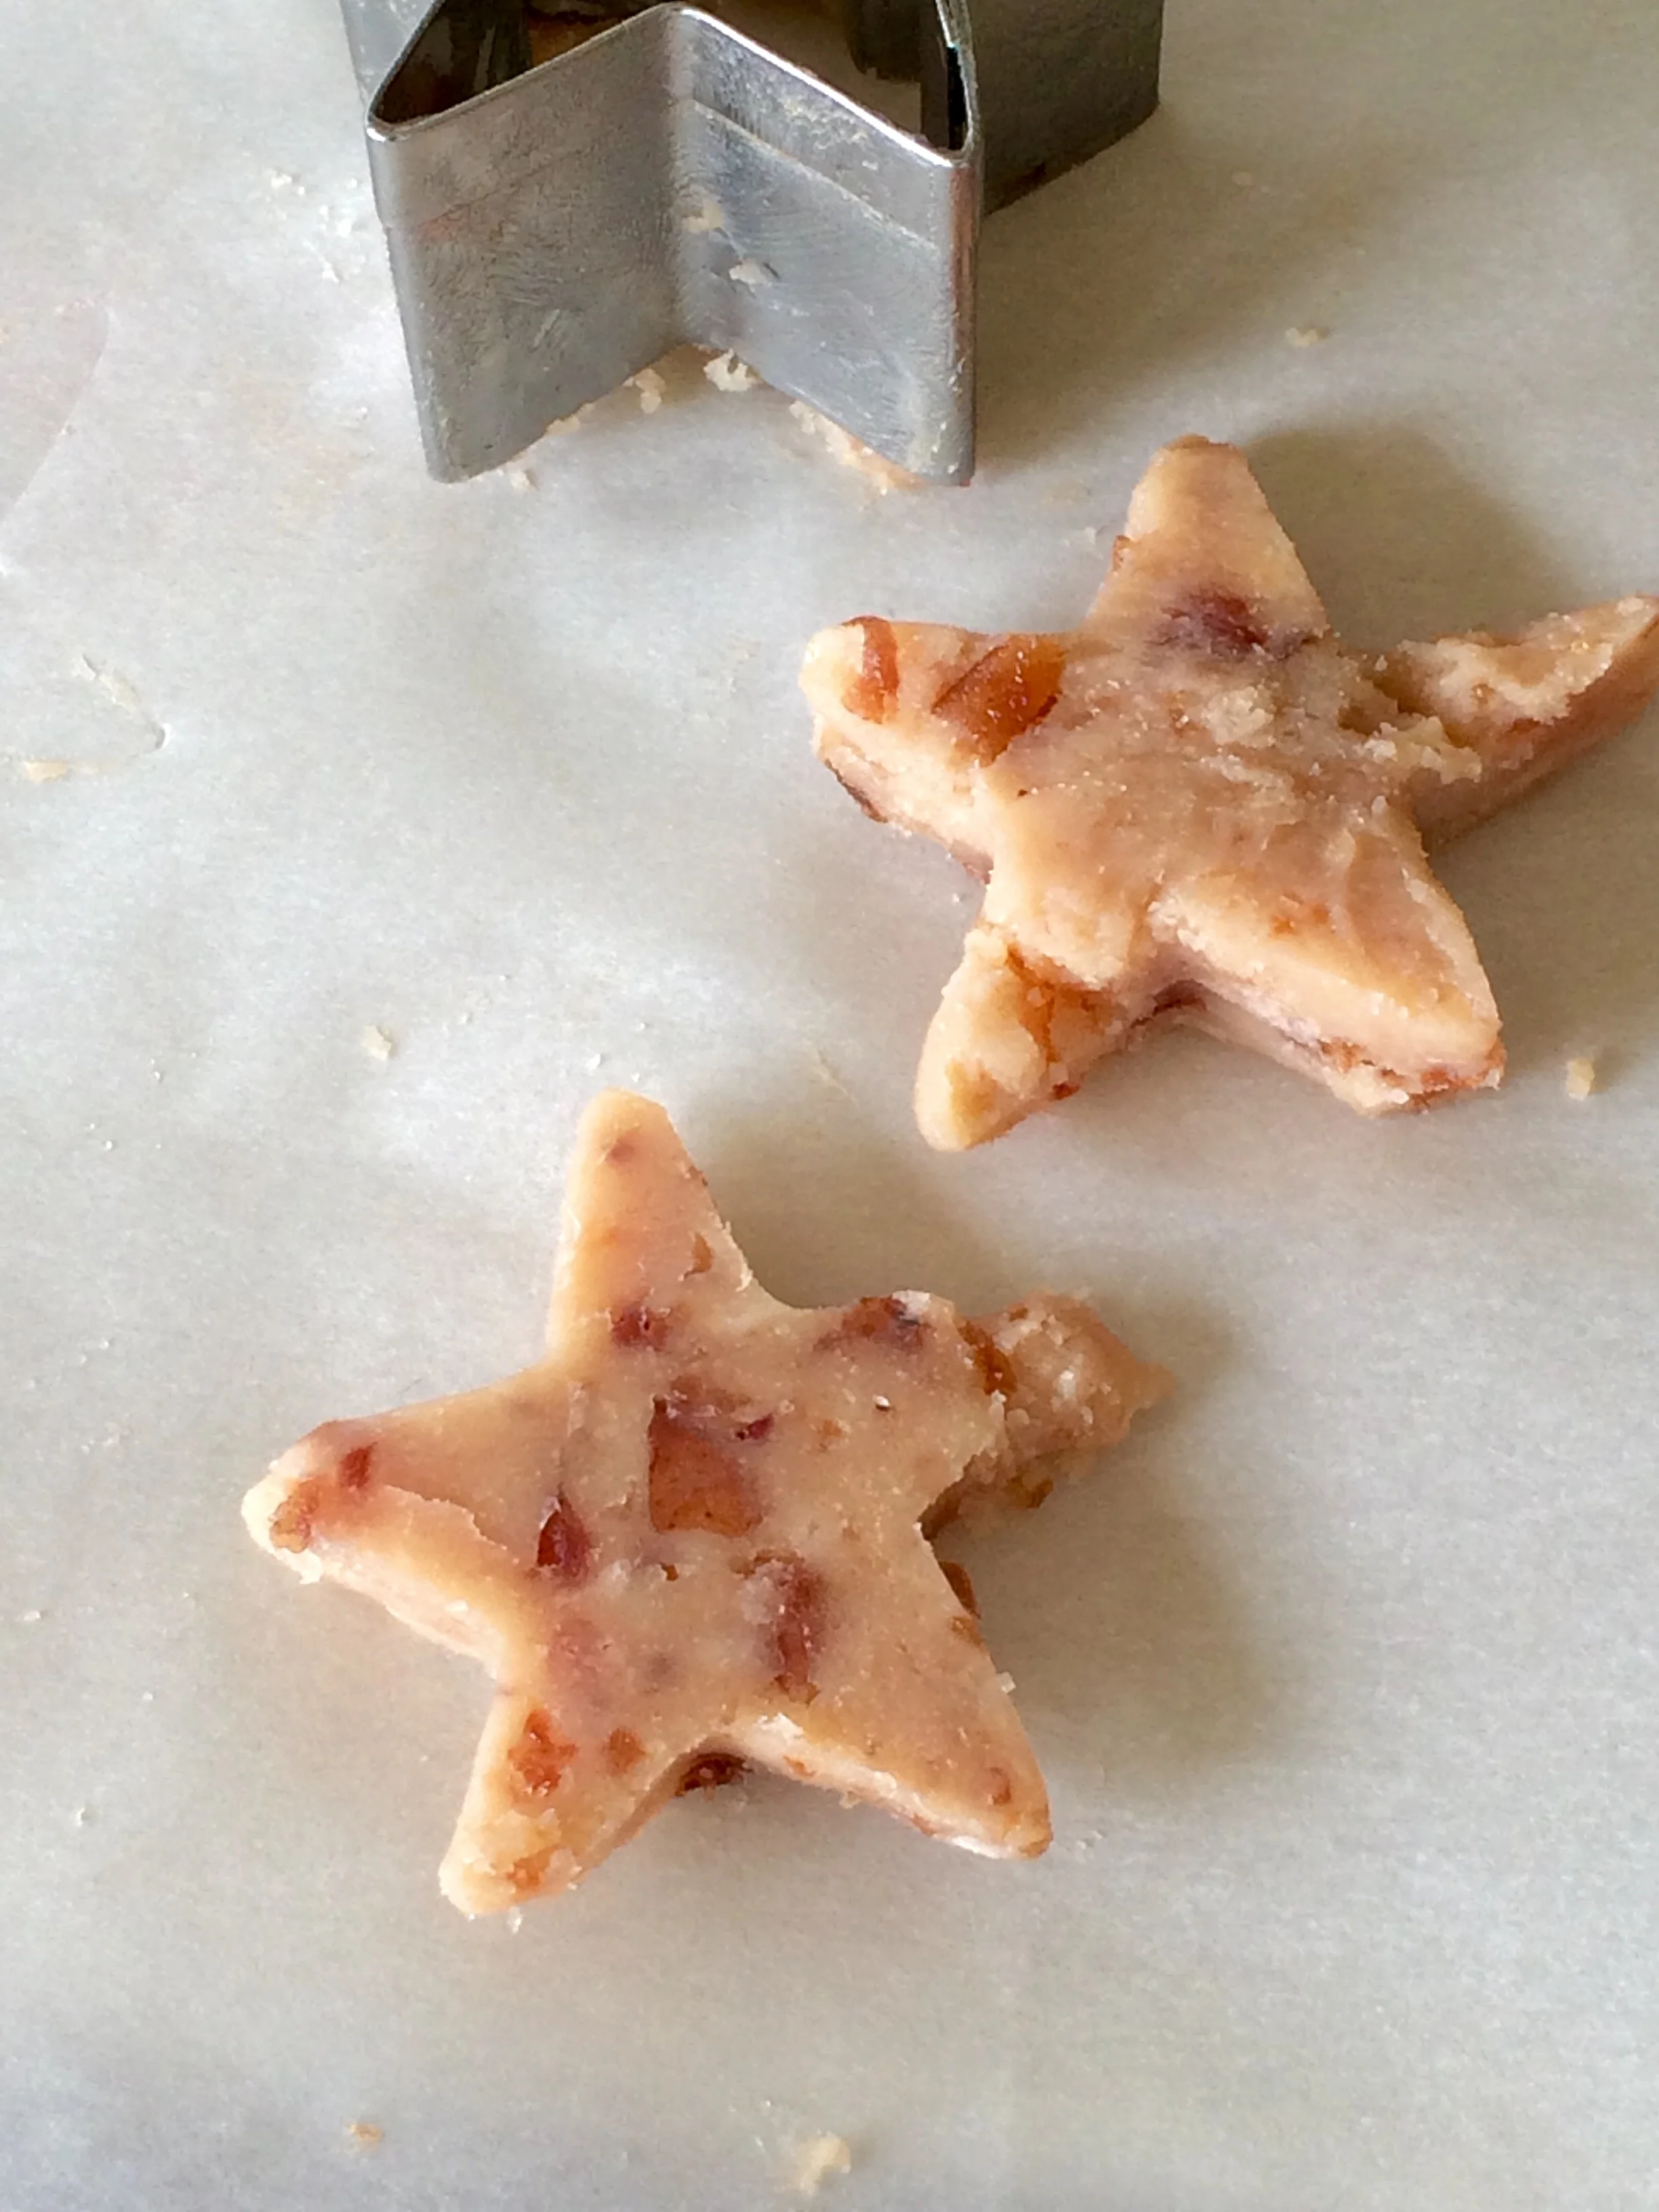
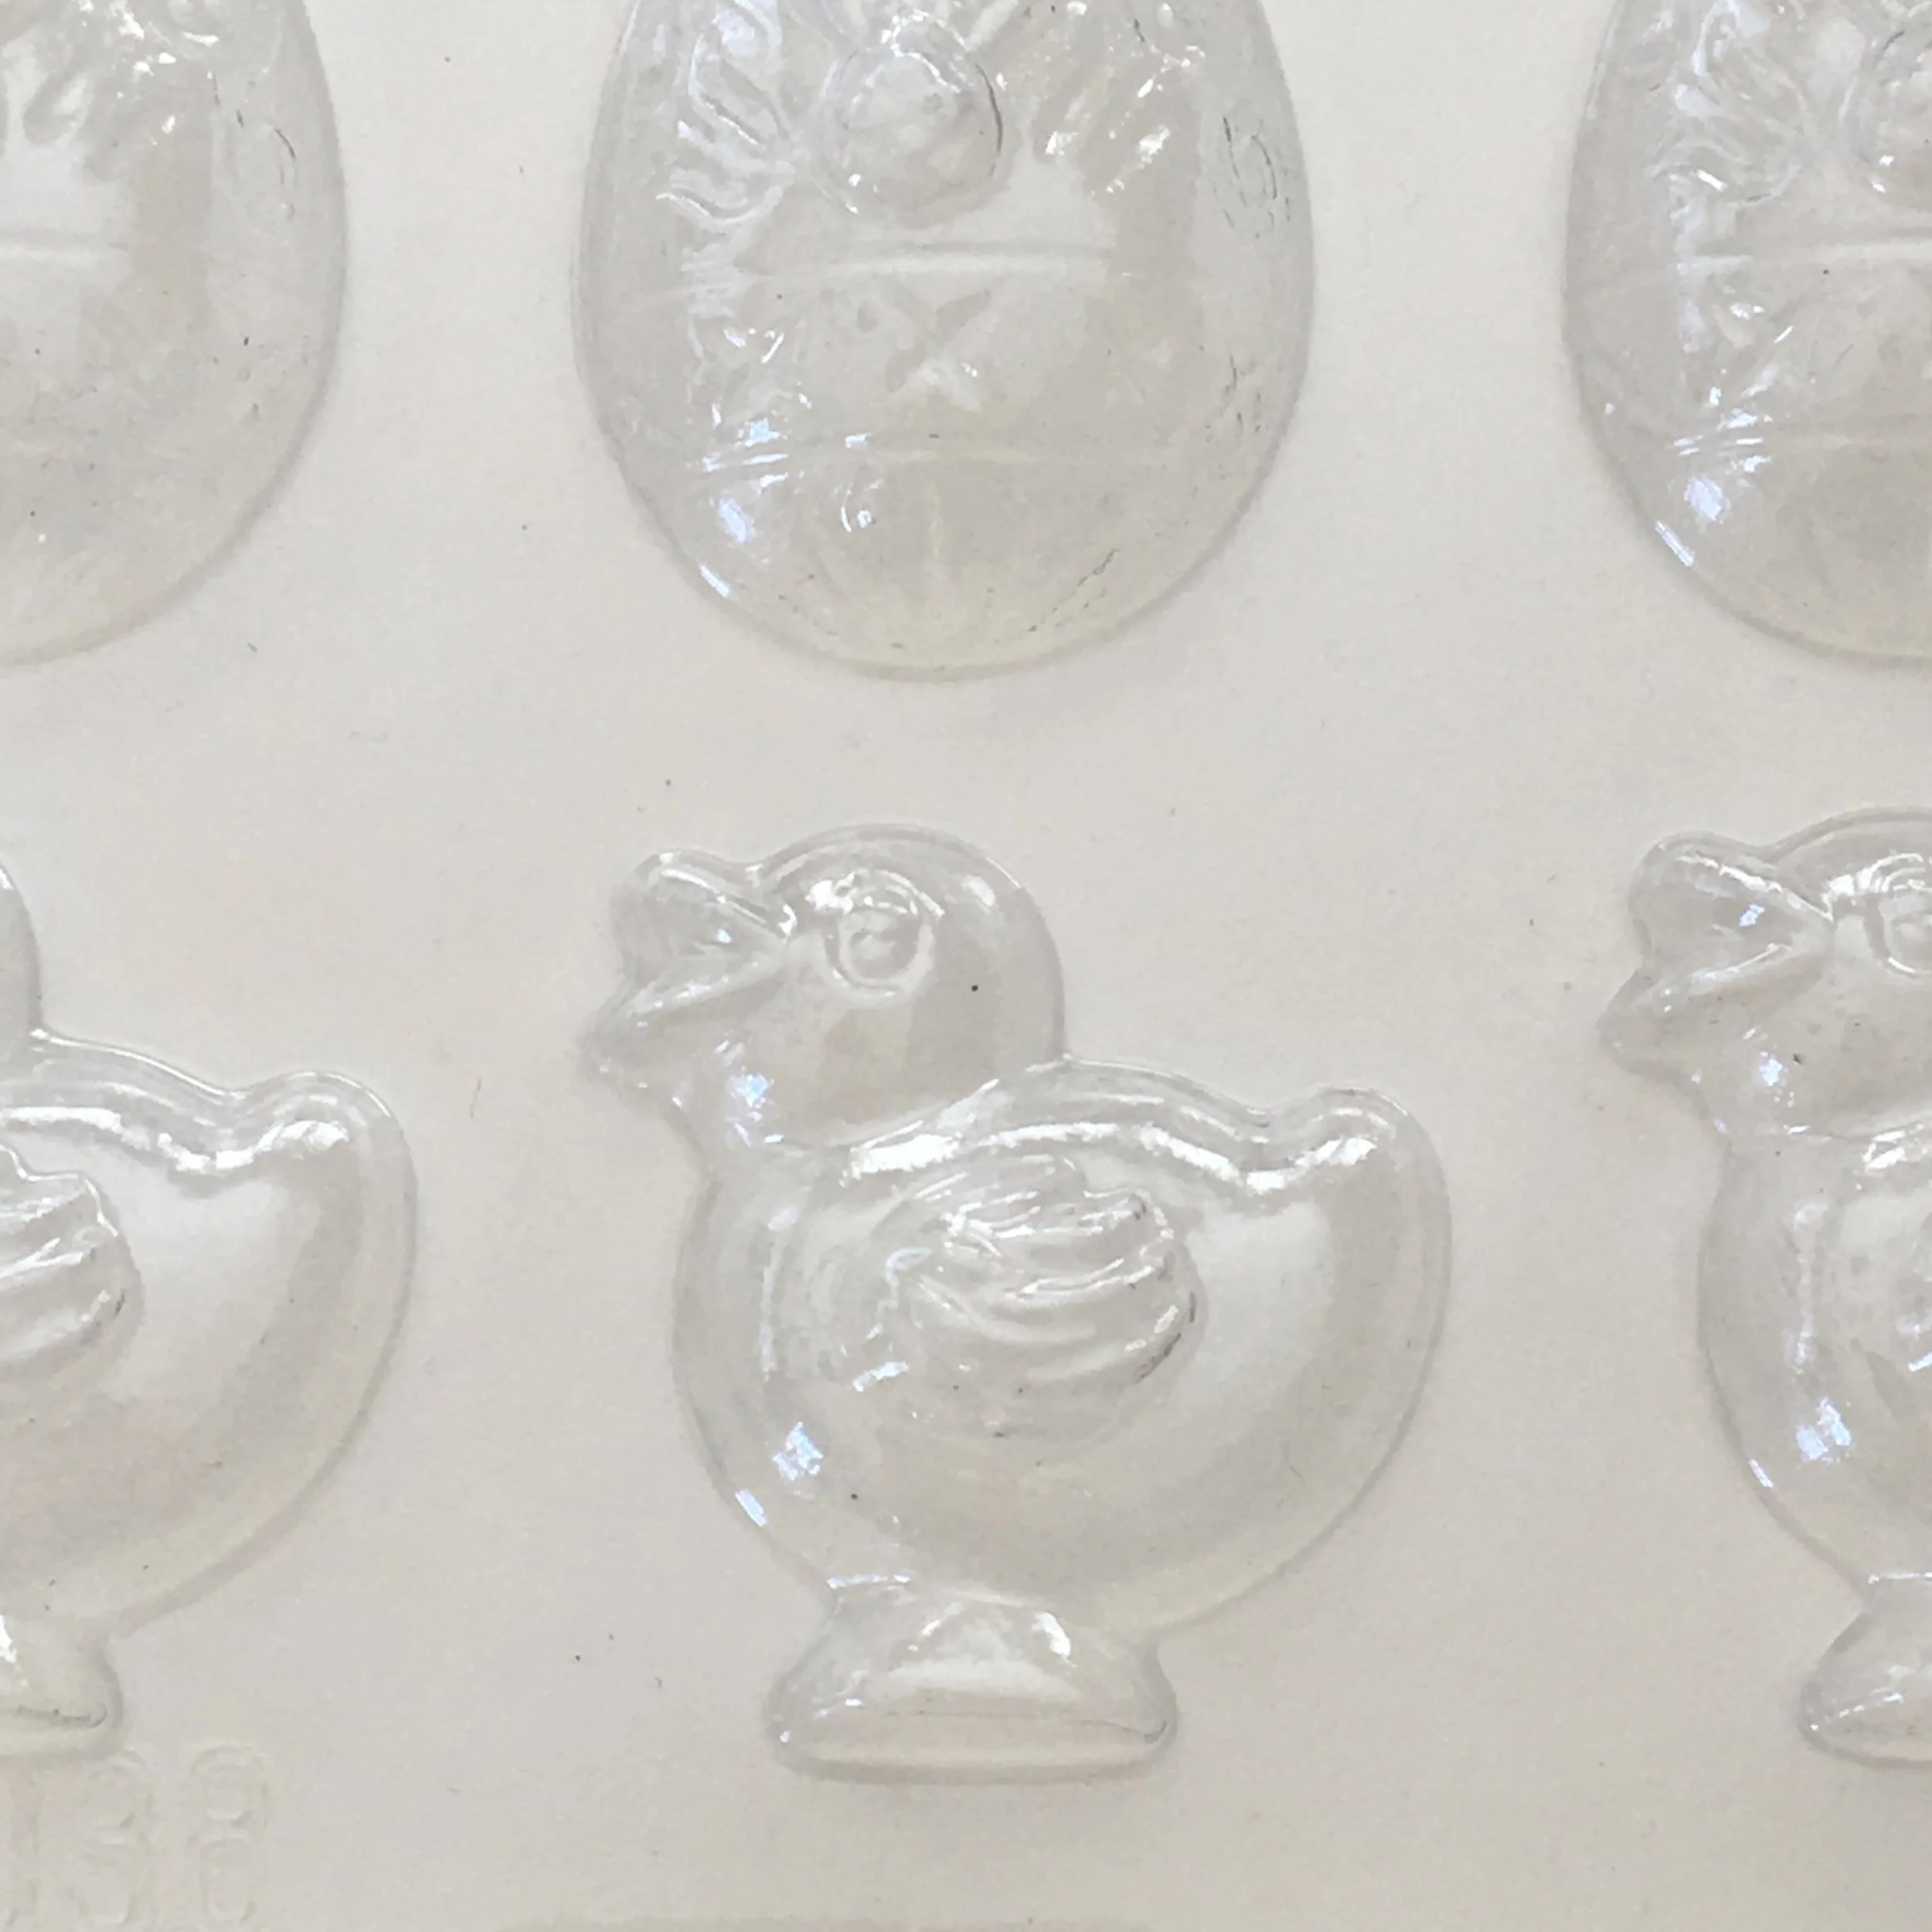
  • Shape it- Spread the butter on a baking sheet and once it is chilled, use cookie cutters to create festive shapes OR spread the butter into plastic candy molds before chilling.

Up the coolness factor at your next family gathering or party and make these tasty compound butters today.

Yum

Tex-Mex Burger Recipe

grilling, entrees, lunch, partiesSheri Spallone2 Comments
Tex-Mex Burger Recipe

Tex-Mex Burger Recipe

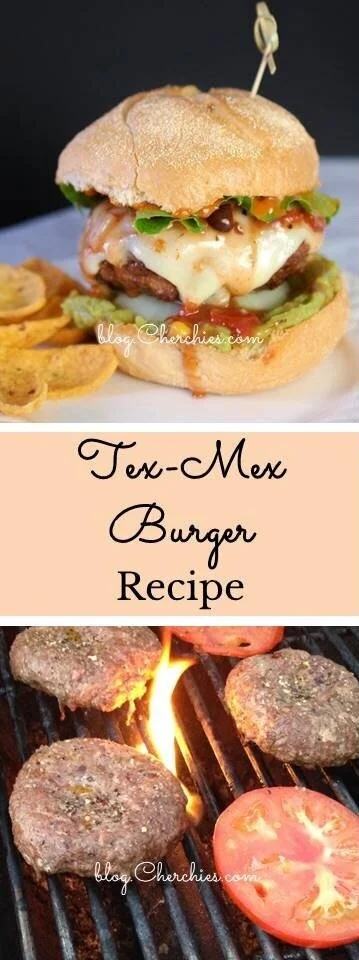
Burger lovers, be prepared to be blown away! This Tex-Mex burger recipe is a force to be reckoned with. It hits all the flavor notes: sweet, spicy, and smoky, all wrapped up in one lip-smacking package!

Sparked by a leftover jar of our delectable Black Bean and Corn Salsa, I created a burger recipe that would leave our taste buds in awe. And boy, did it deliver! This burger was a hit with our family, leaving us all craving more. Can you almost taste it? 

Don't underestimate the power of freshly ground meat in this burger. It's a game-changer. A few years ago, our friends introduced us to the world of homemade ground meat, and it revolutionized our burgers. This step is crucial whether you ask your butcher to do it or grind it at home. We invested in a food grinder attachment for our mixer, but there are other options available if you don't have one.  

Seriously consider adding this palate-tantalizing recipe to your favorites. You will not be disappointed, and your family will thank you! These would also make rockin' sliders for your Game Day menu, everything the same, except smaller. 

For a complete meal, serve these burgers with our Cilantro Lime Corn on the Cob, Herbed Sweet Potato Fries, and Best Darn Coleslaw

Thanks for stopping by! Comment below if you've tried this recipe. Come back again for more family-tested recipesentertaining ideas, and cooking tips using all our favorite Cherchies® gourmet products.

Follow us on social media: FacebookInstagram, and Pinterest.

Ingredients

Preparation

Using a food processor, mix the mayonnaise with one chipotle pepper in adobo sauce. Set aside.

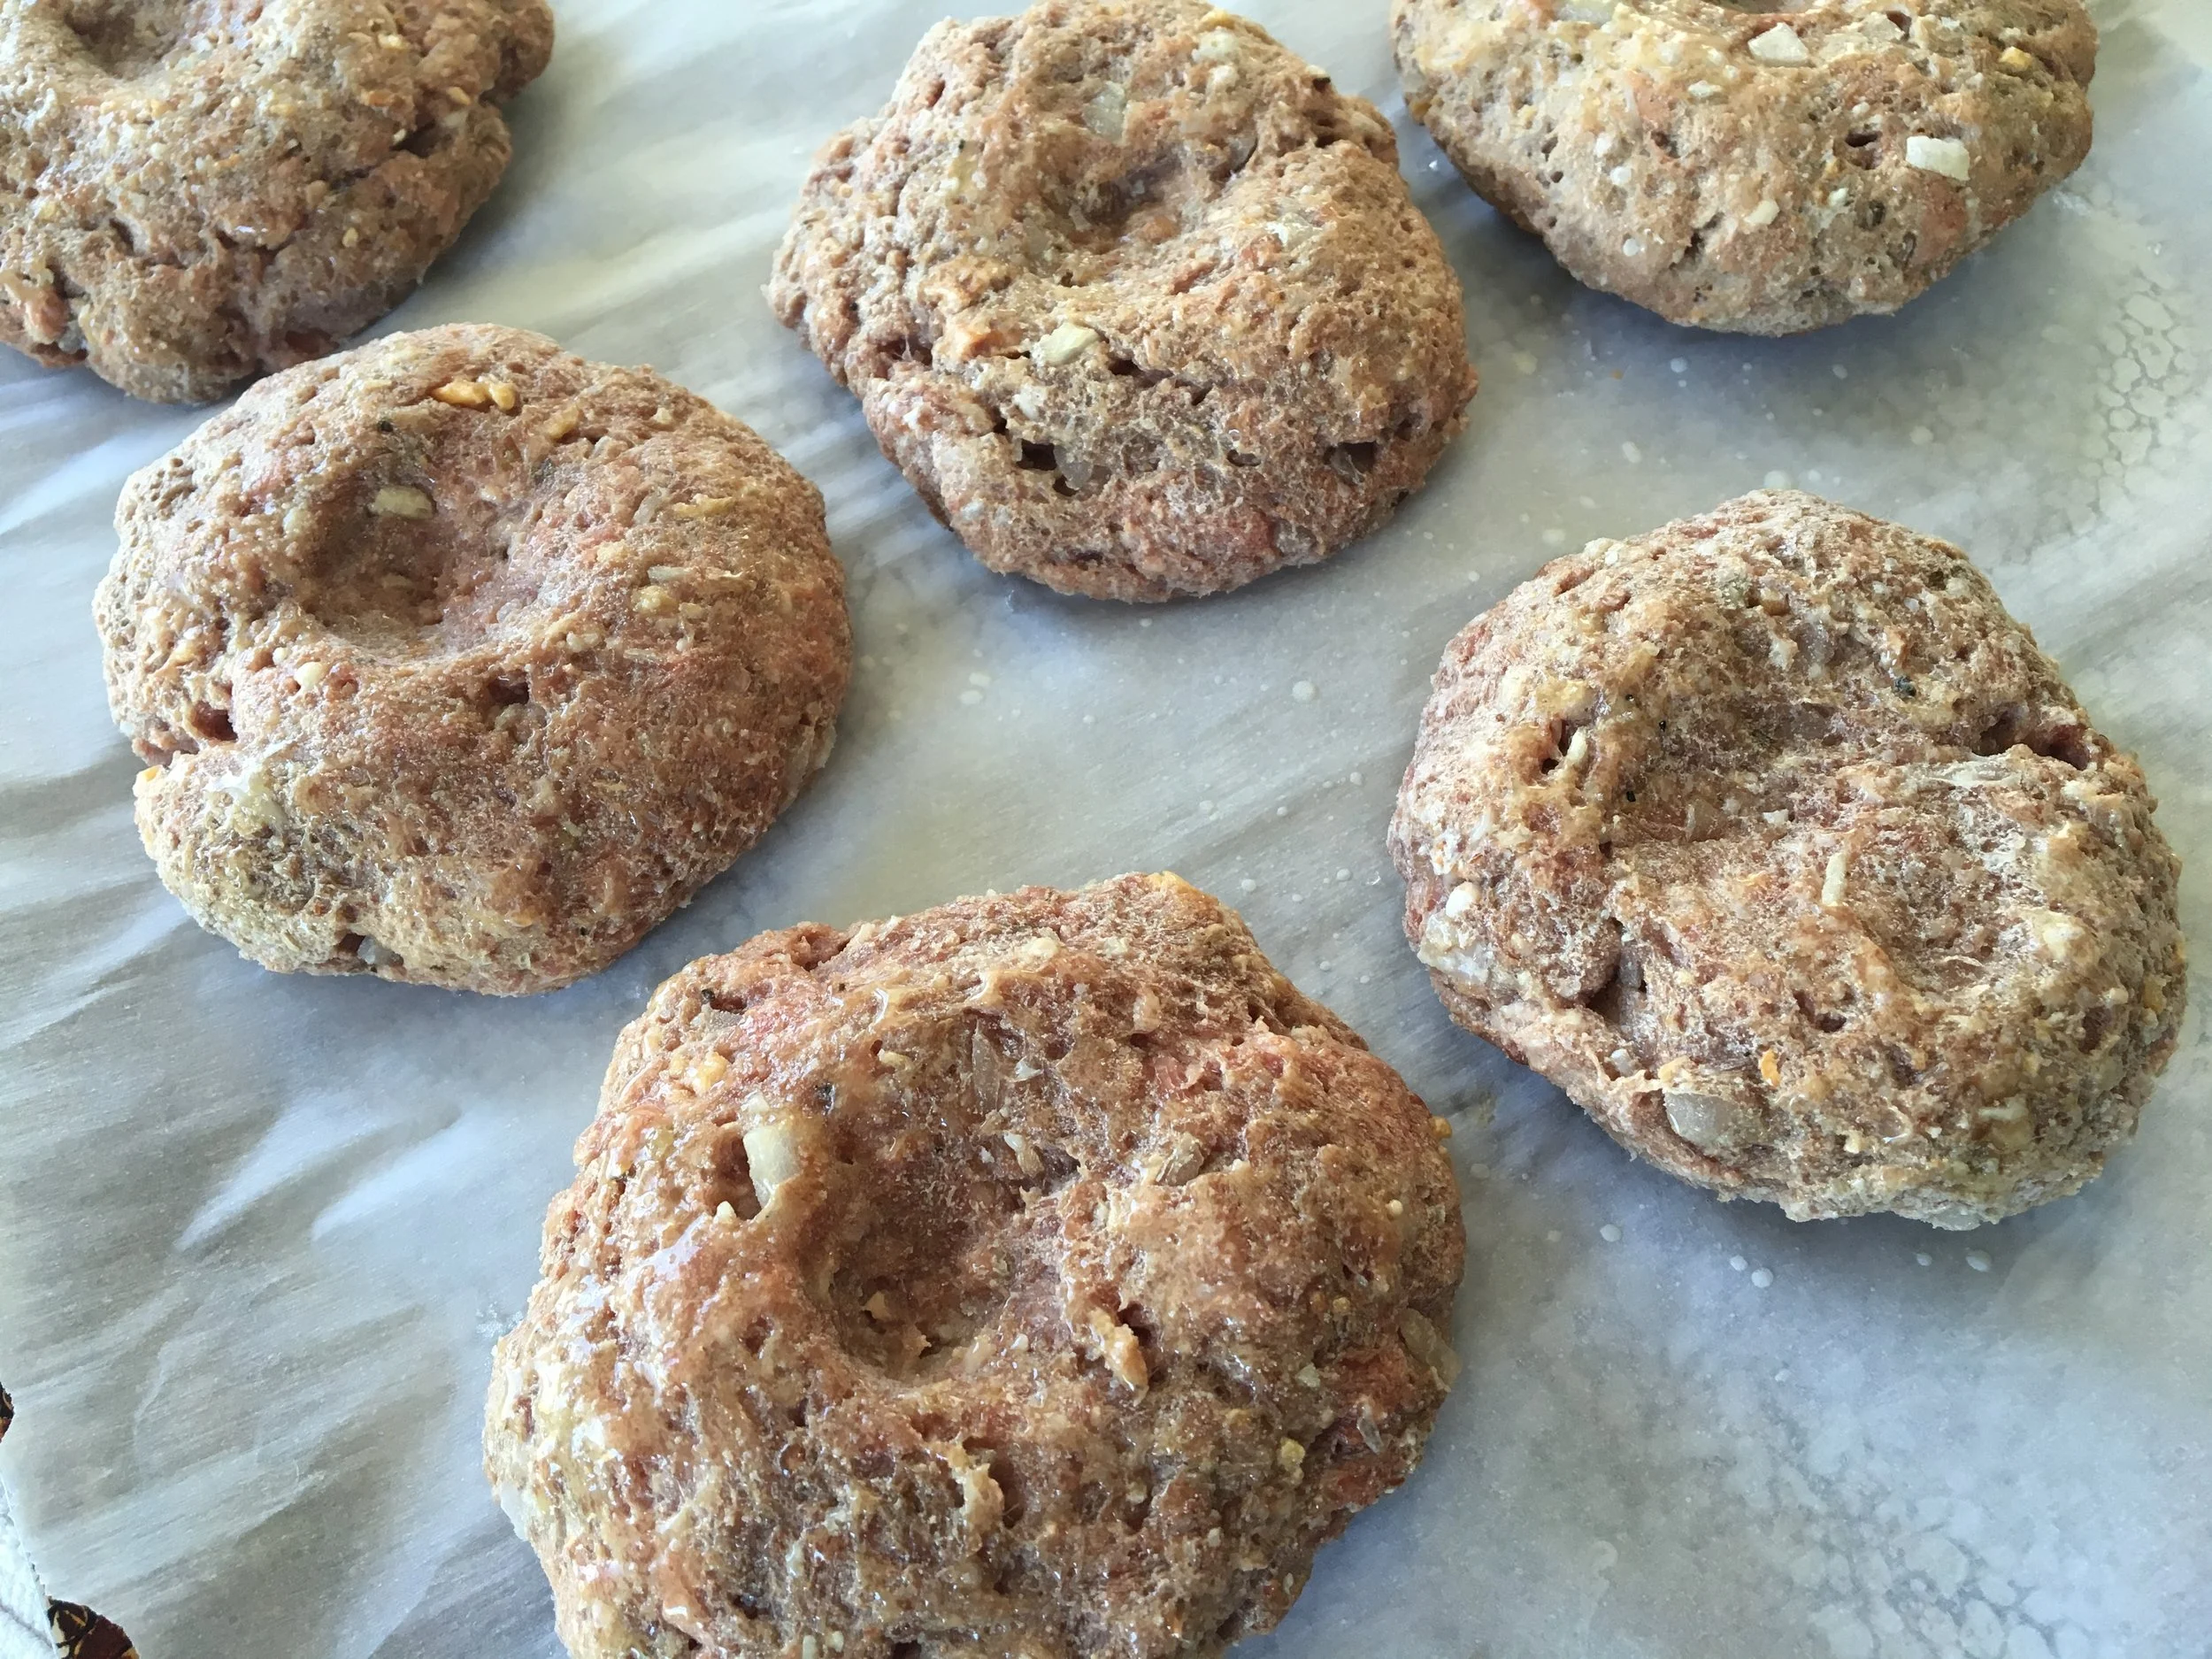
If grinding your own meat, cut the meat into 1-inch strips or pieces.  Grind the meat with a meat grinder into a large bowl (you can certainly use store-bought ground meat).  Add the egg, Cherchies® Grilling Rub & Seasoning Blend, and Worcestershire sauce to the meat.  Mix until just incorporated (meat tends to toughen up the more it is handled).  Divide the meat into 4 equal portions (more if you would like smaller burgers).    

Lightly oil the grill with cooking spray or oil.  Turn the grill onto high, then low after a few minutes. Make an indent in the center of the burgers.  This allows the burger to cook evenly.

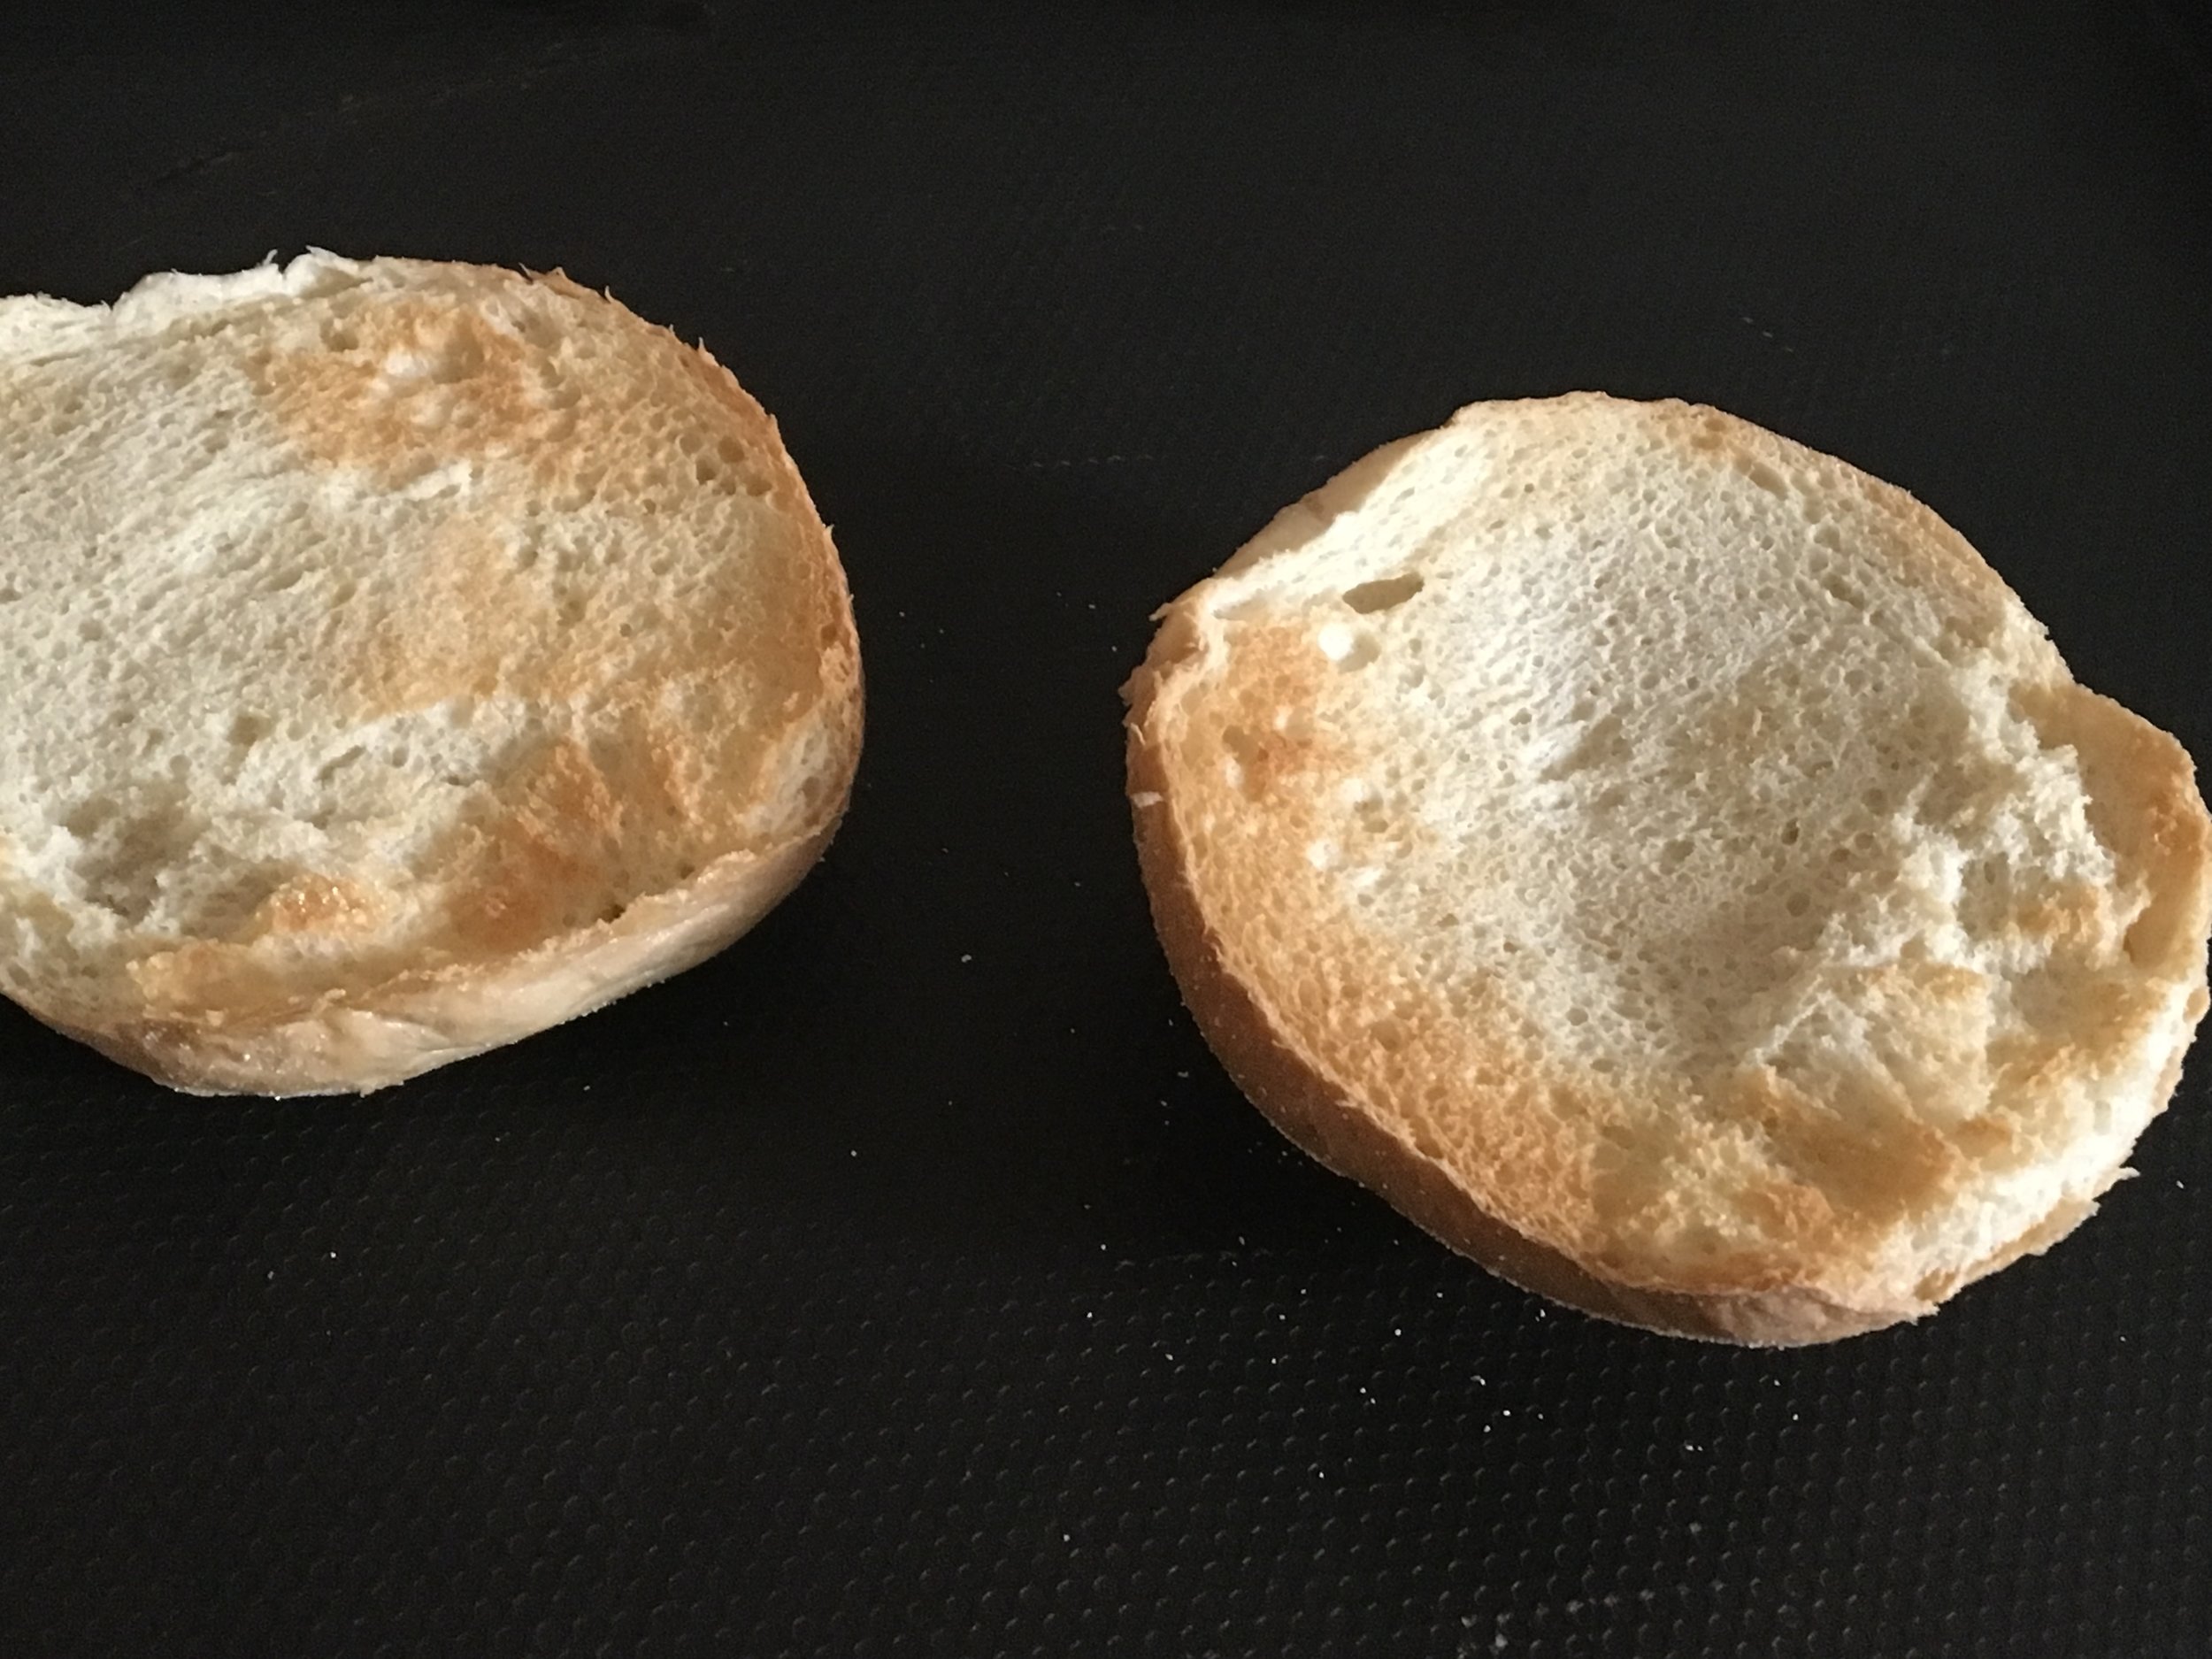
Grill burgers for about 4-6 minutes on each side, depending on your "pink preference".  Add the cheese to the burgers the last couple of minutes of cooking.  Lightly toast the rolls either for a few minutes on the grill or broil for a few minutes in the oven.  

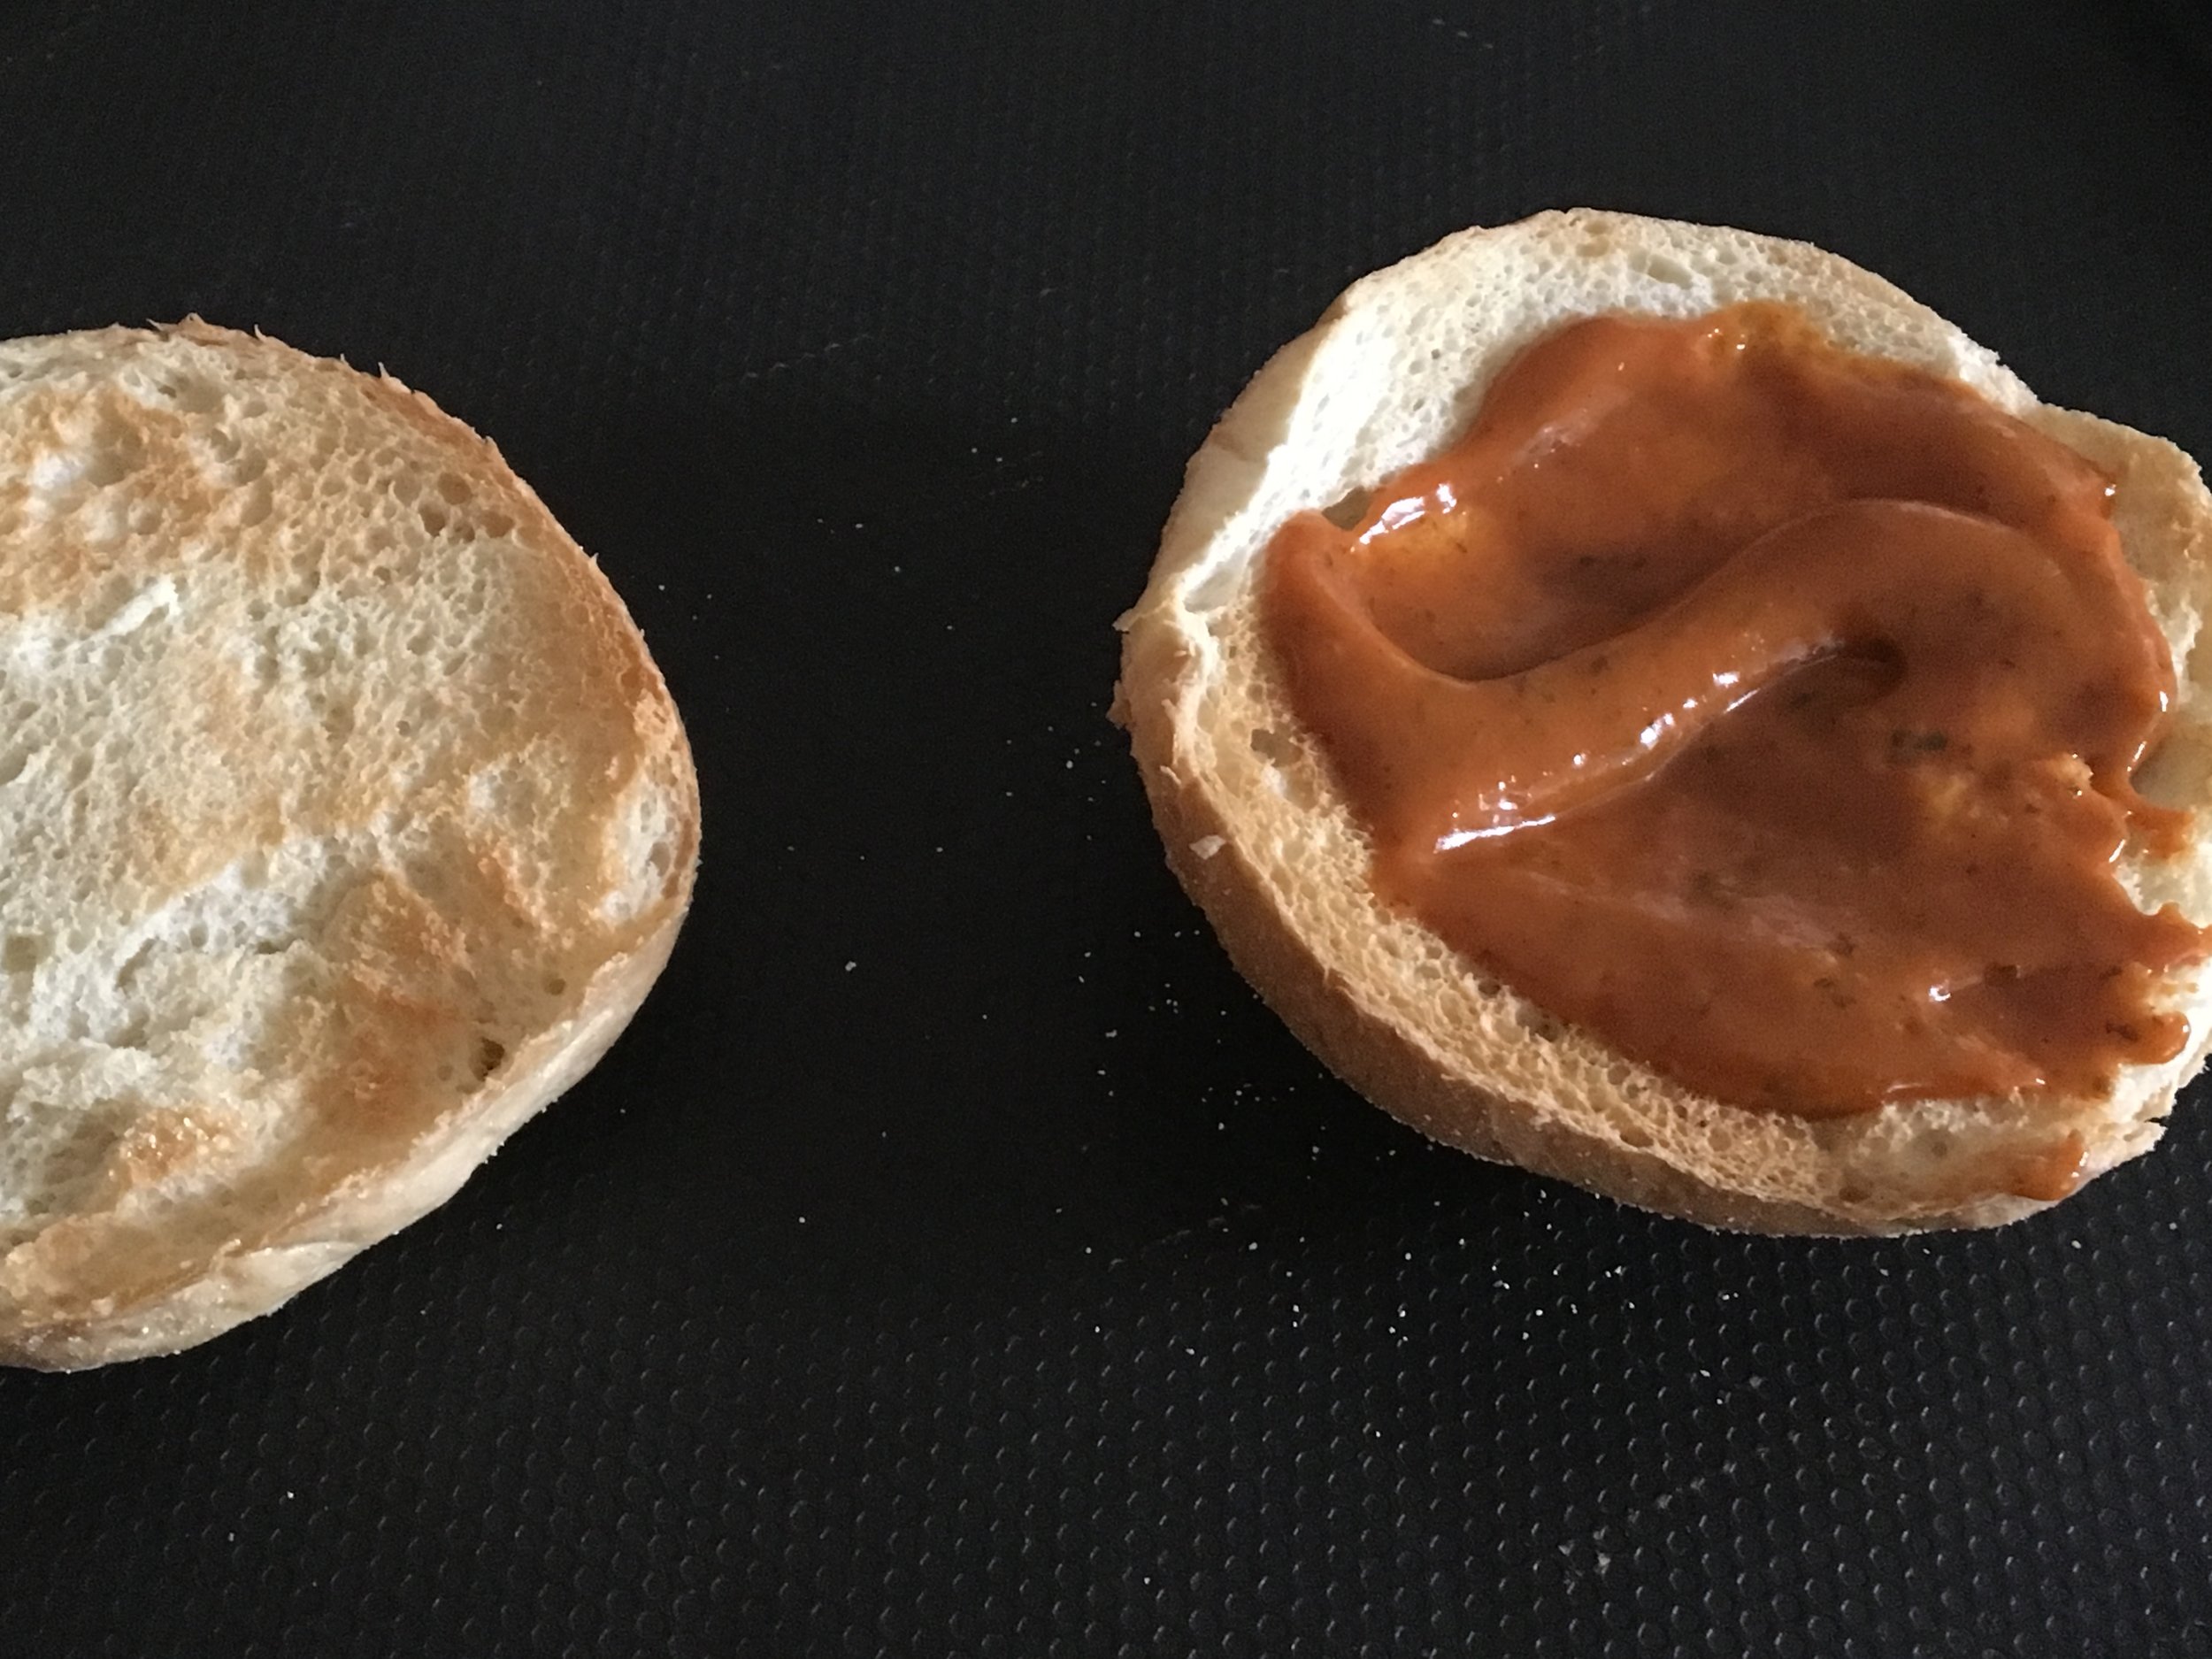
Now the fun part, building this beautiful tasty burger!  Arrange the rolls on a tray or plate.  Spread about 1 Tablespoon of the chipotle mayo mixture onto one roll half.  

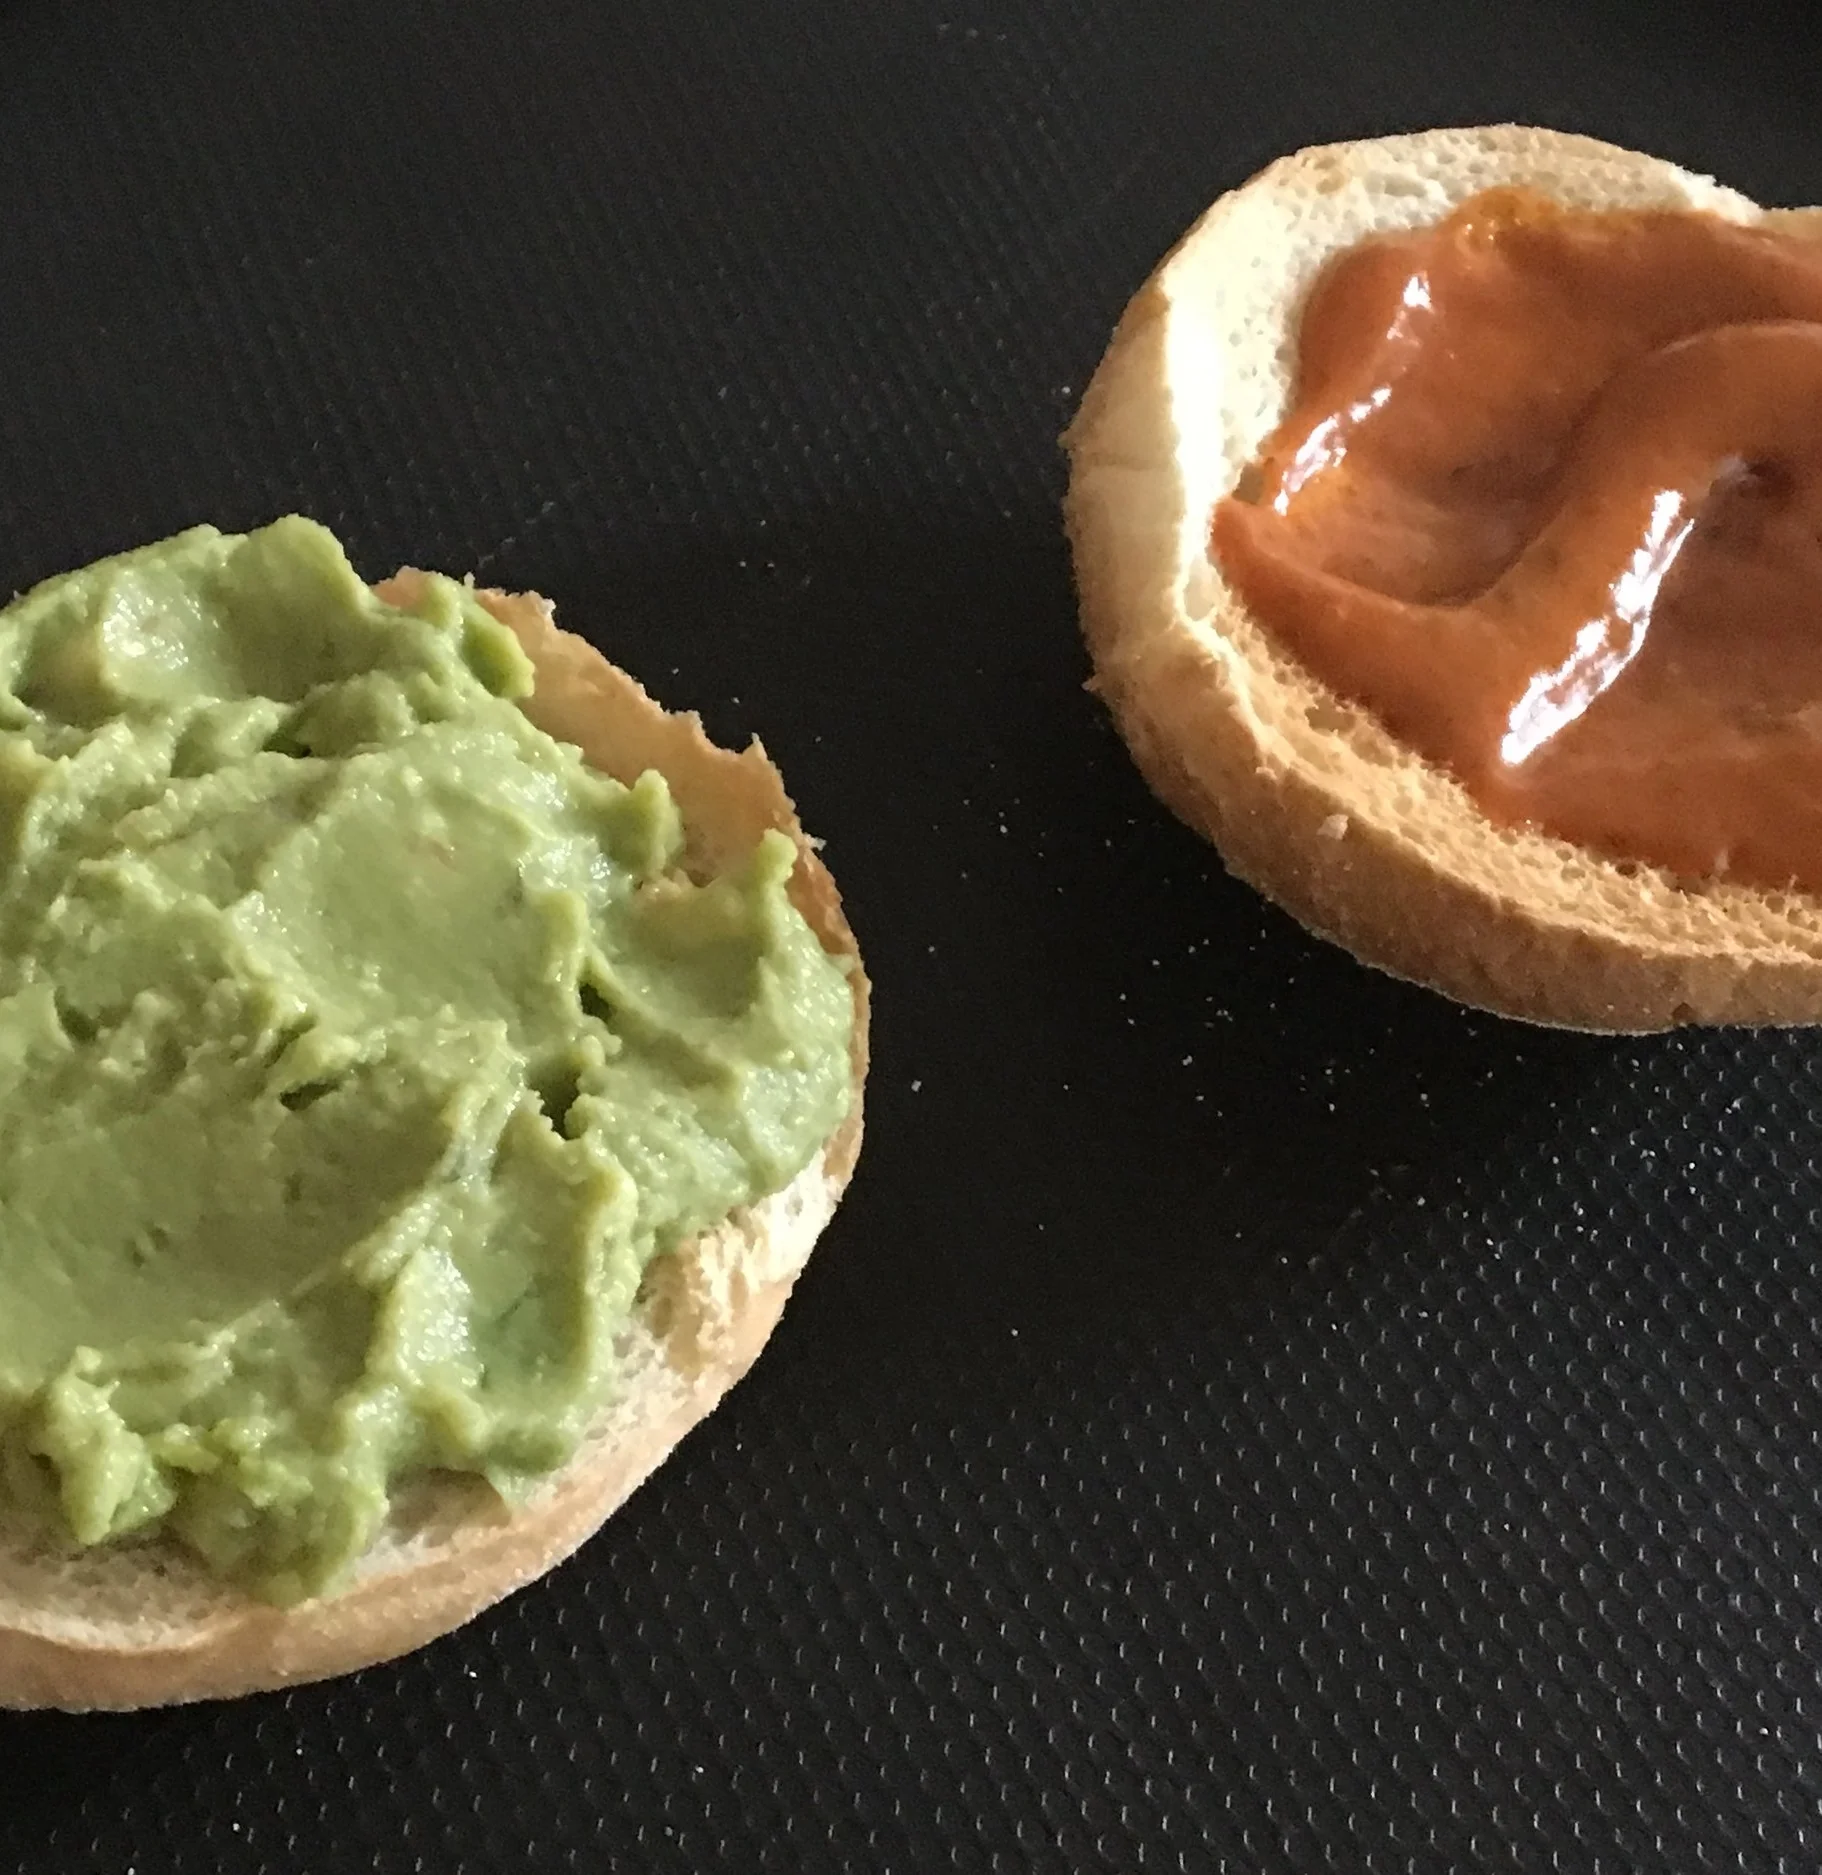
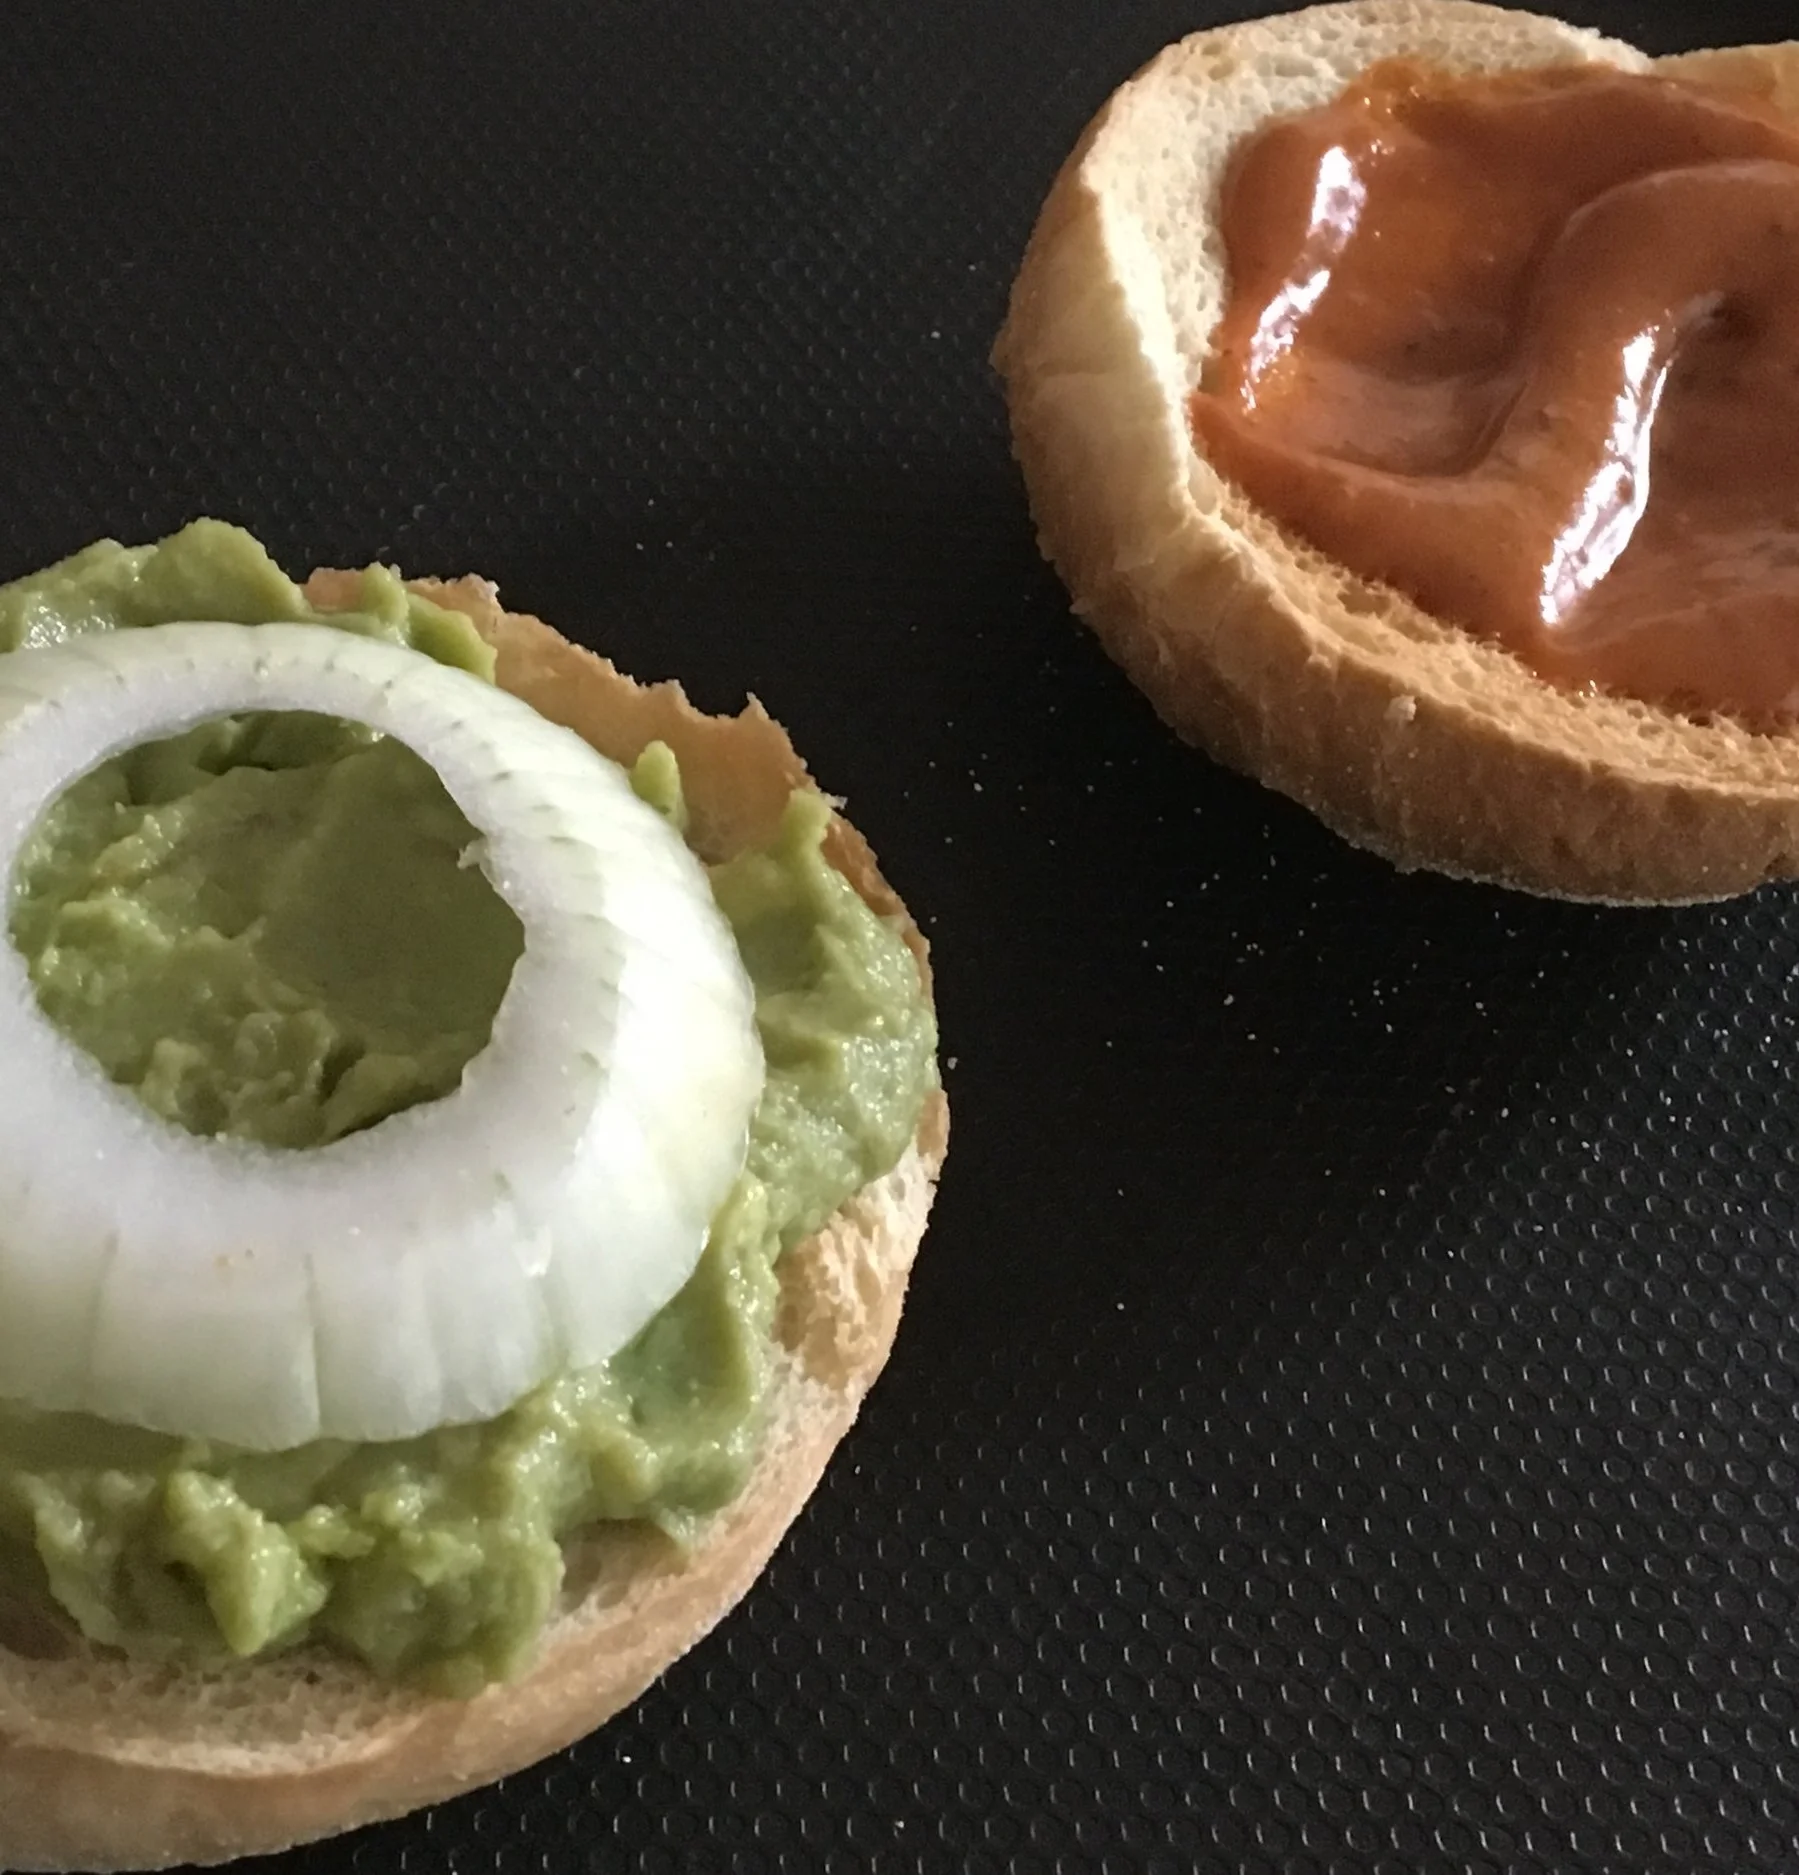
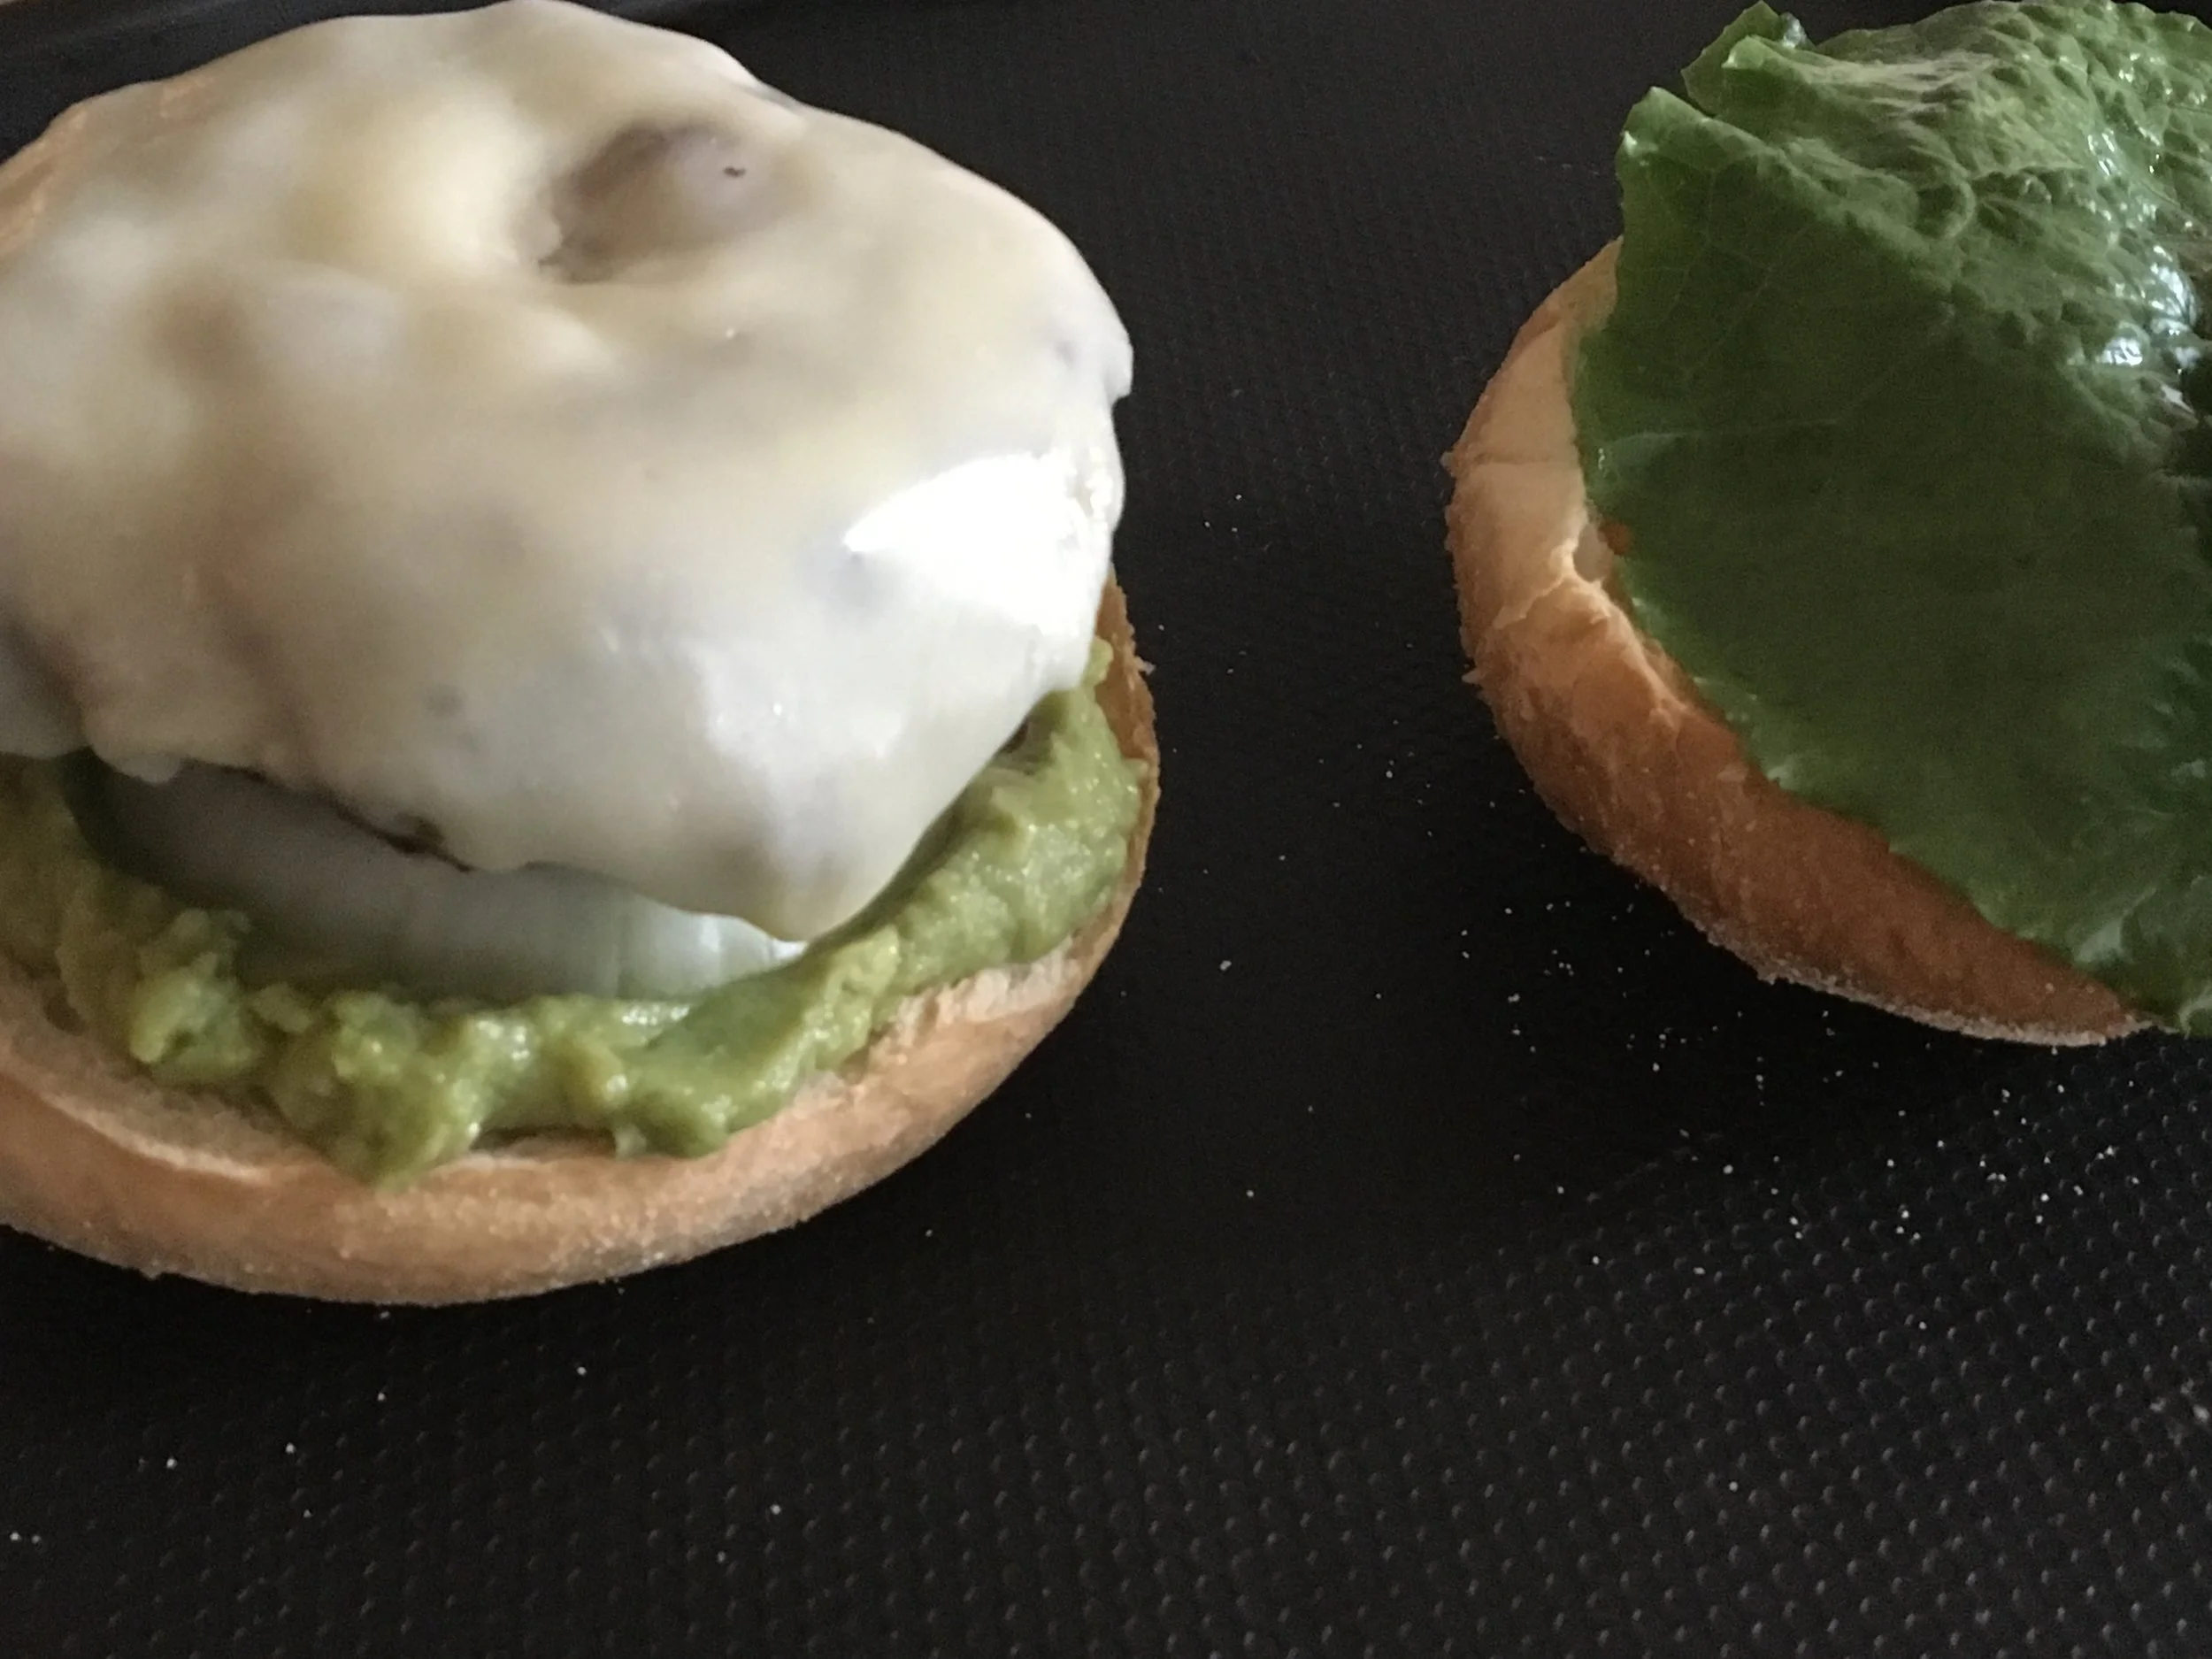
Next add the Chardonnay Guacamole to the other half to the other half, followed by a slice of onion.

Add the lettuce to the aioli half and the burger to the guacamole half, and dollop the burger with about 1 Tablespoon of Cherchies Black Bean & Corn Salsa.  Place the lettuce half over the burger, pierce the burger with a large pick, and wait for it...

A juicy, mind-blowing, flavorful, Tex-Mex burger!   Grab some napkins and enjoy!

Tex-Mex Burger Recipe

Yum!

Yum

Grilled Balsamic Champagne Vegetables Recipe

leftovers, side dishes, grillingSheri SpalloneComment

Grilled Champagne Balsamic Vegetables Recipe

Cook Time: 20 minutes  Marinade Time: 2 hours Difficulty:  Easy  

It's summer and my garden is exploding with fresh vegetables!  With summer grilling season well under way, I wanted take advantage of summer's bounty and share our favorite grilled vegetable recipe, Grilled Champagne Balsamic Vegetables. These vegetables are delicious!!

I made this easy recipe for our July 4th picnic, and the vegetables were devoured!  In fact, they were so well-received that I was asked to bring my "grilled veggies" to our next potluck.  Imagine that? Vegetables getting a "call back" (sorry, theater terms...another blog).

For this recipe, we used red and green peppers, zucchini, yellow squash, Portabella mushrooms, and Vidalia onions, but feel free to substitute your favorite veggies (eggplant, yams, asparagus, etc.)

The secret to this recipe is marinating the vegetables in a tangy Champagne Mustard vinaigrette and grilling the vegetables to a perfect "tender crisp" consistency.   This recipe can also be used to roast the veggies in the oven, but if you prefer grill marks and the flavor of grilled anything, then you must grill these vegetables.  And, if you have any leftover veggies, chop them up and use them in omelets, quesadillas, or fried rice the next day!  Easy peasy!

Easy to make, colorful on the plate, and full of fresh summer flavor, this is one of those recipes worth keeping on repeat all season long.

Thanks for stopping by:) Comment below if you have tried this recipe. Come back again for more family-tested recipes, entertaining ideas, and cooking tips using all our favorite Cherchies® gourmet products.

Follow us on social media: Facebook, Instagram, and Pinterest.

Ingredients

  • 2 Tablespoons (Tbsp) Cherchies® Garlic Seasoning (could substitute Cherchies® Garlic and Herb No-Salt Seasoning)

  • 1 teaspoon (tsp) pepper

  • 2 Tablespoons (Tbsp) olive oil

  • 1 1/2 Tablespoons (Tbsp) White Balsamic Vinegar

  • 1 1/2 Tablespoons (Tbsp) Cherchies® Champagne Mustard

  • 2 red peppers, seeds removed, sliced into 1 inch strips

  • 2 green peppers, seeds removed, sliced into 1 inch strips

  • 2 large zucchini, sliced into 1/2 inch slices

  • 2 large yellow squash, sliced into 1/2 inch slices

  • 1 package Baby Portabella Mushrooms 

  • 1 vidalia onion, sliced in half

Preparation

Place cut vegetables on two baking sheets.  Season the vegetables with Cherchies® Garlic Seasoning (or Cherchies® Garlic & Herbs Seasoning) and pepper.  Mix the veggies by hand to ensure the veggies are evenly coated with the seasoning.  Set aside.

Prepare the vinaigrette by whisking the olive oil, the Balsamic Vinegar, and the Champagne Mustard in a small bowl.  Pour the vinaigrette over the vegetables and once again use your hands to coat the vegetables evenly.    Cover with plastic wrap and marinate the vegetables for at least two hours in the refrigerator (I usually marinate overnight).  

When vegetables have marinated, turn the grill onto high to heat up, then to medium low once grill is warmed.  Place the vegetables on the grill and cook for 4-5 minutes until vegetables have grill marks, then carefully turn over to cook the other side and cook for another 4-5 minutes.   These may need to be grilled in batches depending on the size of the grill.  Serve warm or at room temperature.  Enjoy!


Yum