Life as we know it has drastically changed the past couple of months, including how we socialize, work, learn, shop, and cook. We are being challenged daily with having to balance work, children, home, and responsibilities. I understand. During these uncertain times, it is imperative to unplug, step away from the news, and spend some good old fashioned family time together. Your family is feeling your stress and concerns too, and aside from the puzzles, movie and game nights, perhaps use this time to tackle a new skill, like cooking or baking with your family.
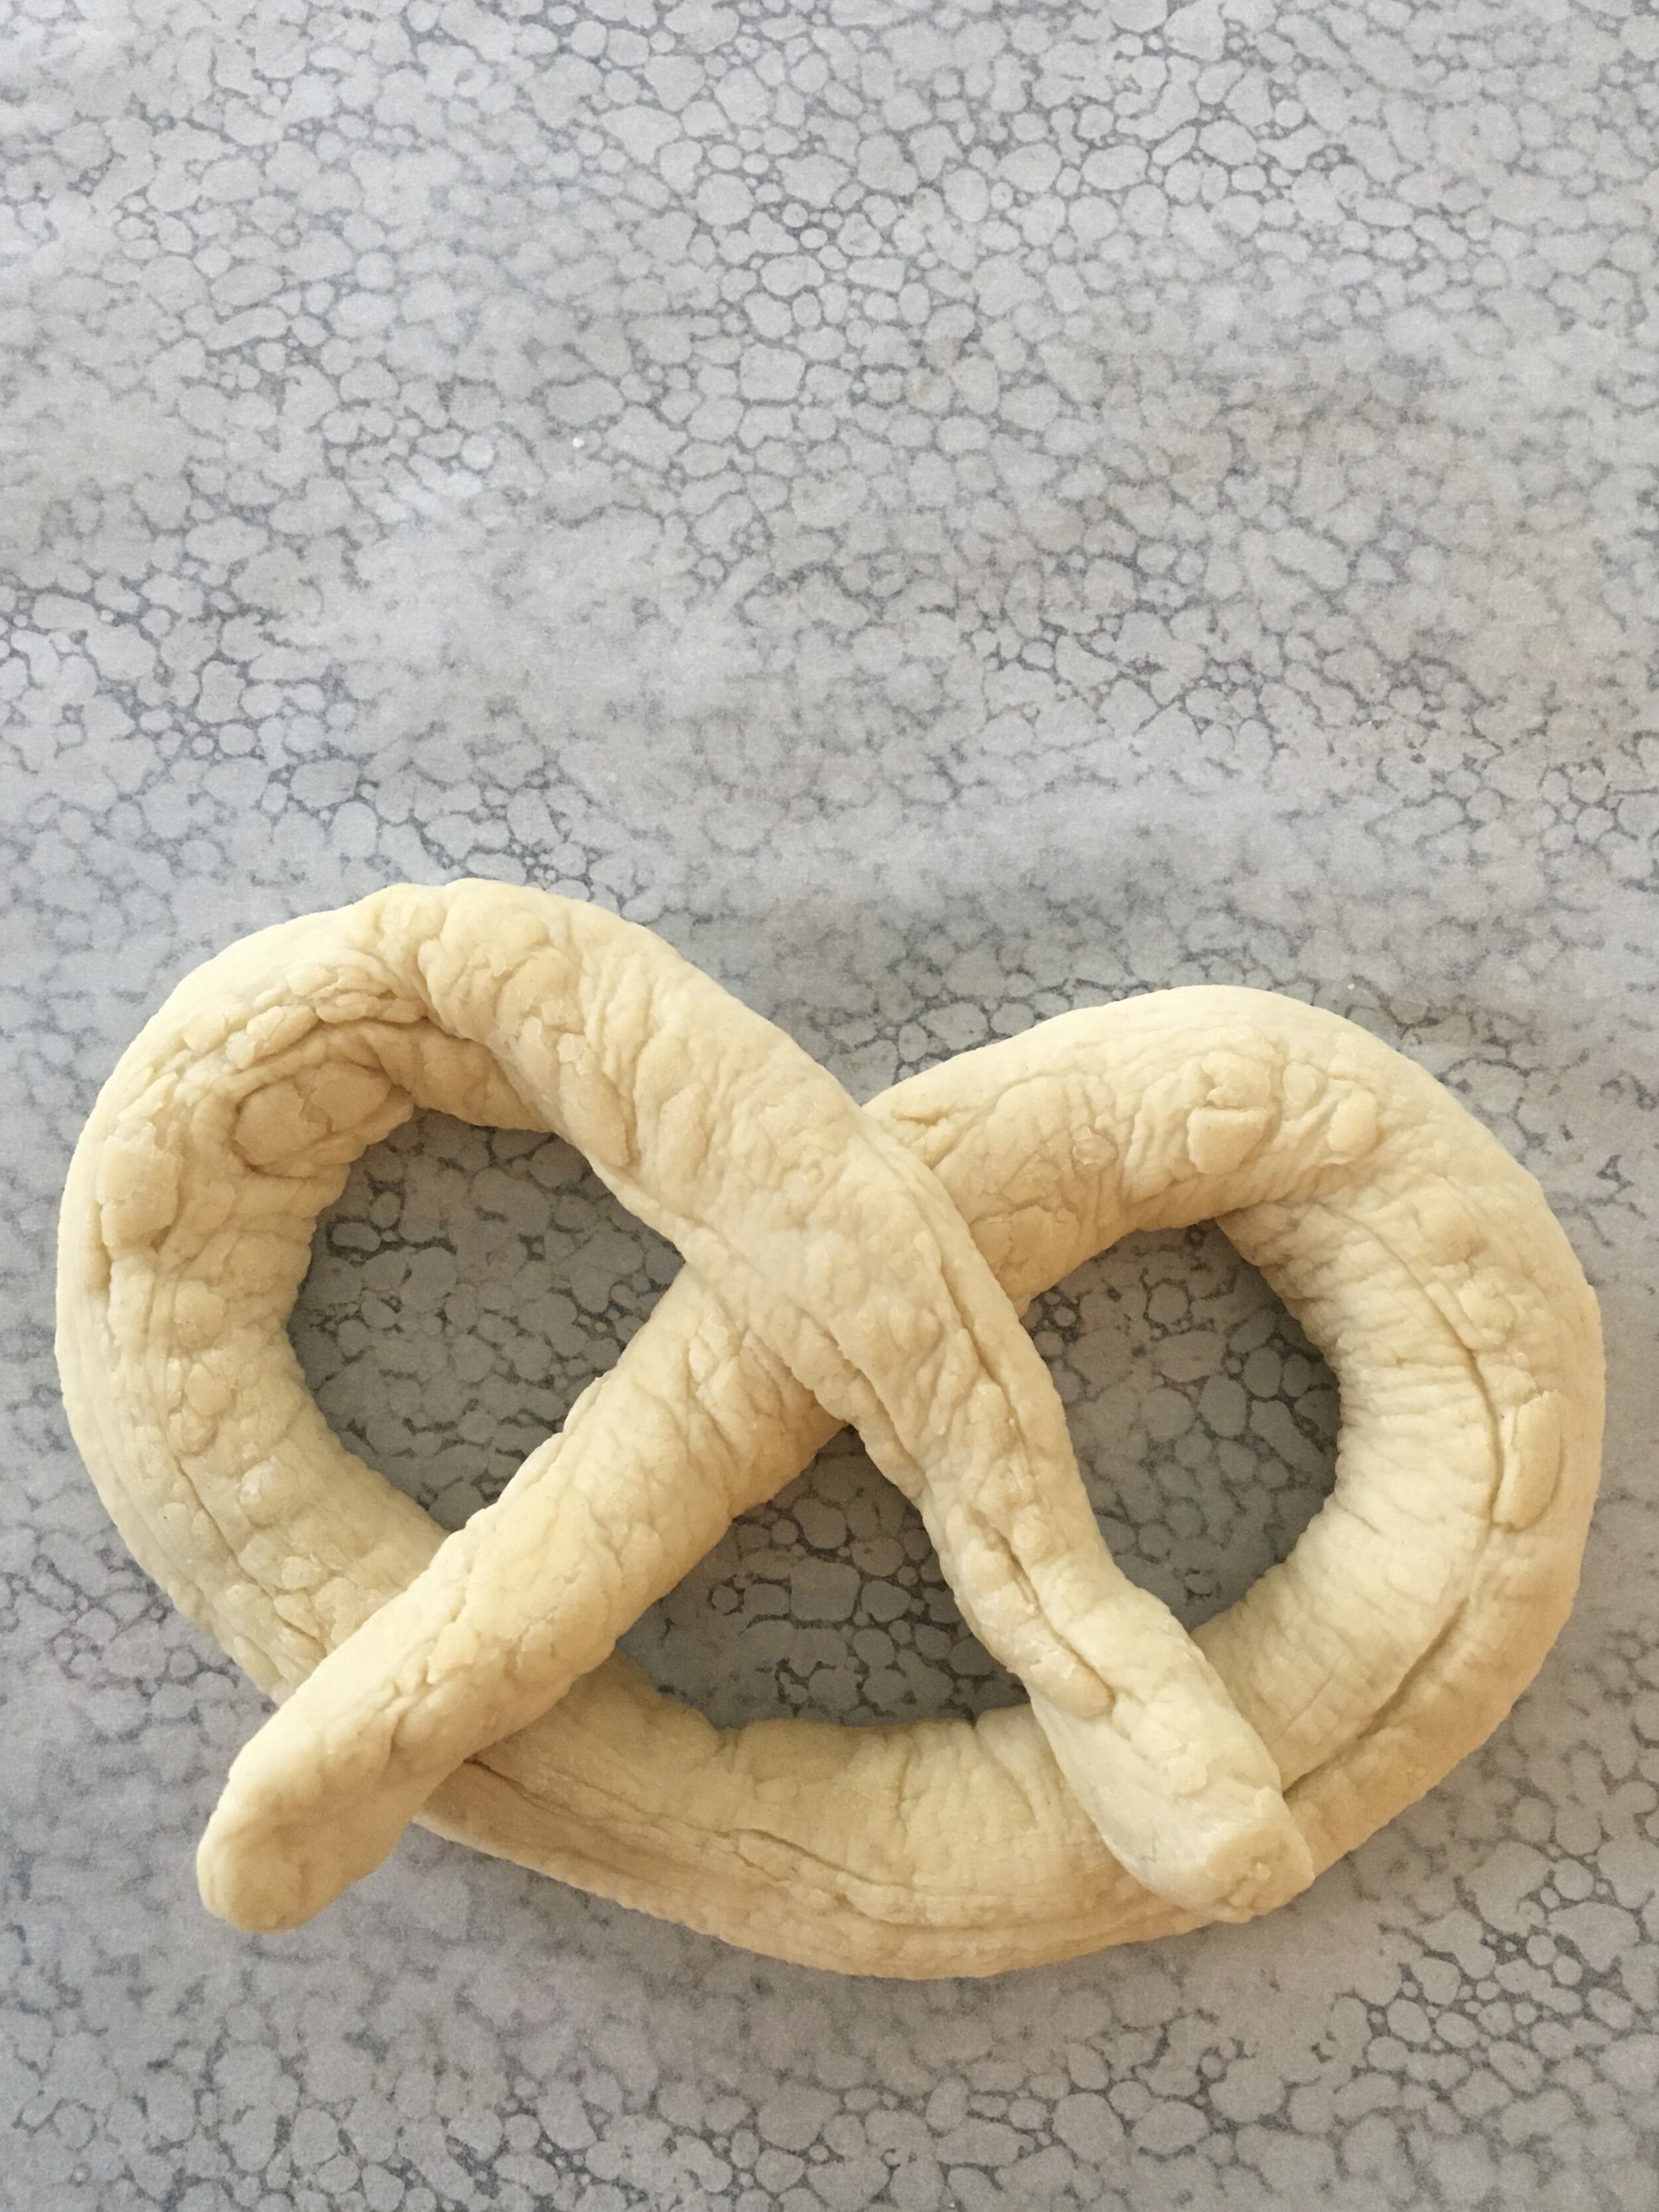
I have always been curious about sourdough bread, and not until recently did I have an interest because it always seemed too tedious a project. As life was unfolding a couple of months ago, just as they announced the closing of our school district, I remember my first grocery trip and the daunting feeling of seeing the barren grocery shelves. Luckily, we had done our extensive monthly grocery shopping before this development, so we were good, but we were low on bread. My trip the following day presented the same slimmed emergency essentials, so later that evening, I researched making bread and sourdough was all over the internet. I became intrigued, did some research, and realized this was something different we could tackle as a family activity. Coincidently, I learned that naming your sourdough starter was appropriate. So it began, a sourdough starter named “Corona” (it seemed fitting), and lots of yummy treats to follow, including pizza dough, baguettes (both coming soon), and these irresistibly warm sourdough pretzels with Champagne dipping mustard. Who wants some?
There are countless examples of how to begin your sourdough starters, but the three main ingredients are flour, water, and wild yeast (found everywhere, in the air, the flour, etc.). All you need is a couple of days of patience, and you will have a sourdough starter to create plenty of tasty goodies with your family. I love this post from Thekitchn.com. I used their steps to start our sourdough “Corona” and have listed them below. I also like the recommendations from Zerowastechef.com because she explains how to use your starters without throwing anything away (discard). During this time, when groceries are precious, throwing away anything seemed to be incredibly wasteful, especially flour. I have slightly adapted this pretzel recipe from iambaker.net and added our tasty mustards as a dipping sauce.
So are you ready to join us on the sourdough bandwagon? Unplug, enjoy the slower pace for a bit with your family, and add sourdough pretzels to your list of activities, the perfect boredom buster. For those homes with children, this is an excellent activity for developing math skills, enriching vocabulary, teaching scientific concepts, and connecting as a family. Are you ready to get started and follow along in the delicious world of sourdough?
Comment below and let us know if you made these delicious pretzels and how they turned out. We would love to hear from you!
From our kitchen to yours, stay safe and well, and do things together.
Thank you for stopping by. Come back again!
Enjoy!
Ingredients (Adapted from thekitchn.com)
Sour Dough Starter
All-purpose flour (or a mix of all-purpose and whole grain flour)- (4 oz. all purpose flour (or 3/4 cup plus 2 Tablespoons))
Water, preferably filtered (4 ounces water (or 1/2 cup)
2-quart glass or plastic container (not metal)
Scale (highly recommended) or measuring cups
Mixing spoon
Plastic wrap or clean kitchen towel
Preparation (The directions are from thekitchn.com) Making sourdough starter takes about 5 days. Each day you "feed" the starter with equal amounts of fresh flour and water. As the wild yeast grows stronger, the starter will become more frothy and sour-smelling. On average, this process takes about 5 days, but it can take longer depending on the conditions in your kitchen. As long as you see bubbles and signs of yeast activity, continue feeding it regularly. If you see zero signs of bubbles after three days, take a look at the thekitchen website for troubleshooting.
Day 1: Make the Initial Starter
4 ounces all-purpose flour (3/4 cup plus 2 tablespoons)
4 ounces water (1/2 cup)
Weigh the flour and water, and combine them in a 2-quart glass or plastic container (not metal). Stir vigorously until combined into a smooth batter. It will look like a sticky, thick dough. Scrape down the sides and loosely cover the container with plastic wrap or a clean kitchen towel secured with a rubber band.
Place the container somewhere with a consistent room temperature of 70°F to 75°F (like the top of the refrigerator) and let sit for 24 hours.
Day 2: Feed the Starter
4 ounces all-purpose flour (3/4 cup + 2 tablespoons)
4 ounces water (1/2 cup)
Take a look at the starter. You may see a few small bubbles here and there. This is good! The bubbles mean that wild yeast have started making themselves at home in your starter. They will eat the sugars in the flour and release carbon dioxide (the bubbles) and alcohol. They will also increase the acidity of the mixture, which helps fend off any bad bacteria. At this point, the starter should smell fresh, mildly sweet, and yeasty.
If you don't see any bubbles yet, don't panic — depending on the conditions in your kitchen, the average room temperature, and other factors, your starter might just be slow to get going.
Weigh the flour and water for today, and add them to the starter. Stir vigorously until combined into a smooth batter. It will look like a sticky, thick dough. Scrape down the sides and loosely cover the container with the plastic wrap or kitchen towel secured again. Place the container somewhere with a consistent room temperature of 70°F to 75°F (like the top of the refrigerator) and let sit for 24 hours.
Day 3: Feed the Starter
4 ounces all-purpose flour (3/4 cup + 2 tablespoons)
4 ounces water (1/2 cup)
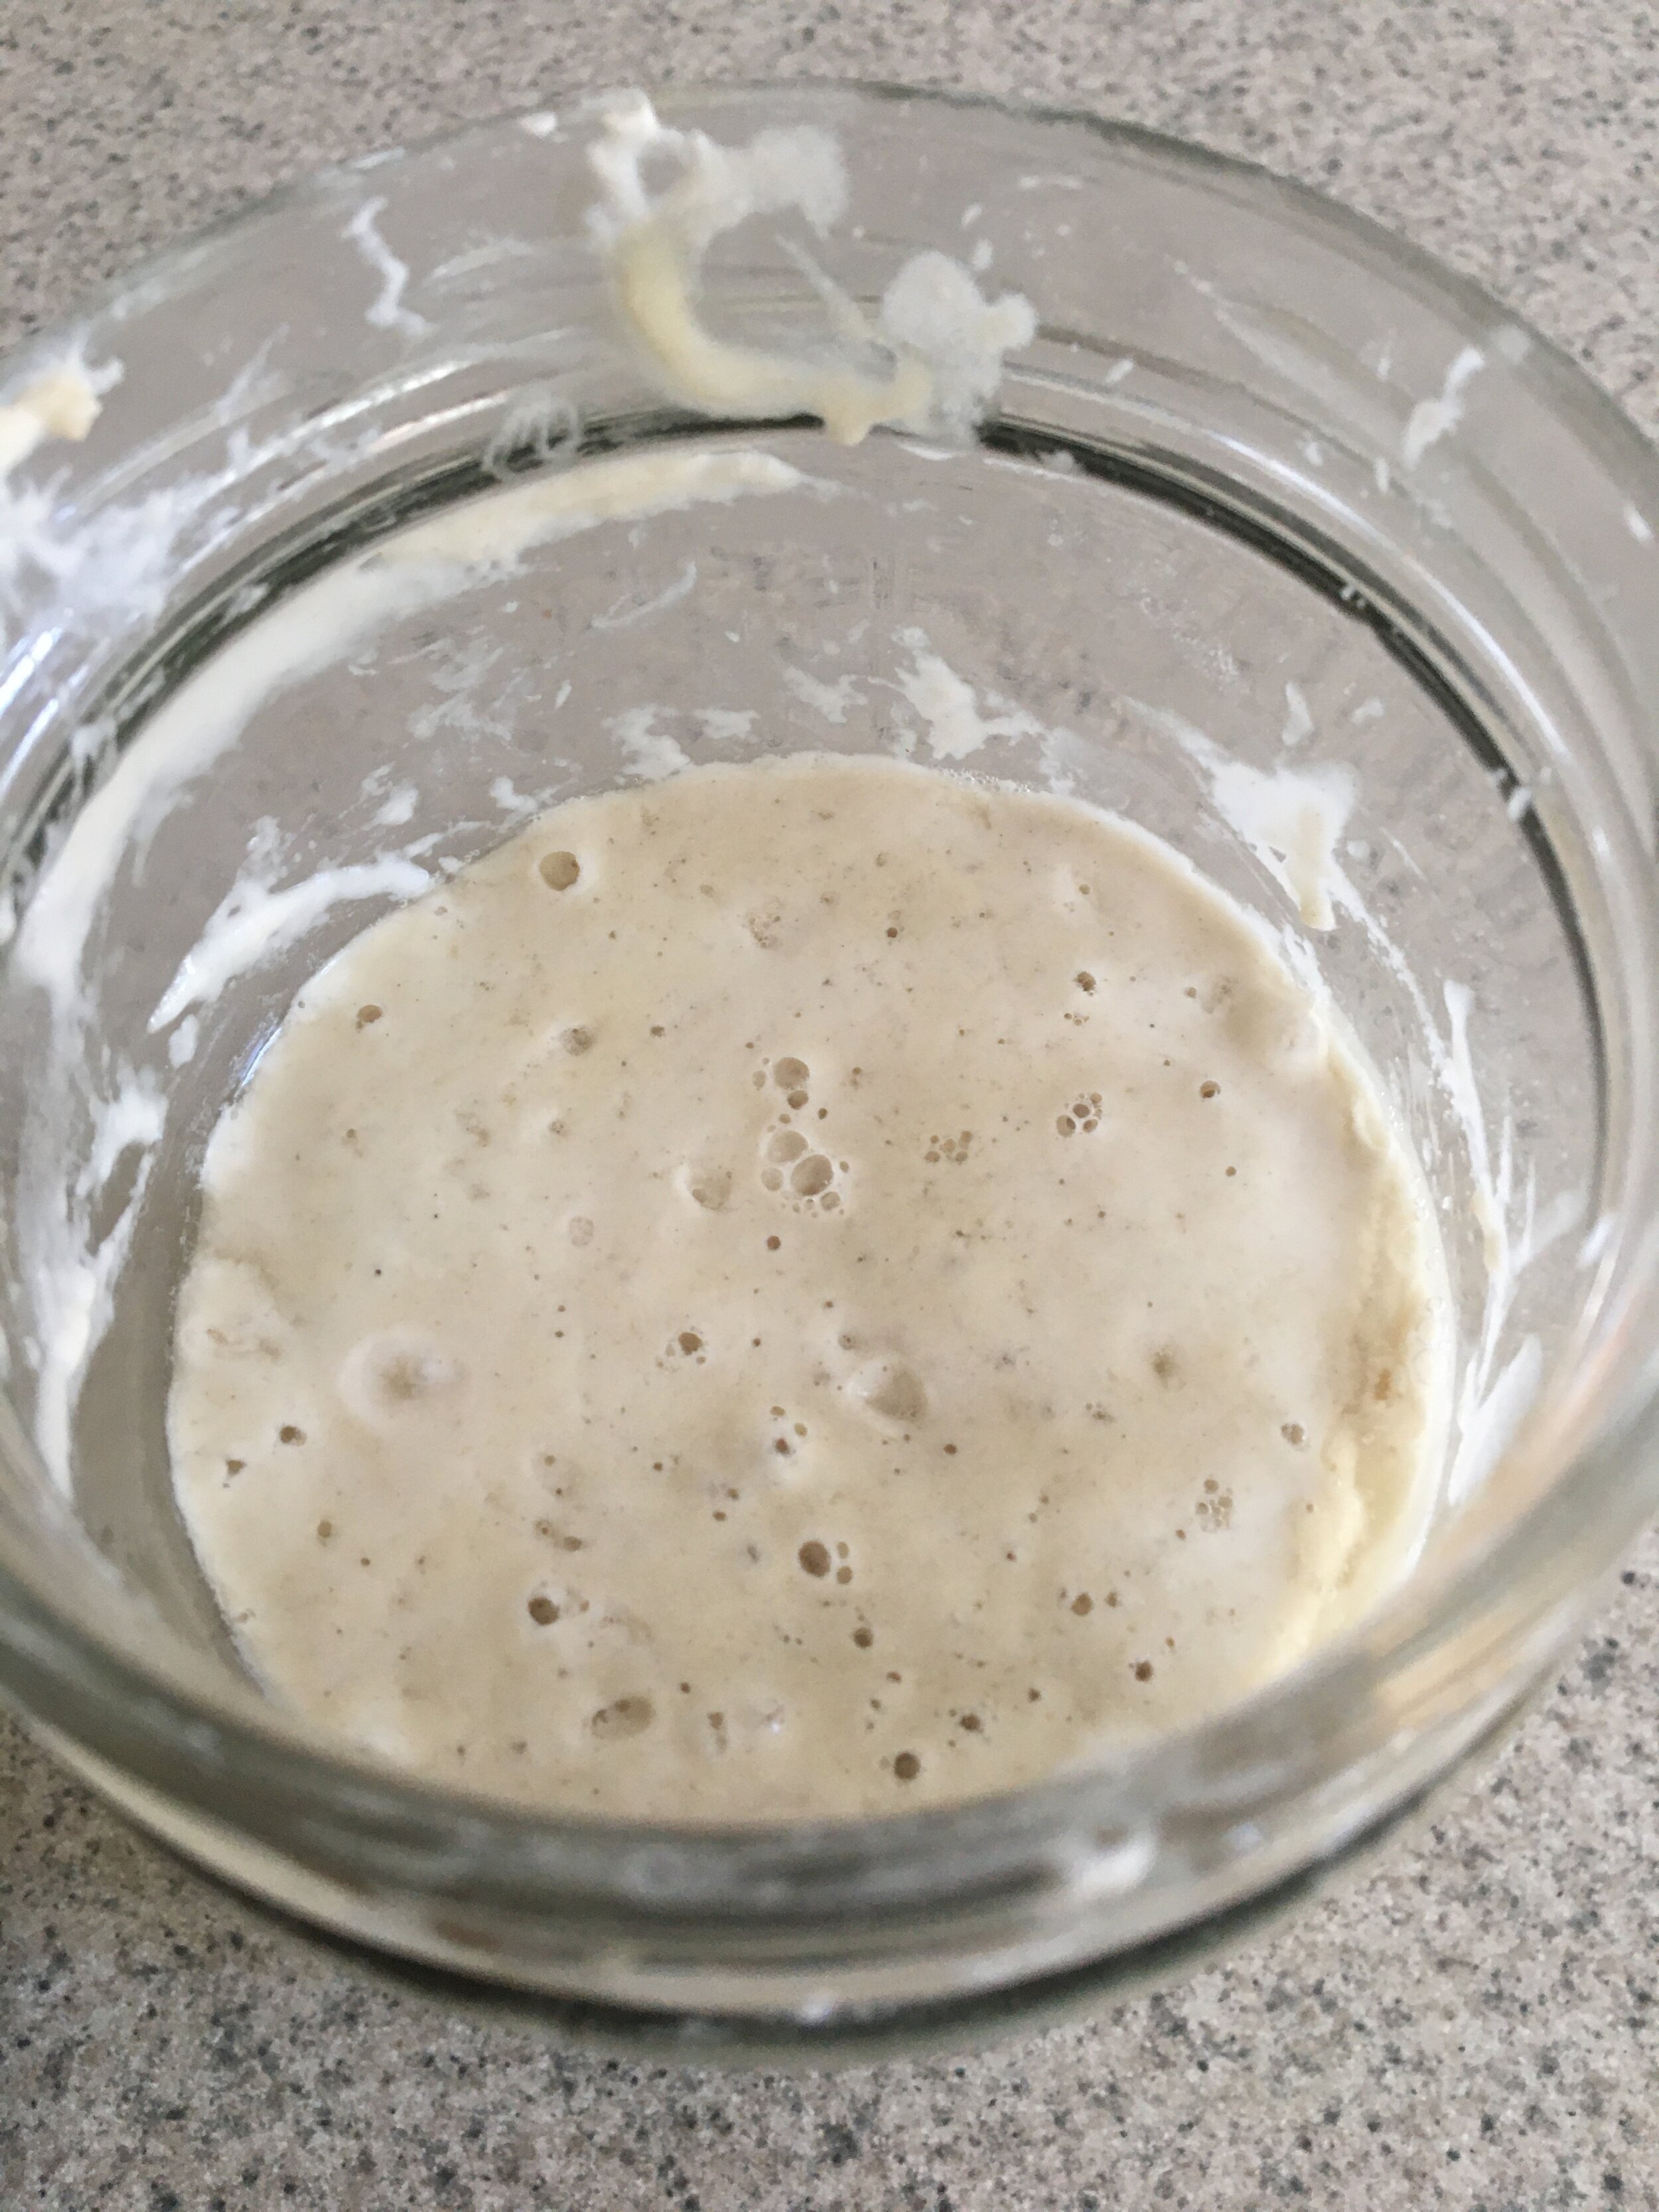
Check your starter. By now, the surface of your starter should look dotted with bubbles and your starter should look visibly larger in volume. If you stir the starter, it will still feel thick and batter-like, but you'll hear bubbles popping. It should also start smelling a little sour and musty. Again, if your starter doesn't look quite like mine in the photo, don't worry. Give it a few more days. My starter happened to be particularly vigorous!
Weigh the flour and water for today, and add them to the starter. Stir vigorously until combined into a smooth batter. It will look like a sticky, thick dough. Scrape down the sides and loosely cover the container with the plastic wrap or kitchen towel secured again. Place the container somewhere with a consistent room temperature of 70°F to 75°F (like the top of the refrigerator) and let sit for 24 hours.
Day 4: Feed the Starter
4 ounces all-purpose flour (3/4 cup + 2 tablespoons)
4 ounces water (1/2 cup)
Check your starter. By now, the starter should be looking very bubbly with large and small bubbles, and it will have doubled in volume. If you stir the starter, it will feel looser than yesterday and honeycombed with bubbles. It should also be smelling quite sour and pungent. You can taste a little too! It should taste sour and somewhat vinegary.
When I made my starter here, I didn't notice much visual change from Day 3 to Day 4, but could tell things had progress by the looseness of the starter and the sourness of the aroma.
Weigh the flour and water for today, and add them to the starter. Stir vigorously until combined into a smooth batter. It will look like a sticky, thick dough. Scrape down the sides and loosely cover the container with the plastic wrap or kitchen towel secured again. Place the container somewhere with a consistent room temperature of 70°F to 75°F (like the top of the refrigerator) and let sit for 24 hours.
Day 5: Starter is Ready to Use Check your starter. It should have doubled in bulk since yesterday. By now, the starter should also be looking very bubbly — even frothy. If you stir the starter, it will feel looser than yesterday and be completely webbed with bubbles. It should also be smelling quite sour and pungent. You can taste a little too! It should taste even more sour and vinegary.
If everything is looking, smelling, and tasting good, you can consider your starter ripe and ready to use! If your starter is lagging behind a bit, continue on with the Day 5 and Beyond instructions.
Day 5 and Beyond: Maintaining Your Starter
4 ounces all-purpose flour (3/4 cup + 2 tablespoons)
4 ounces water (1/2 cup)
Once your starter is ripe (or even if it's not quite ripe yet), you no longer need to bulk it up. You are ready to make your sourdough pretzels (See below)!
**Note- If you're using the starter within the next few days, leave it out on the counter and continue discarding half and "feeding" it daily. Don’t waste it! There are plenty of recipes you can make using discarded starters. If it will be longer before you use your starter, cover it tightly and place it in the fridge. Remember to take it out and feed it at least once a week — Usually let the starter sit out overnight to give the yeast time to recuperate before putting it back in the fridge.
How to Take a Long Break from Your Starter
If you're taking a break from baking, but want to keep your starter, you can do two things:
1) Make a Thick Starter: Feed your starter double the amount of flour to make a thicker dough-like starter. This thicker batter will maintain the yeast better over long periods of inactivity in the fridge.
2) Dry the Starter: Smear your starter on a Silpat and let it dry. Once completely dry, break it into flakes and store it in an airtight container. Dried sourdough can be stored for months. To re-start it, dissolve 1/4 cup of the flakes in 4 ounces of water, and stir in 4 ounces of flour. Continue feeding the starter until it is active again.
Now that you have successfully made your sourdough starter, let’s get started!
Ingredients (Adapted from iambaker.net)
Pretzel Dough
1 cup (245g) milk, warmed
2 tablespoons butter, room temperature
1 tablespoon granulated sugar
1 1/2 cup sourdough starter, discard or fed
4 cups (500g) all-purpose flour
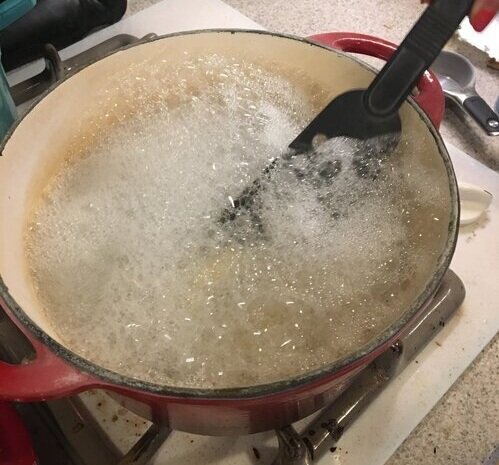
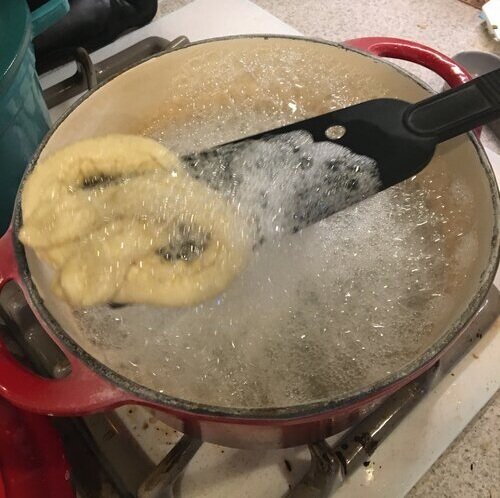
Pretzel Boiling
12 cups (839g) water
1 tablespoon baking soda
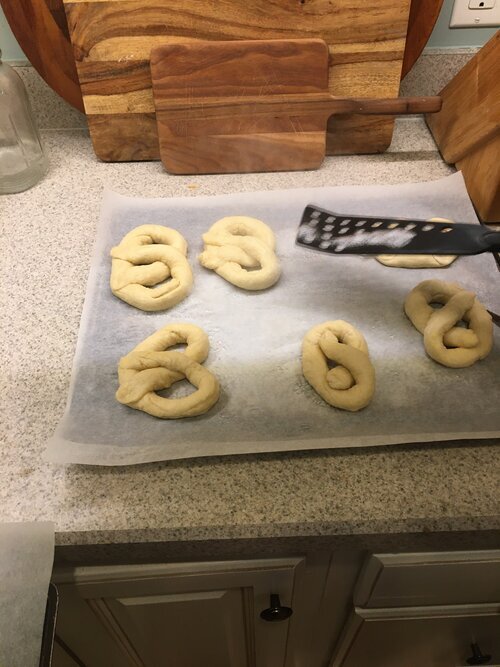
Topping
Dipping
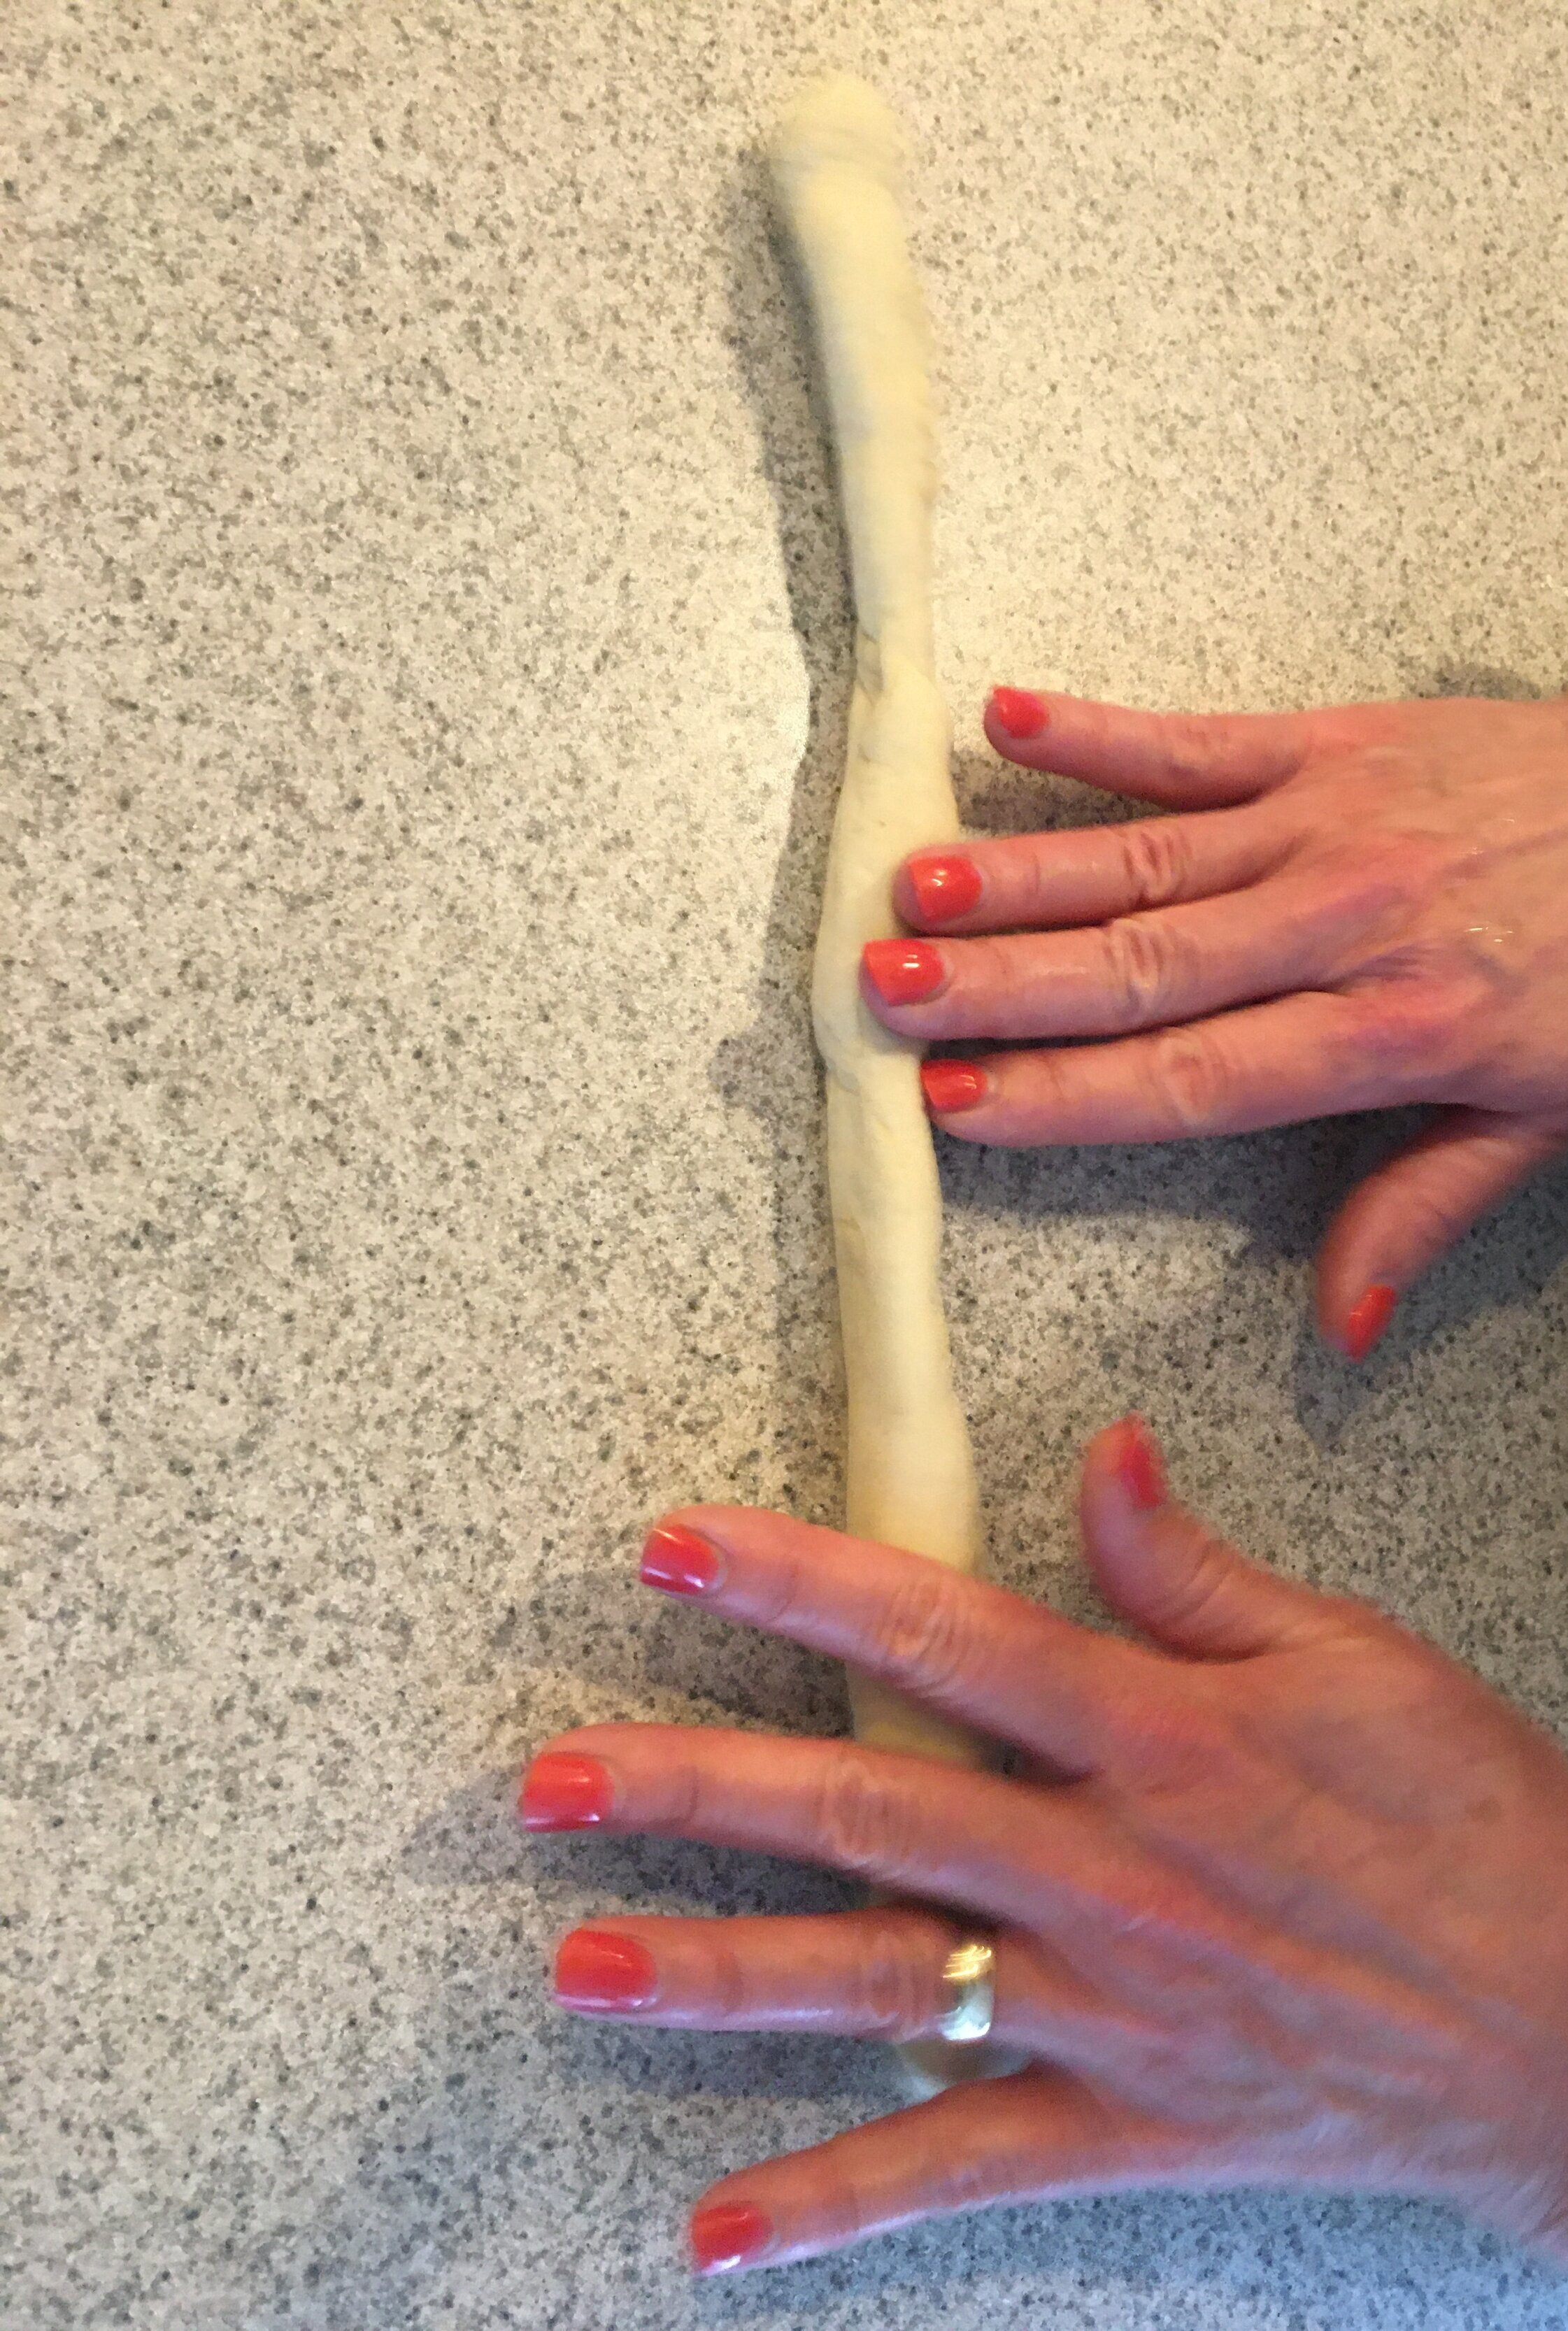
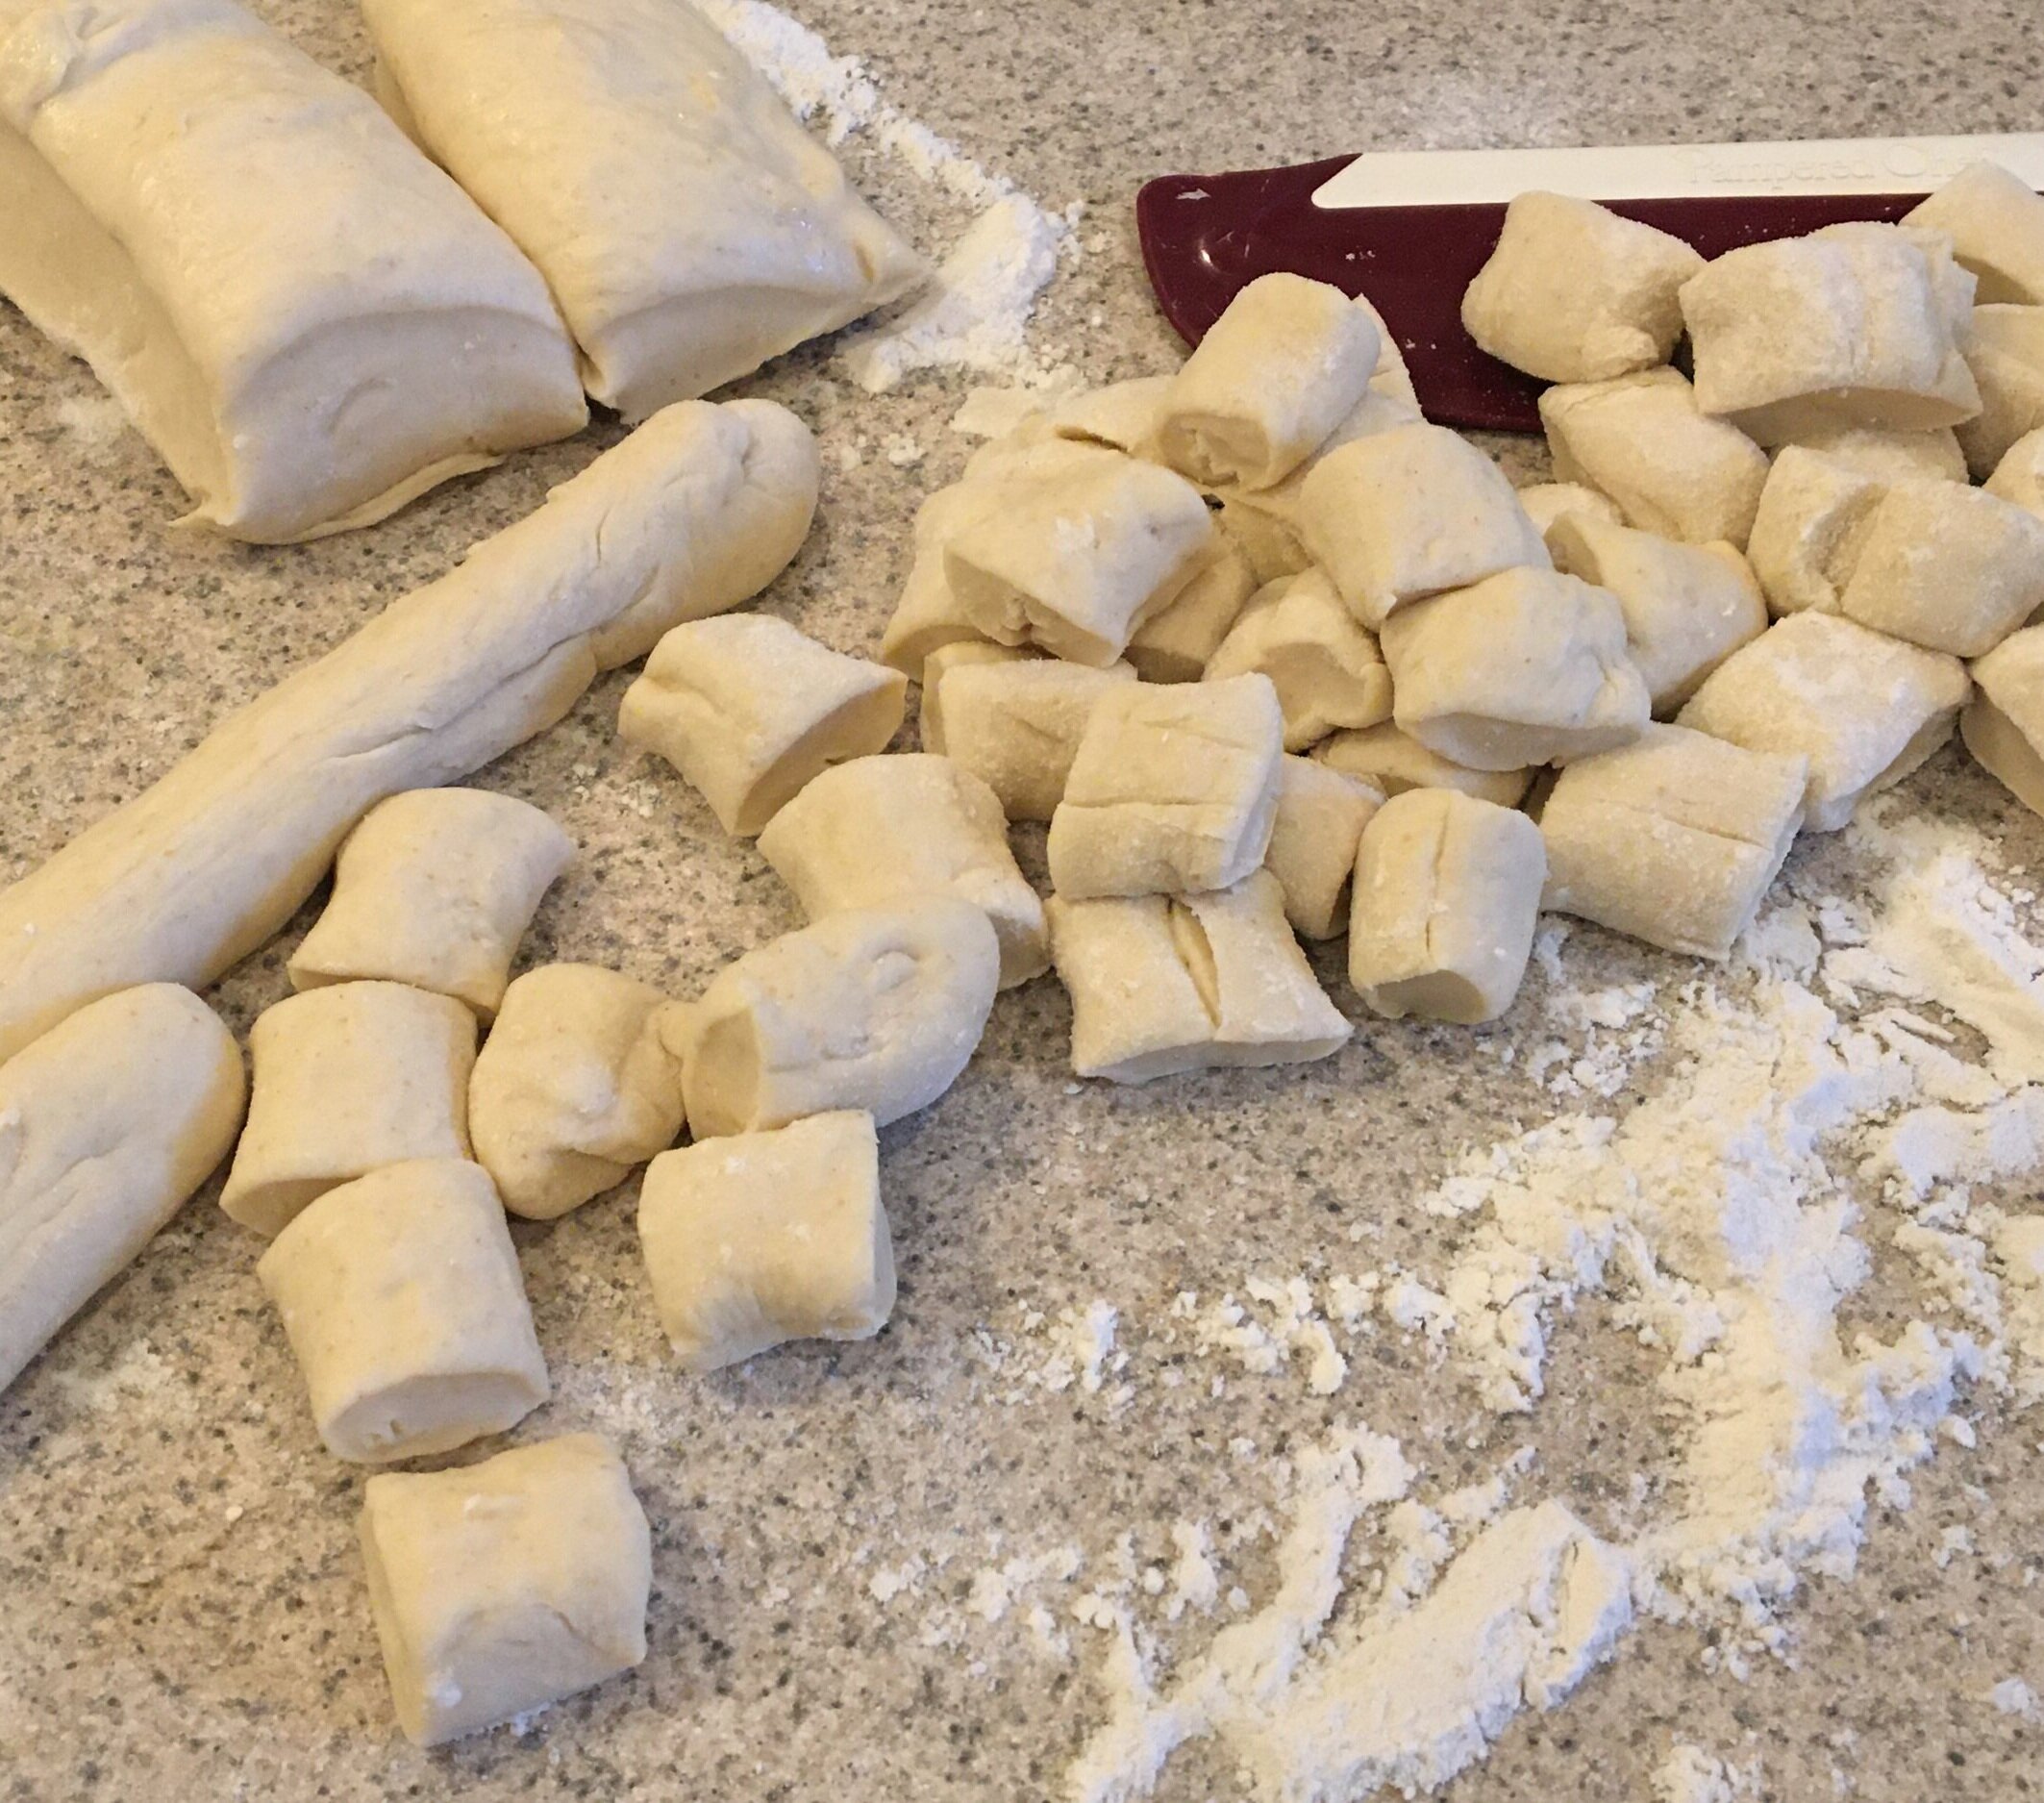
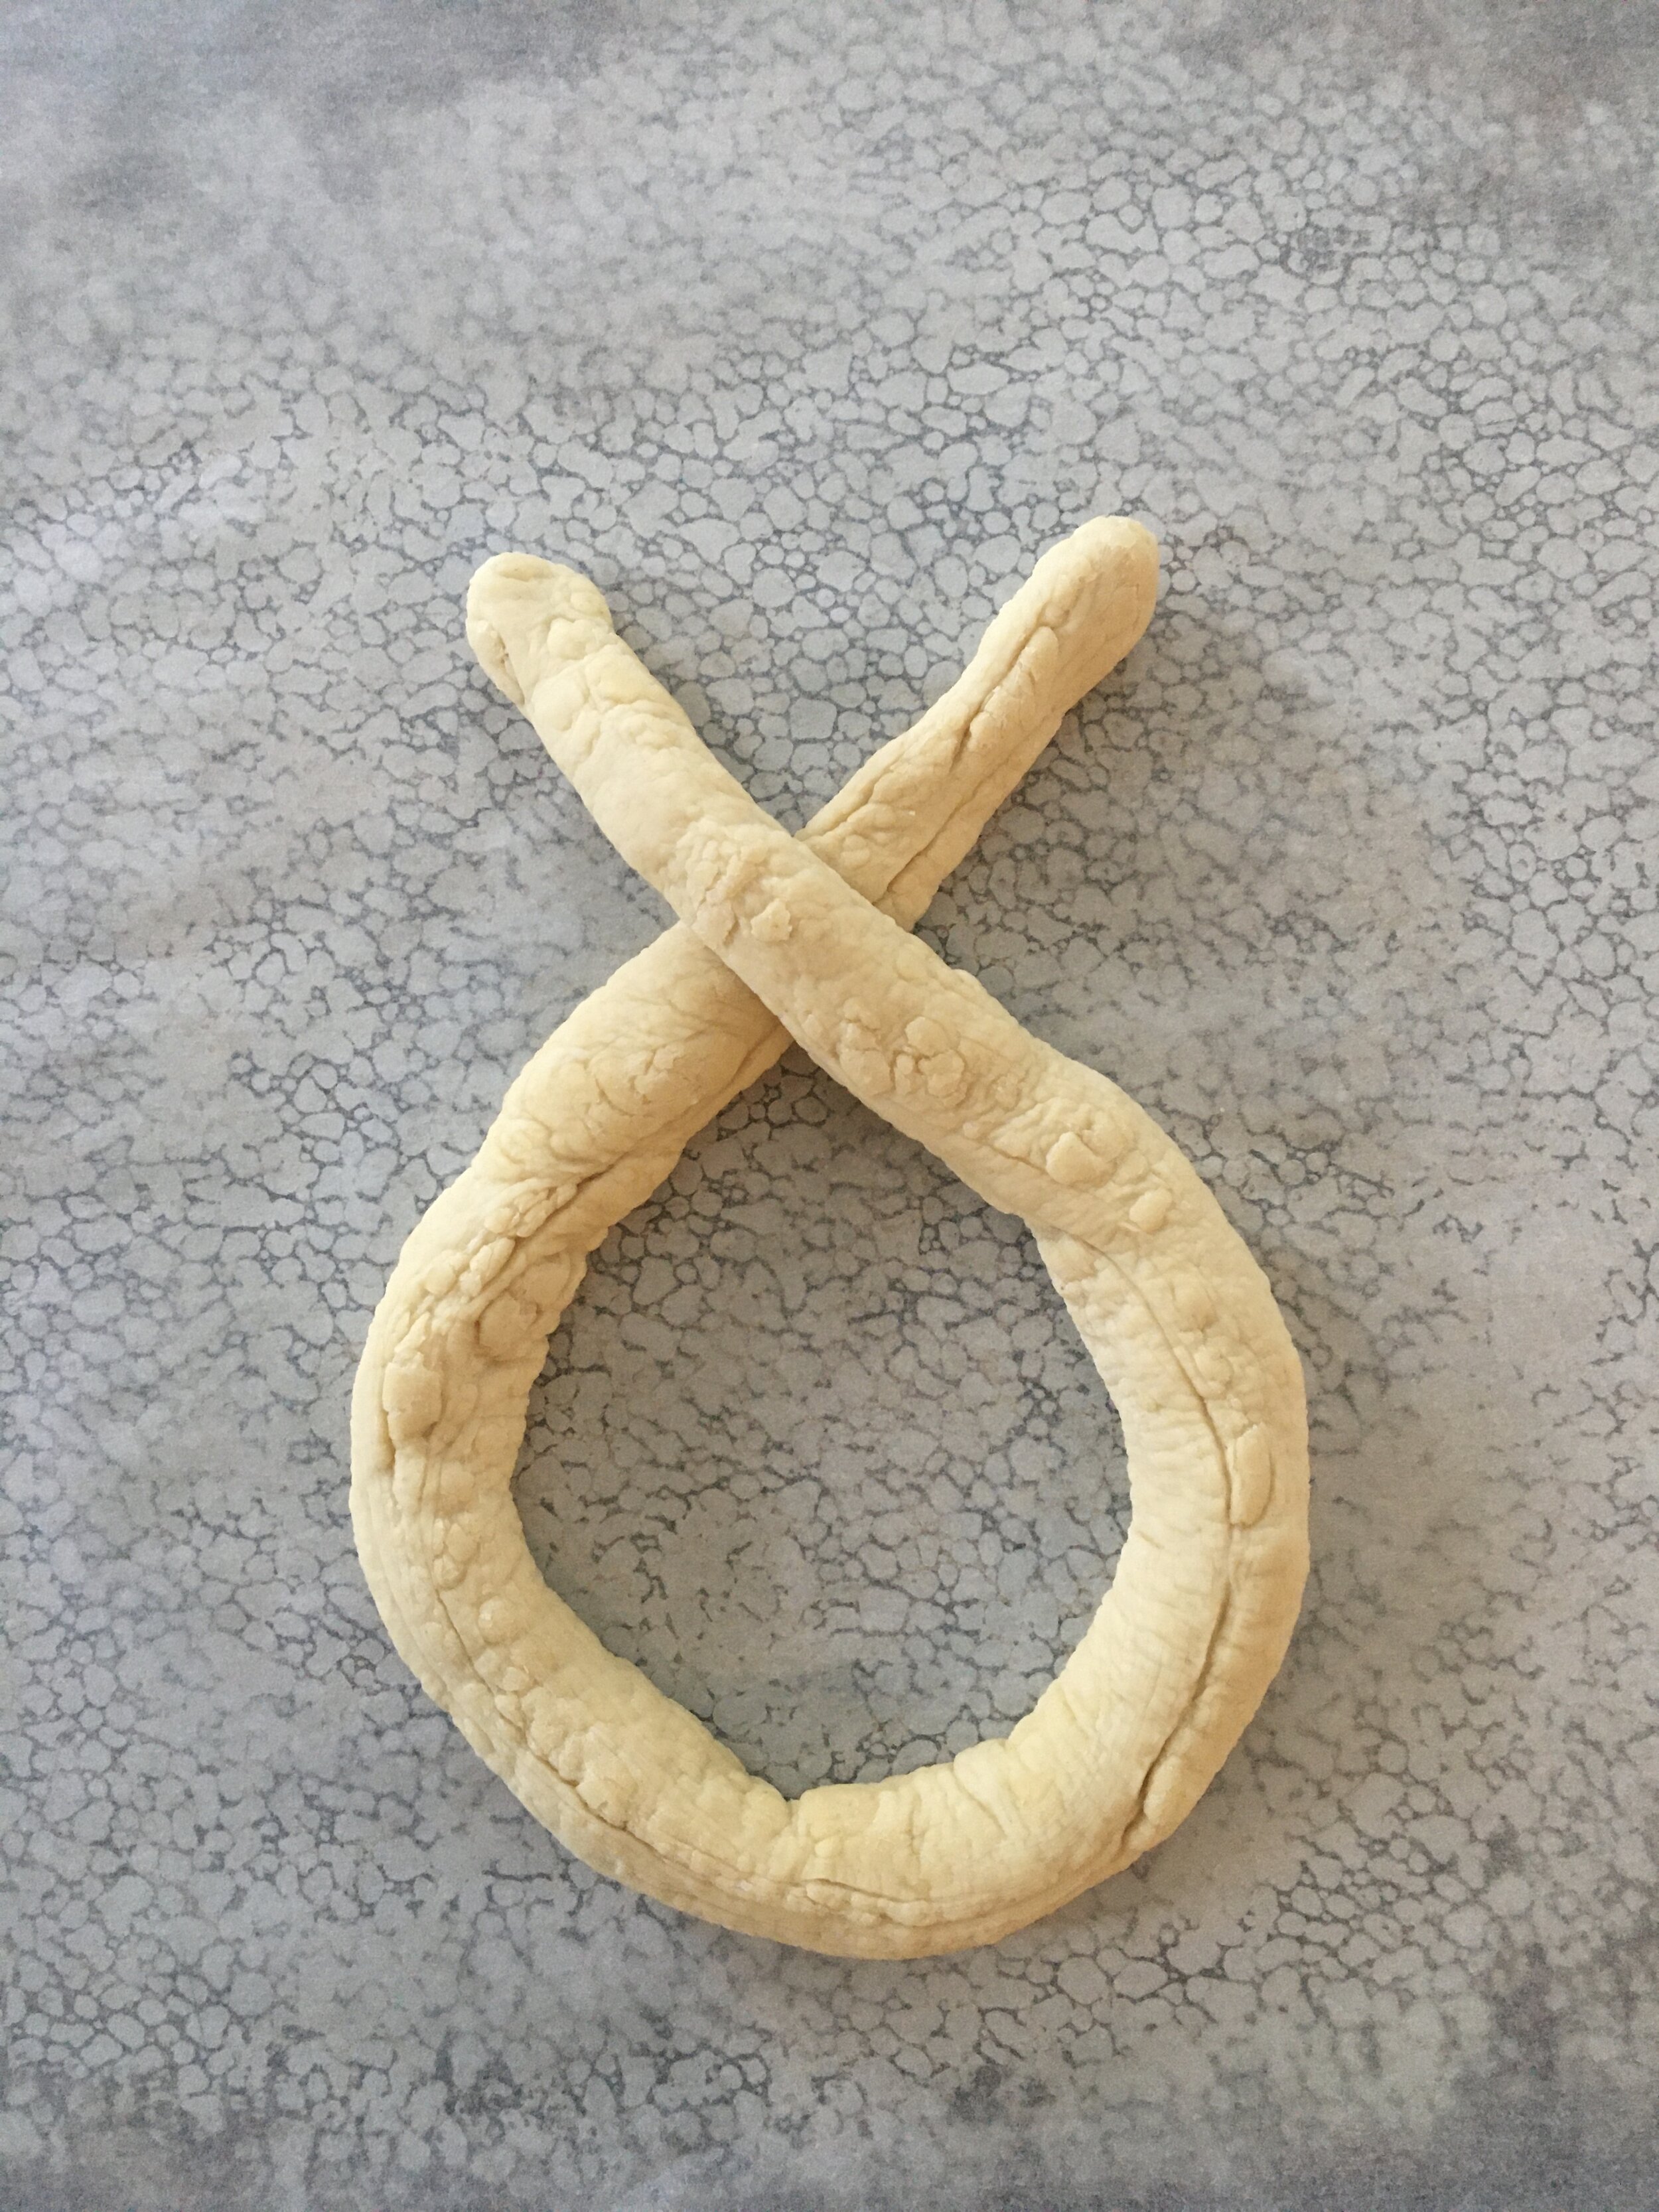
Preparation (Adapted from iambaker.net)
In the microwave, warm up the milk. (About 30 seconds should be fine).
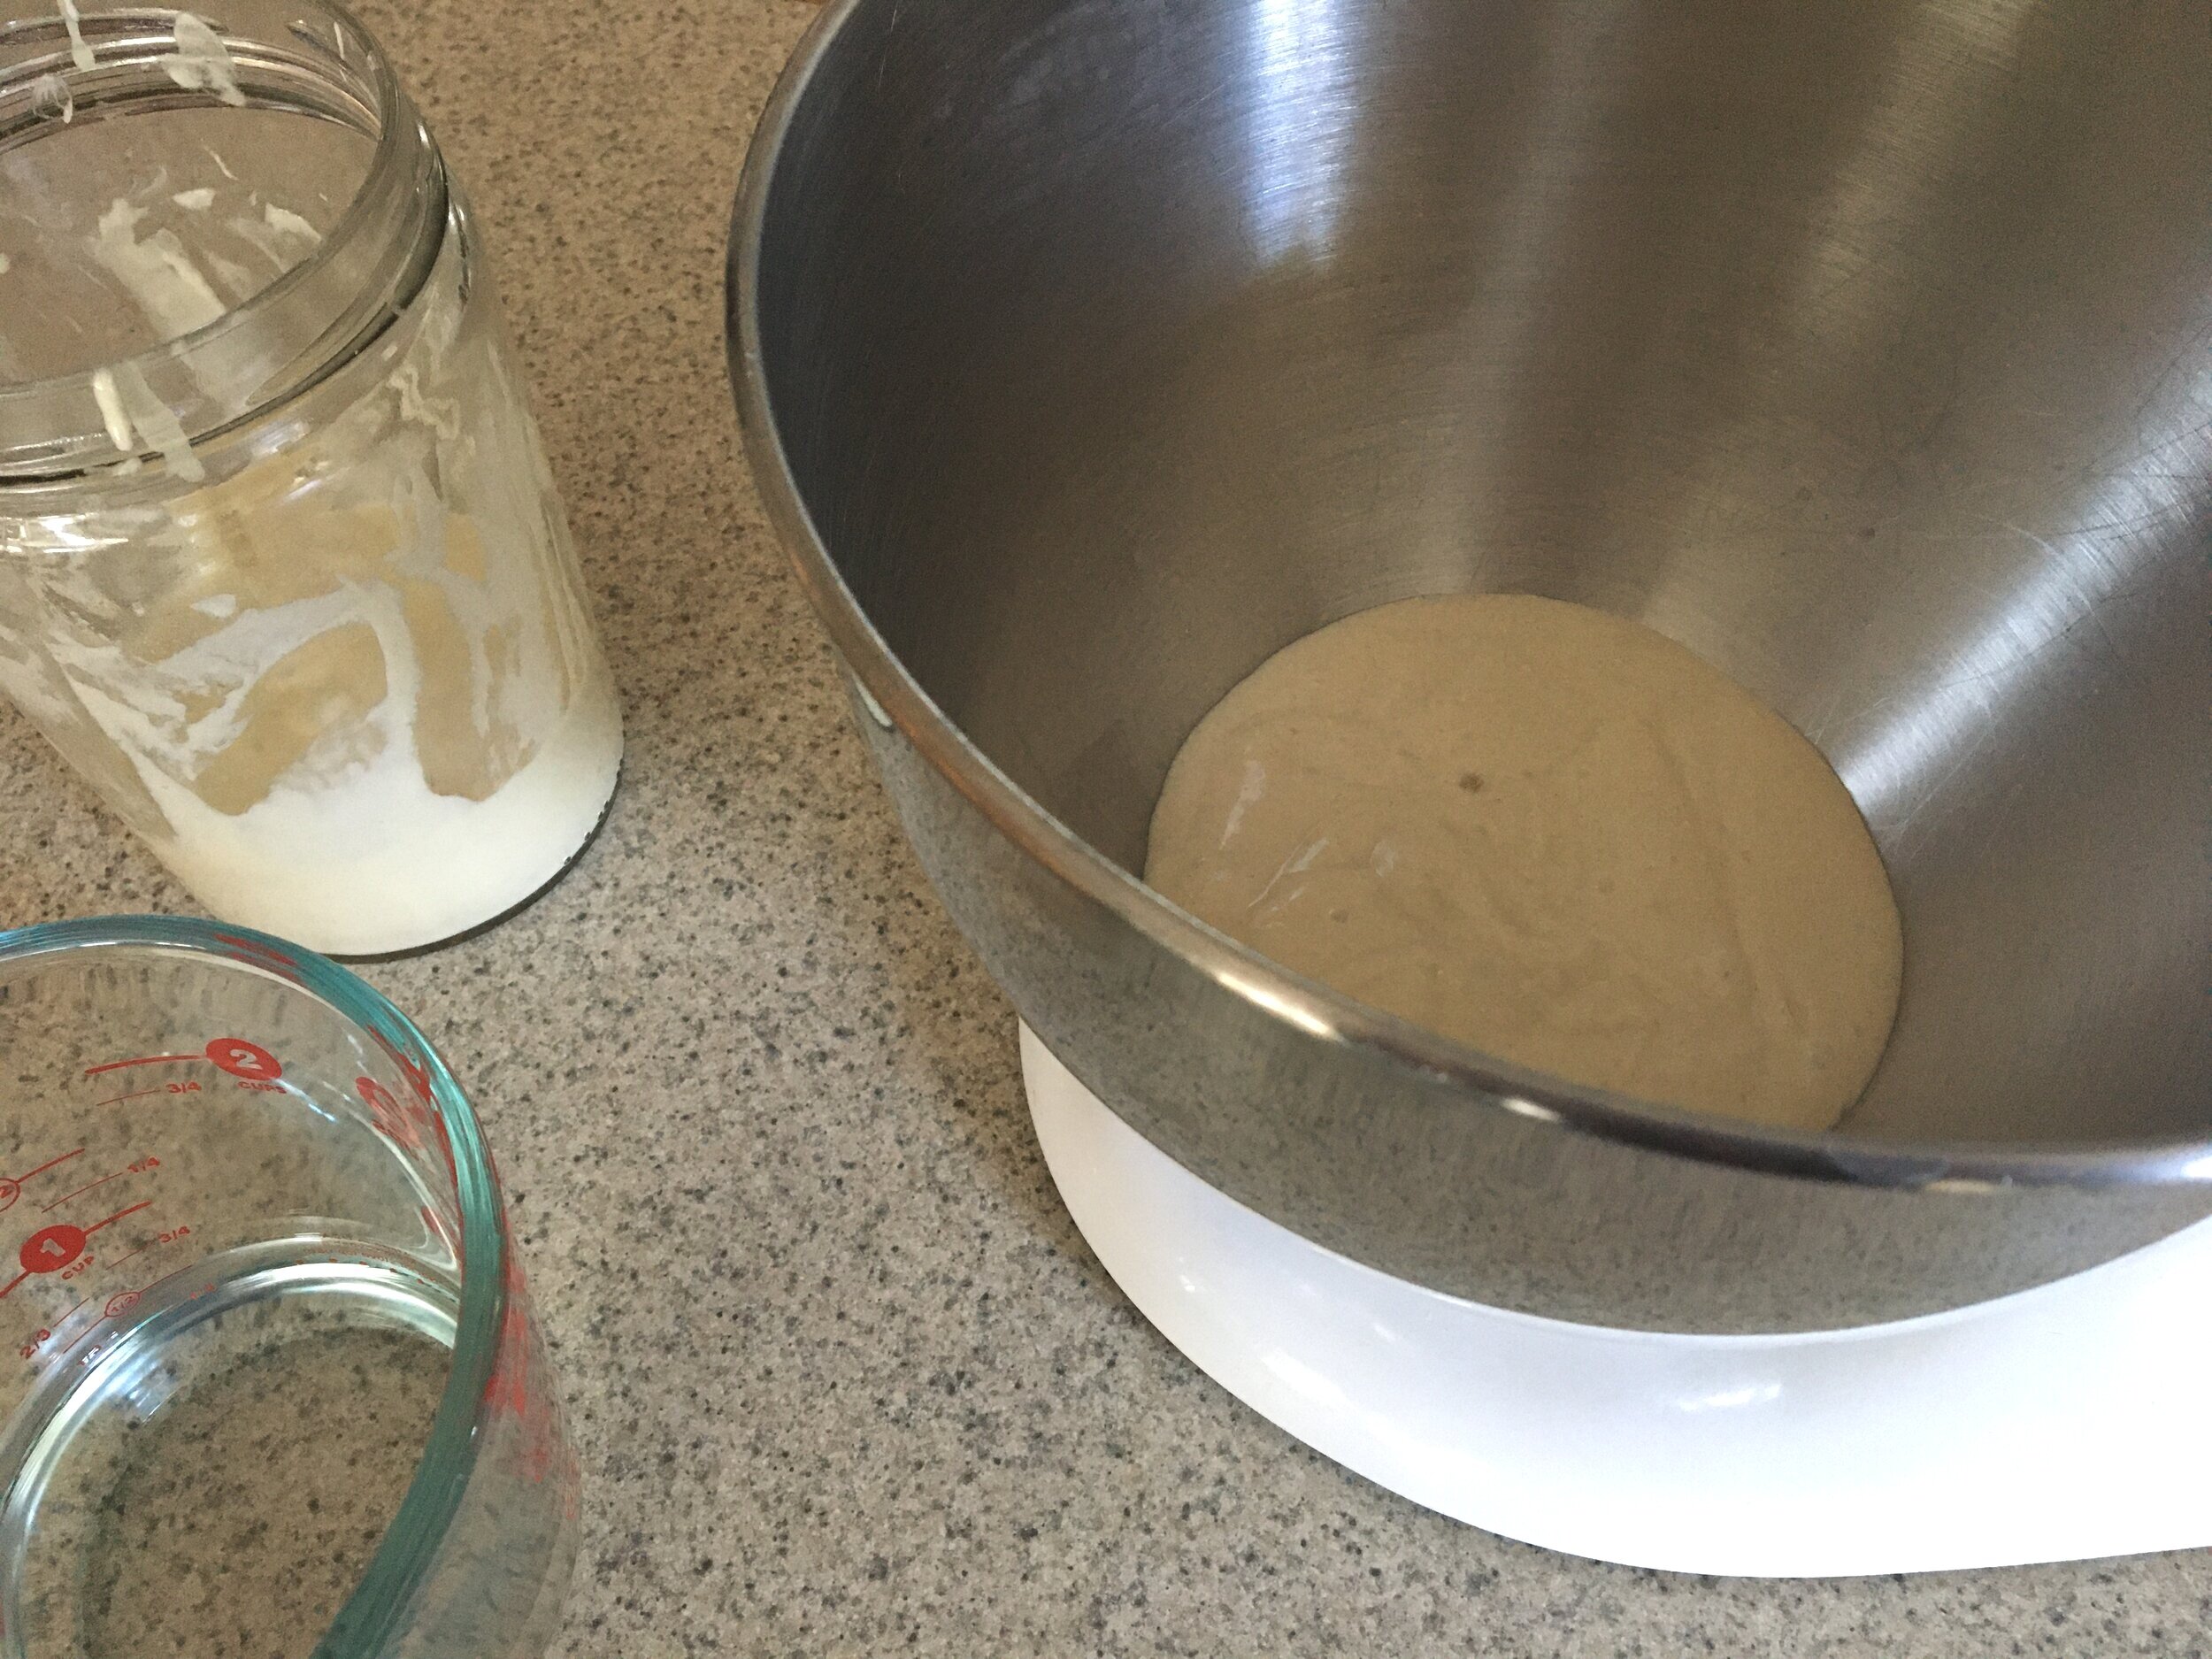
In the bowl of a stand mixer with a dough hook attachment, combine the warm milk with the softened butter, sugar, and sourdough starter (pictured on the left- full of bubbles).
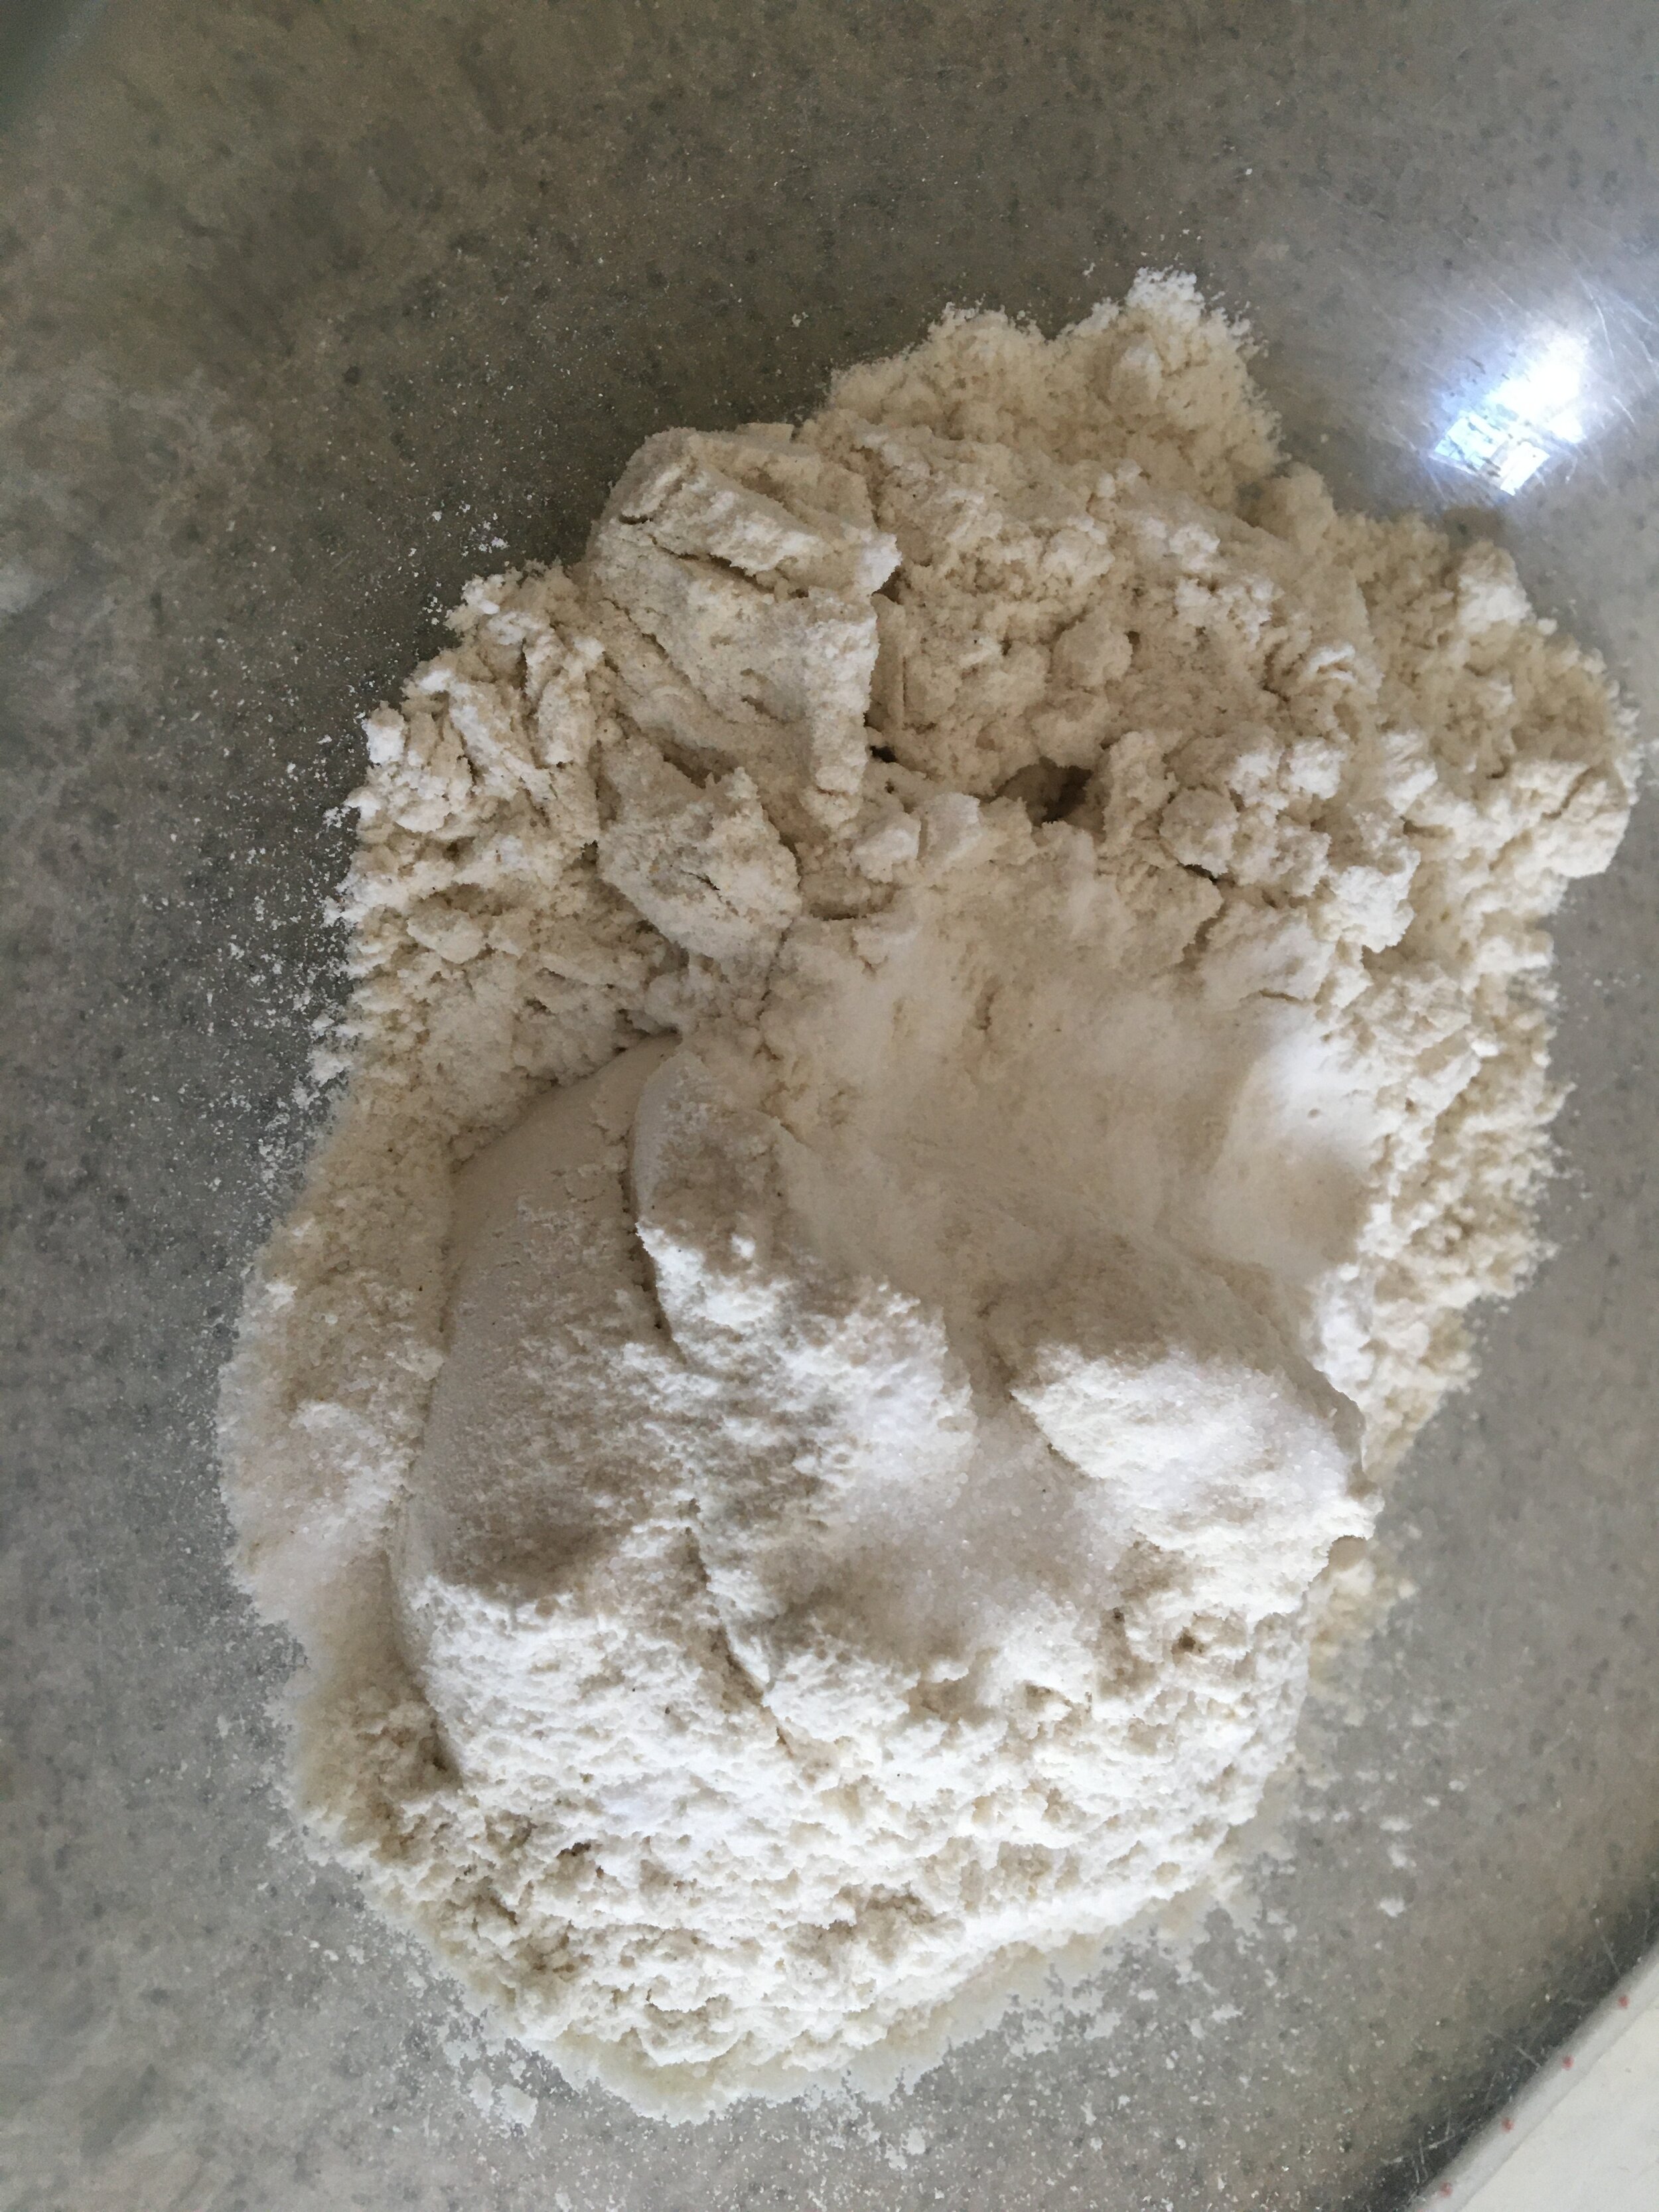
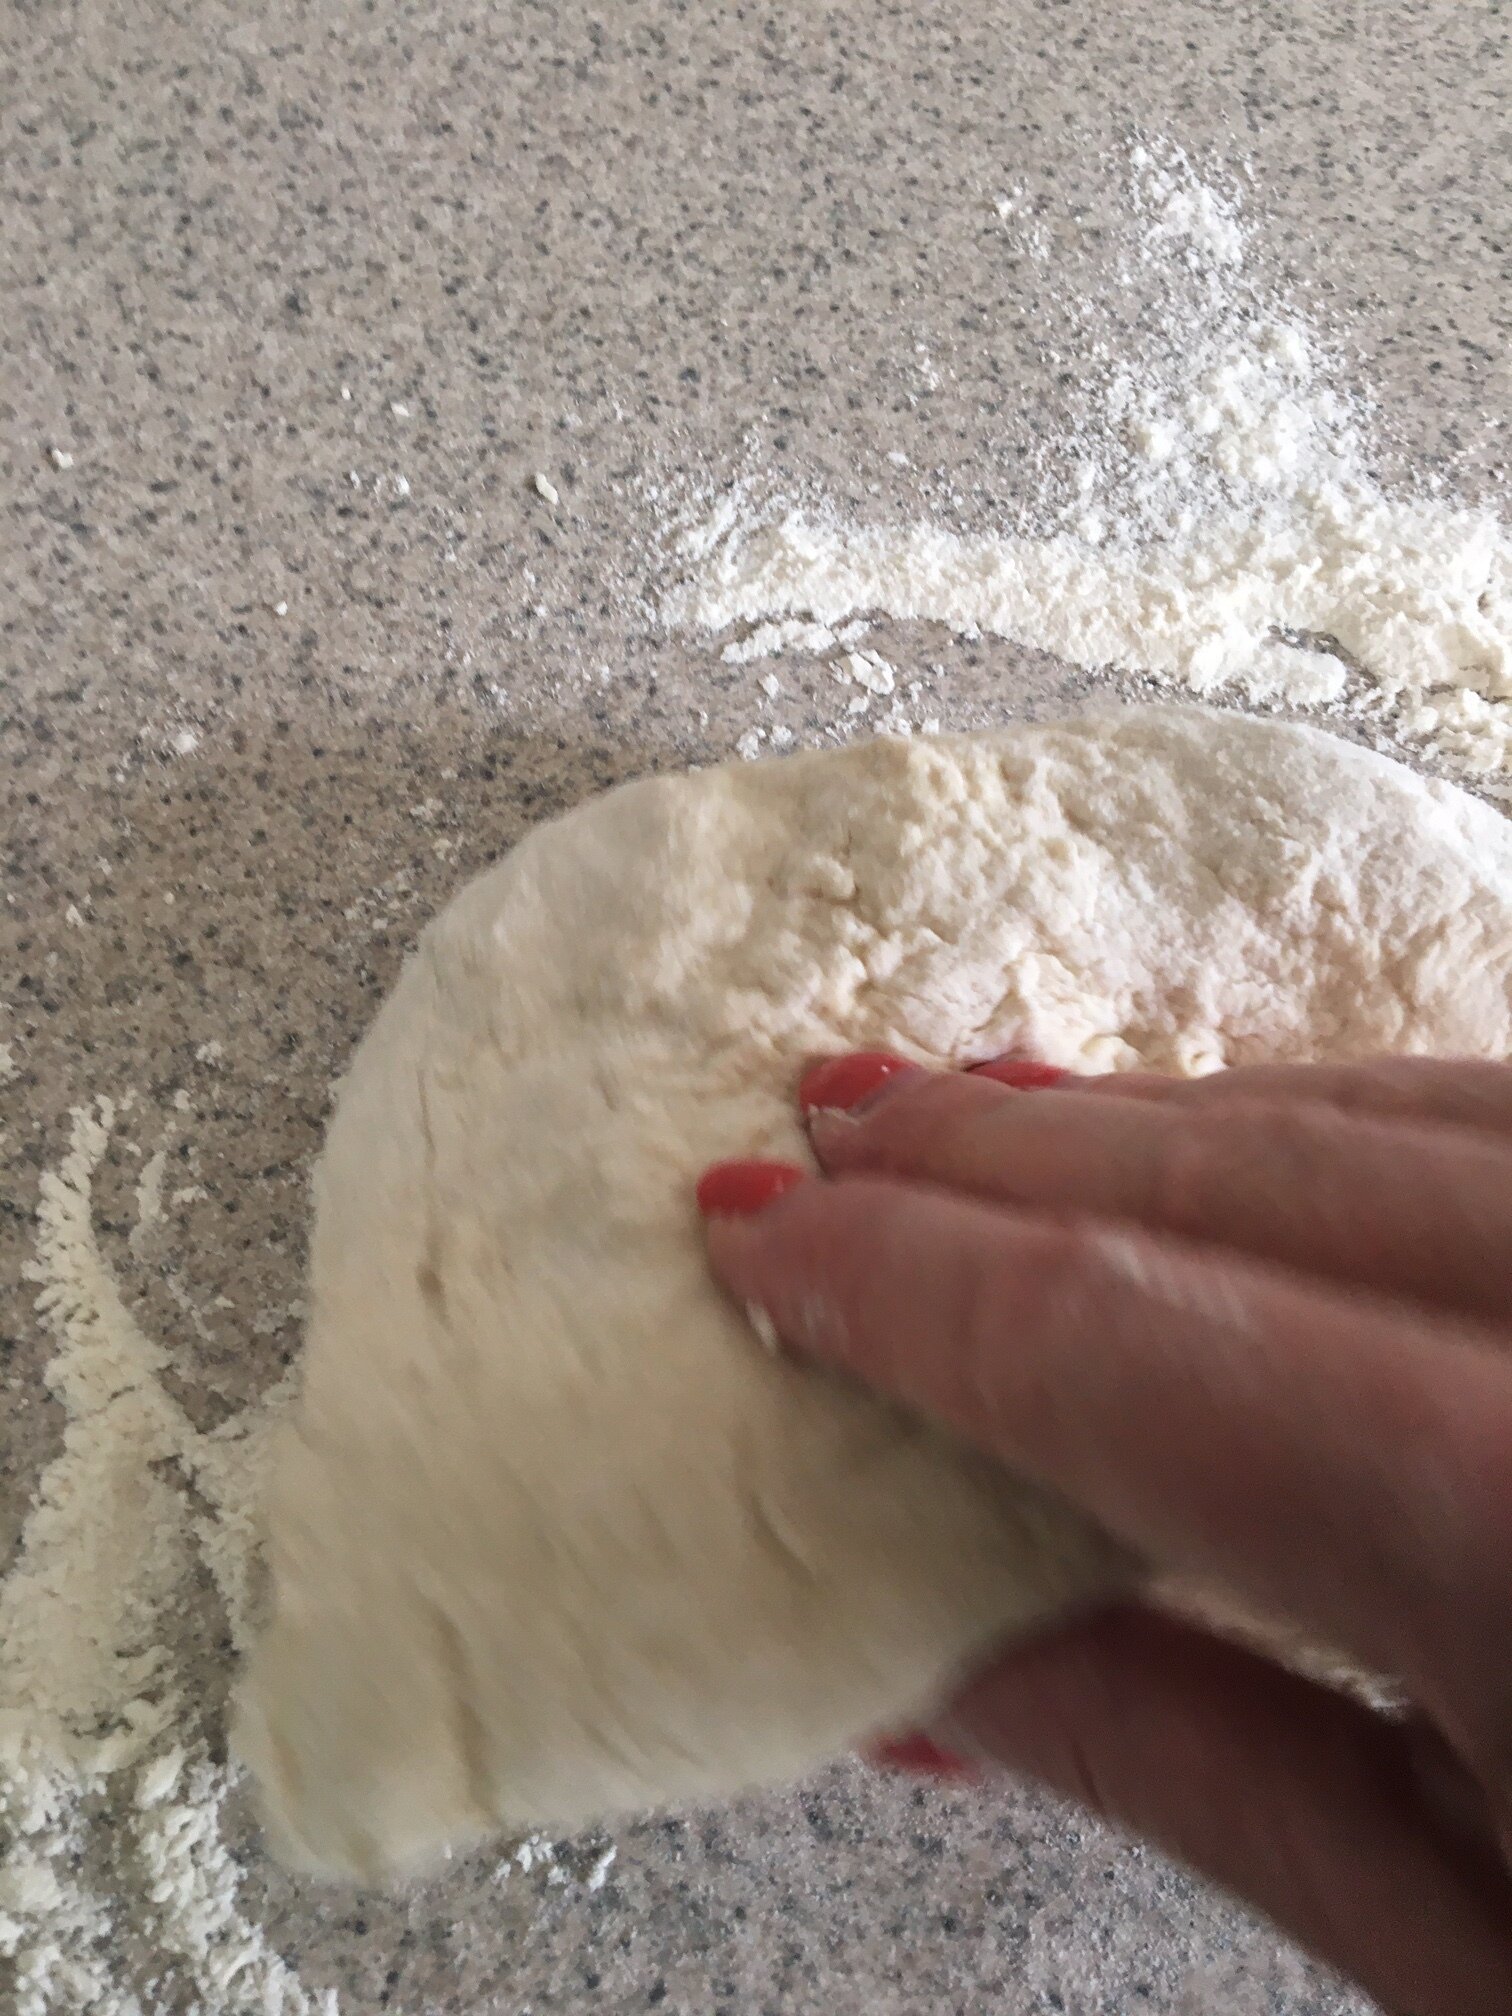
Add the flour and turn the mixer on 1-2 (never higher than 2 or medium-low) and let the mixer knead the dough for about 5 minutes.