Cherchies Blog

snacks

Monster Chicken Salad Sandwich Recipe

leftovers, lunch, salads, snacks, entreesSheri SpalloneComment
Monster Chicken Salad Sandwich Recipe

Monster Chicken Salad Sandwich Recipe

Cook Time: 15 minutes

Print Recipe

Difficulty: Easy

Originally posted October 2018.

Halloween this year looks different than in years past, but if your goblins are venturing out to carve through the neighborhood on Halloween night, treat them to these irresistibly easy Monster Chicken Salad Sandwiches featuring Cherchies® Champagne Mustard.

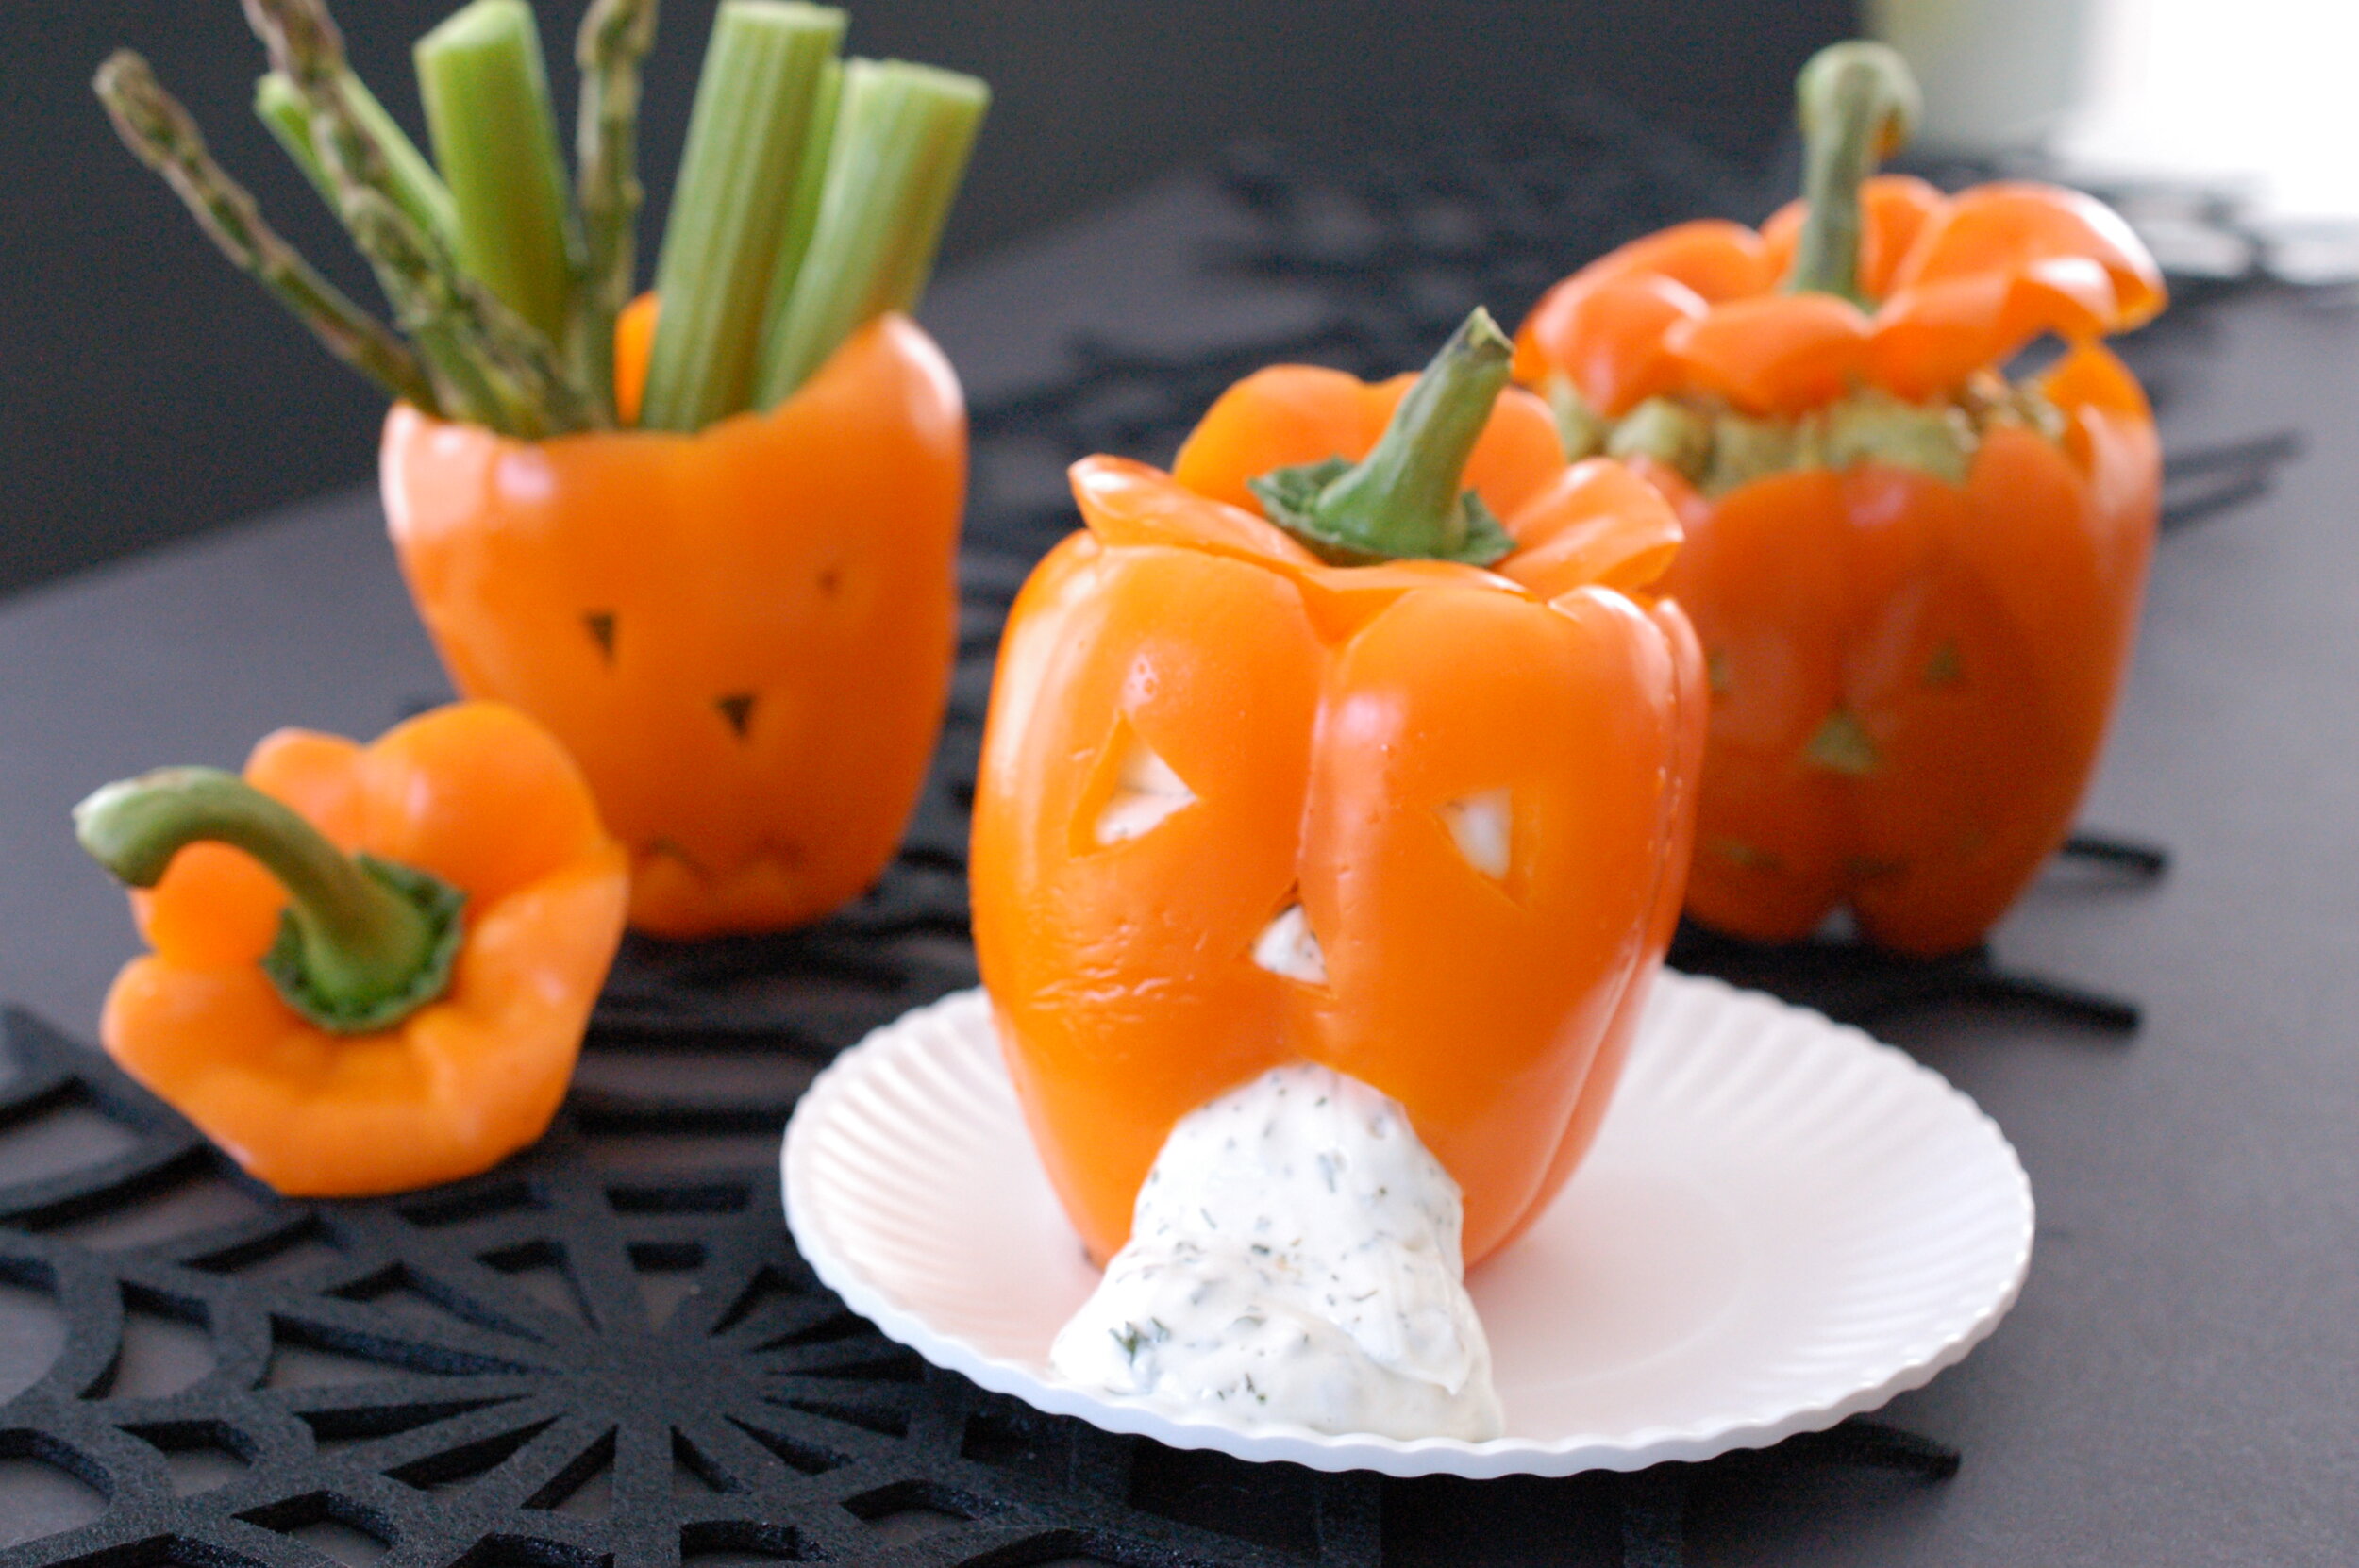
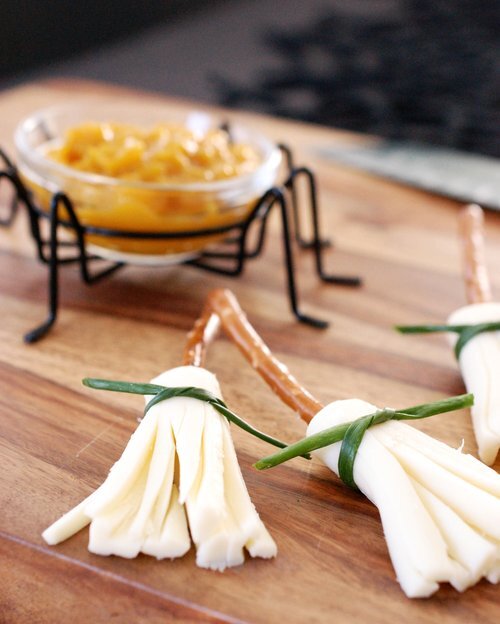
I have always been a sucker for themed events, and Halloween, in particular, is one of those holidays that brings out the kid in me. It is purely fun and stress-free, from the decorations, the creative costumes, to the creepy food. When our kiddos were younger, they loved having their friends over hours before the big event for a Halloween potluck with all kinds of themed ghoulish treats, such as Jack-o-Lantern Dipsdeviled eyeballsWitches Cheese Brooms, and so much more! (See below for some of our favorite eerie concoctions).

Now that our children are older, it warms my heart that they still request spooky treats for Halloween; however, I prefer to extend the season and prepare ghoulish dishes weeks before Halloween. I whipped up a batch of our children’s favorite chicken salad recipe (featuring Cherchies® Champagne Mustard) the other day and had these Monster Chicken Salad Sandwiches waiting for our daughter when she came home from school, and she was terrifyingly thrilled.

Halloween is this Saturday, so if you are on the hunt for a “fang-tastic” recipe this Halloween, consider these deliciously easy Monster Chicken Salad Sandwiches, because they are “to die for”!

Ingredients

  • 2 cups Chicken breasts, cooked (store-bought rotisserie chicken would work well too.)

  • 1/3 cup Celery, finely chopped

  • 1 hard boiled egg, chopped

  • 2/3 cup Mayonnaise

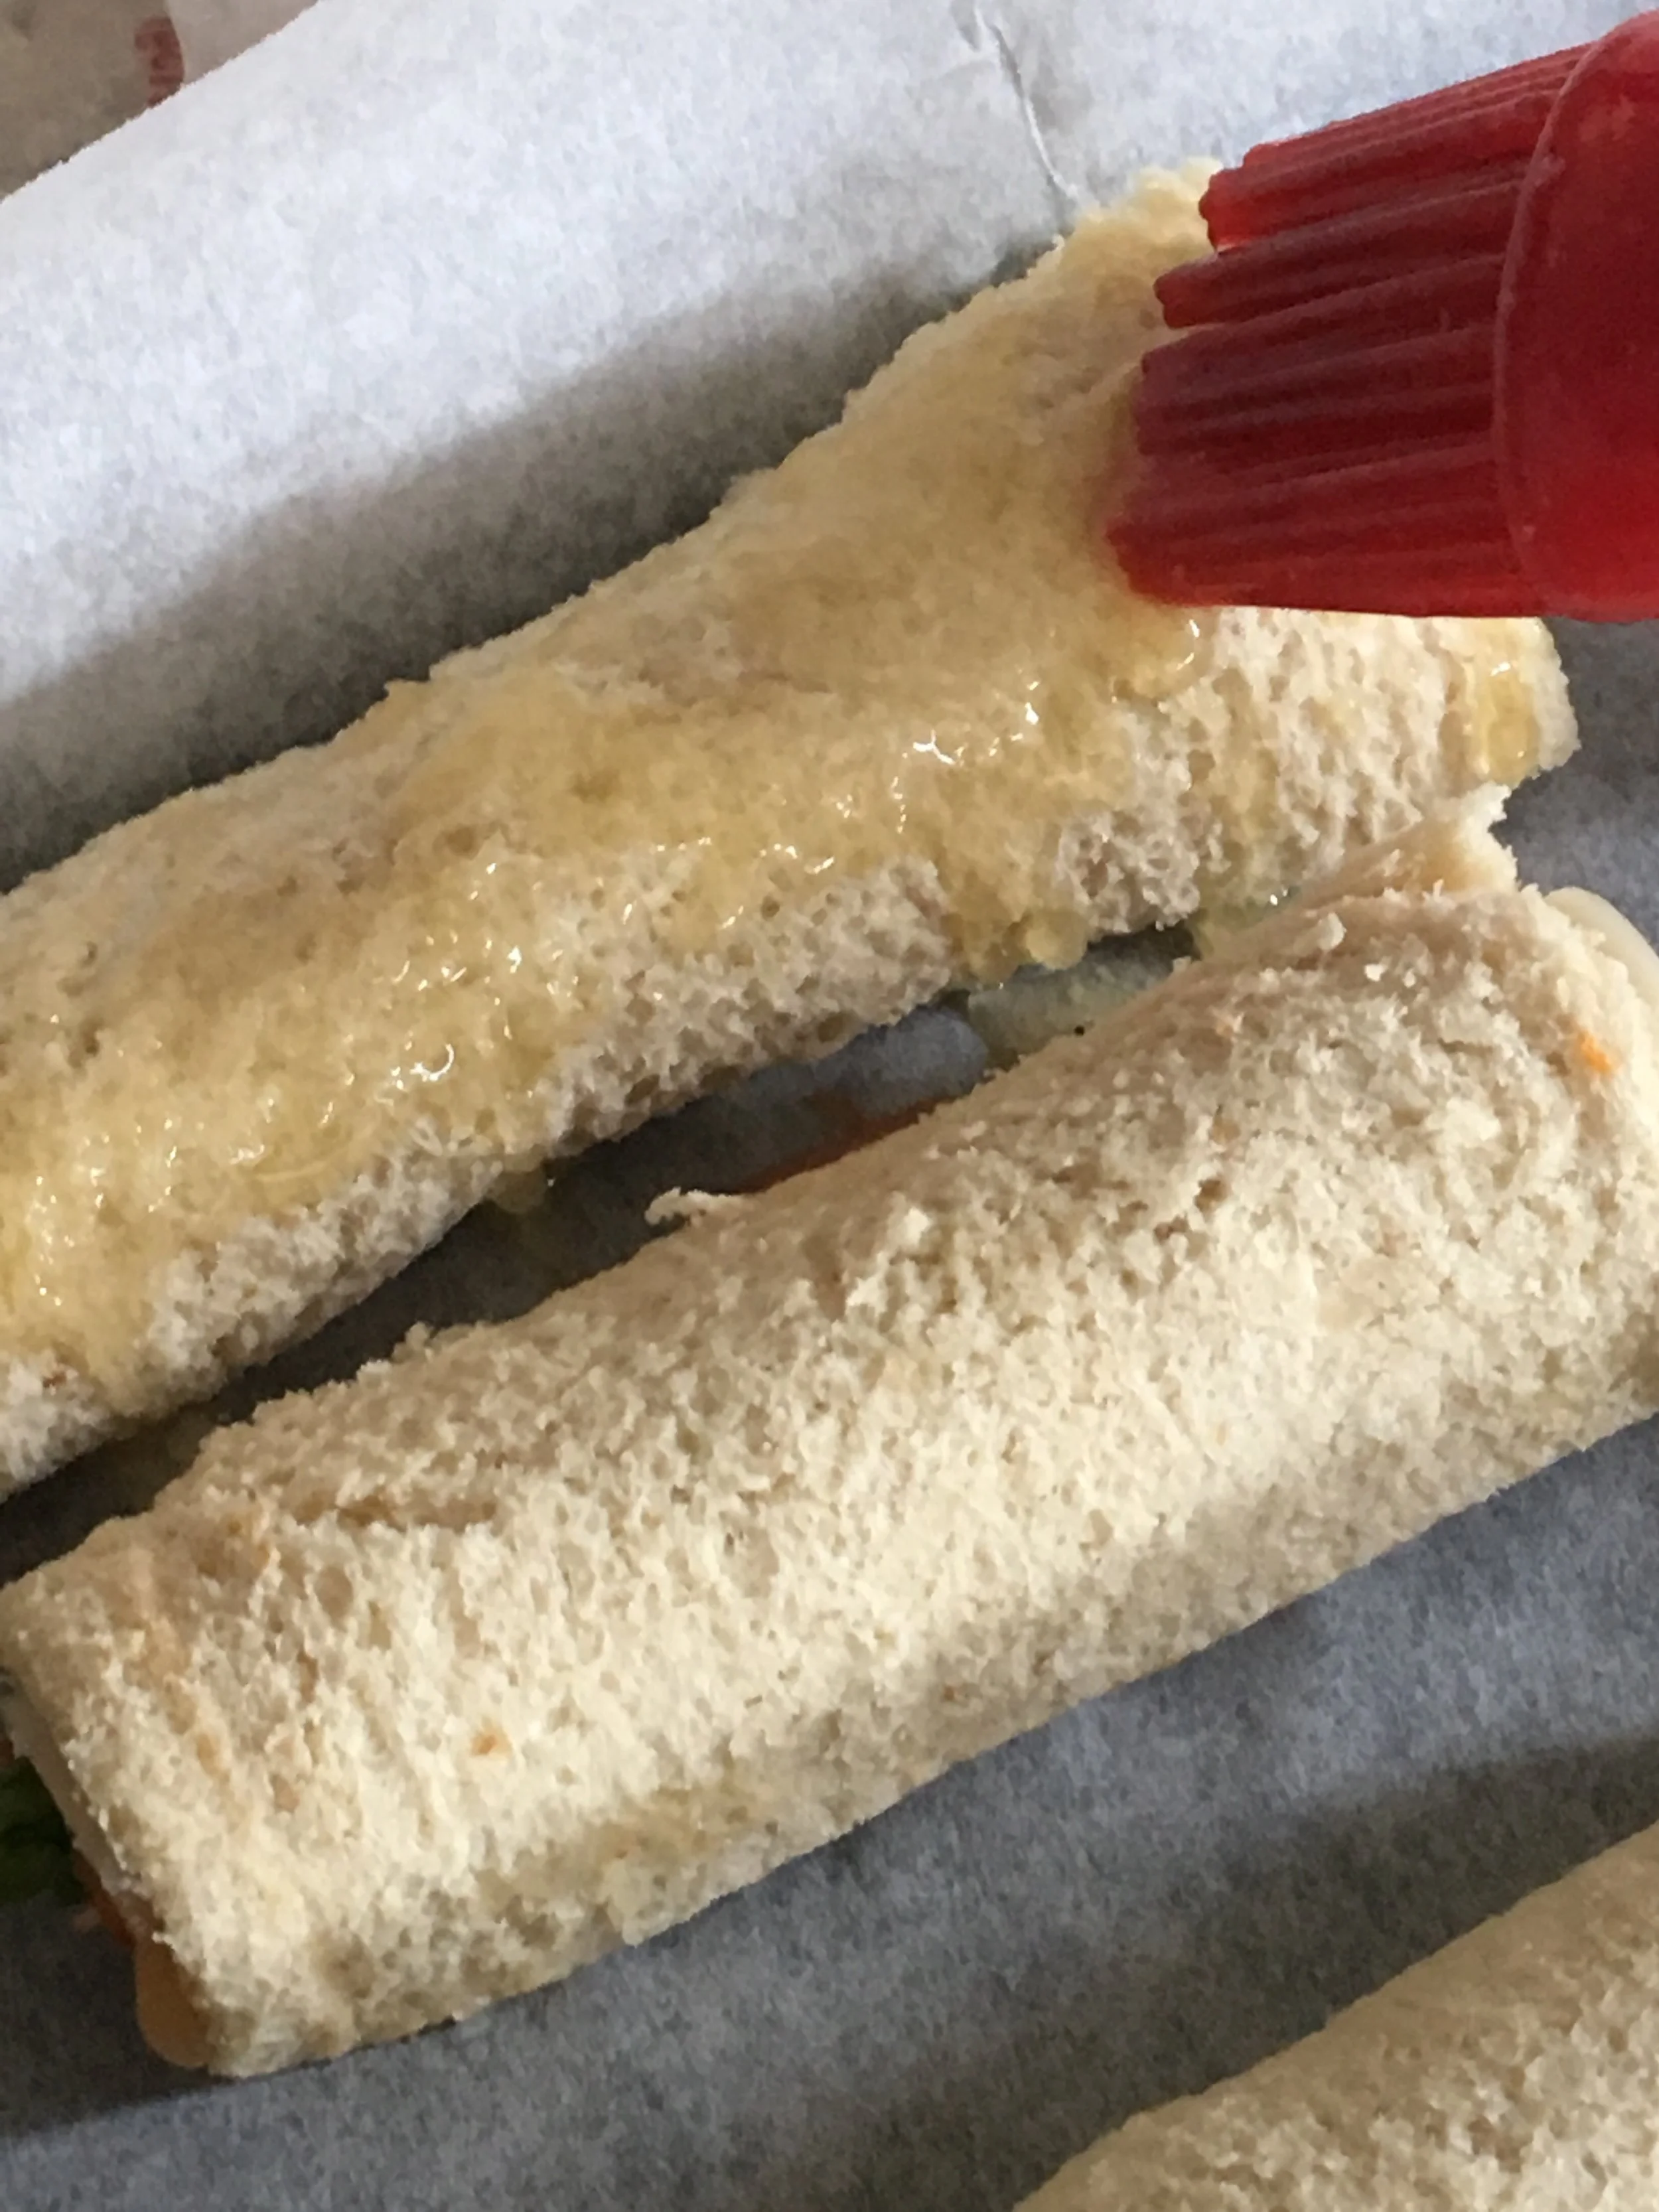
  • 1 Tablespoon Cherchies® Champagne Mustard

  • 1/3 cup sweet pickle relish

  • 1/4 tsp pepper, fresh ground

  • 1/4 tsp salt

  • 1/2 cup chopped grapes (optional)

  • 1/4 cup chopped pecans (optional)

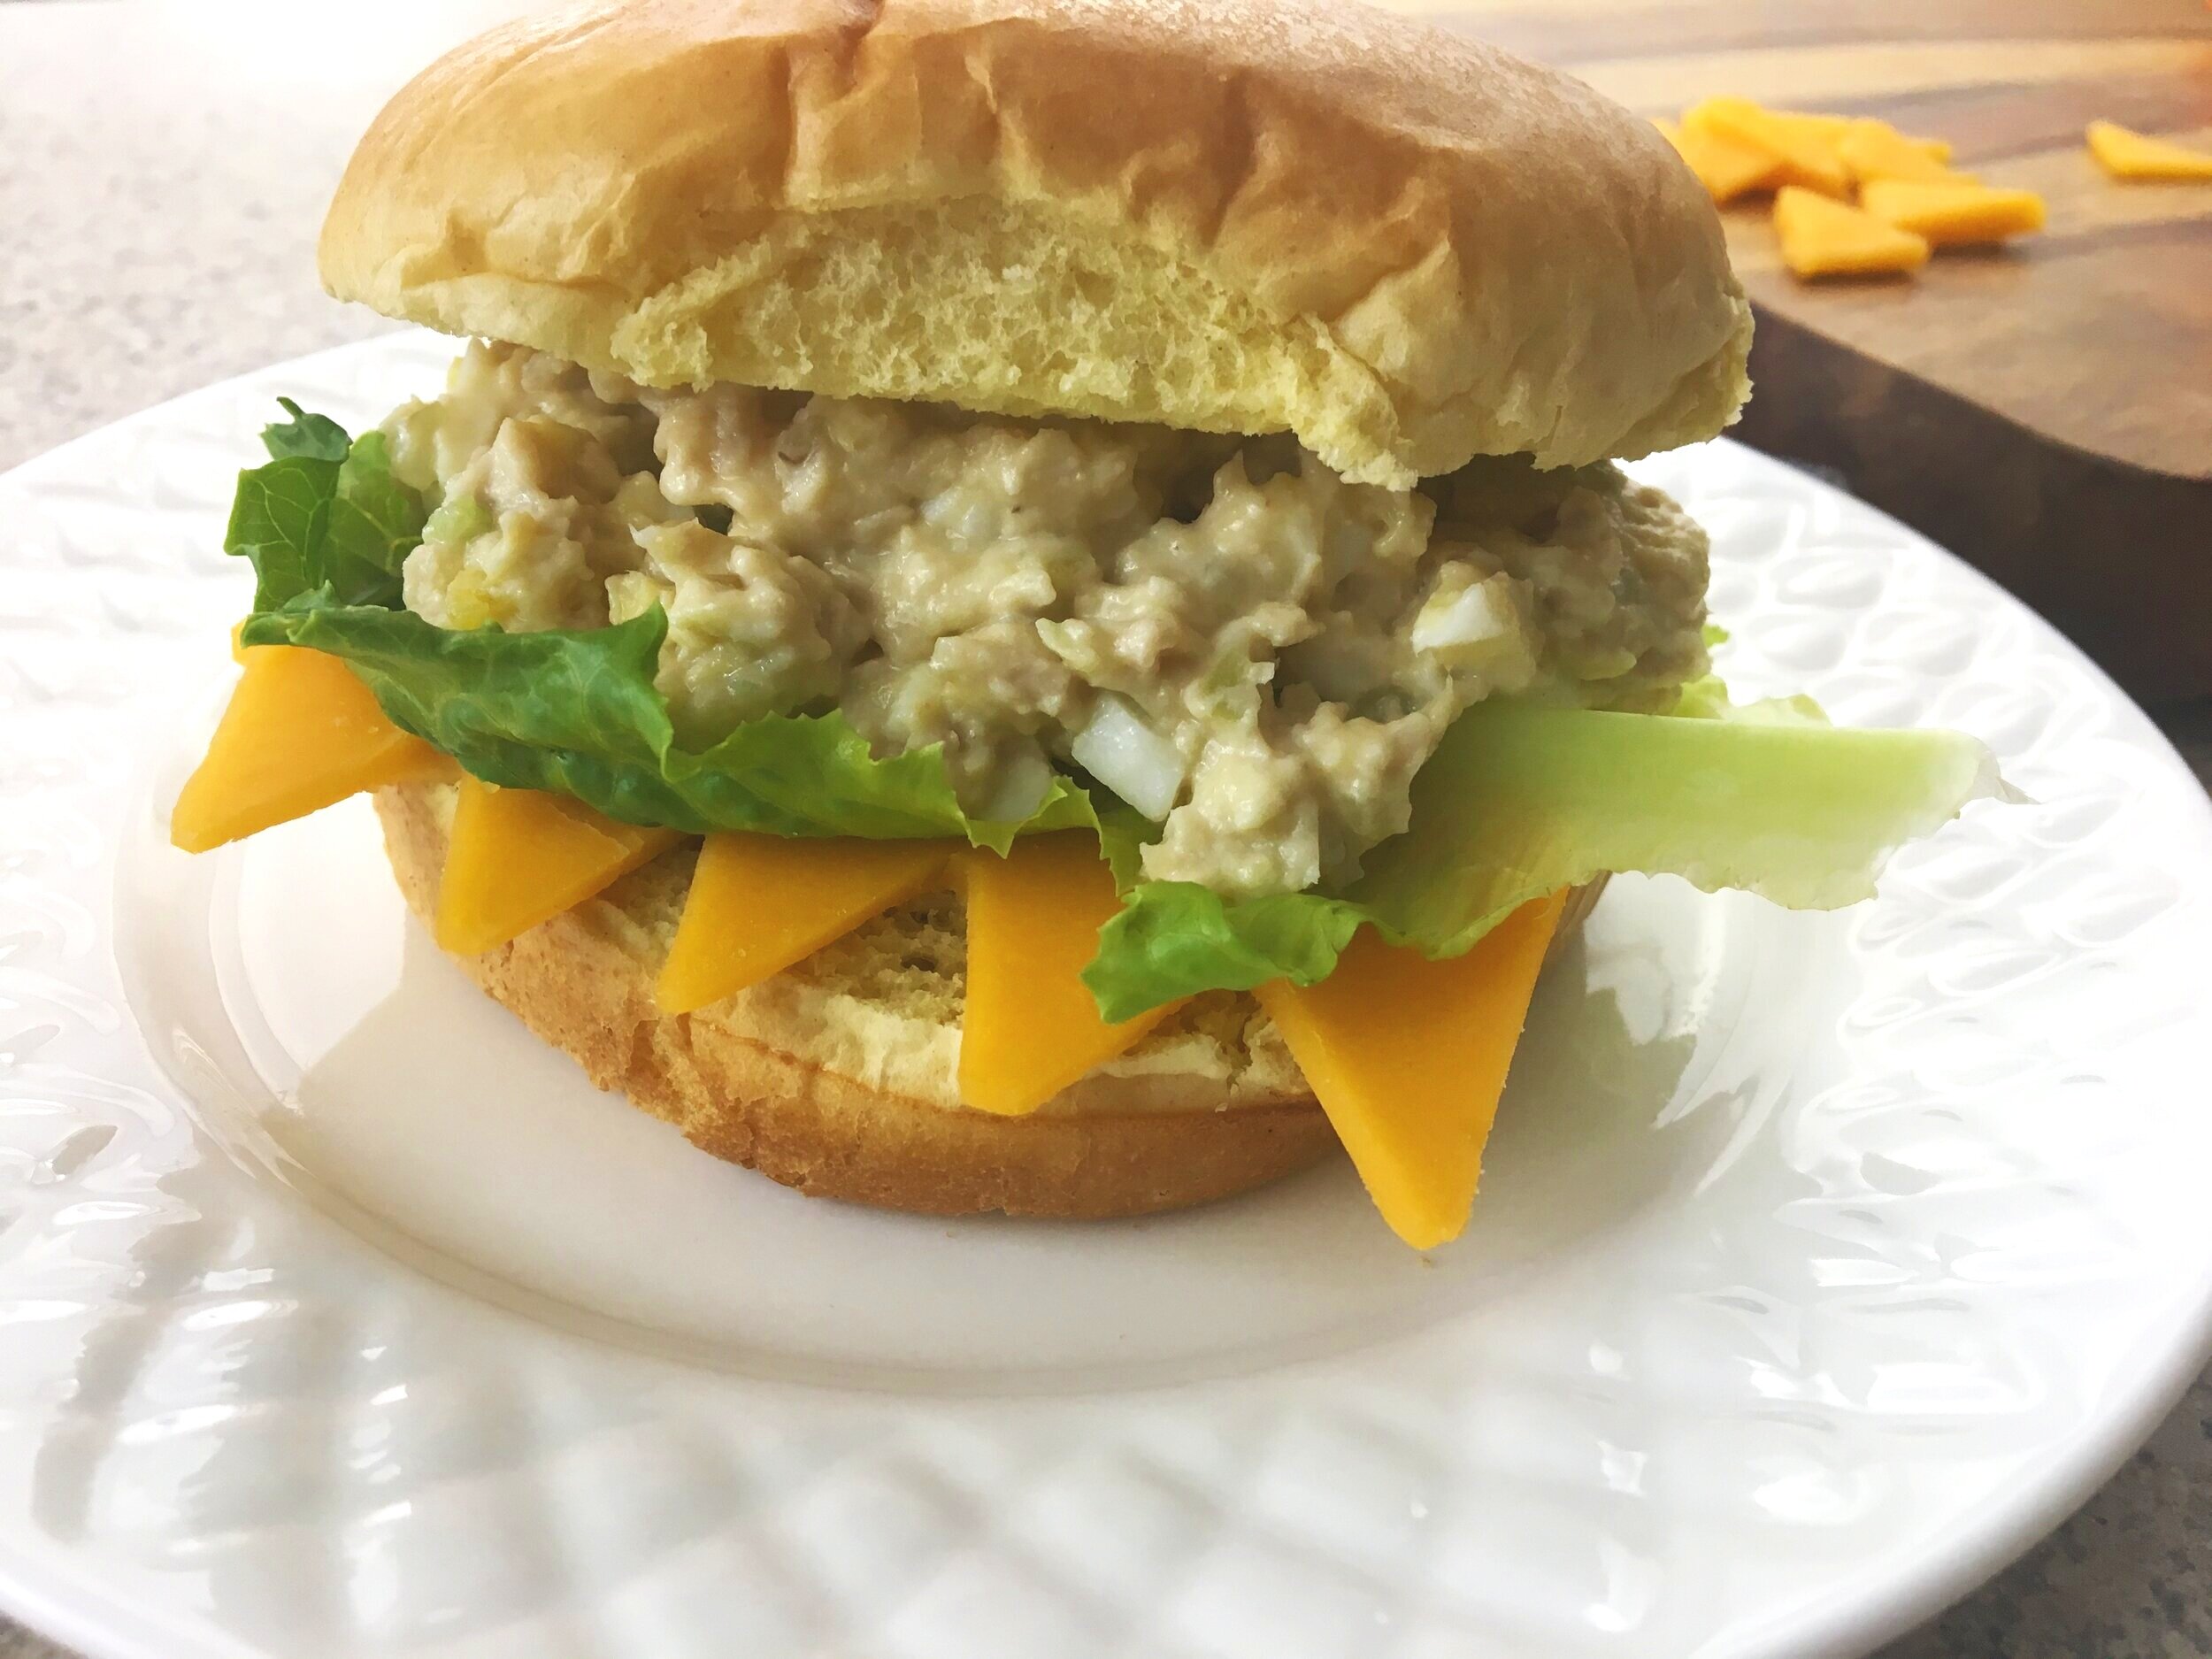
  • Slices of cheddar cheese (you could use American cheese slices)

  • Rolls of your choice

  • Romaine lettuce, washed and separated

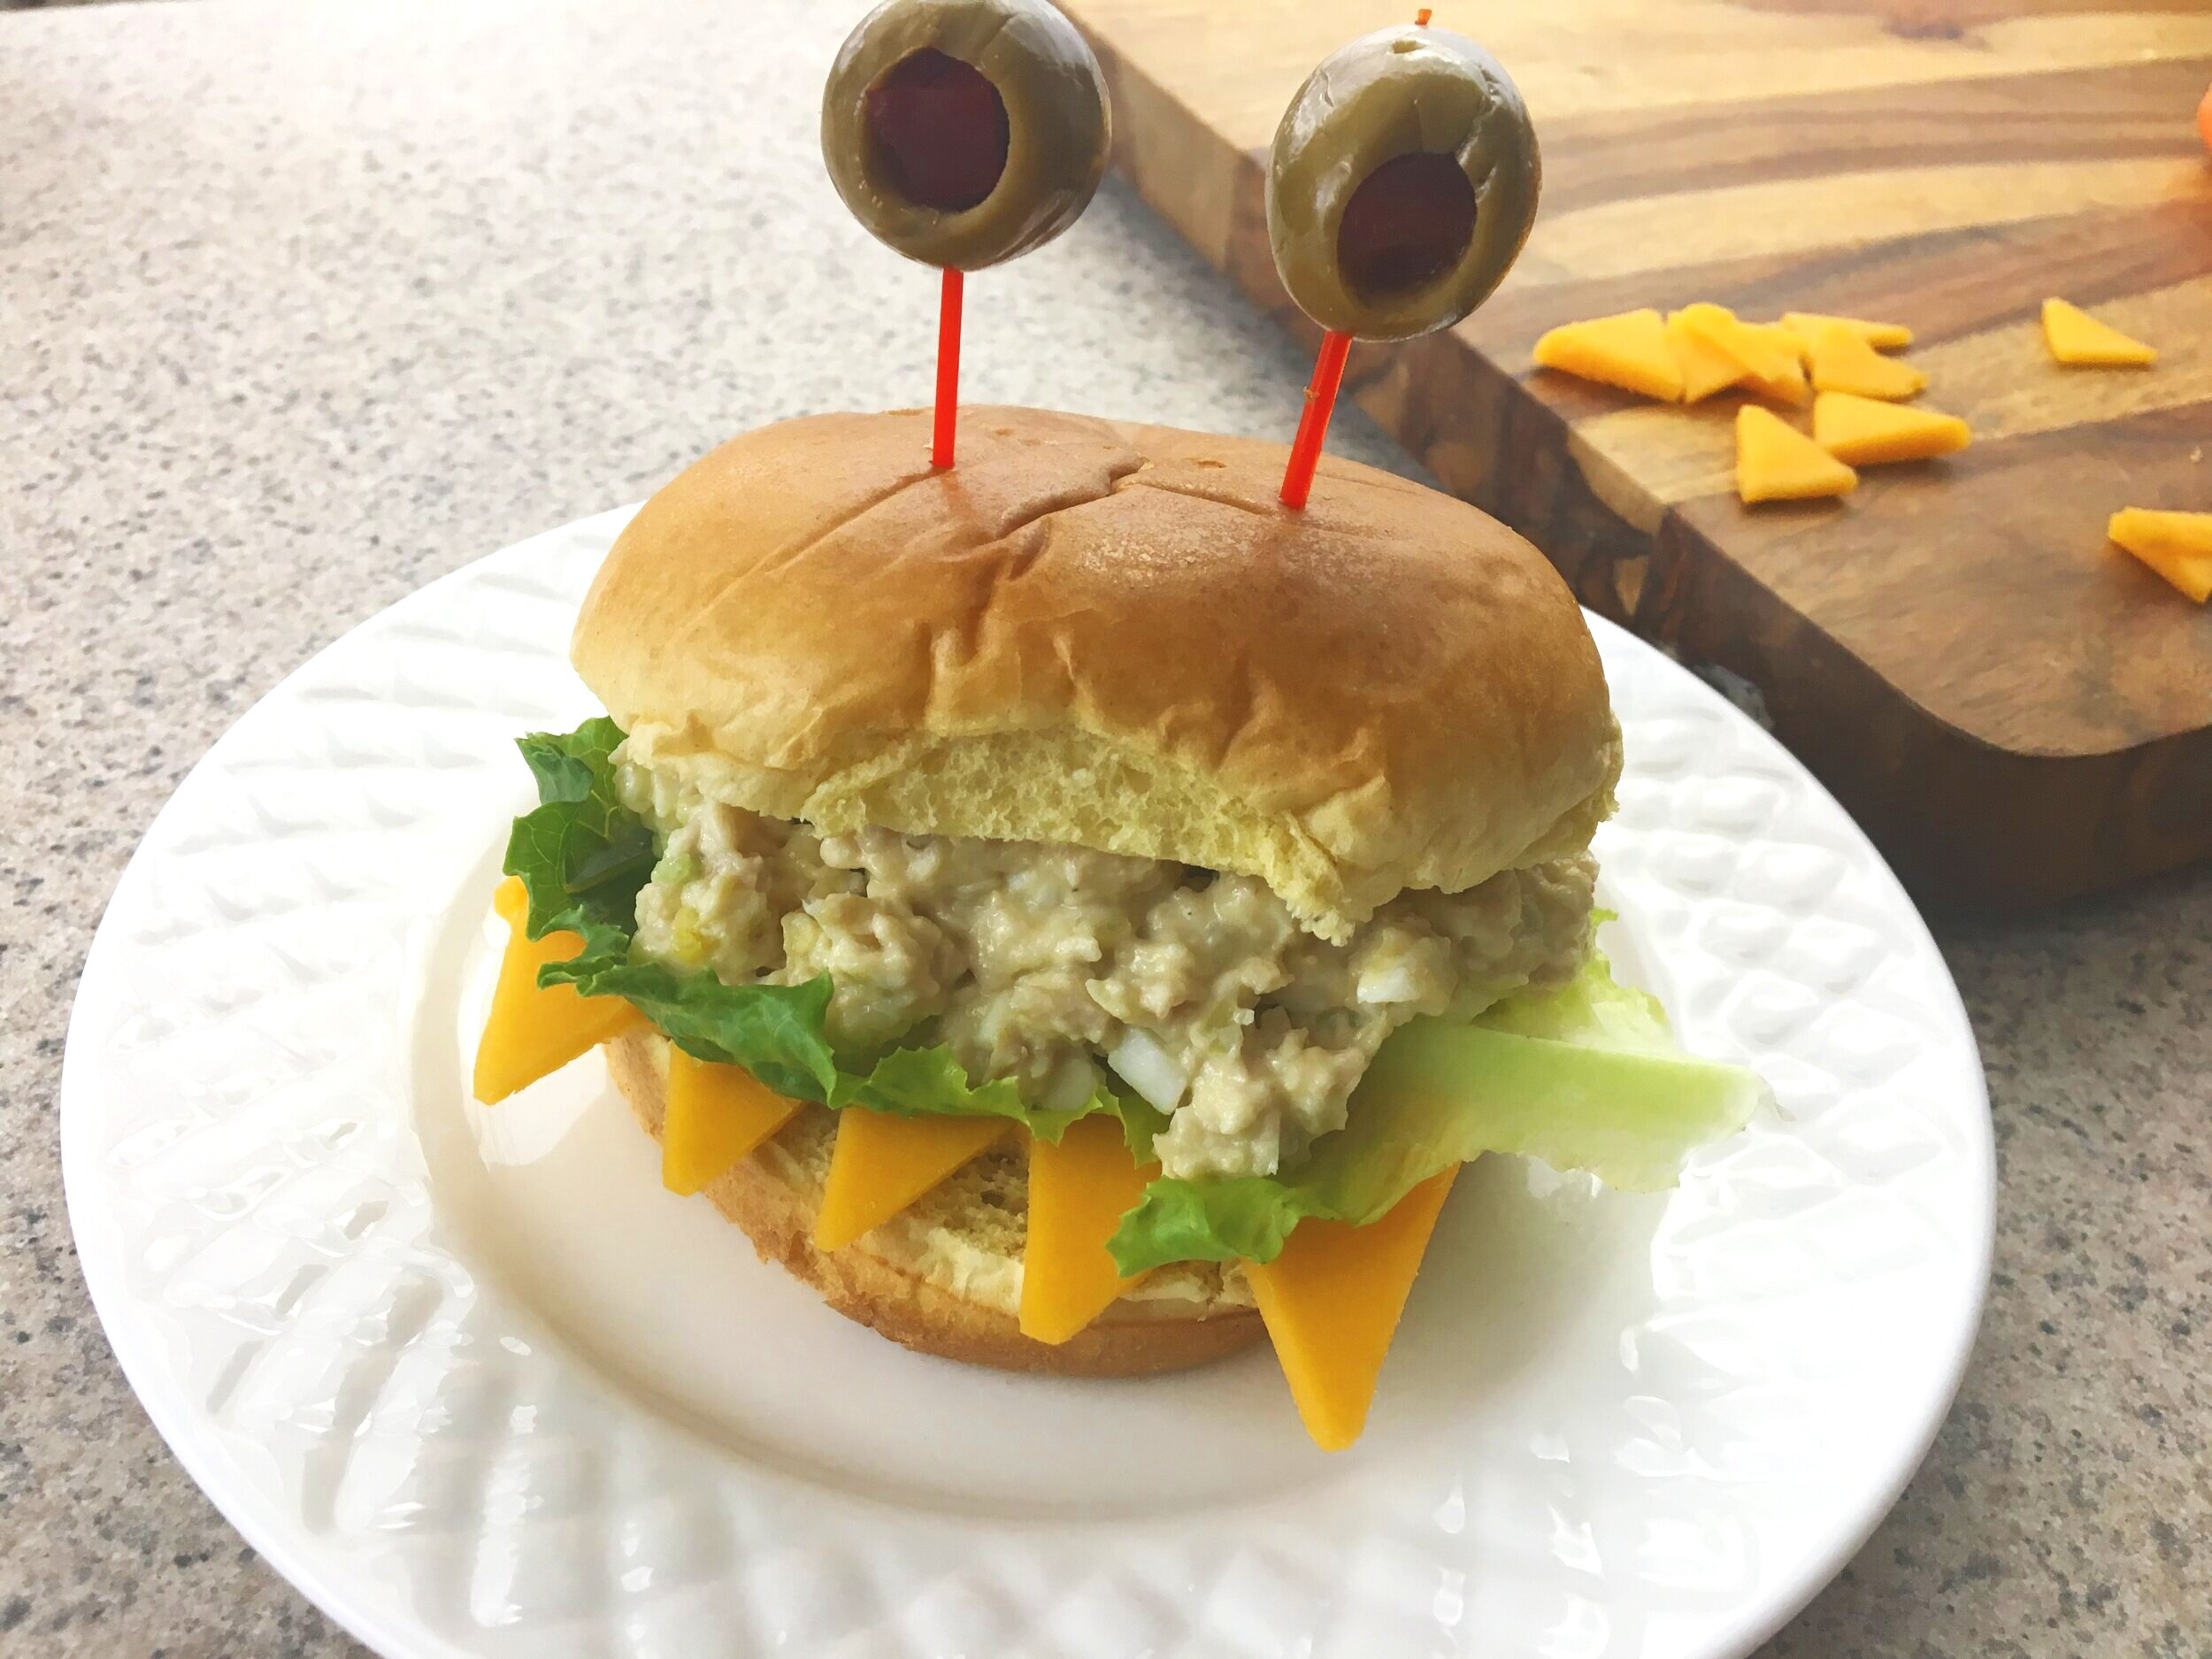
  • Large olives stuffed with pimentos for the eyes

  • colorful toothpicks for the eyes

Preparation

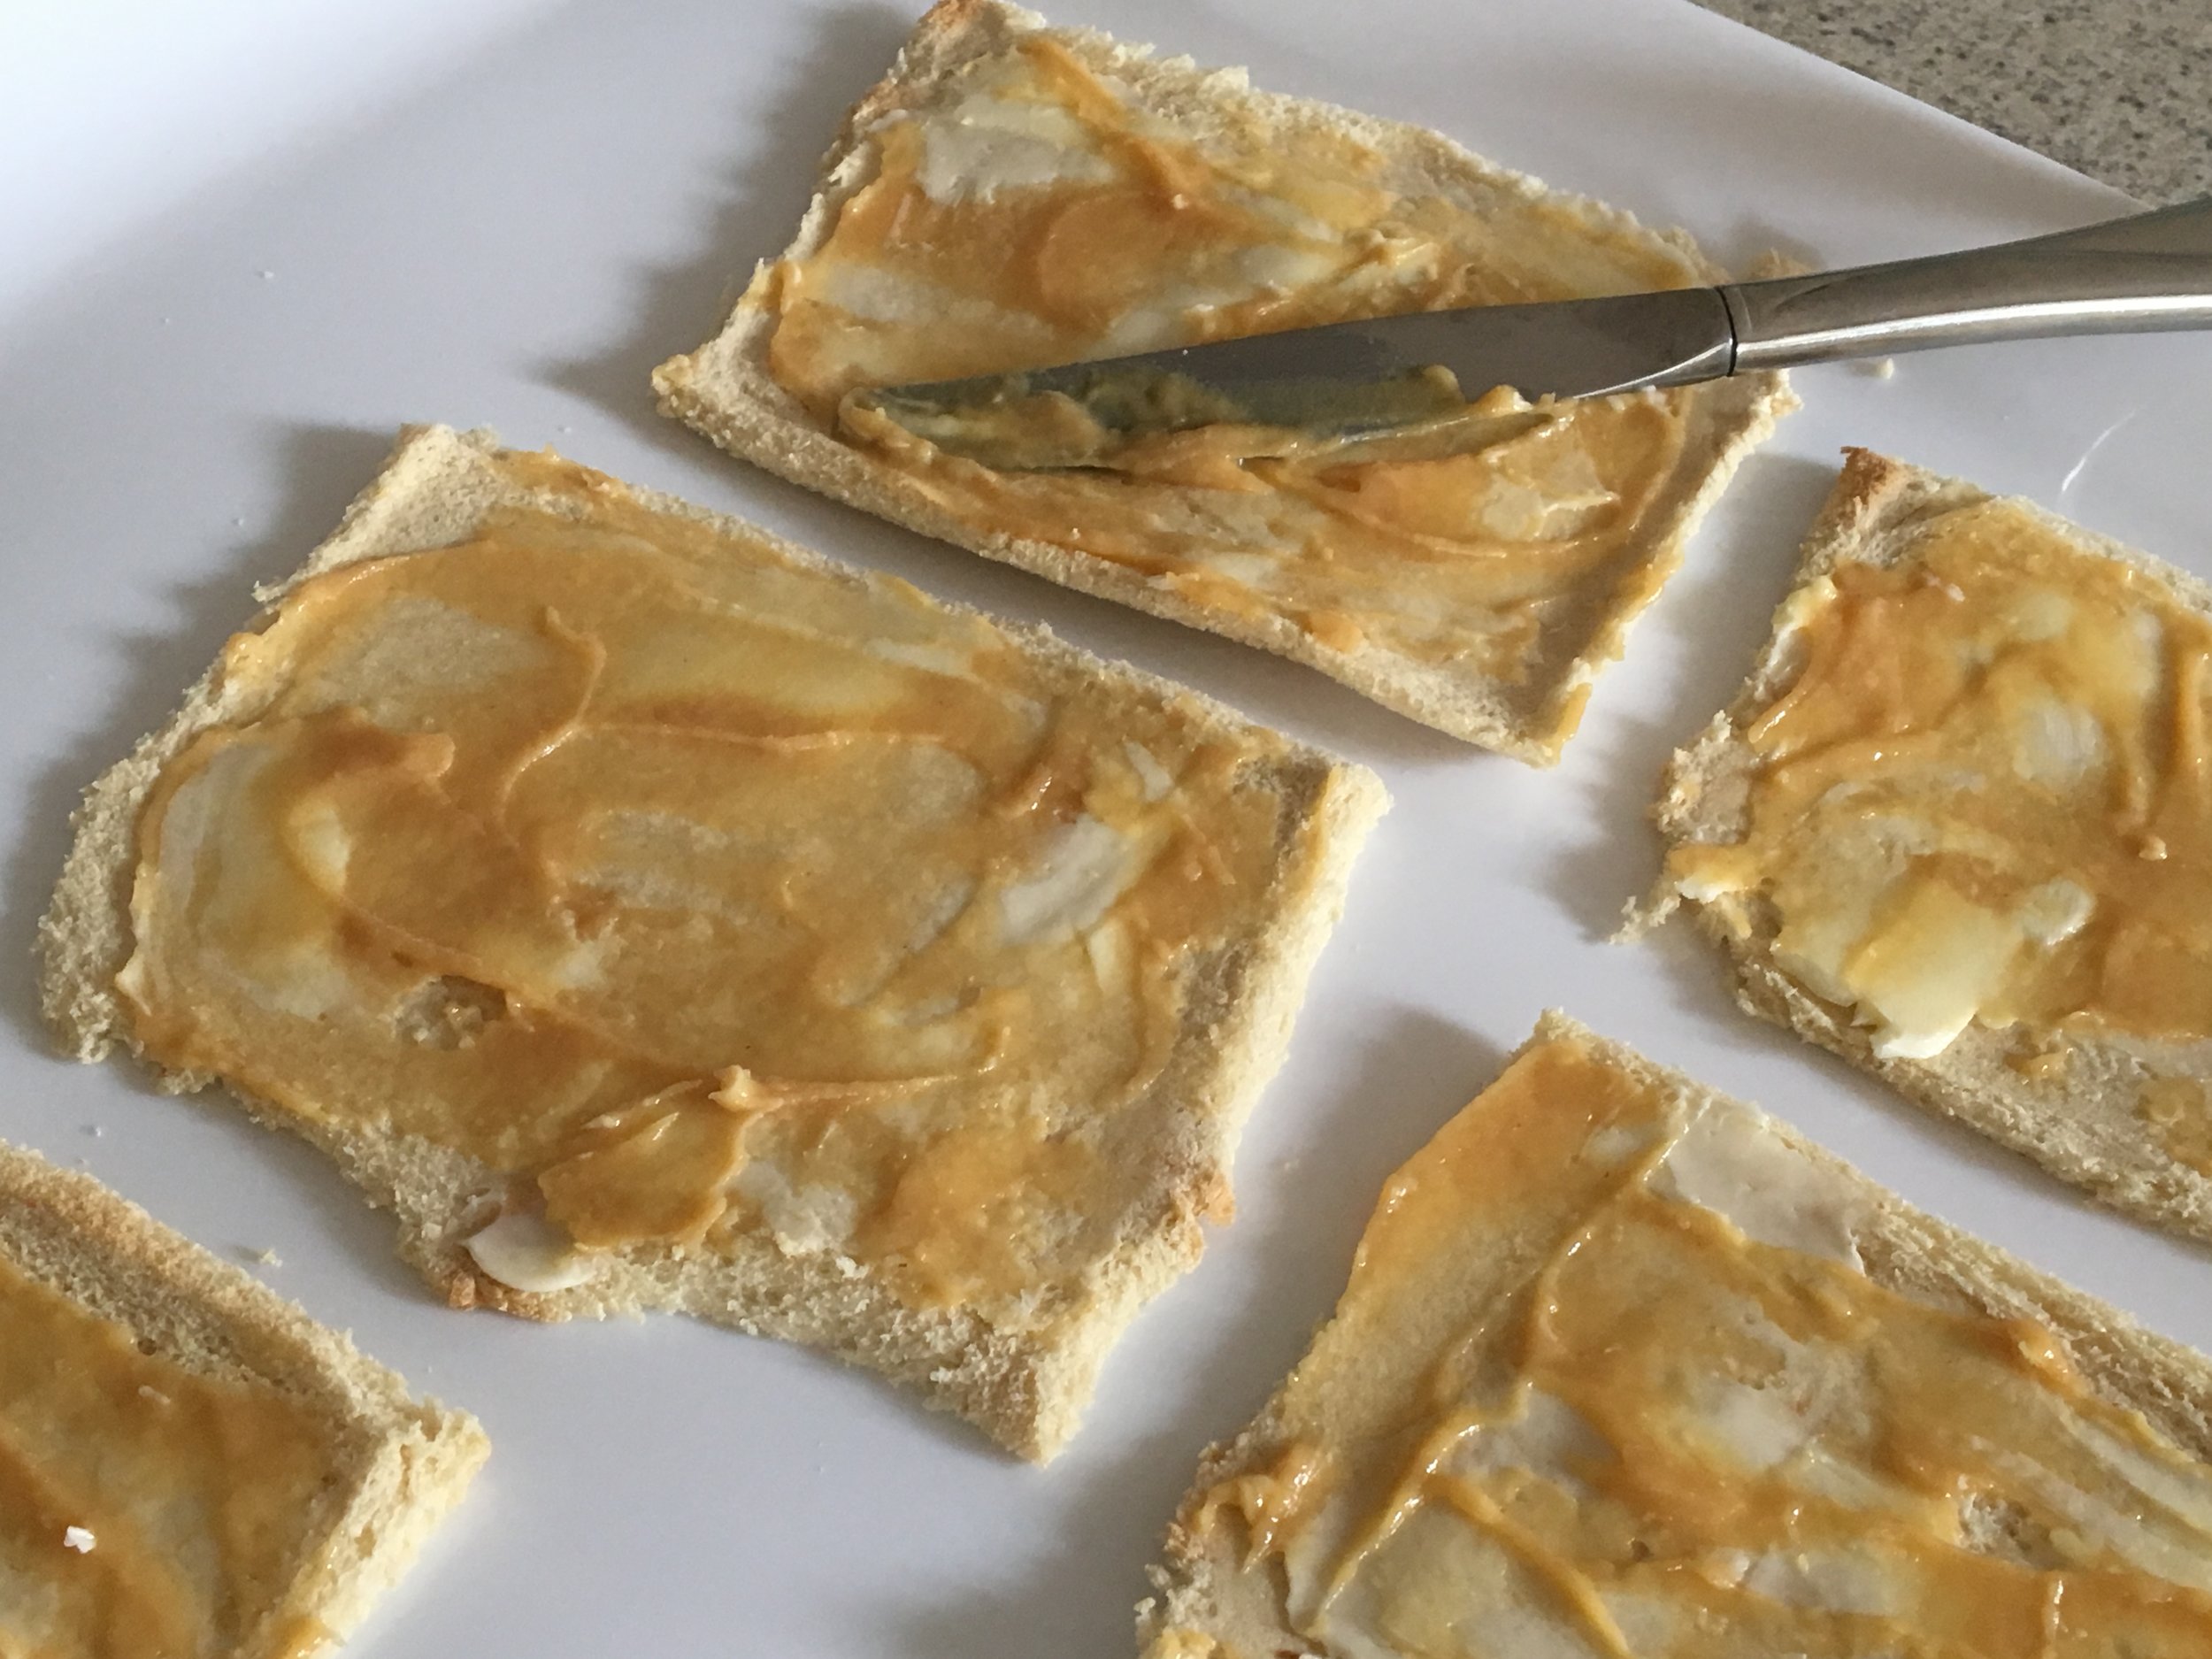
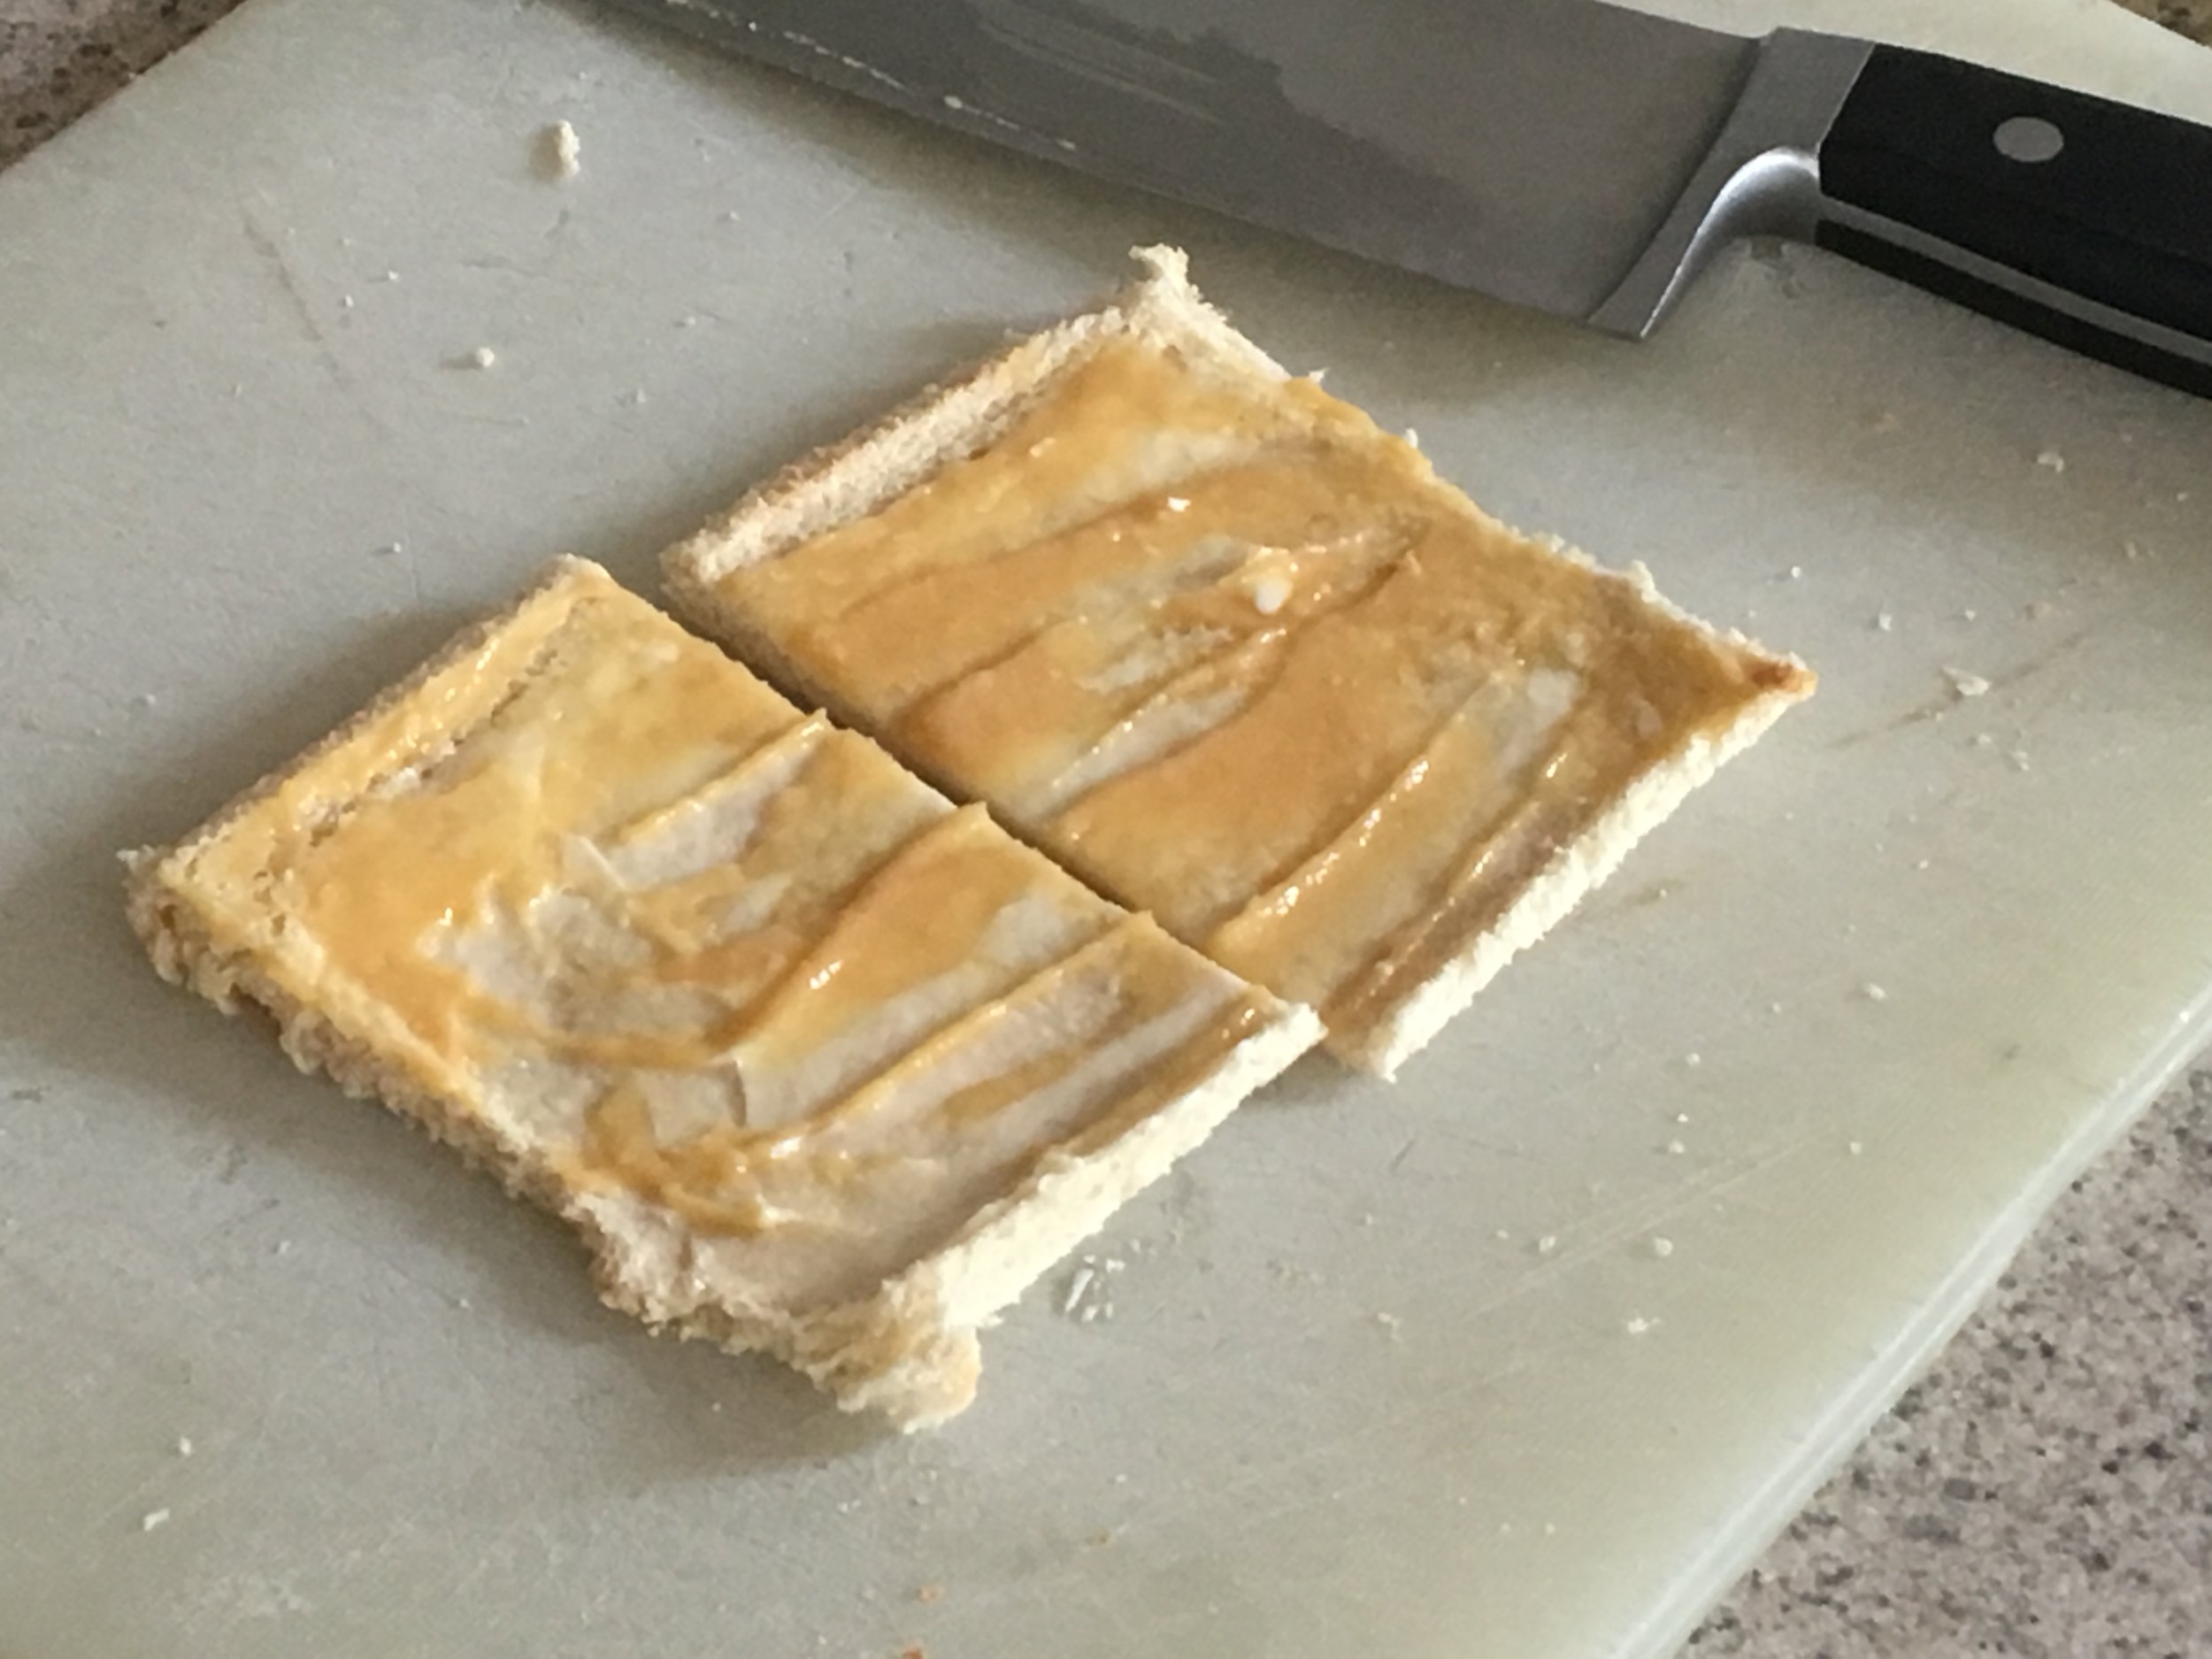
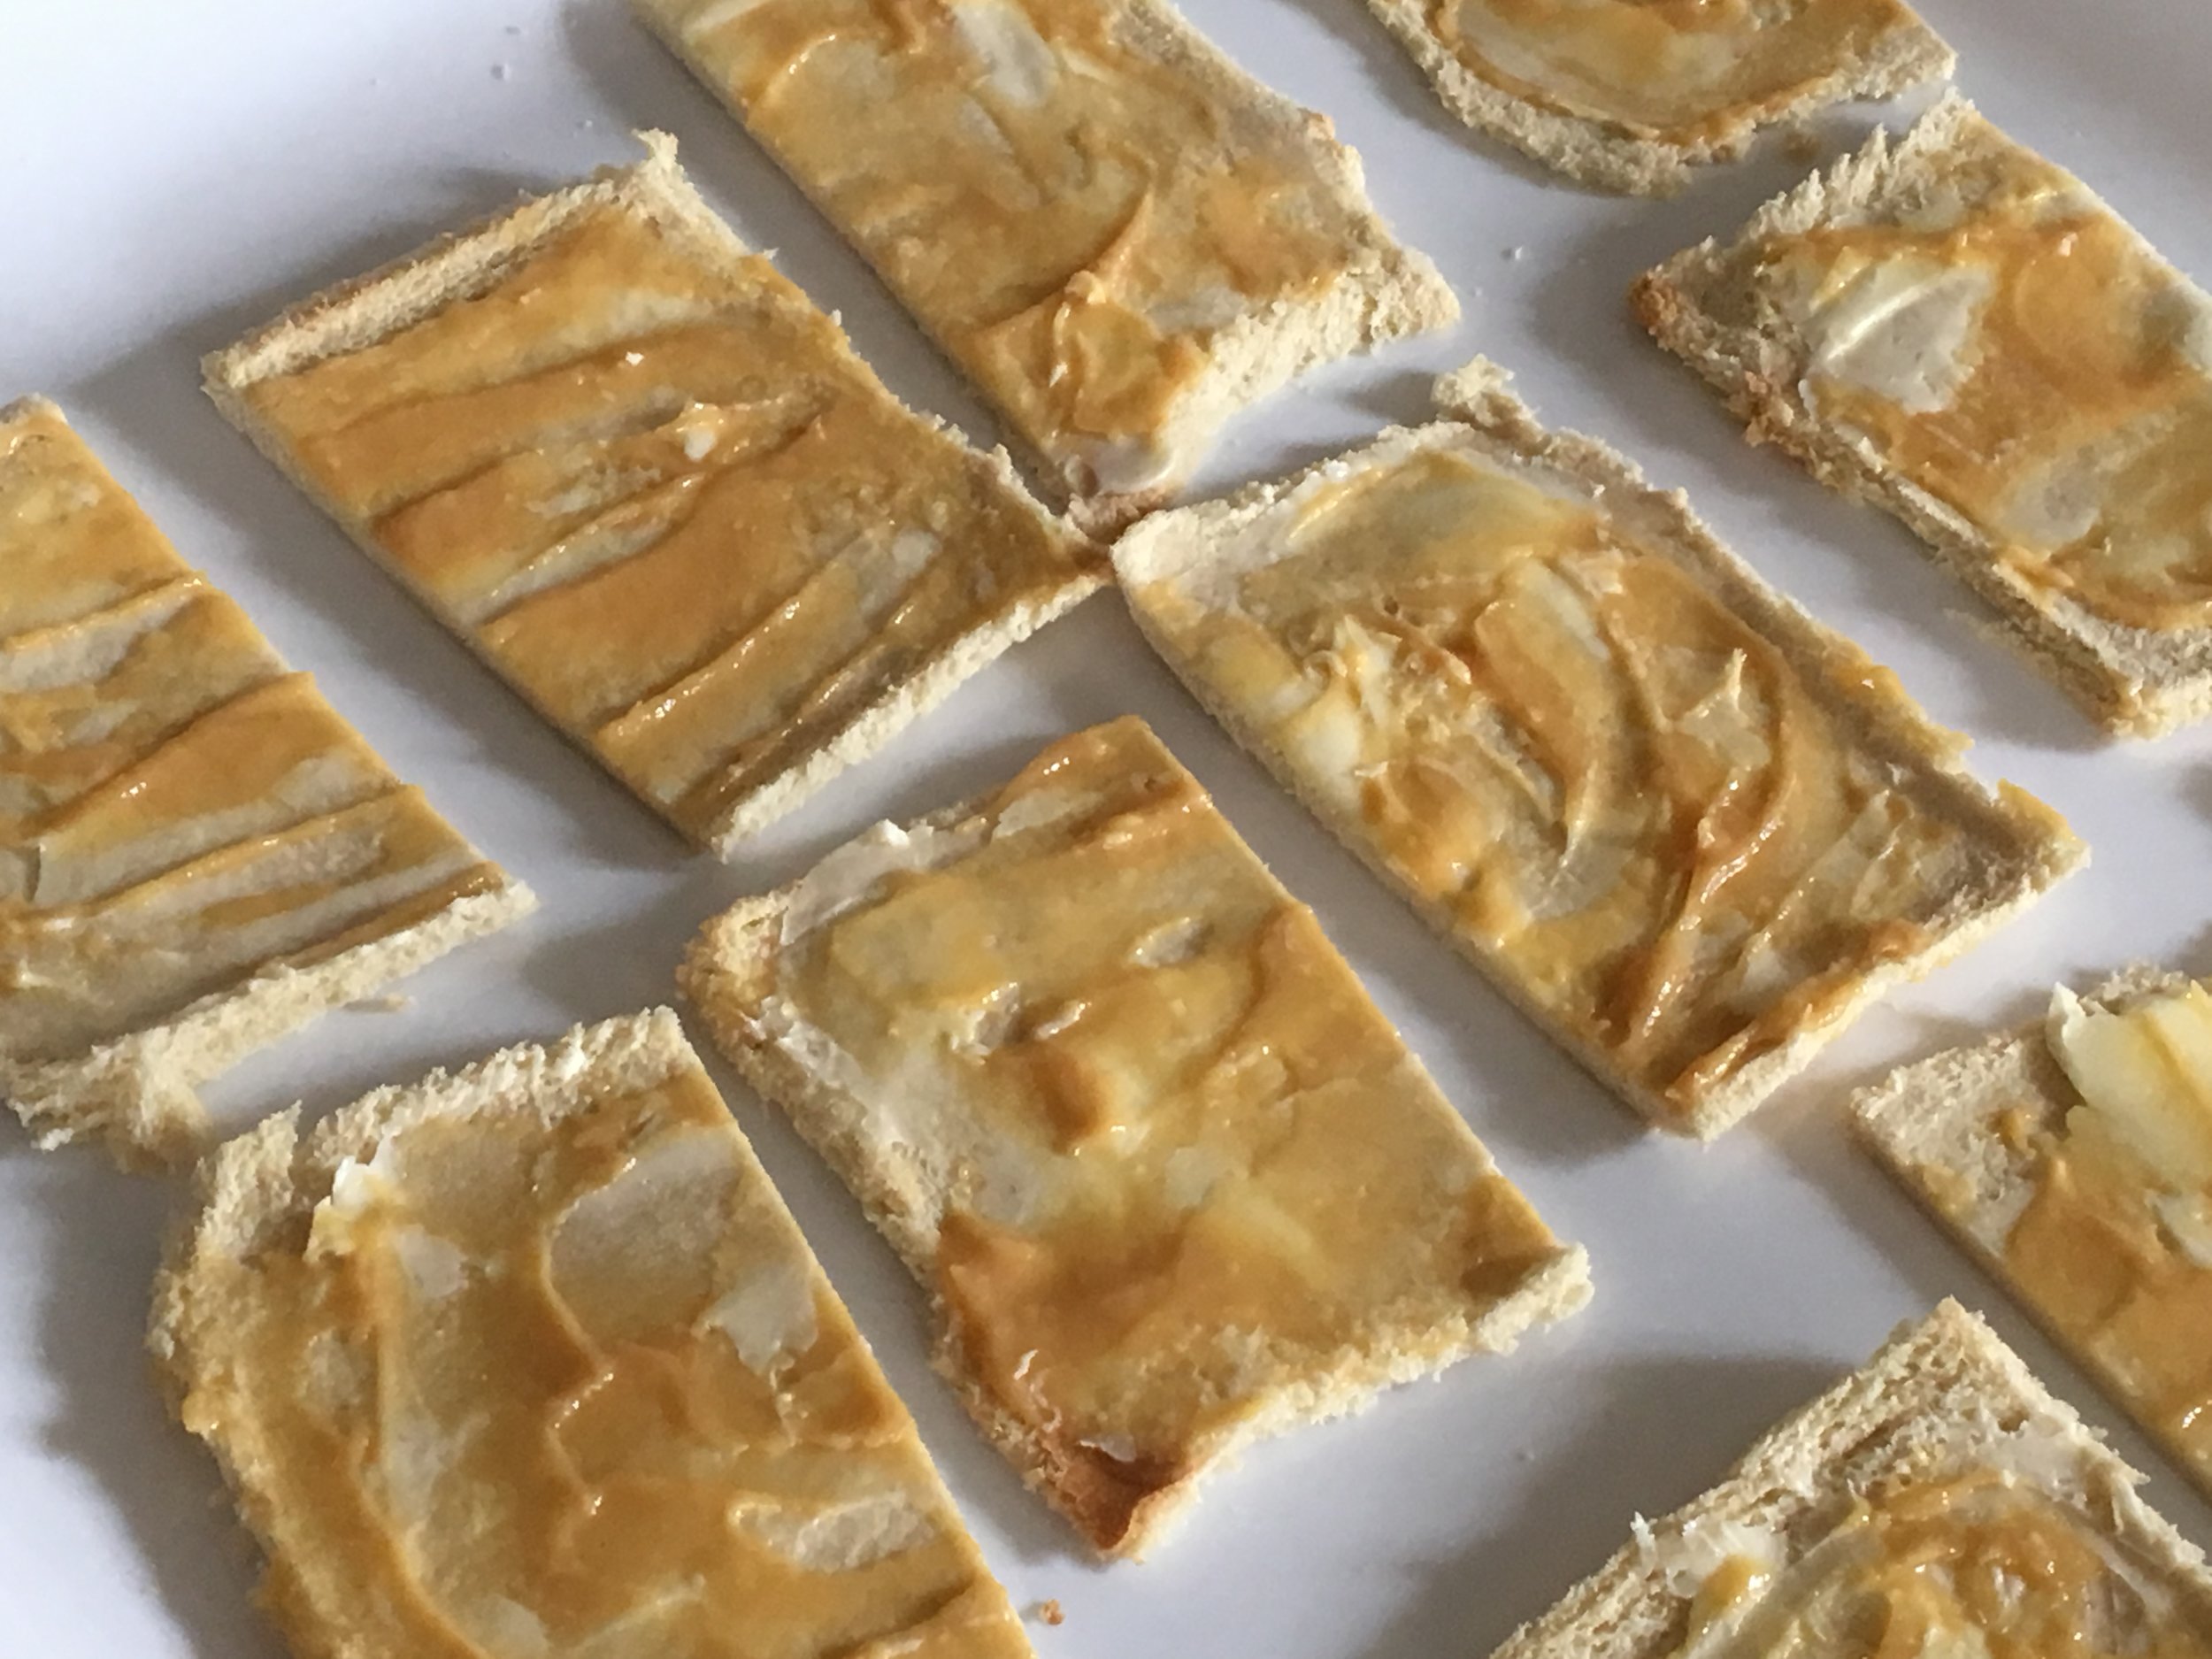
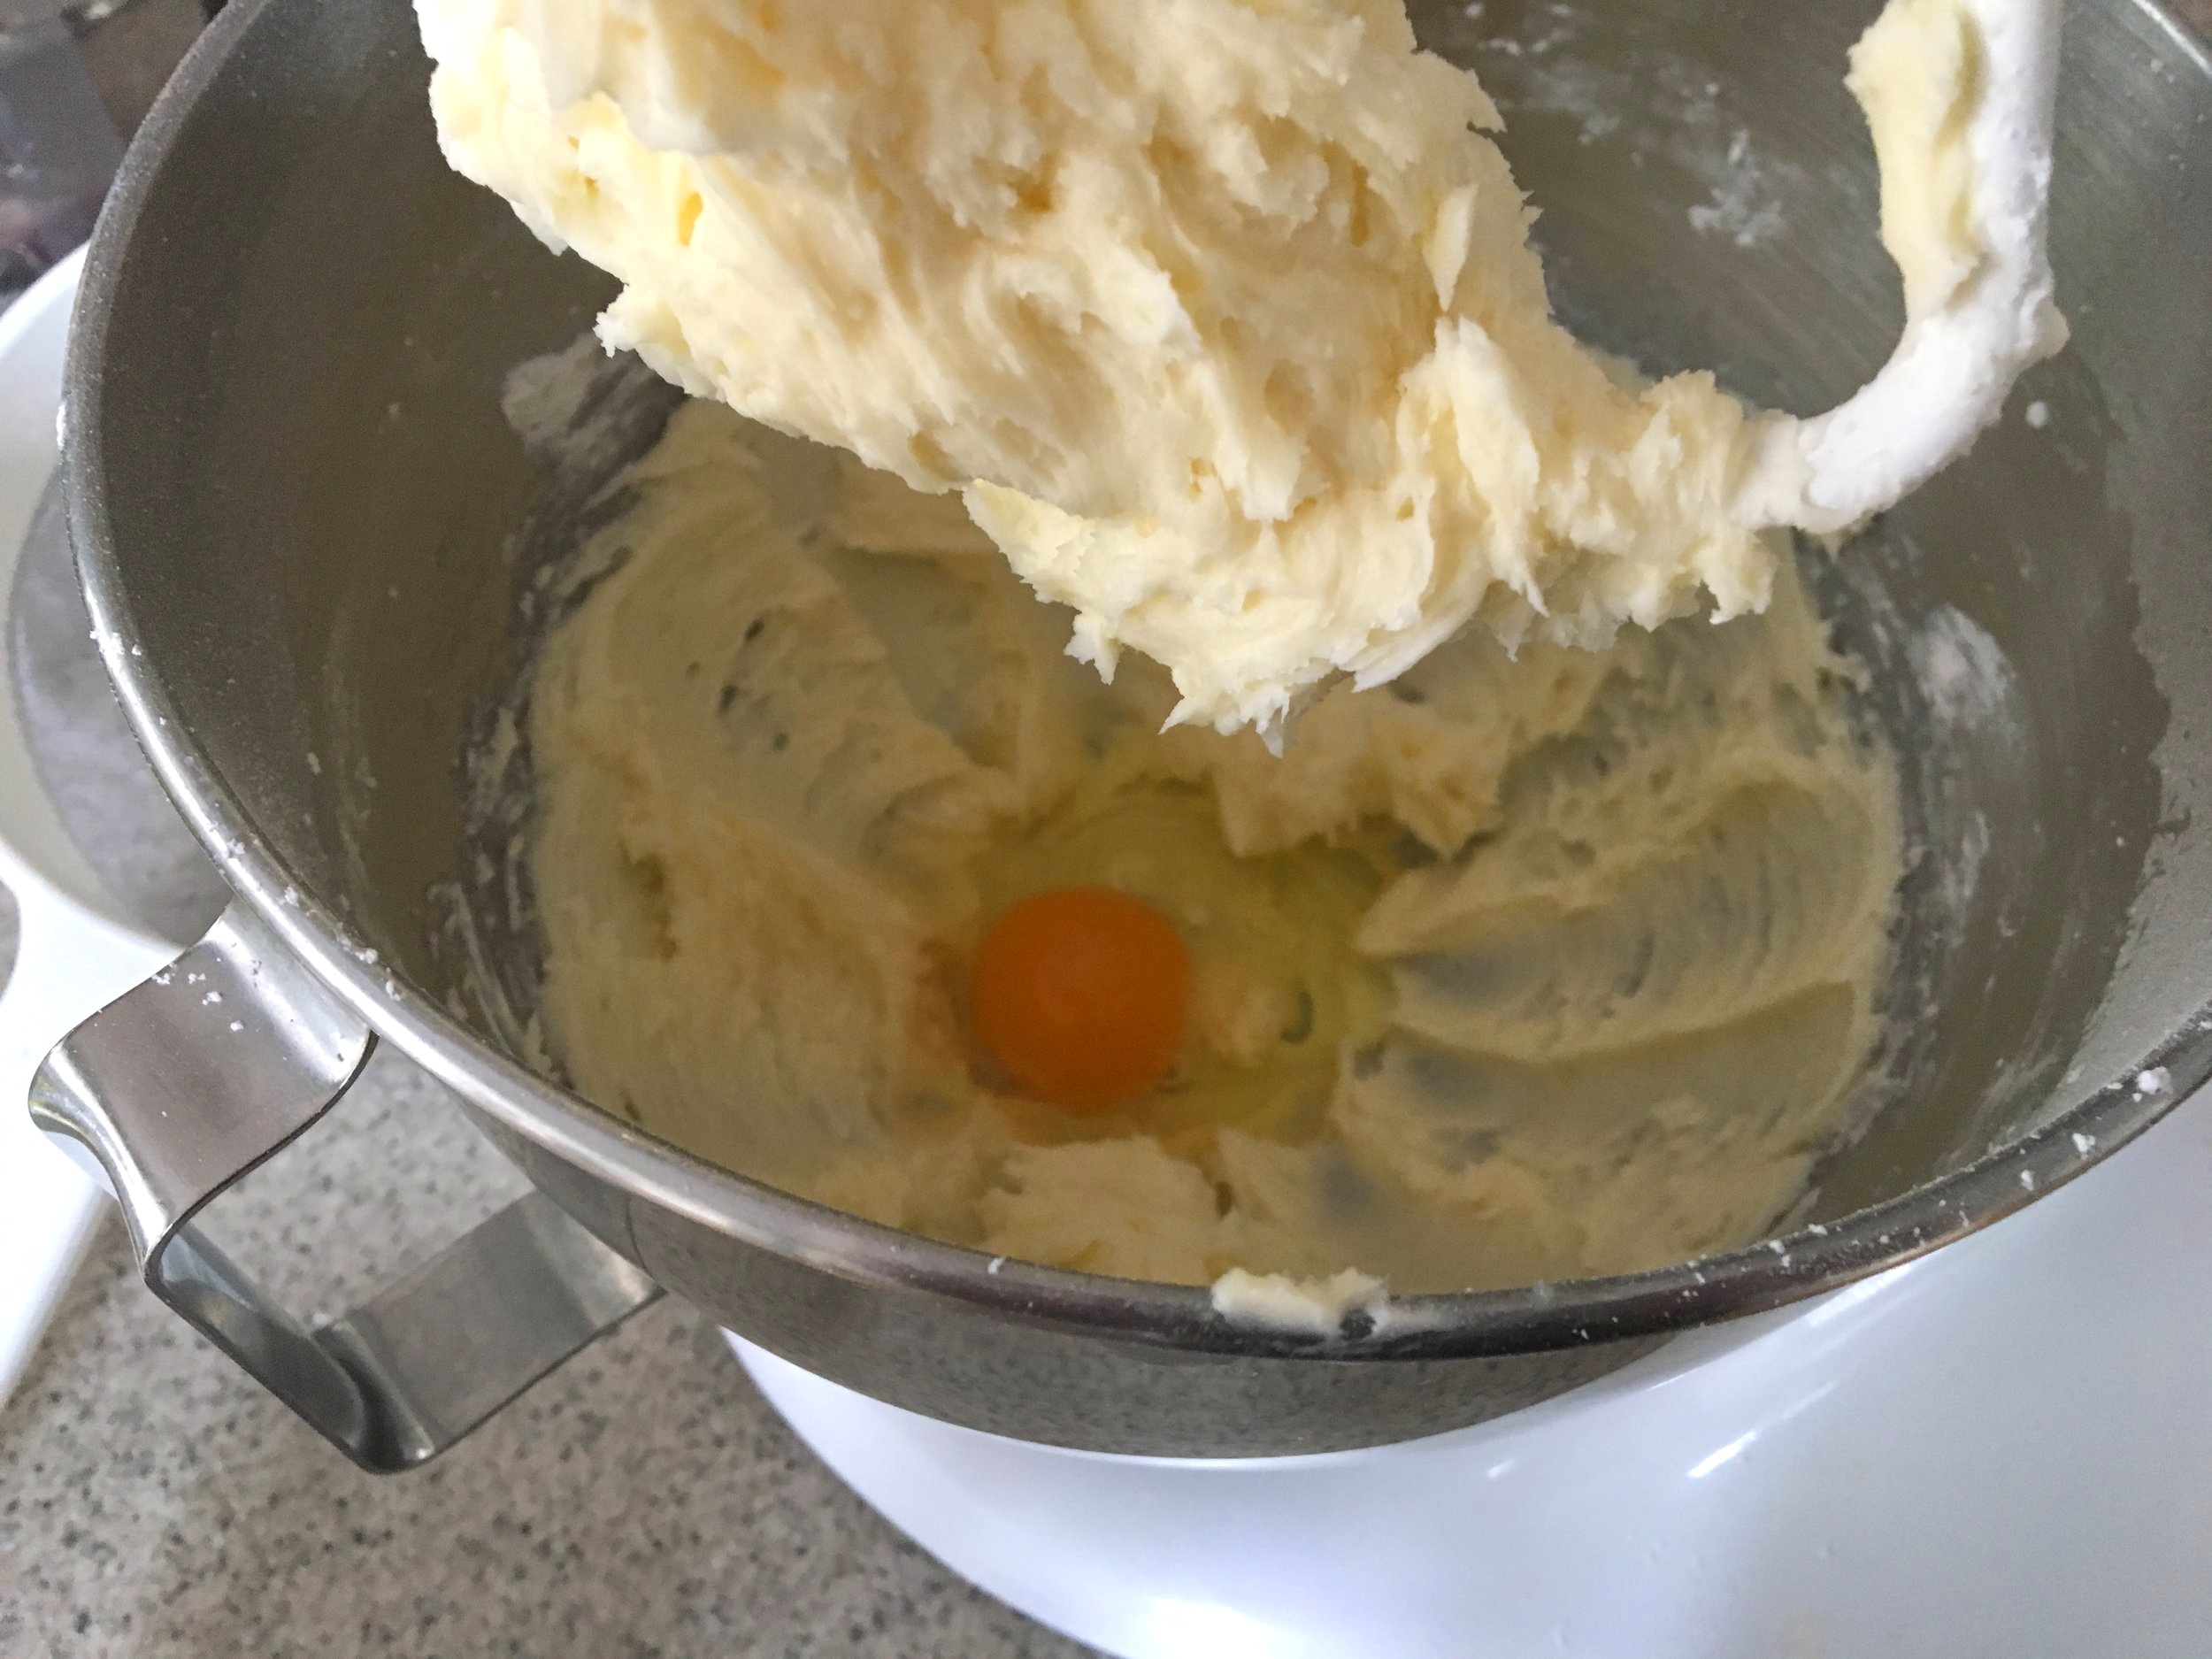
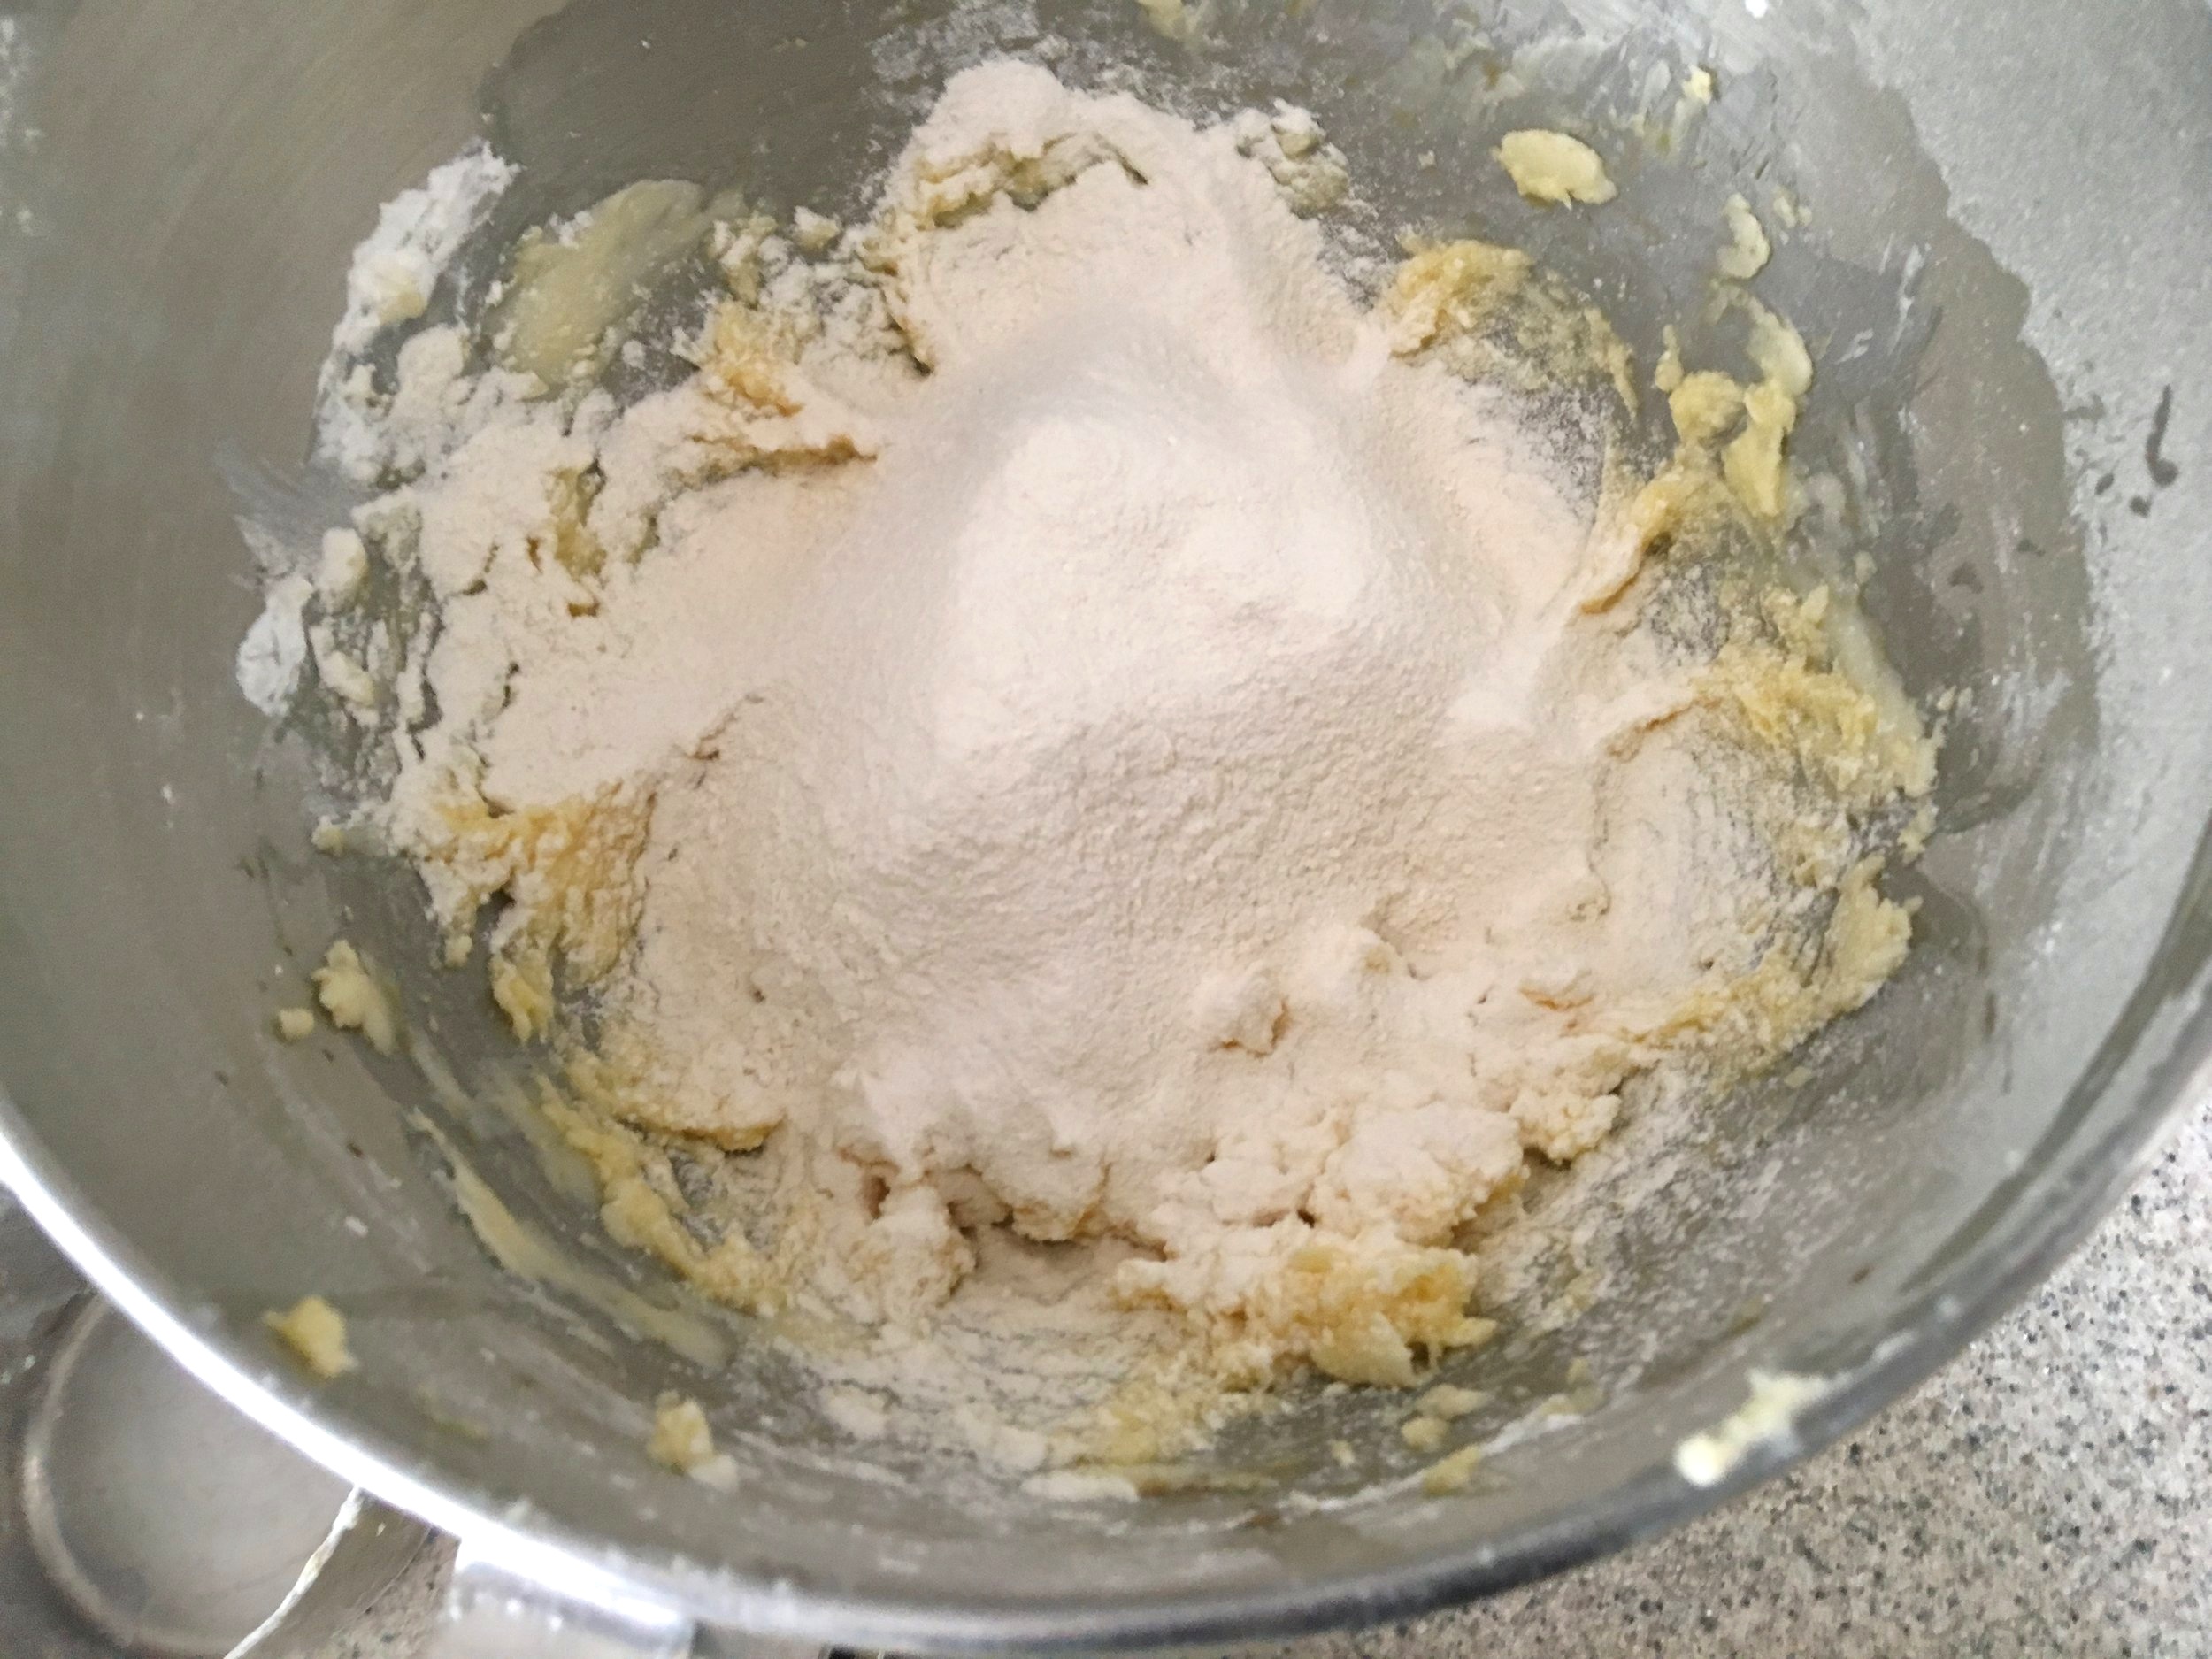
I usually cook the chicken and eggs the day before, so place the cooked chicken in a food processor and pulse until the chicken is chopped.  (Coarsely hand chopping the chicken will work just as well).  Place the chicken into a medium bowl.  Add the remaining ingredients to the bowl and stir. Set aside.

**Note- Grapes and pecans would be a nice addition to the chicken salad. Even though I LOVE chicken salad made that way, our children usually balk at the thought, so I leave them out.  How cute would these be made into sliders? (Switch up the regular sized rolls for slider buns and use smaller olives).

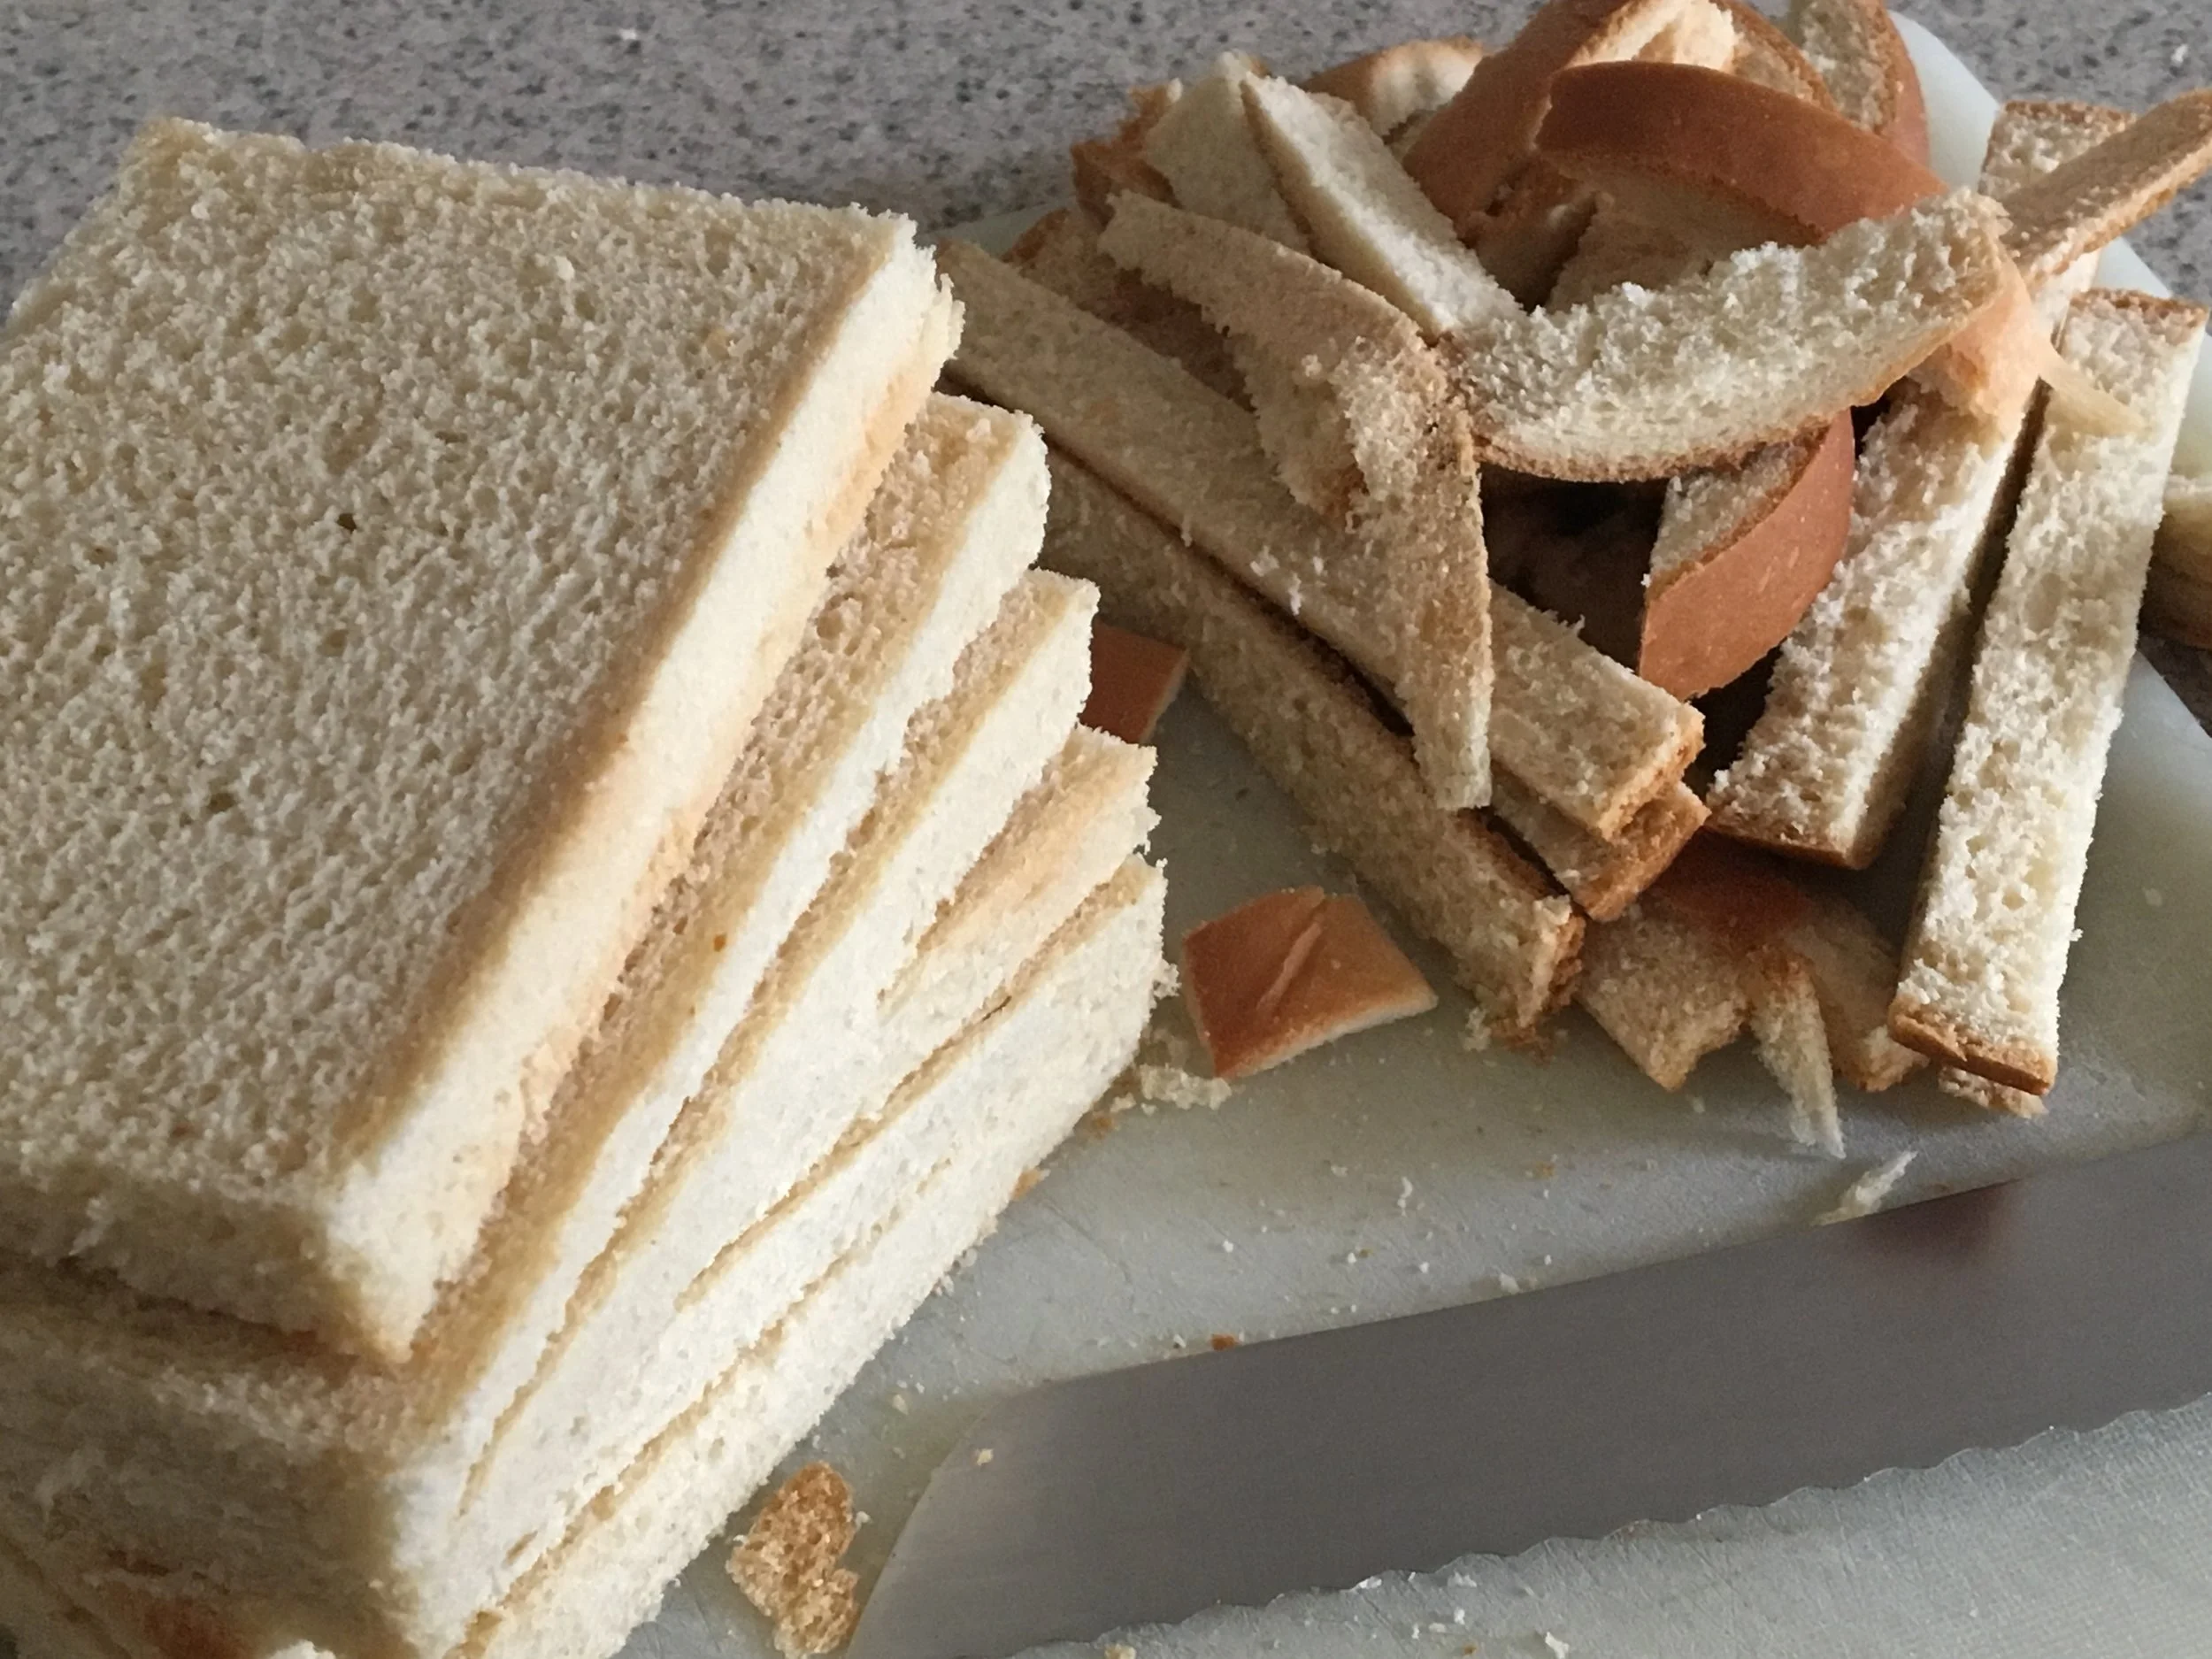
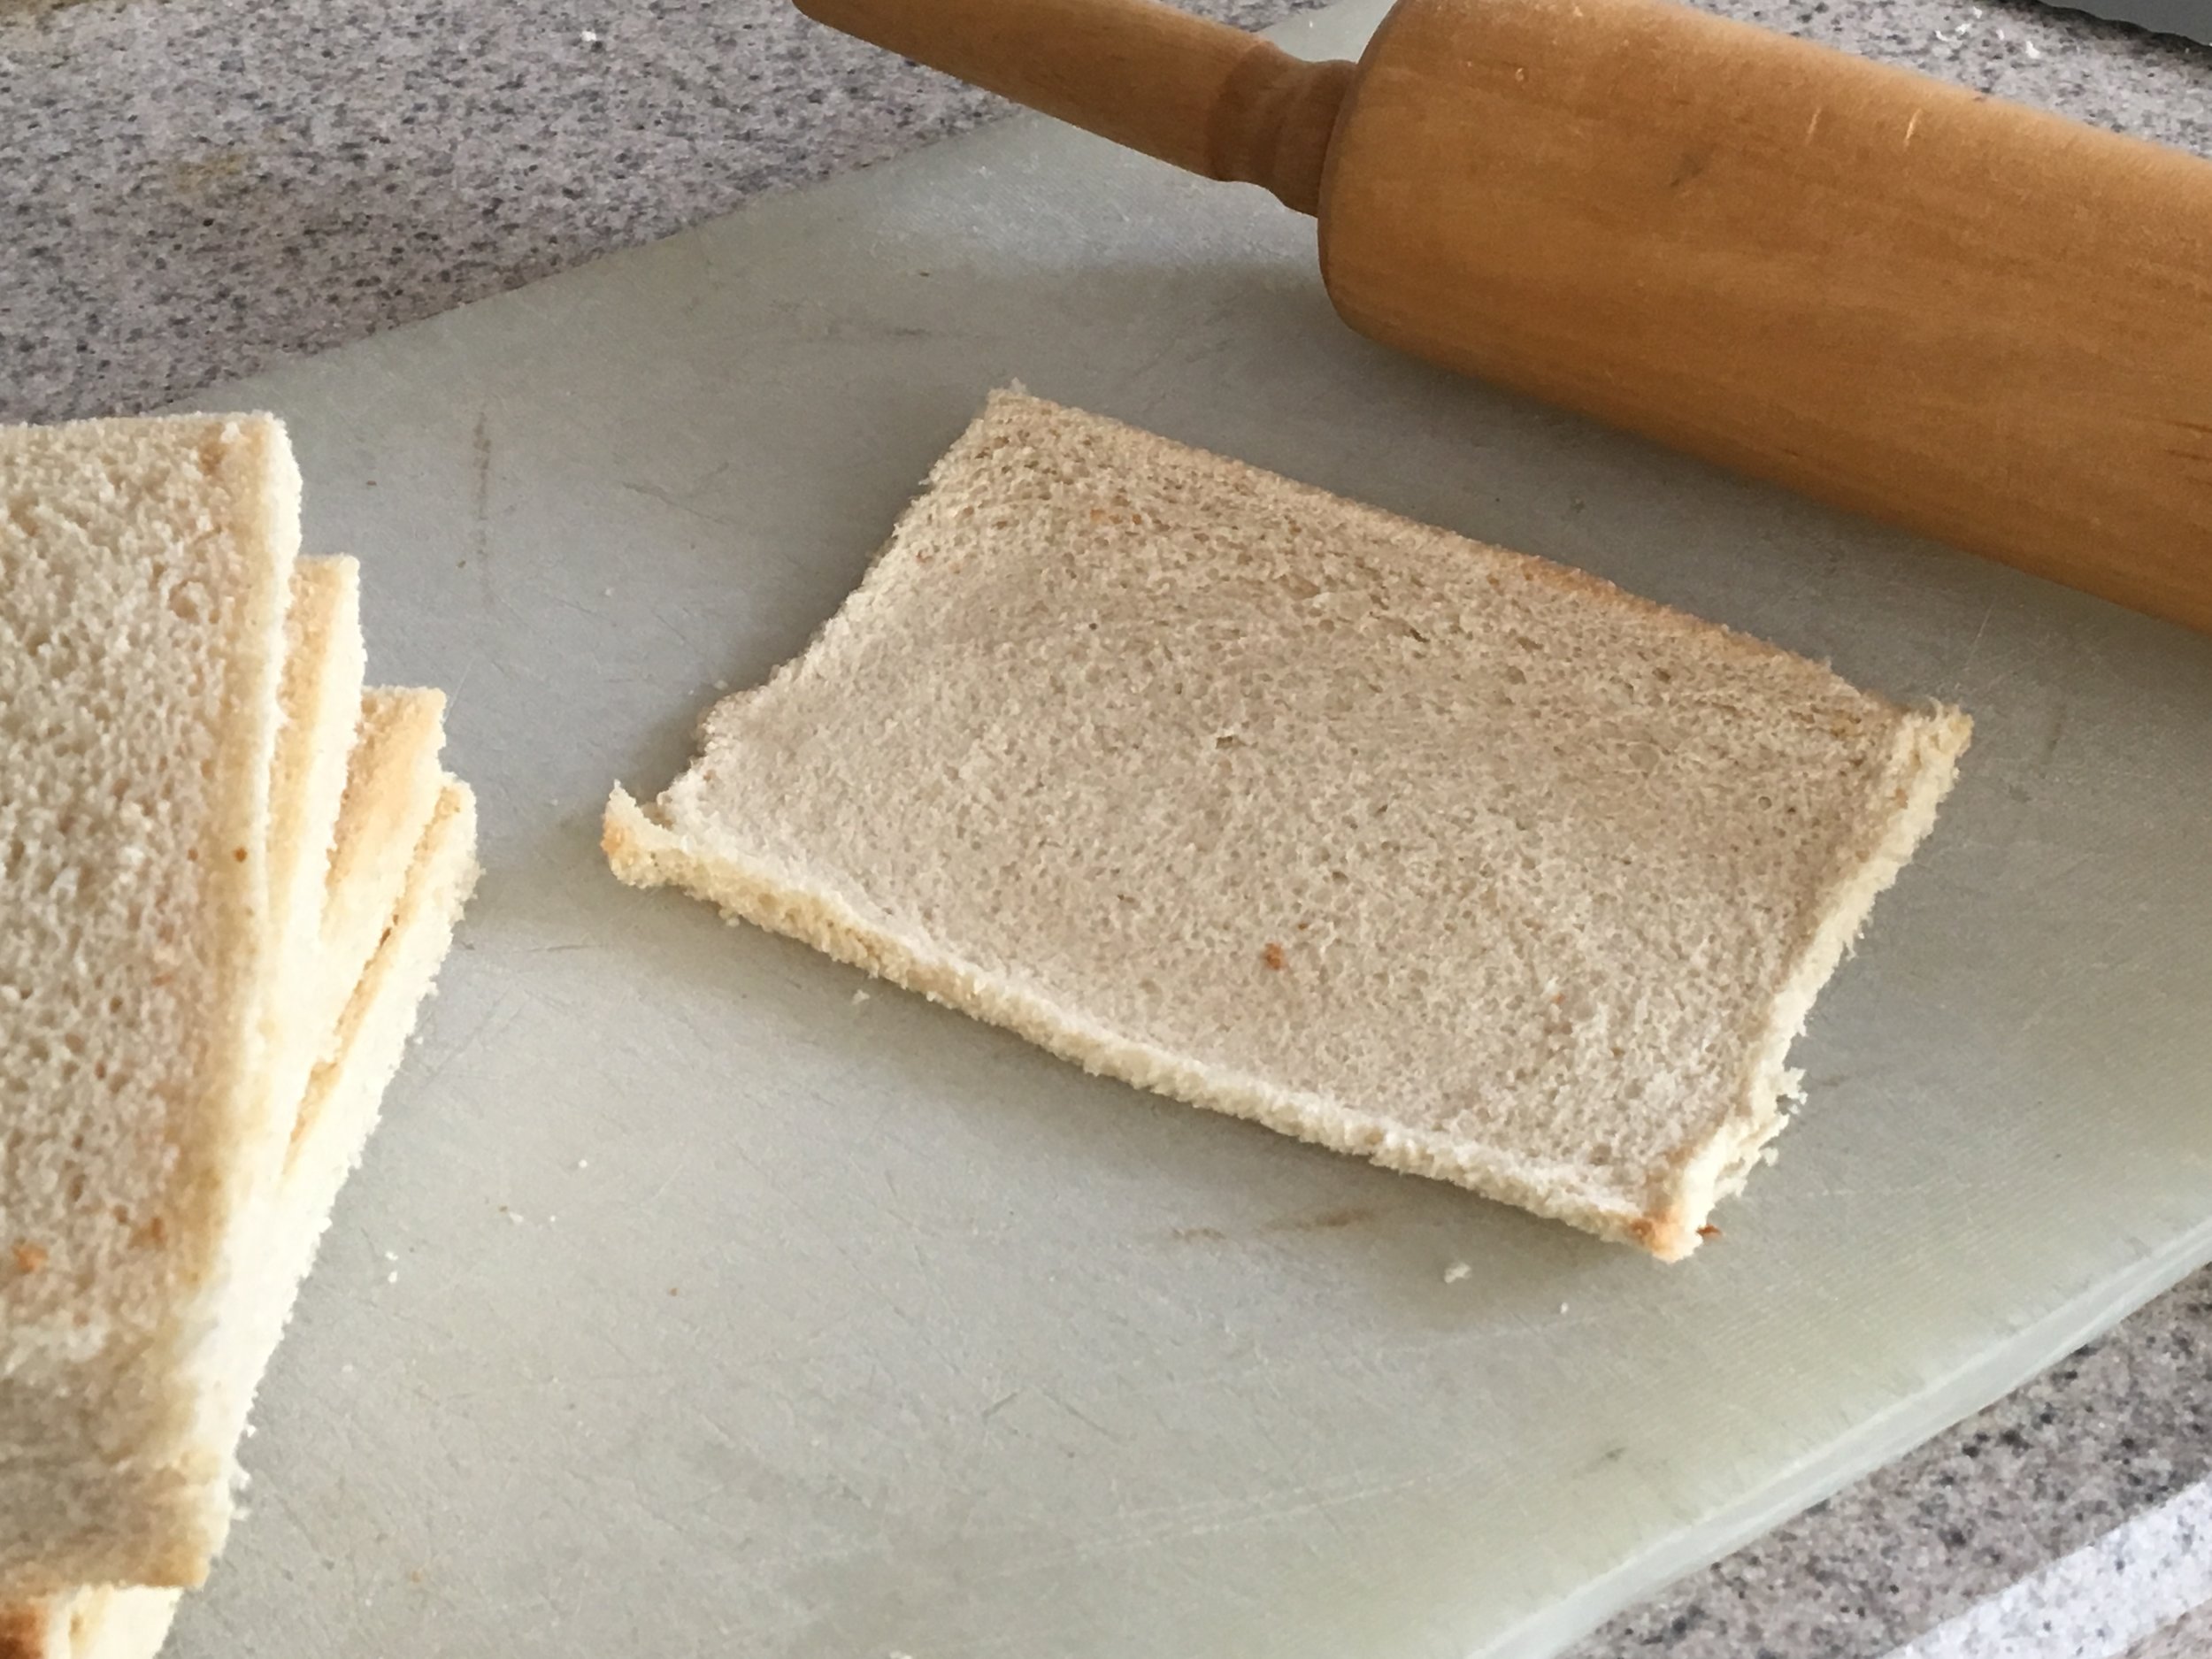
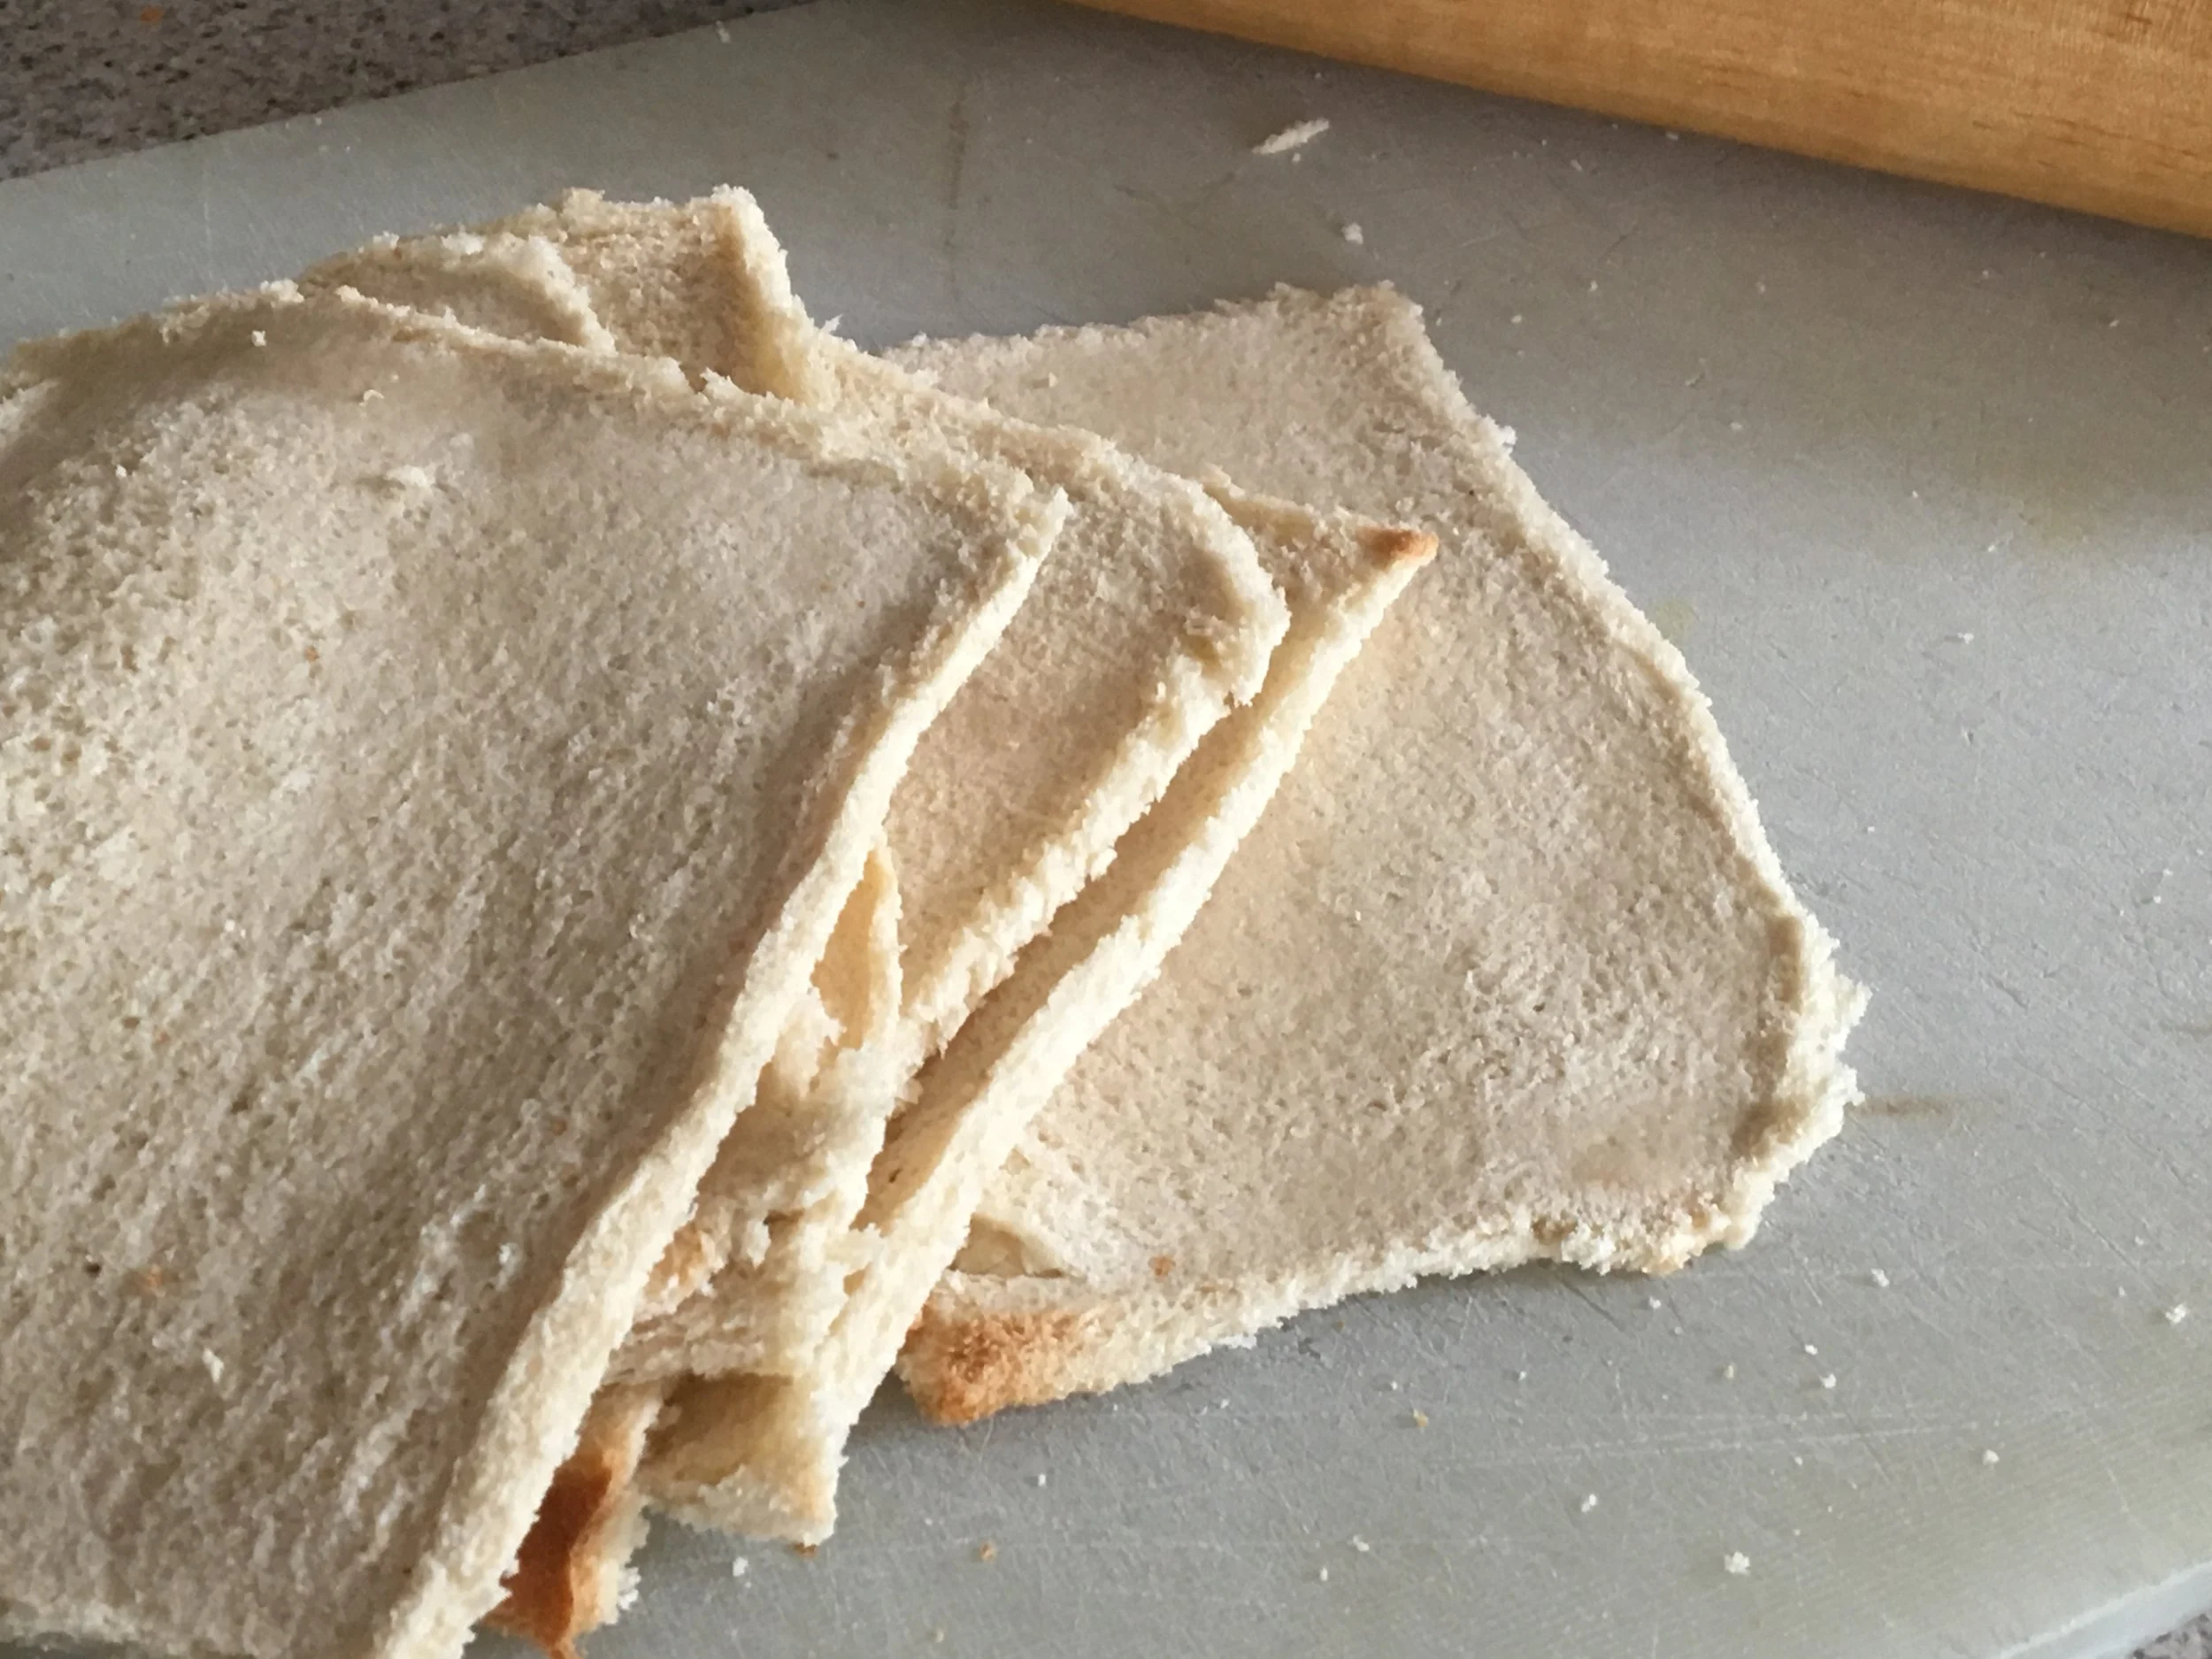
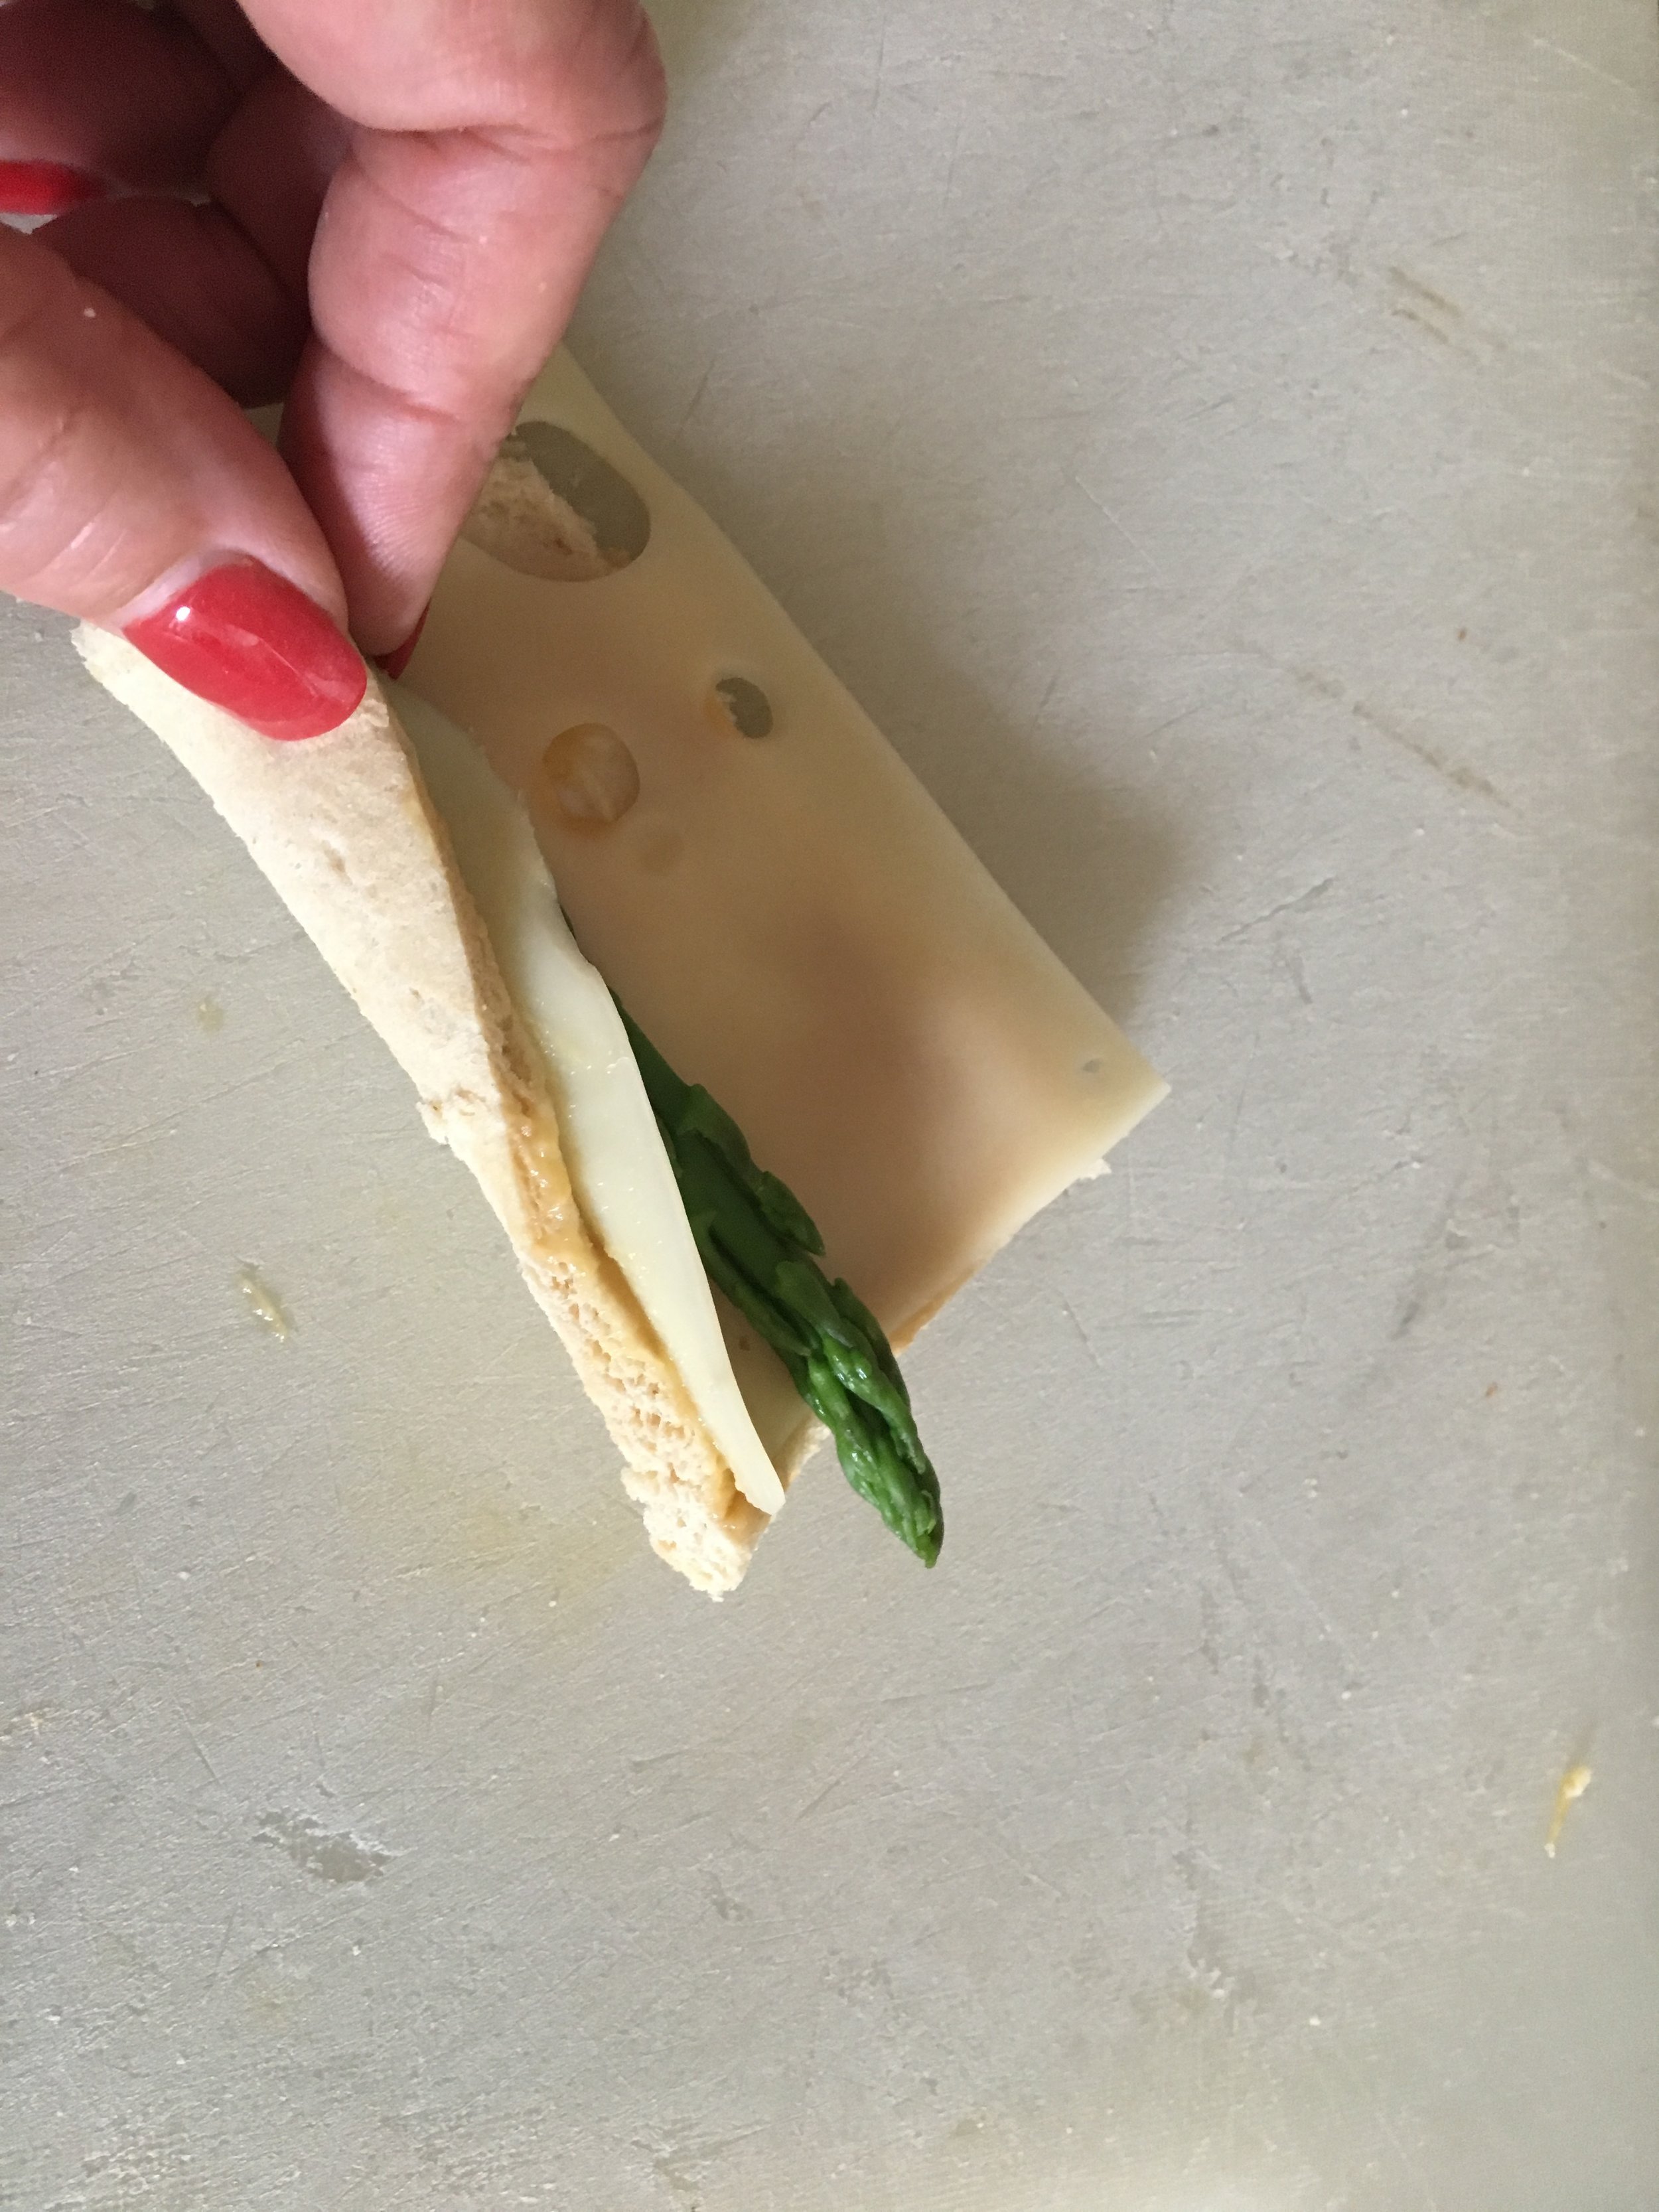
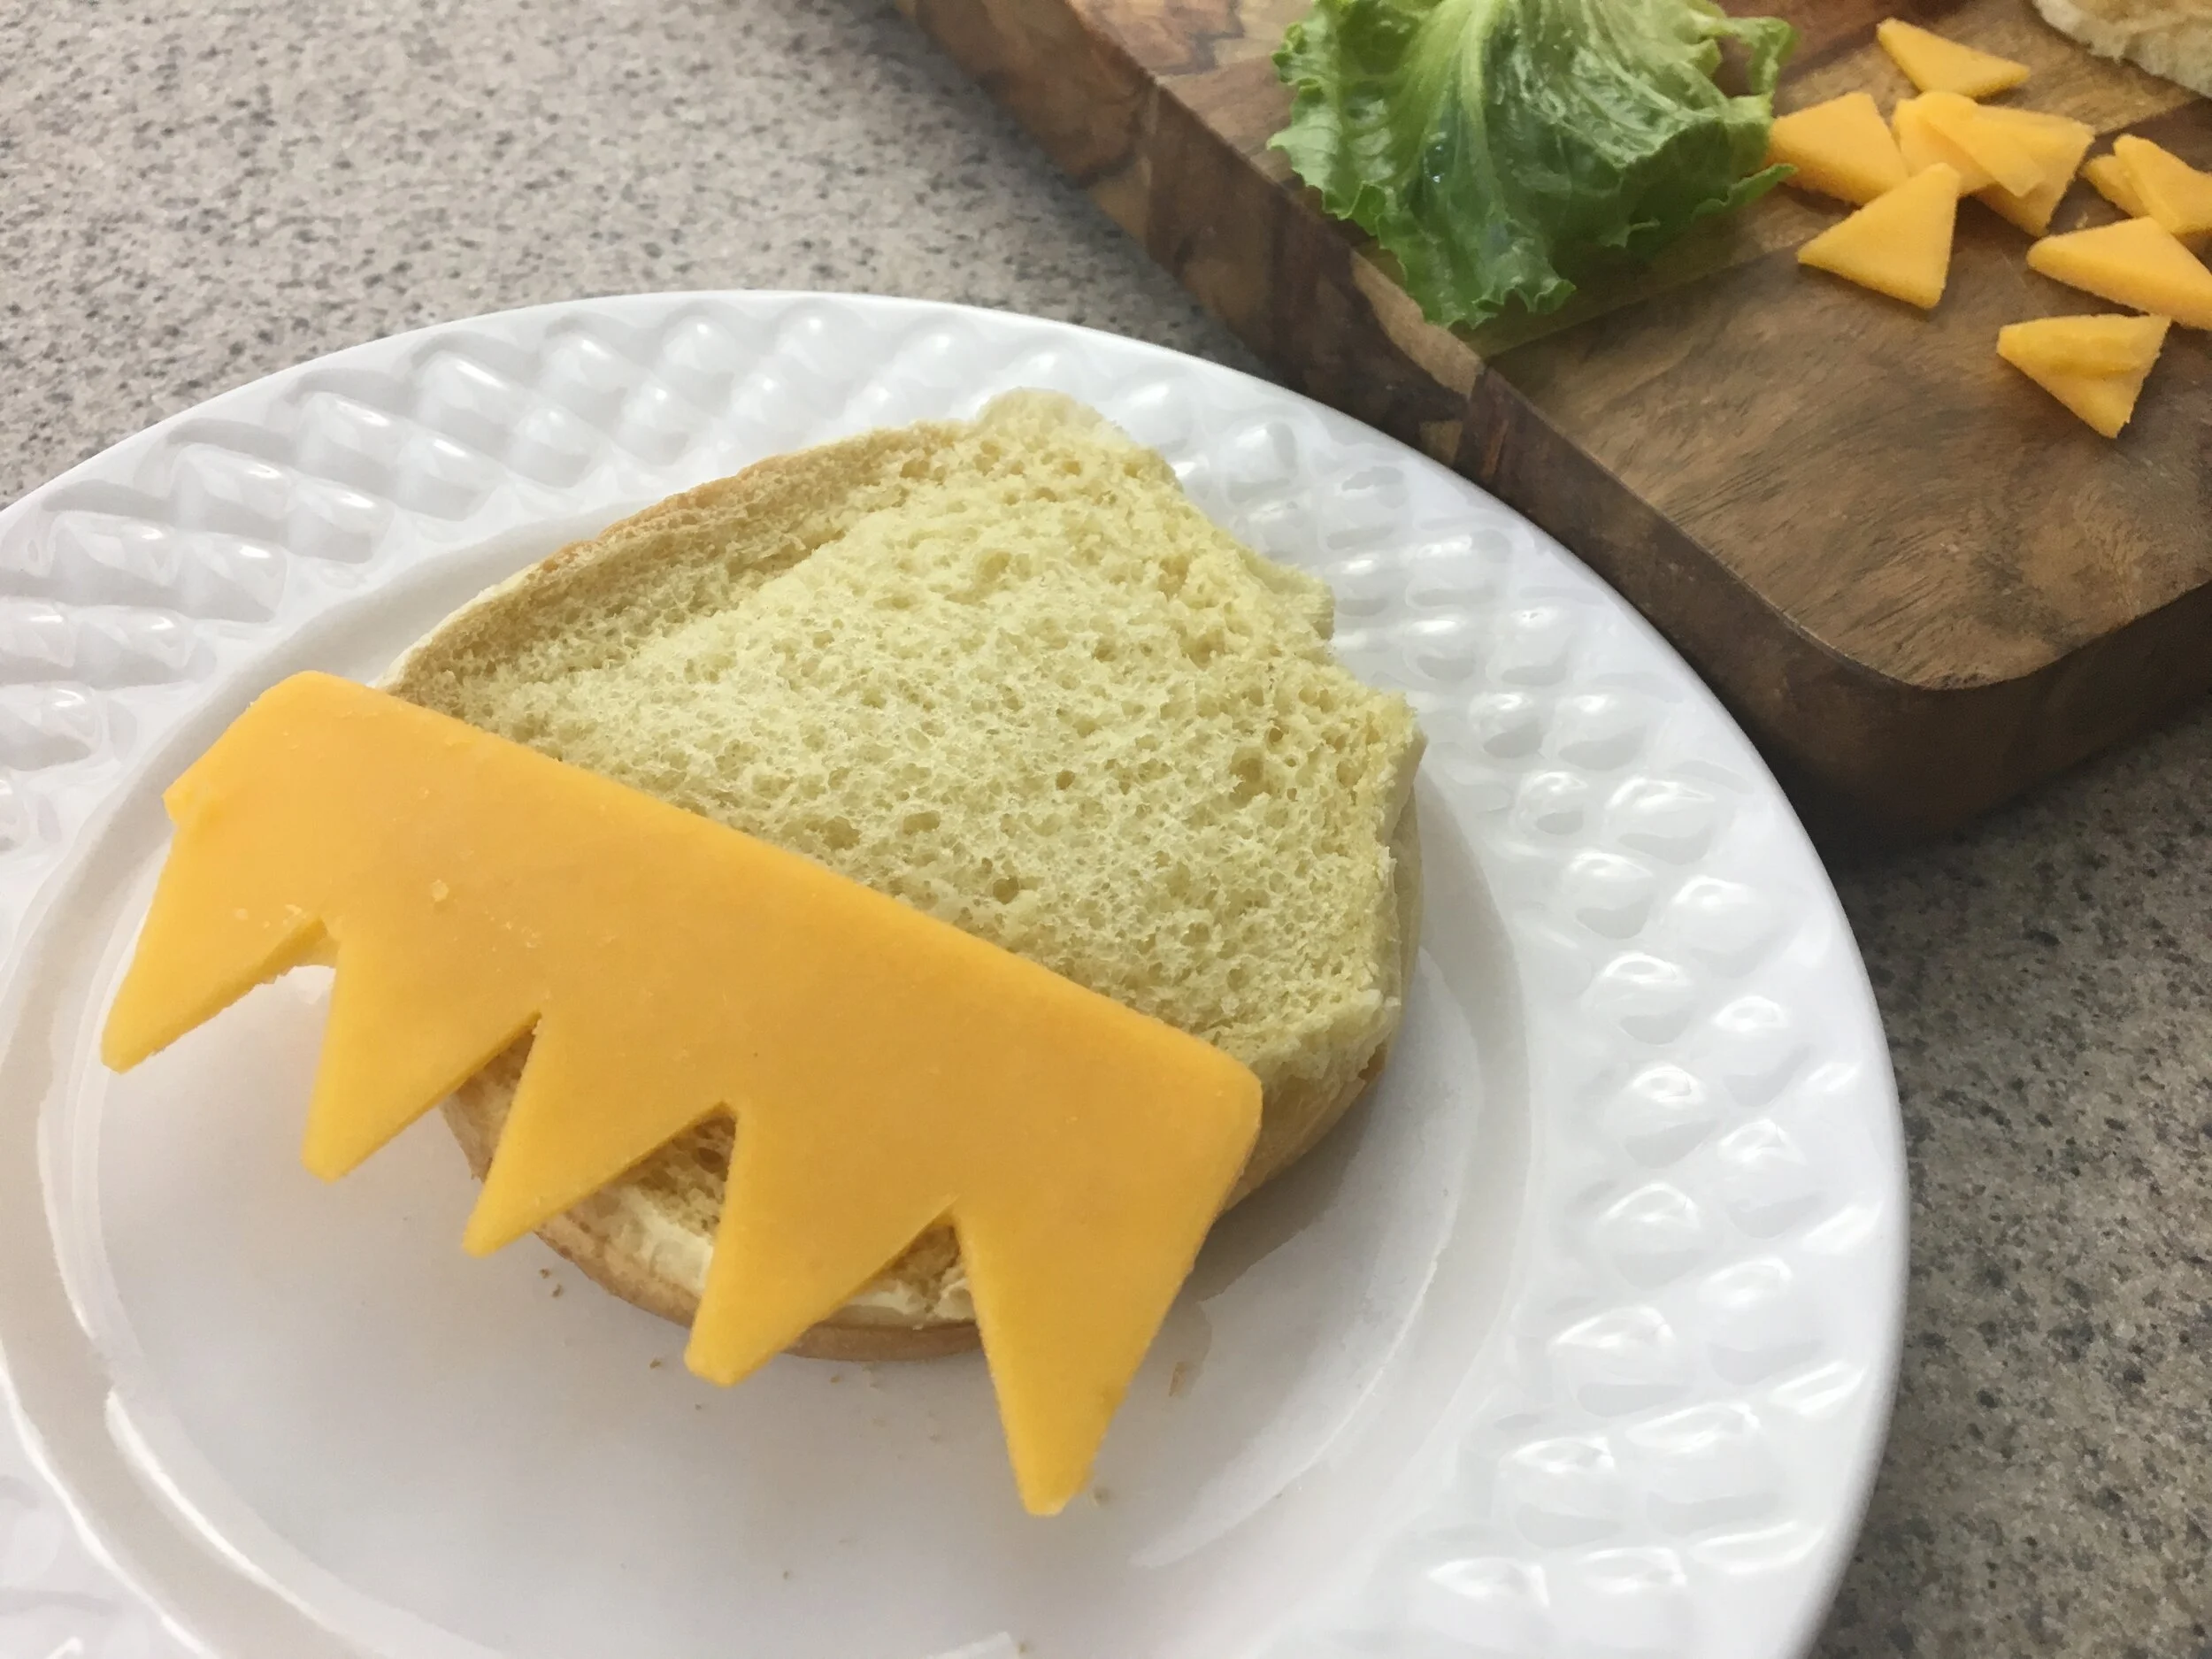
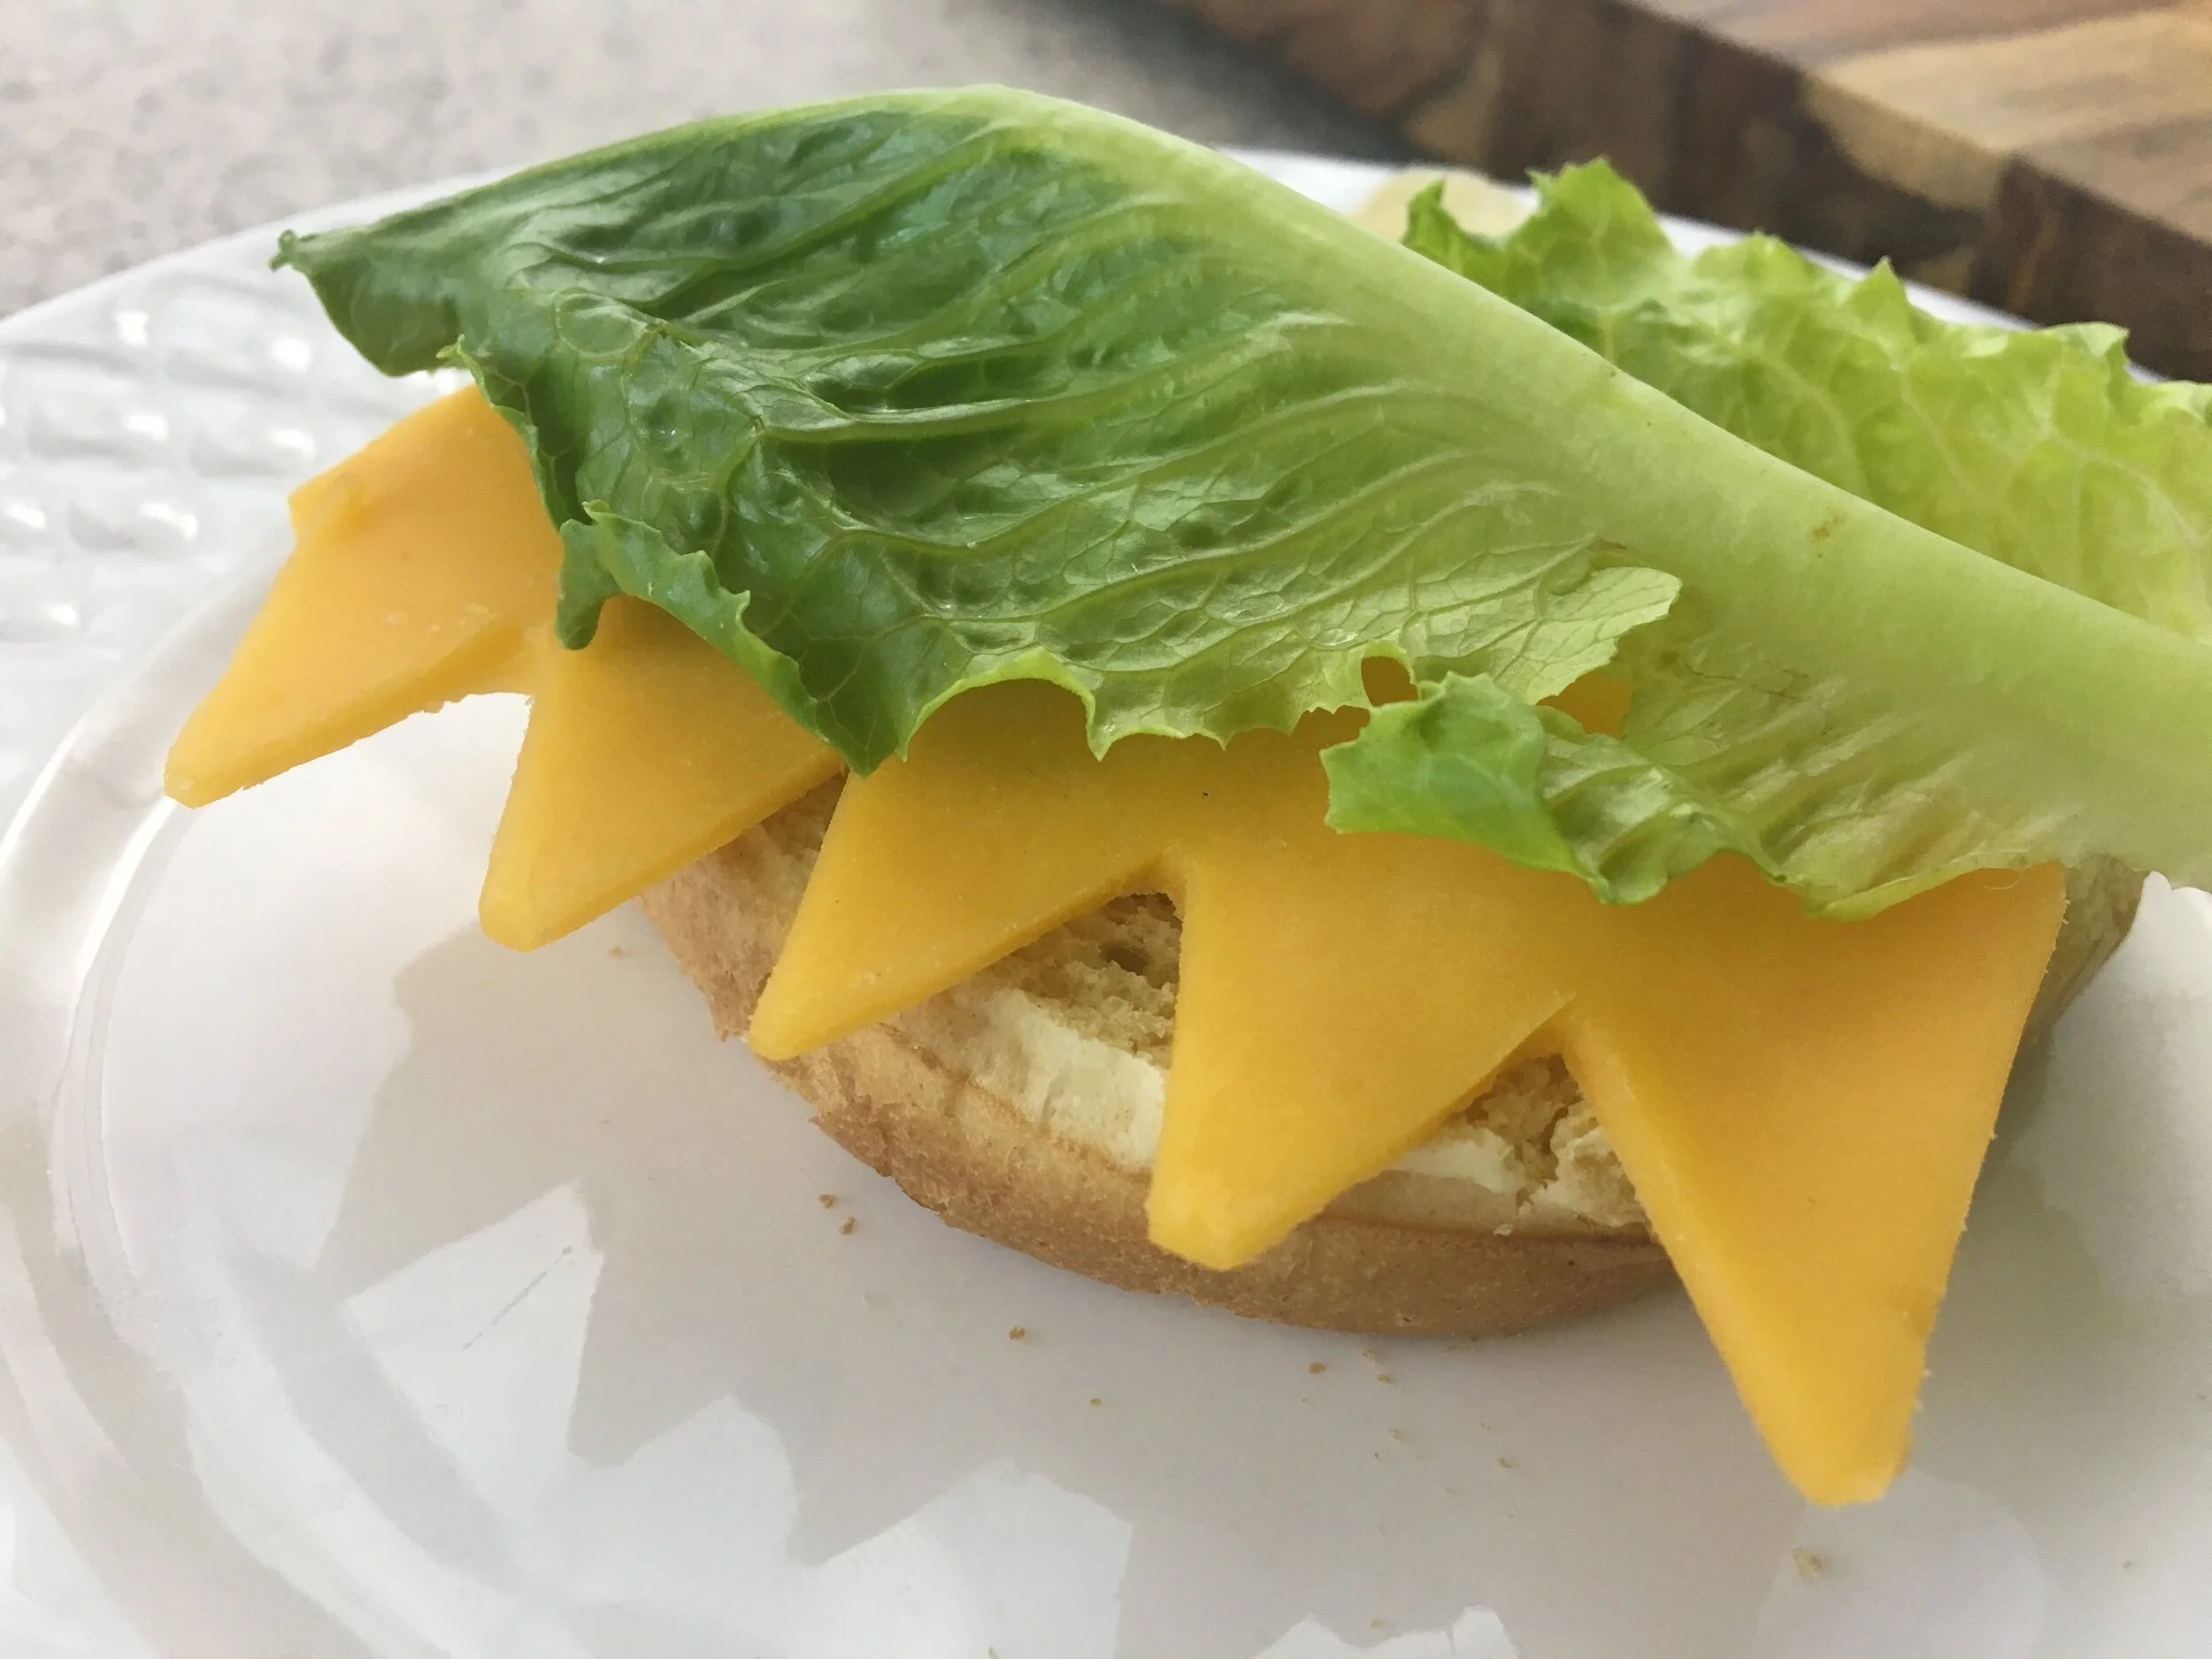
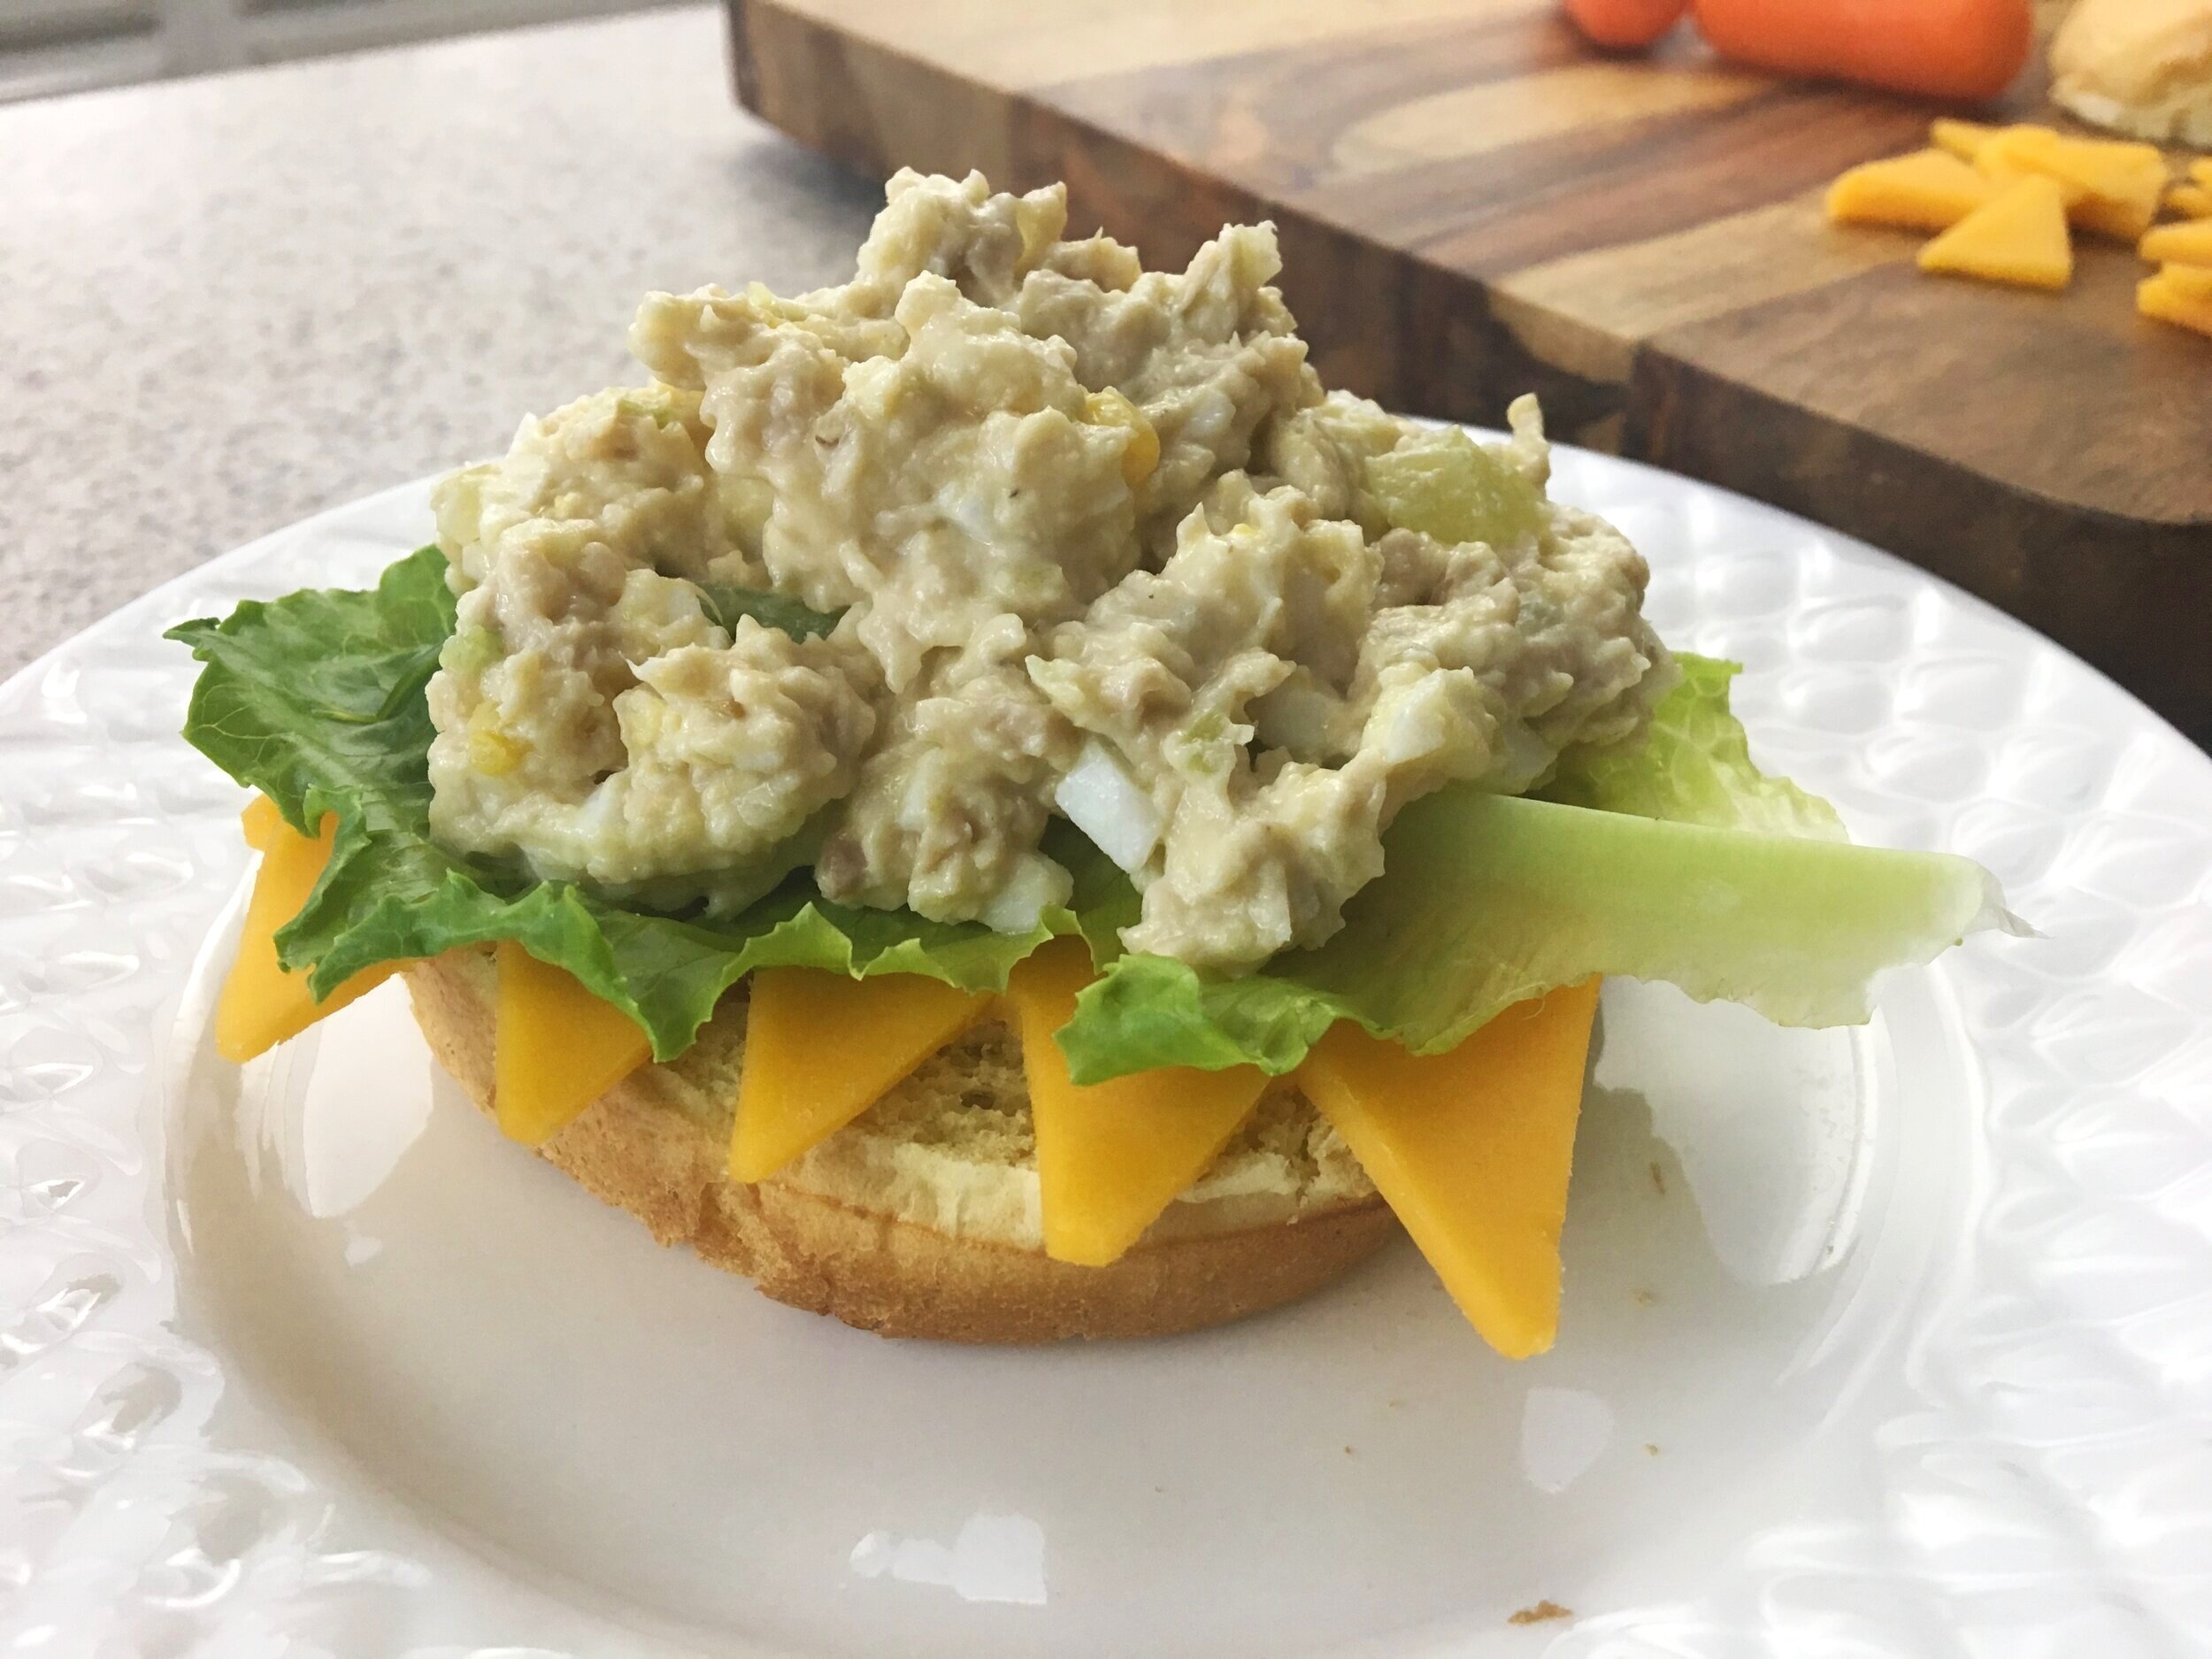
Separate, wash, and pat dry the lettuce. Set aside. Place slices of cheese on a cutting board and with a sharp knife, cut “teeth” triangles into cheese. Save cut-outs for another recipe.

To a sliced roll, add the cheese “teeth”, the lettuce, and a generous dollop of chicken salad. That's it!

Add the top of the bun to the sandwich, then decorate the monster sandwich with the olives on toothpicks. Go ahead and have fun with your food! Enjoy!

Comment below and send us pictures of your ghoulish creations! Thank you for visiting!

monster sandwich.jpg
monster sandwich5.jpg

Here are other ghoulish Halloween treats for you to enjoy this Halloween! For more fun Halloween themed foods, check out Halloween Foods You Must Try.


Yum

Peanut Butter and Jelly Chocolate Cups Recipe

desserts, snacksSheri SpalloneComment
Peanut Butter & Jelly Chocolate Cups Recipe

Peanut Butter & Jelly Chocolate Cups Recipe

Cook Time:  About 20 minutes
Prep Time:  10 minutes
Difficulty: Easy

Updated January 2025.

Chocolate and peanut butter lovers, gather around! It's National Peanut Butter Day! To celebrate, we combined two nostalgic favorites—peanut butter cups and PB&J—and created these deliciously decadent Peanut Butter and jelly chocolate cups featuring chocolate, peanut butter, and Cherchies® Preserves and Cherchies® Fruit Butter Spreads.

What makes everything better, other than chocolate (maybe bacon, but I will save that for another day)? Peanut Butter! These delightfully sweet and salty chocolate treats will tantalize your tastebuds and melt your guest's hearts. You don't need an official holiday to enjoy these chocolate dreams. Serve these tasty morsels at your next gathering, but grab some for yourself because they will disappear right before your eyes.

Thanks for stopping by. :) Comment below if you have tried this recipe. Visit us for more family-tested recipesentertaining ideas, and cooking tips using all our favorite Cherchies® gourmet products.

Follow us on social media: FacebookInstagram, and Pinterest.

print recipe

Ingredients

  • 2 cups chocolate chips/ dark chocolate chips 

  • 1 teaspoon (tsp) coconut oil

  • 12 muffin cup liners

  • 1 cup peanut butter

  • 1 cup powdered sugar

  • 1/2 cup Cherchies® Preserves of choice or Cherchies® Butter Spreads

  • Coarse sea salt for garnish (optional)

Preparation
Line a 12 cup muffin tin with disposable cupcake liners.

Combine Peanut Butter and powdered sugar in a medium bowl.  Mix ingredients with hand mixer until combined. Scoop mixture with melon ball scooper (1 inch) and place the mixture on a parchment paper lined tray. Place tray in freezer for about 10 minutes.  Remove Peanut Butter balls from the freezer and flatten with a spatula. Return to freezer while you prepare the chocolate.

While peanut butter patties are chilling, prepare the chocolate. Melt the chocolate chips and 1 teaspoon (tsp.) coconut oil in a bowl over a pan filled with about 1 1/2" water.  Turn the burner on high and stir chips as they begin to melt. (You could melt chips in microwave if your prefer, heating on 50% power for 30 second intervals, stirring each time until completely melted).  When all the chocolate chips are melted, remove the pan and bowl from heat and turn off the stove.

Add about 1 Tablespoon (Tbsp.) (dollop) of melted chocolate to each muffin cup.  Use a clean art brush to spread the chocolate up the sides.  Afterwards, tap the pan on the counter to even the chocolate in the cups.

When peanut butter patties are not tacky, remove them from the freezer and place patties in the middle of the chocolate cup. Add 1 teaspoon (tsp) Cherchies® Preserves or Cherchies® Fruit Butter Spreads and carefully spread over peanut butter patty, making sure not to go to the edge.  The chocolate needs to go on the sides and top. 

Add the remaining chocolate (1 Tablespoon (Tbsp)) to each of the cups.  Use a spoon or small spatula and spread chocolate over peanut butter and jelly to the edge of the cupcake liner to seal in the yumminess. Refrigerate for 20 minutes or until set.

Remove from refrigerator, sprinkle with coarse sea salt and enjoy!

pbj cups 3724b.jpg
pbj cups 3726.jpg
Yum

Champagne Asparagus Roll-Ups Recipe

appetizers, snacksSheri SpalloneComment
Champagne Asparagus Roll-Ups Recipe

Champagne Asparagus Roll-Ups Recipe

Prep Time: 10 minutes

Cook Time: 10-15 minutes

Difficulty: Easy

We love it when friends from across the country send us recipes using our gourmet products.  This quick and easy asparagus recipe comes to us from Sharon Brookover, in Chester Springs, PA, and it features our award-winning Champagne Mustard.  This appetizer comes together in minutes and can be made early in the day and baked at the last minute. 

Grace your Spring brunches or gatherings with these tasty, buttery, asparagus, ham and cheese roll-ups. Make sure to grab a plate for yourself, because these delicious morsels will disappear in minutes!

Try this recipe with all three of our mustards and comment below on your favorite combination!

Thank you for visiting! Come back again!

Ingredients

  • 6 asparagus spears, blanched in boiling water for 3 minutes

  • 6 slices soft white bread

  • 6 Teaspoons (tsp) softened butter ( 1 tsp. per slice of bread)

  • 1 Tablespoon (Tbsp) softened butter

  • 6 slices ham, thinly sliced, cut in half

  • 6 slices Swiss cheese, cut in half

  • 2 Tablespoons (Tbsp) Cherchies® Champagne Mustard (using 1 teaspoon (tsp) per slice of bread).  (or, try this recipe with our Hot Banana Pepper Mustard or Cranberry Mustard)

Preparation

Preheat oven to 425 degrees.  

In a medium skillet, add enough water to cover the asparagus.  Blanch asparagus for 2-3 minutes in boiling water, drain, cool, and set aside.

Remove crust from bread with a sharp serrated knife and roll out until very flat and thin.

Spread each slice of bread with 1 teaspoon (tsp) butter and 1 teaspoon (tsp) of Cherchies® Champagne Mustard. 

Cut each slice in half. Place a thin slice of ham on six slices of bread and six slices of Swiss cheese for the other six slices of bread.

**Note, the original recipe called for this method. I personally prefer to add both the ham and cheese. (Unless, your guests are vegetarians or have a dairy intolerance, then consider doing it this way).

Cut the cooled asparagus in half.  Top the ham or cheese slices with one half of each asparagus.

Roll up and brush with melted butter.  Place seam side down on a parchment paper-lined baking sheet.  

Bake at 425 degrees for 10-15 minutes, or until golden brown.

Can either serve whole or cut roll-ups in half to serve a crowd.  

Enjoy!

asparagus+rolls.jpg


Yum

Cherry Pie Cookie Bites Recipe

desserts, snacksSheri SpalloneComment
Cherry Pie Cookie Cups Recipe

Cherry Pie Cookie Cups Recipe

Cook Time:  9 Minutes
Prep Time:  10 minutes (plus 2-3 hours for chilling dough)
Difficulty:  Easy

Hello friends!  Happy Valentine’s Day, Happy February, and Happy Cherry Month!  “While most people enjoy cherries in the middle of summer (hello…there is snow on the ground here), Cherry month (February) serves to remind you that cherries can be enjoyed at any time of year, in any form.”  And, “indulging in massive consumption of cherries is the only way to celebrate (daysoftheyear.com).  So, are you ready to talk cherries and Cherry Pie Cookie Bites?

These easy to make Cherry Pie Cookie Bites are mini in size, but mighty in flavor!  Bursting with fresh juicy cherries, bathed in Cherchies® Cherry Butter Spread, and nestled in a homemade buttery cookie crust, these sweet-tart morsels will tantalize your taste buds and make your head swoon.  

Enjoy these little gems for any occasion, any time of the year (even if it is snowing), but make sure to grab some for yourself because these cookie bites will disappear right before your eyes.

print recipe

Here is how they are made.

Thanks for stopping by:) Comment below if you have tried this tasty recipe. Come back again for more family-tested recipes, entertaining ideas, and cooking tips using all our favorite Cherchies® gourmet products.

Follow us on social media: Facebook, Instagram, and Pinterest.

Ingredients
Cookie ingredients
1 1/2 c. sifted confectioner's sugar
1 c. butter softened to room temperature
1 egg
1 teaspoon (tsp) vanilla
1/2 teaspoon (tsp) almond extract
2 1/2 c. sifted flour
1 teaspoon (tsp) cream of tartar
1 teaspoon (tsp) baking soda

Filling Ingredients
1 lb. bag of sweet cherries (pits removed), slice half of them in half
1/2 jar Cherchies® Cherry Butter Spread
1/2 teaspoon (tsp) cornstarch

Icing Ingredients (optional)
1/2 cup powdered sugar
1 teaspoon (tsp) lemon juice

Preparations  
(If you are short on time, feel free to use refrigerated sugar cookie dough). 

In a mixing bowl, cream the sifted powdered sugar and butter.  To sift the powdered sugar (or any dry ingredient), as the recipe indicates, all you need is a fine mesh strainer. Simply plop the strainer over a bowl, pour the ingredients into a strainer, and gently shake the ingredients. It looks like a fine powder when finished.

Add egg and flavorings and mix thoroughly. 

Stir in dry the rest of dry ingredients until incorporated.  Refrigerate for 2-3 hours if going to make into cut out cookies, otherwise chill for 30 minutes.

While the dough is chilling in the refrigerator, make the cherry filling.  Wash and remove pits from cherries.  (Yes, it’s the “pits” to remove them…(Ha!), but use this use this tool or something similar to make life a lot easier). Slice half of the cherries in half (you will use the remaining whole cherries as a garnish at the end).

Why buy canned cherry pie filling when you can make your own from scratch in minutes? It really is not hard and the flavor is so much better than canned pie filling.

In a small bowl, mix the cornstarch and Cherchies® Cherry Butter together.  Add the cherry butter mixture and the cherries to a small saucepan and heat on low for about 5 minutes, or until cherry butter has dissolved and the mixture is smooth and thick, (similar to the consistency of canned pie filling -5 minutes).  Remove from heat and allow to cool.  Set aside.

For cookie balls- Once the dough has chilled, preheat the oven to 375 degrees.  Spray muffin tins with cooking spray.  Shape the dough into 1 inch balls and place into mini muffin tins.

Using a small round measuring spoon, a small melon ball scooper, a mini wooden tart tamper, or your finger, press the dough into the mini muffin tins, creating a cookie cup to hold the filling.  Be careful not to go all the way through to the bottom.  

Bake the cookie cups for about 10 minutes, or until lightly golden brown.  Remove the muffin tins briefly (as they will expand while they bake) to tamp down the dough back into shape.  Return the cookie cups to the oven to finish cooking for a couple of minutes, until cookie cups are a golden brown.

Remove the muffin tins from the oven and allow to cool in pan for 10-15 minutes, then gently run a knife along the sides to pop them out. (If you used enough cooking spray, then the cookie cups should come out rather easily). Once cookie cups have briefly cooled, remove them from the pan and carefully fill them with the cherry filling, making sure to add a whole cherry on top for the garnish. For the "icing on top", mix together the powdered sugar and lemon juice in a small bowl.  If the icing is too thick, add a couple of drops of water, until the consistency is thick but smooth and runny.  Drizzle the icing over the cherry pie cookie bites with the tines of a fork.

Enjoy!


Yum