Cherchies Blog

snacks

Vegetable Cream Cheese Spread Recipe

breakfast, snacks, glaze marinade & sauceSheri SpalloneComment
Vegetable Cream Cheese Spread Recipe

Vegetable Cream Cheese Spread Recipe

Cooking Time: 15-20 minutes  
Difficulty: Easy

Today's recipe is a copycat version of our family's beloved Philadelphia's Garden Vegetable Cream Cheese Spread. It is chock full of vegetables, and fresh herbs, is a fraction of the cost of the store-bought brand, and I have to say, this recipe is pretty darn close to the original.

Bagels and cream cheese are a staple breakfast or after-school snack in our home, especially bagels slathered with Philadelphia Garden Vegetable Cream Cheese, our family's favorite. Unfortunately, the small tubs found in grocery stores do not last long in a home with teenagers, teenager friends that stop by, and a young adult, all with voracious appetites. Anyone who has teenagers can attest to how quickly food disappears. Yeesh!

Re-creating recipes at home is my thing, so I took a stab at re-creating my family's beloved veggie cream cheese spread because I could make larger quantities and control the ingredients. It took a couple of tries experimenting with the ingredients (apparently, cucumber was a no-no), but according to our "Master Taster Tester," as my son calls himself, this recipe got a thumbs up! With just a few ingredients and a couple of minutes of chopping and mixing, the result was a creamy, dreamy, savory spread, the perfect addition to bagels, crackers, sandwiches, and more! This recipe is so tasty and economical that you may never use the store tubs again!  

Comment below if you have made this sensational spread. Thanks for stopping by. Please come back again.

Ingredients

  • 3 (8 oz.) packages of cream cheese, softened

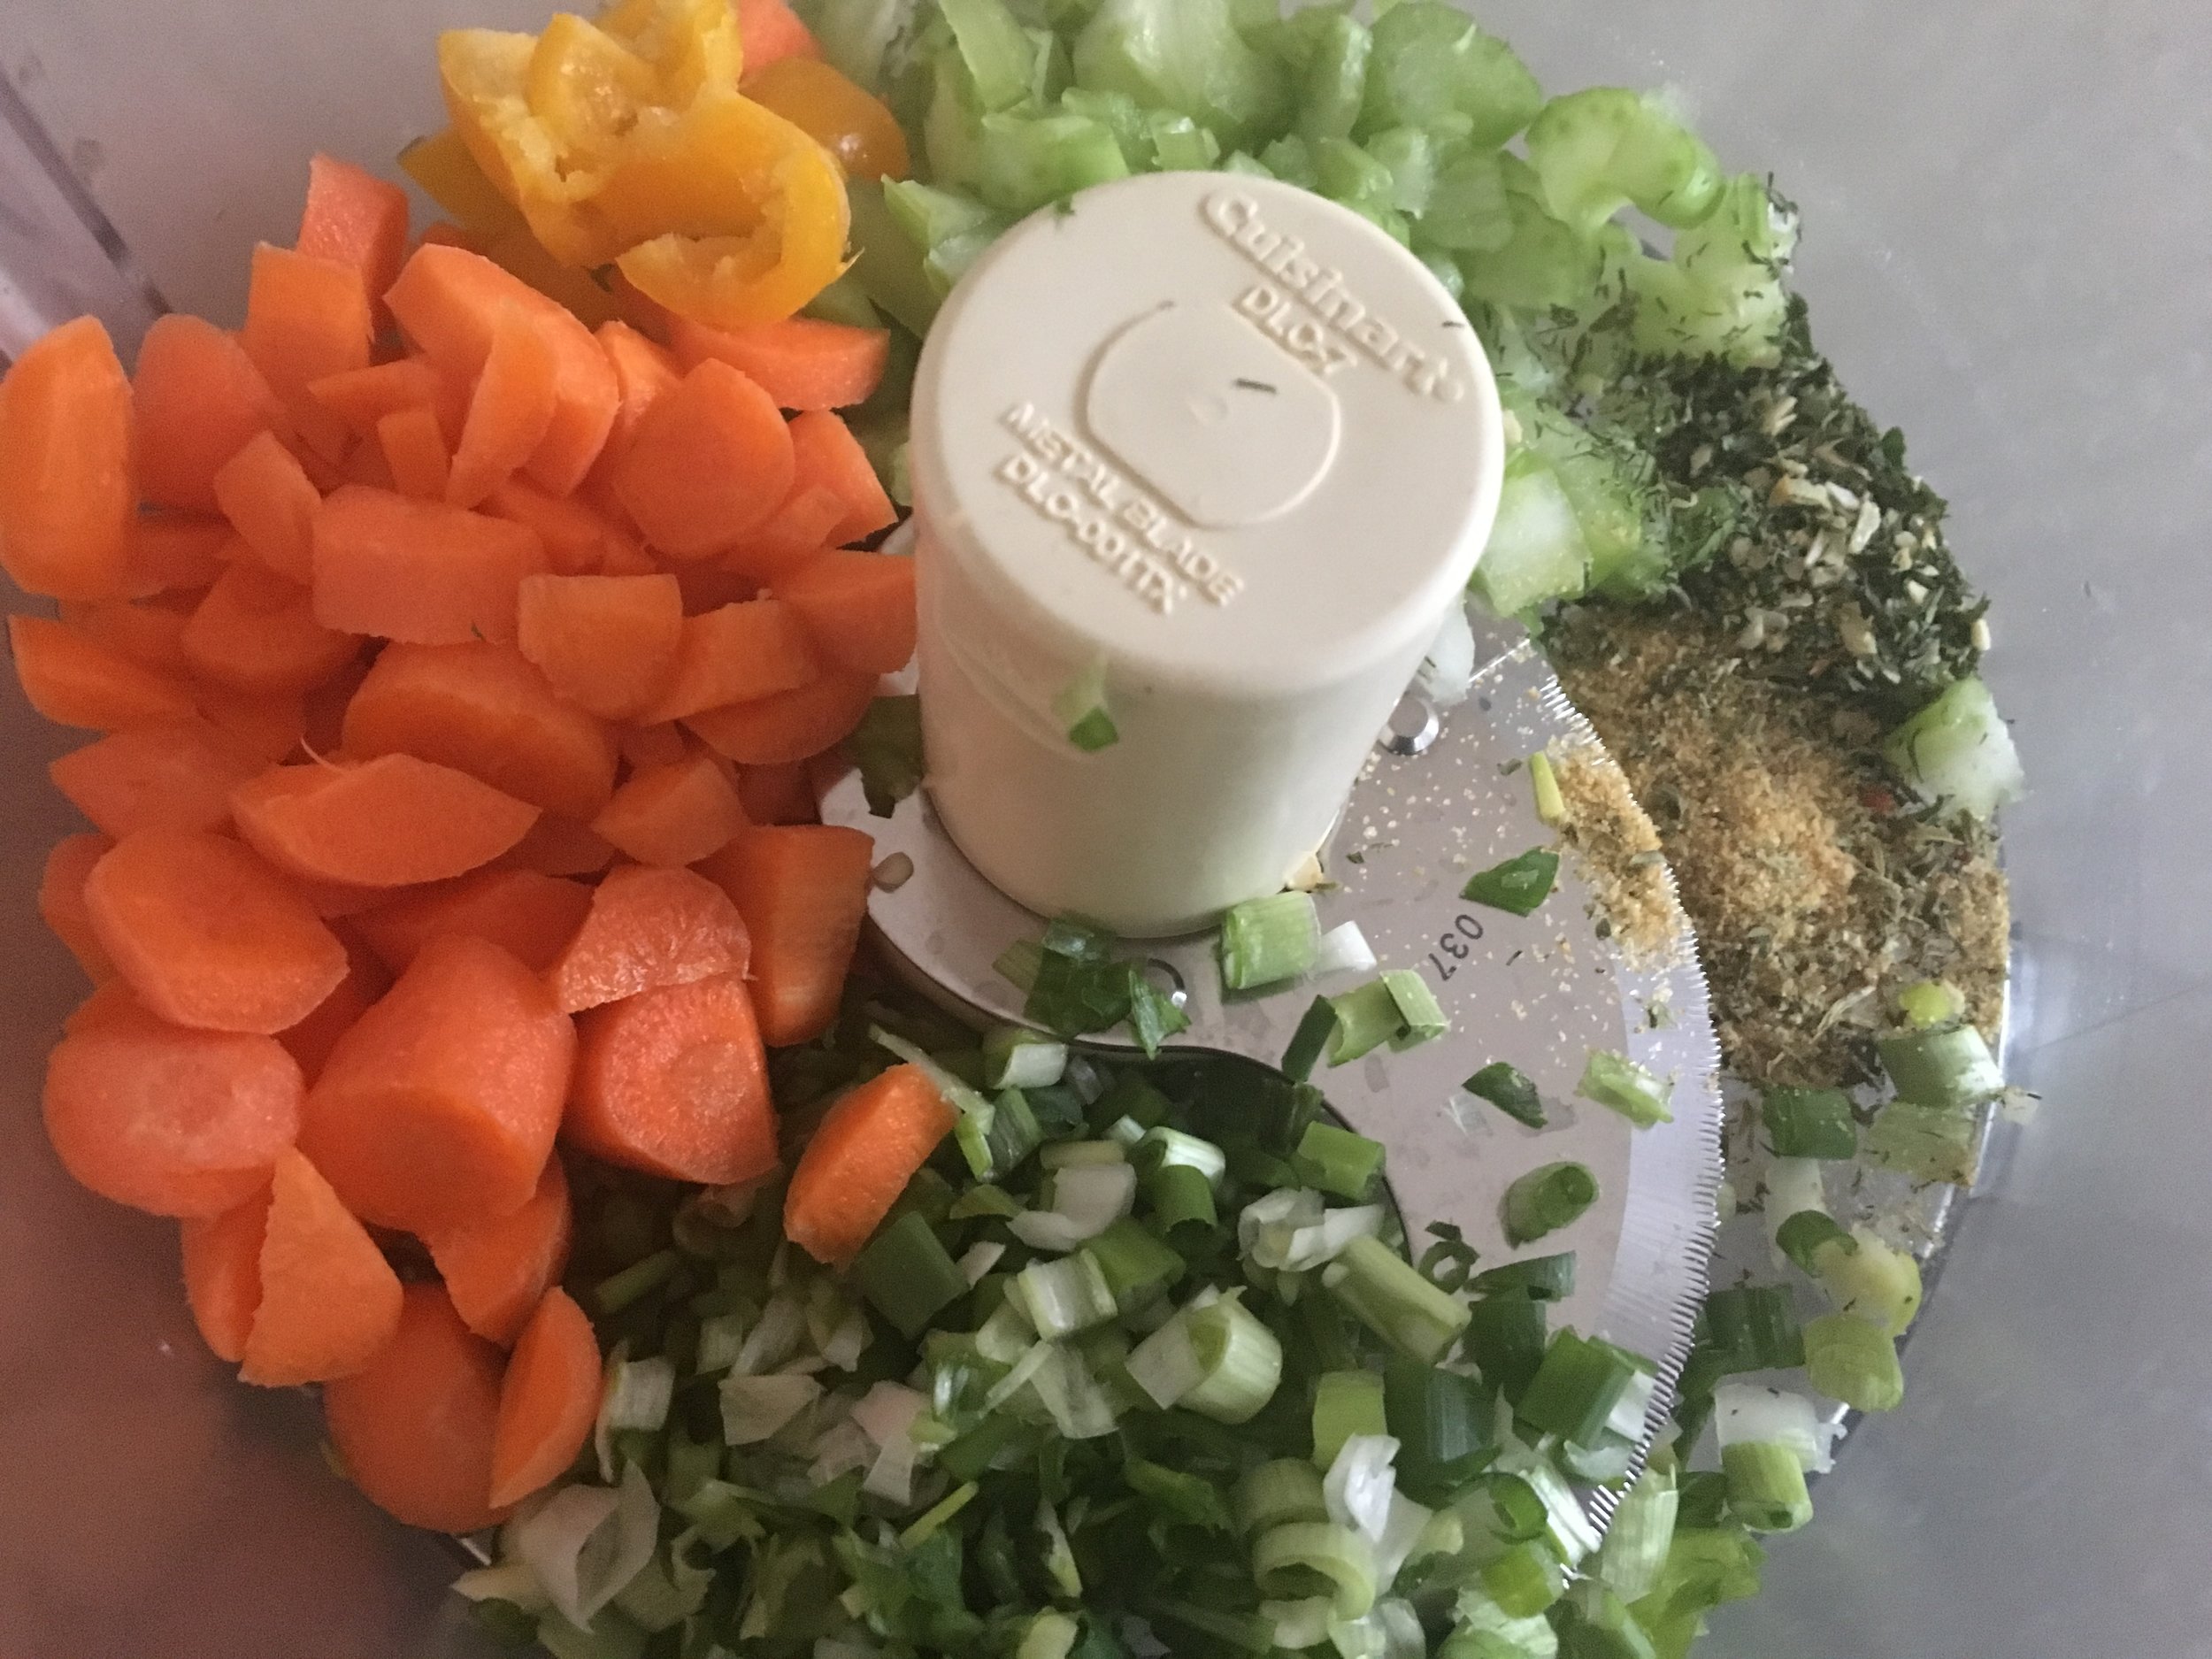
  • 1/2 whole green pepper, seeded and coarsely chopped

  • 1/2 whole red pepper, seeded and coarsely chopped

  • 1/2 whole yellow pepper, seeded and coarsely chopped

  • 6 whole green onions, sliced

  • 1 large carrot, peeled and coarsely chopped

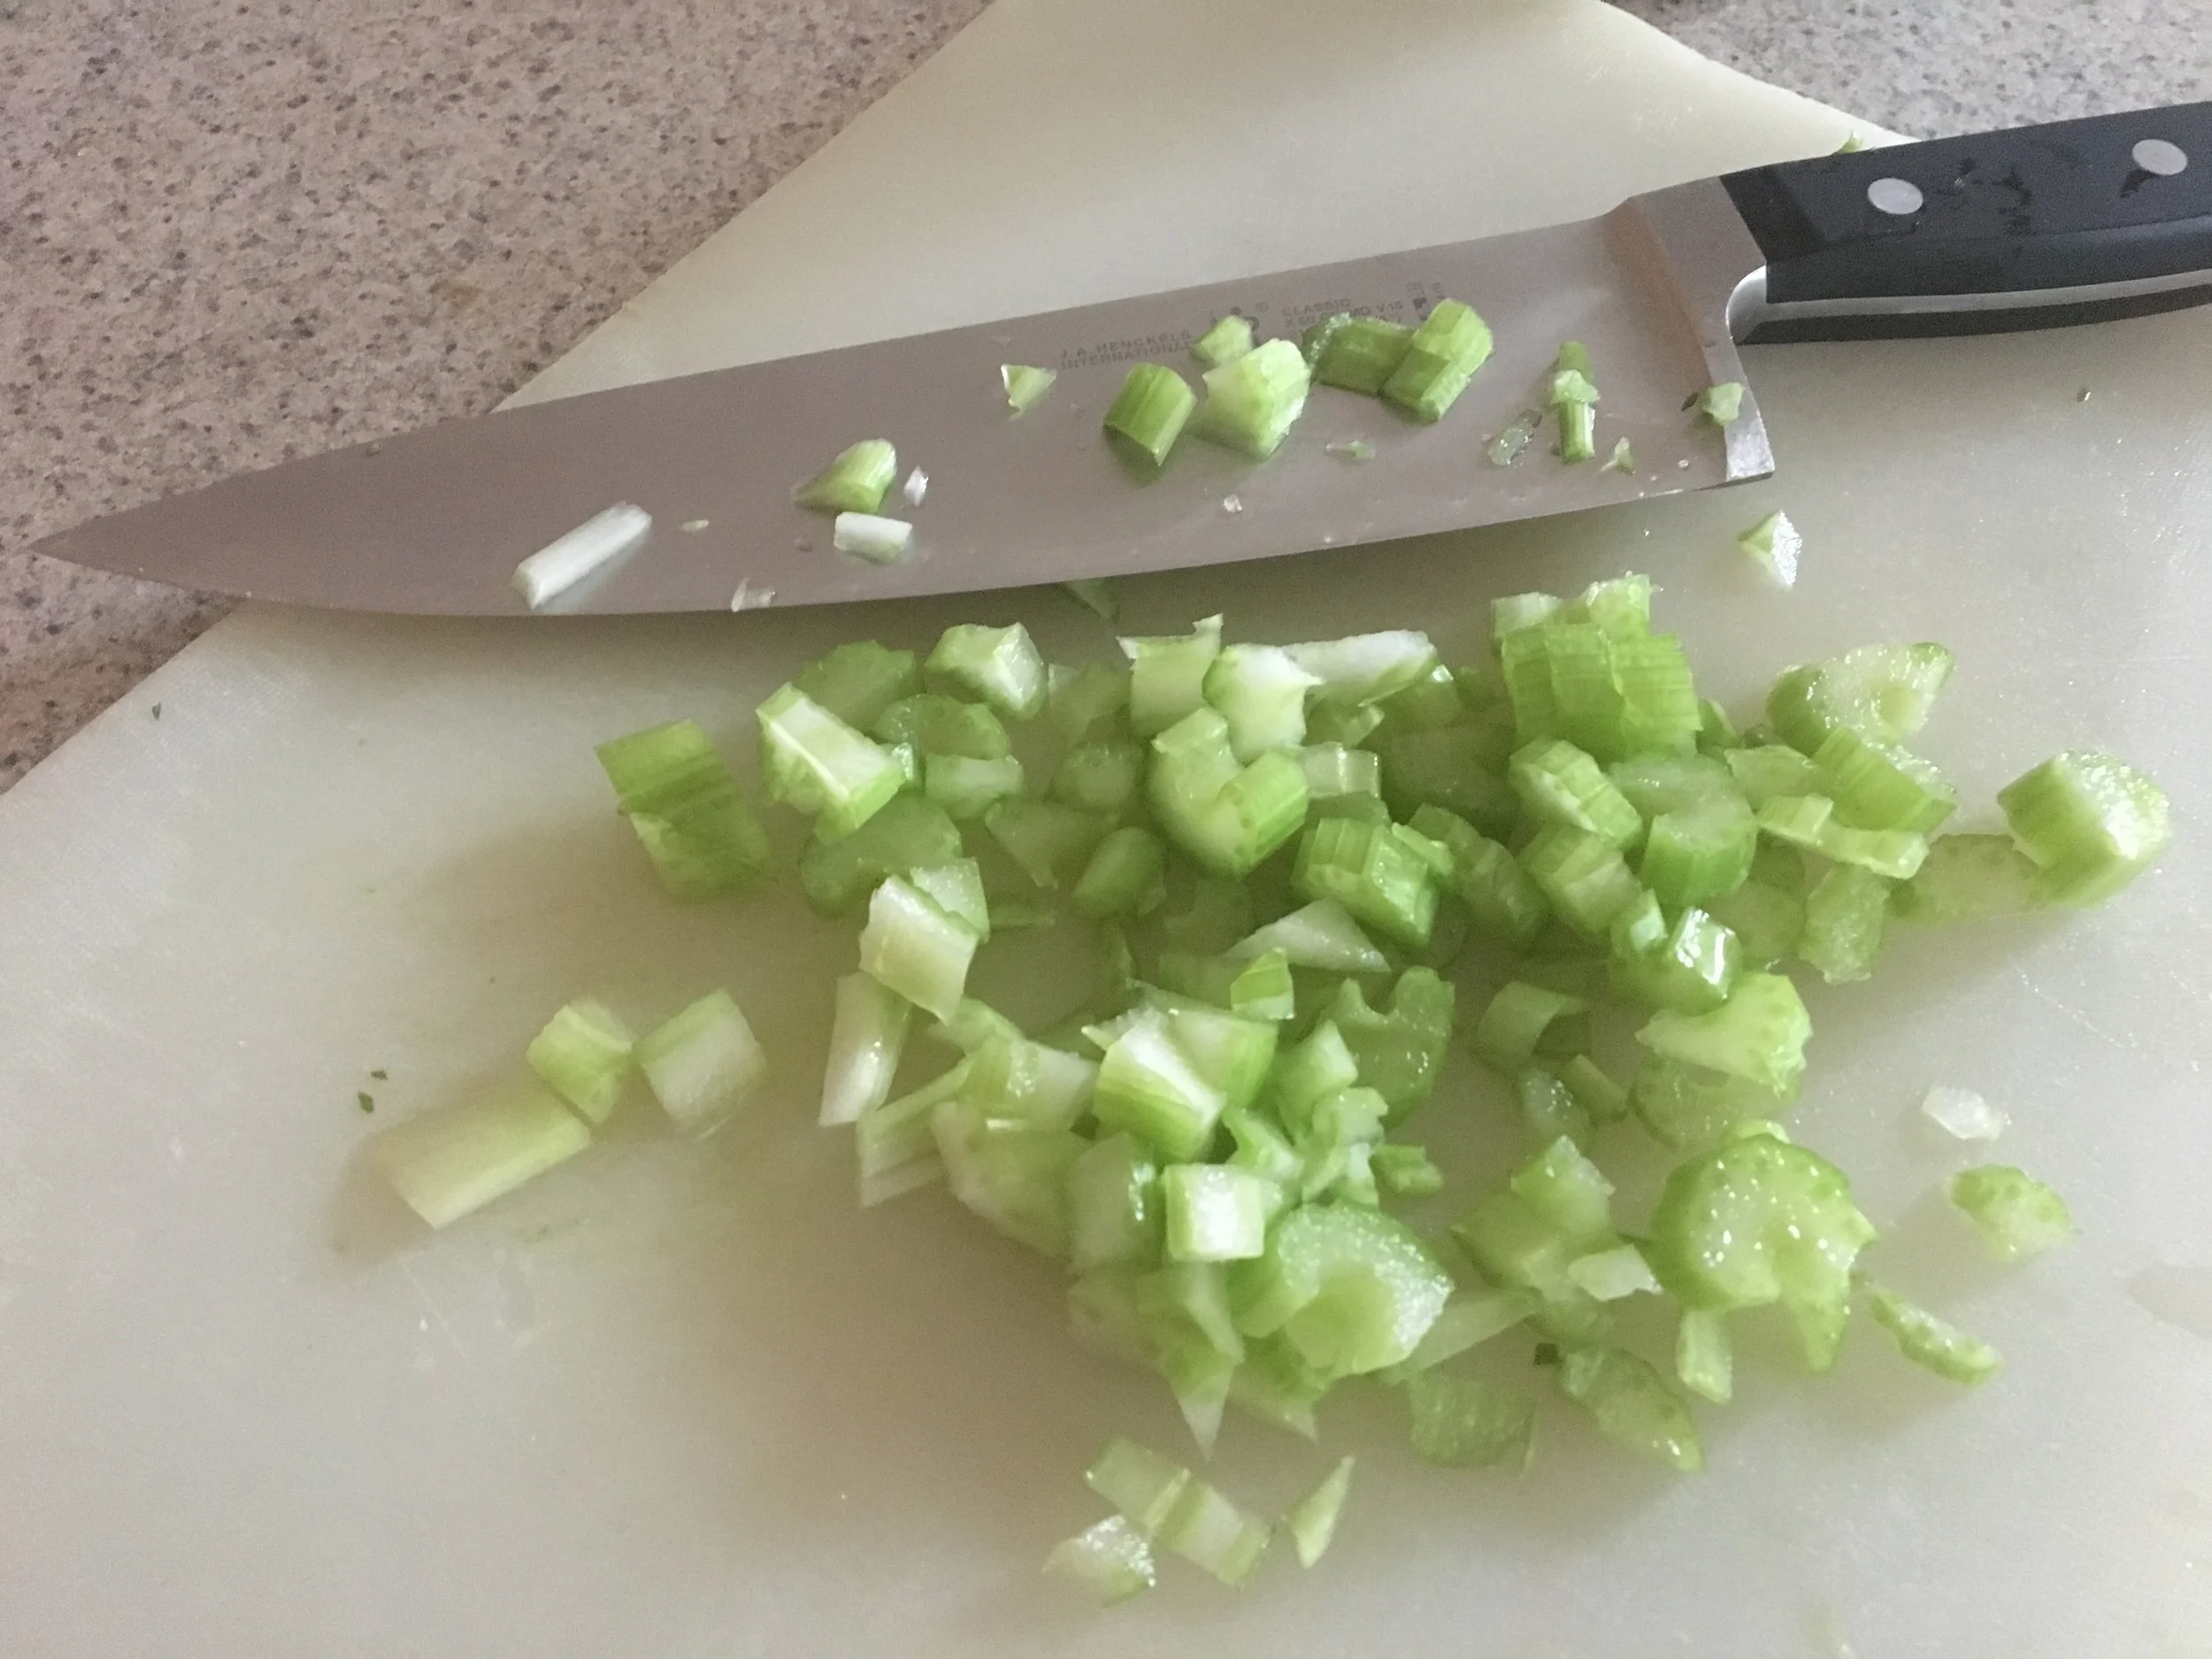
  • 1 stalk of celery, coarsely chopped

  • 1 clove of garlic, peeled

  • 1 1/2 Tablespoon (Tbsp) coarsely chopped chives (more to taste)

  • 1 Tablespoon (Tbsp) Cherchies® Lem'n Dill Seasoning (more to taste)

  • 1 teaspoon (tsp) Cherchies® Garlic Seasoning (more to taste)

*Feel free to add or subtract any veggies or herbs to your liking.

Preparation
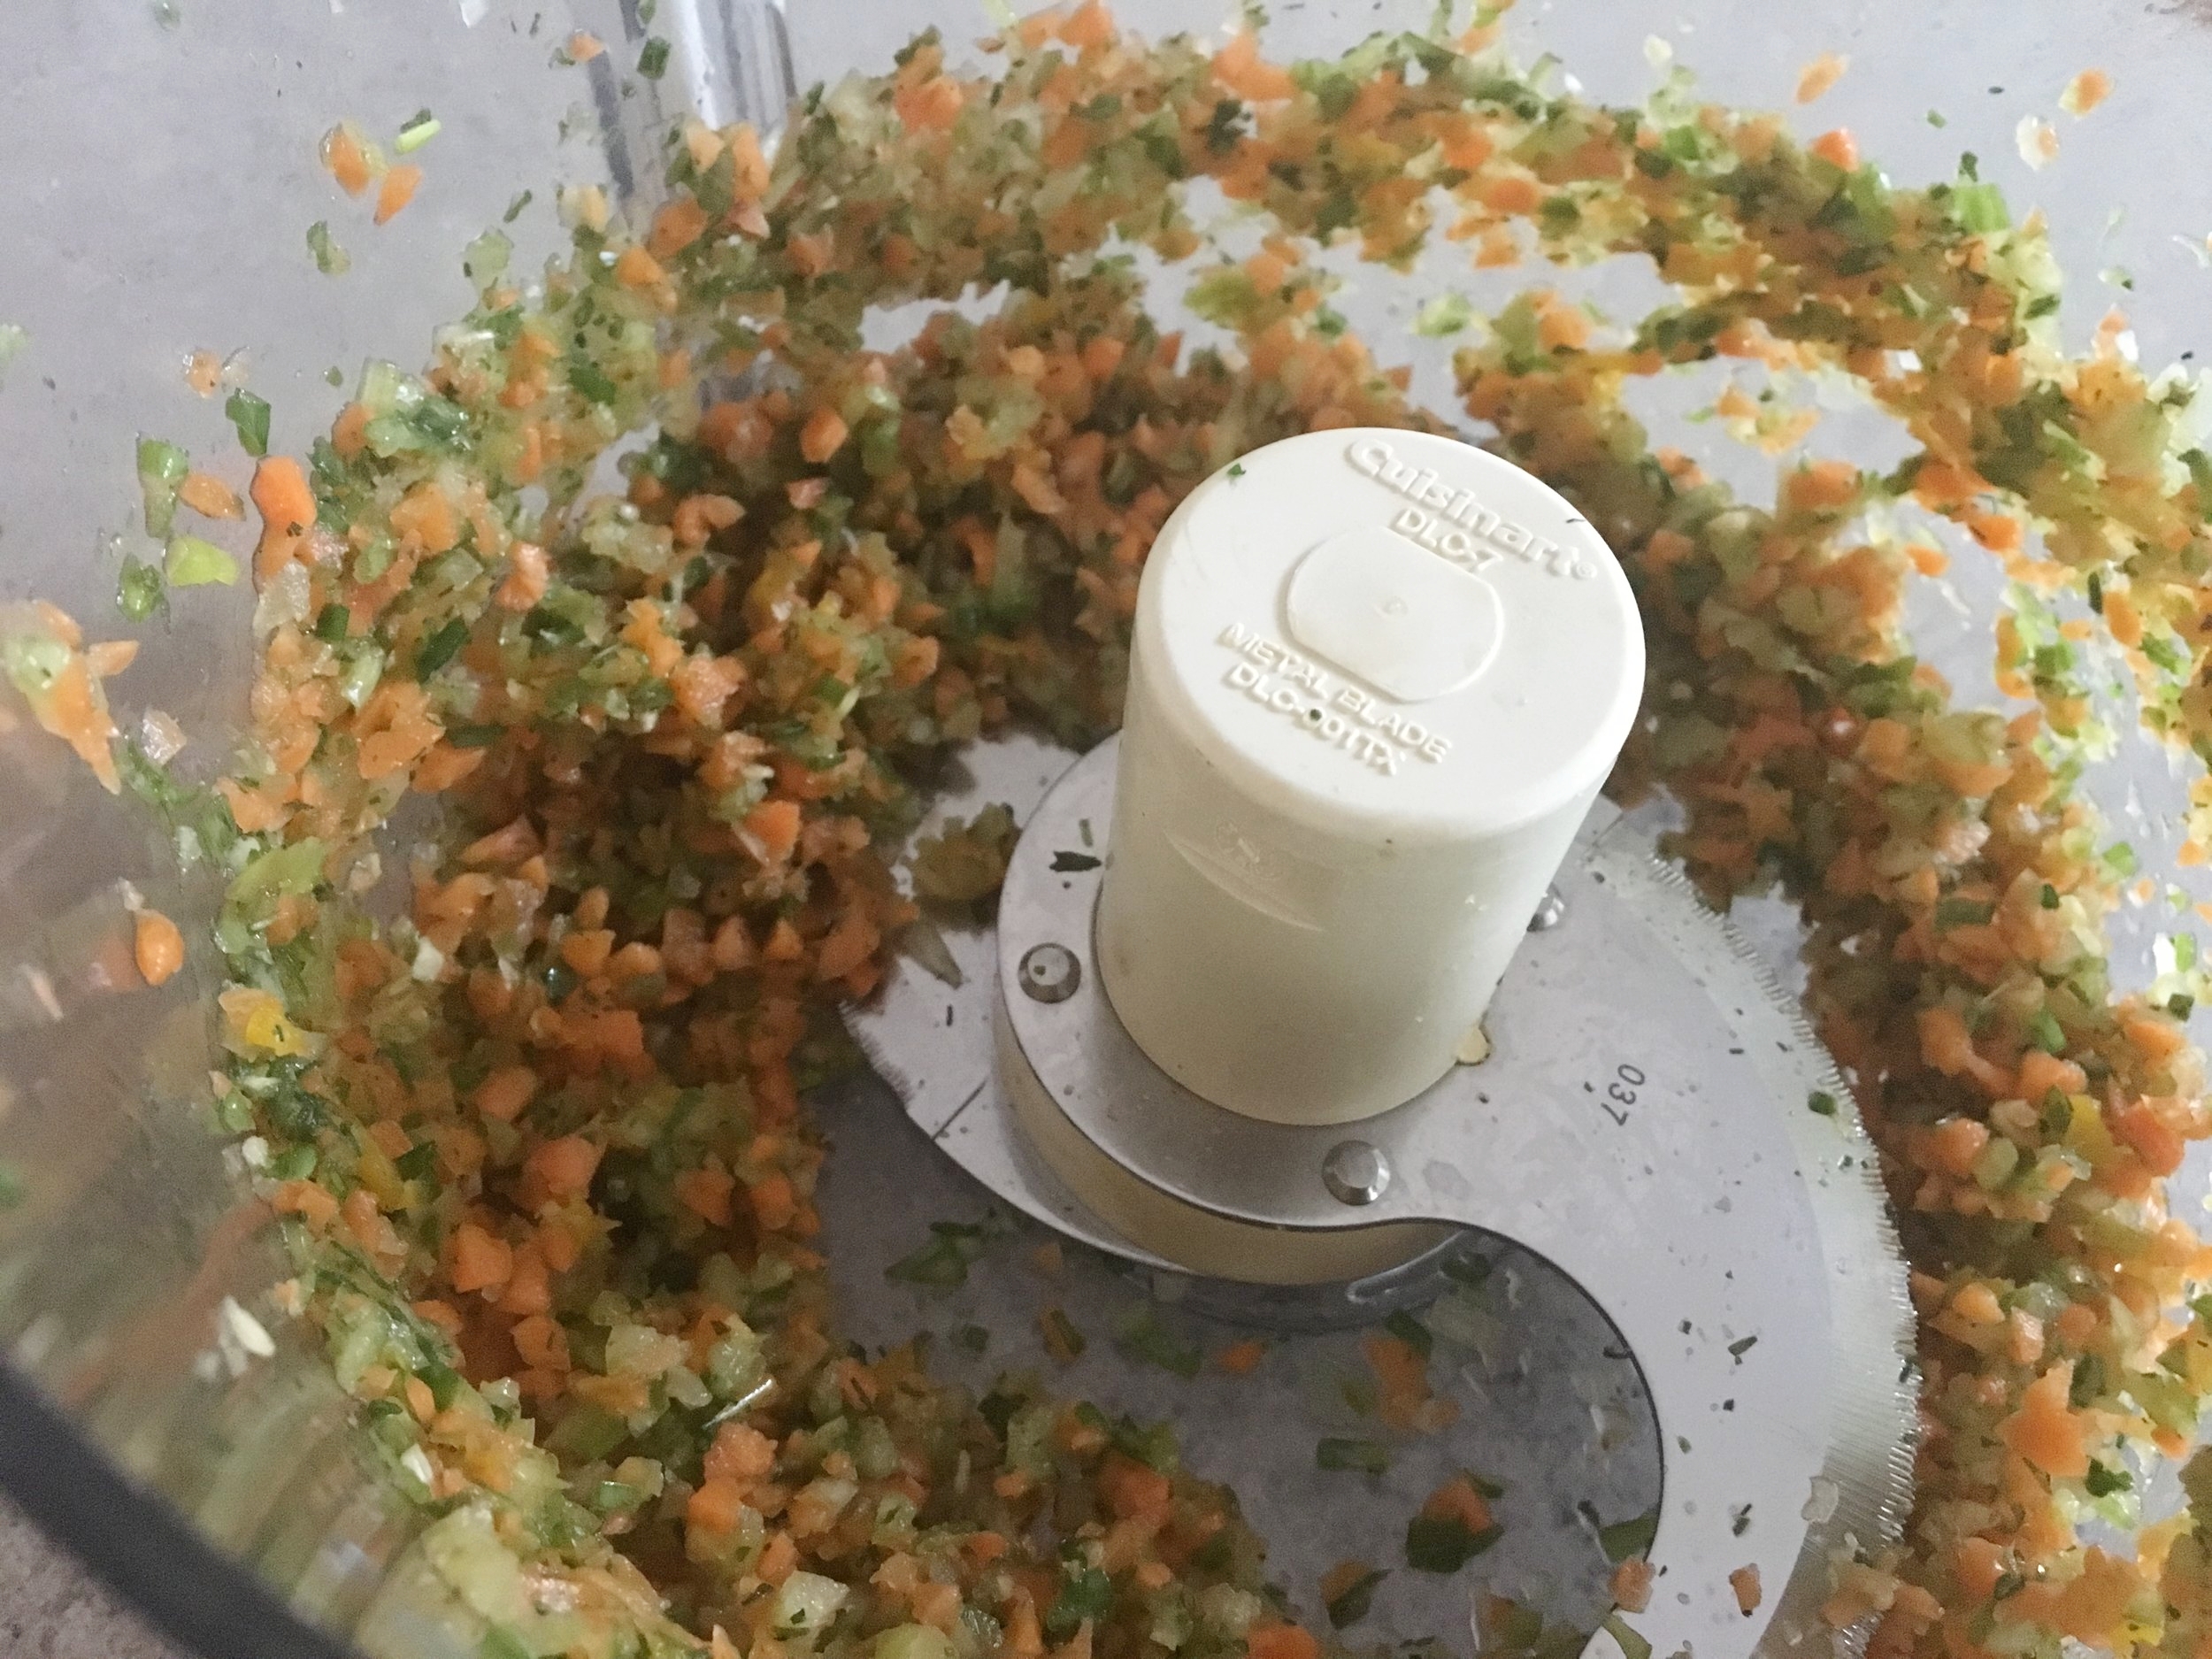
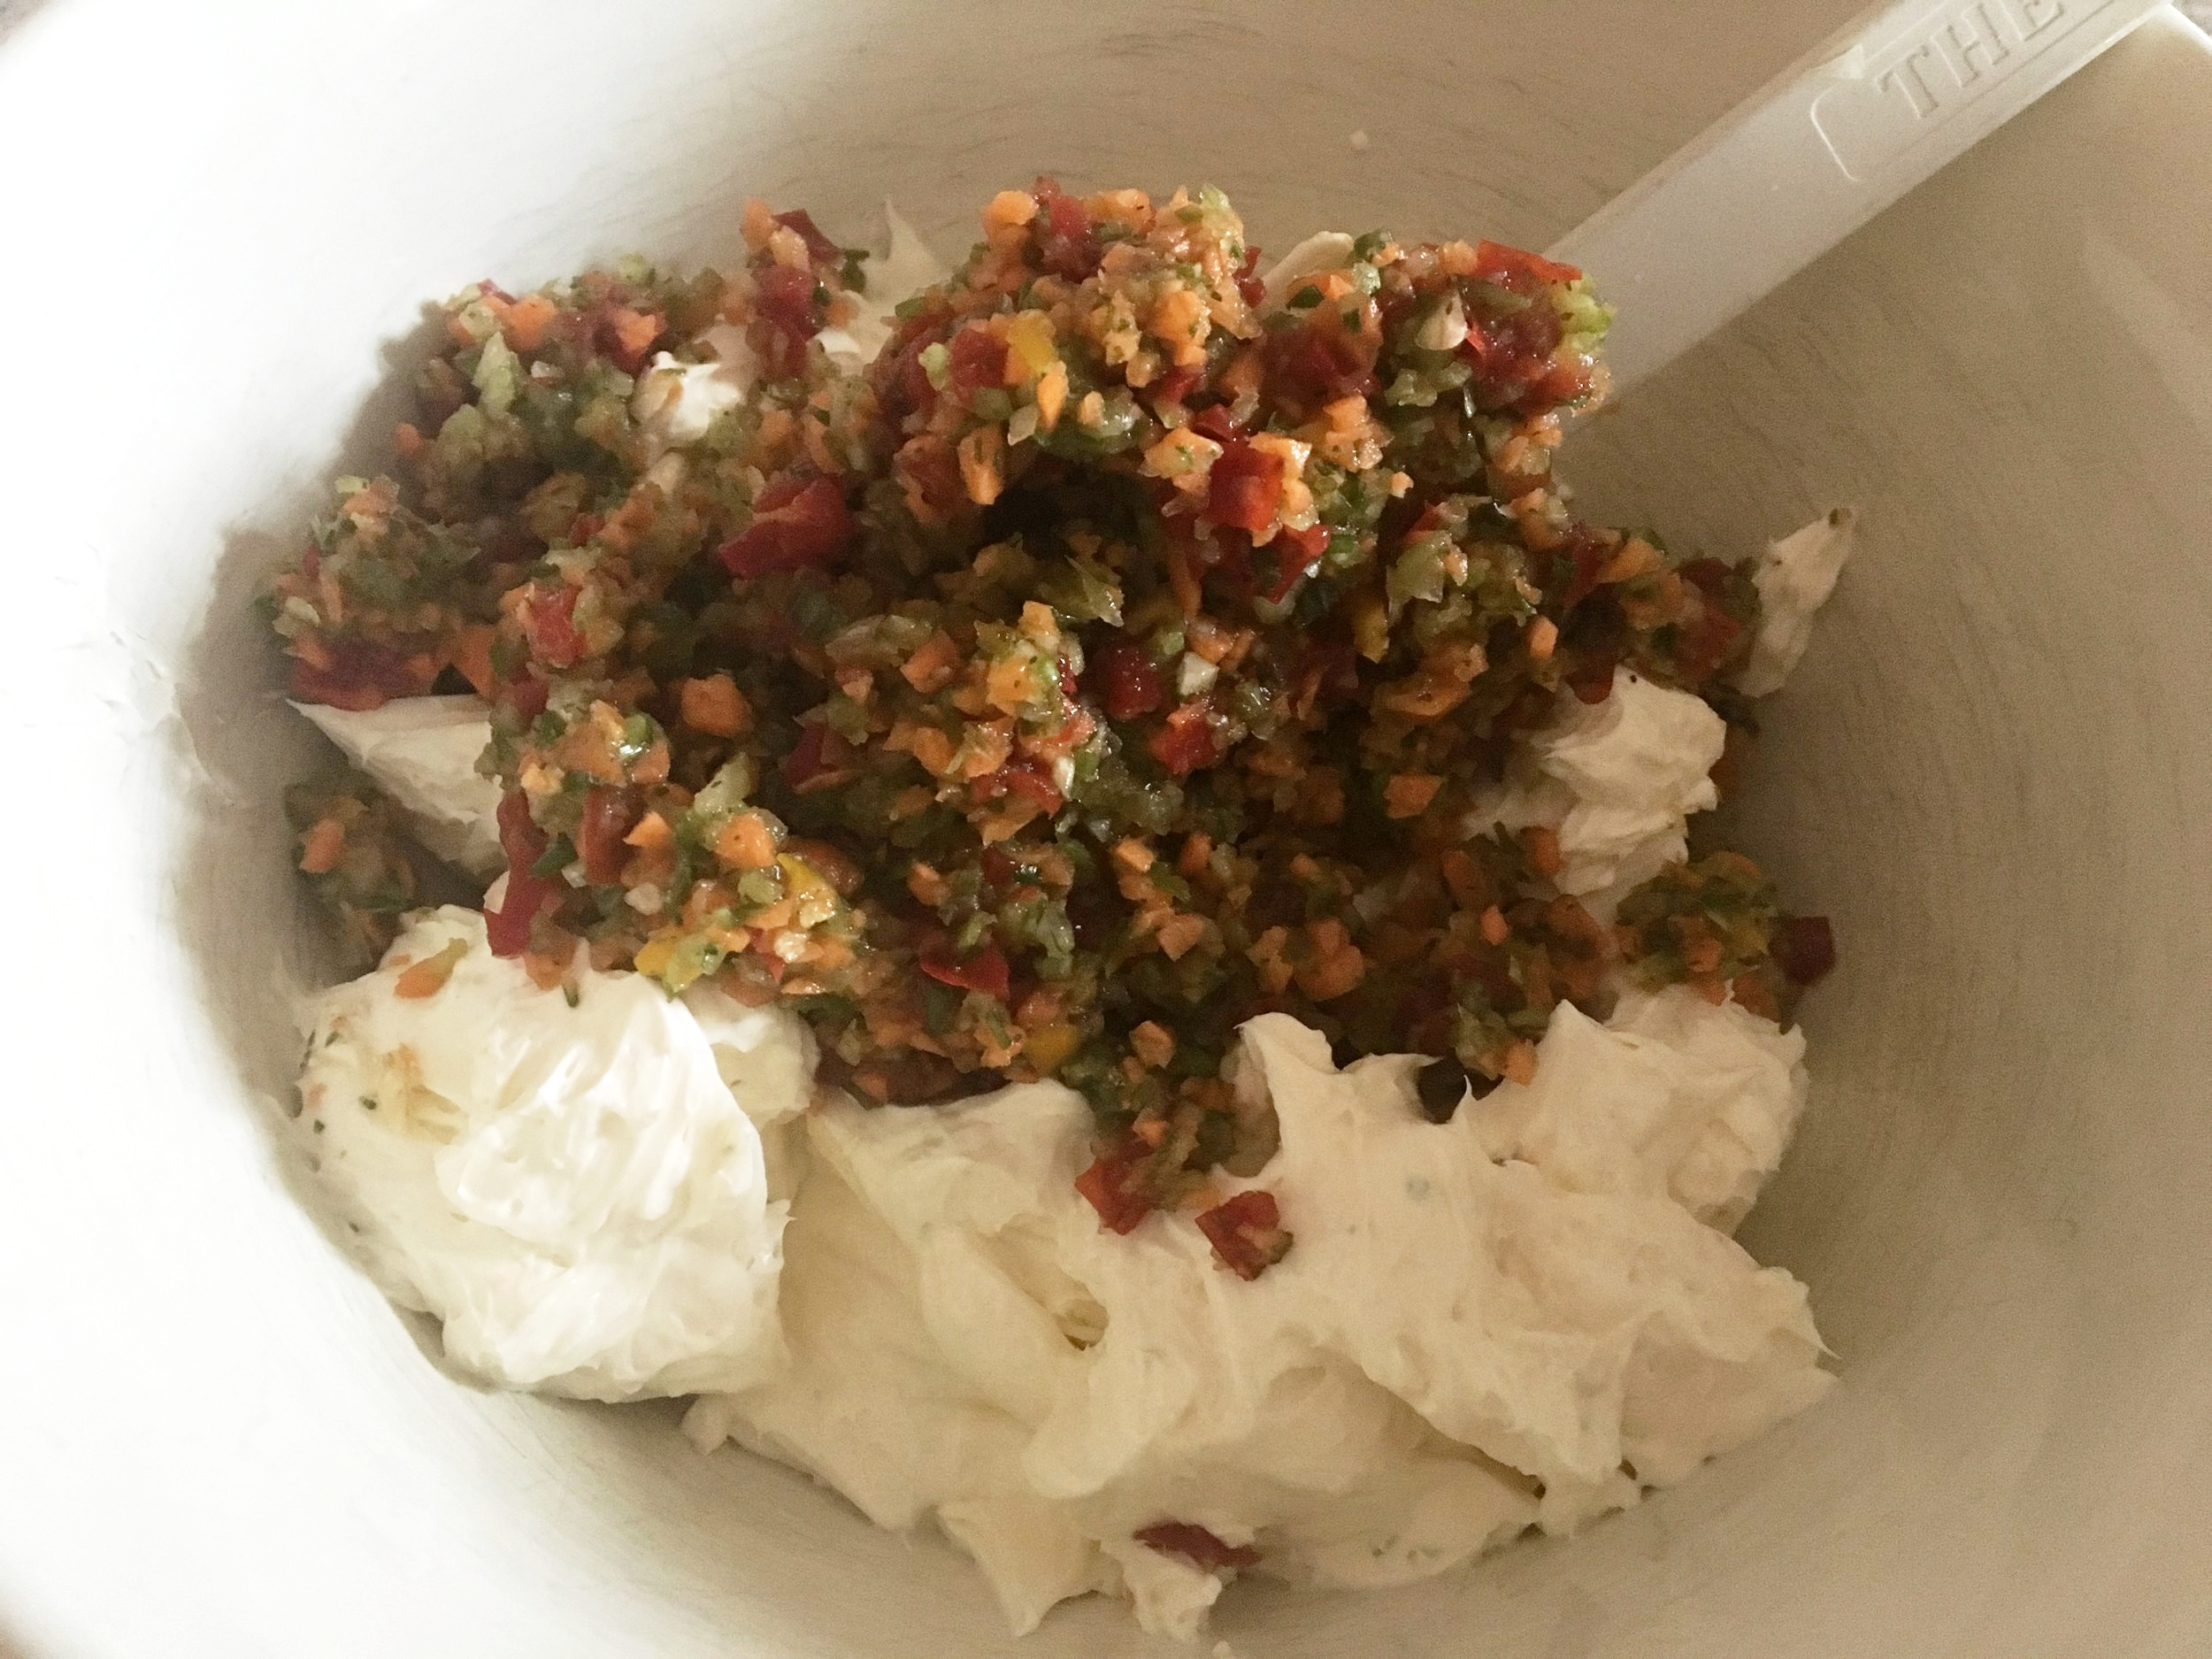
Coarsely chop the peppers, the onions, carrot, celery, and herbs.  Add all the ingredients, except the cream cheese, to a food processor and pulse until desired consistency.  My family prefers chunks of vegetables in their veggie cream cheese spread, but you are welcome to pulse until really fine. Scoop out the vegetable mixture from the food processor and place into a bowl. Set aside.  

*Note:  if you do not have a food processor, don't fret, this recipe can easily be made by finely chopping up all the ingredients and adding to the softened cream cheese.

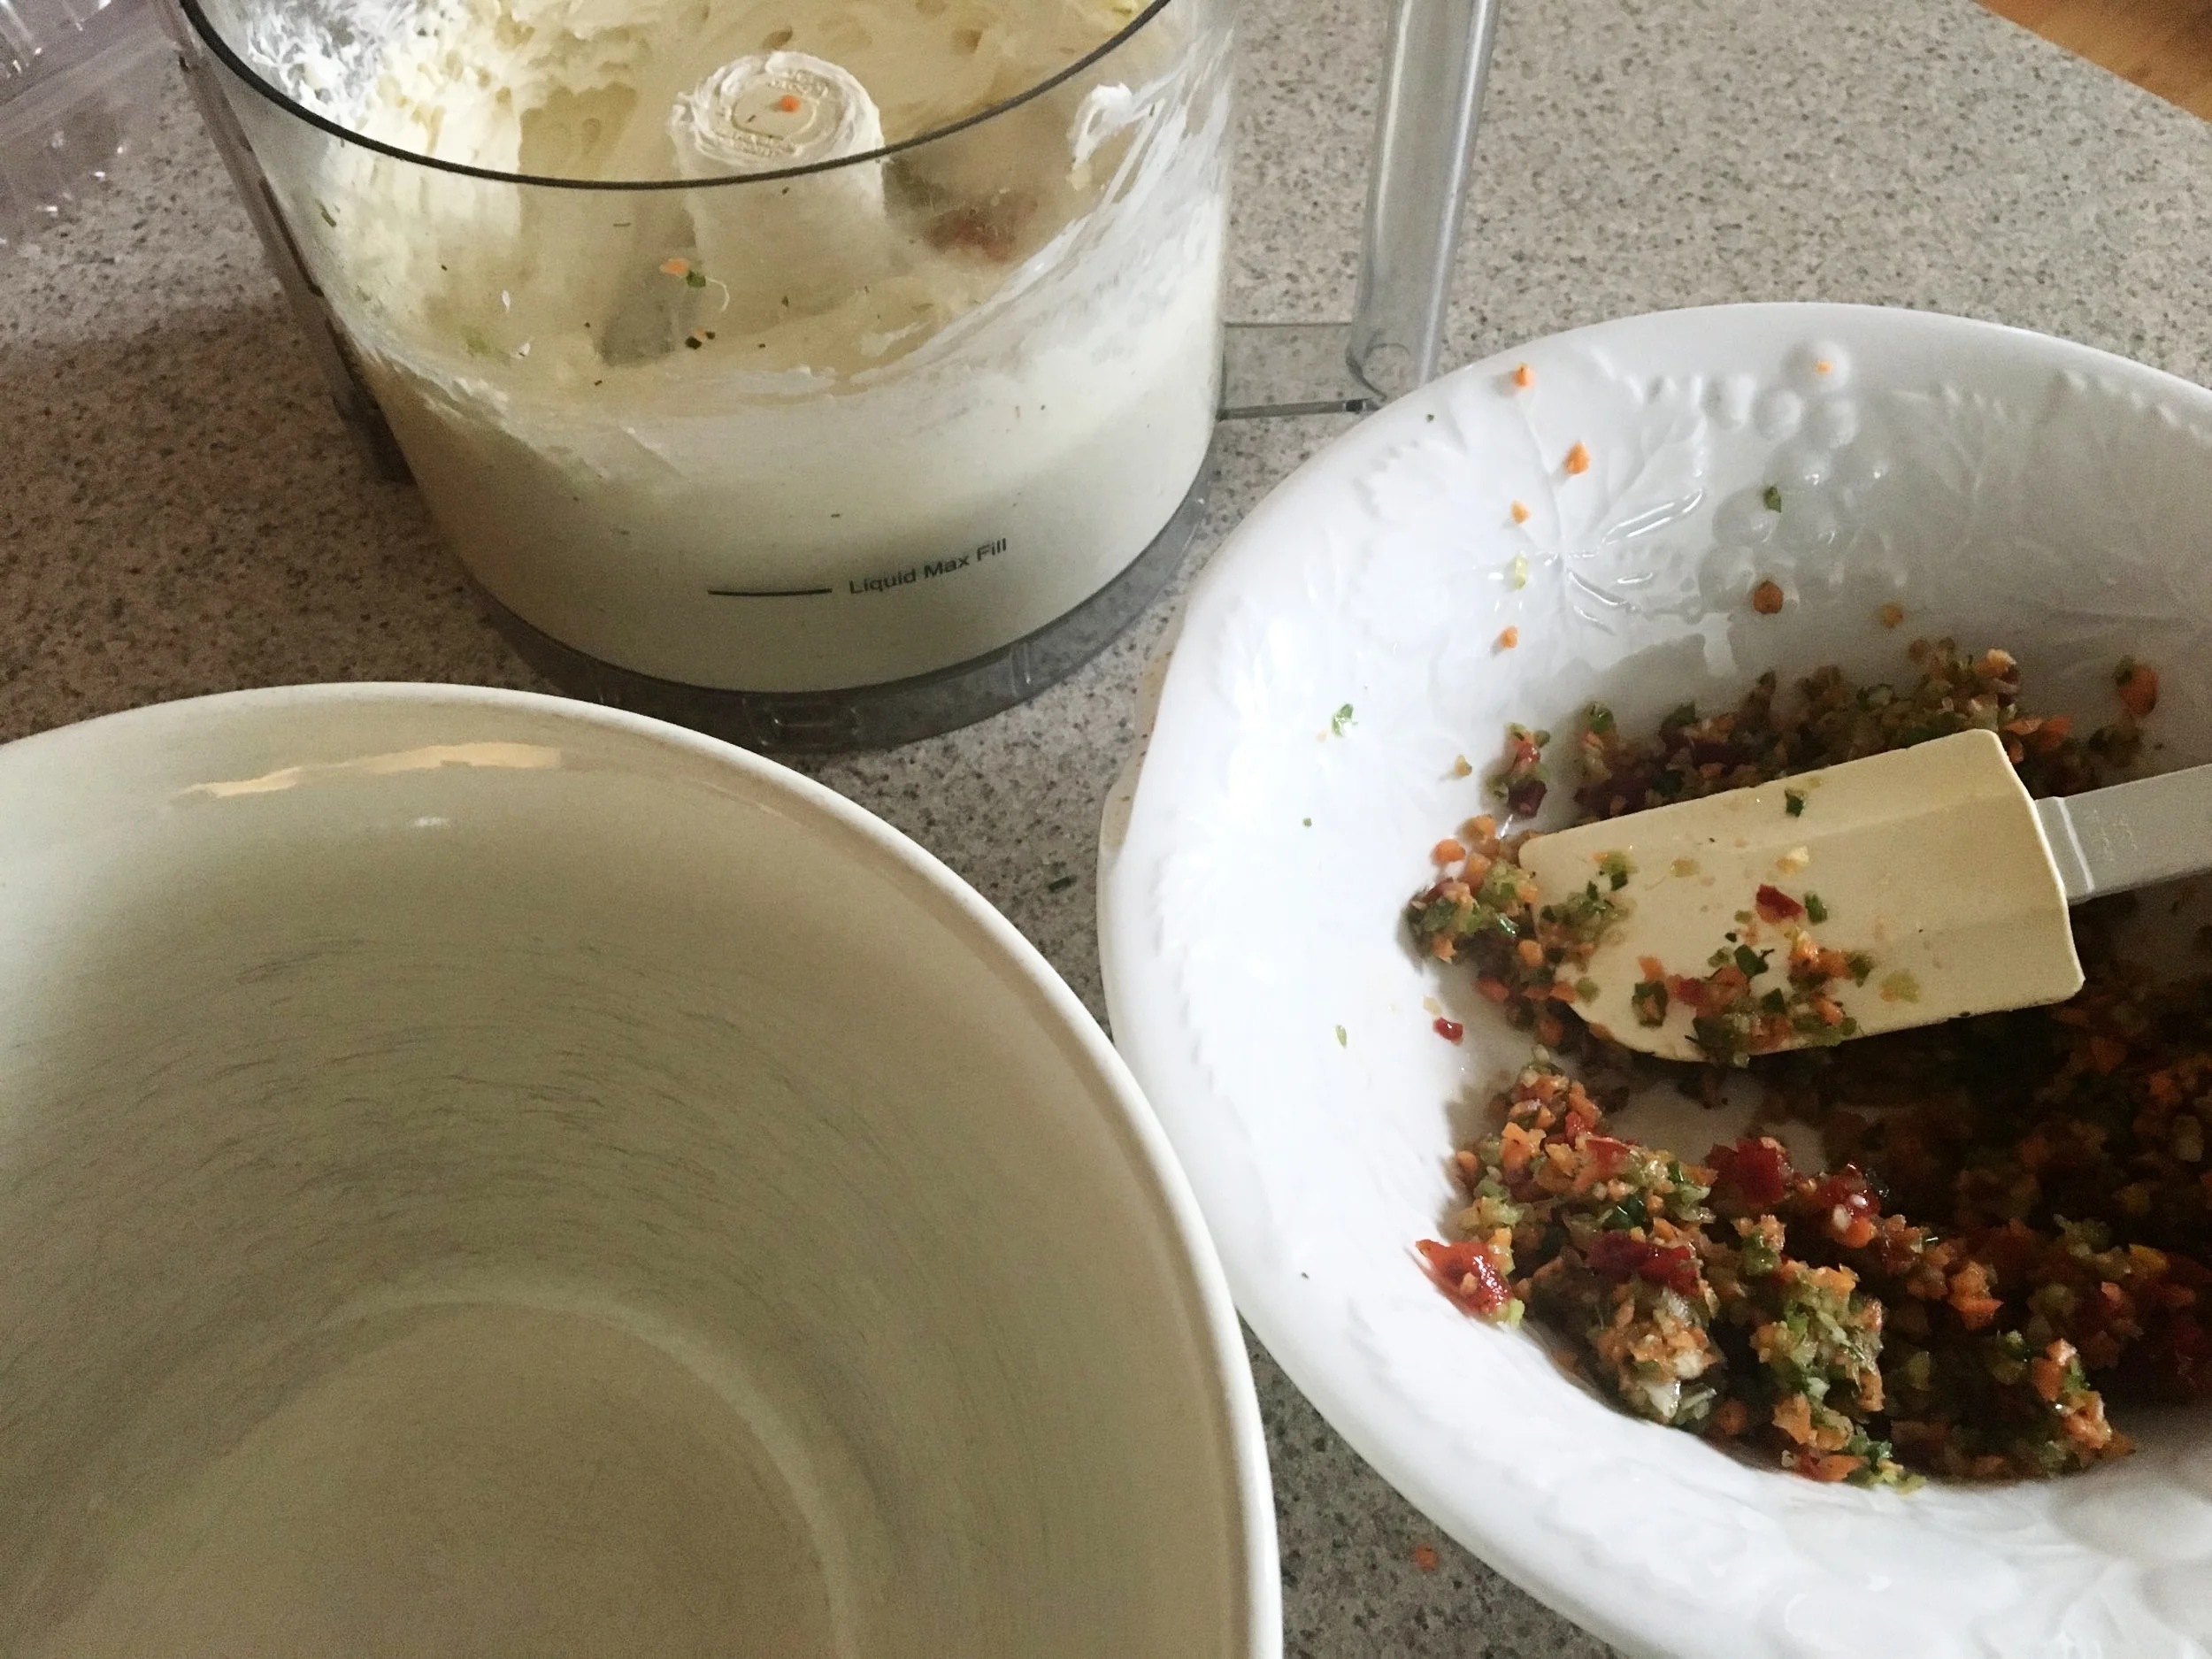
Combine the cream cheese in the food processor until smooth.   Remove the cream cheese from the food processor and add to the vegetables.  Mix to combine.  Refrigerate the mixture for at least a half hour to marry the flavors.

Spread this heavenly mixture on just about anything, bagels, crackers, sandwiches, wraps, or use as a dip.  Enjoy!

Vegetable Cream Cheese Spread Recipe

Vegetable Cream Cheese Spread Recipe

Yum

Tuna Pinwheel Recipe

appetizers, snacks, lunchSheri SpalloneComment
Slide5.JPG

My mom used to make these all the time when my sister and I were growing up.  This recipe was from an old Betty Crocker cookbook (remember those?)  She would bring these pinwheels to our neighborhood parties and they would be gobbled up in no time. It's funny how tuna salad, presented in these tasty buttery bites, could be so addiciting.  Of course I took mom's recipe and tweaked it with a hint of Cherchies® Champagne Mustard and some with our Cherchies® Hot Banana Pepper Mustard.

The true test was trying them on our children, our favorite "taster-testers" (their word for themselves as they were growing up).  They have come a long way over the years in trying new things, but tuna is definitely not their favorite.   I made these delicious morsels just in time for their after school snack.   To my delight, they loved them, in fact, they were devoured in minutes, even the ones I brushed with our spicier Hot Banana Pepper Mustard!!  

This recipe would make the perfect tasty appetizer or afternoon snack, but save some for yourself, because they will disappear quickly.  

Thank you for stopping by:)

Ingredients 

  • 1 can (6 1/2 oz.) white tuna, drained and flaked

  • 1/2 cup mayonnaise

  • 1/2 cup finely chopped celery

  • 1 Tablespoons (Tbsp.) sweet pickle relish, drained

  • 1/2 teaspoon (tsp) dry mustard

  • 1 teaspoon (tsp) Cherchies® Champagne Mustard (or for a spicier palate, try our Cherchies® Hot Banana Pepper Mustard

  • 20 slices square sandwich bread, crusts removed

  • 4 Tablespoons (Tbsp.) melted butter

  • Paprika


Preparation   
Carefully remove the crusts from the bread with a knife.  In a medium bowl, combine the tuna with the remaining 5 ingredients.  

For easy clean-up, place a sheet of parchment paper over a baking sheet.  Line the slices of bread on the baking sheet.  Thinly brush each slice of bread with half of the melted butter, reserving the other half.  Spread each slice with tuna salad.  (This time, I spread a few slices with our Hot Banana Pepper Mustard to see how they would turn out).

Roll each slice like a jelly roll and place three toothpicks into the bread to secure. Slice each tuna roll into 3 pinwheels.  

When ready to serve, brush the pinwheels with the remaining melted butter, sprinkle lightly with paprika, and broil the pinwheels until lightly toasted.  Makes about 60 pinwheels.

Remove these delicious morsels from the oven and serve immediately.  Enjoy!

Yum

Homemade Pop Tarts Recipe

breakfast, snacks, dessertsSheri SpalloneComment
Slide1.jpg

Happy Valentine's Day, friends! Last year, I posted a recipe for Homemade Toaster Strudels. This morning, before the kiddos went to school, I surprised my favorite valentines with sweet, tasty, fruity, homemade Valentine Pop-Tarts. Sweets for my sweeties:) Needless to say, Mom prevailed a hero (a great way to start the day).

I used the same idea as the Toaster Strudels, except this time, I substituted refrigerated pie dough to emulate the Pop-Tarts sold in grocery stores (our kiddos love, but I am not a fan). Yes, I certainly could have made the pie dough from scratch, but considering school mornings are crazy enough, I opted for grocery store refrigerated pie dough.

Since February is Cherry month (didn't know that did you?), I decided to go with our Cherry Butter for the filling (but any of our Butter Spreads or **Preserves (see below) could be used in this recipe).  And, because it is Valentine's Day, I went the extra step and used large heart-shaped cookie cutters to seal the deal.  These "Pop-Tarts" were delicious by themselves, and adding gooey icing and sprinkles made these semi-homemade "Pop-Tarts" irresistible! Hands down, these homemade Pop-Tarts are far better than the grocery store versions and are our children's new favorite. Try our homemade version today. You may never go back to store-bought Pop-Tarts again.

Happy Valentine's Day!

Thank you for visiting. Comment below if you have tried this recipe and if you have pictures to share.

Ingredients

  • 2 rolls of room temperature refrigerated pie dough

  • Cherchies® Cherry Butter (or could substitute Cherchies® Strawberry Butter, or Cherchies® Apple Butter, or any of our **delicious preserves, mixed with 1 Tablespoon of corn starch).

  • 1 egg, beaten

  • 1 cup powdered sugar

  • 1 Tablespoon (or more depending on consistency) heavy cream

  • 1 or two drops of food coloring (I actually used 1 Tablespoon of additional Cherry Butter in the icing in lieu of food coloring)

  • 1 large heart-shaped cookie cutter- Approx. 4 1/2 inches in diameter (optional)

  • Sprinkles (optional)

Preparation

Preheat the oven to 350 degrees.  Lightly flour your prep surface.  Roll out the dough over the counter or prep surface. Use cookie cutters to cut out desired shapes.  If making simple Pop Tarts (not using cookie cutters, cut off rounded ends of pie dough, and cut pie dough into rectangles).

Line a baking sheet with parchment paper.  Add about 1-2 Tablespoons (depending on size of cookie cutter) with Cherchies® Cherry Butter Spread to the center of the dough, making sure to leave at least 1/2 inch around the perimeter of the dough for sealing.

Place another piece of dough gently over the filling and crimp the edges with a fork to seal the tart.  Seal well to keep the tasty fruit inside from seeping out. 

Brush the egg over the entire tart, and bake in the oven until the tarts are golden brown.  Allow to cool slightly before icing the tarts.  

While tarts are baking, mix the icing.  In a small bowl, combine the powdered sugar, heavy cream, and food coloring (in my case, I used the Cherry Butter to color the icing).  If icing is too thick, add a couple drops of heavy cream at a time to thin the icing.  Icing should slightly ooze off the spoon.  While tarts are still warm, scoop a large spoonful of icing and drizzle it over the pop tarts.  If desired, add sprinkles and watch them disappear!  

Enjoy!

Homemade Pop Tarts Recipe


Yum

Fig and Herbed Brie Cups Recipe

appetizers, snacksSheri SpalloneComment
Fig and Herbed Brie Cups Recipe

Fig and Herbed Brie Cups Recipe

These savory fig cuties hit all the flavor notes in one tasty bite and are a breeze to make for any occasion.

The intense flavors of the savory garlic, tangy brie cheese, and sweet figs, make this a recipe one to cherish.  This recipe is perfect for those last minute holiday celebrations.  For a sweeter version of this recipe, check out our Hot Pepper Jam and Brie Cups Recipe.  Or, live on the edge and bring both;)

Ingredients

Preparation

Preheat oven to 350 degrees F.  Remove rind from brie and cut into chunks (about 1 teaspoon).  This is an old picture.  Obviously I did not remove the rind.  Some prefer the rind left in tact, while others do not. Your choice.

Place phyllo cups on a baking tray and add a Brie chunk to each cup.  Sprinkle each of the cups with a small amount of Cherchies® Garlic & Herb No-Salt Seasoning Blend.  Add about 1/2 teaspoon (tsp) Fig Preserves.  Bake at 350 degrees for 8 minutes, or until brie just begins to melt.  

Remove from oven and serve warm or room temperature.  Garnish with a little thyme and help yourself!

Yum