These savory morsels are perfect for those busy days as an after-school snack, a make-ahead appetizer, a game day treat, or a different twist to your usual dinner routine. Easy, peasy!
We embellished on our stromboli recipe from our blog and came up with these sweet and savory pinwheels to share with you. Instead of pizza dough, we substituted refrigerated crescent roll dough and added Cherchies® Apple Butter Spread as a glaze to these tasty tidbits, with a pop of texture from the poppy seeds.
The result was a deliciously sweet and savory, flaky pinwheel tinged with tangy mustard, salty ham, and glazed with fruity apple butter. A must-have recipe for holidays, game day, or any celebration. Make sure to grab some for yourself, because these morsels will disappear before your eyes! Serve them with our Homemade Applesauce and our Cranberry Spinach Salad for a complete meal!
Thank you for visiting! Please come back again.
Enjoy!
Ingredients
1 package refrigerated crescent rolls
1-2 Tablespoons (Tbsp) Cherchies® Champagne Mustard, Cherchies® Hot Banana Pepper Mustard, or Cherchies® Cranberry Mustard
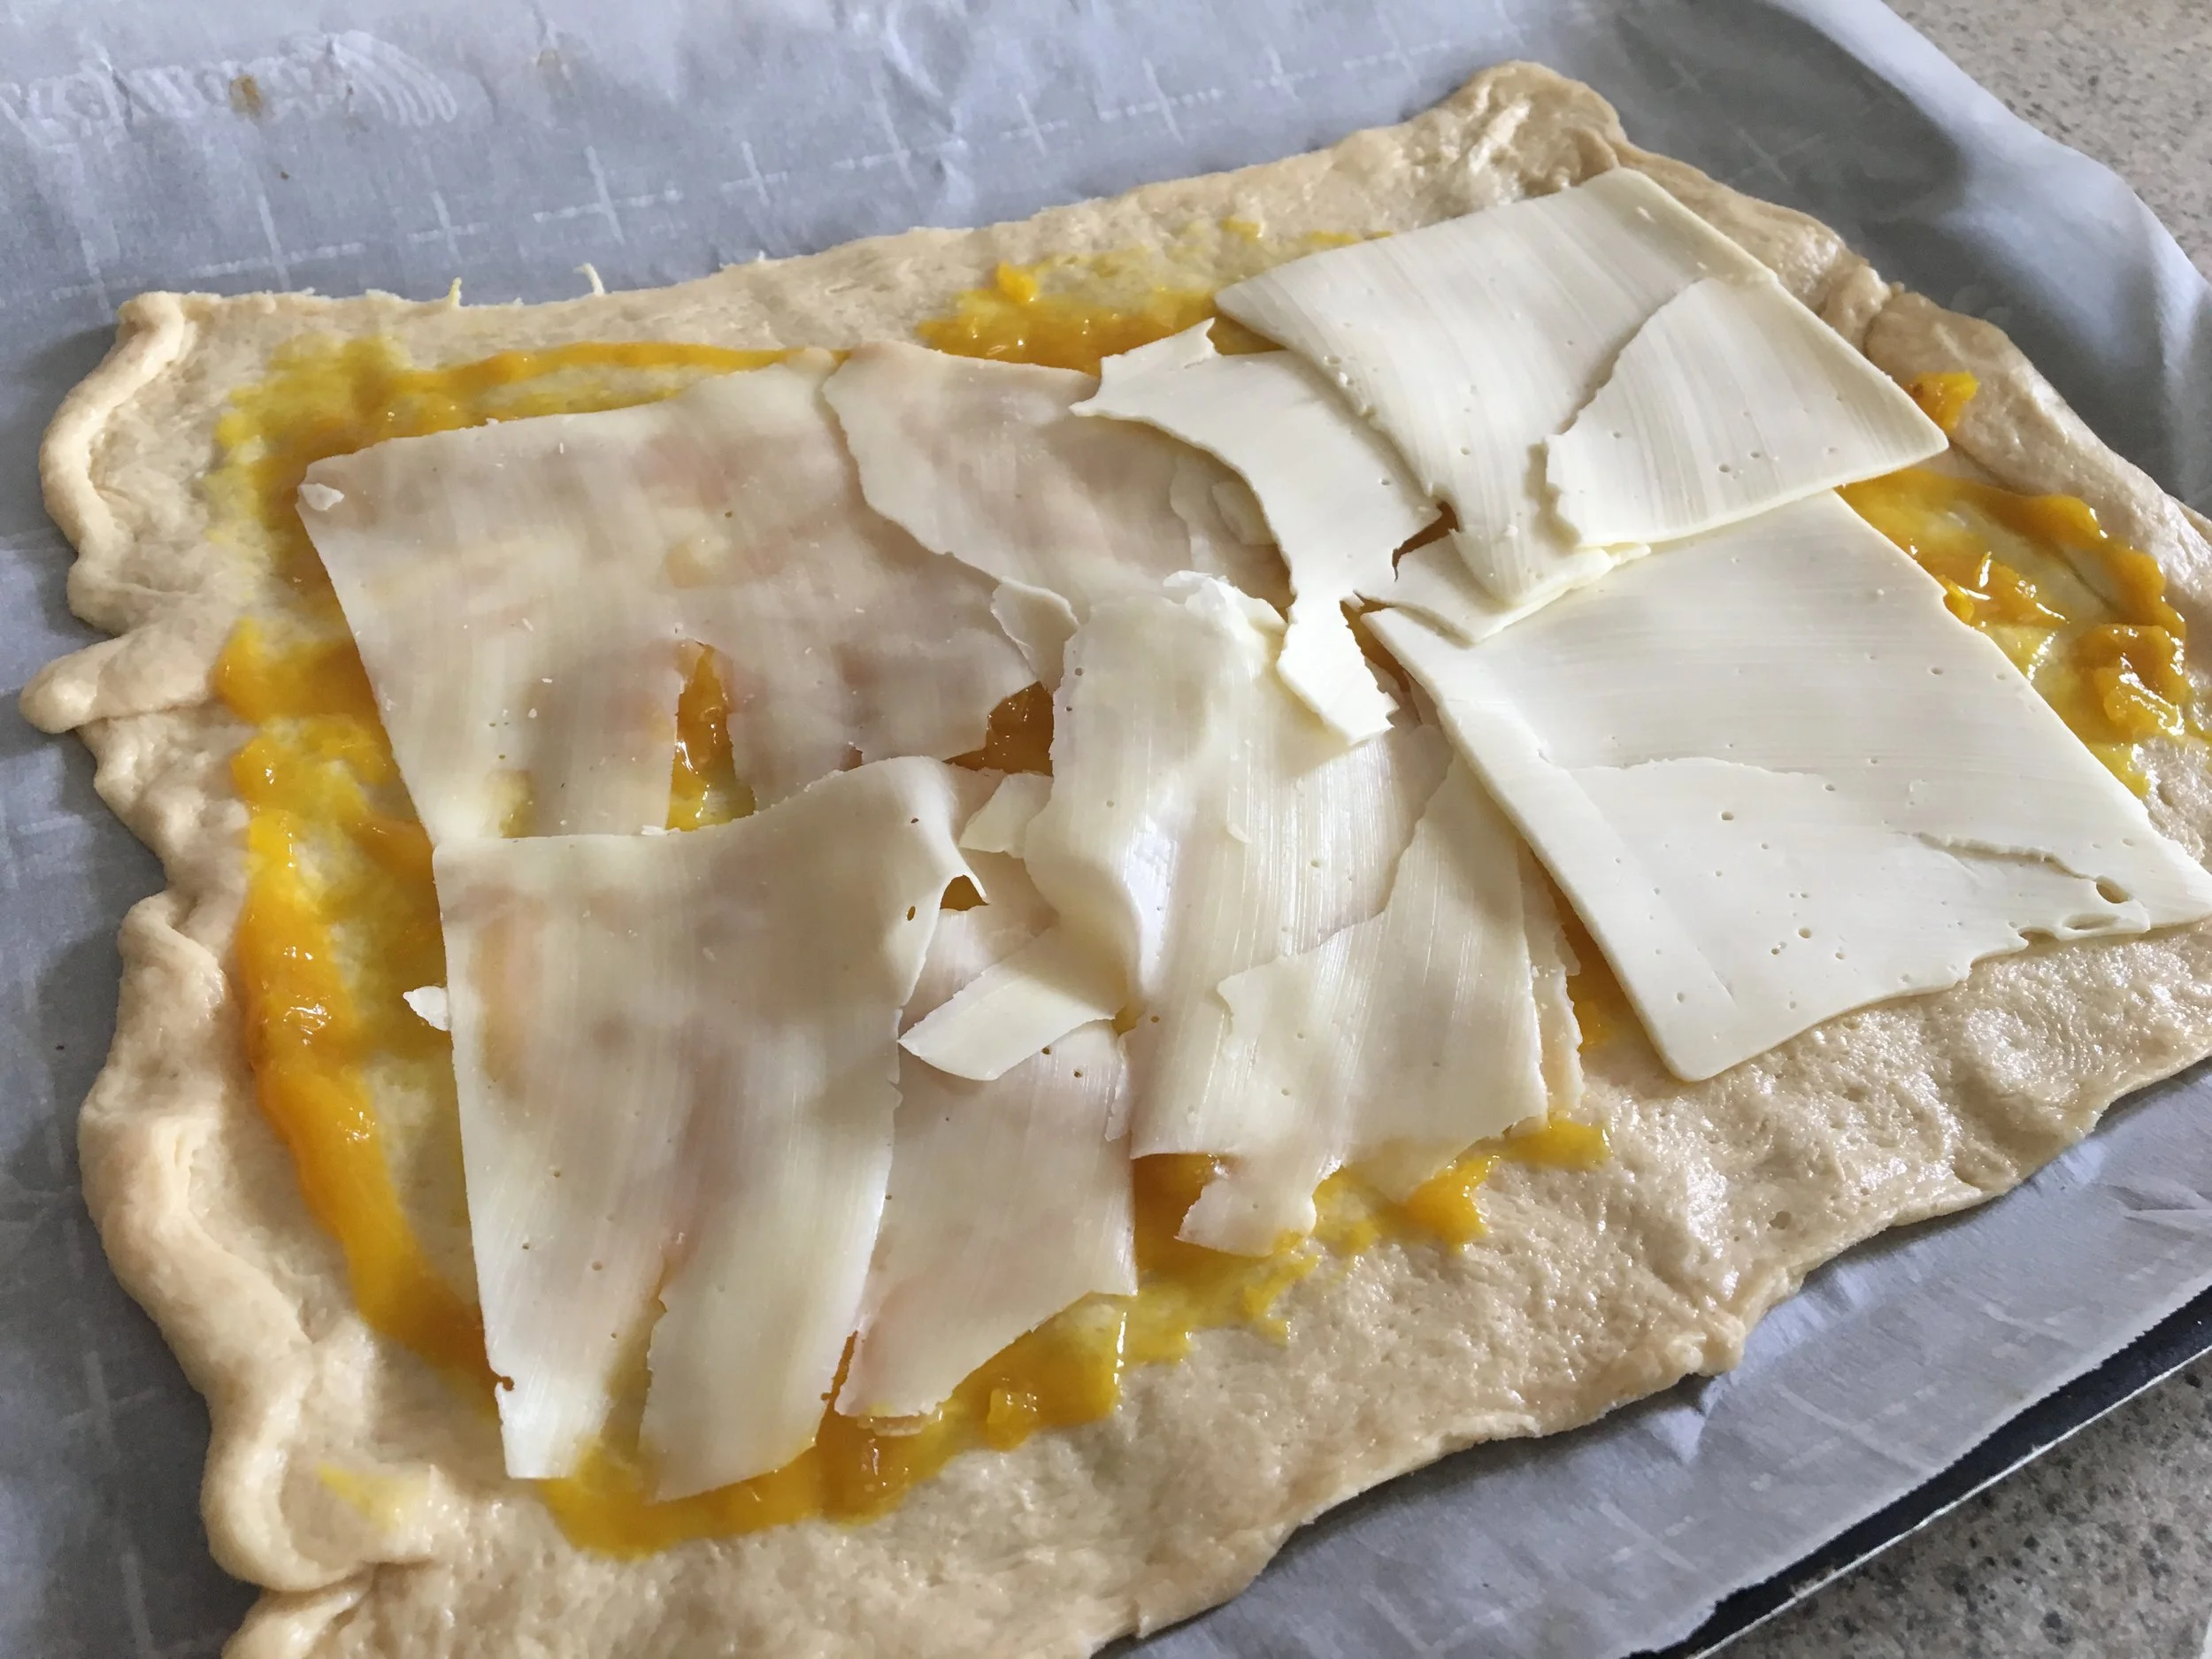
4-5 slices deli ham or leftover holiday ham, sliced thin
4-5 slices Swiss or Provolone cheese
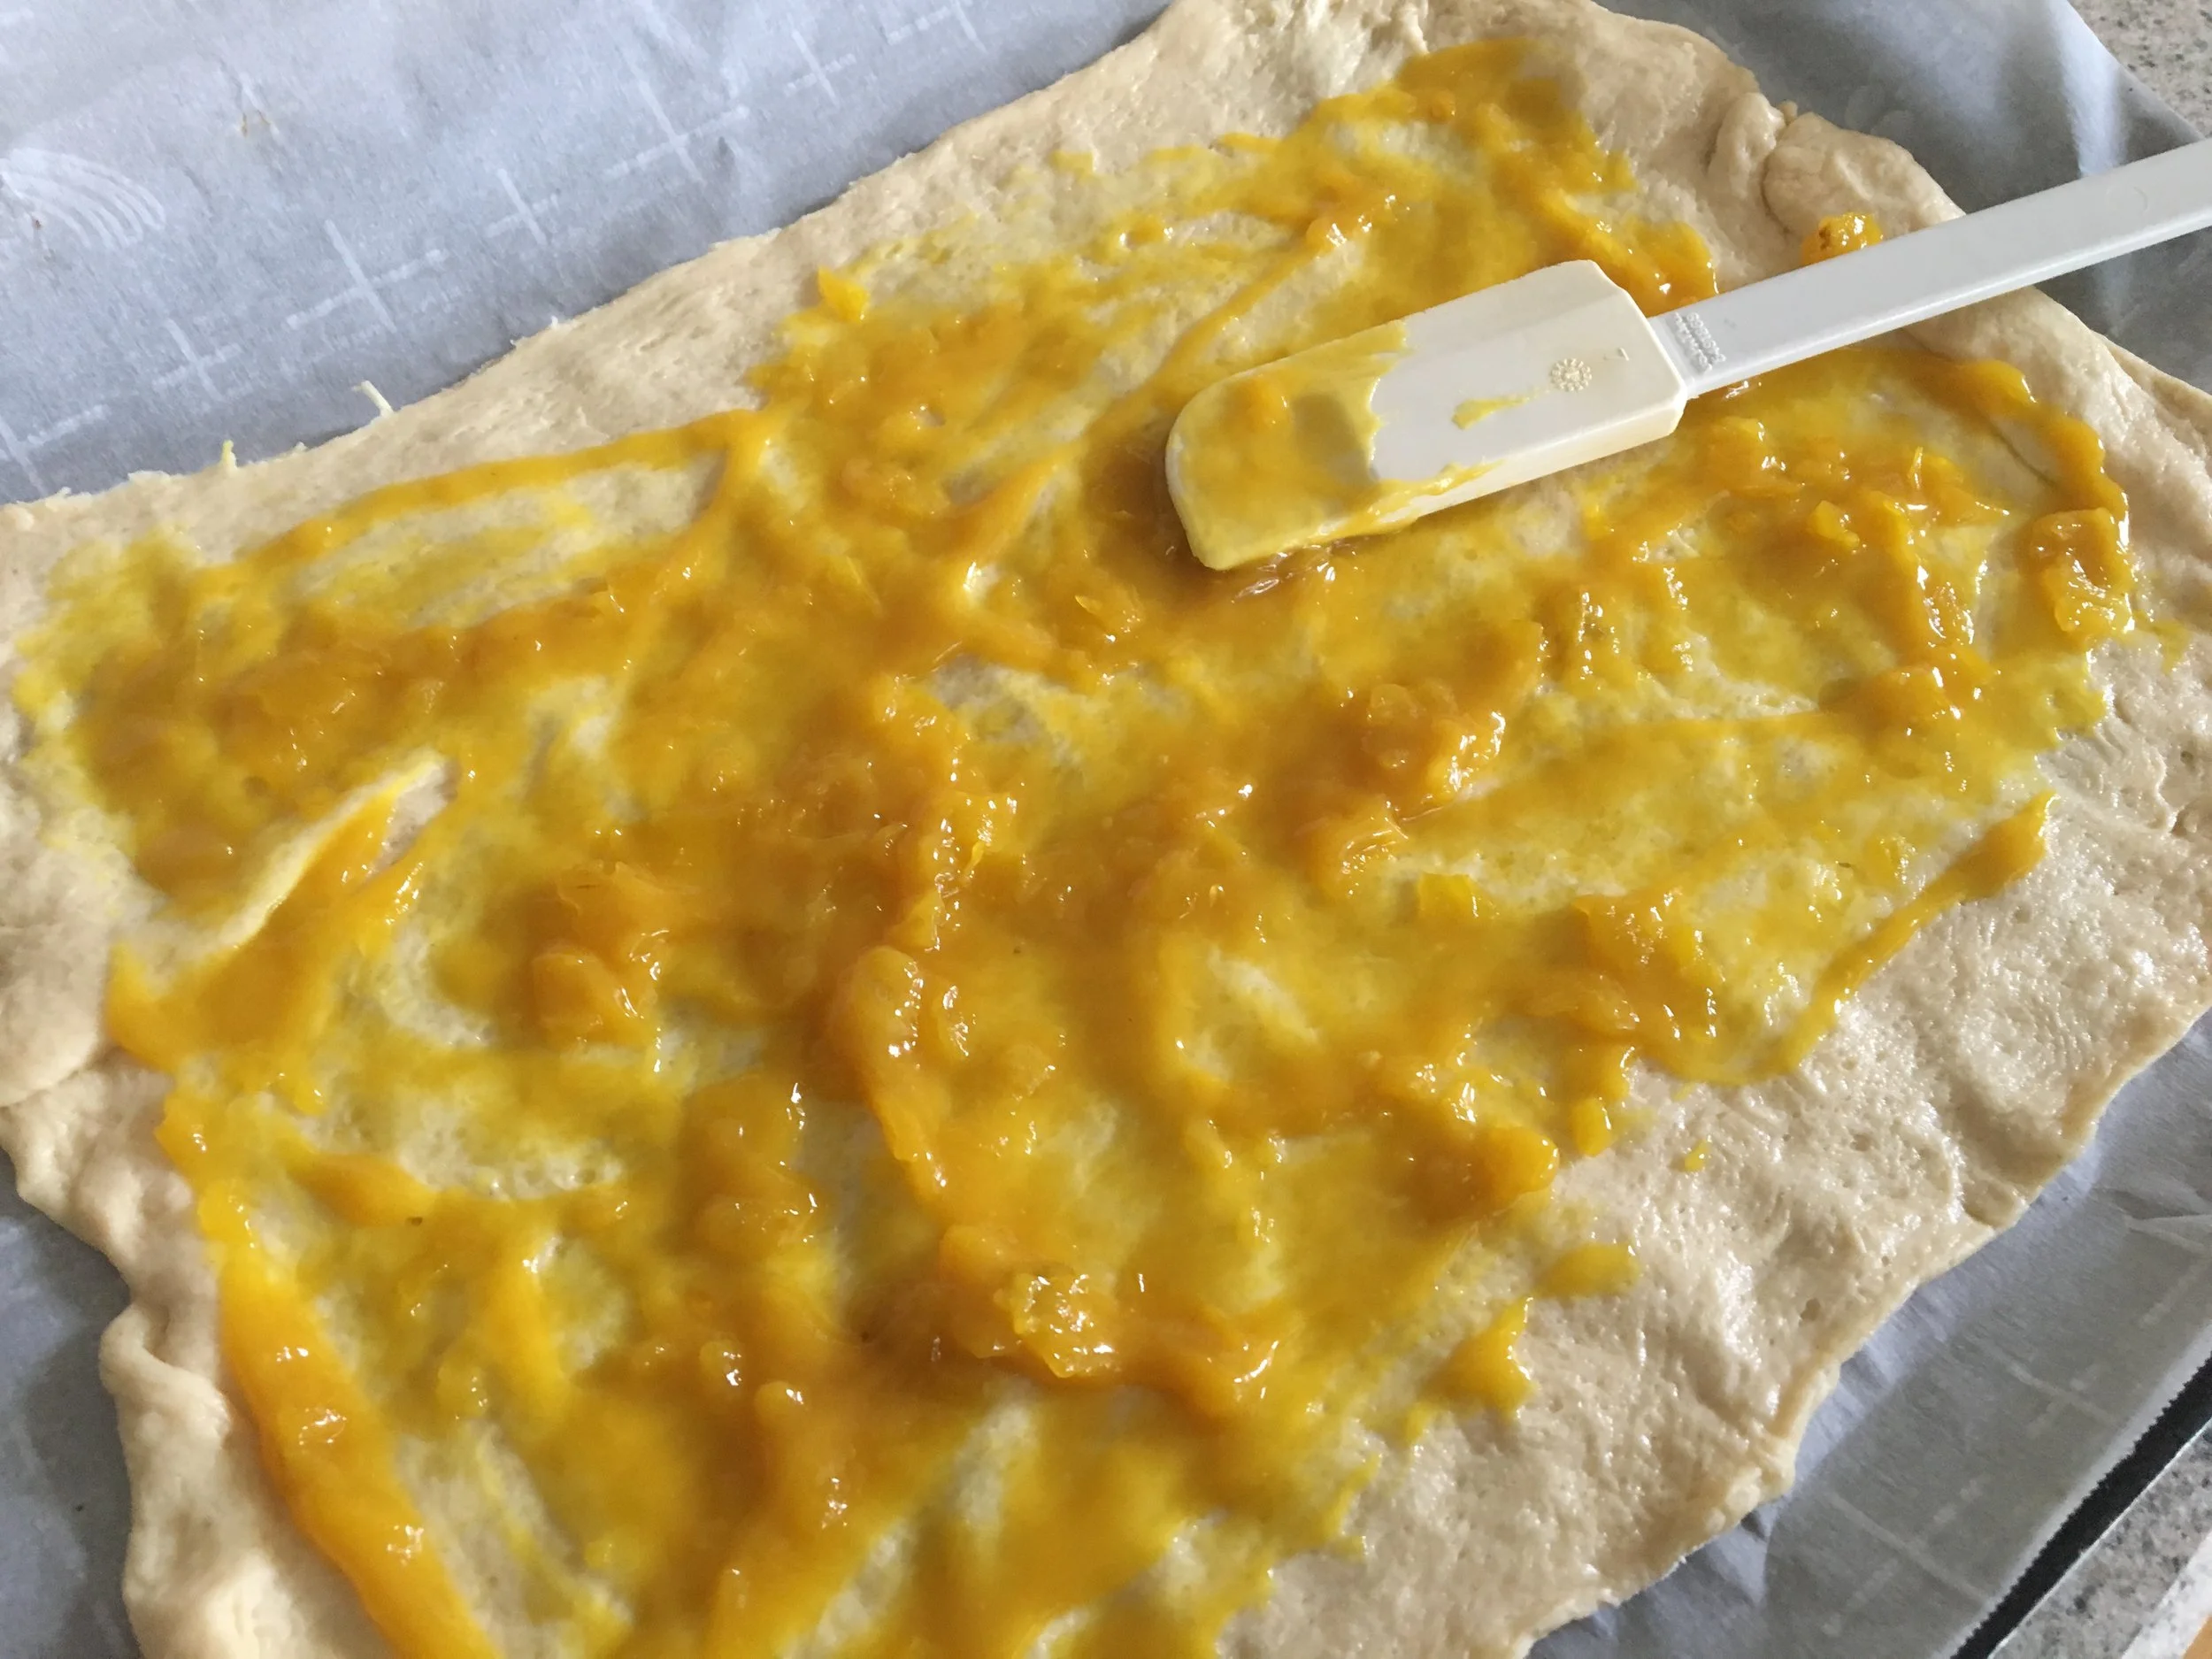
2-3 Tablespoons (Tbsp) Cherchies® Apple Butter Spread
1 Tablespoon (Tbsp) poppy seeds
Preparation
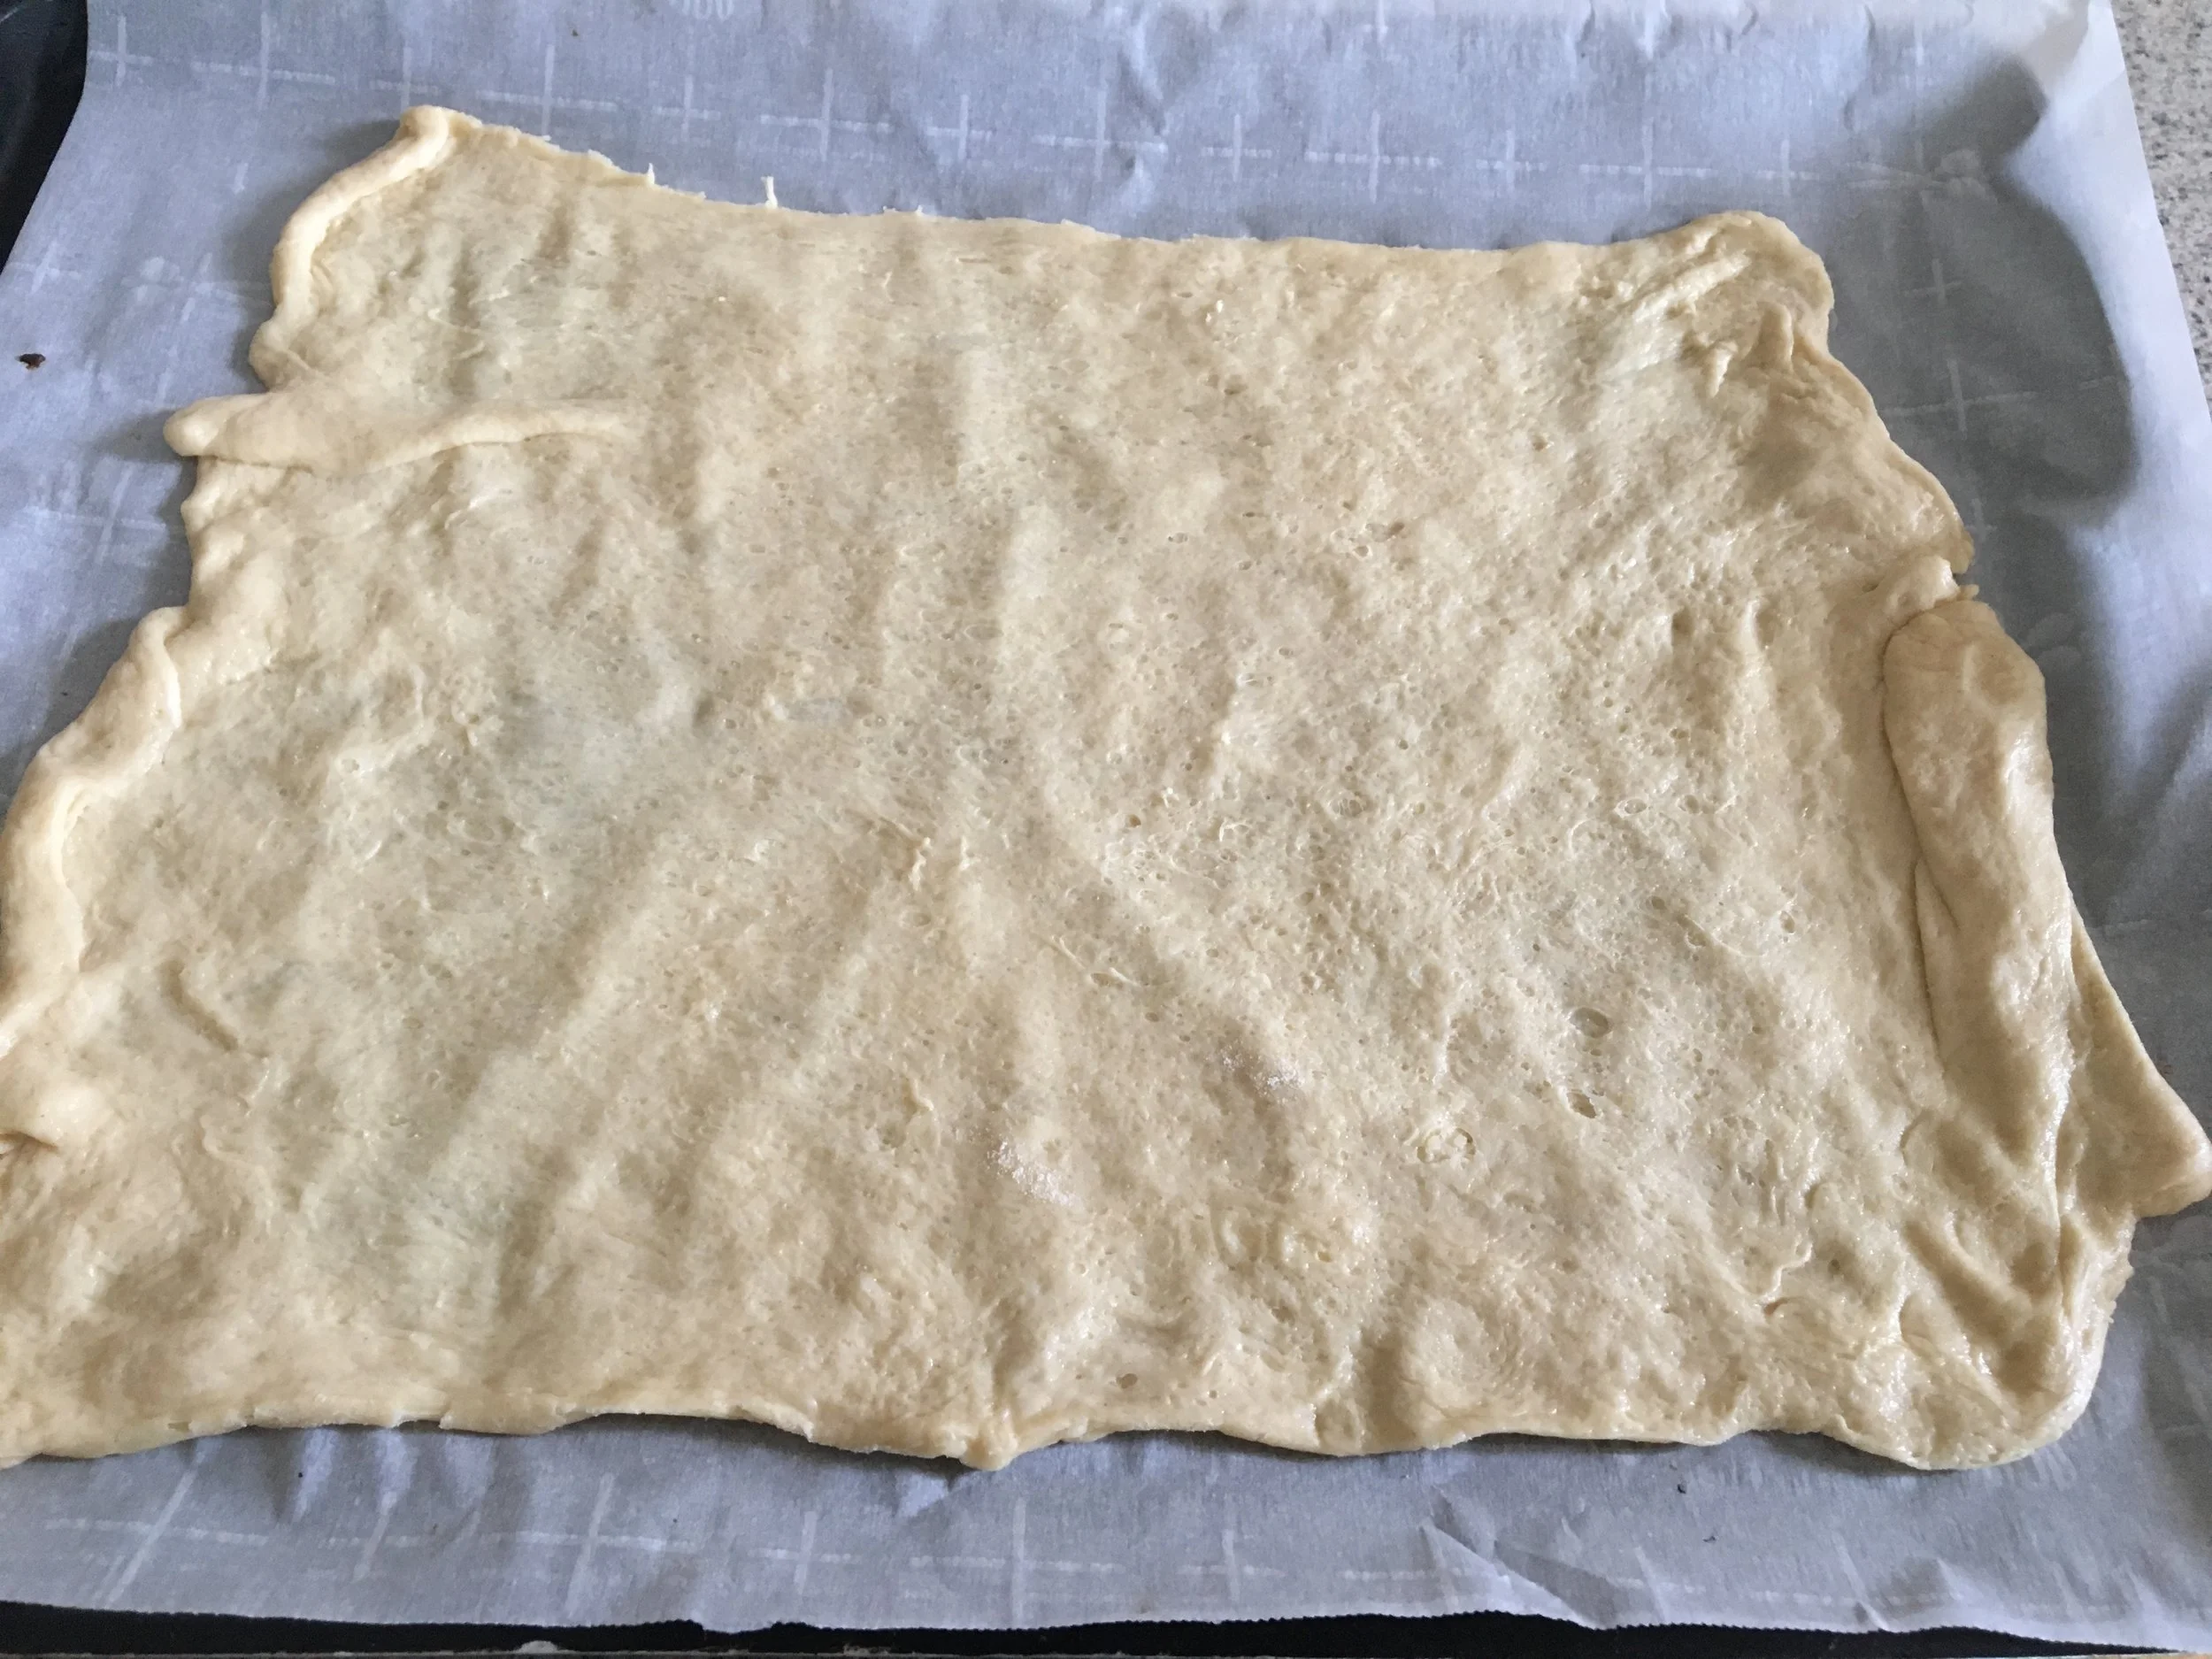
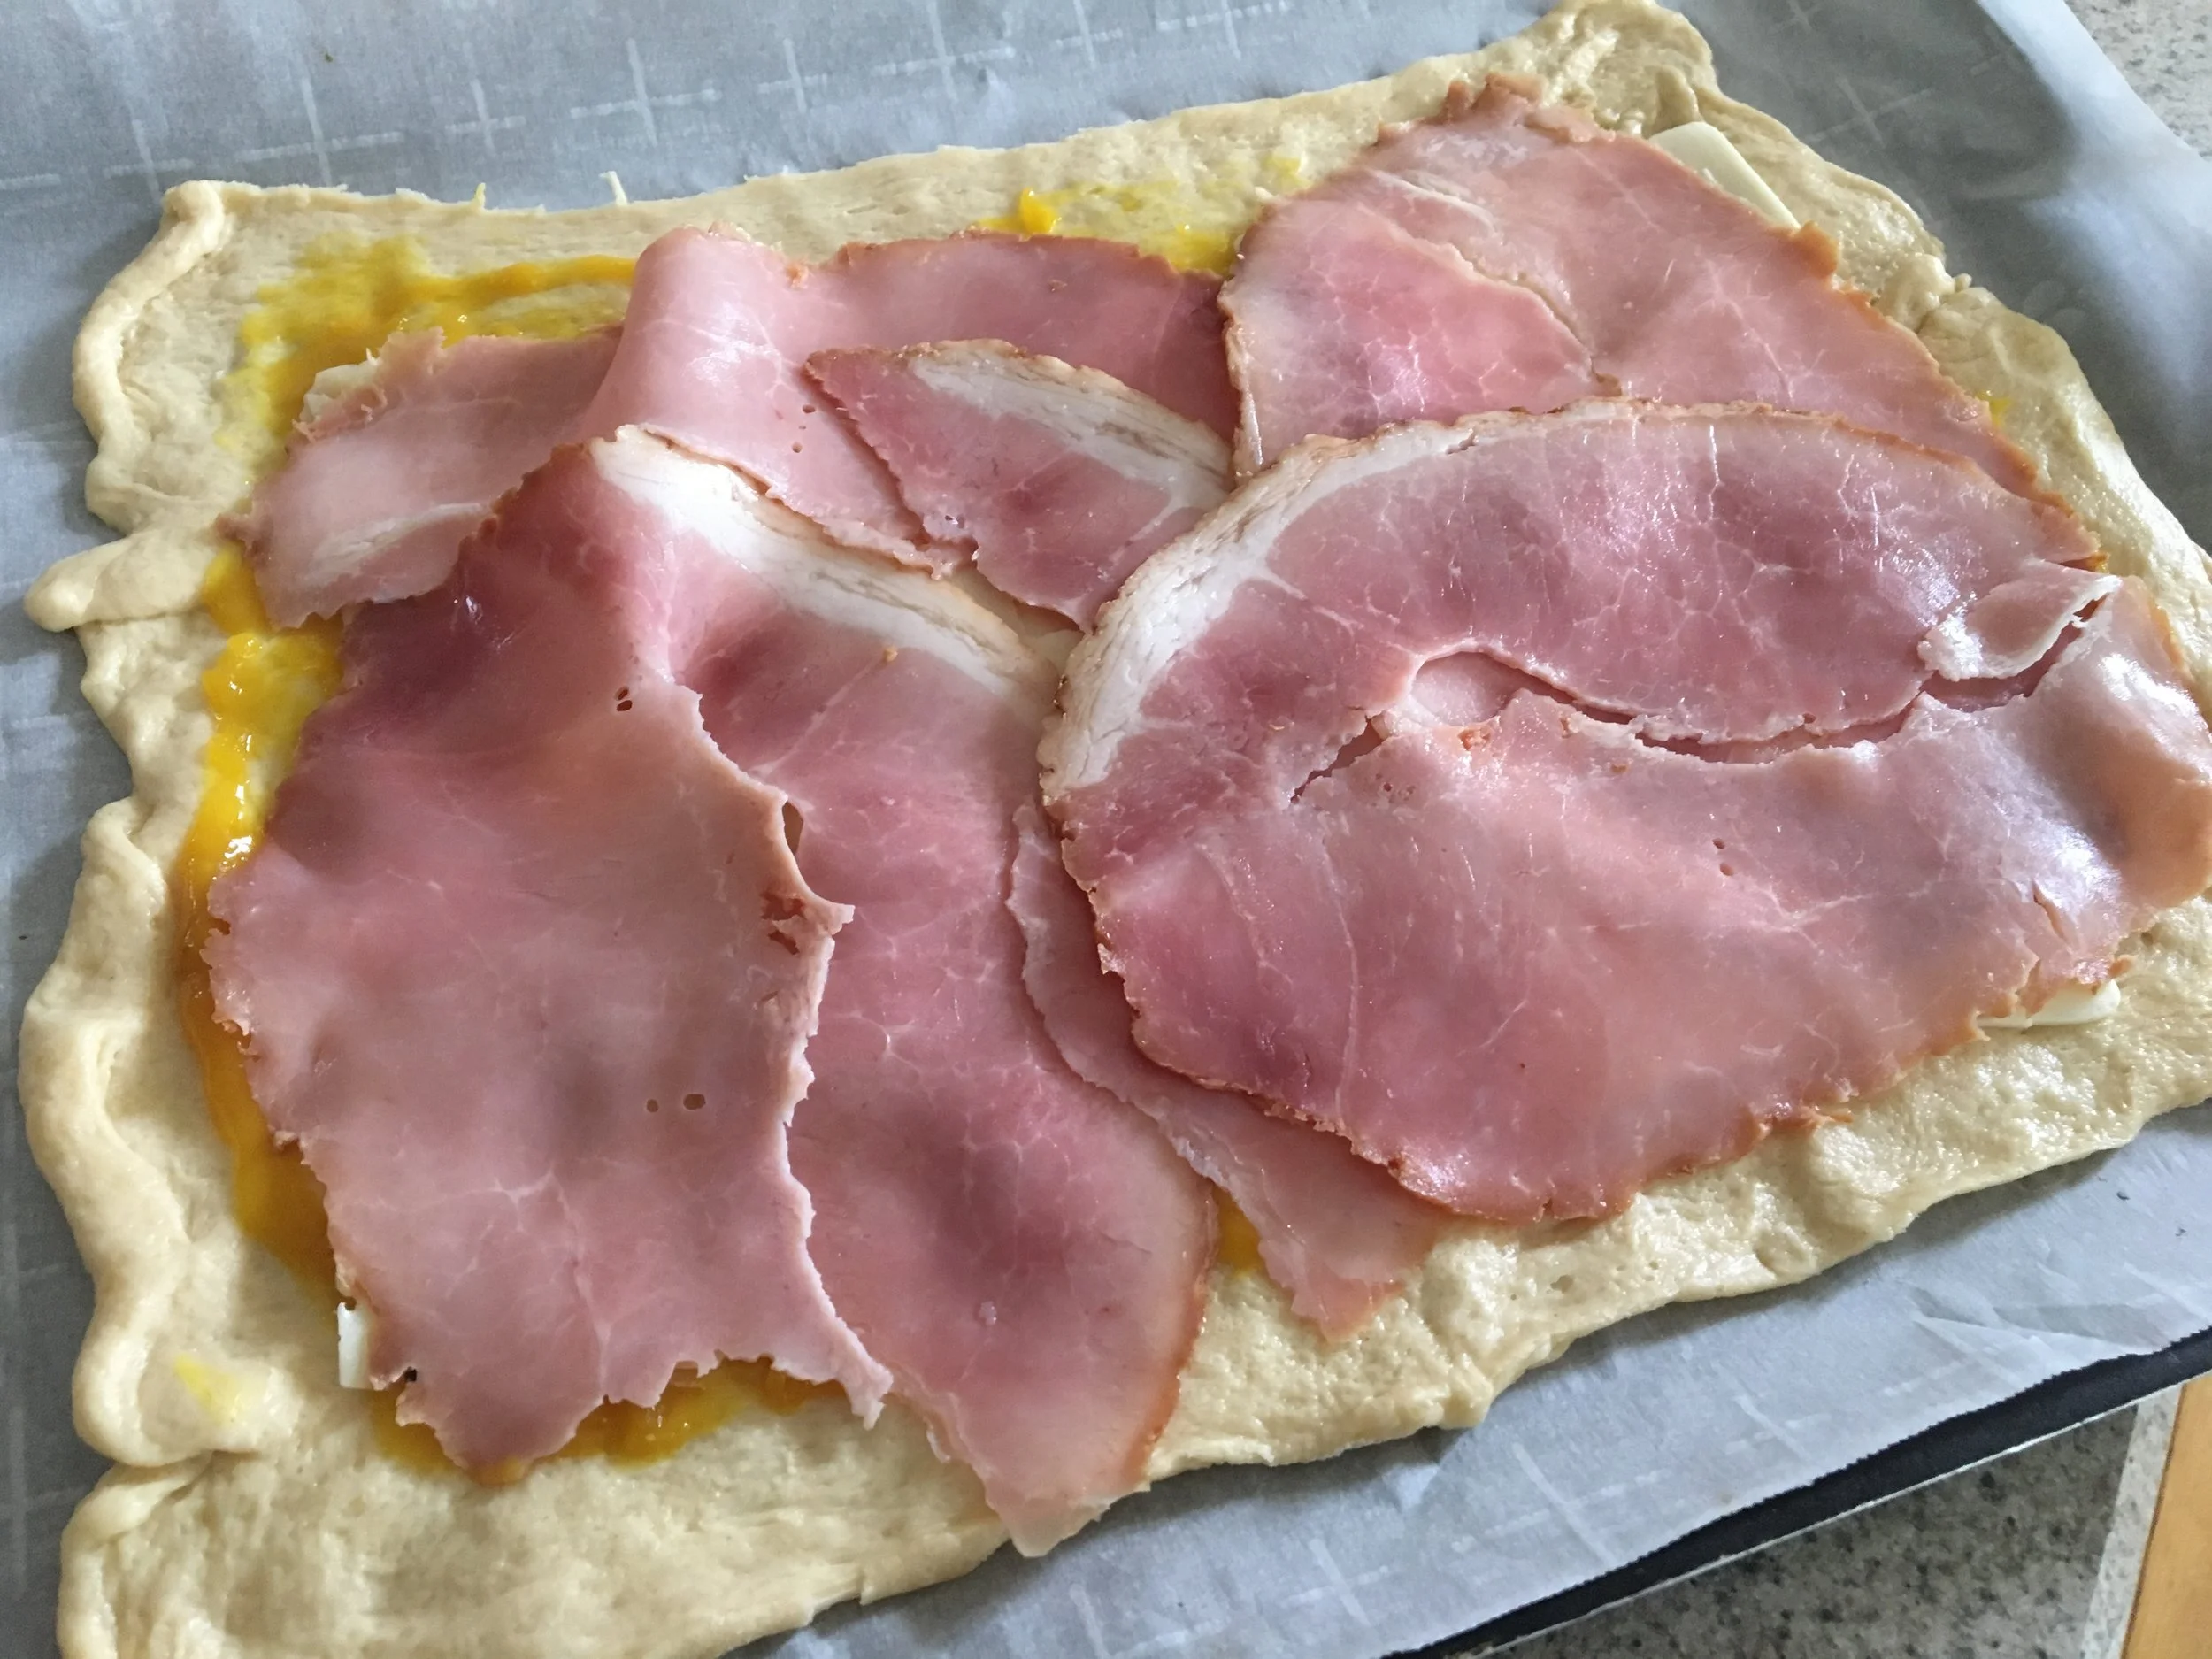
Preheat oven to 350 degrees. On a floured surface or on parchment paper, roll out the crescent roll dough into the shape of a rectangle. (If using traditional crescent roll dough, press the triangle seams together to form a rectangle. There are now long sheets of crescent dough on the market, either of which is fine). Spread the dough with the mustard of your choice.
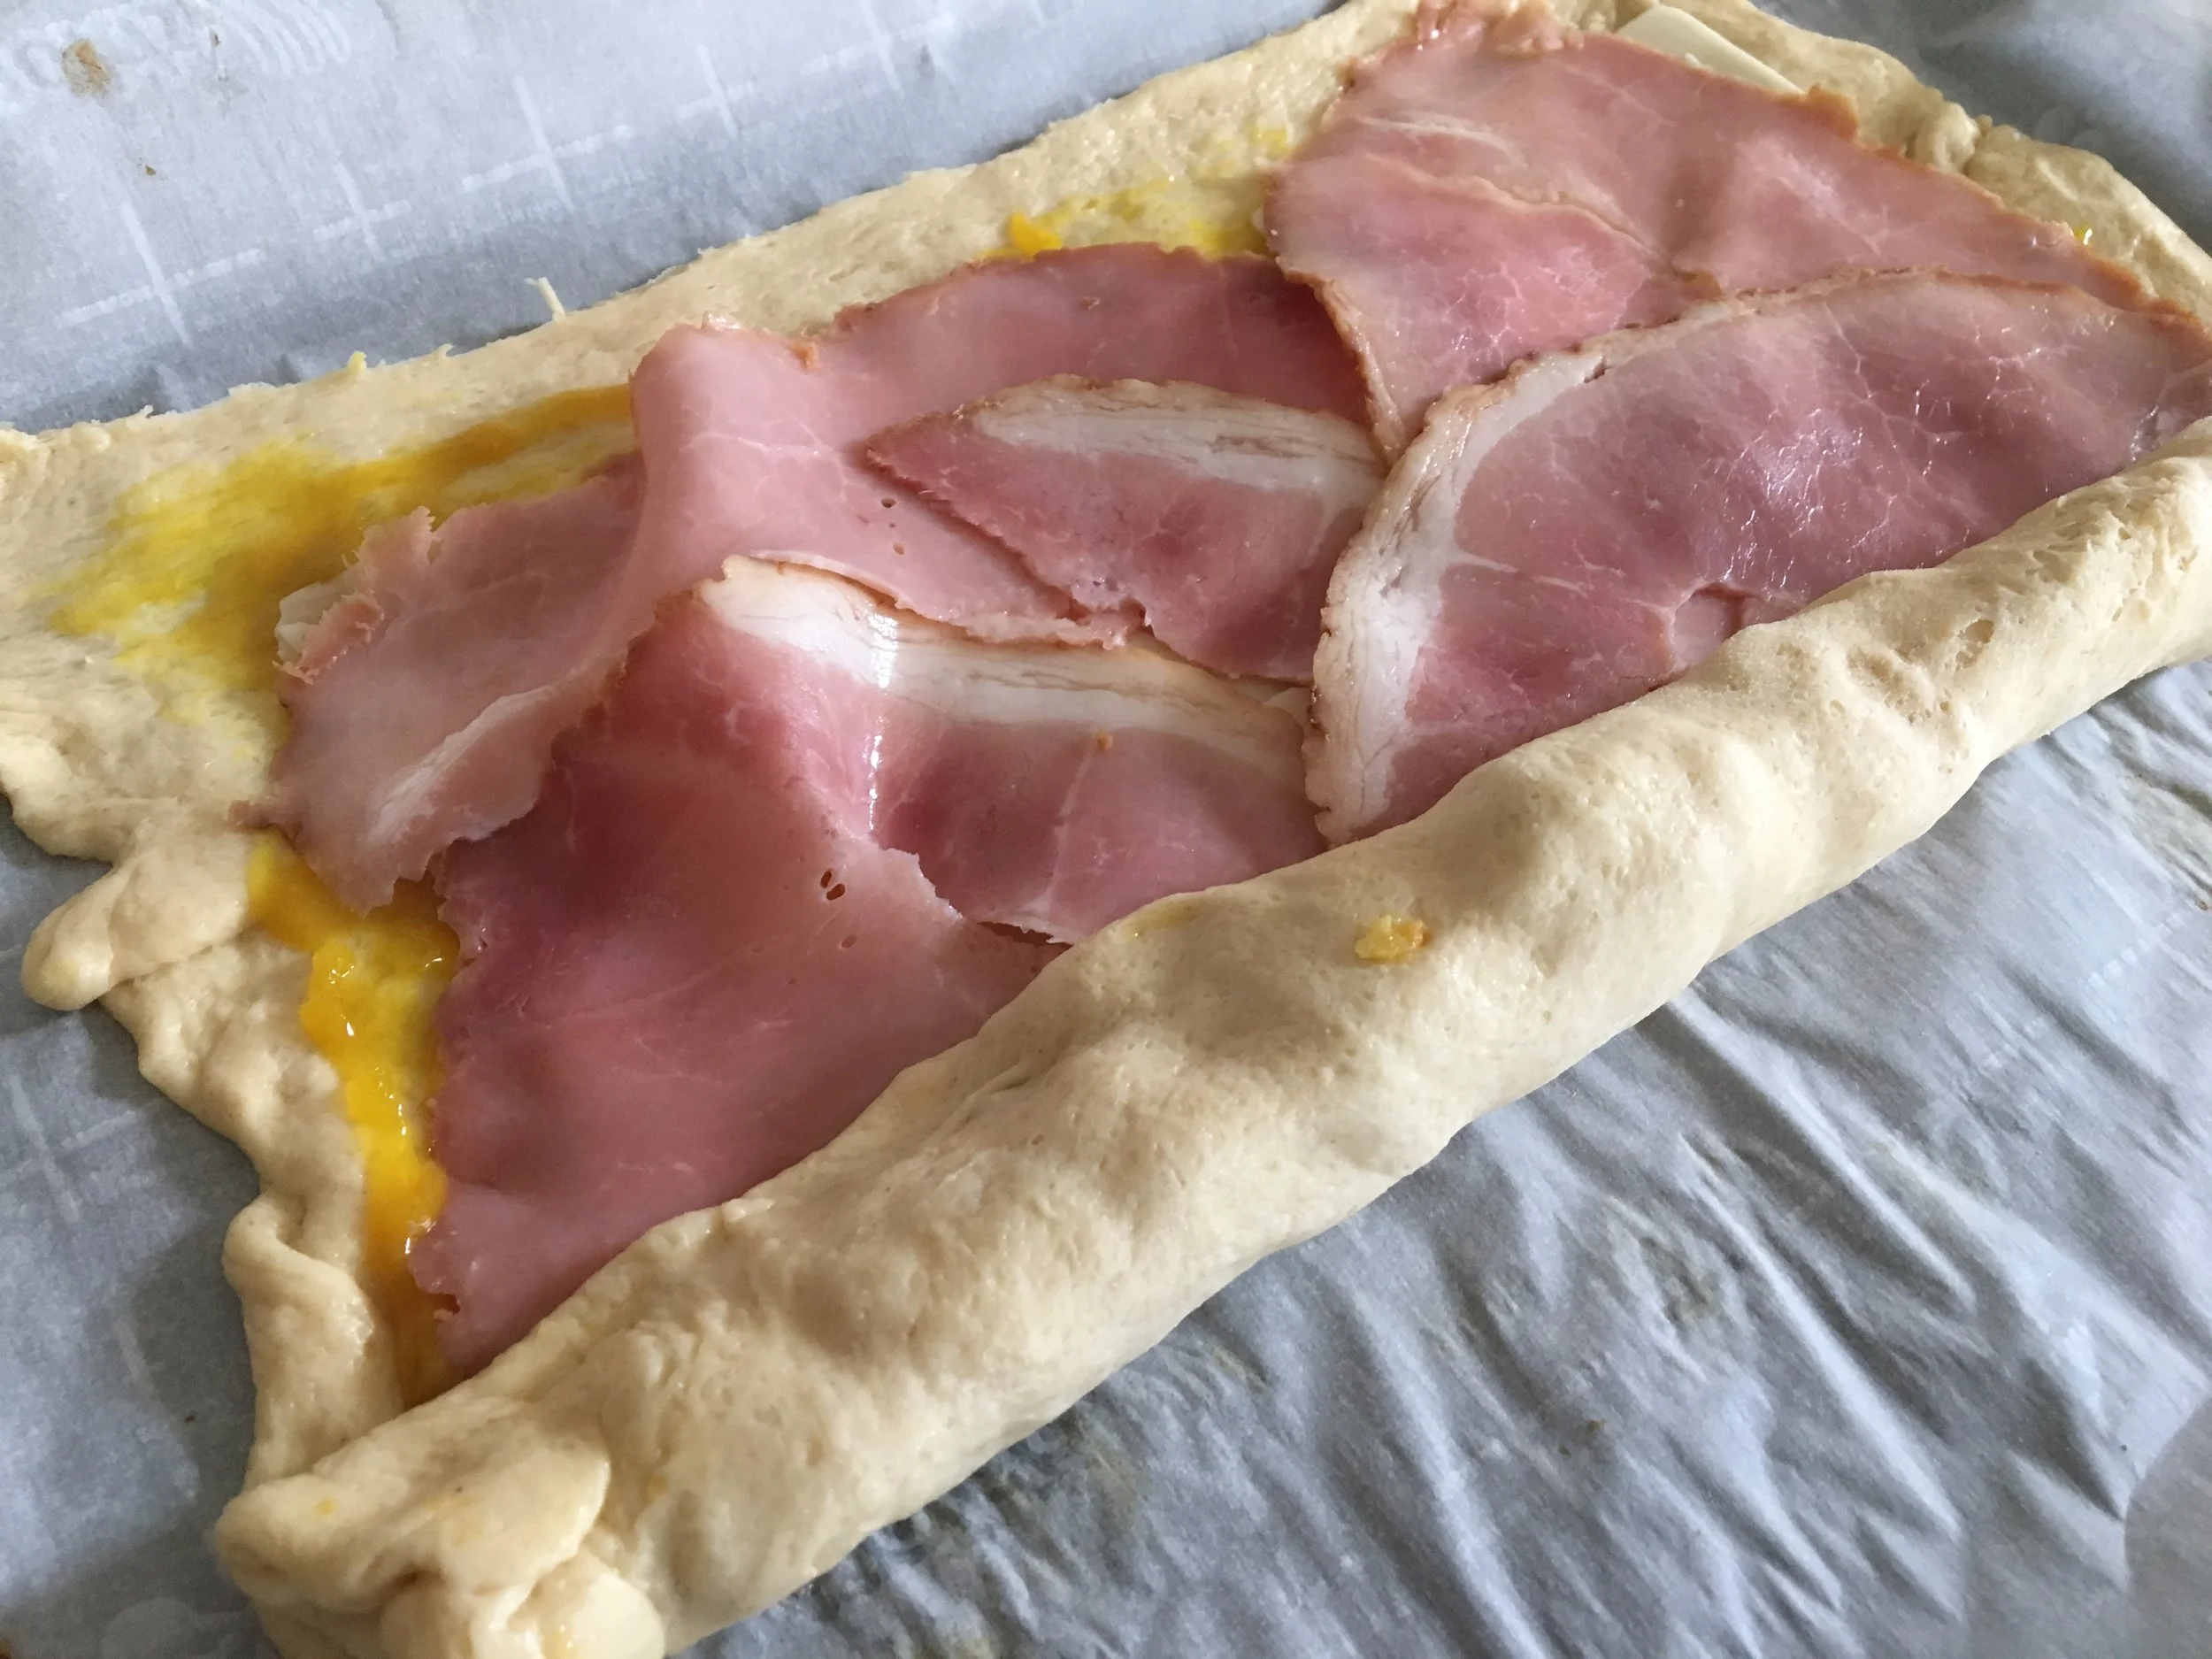
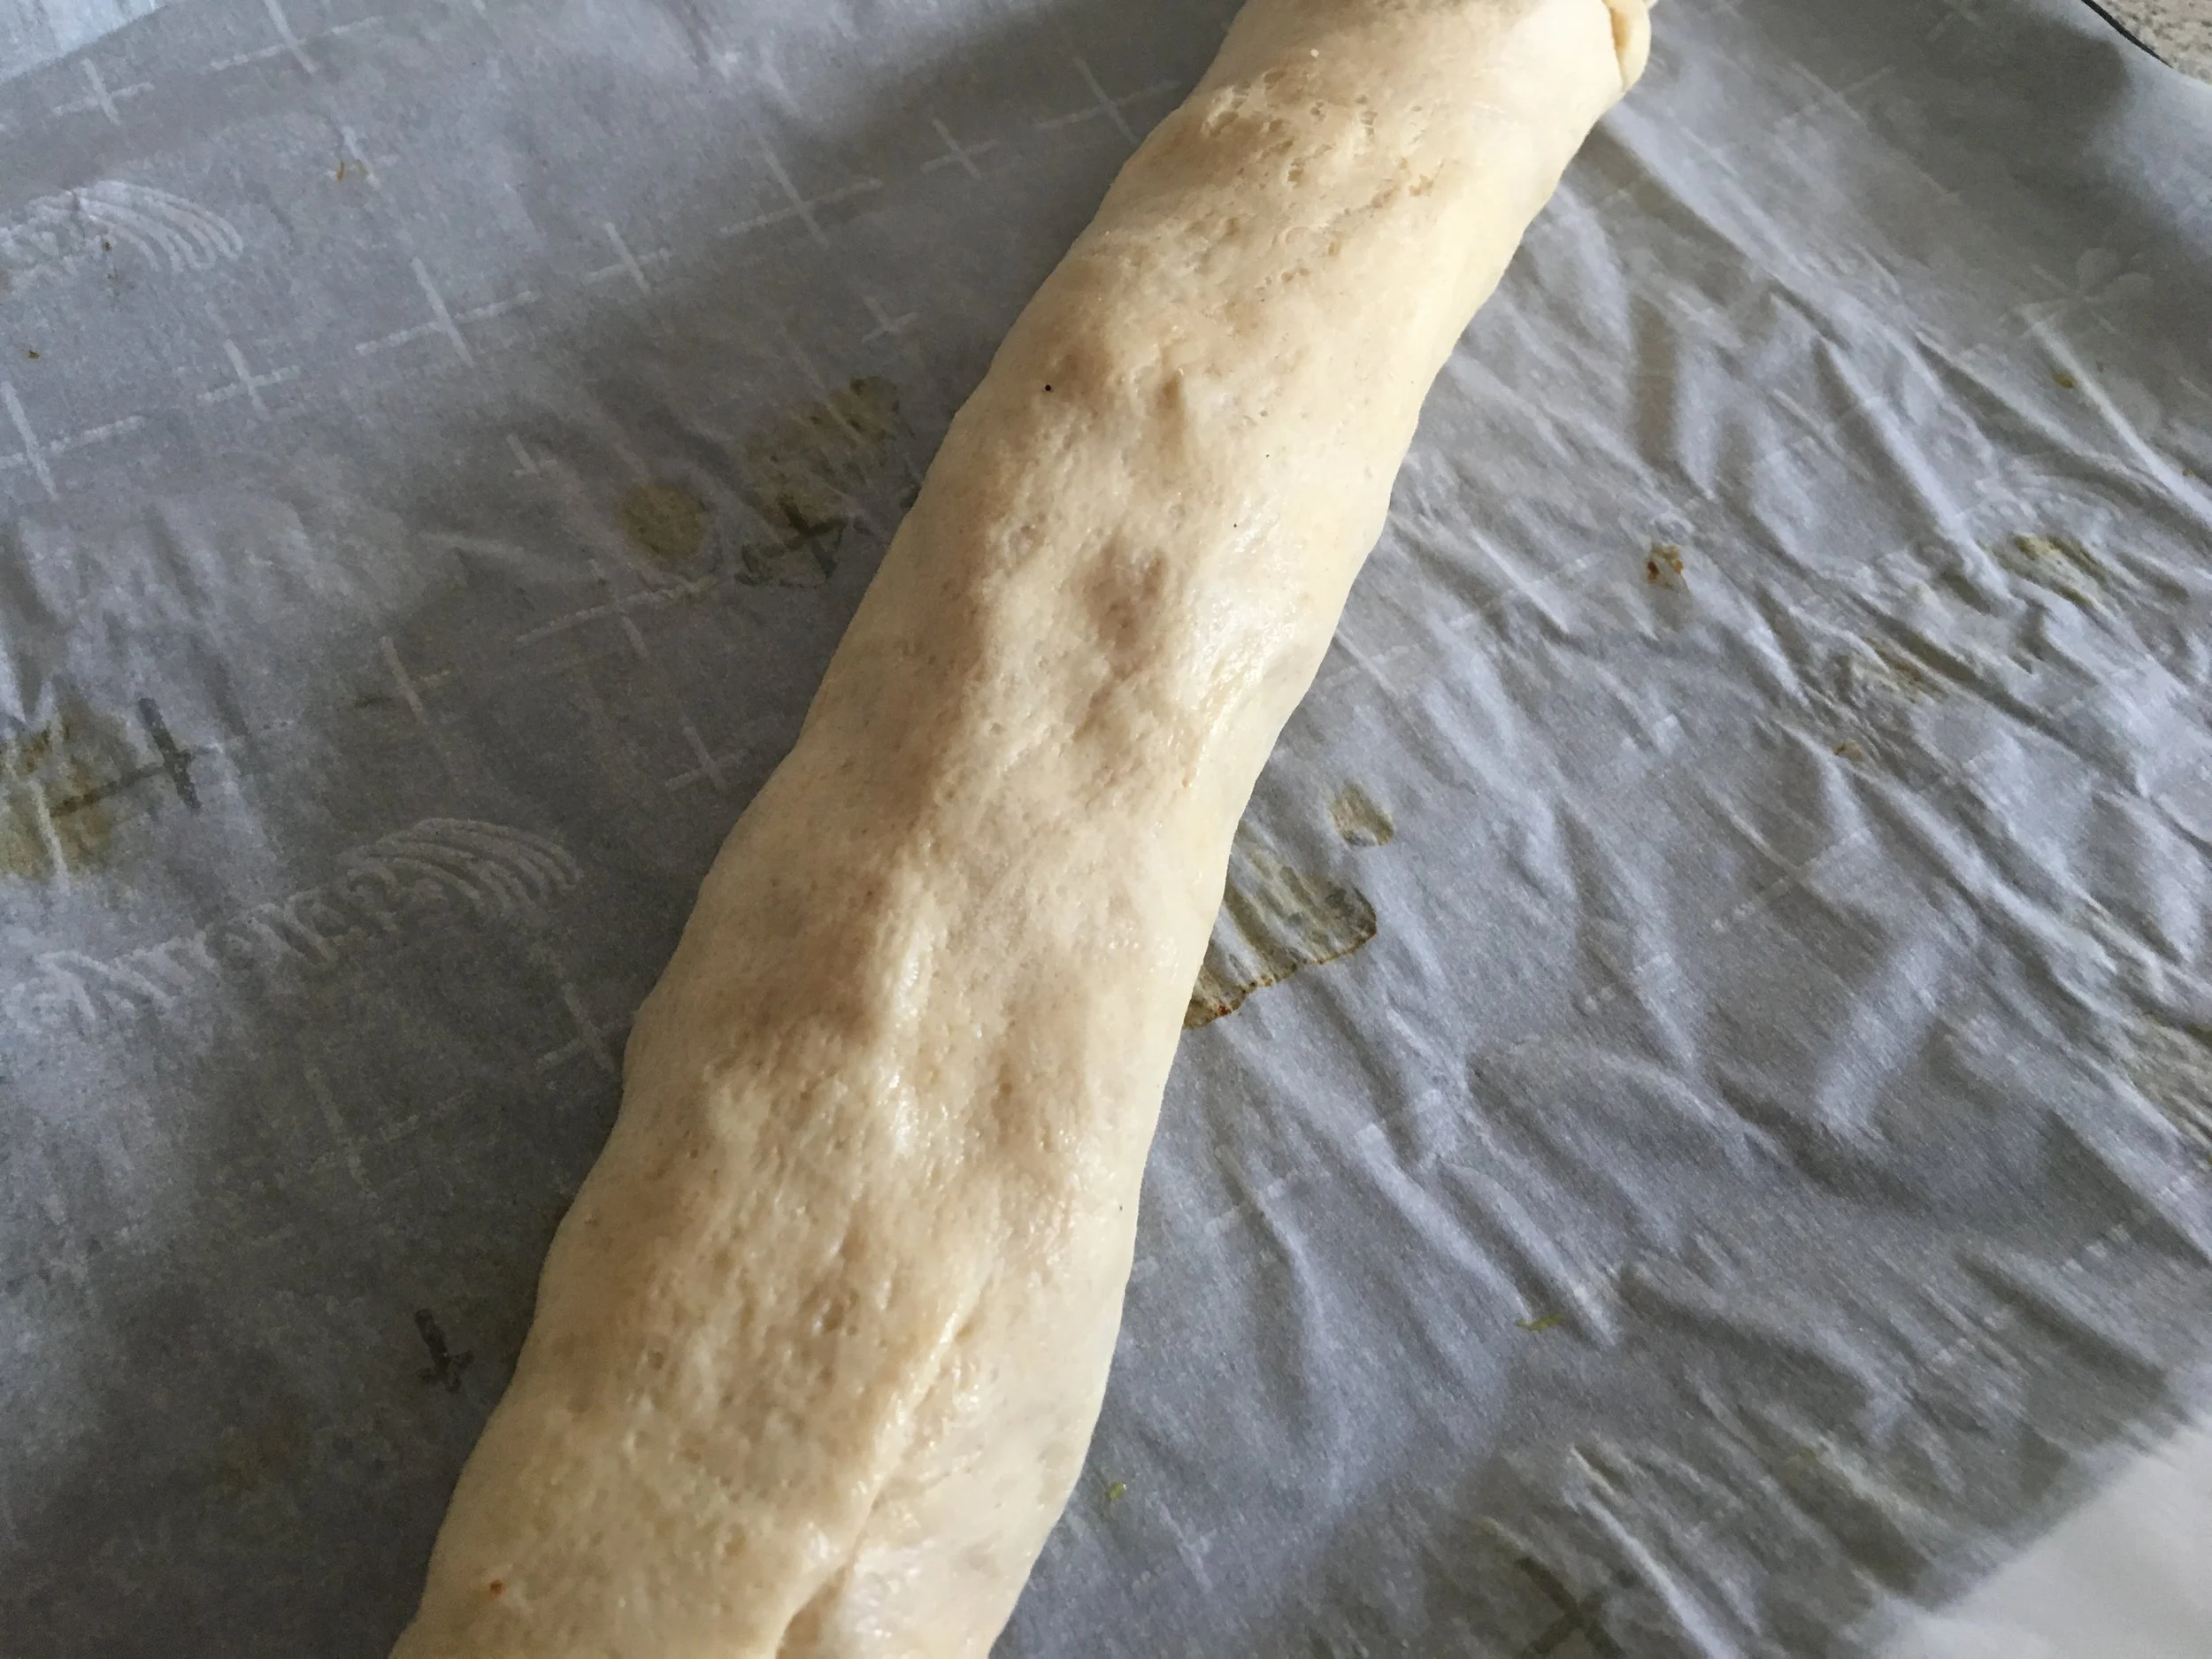
Next, layer the dough with the cheese, followed by the ham. Starting with the long side of the dough, carefully and tightly roll up the dough and place the dough seam side down. Refrigerate the rolled up dough for about 15 minutes to allow for easier cutting.
Once the dough has chilled, remove the rolled dough from the refrigerator and carefully slice into 1 inch segments and place on a parchment papered baking sheet.

Lightly brush the pinwheels with the Apple Butter Spread and then sprinkle the pinwheels with the poppy seeds.


Bake in the oven for about 15 minutes, or until golden brown.


Enjoy!