Cherchies Blog

desserts

Garlic, Balsamic & Herb Goat Cheese Pizza

desserts, appetizers, lunchSheri SpalloneComment

This recipe is perfect for a quick and easy gourmet lunch, dinner, or savory-sweet dessert.  The Balsamic Garlic Herb Jam enhances the pear and goat cheese in this rustic dish.  A definite must-try!

Ingredients

Preparation

Brush top surface of pizza dough with olive oil. Spread a layer of Balsamic Garlic Herb Jam on top of oil. Add goat cheese, sliced pears and pecans.  Bake in a 400 degrees F oven for 12-15 minutes.  Enjoy!

Yum

Applesauce Parfait Recipe

breakfast, snacks, dessertsSheri SpalloneComment

Applesauce Parfait Recipe

Cook Time:  30 minutes 

Difficulty:  Easy

Parfaits are fun, easy, and an ideal start to any day.  Recently, I had a plethora of apples that had to be used, so I went apple crazy and got creative (I hate wasting food).

I started by making a huge batch of chunky applesauce (my family's favorite), then I moved onto tarts (apple, cherry-apple, and strawberry-apple), and still had enough applesauce to create parfaits for my kiddos when they came home from school.  

My suggestion, make the applesauce and the granola ahead, say for dinner the night before, and use the leftover applesauce in the morning or afternoon for a quick and easy parfait. Easy peasy and delicious!

Ingredients

  • Leftover Homemade applesauce (You certainly can use store bought chunky applesauce, but homemade is so much better)
  • *Granola (recipe for homemade granola below)
  • Vanilla Greek Yogurt

Granola Recipe

  • 3 cup quick cooking oats
  • 1 Tablespoon (Tbsp) Cinnamon
  • 1 cup dried cranberries
  • 1 cup chopped nuts (optional)
  • 2 teaspoon (tsp) oil (we used coconut oil)
  • 1/2 cup honey

Mix everything together in a medium bowl.  Follow cooking directions above.

Preparation

Preheat oven to 250 degrees.  Line a baking or jelly roll pan with parchment paper and spread the granola* mixture onto the baking sheet.  Cook granola* at 250 degrees for 30 minutes, or until golden brown. When granola is finished cooking, remove from oven and gently stir the granola.  Set aside to cool.  When granola is completely cooled (about 15 minutes), either place it into a re-sealable container for later, or use immediately and assemble the parfaits.  I usually make a batch while I'm cooking dinner, so it's ready for our kiddos the next morning.  It's really easy!

Now it's time to assemble the parfaits.  I happened to have these cute dessert glasses I purchased several years ago, but simple mason jars or any glass would be just as perfect.

I like crunch in every layer, so my suggestion would be to spoon some granola (there's really no need to measure) into the bottom of the glass.  Next, add the greek yogurt, then the applesauce...

And repeat:)

Voila!  Apple Cinnamon Parfaits!  Your tastebuds will thank you!  Enjoy!

Yum

Homemade Toaster Strudel Recipe

breakfast, desserts, snacksSheri SpalloneComment

Homemade Toaster Strudel Recipe

Cook Time:  30 minutes  Difficulty:  Easy

I love aha moments, don't you? Take, for example, toaster strudels. Who would have thought these delectable treats could be homemade? I was shocked! I usually provide healthier homemade breakfast and snack options for our children instead of their store-bought, processed cousins. Still, occasionally I have been known to buy the packaged toaster strudels so our children would not feel deprived. I would hate to be blamed later in life for ruining their lives because they never had Pillsbury toaster strudels. I couldn't live with myself;)

My aha moment came one morning while I was enjoying my coffee in peace and researching uses for leftover cherry butter (cherries cooked down to a butter-like consistency).  If you have been following our blog, you'll know I hate to waste food, and I love transforming leftovers into new culinary masterpieces. I also love making things homemade (or semi-homemade).

Making homemade toaster strudels had never occurred to me until I stumbled upon a picture on the internet, homemade toaster strudels made from preserves and phyllo dough. Aha!!! Except, I didn't have preserves or phyllo dough. Bummer! However, I did have Cherchies Cherry Butter and a can of Refrigerated Crescent Roll Dough in our refrigerator! Could it be true? Well, it was worth a shot. 

Luckily my tasty homemade (or semi-homemade) experiment was a success. These delicious flaky pastries, oozing with fruity goodness, won our children's approval; they preferred my version over the store-bought version. Whew! What a relief. Now I won't be blamed for my children's deprivation of never having toaster strudels, let alone homemade toaster strudels.

This recipe is perfect with any of our Butter Spreads or mouth-watering preserves (Add 1 Tablespoon of cornstarch to the preserves to thicken the mixture).

Follow along for the full directions. Enjoy!

 Ingredients

Preparation 

Preheat oven to 350 degrees.  Line a baking sheet with parchment paper and dust the parchment paper with a tiny bit of flour (1 Tbsp?).  Roll out the packaged crescent dough on the parchment paper, and press the seams of the two crescent rolls together.  With a pizza cutter or knife, cut four even vertical sections of the dough.

Next, cut the dough in the other direction as pictured below.

Spoon 2 Tablespoons (Tbsp) of Cherchies® Cherry, Strawberry, or Apple Butter Spread onto the pastry, leaving about 1/2 inch border.  In a small bowl, beat egg.

Using your finger (you could use a pastry brush, but why?  It's fun to play with your food), dip your finger into the egg and coat the perimeter of the pastry with the egg.  Continue this process for the rest of the pastries.

Take the other half of the pastry and gently place it over the filling half.  Use a fork to seal the edges of the pastry.

Brush egg onto sealed pastries. and prick each pastry a couple of times with a fork.  This will allow some of the steam to escape during cooking.  Bake for about 25 minutes or until pastries are golden brown. While toaster strudels are baking, make the icing.

Using a small bowl, mix together the powdered sugar, milk and vanilla.  Fill icing into a small re-closable plastic bag and snip off the corner of the bag.  This will become your disposable icing bag.  Remove pastries from the oven and allow to cool for about 10 minutes.  Drizzle the pastries with the icing.  

Sweet, fruity, delicious, homemade toaster strudels!  Perfecto!  Enjoy!

Yum

Cherry Apple Tart Recipe

desserts, breakfast, snacksSheri Spallone2 Comments
Cherry Apple Tart Recipe

Cherry Apple Tart Recipe

Cook Time:  30 minutes  

Difficulty:  Easy

We have updated this post from a few years ago with fresh pictures and content.

We all need to unplug now and then and spend quality family time. Aside from game night, movie night, and puzzle night, cooking and baking together is another perfect family-enriching activity for all ages. Cooking and baking are easy, as it allows kids and parents to unplug and connect and it is a fantastic learning tool (it builds math and reading skills, it teaches scientific concepts, enriches oral vocabulary, and so much more). We used these cooking moments to keep our children away from videos and television when they were younger.  

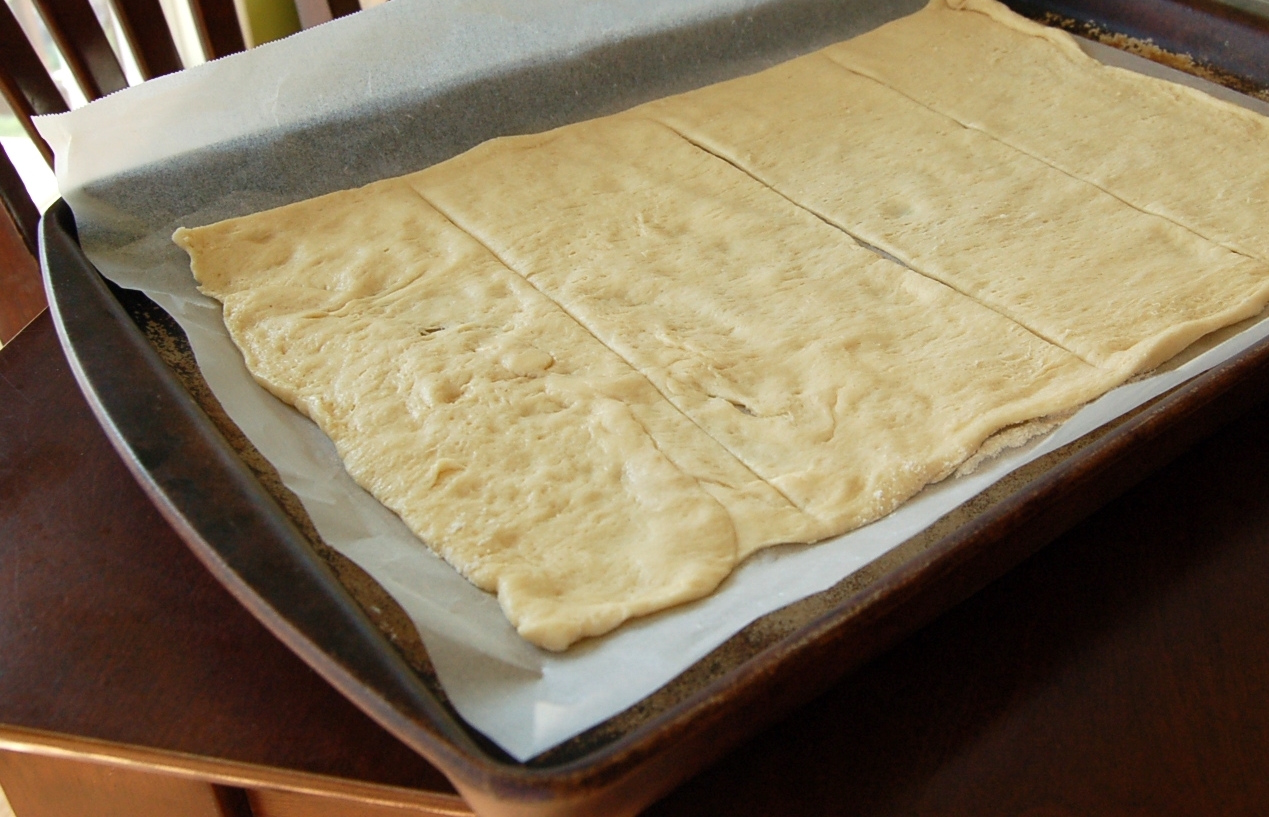
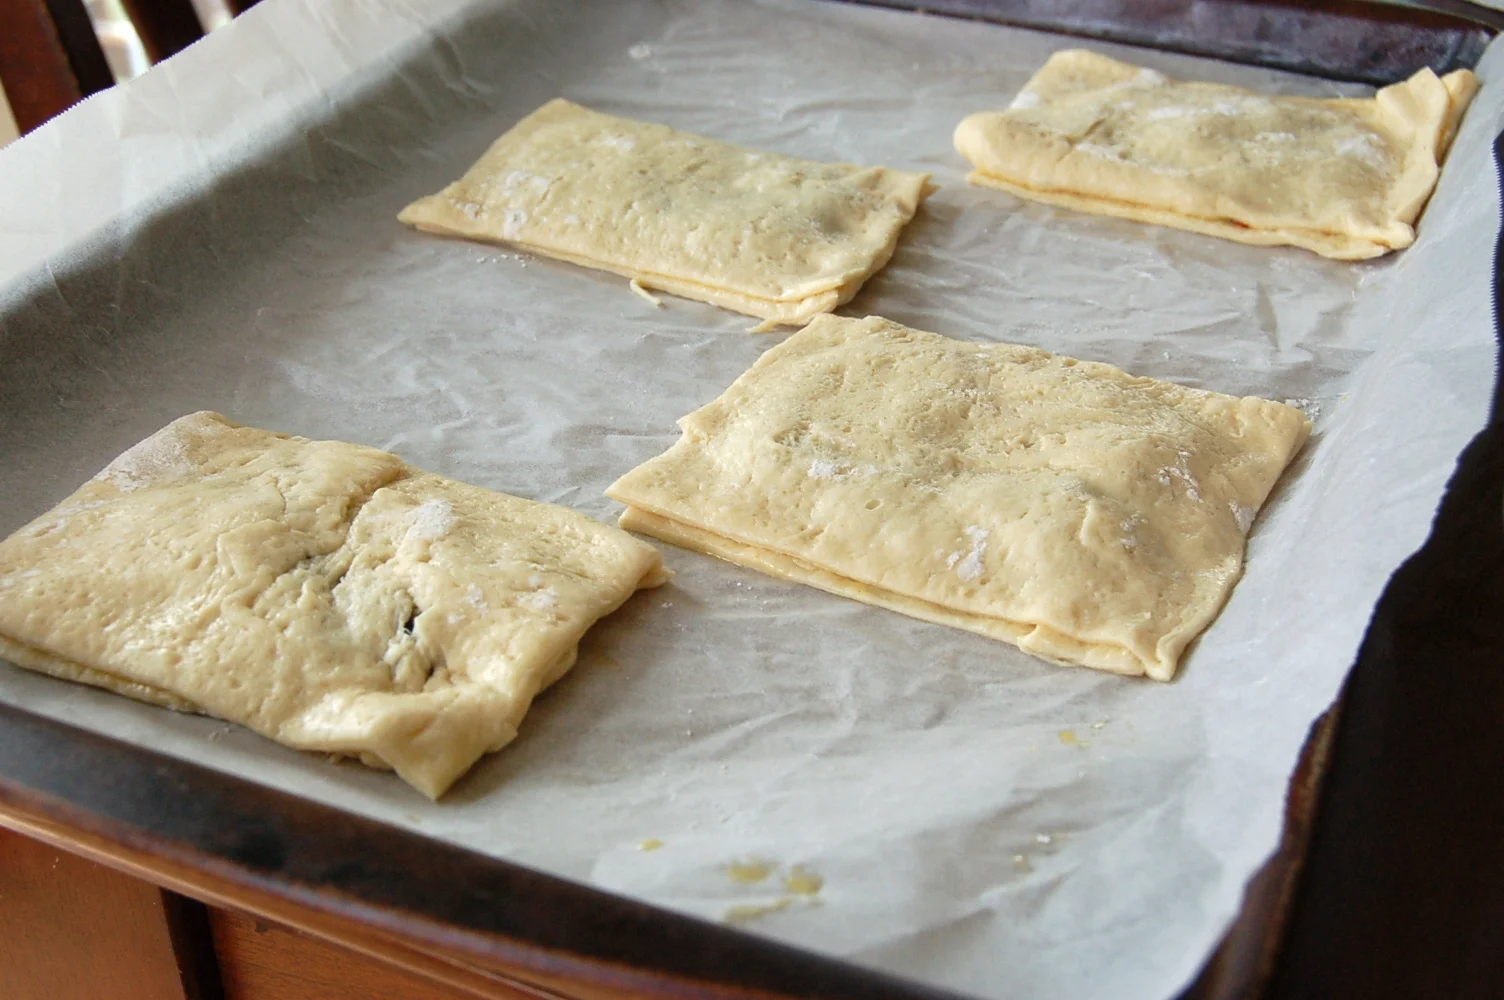
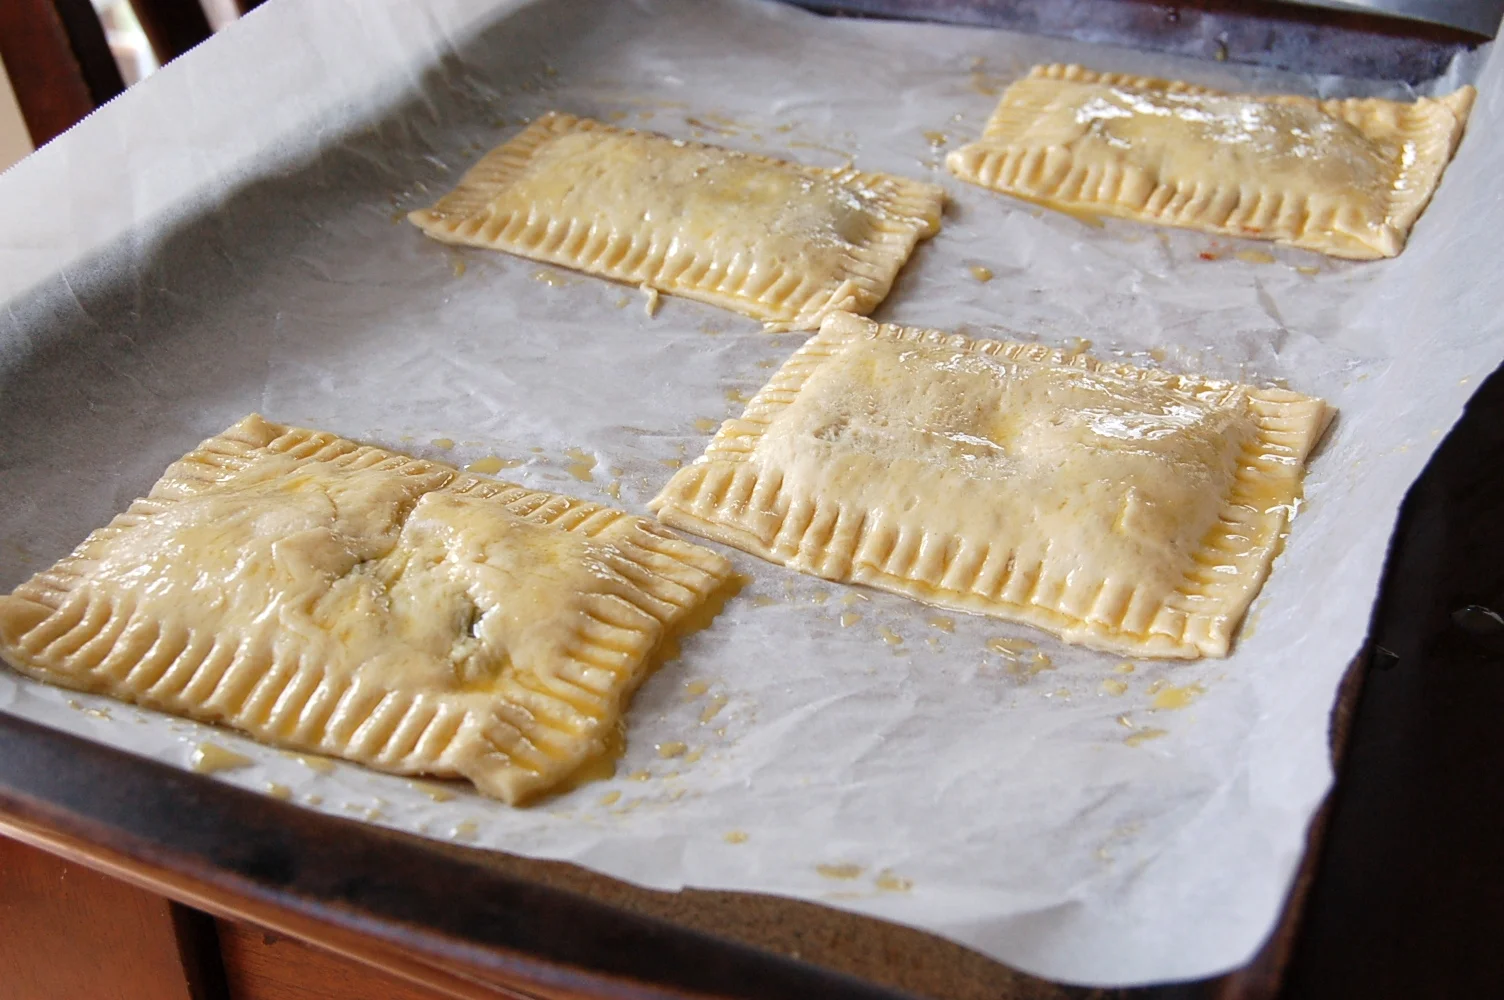
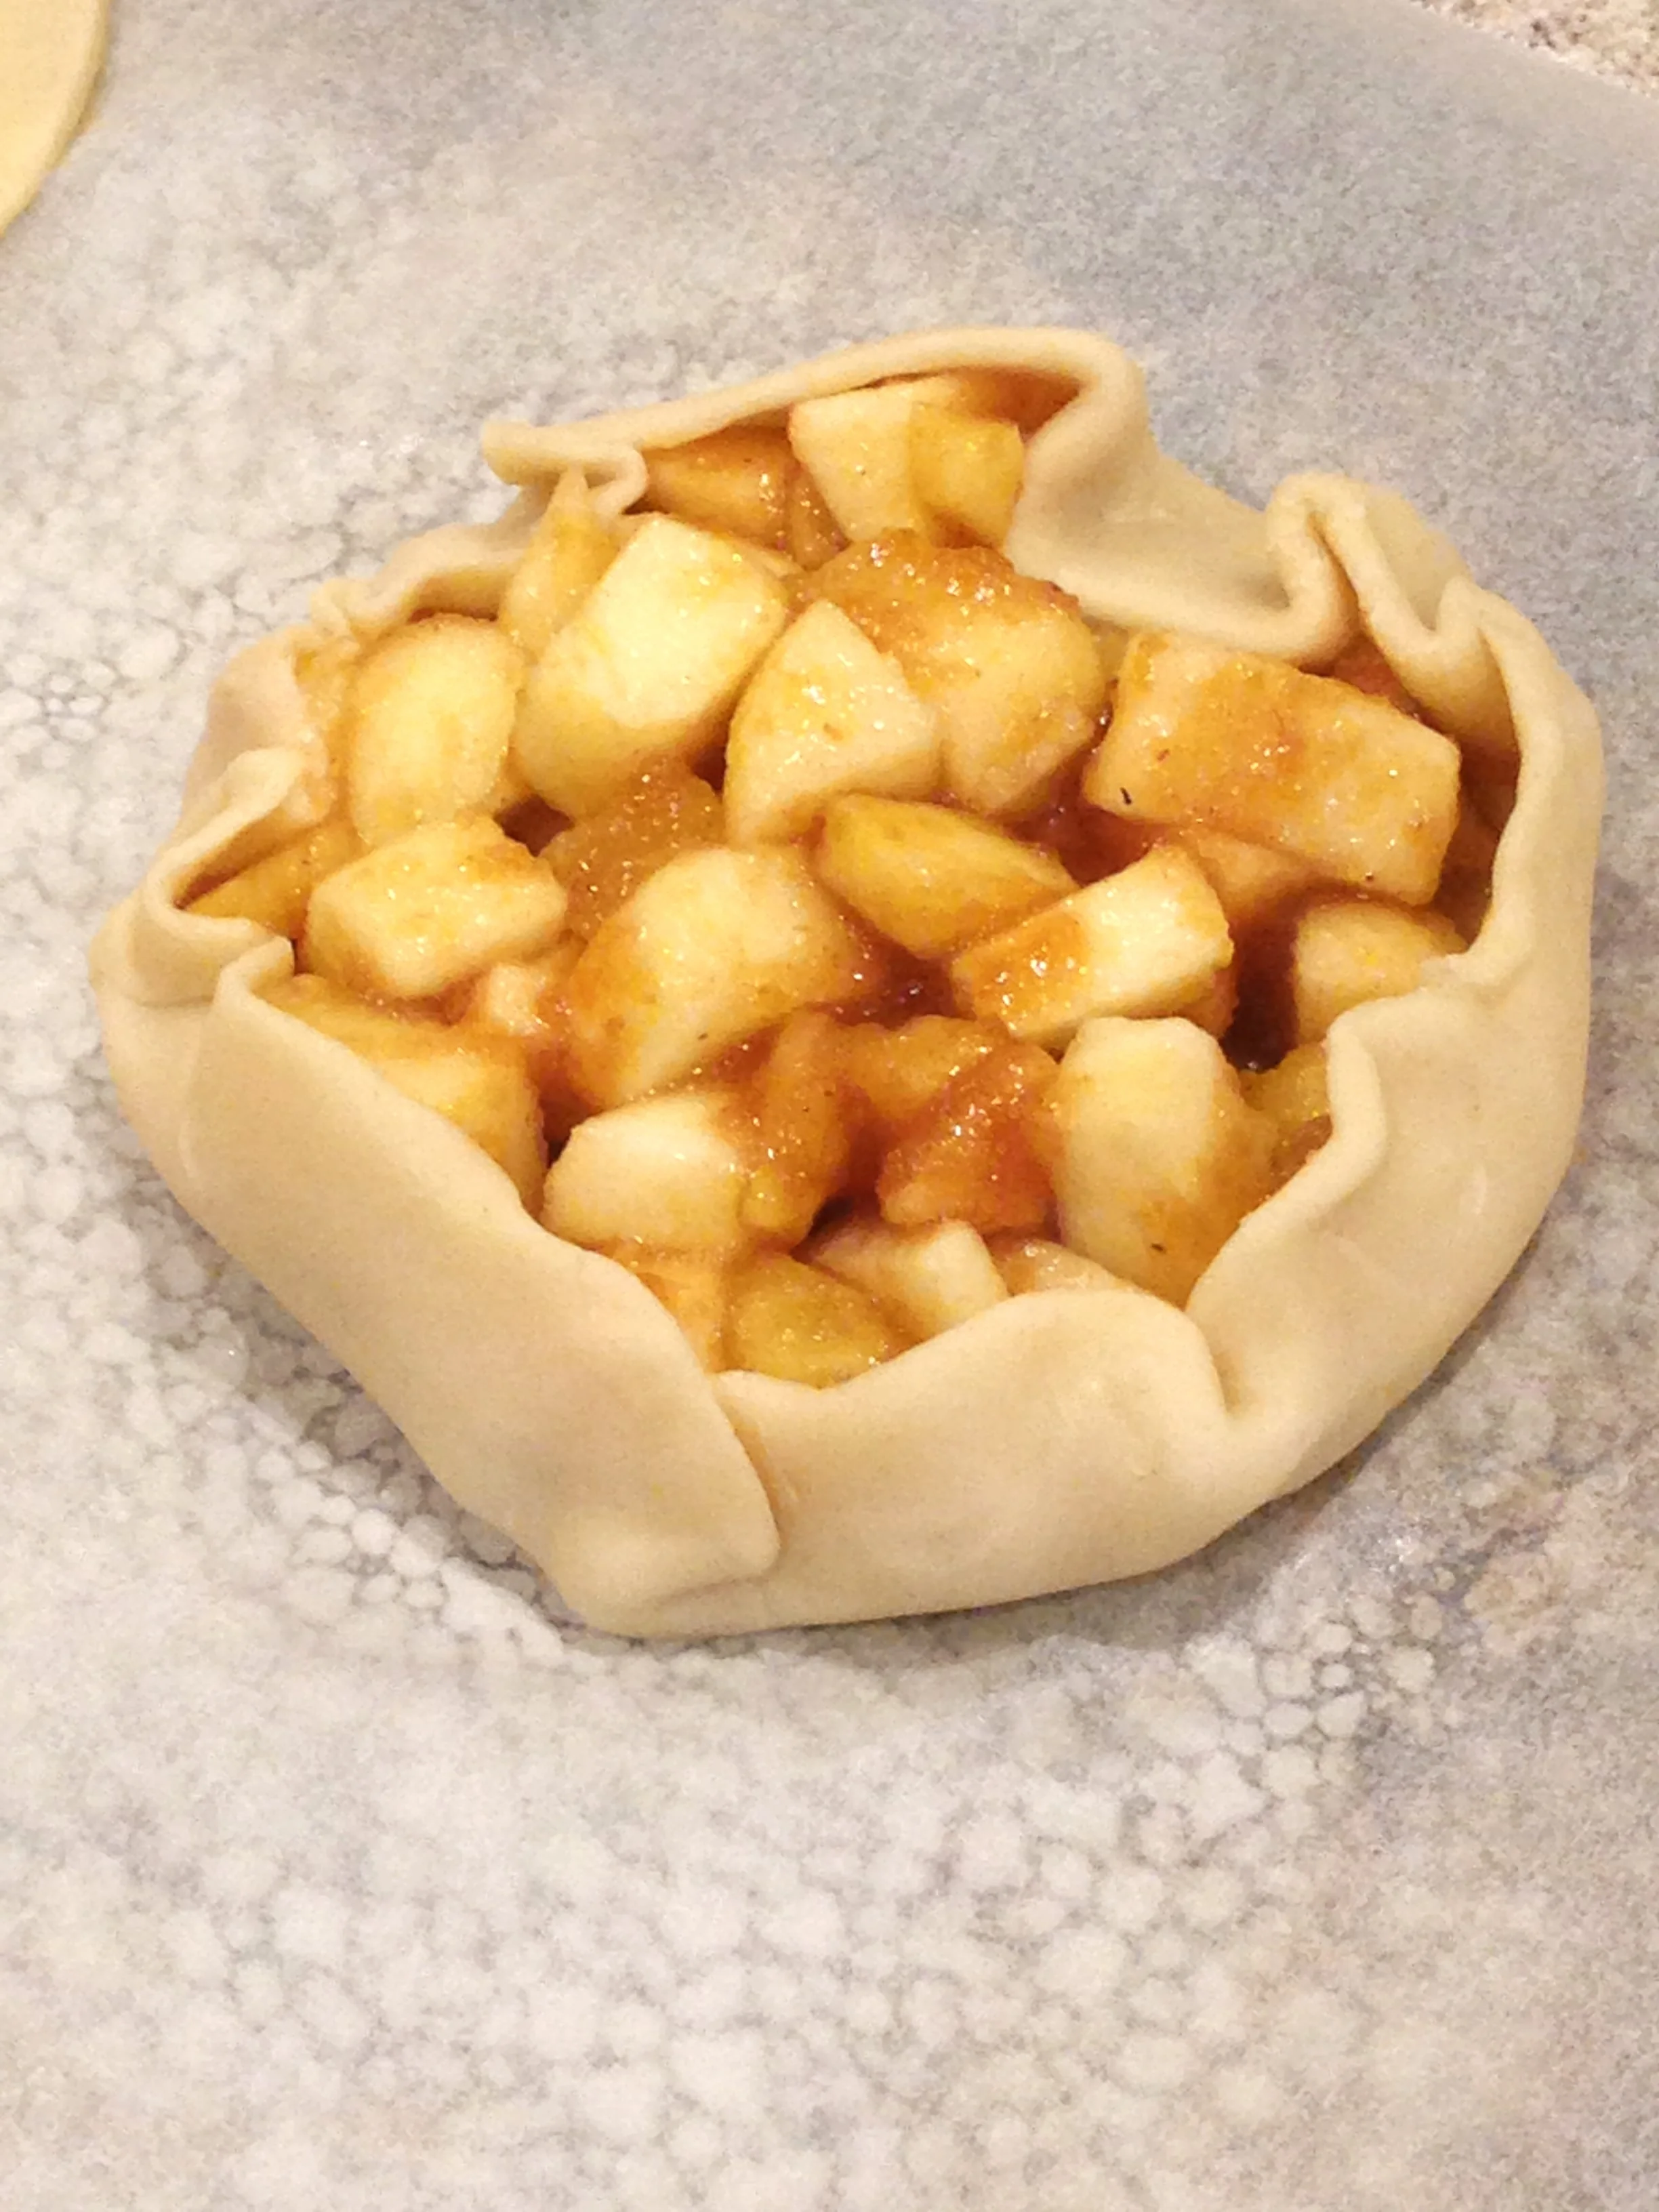
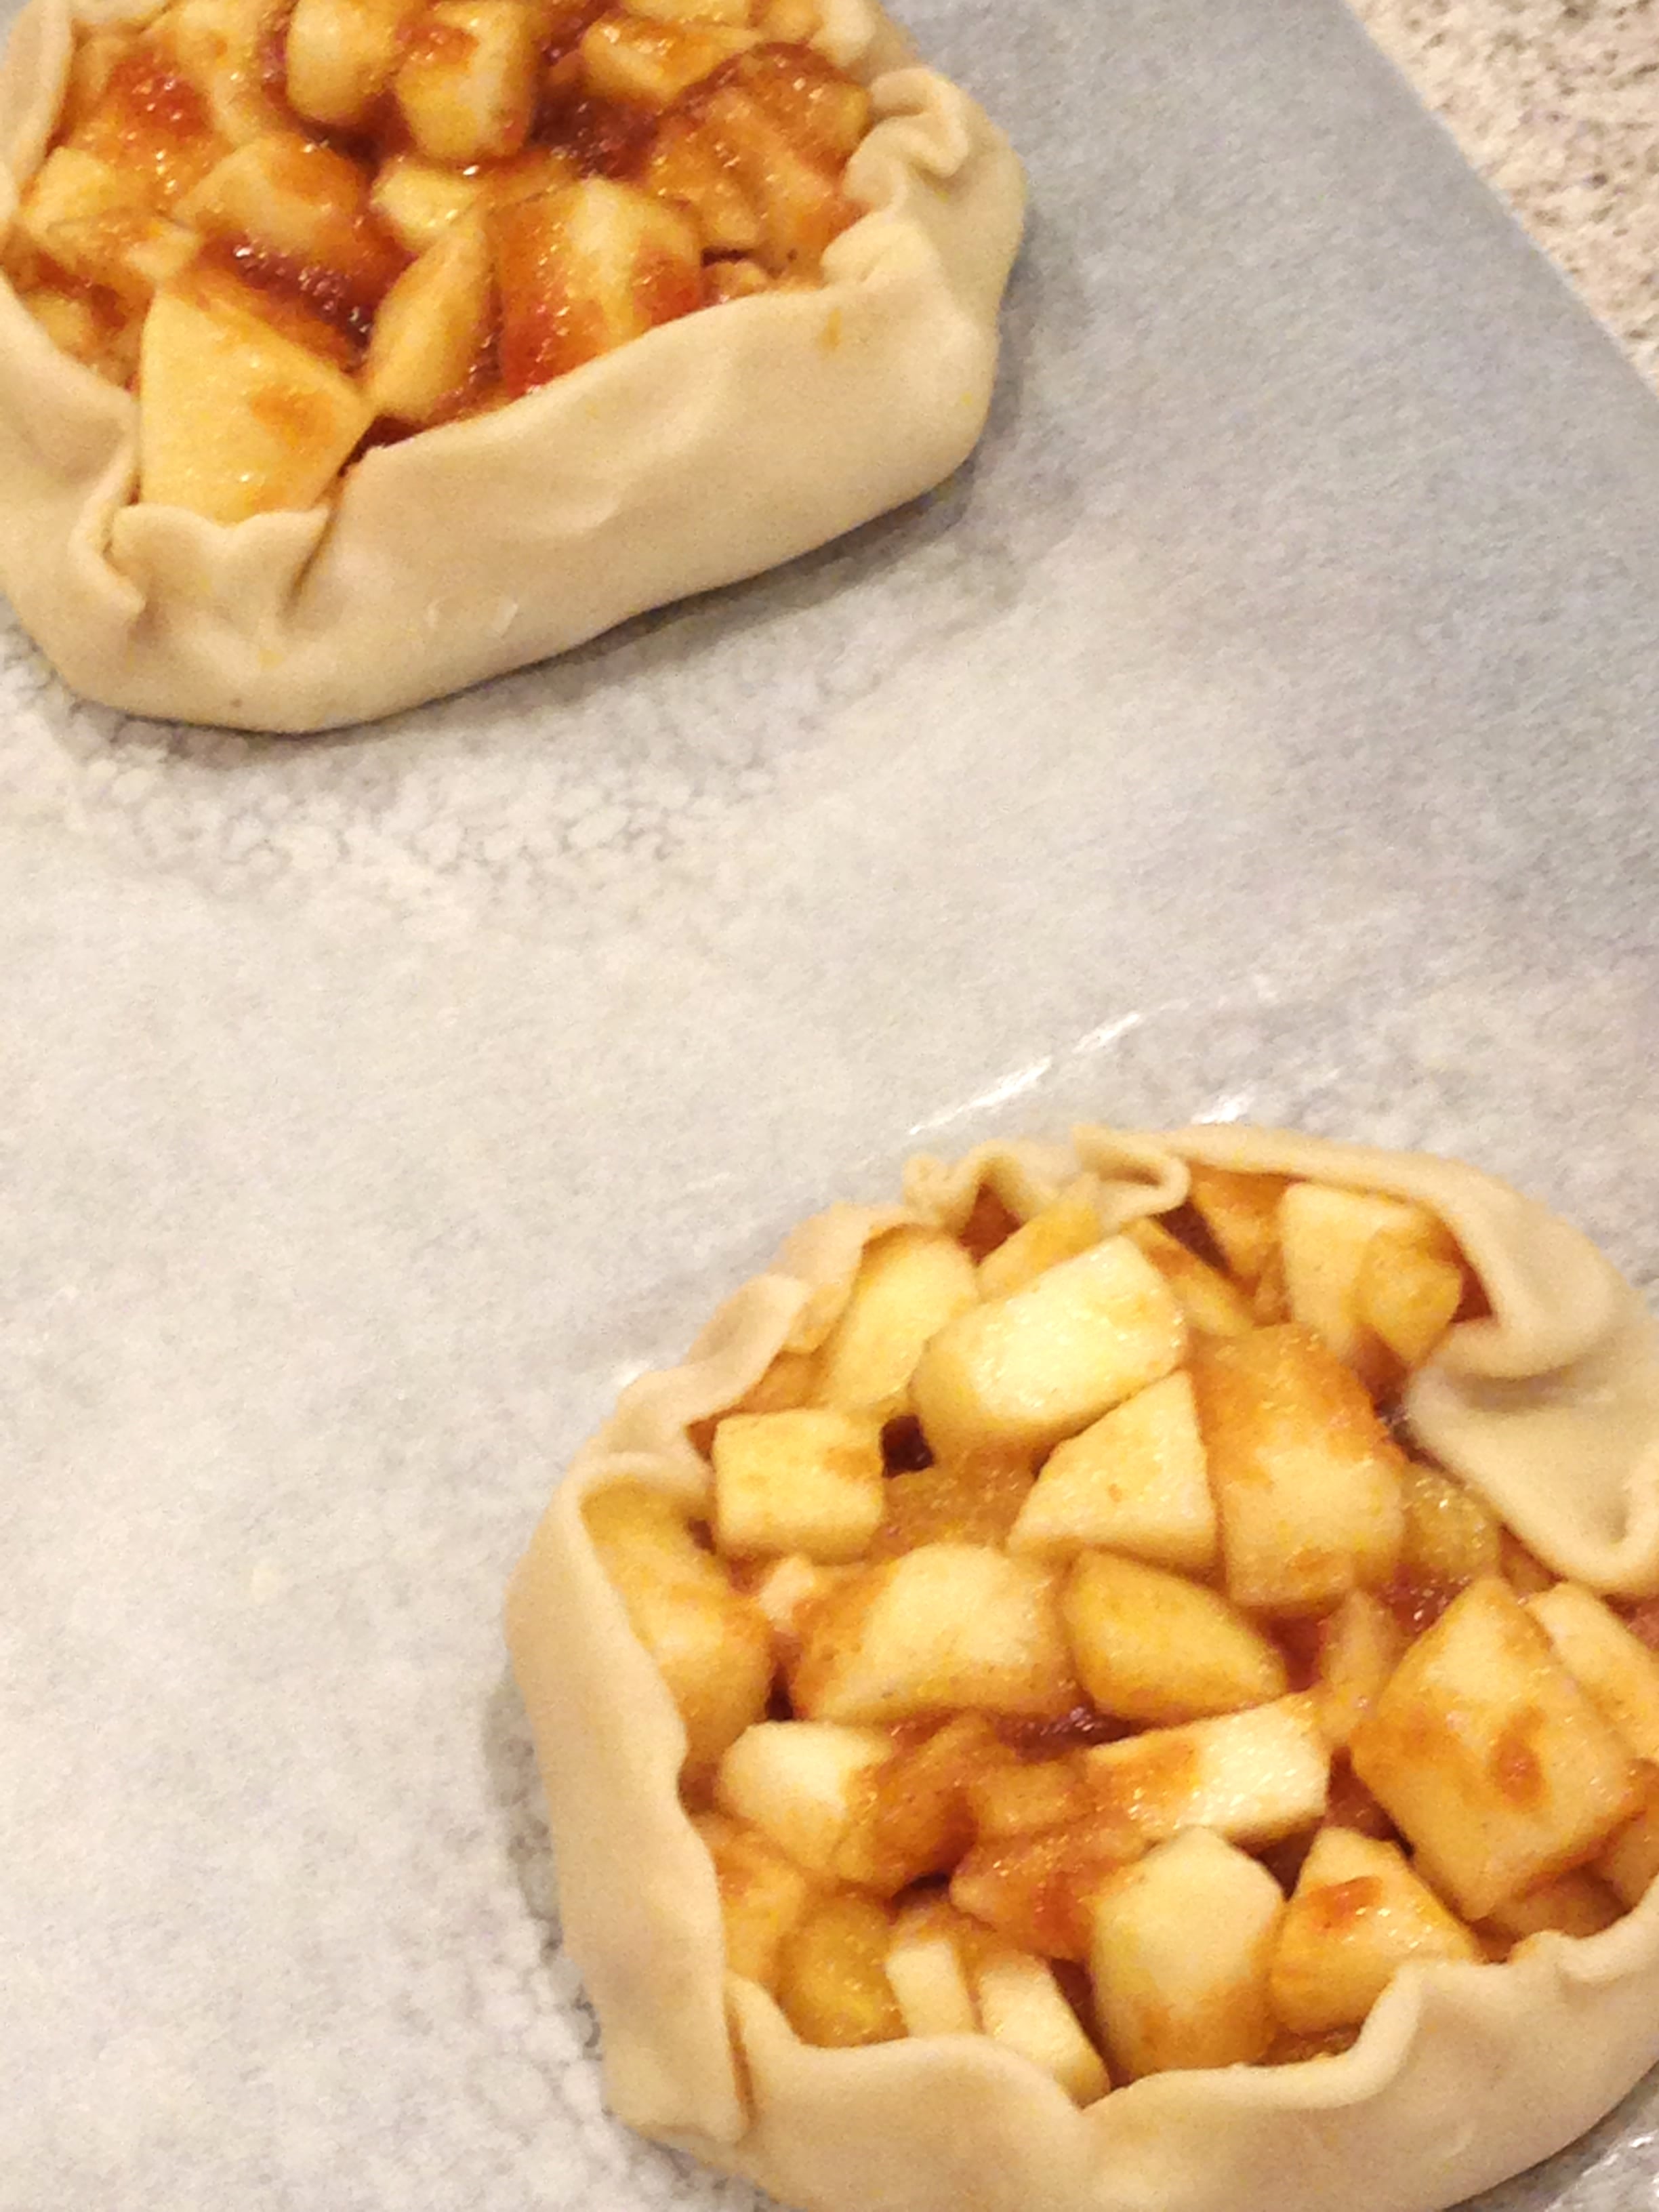
These rustic, tasty mini apple tarts are a fun way to get kids cooking in the kitchen and a great way to spend quality family time together. This recipe is forgiving and lends itself to any fruit on hand, including frozen fruit. (We have not tried this recipe with frozen fruit, but by all means, go for it and let us know how it worked out). We had apples that we needed to use, which was the fruit of choice, but instead of one pie, we made several mini tarts so everyone could be proud of their creations. 

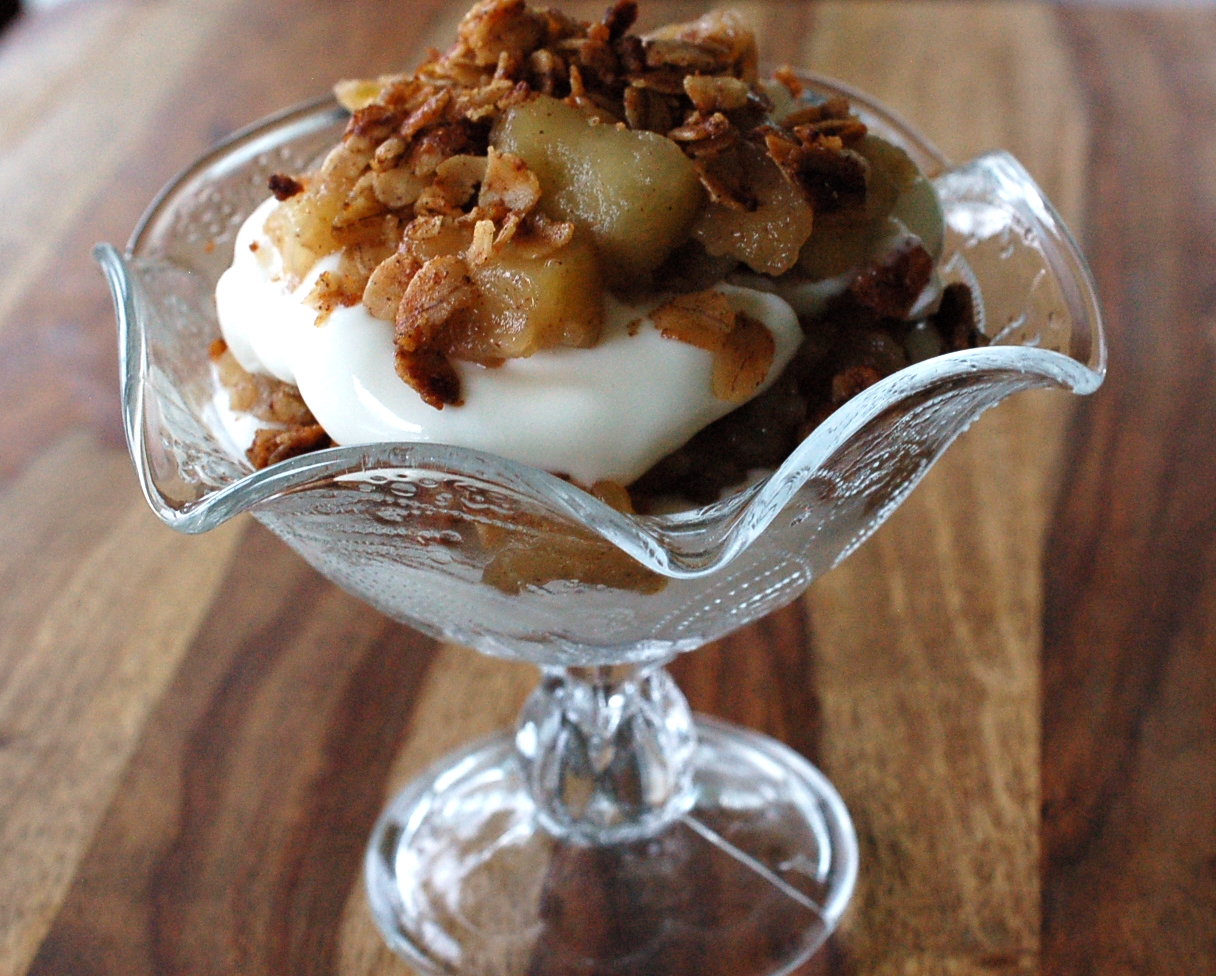
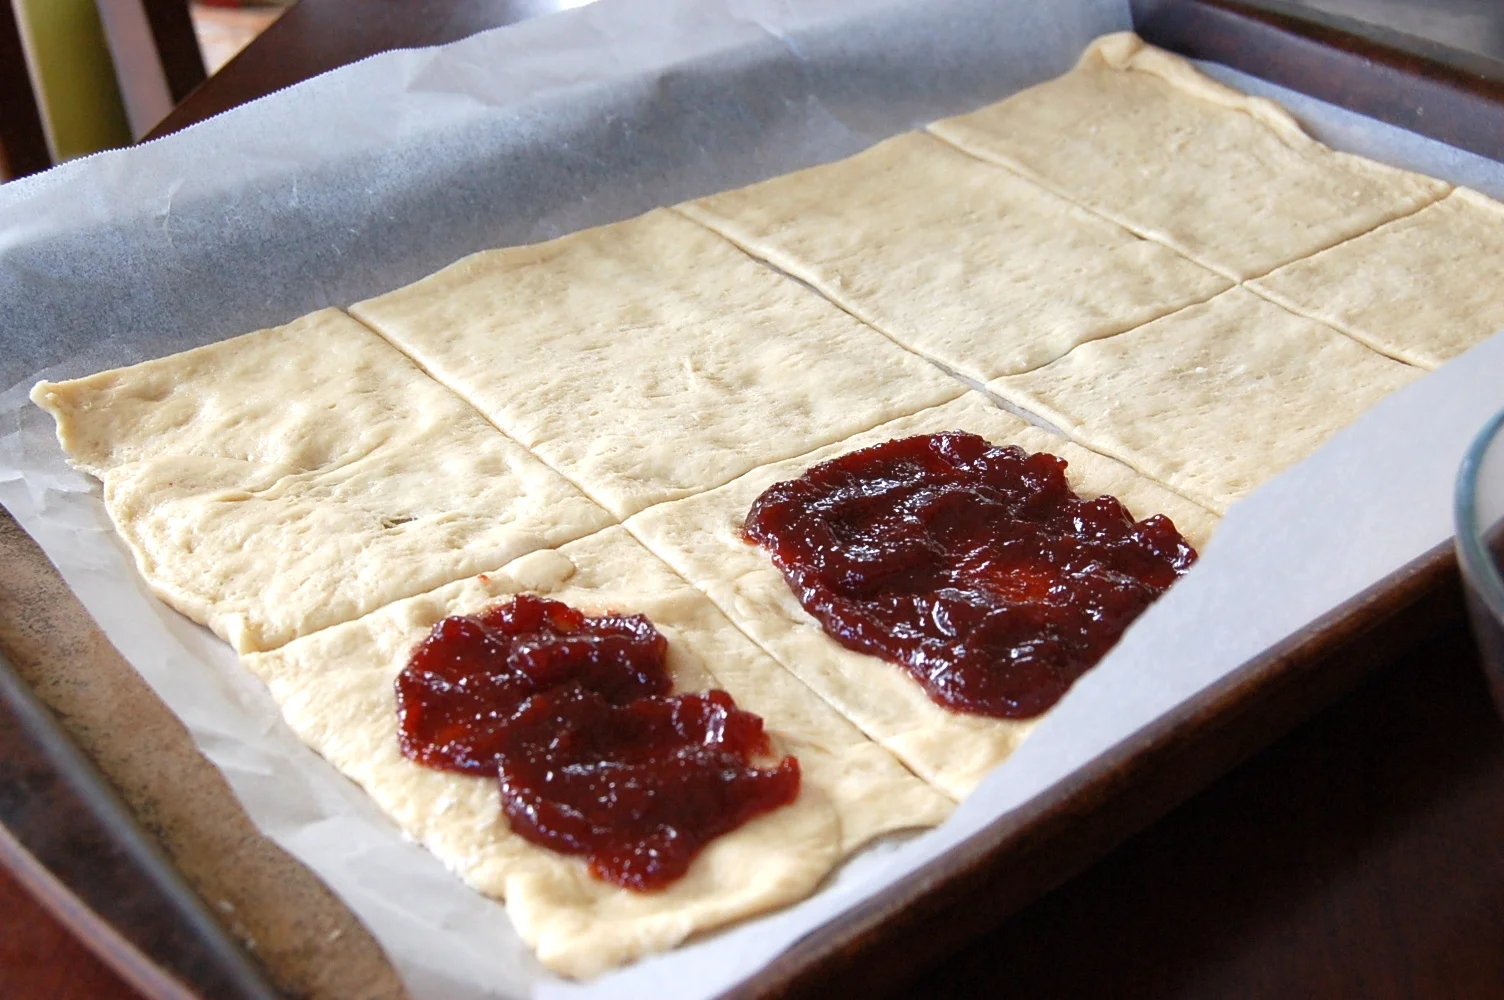
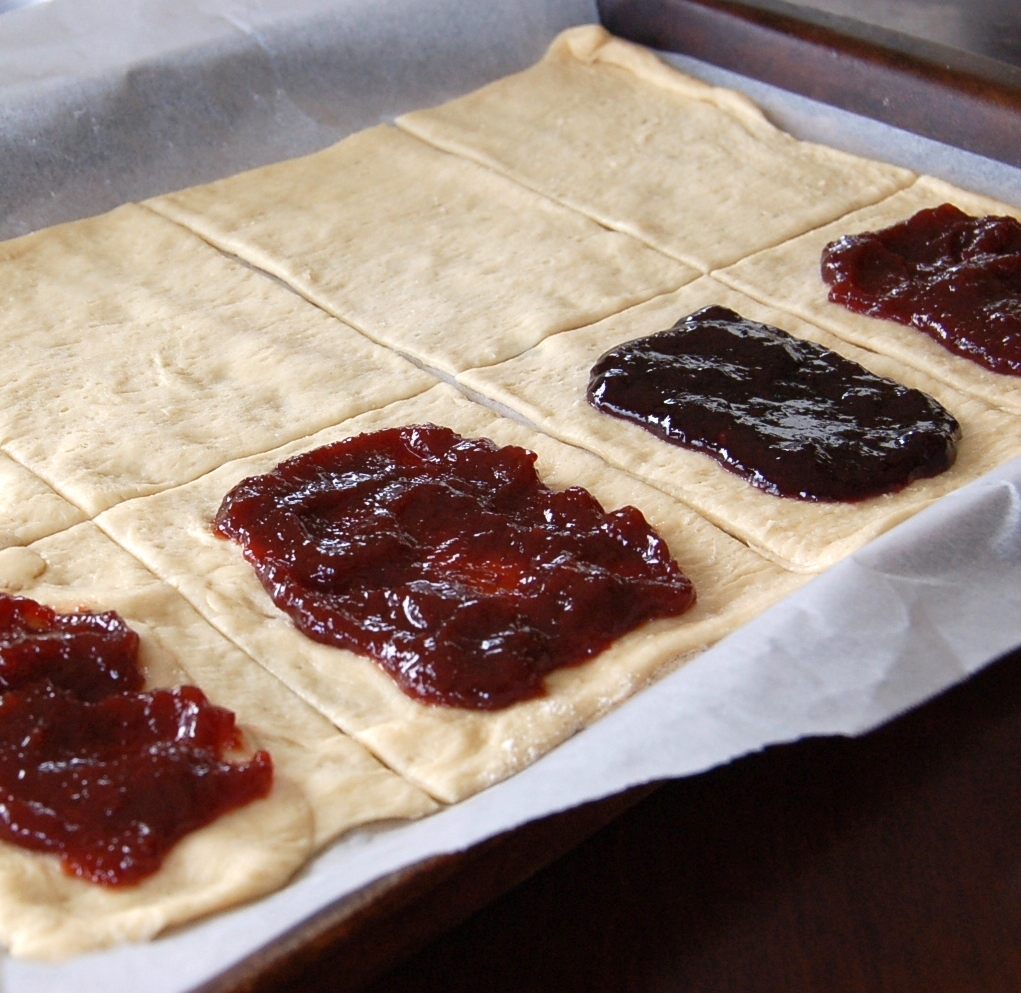
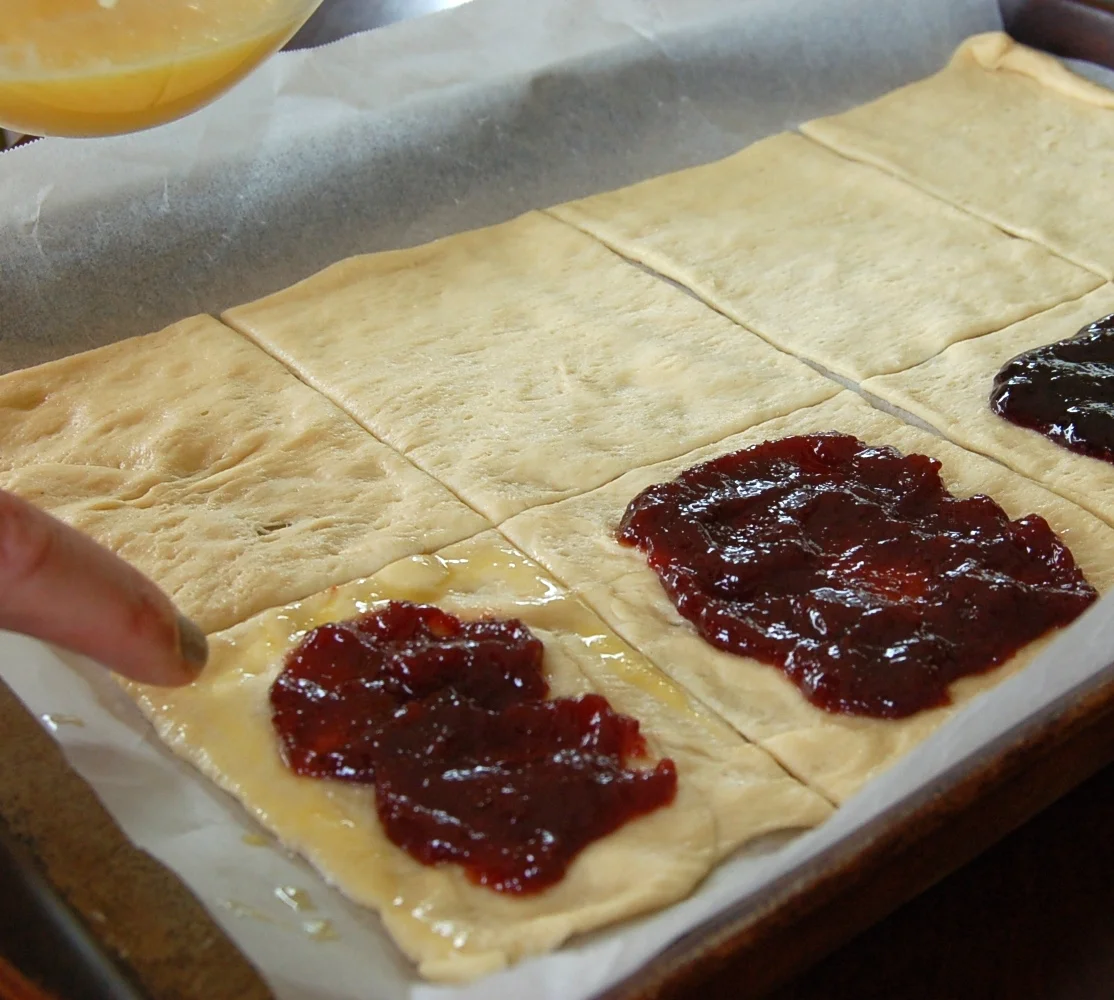
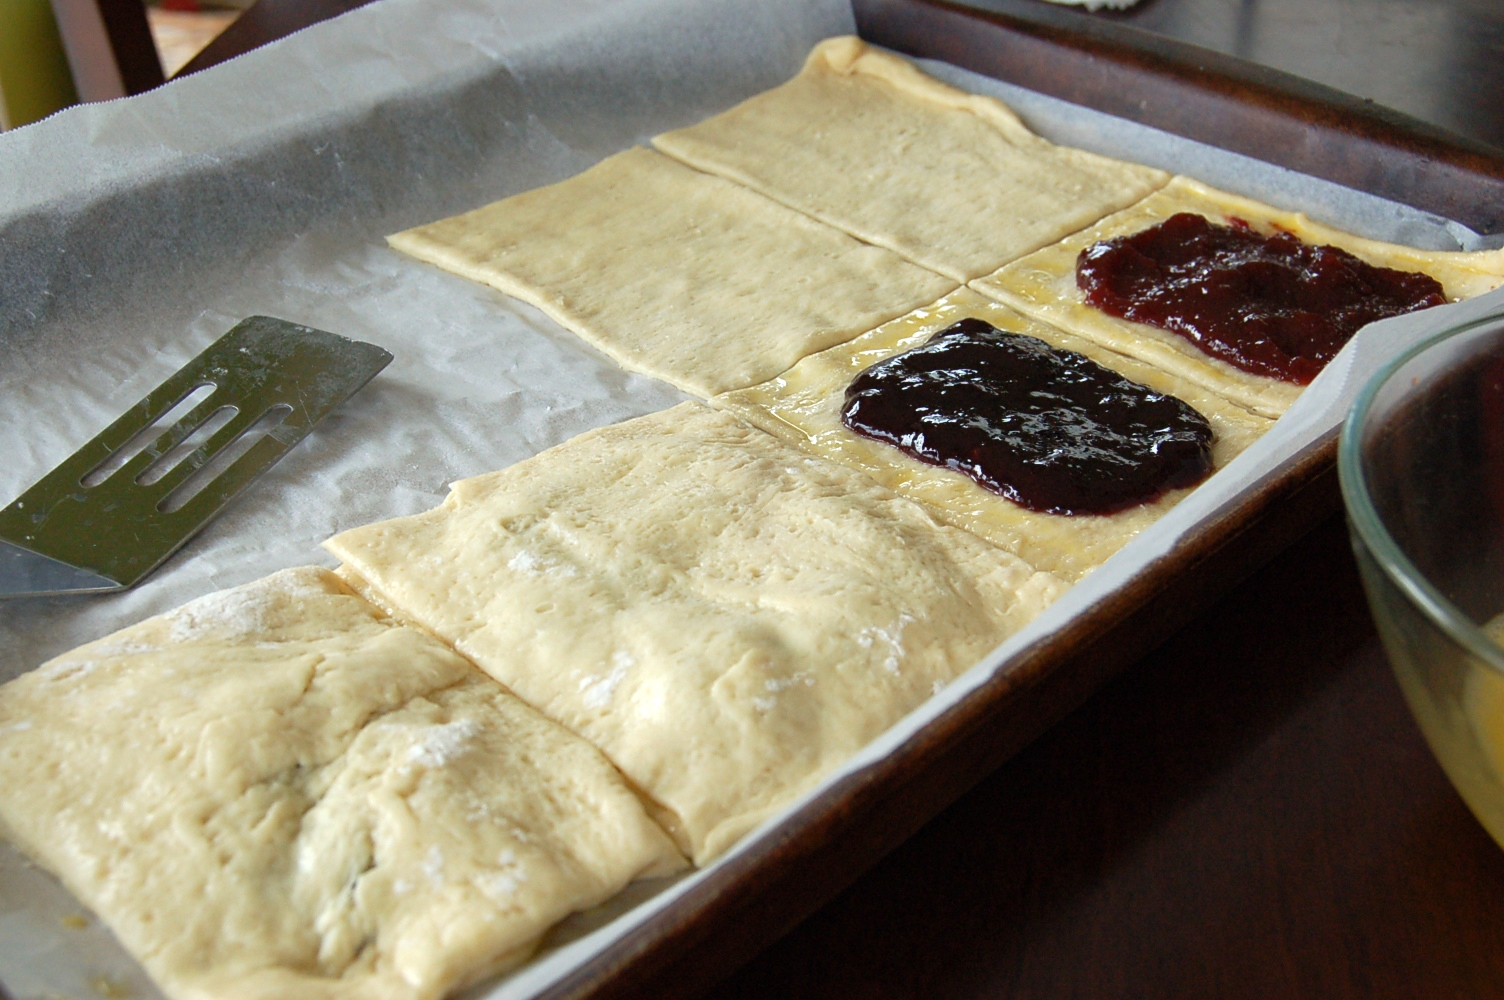
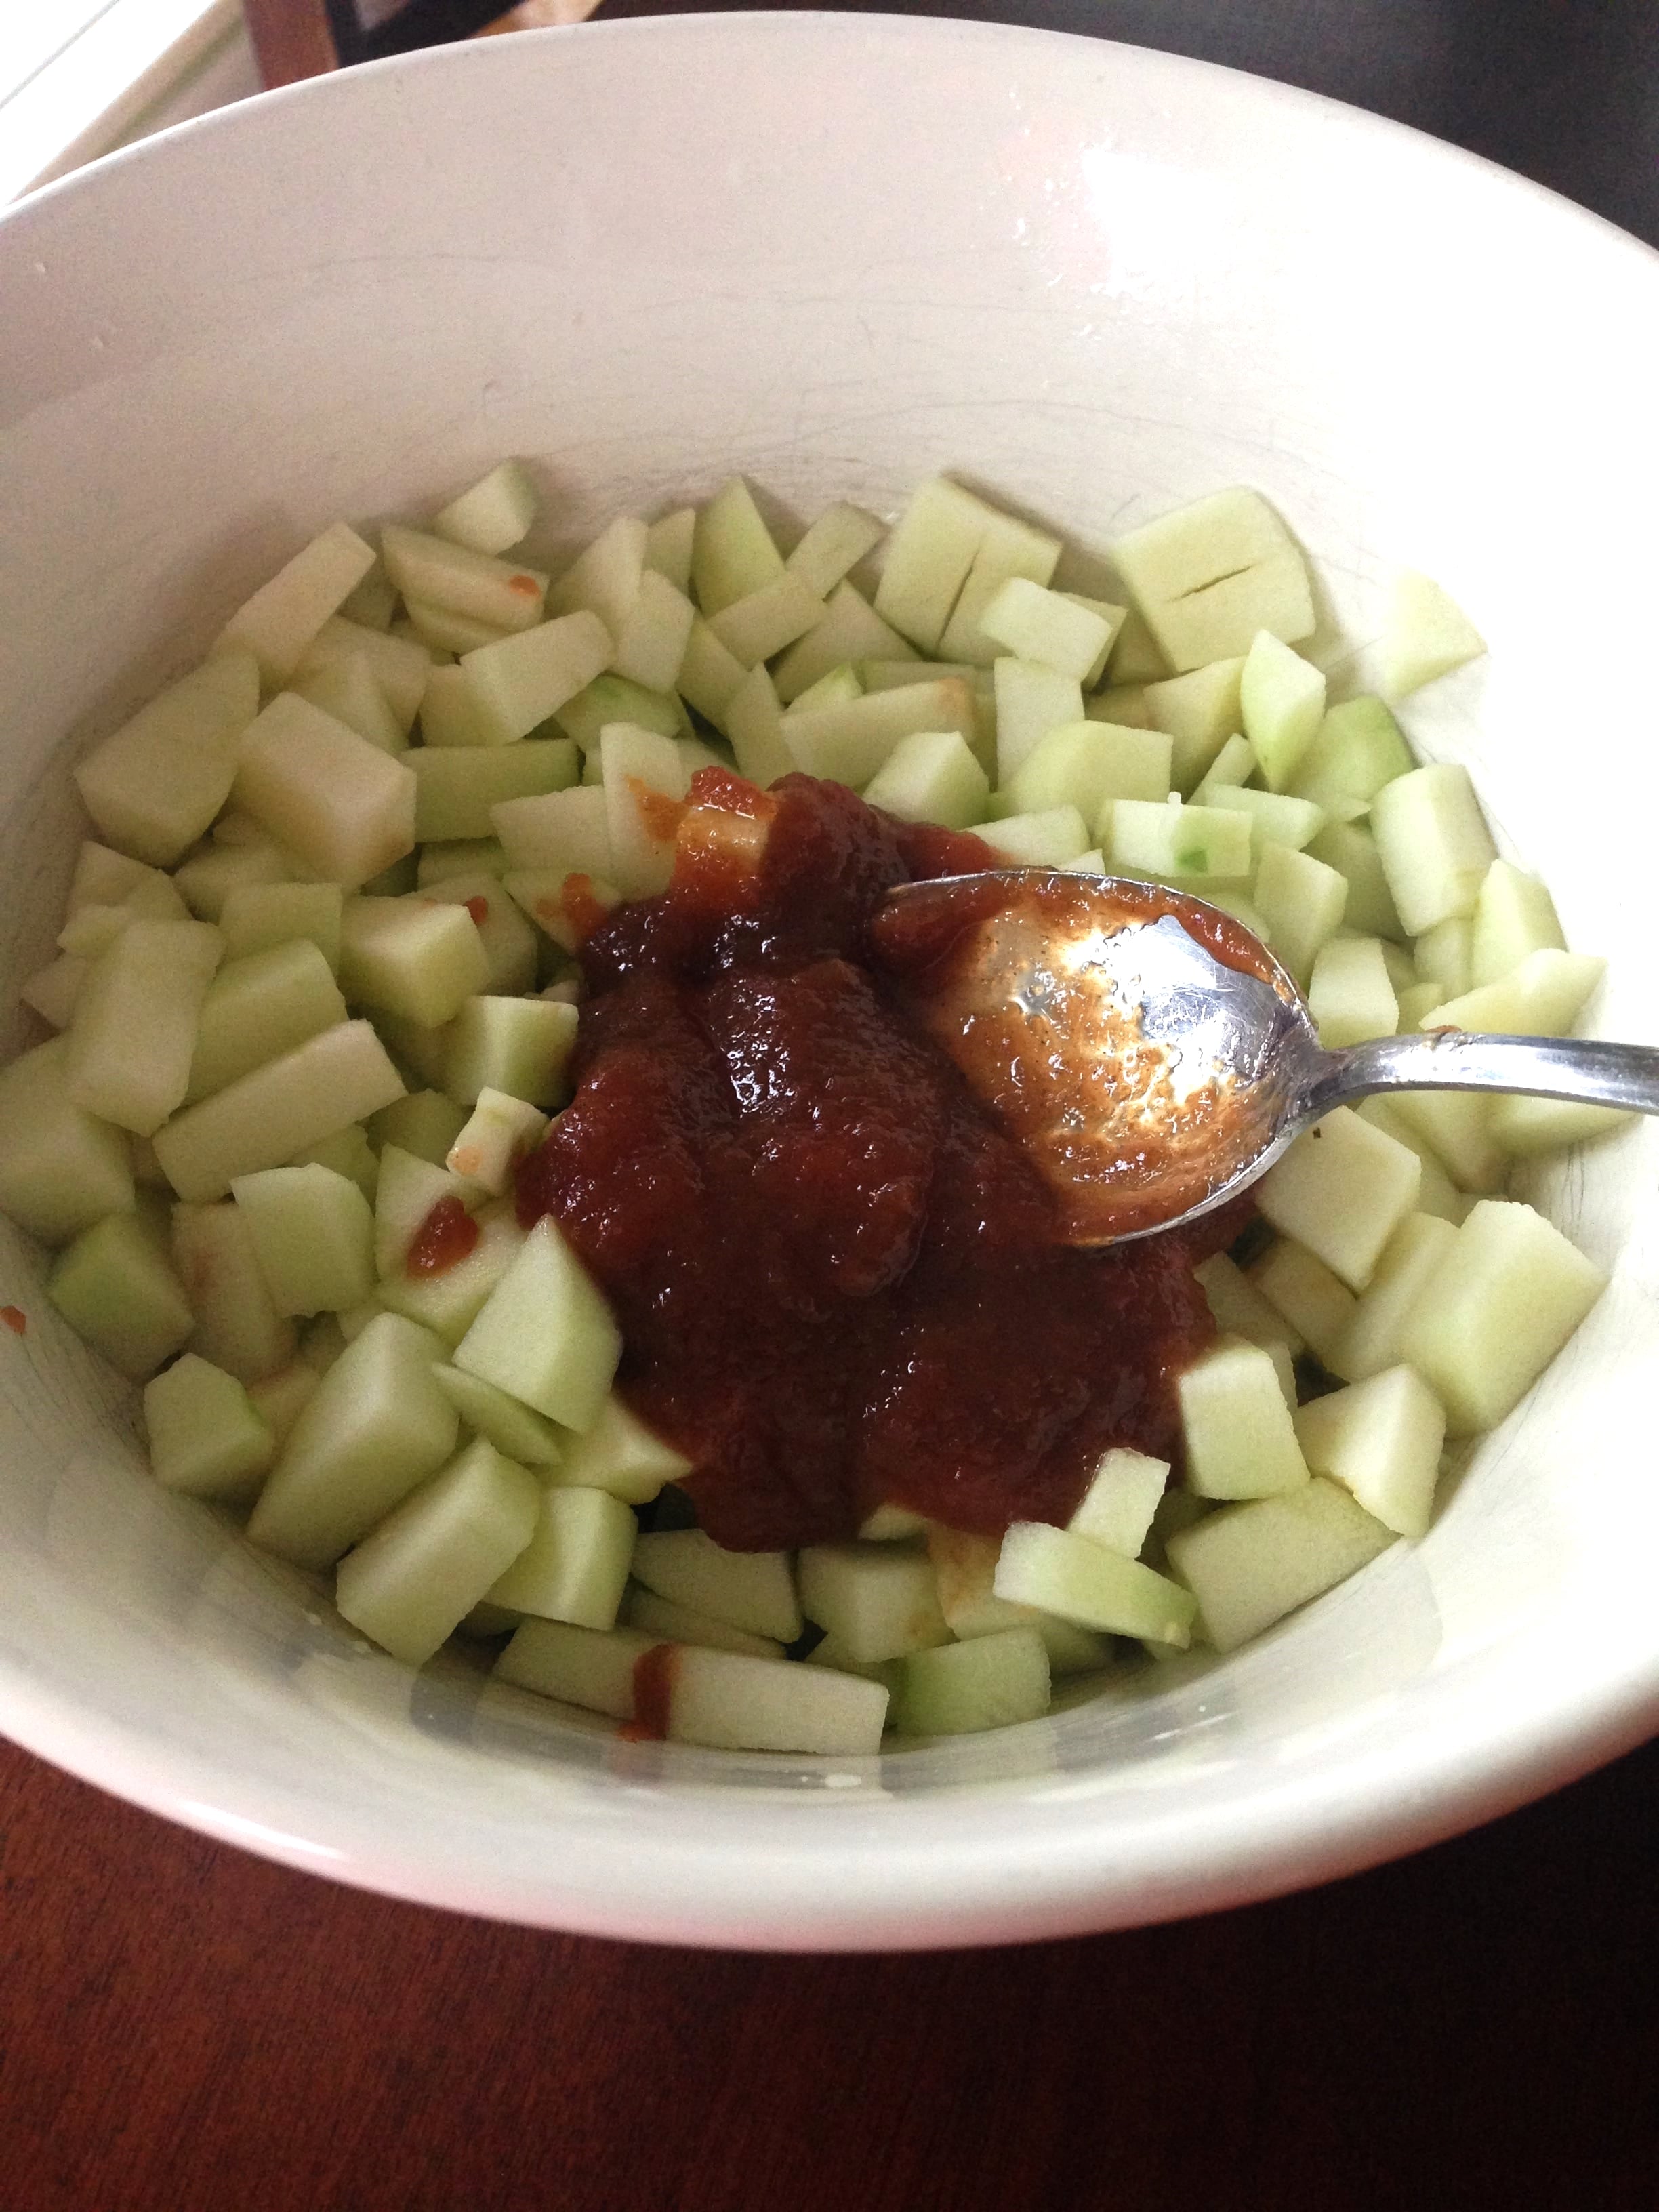
I usually make this apple pie recipe with our Cherchies® Apple Butter Spread instead of sugar. Considering we had half-full jars of our butter spreads (AppleCherry, and Strawberry), we decided to use the ones we had on hand, and we created several different tarts with the chopped apples. The icing and the lemon zest at the end finished off this dessert nicely.  

So, if you are looking for a creative family activity, unplug the electronics, and consider making these delectable Cherry Apple Pie Tarts with your loved ones and create some beautiful memories together. They are perfect as a tasty dessert, a delicious breakfast treat, or an after-school snack. 

Comment below on your creations. We'd love to hear your ideas:). As always, thank you for visiting. Come back again for more yummy recipes and cooking tips.

  * Note- I forgot to add the lemon zest when photographing these little tarts.  

Ingredients

Preparation

Chop apples into small chunks.  Place chopped apples into a large bowl and add half of the lemon juice. Mix apples to coat with lemon juice.  Add Cherchies® Cherry Butter Spread (I divided the chopped apples into three bowls and added a different butter spread to each bowl) and mix together.  Set aside.

Preheat oven to 400 degrees.  Line a large baking sheet with parchment paper. Remove pie dough from package and "smoosh" (ha!) the dough together until you have one ball of dough.  Separate dough into 6 equal portions (I was going to trace dough with a small bowl and cut out circles, but figured I'd have to reroll the scraps anyway).

Roll out individual dough balls into circles approximately 6 inch circles (it does not have to be perfect...this adds to the rustic factor).  Place rolled dough onto baking sheet.

Leaving about 1 inch around the edge of the dough, spoon apple mixture into center of dough.  Crimp edges around tart. Sprinkle tarts with cinnamon.  Bake tarts in the oven for about 30 minutes, or until crust is golden and apples are soft.

As tarts are cooking, prepare the glaze and the icing.   In one bowl, combine the Apricot Preserves and the remaining lemon juice.  In another bowl, combine the powdered sugar and water.  

Remove the cooked tarts from the oven and while the tarts are warm, brush them with the Apricot Preserves and the lemon juice mixture.  The final step is the icing and completely optional, as the tarts are delicious on their own, but I wanted to make them extras pretty for their "glamour shots".  Drizzle the icing when tarts are mostly cooled.

For other uses for apple butter, check out our blog, blog.cherchies.com.  Enjoy!

Yum