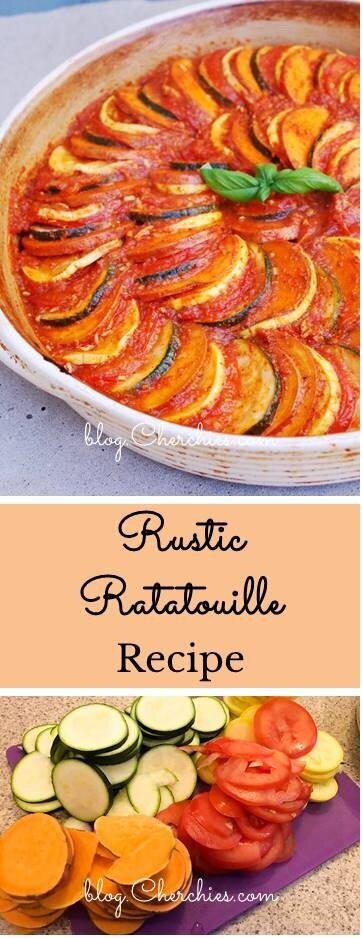
Rustic Ratatouille Recipe
Prep Time: 15 minutes
Cook Time: About 2 hours and 30 minutes
Difficulty: Easy
Today’s comforting recipe is an ode to those late summer vegetables, the beginning of Fall, and the late Julia Child. I present to you my version of Ratatouille, a swirly-twirly layered dish of fresh vegetables in a rich piperade (a fancy term for tomatoes, peppers, and onions) and fragrantly seasoned with thyme, garlic, parsley, Cherchies Basil Pizzazz, and Cherchies Garlic Seasoning. This dish is impressive in presentation, and the vibrant colors are also entirely reminiscent of Fall.
This savory French stew typically features tomatoes, peppers, zucchini, eggplant, onions, garlic, and herbs, and is simmered on the stovetop. This dish lends itself to creativity in the kitchen, so taking my inspiration from Julia Child (who layered the vegetables in a savory sauce and baked them in the oven), I created this family-friendly version (sans the eggplant; kiddos and hubby are not fans). I alternated the vegetables into a decorative spiral (otherwise known as a tian) and baked them in the oven.
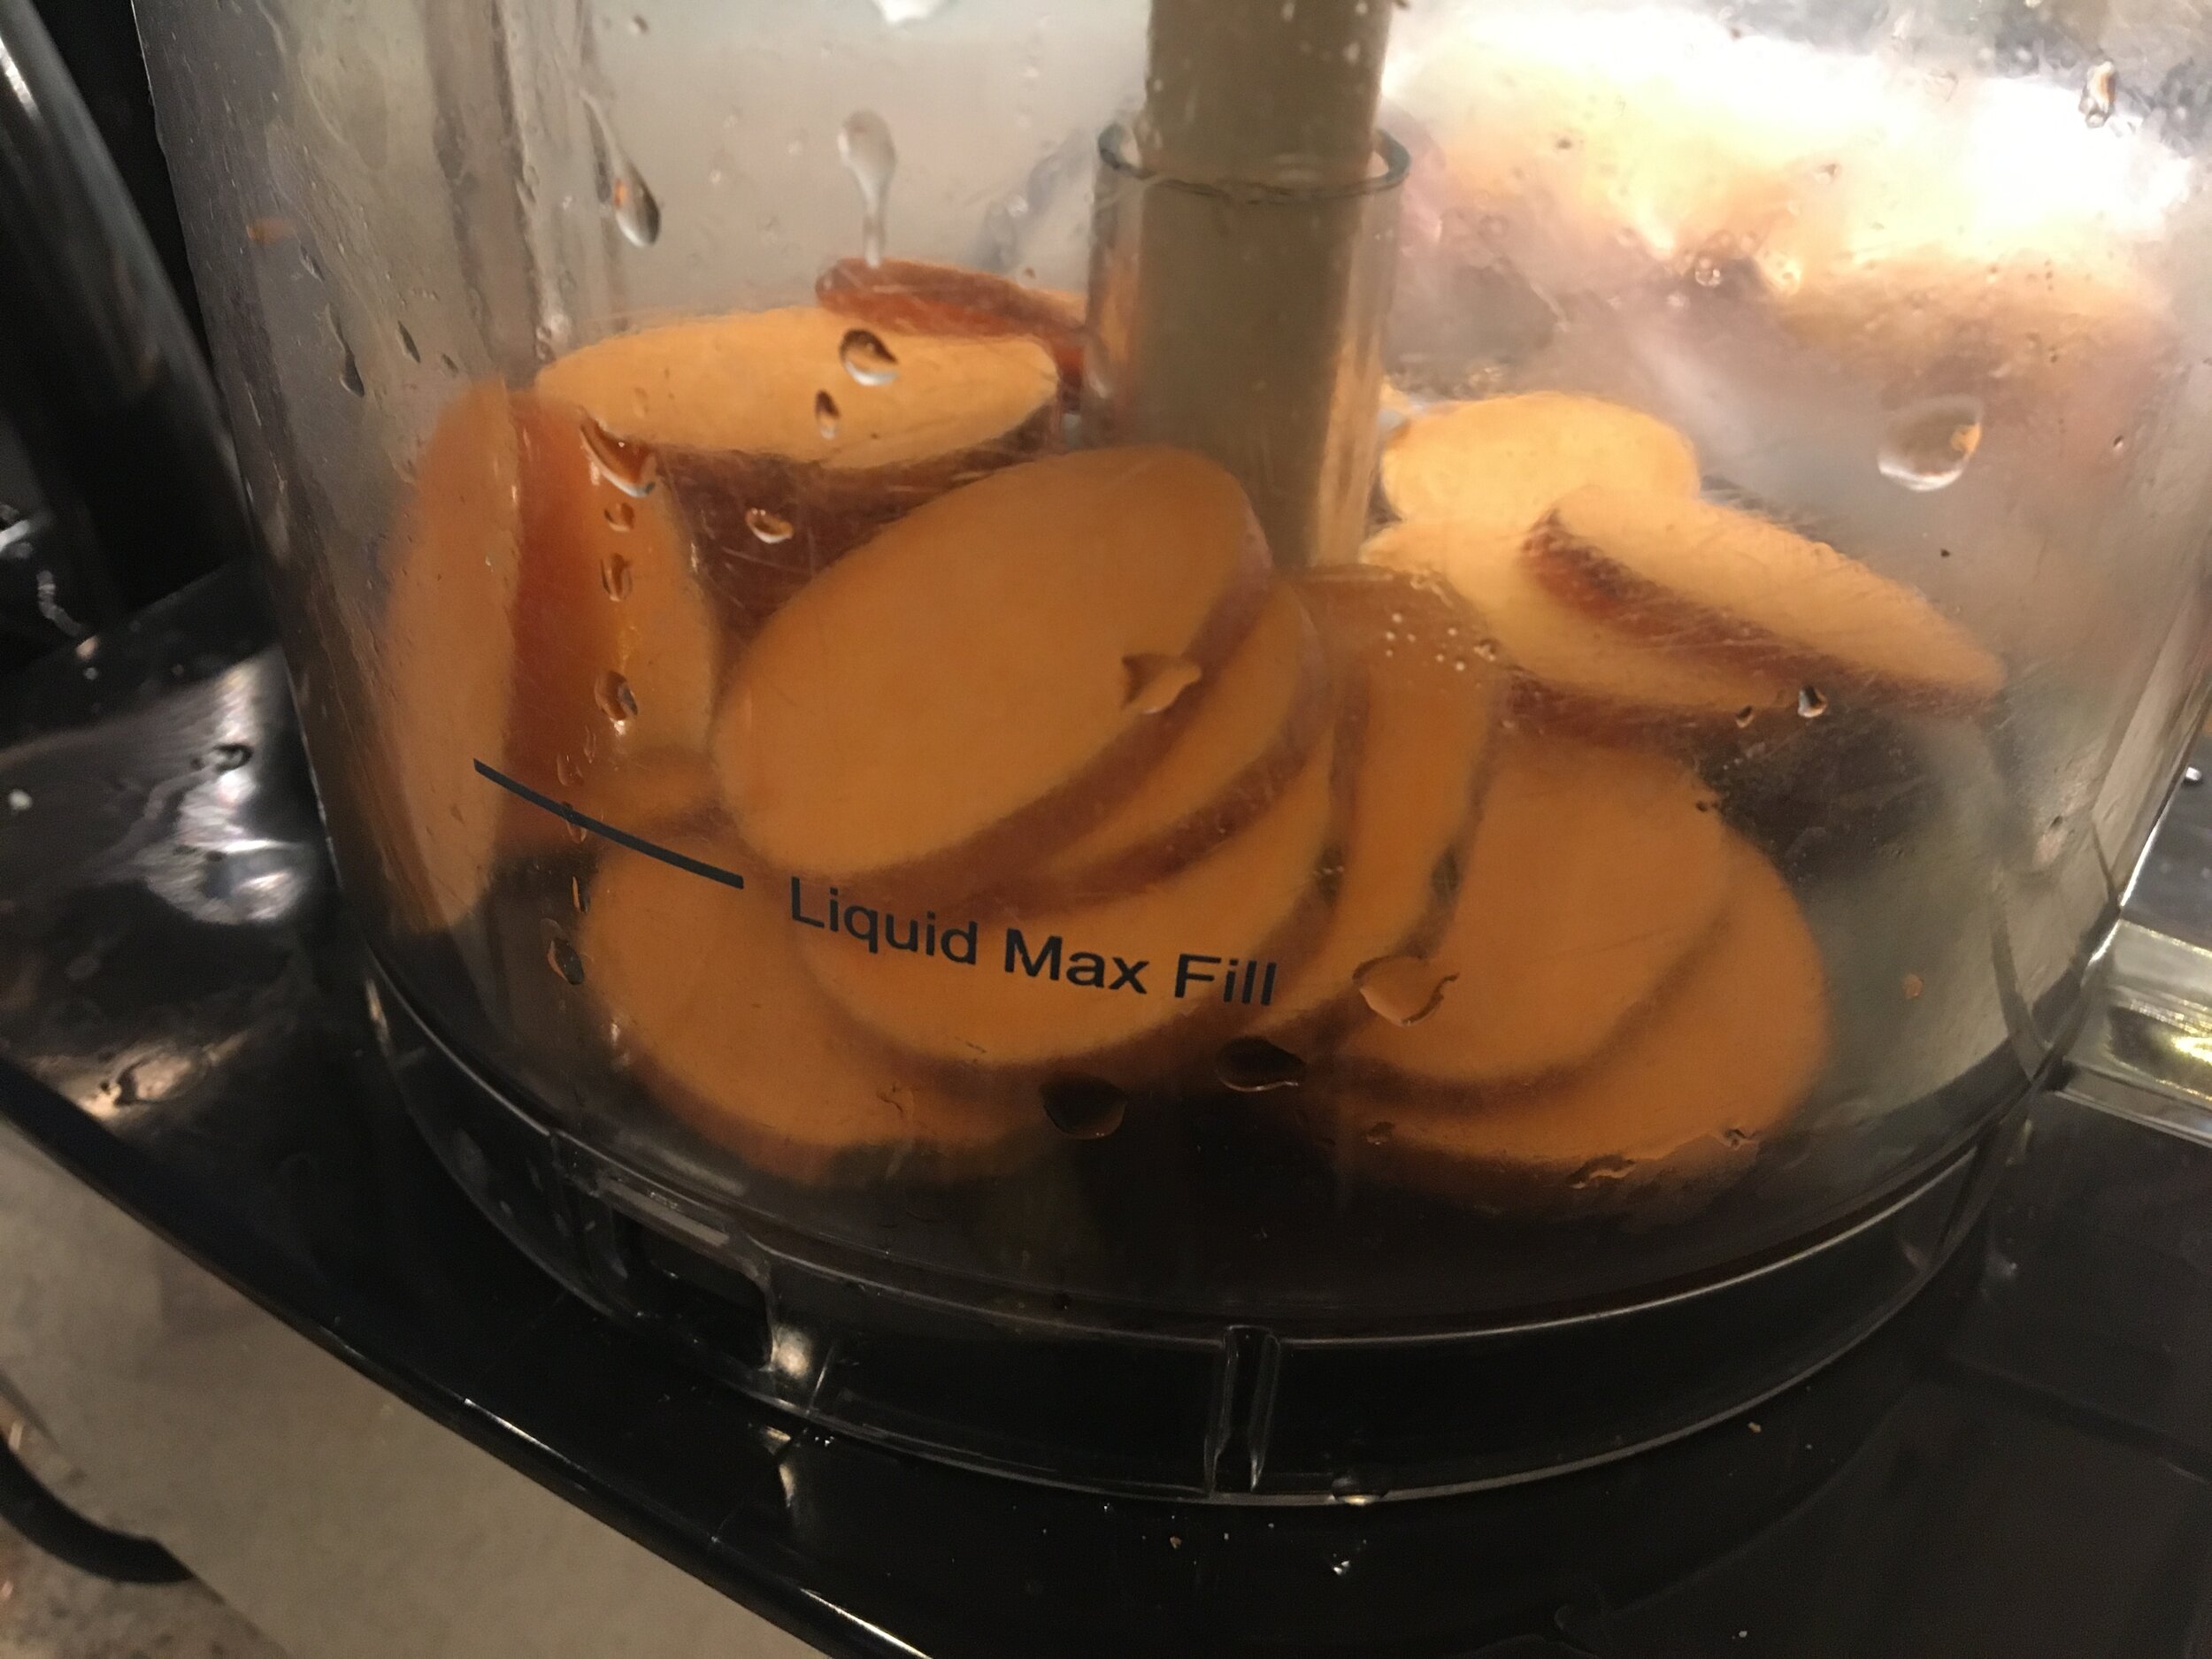
Do not be intimidated by what seems to be endless mounds of slicing. This flavorful dish is relatively easy, especially if you have a mandolin or a food processor (one of my favorite kitchen appliances ever!). Use vegetables that are similar in size, and feel free to substitute with your preferred options. As I mentioned, I removed the eggplant and added thinly sliced sweet potatoes and yellow squash.
The result is a fragrantly delicious vegetable casserole that will please even the most discerning guests. It is comfort food in a pan. Serve this easy dish alongside your favorite meat or fish recipes and crusty bread to sop up all the wonderfully tasty juices. Or, opt for a meatless meal entirely for a fabulous Meatless Monday option.
Happy Fall!
Enjoy!
Please comment below on how you liked this dish and any substitutions you made. Thanks for stopping by:) Come back again for more family-tested recipes, entertaining ideas, and cooking tips using all our favorite Cherchies® gourmet products.
Follow us on social media: Facebook, Instagram, and Pinterest.
Sauce (piperade) ingredients- (“Piperade” is fancy for onions, peppers, and tomatoes)
2 Tablespoons (Tbsp) good olive oil
1 medium onion, peeled and chopped
1/2 red pepper, seeds, and ribs removed, chopped
1/2 green pepper, seeds, and ribs removed, chopped
3-4 medium tomatoes, peeled, seeded, and chopped
2 cloves minced garlic
1 Tablespoon (Tbsp) tomato paste
1 teaspoon (tsp) salt
2 sprigs fresh thyme, stems removed and chopped
2 sprigs fresh chopped parsley
1 Tablespoon (Tbsp) Cherchies® Basil Pizzazz Seasoning
1 bay leaf
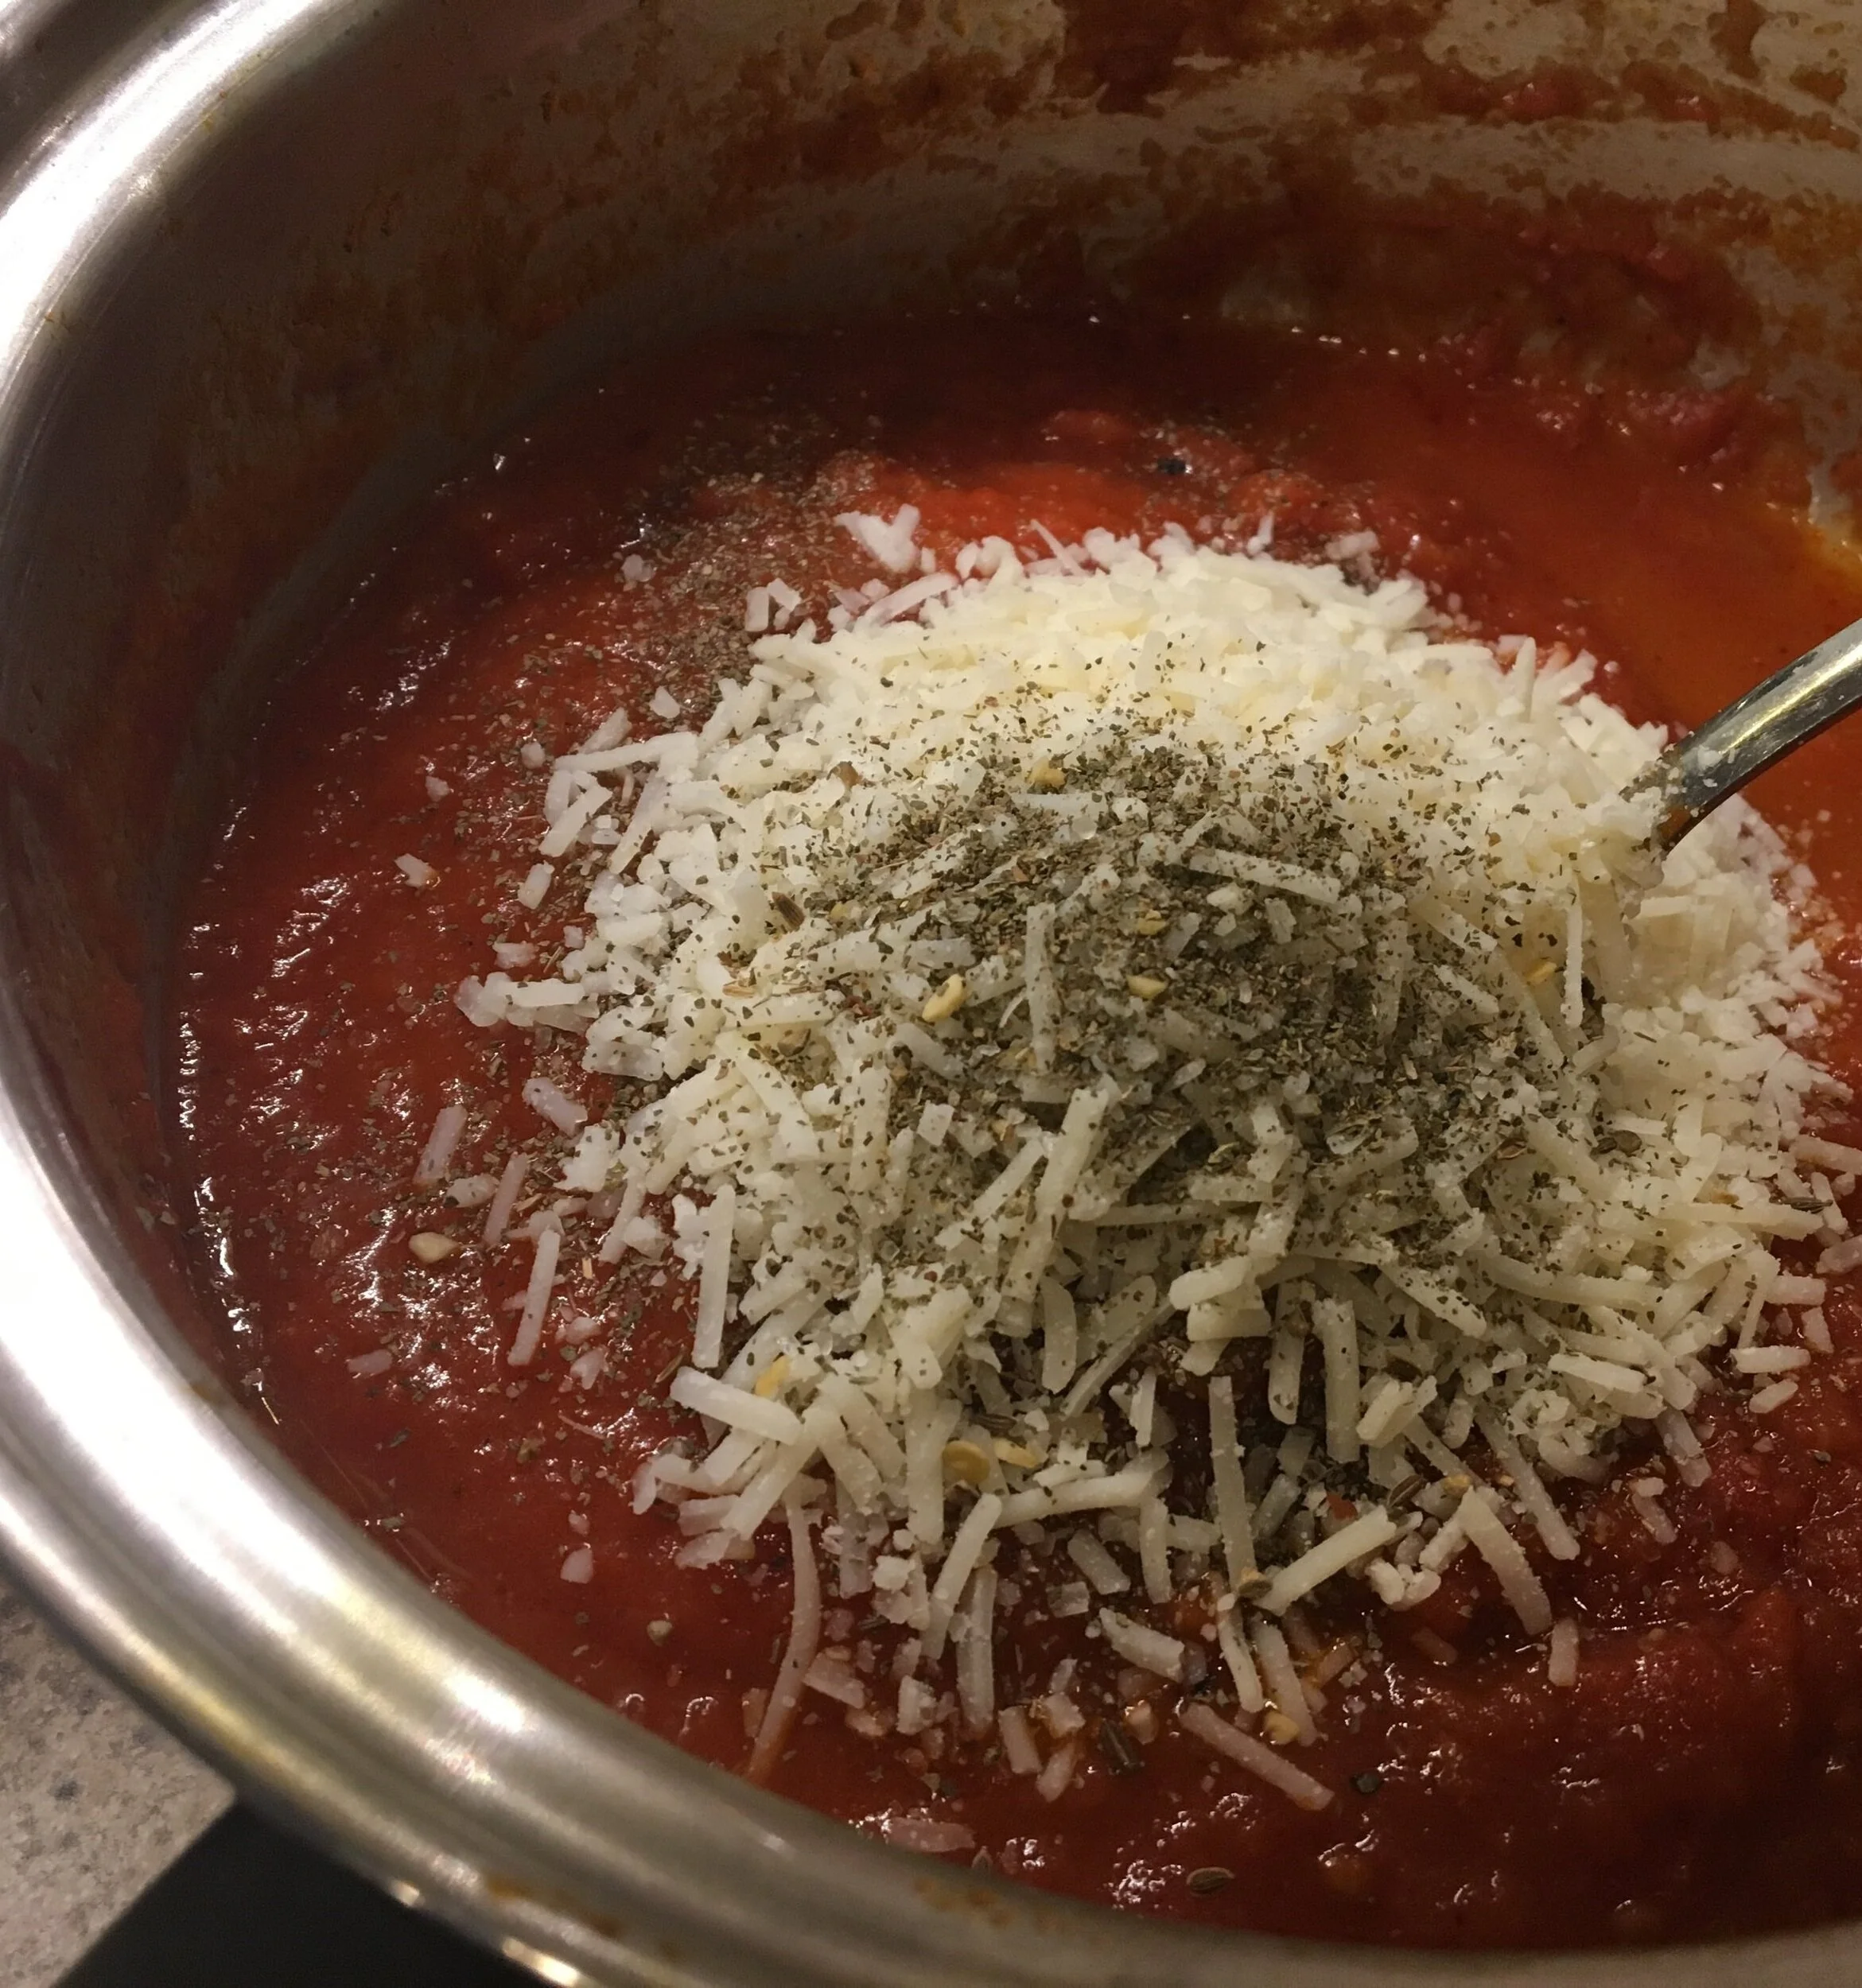
3/4 cup grated Parmesan cheese
Filling Ingredients (You will want the veggies in this dish to be similar in size, as it makes for a pretty presentation, and the cooking time will be similar)
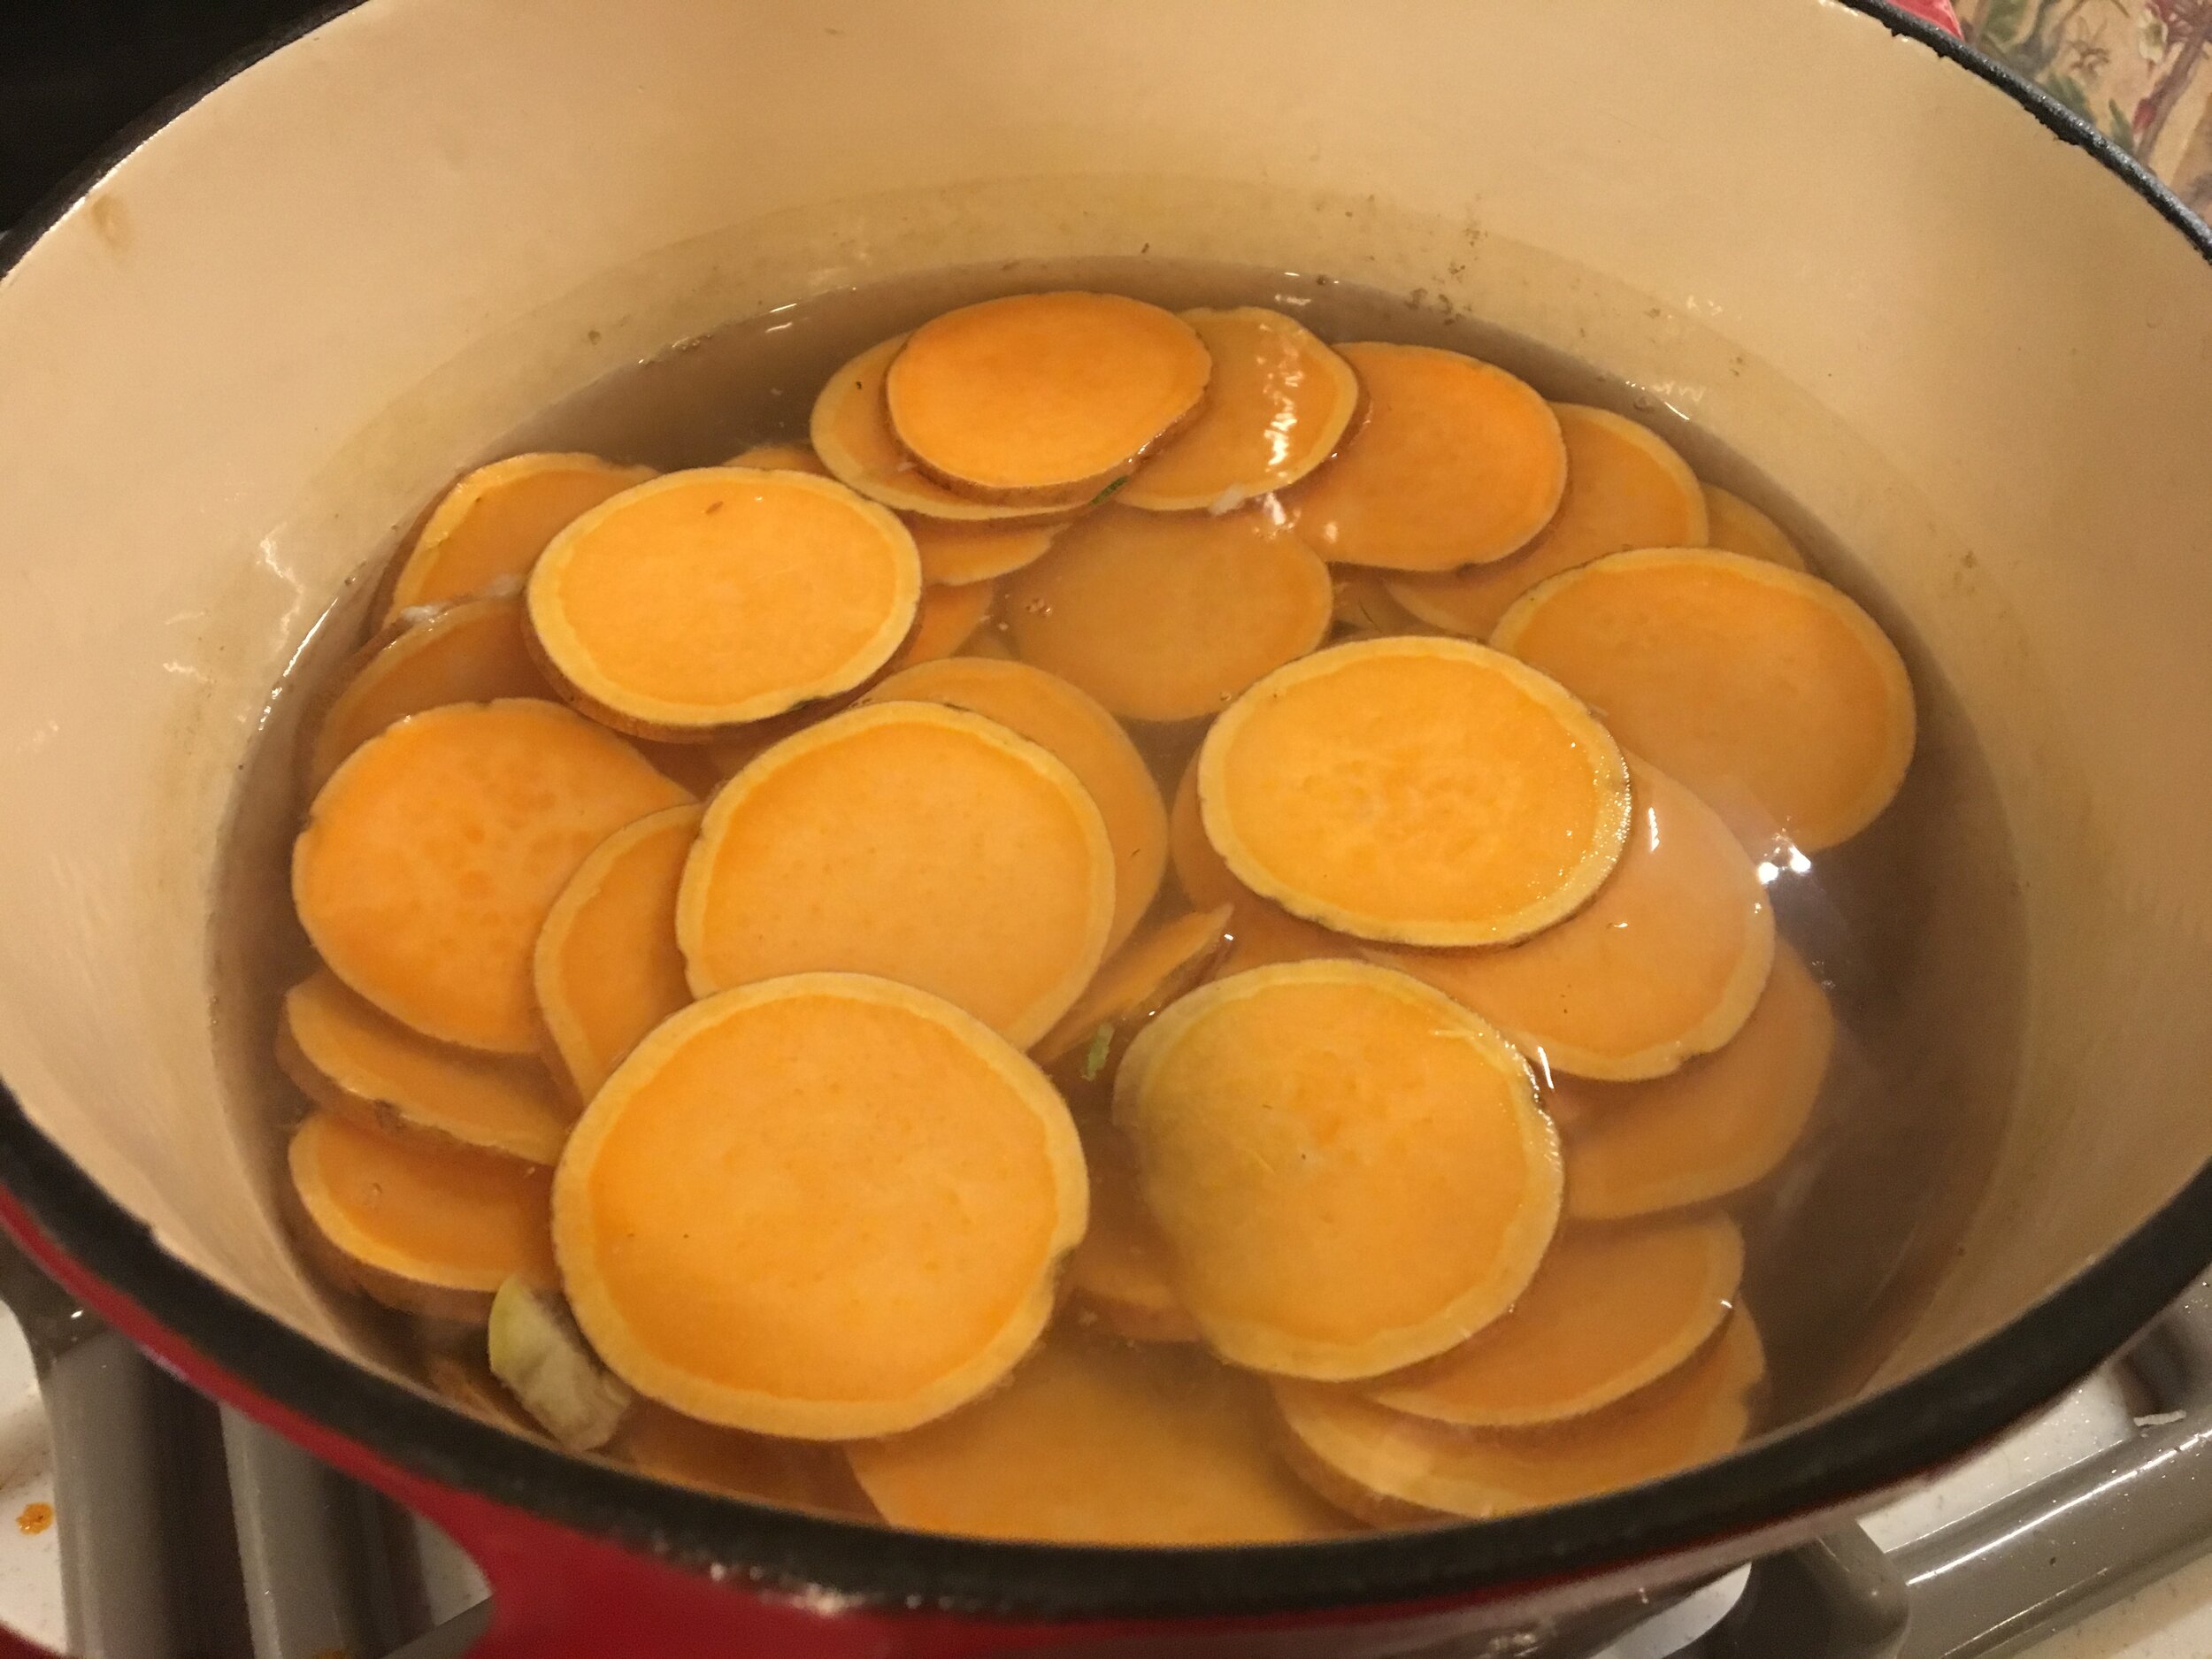
2 small sweet potatoes, washed, peeled, and thinly sliced* (you can leave the skins on if you prefer. Make sure to wash thoroughly.)
1 medium or 2 small yellow squash (pick ones that are similar in size), washed and thinly sliced*
1 zucchini, washed and thinly sliced*
3 or 4 medium tomatoes, thinly sliced
1 teaspoon (tsp) Cherchies® Garlic Seasoning
1/2 teaspoon (tsp) ground pepper
Preparation
Heat the oven to 275 degrees. Chop the onions, peppers, and tomatoes (reserving the juices) before cooking. (You may want to put the tomatoes into a bowl with the juices to cut down on the mess.)
Combine oil and chopped onions in a medium skillet. Cook over low heat until onions are translucent.
Add peppers, garlic, and tomatoes and juice. Stir and simmer until the peppers are soft. Add salt, tomato paste, thyme, parsley, Cherchies® Basil Pizzazz, and bay leaf to the skillet. Simmer on low for 10-15 minutes. Remove from heat when finished. Add the cheese, stir, and set aside to cool.
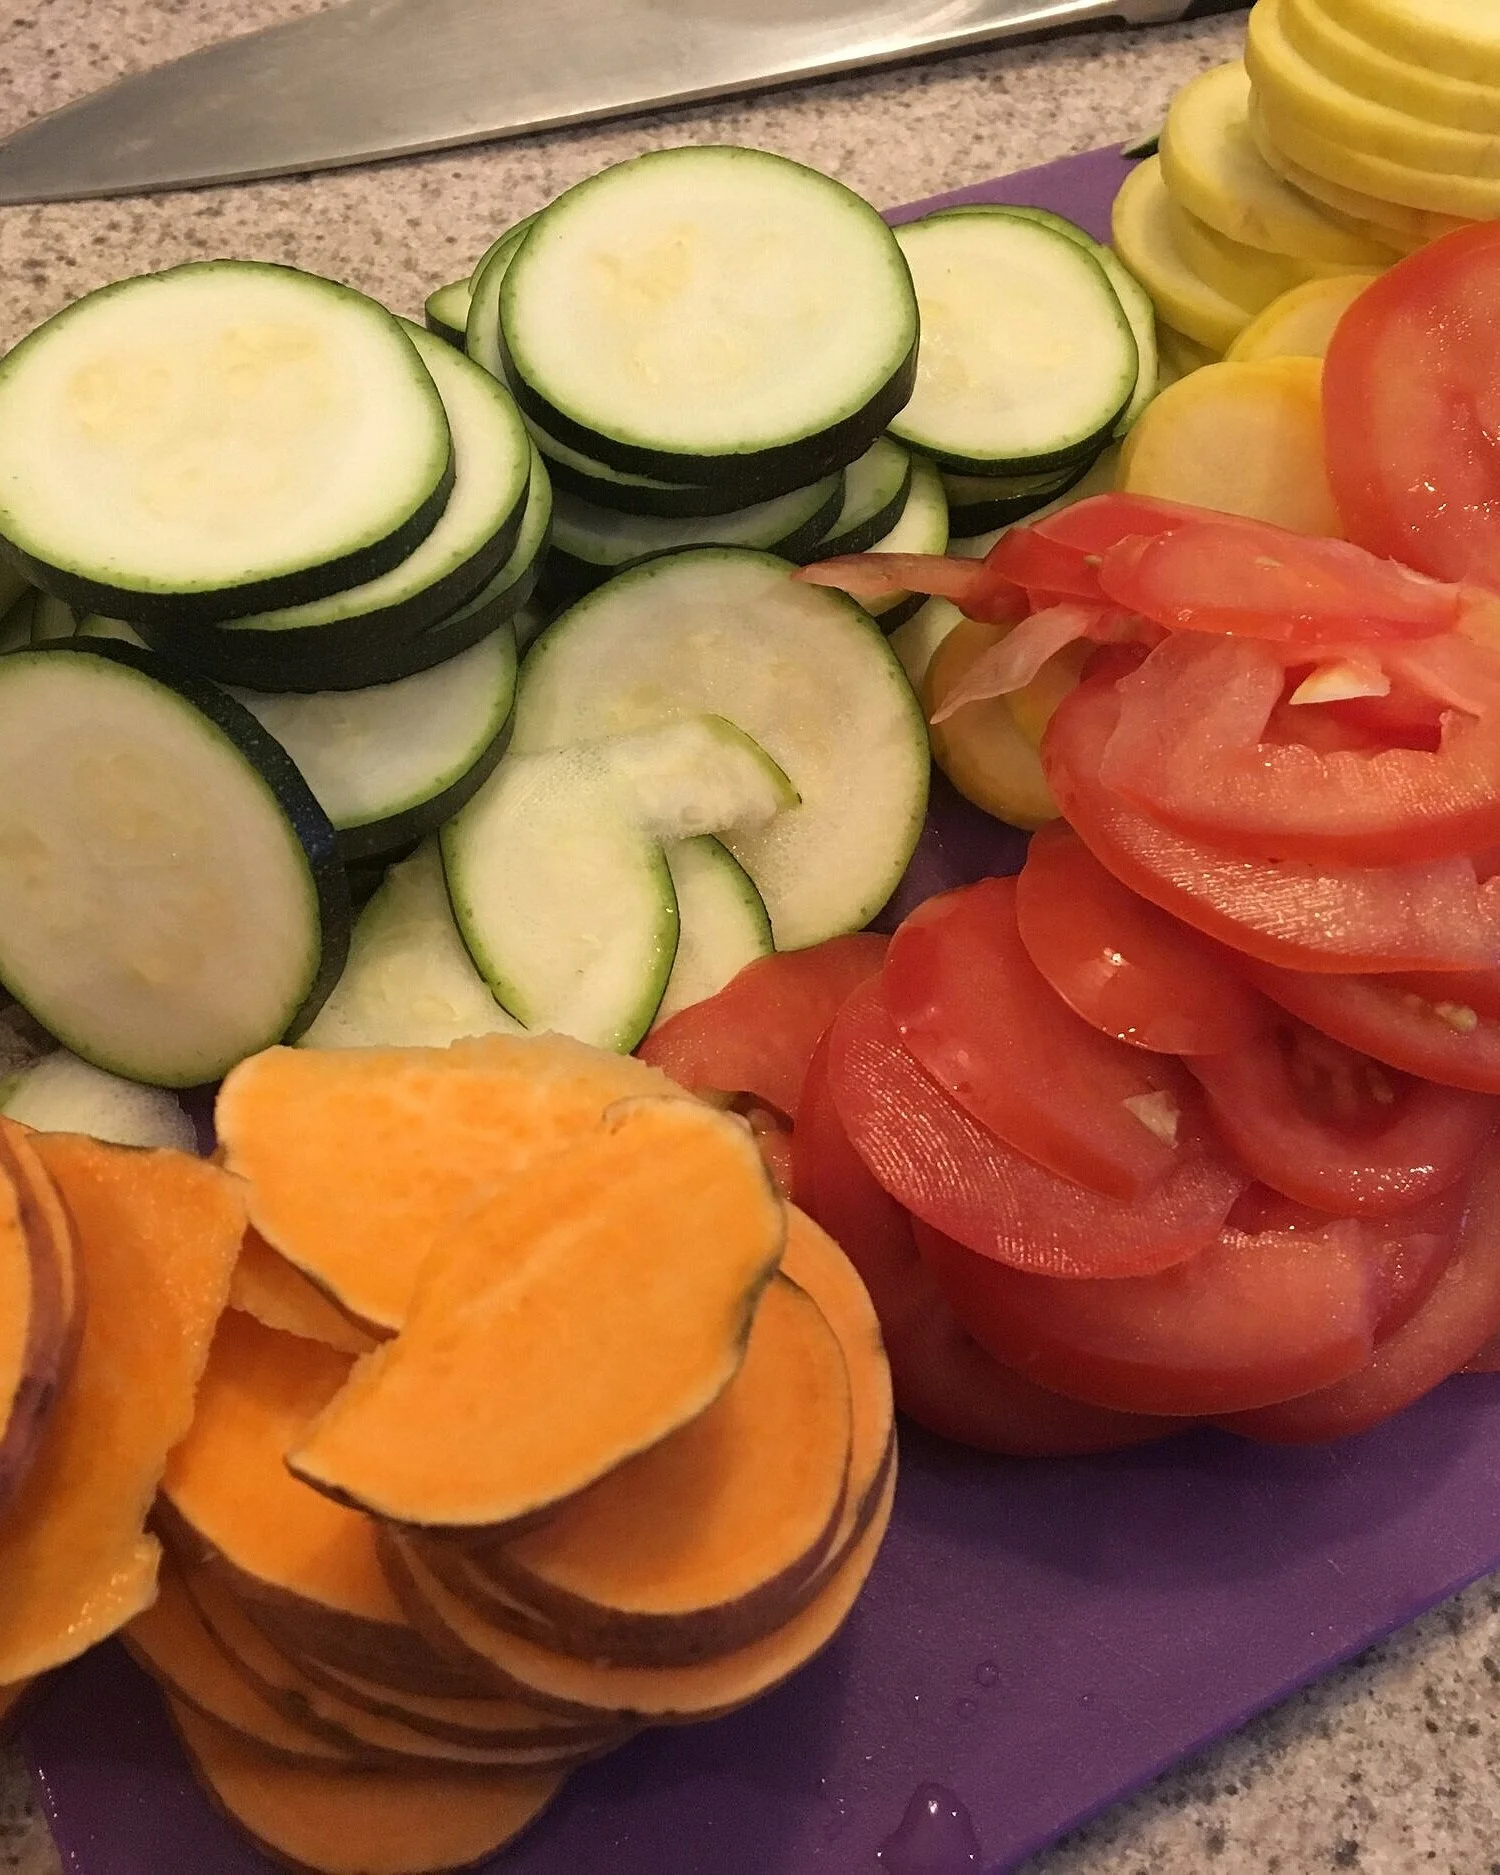
While the piperade (sauce) simmers, prepare the filling. Using a food processor, a mandolin, or sharp knife, slice the squash, zucchini, and sweet potato. The tomatoes didn’t slice well in my food processor, so I sliced them thinly with a sharp knife. You could use a mandolin for the tomatoes if you prefer. Place sweet potatoes in a bowl of cold water and set the rest of the vegetables aside.
After the sauce has cooled, pour into a blender and puree until desired consistency. If the liquid is still hot, make sure to cover with a towel so the blender does not explode from the hot liquids. (If you have a Blentec blender (or a blender that can can handle hot foods)), there is no need to let the sauce cool beforehand.
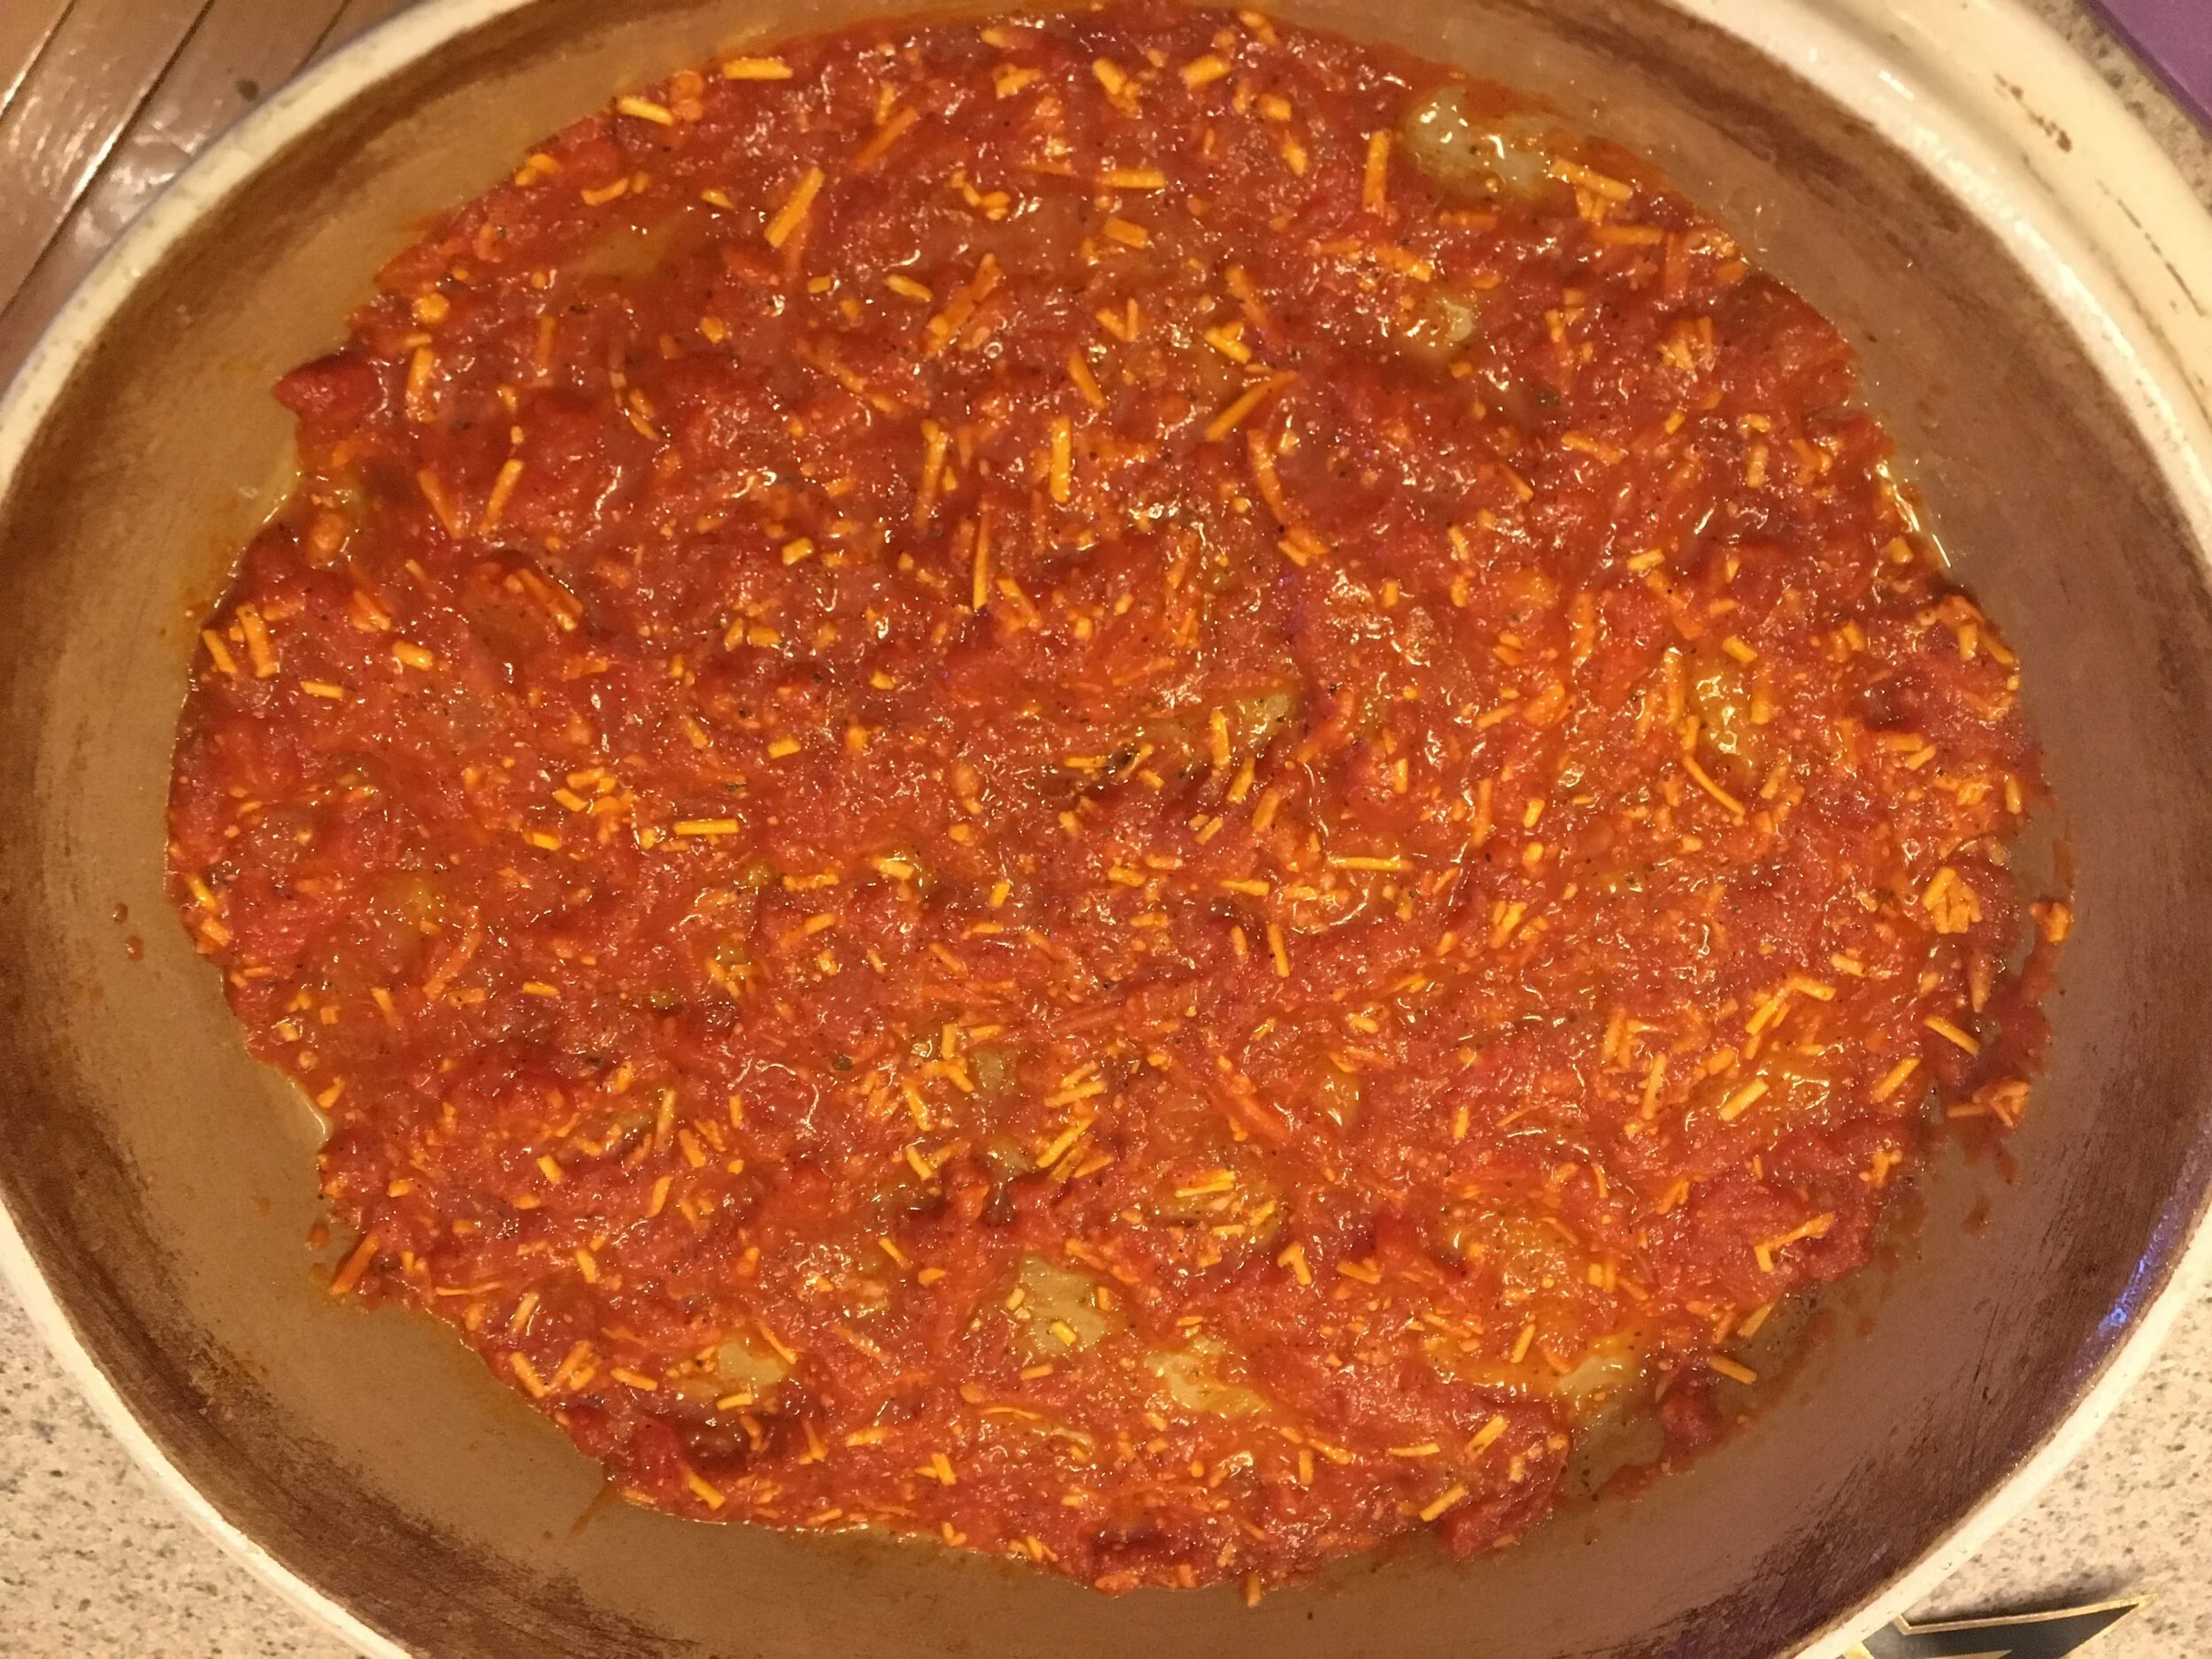
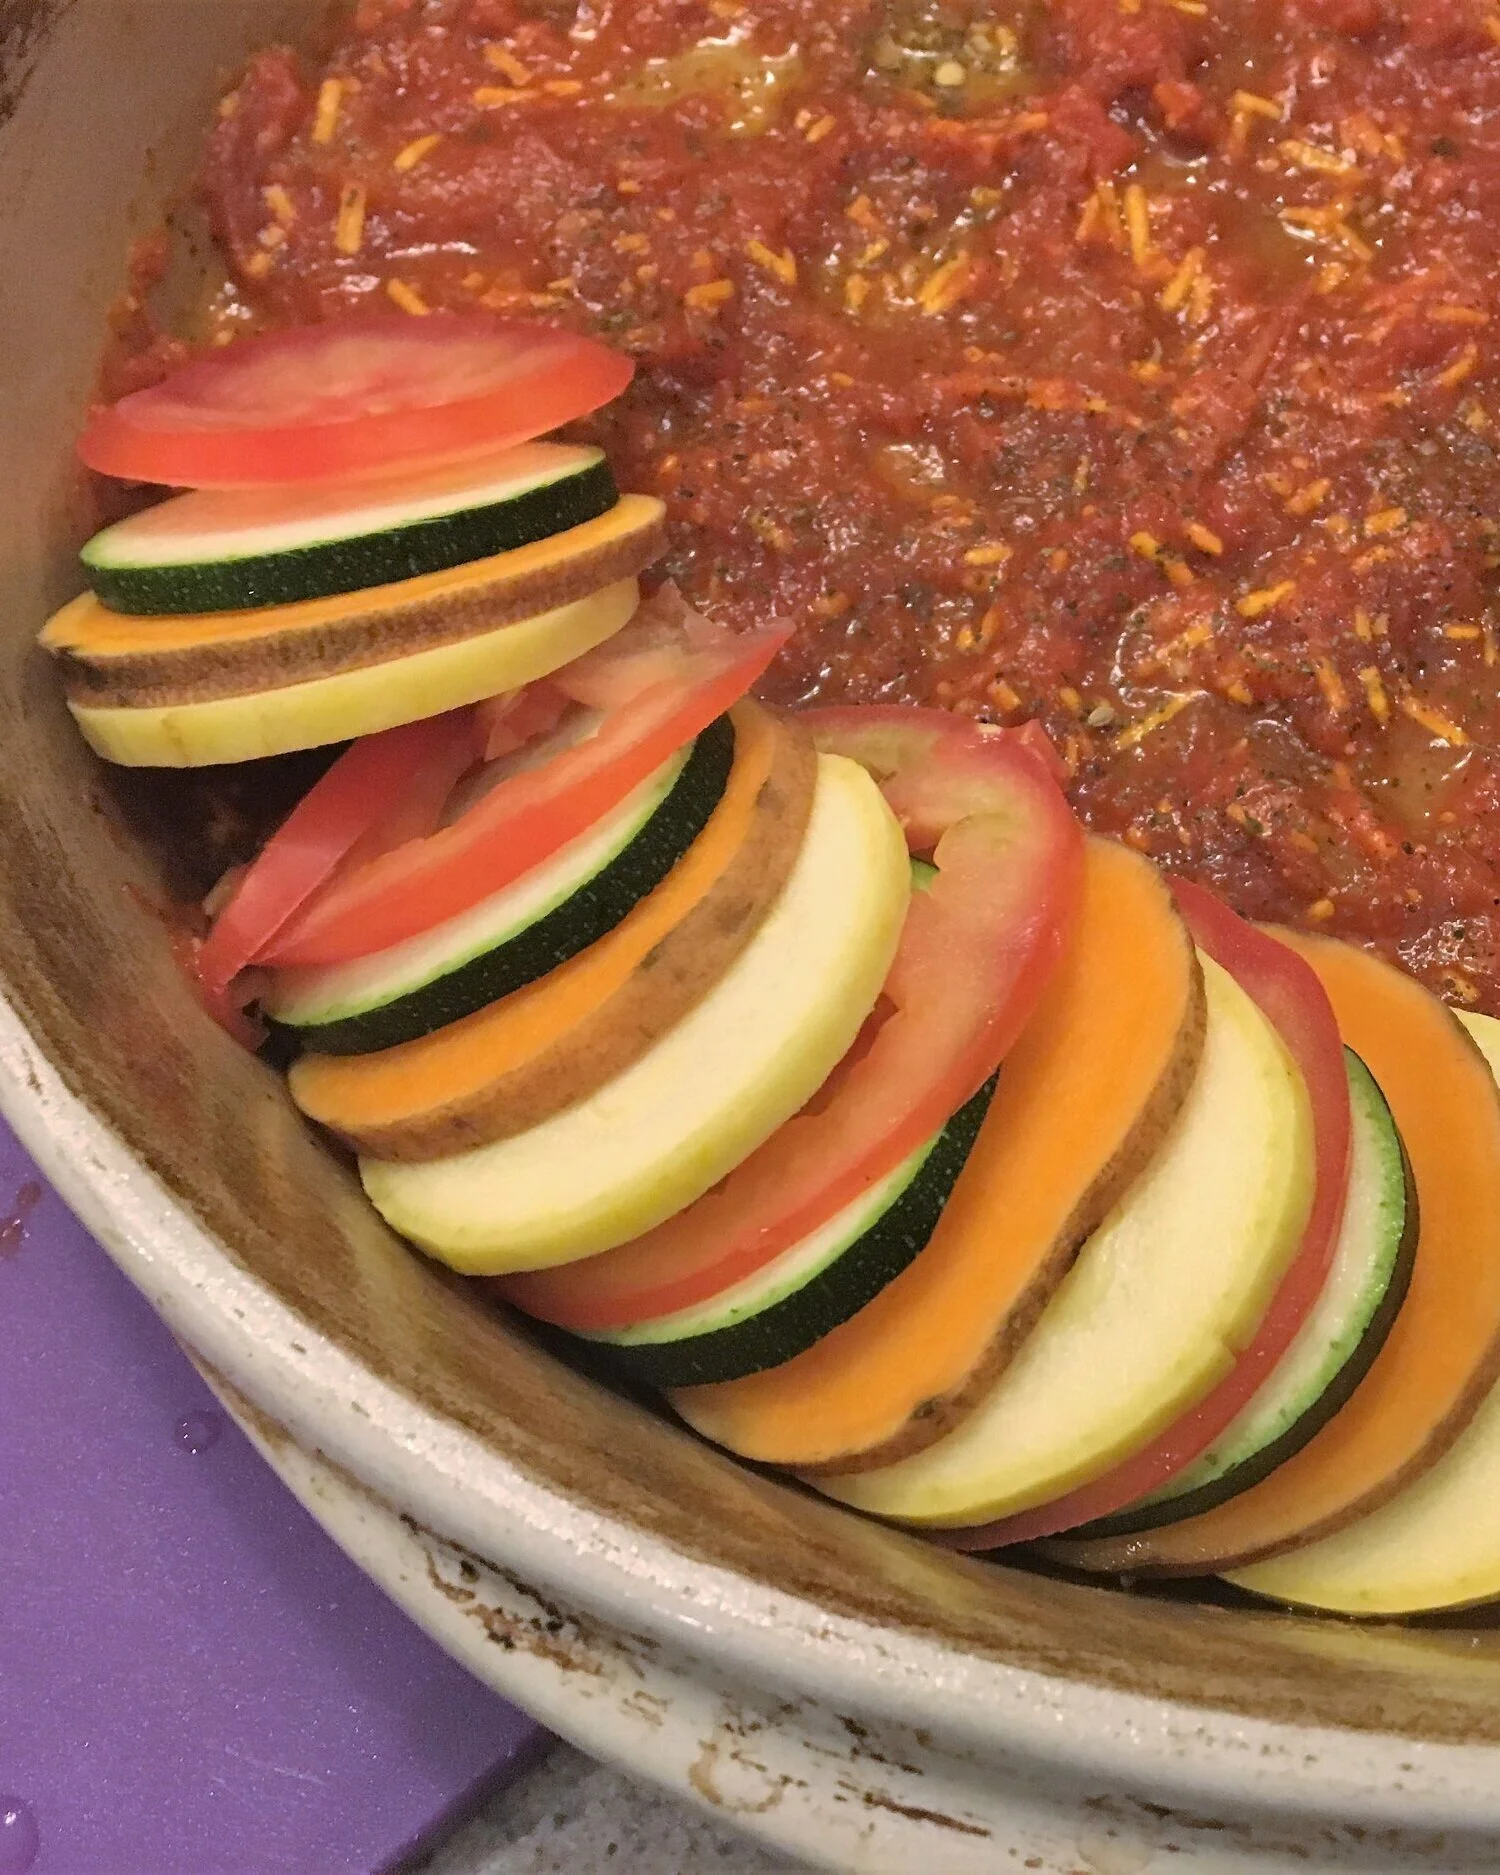
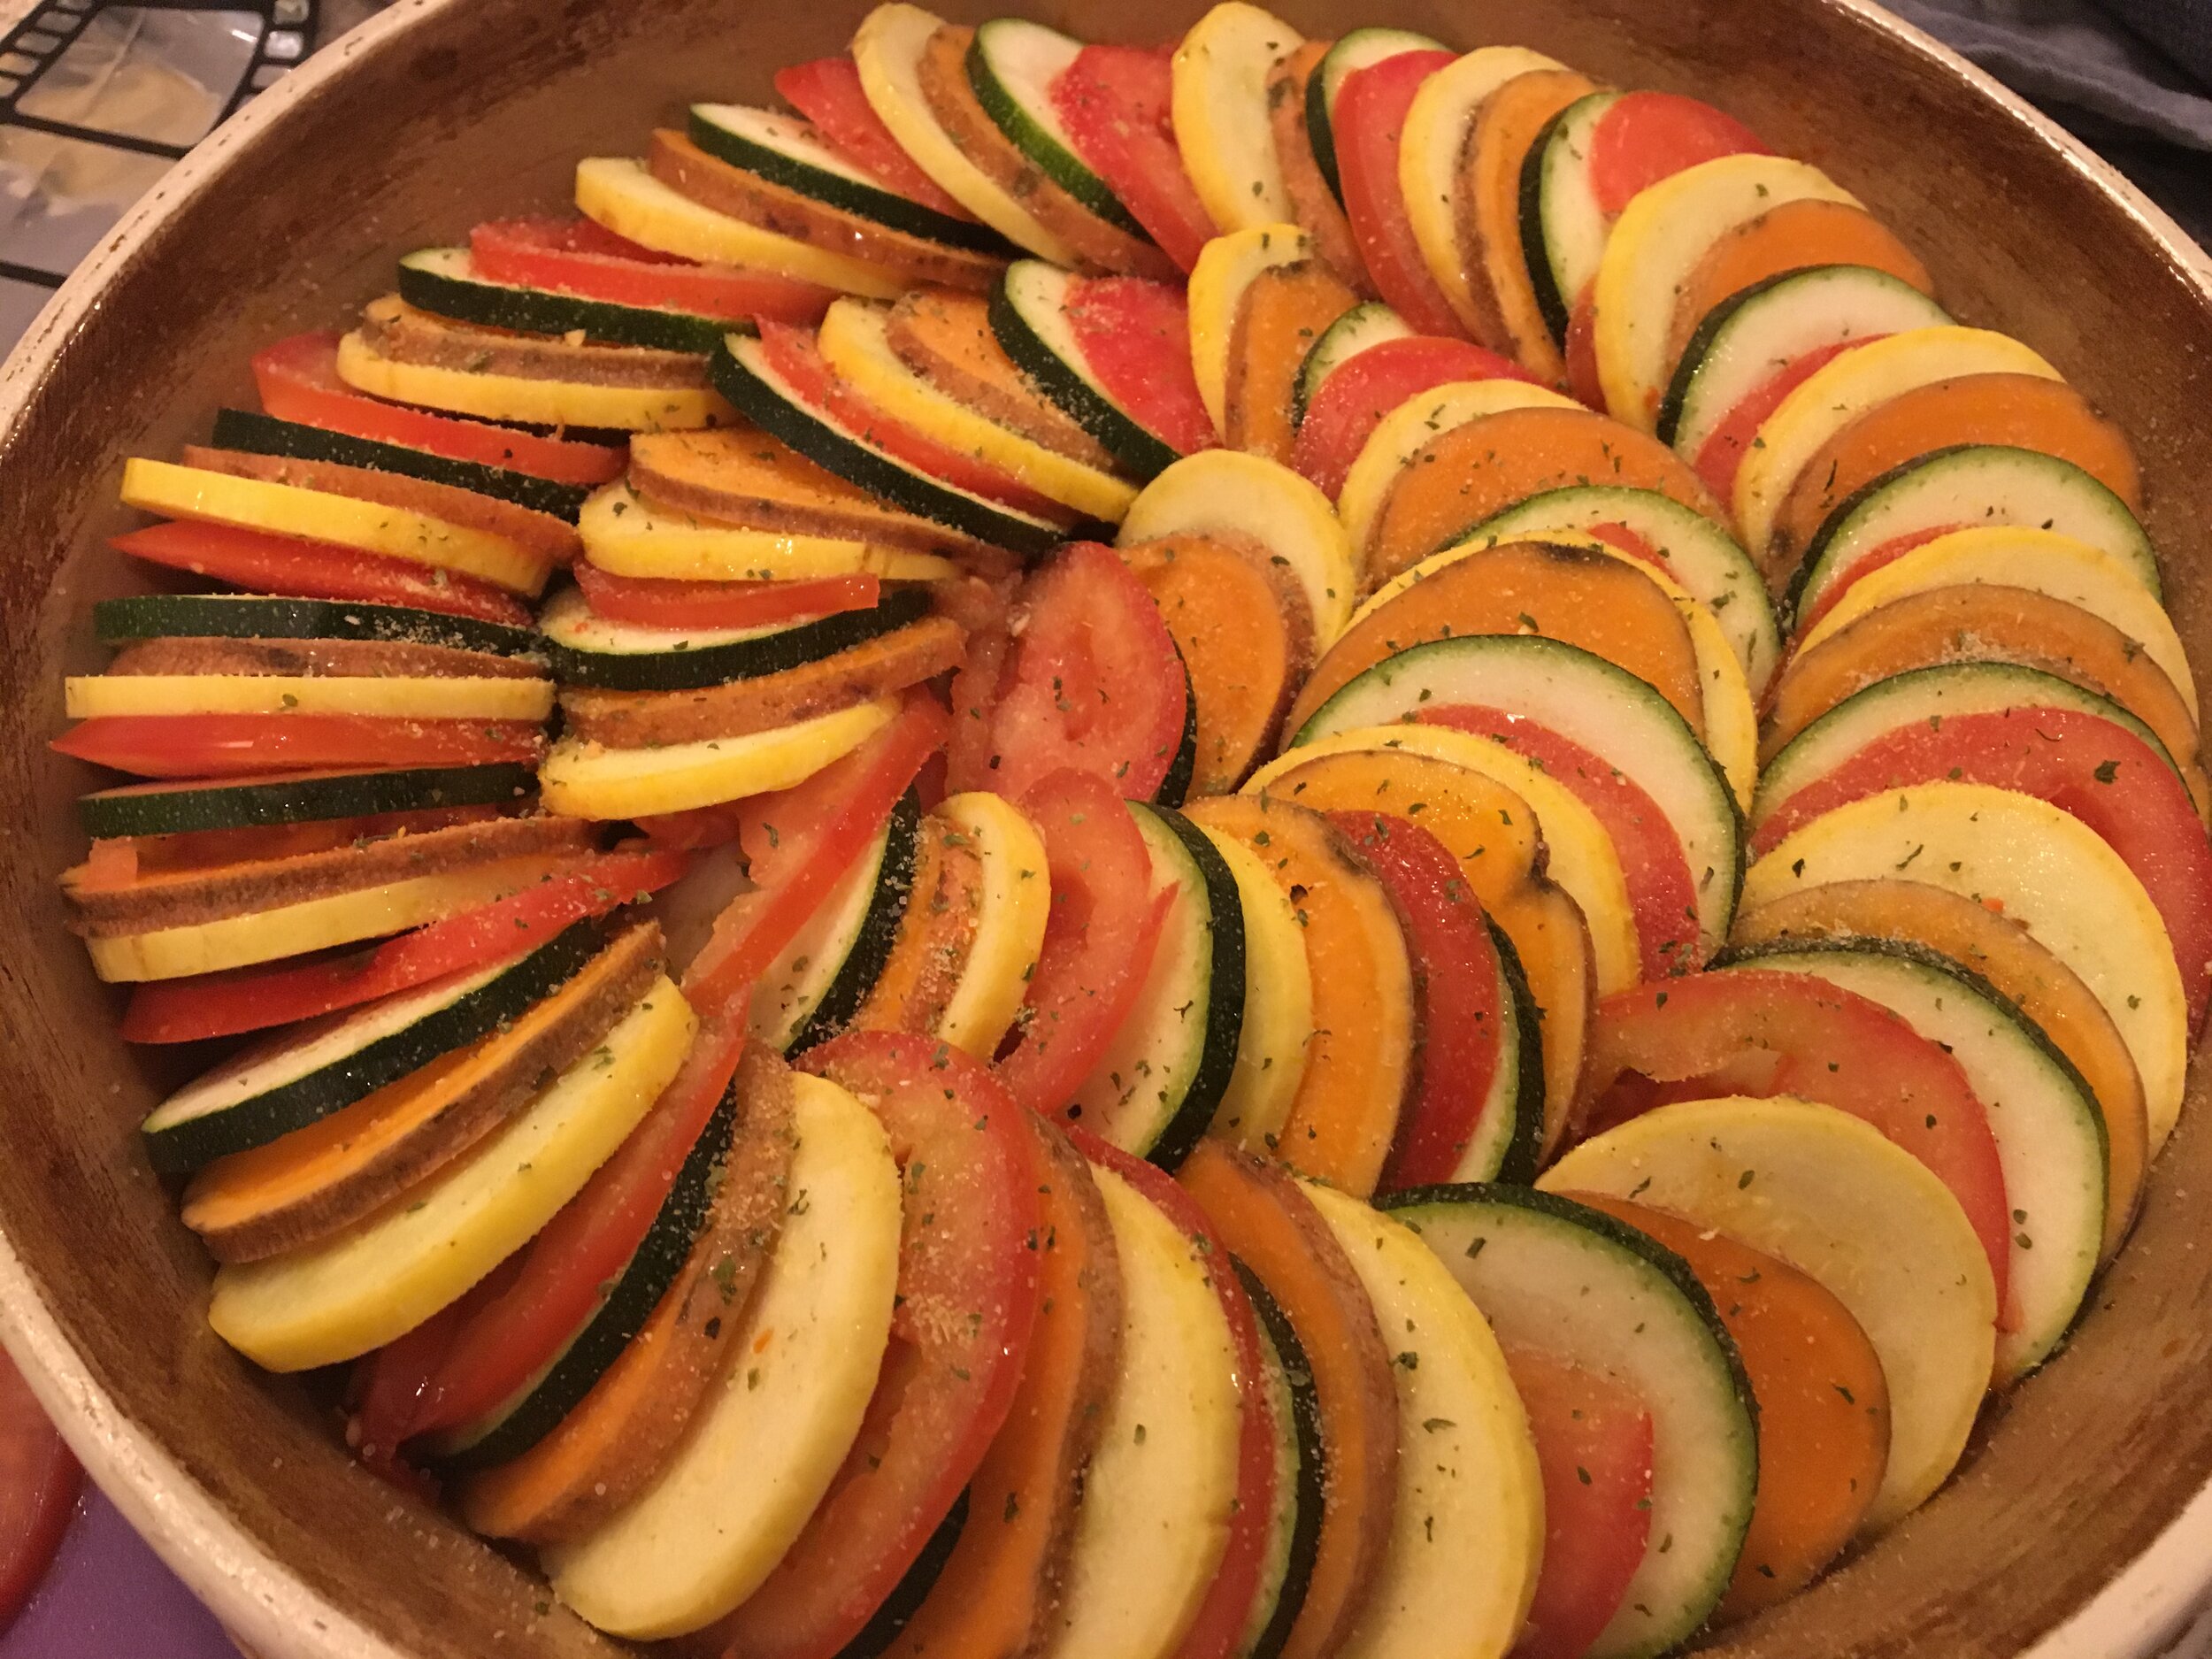
Pour half of the sauce (piperade) into the bottom of a shallow baking pan. Arrange the vegetables, alternating them as you go, into a spiral. Repeat until the pan is full. I prefer to use a round baking dish for presentation, but you can easily use a rectangular pan. You decide!
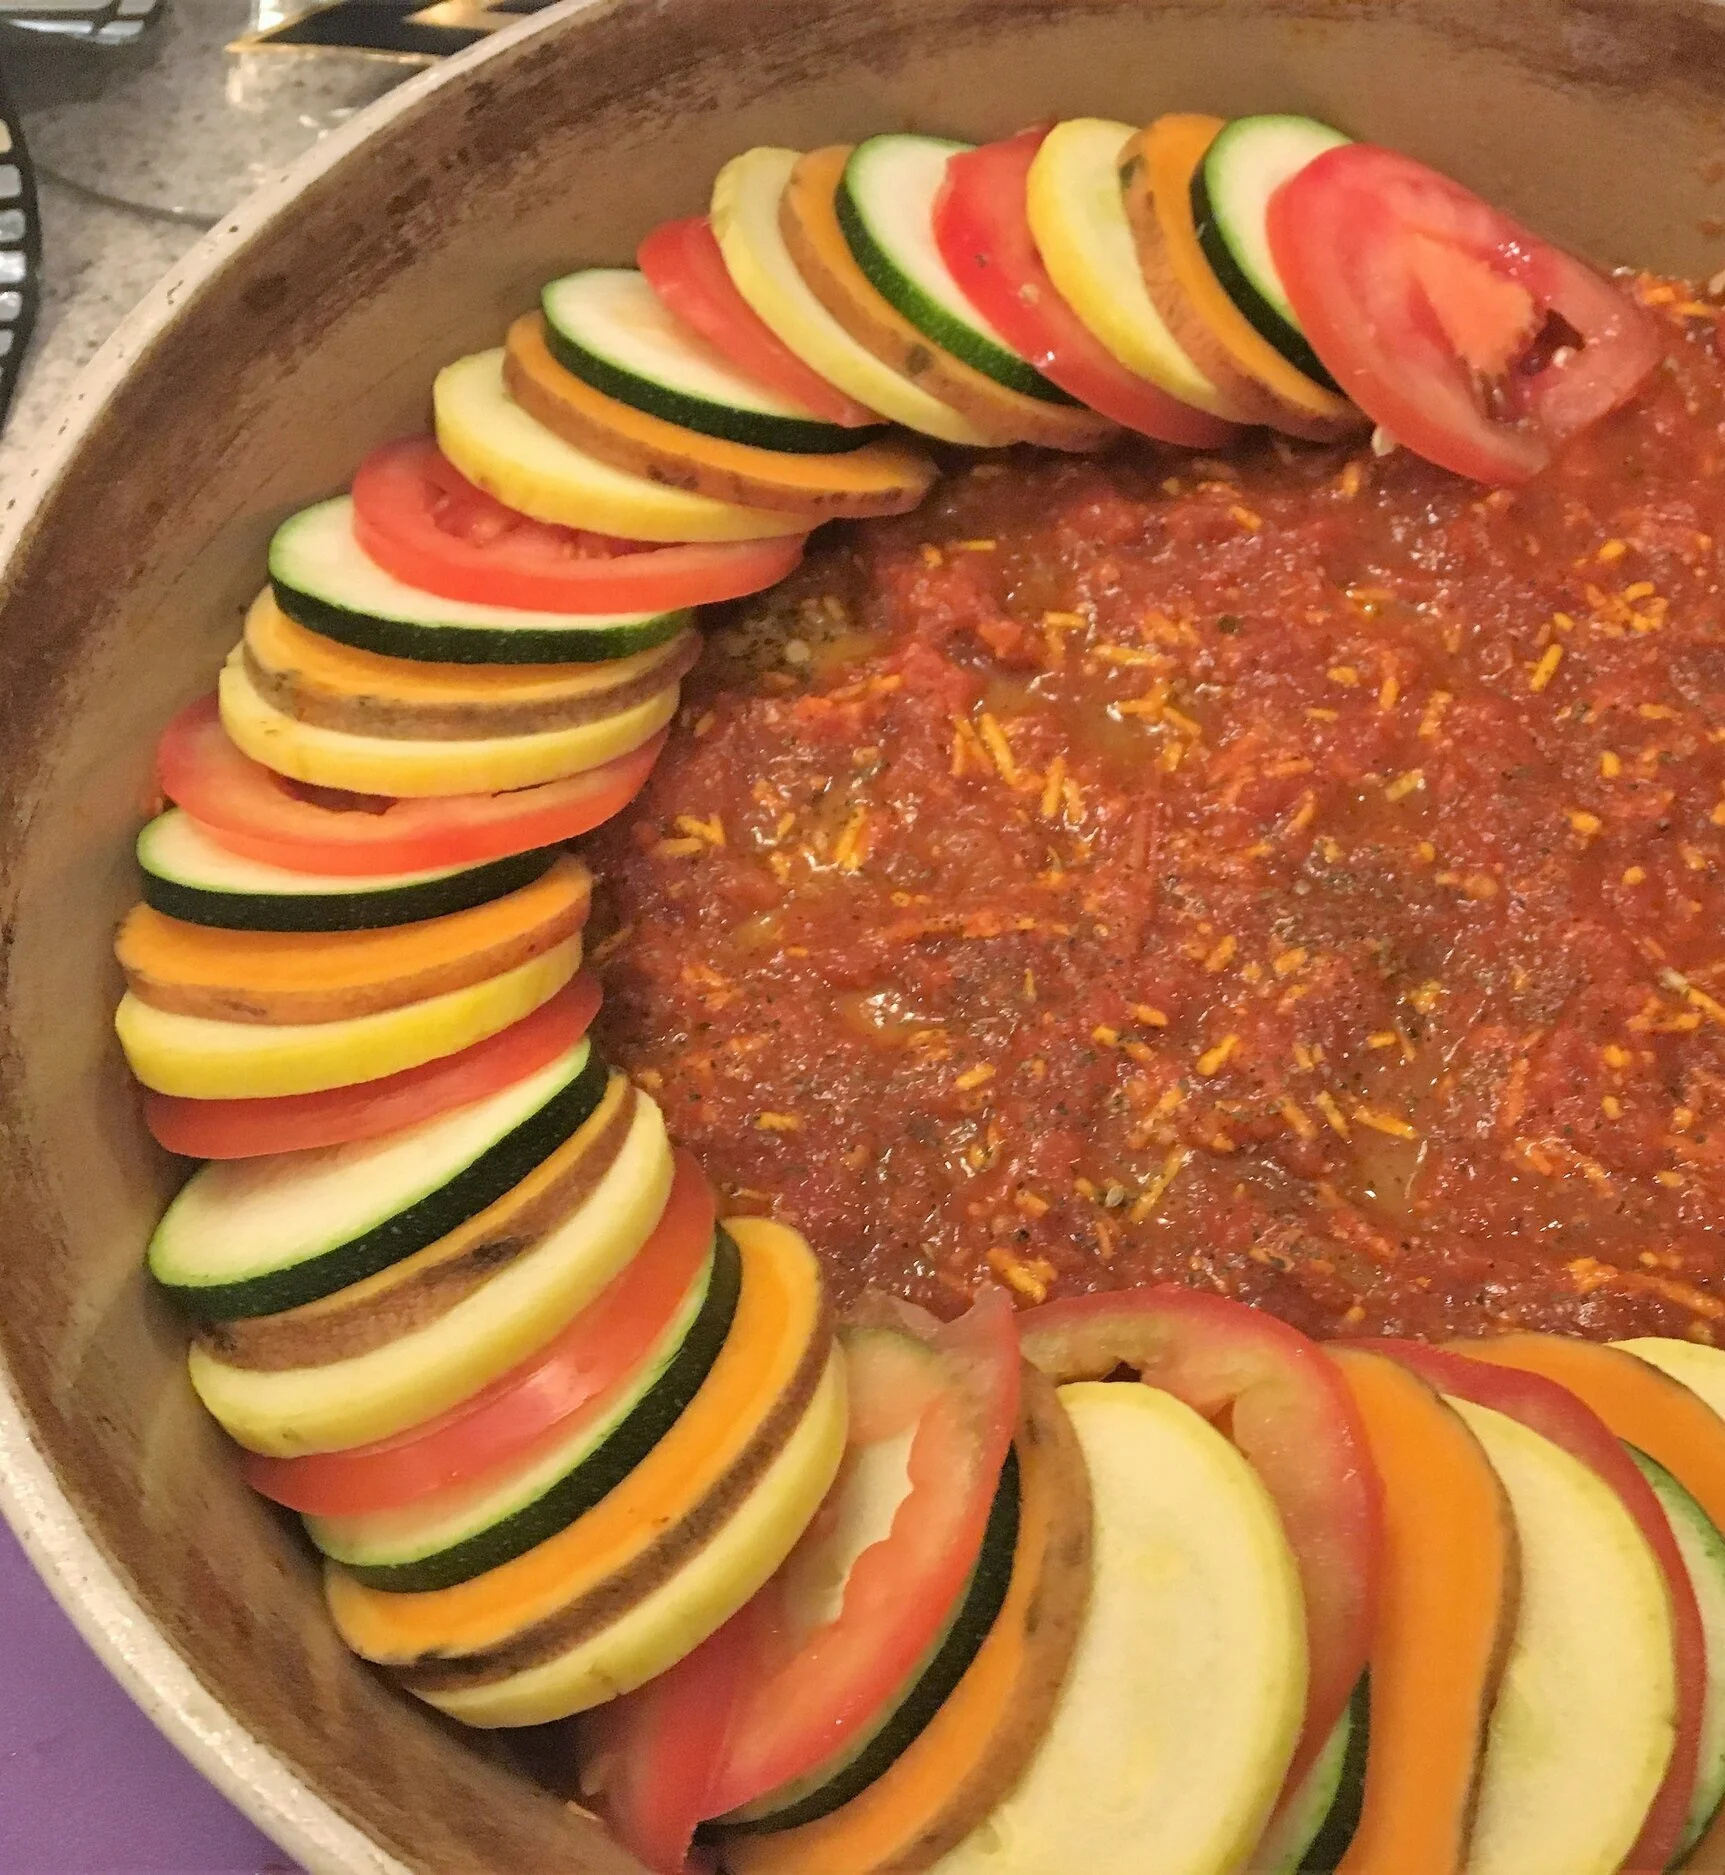
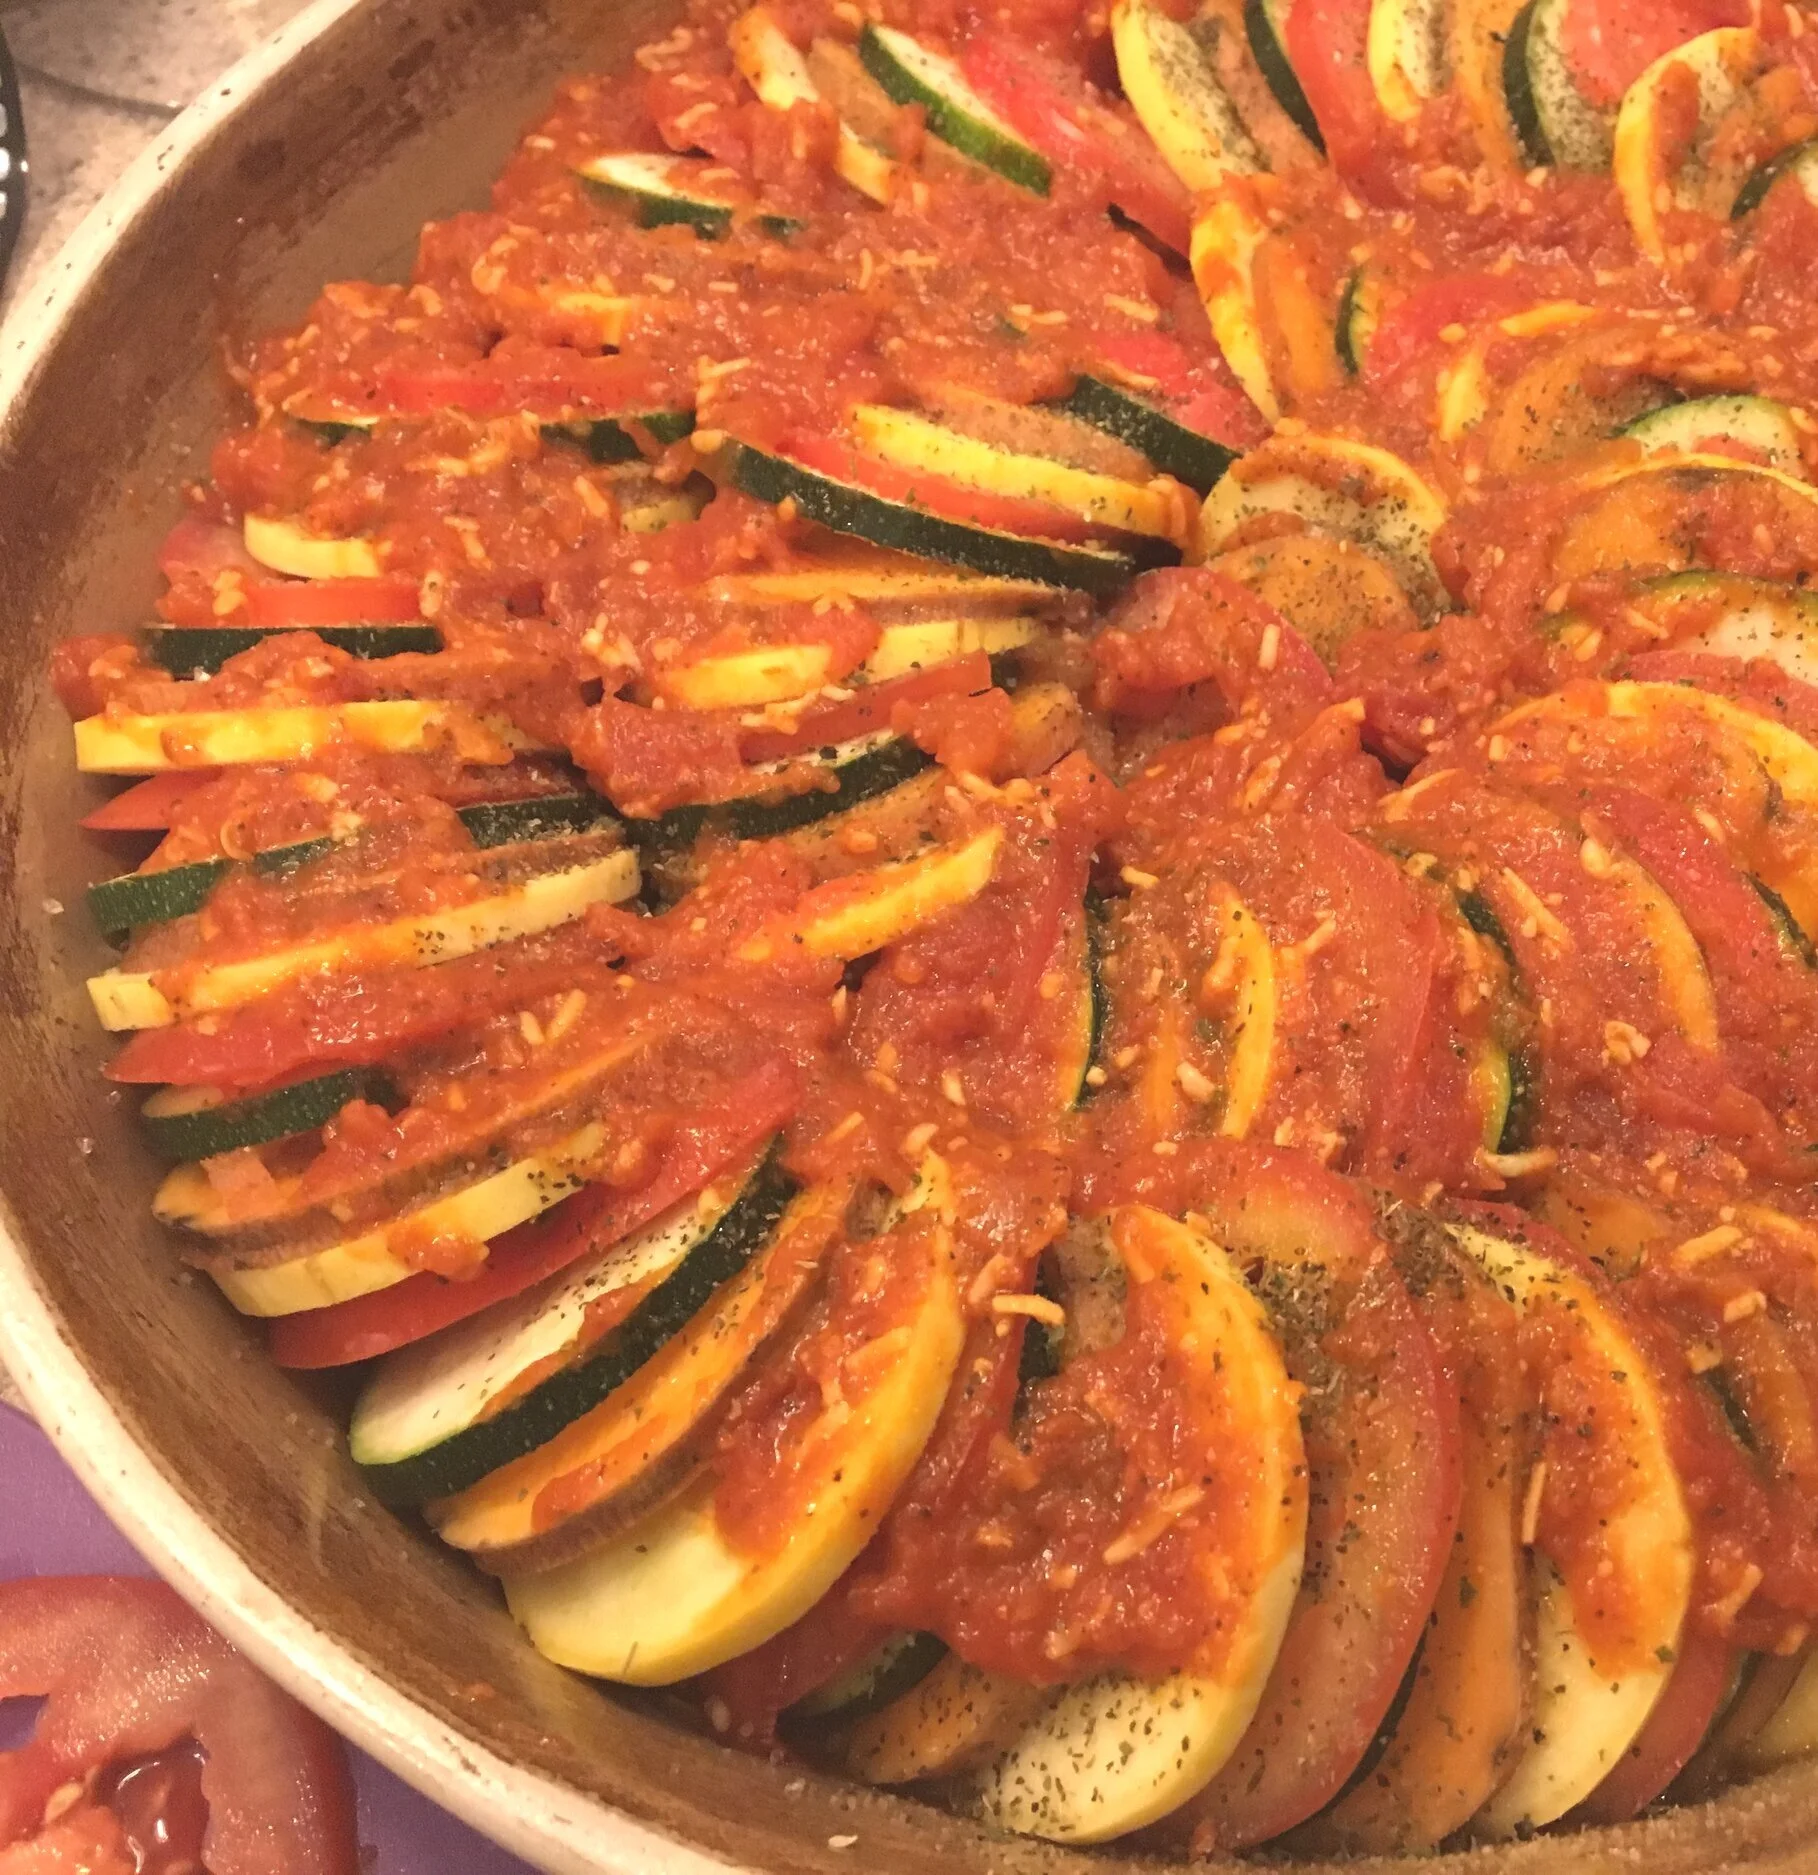
Season the vegetables with Cherchies® Garlic Seasoning and pepper. Drizzle the remaining piperade over the vegetables. Cover pan with foil and bake until vegetables are tender (about 1 and a half hours, or when easily cut by a knife). Uncover the vegetables and bake for another 30 minutes until vegetables are slightly golden. Serve warm.
Enjoy this beautiful savory dish with your favorite meat or seafood and some bread to sop up the delicious juices.

Rustic Ratatouille Recipe