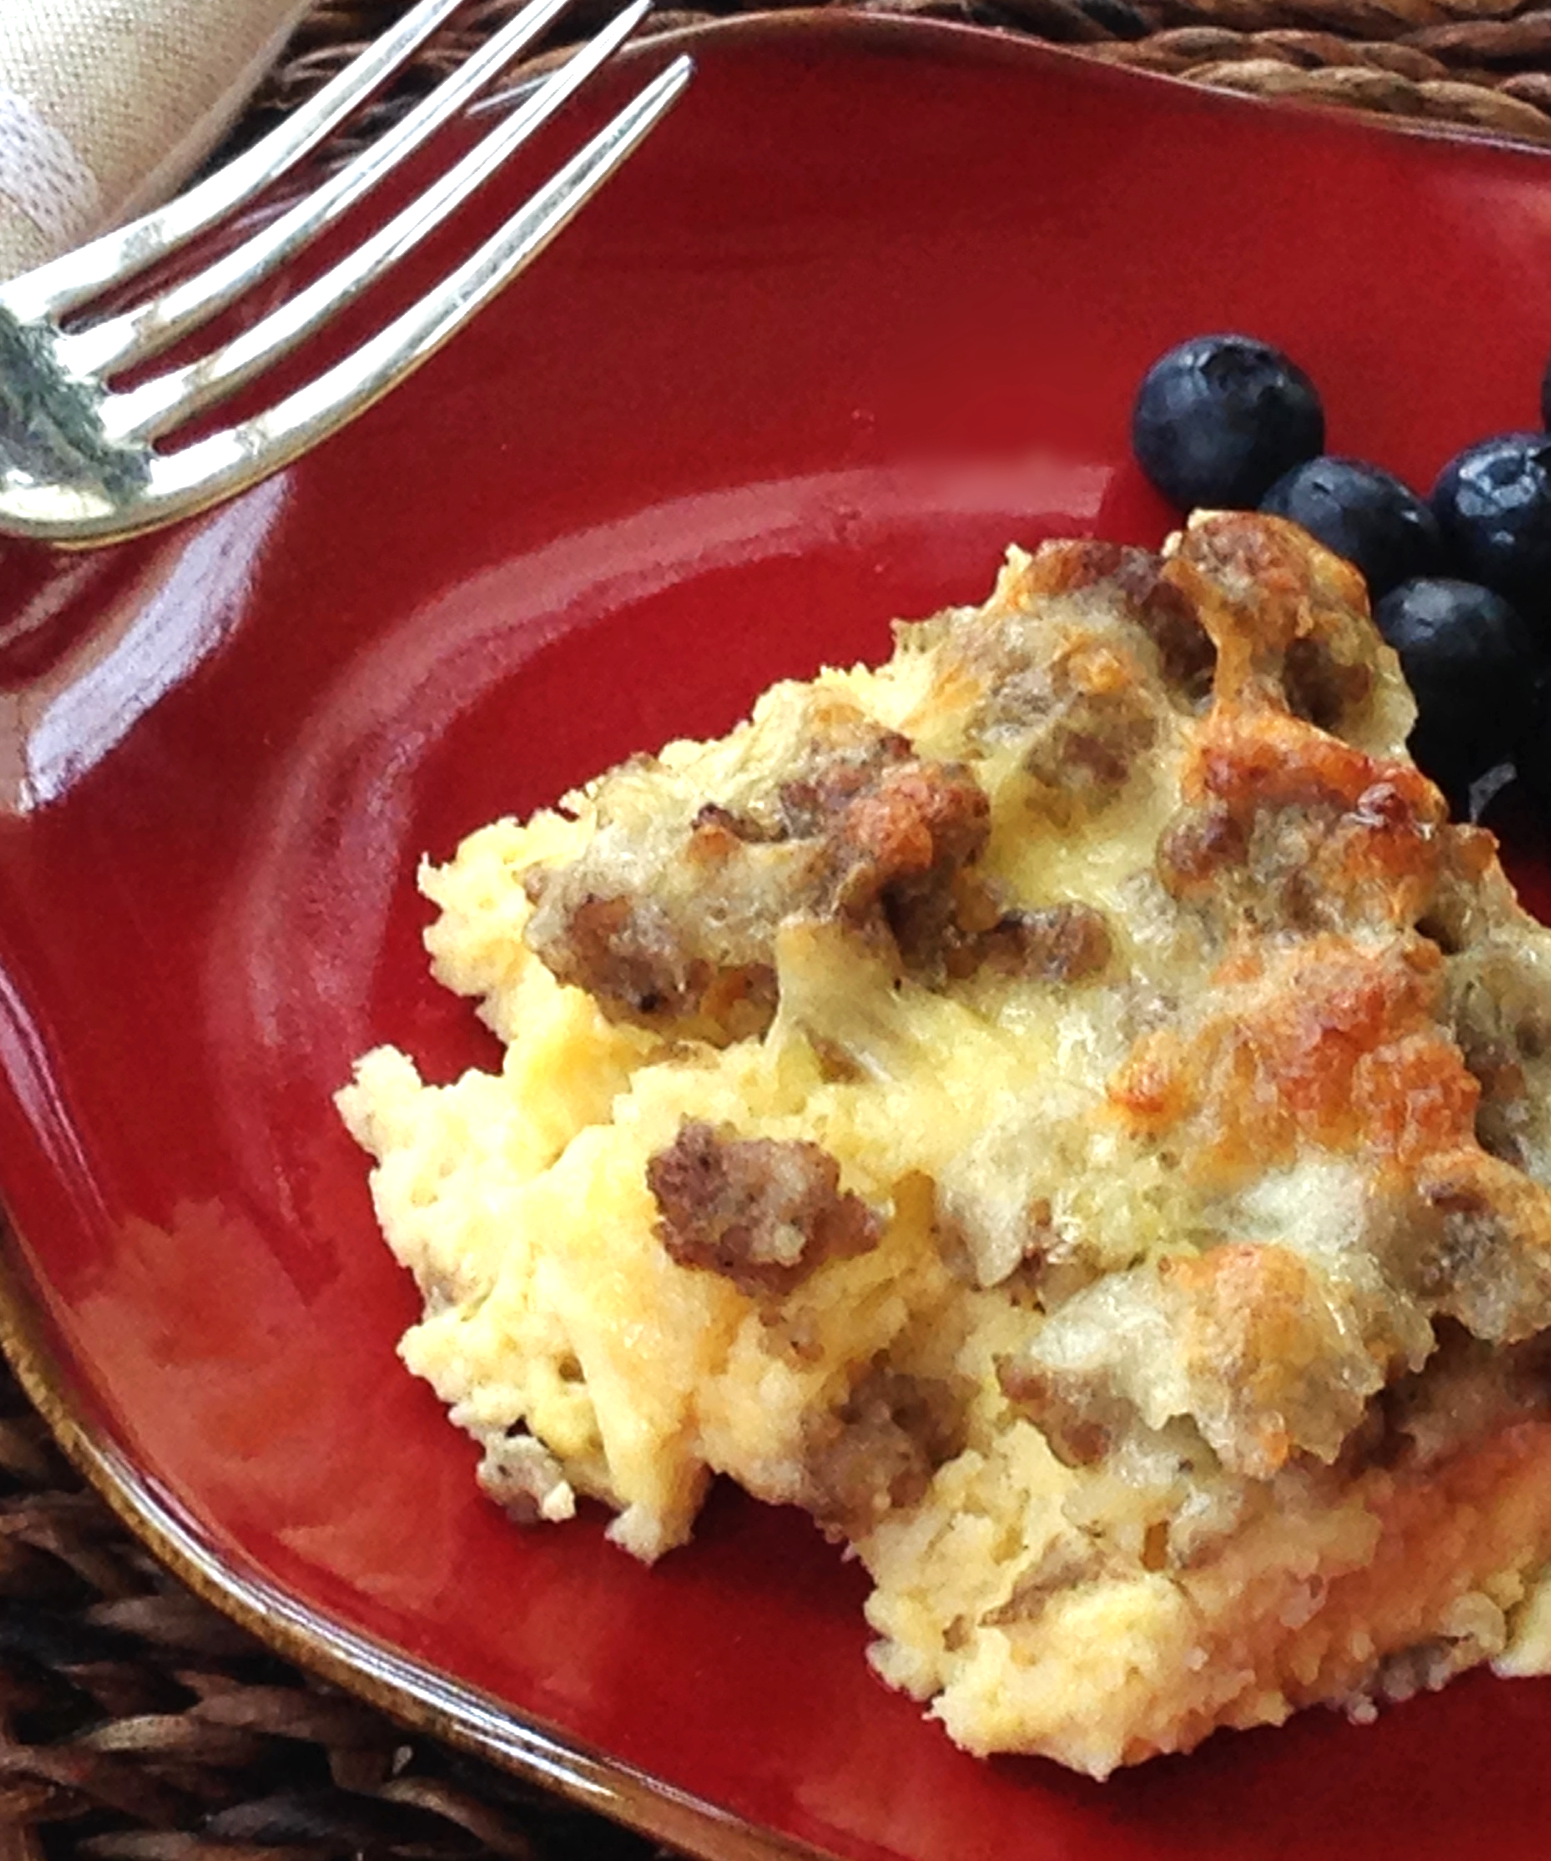
Breakfast Sausage and Eggs Recipe
I just love breakfast, especially when I can make it the day before. This casserole is very easy, and the champagne mustard adds a nice zing to the dish. Your guests will ask for seconds! To make this Gluten Free, simply use Gluten Free Bread!
Ingredients
- 6 eggs
- 2 cups low-fat milk
- 1 teaspoon (tsp) salt
- 3 Tablespoons (Tbsp) Cherchies® Champagne Mustard
- 1 lb. hot breakfast sausage
- 1 lb. mild breakfast sausage
- 6 - 8 slices (depending on dish) whole grain or white bread (crusts removed)
- 1 cup cheddar cheese, grated
Preparation
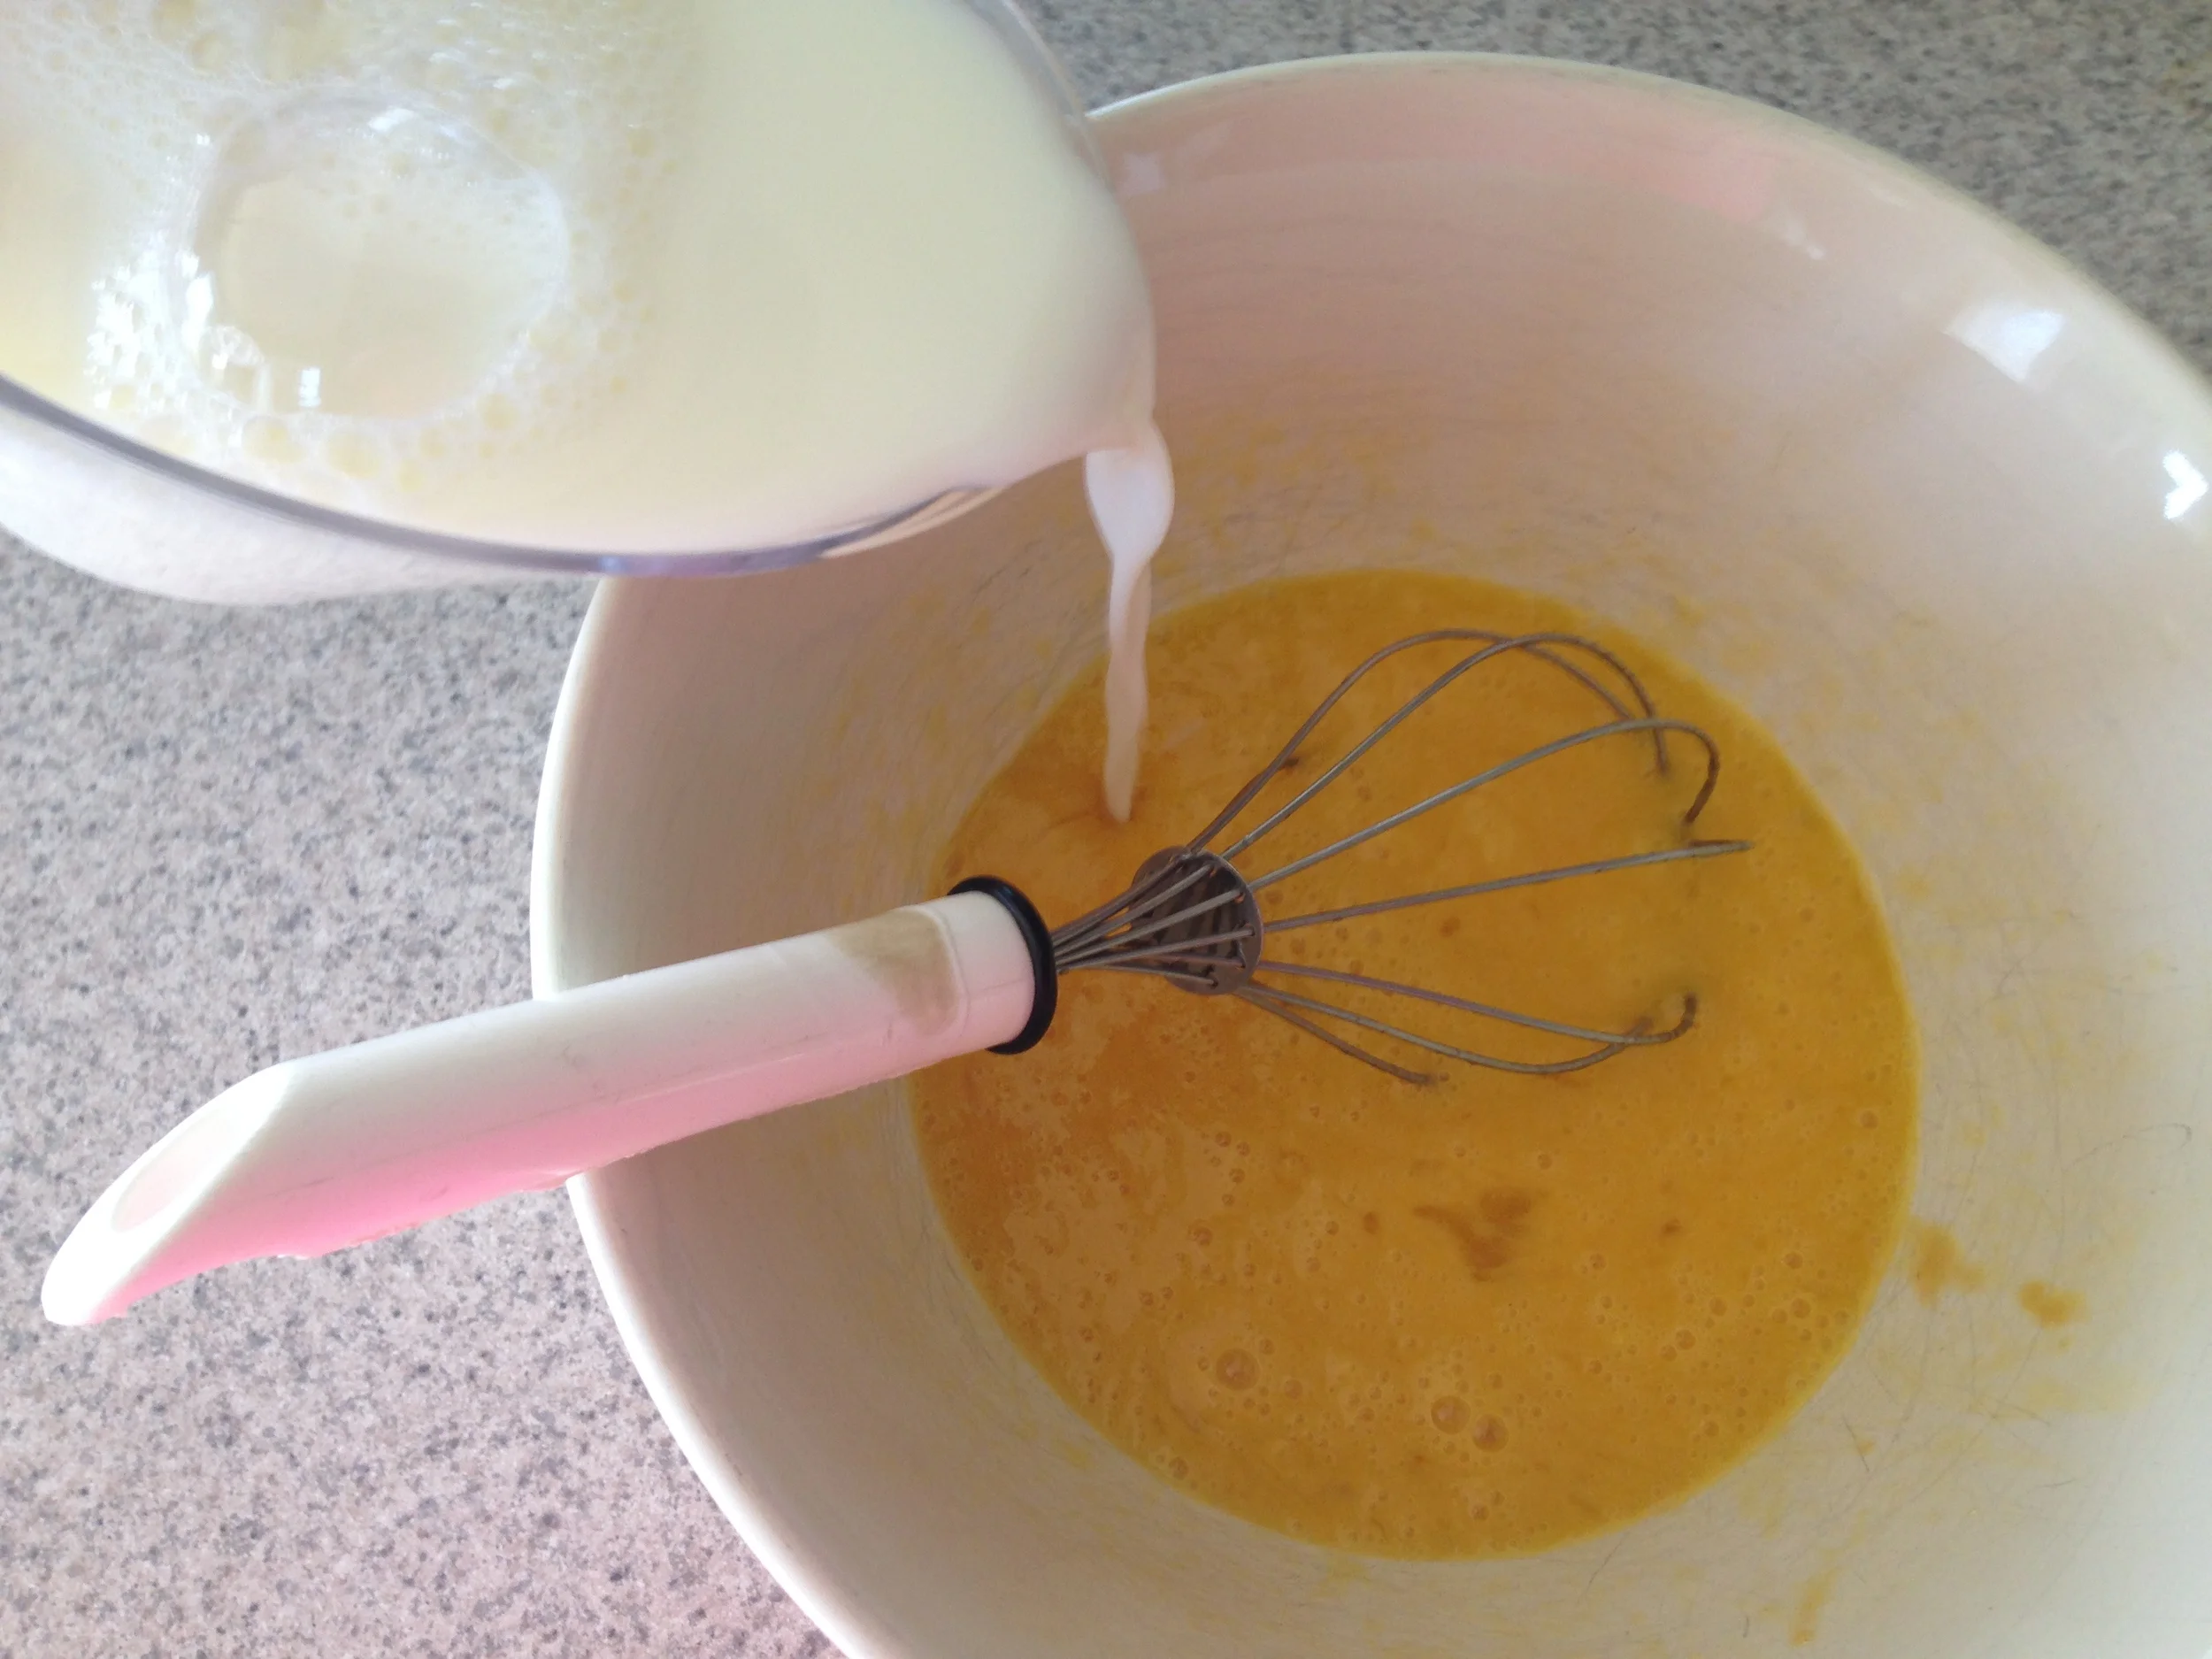
Preheat oven to 350 degrees. Meanwhile, beat eggs with milk, salt, and mustard. Set aside.
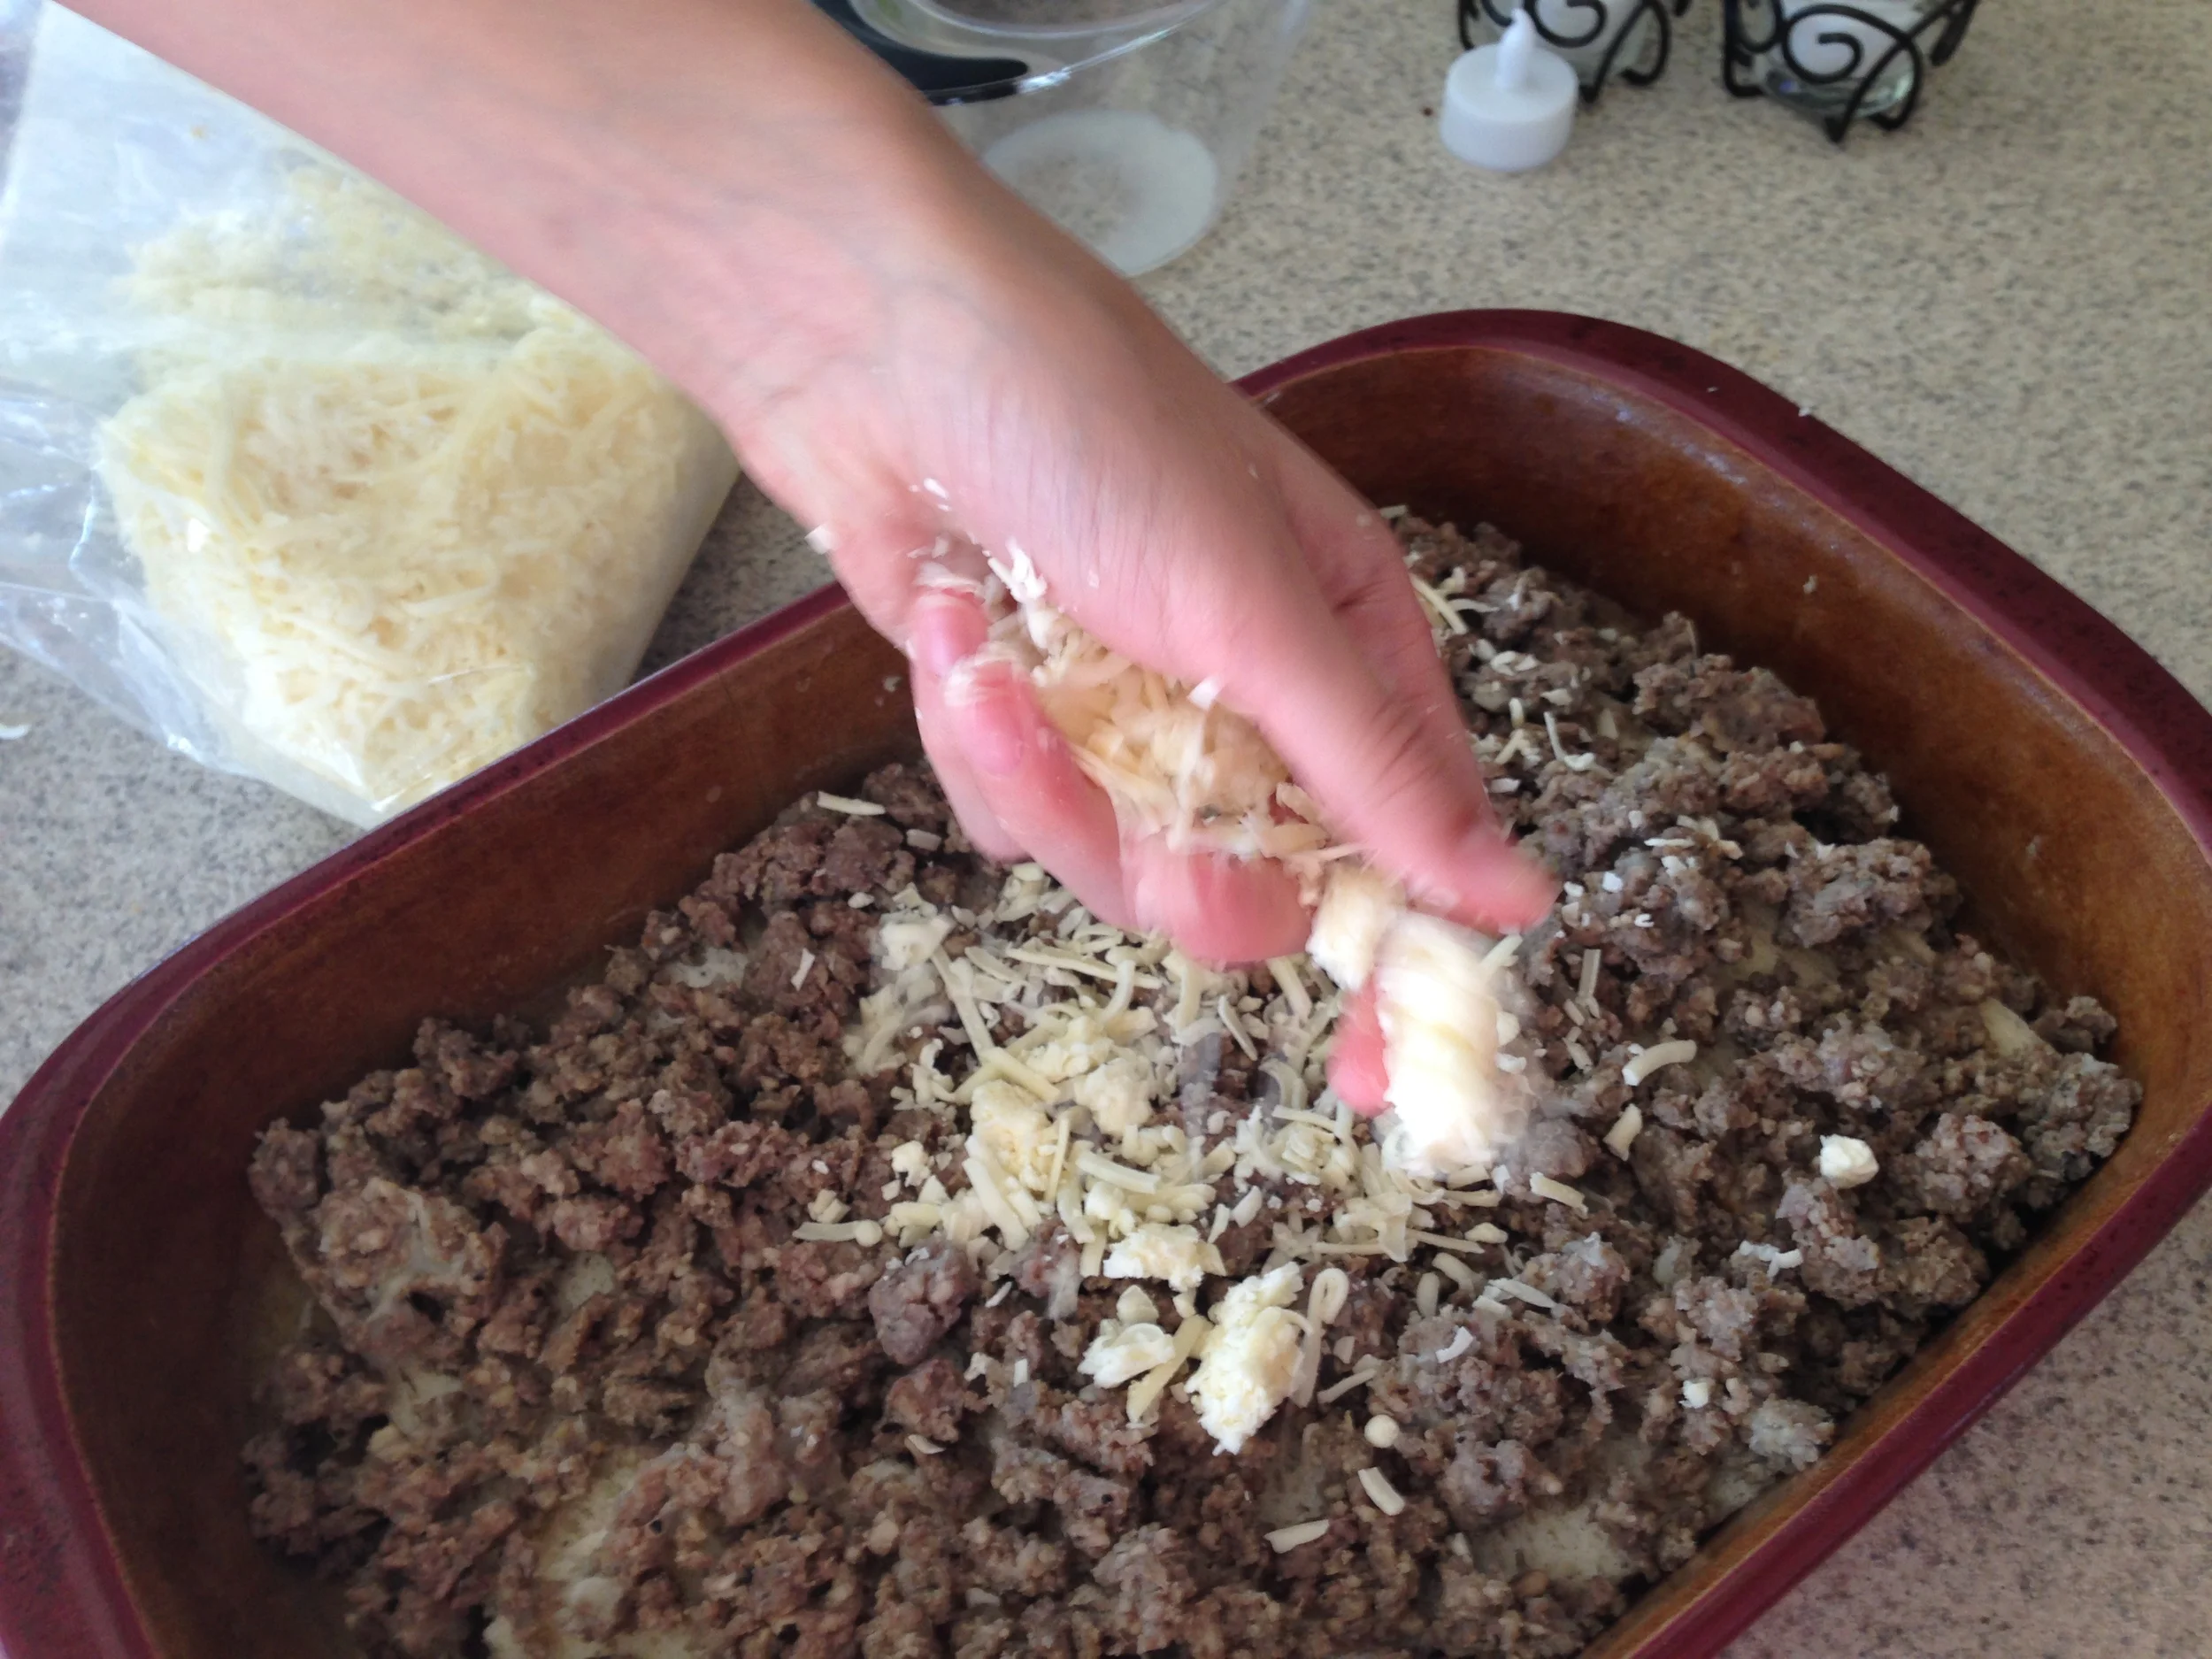
Brown sausage in a large skillet and drain excess oil before putting into casserole. Place bread slices in a 9x13x2 inch pan. Spread sausage on top of bread and sprinkle with cheese. Eggs, sausage, cheese? How can you go wrong?
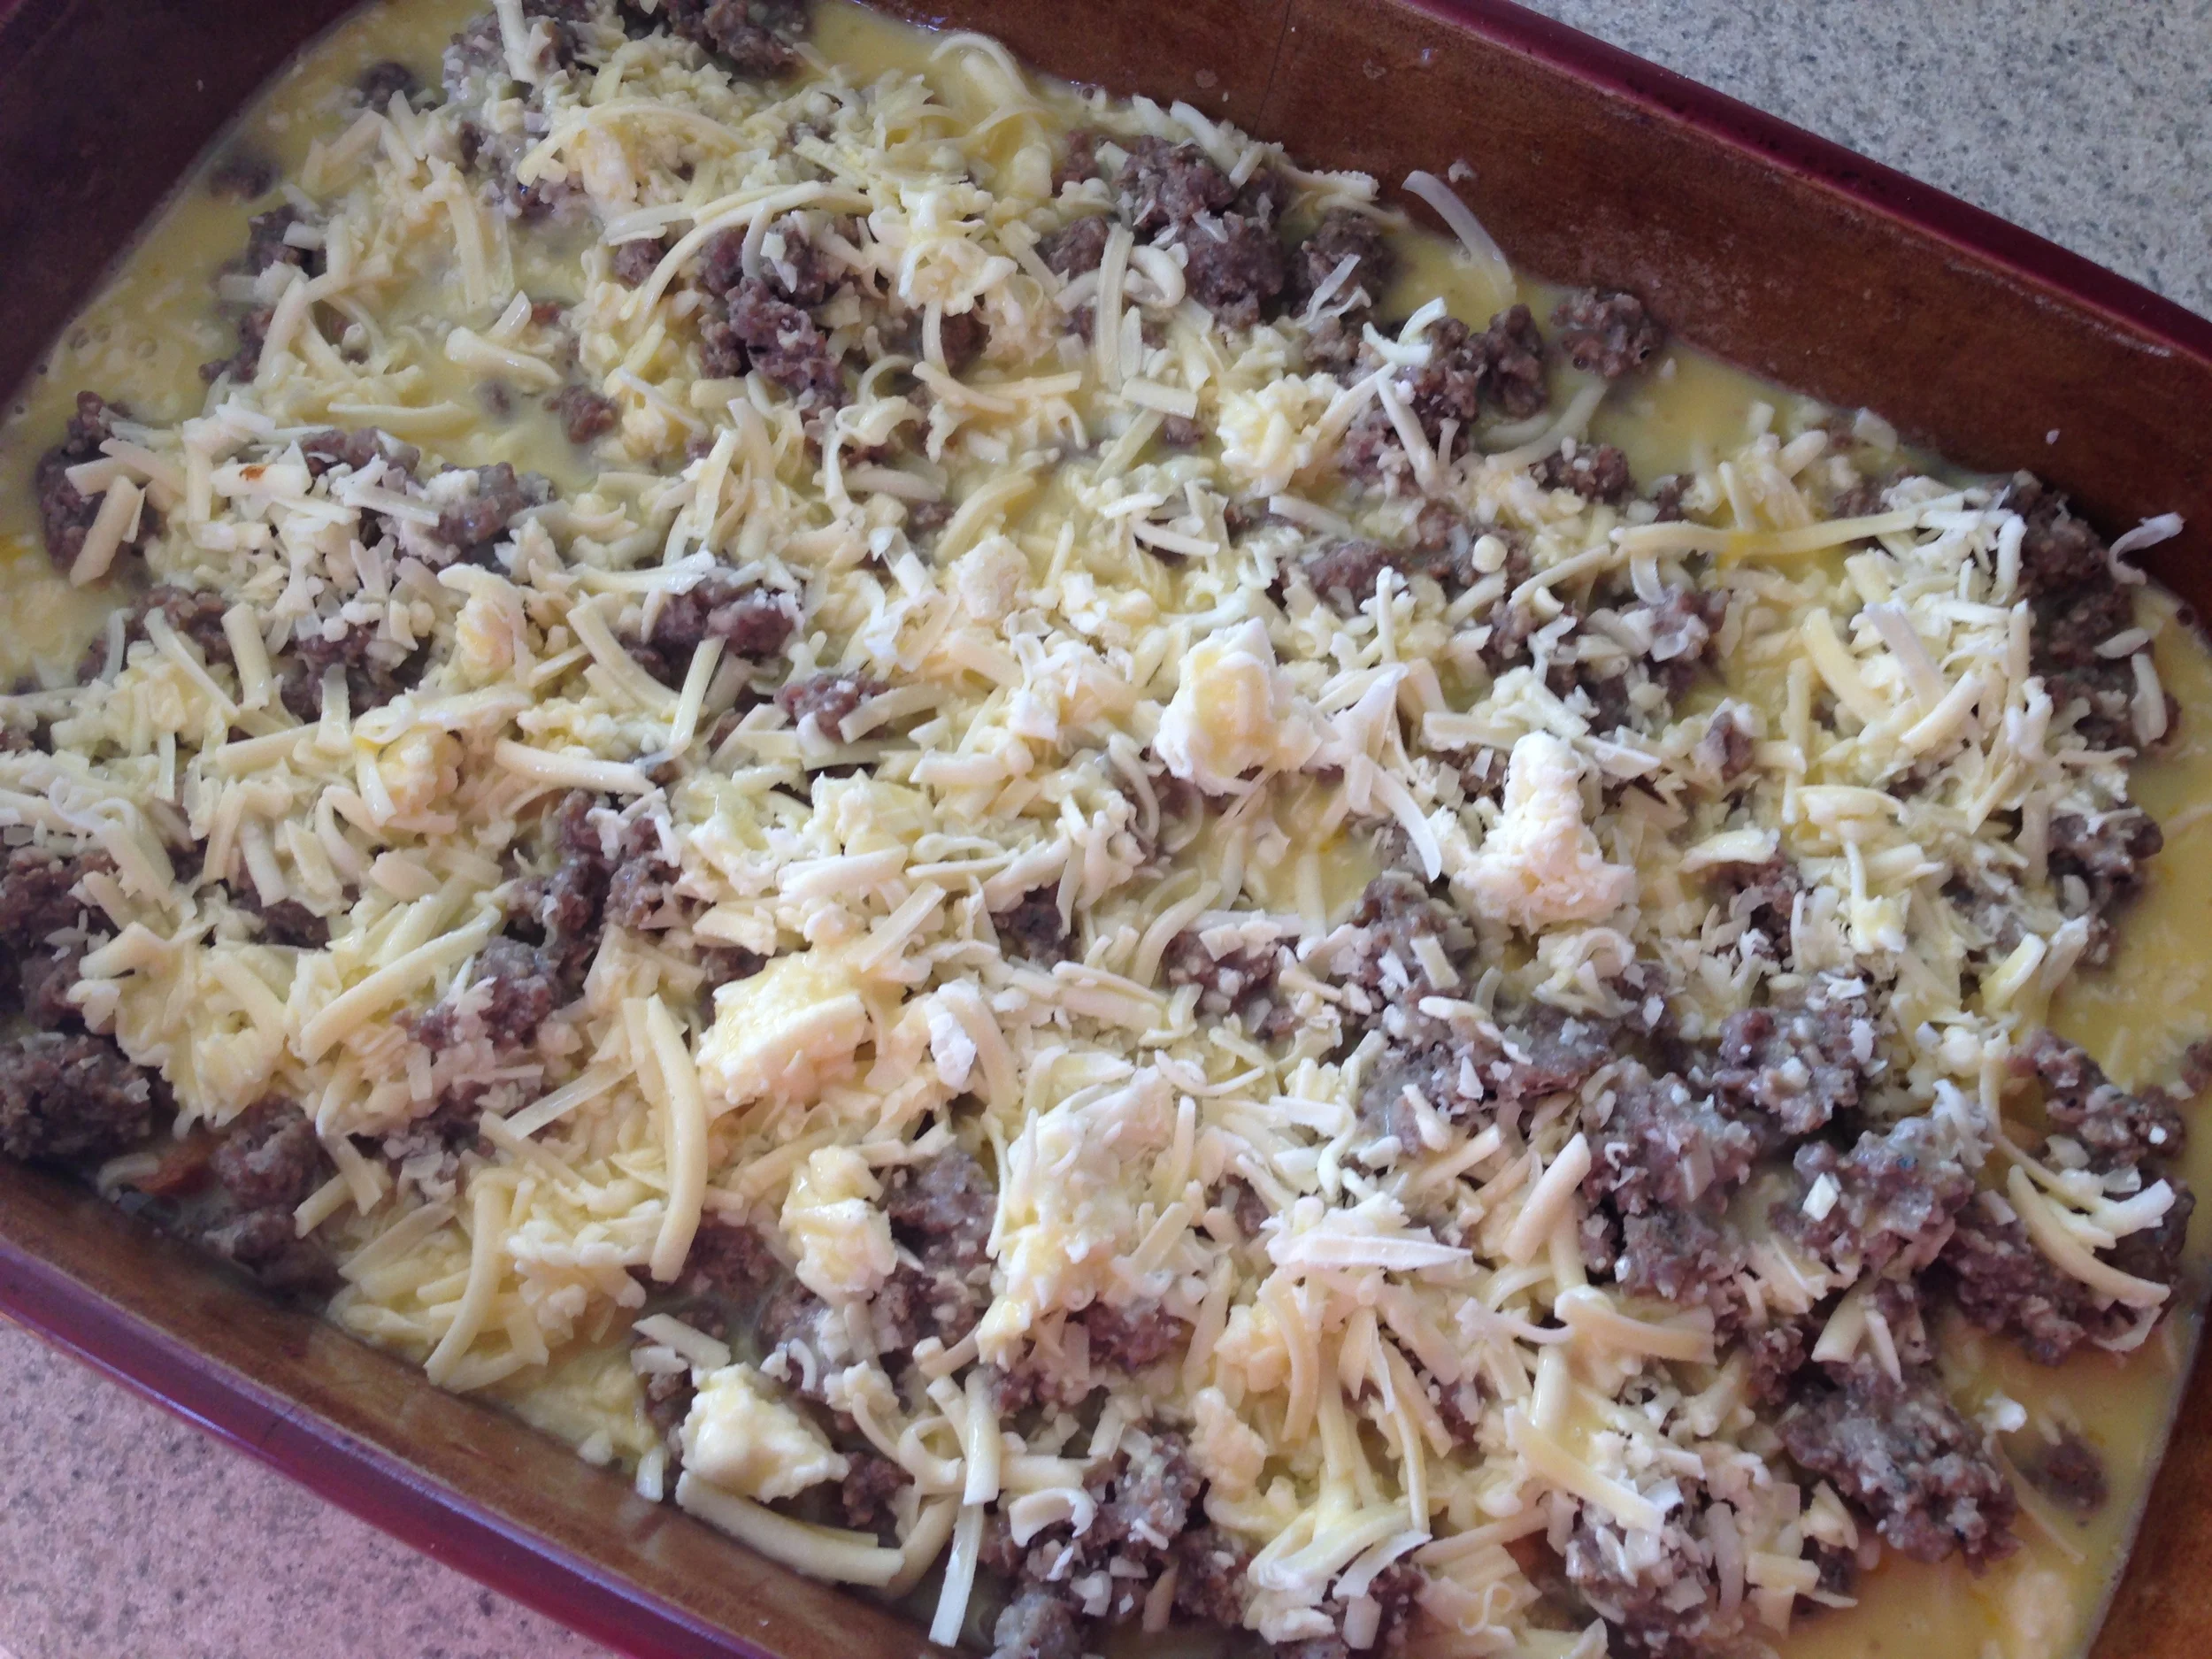
Pour the egg mixture over the bread, sausage, and cheese. Refrigerate overnight. Bake in oven at 350 degrees for 45 minutes. Enjoy!