Cherchies Blog

cooking tips

Cooking Tip: How To Make Homemade Stromboli

cooking tipsSheri SpalloneComment
Cooking Tip: How To Make Homemade Stromboli

Cooking Tip: How To Make Homemade Stromboli

Prep Time: 10 minutes

Cook Time: About 20 minutes

Difficulty: Easy

Are you ready to get rolling and reinvent pizza night?  Gather your gang, grab some pizza dough, and some toppings, because it is time to make homemade strombolis!  

Strombolis, are rolled up deconstructed pizzas, stuffed with an infinite number of fillings (savory meats, gooey cheeses, vegetables, leftovers, sauces, etc.). Many fear that making strombolis is too tedious a task to master, but think again! It is simple and a lot of fun, especially if you want to include family or friends! Strombolis are the perfect make-ahead meal for pretty much any event and impressive enough to satisfy most guests.

Follow along as we share the steps to making delicious strombolis at home! You “knead” to try this! :) Comment below on your favorite filling and we would love for you to share your recipe. Thanks for stopping by. We hope you visit again.

Dough- It all starts with the dough. We have tested this process with refrigerated pizza dough, frozen bread dough, as well as fresh pizza dough (found at most grocery stores). Some pizza shops sell their pizza dough to the public. If you have a favorite homemade pizza dough recipe, by all means, use it!

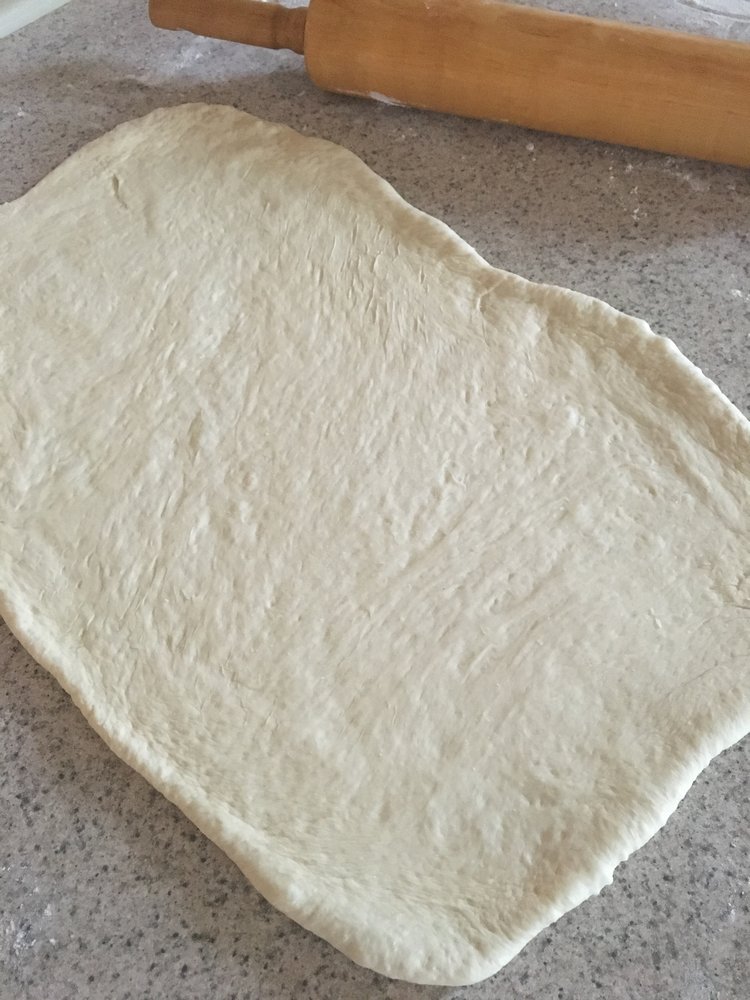
So now what? It’s time to get rolling! Preheat the oven to 350 degrees. Once you have your dough, on a lightly floured surface, roll out the dough into a large rectangle, about 15 inches give or take.

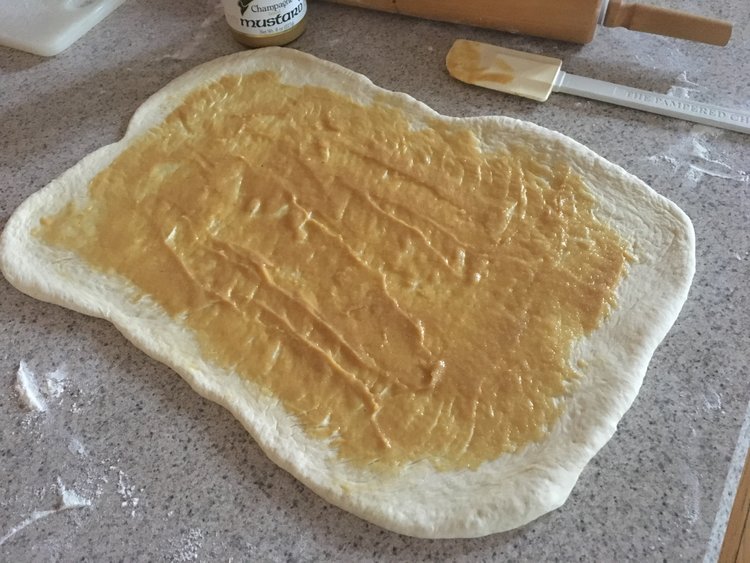
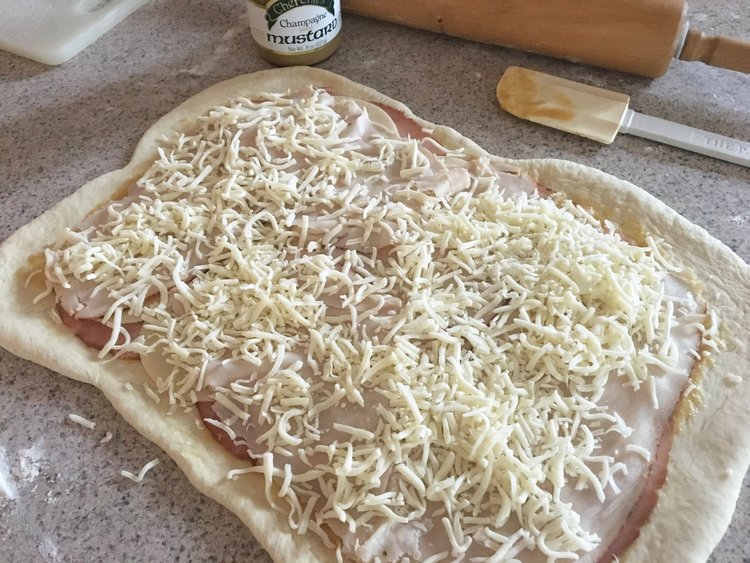
Fillings- This step is optional, but for us, it is the “pièce de résistance” that makes the flavors of the stromboli come alive, no matter the filling. The secret? Spread the dough with a thin layer of our famous Cherchies Champagne Mustard before adding the toppings! It makes a huge difference.

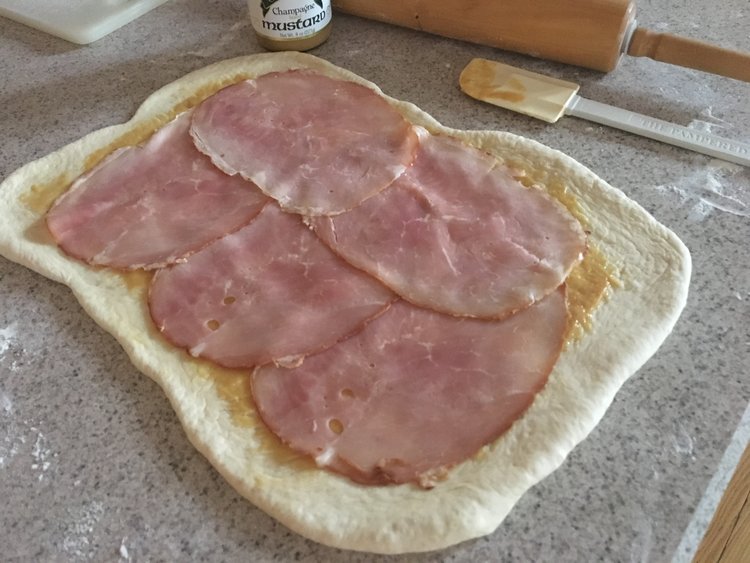
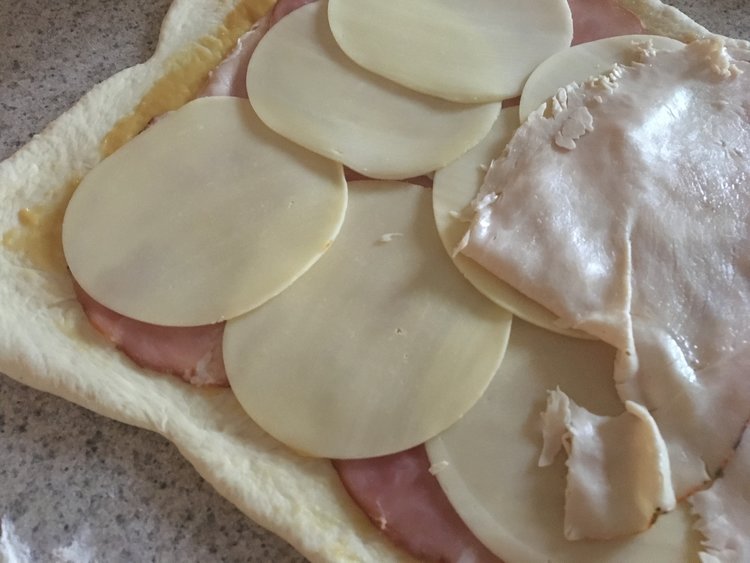
You will want to place all the toppings and fillings inside the rectangle, leaving about 1 inch around the perimeter free for rolling.

Next, fill the dough with your favorite combinations. Our favorite is our Ham, Turkey, and Cheese Stromboli Recipe, which consists of you guessed it, ham, turkey, two kinds of cheese, and of course our mustards!

Tasty Filling Ideas - Here are a few other ideas to inspire you:


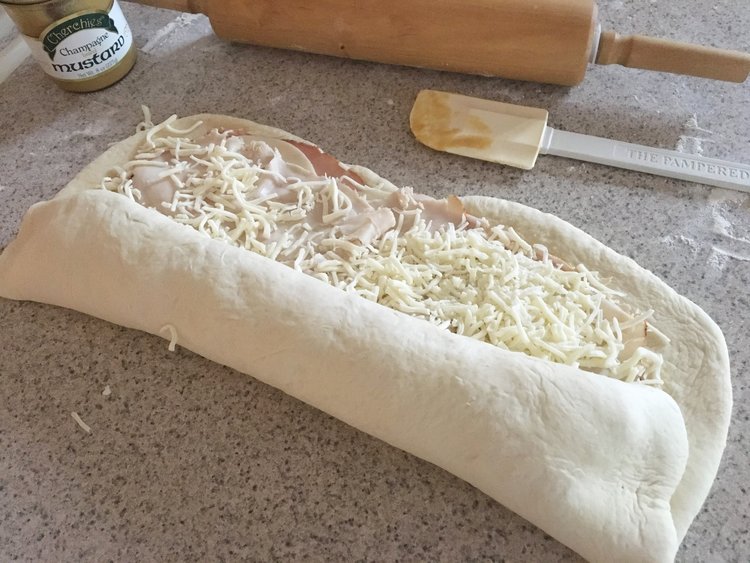
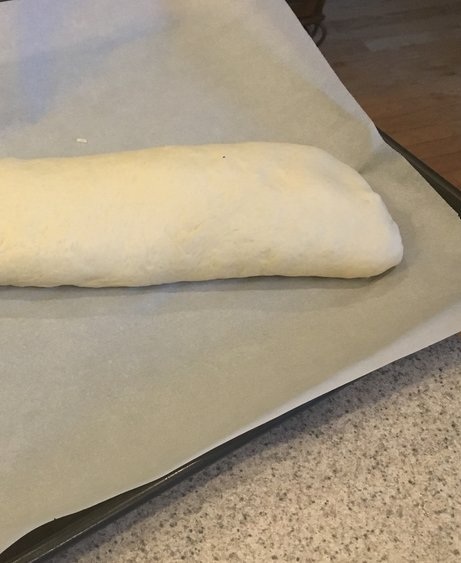
Sealing up- Now that you have your favorite filling in place, it is time to “seal the deal.” Sorry:) Starting with the long end of the rectangle, roll up your stromboli (jelly-roll style) and carefully make sure to tuck in ingredients that may have fallen out. Place on a parchment paper-lined tray, seam-side down and pinch the open ends closed.

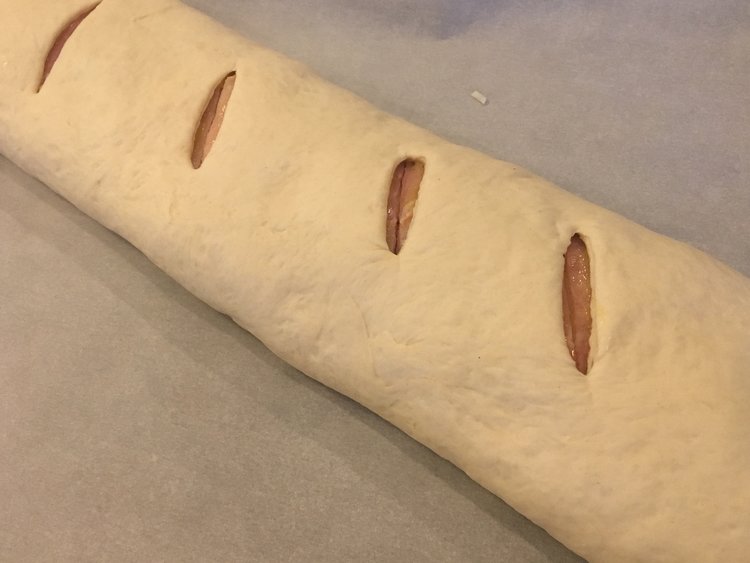
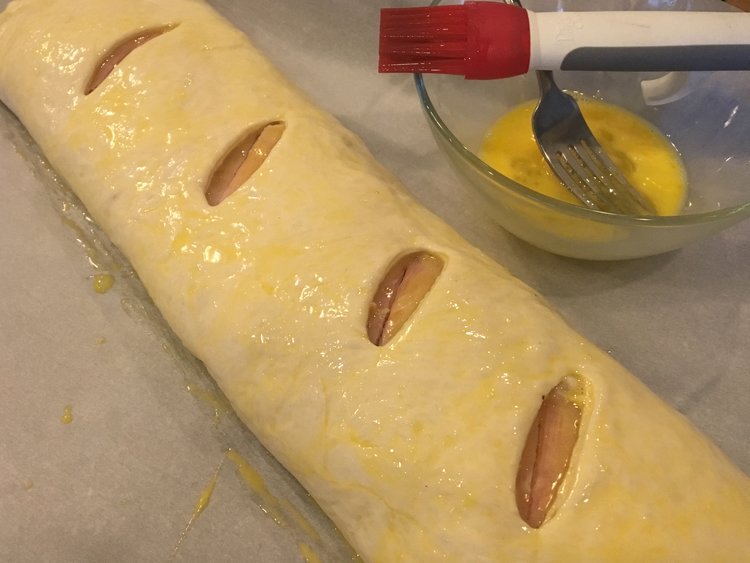
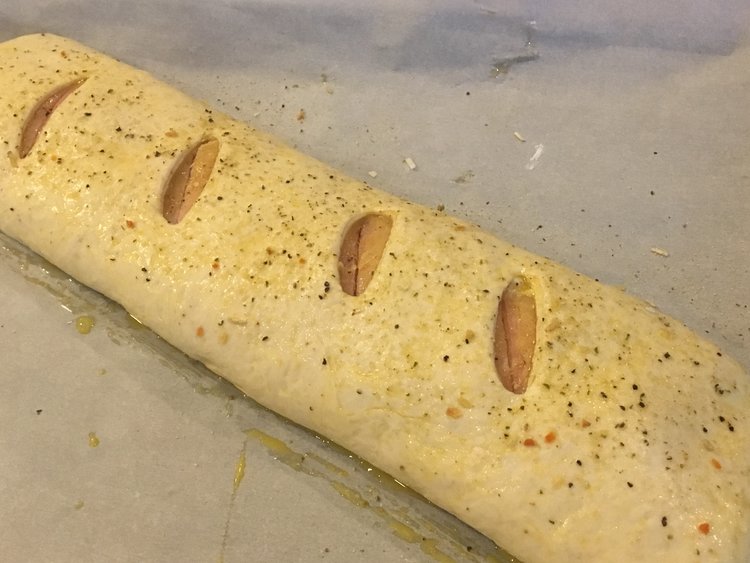
This next step is optional, but I have found it helps to keep all the ingredients from exploding out onto the pan. With a sharp knife, cut a couple of slits into the dough. If making ahead, cover the stromboli with plastic wrap and place in the refrigerator or freezer.

When ready to cook, in a small bowl, beat one egg until combined. Brush the top, sides, and ends of the stromboli with the egg wash and sprinkle with Cherchies Garlic Seasoning. Cook for about 20 minutes, or until the stromboli is golden brown on the outside.

Cook your stromboli until golden brown. Slice it up for easy, hearty appetizers and serve with your favorite marinara or dipping sauce or serve with one of our salads and some fruit for a complete meal. Look at that! A golden crispy crust on the outside, fluffy bread on the inside, surrounded by gooey, melty cheese, salty ham and turkey, and as mentioned our sweet-hot, tangy Champagne Mustard. Who wants some?

Enjoy!

Ham, Turkey and Cheese Stromboli Recipe

Ham, Turkey and Cheese Stromboli Recipe

Yum

Cooking Tip: Perfect Boiled Eggs

cooking tipsSheri Spallone2 Comments
Cooking Tip: How to have perfect hard boiled eggs every time!

Cooking Tip: How to have perfect hard boiled eggs every time!

Do you hate those green rings around your overcooked egg yolks? Have no fear!

Place eggs into a pot of cold water, making sure to cover them entirely with water. Turn the stove on and cook the eggs until they start to boil, then turn off, remove the pot from the heat, and cover for 10 minutes. Don't forget to set your timer!

After 10 minutes, drain the eggs and place them in a bowl of ice water (ice and water) to chill. If going to use immediately, gently crack each egg after 2-3 minutes, allowing water to loosen the shell, and place back in the ice water for about 5 minutes. Once the 5 minutes is up, peel away my friends. The result is perfect yellow egg yolks with no "ring around the collar" (ha!).

This process has worked for us for many years. What is your favorite way to hard-boil eggs? Comment below. Thank you for visiting! Come back again.


Yum

Cooking Tip: How To Make Homemade Caramel Sauce

cooking tipsSheri SpalloneComment
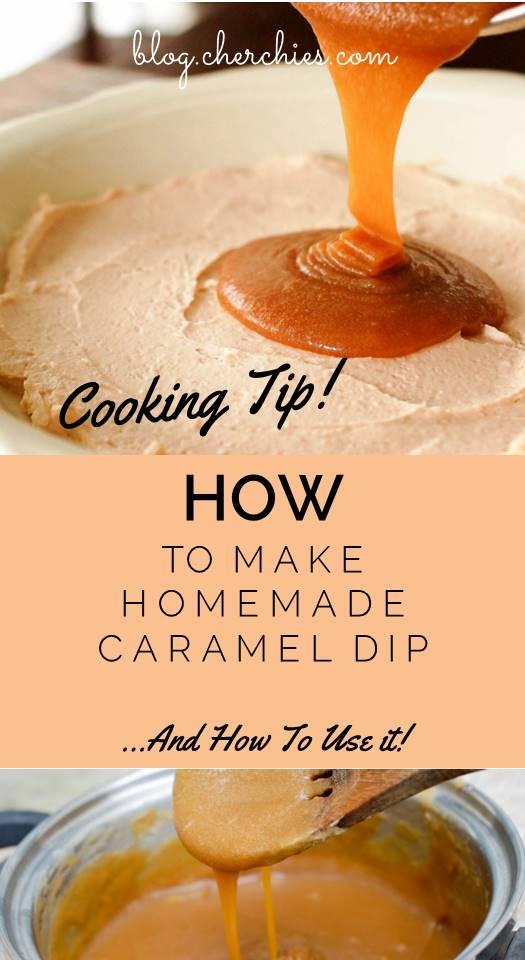
Cooking Tip: How To Make Homemade Caramel Dip…And How To Use it!

Cooking Tip: How To Make Homemade Caramel Dip…And How To Use it!

Cook Time: At most 10 minutes

Difficulty: Easy

Yield: About 1 cup

With Fall in full swing, and the holidays fast approaching, nothing melts our hearts more than dreamy, homemade caramel sauce! Rich, creamy, buttery, caramel…add a pinch of salt and your taste buds will go into overload. It is the perfect compliment to your favorite dessert and beverage; and an absolute necessity for your holiday entertaining.

Follow along below as we share the steps of this easy recipe and clever ways to use it.

What is your favorite use for caramel? We would love to hear from you!

Thank you for stopping by:) Comment below if you have made this recipe. Revisit us for more family-tested recipesentertaining ideas, and cooking tips using all our favorite Cherchies® gourmet products.

Follow us on social media: Facebook, Instagram, and Pinterest.

Here Are The Gooey Details

Ingredients

  • 1 cup of brown sugar

  • 6 Tablespoons (Tbsp.) unsalted butter, cut into small pieces

  • 1/2 cup heavy cream or half and half, room temperature

  • 1/2 teaspoon (tsp) sea salt (if want salted caramel, add up to 1 tsp. salt- Kosher salt is fine too)

  • 1/2 teaspoon vanilla (you could substitute your favorite liquor for an extra special adult treat…we won’t tell, but make sure to keep away from the kiddos).

Preparation

There seems to be some debate out there in cyber world about making homemade caramel sauce, and whether or not to melt the sugar first with butter or add the butter at the end along with the rest of the ingredients. I have tried both ways with the end result being the same. Quoting my mother, “If it ain’t broke, don’t fix it” (okay, she did not say ain’t, but you get the idea), so this is my version for a creamy, delectable caramel sauce/dip. It really is very easy, and only takes a few minutes.

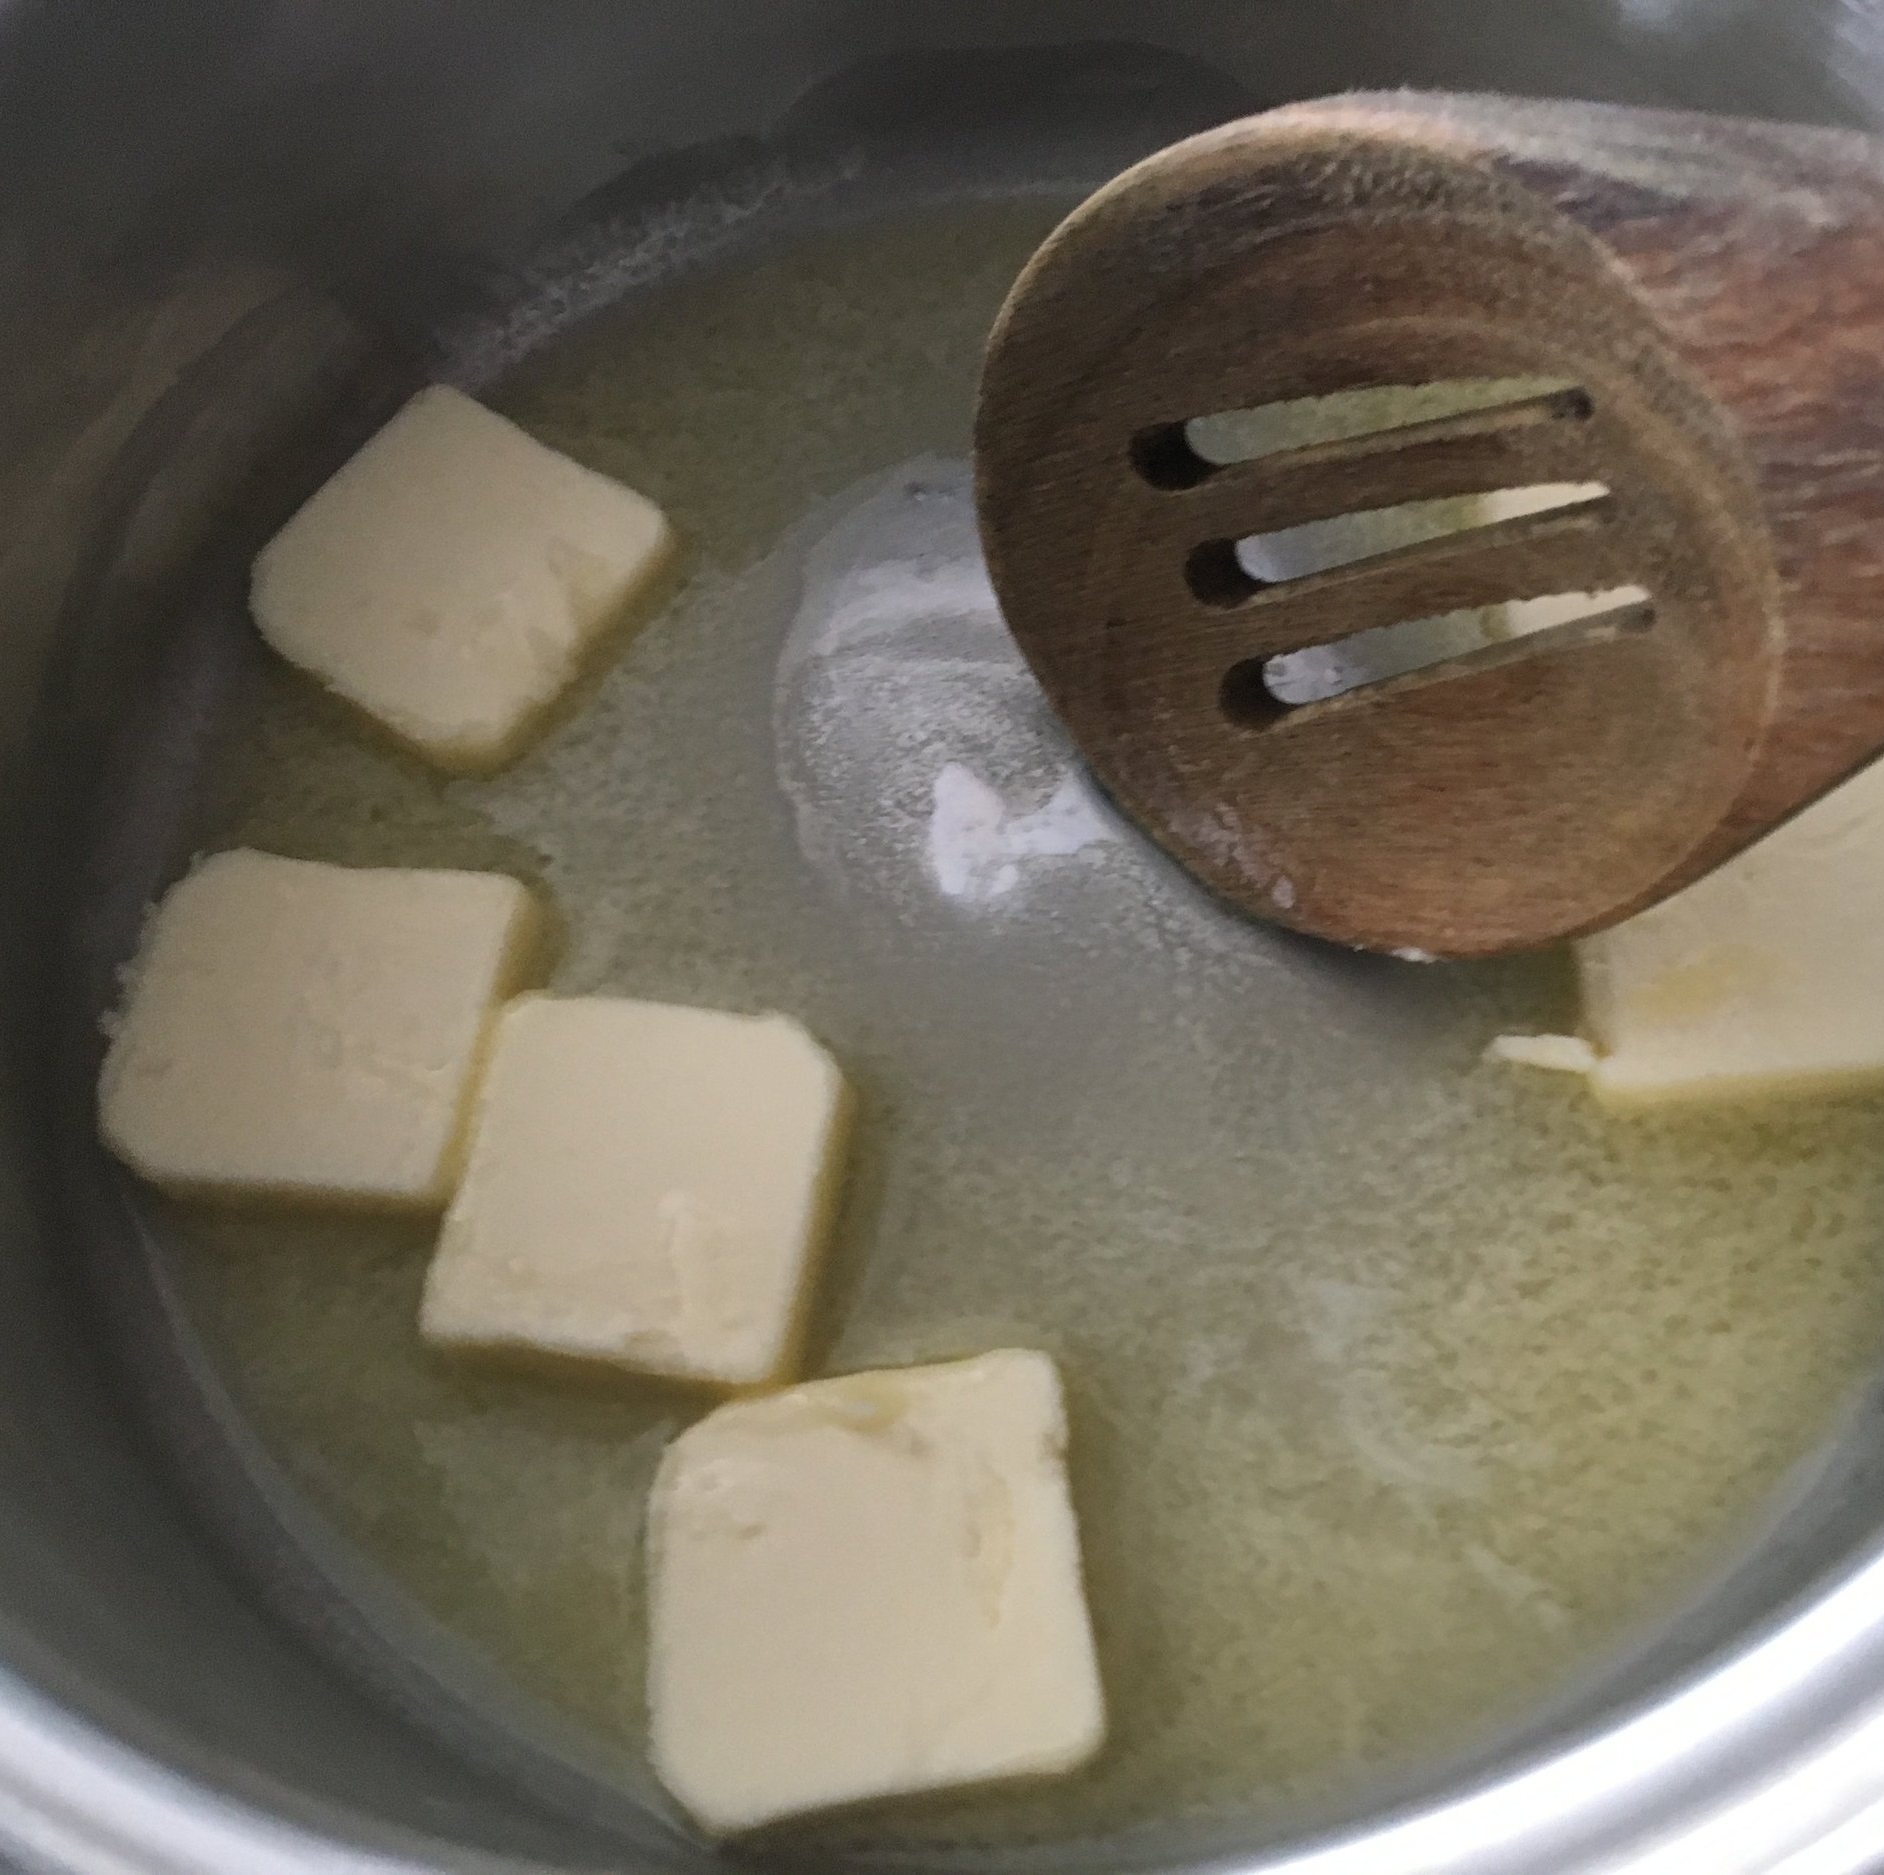
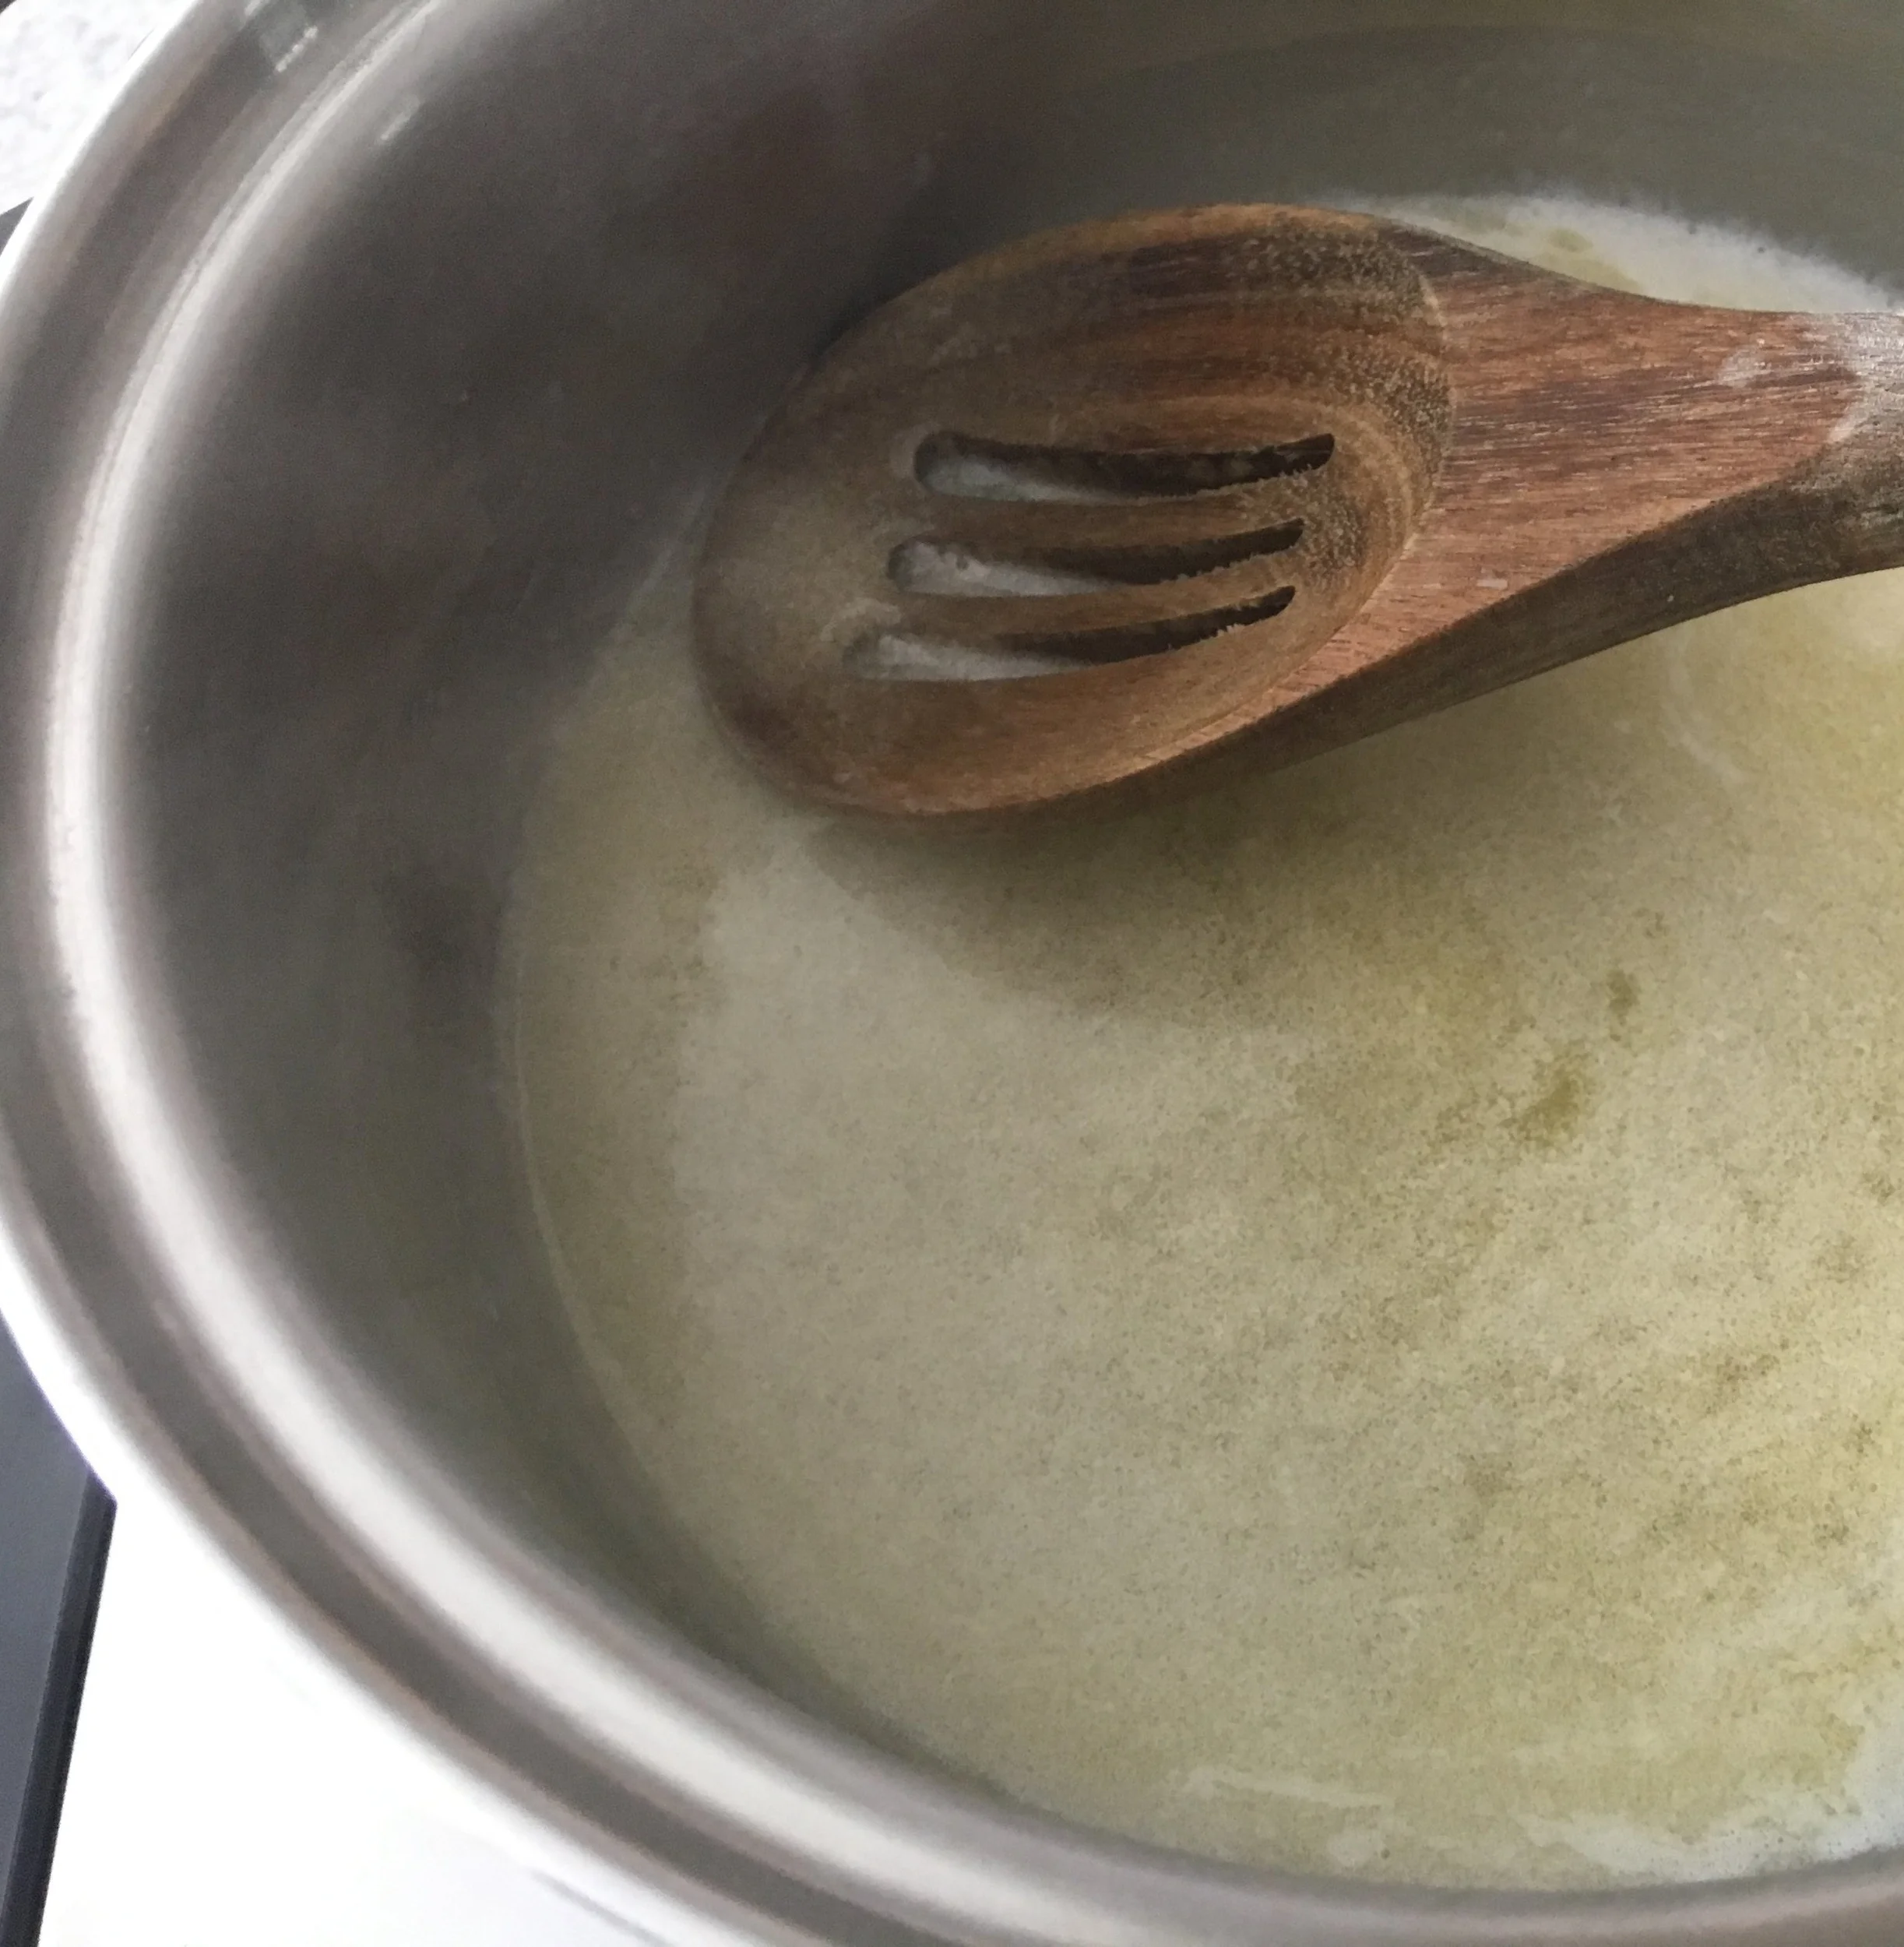
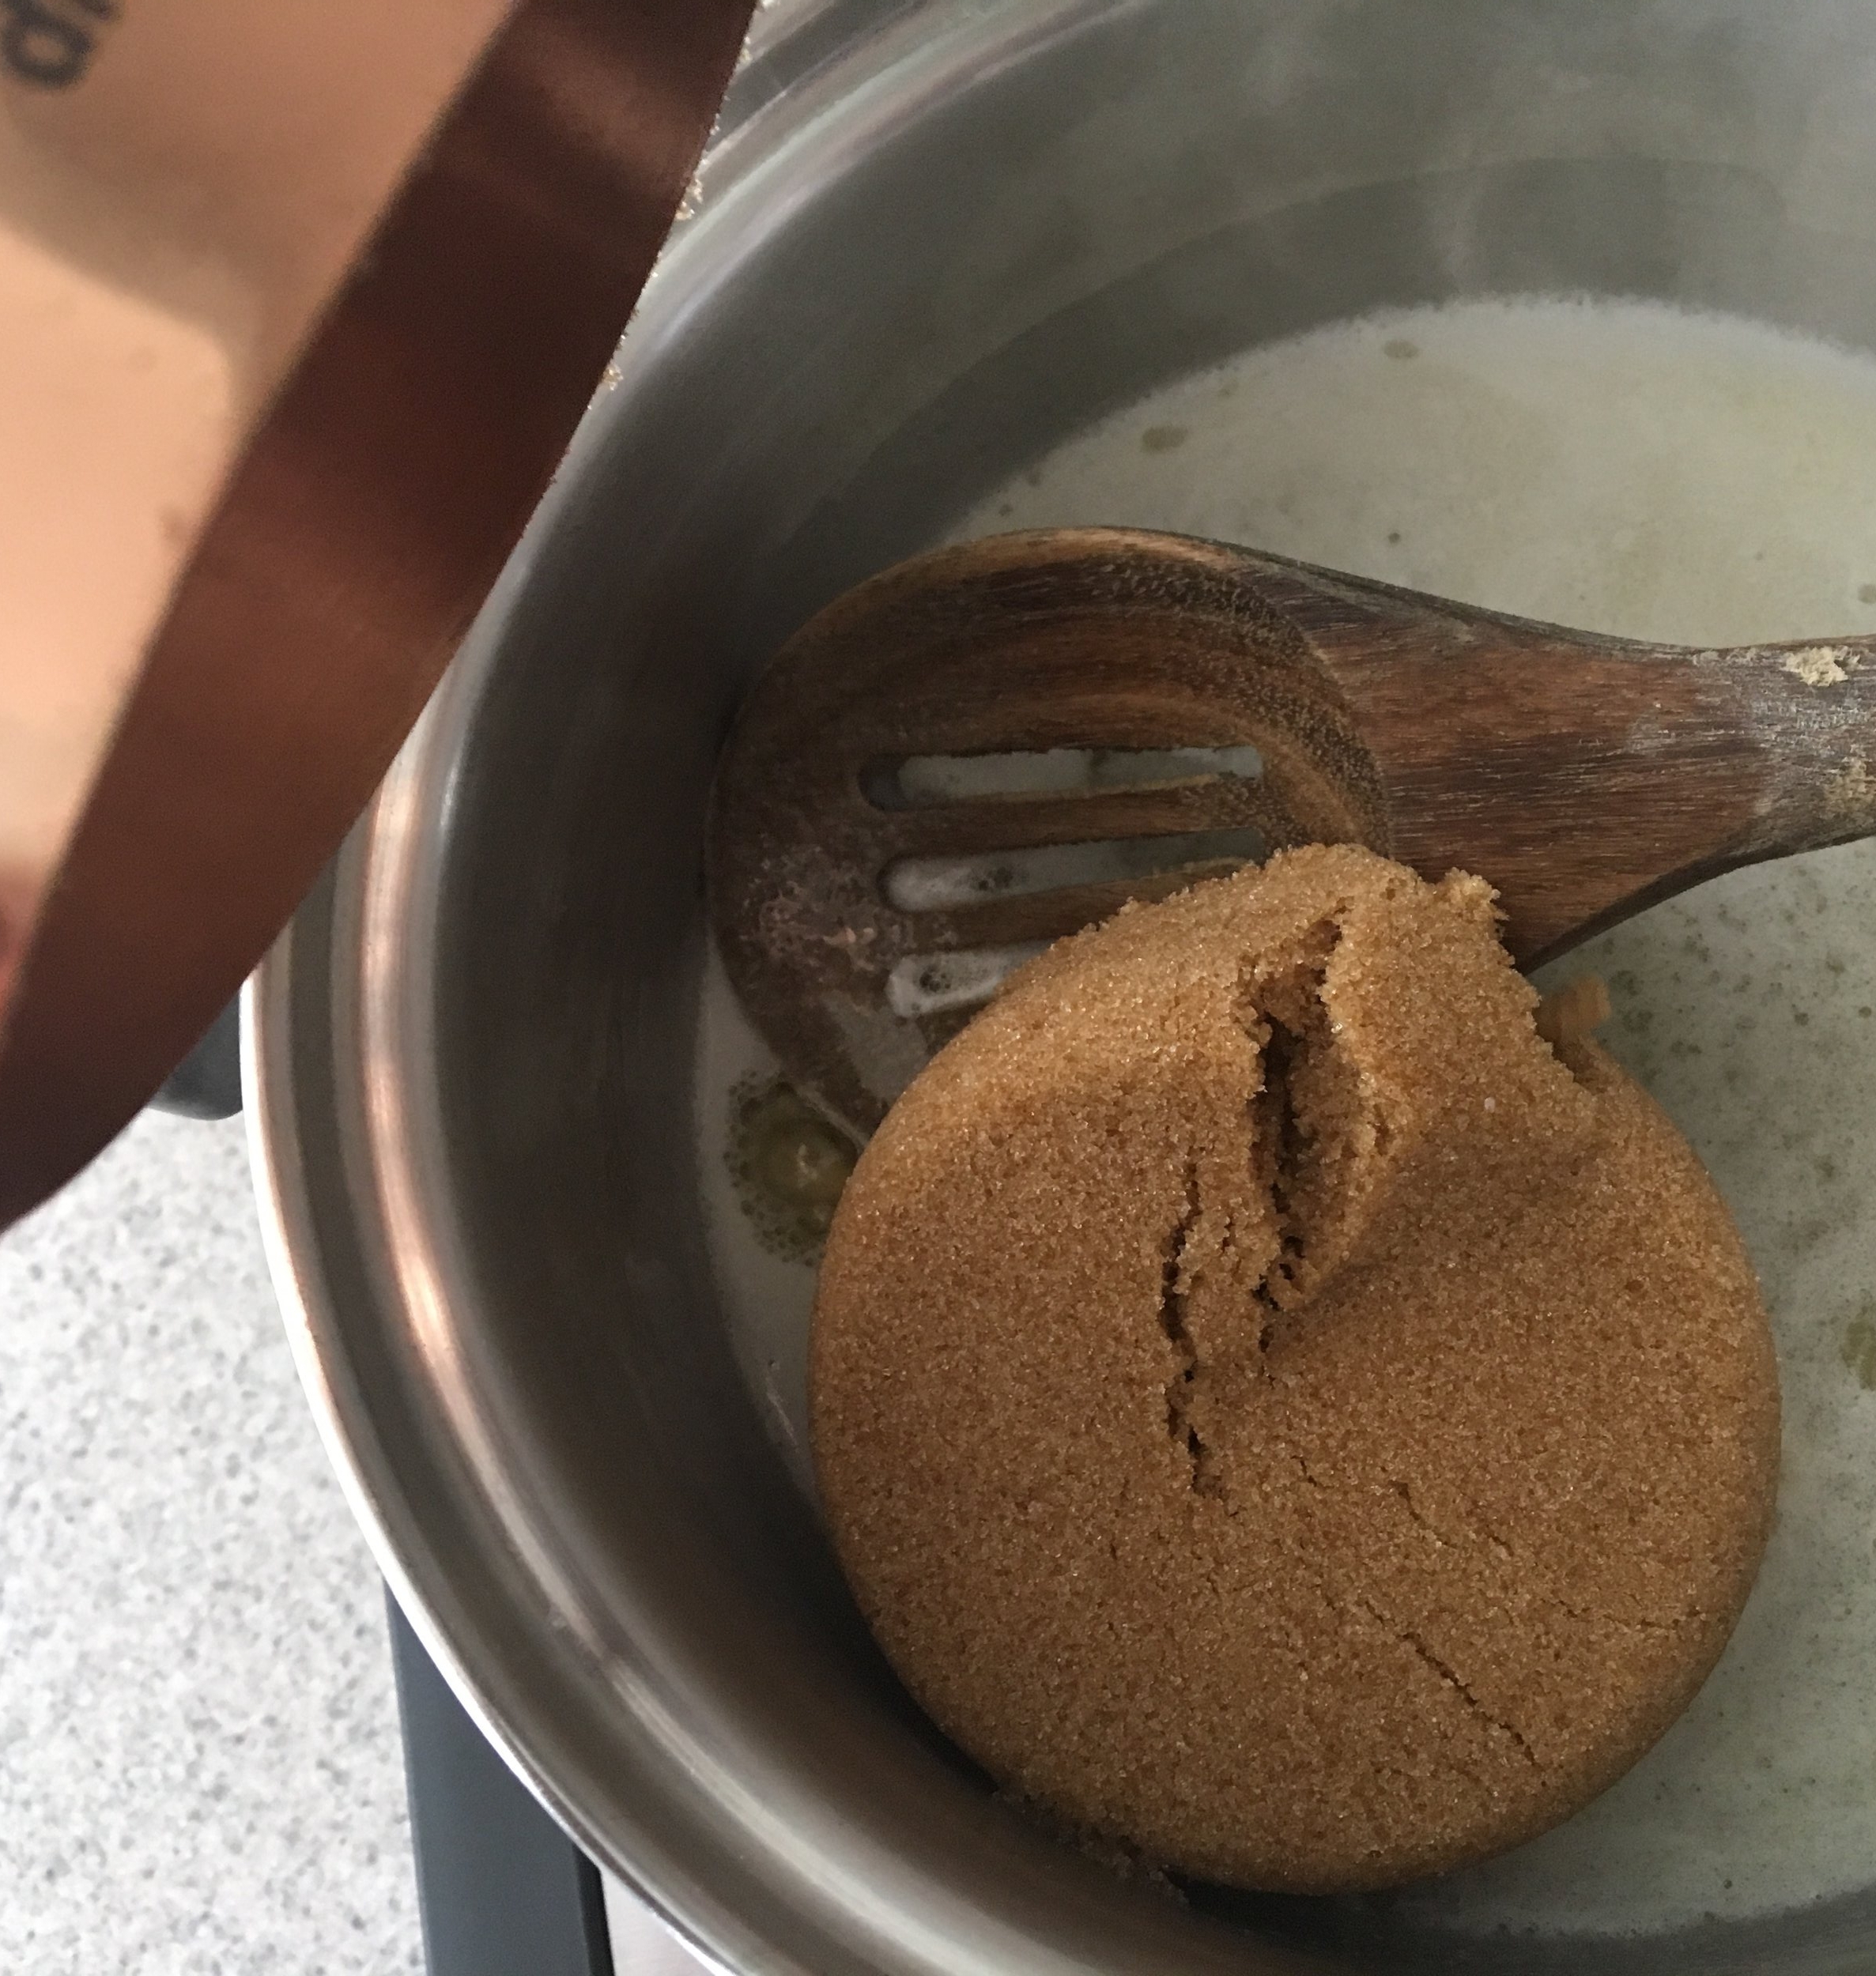
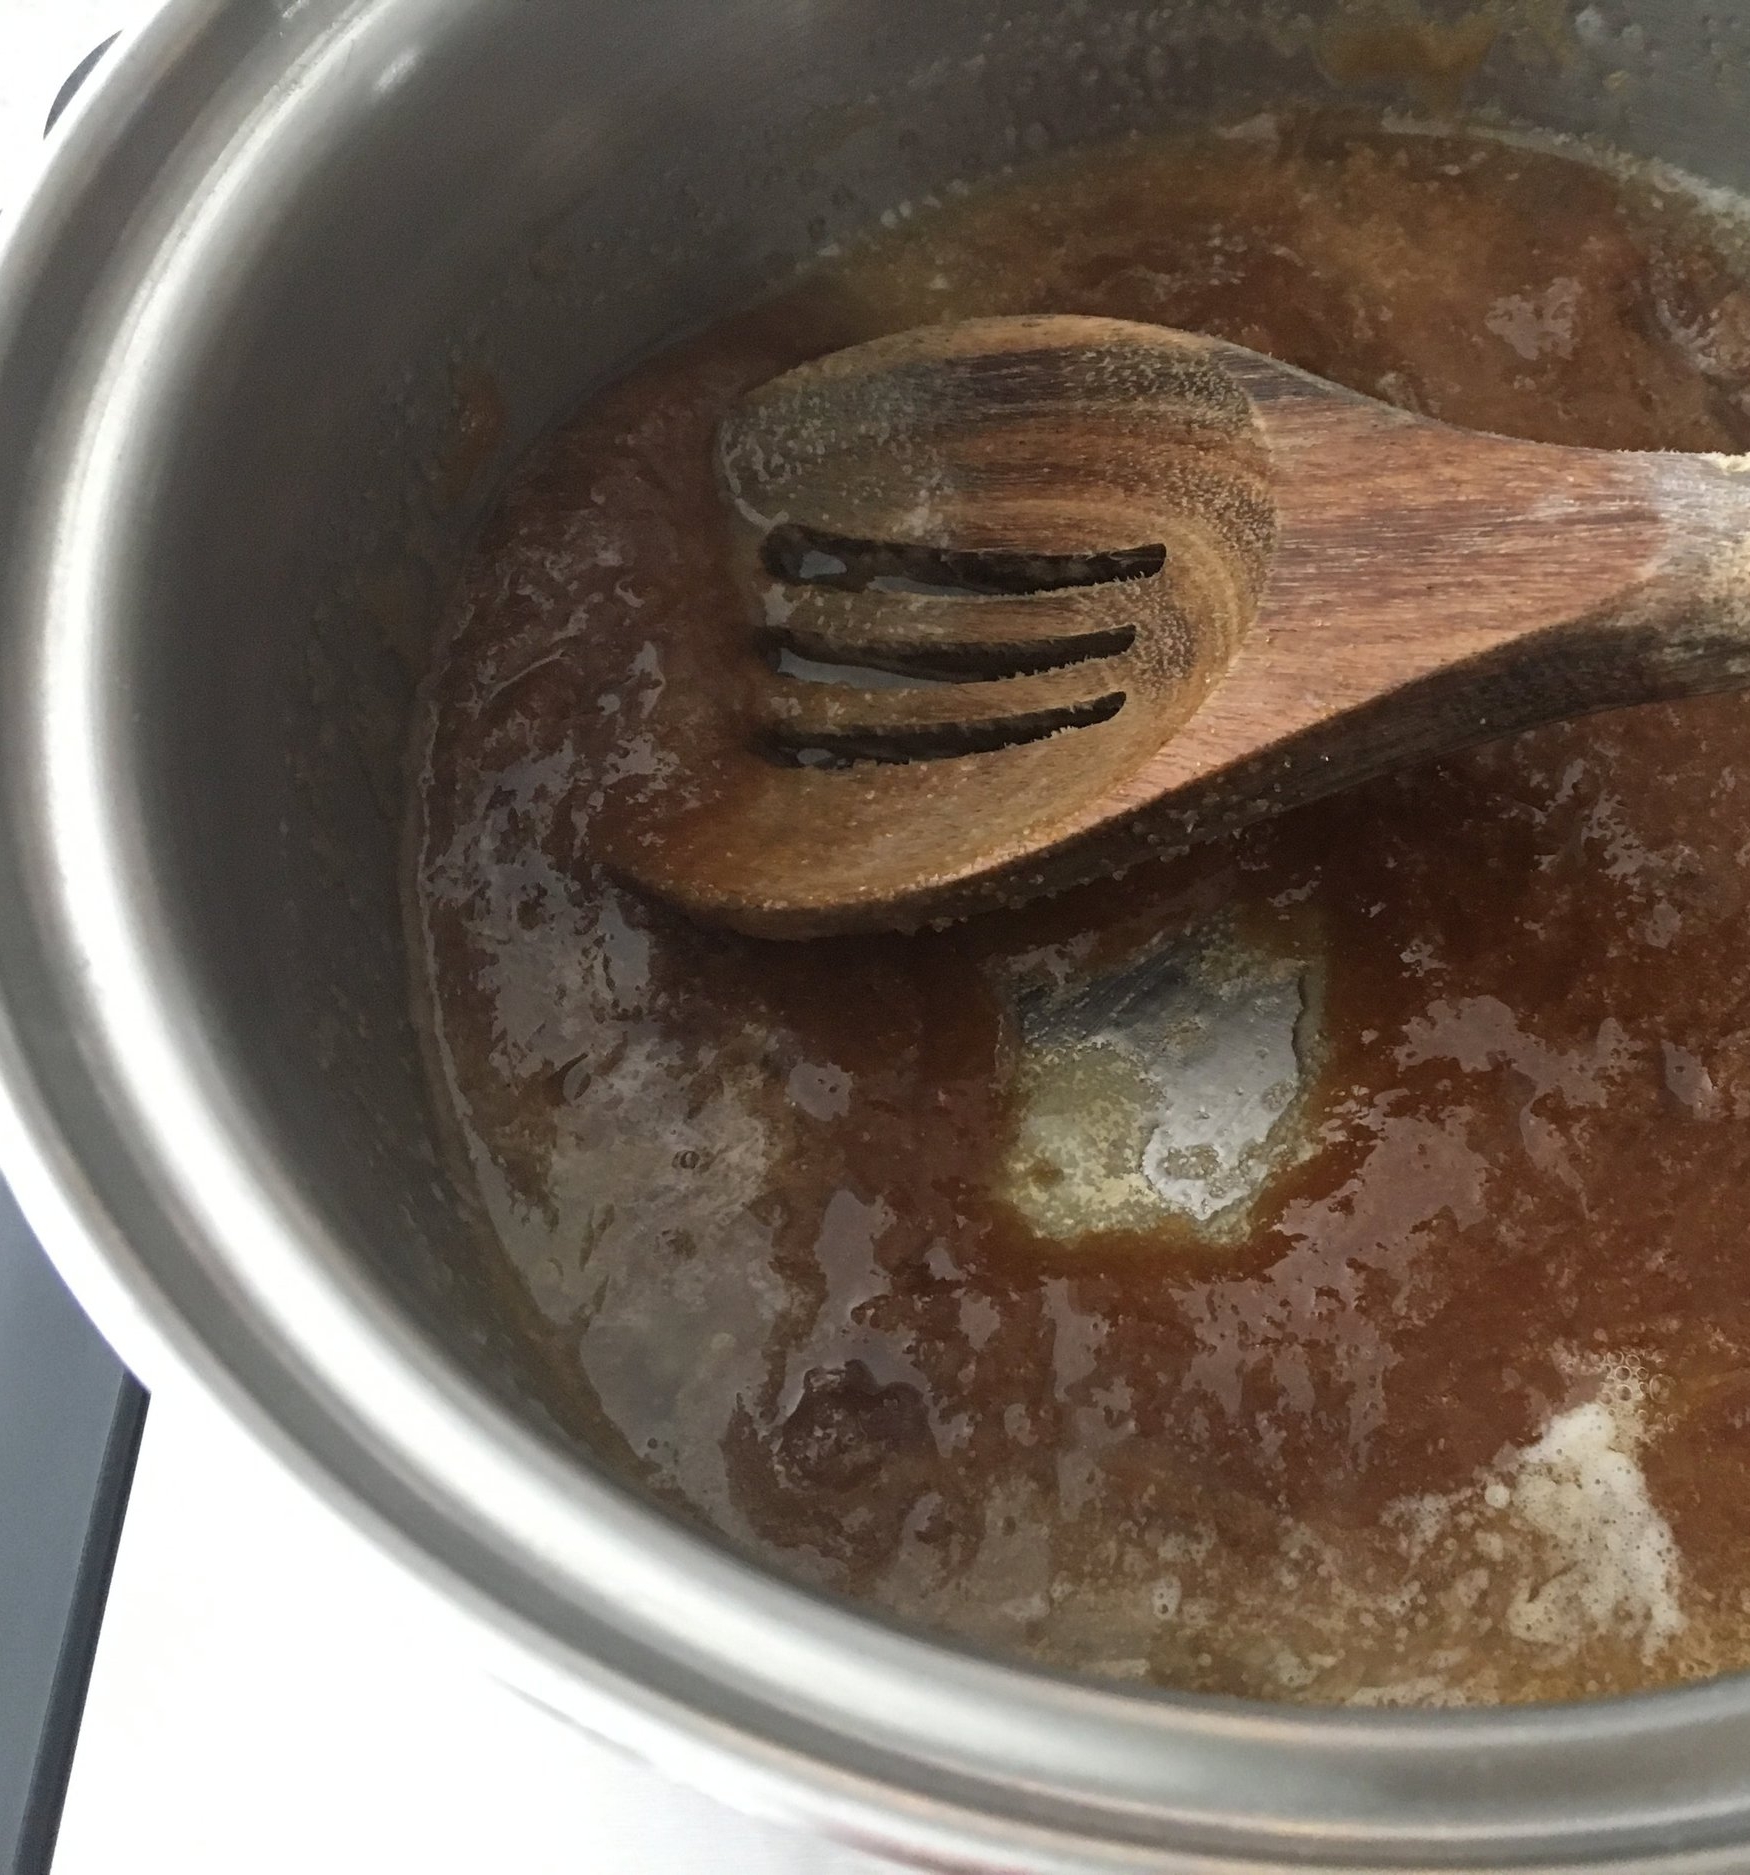
The caramelization process happens quickly, so make sure all your ingredients are measured and in place before you begin. Start with a medium-sized stainless steel sauce pan (ceramic would work just fine too). Add the butter chunks to the pan, turn the heat on low, and gently stir the butter with a wooden spoon (you can use a whisk too) until it melts. Once the butter has melted, add the sugar and continue to stir until the sugar has melted. (Sugar will be HOT! Trust me, and learn from my mistakes, do not be tempted to taste the caramel at any time, until it has cooled! Many sites I researched suggest having a bowl of cold water on hand in case of flying molten sugar. Yikes! Do not be afraid, but be safe.) As you are stirring, scrape the sugar that forms on the side with the spoon or a rubber spatula and incorporate into the mix.

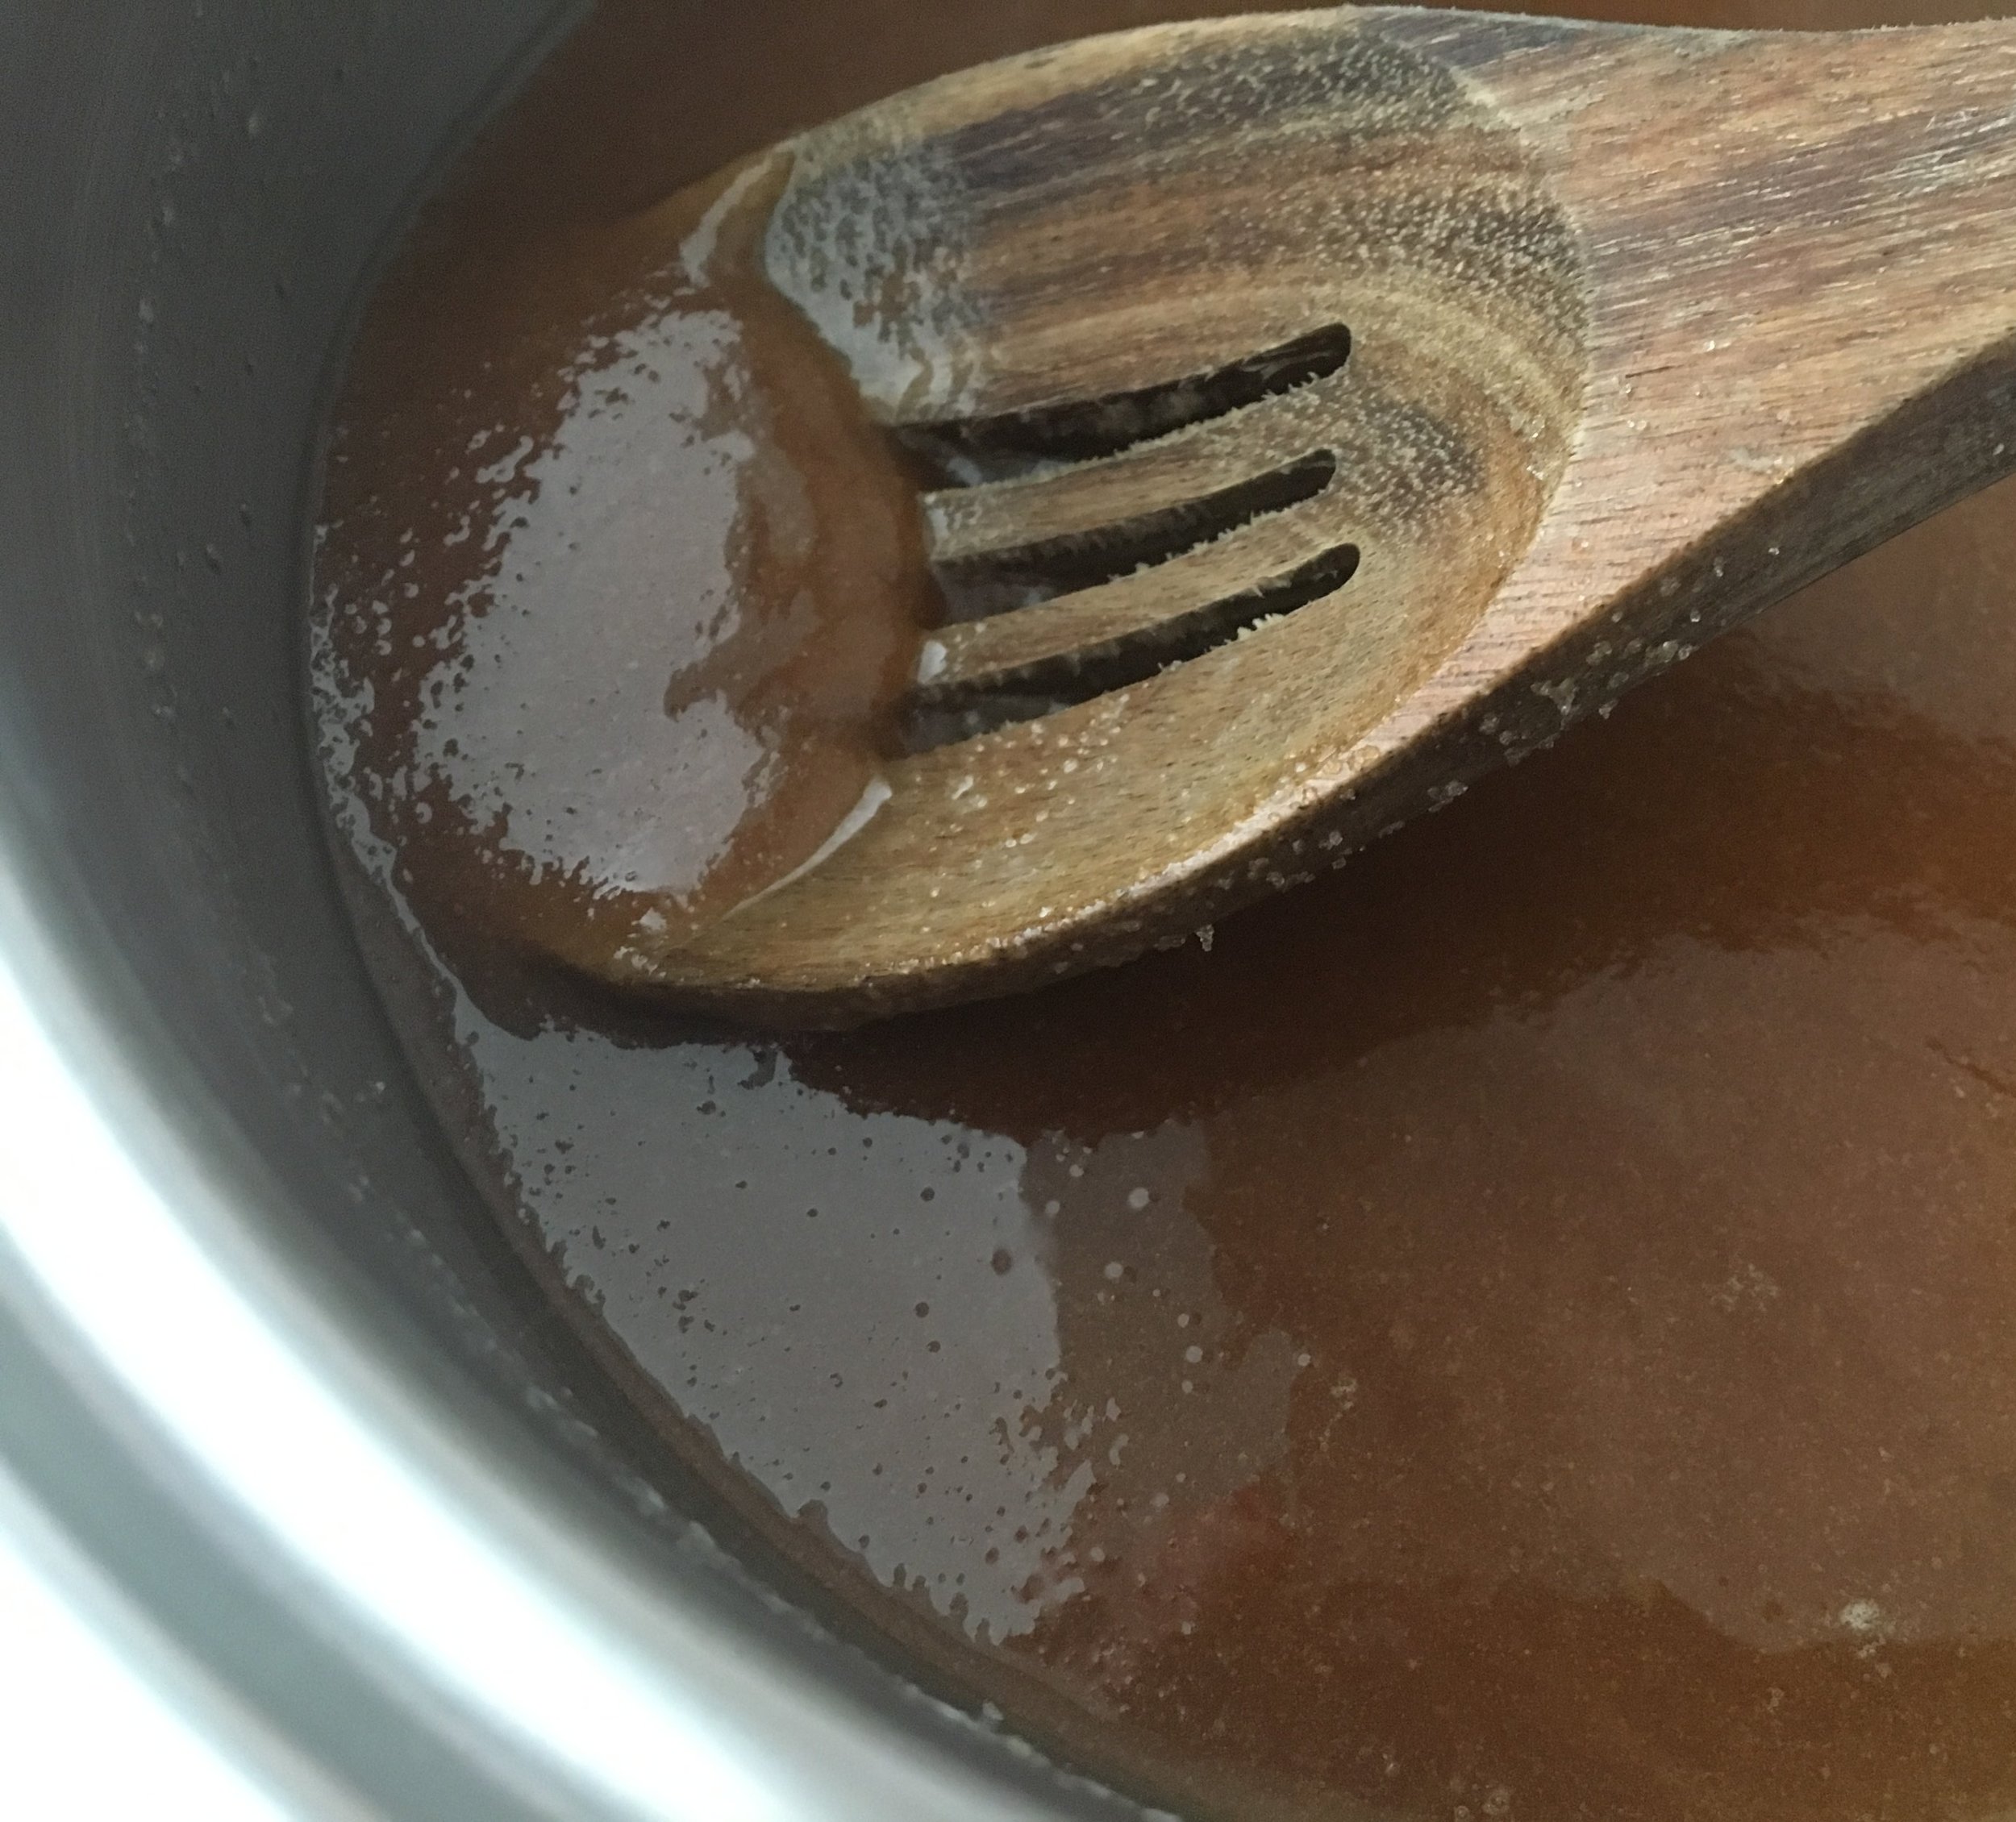
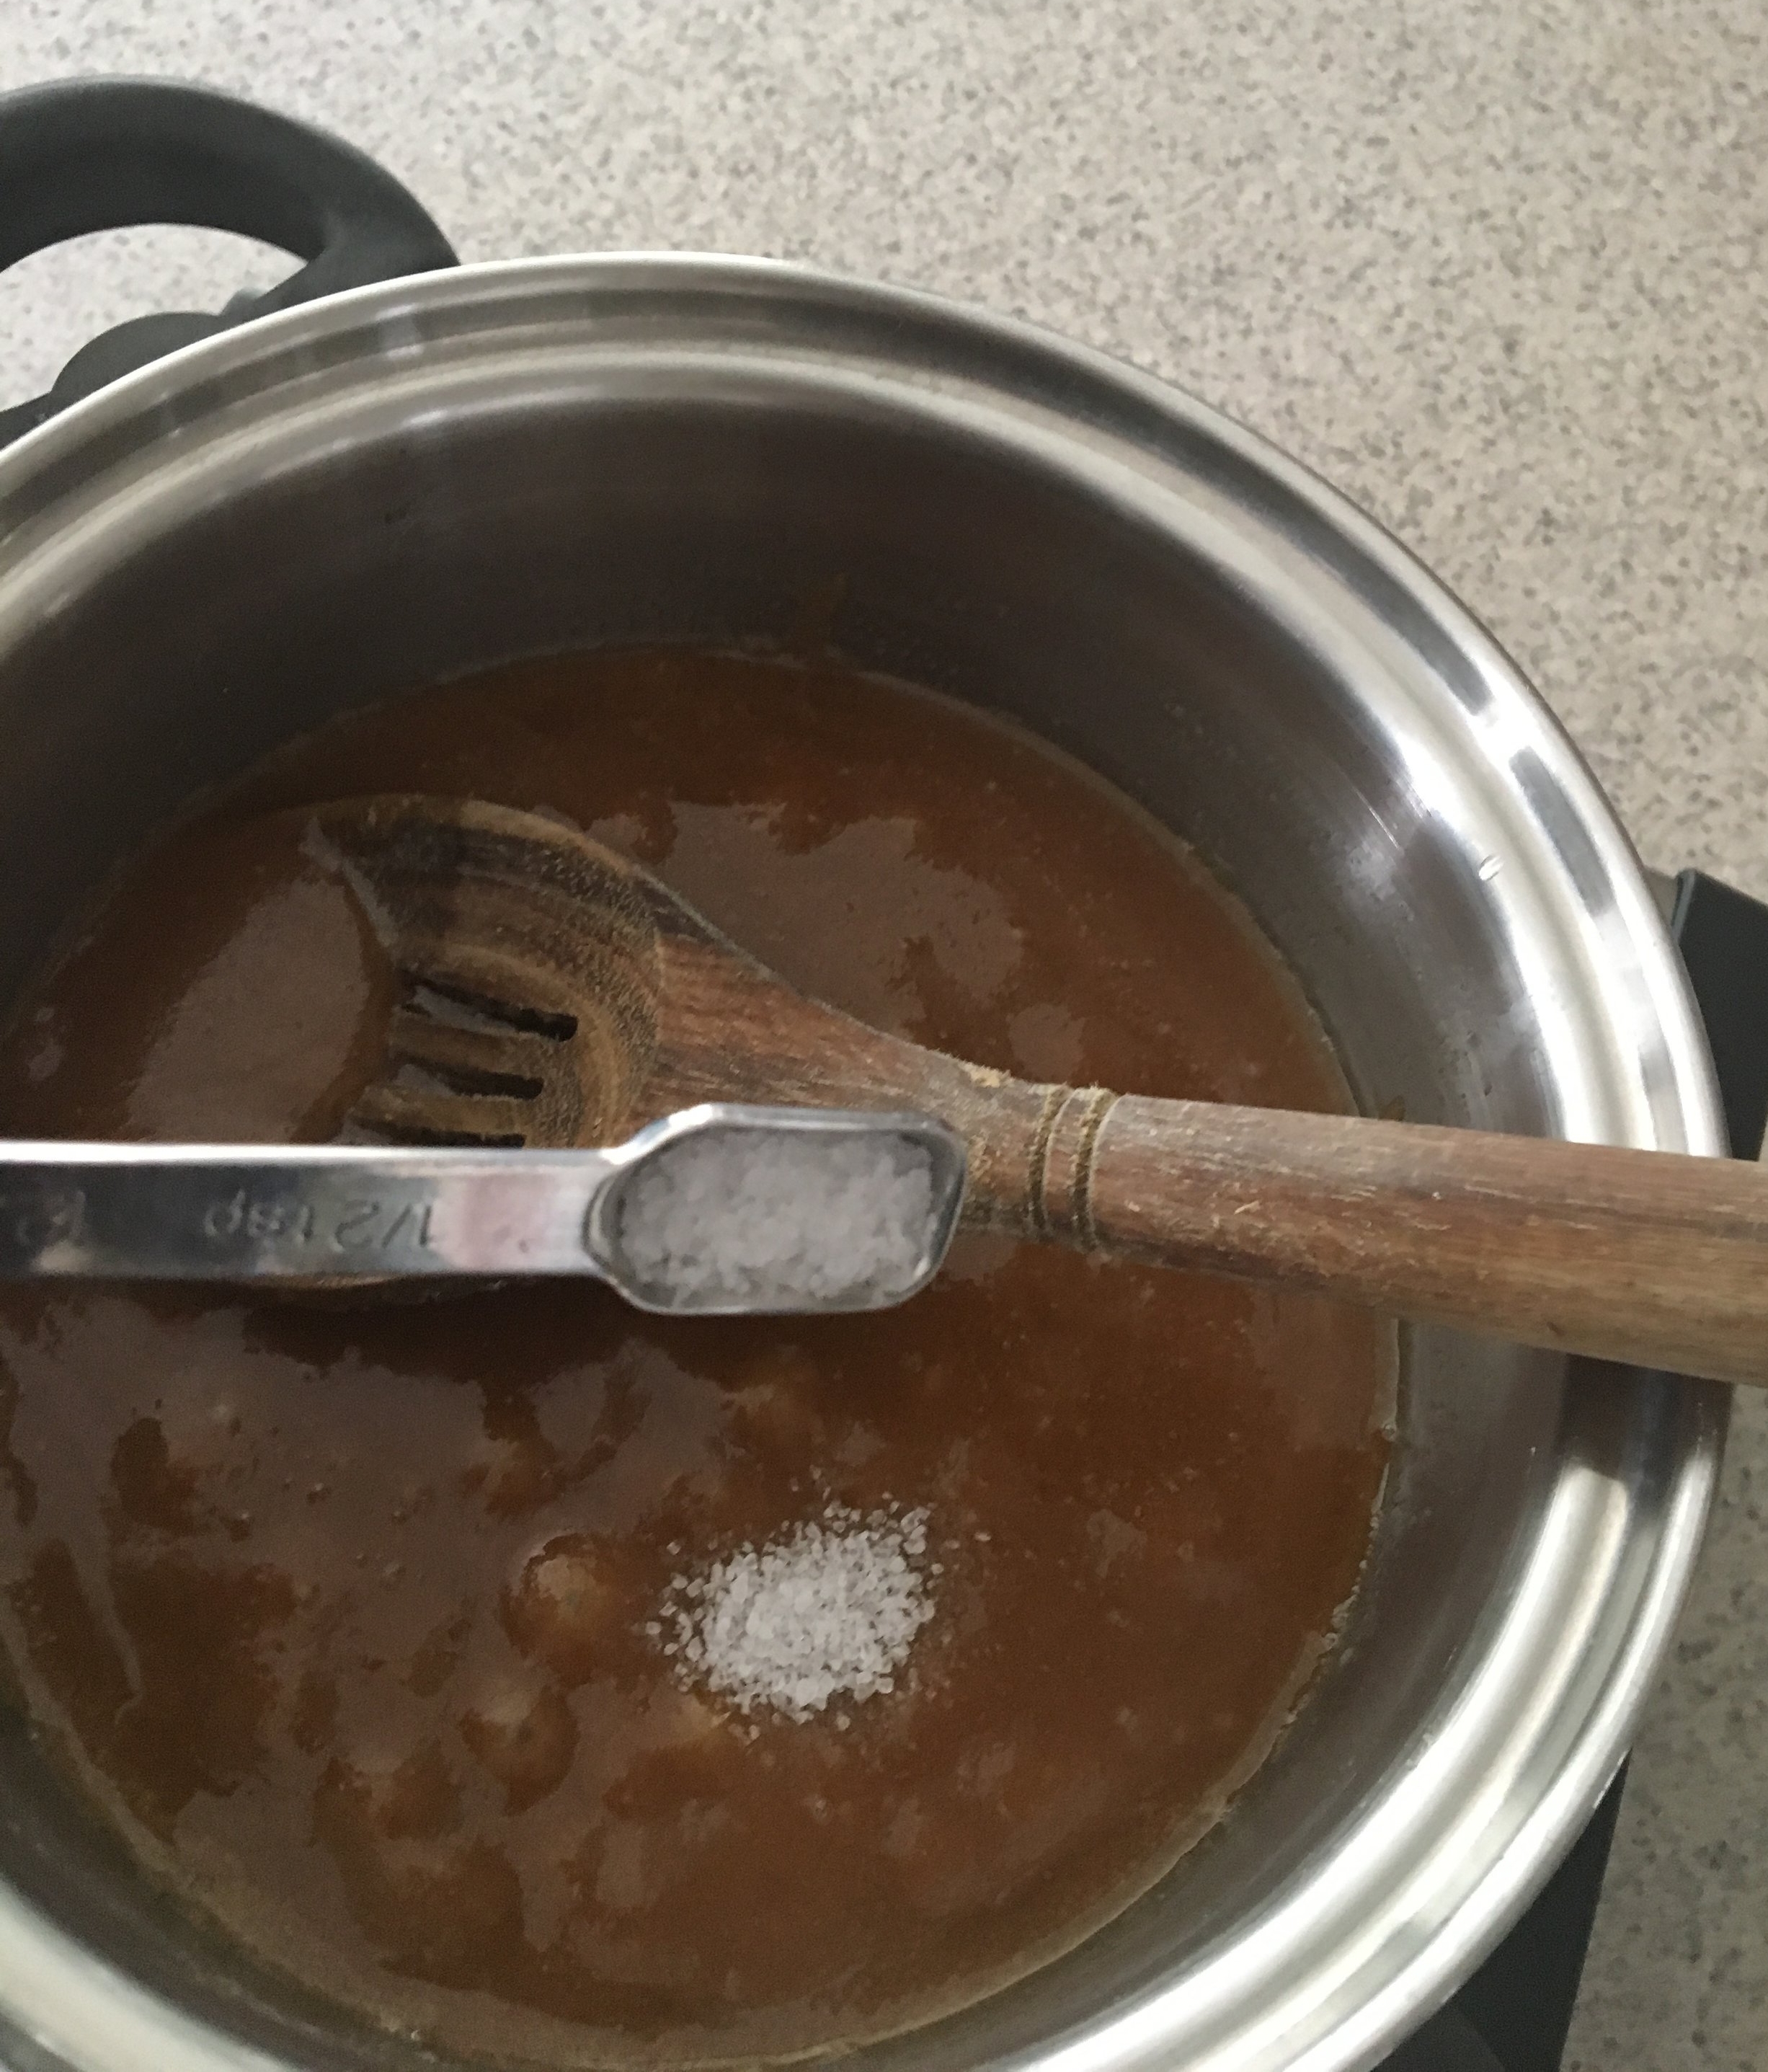
Continue stirring constantly on low until all the sugar has dissolved and you have achieved this rich caramel color and a nutty aroma. Some of the butter may remain on the top. This is okay. It will incorporate once the half and half or cream is added. As the caramel comes to a rolling boil on low, continue rapidly stirring. Add salt and vanilla (or liquor) at this time. If you want salted caramel, then add an additional 1/2 teaspoon (tsp) of salt.

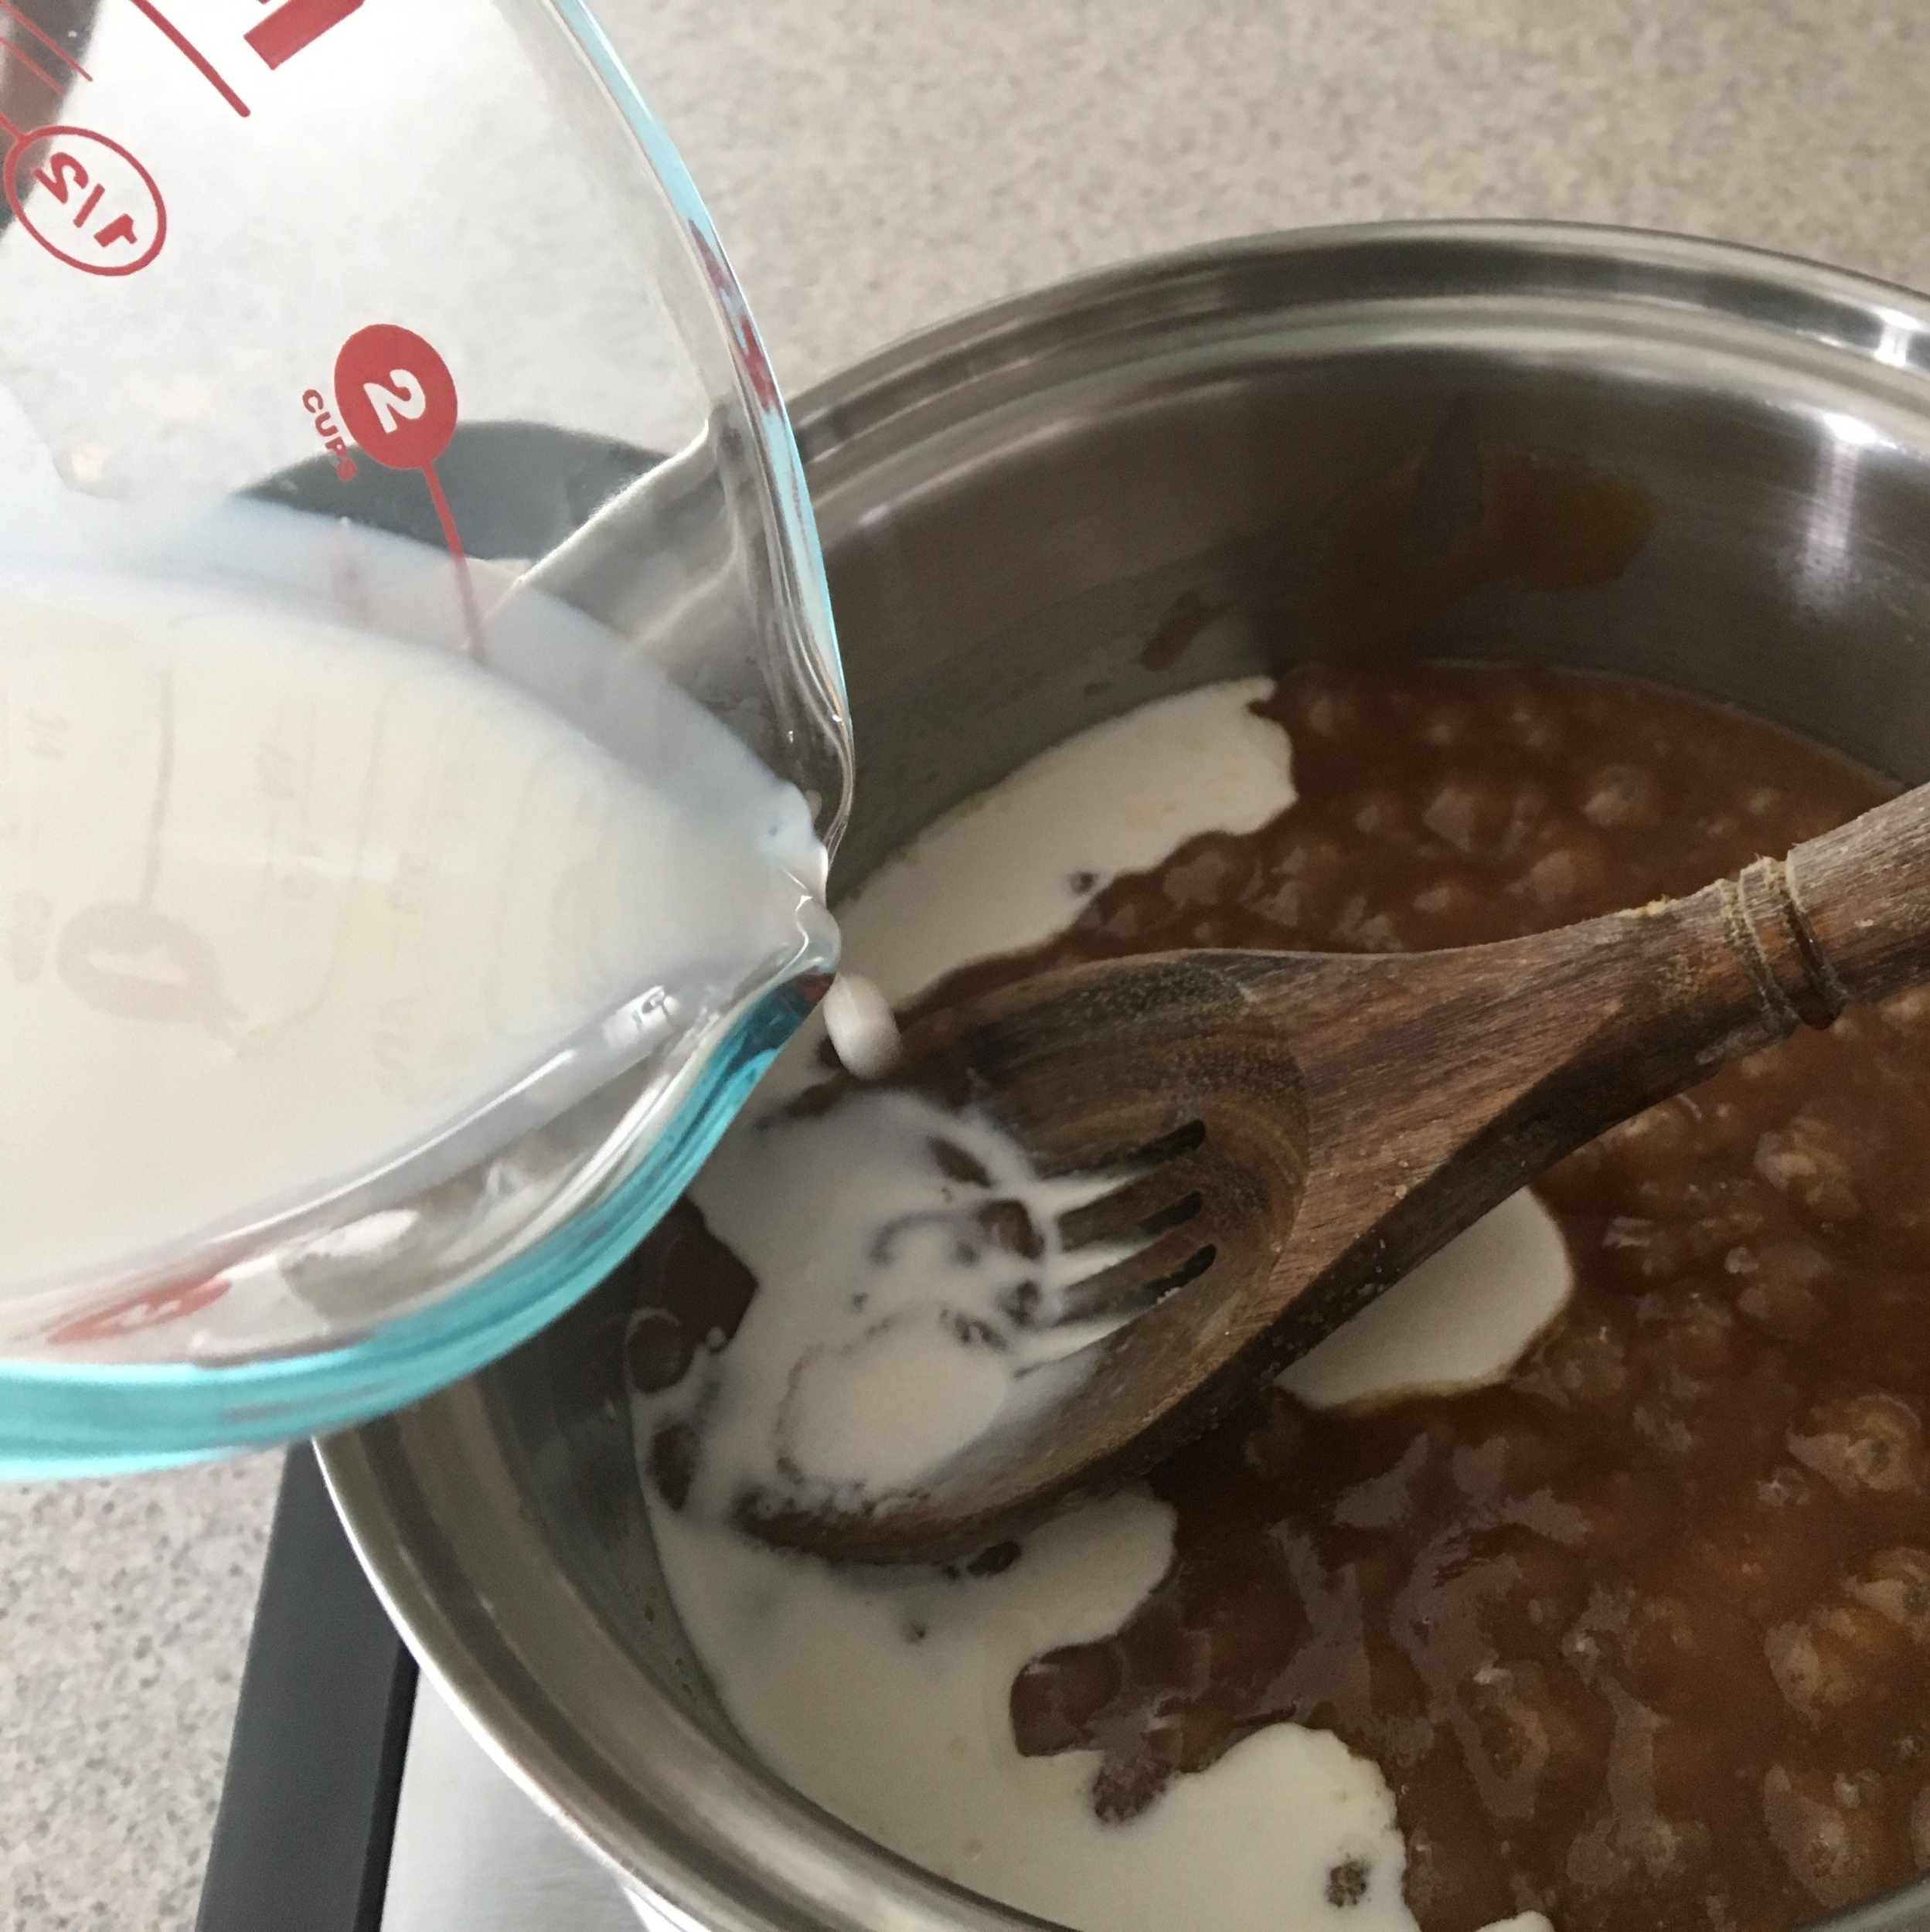
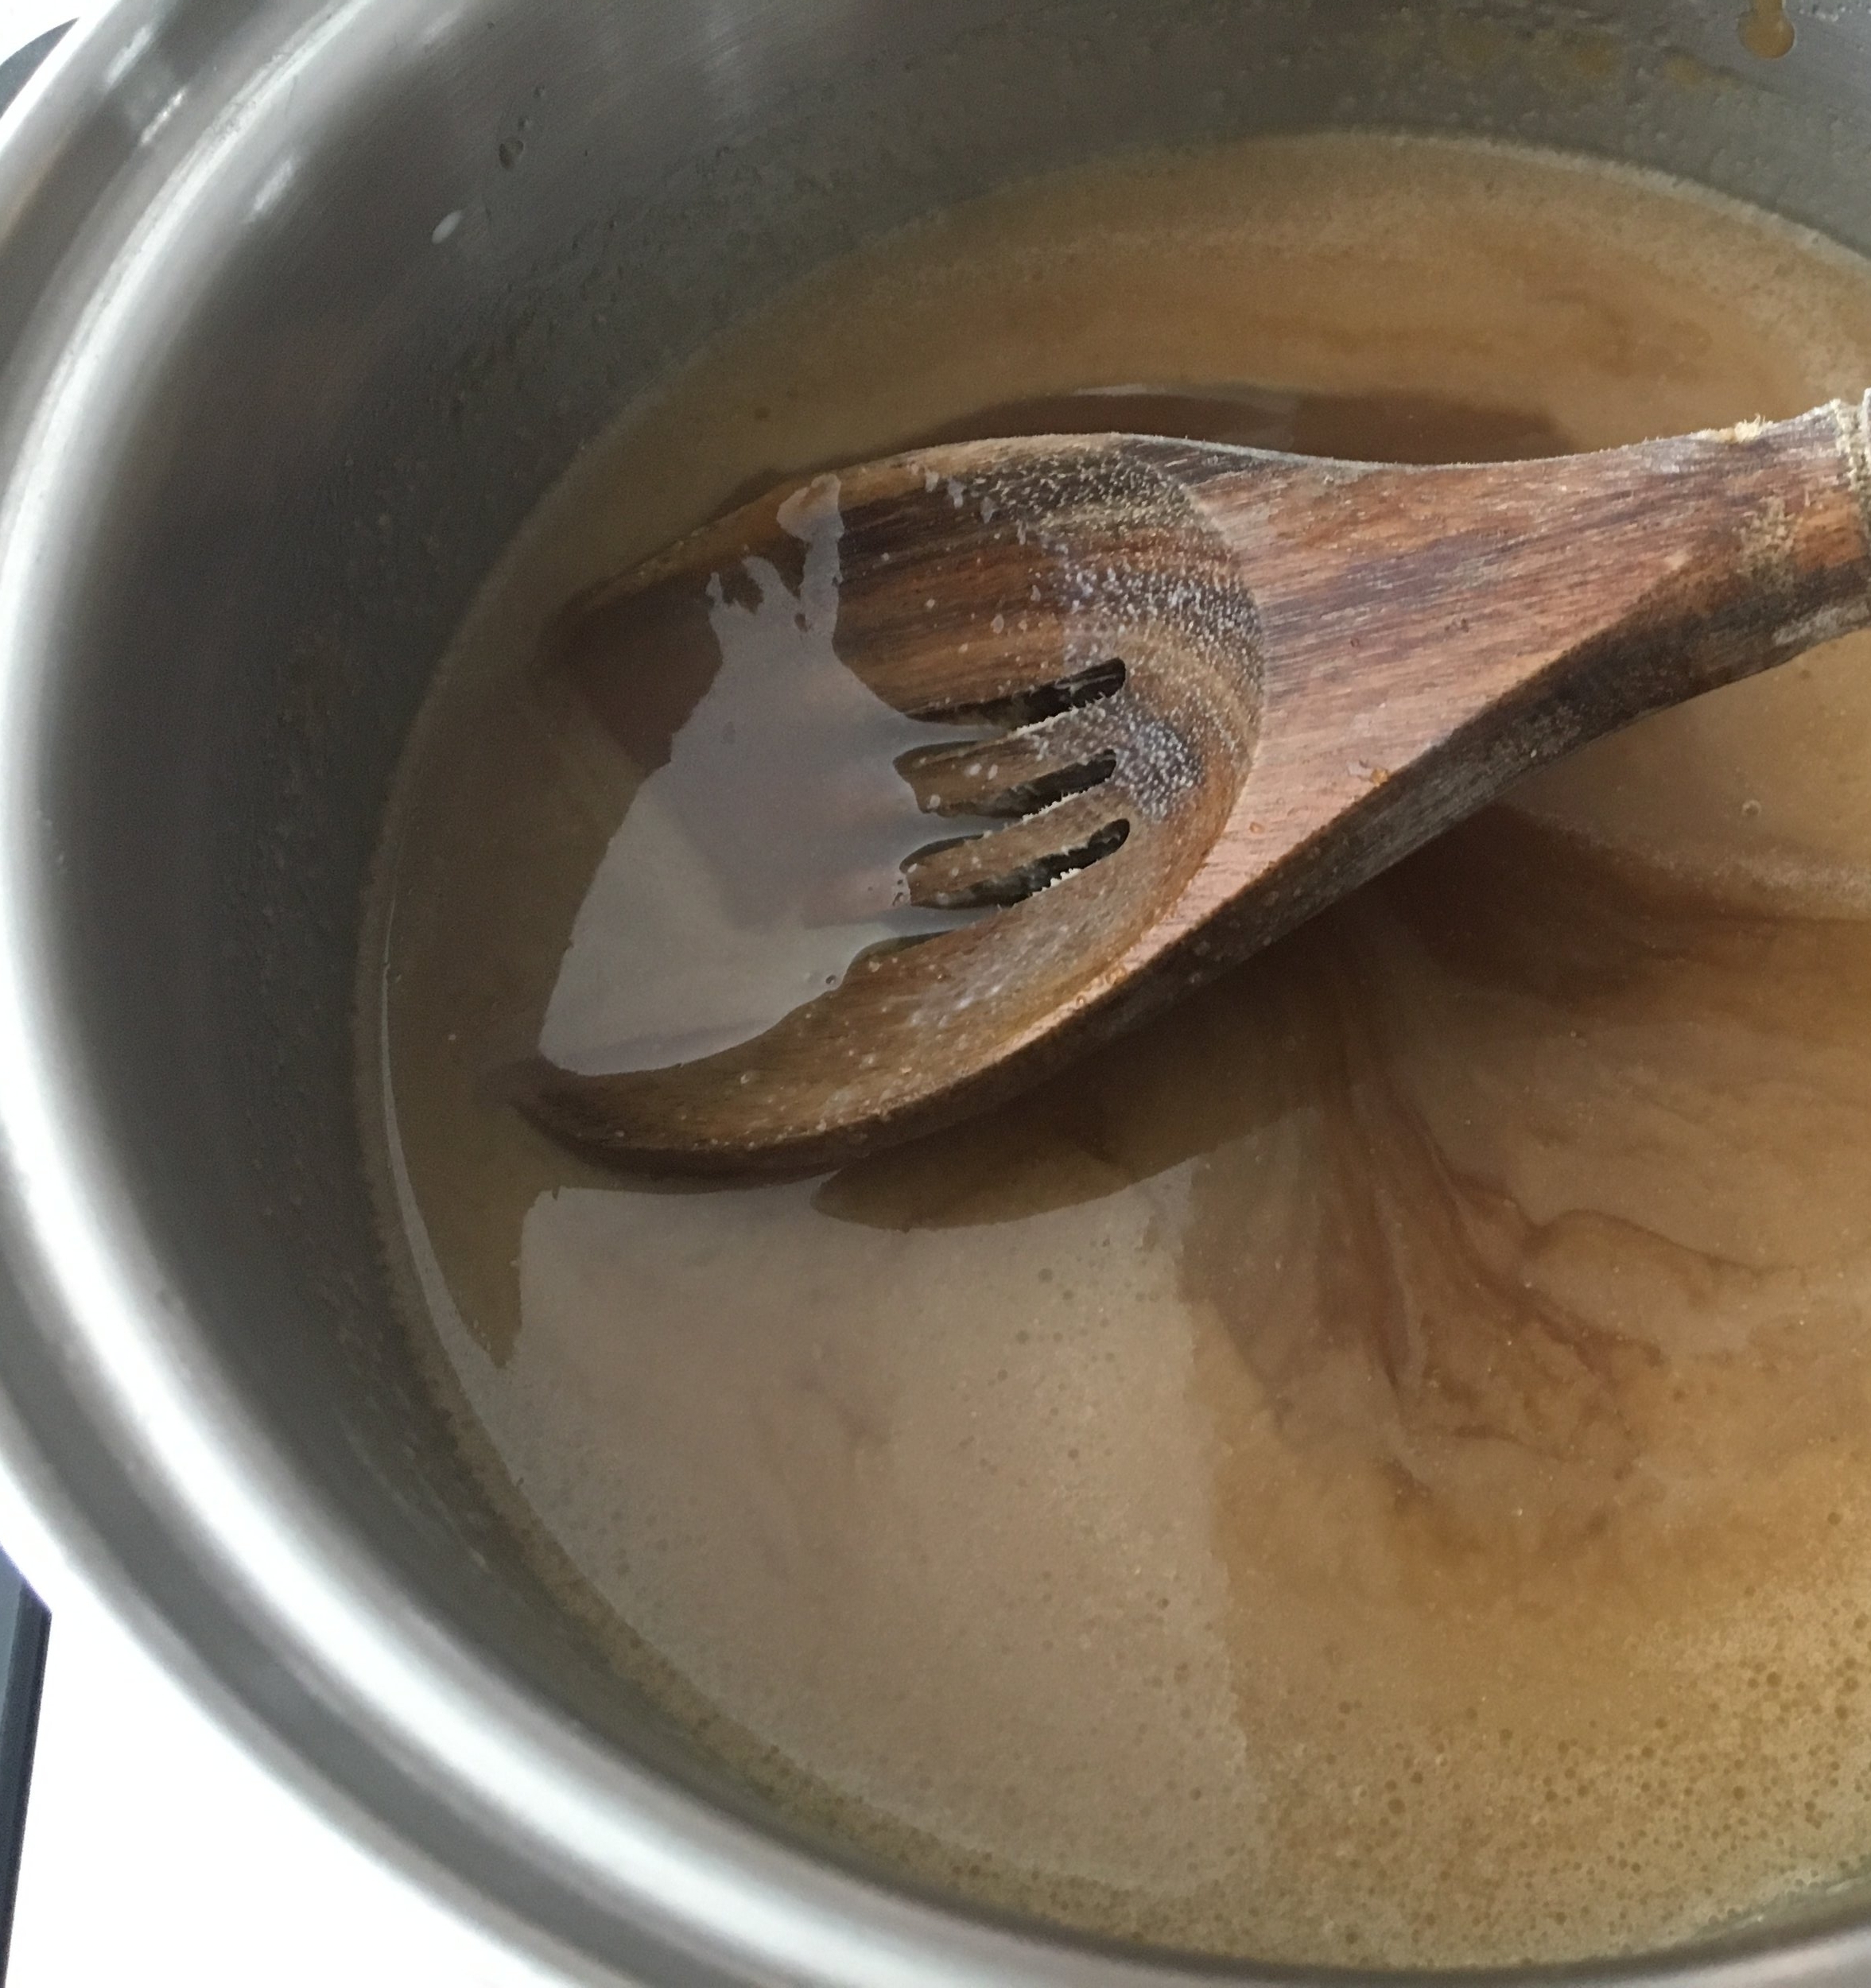
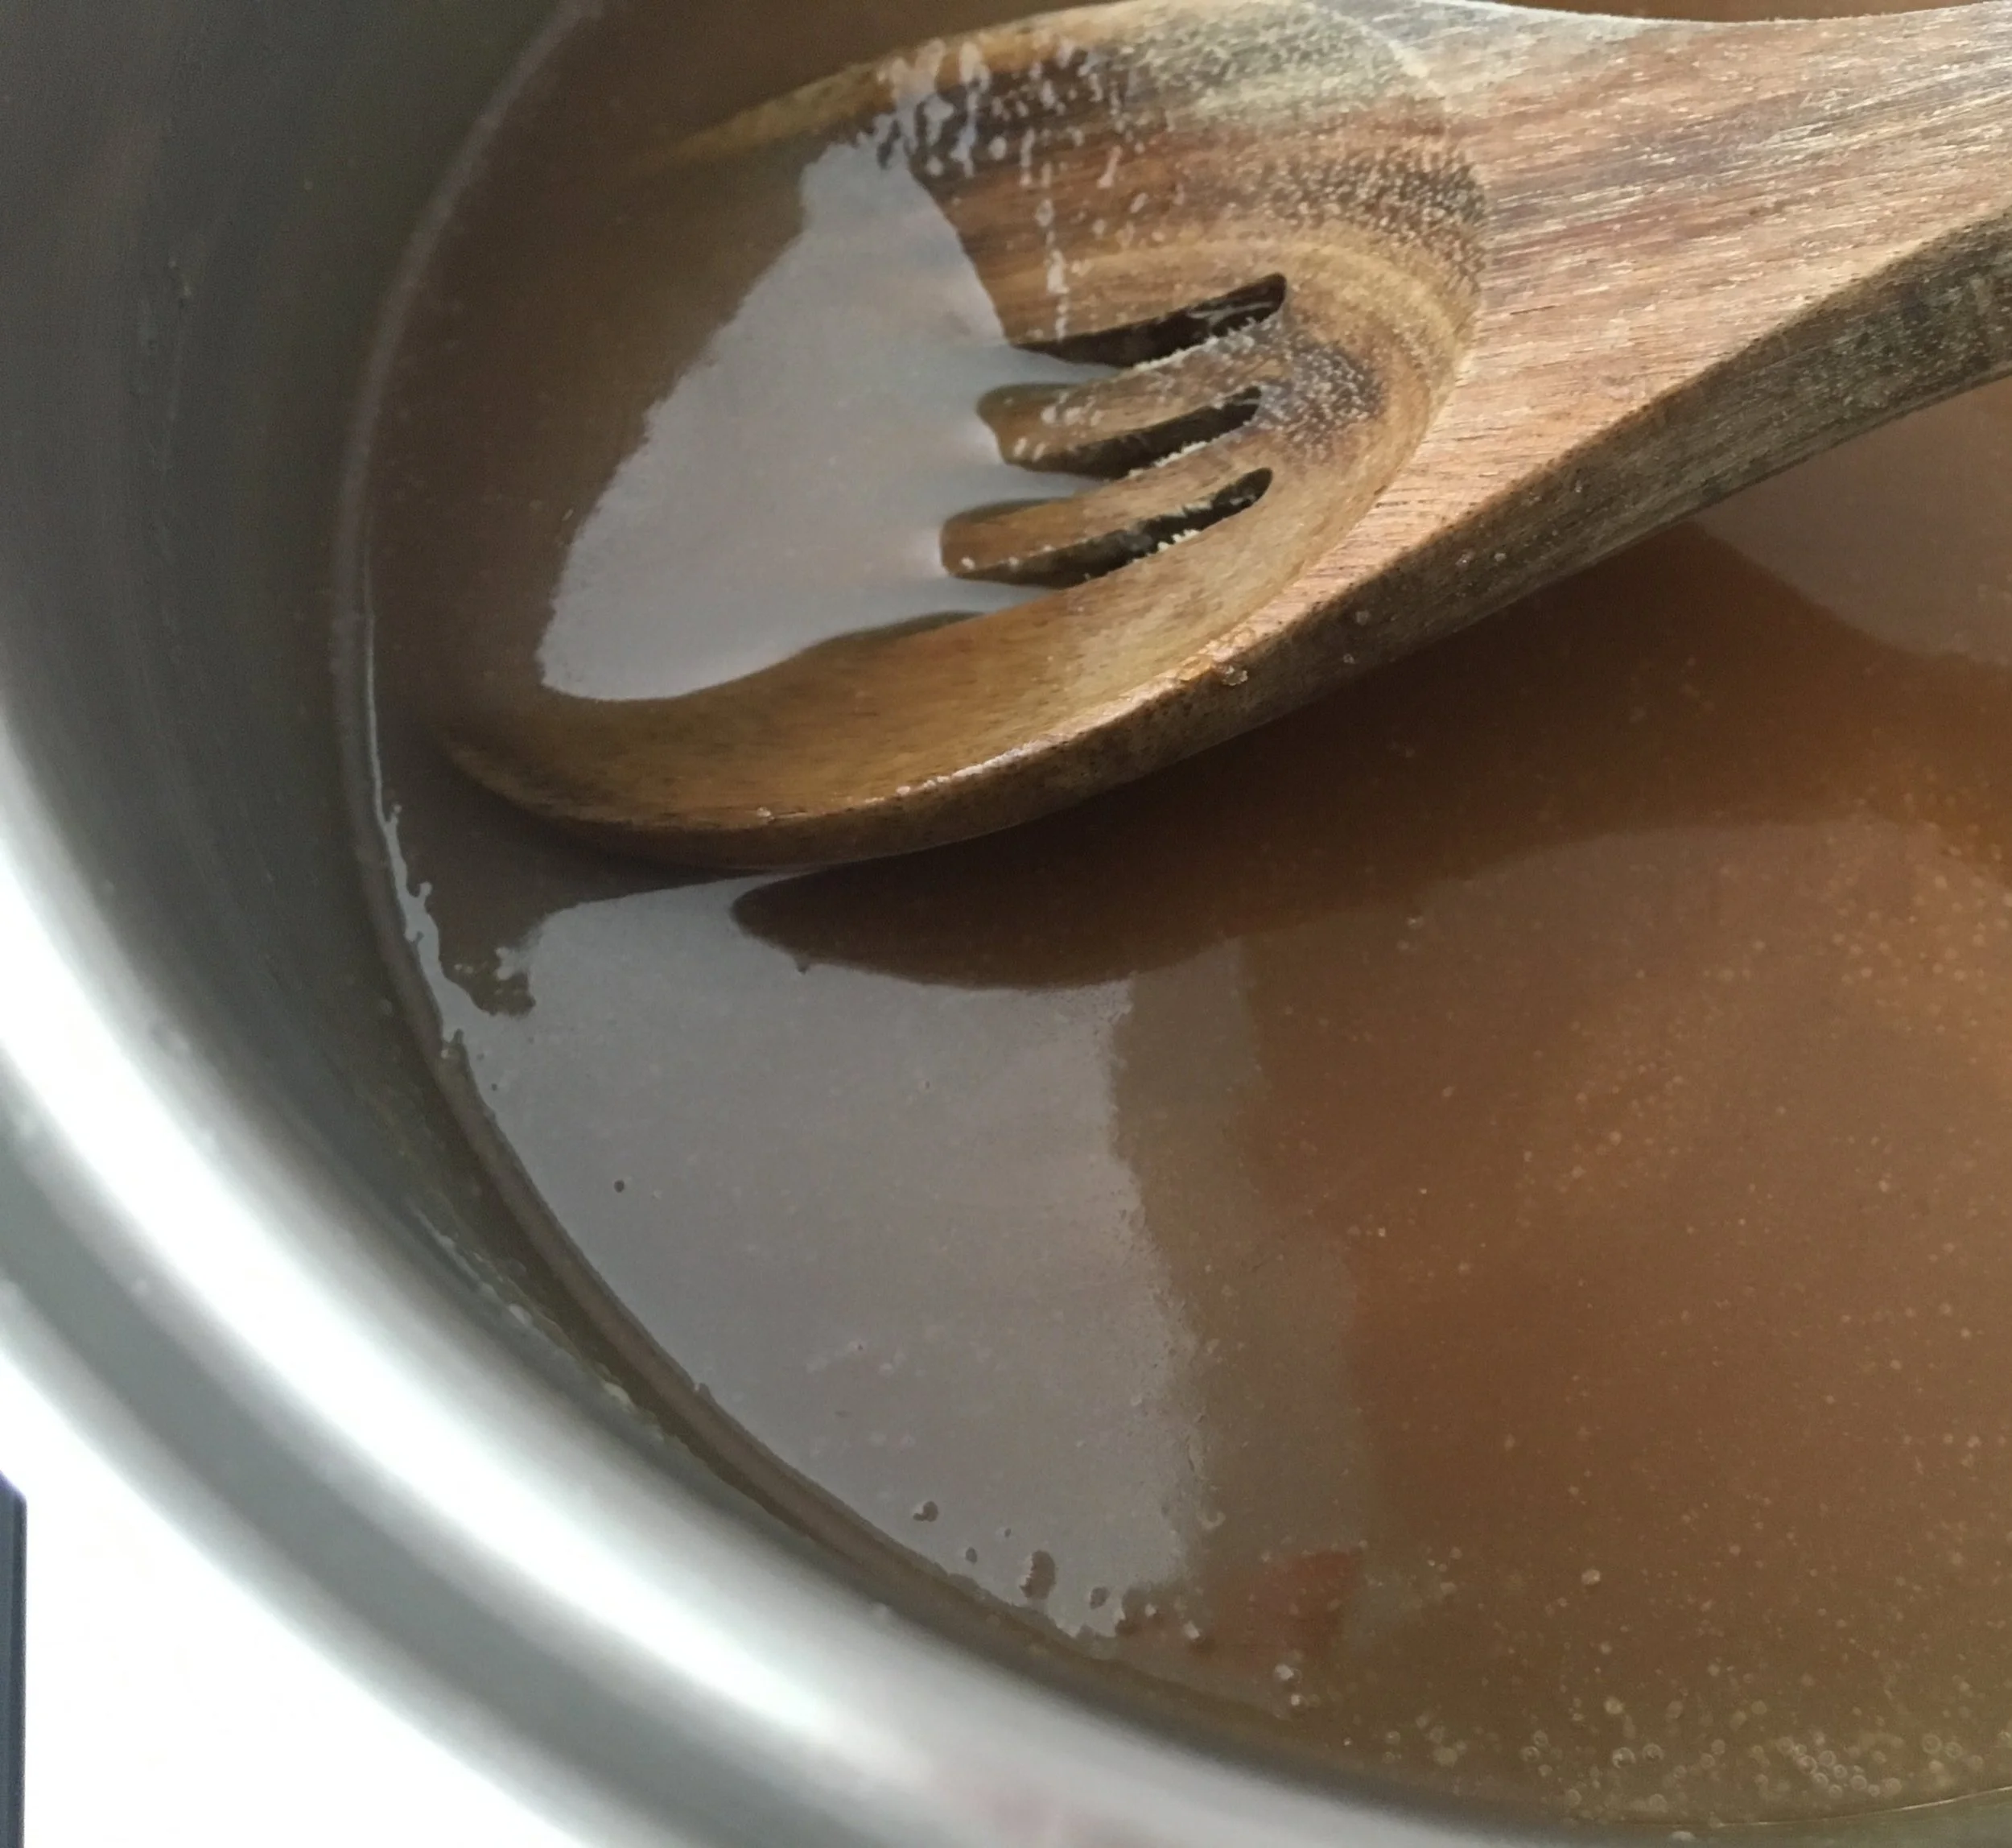
The last part is the cream or half and half. Add the cream slowly and stir stir stir! Again, be careful, this is where the caramel will get angry with you, as it will sputter and possibly throw molten sugar your way. You must prevail. I’m teasing… it really is very easy! Simply continue stirring rapidly until all the ingredients are incorporated. Remove the caramel from the heat and allow to cool. Turn off the stove. The caramel will thicken as it cools.

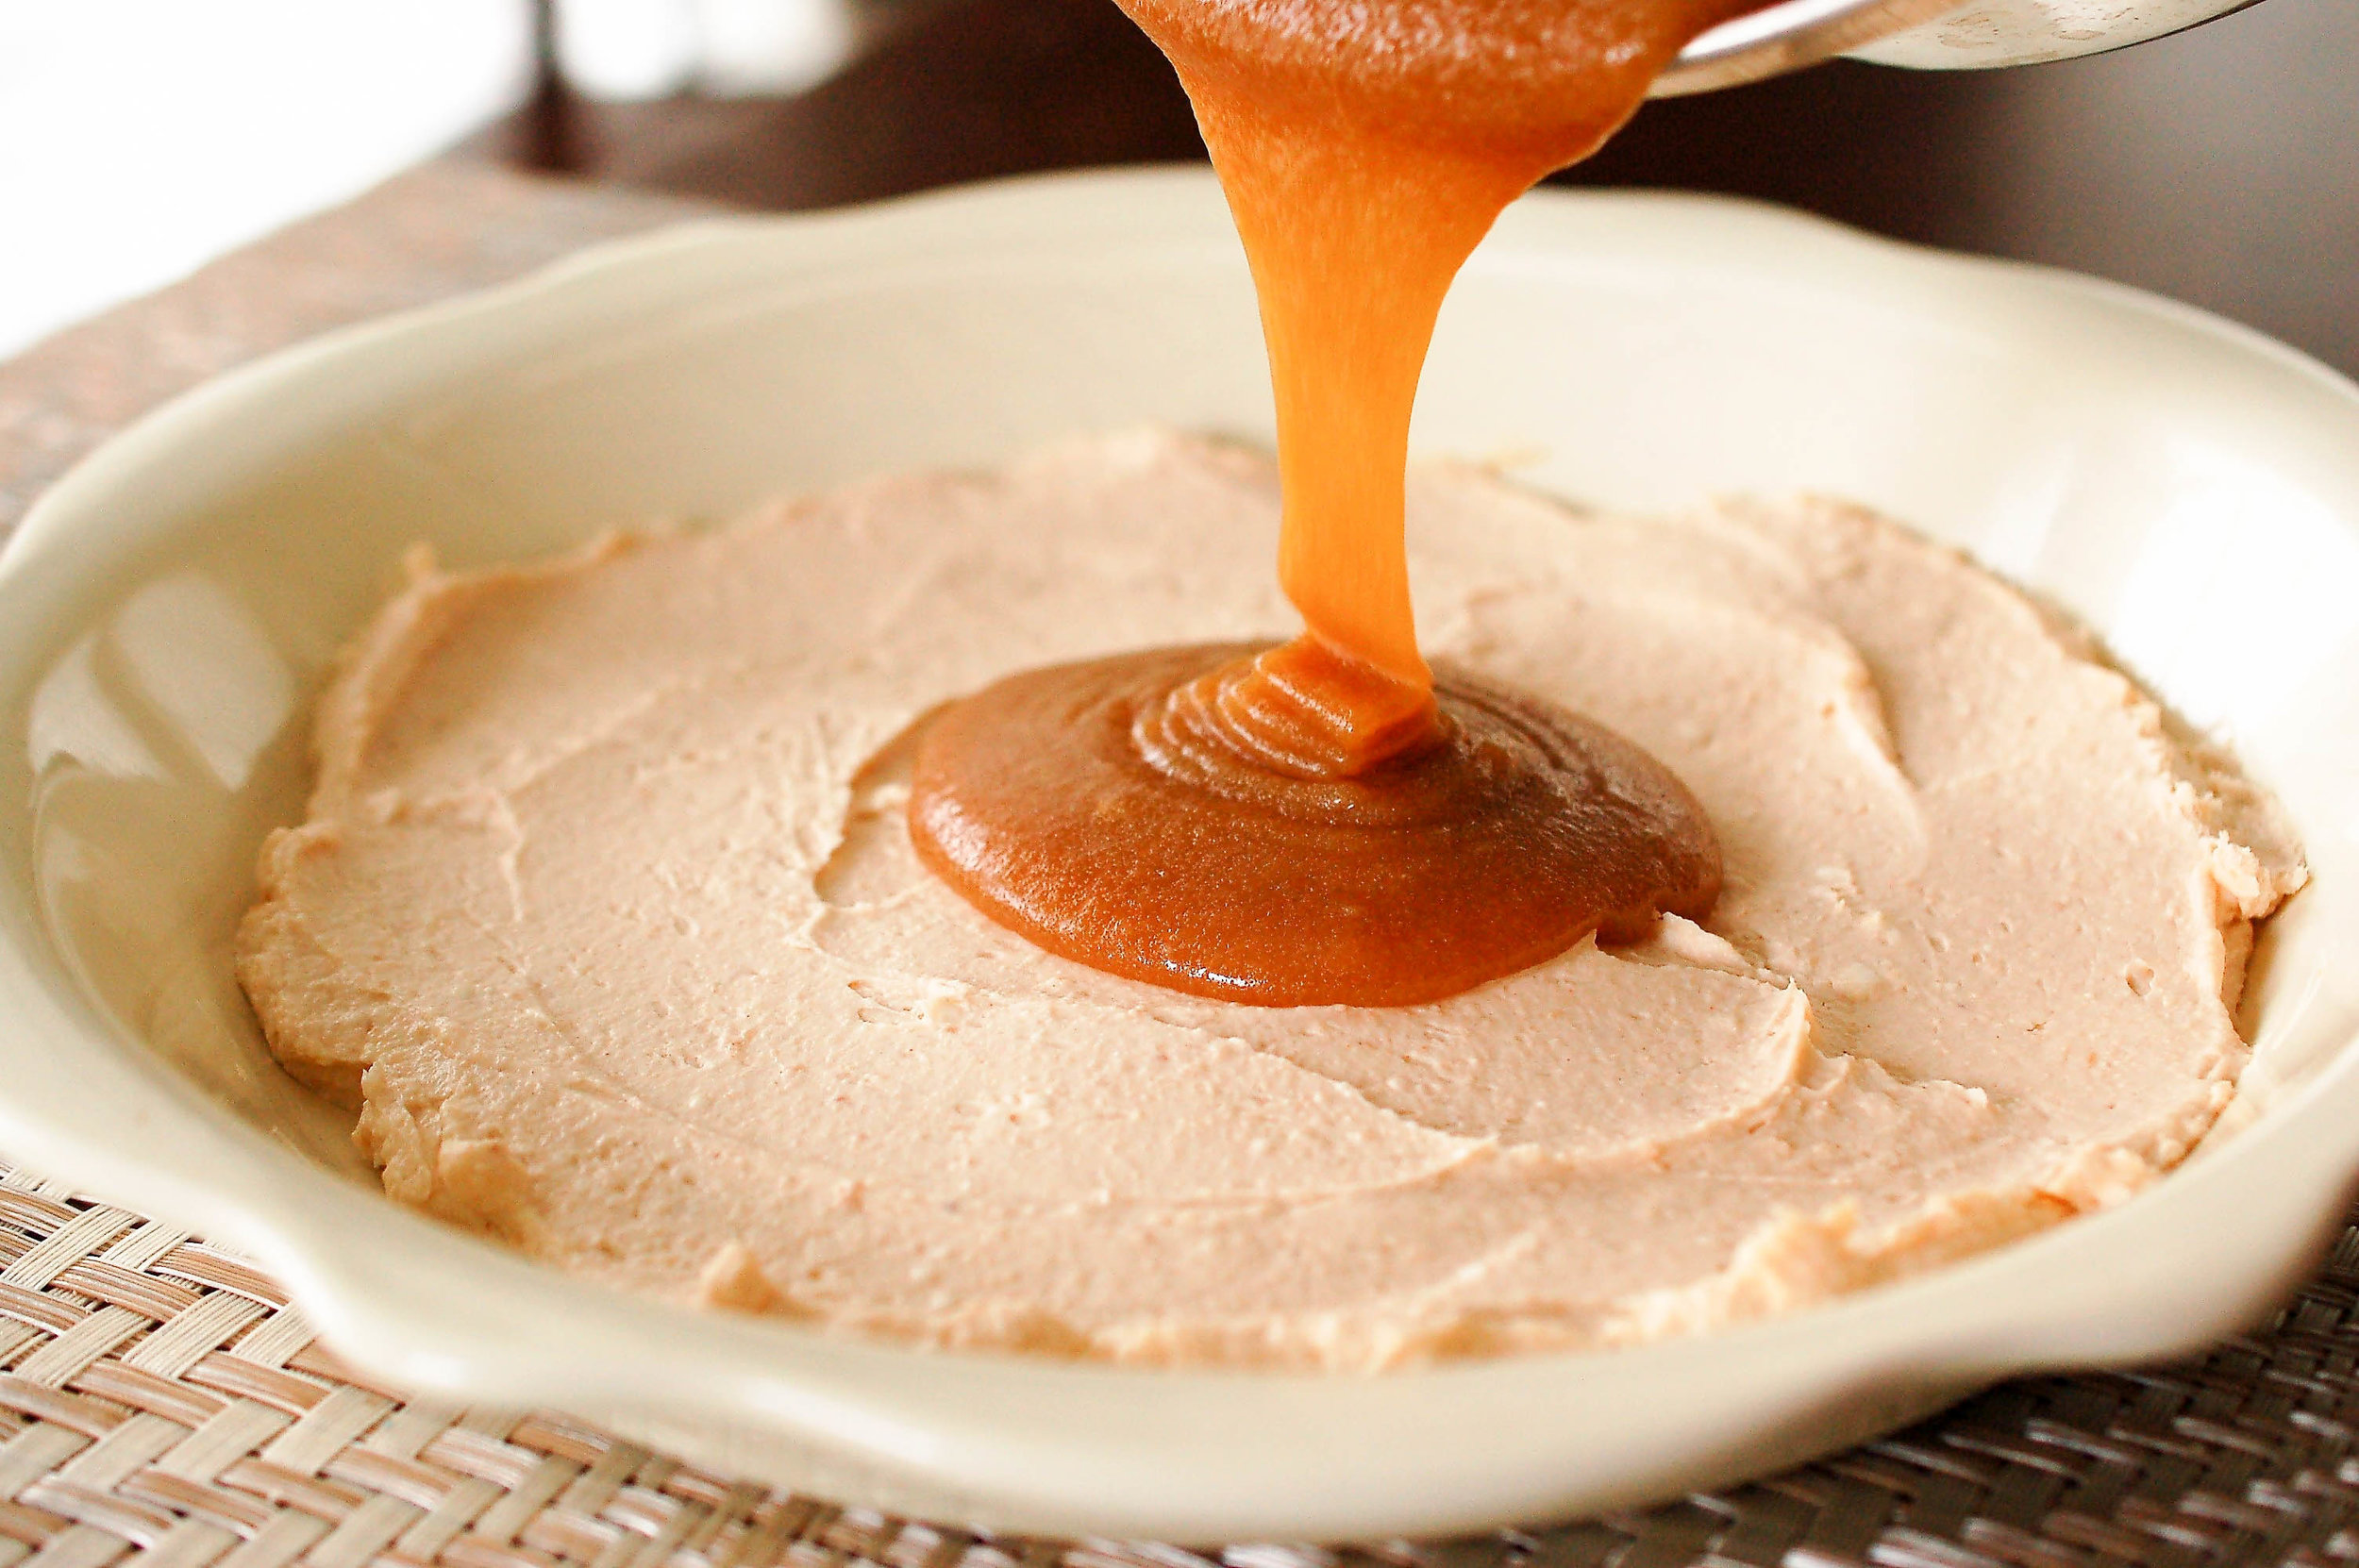
Look at that! Creamy, dreamy, homemade caramel sauce! You may never buy store-bought caramel again. Stay tuned below for our favorite uses for caramel.

apple butter dip9.jpg

What To Do With Caramel Sauce/Dip

So now that you have made a deliciously decadent caramel sauce, what the heck do you do with it, right? Here are some of our favorite tips:

  • Top your favorite cake, pie, or tart with a generous drizzle of caramel.

  • Pour over popcorn and enjoy a sweet treat.

  • Dip apples for a deconstructed caramel apple.

  • Sweeten your coffee with caramel instead of cream and sugar.

  • Add to milkshakes.

  • Rim a mug of hot cocoa for that extra decadent touch.

  • For an adult beverage, rim a martini glass with caramel and serve with your favorite Appletini.

  • Make hot caramel apple cider.

  • Place in a pretty jar, tied with a pretty ribbon and give as a gift to your favorite hostess, teacher, family or friend.

  • Bake with Brie and nuts and serve with apples for a festive appetizer or dessert.

  • Make it savory! Mix with fish sauce and a few other ingredients for flavorful Vietnamese dishes. Food and Wine.

Thank you for stopping by!


Yum

Cooking Tip: How To Make Cake Flour

cooking tipsSheri SpalloneComment
Cooking Tip: How to Make Cake Flour*

Cooking Tip: How to Make Cake Flour*

Over the years, I have learned the value of "mise en place" (A French culinary phrase which means "putting in place" or "everything in its place"), but to be honest, cake flour is an ingredient I do not often have on hand...or do I? 

I am always amazed at the resources available online these days for everything, including how to make cake flour!  (Am I the only one who remembers encyclopedias and going to the library to research something?  I guess I am dating myself;)  Ok, I digress;)

Making cake flour (a necessary ingredient, in my opinion, for making light, tender cakes and other baked goods) is super simple and uses only two ingredients: all-purpose flour, and cornstarch. 

So, here is how it is done:  For every cup of flour required for a recipe, remove 2 Tablespoons (Tbsp.) of flour and add back in the same amount of cornstarch.  Here's a post by http://www.thegraciouswife.com/cake-flour-substitute/, which gives a nice breakdown of the conversions.

  • 1 cup of cake flour, remove 2 tablespoons of all-purpose flour and add 2 tablespoons of cornstarch.
  • 1 1/2 cups of cake flour, remove 3 tablespoons all-purpose flour and add 3 tablespoons of cornstarch.
  • 2 cups of cake flour, remove 4 tablespoons (1/4 cup) of all-purpose flour and add 4 tablespoons of cornstarch.
  • 2 1/2 cups of cake flour, remove 5 tablespoons of all-purpose flour and add 5 tablespoons of cornstarch.
  • 3 cups of cake flour, remove 6 tablespoons of all-purpose flour and add 6 tablespoons of cornstarch.

There you go friends - a clever substitution with ingredients you probably already have on hand, and you will forever have your "mise en place"!

Comment below if you have any questions or tips of your own to share.

Thank you for stopping by!  Come back and revisit us :)

Happy Baking!

*A huge shout out and thank you to my dear friend Elliot from Bakin' Whoopie in Maryland for sharing this fabulous picture (I am pretty sure she knows how to make cake flour;), and to her Photographer, Mary Gardella (www.marygardella.com), also in Maryland, for capturing this playful side of Elliot.  Thank you ladies!


Yum