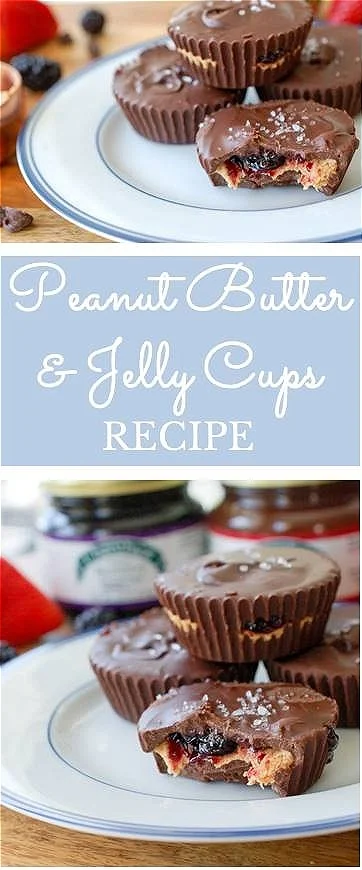
Peanut Butter & Jelly Chocolate Cups Recipe
Cook Time: About 20 minutes
Prep Time: 10 minutes
Difficulty: Easy
Updated January 2025.
Chocolate and peanut butter lovers, gather around! It's National Peanut Butter Day! To celebrate, we combined two nostalgic favorites—peanut butter cups and PB&J—and created these deliciously decadent Peanut Butter and jelly chocolate cups featuring chocolate, peanut butter, and Cherchies® Preserves and Cherchies® Fruit Butter Spreads.
What makes everything better, other than chocolate (maybe bacon, but I will save that for another day)? Peanut Butter! These delightfully sweet and salty chocolate treats will tantalize your tastebuds and melt your guest's hearts. You don't need an official holiday to enjoy these chocolate dreams. Serve these tasty morsels at your next gathering, but grab some for yourself because they will disappear right before your eyes.
Thanks for stopping by. :) Comment below if you have tried this recipe. Visit us for more family-tested recipes, entertaining ideas, and cooking tips using all our favorite Cherchies® gourmet products.
Follow us on social media: Facebook, Instagram, and Pinterest.
Ingredients
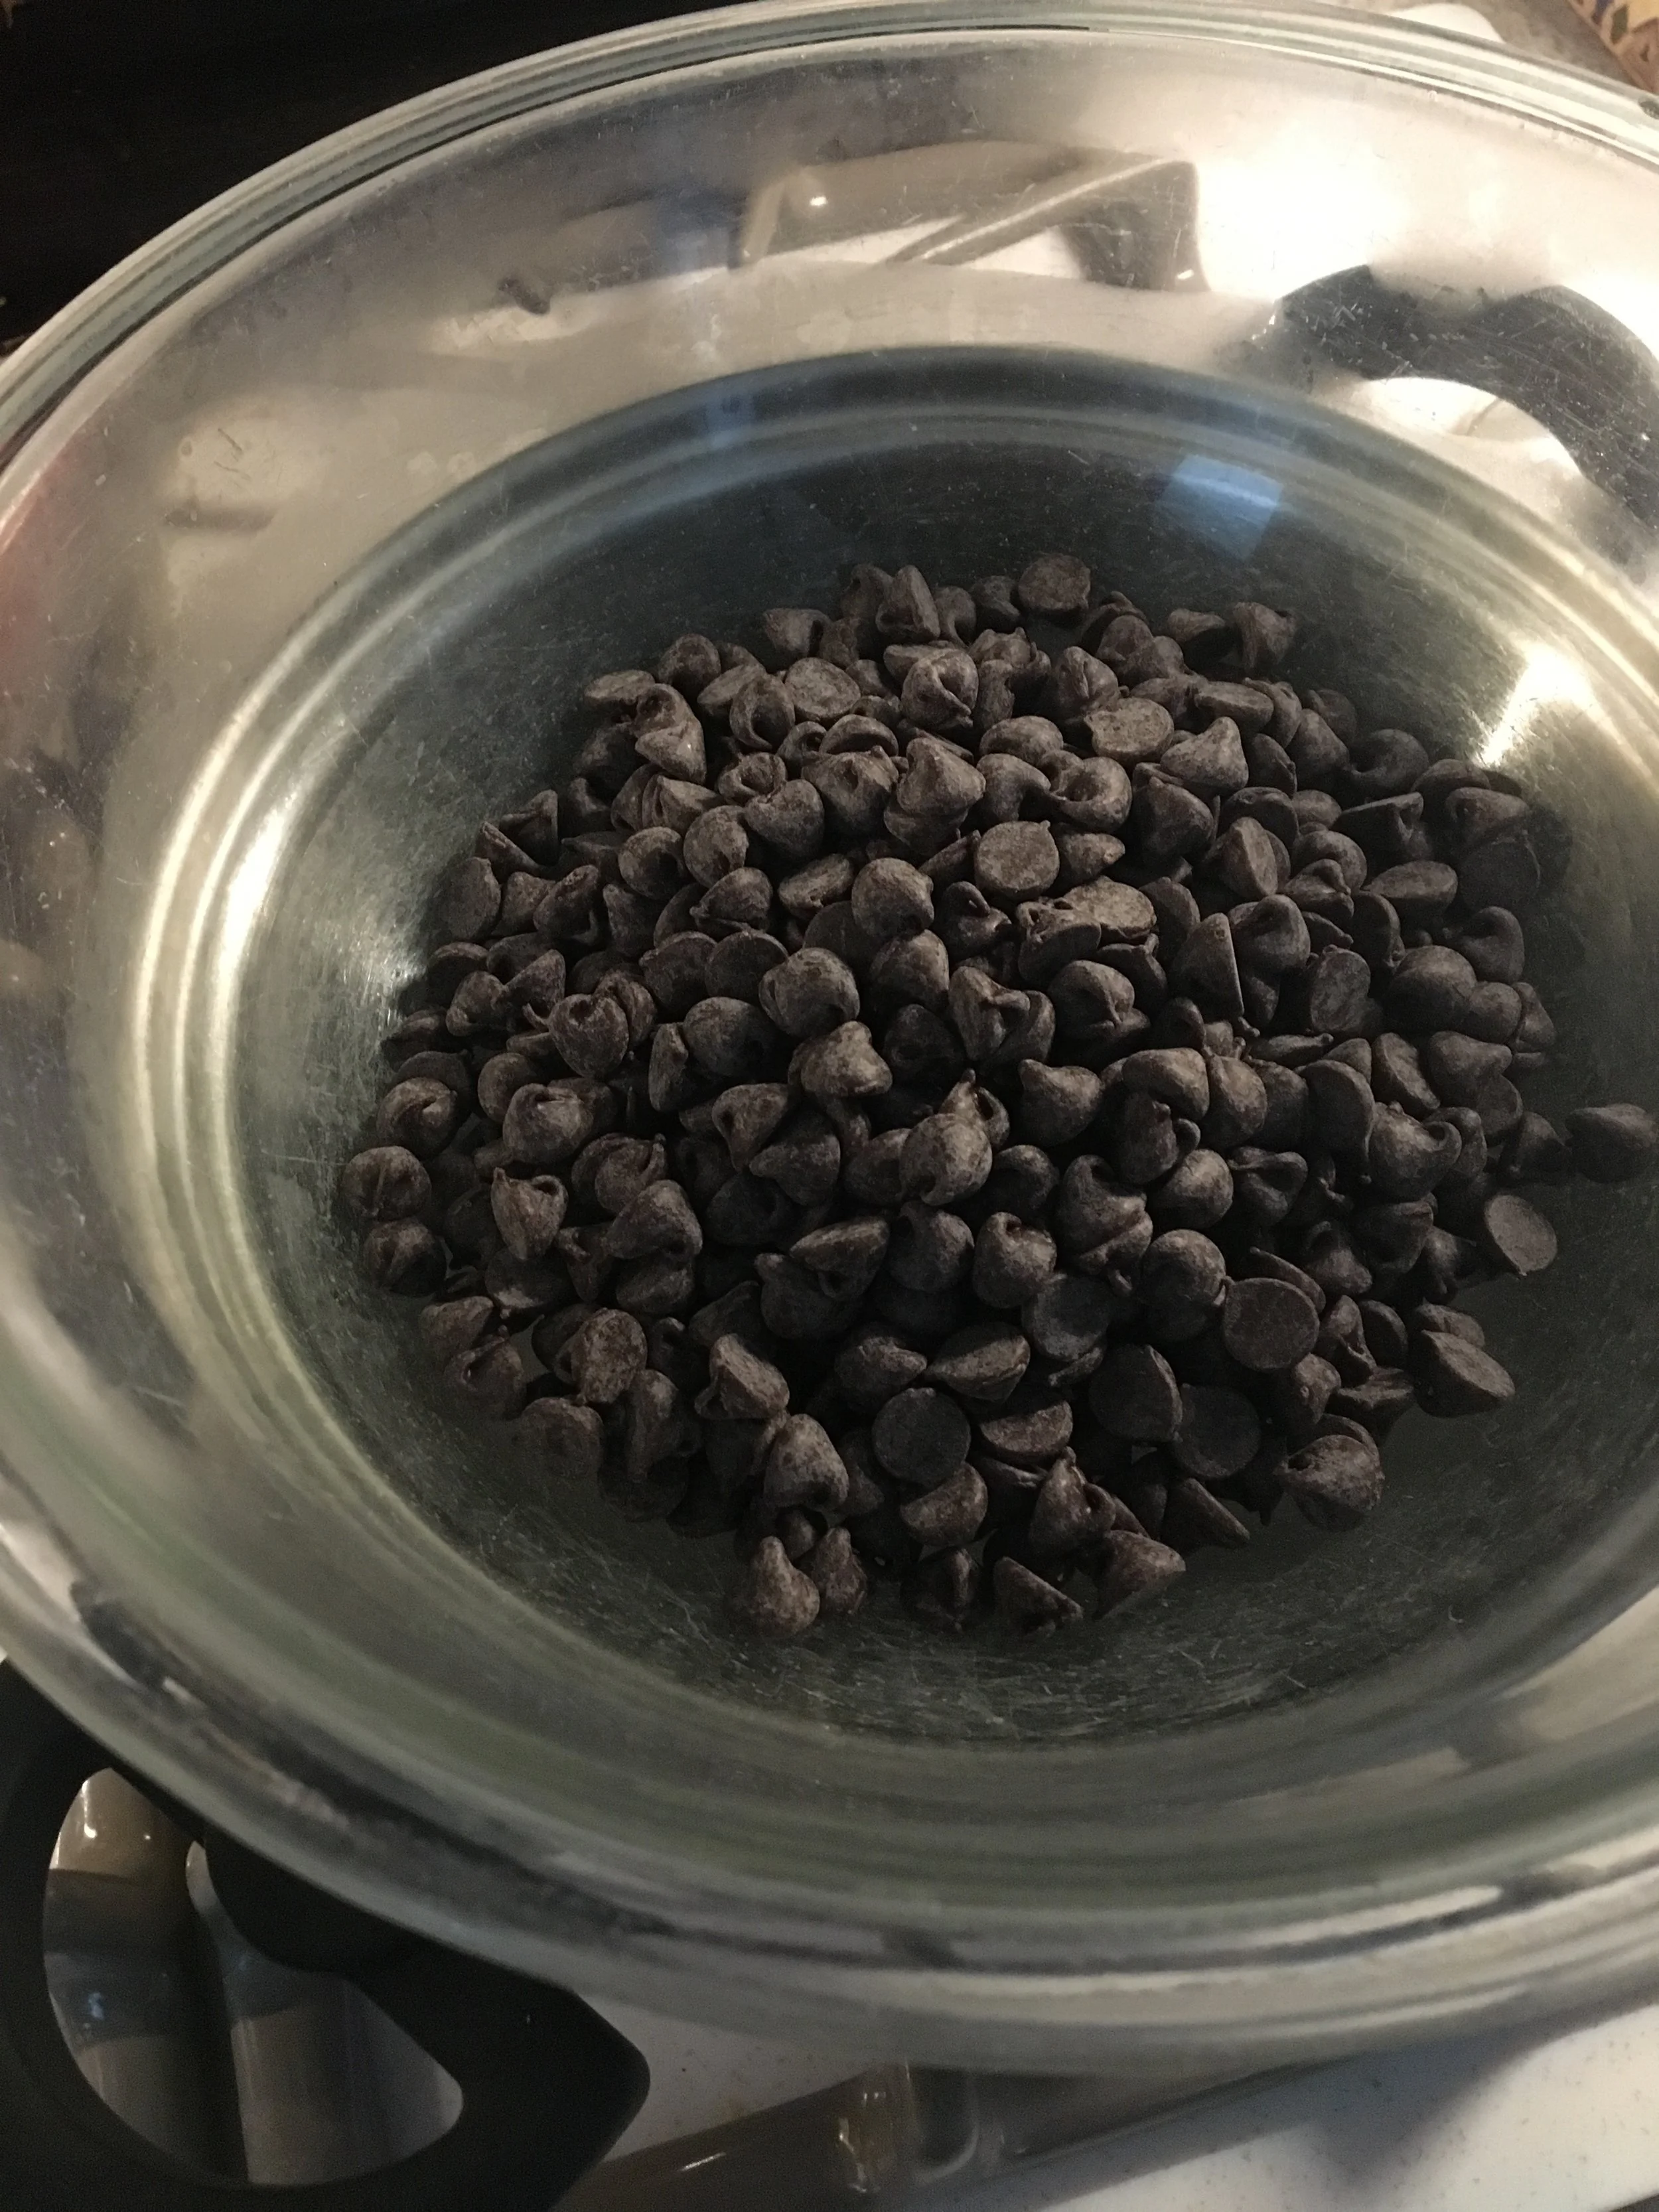
2 cups chocolate chips/ dark chocolate chips
1 teaspoon (tsp) coconut oil
12 muffin cup liners
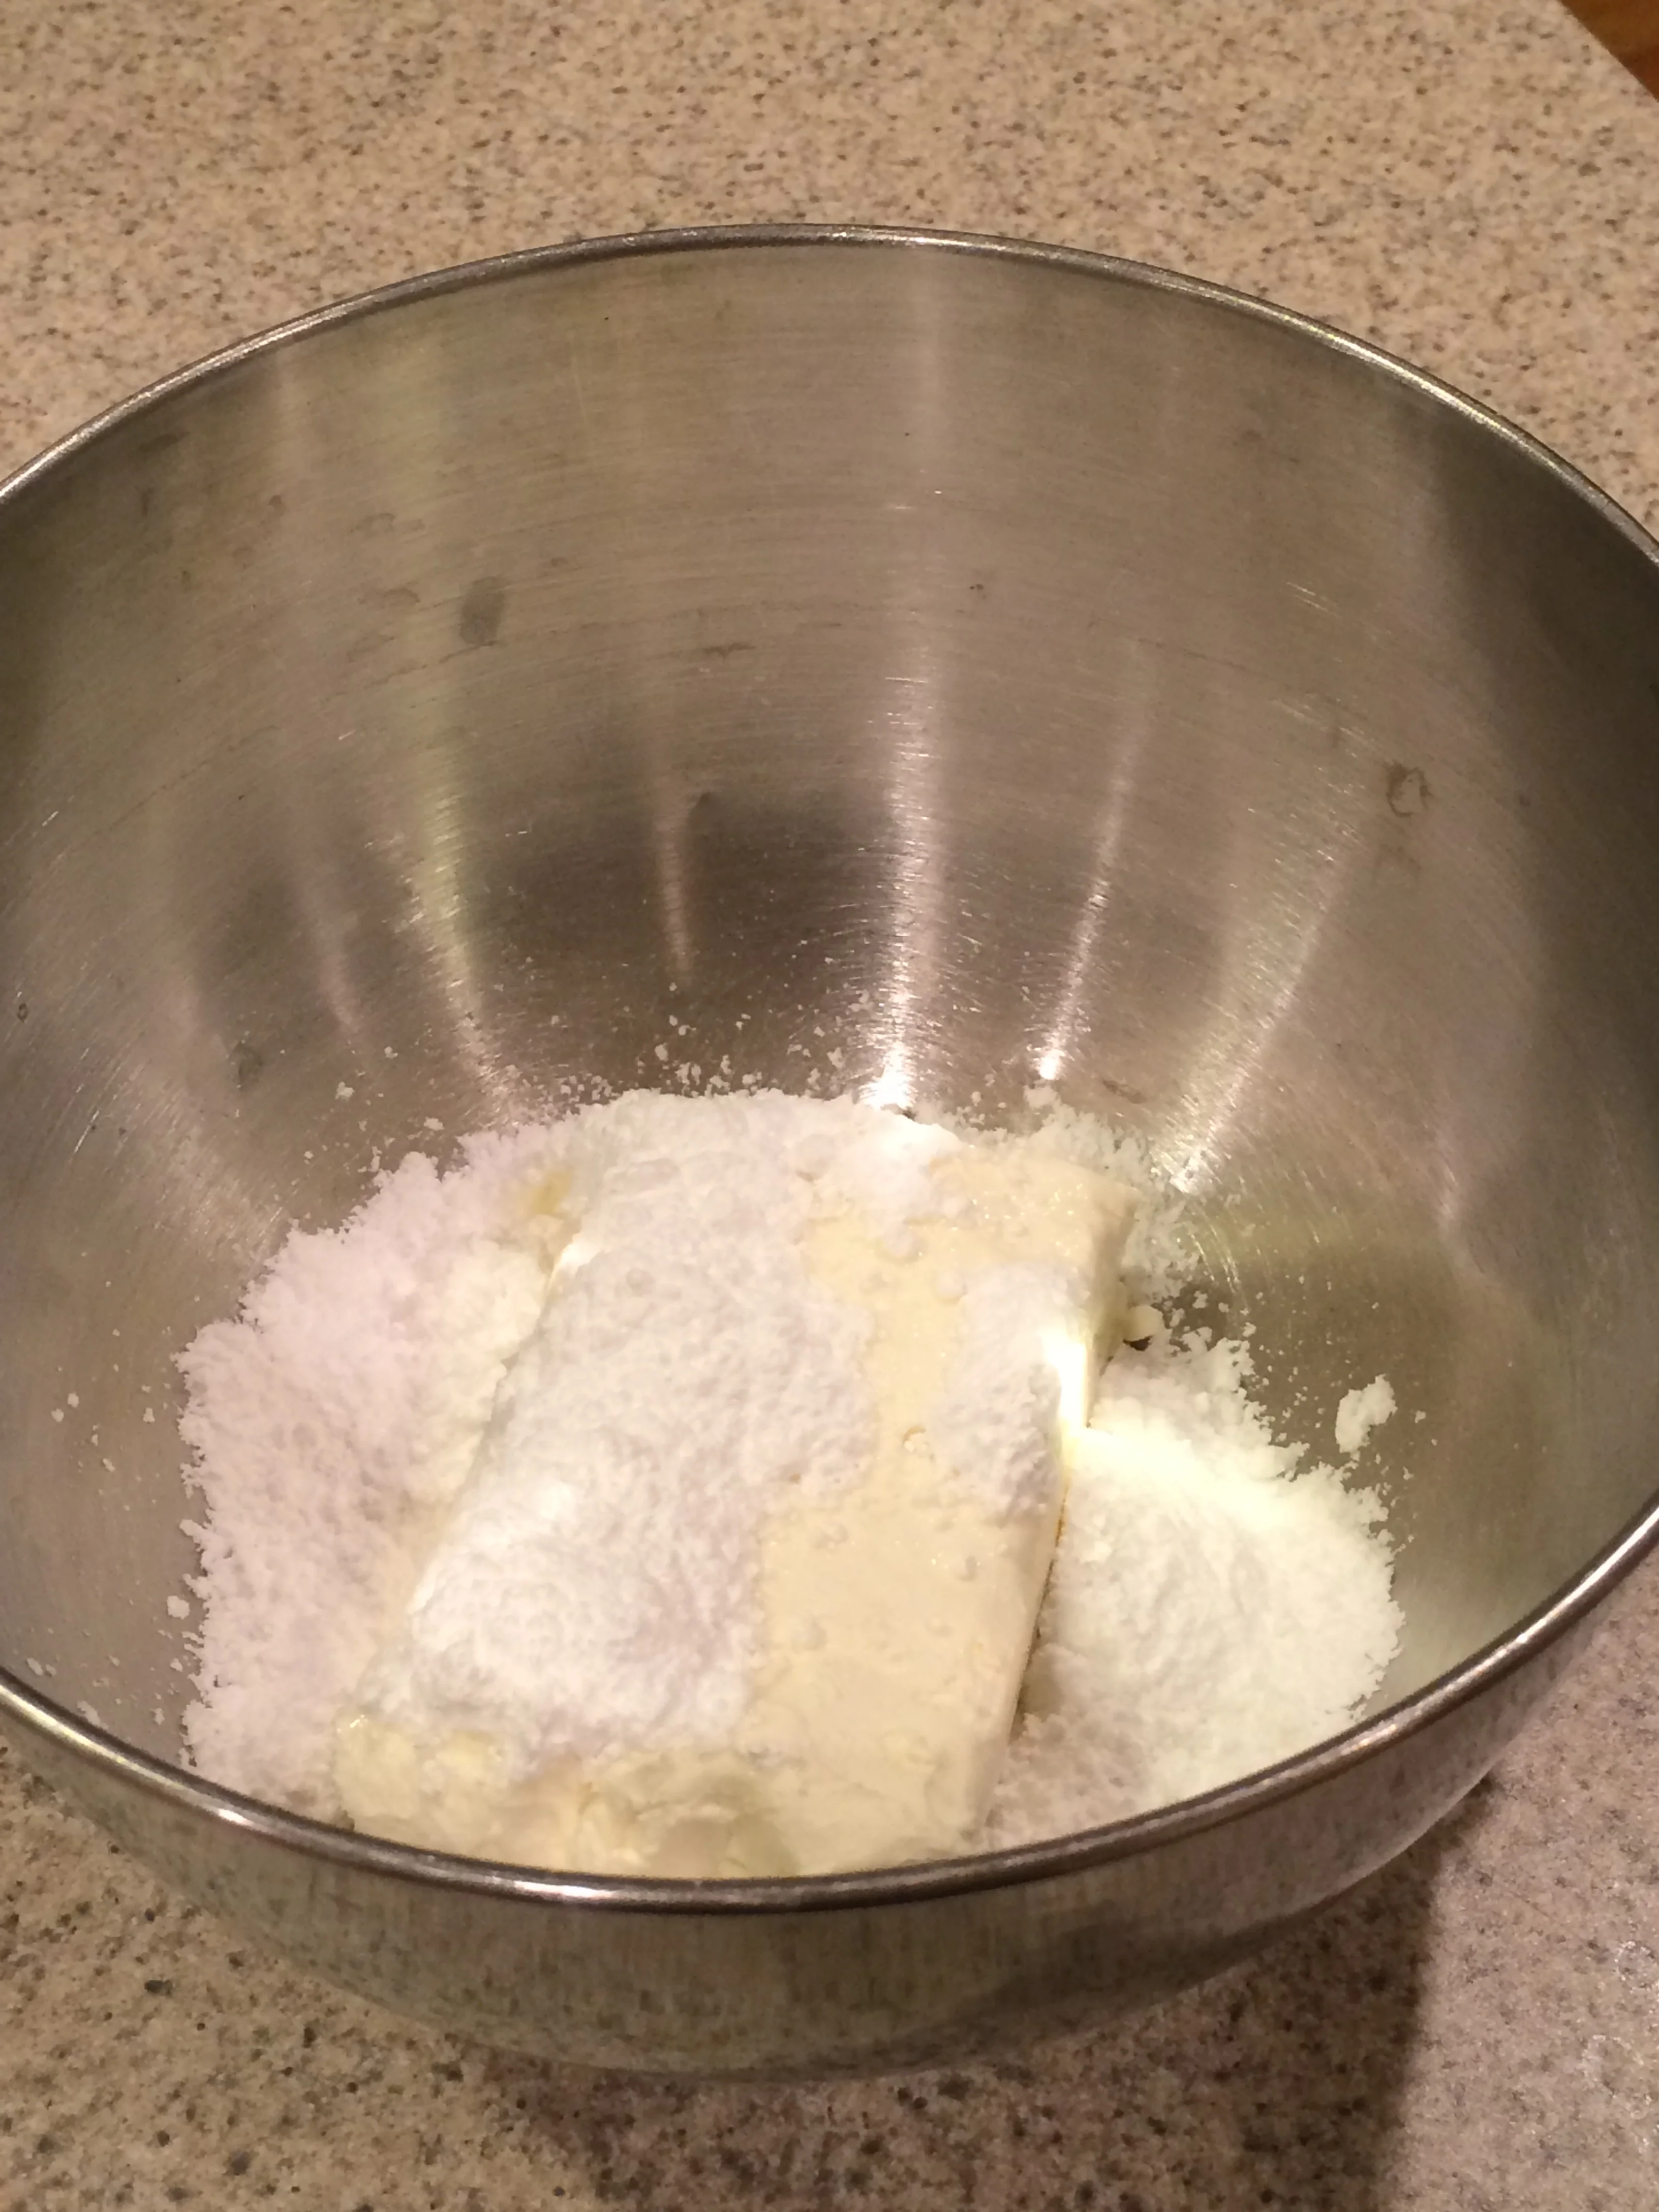
1 cup peanut butter
1 cup powdered sugar
1/2 cup Cherchies® Preserves of choice or Cherchies® Butter Spreads
Coarse sea salt for garnish (optional)
Preparation
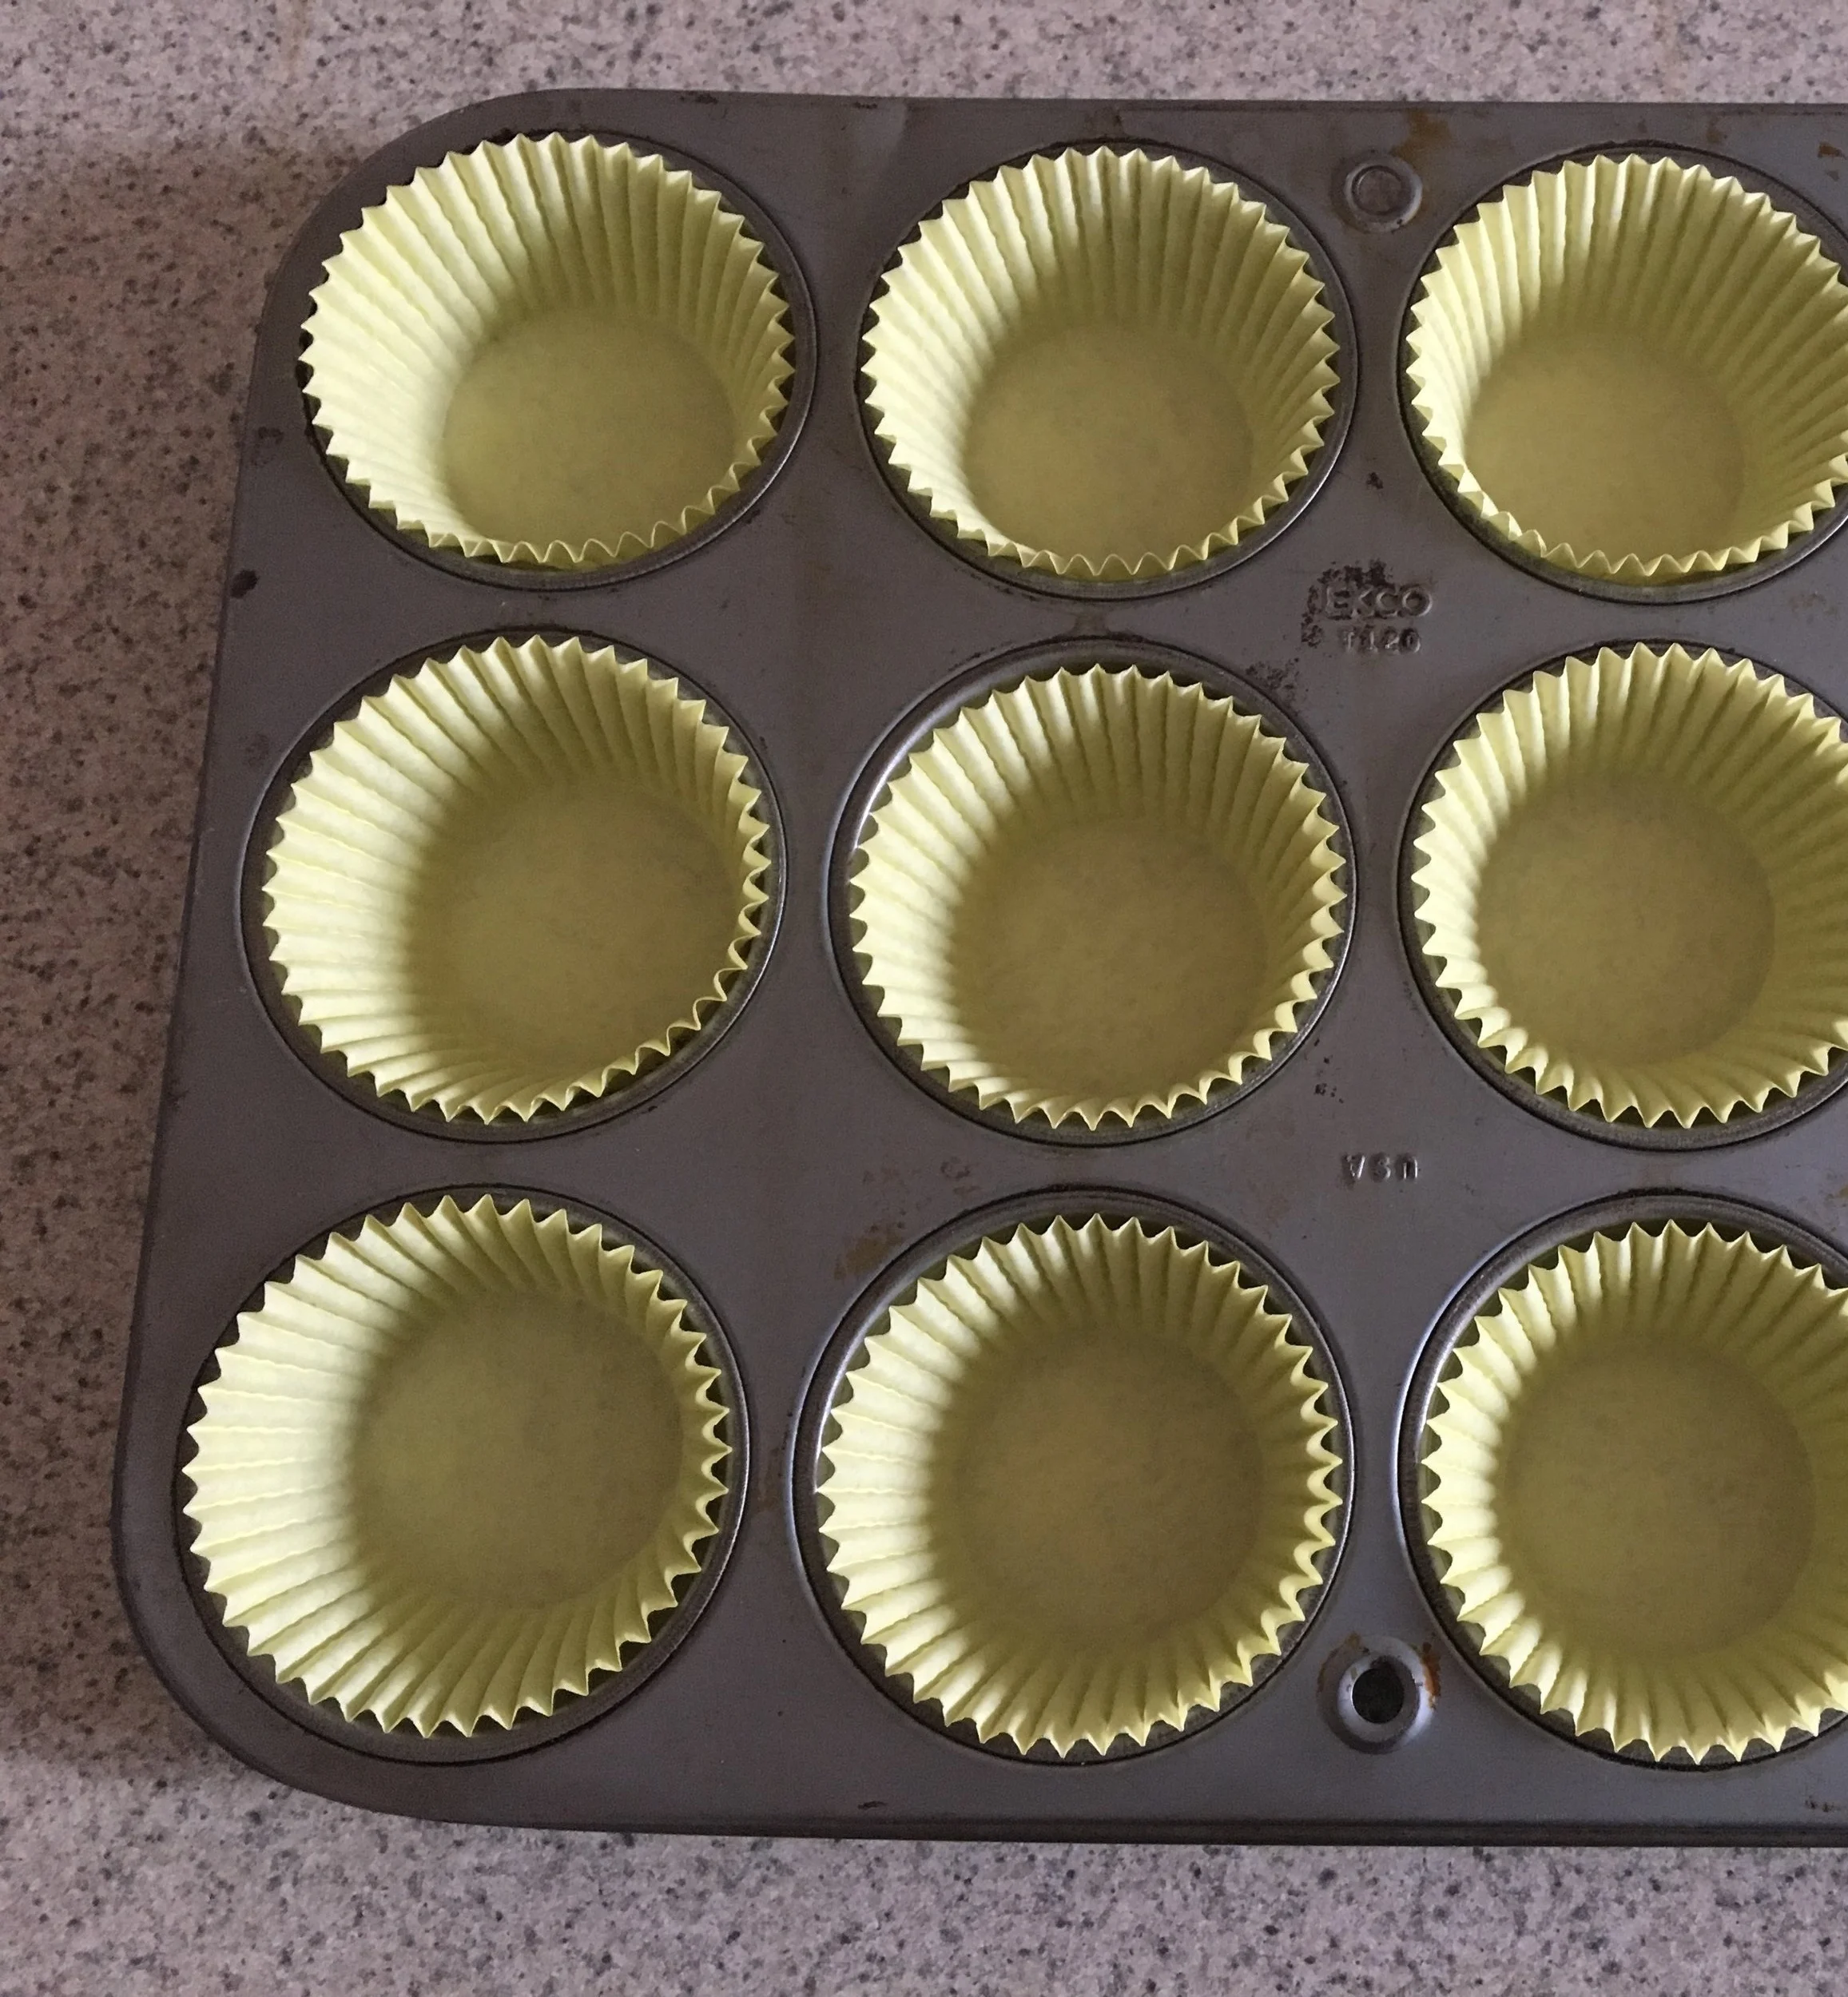
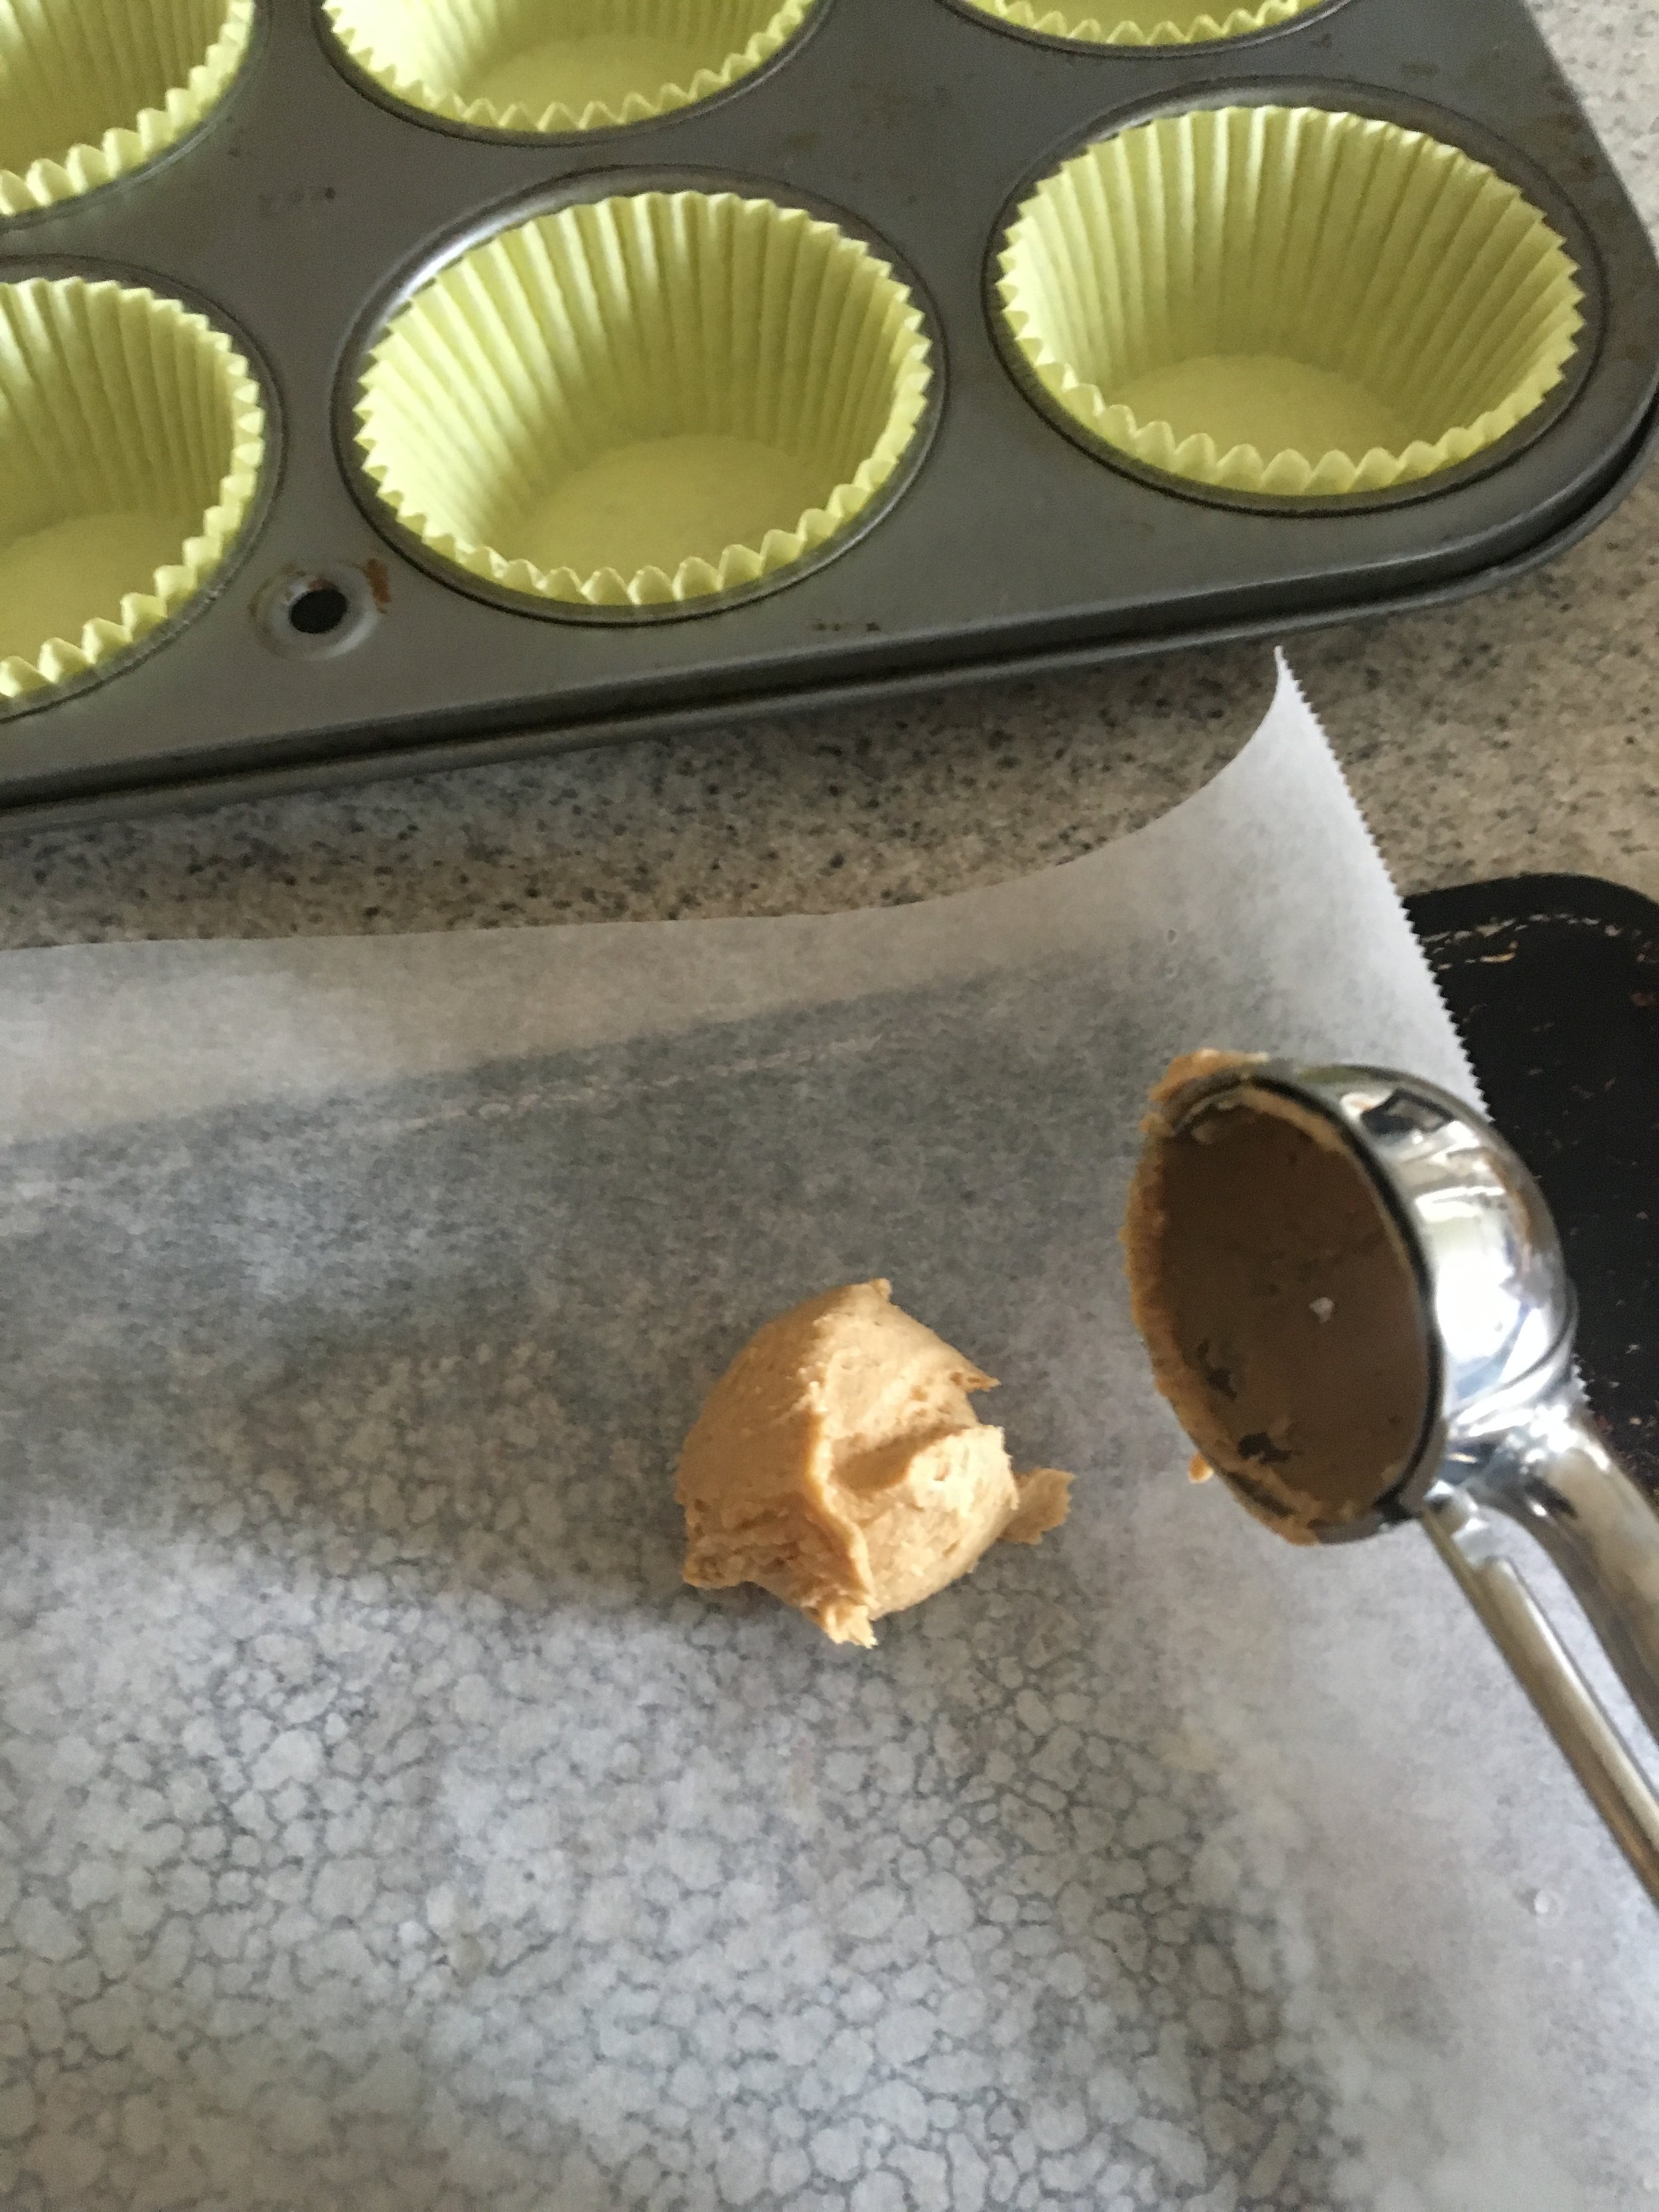
Line a 12 cup muffin tin with disposable cupcake liners.
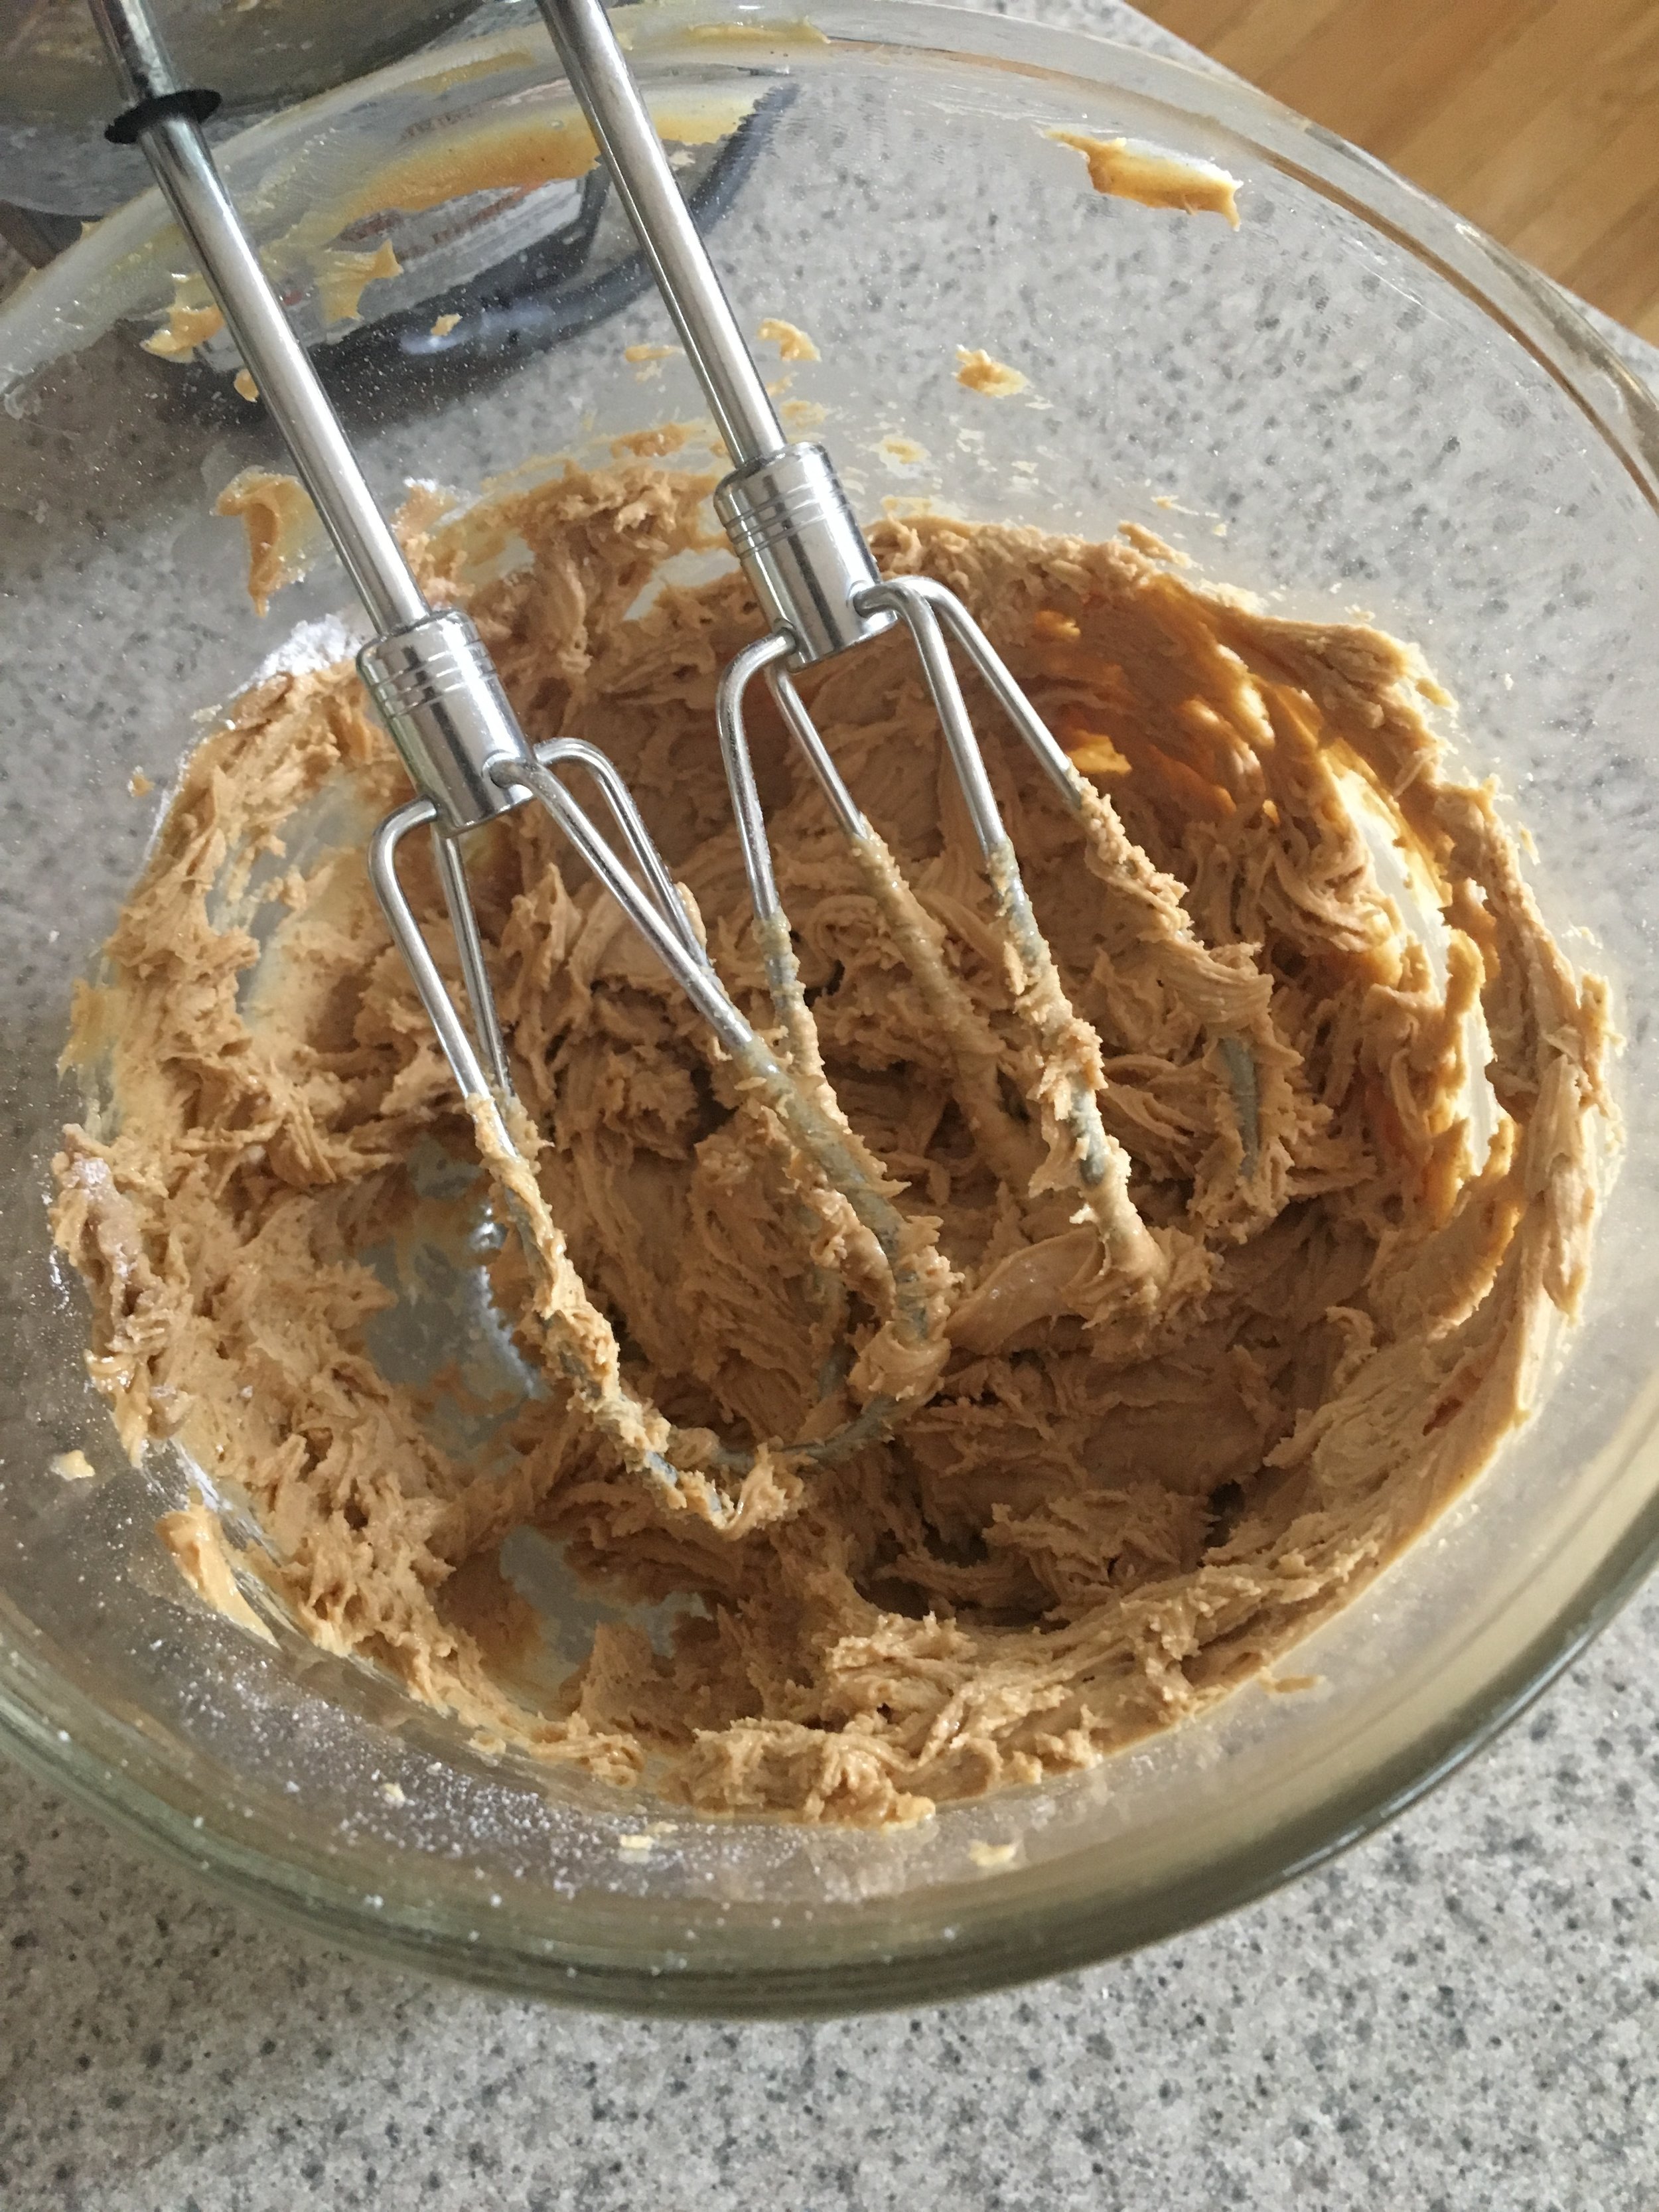
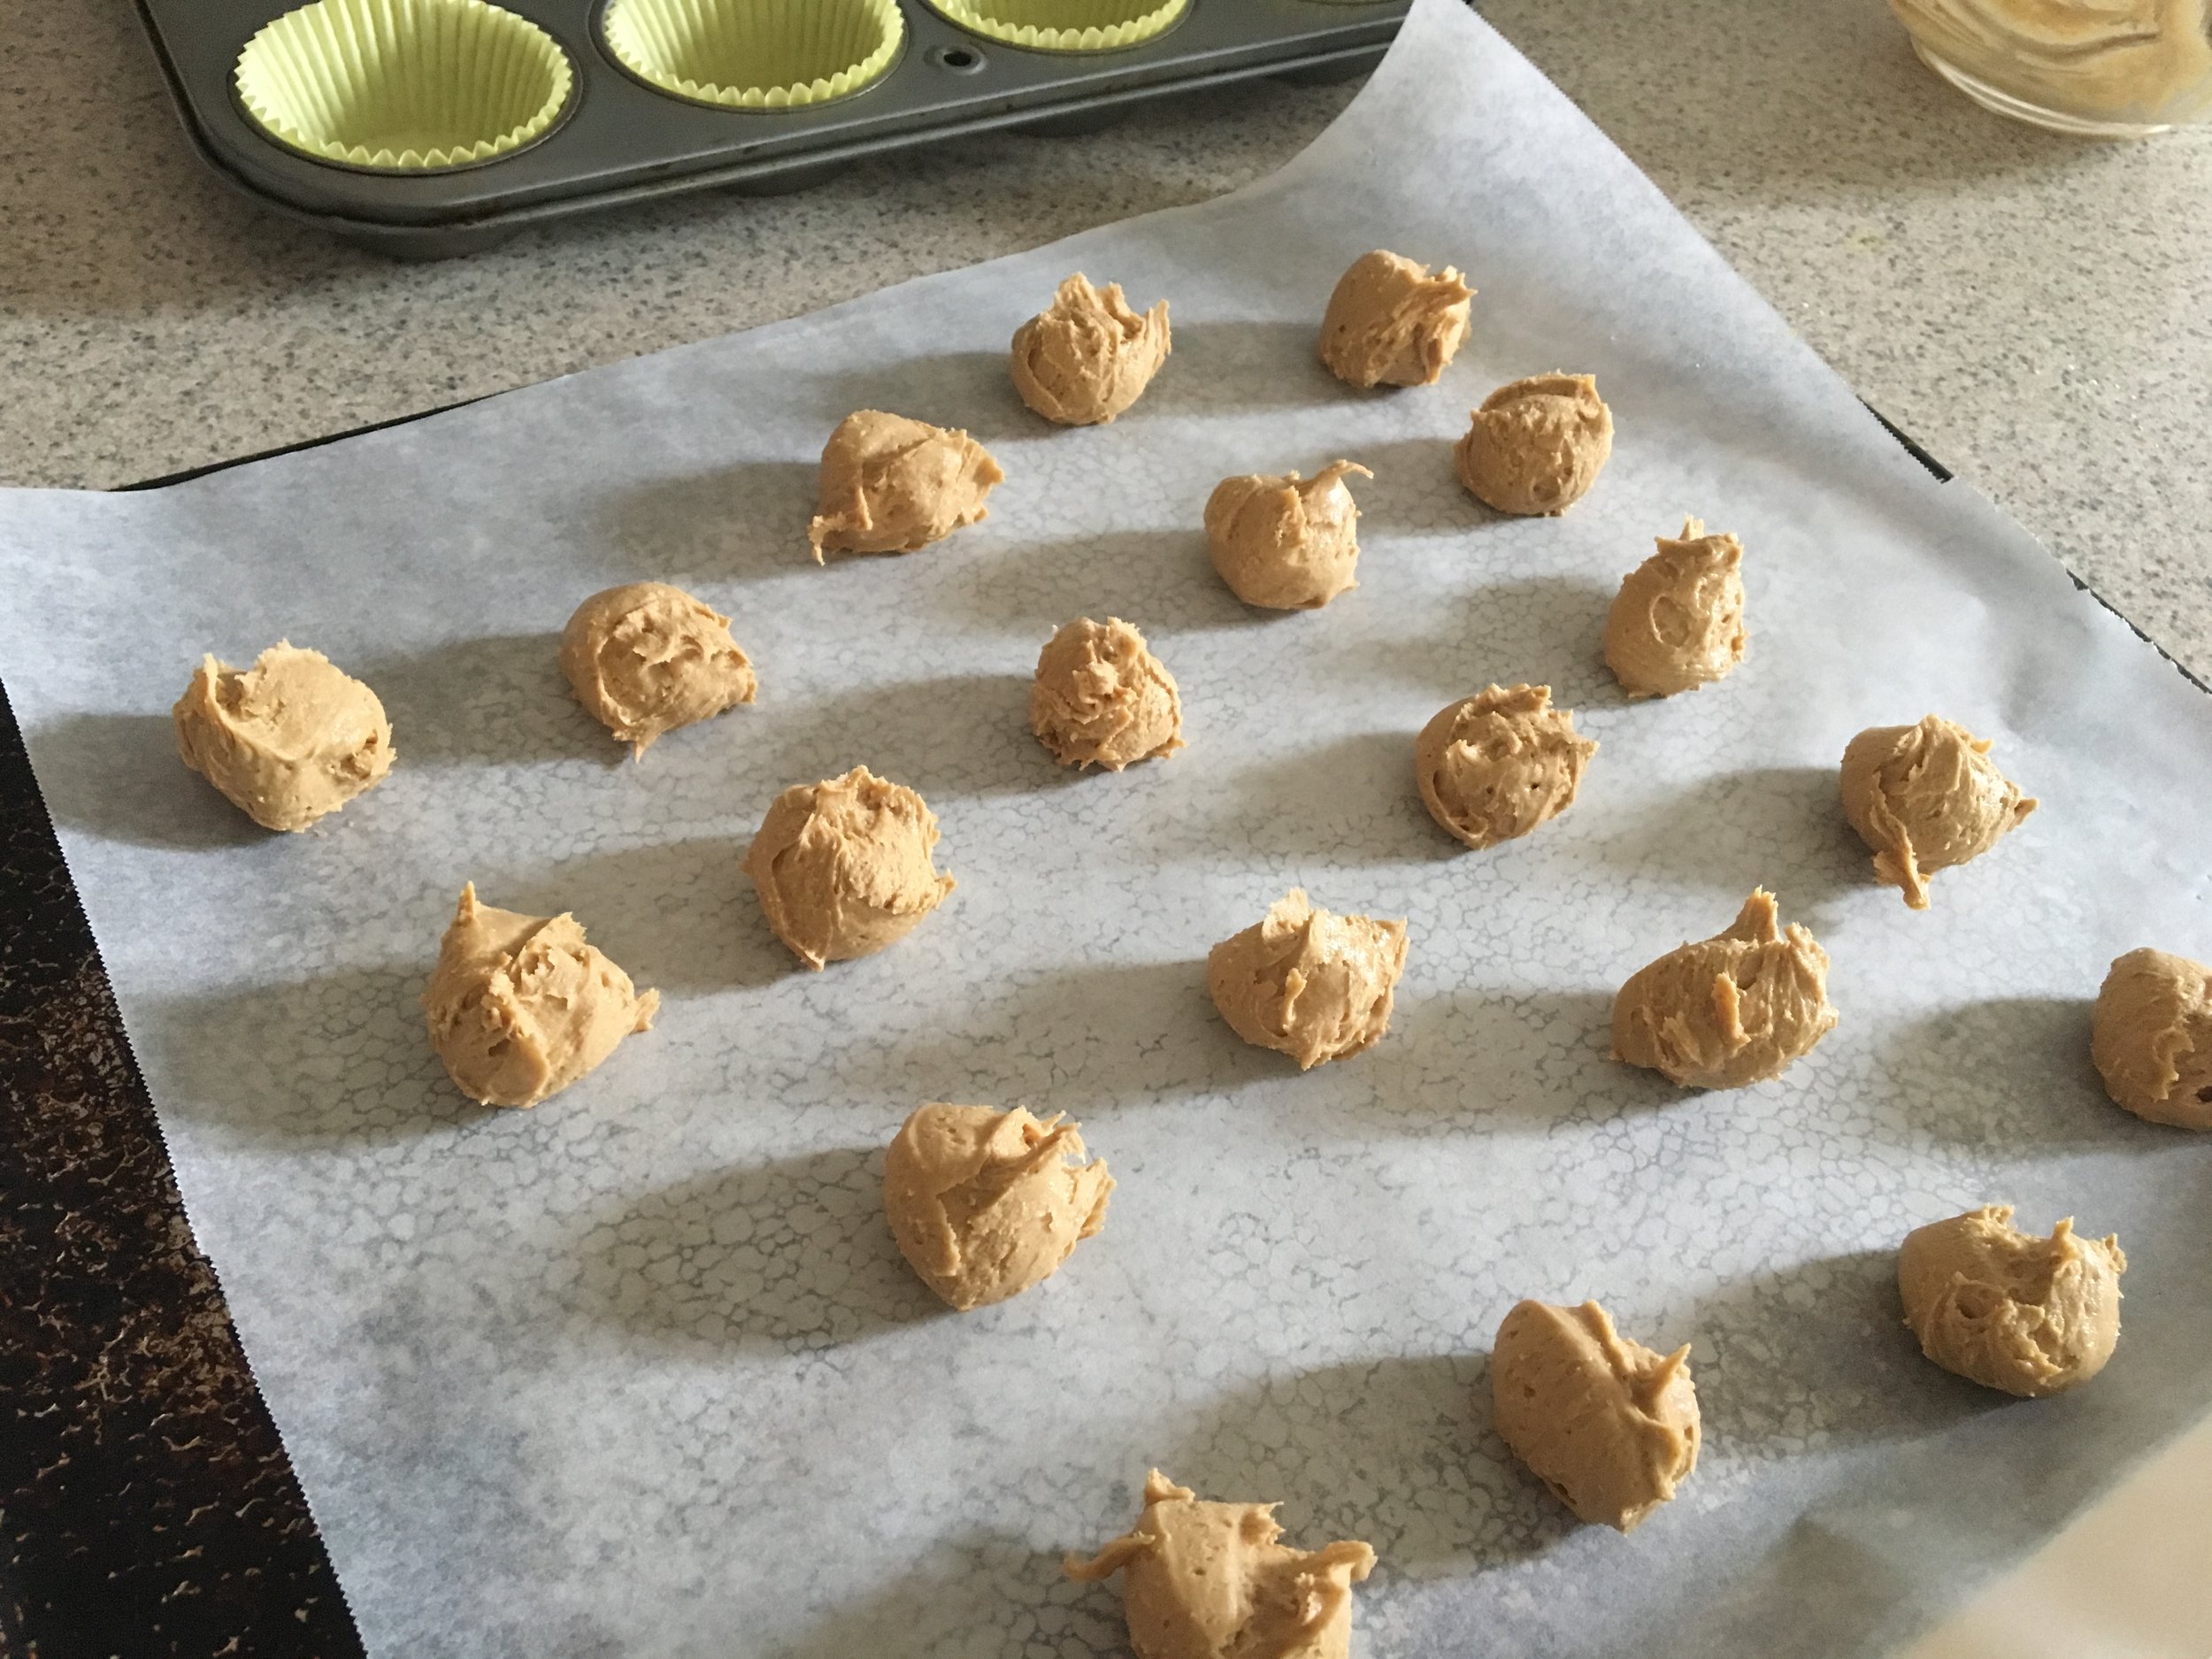
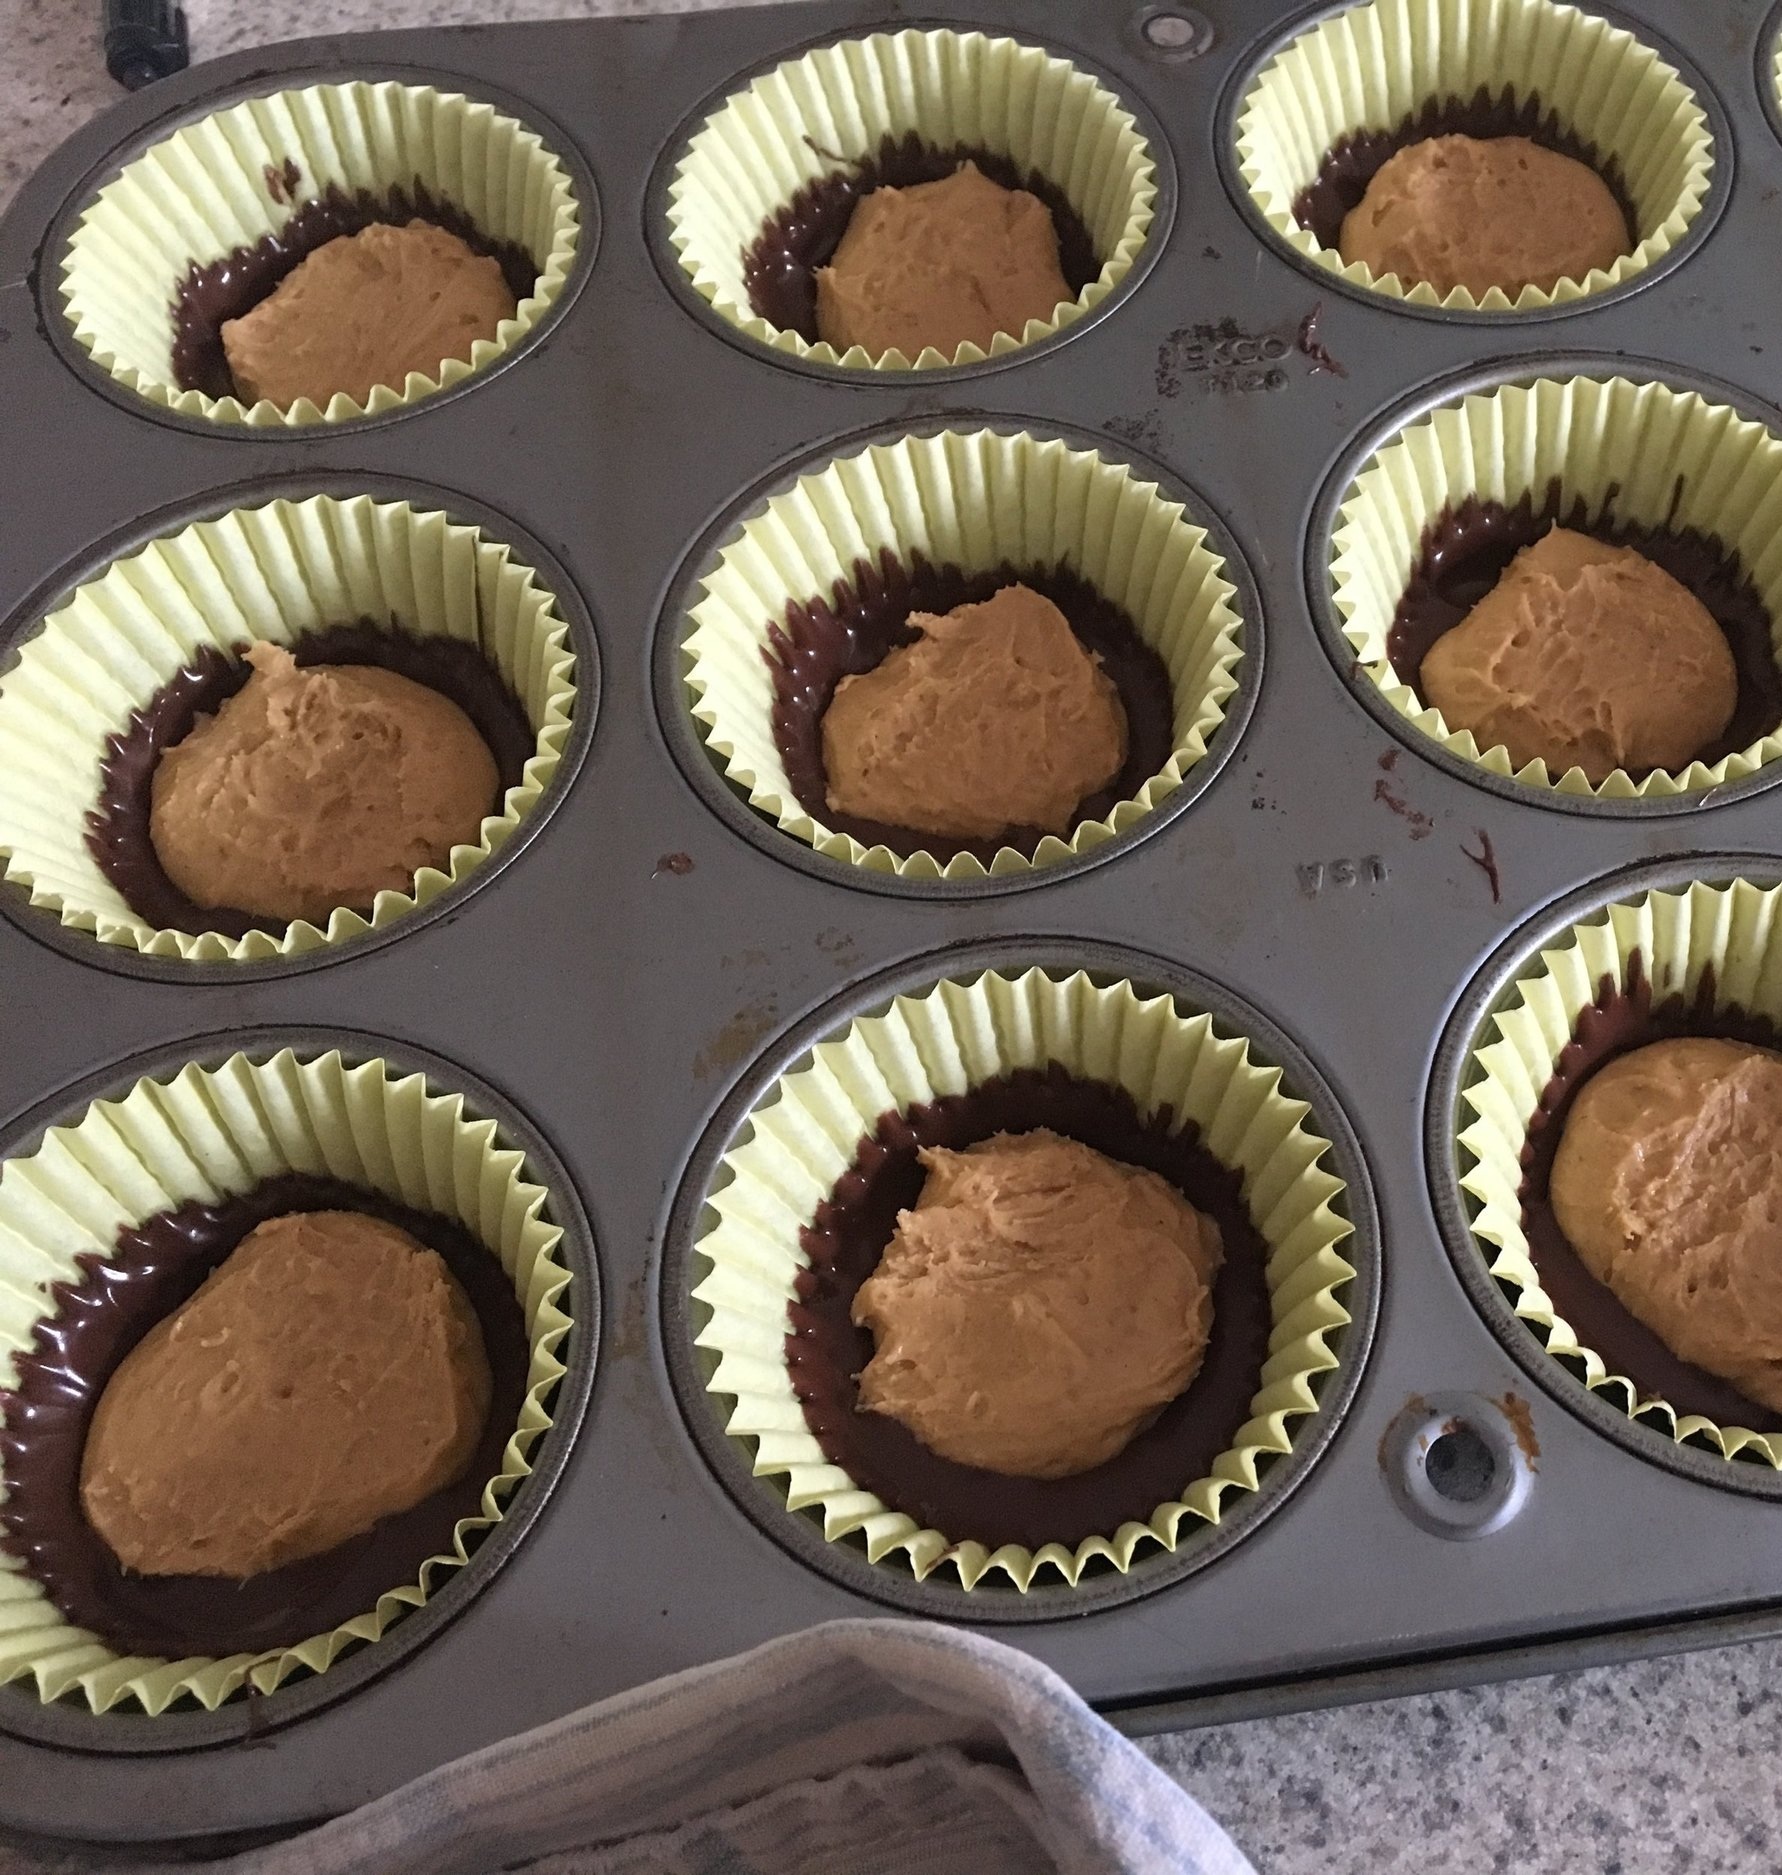
Combine Peanut Butter and powdered sugar in a medium bowl. Mix ingredients with hand mixer until combined. Scoop mixture with melon ball scooper (1 inch) and place the mixture on a parchment paper lined tray. Place tray in freezer for about 10 minutes. Remove Peanut Butter balls from the freezer and flatten with a spatula. Return to freezer while you prepare the chocolate.
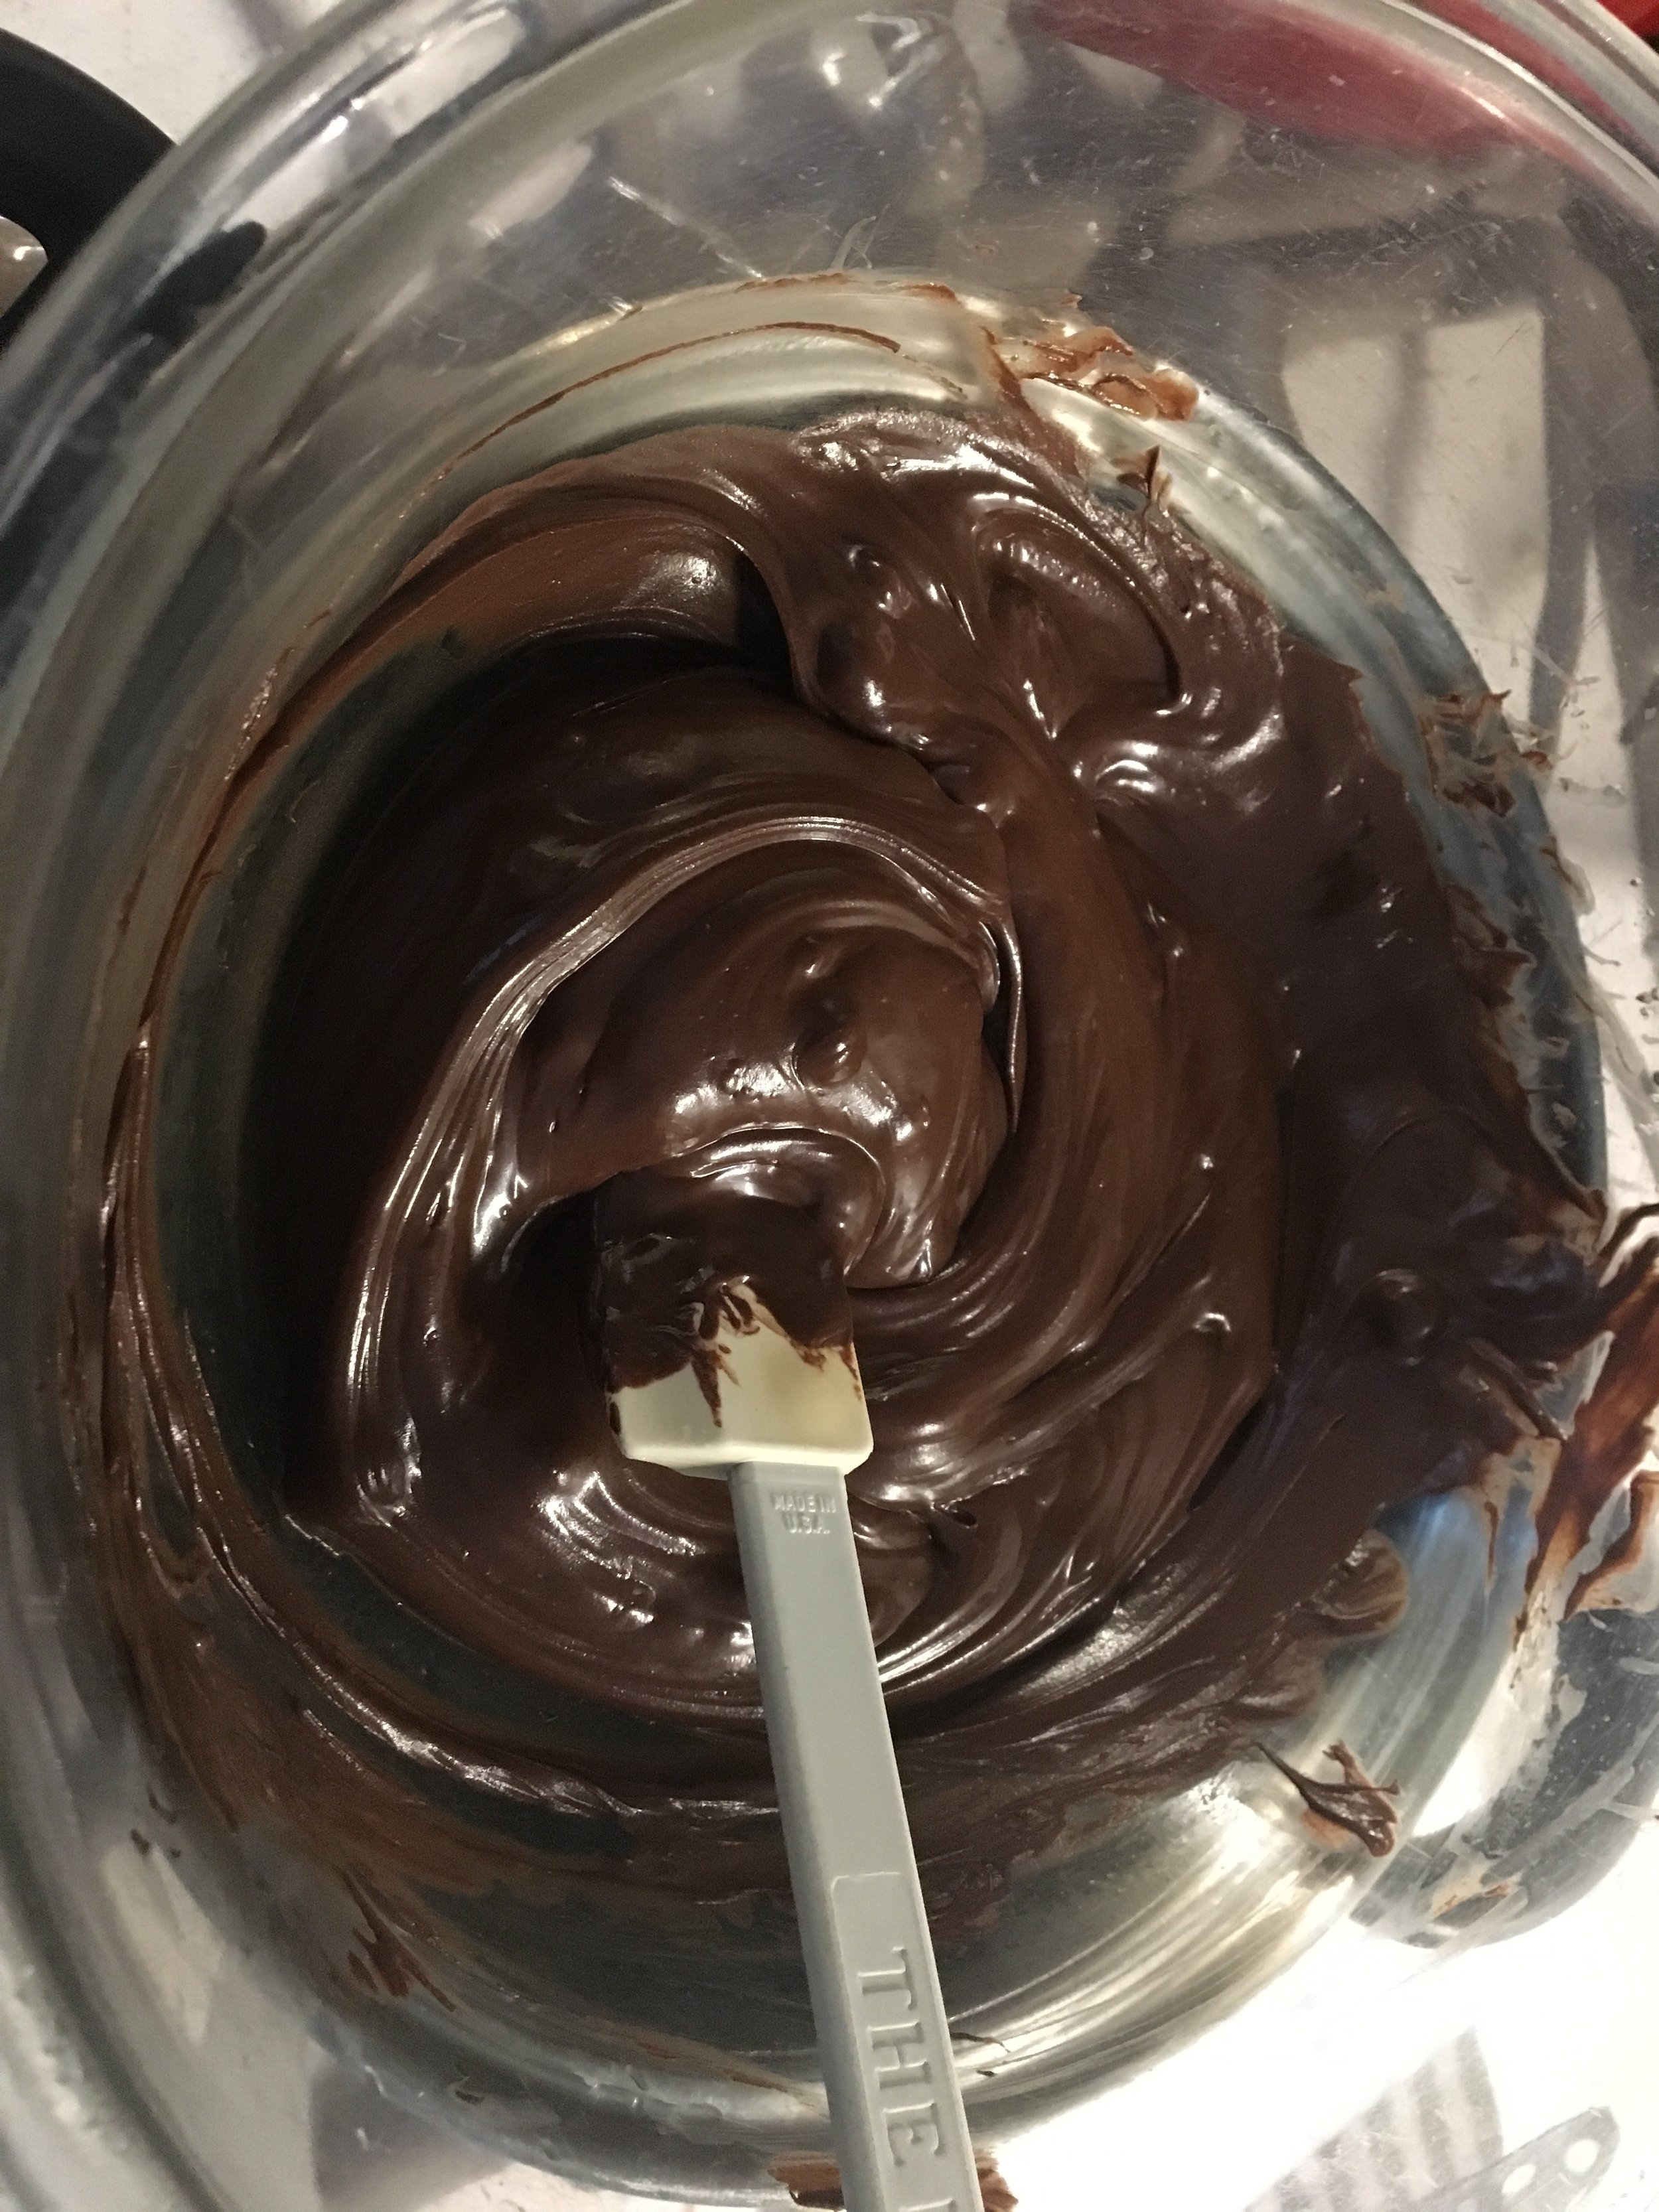
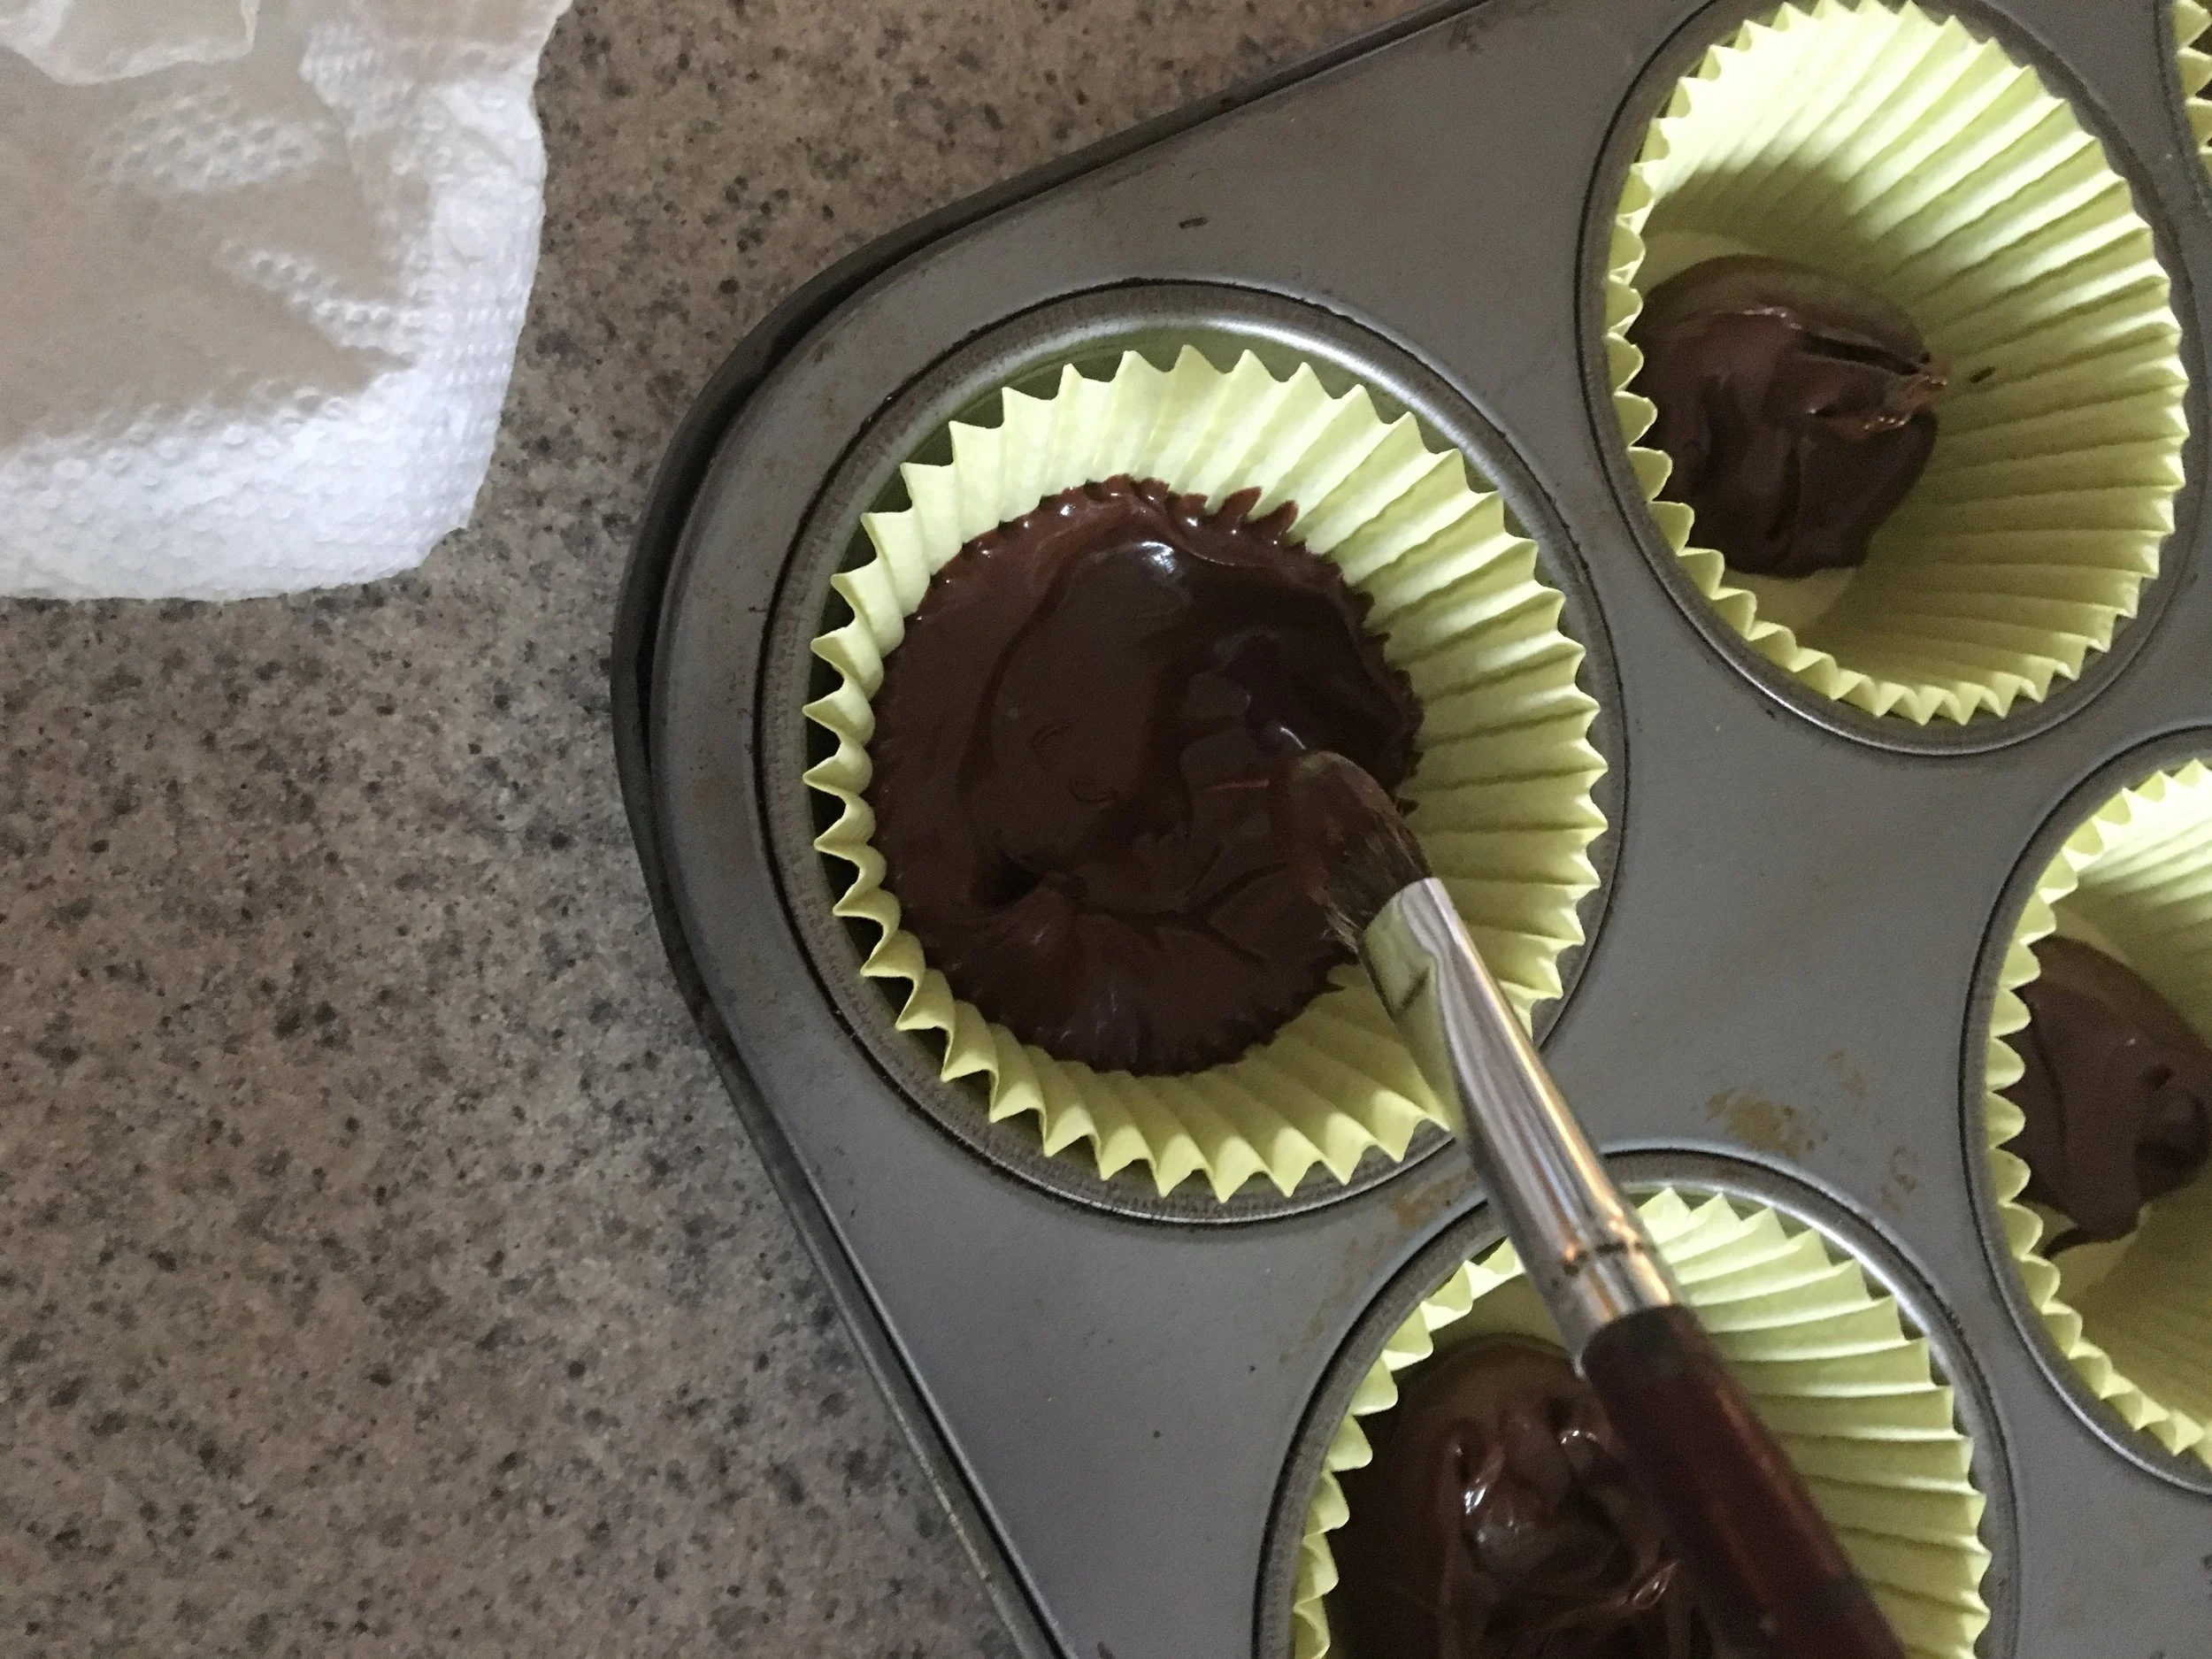
While peanut butter patties are chilling, prepare the chocolate. Melt the chocolate chips and 1 teaspoon (tsp.) coconut oil in a bowl over a pan filled with about 1 1/2" water. Turn the burner on high and stir chips as they begin to melt. (You could melt chips in microwave if your prefer, heating on 50% power for 30 second intervals, stirring each time until completely melted). When all the chocolate chips are melted, remove the pan and bowl from heat and turn off the stove.
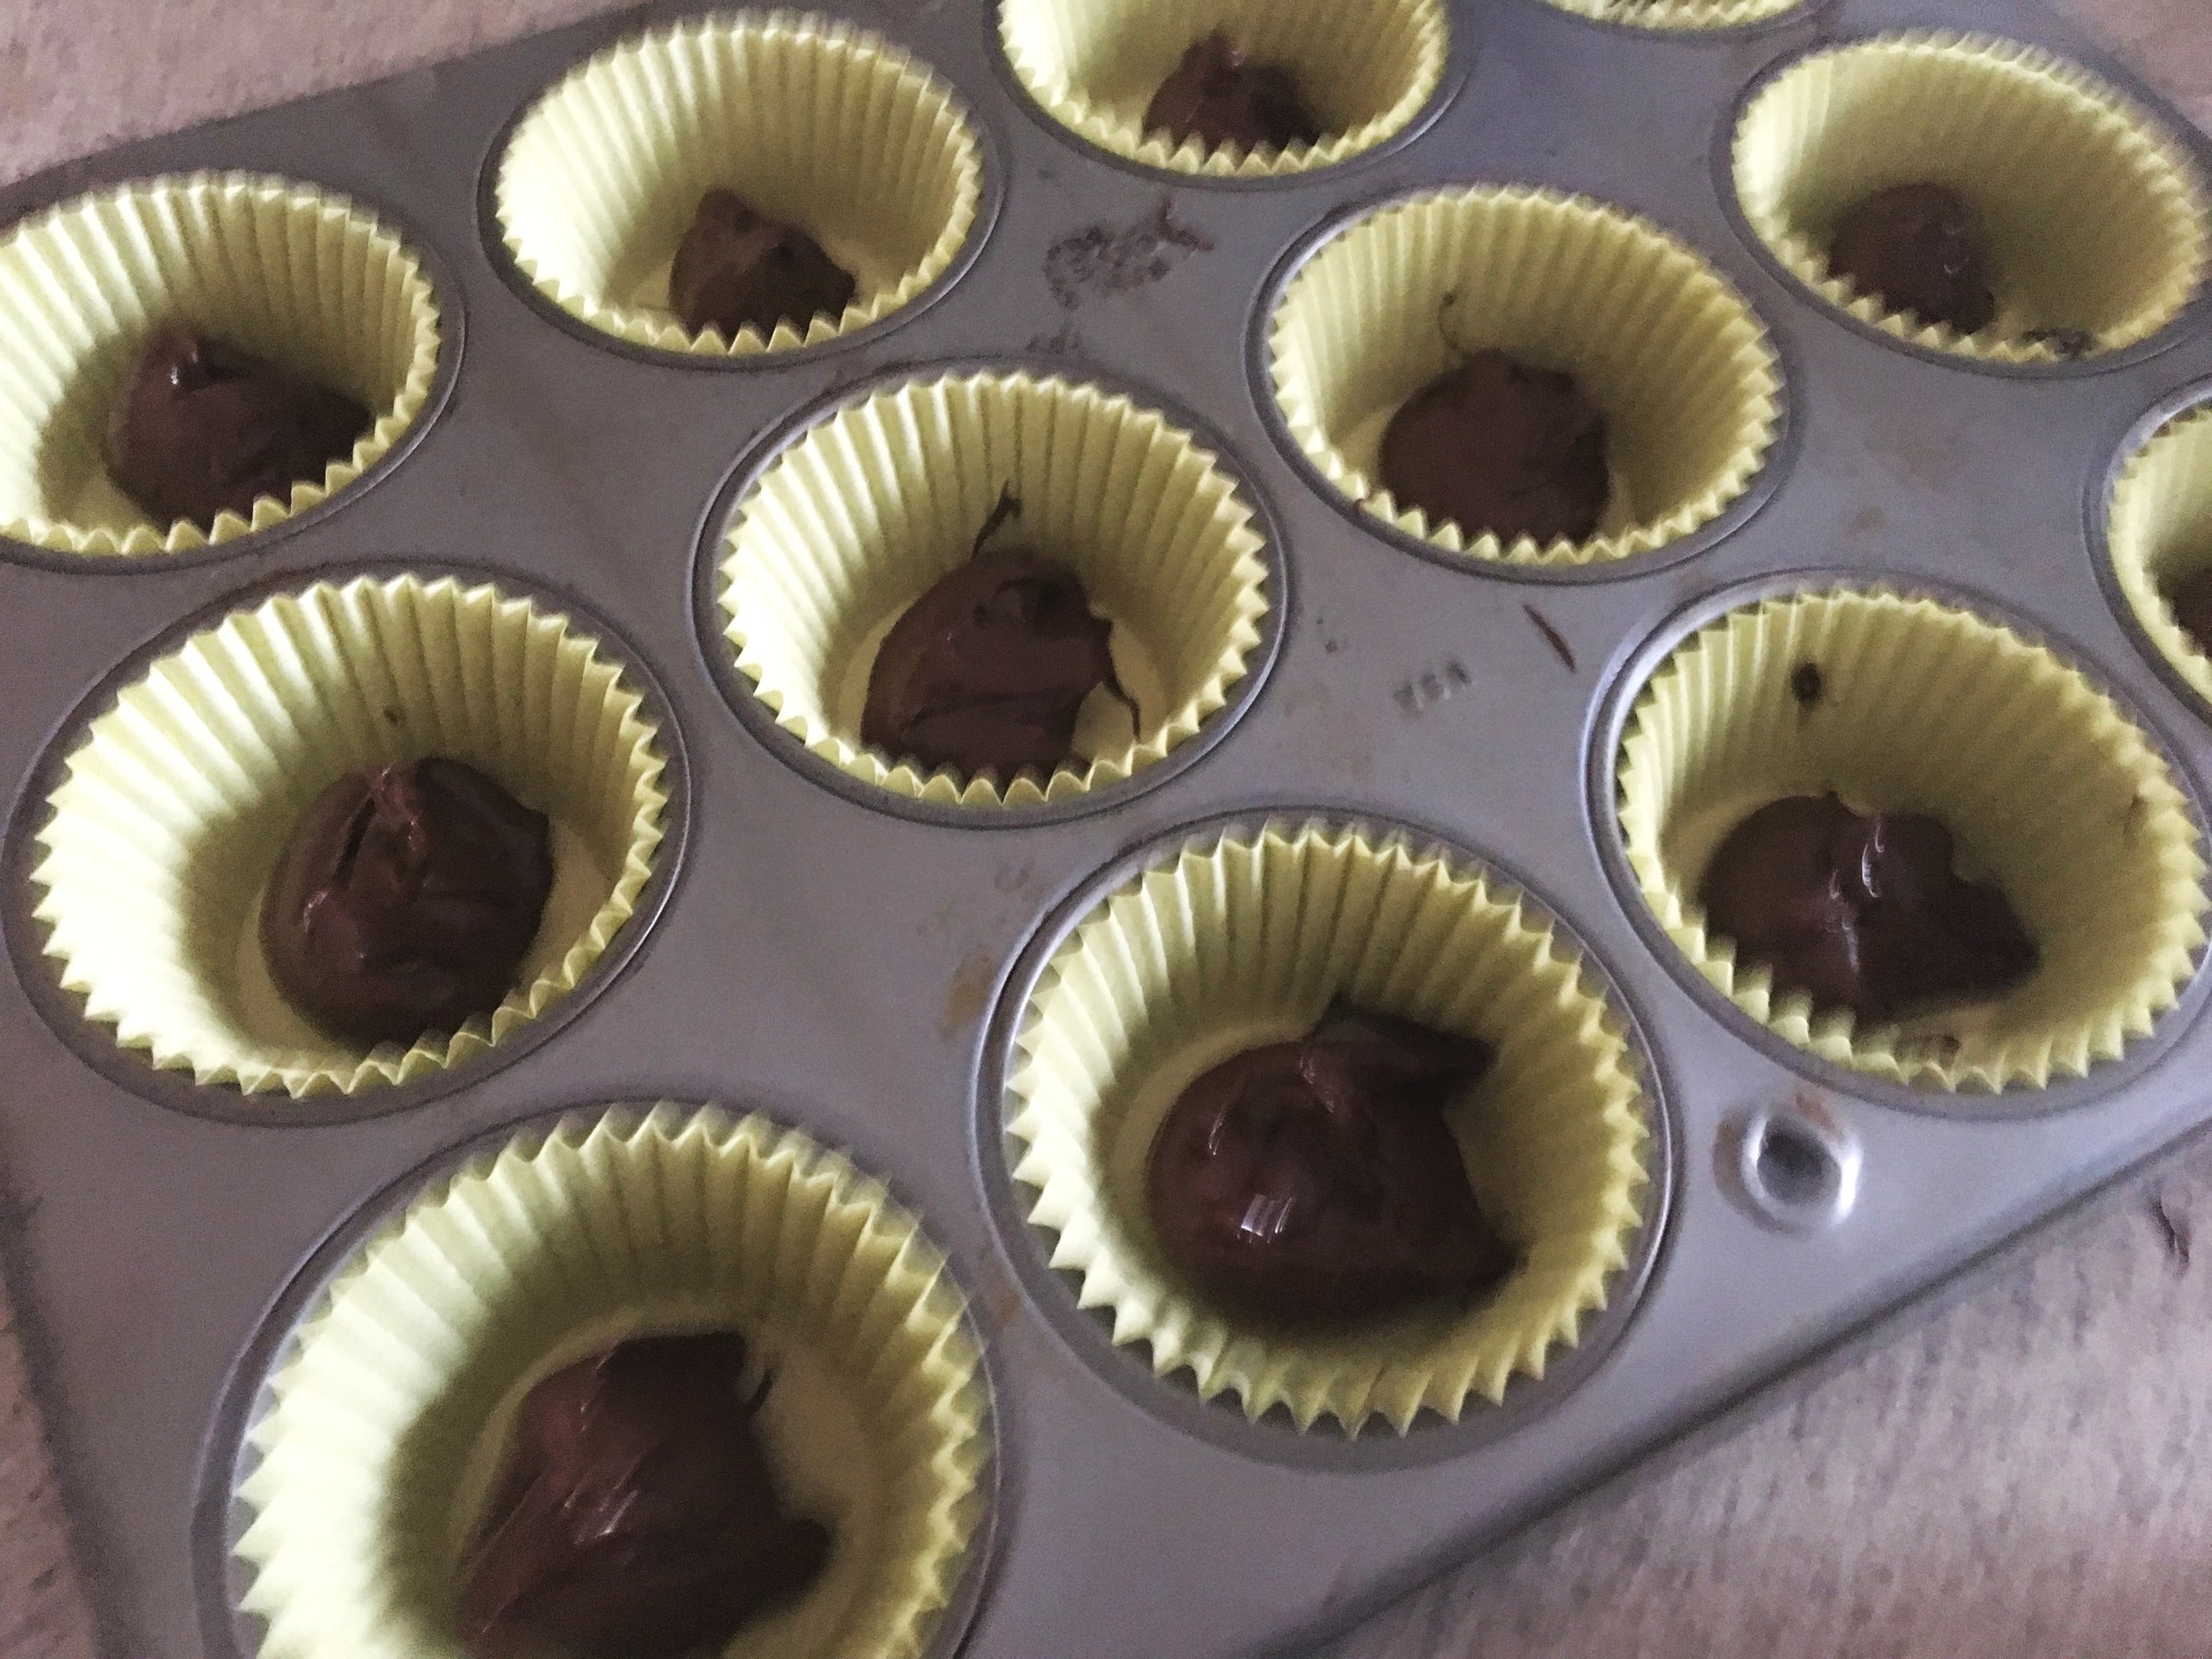
Add about 1 Tablespoon (Tbsp.) (dollop) of melted chocolate to each muffin cup. Use a clean art brush to spread the chocolate up the sides. Afterwards, tap the pan on the counter to even the chocolate in the cups.
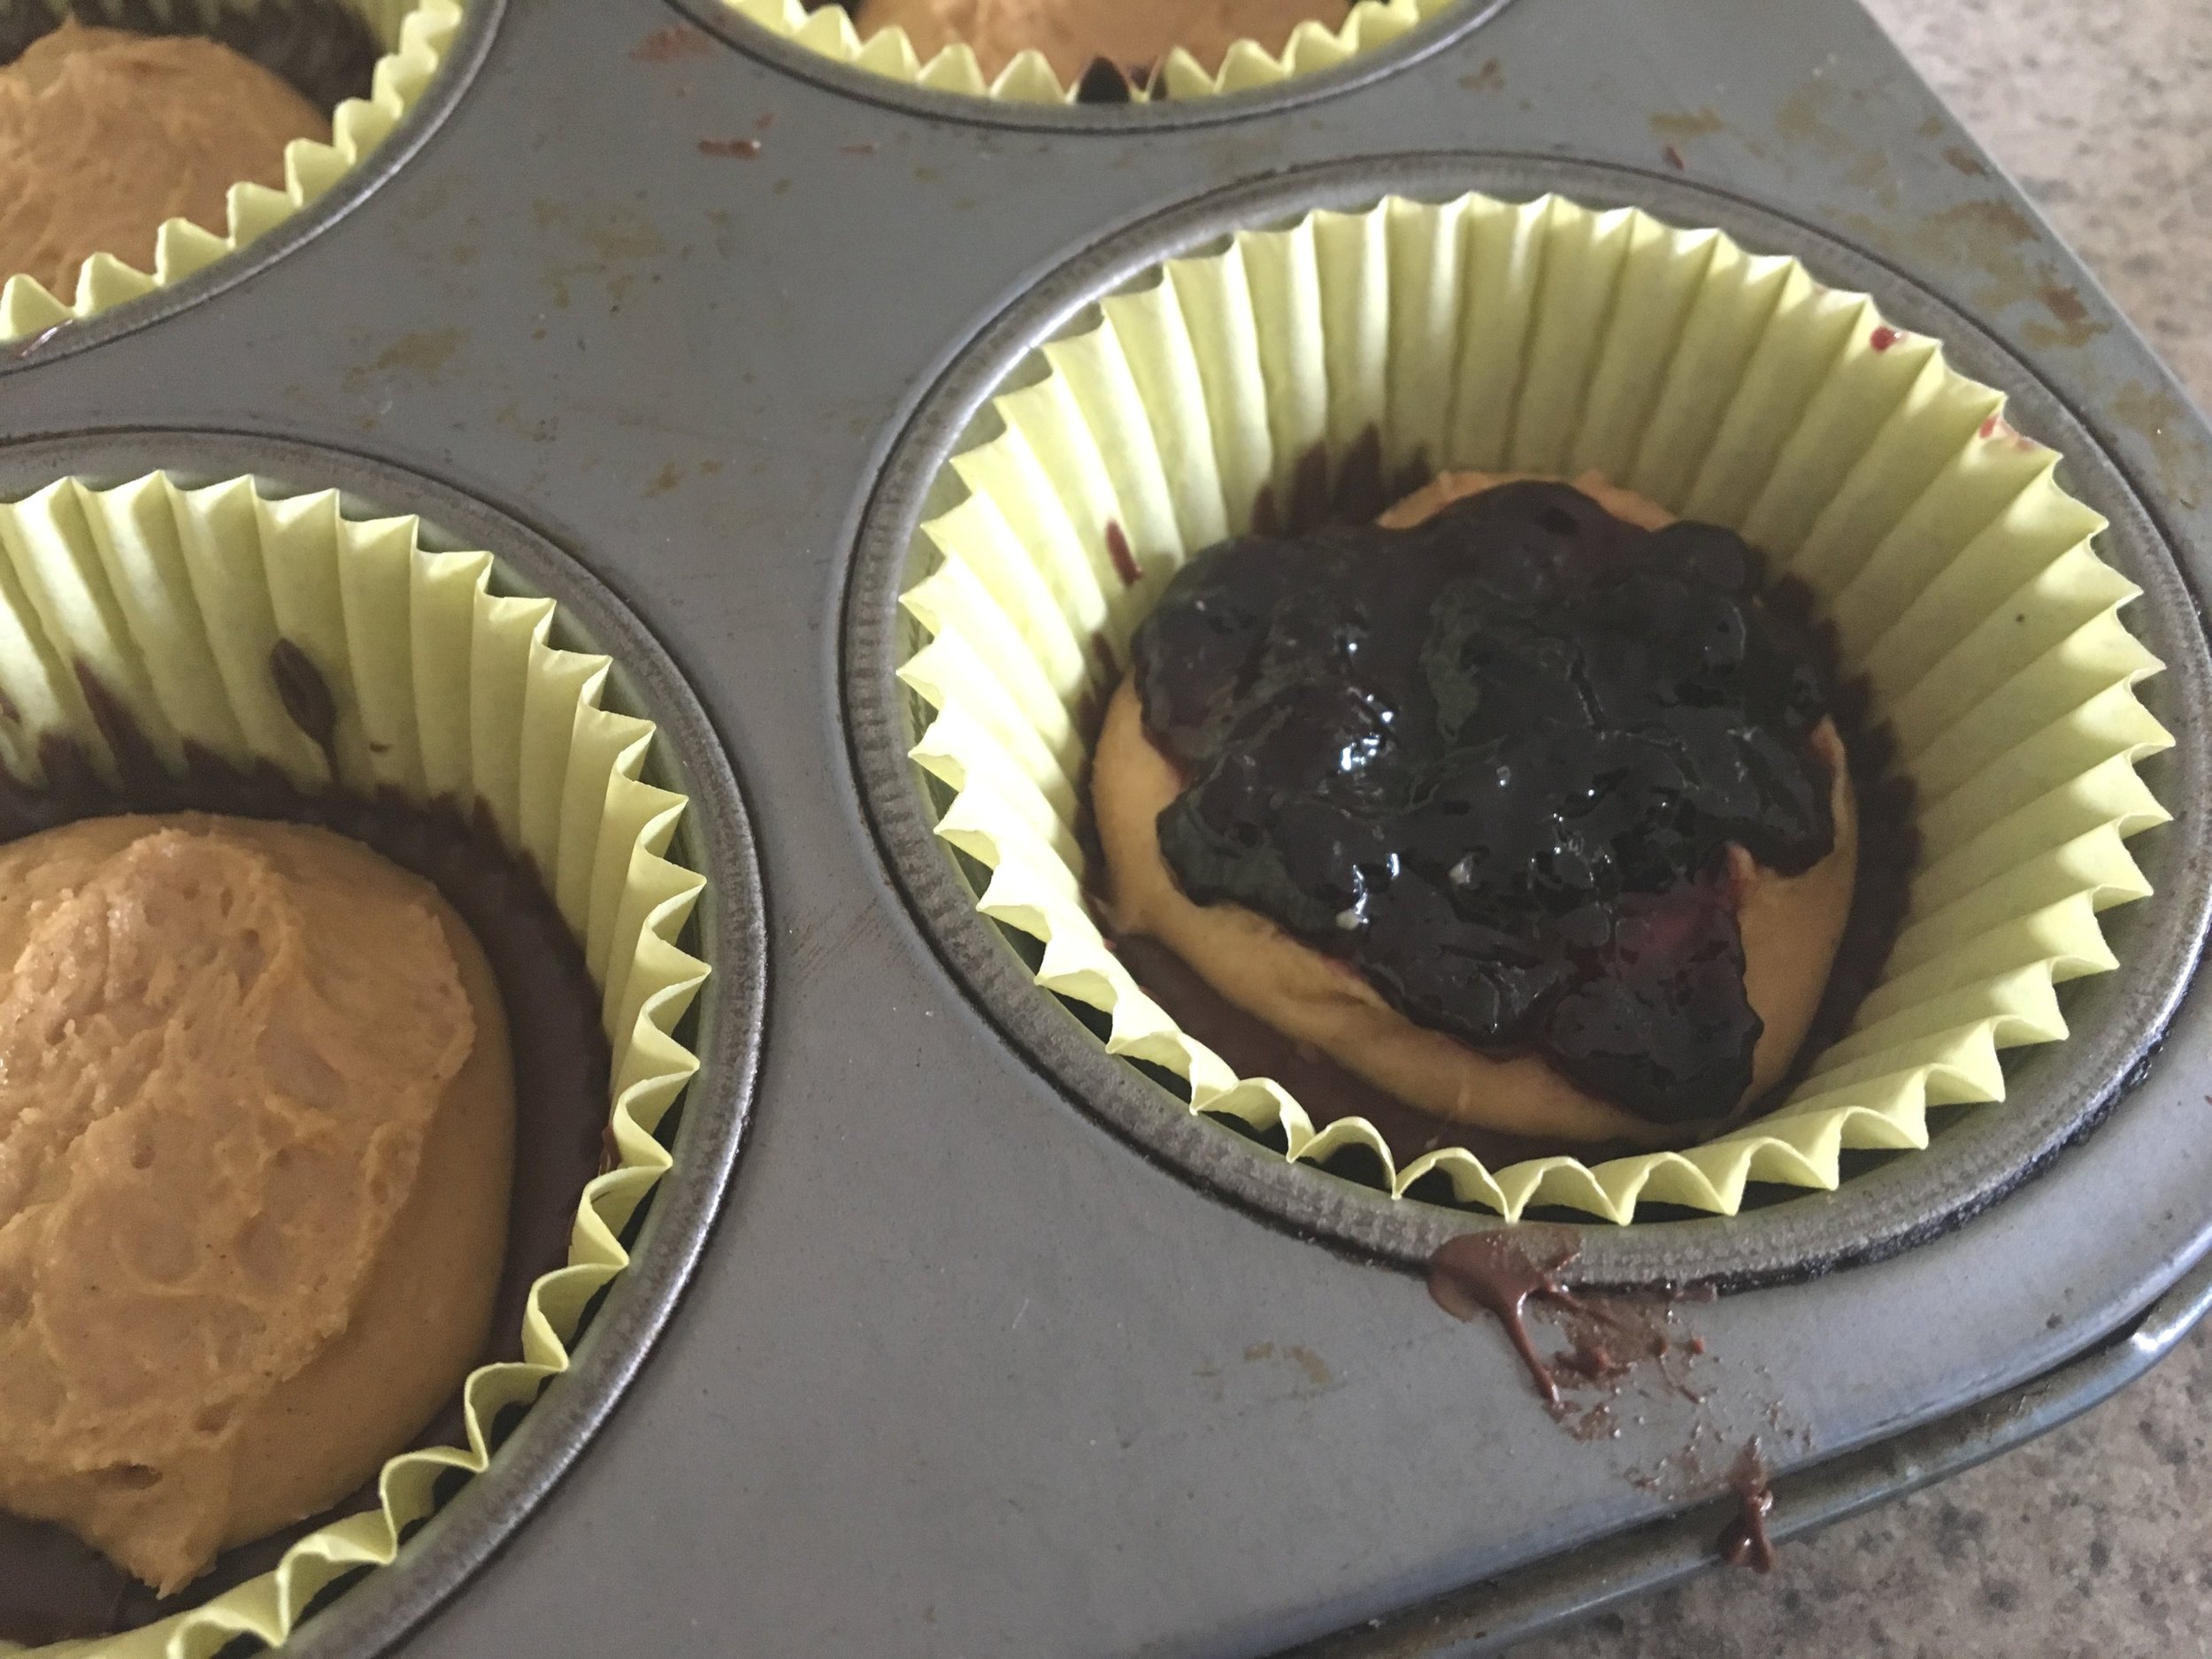
When peanut butter patties are not tacky, remove them from the freezer and place patties in the middle of the chocolate cup. Add 1 teaspoon (tsp) Cherchies® Preserves or Cherchies® Fruit Butter Spreads and carefully spread over peanut butter patty, making sure not to go to the edge. The chocolate needs to go on the sides and top.
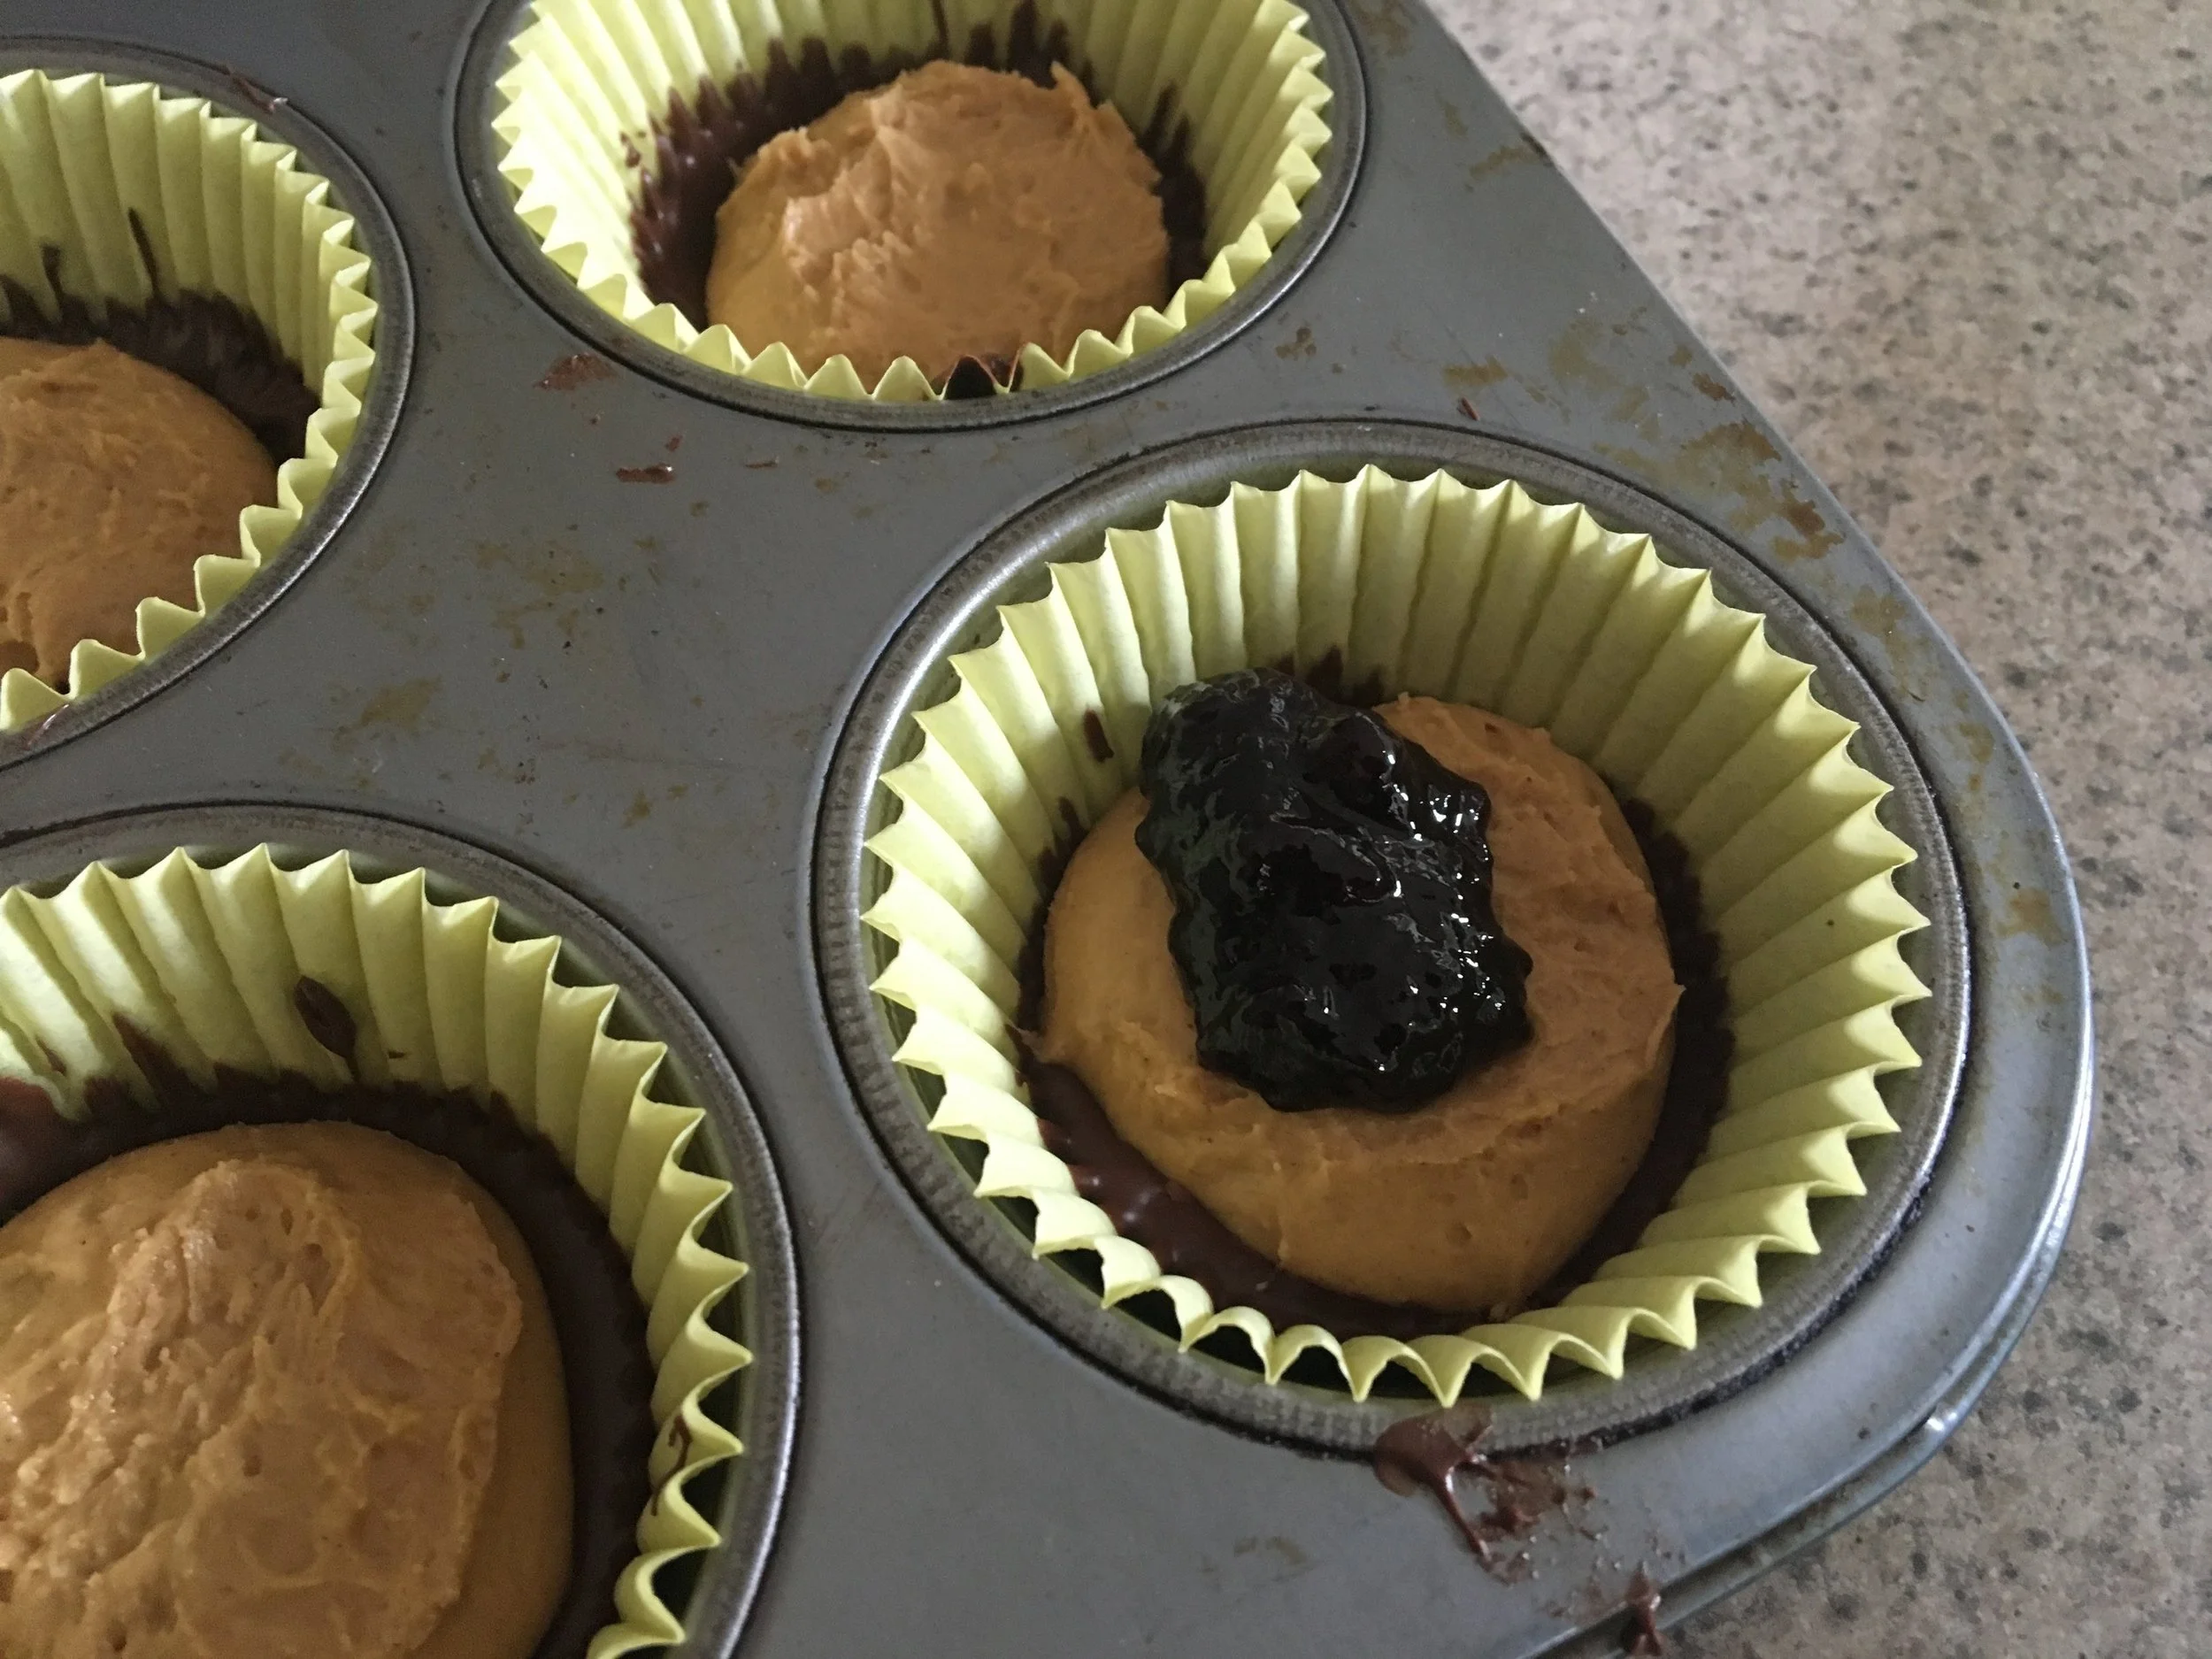
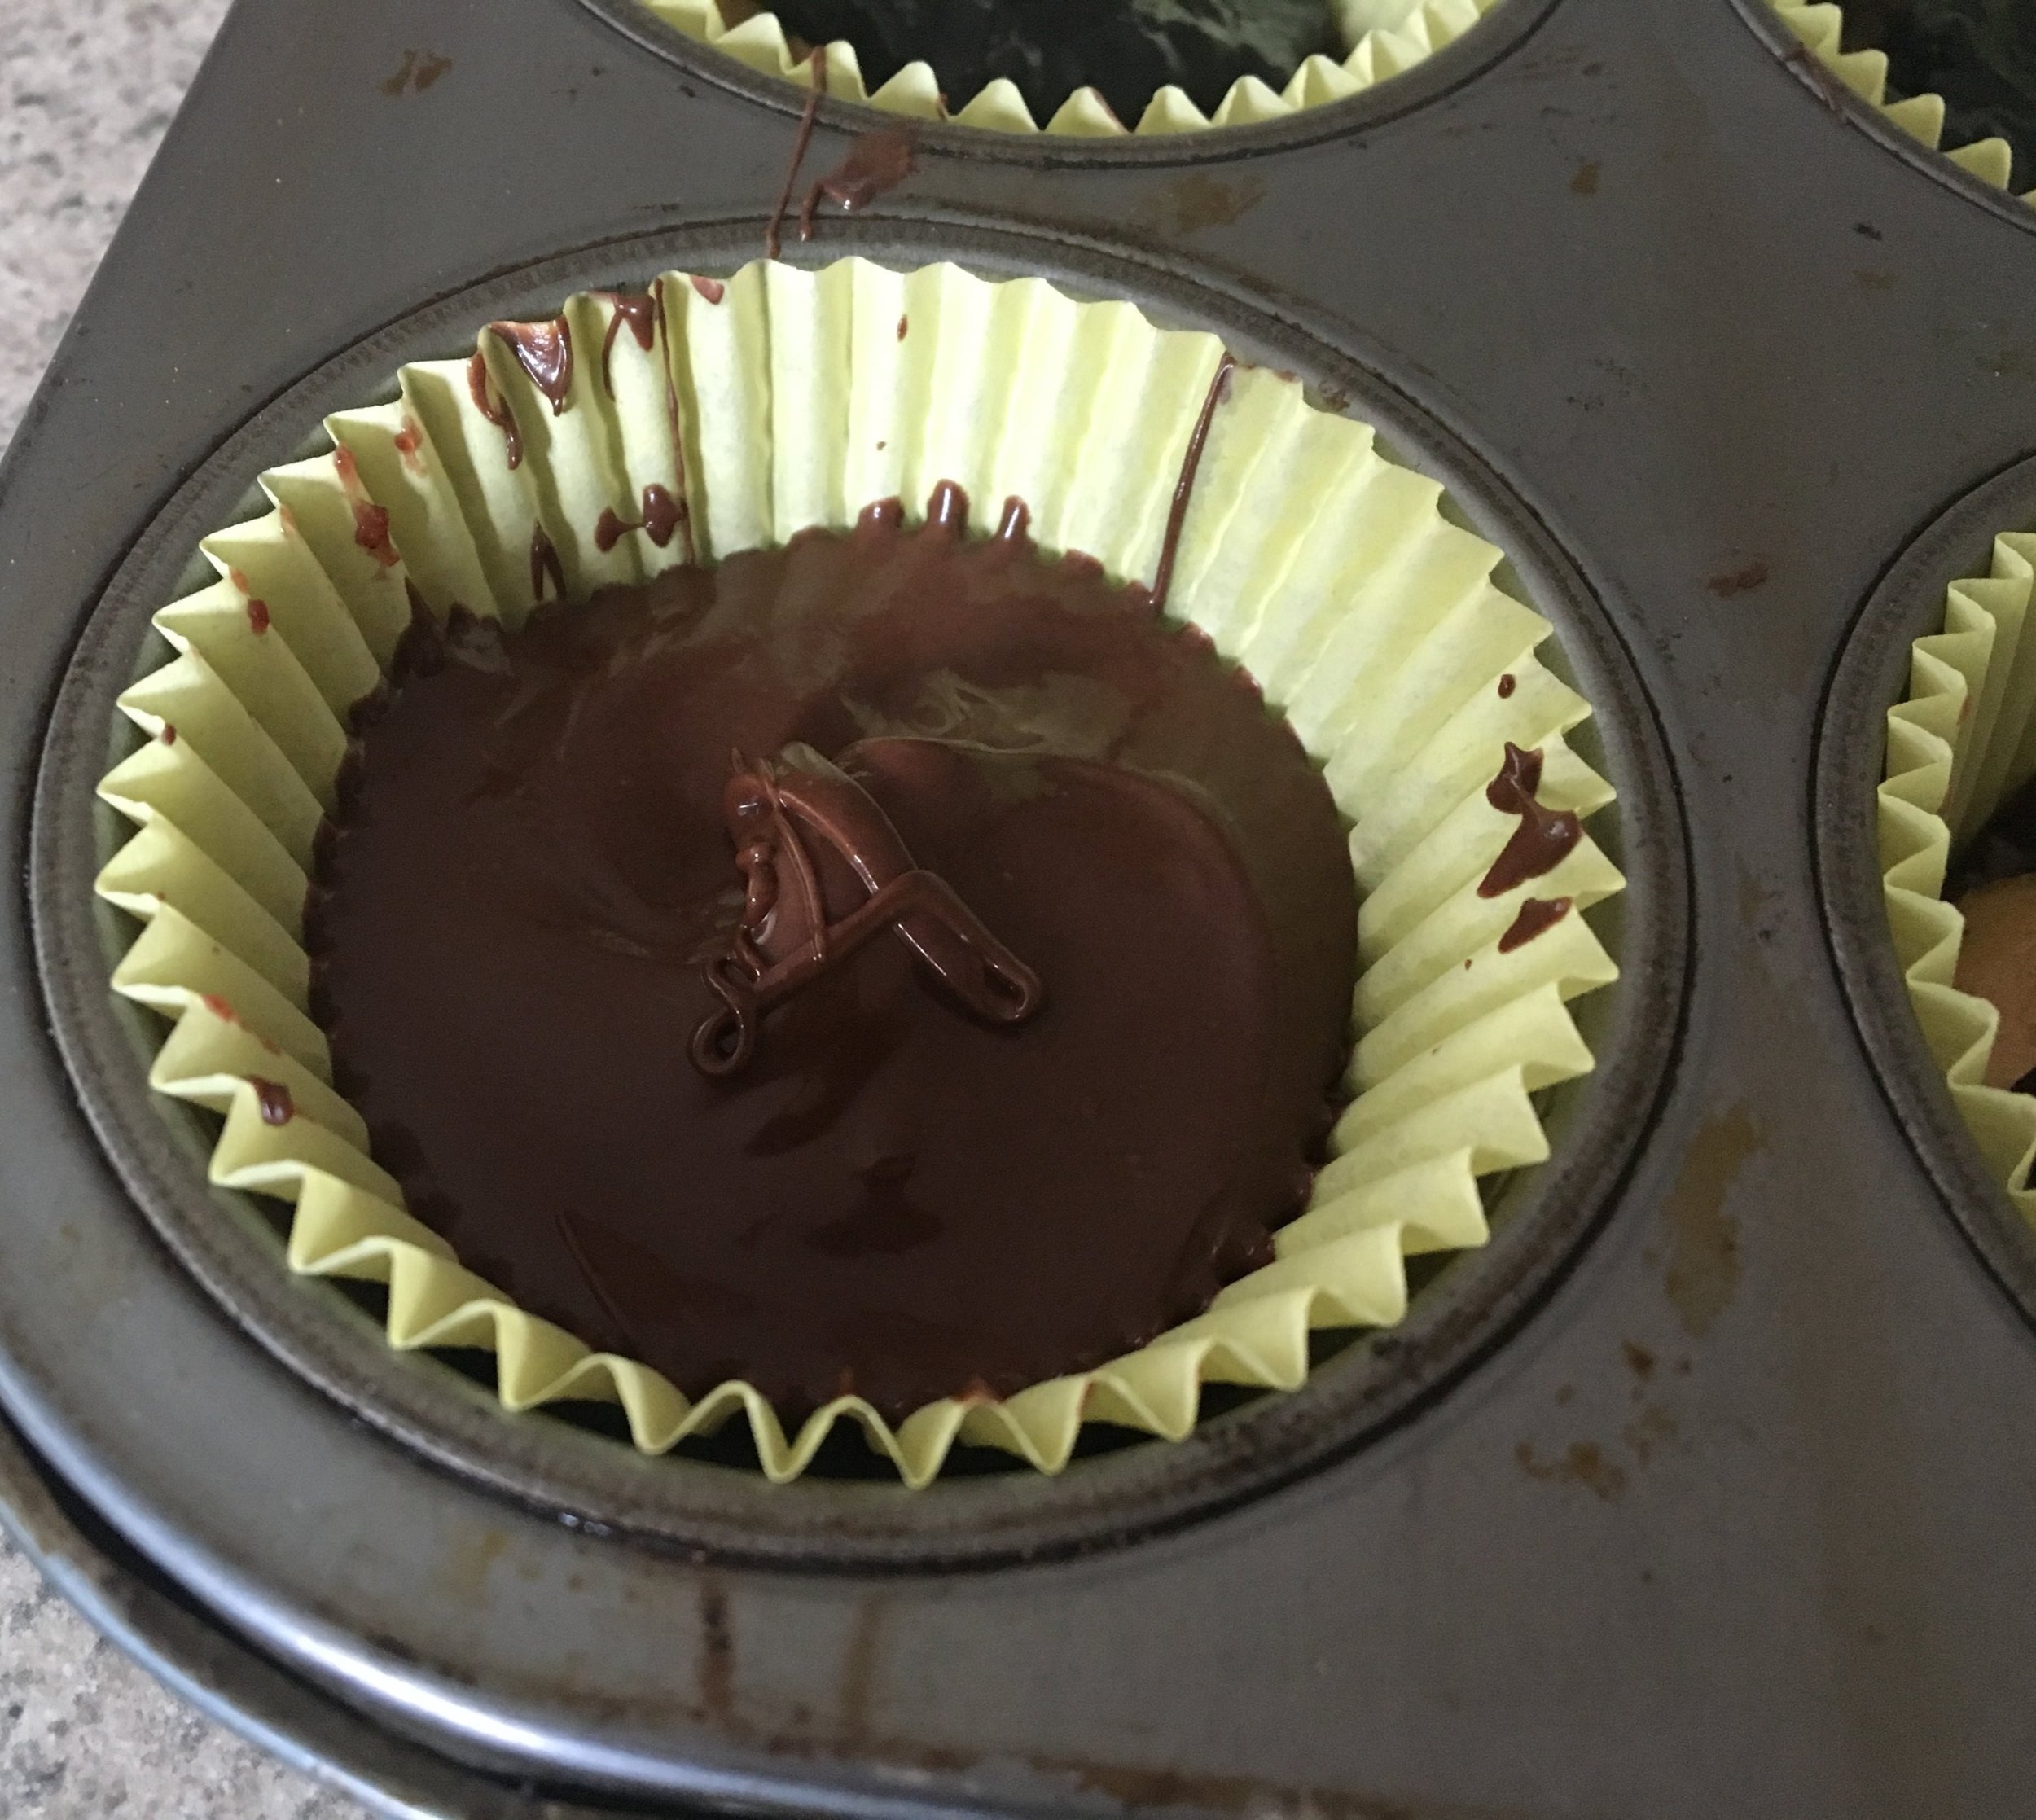
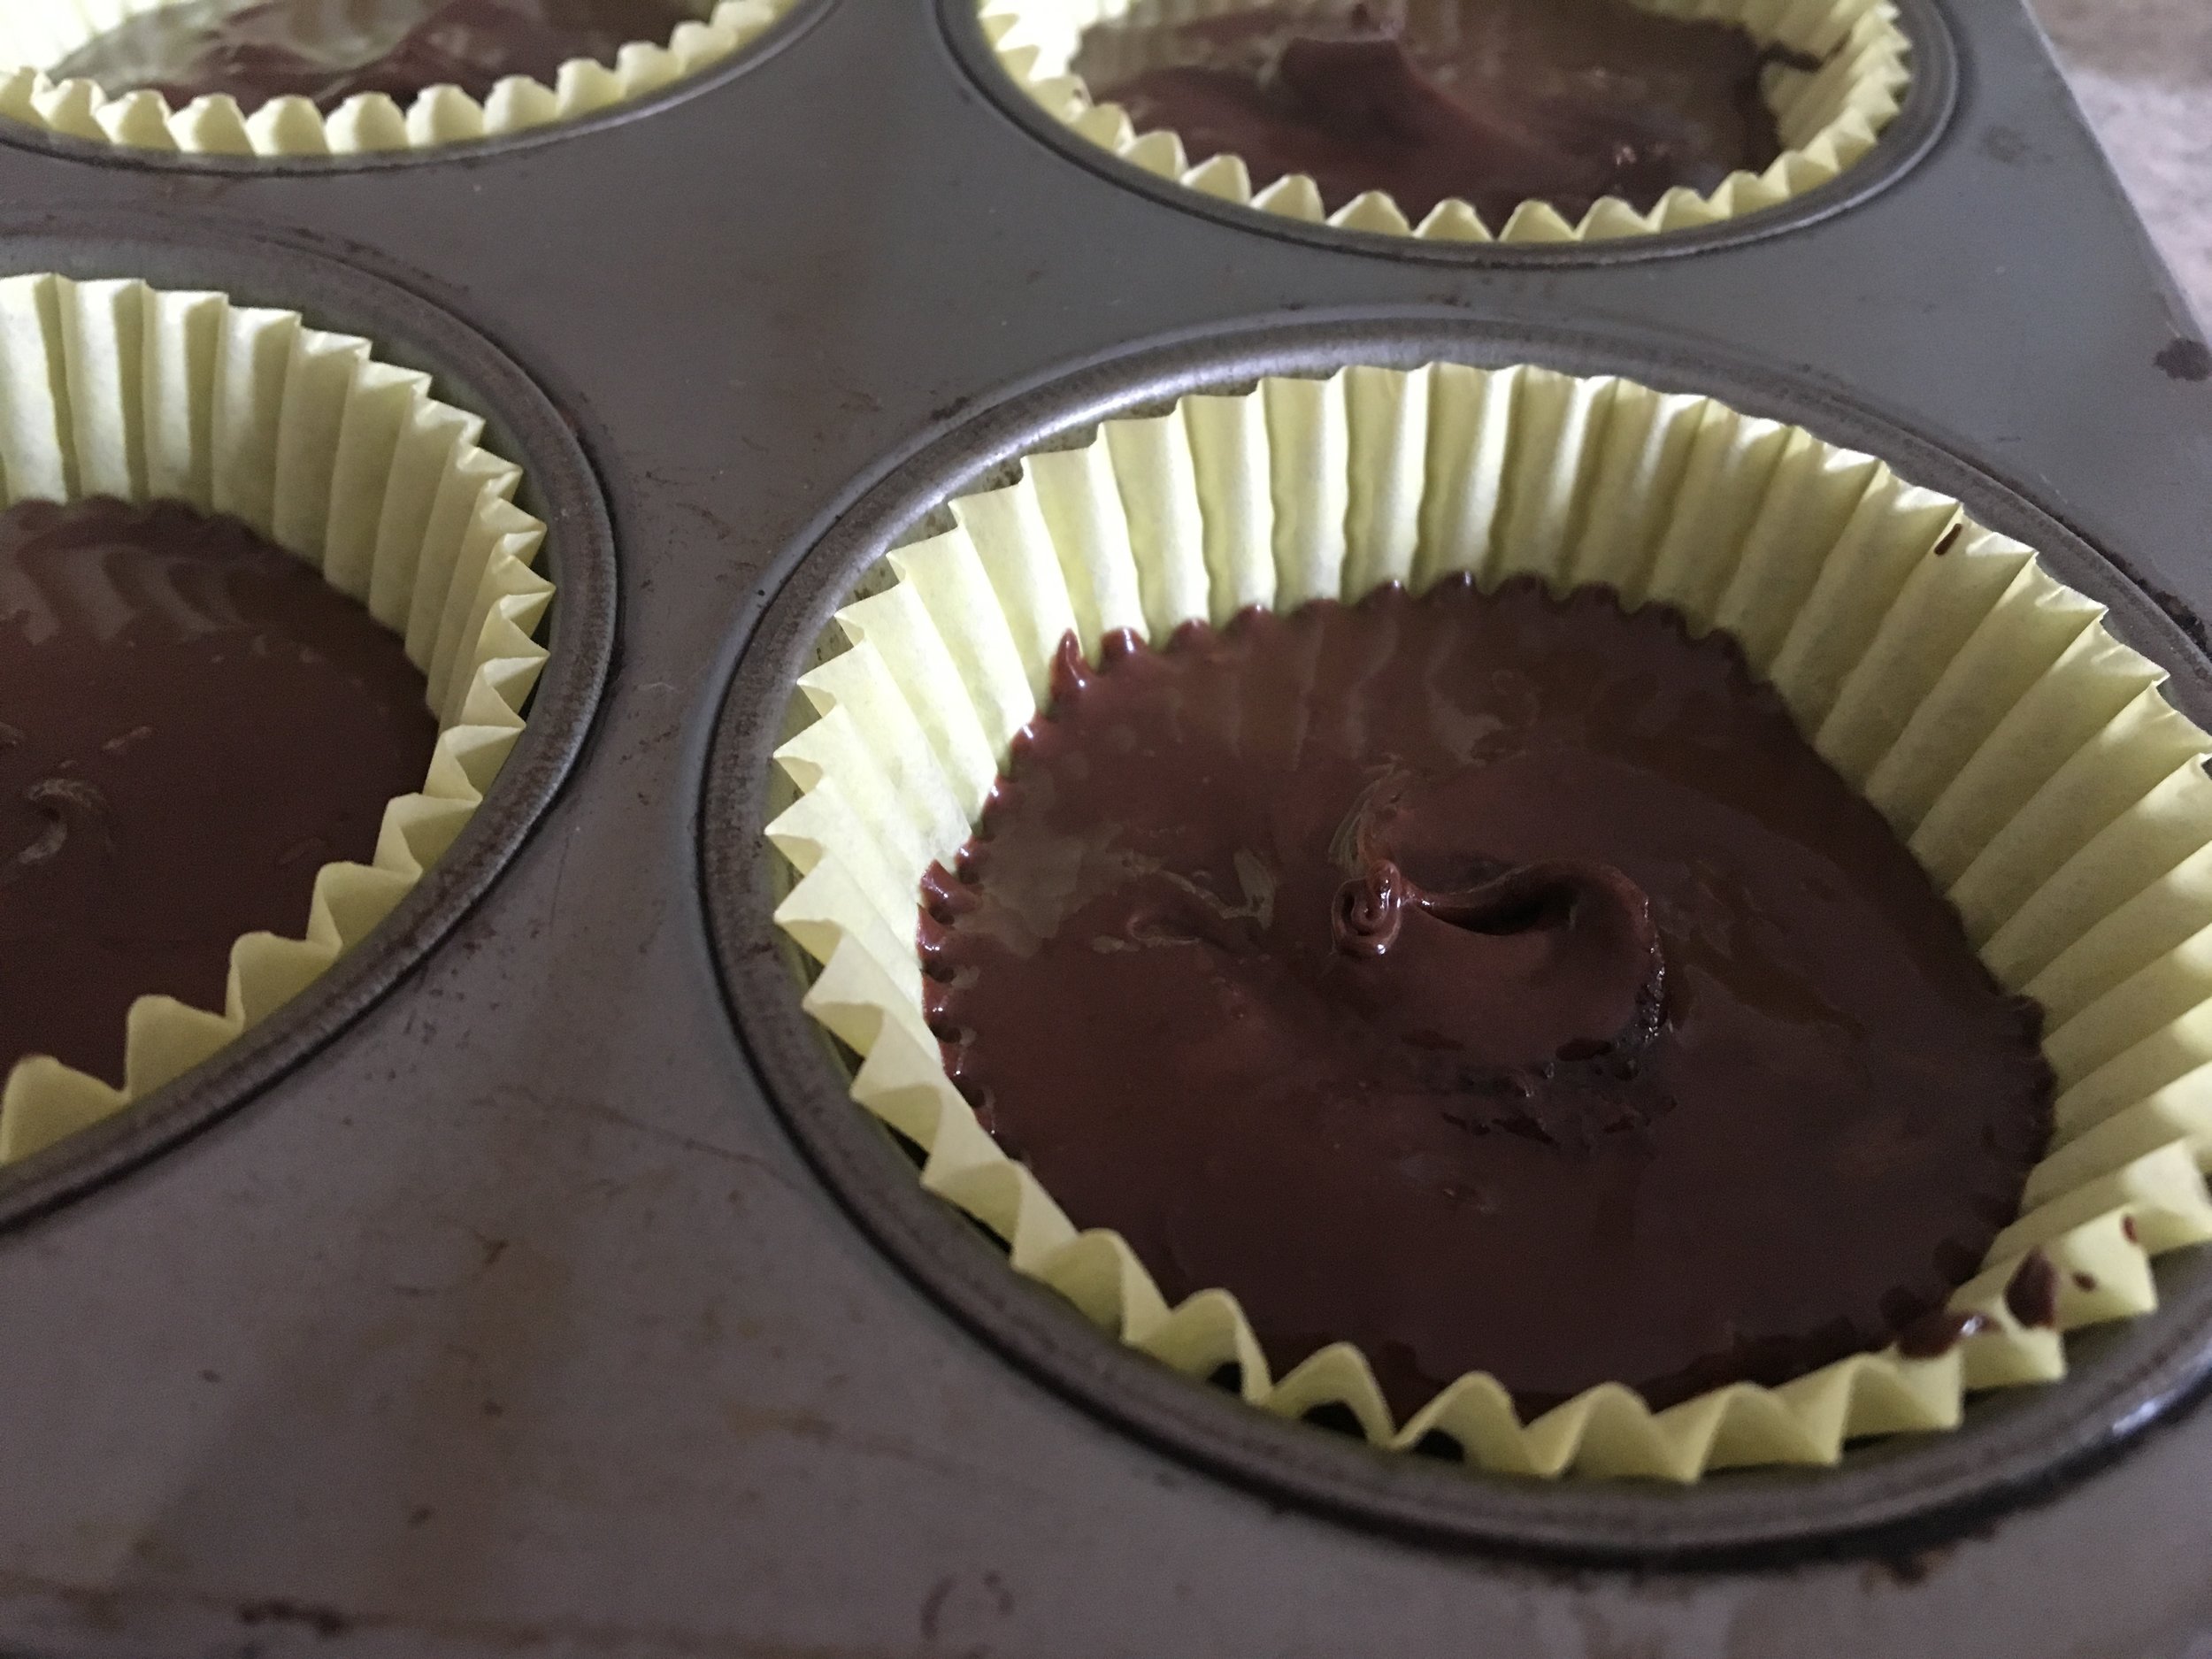
Add the remaining chocolate (1 Tablespoon (Tbsp)) to each of the cups. Use a spoon or small spatula and spread chocolate over peanut butter and jelly to the edge of the cupcake liner to seal in the yumminess. Refrigerate for 20 minutes or until set.
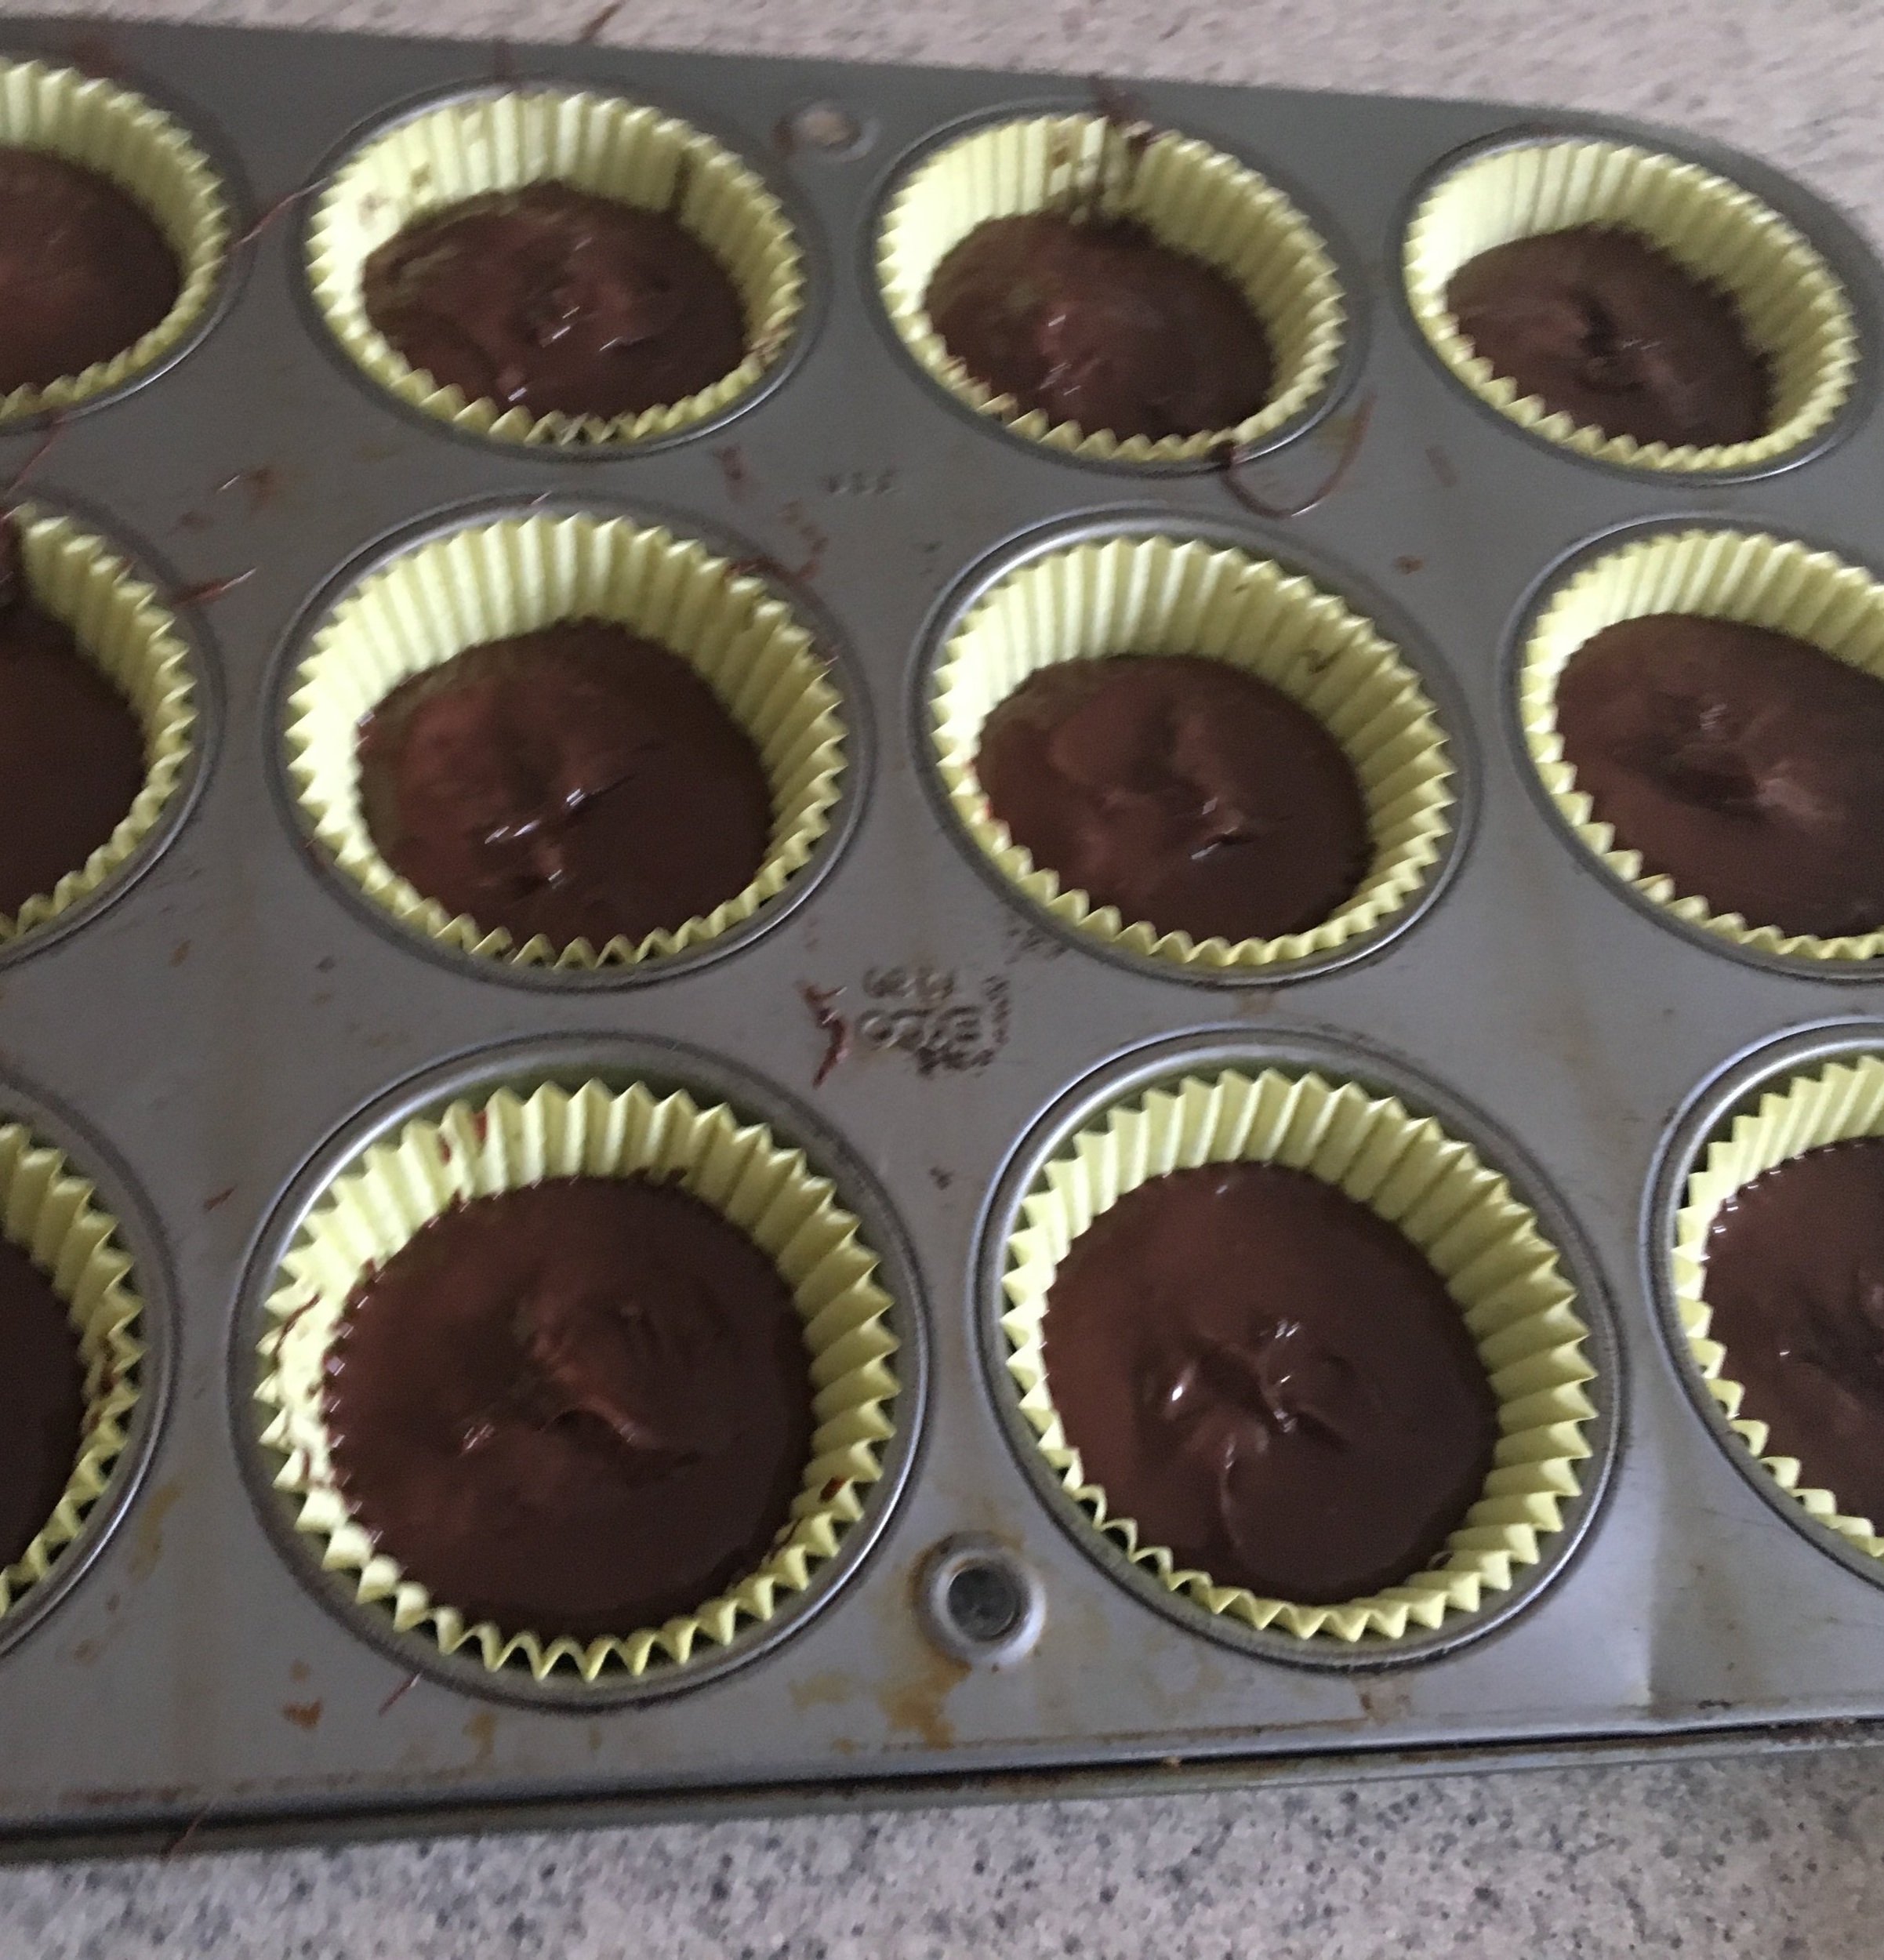
Remove from refrigerator, sprinkle with coarse sea salt and enjoy!