Cherchies Blog

cherry butter spread

Apple Butter Sundae Recipe

dessertsSheri SpalloneComment
Cherchies Apple Butter- “One of the best”- Sallyanne 7/4/2020

Originally posted in 2015, this recipe and pictures have been updated.

A spread of Apple Butter a day keeps the doctor away. That’s what they say, right? (Just kidding, I know it is an apple a day). I wonder what they say if it’s served over ice cream?

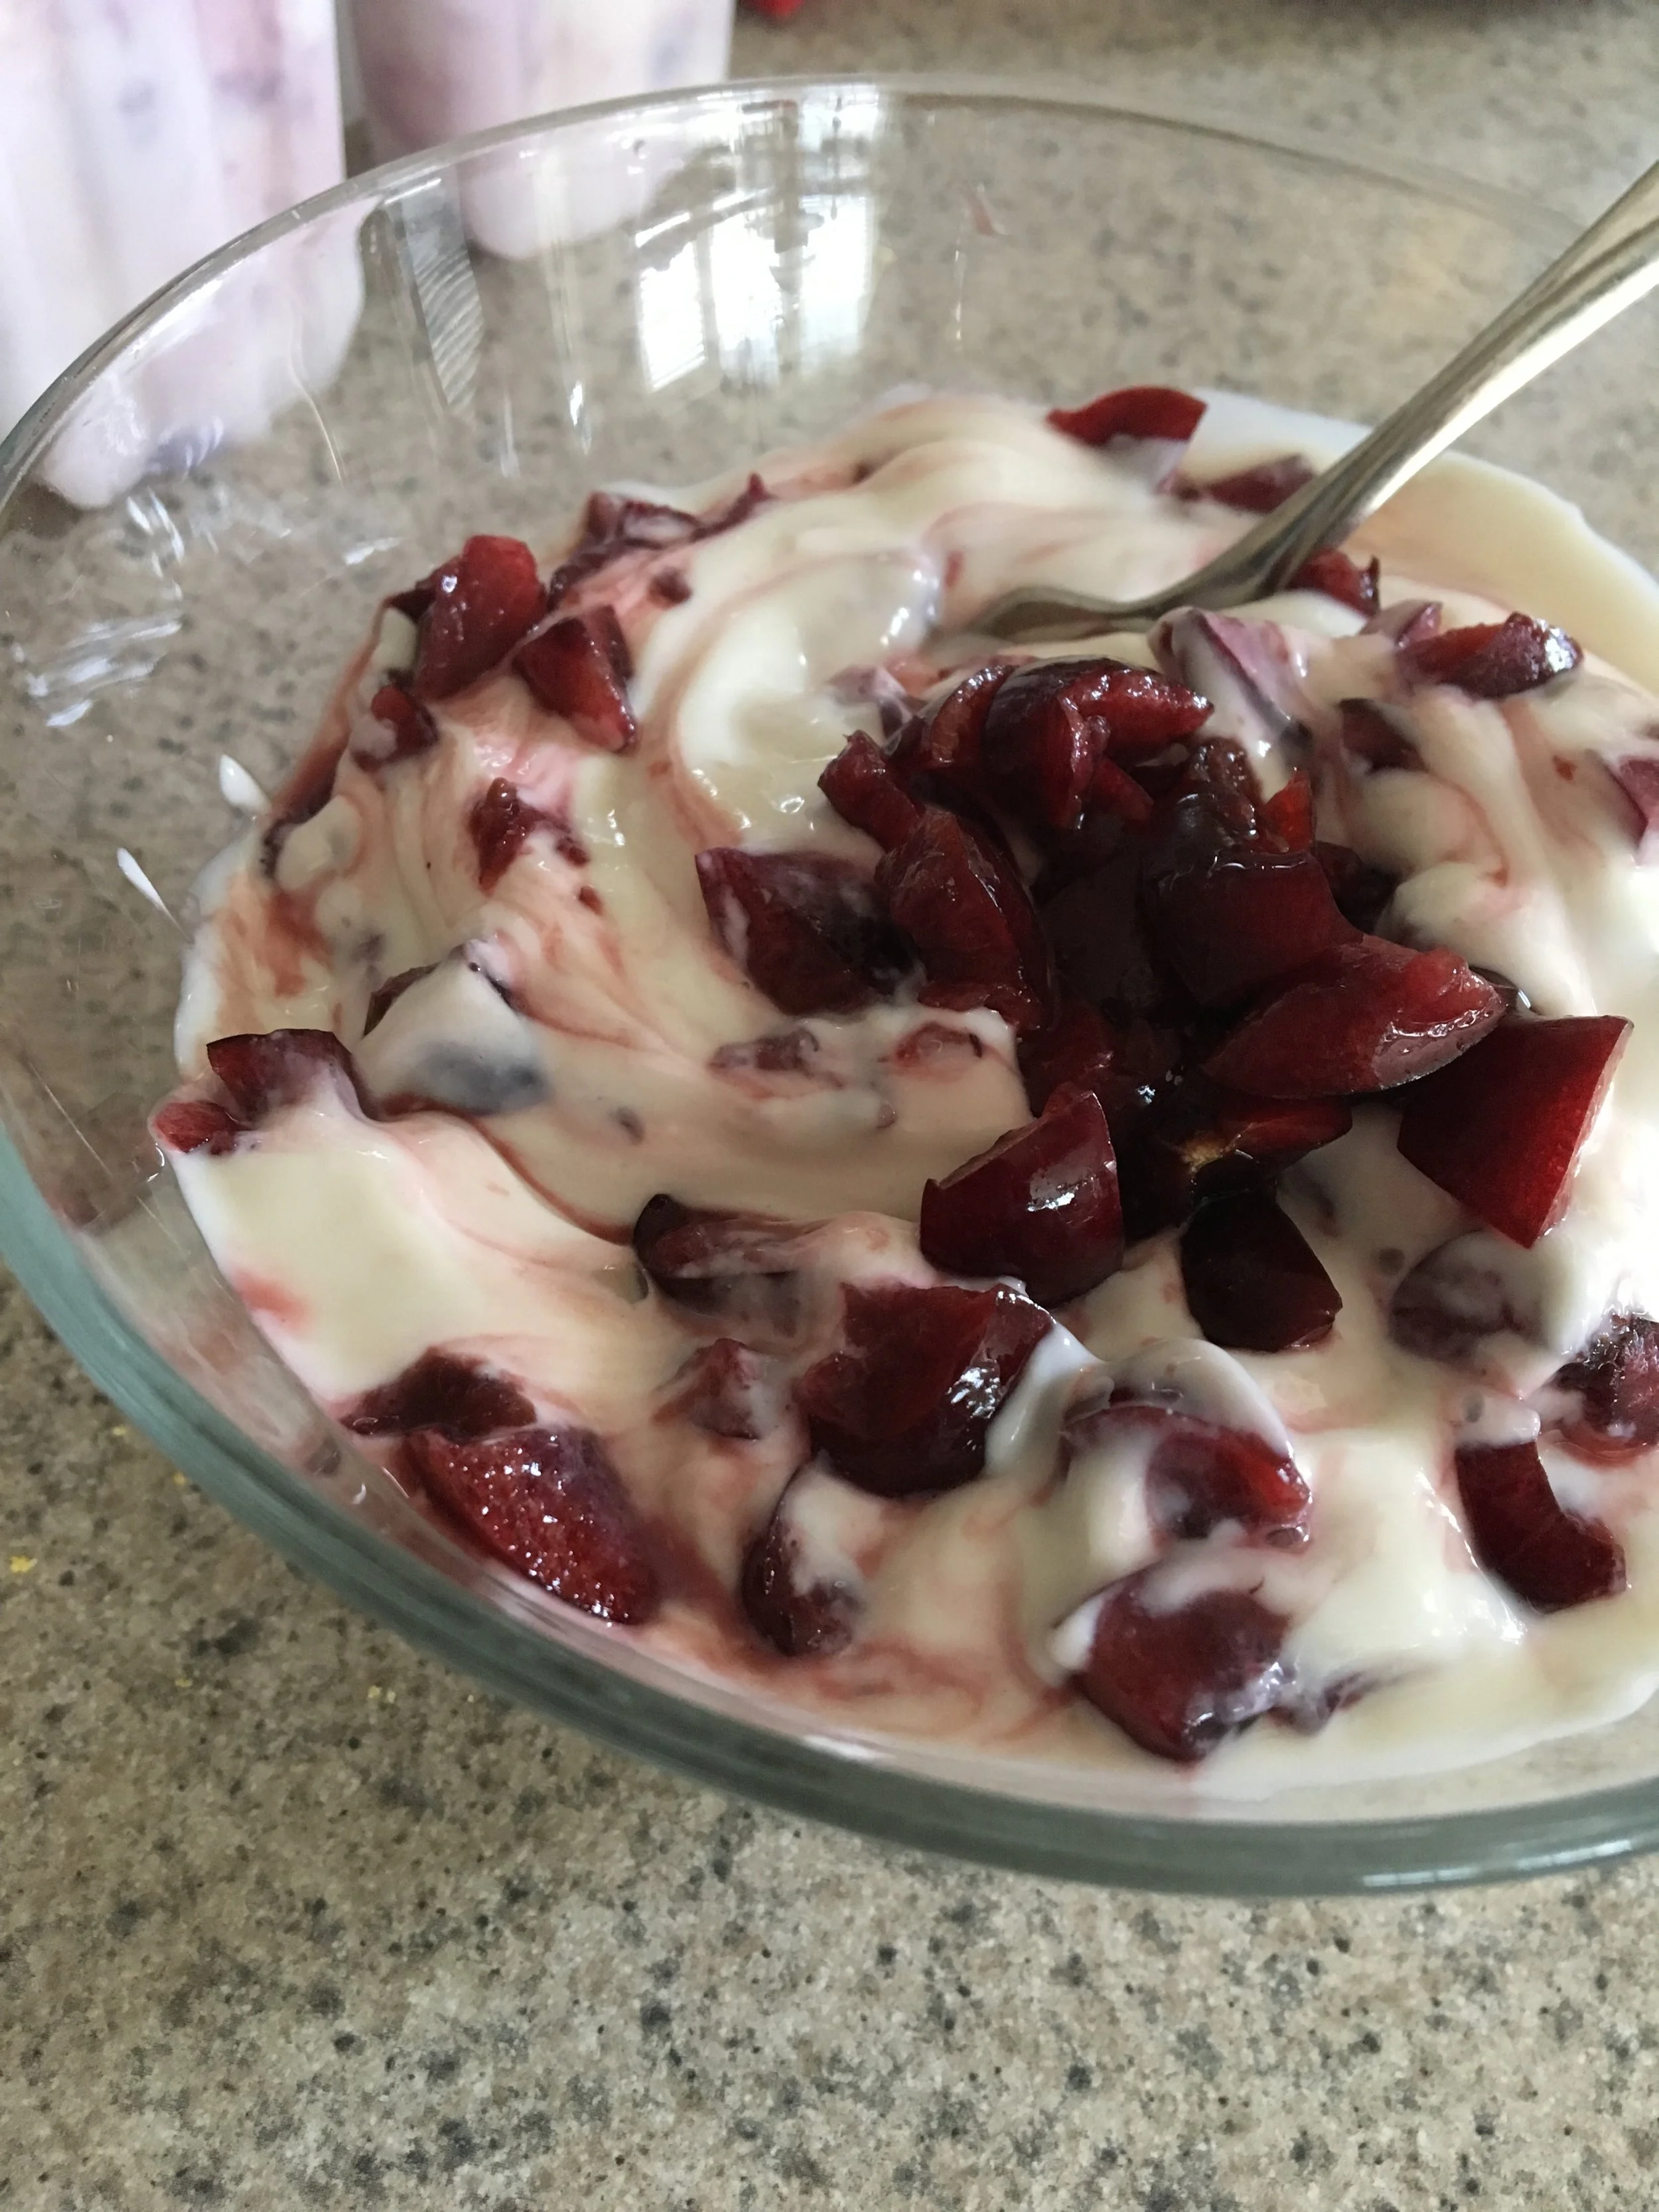
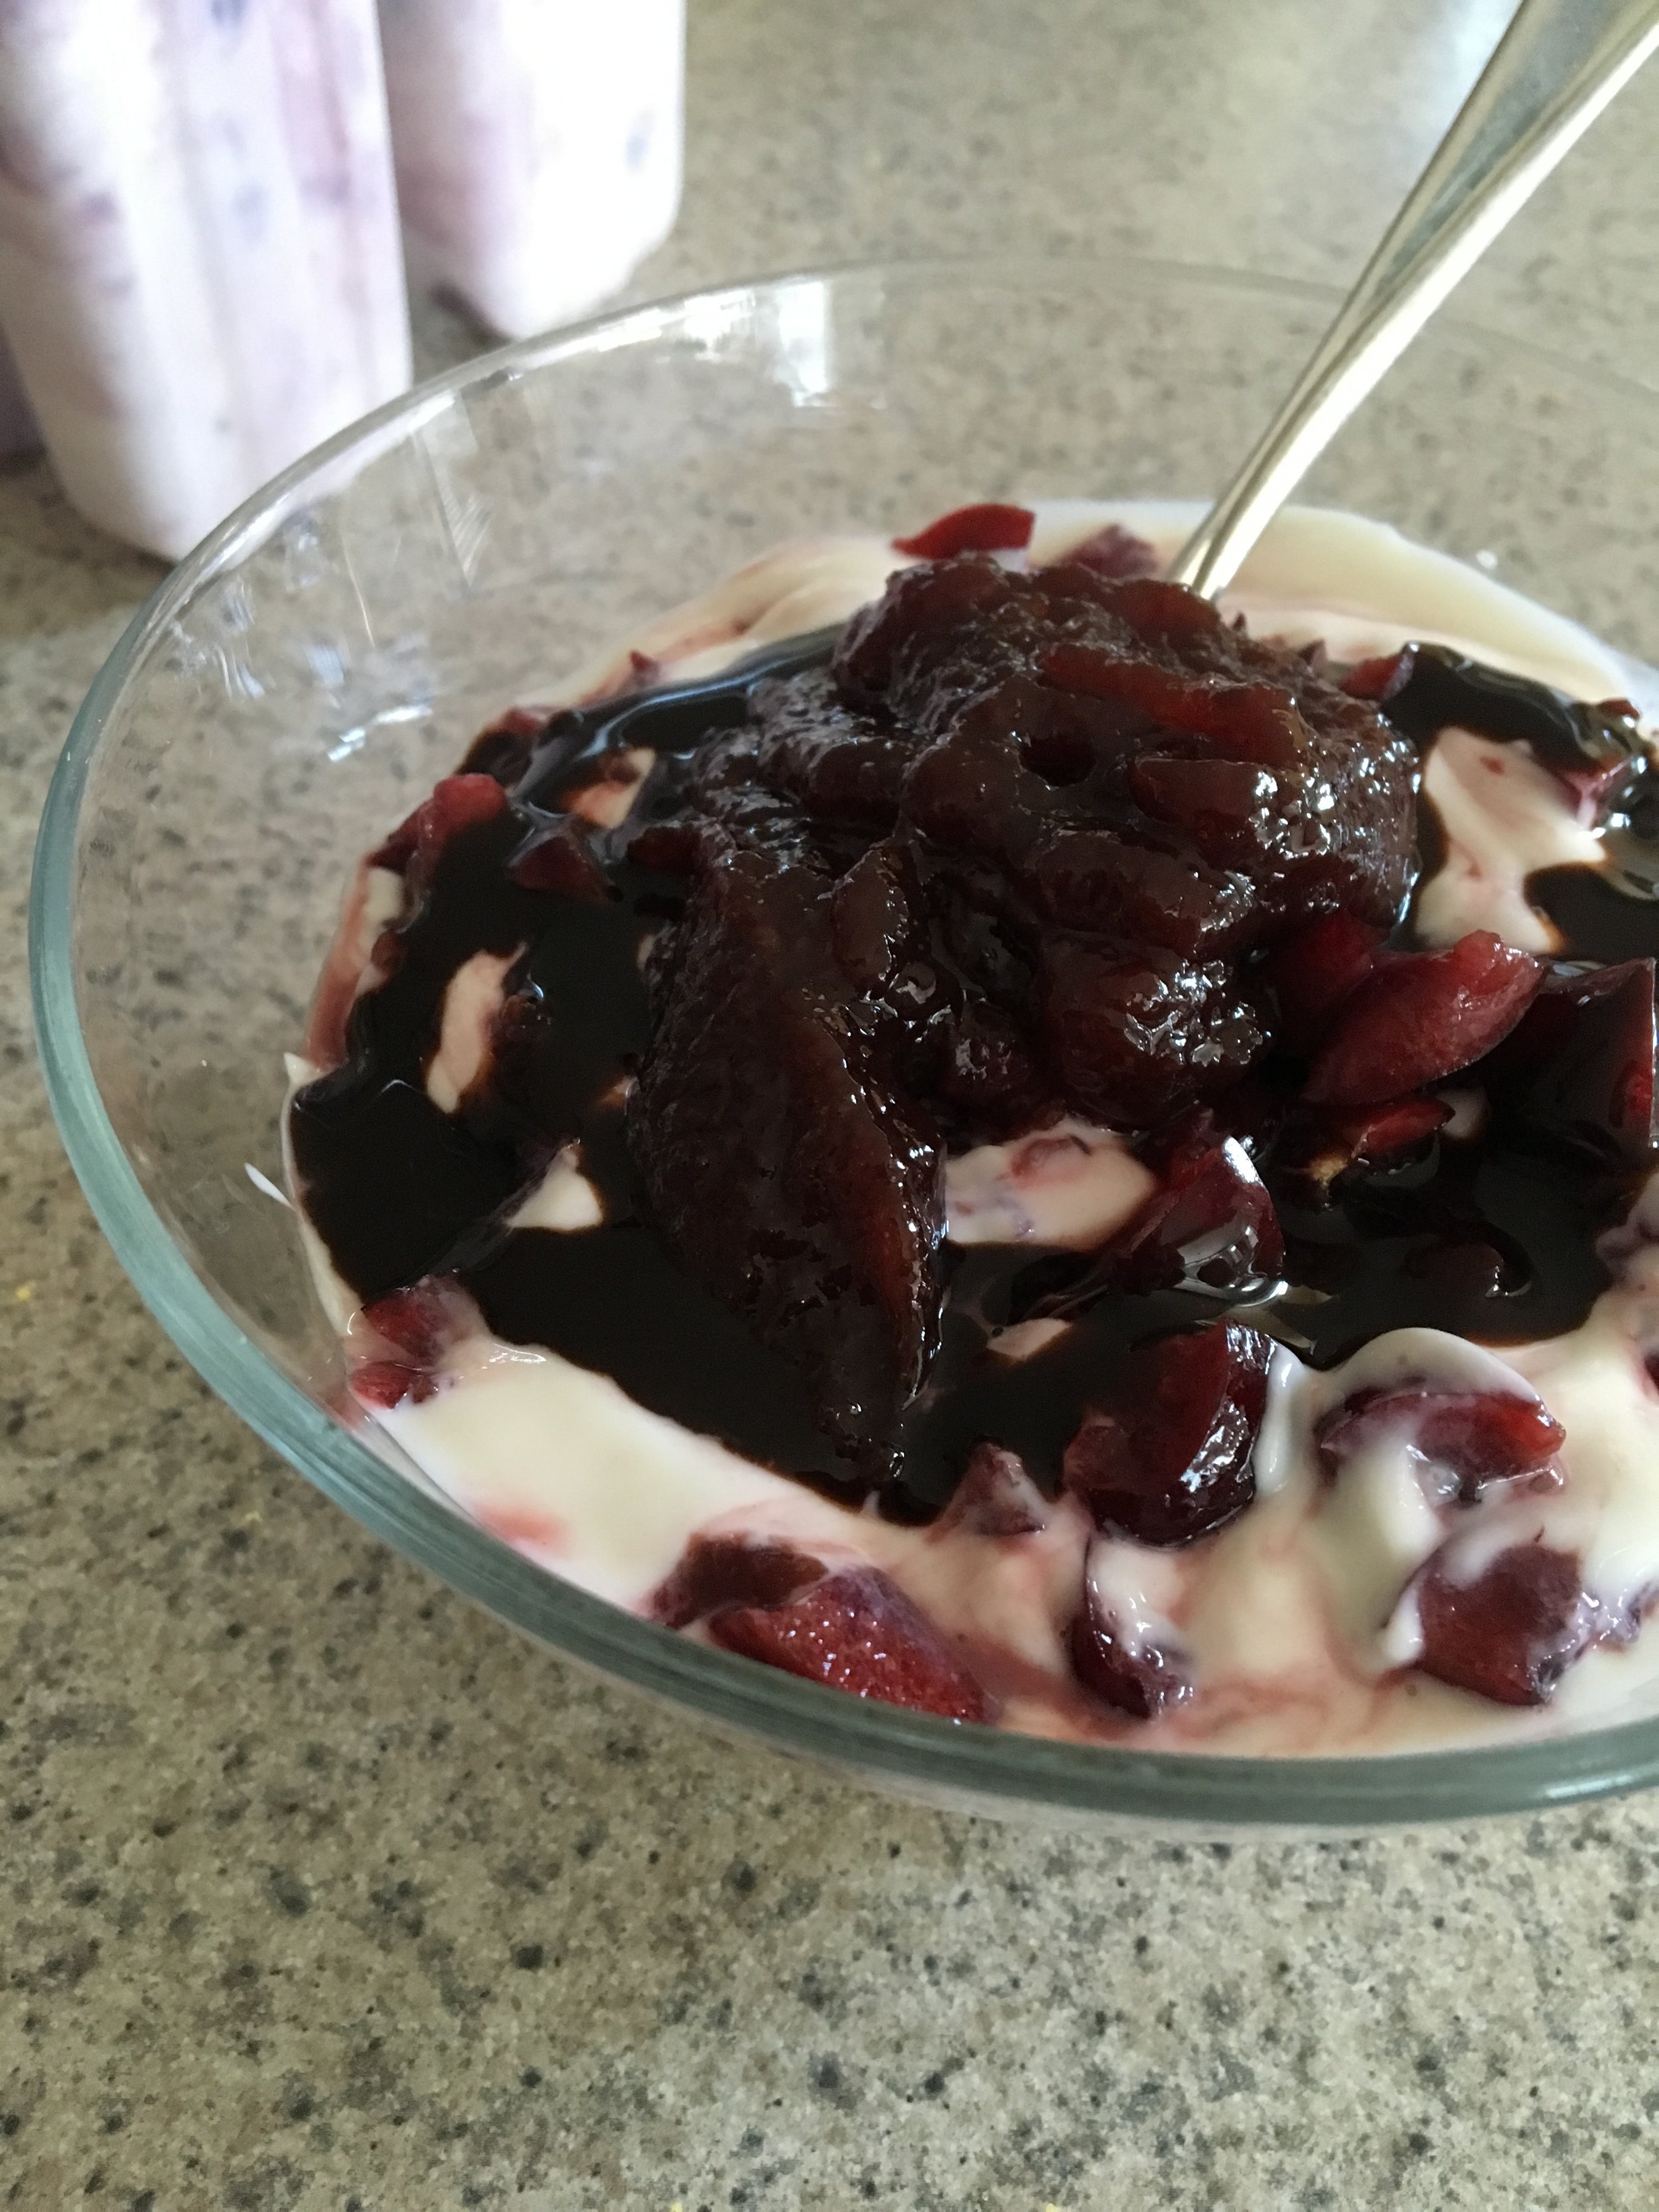
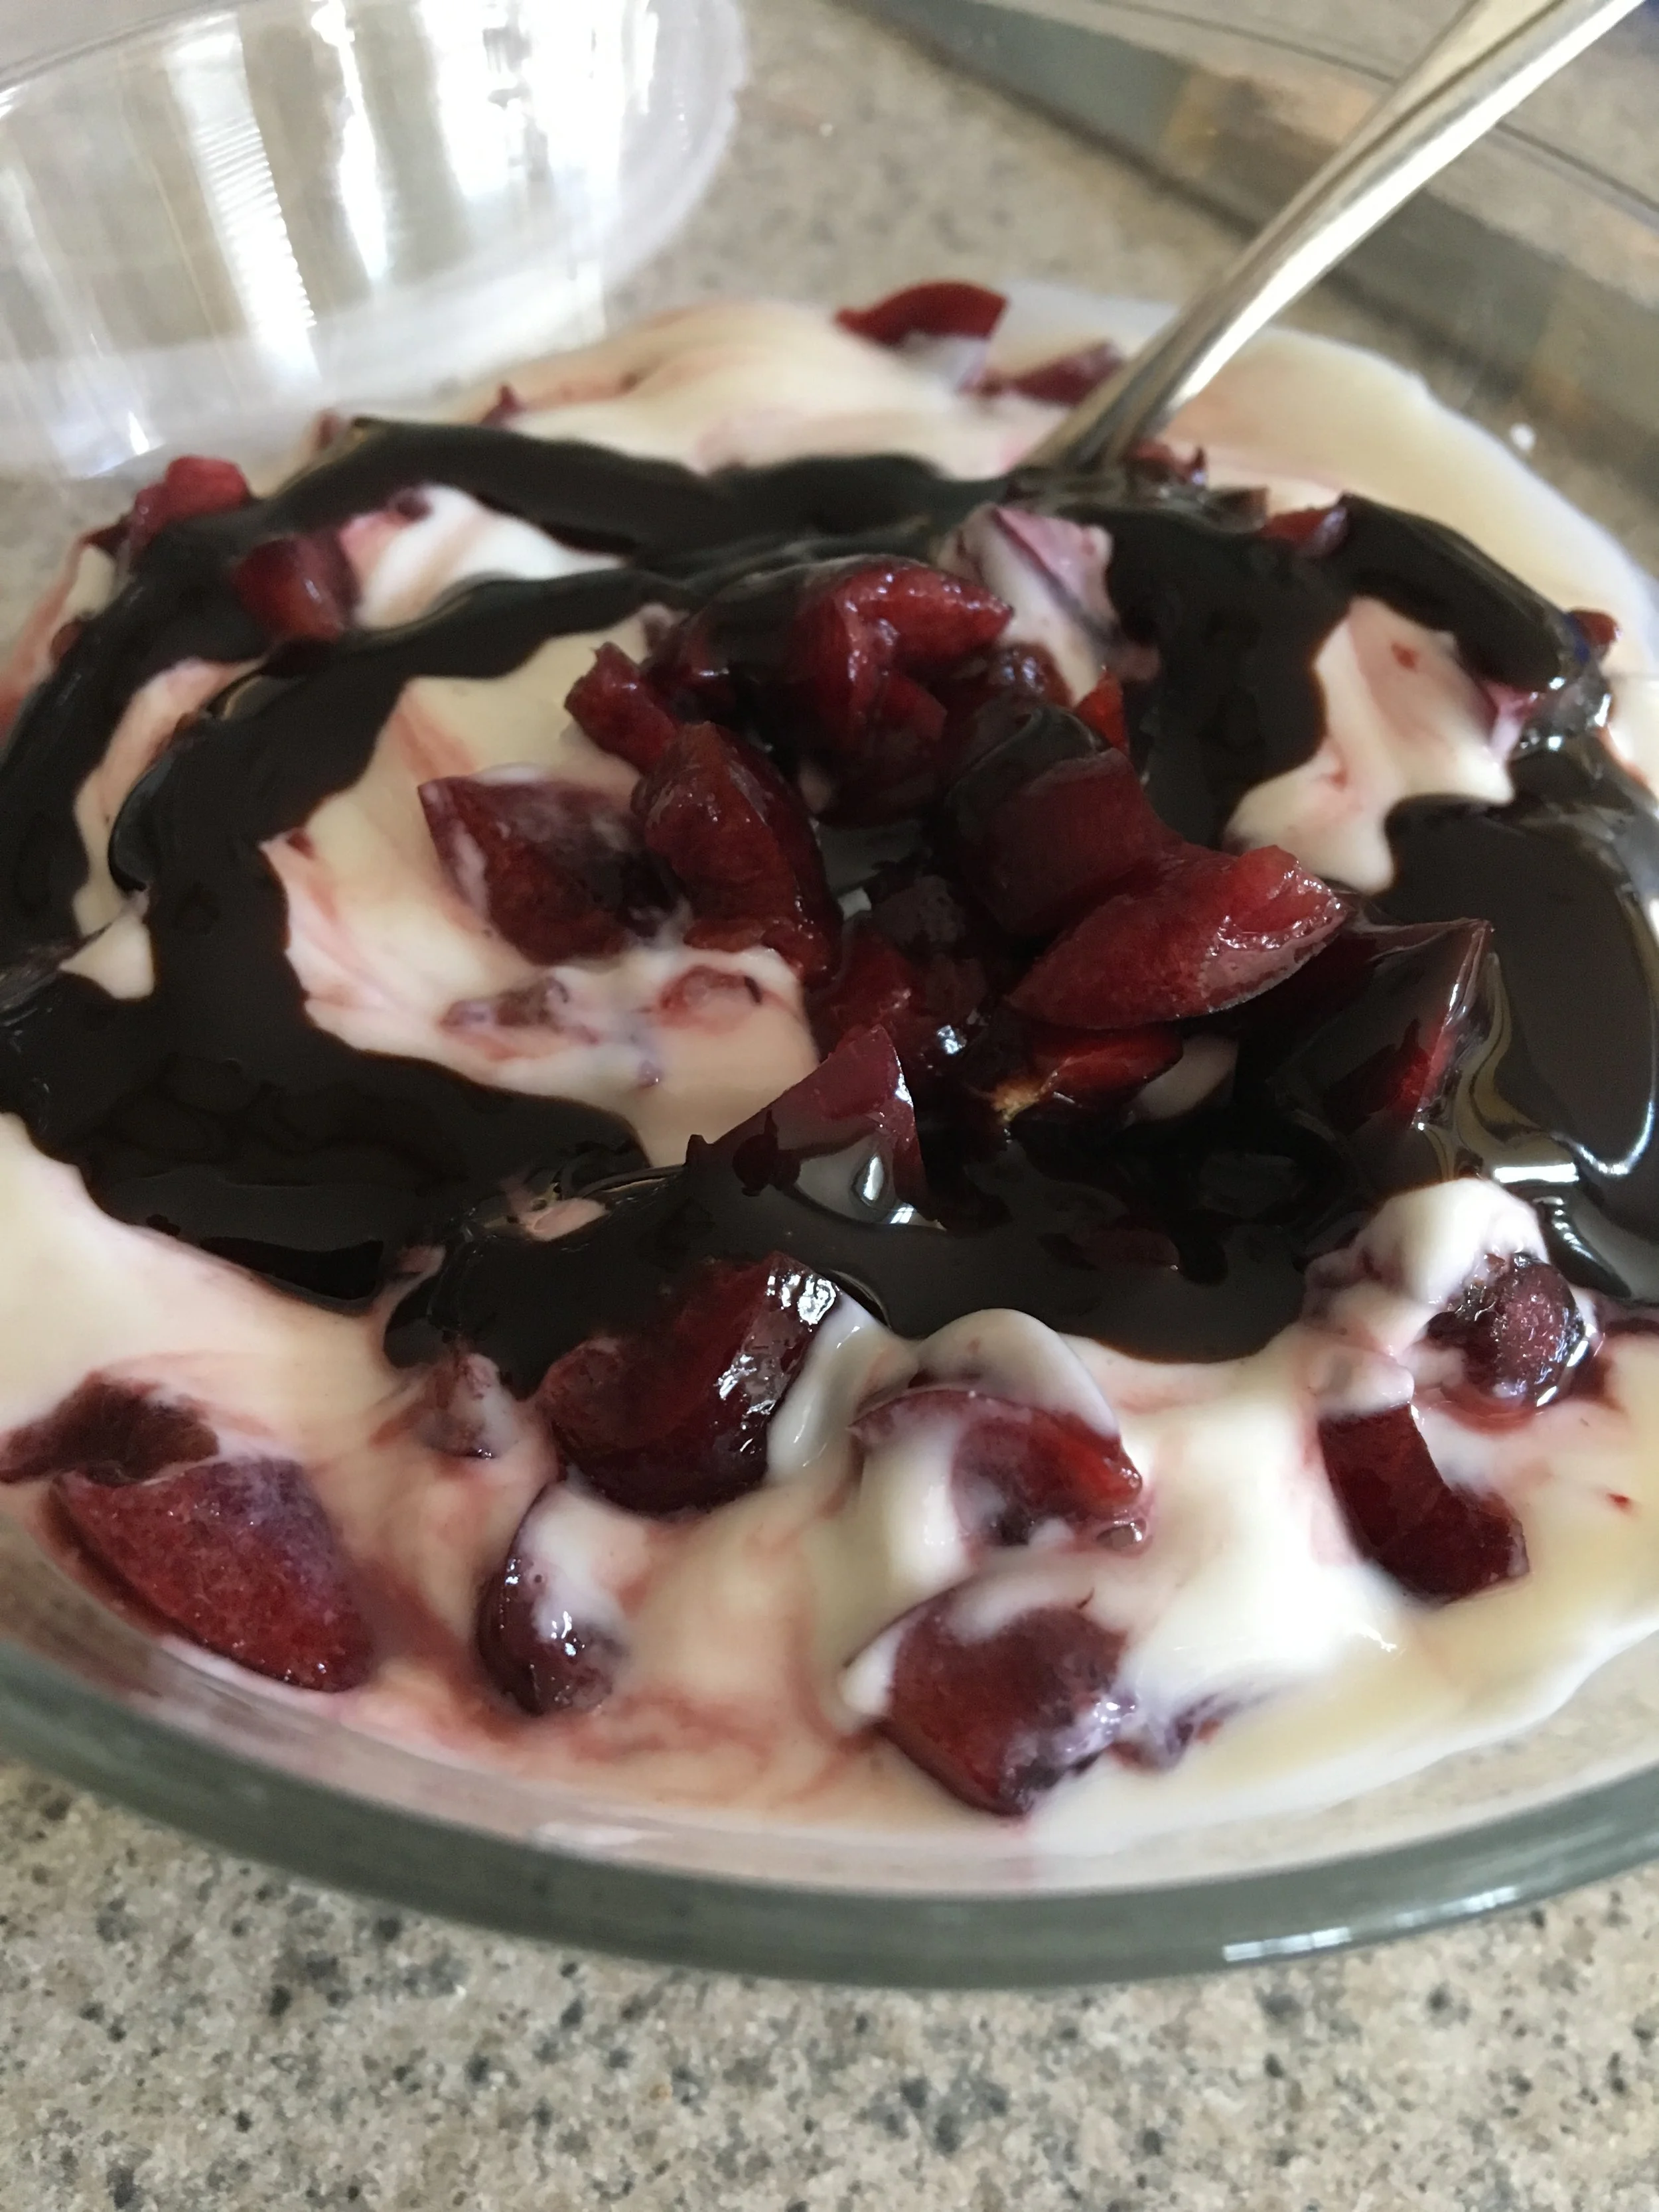
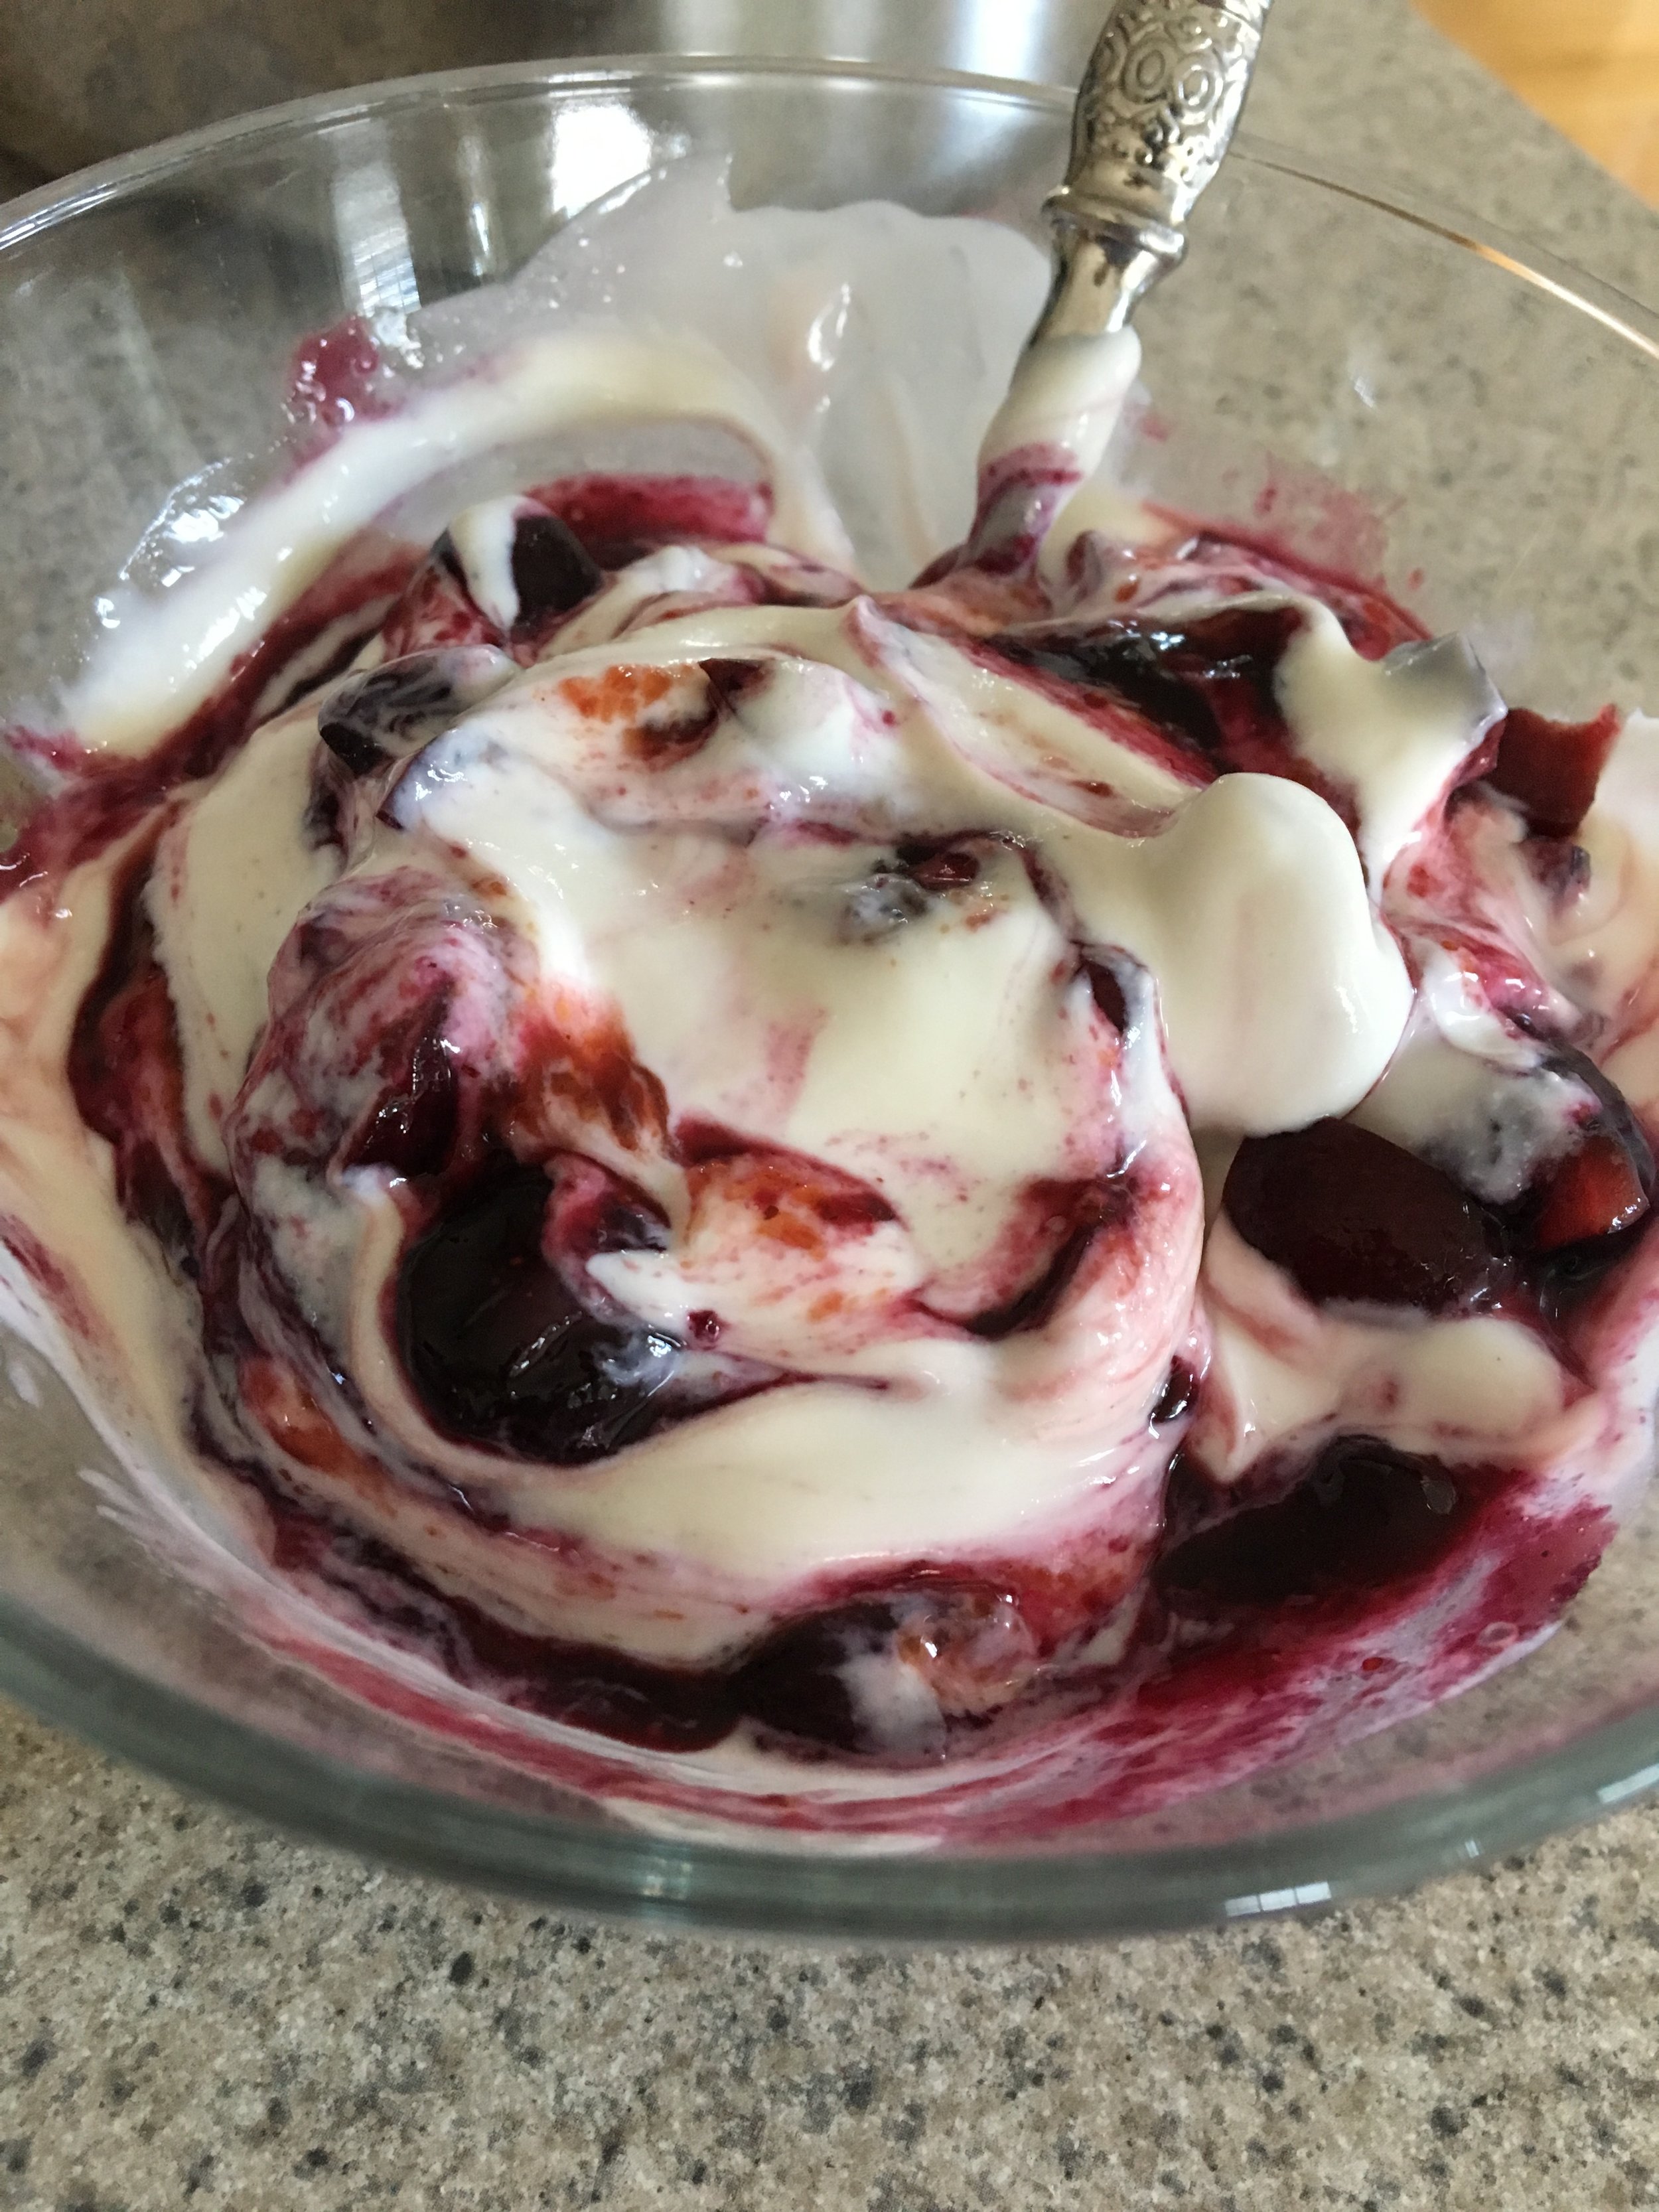
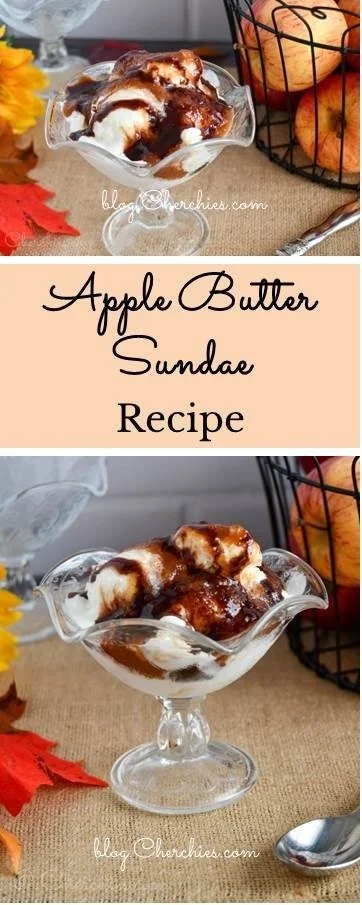
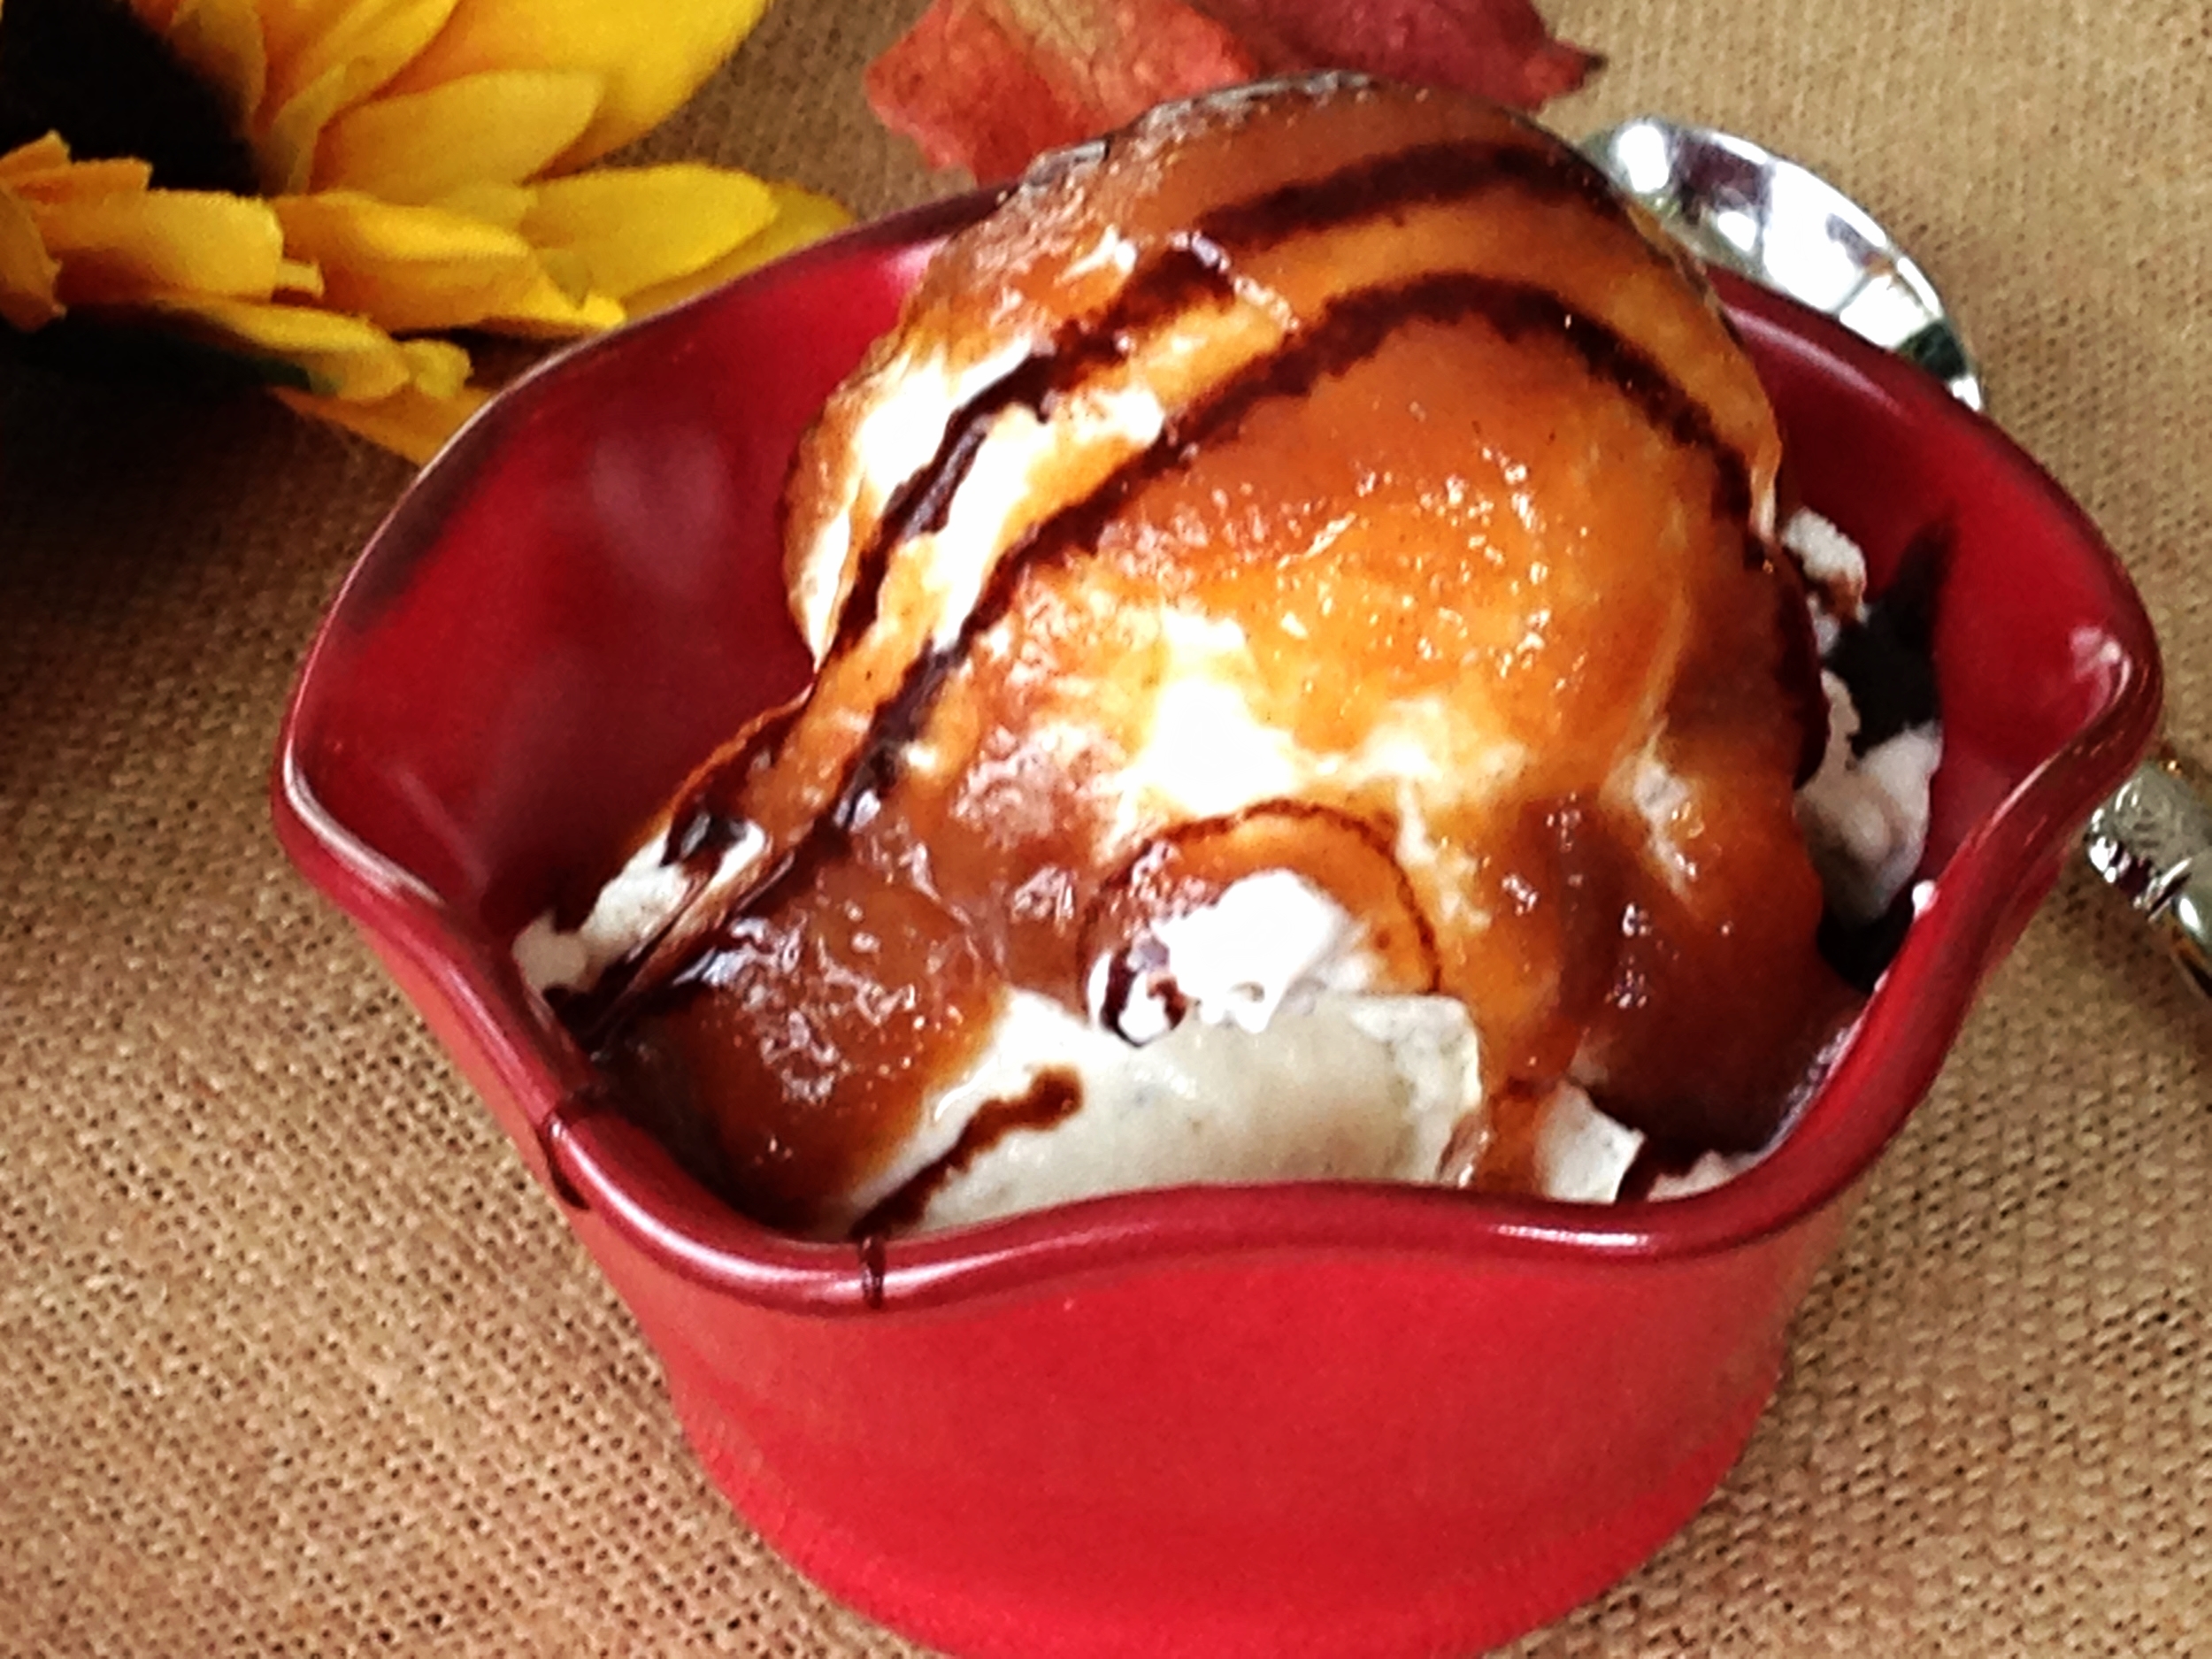
I may have found a new favorite easy dessert, Apple Butter Spread over ice cream, drizzled with chocolate syrup. Yum!

It had never dawned on me to put apple butter over ice cream until my kiddos came up with this concoction. Thank you, kiddos! They heated our apple butter spread, and lovingly decorated their ice cream with it, chocolate sauce, and their favorite sundae toppings for an instant, easy dessert! 

Undoubtedly, ice cream is a delicious, tasty treat, but add apple butter and chocolate syrup to the mix, and your mouth will thank you for the explosion of flavors and texture. So what do you say? Are you ready to give this delectable confection a try? You will not be disappointed; it is just what the doctor ordered.

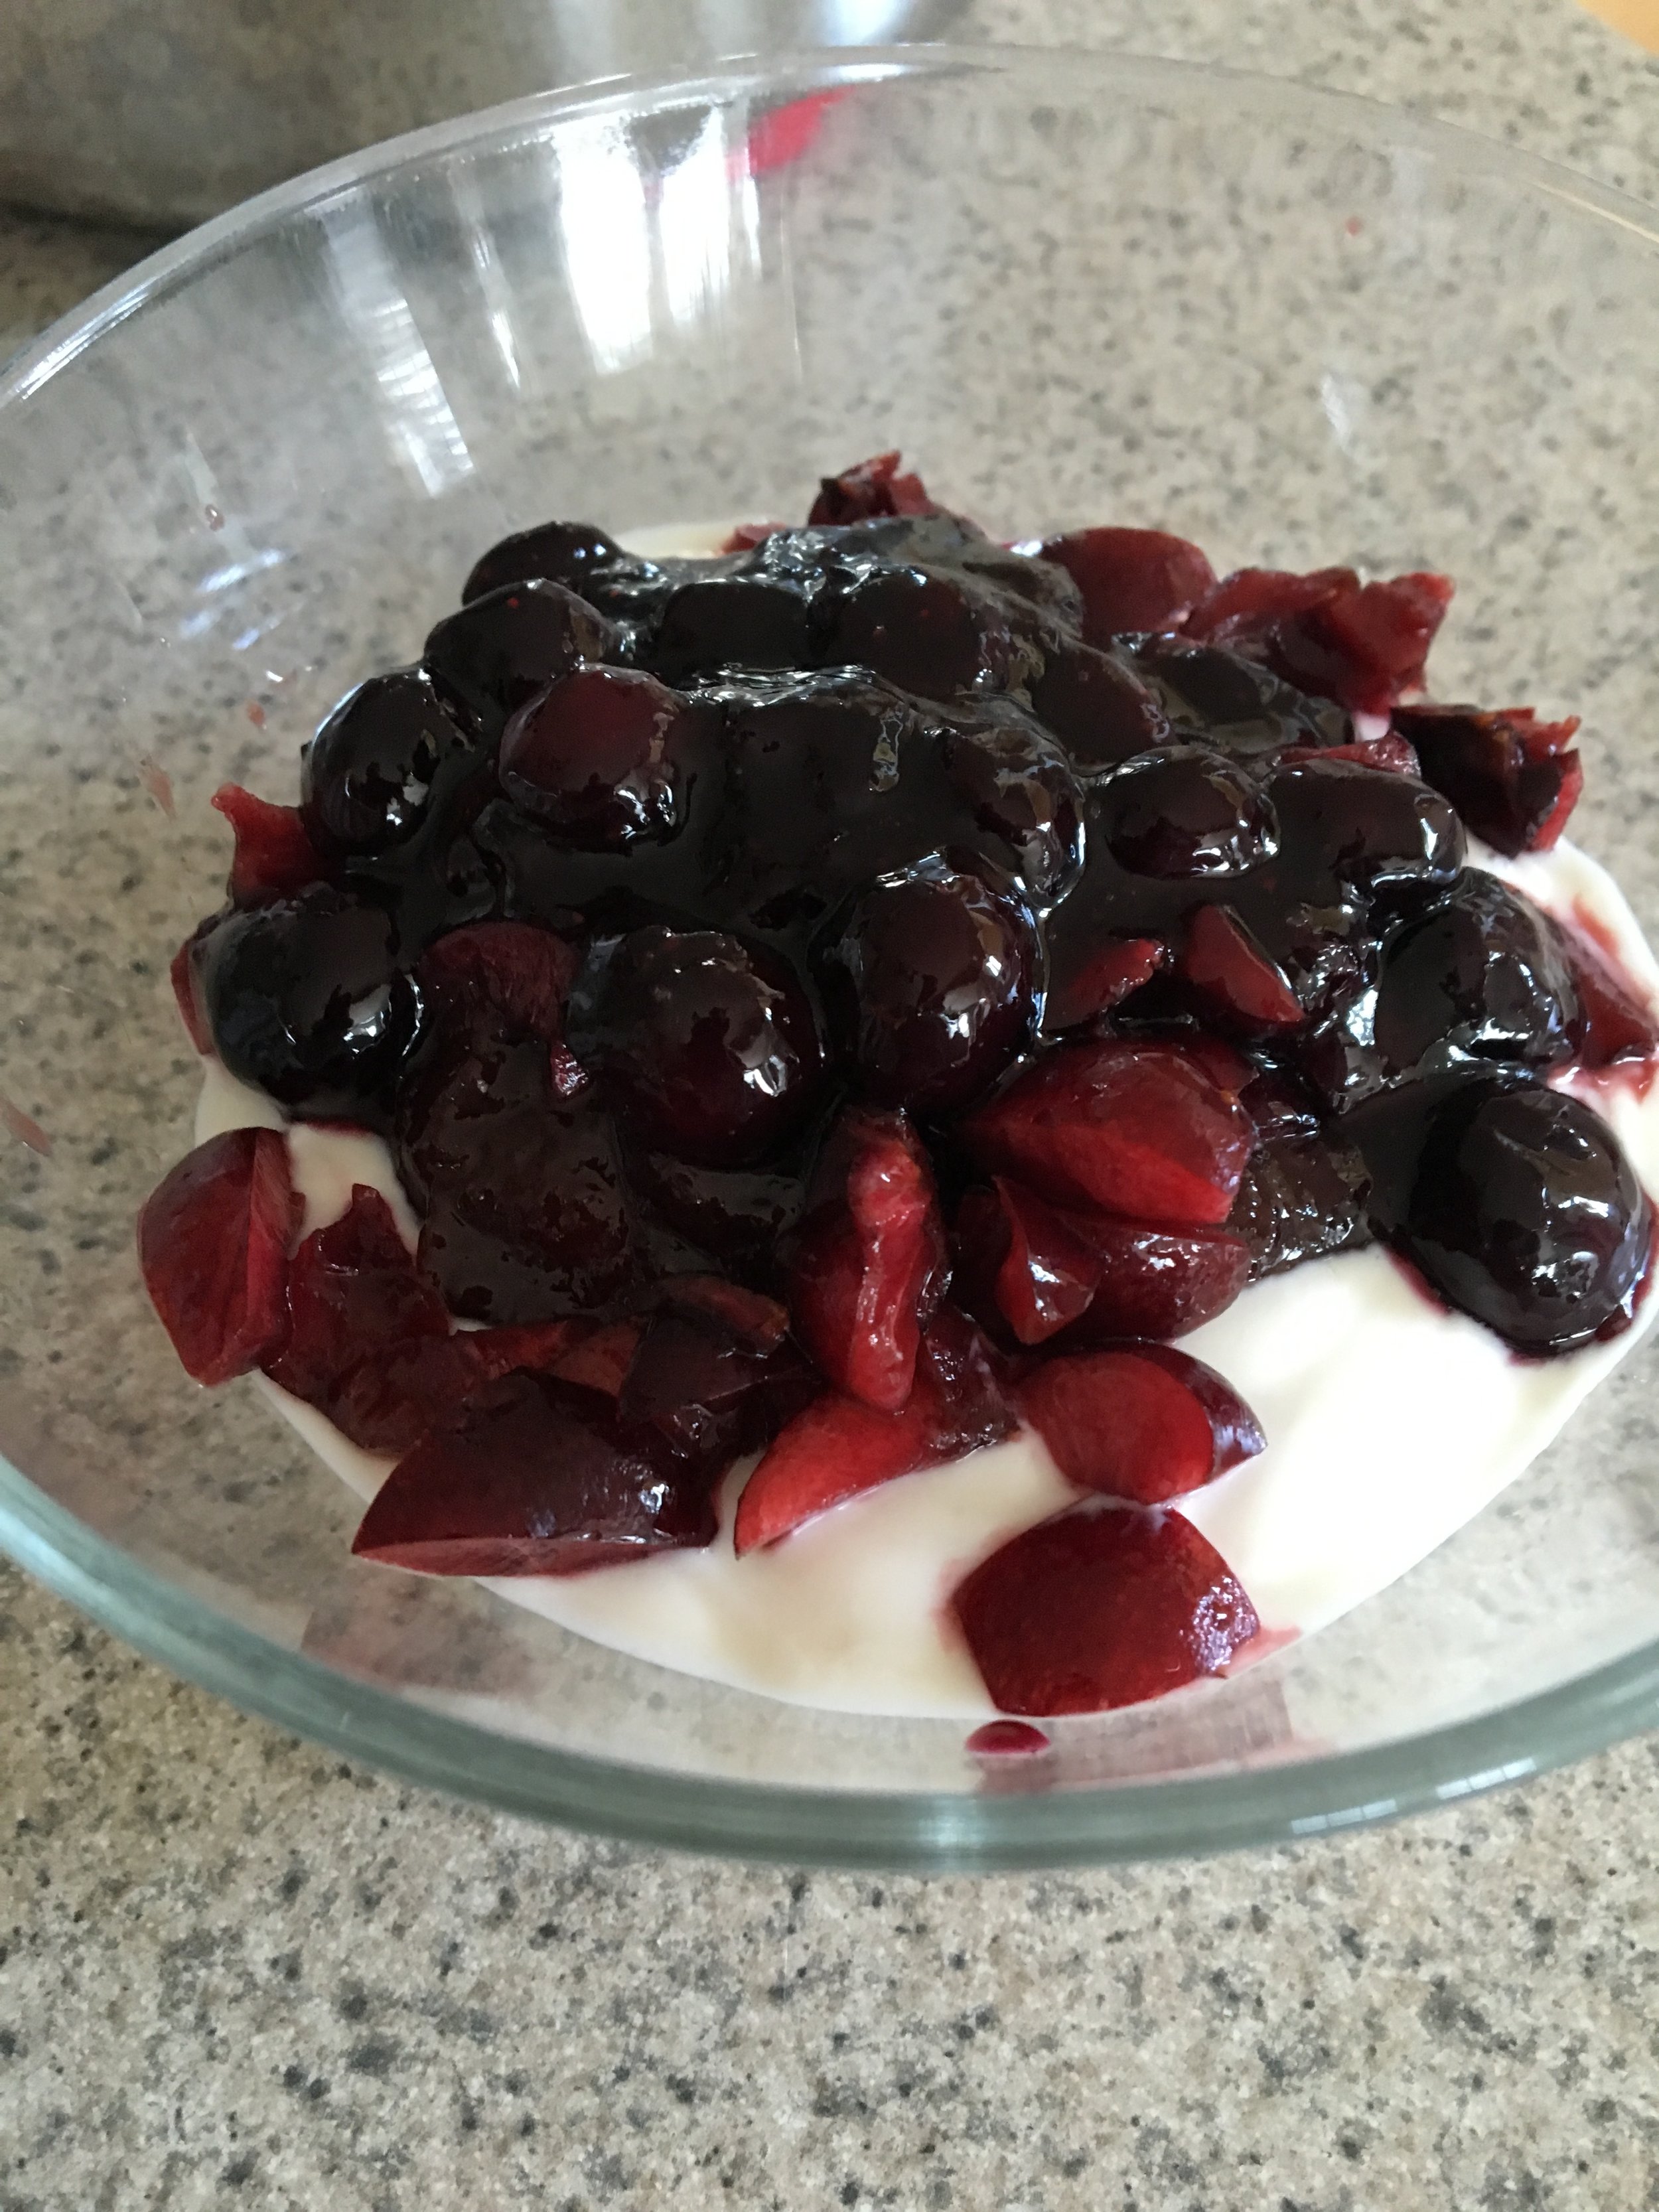
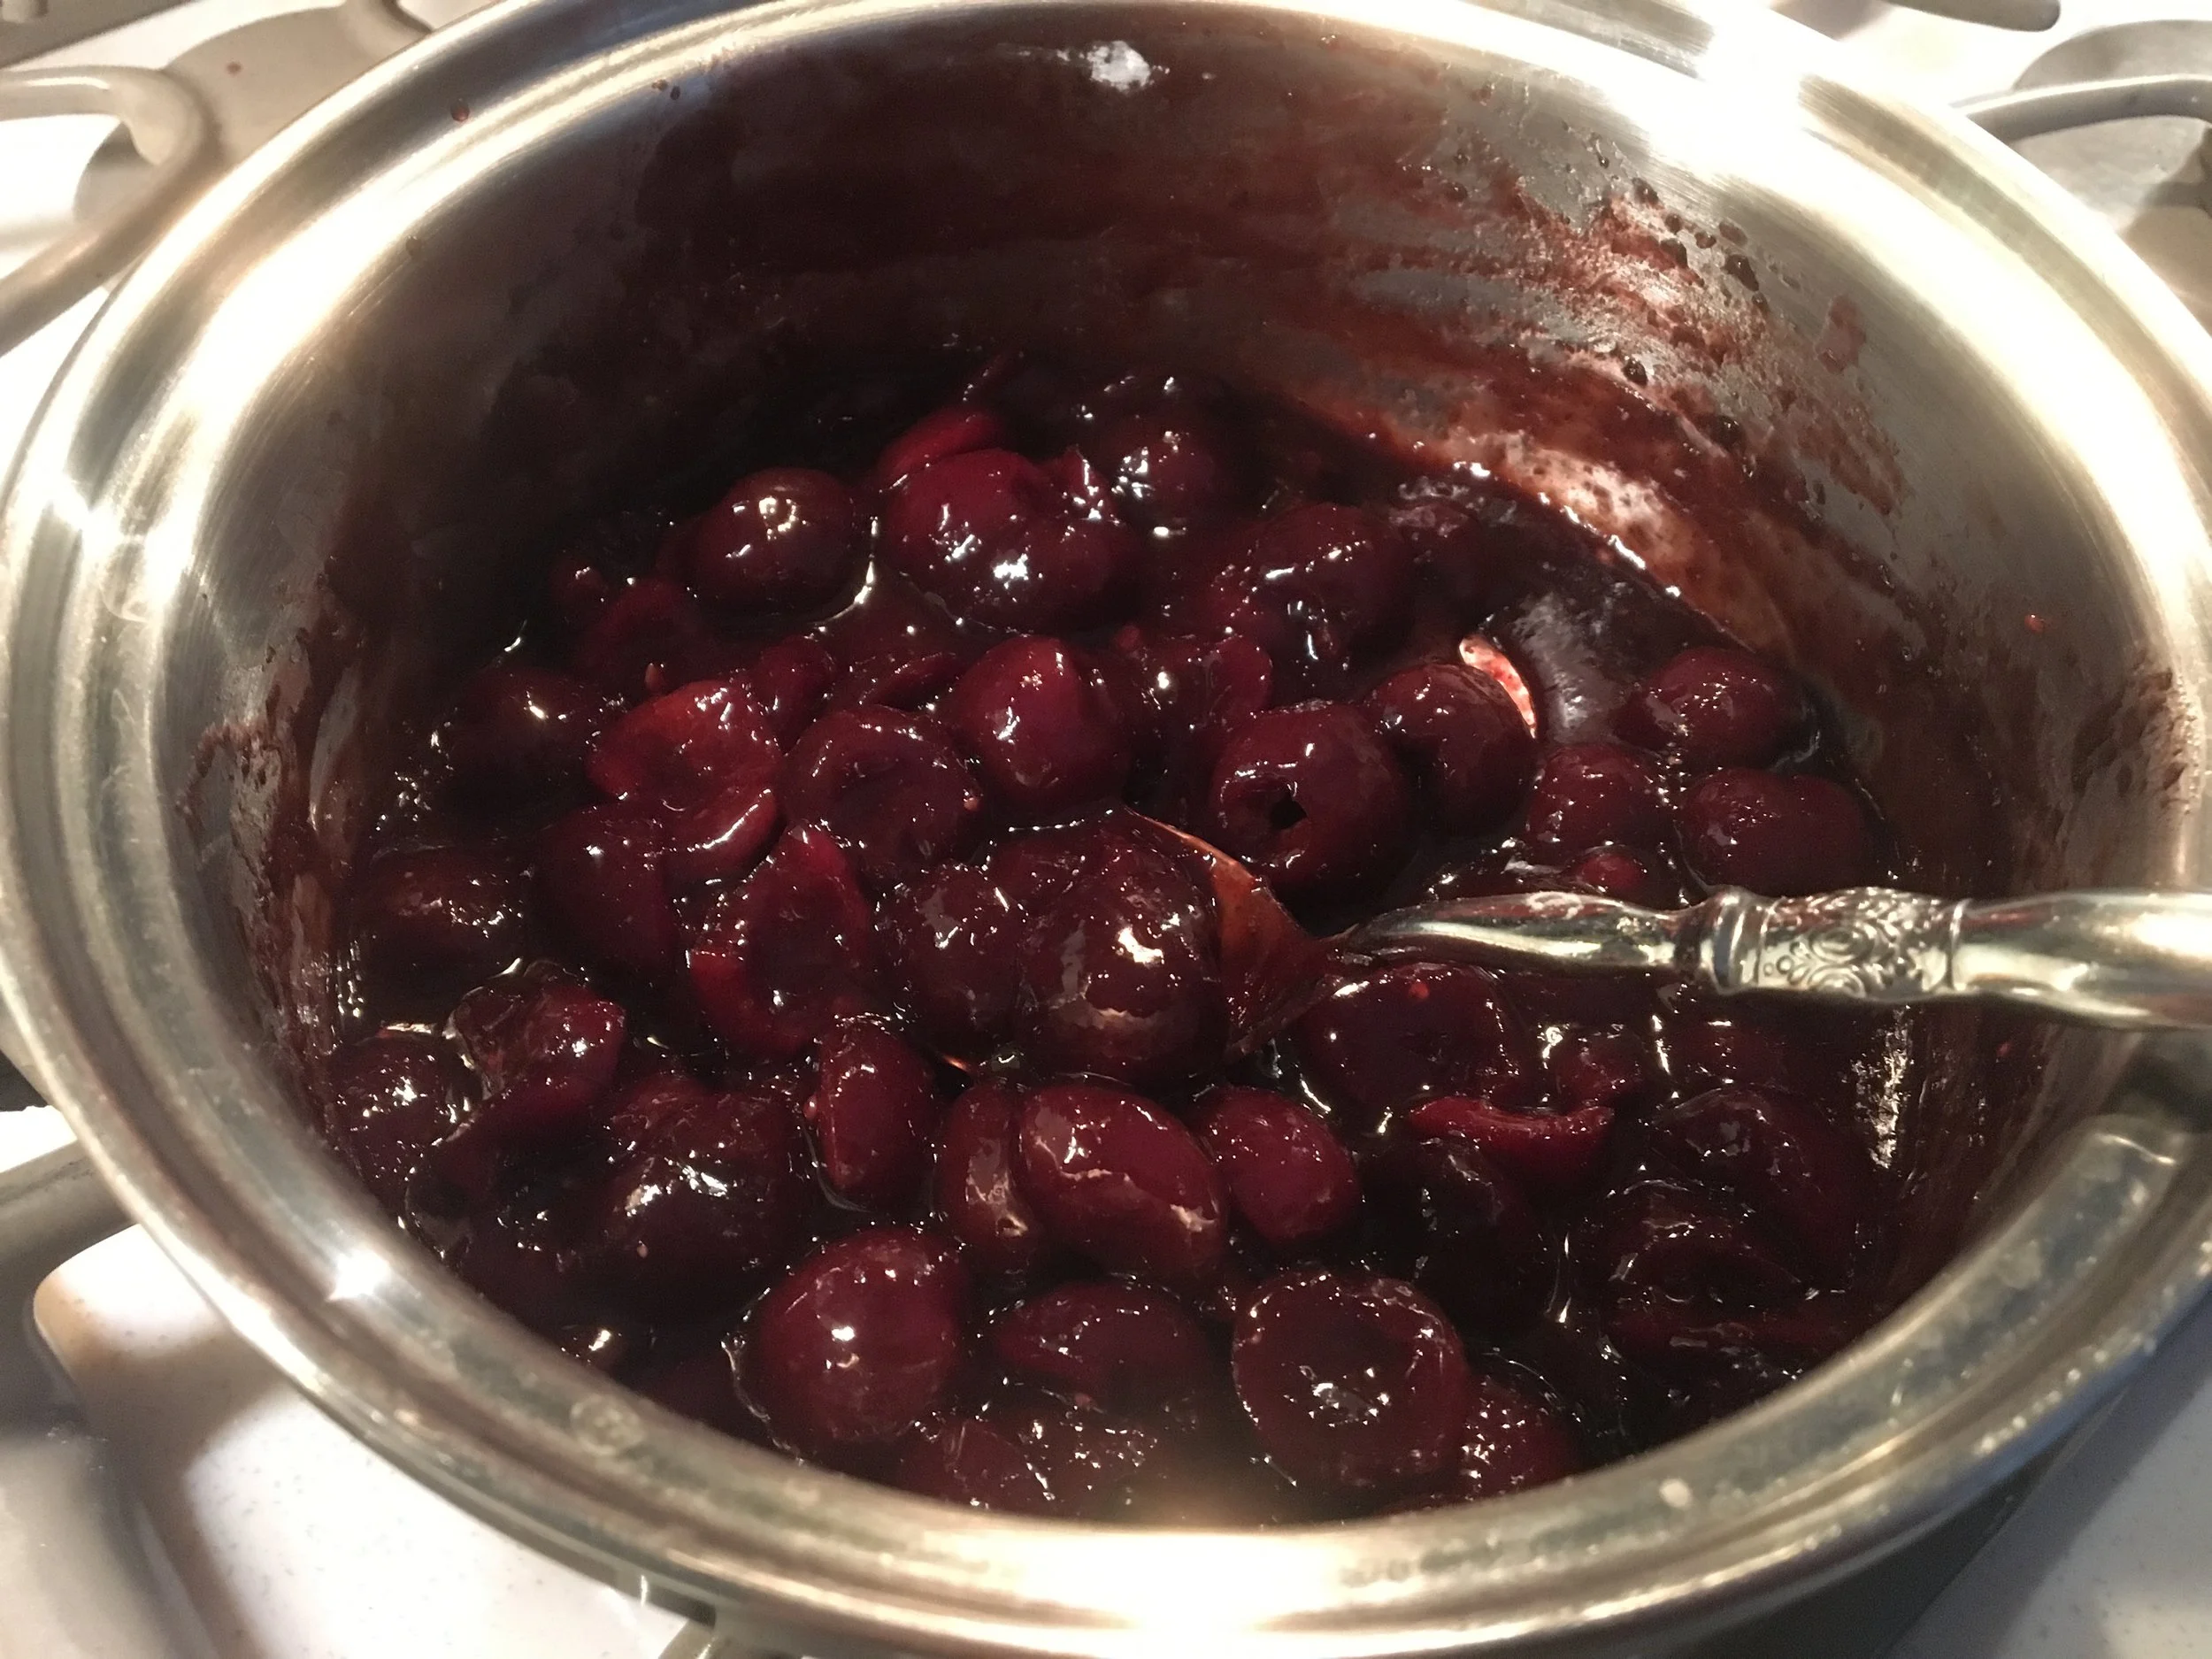
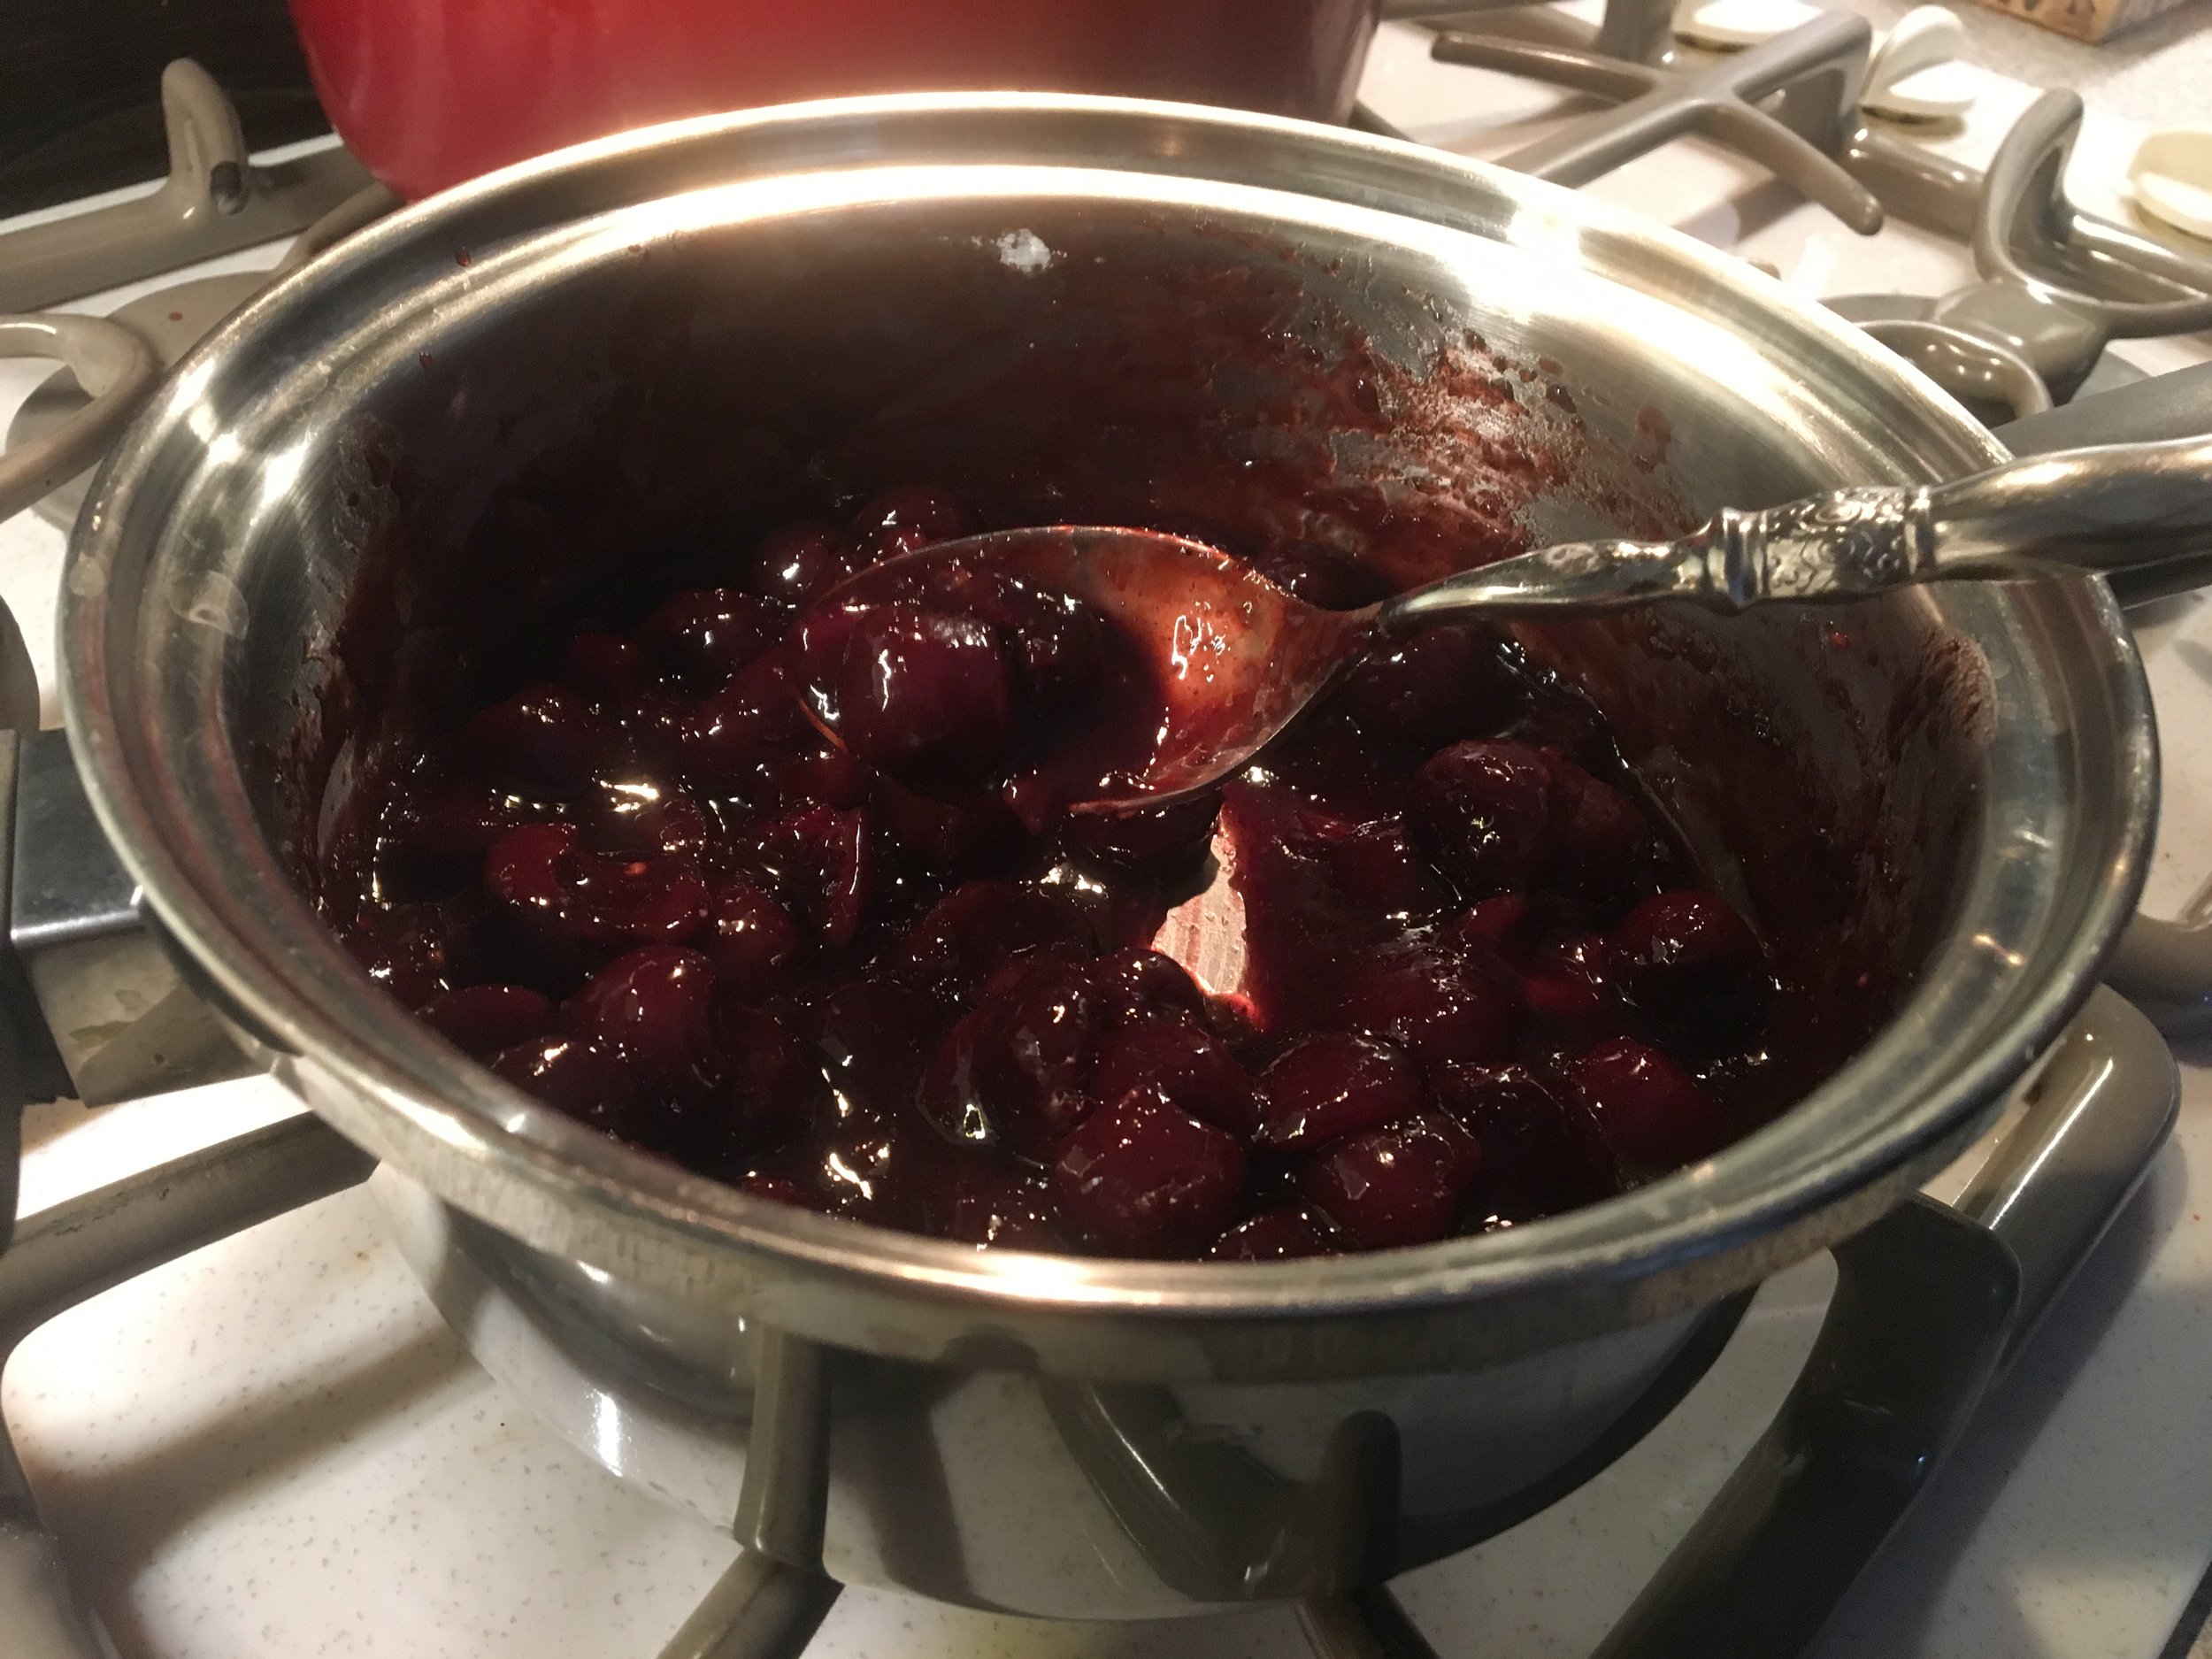
This recipe also works well with our Cherry and Strawberry Butter Spreads.

Thank you again for visiting, and please come back. Something is always cooking in our kitchen, and we love to share recipes with you! Comment below and let us know how you liked this recipe. 

Enjoy.

Ingredients

Preparation

There is not much preparation to this recipe as it is an easy, easy, recipe, !  Simply scoop mounds of your favorite ice cream, dollop our Apple Butter Spread (heated of course) over top, and if you'd like an extra decadence factor...drizzle chocolate sauce and add your favorite sundae toppings.  Oooh baby! 

Apple Butter a la mode3.jpg
Apple Butter A'La Mode Recipe

Apple Butter A'La Mode Recipe

Yum

Cooking Tip: How To Make Frozen Yogurt Popsicles

cooking tips, dessertsSheri SpalloneComment
Cooking Tip: How to Make Frozen Yogurt Popsicles

Cooking Tip: How to Make Frozen Yogurt Popsicles

Posted originally 9/7/16, but updated to reflect the times.

Frozen popsicles are just plain fun for kiddos and adults alike. Am I right? They are perfect heat busters, the flavor combinations are endless, they are easy to make with real pronounceable ingredients you have handy, and they are creative outlets for cooped up young adults. Yes!

How are you doing? A LOT has happened these last few months, but our family is safe, and for that, I am grateful, and I hope you and your family are as well. Do you have children at home? We have a full house once again (25, 19, and 16), and our younger two are always bored (even after they do something), and they are always hungry. Sound familiar? Luckily, they have always loved helping in the kitchen, so when they were practically bouncing off the walls the other day, with "nothing to do," I suggested making one of their favorite summer recipes, homemade frozen yogurt popsicles®.

Surprisingly, no eye-roll :). Problem solved, a creative project they could make and eat! Win-win! (I must have caught them at a weak moment).

A few years back, our middle child, Nicholas (15 at the time) suggested we not only use fruit and yogurt (instead of the typical fruit and fruit juices) but add our fruit butter spreads and preserves to the mix, an idea that had never crossed my mind before. It made sense, fruit butter spreads are fruits that have cooked down to a spreadable consistency, so why not use them in frozen pops? But preserves? Yes! What a bright kiddo:).

So we set forth on our quest and made frozen yogurt pops with whatever ingredients we had on hand, blueberries, cherries, vanilla yogurt, leftover Cherry Butter,  Blackberry Preserves, and chocolate syrup. We created three different varieties, Blueberry Vanilla Yogurt PopsBerry Cherry Yogurt Pops, and Ice Cream Sundae Yogurt Pops . The hardest part for young adults was waiting for the darn things to freeze;).  

These velvety, fruity concoctions will be a hit with your family, as they were with ours. They are the perfect healthy snack, dessert, or breakfast treat, they are easy to make with real ingredients, and they are the ideal boredom-buster project for all ages. Homemade is the best, especially when you can make recipes with someone else, and for me, my friends, spending time with our young adults, is priceless!

Here's how we made them (We made three kinds. You can see the recipes below ).

Thanks for visiting! Come back again. Comment below if you made this recipe and any yummy variations.

Ingredients

Preparation

Before you begin, you'll need a few kitchen tools, a popsicle mold (I purchased this 10 serving mold on Amazon), and a cherry pitter (also to make my life easier).

1.  Separate the greek yogurt into 3 medium bowls (not necessary if only making one variety), and set aside. 

2.  In a small sauce pan, cook the blueberries and the Blackberry Preserves on low until the preserves have dissolved (a few minutes).  Turn off the heat and allow the preserves to cool about 5 minutes.  Now the fun begins!

3.  As I mentioned, we made three varieties.  I'll post another blog in the future (maybe the next heat wave) of other combinations.  For the Blueberry Vanilla Yogurt Pops, we added about 2 Tablespoons of the blueberry-preserve mixture.   Gently swirl the blueberry mixture into the yogurt.  Don't mix too much, as you want the swirled effect.  Carefully pour into the molds.

4.  For the Berry Cherry Pops, we followed Step 3 using 2 Tablespoons (Tbsp) of the Blueberry-Preserve Mixture and we added 1/4 cup of chopped cherries to the mixture, swirled ever so gently just as above, and poured into our molds.

5.  Finally, for the Ice Cream Sundae Pops, we added to the remaining bowl of greek yogurt, chopped cherries, 2 Tablespoons (Tbsp) Cherry butter (heated for 10 seconds in the microwave), and 1 Tablespoon of Chocolate Syrup.

6.  Once again, gently swirl the yogurt mixture and pour into the mold.  The molds I purchased had this handy lid to insert the sticks, but you could easily cover with plastic wrap and insert the sticks into the plastic.  Almost done!  Place in freezer and wait...and wait...and wait!

7.  After a few hours (what seems like eternity), remove the lid or plastic wrap, run the desired mold bottoms under warm water and gently pull out pops.  Voila!  Homemade frozen yogurt fruit pops, a sure-fire heat buster and delicious treat anytime!  Enjoy!

Frozen Yogurt Popsicles

Blueberry Vanilla Yogurt Pops

  • Vanilla Greek Yogurt (divided if making three separate batches)

  • 2 Tablespoons (Tbsp) Blueberry-Preserve Mixture (mentioned in Step 2)

  • Follow directions above for making the pops

Berry Cherry Yogurt Pops

  • Vanilla Greek Yogurt (divided if making three separate batches)

  • 2 Tablespoons (Tbsp) Blueberry-Preserve Mixture (mentioned in Step 2)

  • 1/4 cup chopped cherries

  • Follow directions above for making the pops

Ice Cream Sundae Yogurt Pops

  • Vanilla Greek Yogurt (divided if making three separate batches)

  • 1/4 cup chopped cherries

  • 1 Tablespoon Chocolate Syrup

  • Follow directions above for making the pops


Yum

Peanut Butter and Jelly Chocolate Cups Recipe

desserts, snacksSheri SpalloneComment
Peanut Butter & Jelly Chocolate Cups Recipe

Peanut Butter & Jelly Chocolate Cups Recipe

Cook Time:  About 20 minutes
Prep Time:  10 minutes
Difficulty: Easy

Chocolate and peanut butter lovers, gather around! Today we introduce to you these deliciously decadent Peanut Butter & Jelly Chocolate Cups, featuring Cherchies® Preserves and Cherchies® Fruit Butter Spreads. Chocolate covered everything I say, and if you are a chocolate lover like I am, I know you will surely understand.

What makes everything better, other than chocolate? (Maybe bacon, but I will save that for another day). These sweet and salty chocolate treats will melt your heart, but grab some for yourself because these tasty morsels will disappear right before your eyes. They did at our home!

Who wants some?

Comment below and let us know what Preserve or Butter Spread you liked most in this recipe.

Thank you for visiting! Come back again!

Ingredients

  • 2 cups chocolate chips/ dark chocolate chips 

  • 1 teaspoon (tsp) coconut oil

  • 12 muffin cup liners

  • 1 cup peanut butter

  • 1 cup powdered sugar

  • 1/2 cup Cherchies® Preserves of choice or Cherchies® Butter Spreads

  • Coarse sea salt for garnish (optional)

Preparation
Line a 12 cup muffin tin with disposable cupcake liners.

Combine Peanut Butter and powdered sugar in a medium bowl.  Mix ingredients with hand mixer until combined. Scoop mixture with melon ball scooper (1 inch) and place the mixture on a parchment paper lined tray. Place tray in freezer for about 10 minutes.  Remove Peanut Butter balls from the freezer and flatten with a spatula. Return to freezer while you prepare the chocolate.

While peanut butter patties are chilling, prepare the chocolate. Melt the chocolate chips and 1 teaspoon (tsp.) coconut oil in a bowl over a pan filled with about 1 1/2" water.  Turn the burner on high and stir chips as they begin to melt. (You could melt chips in microwave if your prefer, heating on 50% power for 30 second intervals, stirring each time until completely melted).  When all the chocolate chips are melted, remove the pan and bowl from heat and turn off the stove.

Add about 1 Tablespoon (Tbsp.) (dollop) of melted chocolate to each muffin cup.  Use a clean art brush to spread the chocolate up the sides.  Afterwards, tap the pan on the counter to even the chocolate in the cups.

When peanut butter patties are not tacky, remove them from the freezer and place patties in the middle of the chocolate cup. Add 1 teaspoon (tsp) Cherchies® Preserves or Cherchies® Fruit Butter Spreads and carefully spread over peanut butter patty, making sure not to go to the edge.  The chocolate needs to go on the sides and top. 

Add the remaining chocolate (1 Tablespoon (Tbsp)) to each of the cups.  Use a spoon or small spatula and spread chocolate over peanut butter and jelly to the edge of the cupcake liner to seal in the yumminess. Refrigerate for 20 minutes or until set.

Remove from refrigerator, sprinkle with coarse sea salt and enjoy!

pbj cups 3724b.jpg
pbj cups 3726.jpg
Yum

Cherry Pie Cookie Bites Recipe

desserts, snacksSheri SpalloneComment
Cherry Pie Cookie Cups Recipe

Cherry Pie Cookie Cups Recipe

Cook Time:  9 Minutes
Prep Time:  10 minutes (plus 2-3 hours for chilling dough)
Difficulty:  Easy

Hello friends!  Happy Valentine’s Day, Happy February, and Happy Cherry Month!  “While most people enjoy cherries in the middle of summer (hello…there is snow on the ground here), Cherry month (February) serves to remind you that cherries can be enjoyed at any time of year, in any form.”  And, “indulging in massive consumption of cherries is the only way to celebrate (daysoftheyear.com).  So, are you ready to talk cherries and Cherry Pie Cookie Bites?

These easy to make Cherry Pie Cookie Bites are mini in size, but mighty in flavor!  Bursting with fresh juicy cherries, bathed in Cherchies® Cherry Butter Spread, and nestled in a homemade buttery cookie crust, these sweet-tart morsels will tantalize your taste buds and make your head swoon.  

Enjoy these little gems for any occasion, any time of the year (even if it is snowing), but make sure to grab some for yourself because these cookie bites will disappear right before your eyes.

Here is how they are made.

Thanks for stopping by:) Comment below if you have tried this tasty recipe. Come back again for more family-tested recipes, entertaining ideas, and cooking tips using all our favorite Cherchies® gourmet products.

Follow us on social media: Facebook, Instagram, and Pinterest.

Ingredients
Cookie ingredients
1 1/2 c. sifted confectioner's sugar
1 c. butter softened to room temperature
1 egg
1 teaspoon (tsp) vanilla
1/2 teaspoon (tsp) almond extract
2 1/2 c. sifted flour
1 teaspoon (tsp) cream of tartar
1 teaspoon (tsp) baking soda

Filling Ingredients
1 lb. bag of sweet cherries (pits removed), slice half of them in half
1/2 jar Cherchies® Cherry Butter Spread
1/2 teaspoon (tsp) cornstarch

Icing Ingredients (optional)
1/2 cup powdered sugar
1 teaspoon (tsp) lemon juice

Preparations  
(If you are short on time, feel free to use refrigerated sugar cookie dough). 

In a mixing bowl, cream the sifted powdered sugar and butter.  To sift the powdered sugar (or any dry ingredient), as the recipe indicates, all you need is a fine mesh strainer. Simply plop the strainer over a bowl, pour the ingredients into a strainer, and gently shake the ingredients. It looks like a fine powder when finished.

Add egg and flavorings and mix thoroughly. 

Stir in dry the rest of dry ingredients until incorporated.  Refrigerate for 2-3 hours if going to make into cut out cookies, otherwise chill for 30 minutes.

While the dough is chilling in the refrigerator, make the cherry filling.  Wash and remove pits from cherries.  (Yes, it’s the “pits” to remove them…(Ha!), but use this use this tool or something similar to make life a lot easier). Slice half of the cherries in half (you will use the remaining whole cherries as a garnish at the end).

Why buy canned cherry pie filling when you can make your own from scratch in minutes? It really is not hard and the flavor is so much better than canned pie filling.

In a small bowl, mix the cornstarch and Cherchies® Cherry Butter together.  Add the cherry butter mixture and the cherries to a small saucepan and heat on low for about 5 minutes, or until cherry butter has dissolved and the mixture is smooth and thick, (similar to the consistency of canned pie filling -5 minutes).  Remove from heat and allow to cool.  Set aside.

For cookie balls- Once the dough has chilled, preheat the oven to 375 degrees.  Spray muffin tins with cooking spray.  Shape the dough into 1 inch balls and place into mini muffin tins.

Using a small round measuring spoon, a small melon ball scooper, a mini wooden tart tamper, or your finger, press the dough into the mini muffin tins, creating a cookie cup to hold the filling.  Be careful not to go all the way through to the bottom.  

Bake the cookie cups for about 10 minutes, or until lightly golden brown.  Remove the muffin tins briefly (as they will expand while they bake) to tamp down the dough back into shape.  Return the cookie cups to the oven to finish cooking for a couple of minutes, until cookie cups are a golden brown.

Remove the muffin tins from the oven and allow to cool in pan for 10-15 minutes, then gently run a knife along the sides to pop them out. (If you used enough cooking spray, then the cookie cups should come out rather easily). Once cookie cups have briefly cooled, remove them from the pan and carefully fill them with the cherry filling, making sure to add a whole cherry on top for the garnish. For the "icing on top", mix together the powdered sugar and lemon juice in a small bowl.  If the icing is too thick, add a couple of drops of water, until the consistency is thick but smooth and runny.  Drizzle the icing over the cherry pie cookie bites with the tines of a fork.


Yum