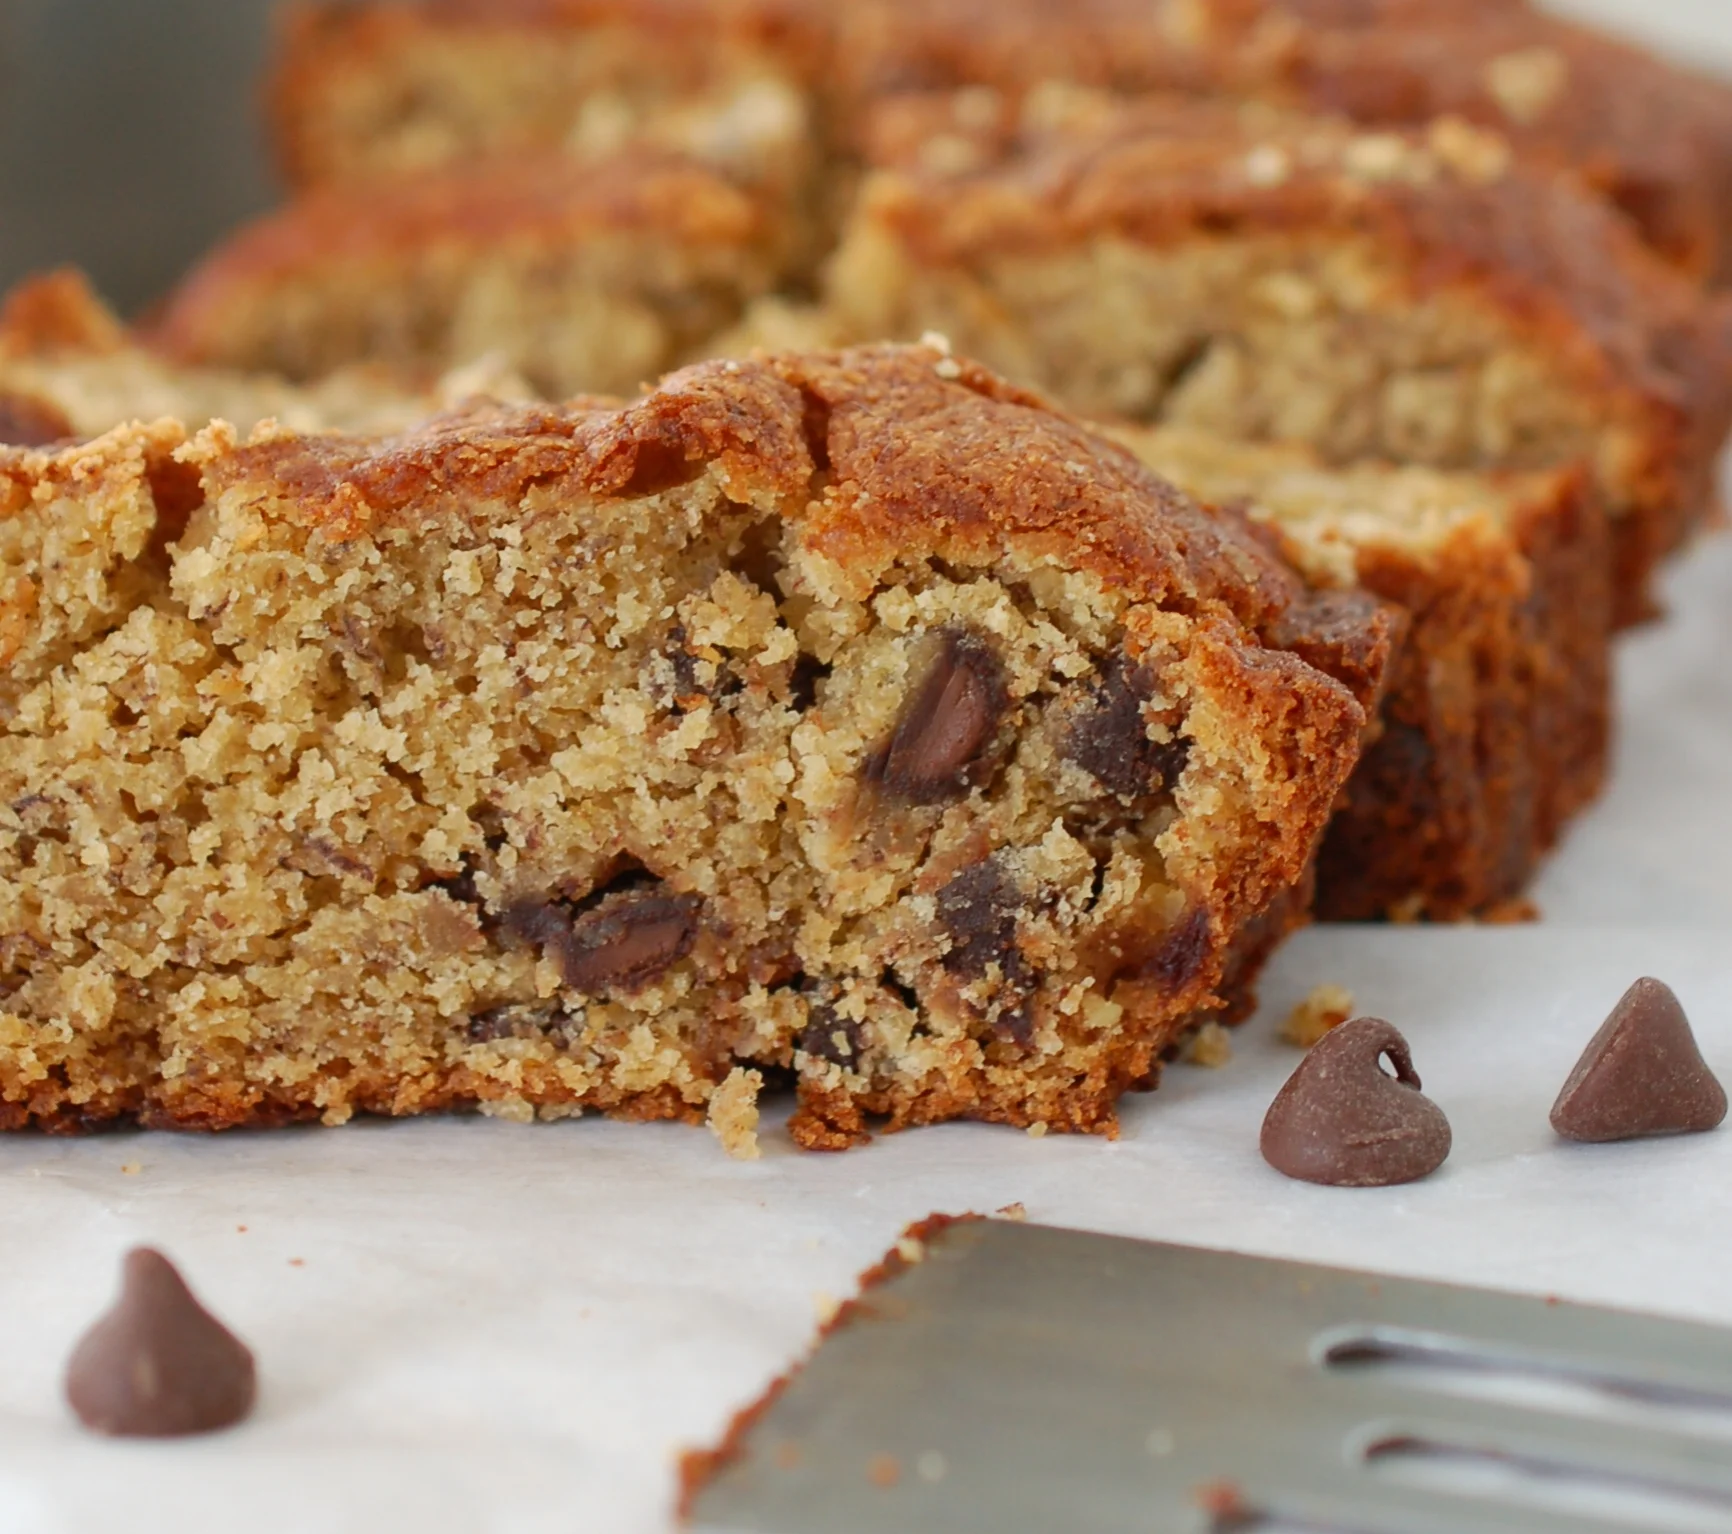
Chocolate Chip Banana Bread Recipe
Imagine for a moment the sweet aroma of freshly baked banana bread wafting through the air. It sounds like heaven, right? Is your mouth watering? One of my favorite treats growing up, was my mom's banana bread, by far the best banana bread ever and now a breakfast staple in our family.
This moist and flavorful banana bread recipe was given to my mom many years ago by a little old lady in Hawaii. My mom's (the little old lady's) original recipe, consisted of shortening and a lot of sugar, which probably is why it was so decadent, but not practical by today's standards. I substituted butter for the shortening and Cherchies® Apple Butter Spread for some of the sugar, and because I was feeling adventurous, I added chocolate chips. The real question, could my version compete with mom's recipe? Only our discerning and I quote, "master taster testers" (our kiddos) would soon reveal the truth.
Hot diggity dog! (Okay I am dating myself). My version passed with flying colors! Moist, flavorful, just like "Grammy's," music to my ears! I usually triple this recipe because this decadent treat disappears almost instantaneously, and freezing extra loaves extends the disappearing act by a little.
So friends, if you are looking for your new favorite banana bread recipe, it is time put your overripe bananas to good use and make this tasty recipe today! You will not be disappointed:)
Thanks for visiting!
Ingredients
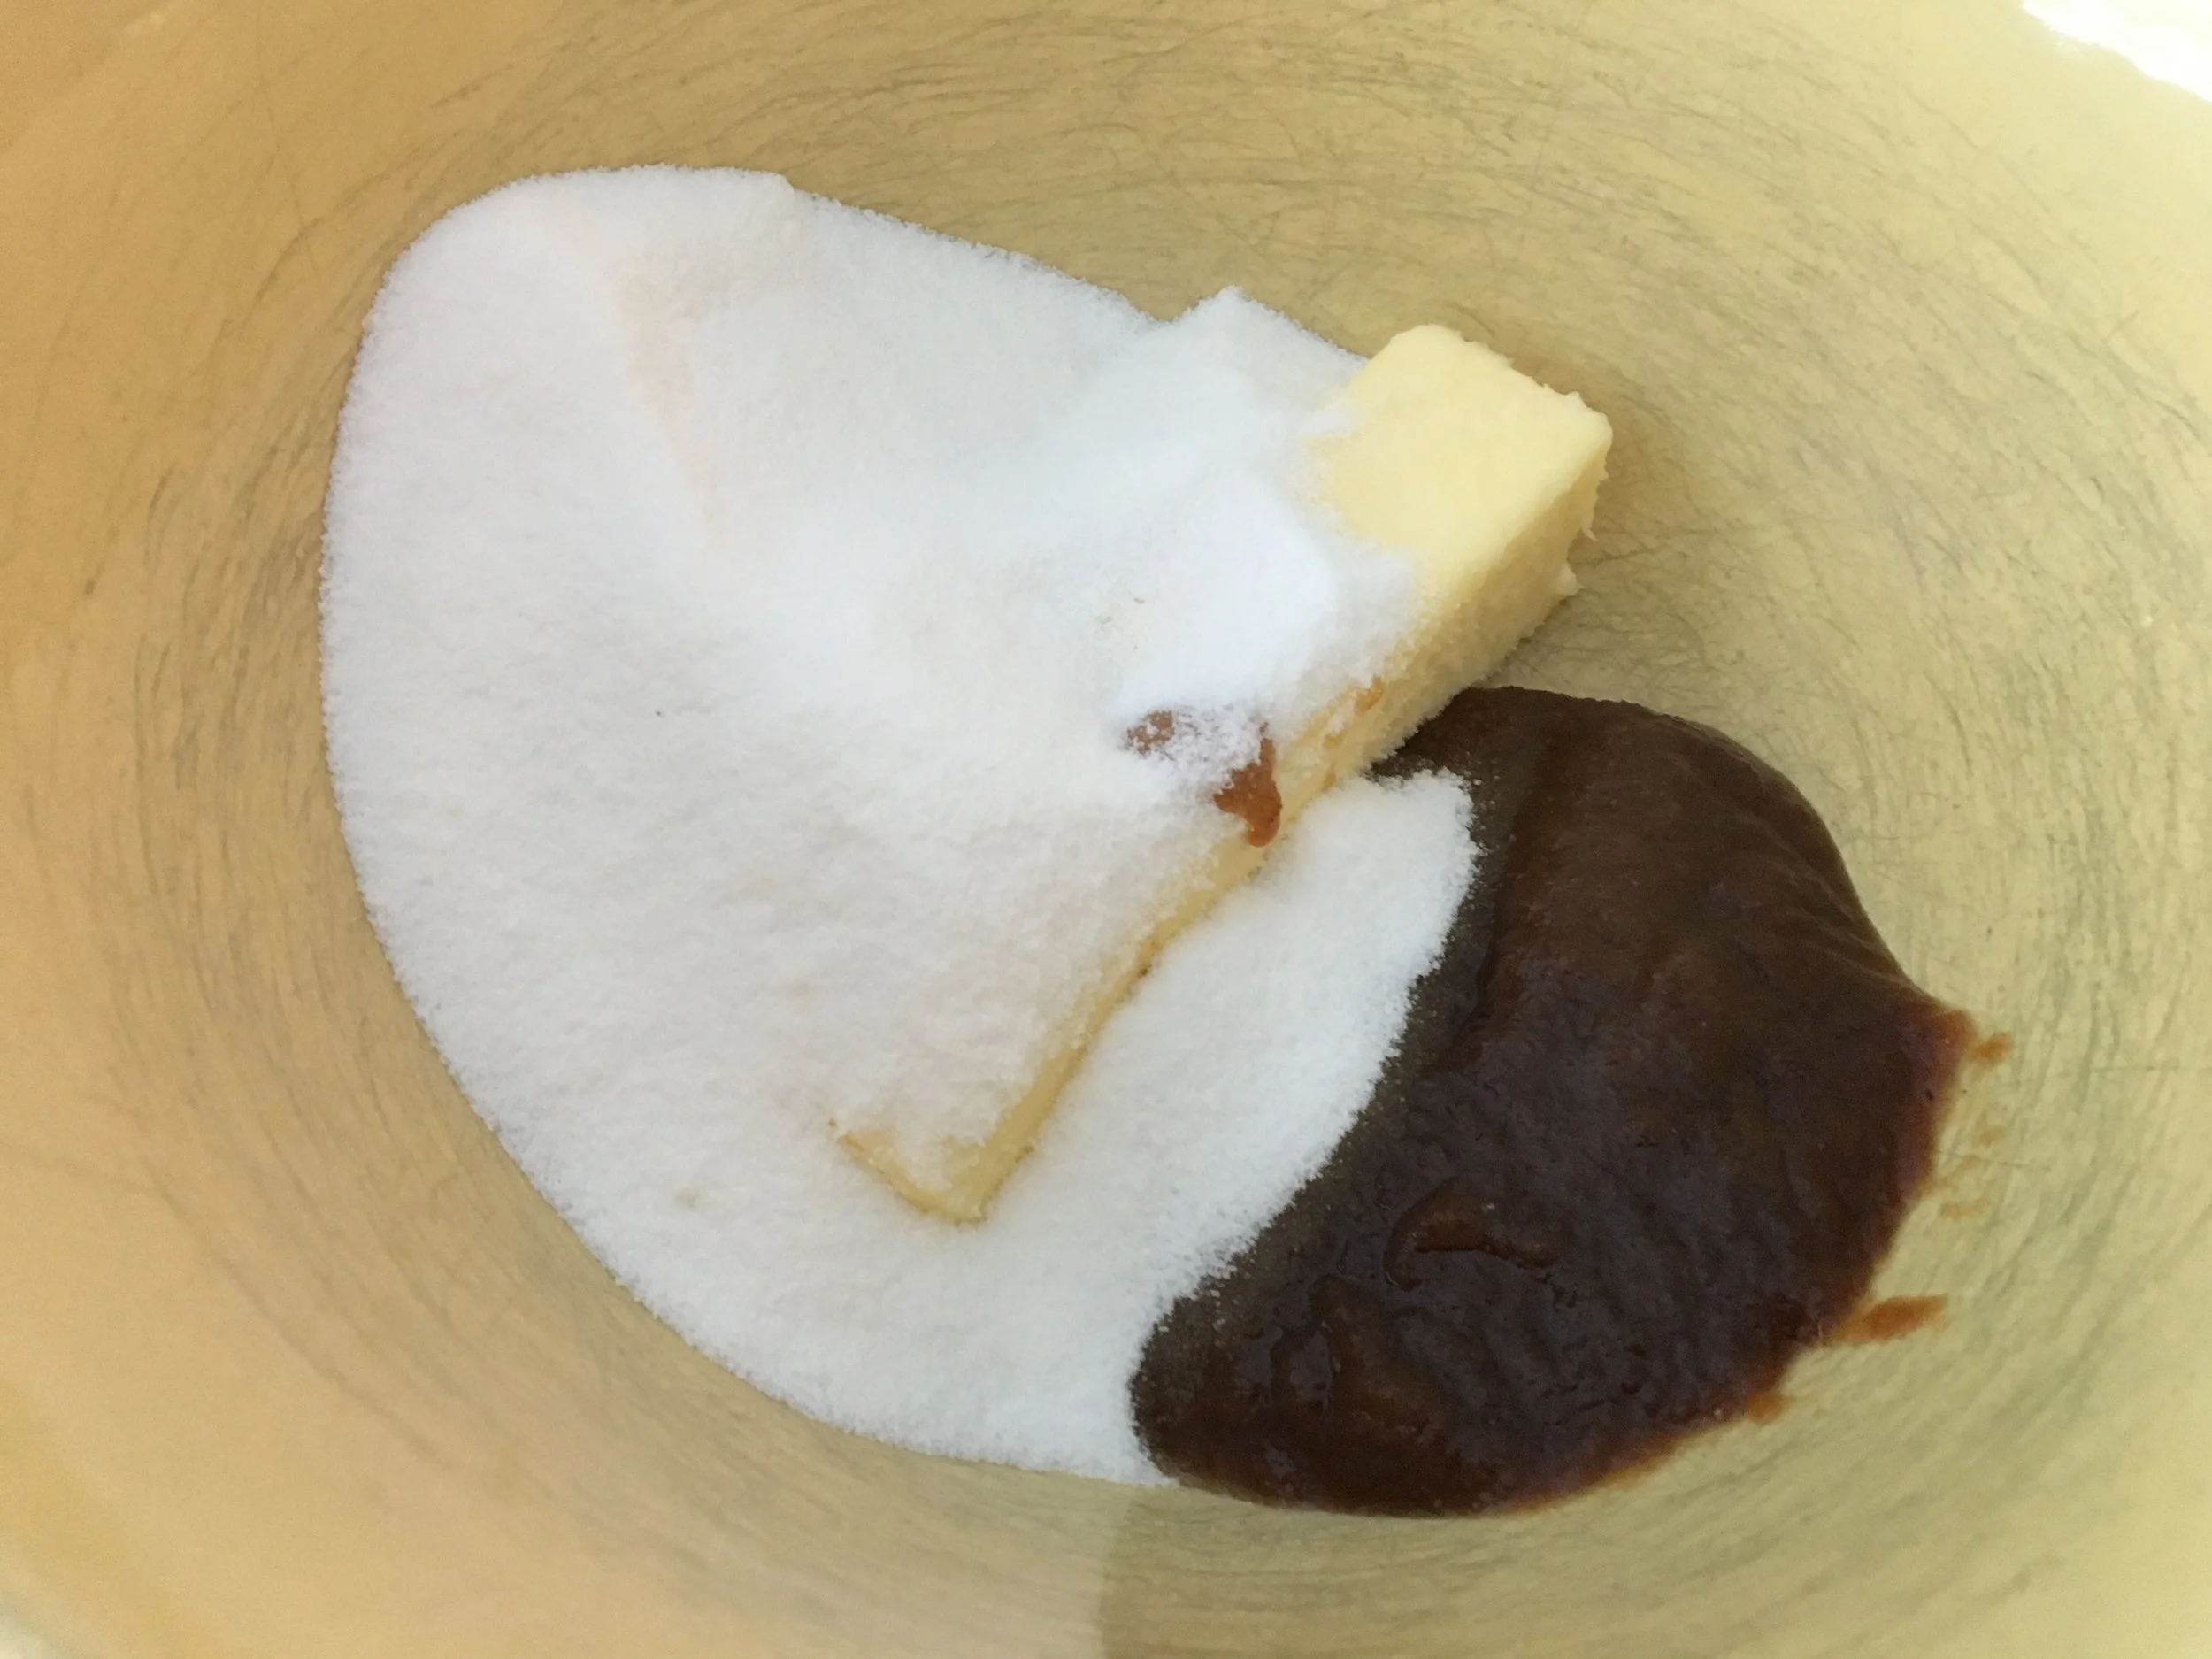
- 1/2 cup butter, room temperature
- 1 cup sugar
- 1/2 cup Cherchies Apple Butter Spread
- 2 eggs
- 1 teaspoon (tsp) baking soda
- 1 teaspoon (tsp) salt
- 2 cups flour
- 5 Tablespoons (Tbsp) *sour milk
- 1 teaspoon (tsp) white vinegar
- 4 ripe bananas, mashed
- 1/2 cup chopped pecans (optional)
- 1 cup chocolate chips (optional)
- 1 Tablespoon (Tbsp) flour
Preparation
Preheat oven to 350.
To make the *sour milk, add 5 Tablespoons of milk to a small bowl. Add the white vinegar to the milk, stir and set aside.
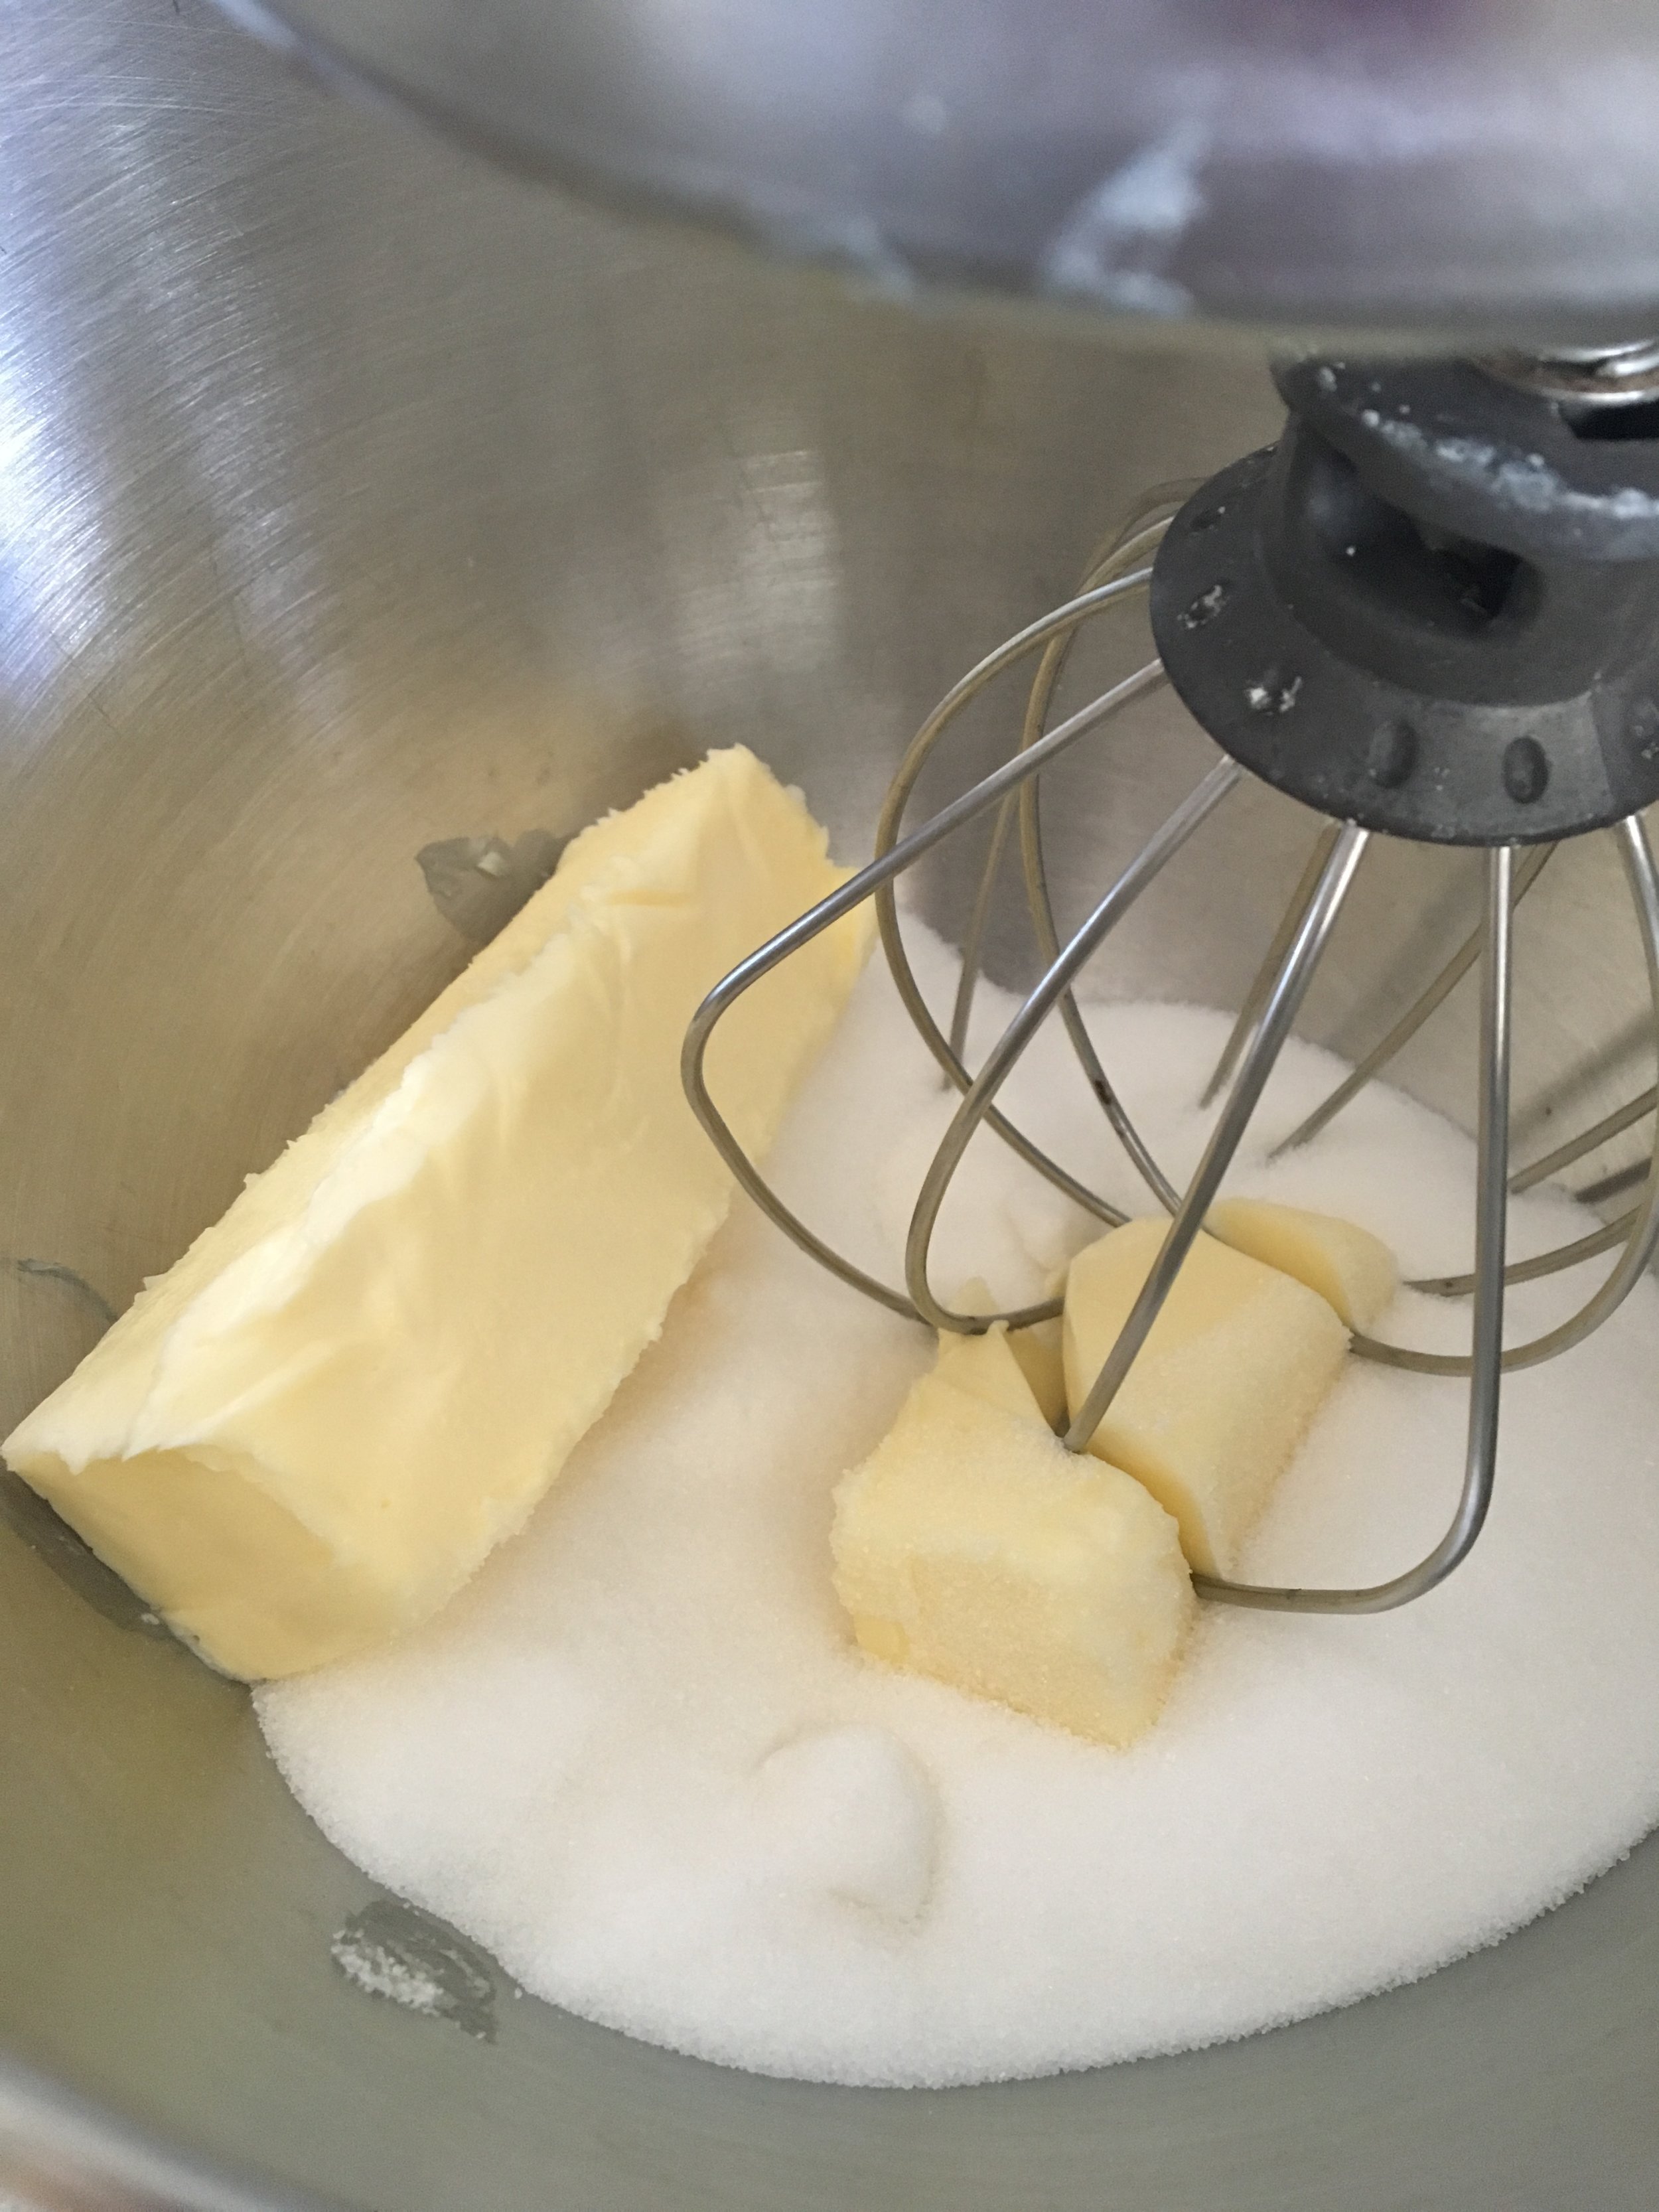
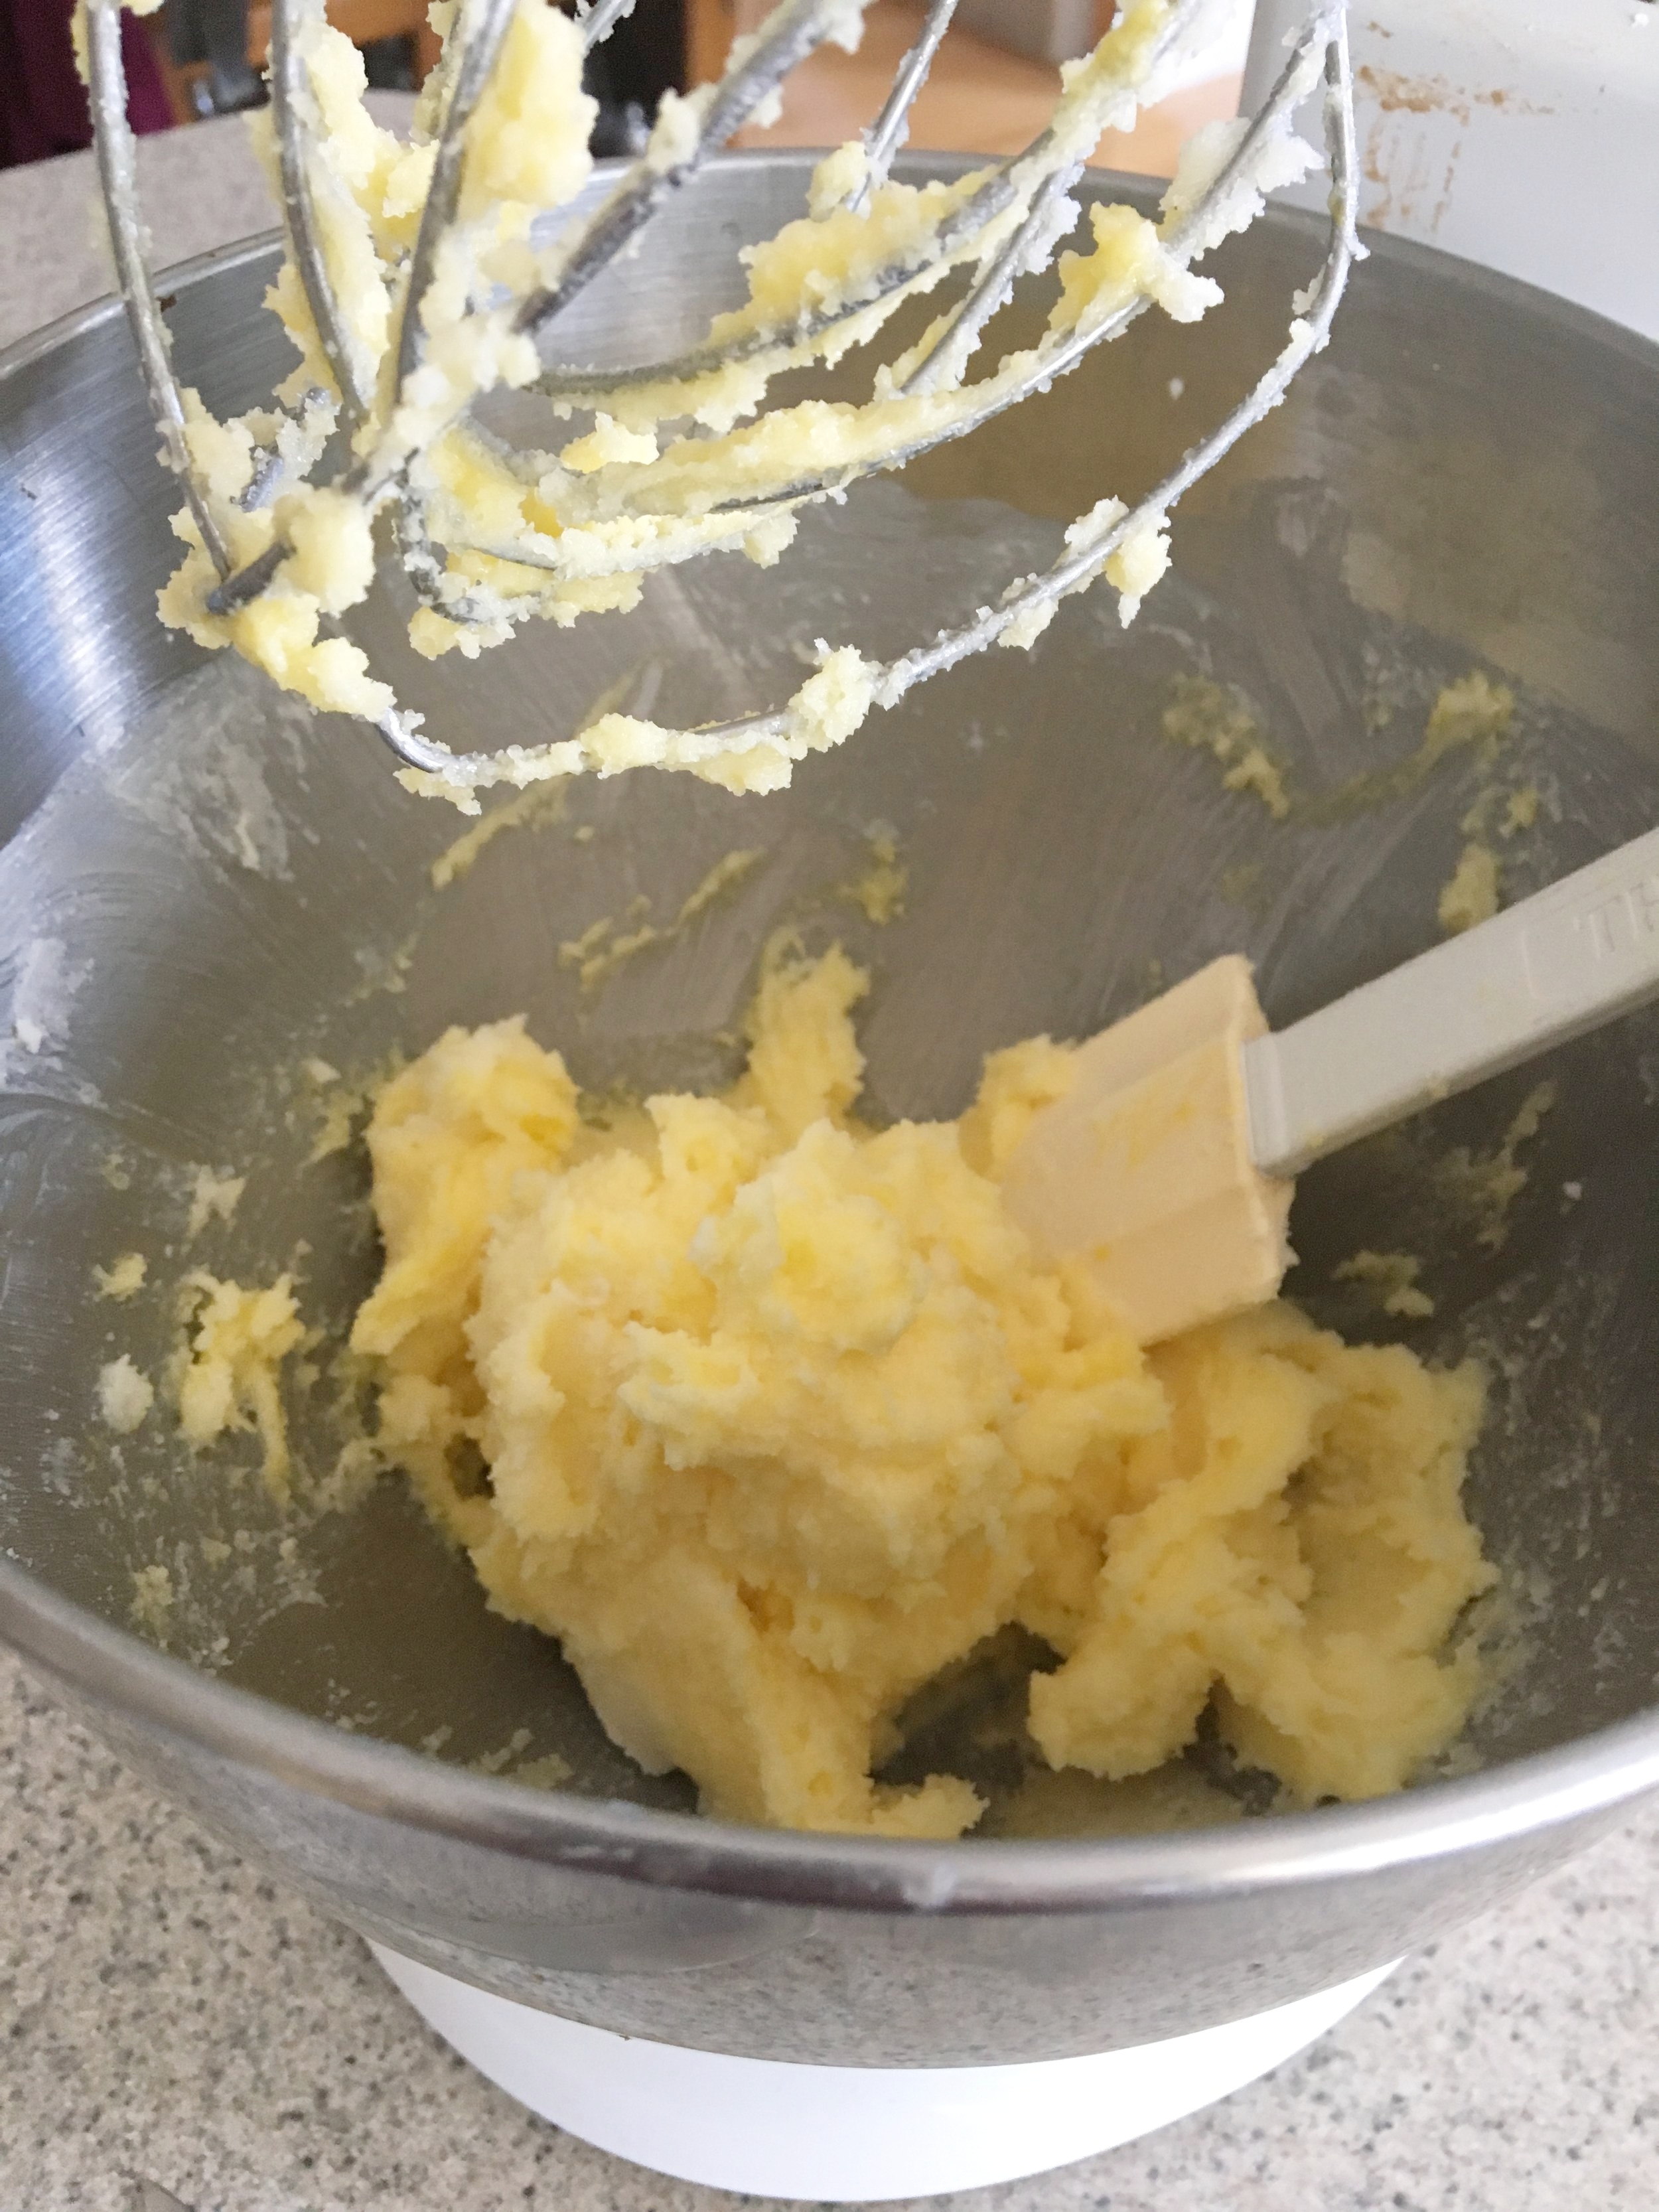
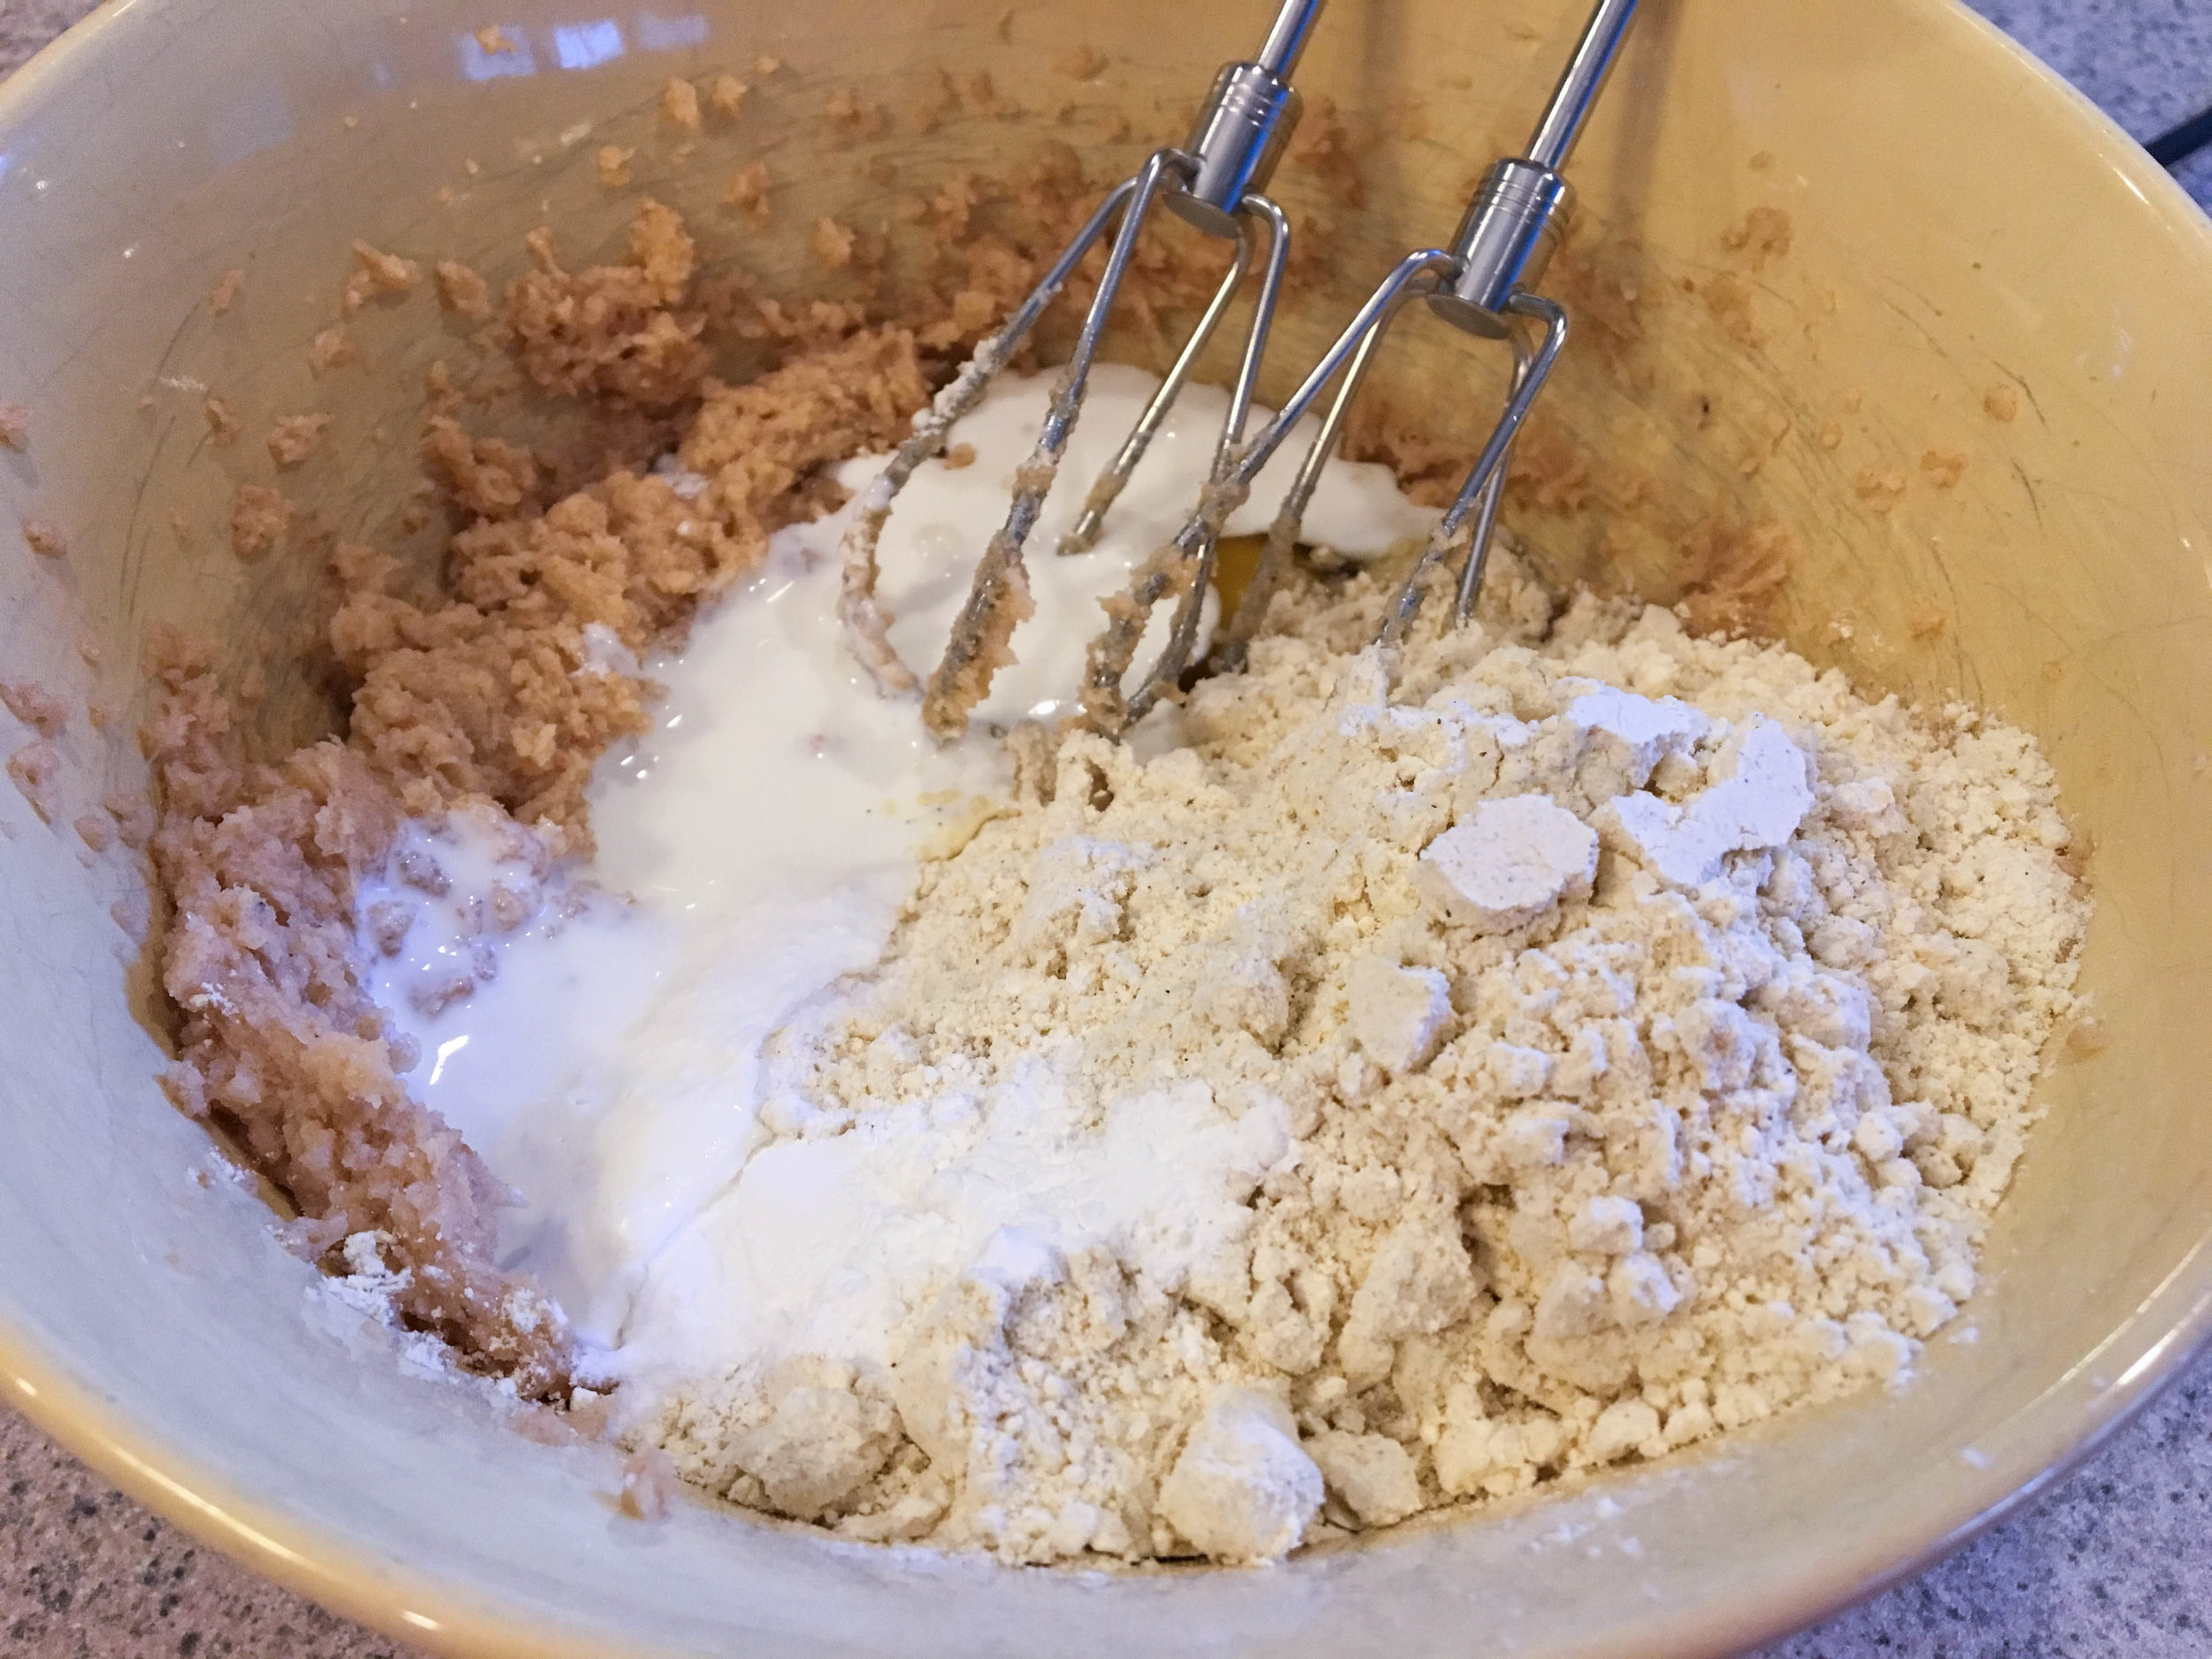
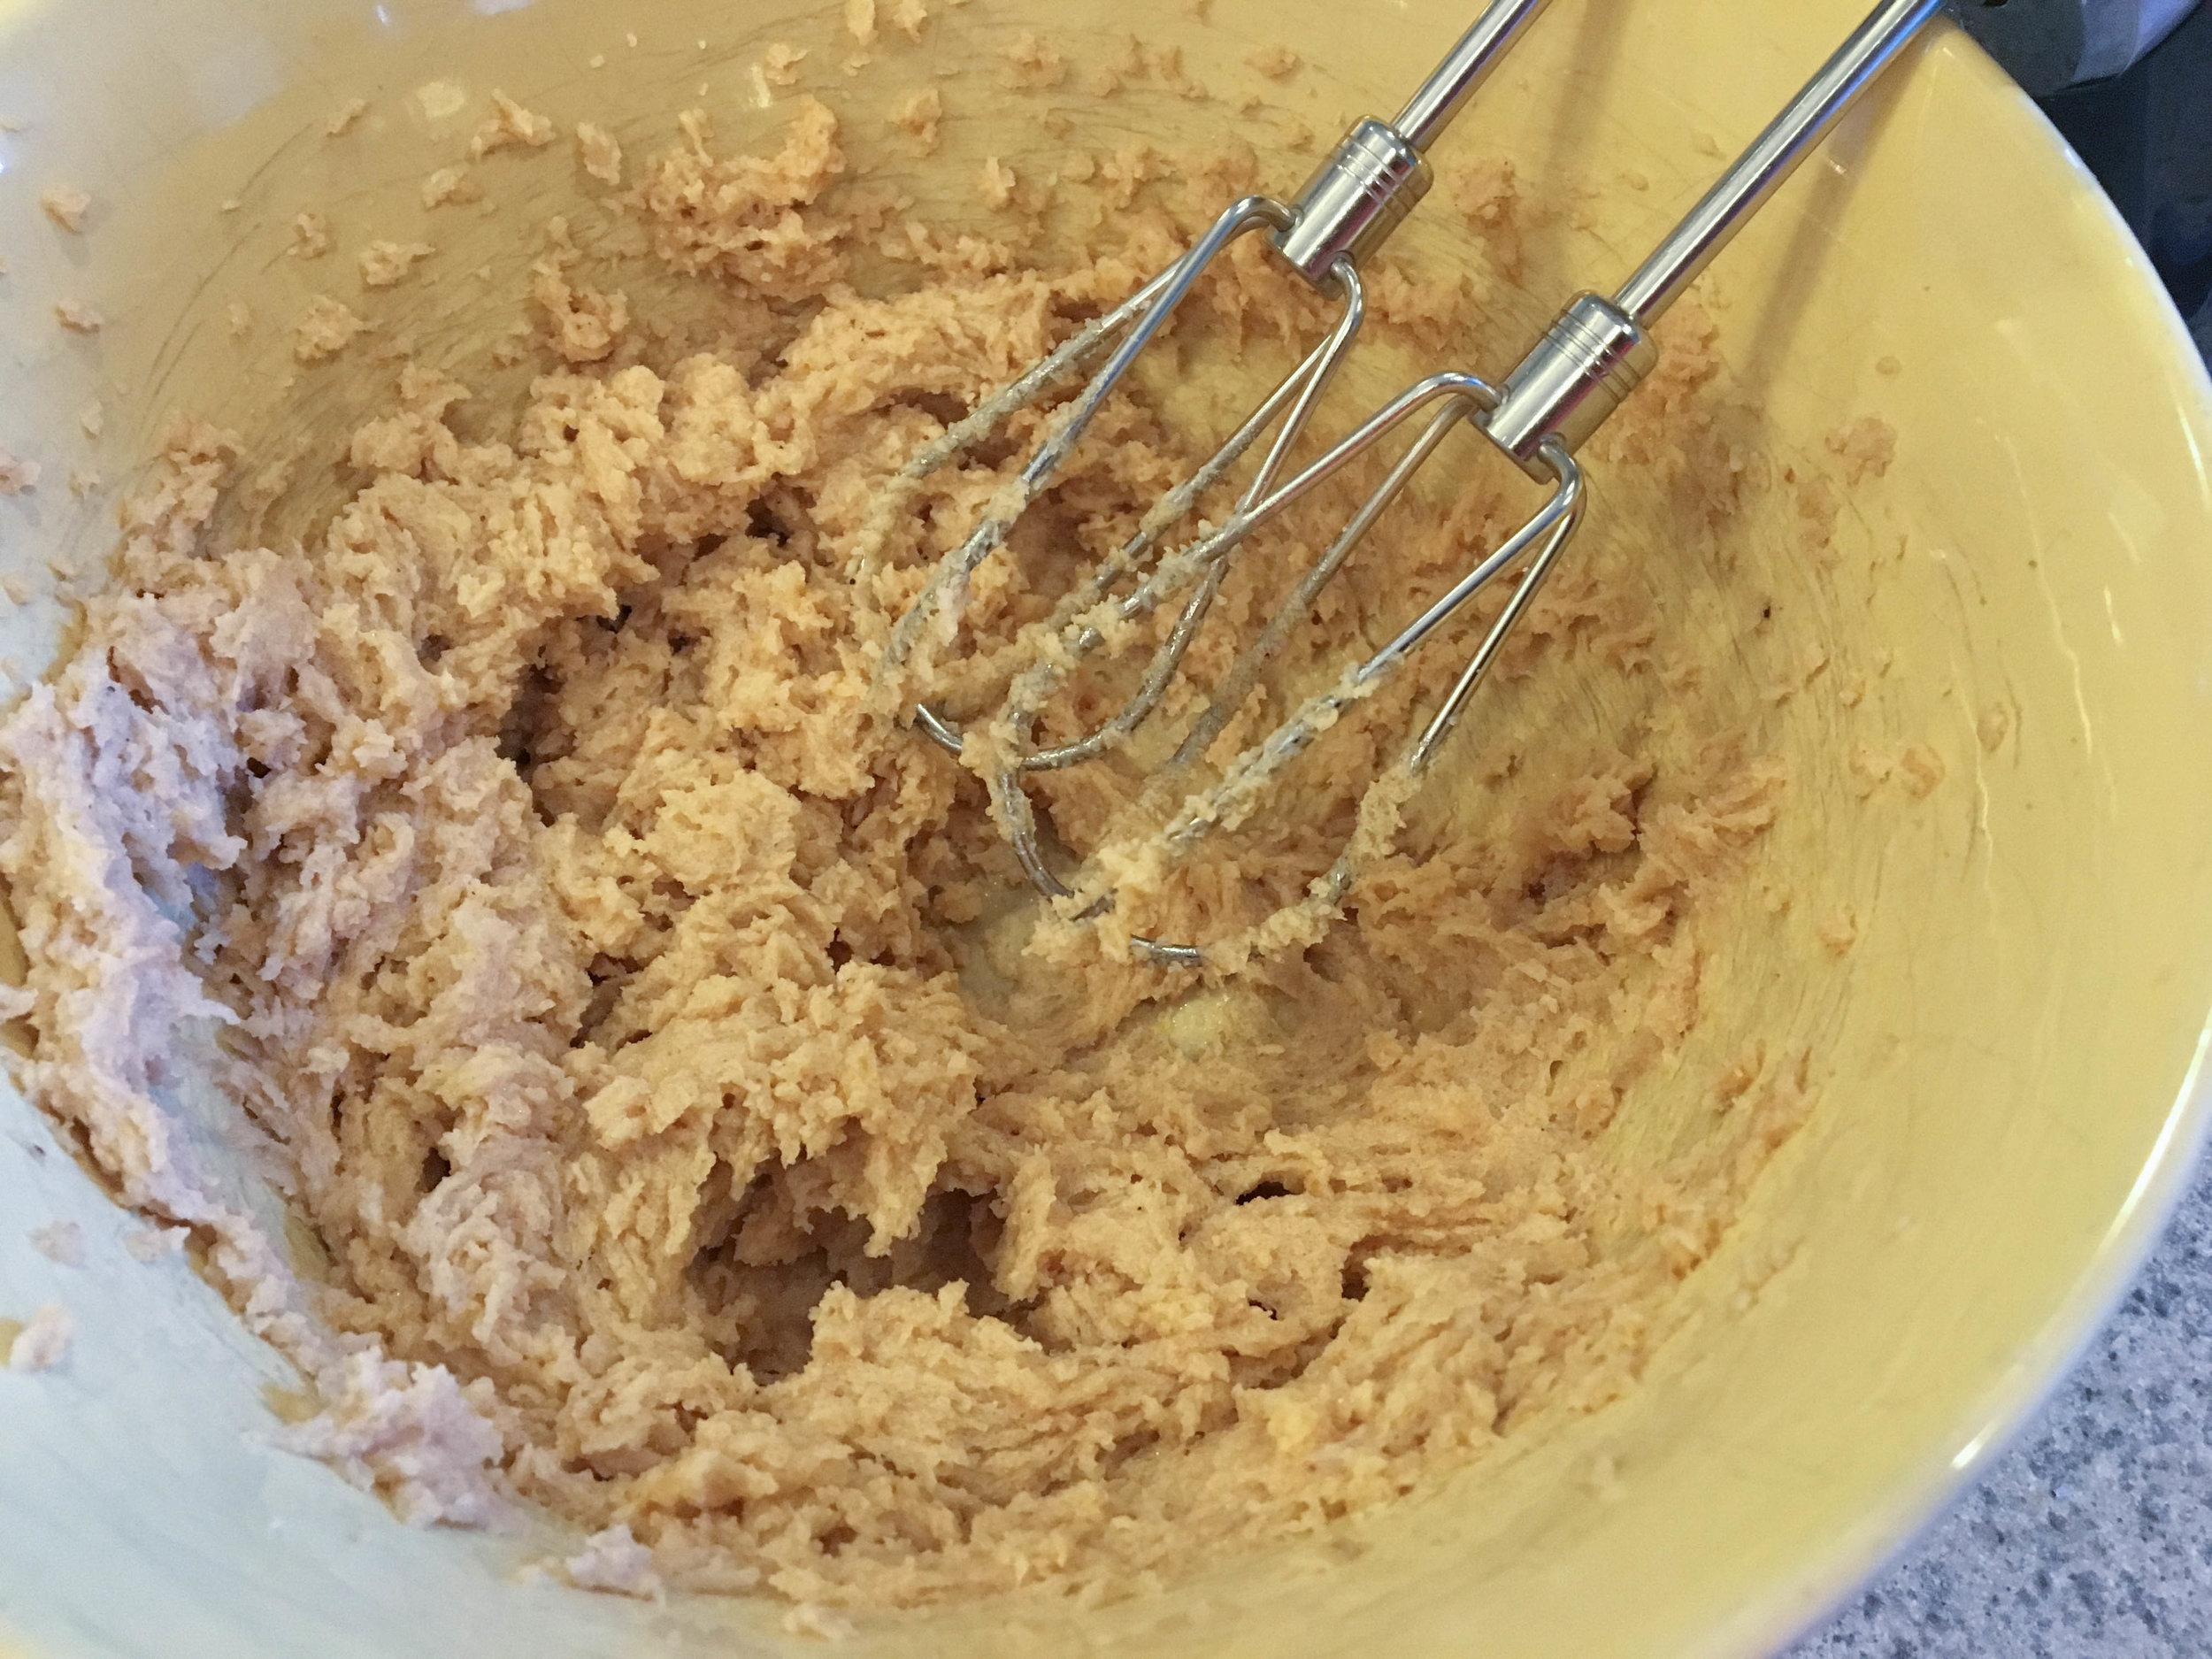
In a medium bowl, cream the butter, sugar, and Cherchies Apple Butter Spread together. Then add eggs, baking soda, salt, flour and measure out 5 Tablespoons of the sour milk. Discard the remaining sour milk.

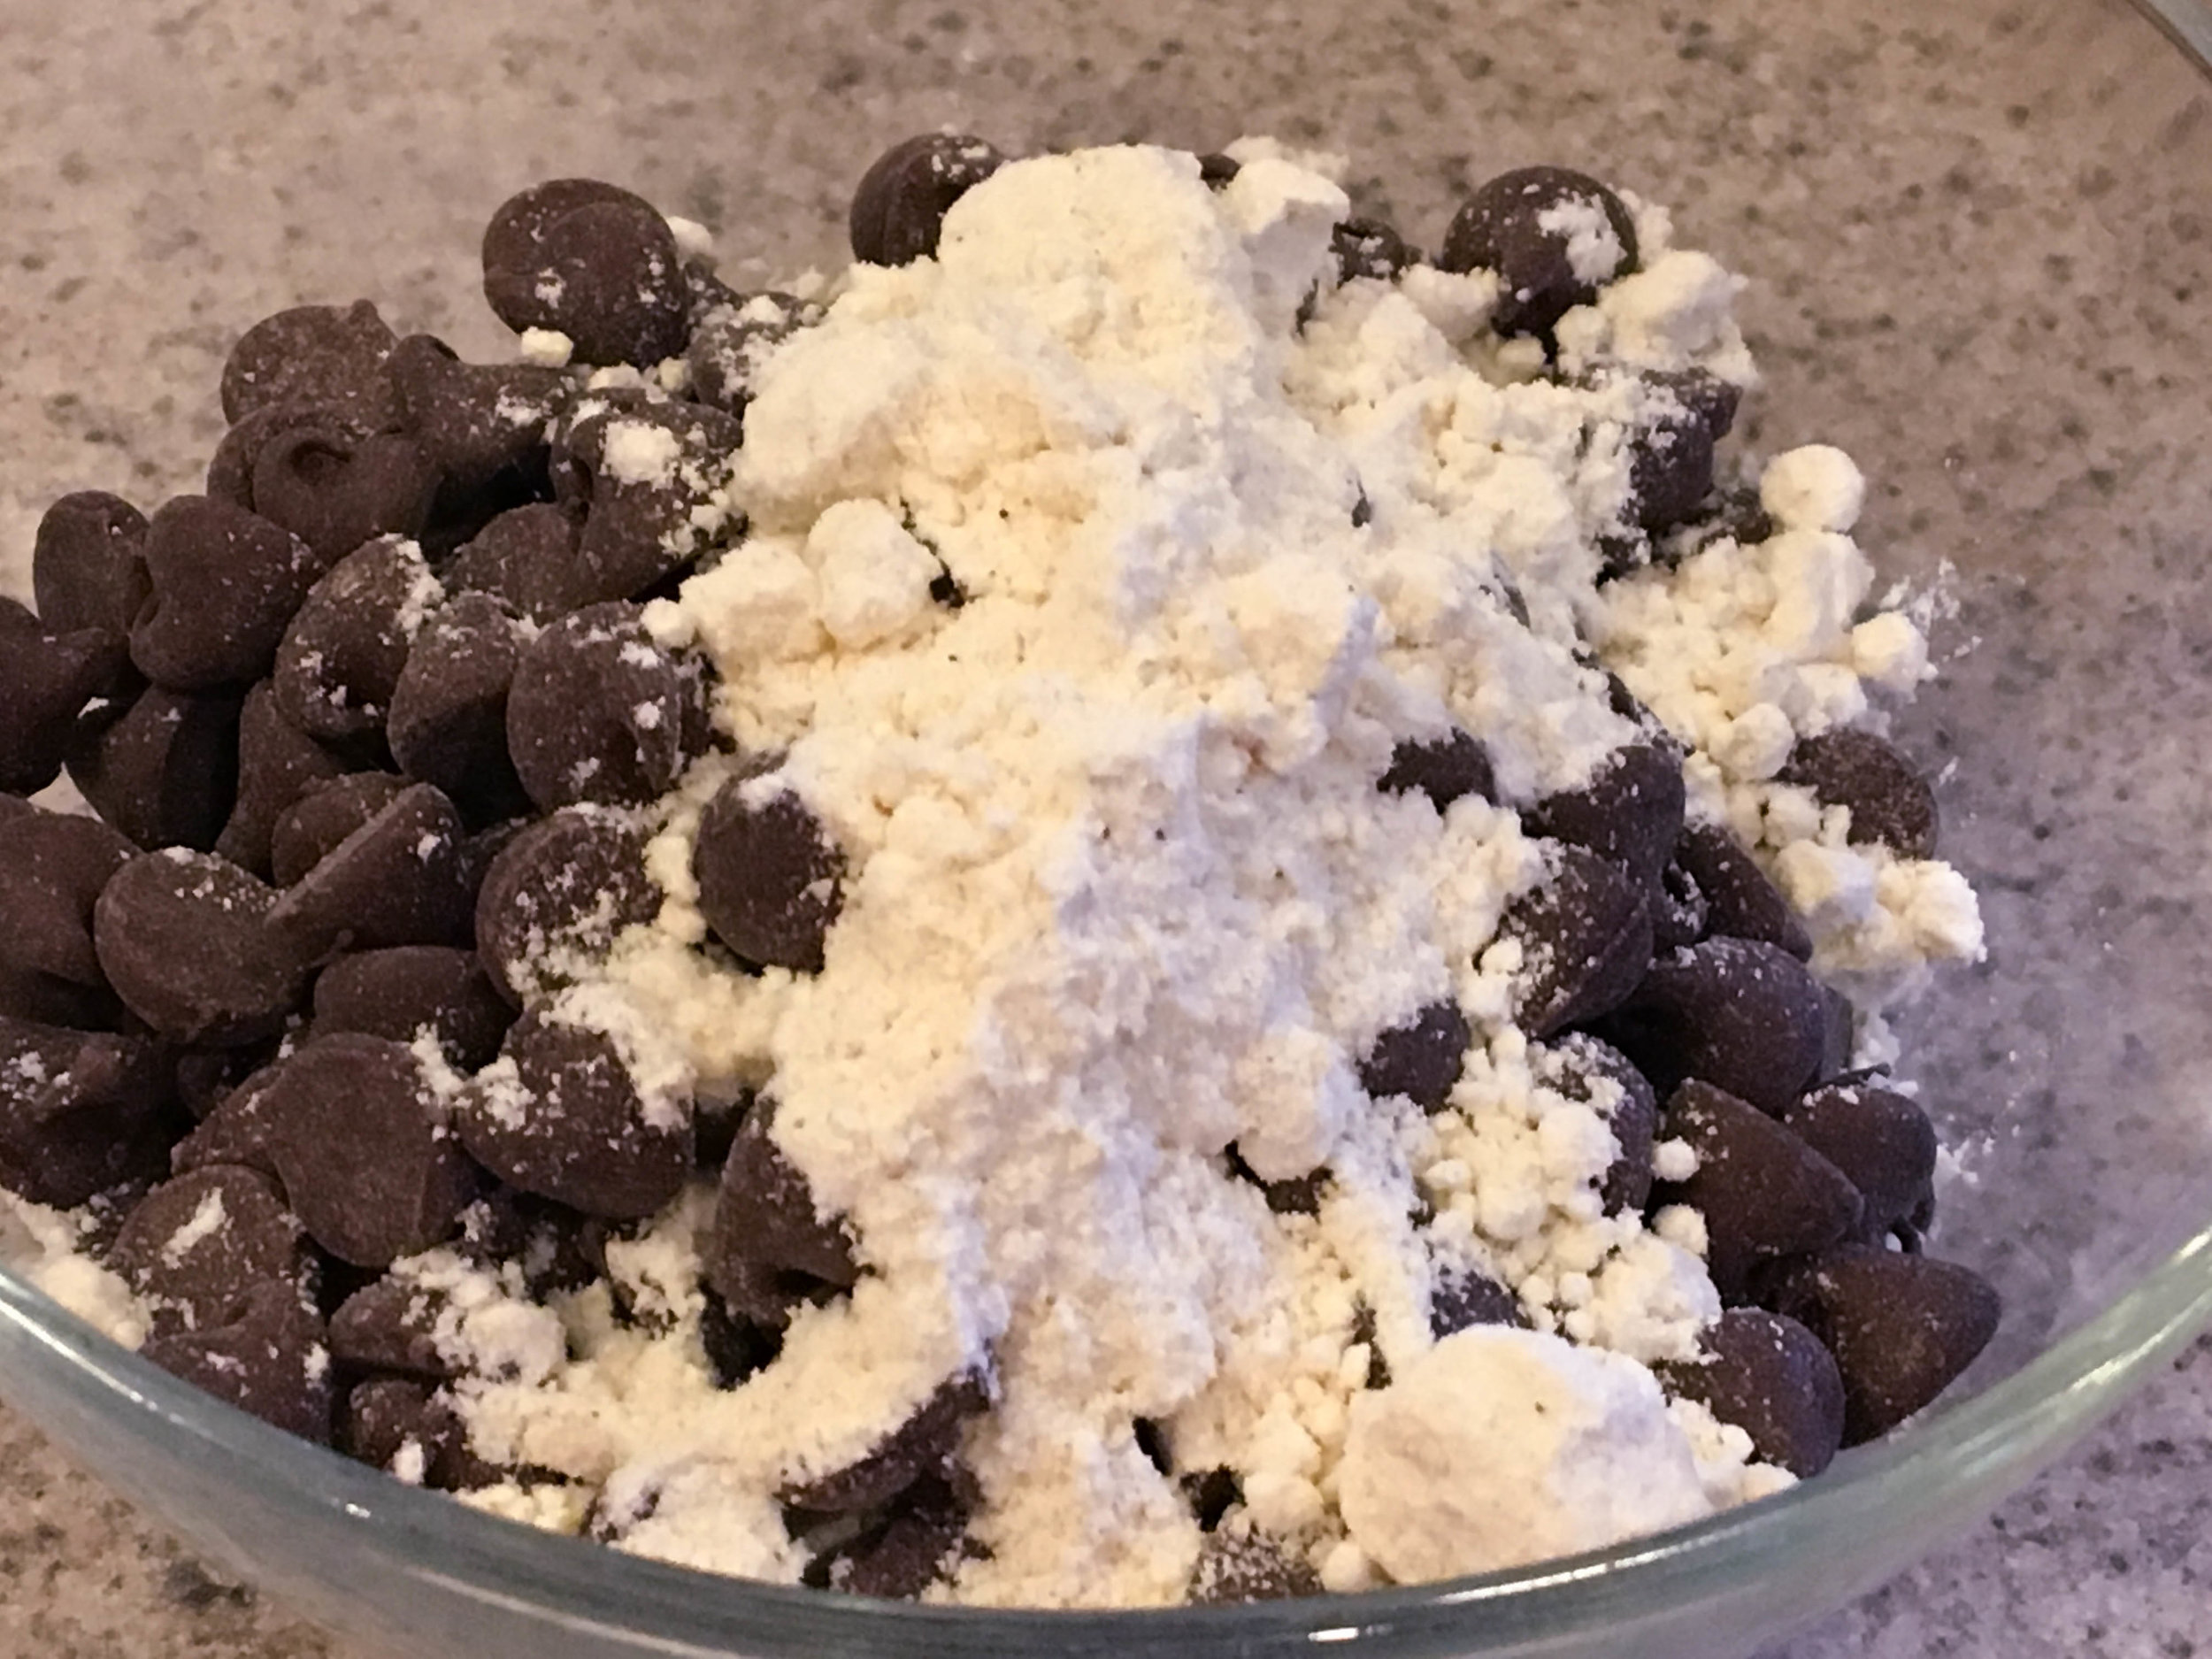
Mash the bananas with a fork and add to the batter. In a small bowl, mix the chocolate chips with 1 Tablespoon of flour. This helps prevent the chips from sinking to the bottom. Gently fold the floured chocolate chips into the banana bread batter.
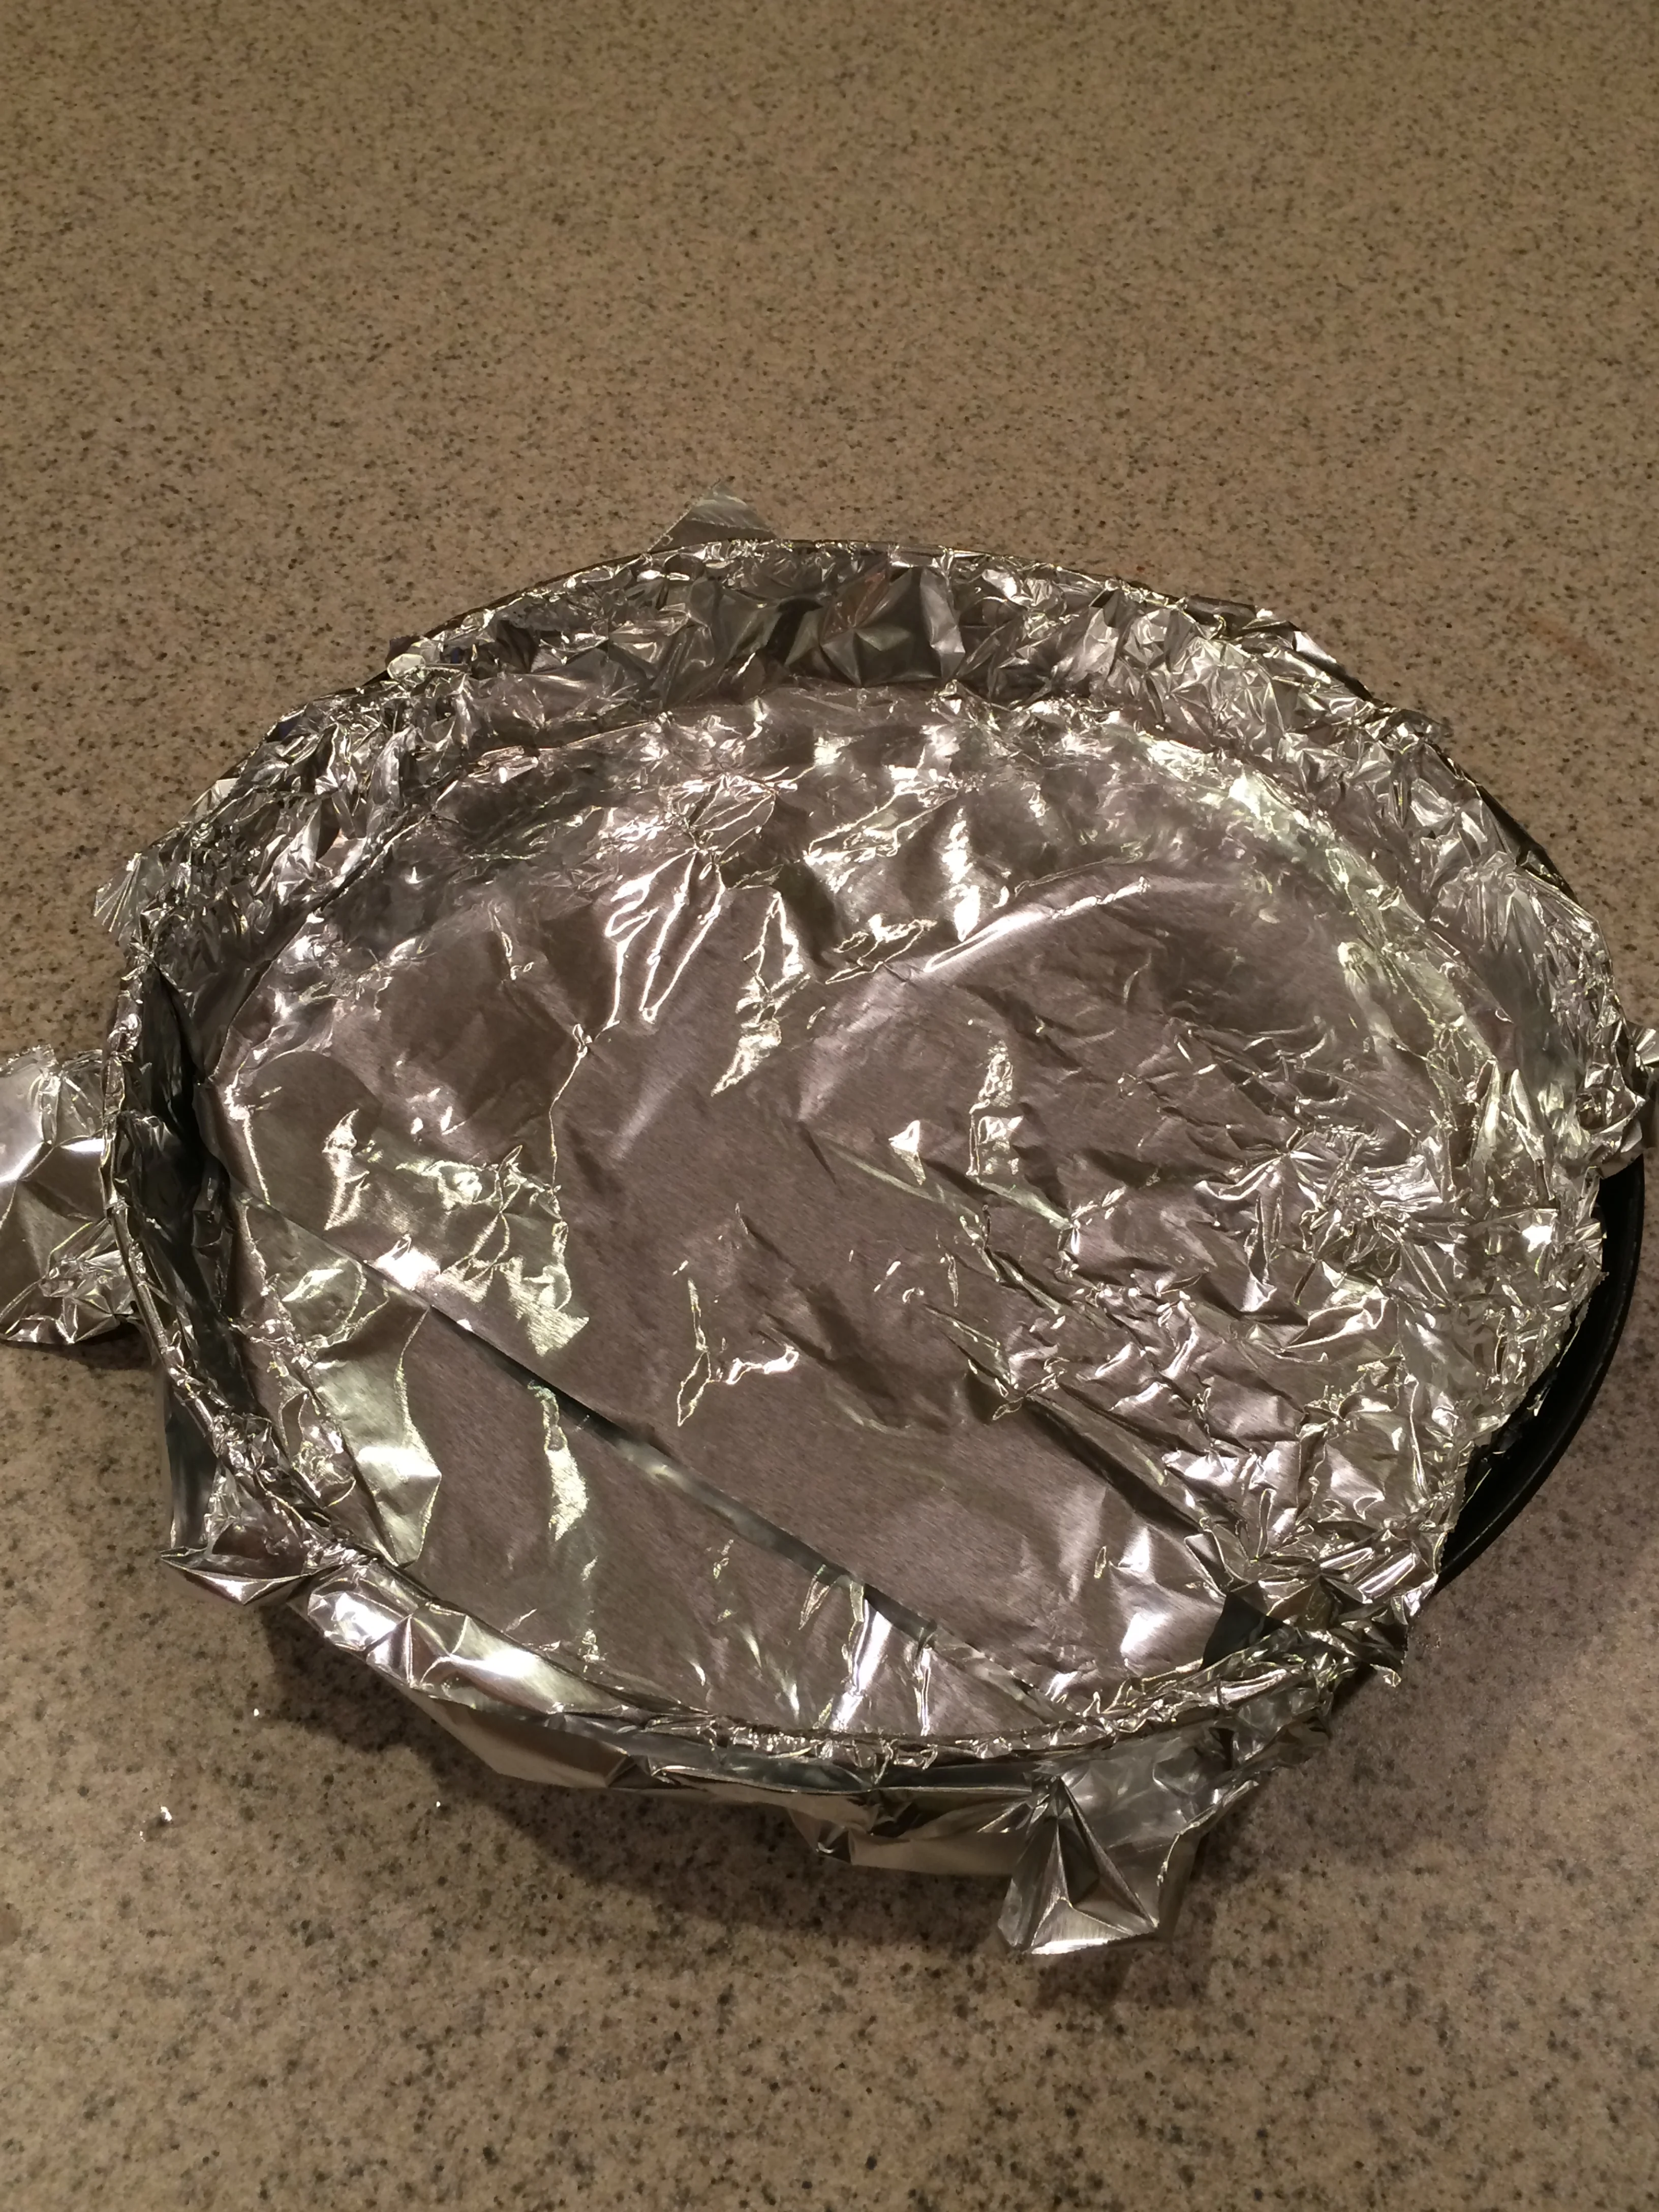
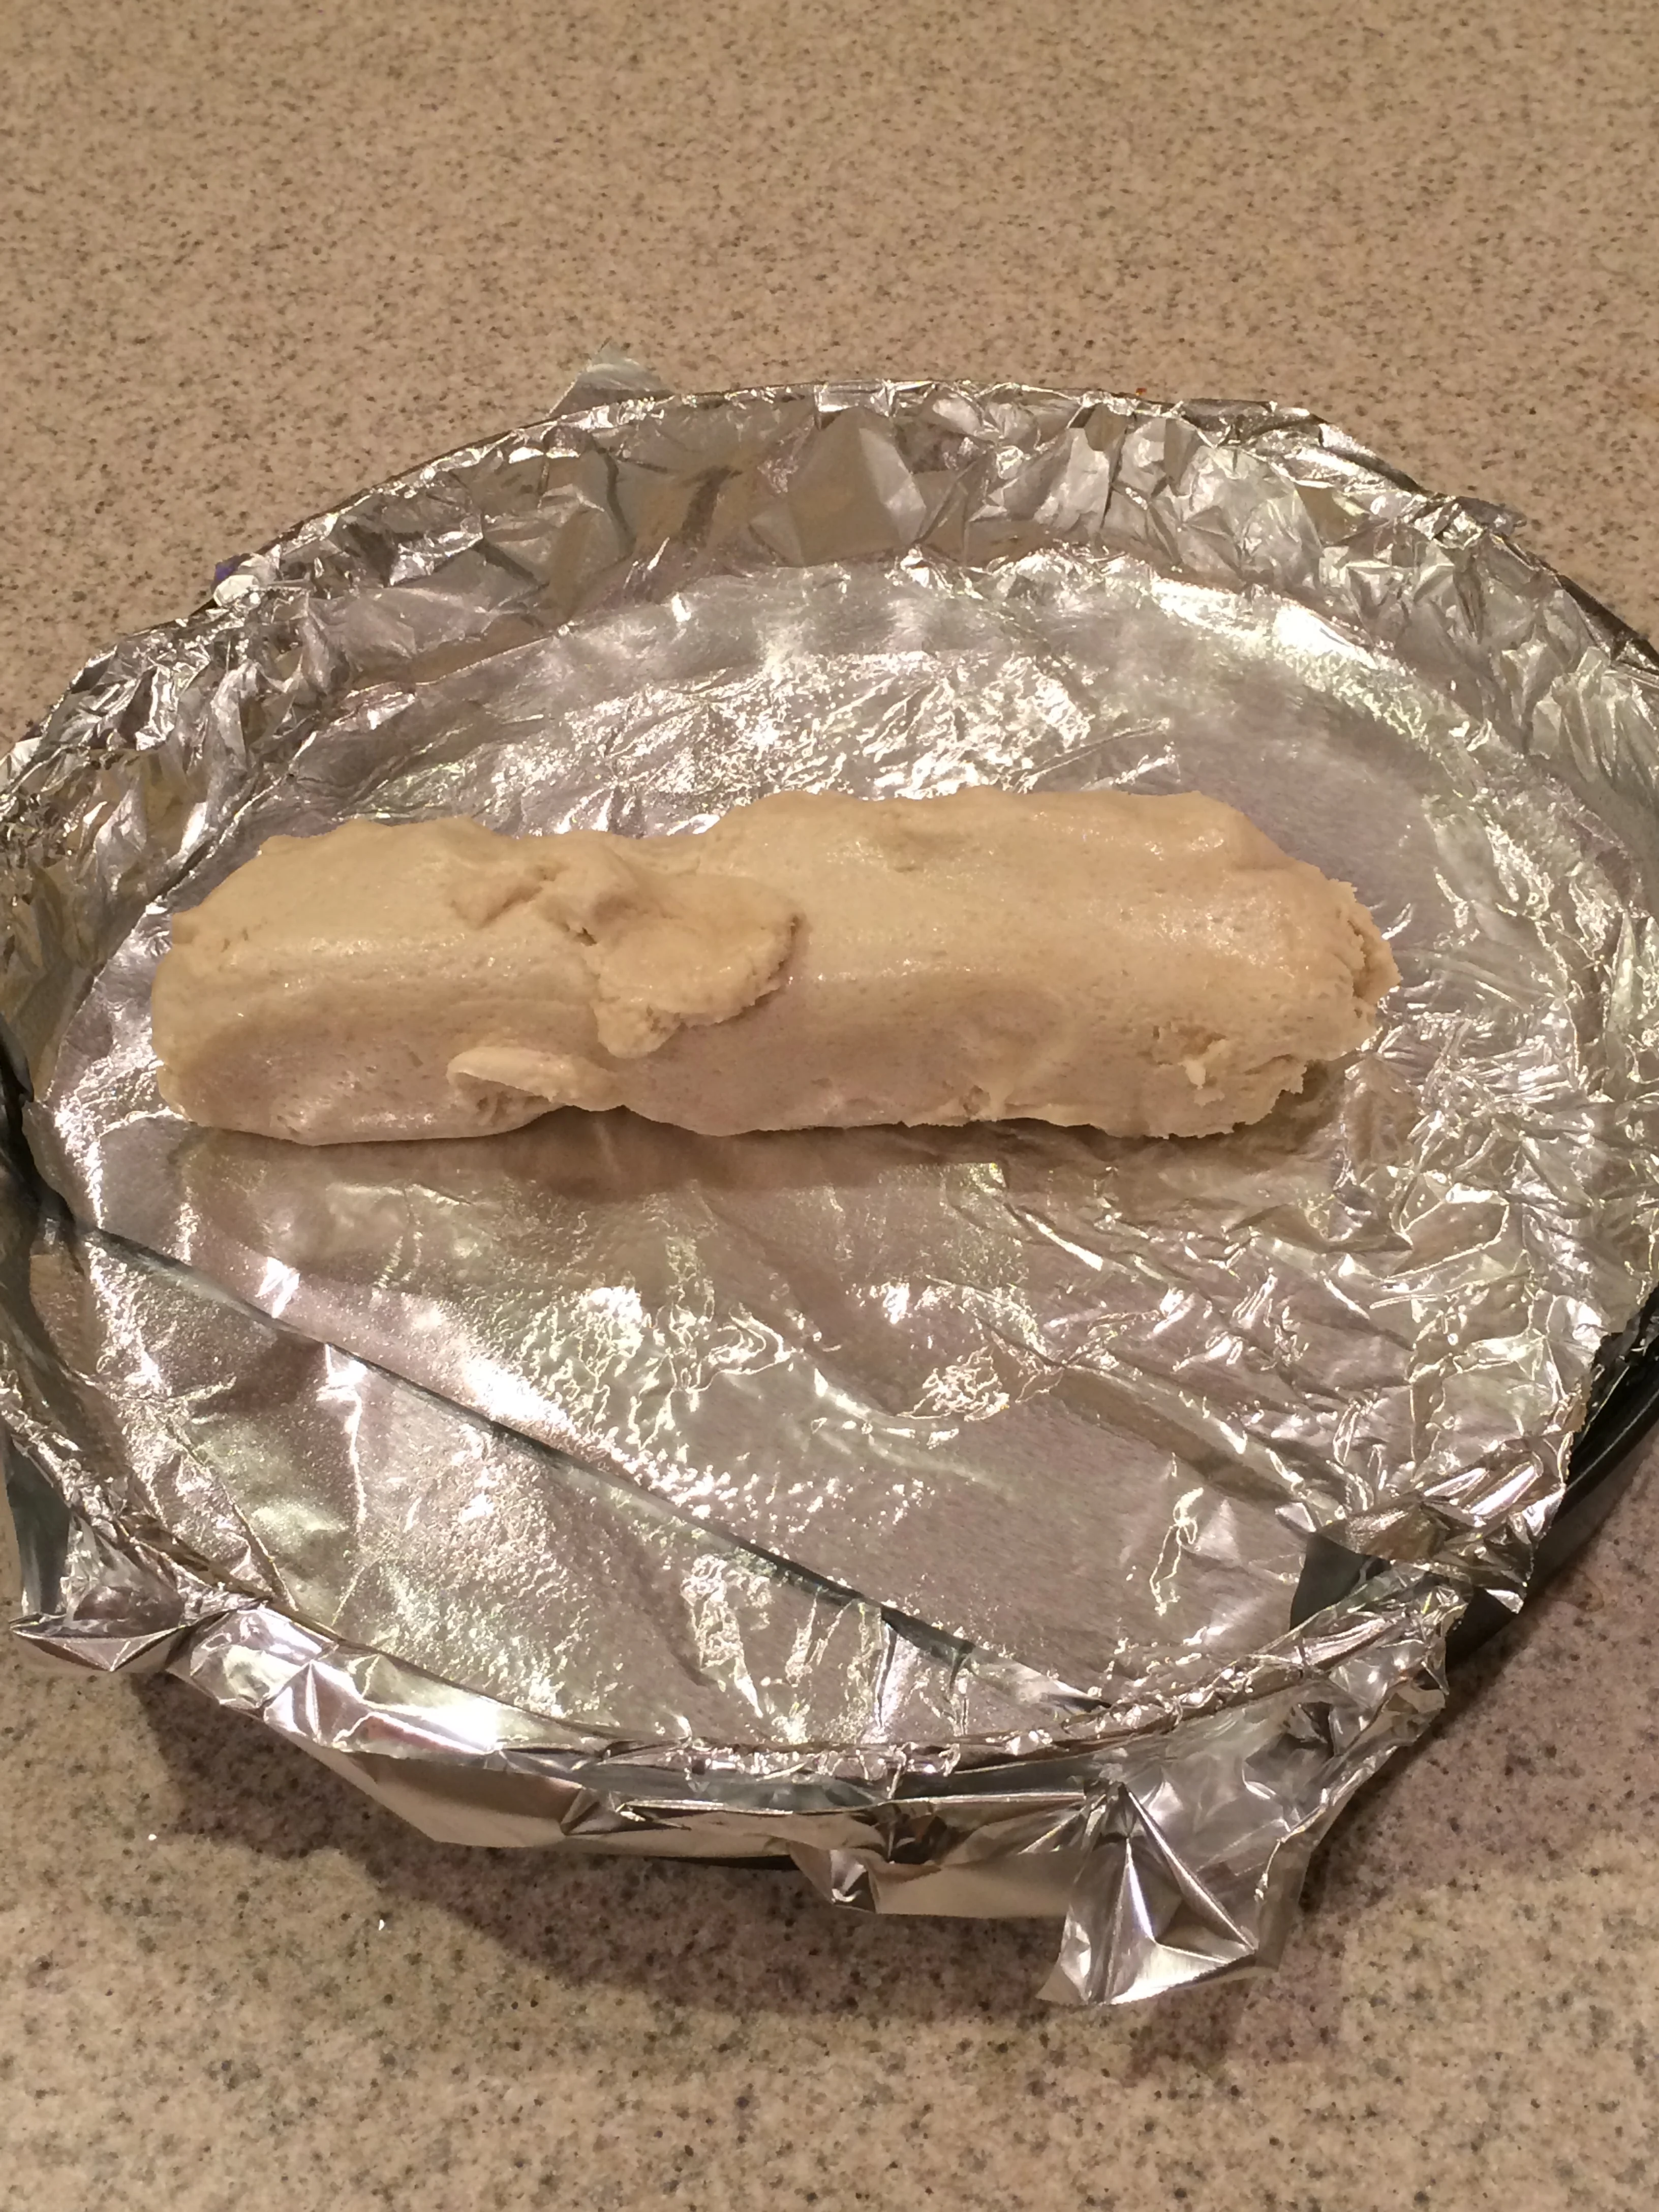
For two loaves, divide the batter evenly into two greased (with cooking spray) loaf pans, or into one greased loaf pan for one loaf.
Bake at 350 degrees for 1/2 hour or until done. Enjoy!