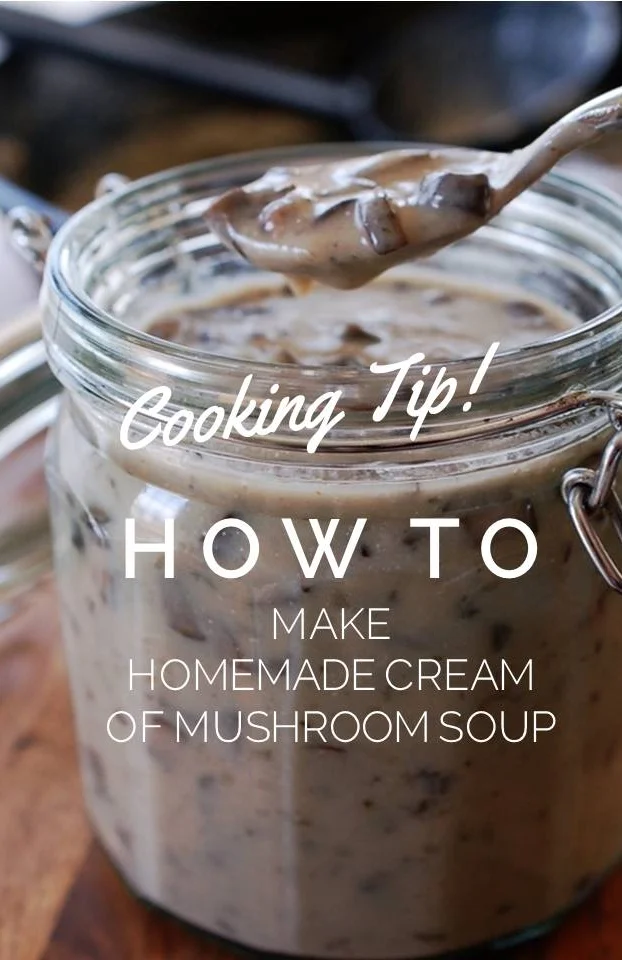
Cooking Tip: How To Make Homemade Cream of Mushroom Soup Recipe
Cook Time: 20 minutes
Difficulty: Easy
I have a tough time using something out of a can, especially when I can make it from scratch and control the ingredients. Take for example Cream of Mushroom soup, a constant in most casseroles.
With two family members sensitive to gluten and certain ingredients in canned soups, I was on a quest to make this homemade version.
This homemade version of the store bought canned cream of mushroom soup is delicious and so very easy. You may never go back to the store bought version again. It's that good! (Sorry Campbell's).
This recipe is equivalent to 2 cans of store bought cream of mushroom soup and will last in the refrigerator for a week. This recipe would also be good for "Cream of Anything Soup" (asparagus, chicken...). That will be a future blog.
Ingredients
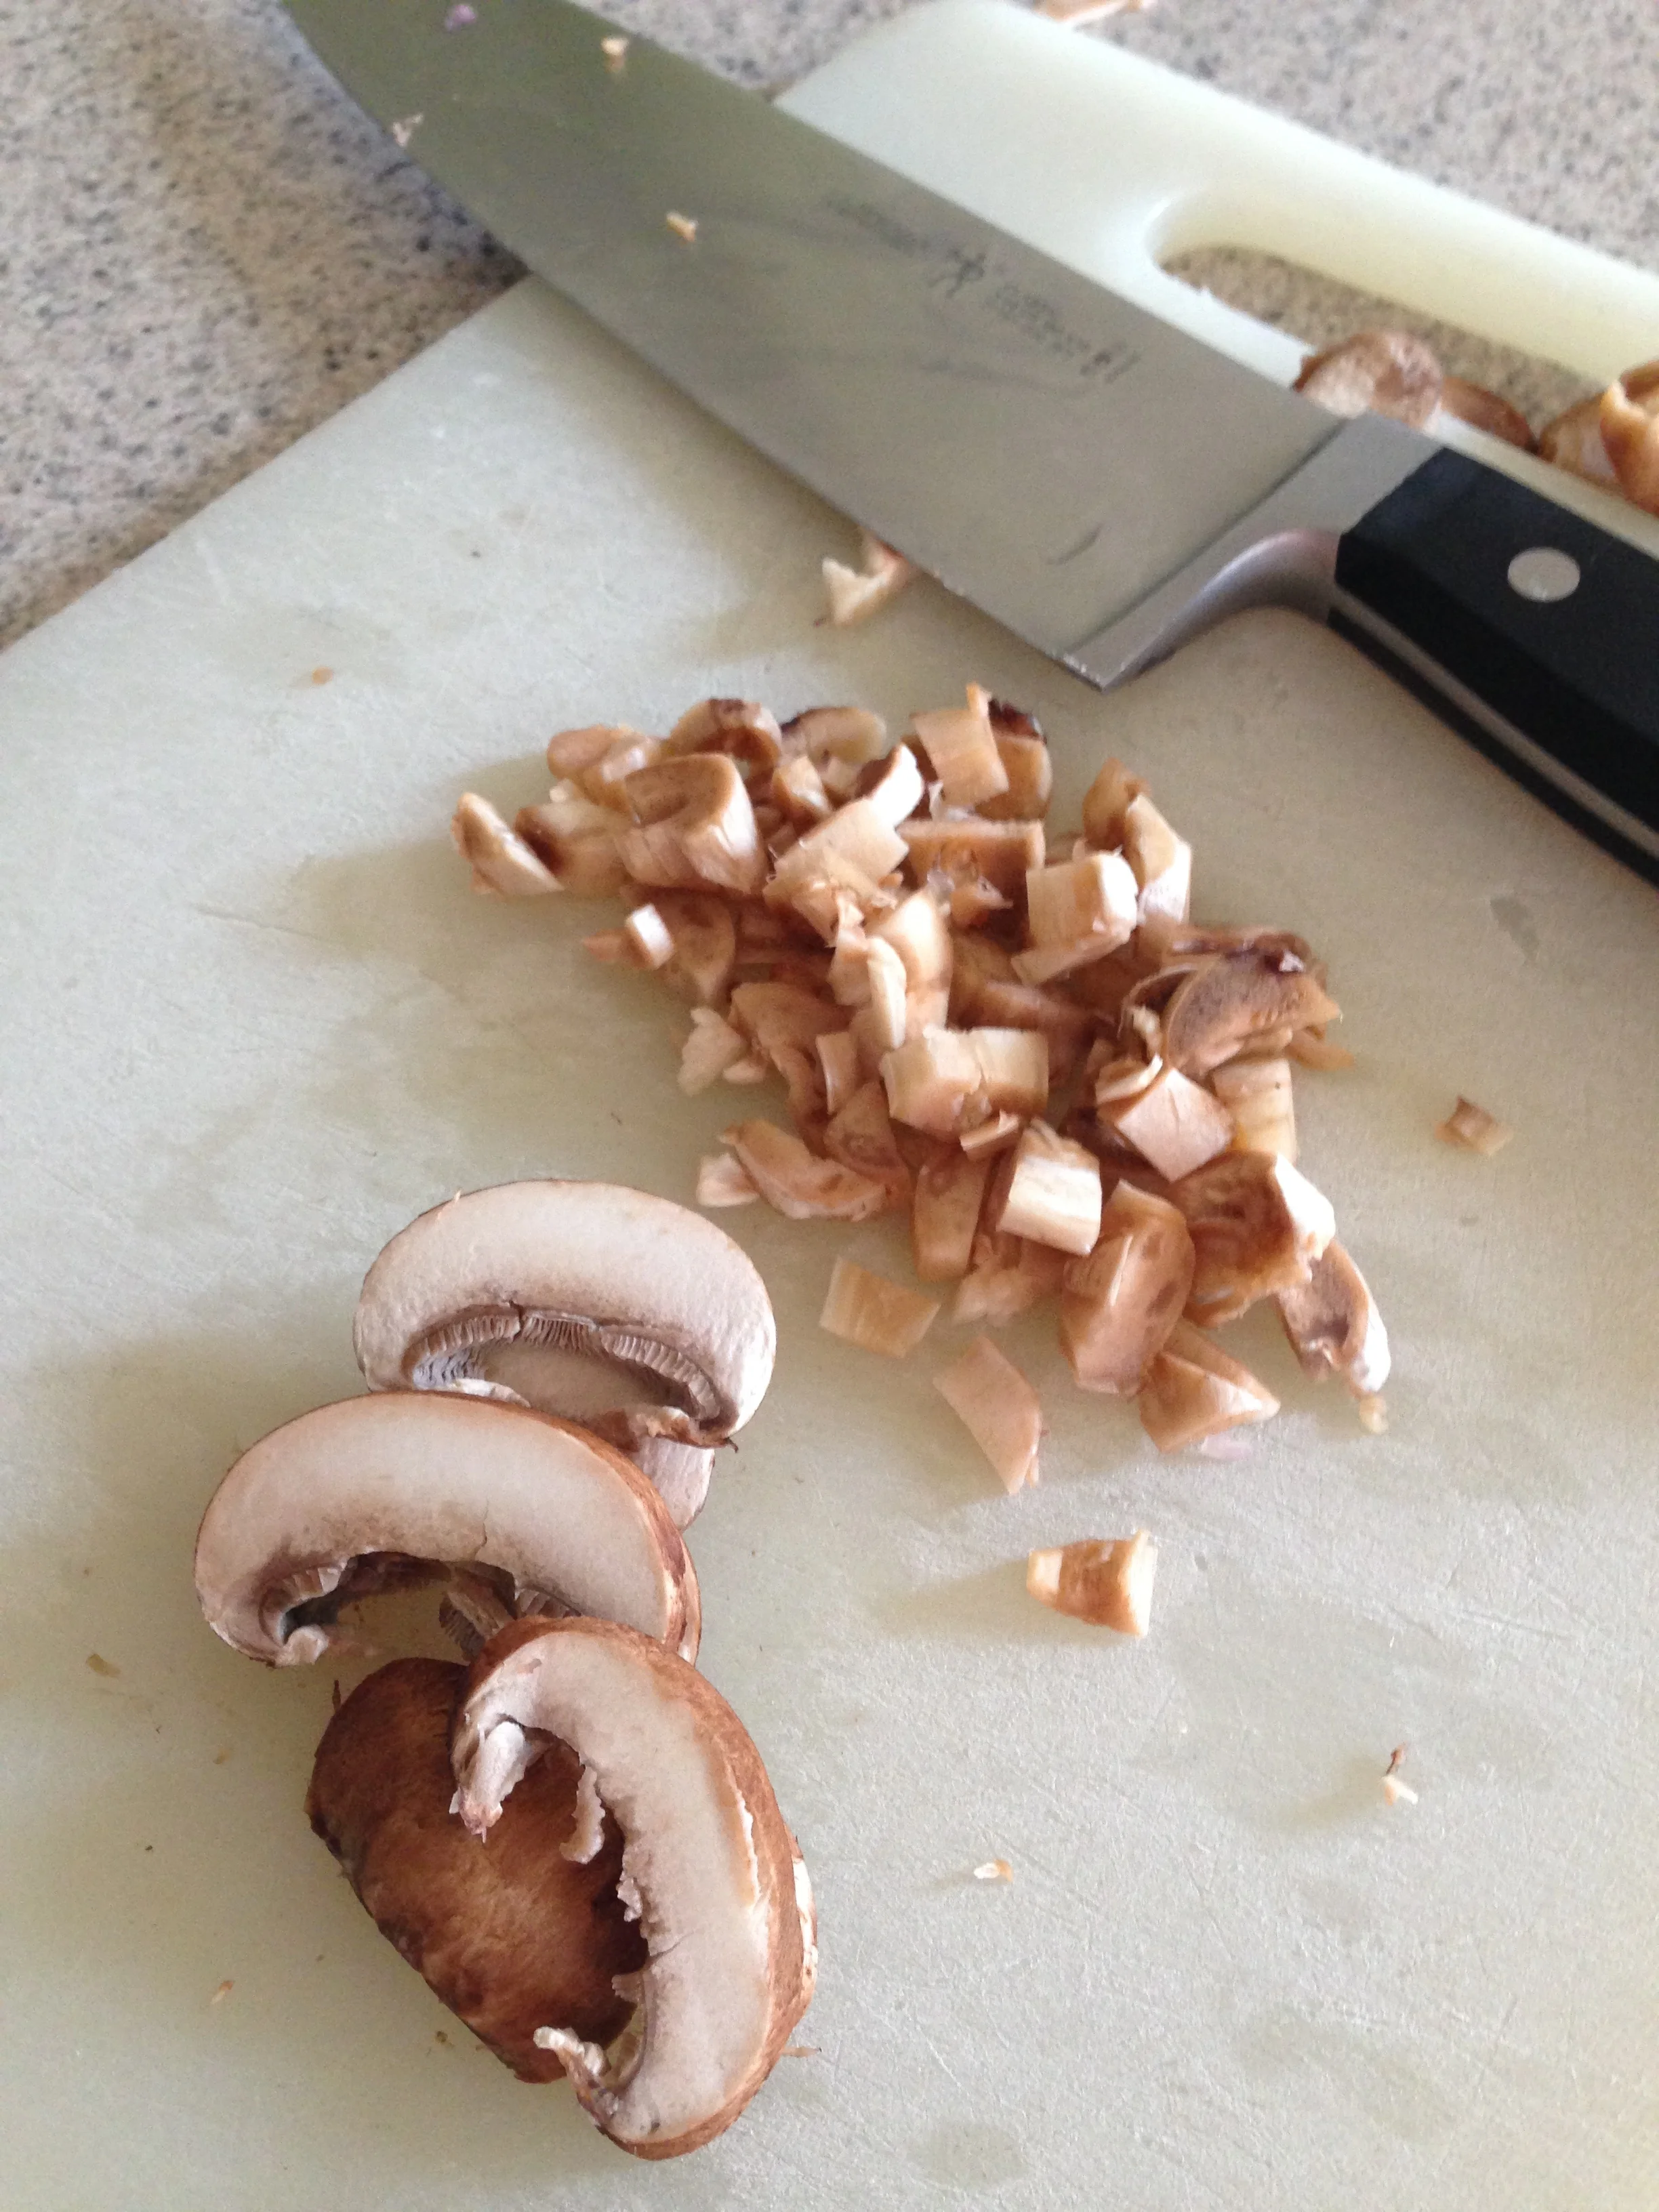
- 1 package of baby bella mushrooms, rinsed and coarsely chopped
- 2 Tablespoons (Tbsp) butter
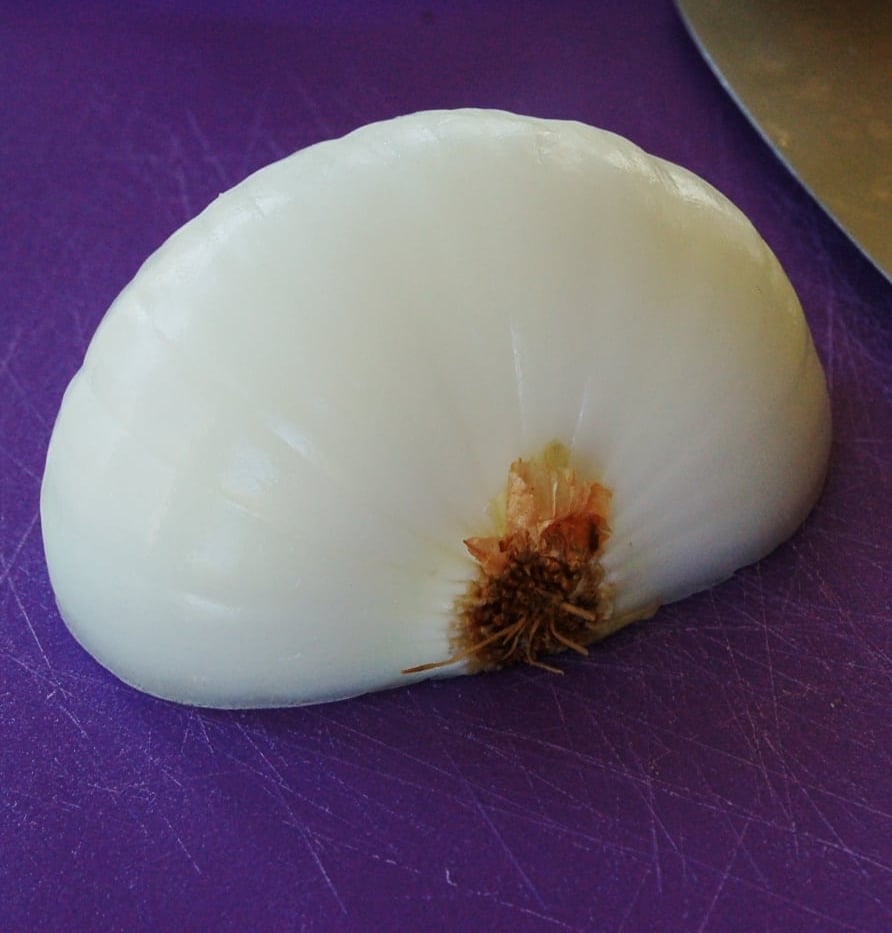
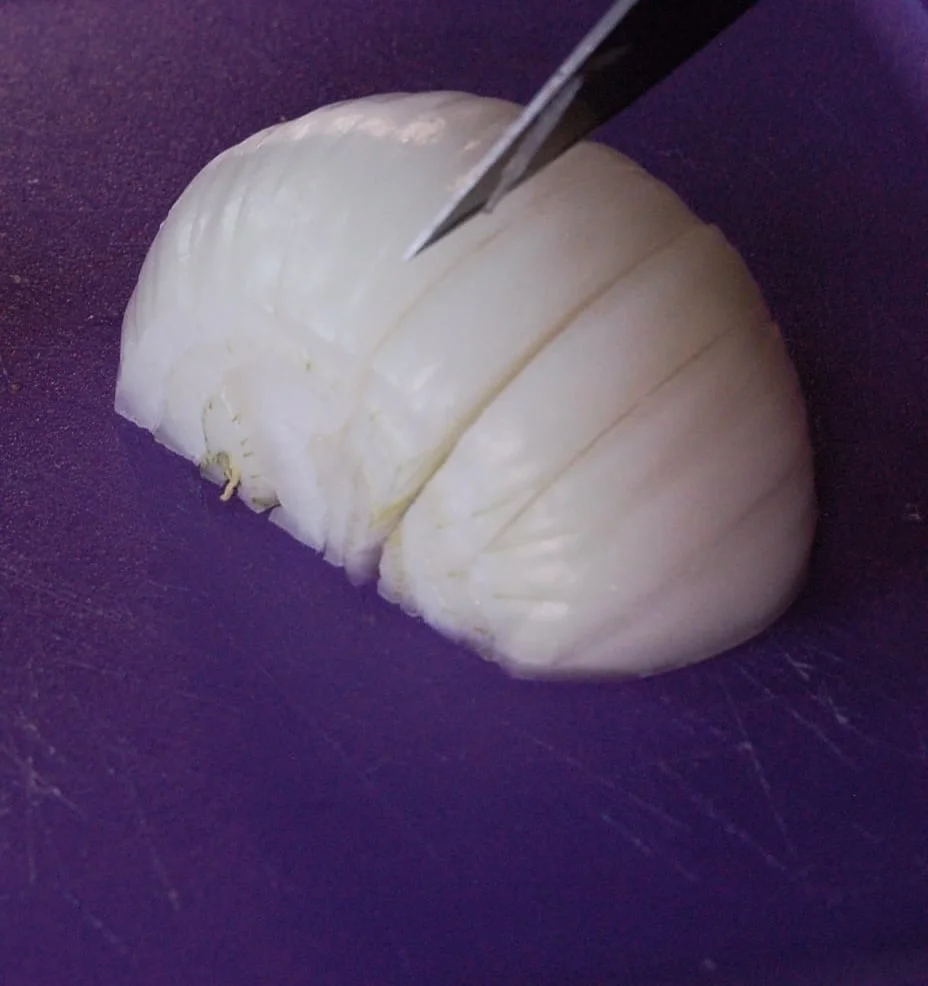
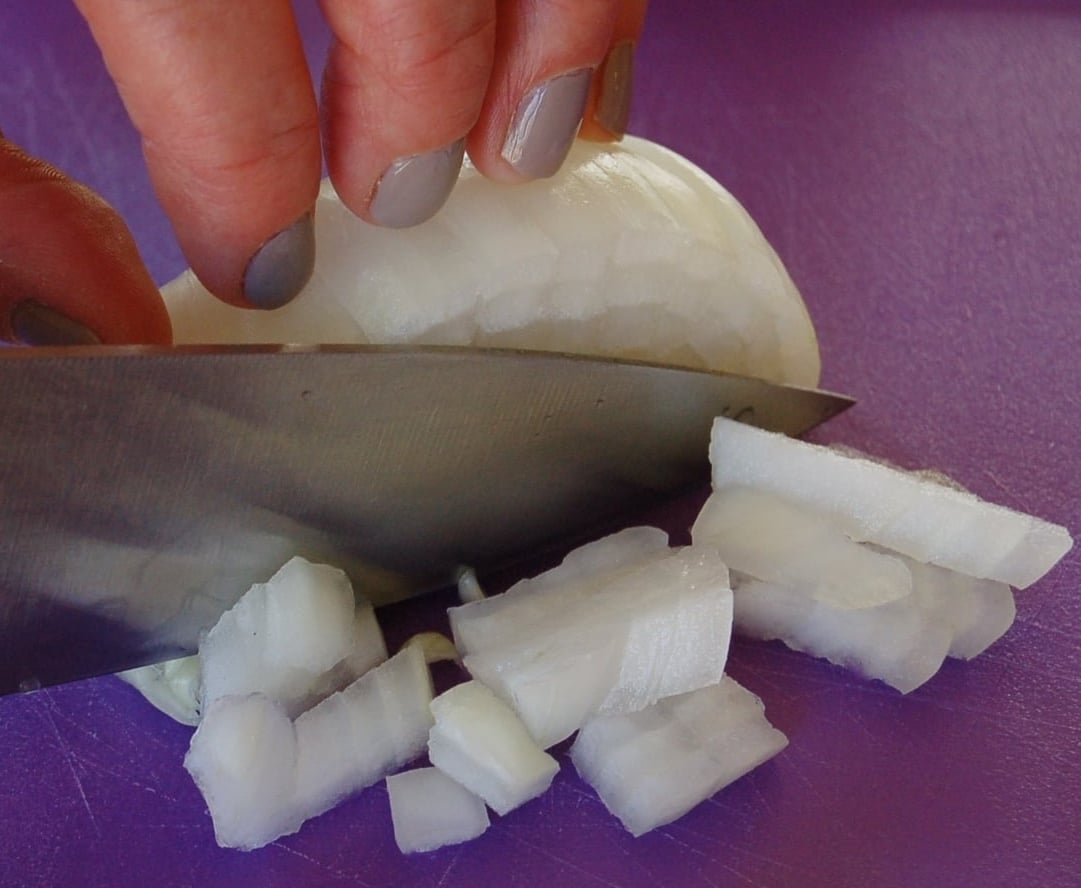
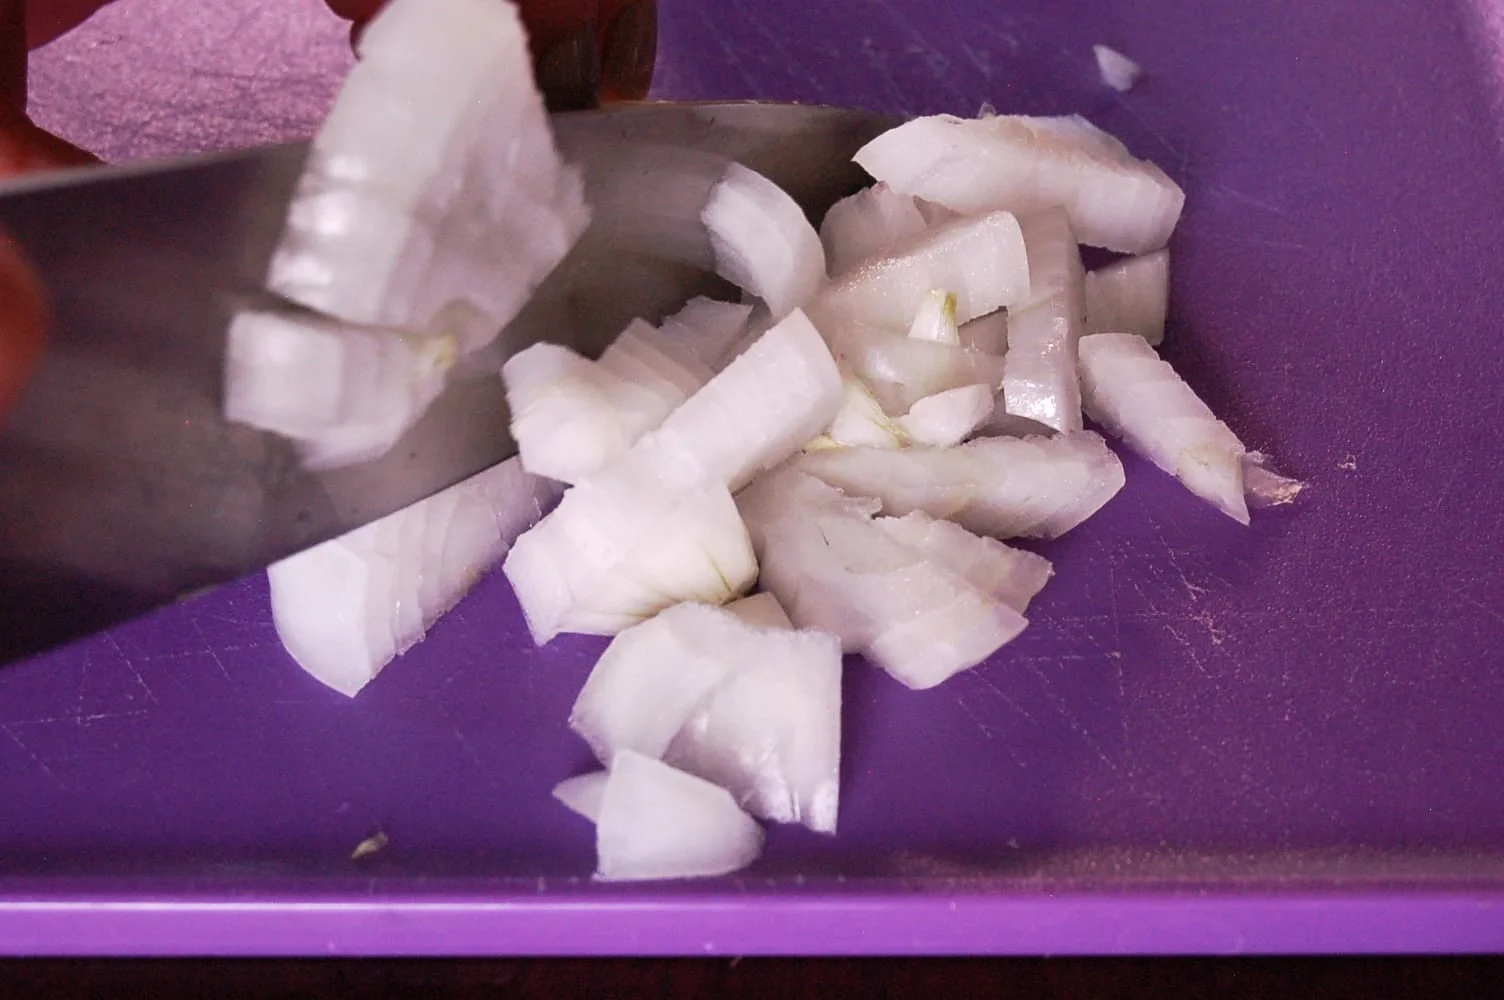
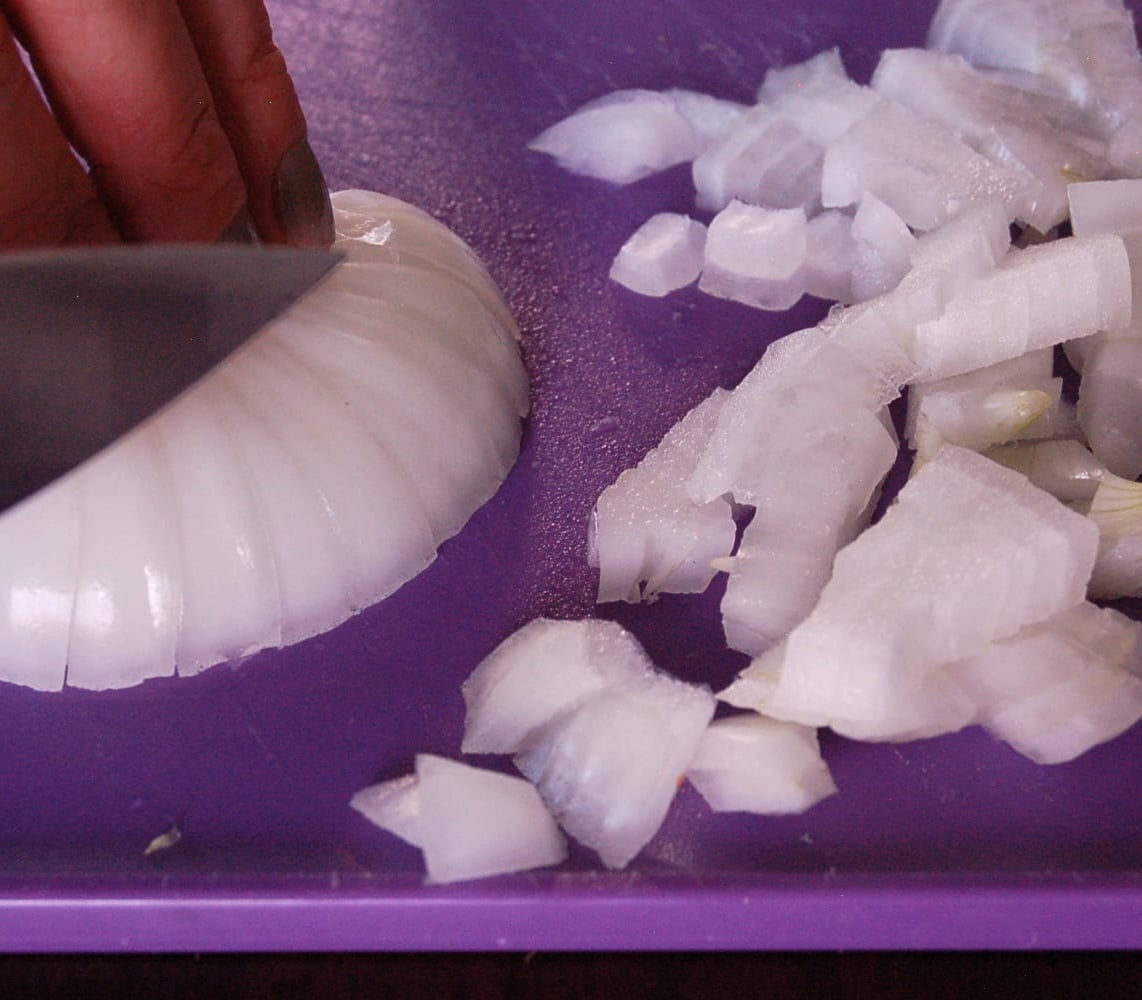
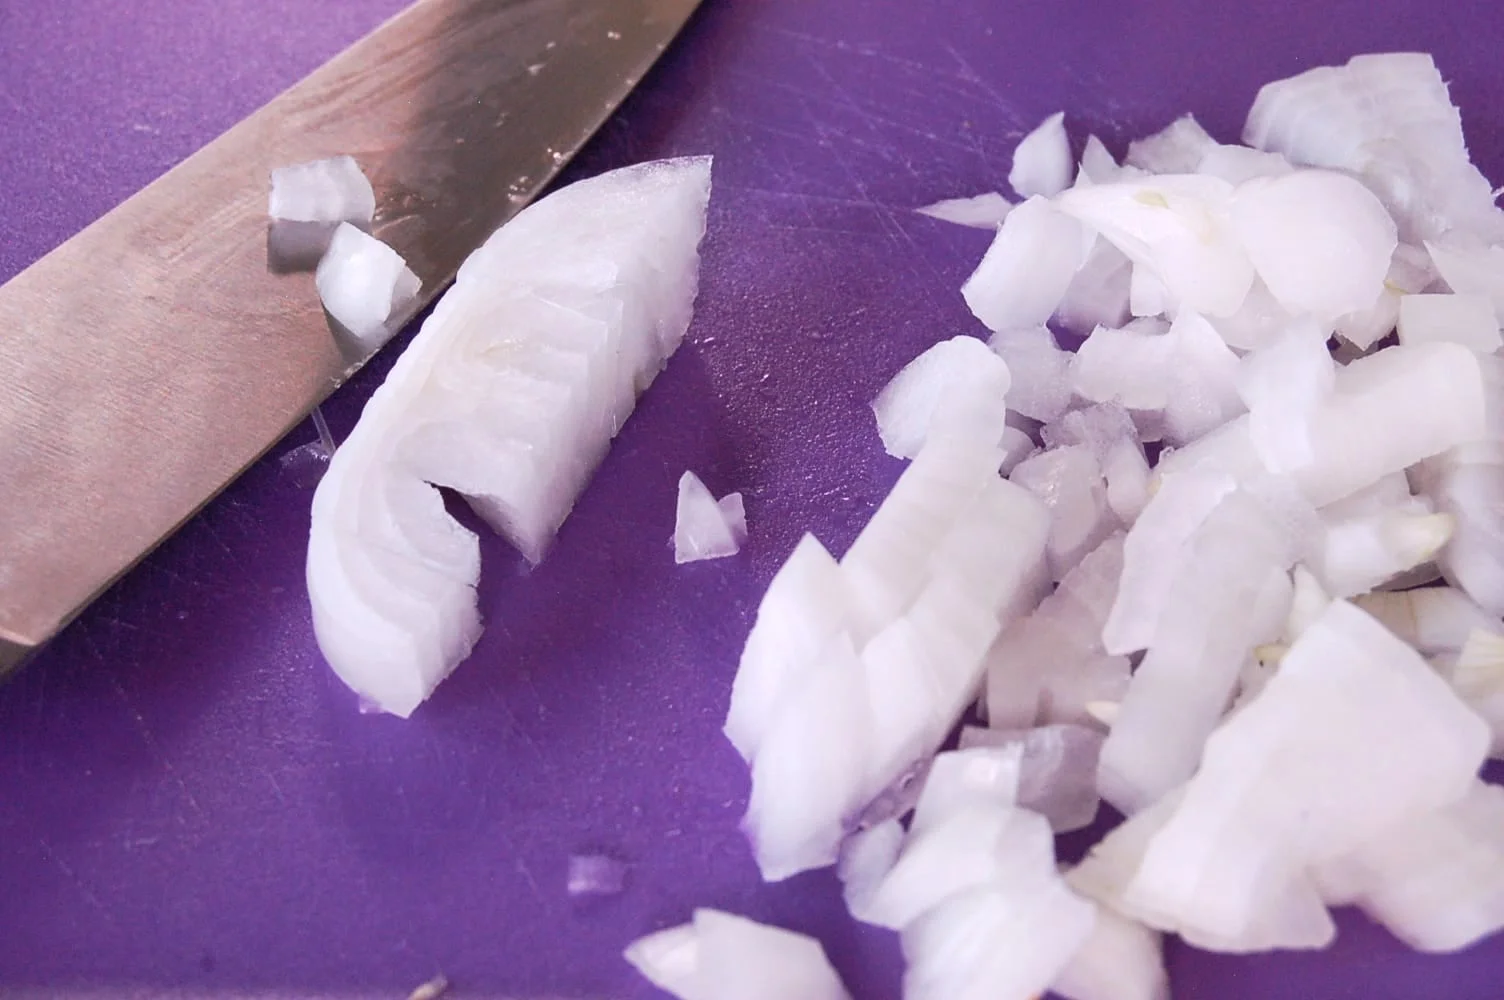
- 1 shallot, finely minced
- 1/2 teaspoon (tsp) Cherchies® Garlic Seasoning
- 1/2 teaspoon (tsp) Thyme
- 1/4 teaspoon pepper
- 1 Tablespoon (Tbsp) butter
- 2 Tablespoon (Tbsp) flour (we tested this recipe with Bob's Mill GF All-Purpose Baking mix)
- 1/4 cup Sherry (optional)
- 1/4 teaspoon Truffle Oil (optional)
- 3/4 cup homemade chicken broth (If don't use Sherry, increase chicken broth to 1 cup)
- 1/2 cup half & half (can substitute light whipping cream)
Preparation
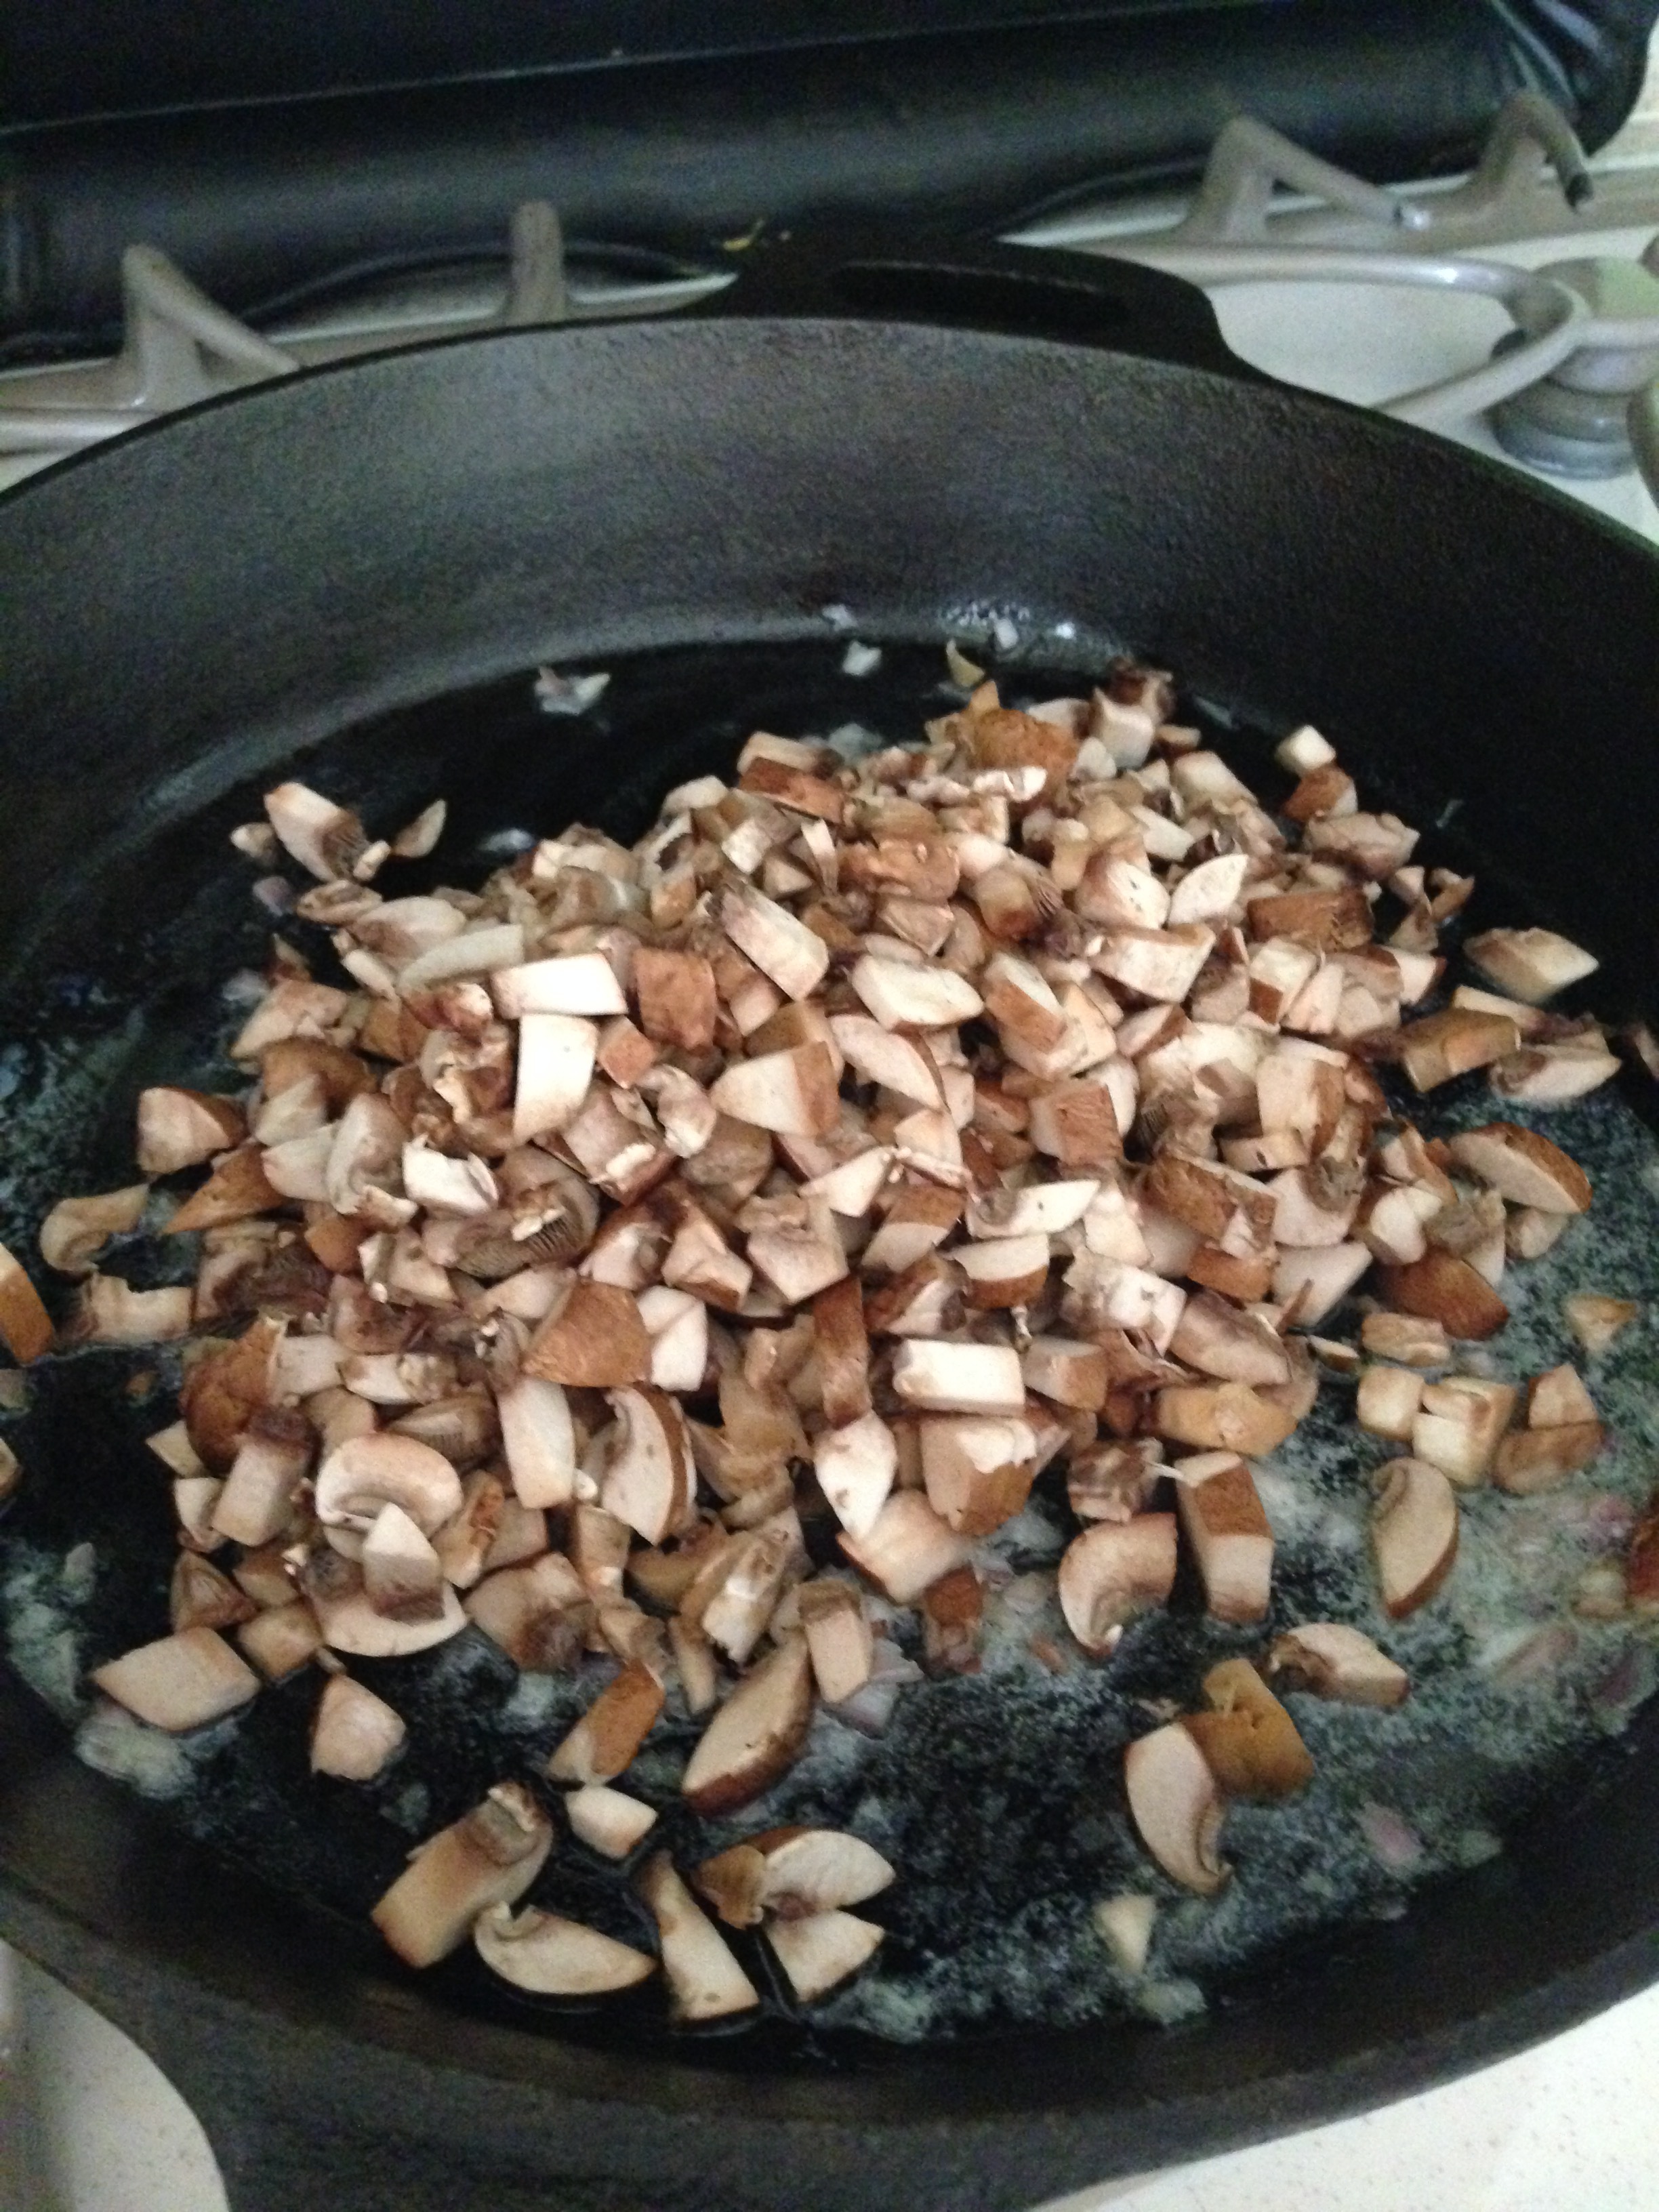
Turn skillet on medium and melt 2 Tablespoons of butter. Place chopped mushrooms in pan and cook mushrooms for about 5 minutes. Add minced shallots and cook until shallots are translucent (about another 5 minutes). Remove mushrooms and shallots from pan and place in a bowl or on a plate. Set aside.
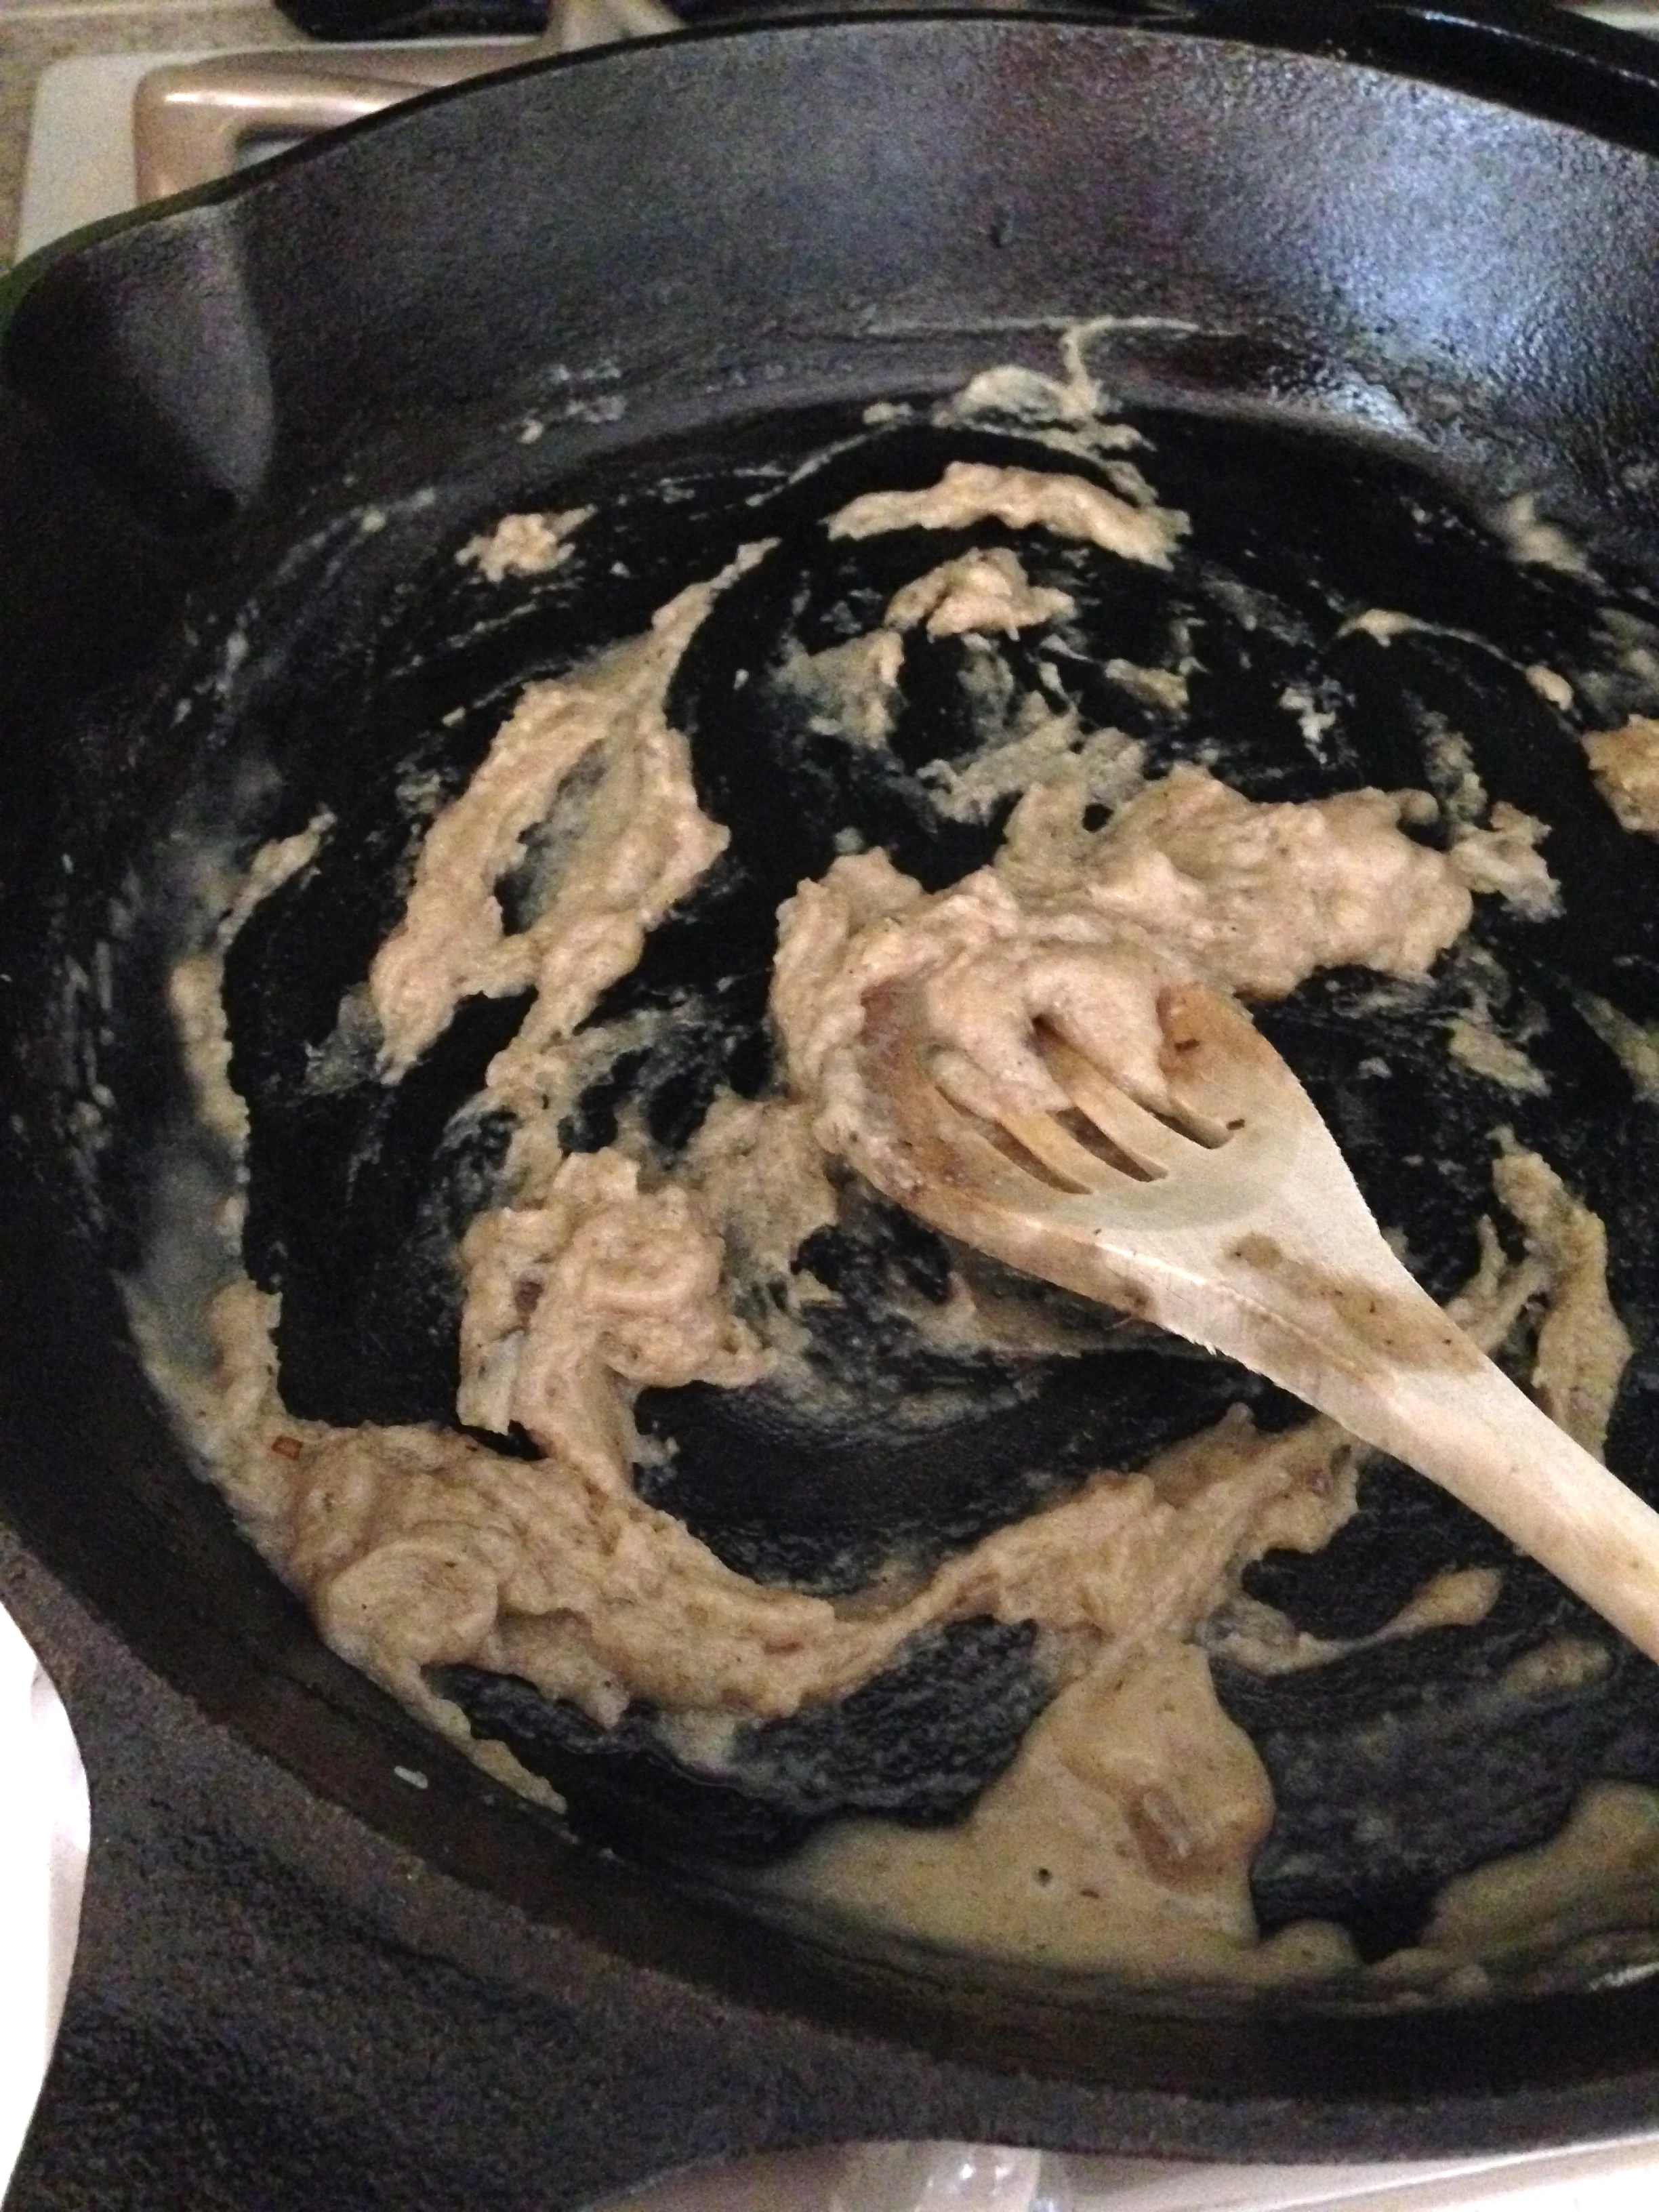
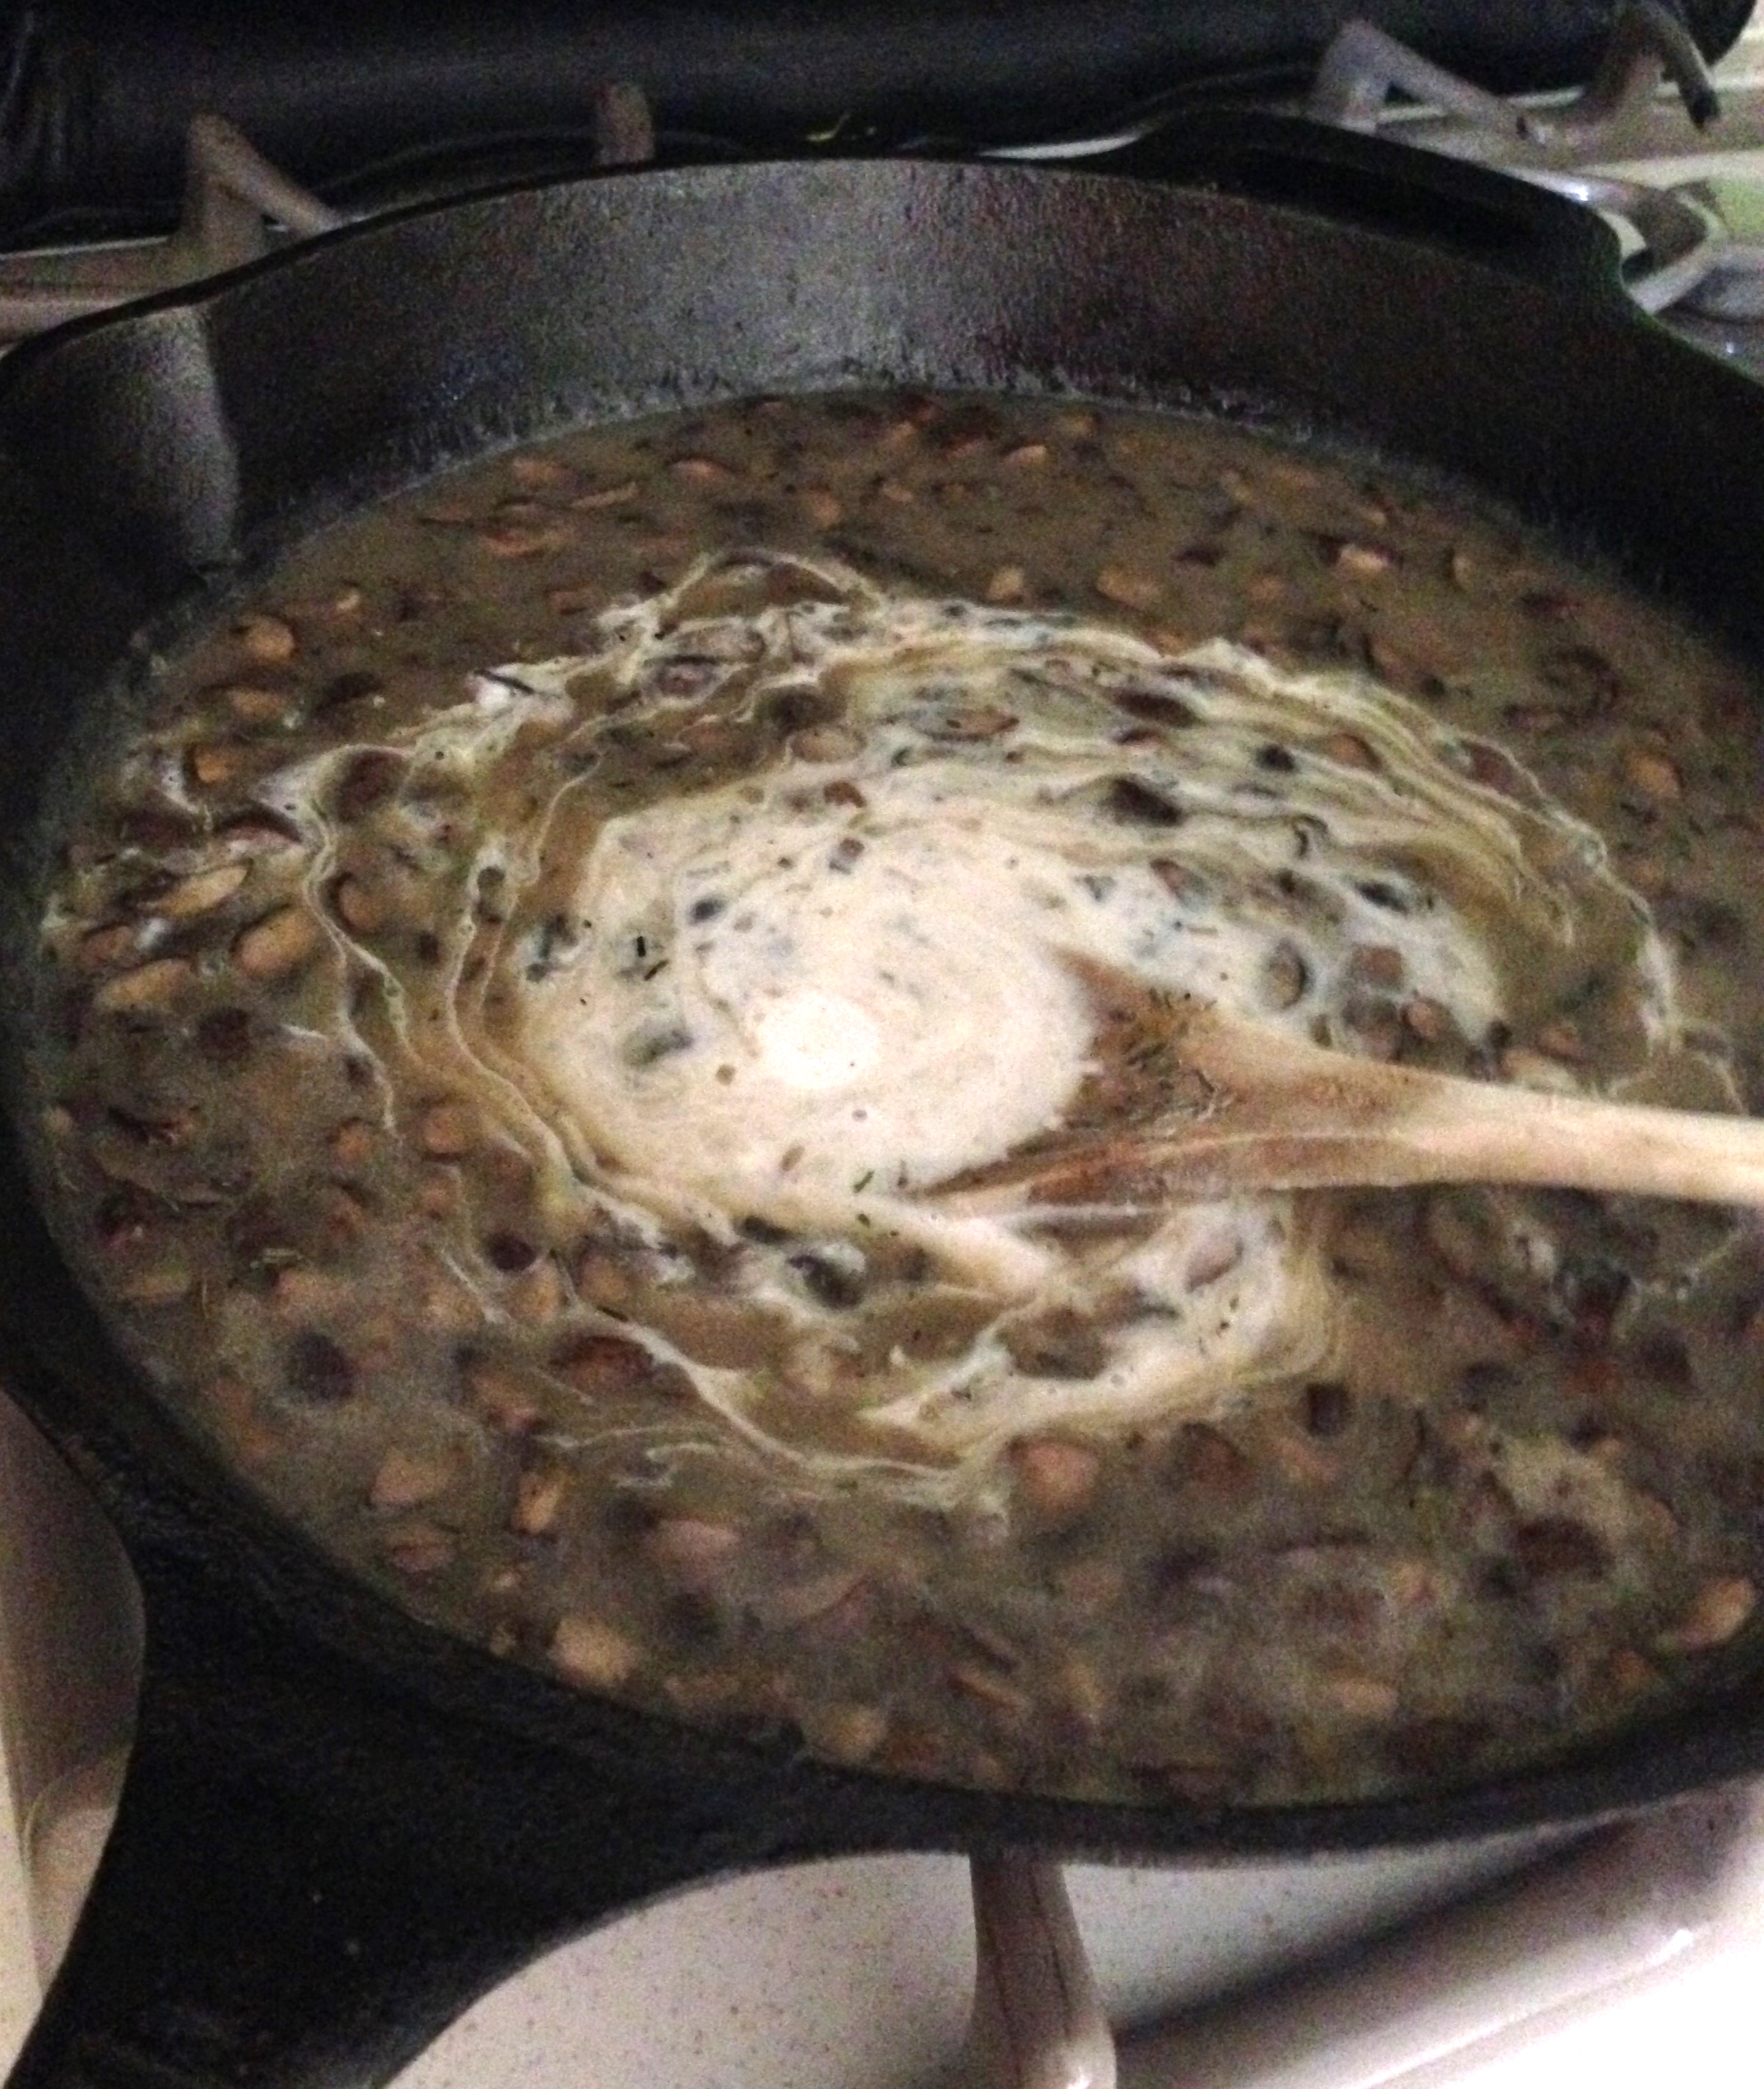
Add 1 Tablespoon butter and flour to pan and stir for a couple of minutes. Add Sherry and chicken stock (I always have homemade chicken stock in the freezer) and stir. Mixture will begin to thicken. Add Garlic Seasoning, pepper, Thyme, and stir. *At this point I added Truffle oil ...well, because I had it on hand, but this is completely optional. I just love the extra richness it adds to any mushroom dish.
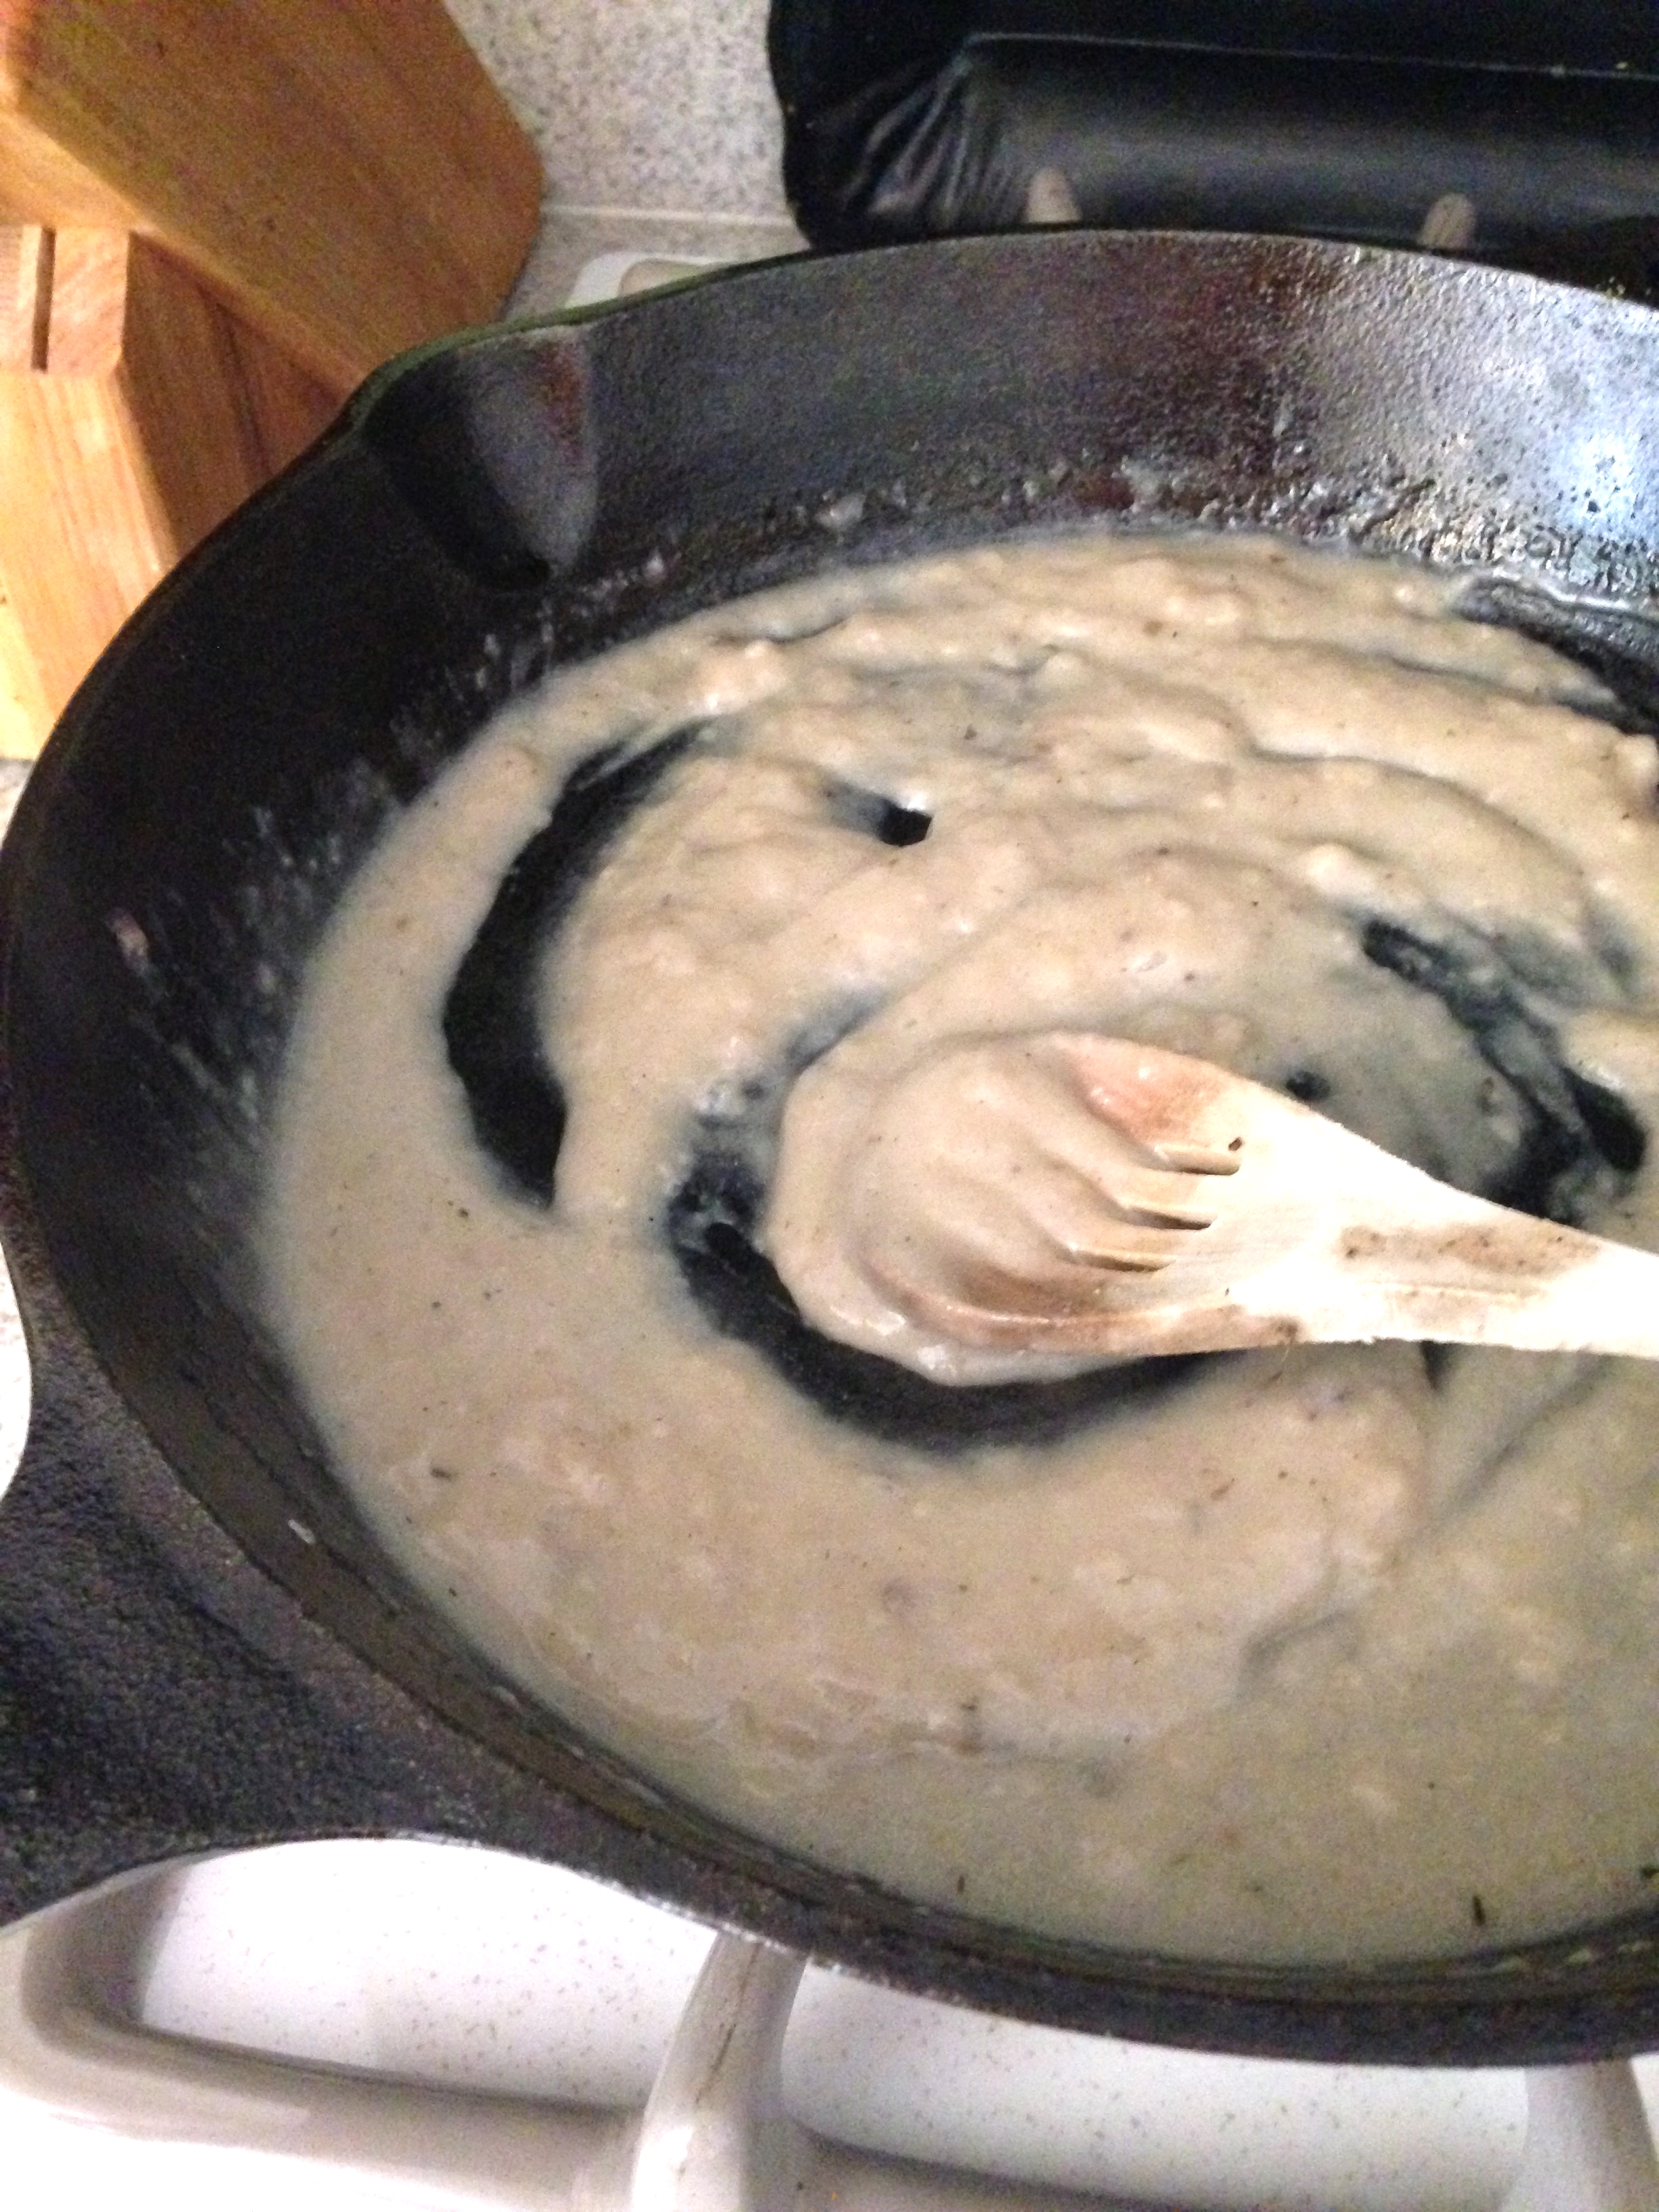
Add mushroom and shallot mixture back to pan as well as half and half and continue to cook on low, stirring occasionally, until soup is thick and creamy (about 10 minutes).
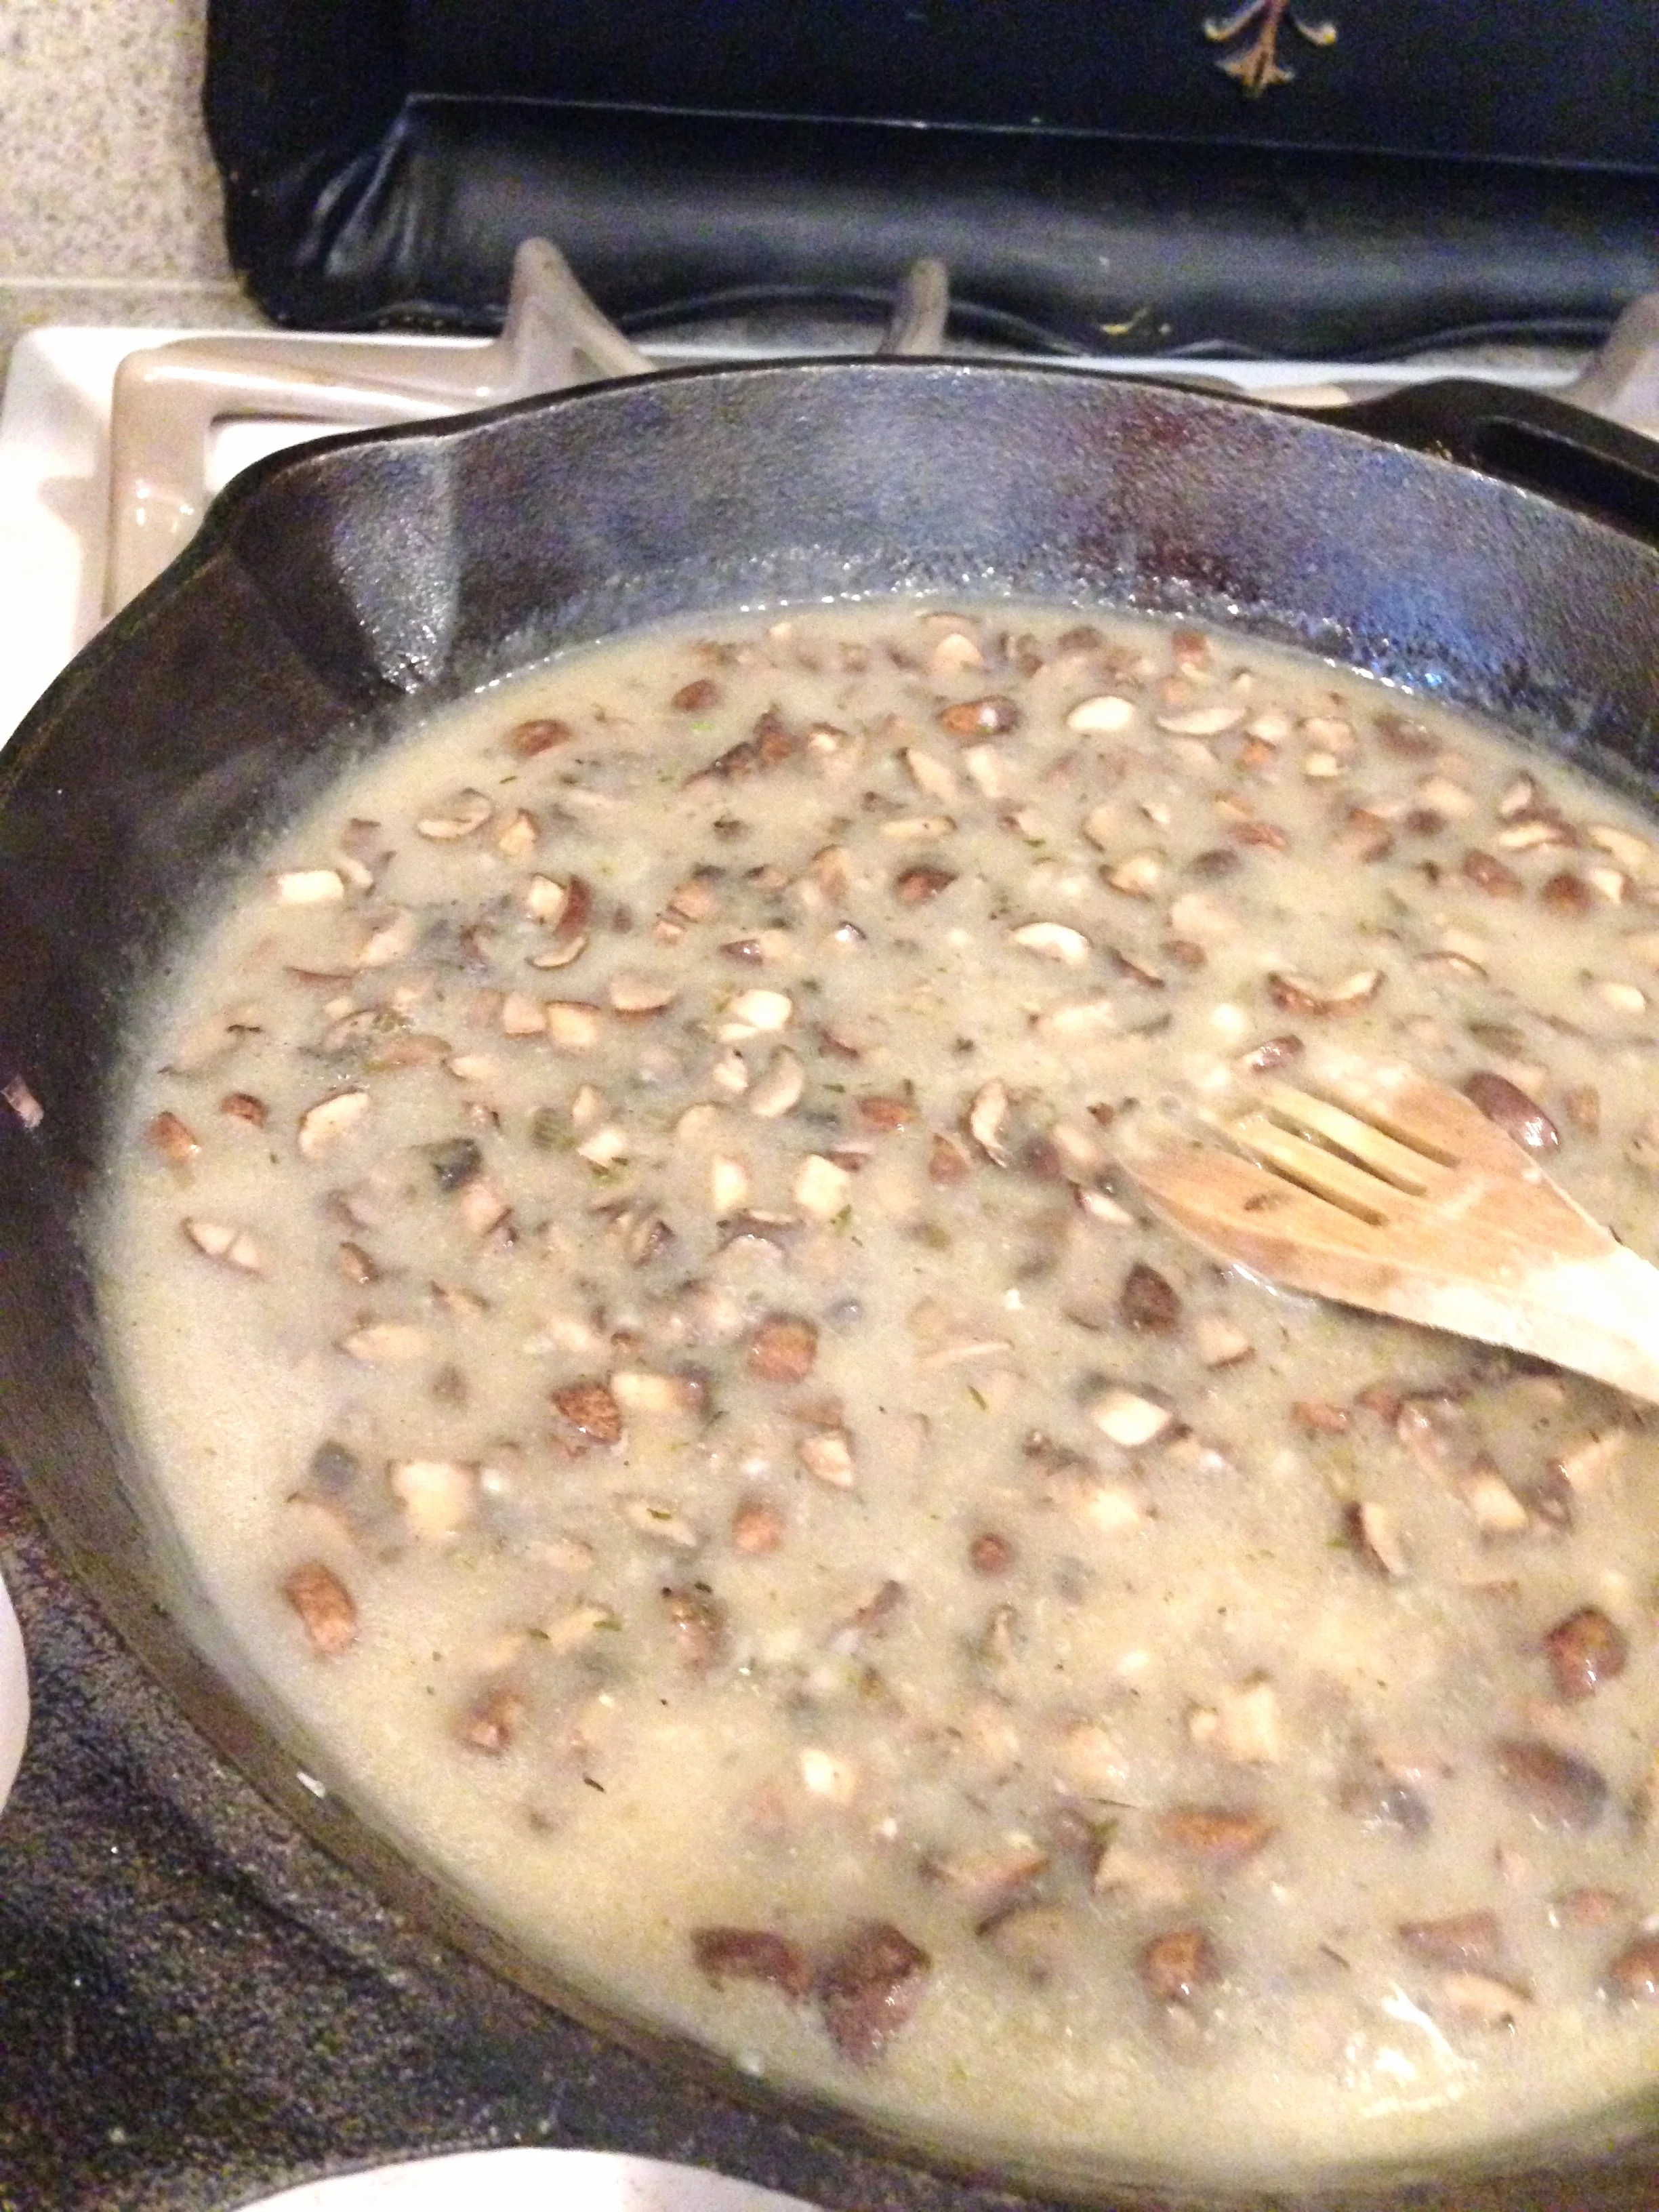
Cool completely and place in a large mason jar if not using immediately. There you have it, homemade cream of mushroom soup! Enjoy!