Cherchies Blog

cooking tips

Cooking Tip: How To Cook Asparagus

cooking tipsSheri SpalloneComment
Asparagus.jpg

Asparagus is an antioxidant powerhouse packed full of vitamins and fiber, and it is easy to cook. 

Everyone has a favorite method of preparing asparagus, but regardless of the preference, asparagus needs to be washed and trimmed before cooking and seasoned before serving. 

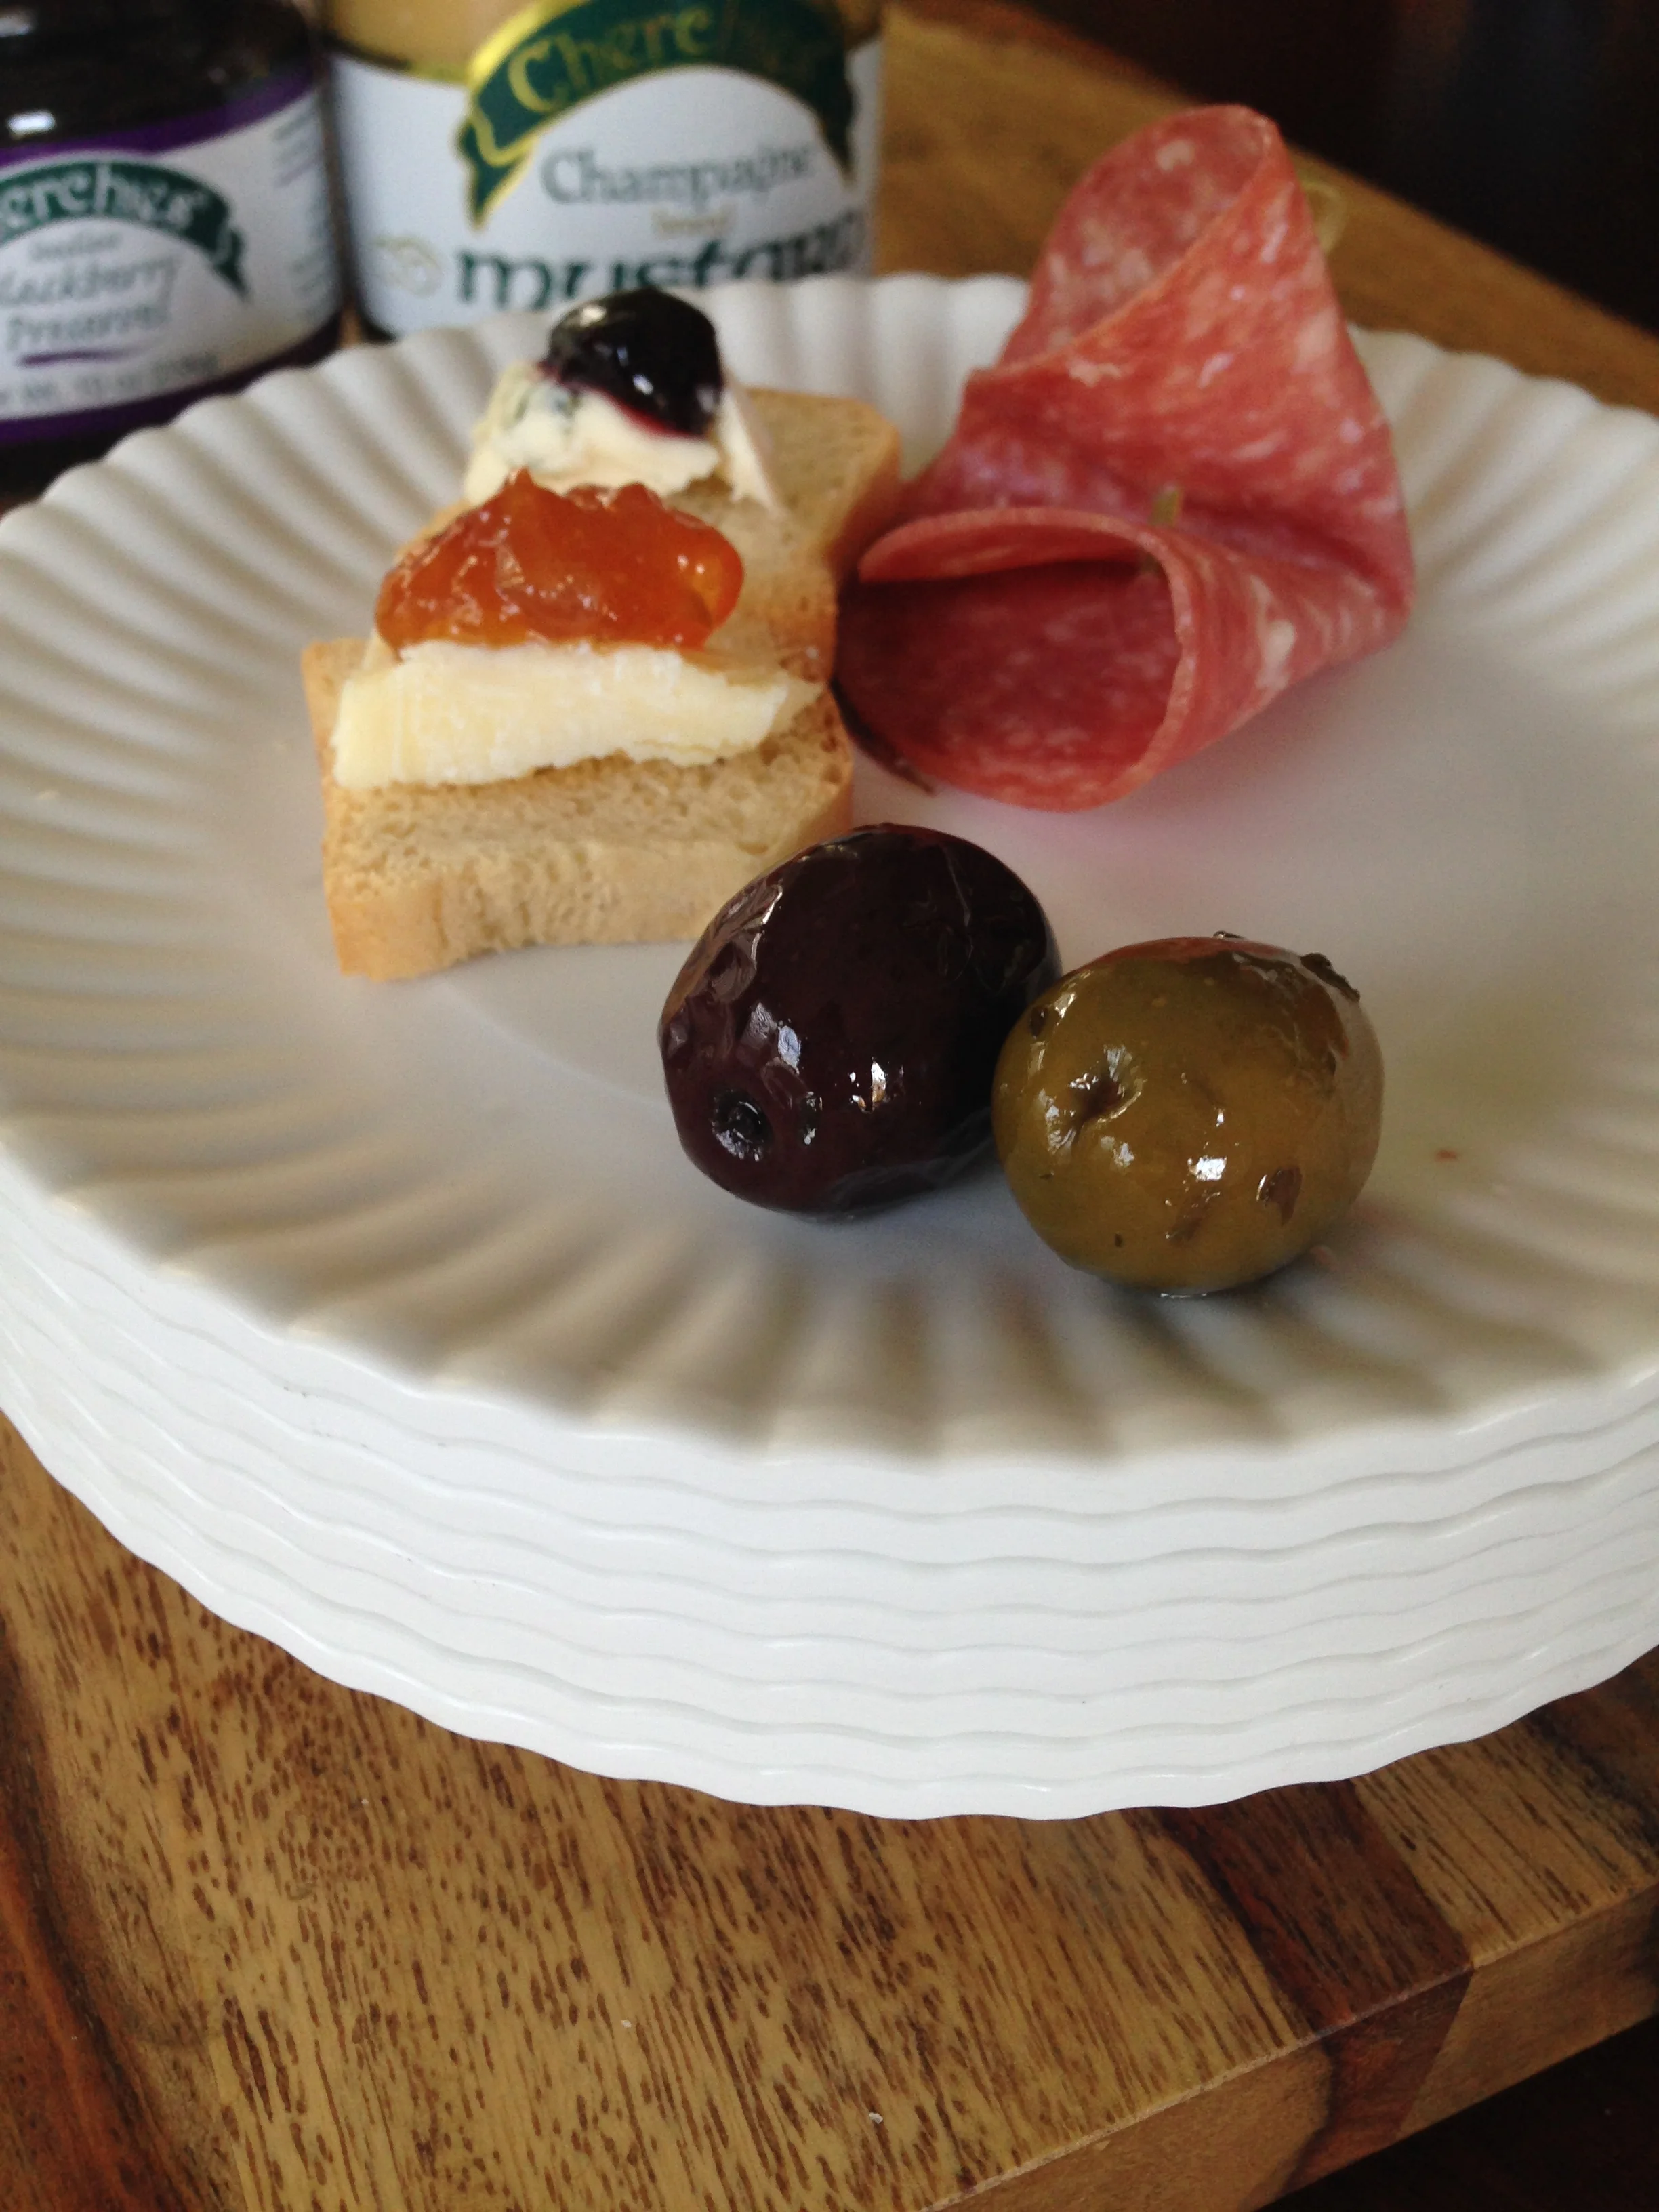
For an extra flavor burst, add a squeeze of lemon and Cherchies® Garlic Seasoning or Cherchies® Garlic 'n Herbs No-Salt Seasoning, and perhaps a sprinkle of Parmesan cheese.

For a lighter version, consider replacing the butter with a vinaigrette made with Cherchies® Champagne Mustard, white vinegar, and olive oil (or oil of choice).

Roasted- This is my preferred method and is very easy. Place washed and trimmed asparagus in a baking pan and drizzle with olive oil, lemon juice, and Cherchies® Garlic Seasoning or Cherchies® Garlic 'n Herbs Seasoning and cook for about 10-15 minutes or until asparagus is brown and tender.

Sauteed- This method allows the asparagus to retain its bright green color and involves cooking it on high heat for about 10 minutes and tossing it occasionally. Heat the asparagus with a bit of butter or oil in a pan and season to taste.

Steamed- The asparagus is placed in a steamer rack over boiling water and cooked for about 4-8 minutes or until tender. If used for salads or stir-frys, add cooked asparagus to an ice-water bath for a few minutes to stop the cooking process—season to taste.

Microwave- This method is similar to steaming. Use about 2 Tablespoons (Tbsp) of water in a microwave-safe bowl or plate and microwave asparagus for 2-3 minutes. If used for salads or stir-frys, add cooked asparagus to an ice-water bath for a few minutes to stop the cooking—season to taste.

Grilled- Grilling asparagus is a tasty way to preserve its flavor and impart the smokiness that grillers love. Toss asparagus with a small amount of oil and place it on a hot grill. To make grilling easier, skewer several asparagus stalks together and cook asparagus for about 10 minutes or until tender, turning to brown evenly. Season the asparagus to taste.

So, what's your favorite way to cook asparagus? We'd love to hear from you and share your recipes:) Comment below.

Thank you for visiting! Come back again for more family-tested recipes, entertaining ideas, and cooking tips using all our favorite Cherchies® gourmet products.

Follow us on social media: Facebook, Instagram, and Pinterest.


Yum

Cooking Tip: How to Chop, Slice, and Mince an Onion

cooking tipsSheri SpalloneComment
Cooking Tip:  How To Chop, Slice, and Mince an Onion

Cooking Tip:  How To Chop, Slice, and Mince an Onion

When I first started cooking years ago, I never knew there was a right way to cut an onion...I just cut it.

Recently, as I was watching one of my favorite cooking shows, I learned I was doing it all wrong.

My hubby came into the kitchen recently while I was preparing dinner and said "that's a new way to cut an onion...did you learn it from your cooking shows?"  I looked at him and proudly said, "yes I did".   He said, "that would make a good cooking tip..." (he's so smart;)

I'm an experienced home chef and I'm terrified of knives, or at least I was (perhaps because I didn't know I was doing it wrong).  So, I thought I'd pass on some tips on how to chop, slice, and mince an onion, safely.

Chopping or Mincing- 

1.  Begin by cutting an onion in half, making sure to keep the base in tact.  Peel away the first or second layers depending on the onion.

2.  Cut off the top end of the onion, keeping the base in tact.  Cut vertical slits into the onion as close to the base (or root) as possible, but being careful not to cut through the onion completely.

3.  Turn the onion.  I can't stress this enough, MAKE SURE YOU CURL YOUR FINGERS when you are cutting.  Your knuckles should be the guide for the knife.  Our fingers are important;) Cut the desired size of onion you want.  For mincing, cut smaller pieces, using the same technique.

4.  As you near the end of the onion, turn the onion again to get the sides of the base (root) and turn over to chop more.  You should be left with only the base (root) with very little waste.

Slicing- For slicing half-circles, Follow step 1.  Curling your fingers (don't forget), make thin slices up to the base (root).  If slicing rings, cut off the top as mentioned in Step 1, but do not cut in half.  Slice whole onion into rings.

Slice away safely:)


Yum

Cooking Tip: How To Create an Easy Cheese Plate

cooking tips, partiesSheri SpalloneComment
Cooking Tip! How To Create an Easy Cheese Plate

Cooking Tip! How To Create an Easy Cheese Plate

Entertaining should be easy, not difficult.  It's all about quality time with family and friends, not the time spent in the kitchen.  With the busy holiday season on our doorstep, time is of the essence, and a quick and easy go-to appetizer is a necessity. 

Our go-to appetizer is a charcuterie platter, (aka a cheese plate or antipasto platter).  It takes very little effort to create a fabulous charcuterie platter, but the presentation speaks volumes.

Cheese and fruit are a given for cheese platters, and when we are entertaining, we often open up jars of our products (Our award-winning mustards, Hot Pepper Jams, Butter Spreads, Preserves), and pair them with good quality cheeses.  Our guests love to create and share their own concoctions (You'll find out shortly how to create your own).  Plus, it's also a great conversation starter.

There really is no exact recipe for a cheese plate, as it lends to individual creativity, so below we've given our recommendations for the perfect cheese/antipasto platter:  Let's build it together!  Here are the tools needed for a fabulous cheese/antipasto display:

Vehicle (Thank you Martha Stewart)- A pretty cutting board, tray, or platter is the perfect "vehicle" for creating a cheese board.  If you have a large gathering, a piece of furniture works well to "stage" your appetizers.  Check out my in-laws 50th Anniversary party this summer (thank you Charlie from Yellow Springs Inn for your innovation and inspiration).  We re-created a smaller version later for friends on Labor Day. They loved it! 

IMG_8003 (1).JPG

Pretty Containers

The world is your oyster when it comes to containers:)  Gather up your "pretties" (bowls, martini glasses, crystal, votive holders, tea cups, etc. ) for your display, anything that will hold the loose items such as olives, nuts, crackers, bread sticks, etc.

We used our "pretties" to hold olives, mini toasts, bread sticks, and of course CONDIMENTS!  We used one each of our Mustards, Hot Pepper Jams, Butter Spreads, and Preserves.  

Labeling

Chalkboard anything is all the rage for labeling, and the possibilities are endless.  Here, we used picture frame napkins rings (you could substitute mini picture frames) that we had lying around, and then added black construction paper to the frames to create "faux" chalkboards.

Cheese 

You had me at cheese!  Invest in some good quality cheeses, like aged cheddar, blue, brie, or whatever combinations you decide upon.  Depending on your gathering size (under 10 people), Martha Stewart (thank you again Martha...you rock!) suggests selecting three different cheeses, all of varying textures, with a mild cheese as one of the options.

Fruit and/or Fruit Preserves

There's usually something sweet on a Cheese Plate, such as fruit (fresh or dried grapes, apples, apricots, berries, cranberries, etc.), and we've gone a step further to include fruit AND our Preserves, Hot Pepper Jams, Butter Spreads, and Mustards as an accompaniment to the cheese.   This is where the fun begins! The flavors are amazing!  Stay tuned!

Bread

So technically, you could just pick up a slice of cheese and top it with a piece of fruit and be done.  Or, you could grab a slice of a baguette or a cracker (make sure to get good crackers ...Water Crackers tend to be a favorite...we used mini toast crostinis we found at our local Wegman's), and start creating, combining cheeses with fruit, pepper jams, mustards, preserves, meats, oh my!.  Your taste buds will thank you!

Try these options to start (the possibilities are endless!):

Miscellaneous Items

Usually, cheese plates have some sort of meat, such as sausage, salami, etc.  In addition to salami, we decided to amp up our cheese board even more and add Pepperoncini Peppers and olives, but you could also add nuts.

Cheese platters are not only an easy and elegant option for entertaining, but the combinations of ingredients are also infinite.  We love to add our personal touch and pair cheese with fruits, olives, meats, preserves, mustards, pepper jams, etc.  You will find tons of themed charcuterie options on the internet for the creative side of you (see below). We'd love to hear your favorite combinations!

The best part of a charcuterie/cheese platter is that you'll have more time on your hands for what's important...spending quality time with your family and friends!  Happy easy and elegant entertaining this holiday season!

Yum

Cooking Tip: How To Remove Pomegranate Seeds

cooking tipsSheri SpalloneComment
Cooking Tip:  How to Remove Pomegranate Seeds

Cooking Tip:  How to Remove Pomegranate Seeds

Pomegranates are usually abundant this time of year, a true sign the holidays are around the corner.  They're perfect in smoothies, salads, jams, desserts, and many more foods, plus they are an antioxidant powerhouse!

Have you ever wondered if there was an easy way to remove the seeds?

Have no fear!  I can help you!  There are a lot of great methods for de-seeding pomegranates on the internet, but I decided to share my two favorites (one is very therapeutic).  

The Aggression Reliever (therapeutic version...it's not really called that, I coined it)- This method involves "whacking" the back of the pomegranate half.  I'm not talking about crazily pounding the pomegranate, but gently hitting the back of the pomegranate with the back of a large spoon.  

The Soaker- This method involves submerging the pomegranate halves in a bowl of water.  As you gently loosen the seeds, the white cartilage floats to the top.

Here's How It's Done.  In both methods, with a knife, carefully "score" the skin.  I usually just make one cut around the perimeter of the pomegranate.  (I've seen some individuals make several score marks the length of the pomegranate...totally up to you).

IMG_9597.JPG

Next, Gently pull apart the pomegranate and carefully loosen up the skin and seeds while rotating the pomegranate.

Now here is where the two different methods differ.  For the Aggression Reliever Method, hold the pomegranate half upside down over a bowl and gently "whack" the back of the pomegranate with a spoon (I used a wooden spoon), rotating to remove the seeds.

DSC_1996.JPG

For The Soaker Method, simply remove the seeds while the pomegranate half is under water.   The white cartilage will then float to the top for easy removal.  Remove any last stubborn seeds by hand.

IMG_9607.JPG

There you have it friends...beautiful, sweet, pomegranate seeds!  What's your favorite de-seeding method?

Yum