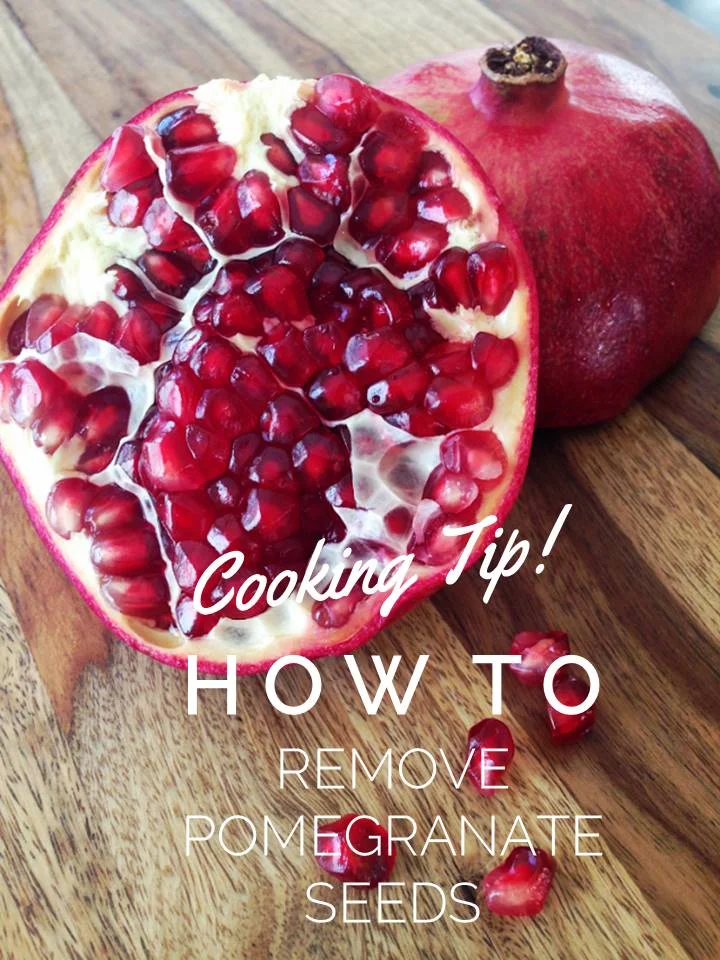
Cooking Tip! How To Create an Easy Cheese Plate
Entertaining should be easy, not difficult. It's all about quality time with family and friends, not the time spent in the kitchen. With the busy holiday season on our doorstep, time is of the essence, and a quick and easy go-to appetizer is a necessity.
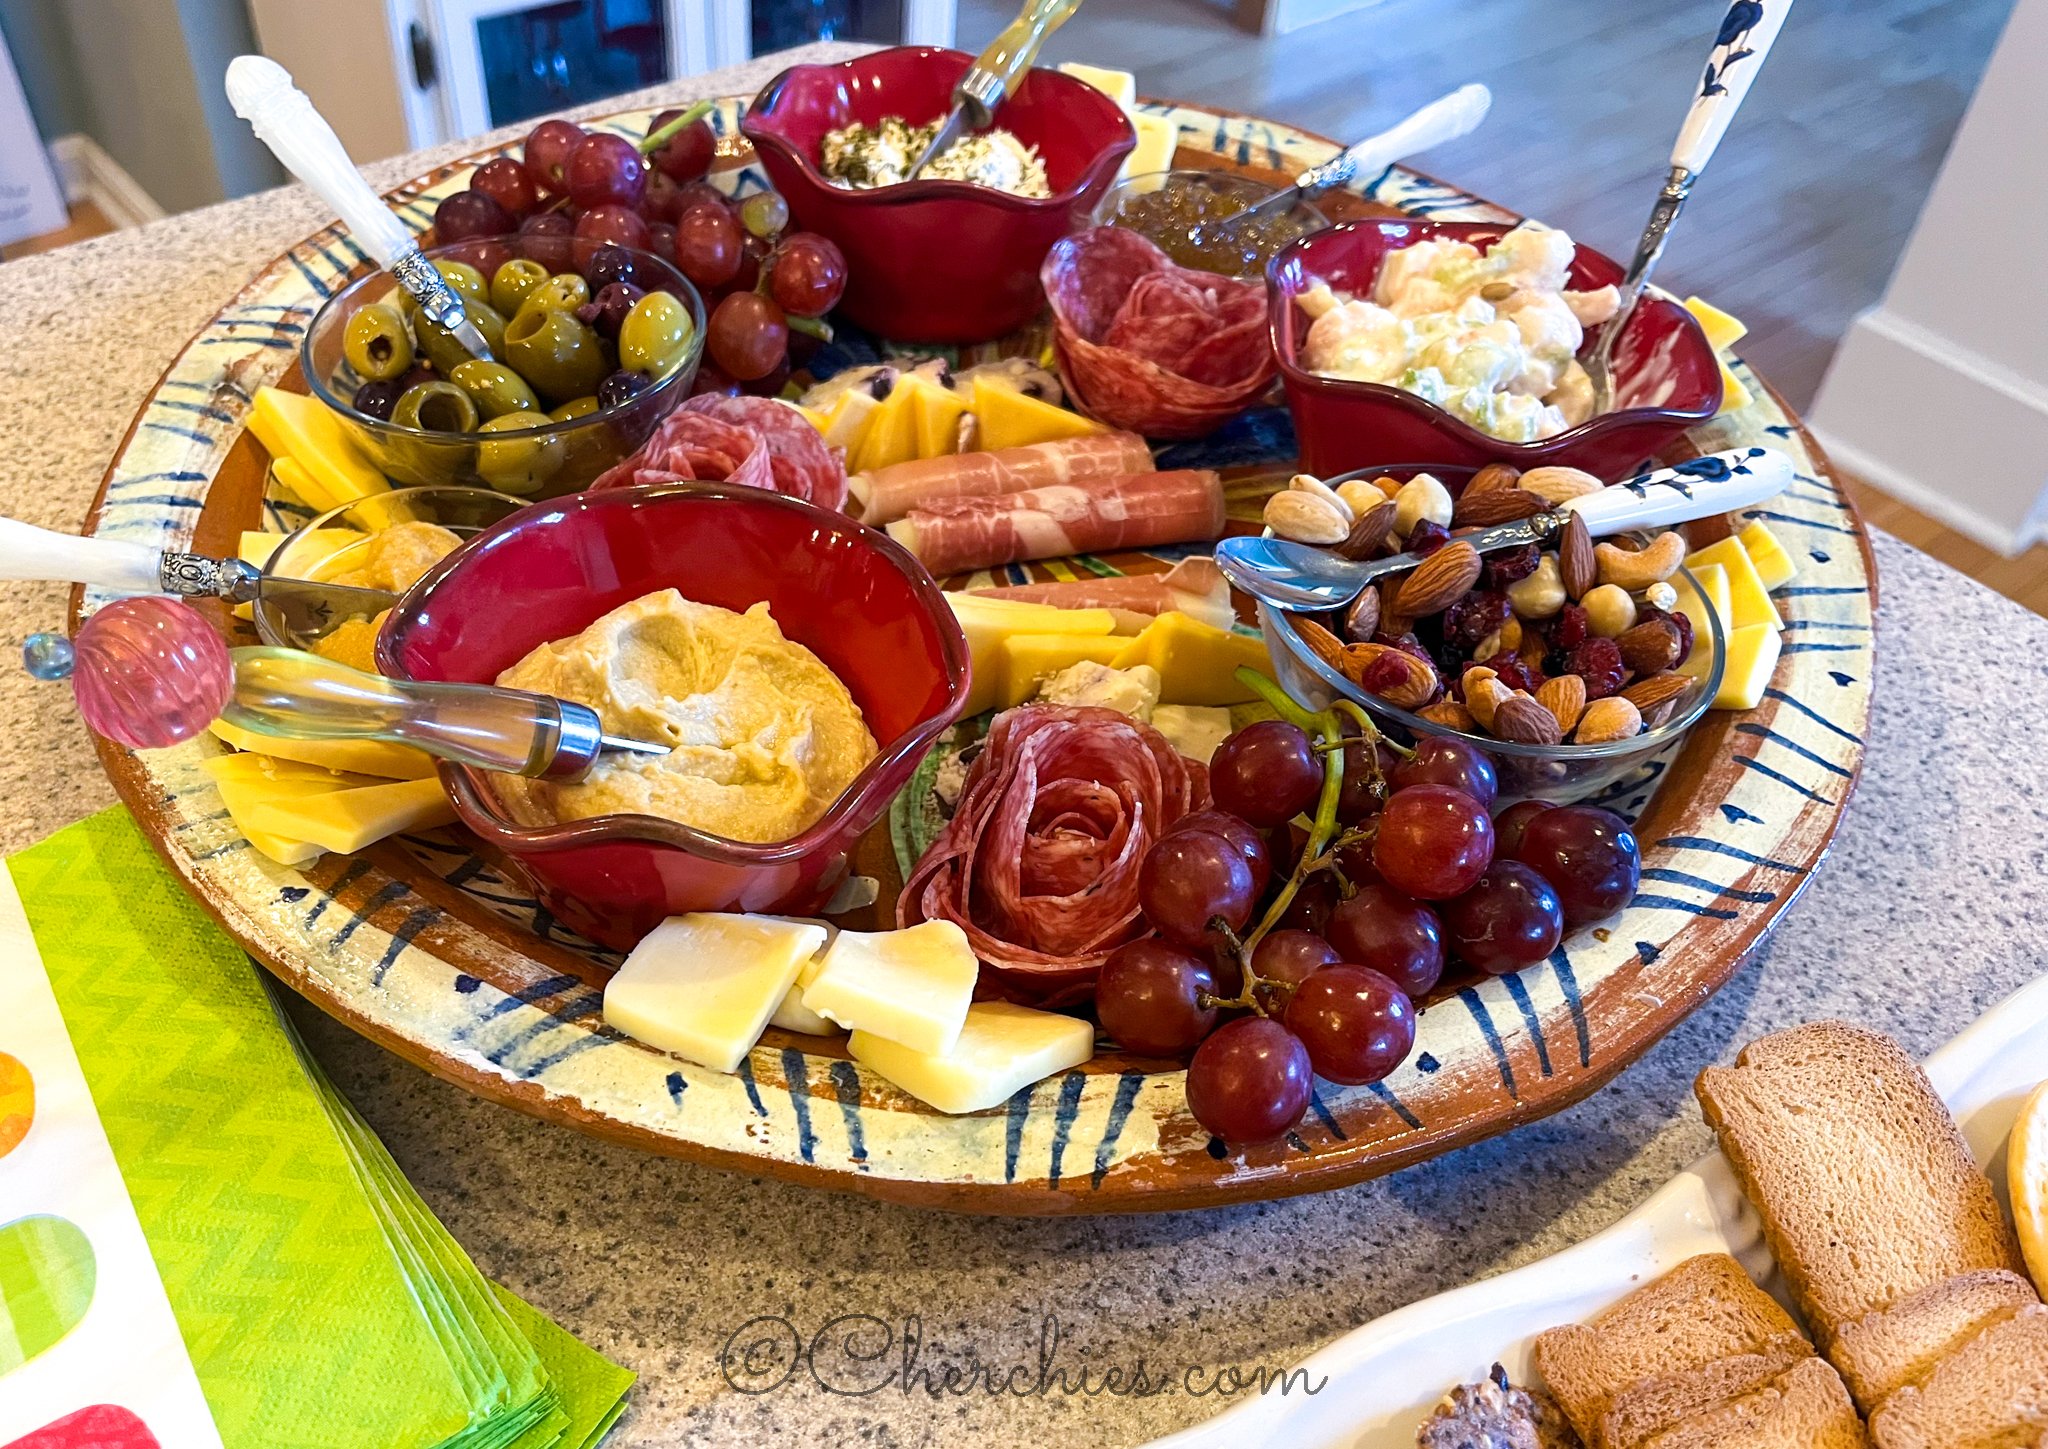
Our go-to appetizer is a charcuterie platter, (aka a cheese plate or antipasto platter). It takes very little effort to create a fabulous charcuterie platter, but the presentation speaks volumes.
Cheese and fruit are a given for cheese platters, and when we are entertaining, we often open up jars of our products (Our award-winning mustards, Hot Pepper Jams, Butter Spreads, Preserves), and pair them with good quality cheeses. Our guests love to create and share their own concoctions (You'll find out shortly how to create your own). Plus, it's also a great conversation starter.
There really is no exact recipe for a cheese plate, as it lends to individual creativity, so below we've given our recommendations for the perfect cheese/antipasto platter: Let's build it together! Here are the tools needed for a fabulous cheese/antipasto display:
Vehicle (Thank you Martha Stewart)- A pretty cutting board, tray, or platter is the perfect "vehicle" for creating a cheese board. If you have a large gathering, a piece of furniture works well to "stage" your appetizers. Check out my in-laws 50th Anniversary party this summer (thank you Charlie from Yellow Springs Inn for your innovation and inspiration). We re-created a smaller version later for friends on Labor Day. They loved it!

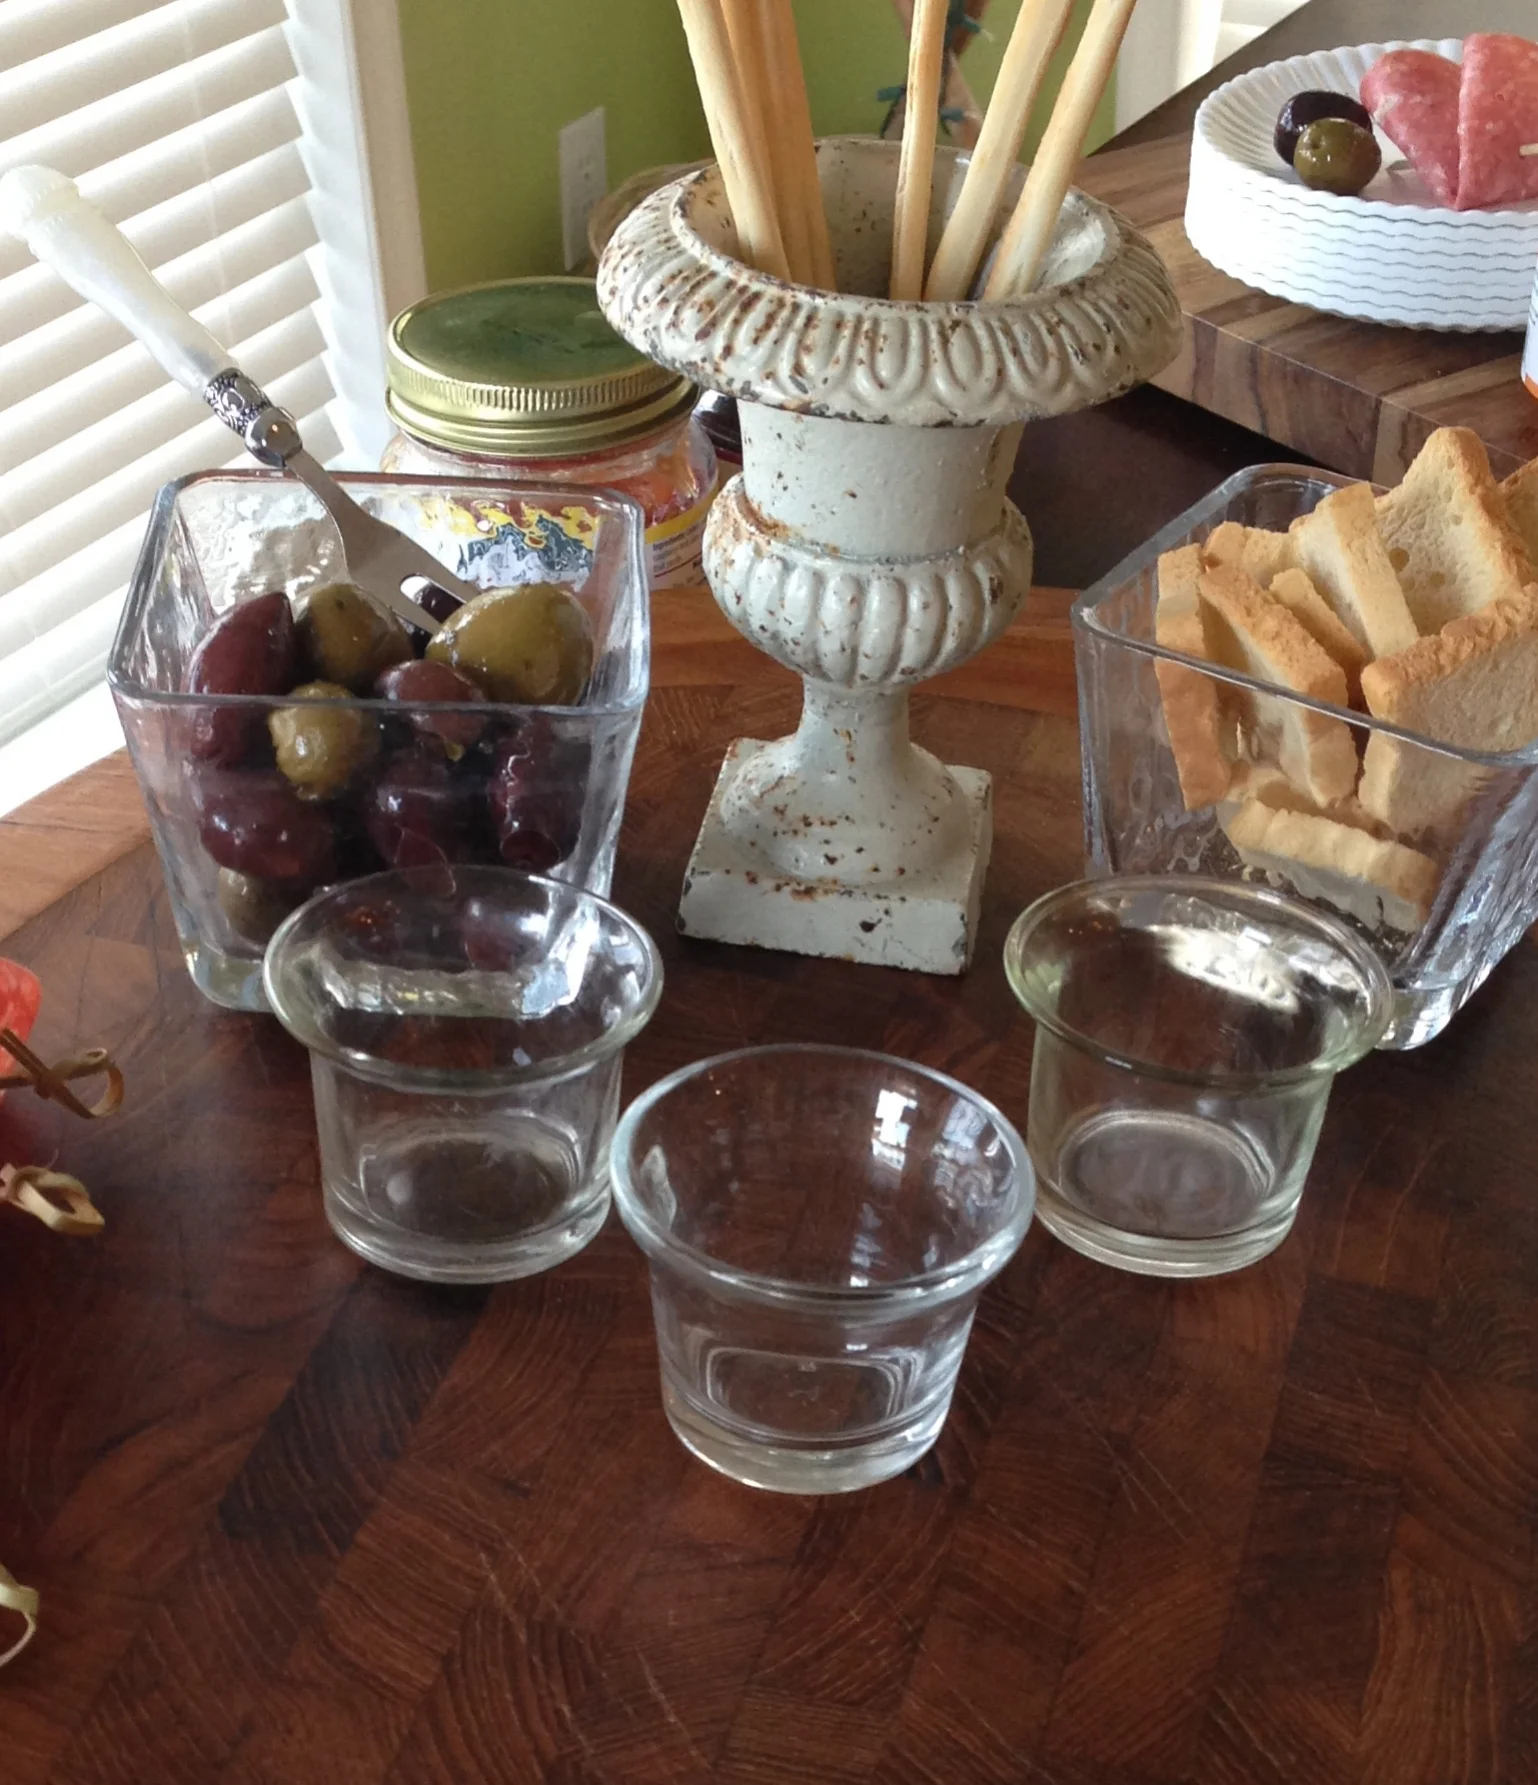
Pretty Containers
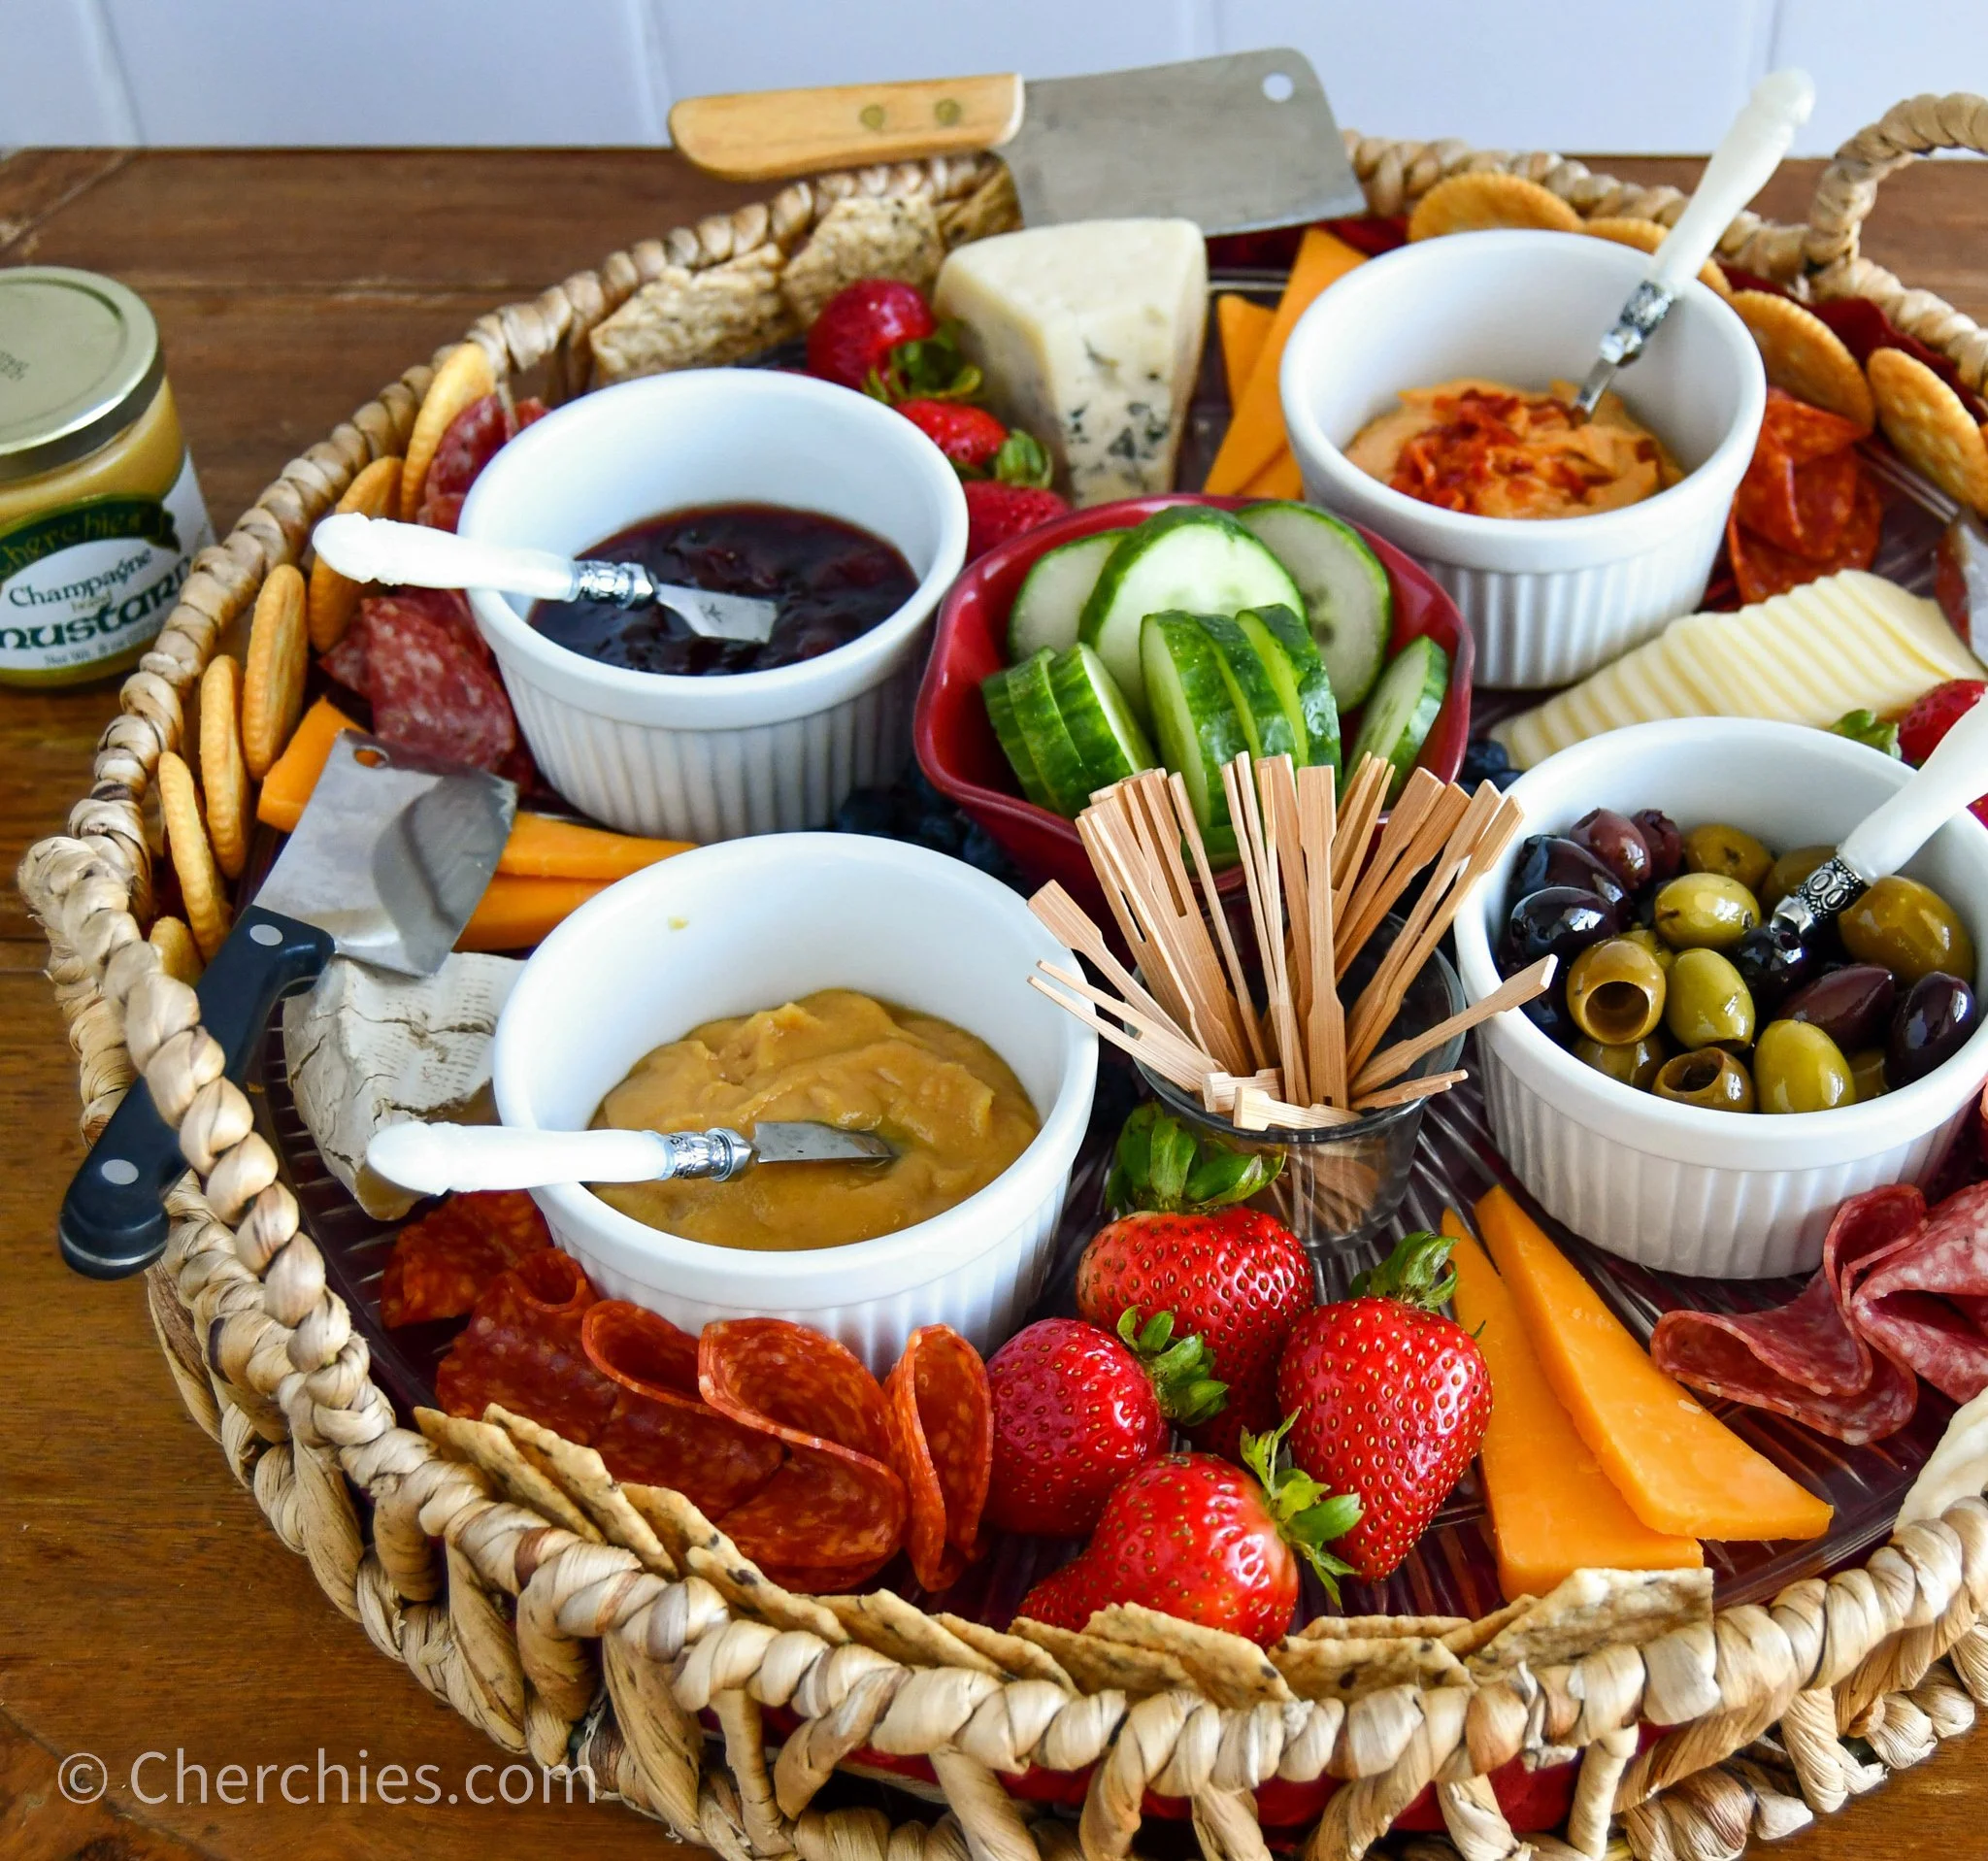
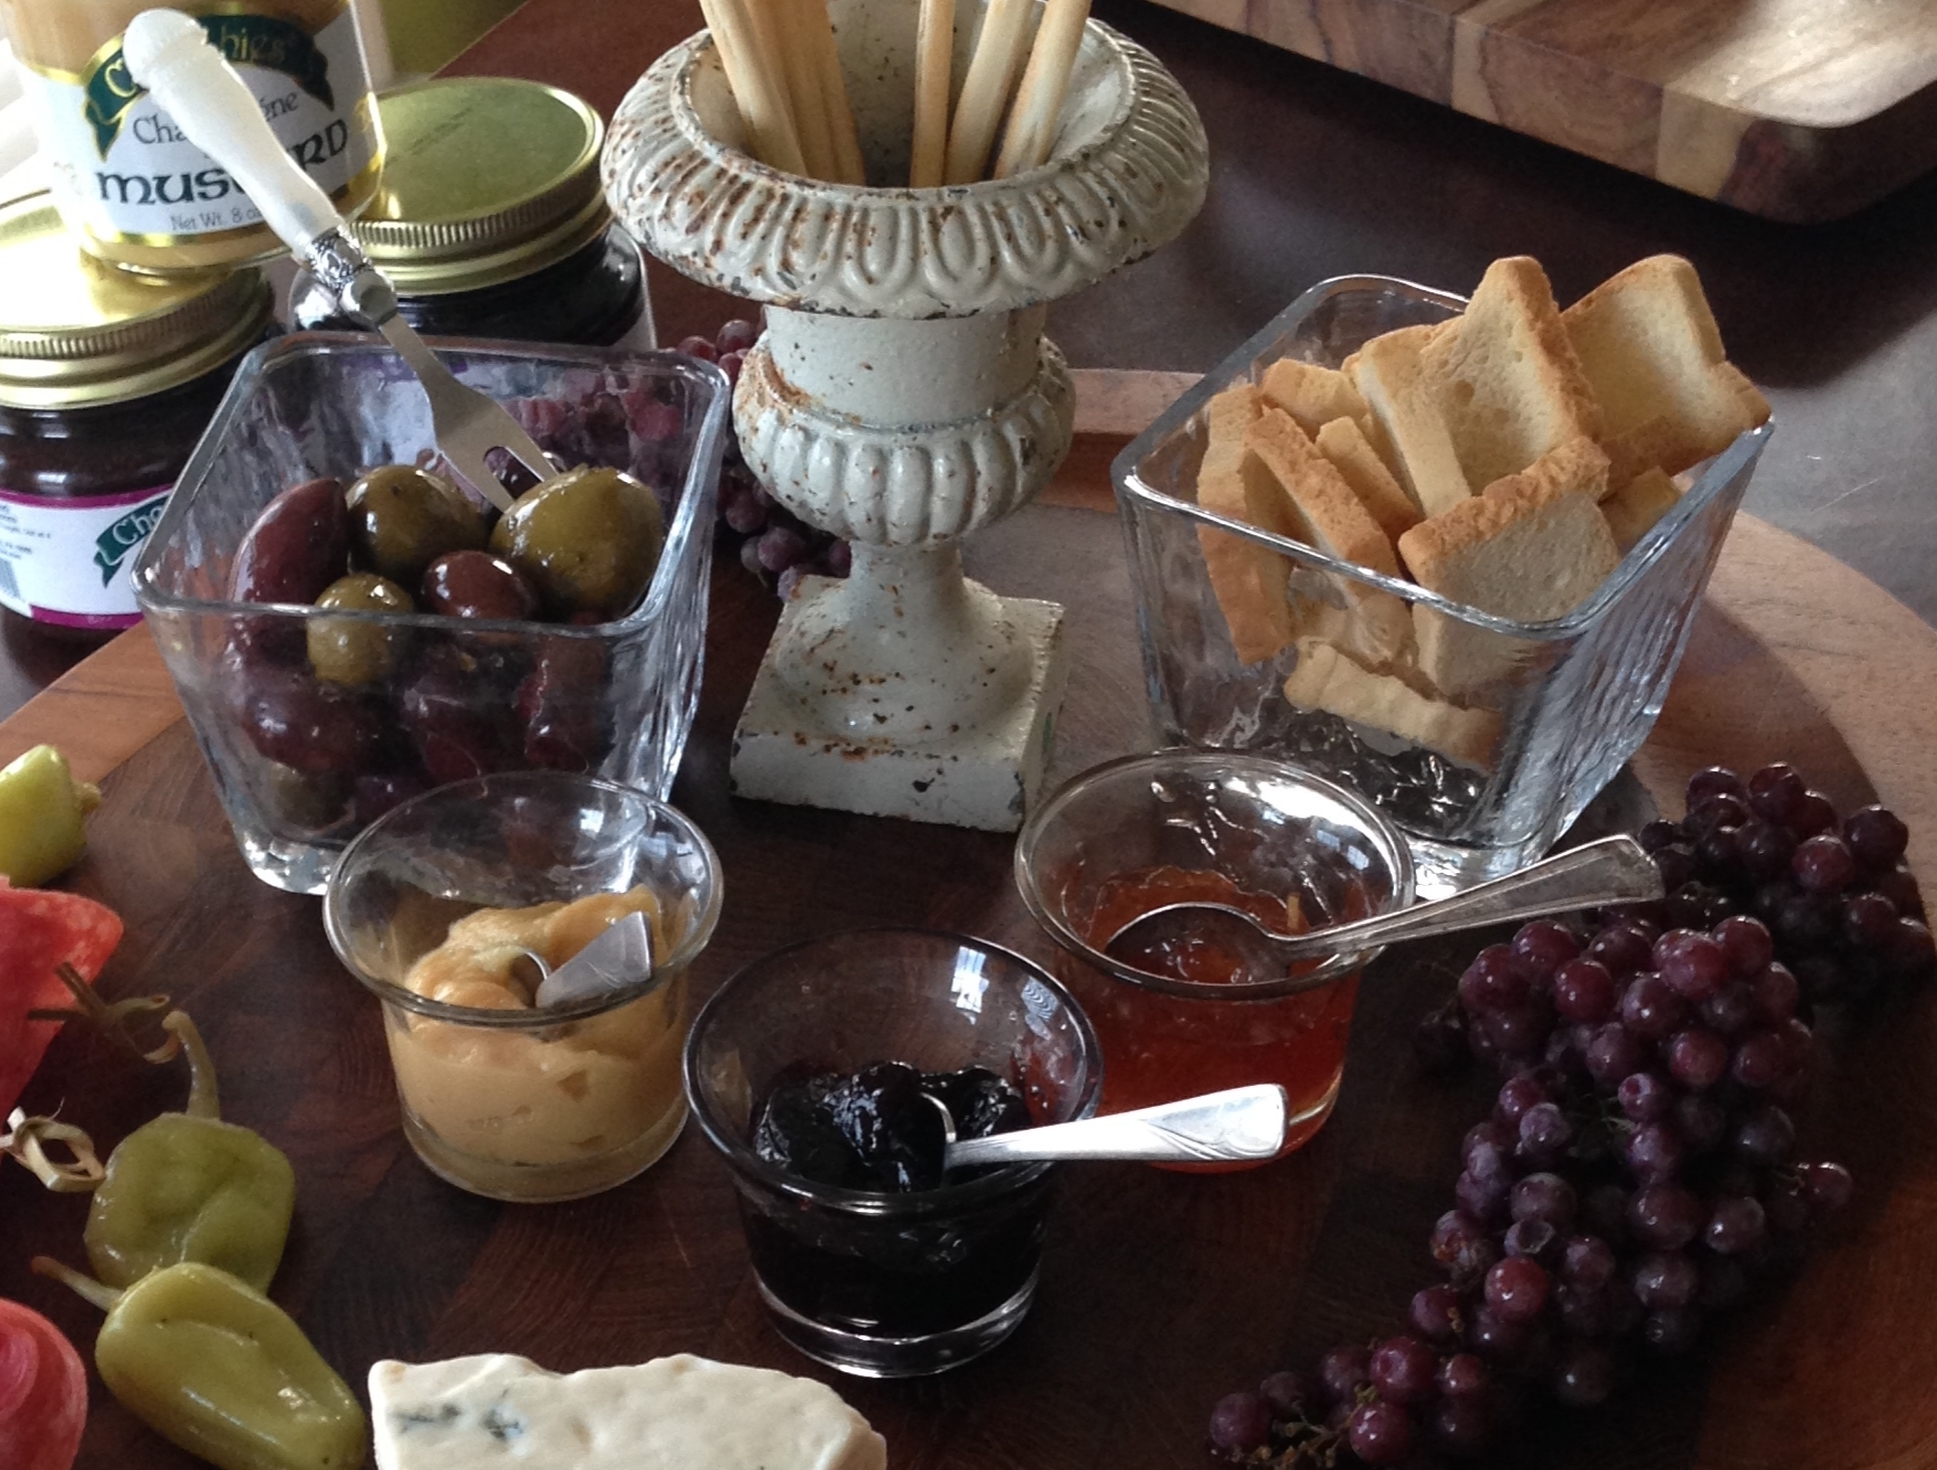
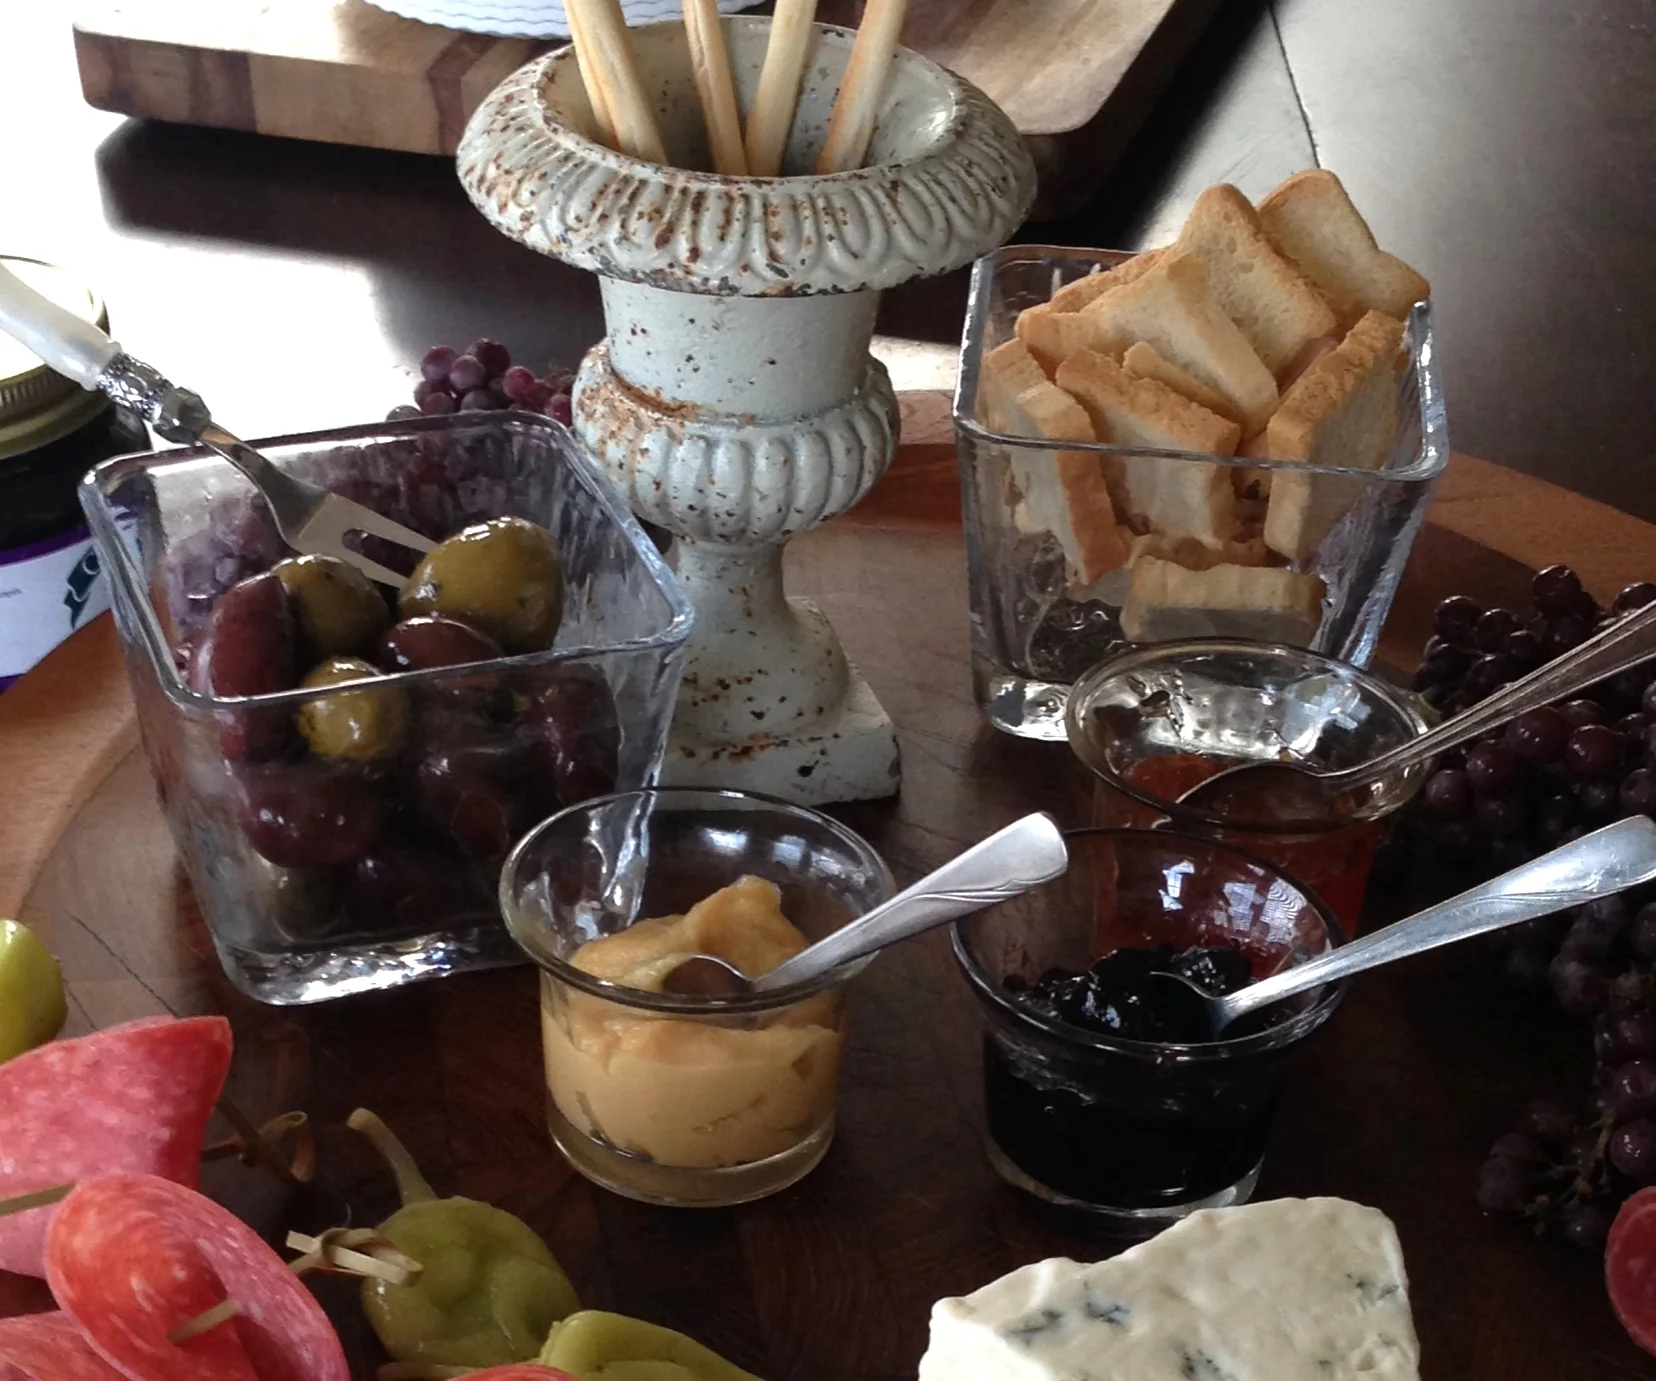
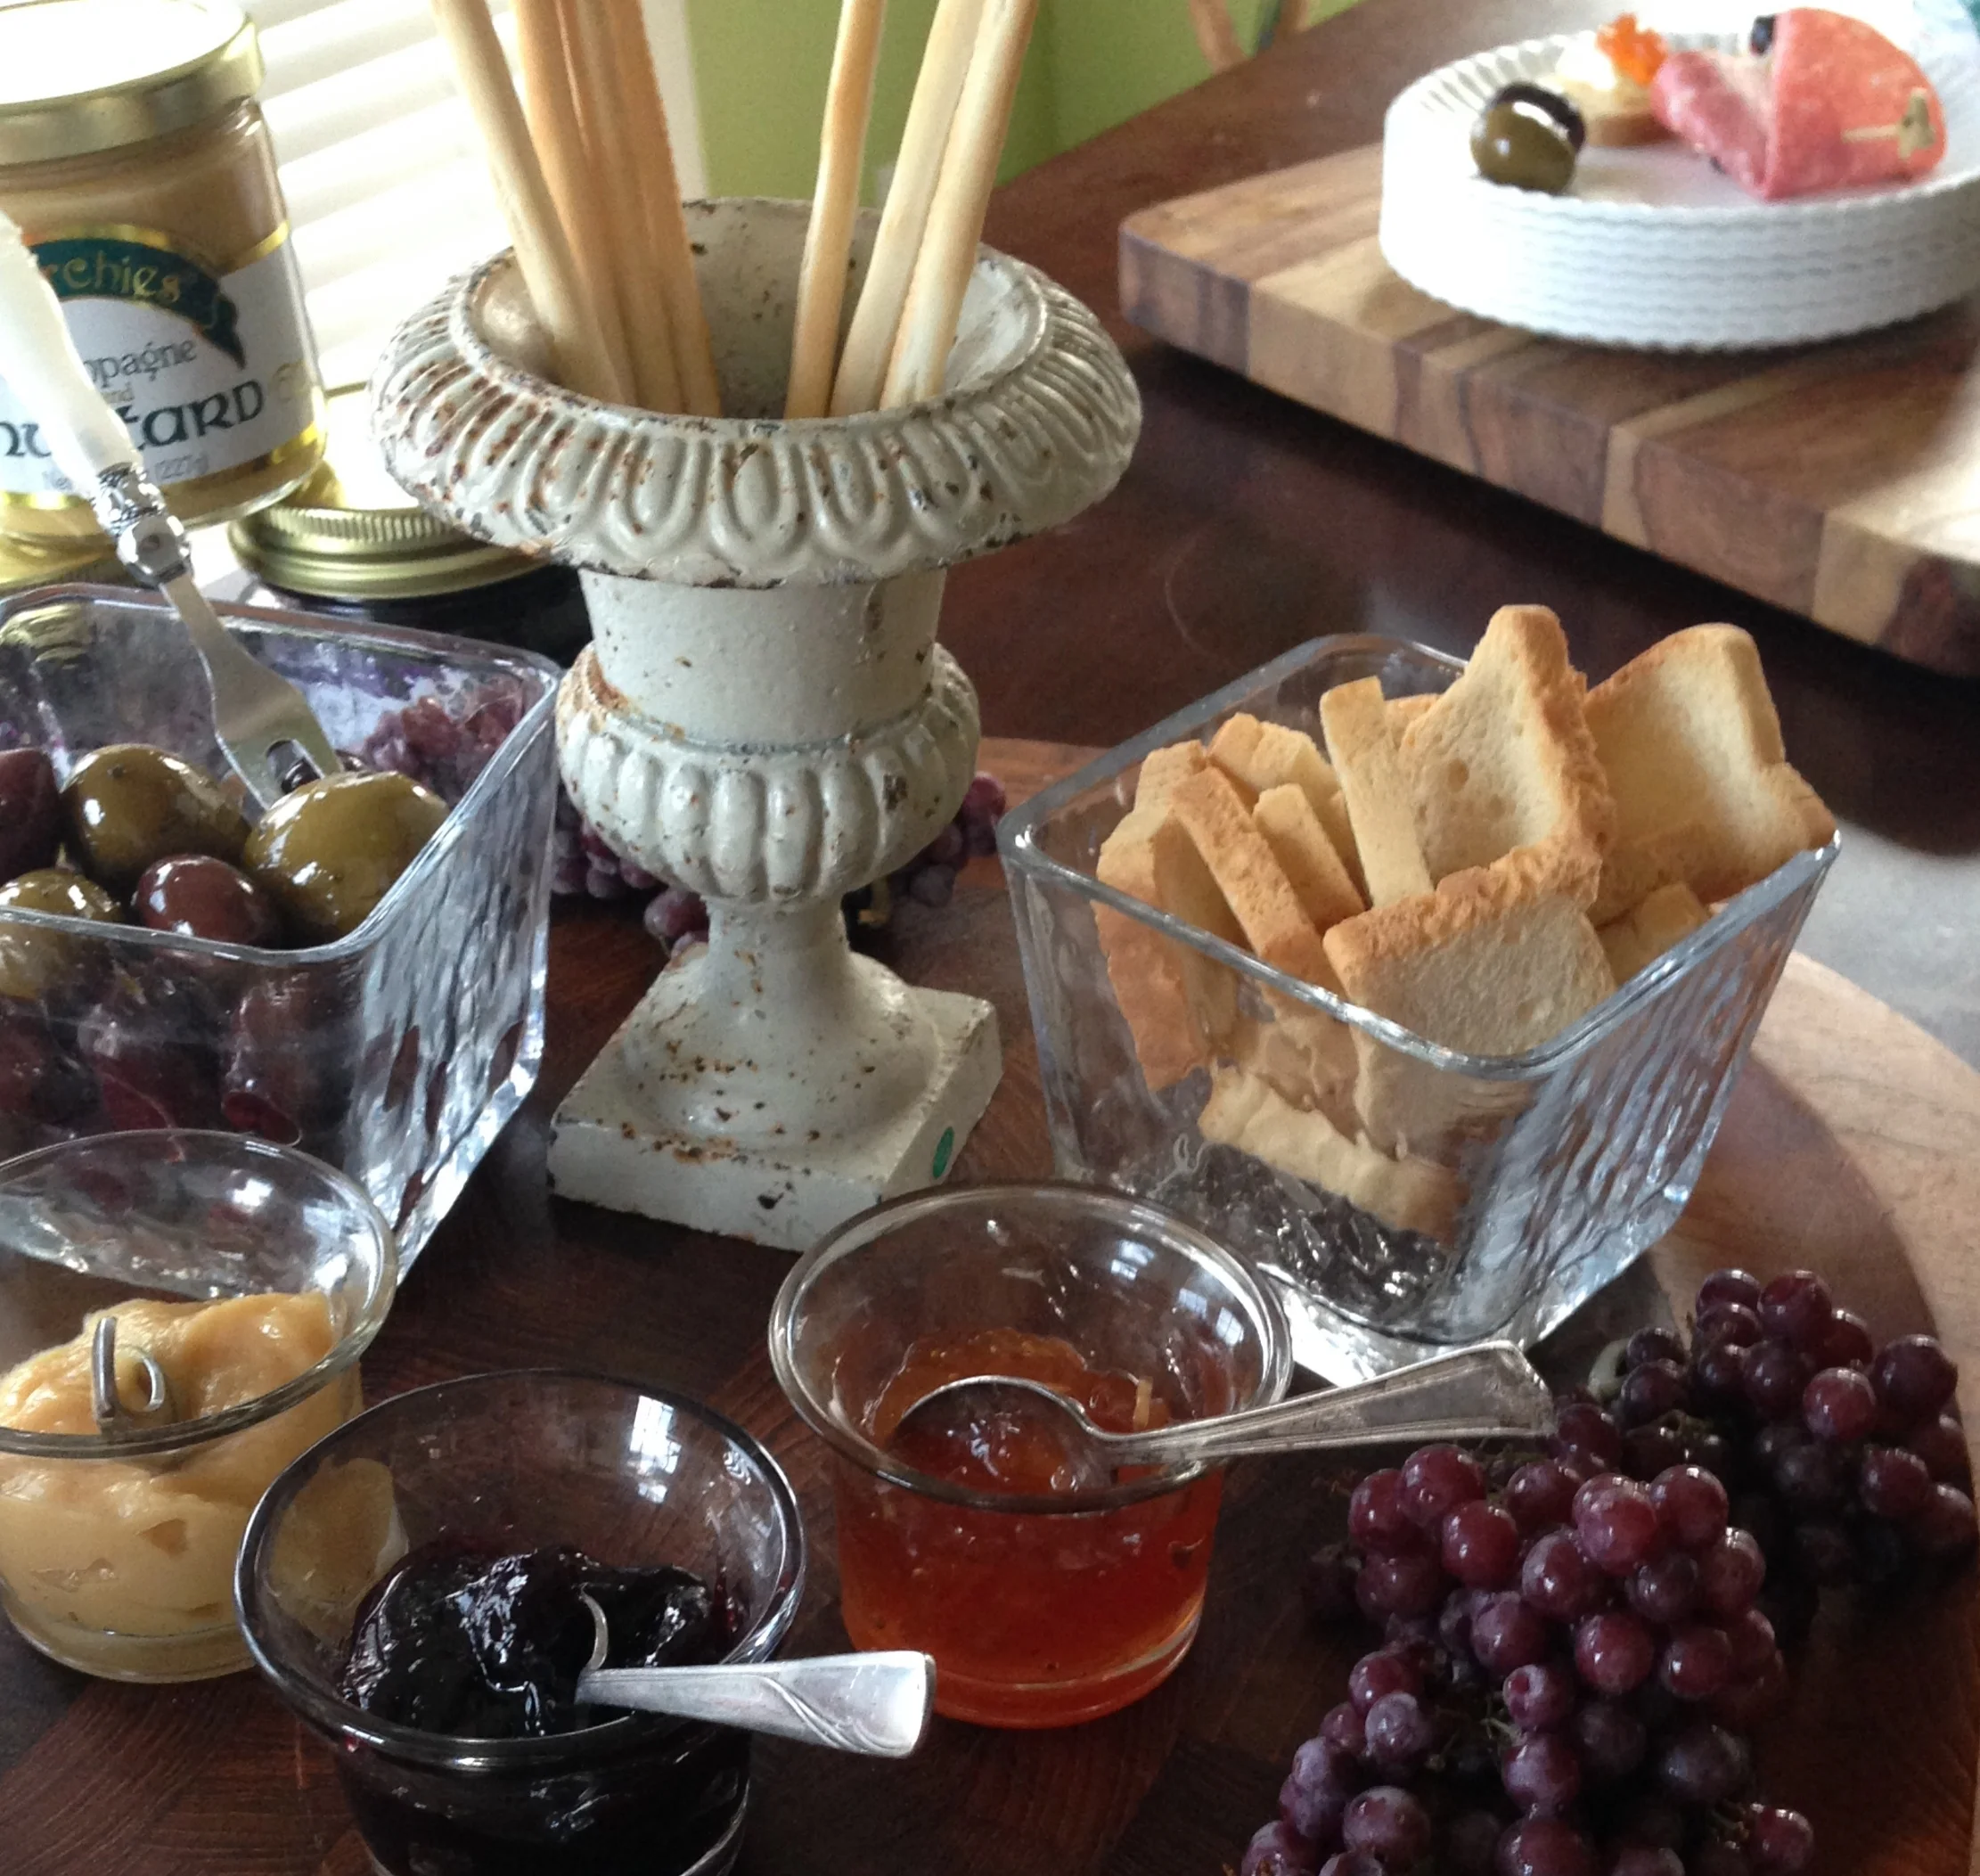
The world is your oyster when it comes to containers:) Gather up your "pretties" (bowls, martini glasses, crystal, votive holders, tea cups, etc. ) for your display, anything that will hold the loose items such as olives, nuts, crackers, bread sticks, etc.
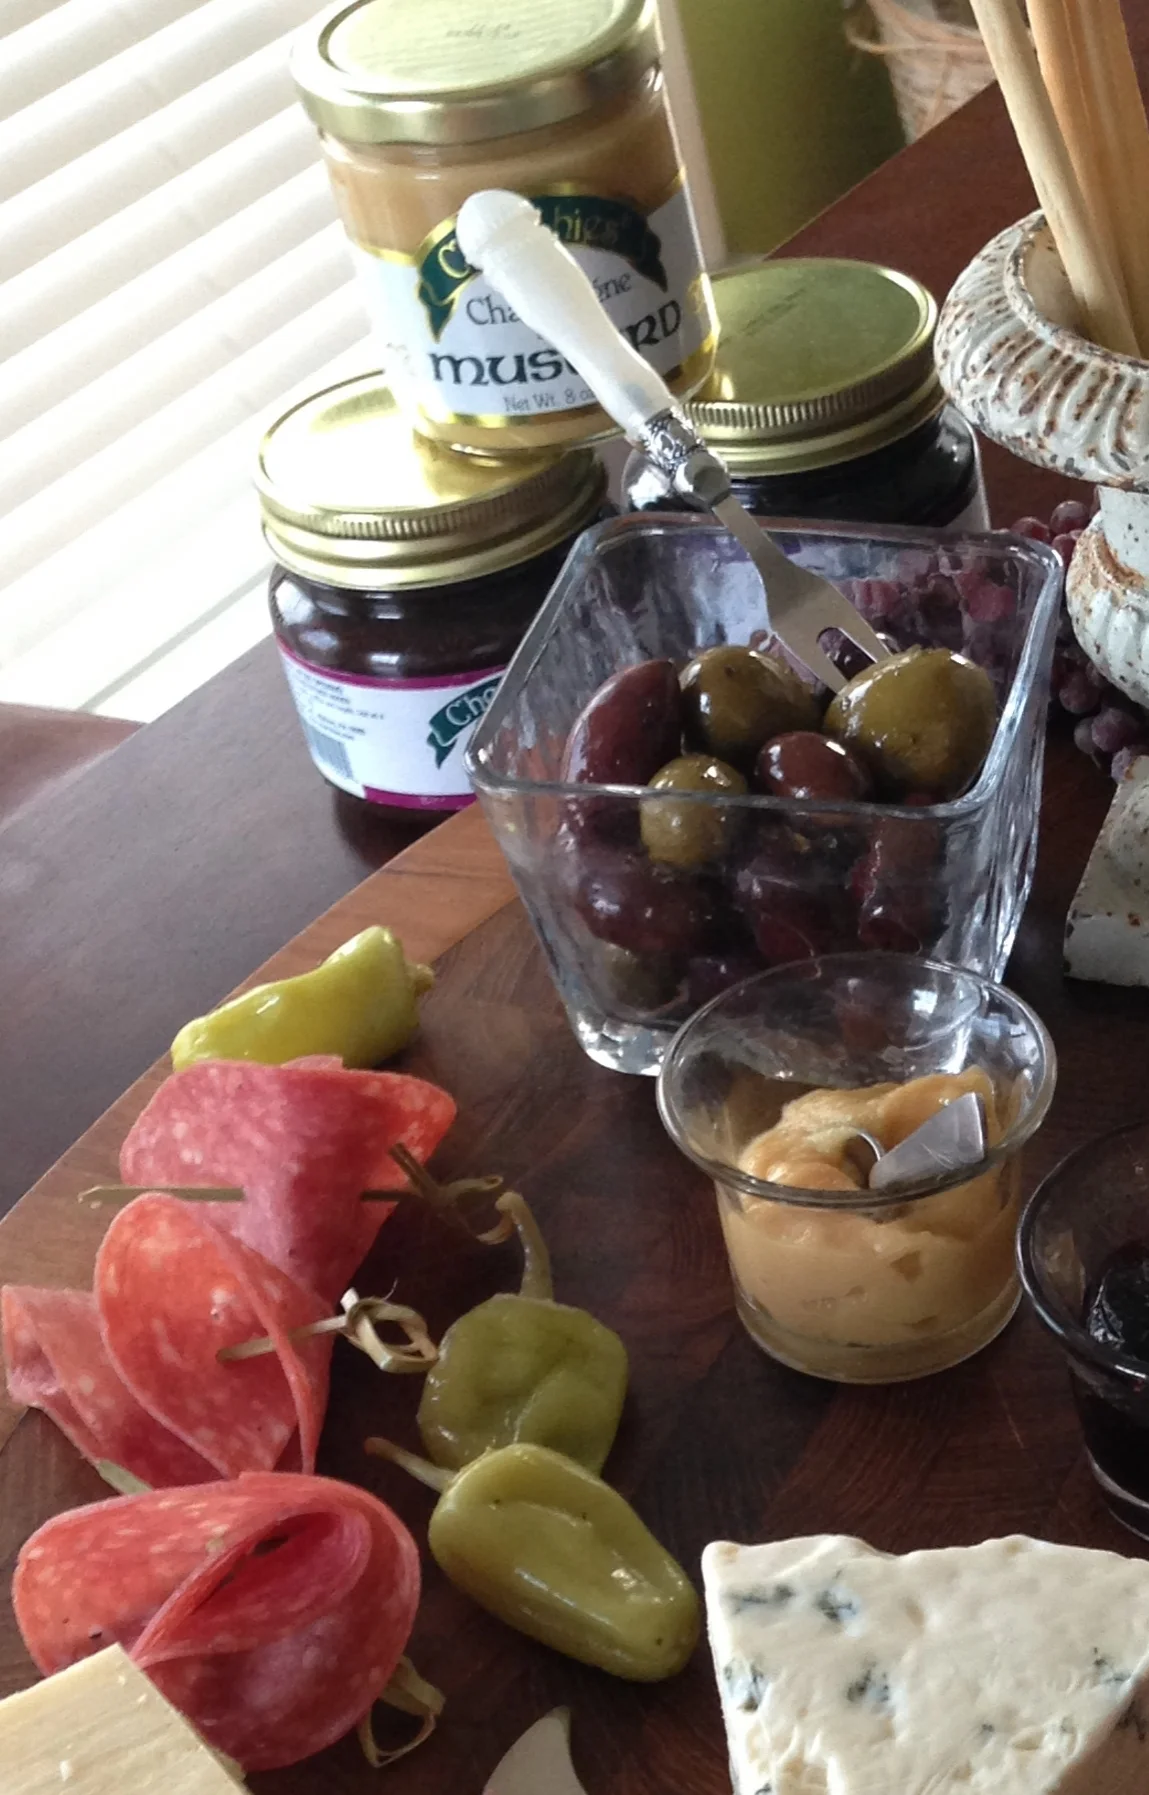
We used our "pretties" to hold olives, mini toasts, bread sticks, and of course CONDIMENTS! We used one each of our Mustards, Hot Pepper Jams, Butter Spreads, and Preserves.
Labeling
Chalkboard anything is all the rage for labeling, and the possibilities are endless. Here, we used picture frame napkins rings (you could substitute mini picture frames) that we had lying around, and then added black construction paper to the frames to create "faux" chalkboards.

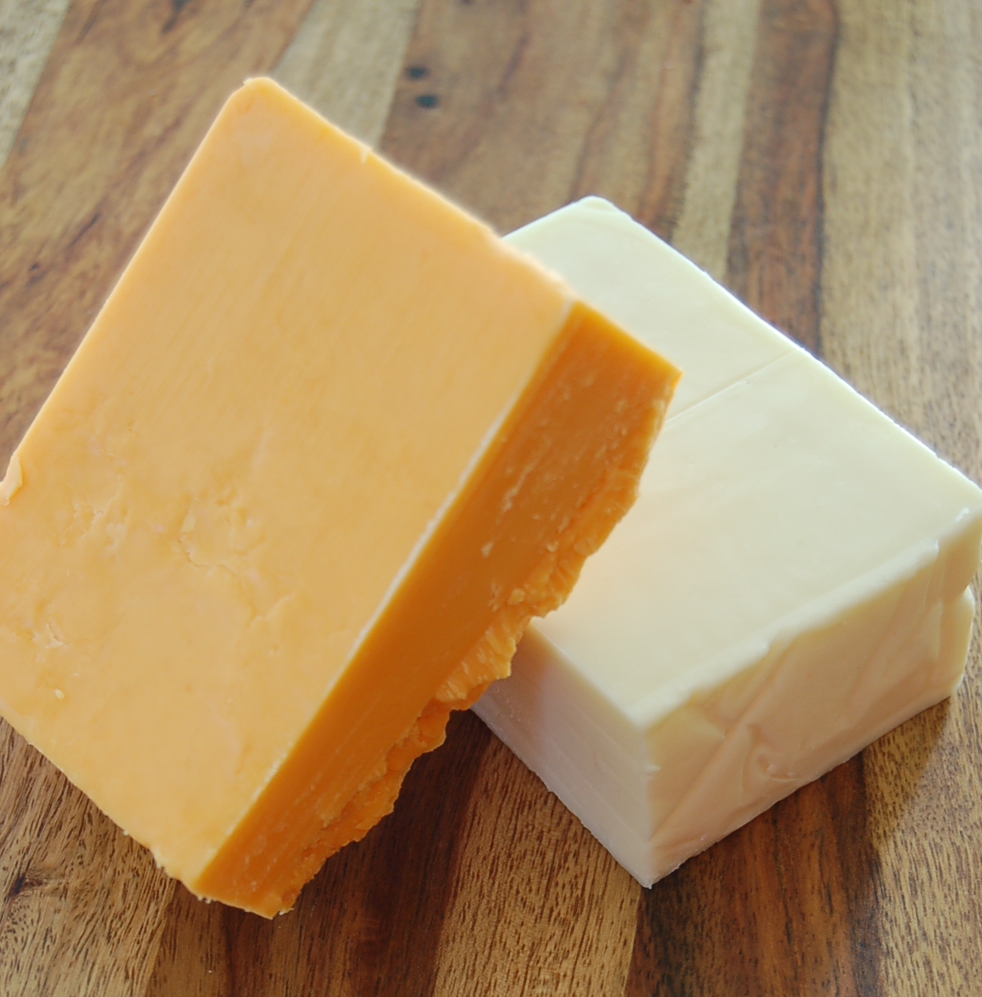
Cheese
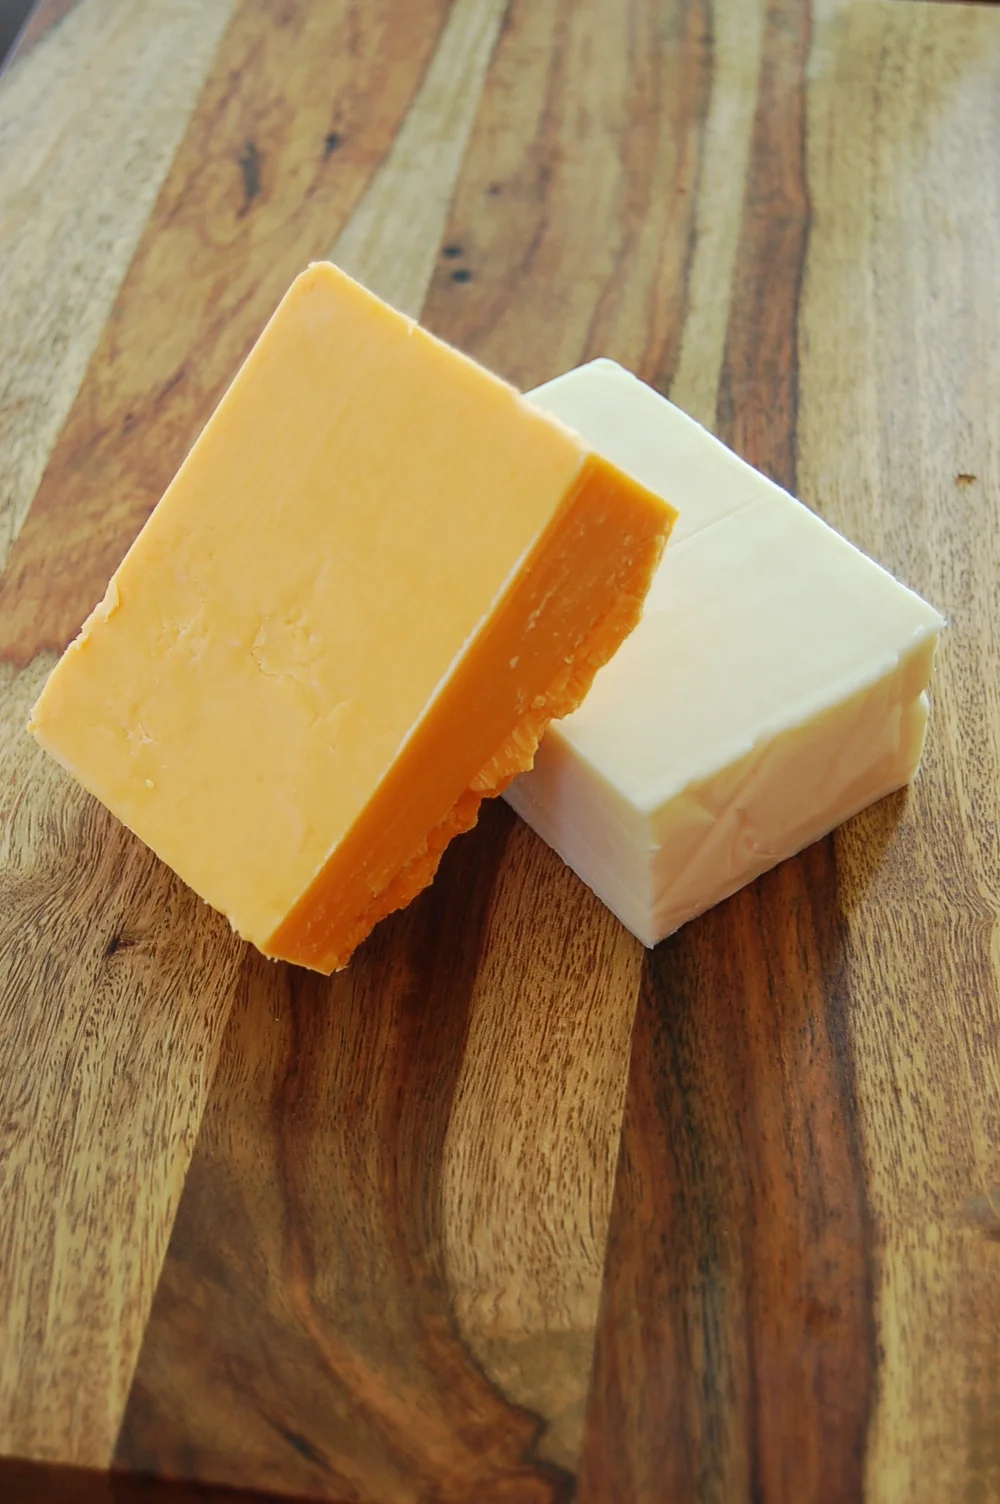
You had me at cheese! Invest in some good quality cheeses, like aged cheddar, blue, brie, or whatever combinations you decide upon. Depending on your gathering size (under 10 people), Martha Stewart (thank you again Martha...you rock!) suggests selecting three different cheeses, all of varying textures, with a mild cheese as one of the options.
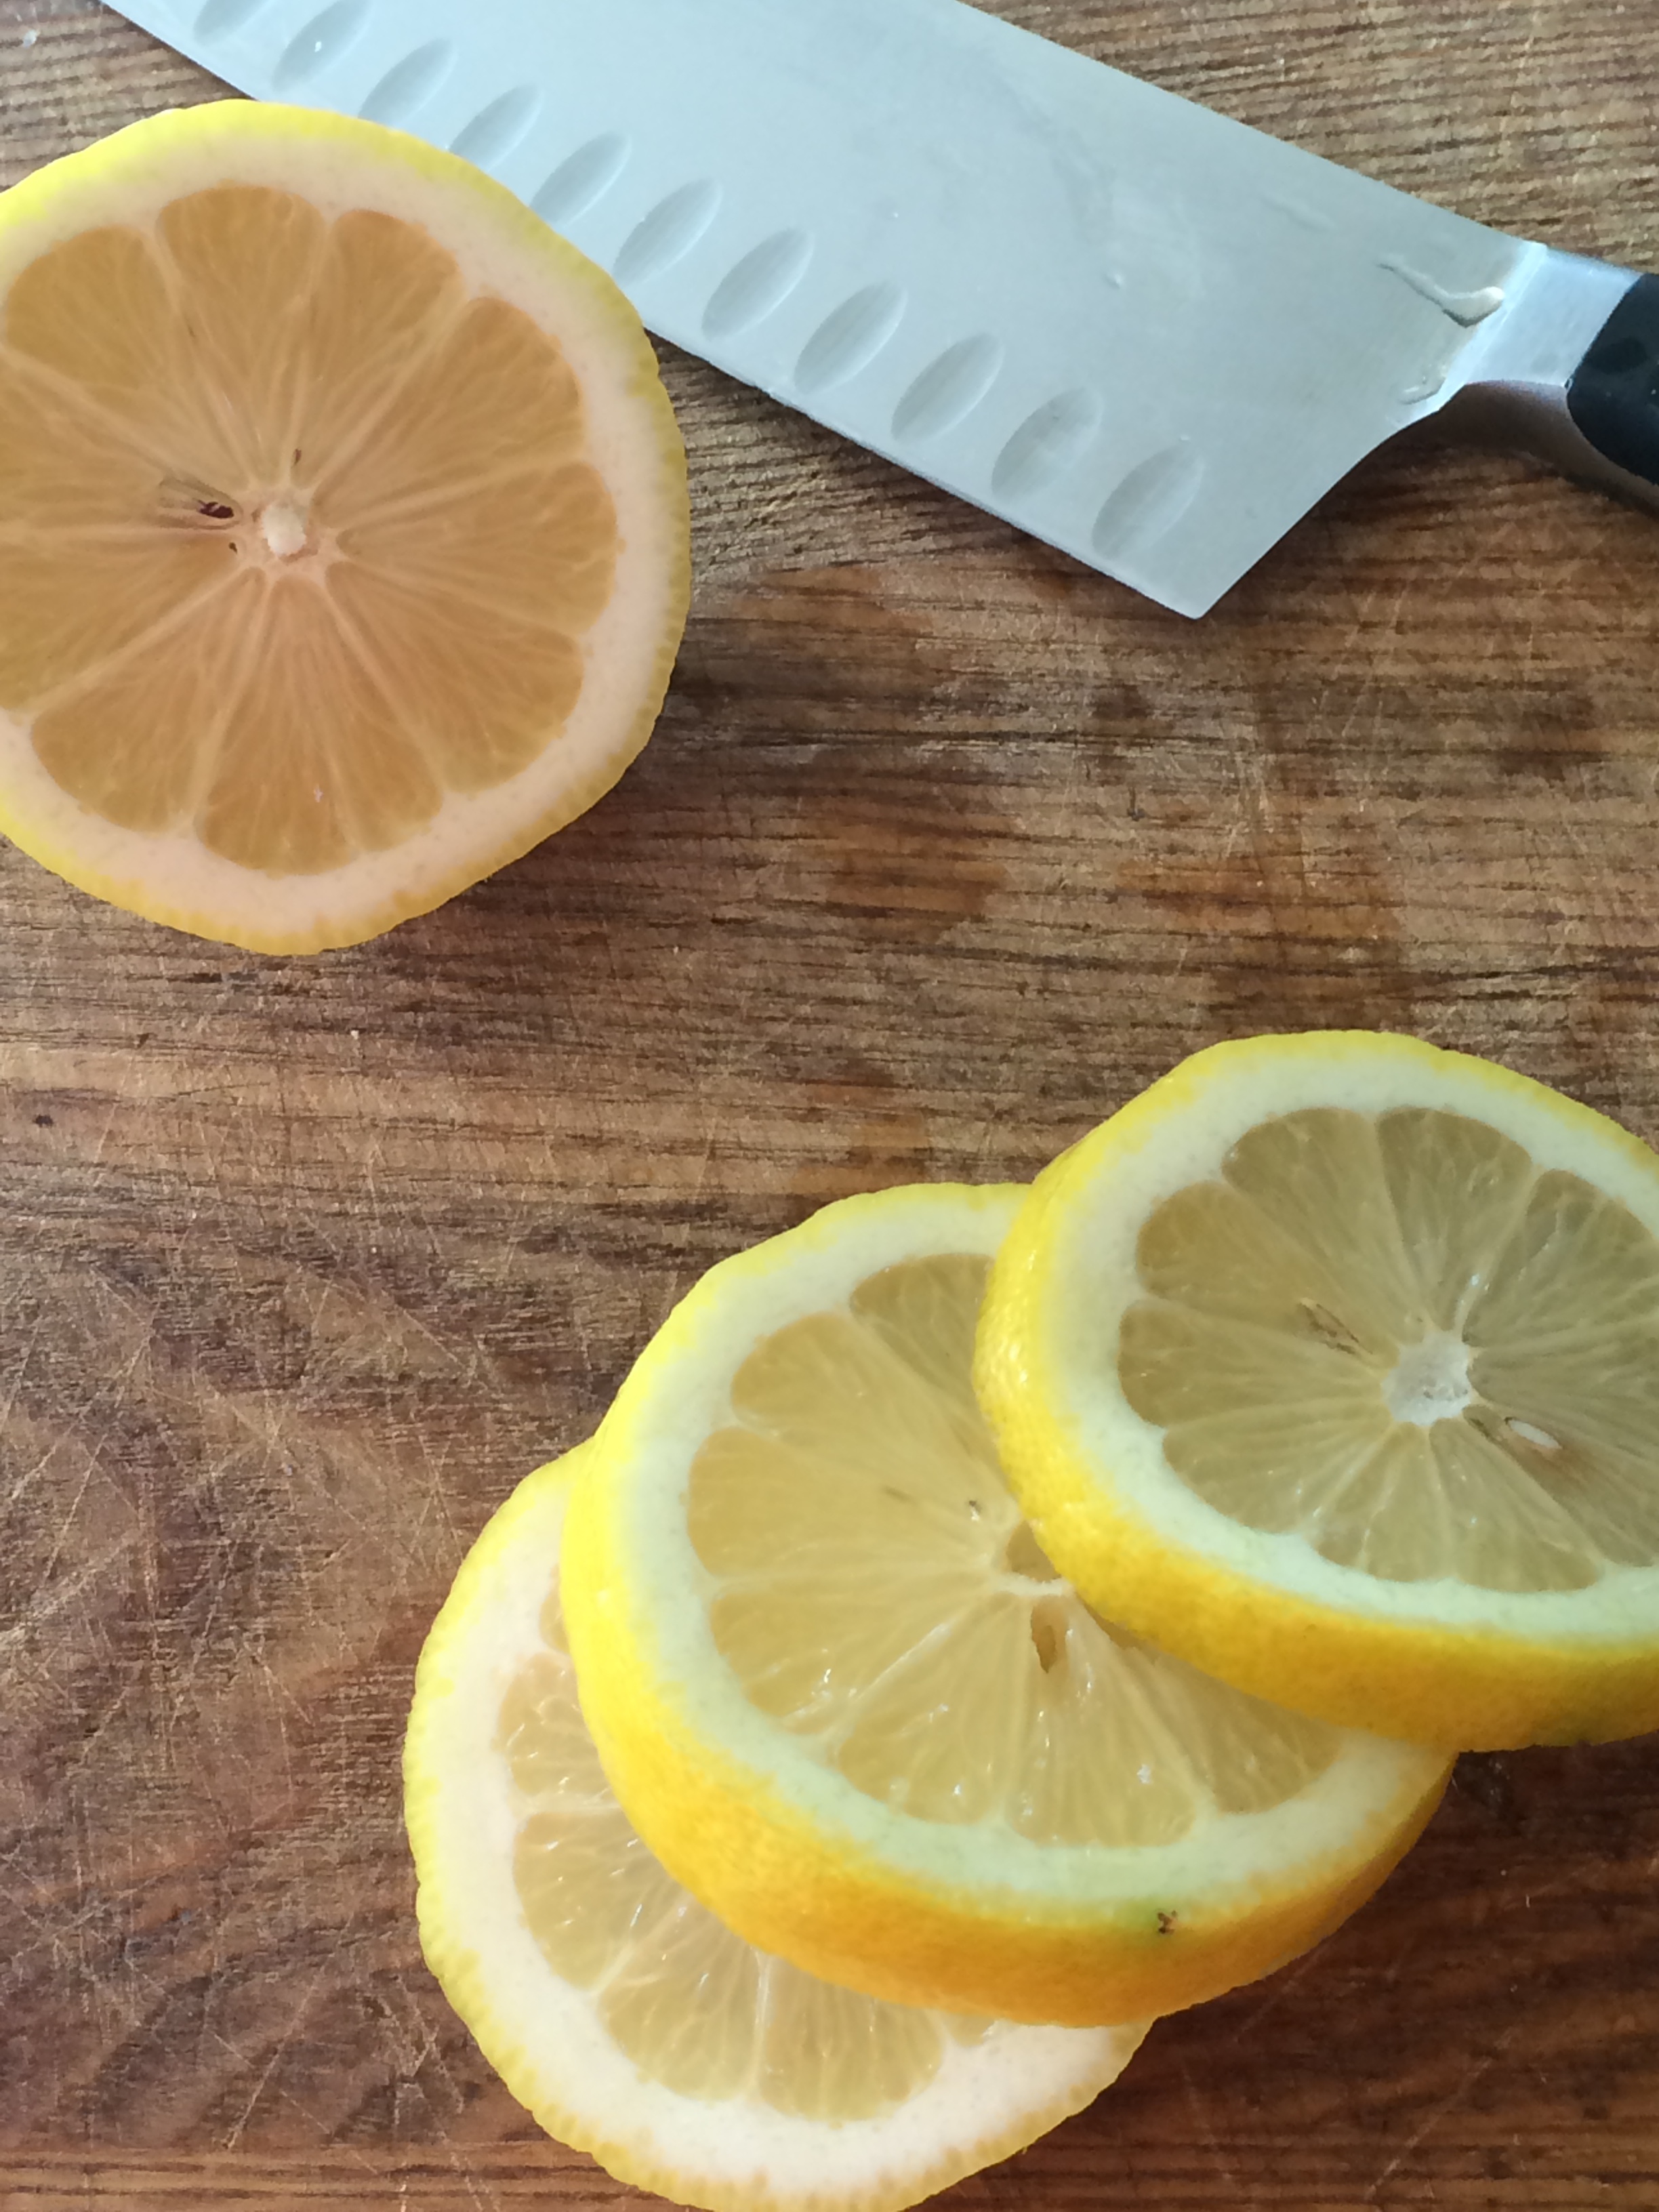
Fruit and/or Fruit Preserves
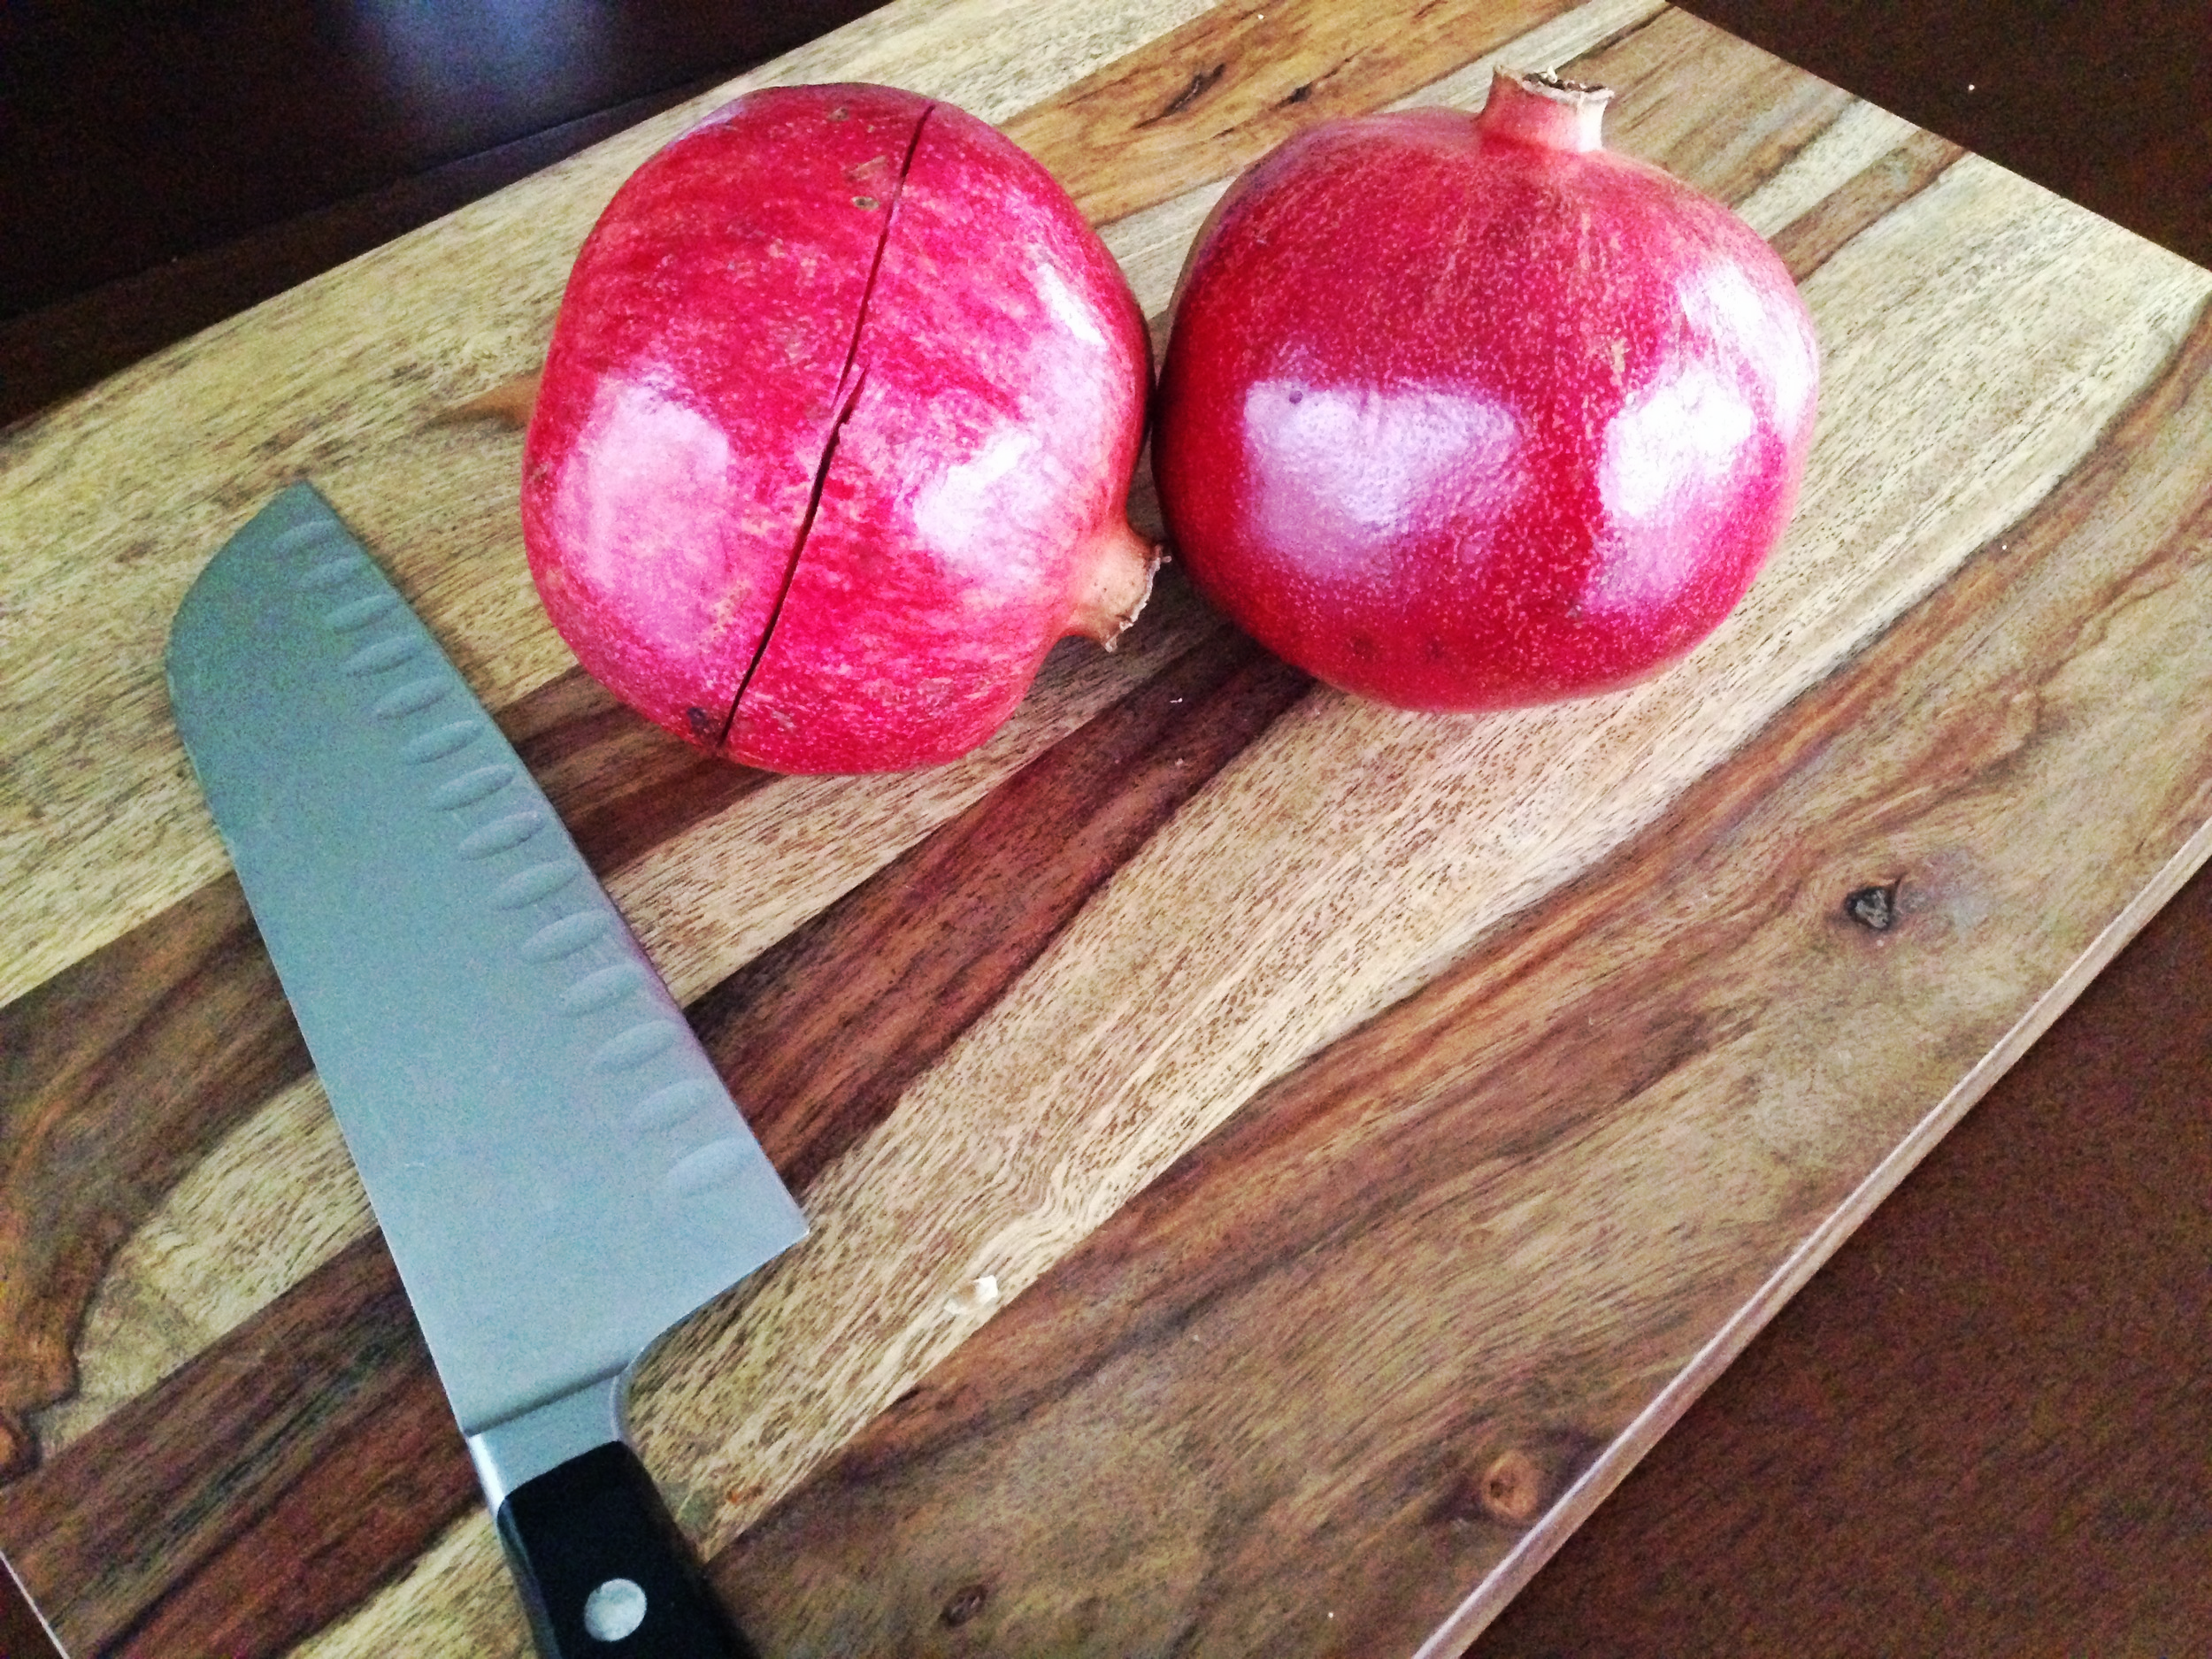
There's usually something sweet on a Cheese Plate, such as fruit (fresh or dried grapes, apples, apricots, berries, cranberries, etc.), and we've gone a step further to include fruit AND our Preserves, Hot Pepper Jams, Butter Spreads, and Mustards as an accompaniment to the cheese. This is where the fun begins! The flavors are amazing! Stay tuned!
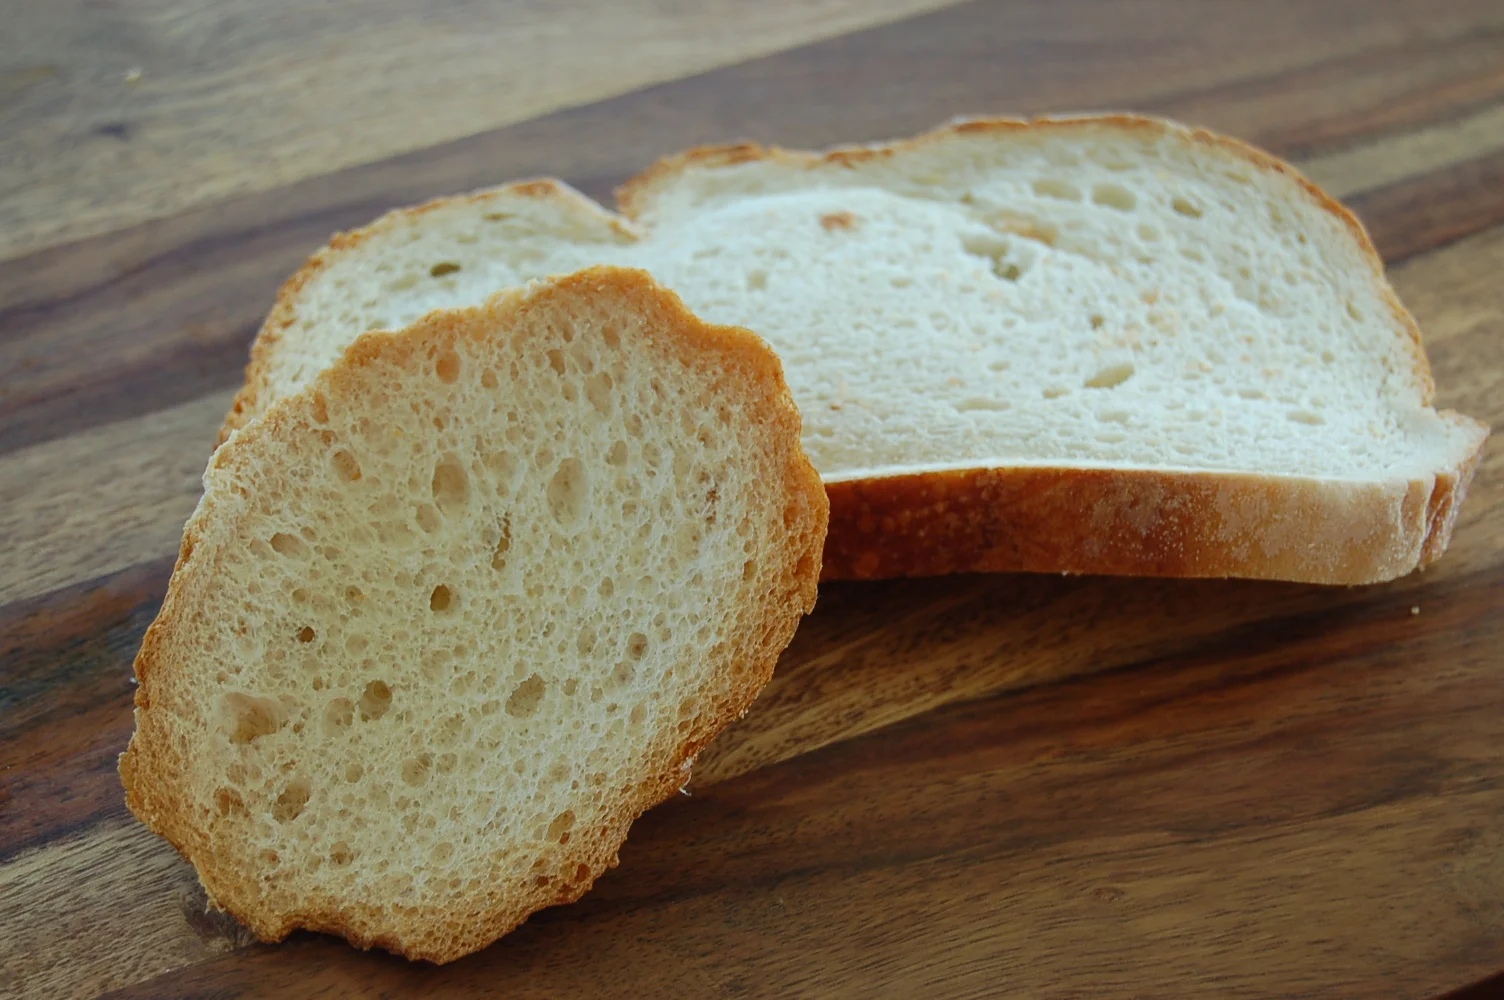
Bread
So technically, you could just pick up a slice of cheese and top it with a piece of fruit and be done. Or, you could grab a slice of a baguette or a cracker (make sure to get good crackers ...Water Crackers tend to be a favorite...we used mini toast crostinis we found at our local Wegman's), and start creating, combining cheeses with fruit, pepper jams, mustards, preserves, meats, oh my!. Your taste buds will thank you!
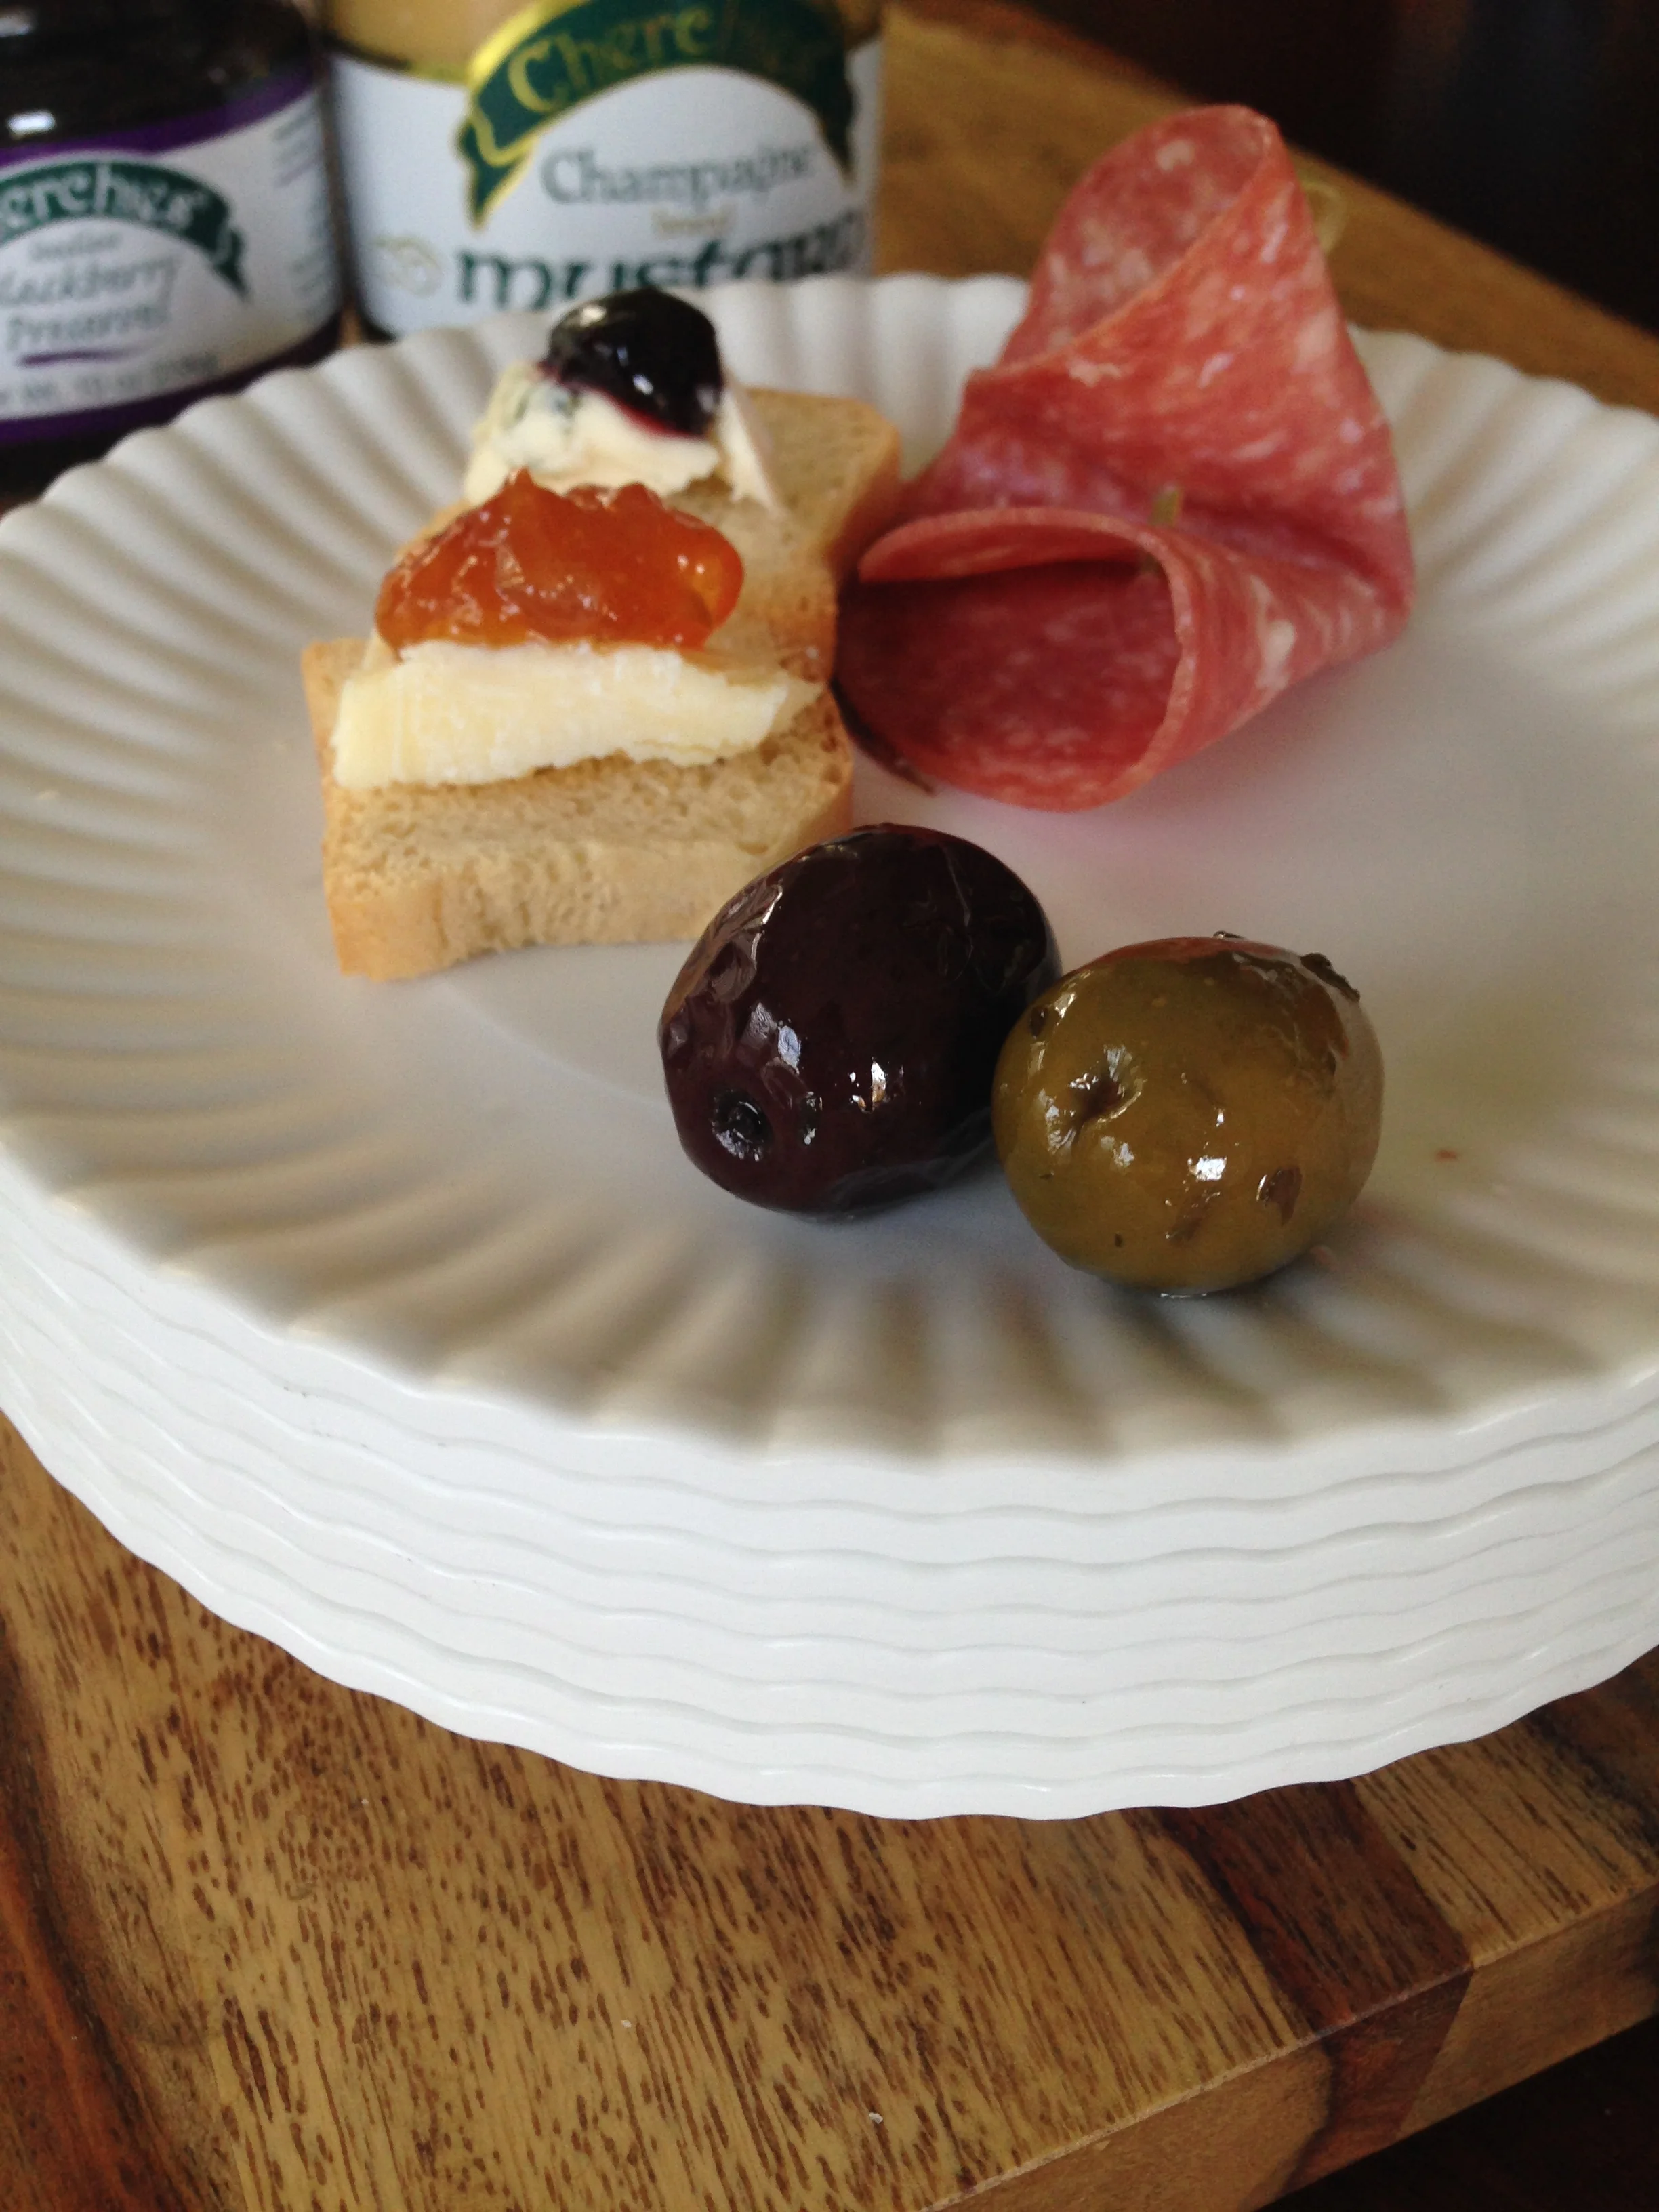
Try these options to start (the possibilities are endless!):
Cherchies® Blackberry Preserves paired with Blue Cheese
Cherchies® Hot Pepper Jams paired with a good sharp Cheddar
Cherchies® Apple Butter Spread and Brie with a slice of apple on top
Cherchies® Champagne Mustard (or Cranberry Mustard) and cheddar, with a few Champagne grapes on top (cute little grapes, normally found at specialty stores)
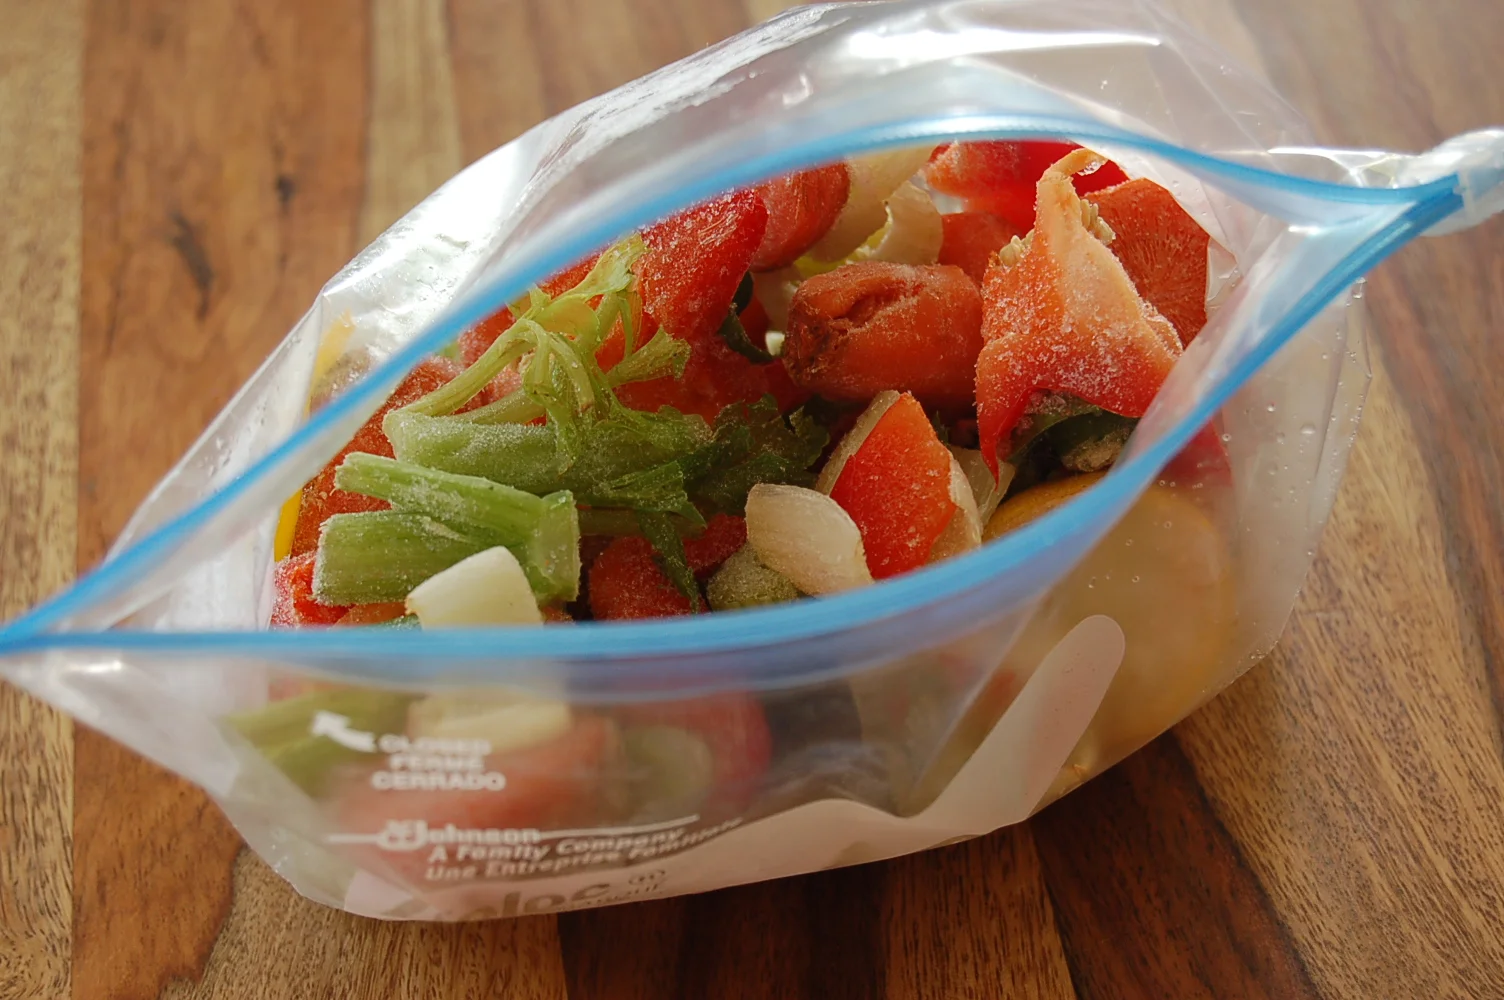
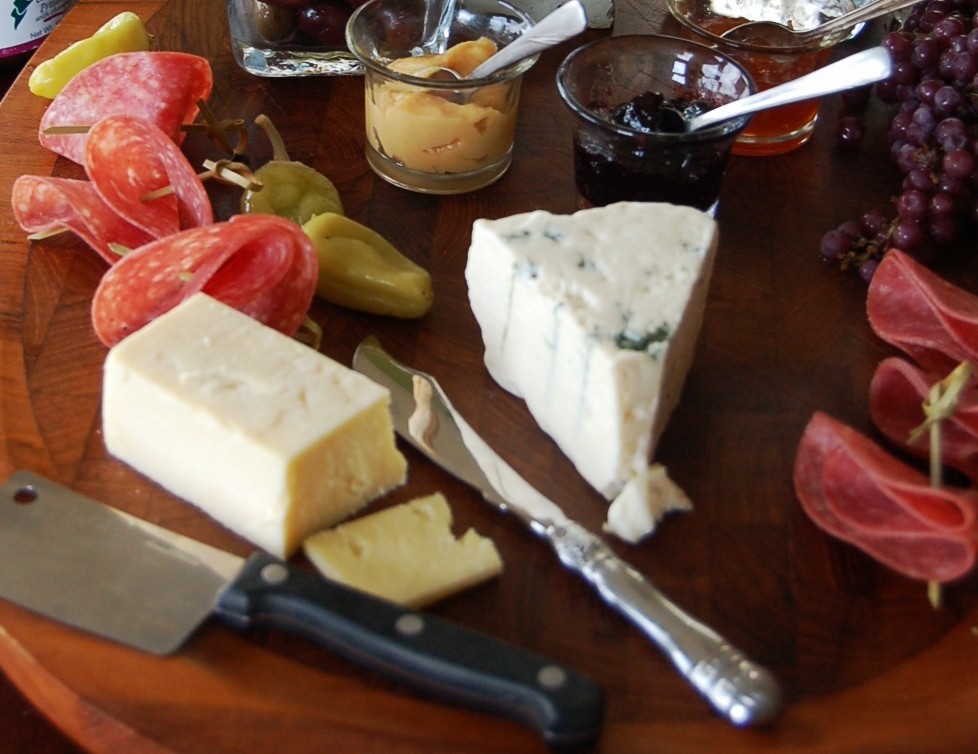
Miscellaneous Items
Usually, cheese plates have some sort of meat, such as sausage, salami, etc. In addition to salami, we decided to amp up our cheese board even more and add Pepperoncini Peppers and olives, but you could also add nuts.
Cheese platters are not only an easy and elegant option for entertaining, but the combinations of ingredients are also infinite. We love to add our personal touch and pair cheese with fruits, olives, meats, preserves, mustards, pepper jams, etc. You will find tons of themed charcuterie options on the internet for the creative side of you (see below). We'd love to hear your favorite combinations!
The best part of a charcuterie/cheese platter is that you'll have more time on your hands for what's important...spending quality time with your family and friends! Happy easy and elegant entertaining this holiday season!