Cherchies Blog

Cajun Shrimp and Cheesy Grits Recipe

entrees, lunch, gluten freeSheri SpalloneComment
Cajun Shrimp and Cheesy Grits Recipe

Cajun Shrimp and Cheesy Grits Recipe

Prep time: 15 MINUTES

Cook time: 20 MINUTES

Difficulty: Easy 

Yields: 4 servings

Sometimes you have to put on your big girl pants and try something new that intimidates you, including cooking. For me, that was shrimp and grits. This recipe came out of necessity from craving this dish in the middle of a pandemic, when ingredients were scarce.  

Throughout this pandemic, aside from family movie night and family game night, one night a week was dedicated to family take out night, where we patronized our local businesses and restaurants. The kiddos enjoyed ordering whatever floated their fancy, and Mom and Dad enjoyed NOT cooking for once (We have been cooking a lot with two college students and a high school student at home).  

When it was my turn to pick from the rotation, I wanted to tantalize my taste buds with my favorite comfort food, shrimp and grits, from our favorite local restaurant, except they were “out” of this smokey, cheesy, comforting dish. Imagine my dismay. WHAT?? In their defense, we were in the middle of a pandemic after all, and ingredients were limited. Regardless, it was terrible timing to have a craving, and begrudgingly I ordered something else. I NEEDED to learn how to make this classic dish asap!

Making homemade shrimp and grits had never crossed my mind because it seemed fussy. It was much easier to order from our favorite restaurant and allow the chefs to create their culinary masterpiece, but curiosity, determination, and necessity got the best of me. I put my “big girl pants on” and delved into my favorite cookbooks and online recipes to research shrimp and grits, and as it turns out, it was not as daunting as I had envisioned. I could do this. Our Louisiana inspired version features plump, succulent shrimp, savory Italian sausage, Cherchies® Cajun Seasoning, all piled on top of dreamy clouds of cheesy grits, seasoned with Cherchies Garlic Seasoning. I am proud to report that this easy cheesy recipe is divine and a close second to our favorite restaurant, and a recipe you will want to add to your cache. Not only can dinner be ready in 30 minutes, but you can have flavorful shrimp and grits whenever the craving hits.

Thank you for visiting! Come back again for more recipes, cooking tips, and easy entertaining ideas. Comment below if you have made this recipe. We love hearing from our friends!

Stay safe and well!

This recipe is adapted from https://www.bobsredmill.com/ and https://www.maebells.com/shrimp-and-creamy-cheesy-grits/.

Ingredients

  • 1 pound Italian sweet sausage, cooked and sliced

  • 1/2-3/4 pound frozen deveined and shelled shrimp (Can use fresh)

  • 4 cups chicken broth*

  • 1/2 cup yellow corn grits (We tested with Bob’s Mill Organic Corn Grits)

  • 1/2 teaspoon (tsp.) Cherchies Garlic Seasoning

  • Pepper to taste

  • 4 ounces cream cheese, room temperature

  • 2 cups shredded sharp cheddar cheese

  • 4 Tablespoons (Tbsp) Olive oil, removing 1 Tablespoon (Tbsp) for coating

  • 4 teaspoons (tsp.) Cherchies Cajun Seasoning (add more if want spicier)

  • 1/2 teaspoon (tsp.) smoked paprika

  • 1 cup water

  • 1 Tablespoon (Tbsp.) Corn starch

  • 2 green onion stalks, chopped

  • 2 slices bacon, cooked and chopped (optional)

*Note- some recipes I have researched call for substituting milk for the broth. I have not tried milk, but this recipe is flexible to use whatever liquid you like.

Preparation

Preheat oven to 350 degrees. Once oven is preheated, place the sausage in a shallow baking pan and cook sausage until it reaches a temperature of 160 degrees. Remove from oven, allow to cool, and slice the sausage into 1/2 inch pieces. Set aside.

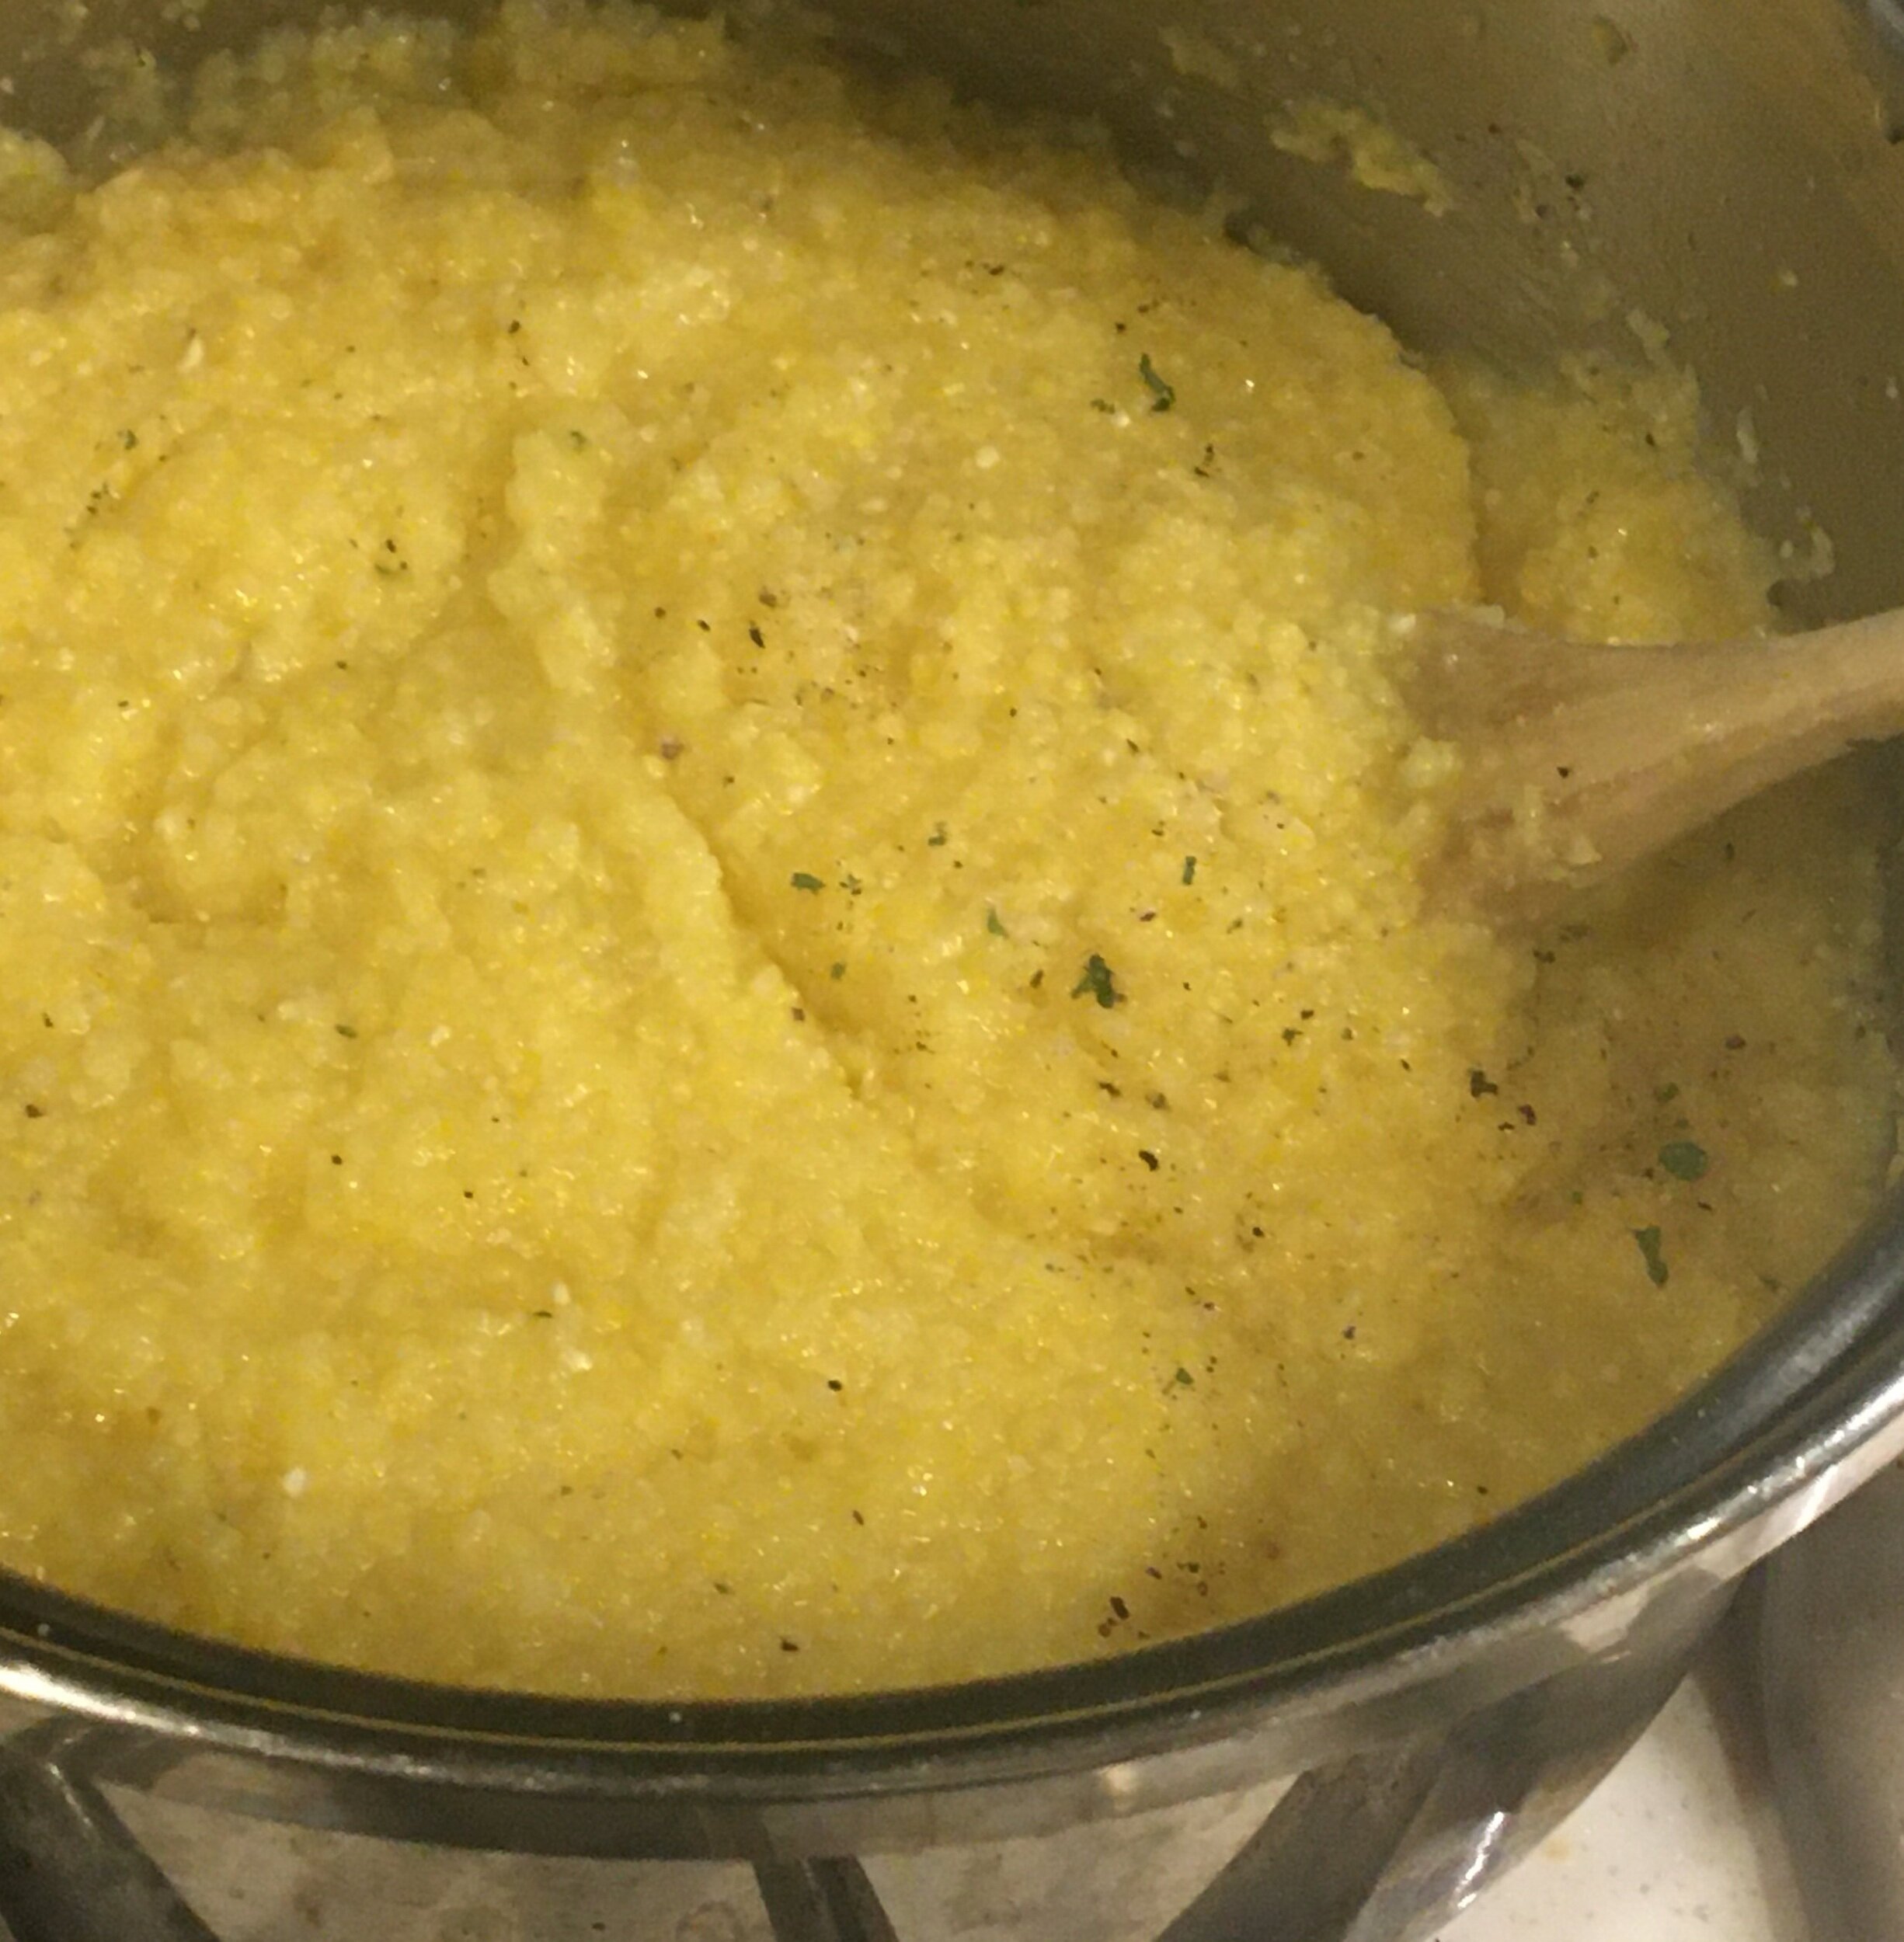
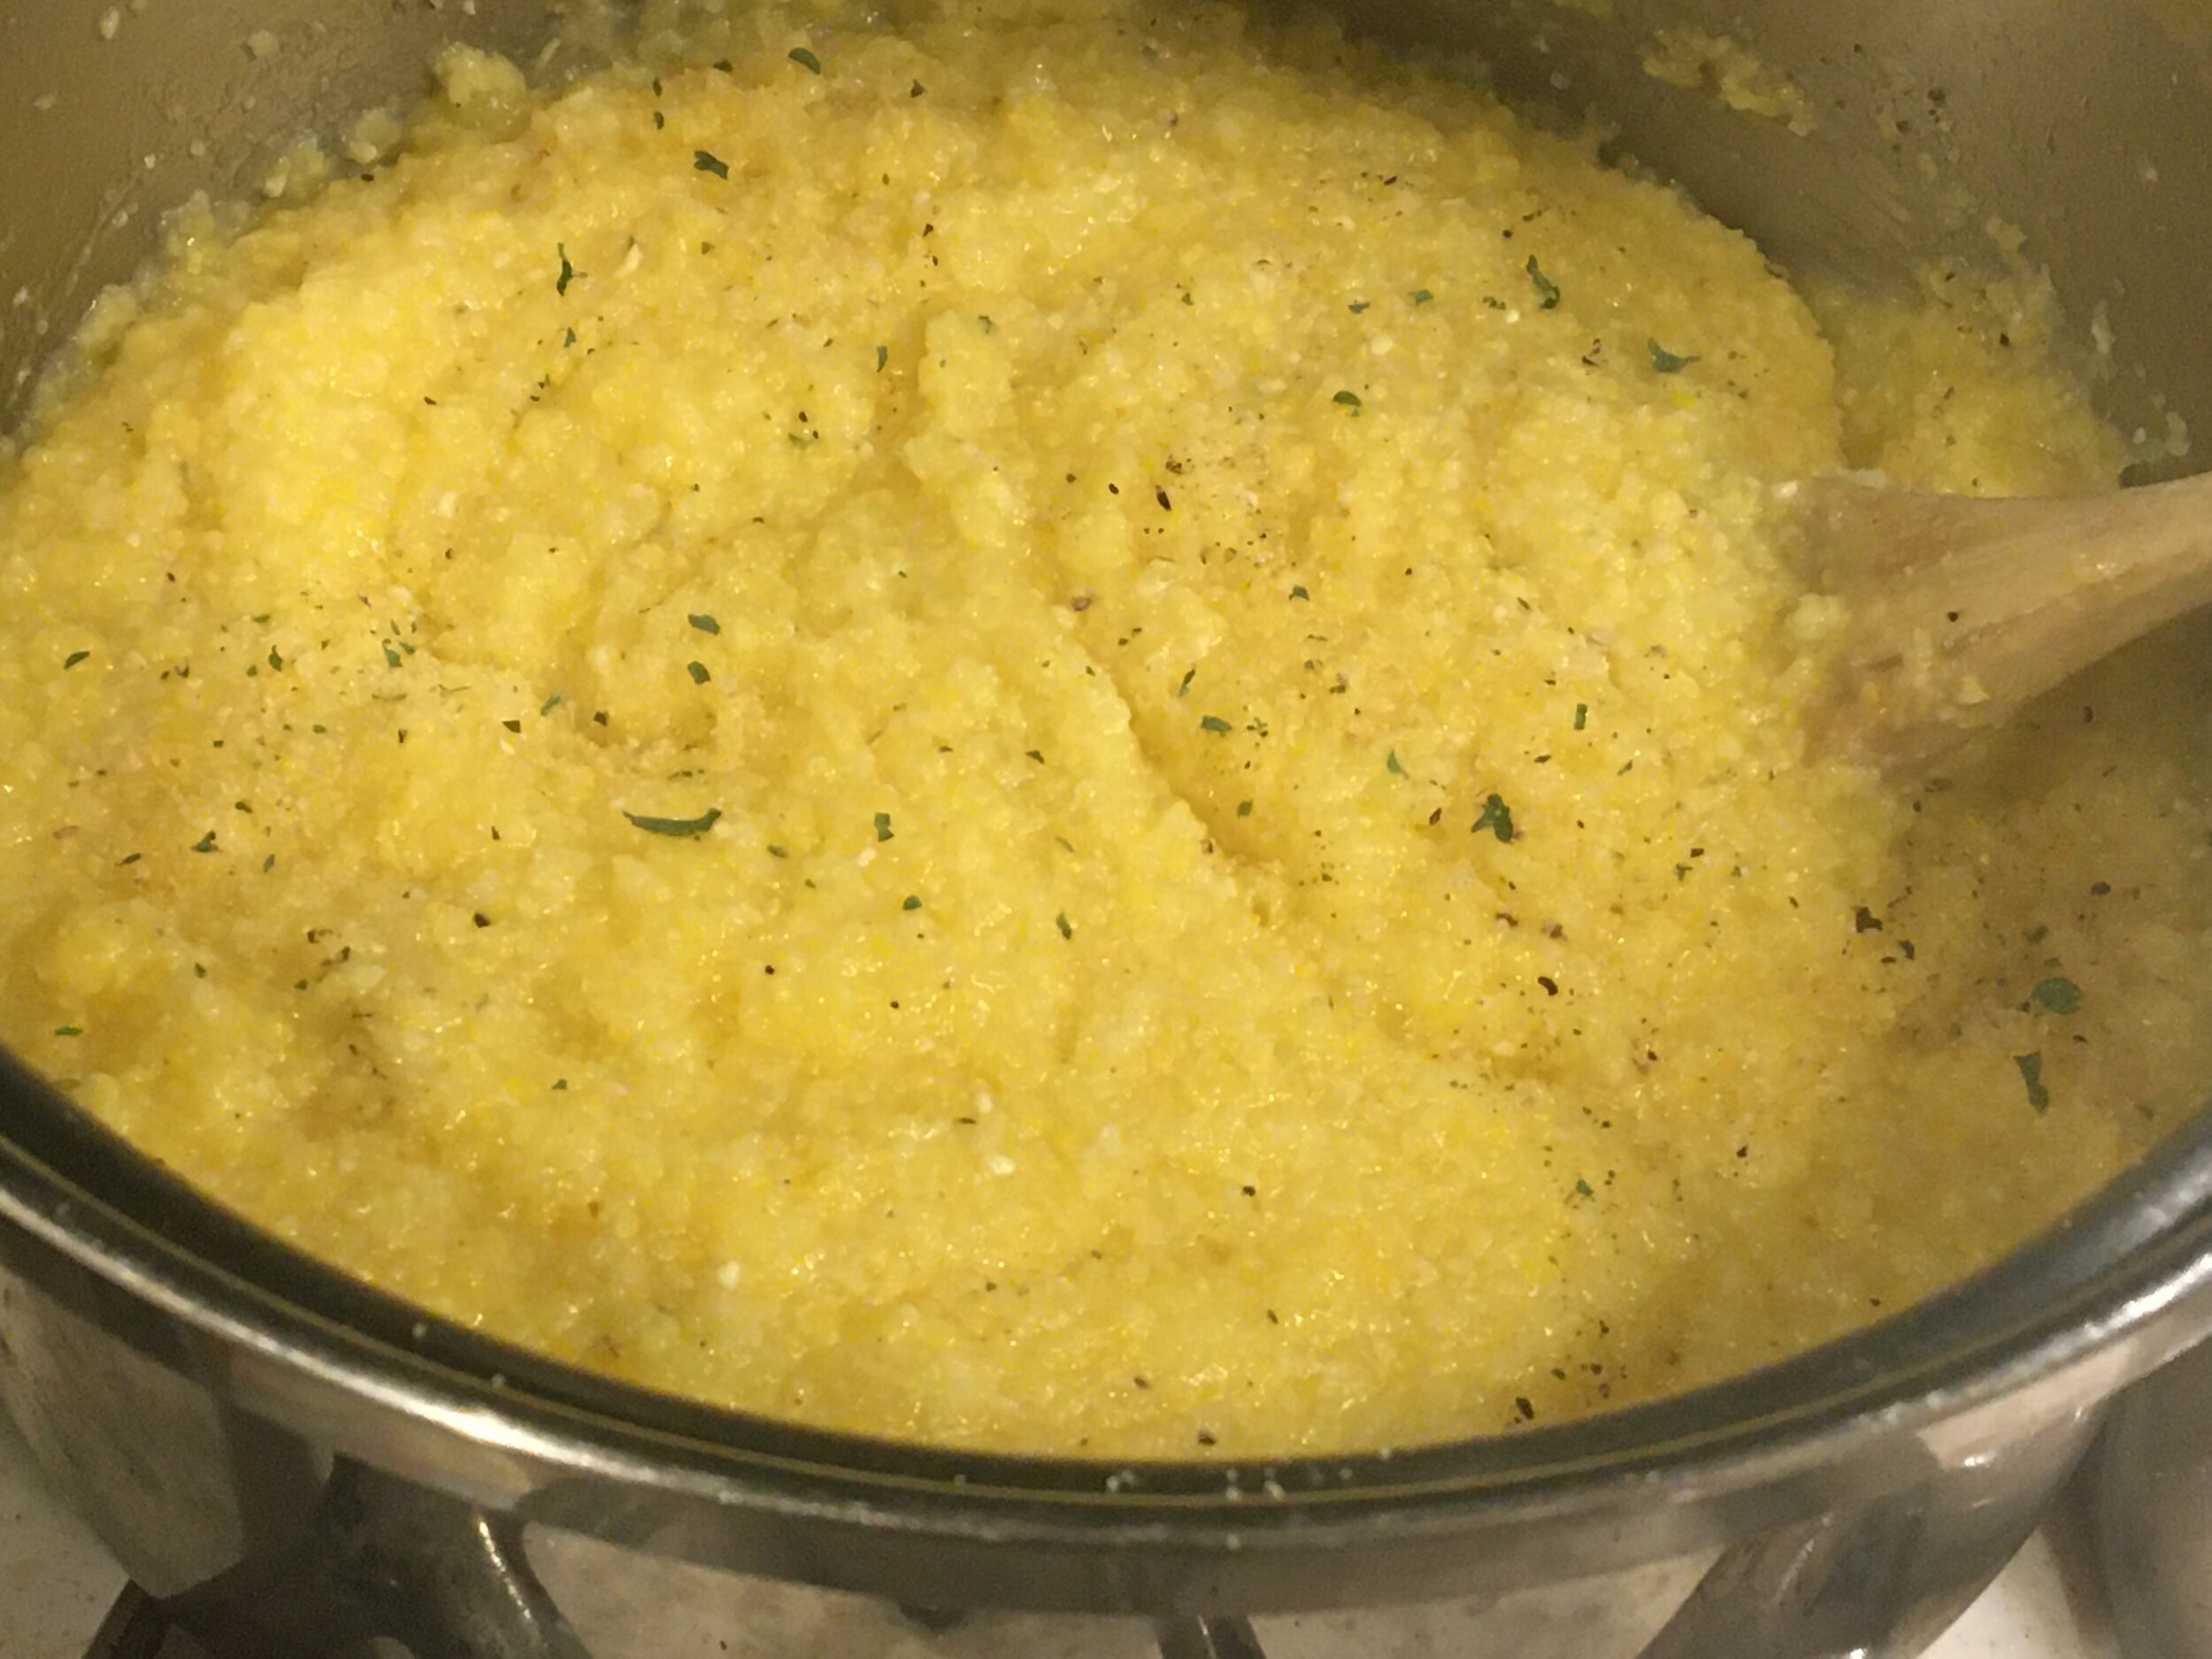
In a medium to large sauce pan bring the chicken broth to a boil, add grits slowly and reduce the heat to low. Cover and let the grits simmer for 7 minutes, stirring occasionally to prevent them from sticking and burning.

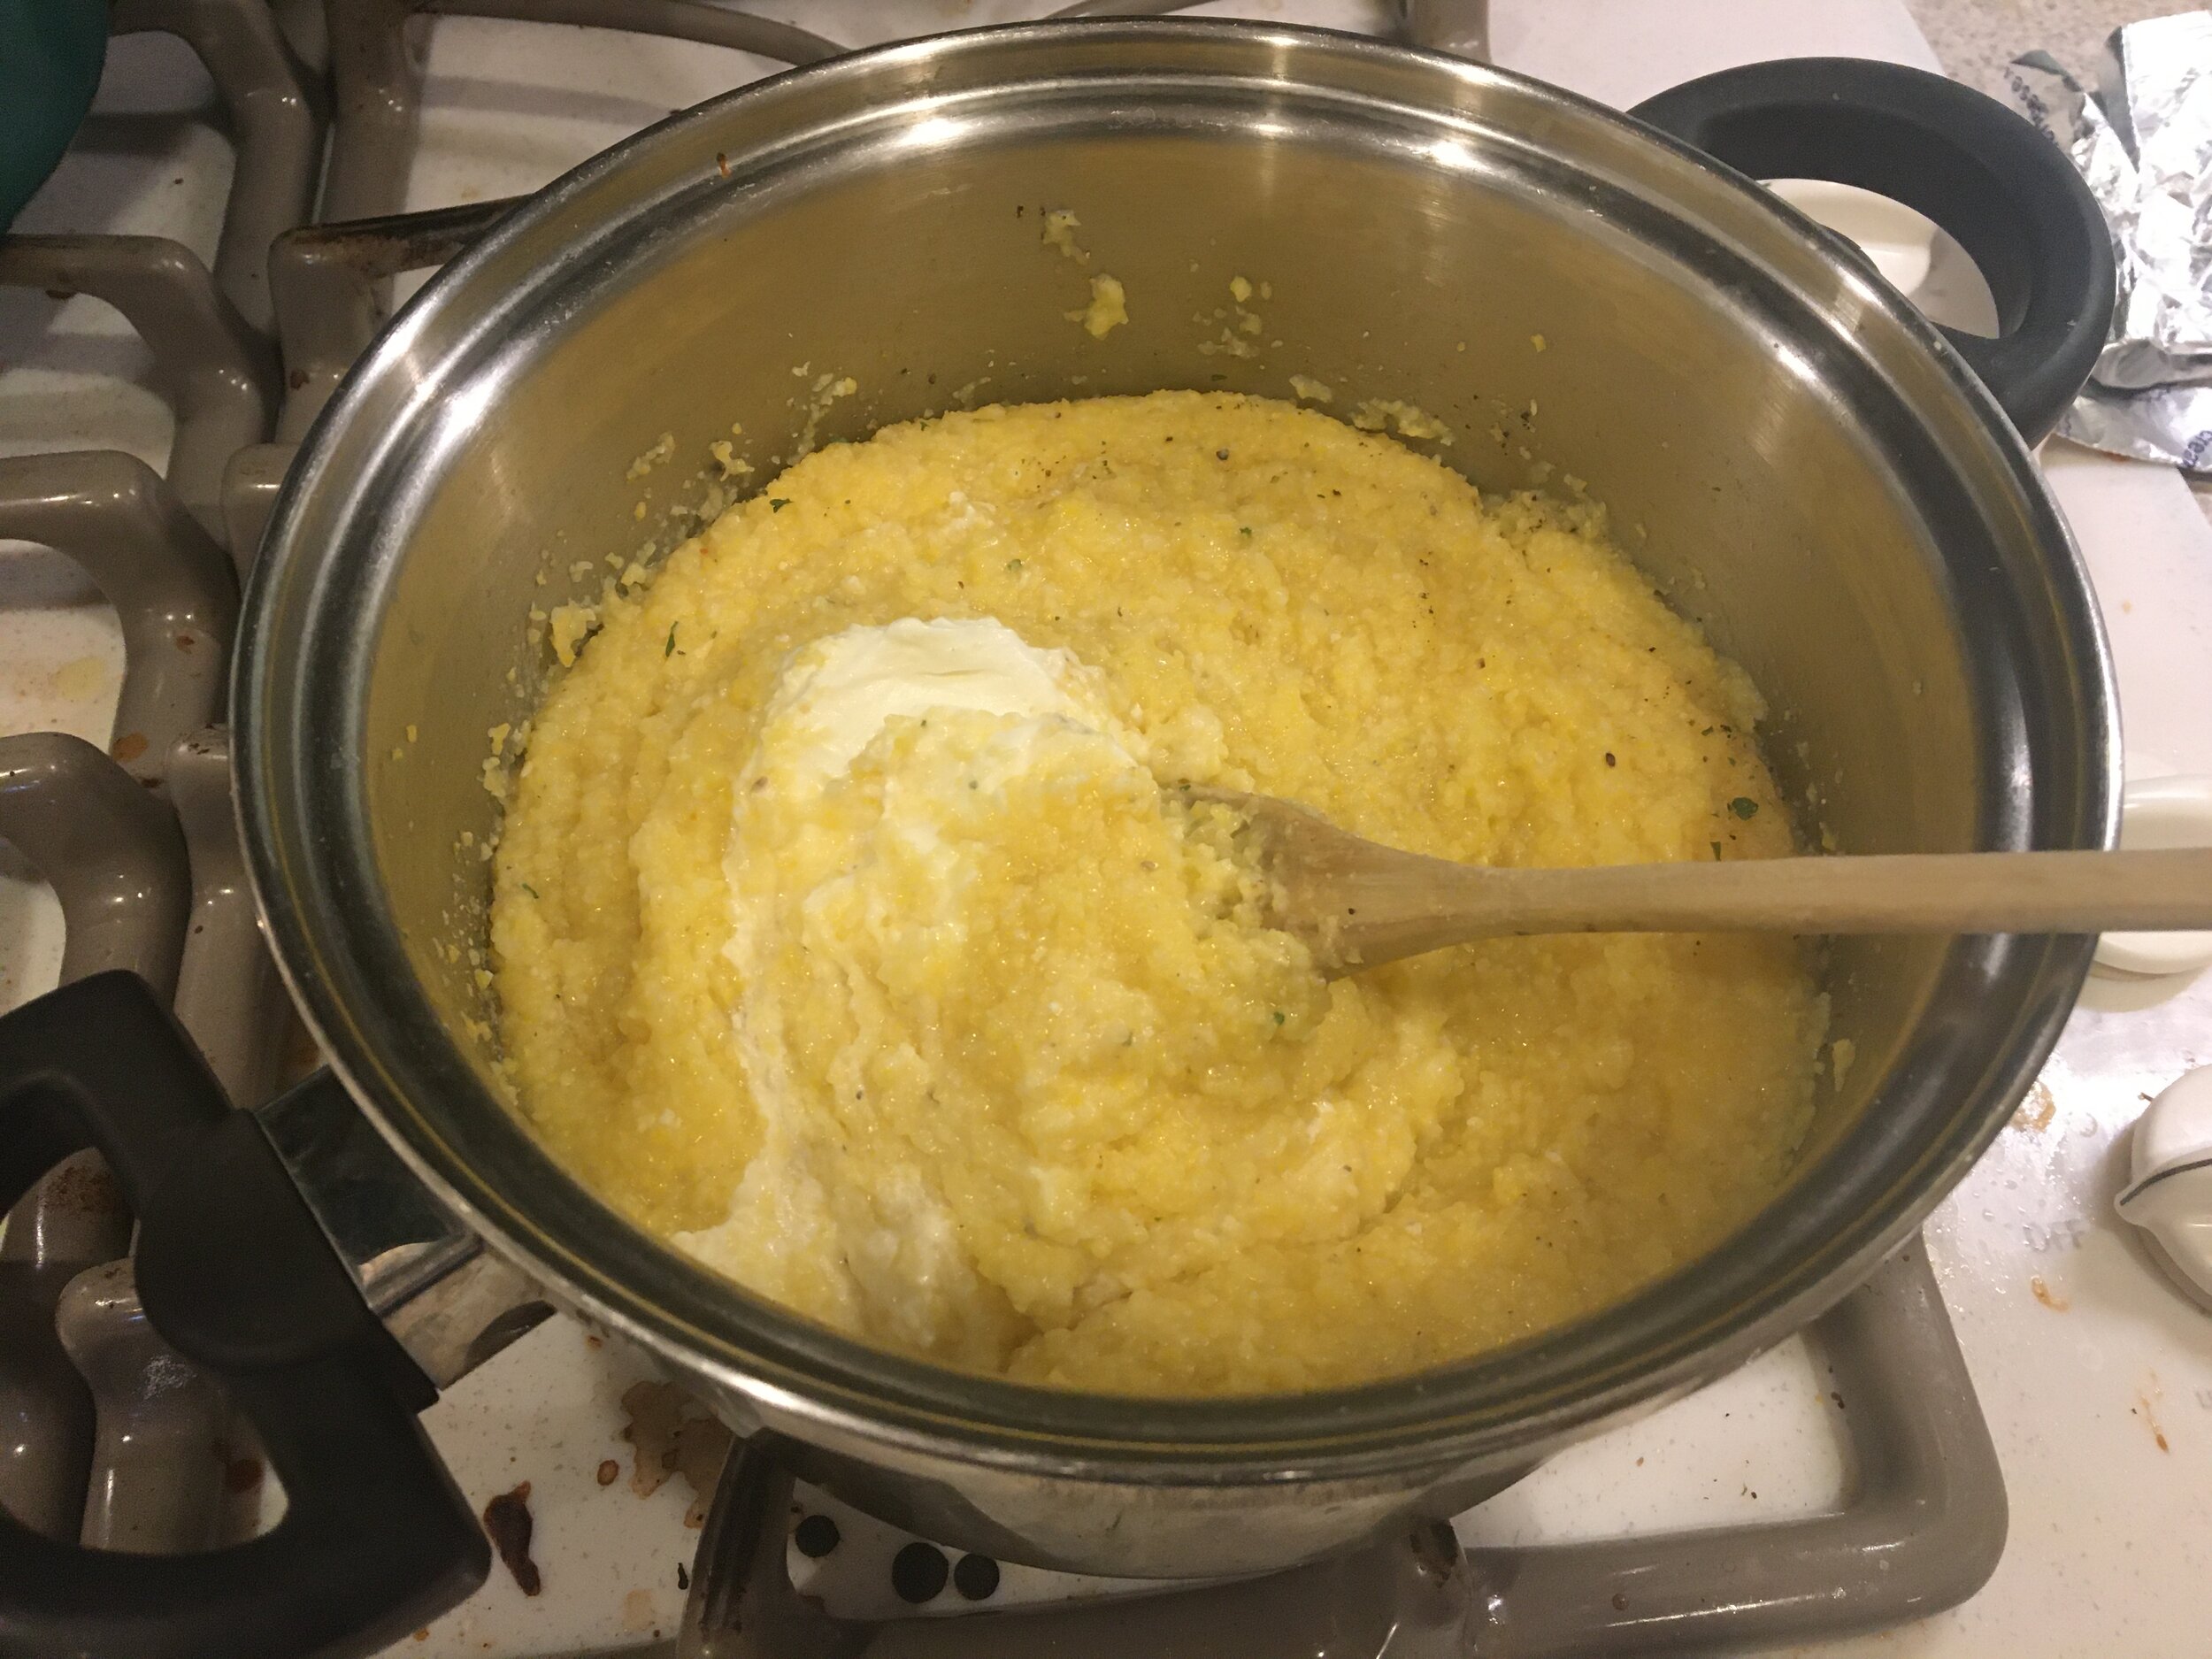
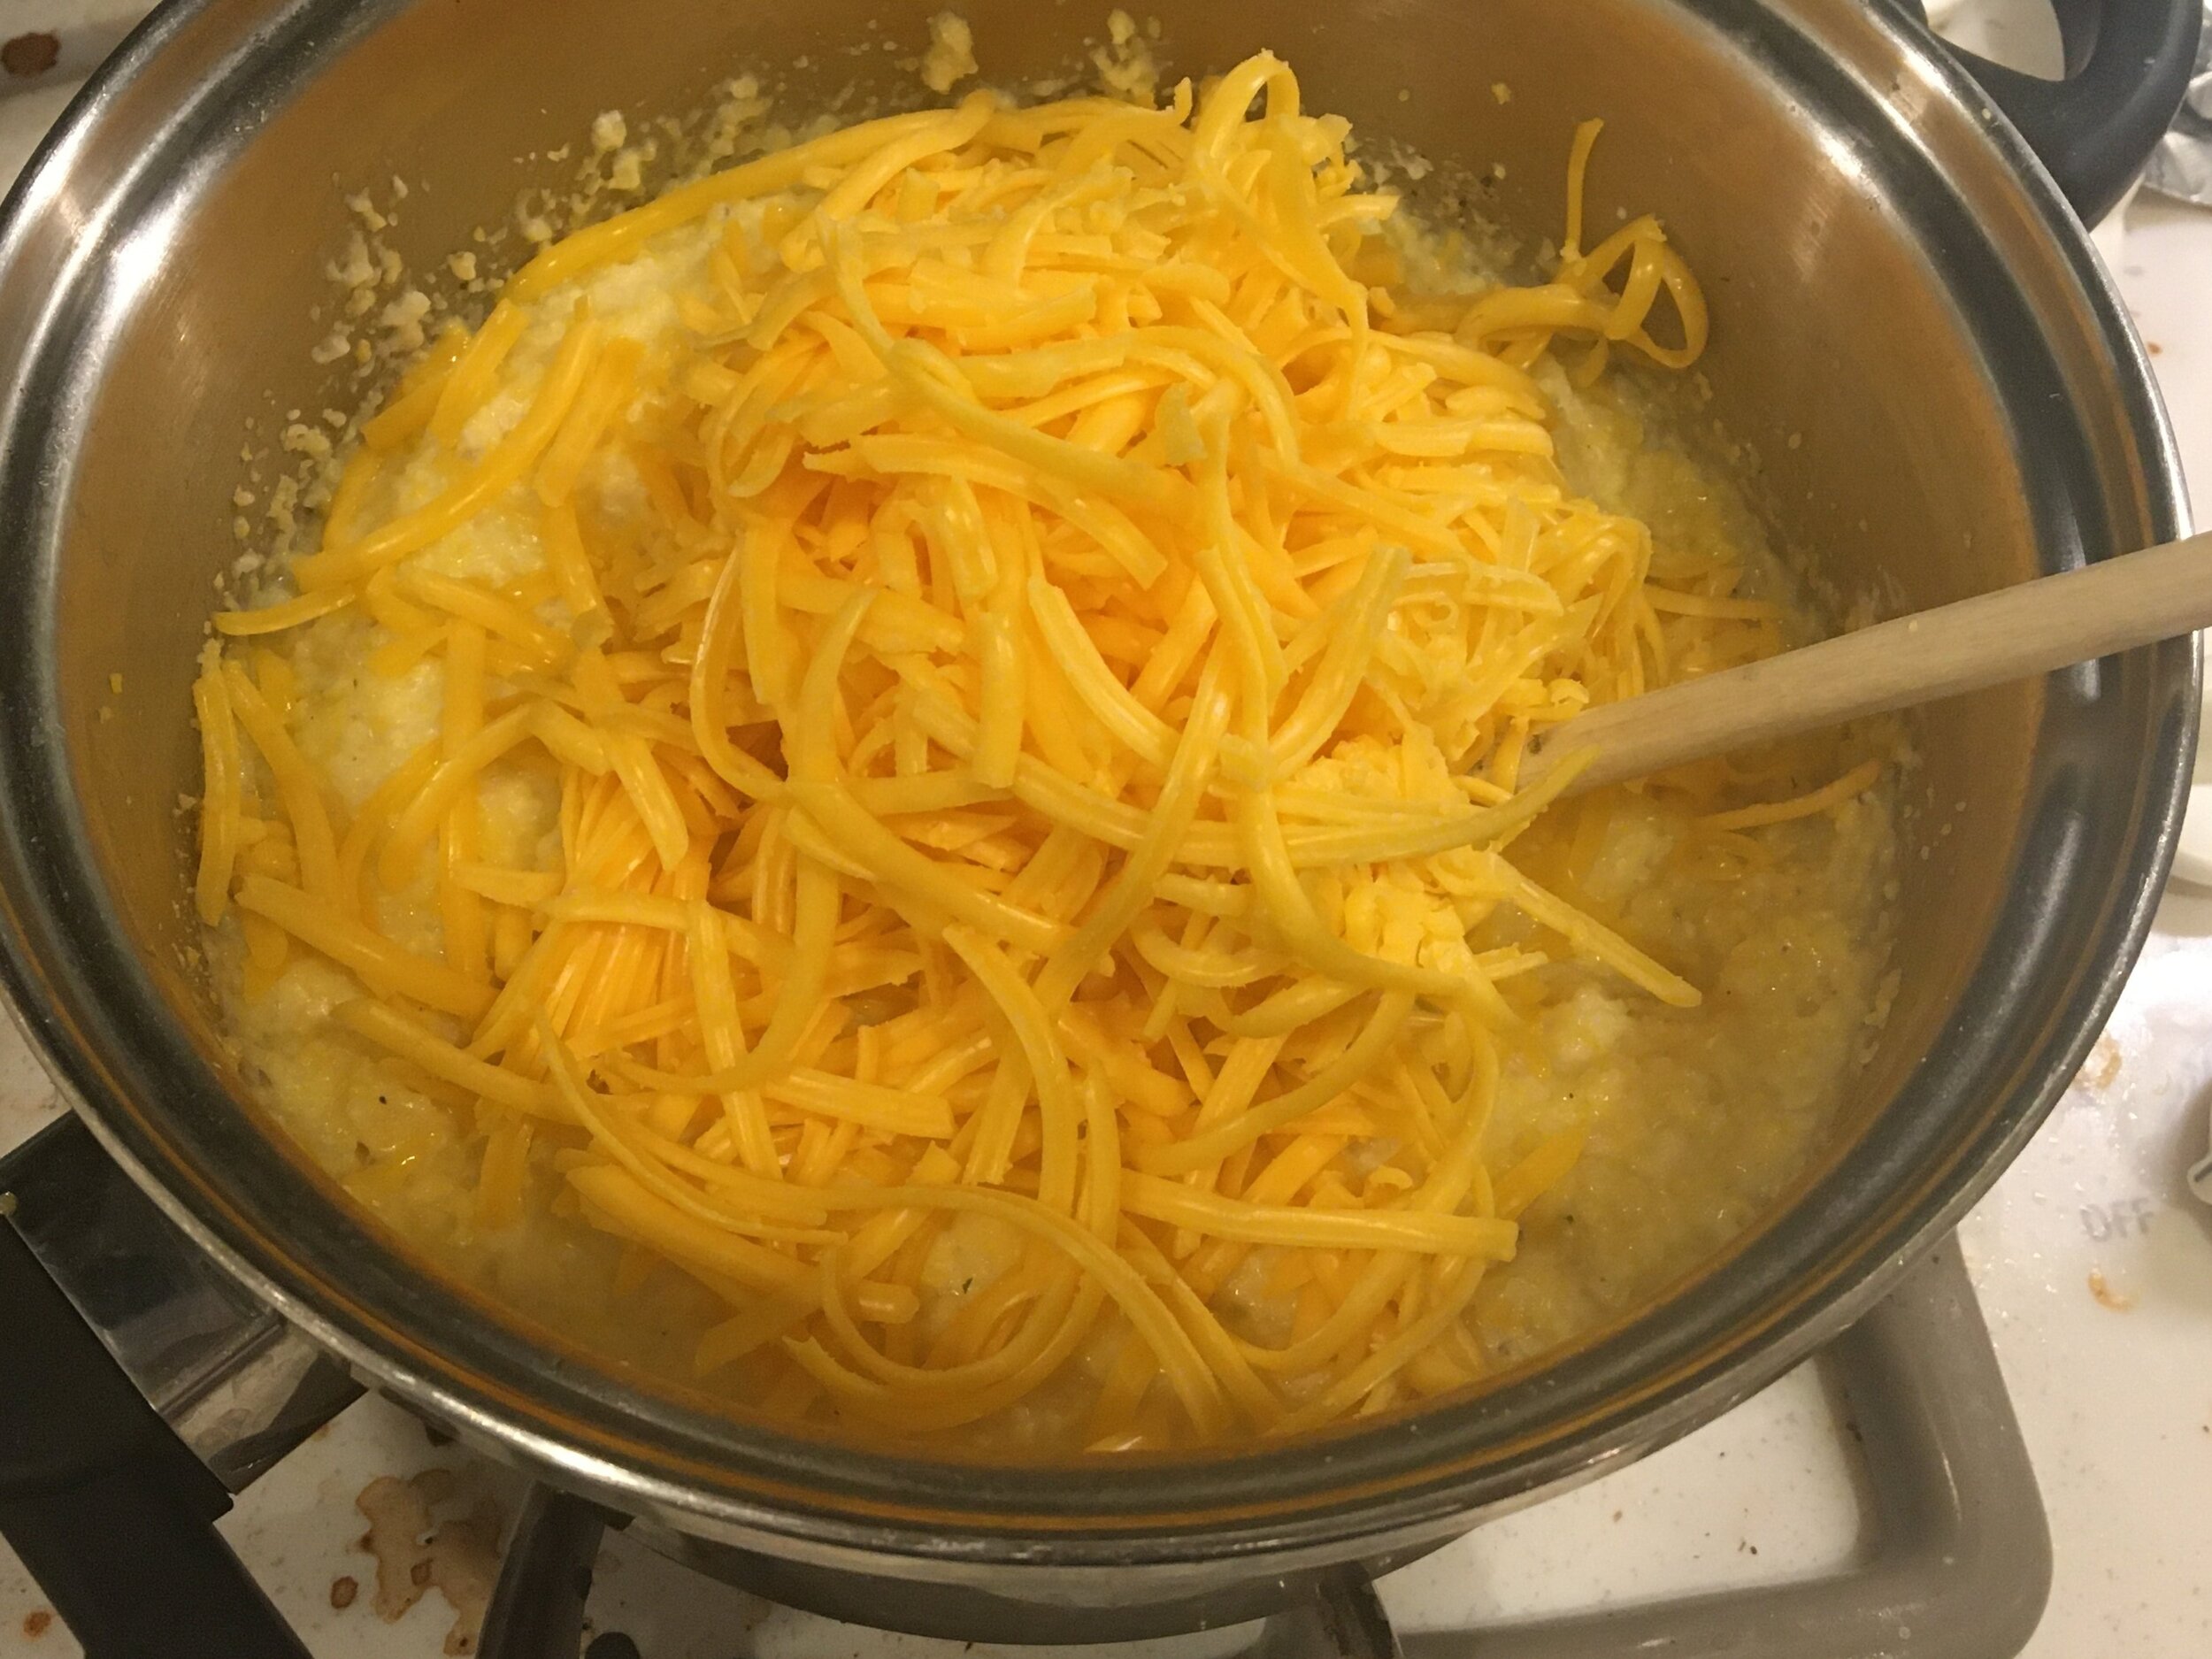
When the grits have absorbed the liquid, add the cream cheese, shredded cheese and Cherchies® Garlic Seasoning and pepper to taste. Stir the mixture well, cover and remove from heat.

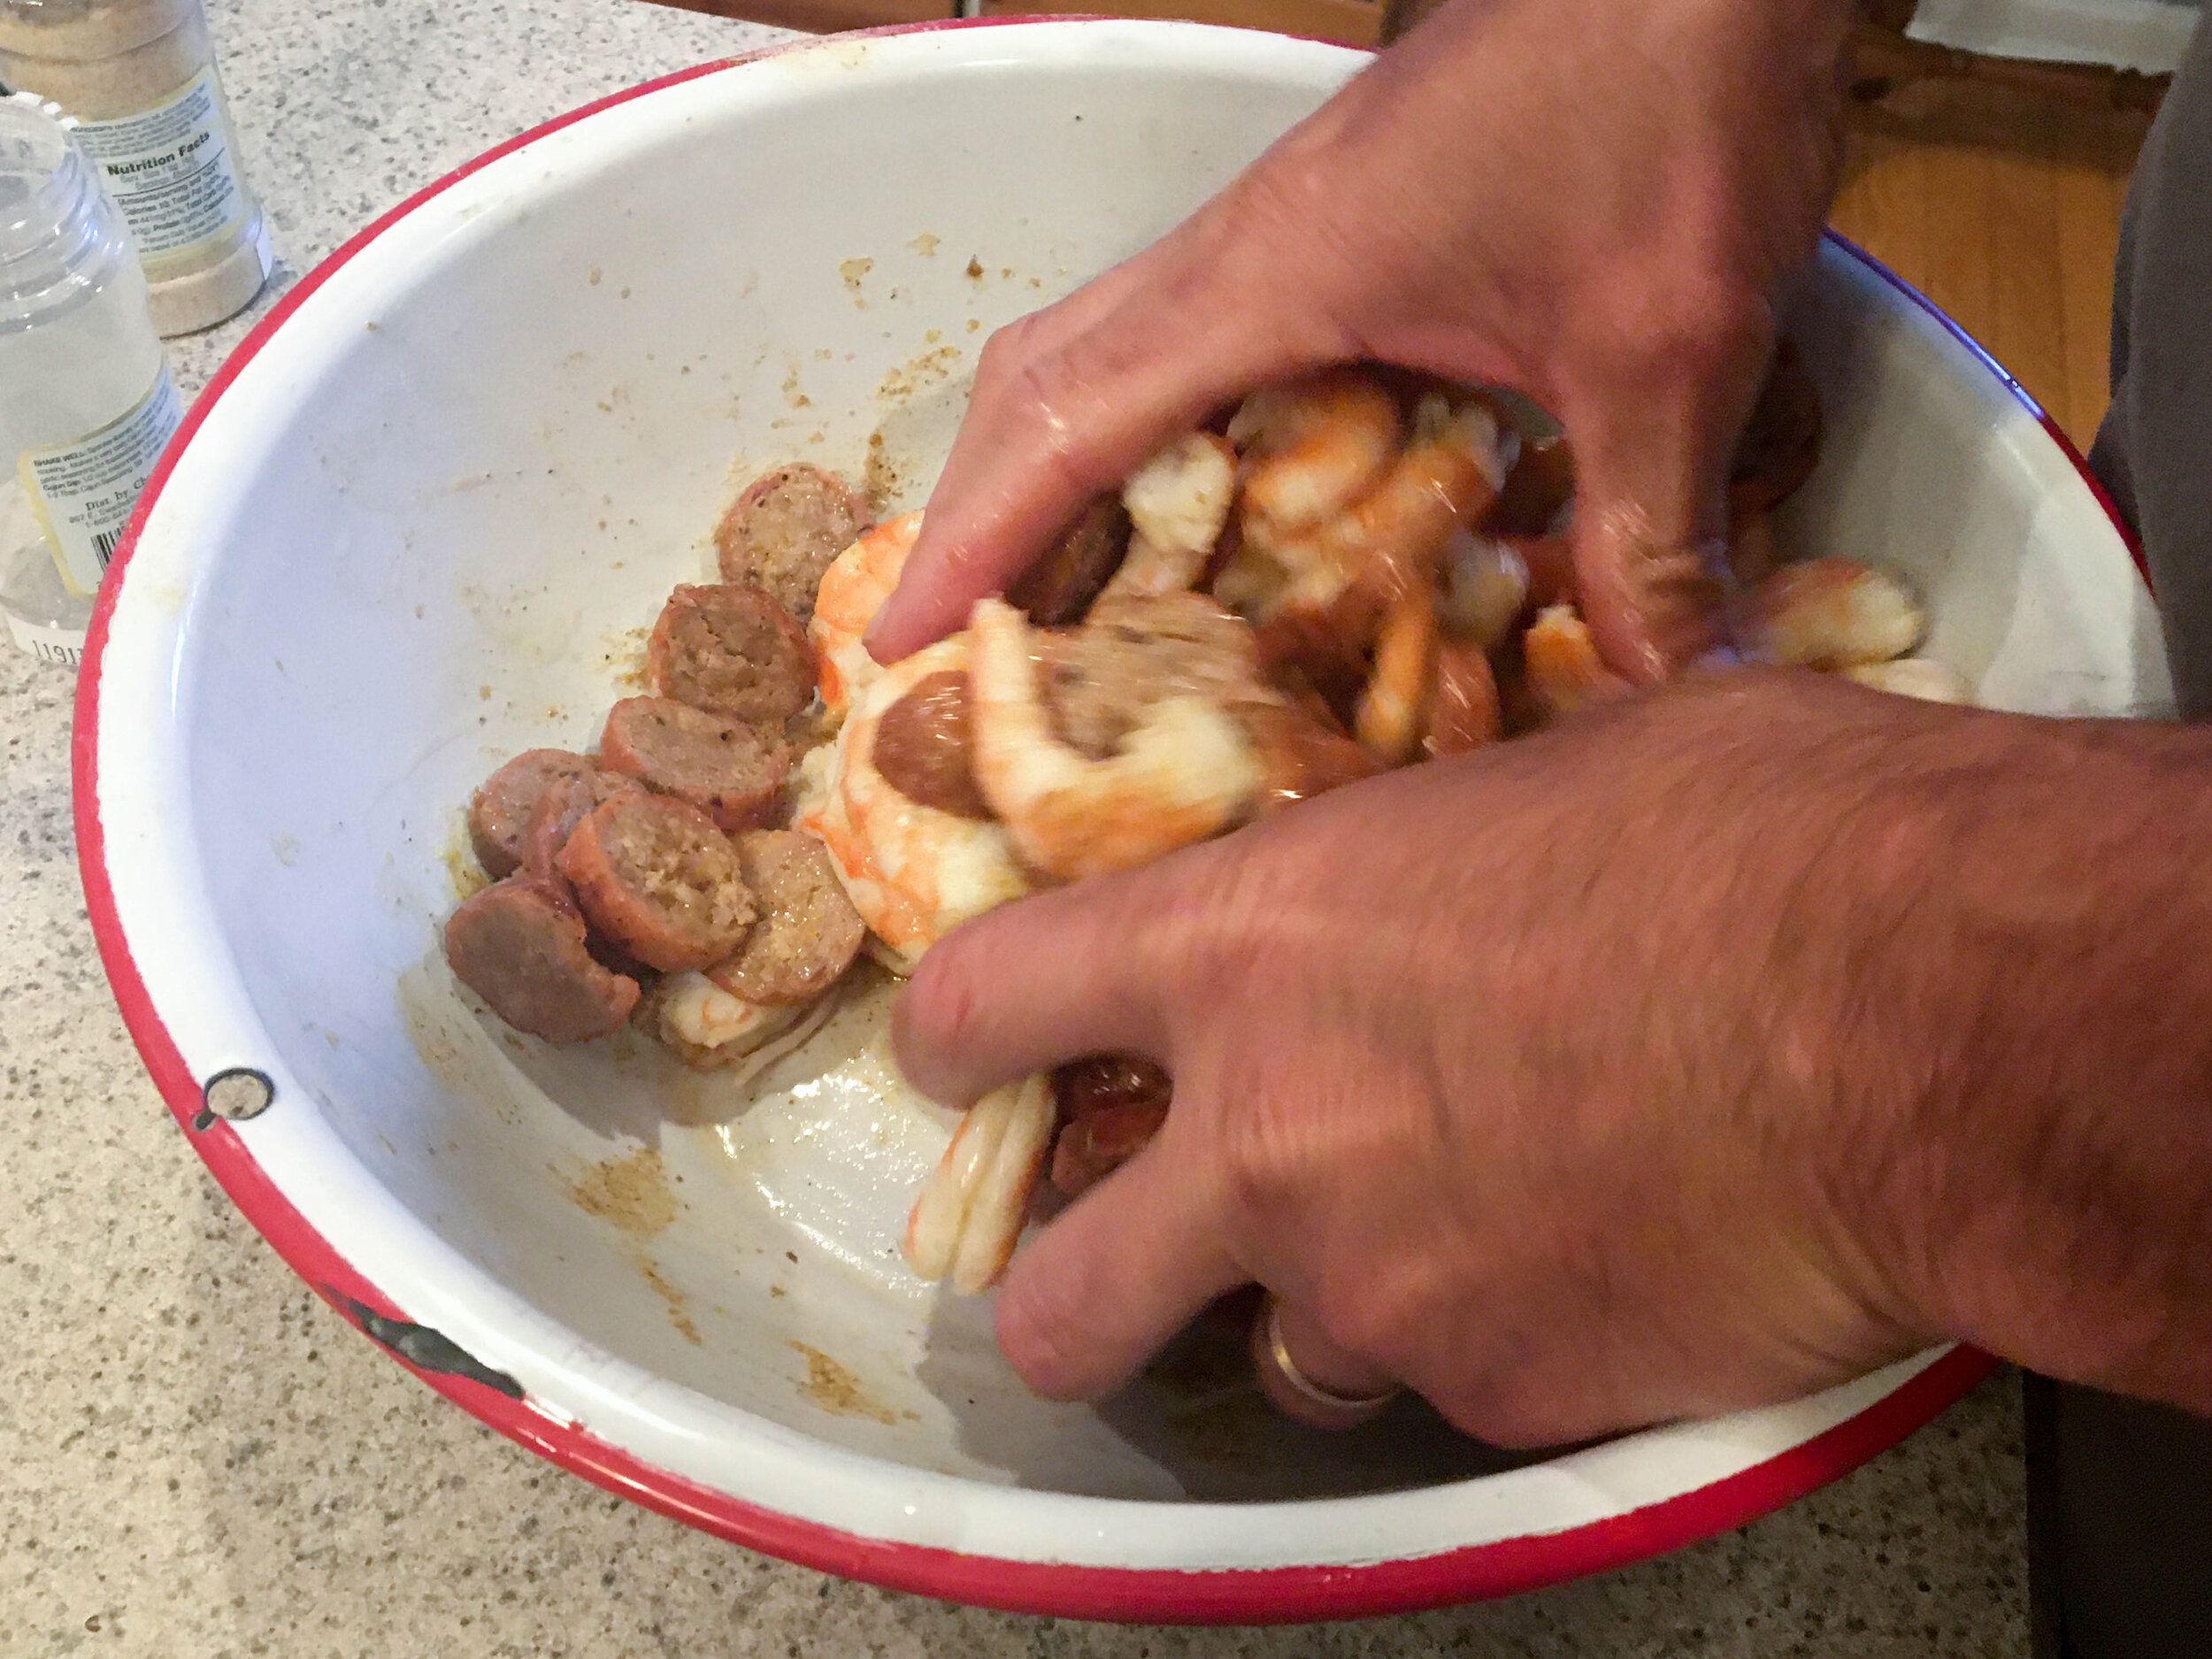
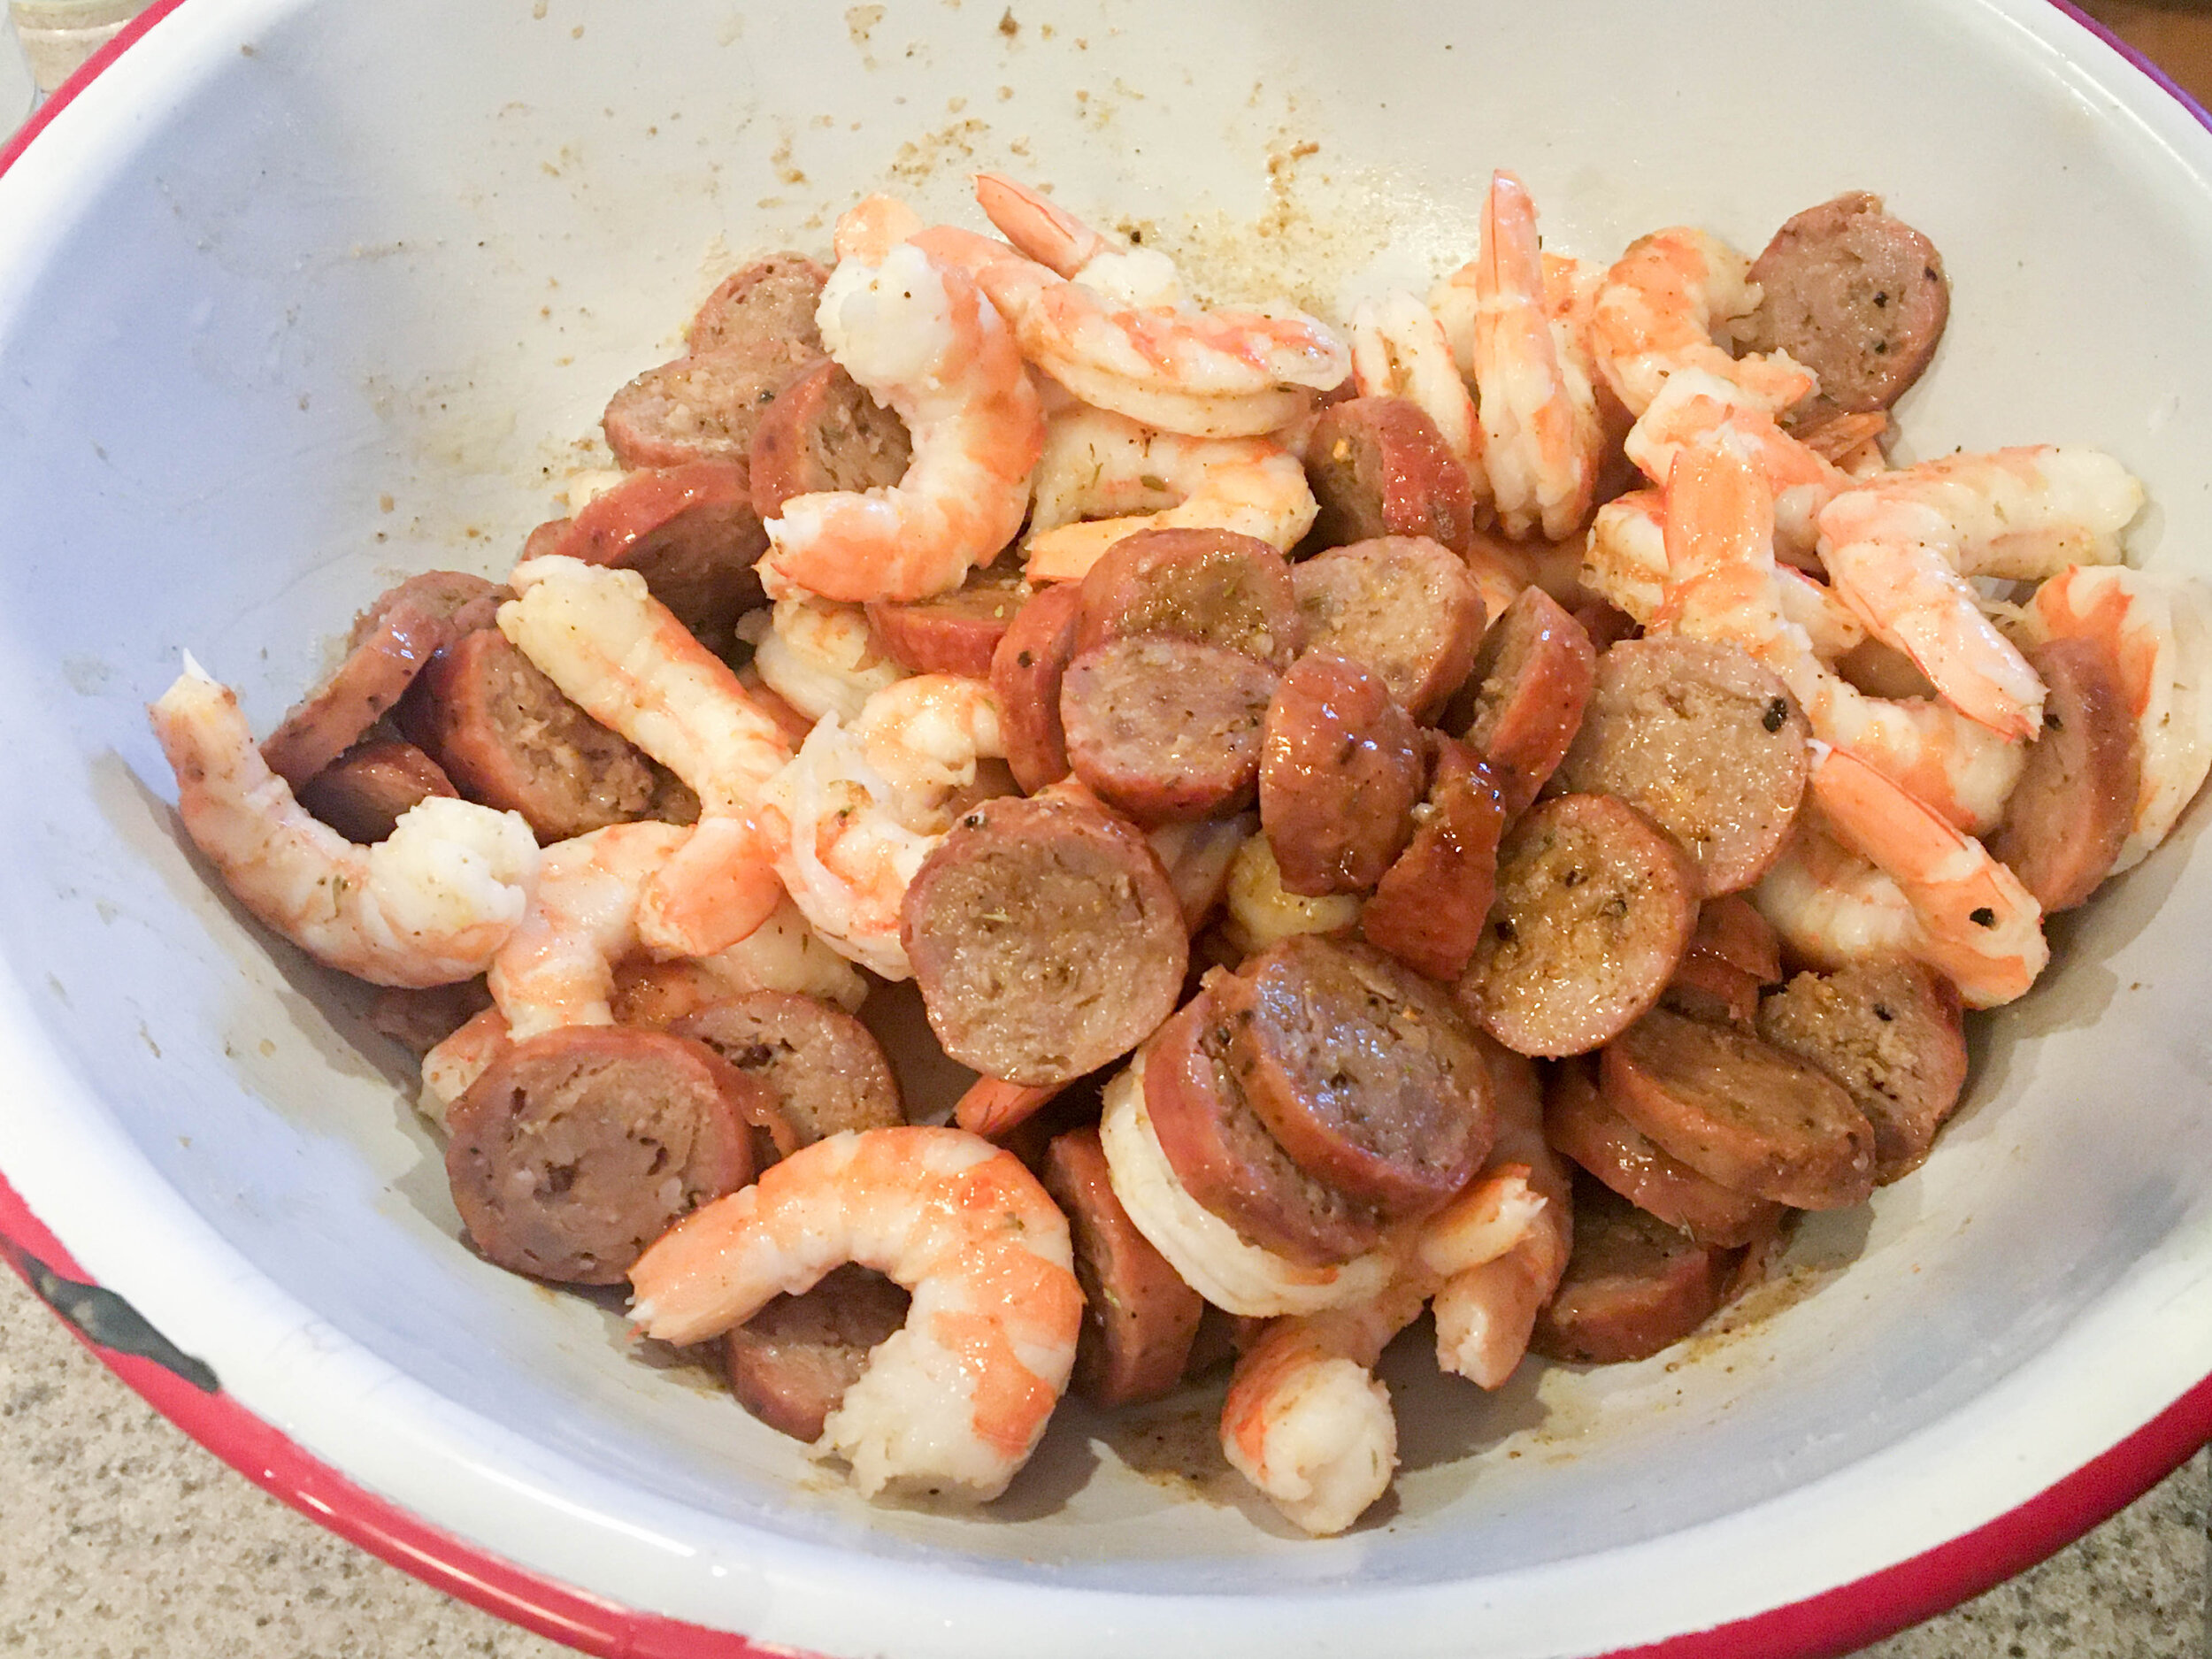
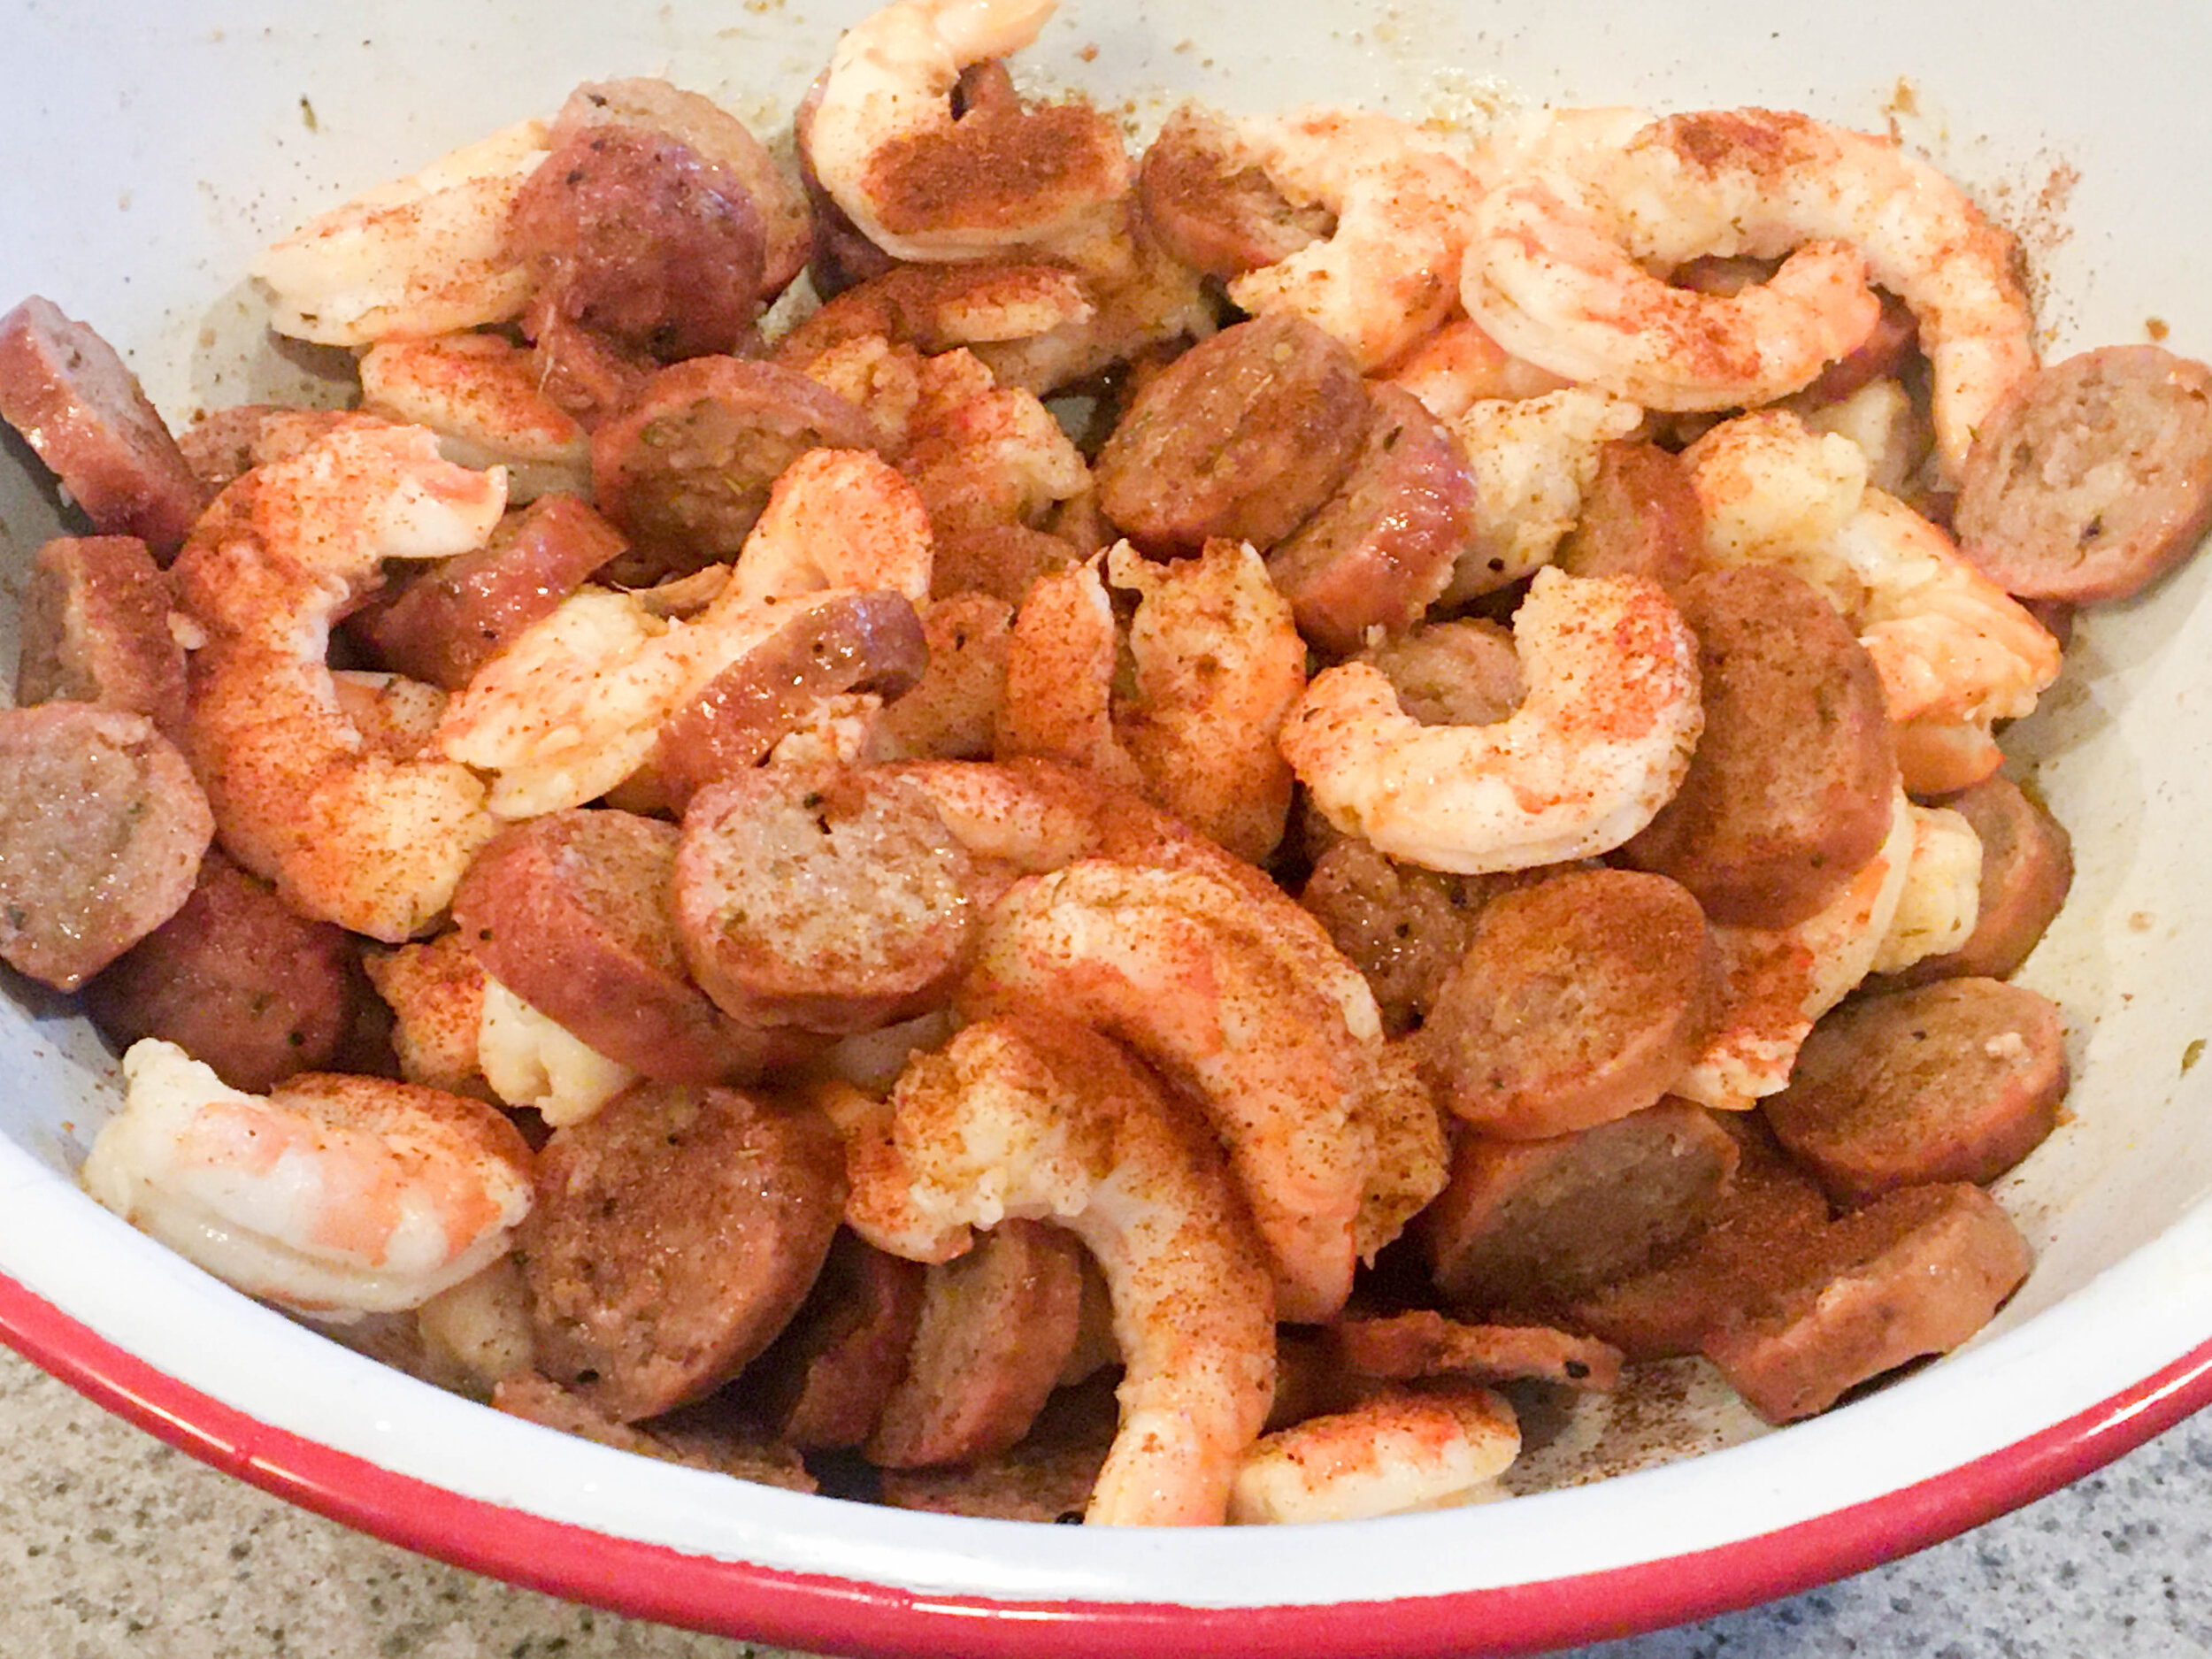
Place the shrimp and sliced sausage in a large mixing bowl, add 1 Tablespoon (Tbsp) Oilve oil, Cherchies Cajun Seasoning, smoked paprika and toss until shrimp is coated.

In a small bowl, combine the water and corn starch and mix until smooth (This is called a slurry).

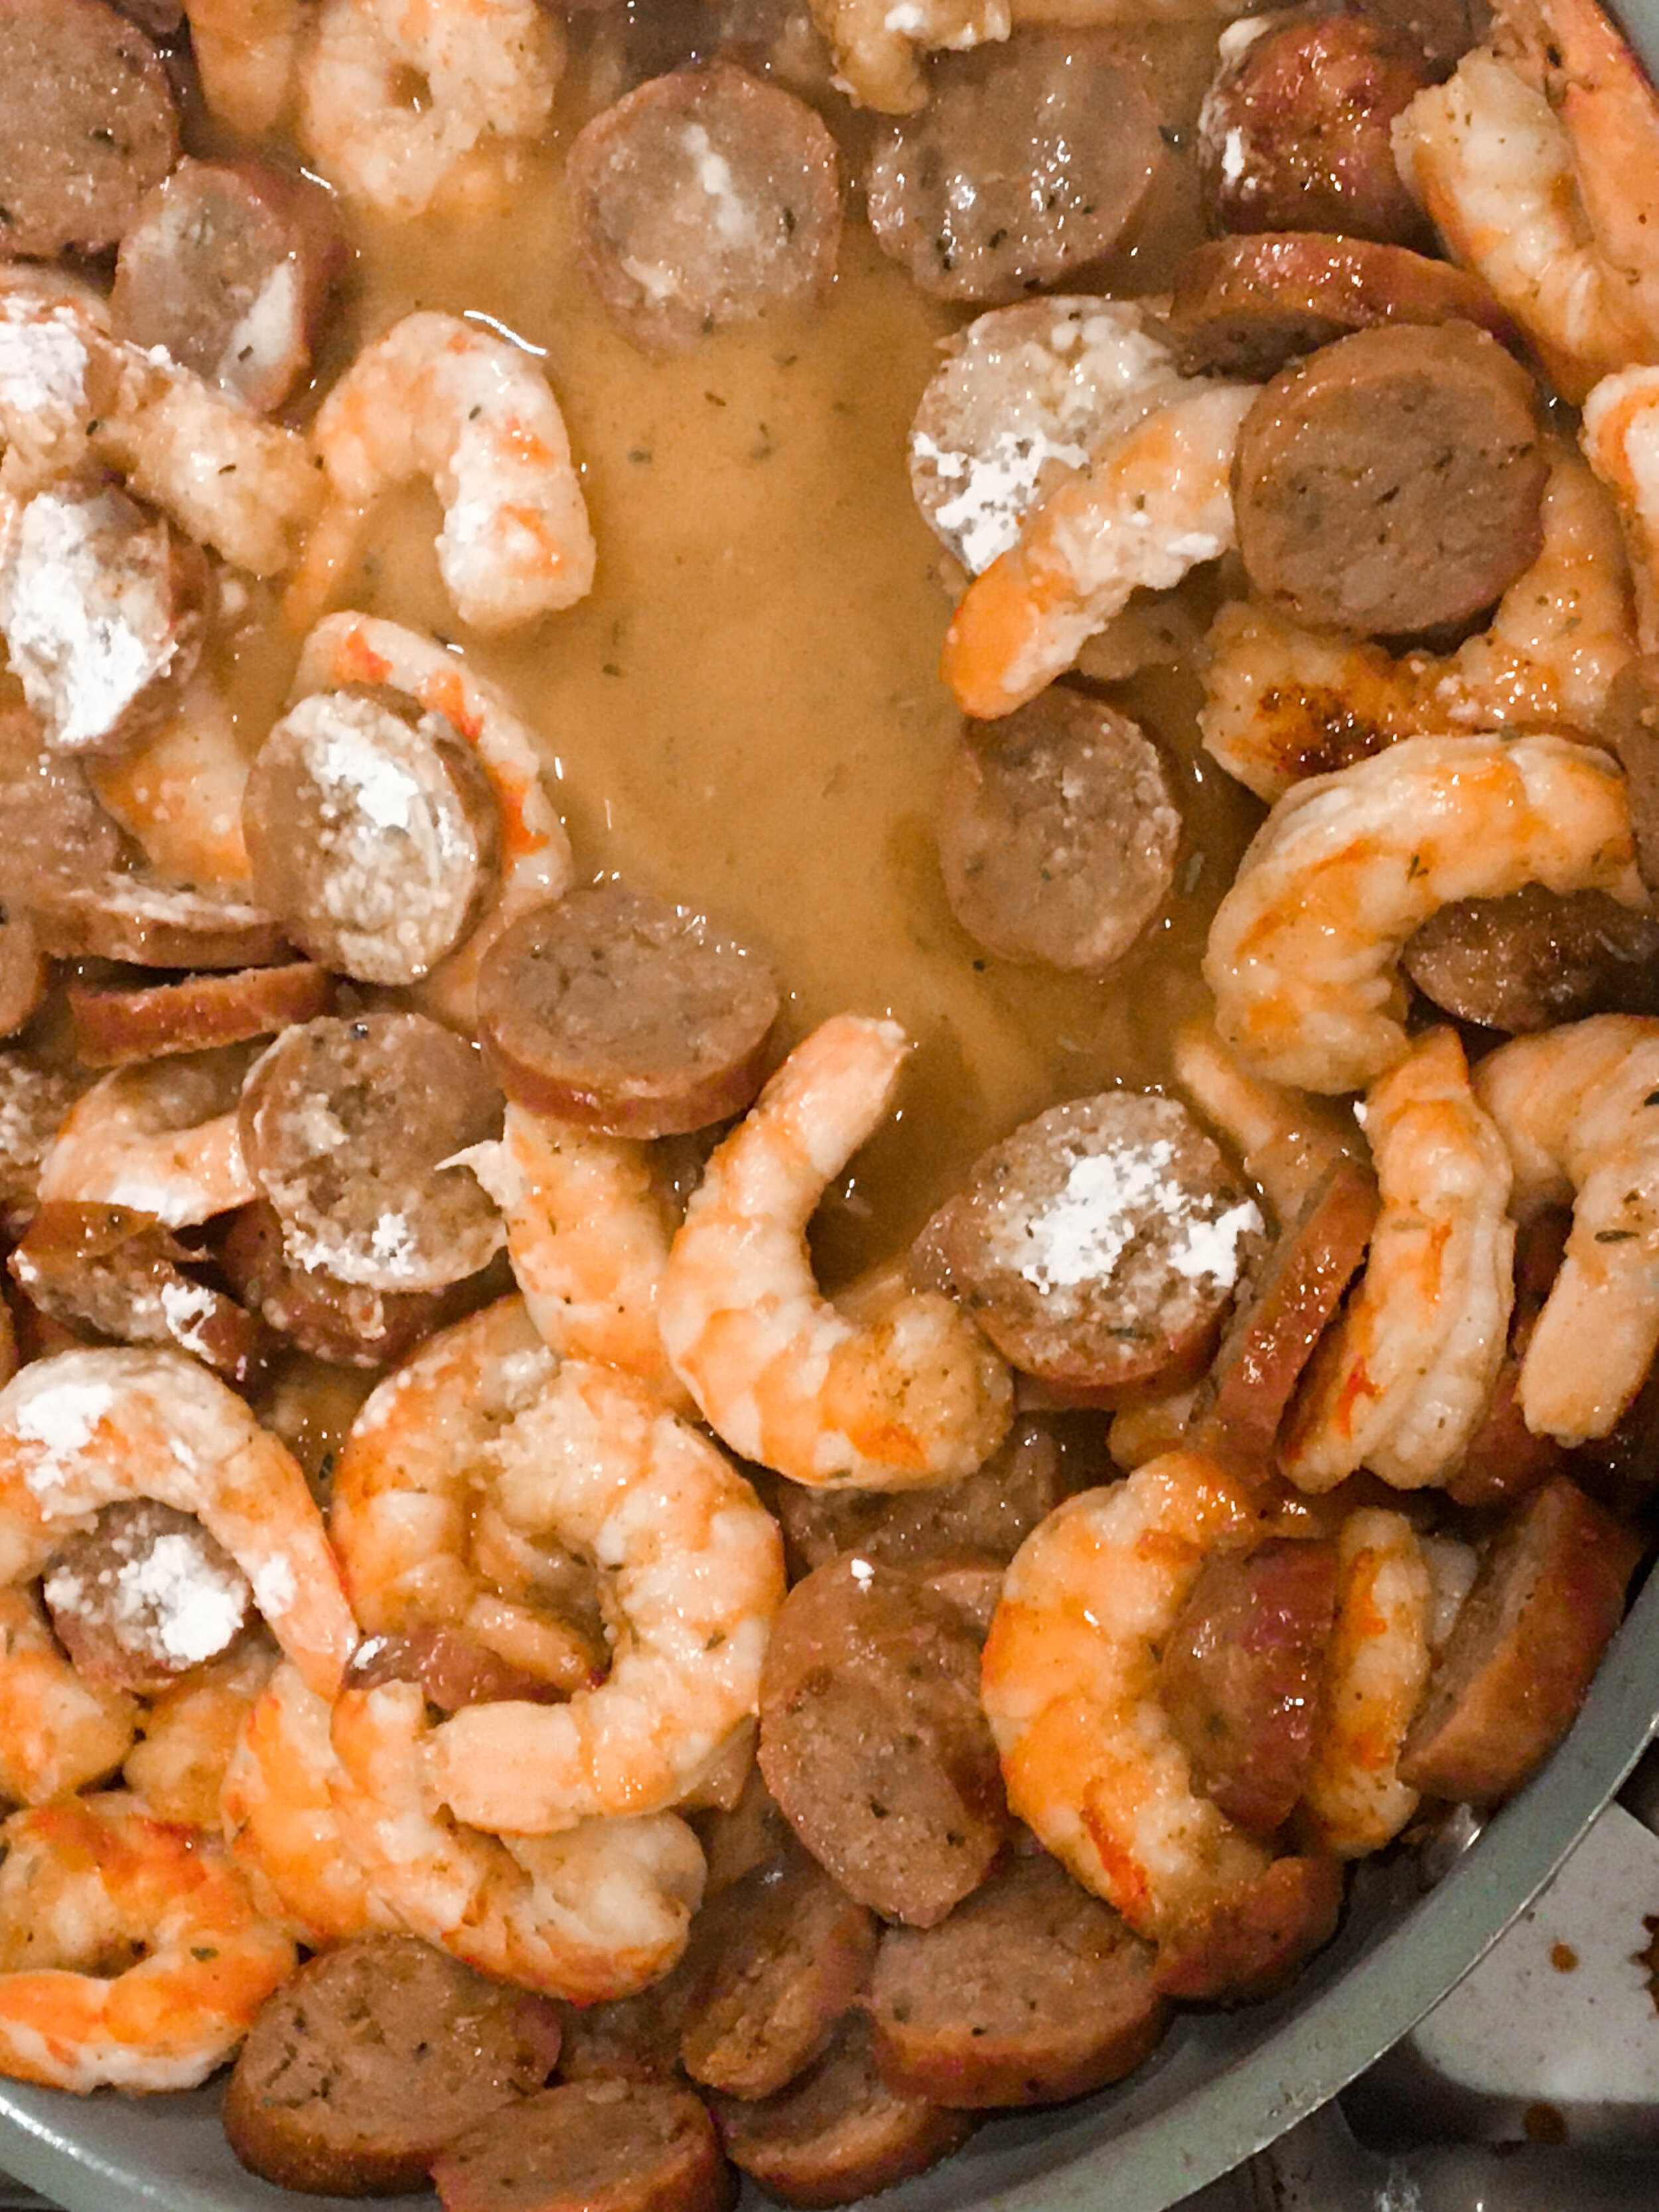
Heat the remaining 3 Tablespoons (Tbsp) of olive oil in a large pan over medium high heat. Add the shrimp and sausage, stirring occasionally, until shrimp is pink and tender (about five minutes total). Add the cornstarch/water mixture (aka slurry) to the pan in the last minutes of cooking to allow the slurry to thicken. (**I did not use enough cornstarch when I first photographed the shrimp mixture, so I had to sprinkle more in. DO NOT add the cornstarch directly to the mixture, as it will clump and you will get white lumps in your dish. Take the extra time to make the slurry separately to make the dish correctly).

To assemble the shrimp and grits add a heaping serving of grits to bowls or plates, top with shrimp and sausage mixture, chopped green onions, and chopped bacon (optional).

**When I first made this recipe, I chopped up chives from my garden instead of the green onions.

Enjoy!

Cajun Shrimp and Cheesy Grits Recipe

Cajun Shrimp and Cheesy Grits Recipe

Yum

Cooking Tip: How To Make Frozen Yogurt Popsicles

cooking tips, dessertsSheri SpalloneComment
Cooking Tip: How to Make Frozen Yogurt Popsicles

Cooking Tip: How to Make Frozen Yogurt Popsicles

Posted originally 9/7/16, but updated to reflect the times.

Frozen popsicles are just plain fun for kiddos and adults alike. Am I right? They are perfect heat busters, the flavor combinations are endless, they are easy to make with real pronounceable ingredients you have handy, and they are creative outlets for cooped up young adults. Yes!

How are you doing? A LOT has happened these last few months, but our family is safe, and for that, I am grateful, and I hope you and your family are as well. Do you have children at home? We have a full house once again (25, 19, and 16), and our younger two are always bored (even after they do something), and they are always hungry. Sound familiar? Luckily, they have always loved helping in the kitchen, so when they were practically bouncing off the walls the other day, with "nothing to do," I suggested making one of their favorite summer recipes, homemade frozen yogurt popsicles®.

Surprisingly, no eye-roll :). Problem solved, a creative project they could make and eat! Win-win! (I must have caught them at a weak moment).

A few years back, our middle child, Nicholas (15 at the time) suggested we not only use fruit and yogurt (instead of the typical fruit and fruit juices) but add our fruit butter spreads and preserves to the mix, an idea that had never crossed my mind before. It made sense, fruit butter spreads are fruits that have cooked down to a spreadable consistency, so why not use them in frozen pops? But preserves? Yes! What a bright kiddo:).

So we set forth on our quest and made frozen yogurt pops with whatever ingredients we had on hand, blueberries, cherries, vanilla yogurt, leftover Cherry Butter,  Blackberry Preserves, and chocolate syrup. We created three different varieties, Blueberry Vanilla Yogurt PopsBerry Cherry Yogurt Pops, and Ice Cream Sundae Yogurt Pops . The hardest part for young adults was waiting for the darn things to freeze;).  

These velvety, fruity concoctions will be a hit with your family, as they were with ours. They are the perfect healthy snack, dessert, or breakfast treat, they are easy to make with real ingredients, and they are the ideal boredom-buster project for all ages. Homemade is the best, especially when you can make recipes with someone else, and for me, my friends, spending time with our young adults, is priceless!

Here's how we made them (We made three kinds. You can see the recipes below ).

Thanks for visiting! Come back again. Comment below if you made this recipe and any yummy variations.

Ingredients

Preparation

Before you begin, you'll need a few kitchen tools, a popsicle mold (I purchased this 10 serving mold on Amazon), and a cherry pitter (also to make my life easier).

1.  Separate the greek yogurt into 3 medium bowls (not necessary if only making one variety), and set aside. 

2.  In a small sauce pan, cook the blueberries and the Blackberry Preserves on low until the preserves have dissolved (a few minutes).  Turn off the heat and allow the preserves to cool about 5 minutes.  Now the fun begins!

3.  As I mentioned, we made three varieties.  I'll post another blog in the future (maybe the next heat wave) of other combinations.  For the Blueberry Vanilla Yogurt Pops, we added about 2 Tablespoons of the blueberry-preserve mixture.   Gently swirl the blueberry mixture into the yogurt.  Don't mix too much, as you want the swirled effect.  Carefully pour into the molds.

4.  For the Berry Cherry Pops, we followed Step 3 using 2 Tablespoons (Tbsp) of the Blueberry-Preserve Mixture and we added 1/4 cup of chopped cherries to the mixture, swirled ever so gently just as above, and poured into our molds.

5.  Finally, for the Ice Cream Sundae Pops, we added to the remaining bowl of greek yogurt, chopped cherries, 2 Tablespoons (Tbsp) Cherry butter (heated for 10 seconds in the microwave), and 1 Tablespoon of Chocolate Syrup.

6.  Once again, gently swirl the yogurt mixture and pour into the mold.  The molds I purchased had this handy lid to insert the sticks, but you could easily cover with plastic wrap and insert the sticks into the plastic.  Almost done!  Place in freezer and wait...and wait...and wait!

7.  After a few hours (what seems like eternity), remove the lid or plastic wrap, run the desired mold bottoms under warm water and gently pull out pops.  Voila!  Homemade frozen yogurt fruit pops, a sure-fire heat buster and delicious treat anytime!  Enjoy!

Frozen Yogurt Popsicles

Blueberry Vanilla Yogurt Pops

  • Vanilla Greek Yogurt (divided if making three separate batches)

  • 2 Tablespoons (Tbsp) Blueberry-Preserve Mixture (mentioned in Step 2)

  • Follow directions above for making the pops

Berry Cherry Yogurt Pops

  • Vanilla Greek Yogurt (divided if making three separate batches)

  • 2 Tablespoons (Tbsp) Blueberry-Preserve Mixture (mentioned in Step 2)

  • 1/4 cup chopped cherries

  • Follow directions above for making the pops

Ice Cream Sundae Yogurt Pops

  • Vanilla Greek Yogurt (divided if making three separate batches)

  • 1/4 cup chopped cherries

  • 1 Tablespoon Chocolate Syrup

  • Follow directions above for making the pops


Yum

Herbed Antipasto Skewers Recipe

appetizers, snacksSheri SpalloneComment
Herbed Antipasto Skewers Recipe

Herbed Antipasto Skewers Recipe

Today is World Tapas Day. These easy, herbed antipasto skewers are the perfect balance of flavor as a snack or appetizer and are fabulous for celebrating World Tapas Day! They take minutes to prepare, require no cooking, and can be made in advance, making entertaining a breeze.   

Are you unfamiliar with tapas? A tapa (Spanish pronunciation: [ˈtapa]) is an appetizer or snack in Spanish cuisine, and it translates to a small portion of any Spanish food. Often served before a meal, tapas can include many tasty things, from olives and cheese to hams and seafood, cold or hot (https://www.daysoftheyear.com/days/world-tapas-day/-).

Similar to the traditional Spanish tapas ingredients, the classic Italian version (antipasto) is a combination of olives, cheese, artichokes, marinated mushrooms or vegetables, and cured meats, and is the first course of an Italian meal. I chose kalamata and Spanish olives, marinated mozzarella balls, artisan salami, cherry tomatoes, and artichokes. However, any combination of meats and cheeses, cherry peppers, or pepperoncini would also be great. The flavorful vinaigrette, infused with Cherchies® Basil Pizzazz is the pièce de résistance of this appetizer.  

So whether you are celebrating World Tapas Day or are looking for a tasty appetizer or snack with little fuss, consider these herbed antipasto skewers. You will not be disappointed.

Thanks for stopping by:) Comment below if you have tried this recipe. Return again for more family-tested recipes, entertaining ideas, and cooking tips using all our favorite Cherchies® gourmet products.

Follow us on social media: Facebook, Instagram, and Pinterest.

Ingredients (Perfect for whatever ingredients you have on hand)

  • Olives- your choice. I usually use a mixture of Kalamata and Spanish Olives

  • Marinated Mozzarella cheese balls (1 inch balls)

  • Cherry Tomatoes

  • Canned artichoke hearts, drained

  • Hard salami, cut into 1 inch chunks

  • Cherchies® Basil Pizzazz

  • Oilve Oil

  • White Balsamic Vinegar

  • Appetizer skewers

Preparation

The beauty of these skewers is they can be prepared in advance. Prepare the ingredients as directed above. For easy assembly, make sure all the ingredients are in place (mise en place). For these skewers, I started with a mozzarella ball, then an olive, cherry tomato, mozzarella ball, and finally the salami as the anchor.

Once the skewers are assembled, line them up on a shallow baking sheet. Drizzle first with the olive oil, then the balsamic vinegar, and then sprinkle the skewers with Cherchies® Basil Pizzazz.

Place in refrigerator for a couple of hours to overnight before you plan to use them. I like to serve them in mini appetizer cups for presentation and ease of cleanup. Or, you could arrange them on a pretty platter. Easy, peasy appetizers, sans the fuss.

Enjoy!

antipasto_.jpg
antipasto 2.jpg
Yum

Champagne Bacon Deviled Eggs Recipe

appetizers, snacks, side dishesSheri SpalloneComment
Champagne Bacon Deviled Eggs Recipe

Champagne Bacon Deviled Eggs Recipe

Happy National Egg Day! Yes, you heard me right, and as cliche as it may sound, “How do you like your eggs?” you have my permission to use any “eggcellent” cliches you want. Today is also the perfect day to “break out of your shell” (sorry) and create a new version of your favorite deviled eggs. Introducing Champagne Deviled Eggs With Bacon. I love trying new recipes and challenging my family’s palate with variations of their favorite dishes; however, I have never deviated from their favorite deviled egg recipe until today.

This version uses our award-winning Champagne Mustard, mayonnaise, chives, spices, and bacon and is a definite keeper for your recipe cache. 

So, grab some Champagne Mustard, make these delicious deviled eggs, and celebrate National Egg Day whenever you have a craving for deviled eggs.

Comment below and let us know if you made this recipe. Thank you for visiting, and please come back again for more tasty recipes.

Ingredients:

  • 6 eggs at room temperature

  • 1 Tablespoon (Tbsp.) Cherchies® Champagne Mustard or Cherchies® Hot Banana Pepper Mustard

  • 1 Tablespoon (Tbsp.)

  • Dijon mustard

  • 2 Tbsp. mayonnaise

  • 1/2 tsp. pepper

  • 3 Tbsp. chopped fresh chives, reserving 1 Tbsp. for garnish (optional)

  • 4 slices cooked bacon, chopped, reserving 1 slice to crumble as a garnish (optional)

Preparation:

Hard boil the eggs. (Look at our blog cooking tips- “Perfect Boiled Eggs”). Cool and shell the eggs.

Cut in half, remove the yolks and place them in a bowl with remaining ingredients. Mix until smooth. Spoon or pipe into egg whites.

Garnish with 1 slice of crumbled bacon and 1 Tbsp. chopped fresh chives.

Serve and enjoy!

Bacon Deviled eggs2.jpg


Yum