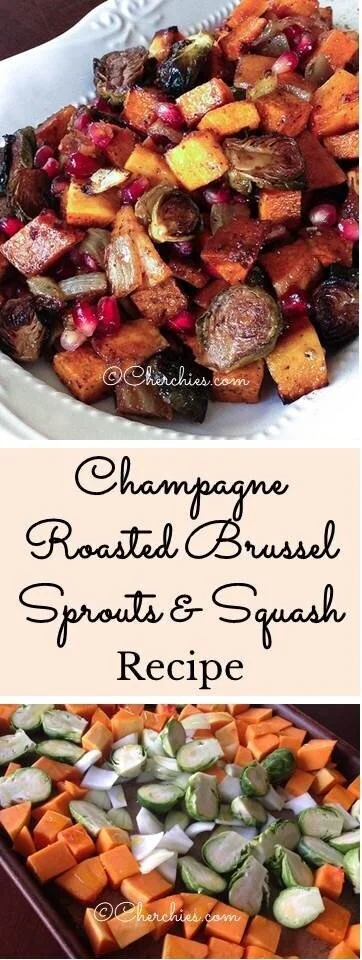
Champagne Roasted Brussel Sprouts and Butternut Squash Recipe
If I had been told five years ago I'd be eating Brussels sprouts, I probably would have laughed uncontrollably in that person's face (not really, that wouldn't be very nice, but I would have snickered a lot;)
Now, if I had been told my children would eat Brussels sprouts, I would have suspiciously looked around for hidden cameras, convinced I was on one of those prank-based television shows.
Up until five years ago, I loathed Brussels sprouts. (I mean, I really, really loathed the smell, the texture, everything.) But it was when my hubby and I were out to dinner one night I had one of those culinary epiphanies.
Hypnotized by Brussels sprouts' power, I decided to try the funny-looking vegetables intently staring me down on my plate. "You can do it, " they whispered.
Perfectly prepared (tender-crisp) Brussels sprouts roasted in delicately aged balsamic vinegar and simple seasonings (salt, pepper, and garlic) hooked me, and I needed to recreate this tasty recipe at home. How could I have missed out on this nutritional powerhouse for so long?
The true test was my children (yeah, right). One rule in our home is "the one-bite rule." In other words, our children don't have to like what we make but must try it. I made the Brussels sprouts according to the chef's recipe, except I substituted our Garlic Seasoning for the garlic, and then it happened! I thought, "No way," based on their wrinkled noses,” that the Brussels sprouts would ever be consumed. Perhaps I had pushed my family too far, but I was astonished; my family loved them!
Mom, Dad, we're eating Brussels sprouts!
I recently amped up my recipe and came up with this concoction to see if I could once again challenge my family’s palate. It worked! Not only did they eat all their vegetables, my children had second helpings and fought over the Brussels sprouts. What kids fight over Brussels sprouts? I swore I was dreaming;) Maybe I need to starve them more often (just kidding).
The Champagne Vinaigrette at the end added the perfect zing to this dish, a dish you must try. As far as your children, "may the Brussels sprouts be with you."
This would be the perfect dish for the holidays, and I think next time I make this dish, I'll substitute our Cranberry Mustard in lieu of the Champagne Mustard for that festive flare.
Thanks for stopping by:) Comment below if you have made this recipe. Come back again for more family-tested recipes, entertaining ideas, and cooking tips using all our favorite Cherchies® gourmet products.
Follow us on social media: Facebook, Instagram, and Pinterest.
Ingredients
1/2 butternut squash, peeled, seeded, and chopped into 1-inch chunks
1 medium onion, coarsely chopped
1 bag of Brussels sprouts, sliced lengthwise
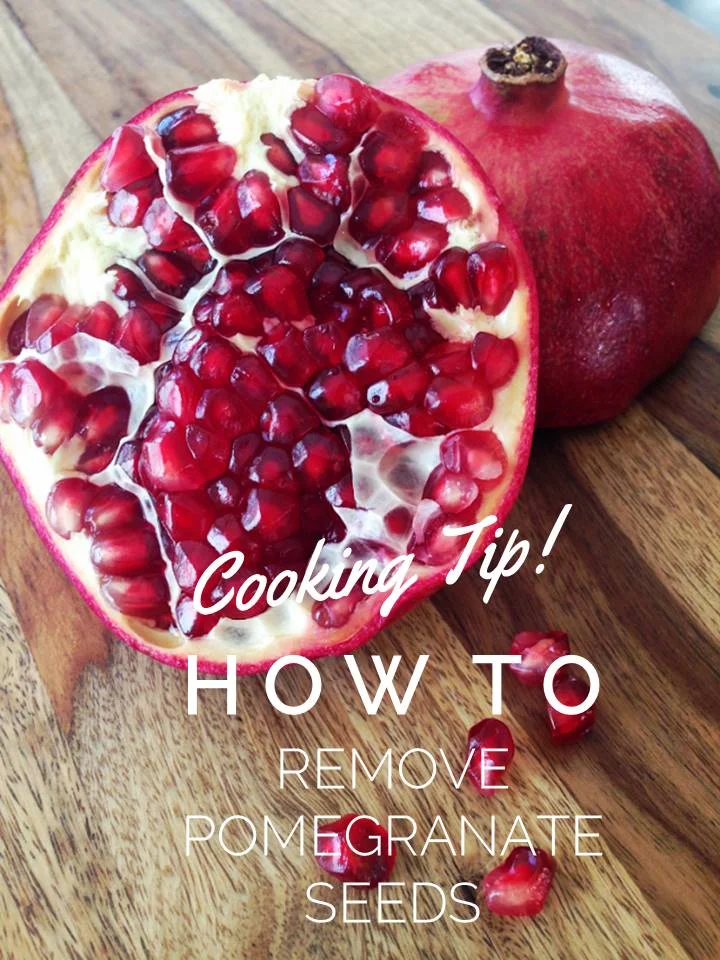
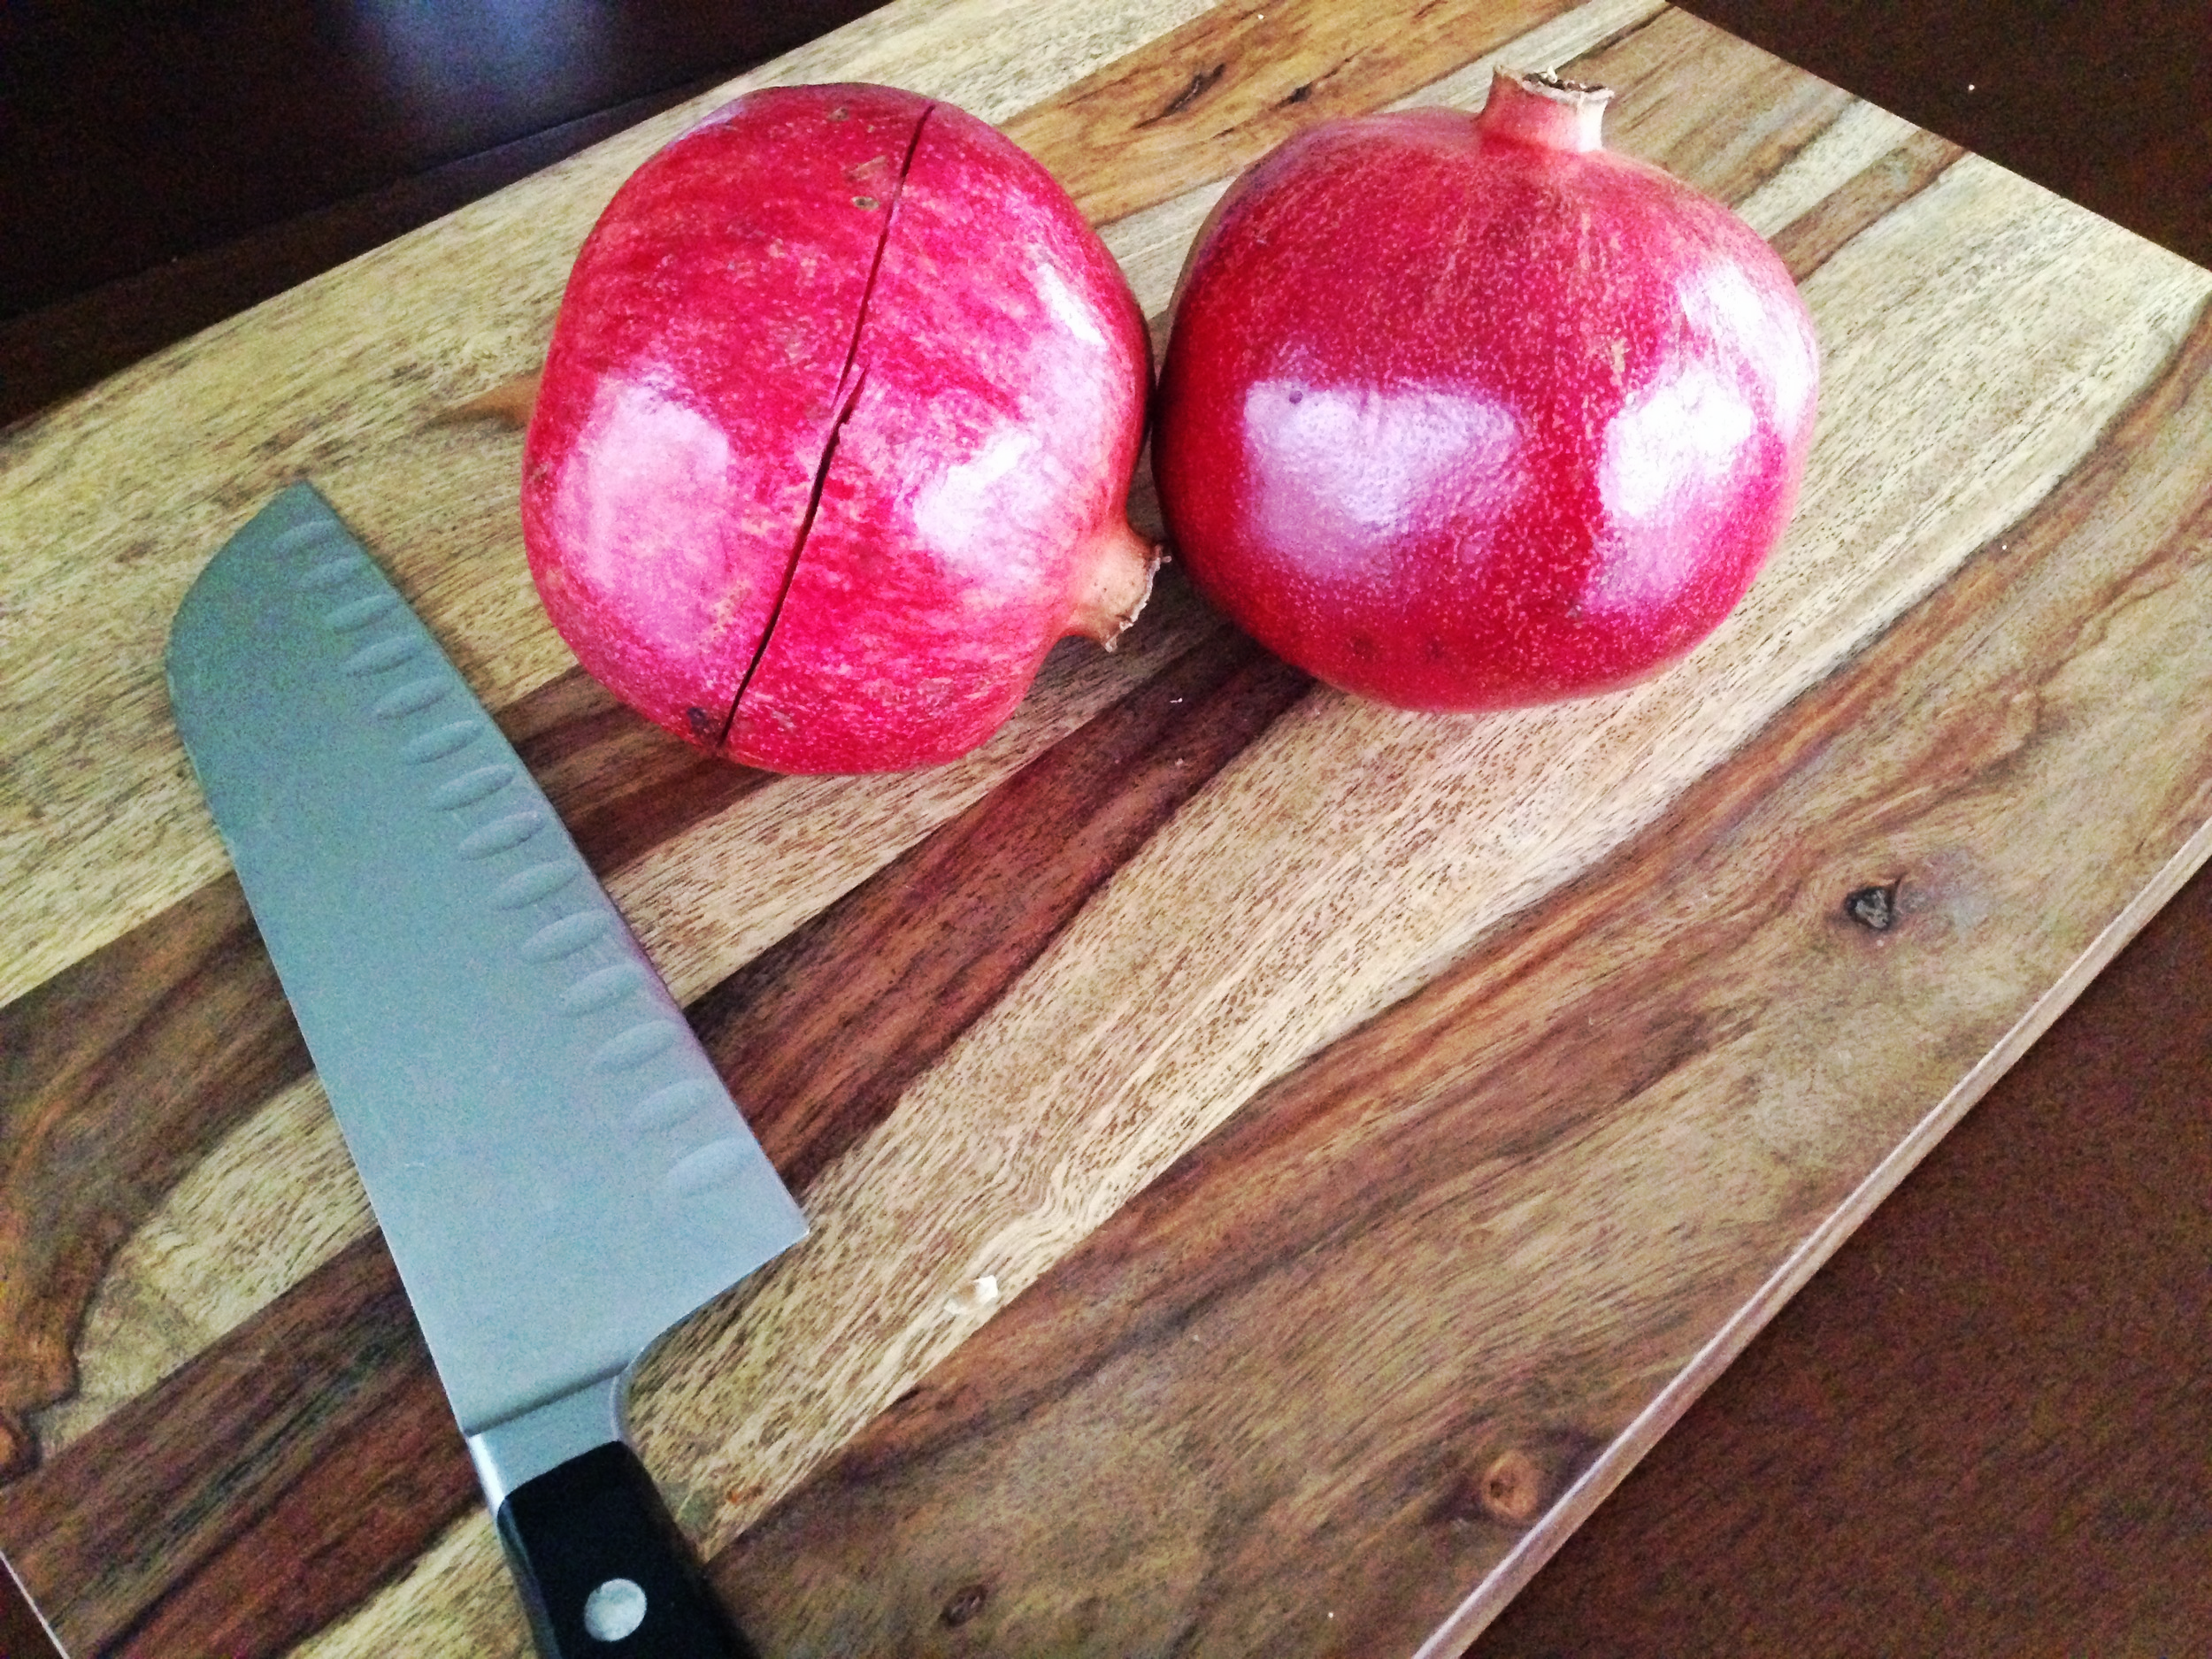
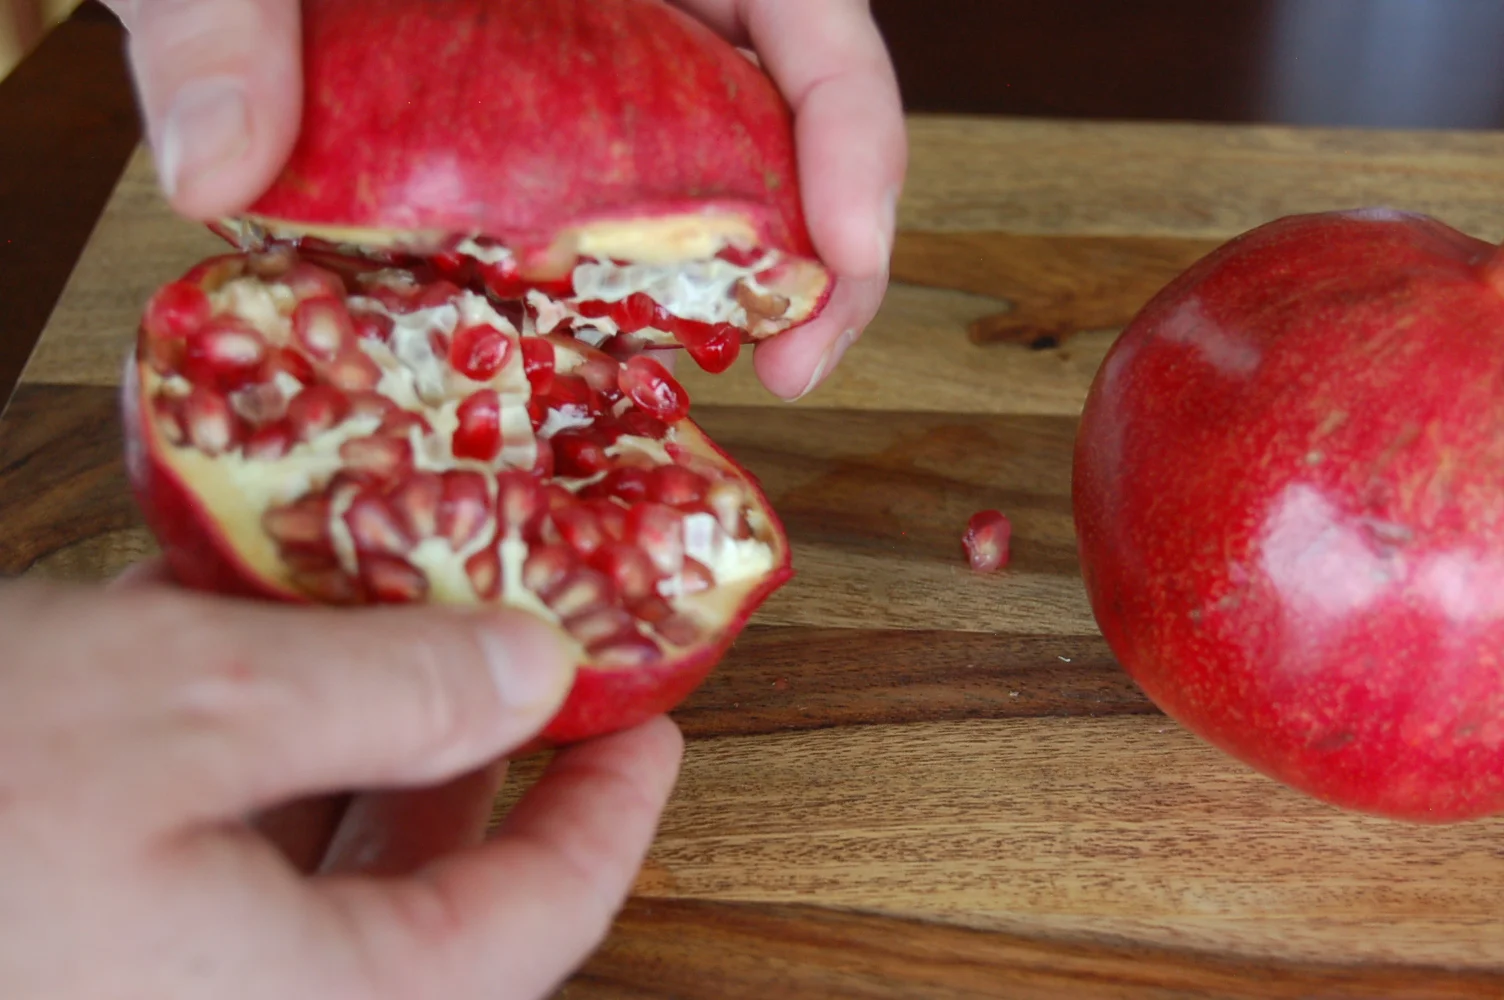
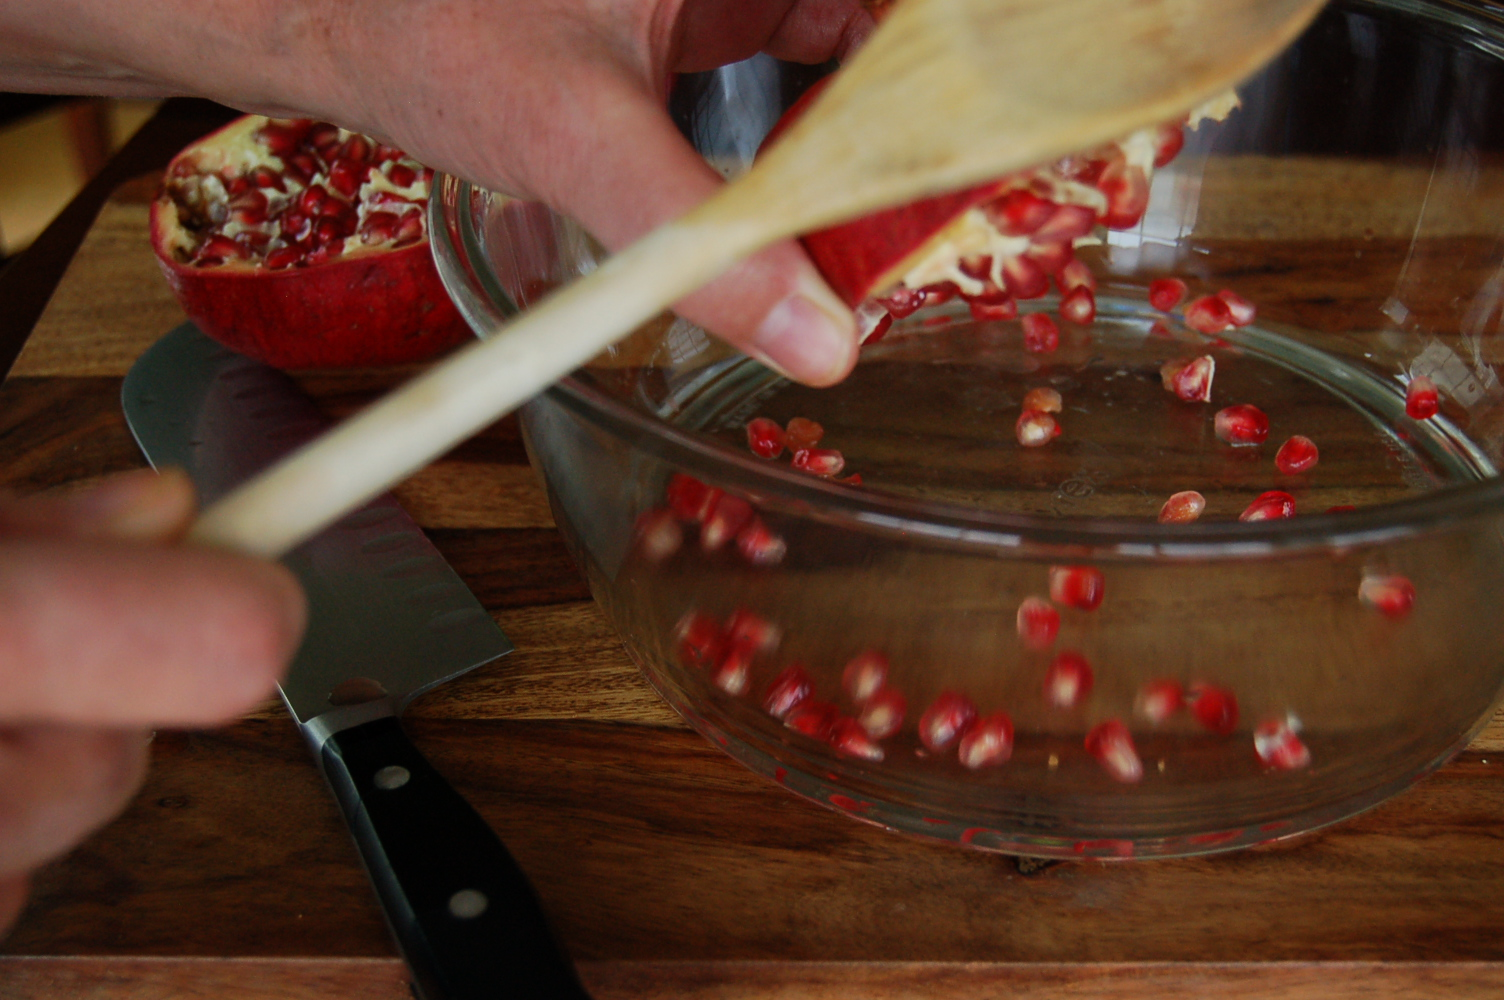
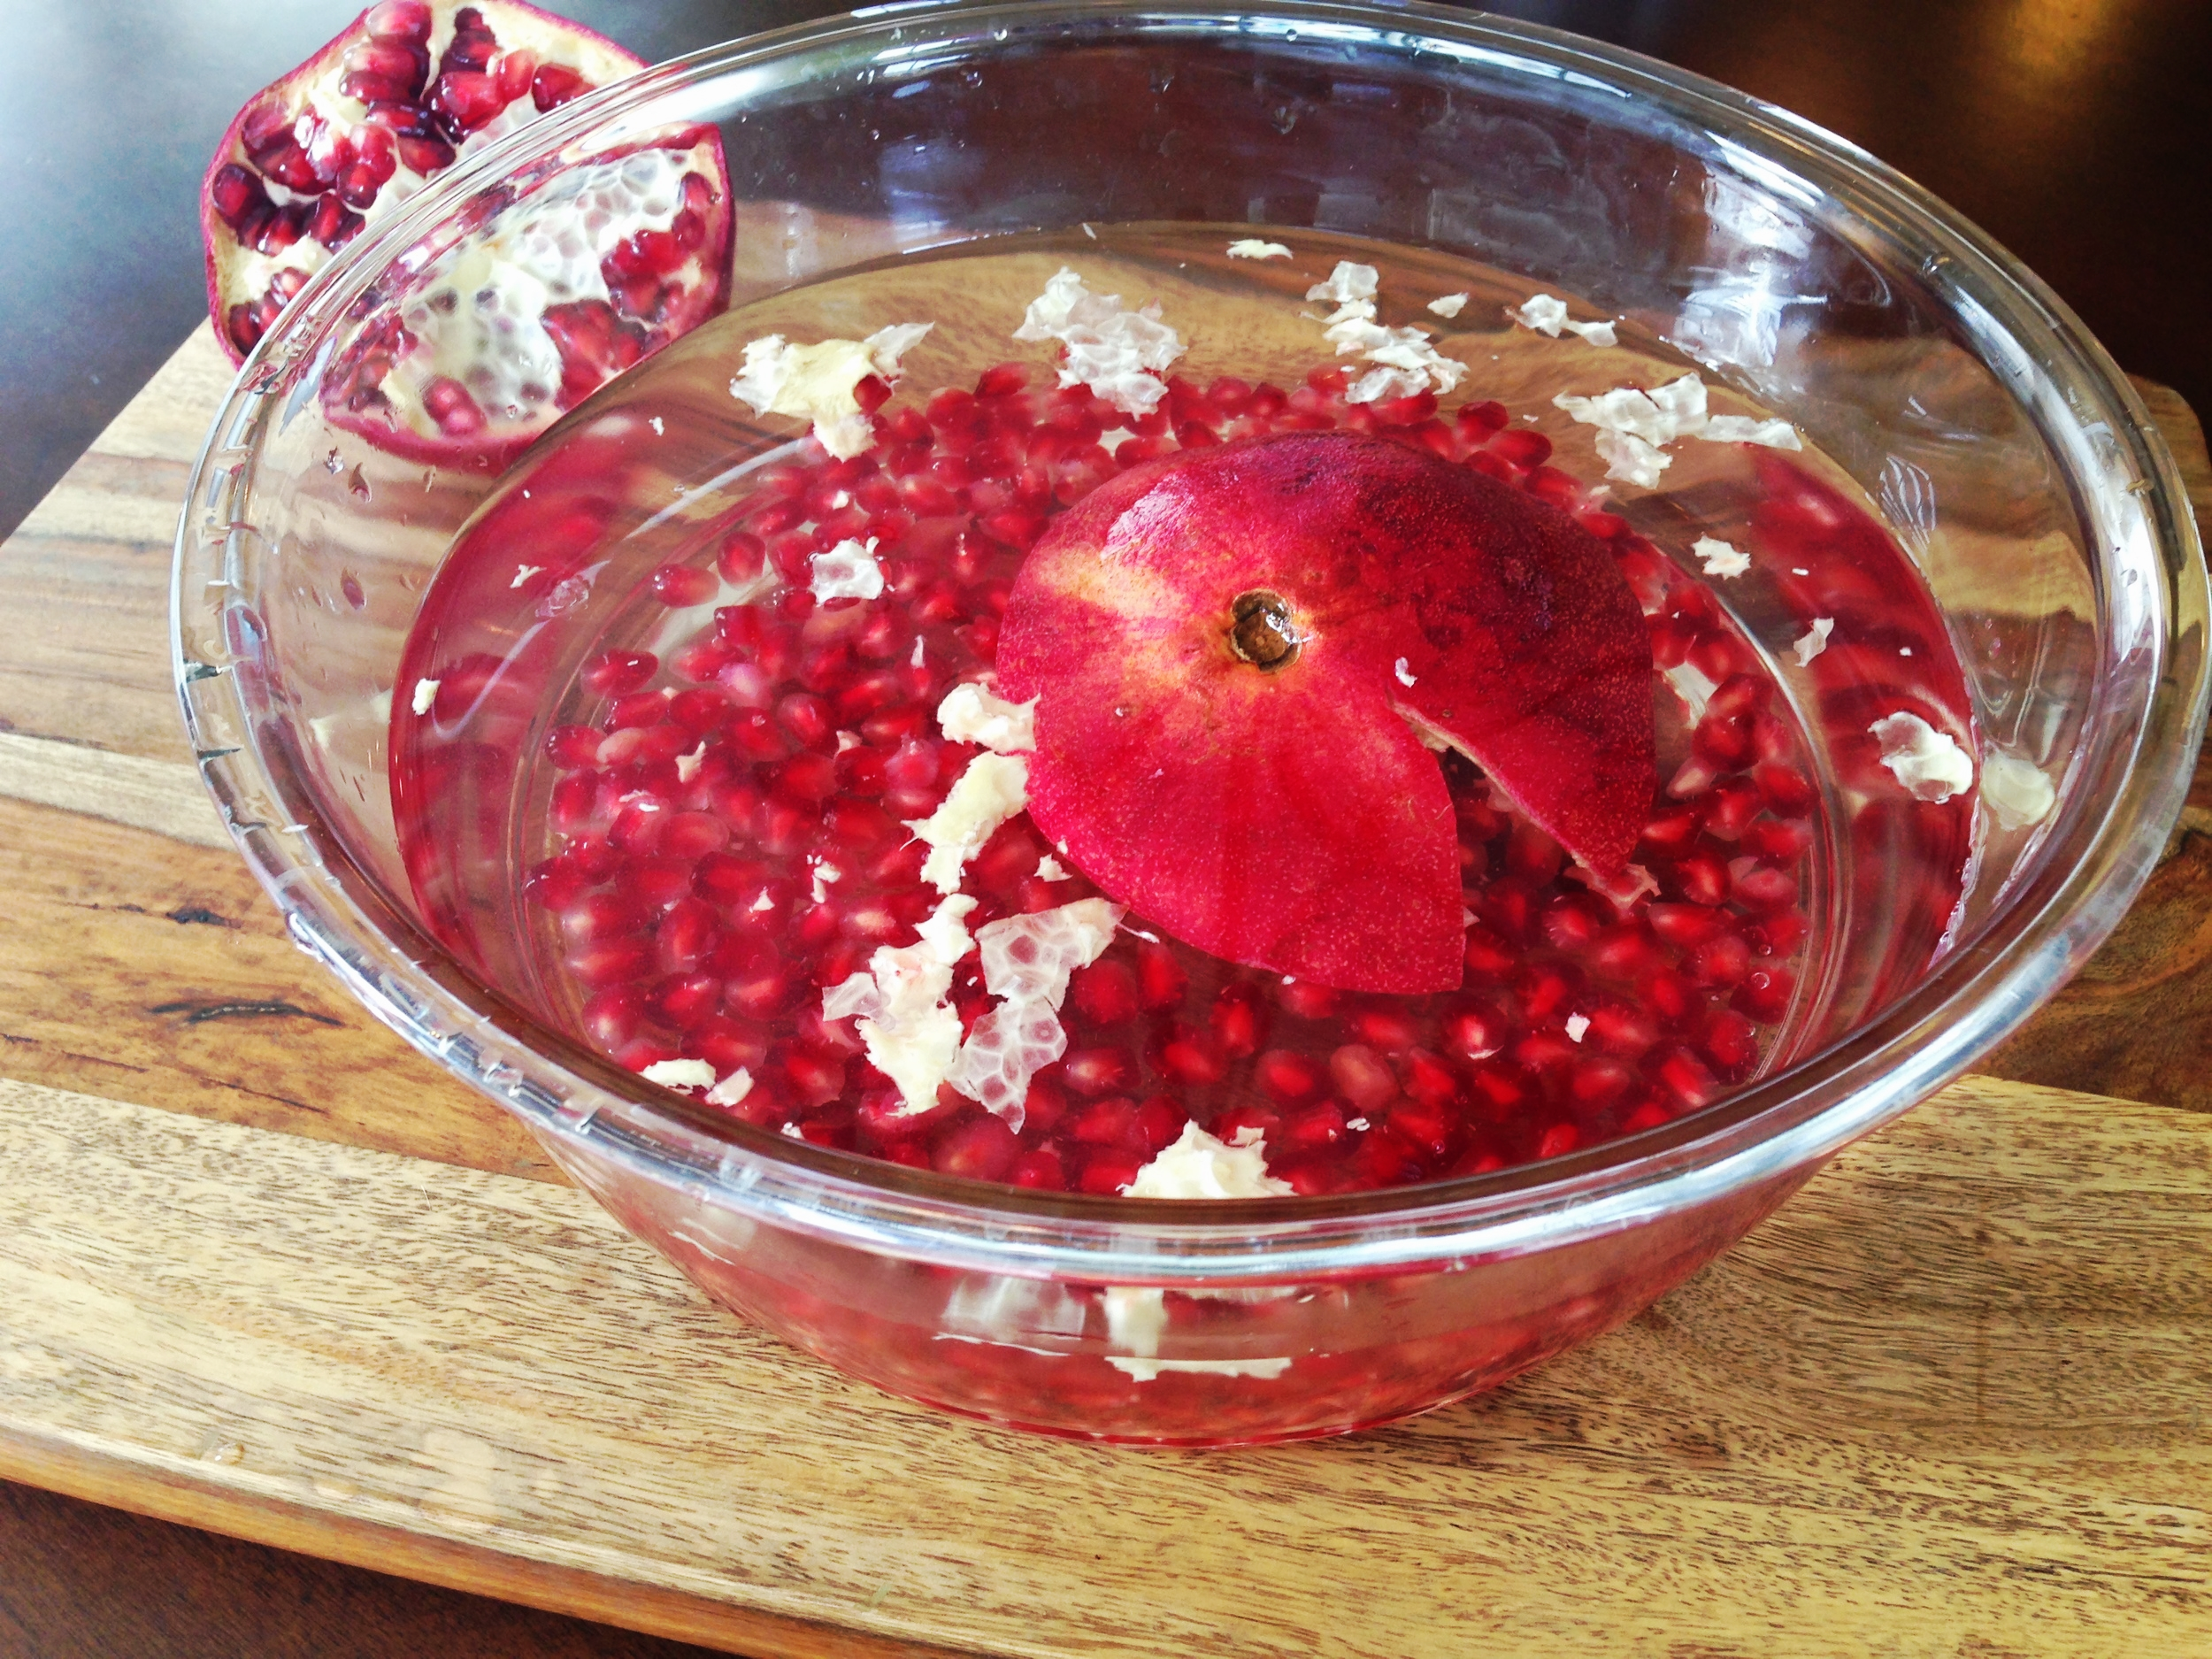
1 Pomegranate, de-seeded
1 Tablespoon (Tbsp) Cherchies® Garlic Seasoning
pepper to taste
Olive oil
Balsamic Vinegar
1 Tablespoon (Tbsp) Cherchies® Champagne Mustard
1 1/2 Tablespoons (Tbsp) White Wine Vinegar
6 Tablespoons (Tbsp) Olive oil
Preparation
Prepare the vinaigrette by whisking together the champagne mustard, the vinegar, and the 6 tablespoons of Olive oil. Set aside.
Wash the squash, Brussels sprouts, and Pomegranate (check out our cooking tip on how to remove Pomegranate seeds easily). Chop the onion coarsely into 1-inch chunks, the Brussels sprouts into half, and the butternut squash into cubes. Place them in a large jelly roll (may need two) or baking pan. Generously drizzle with oil and mix with your hands to coat evenly.
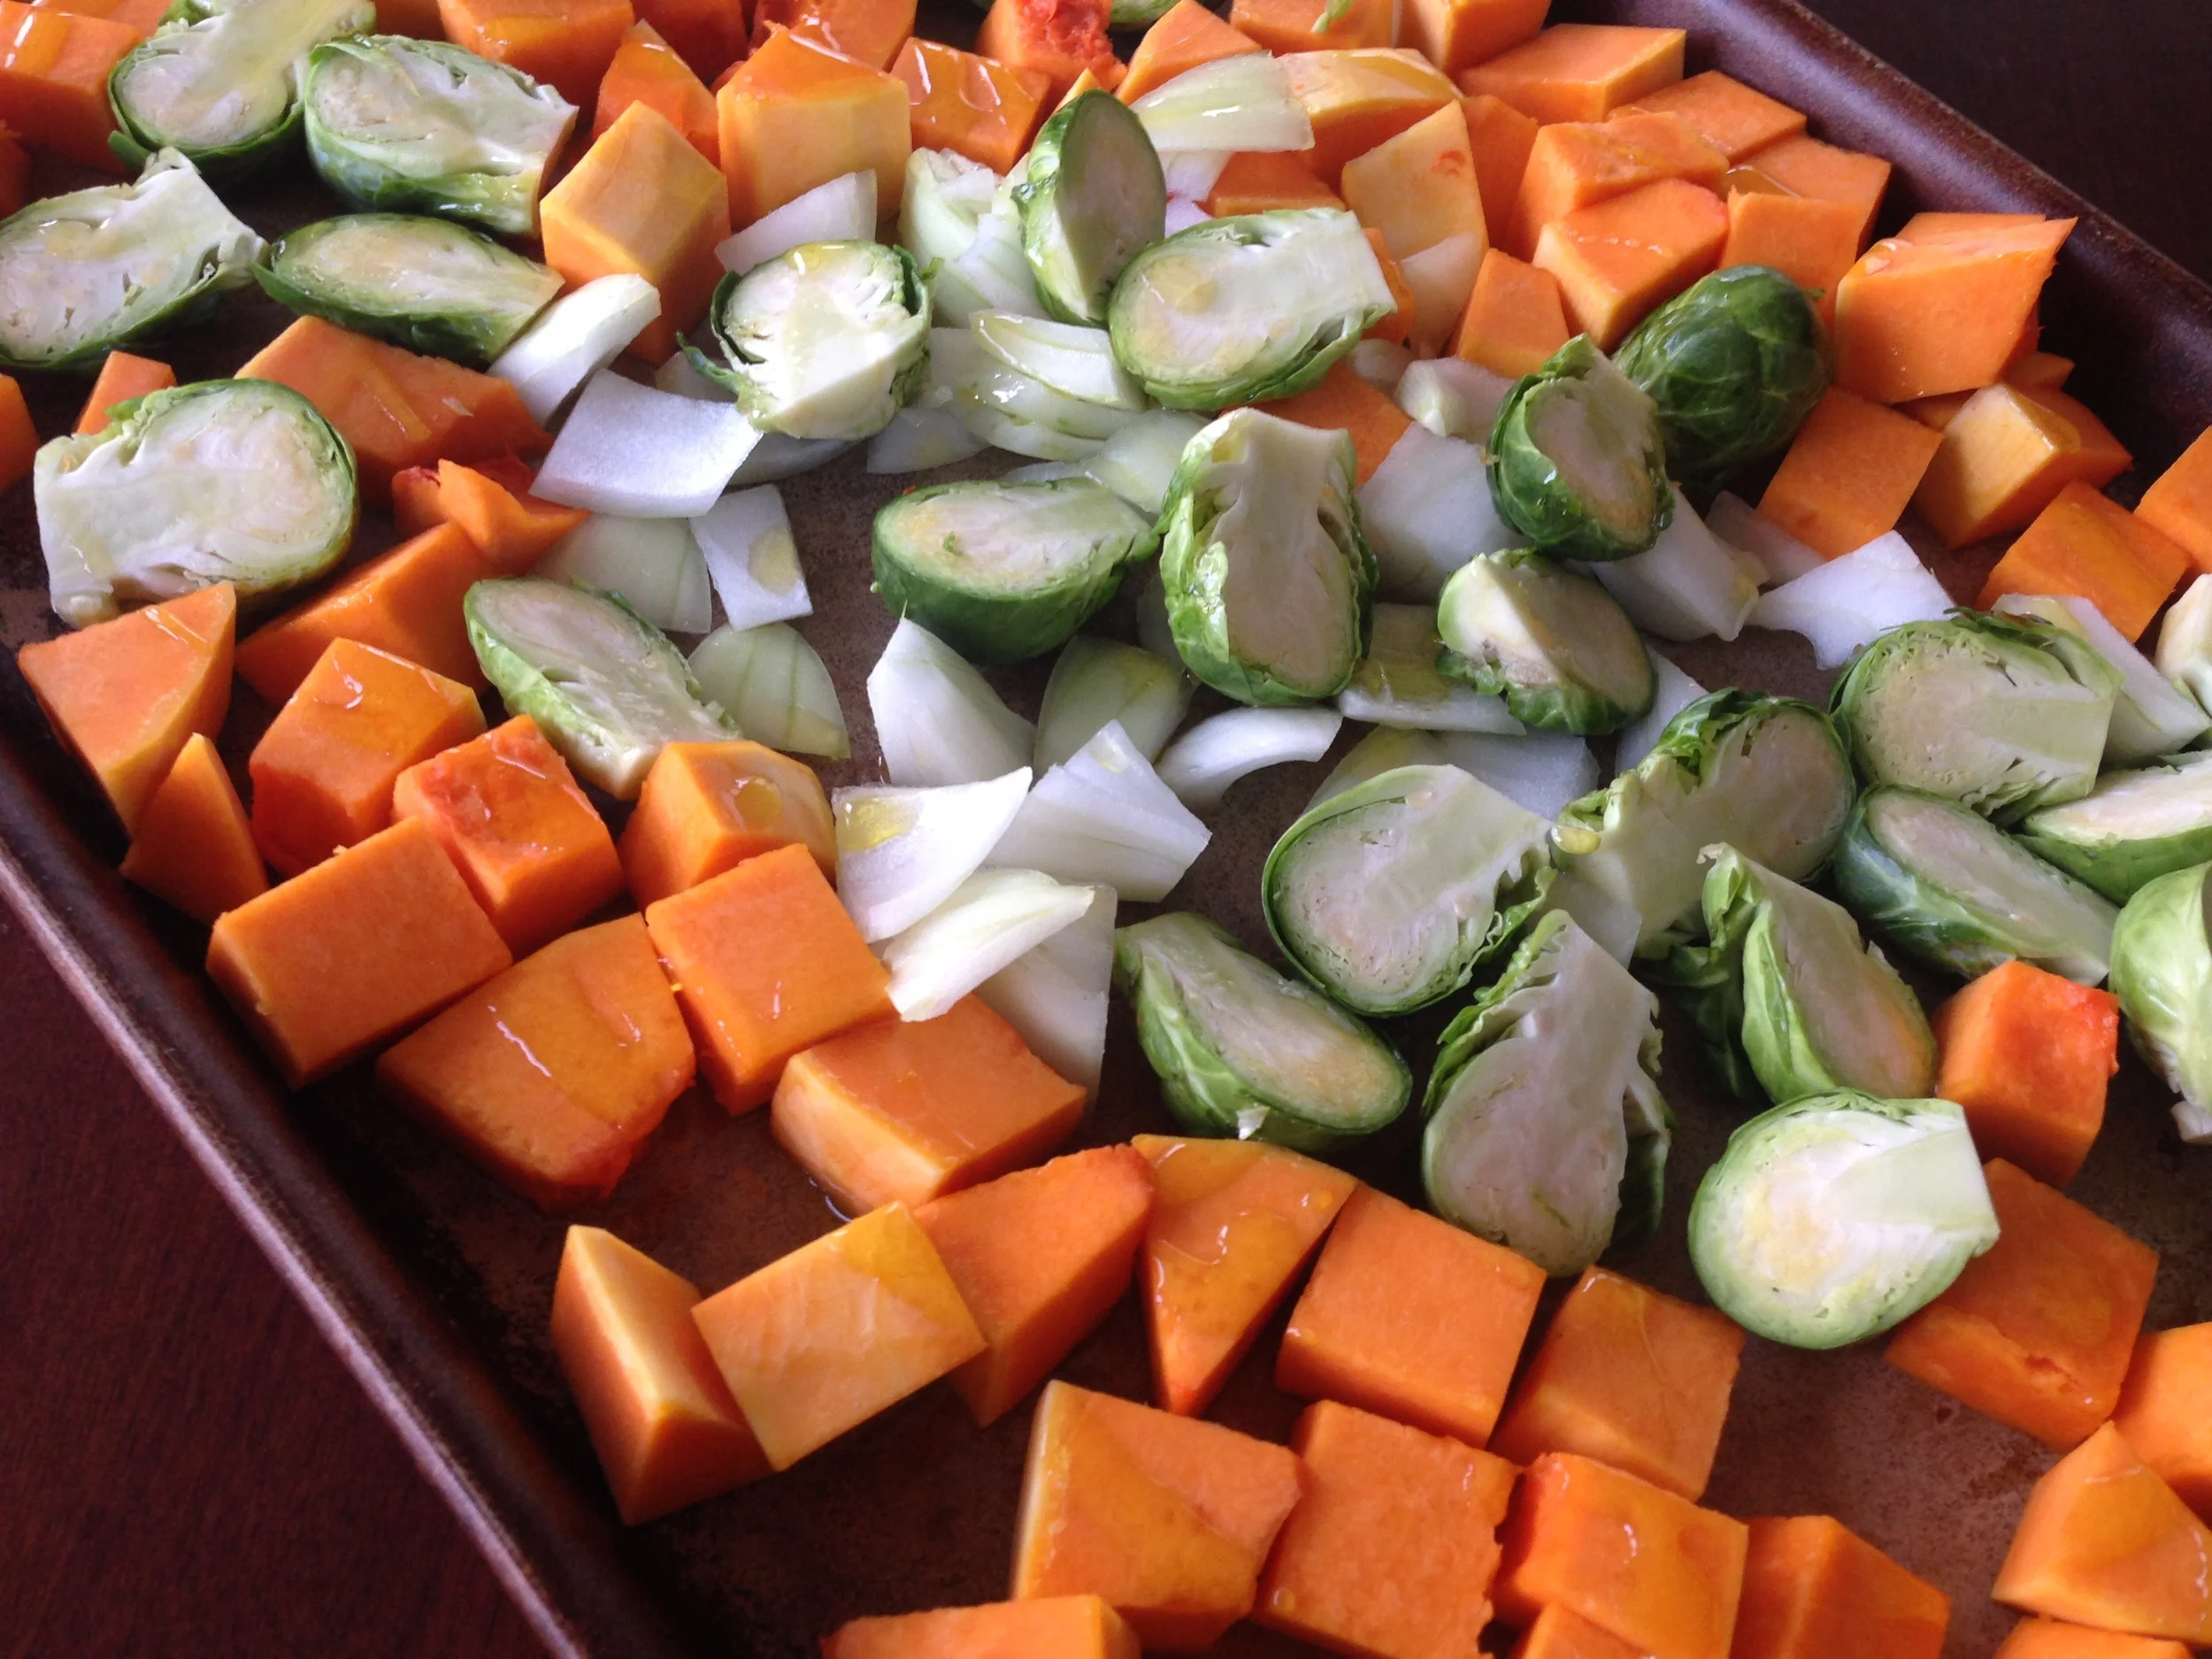
Generously drizzle Balsamic vinegar and sprinkle with Garlic Seasoning and pepper. Mix with hands again to evenly coat. You can certainly use a spoon to evenly mix, but I prefer playing with my food;)
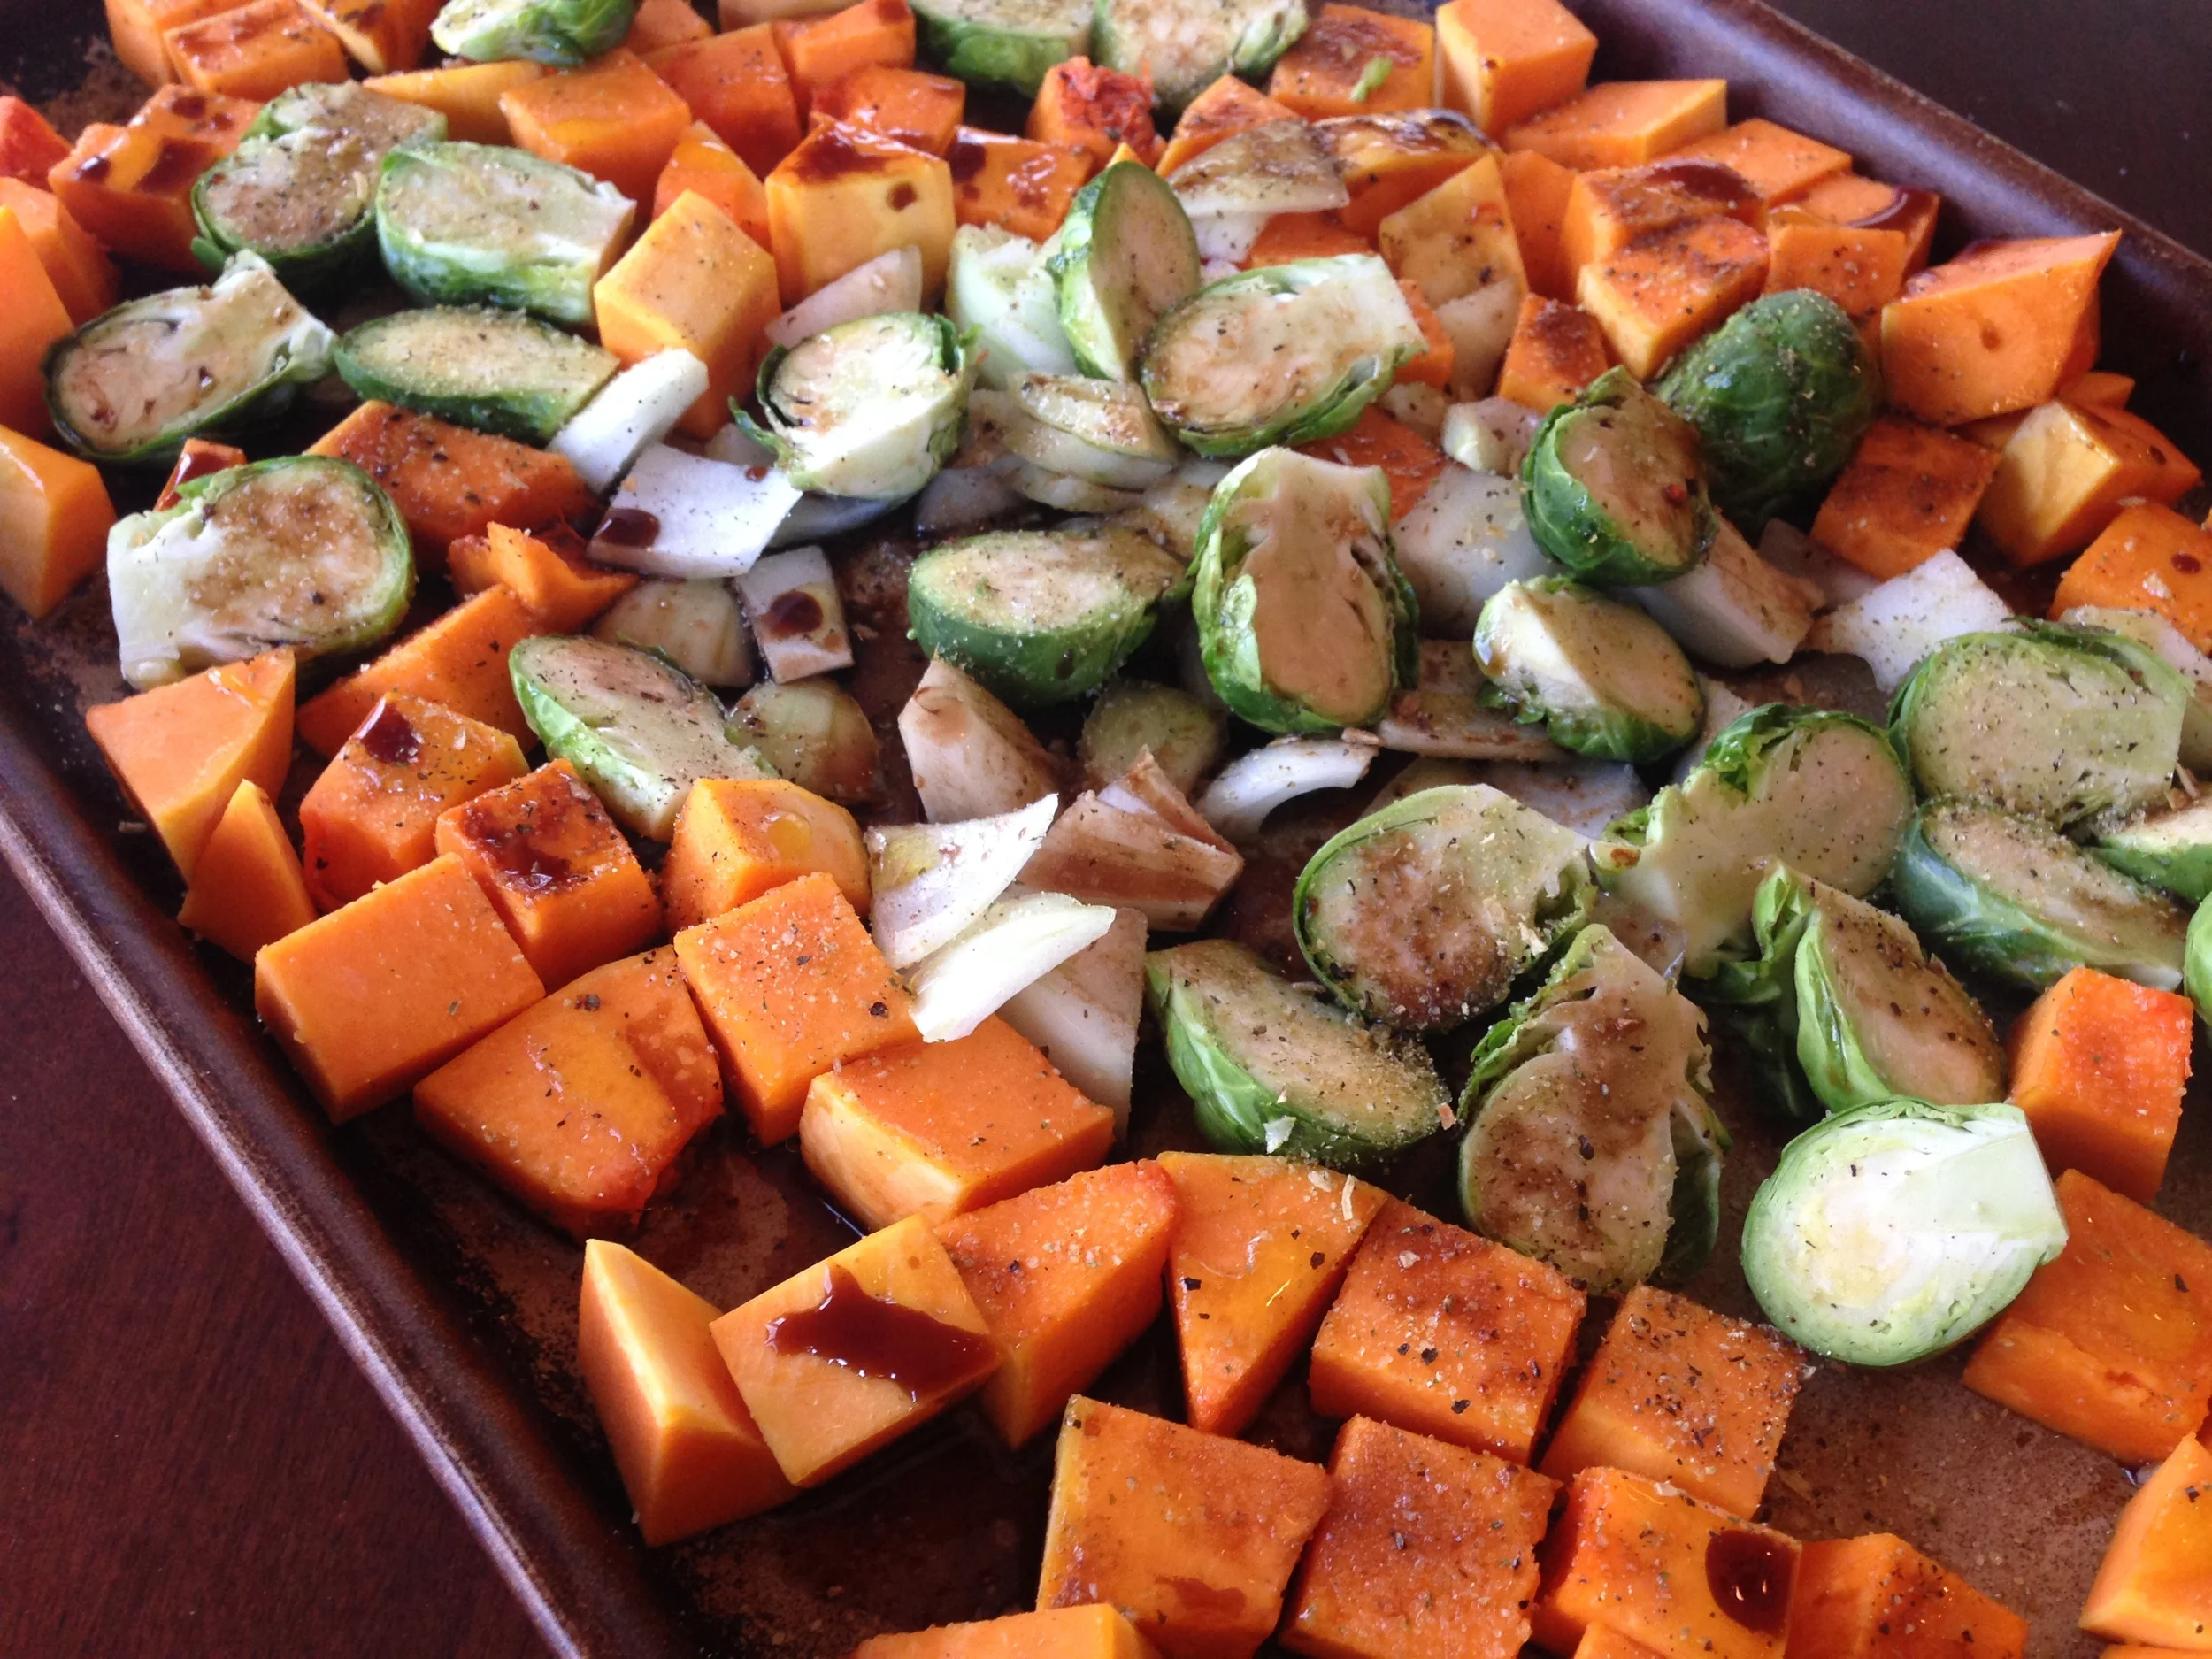
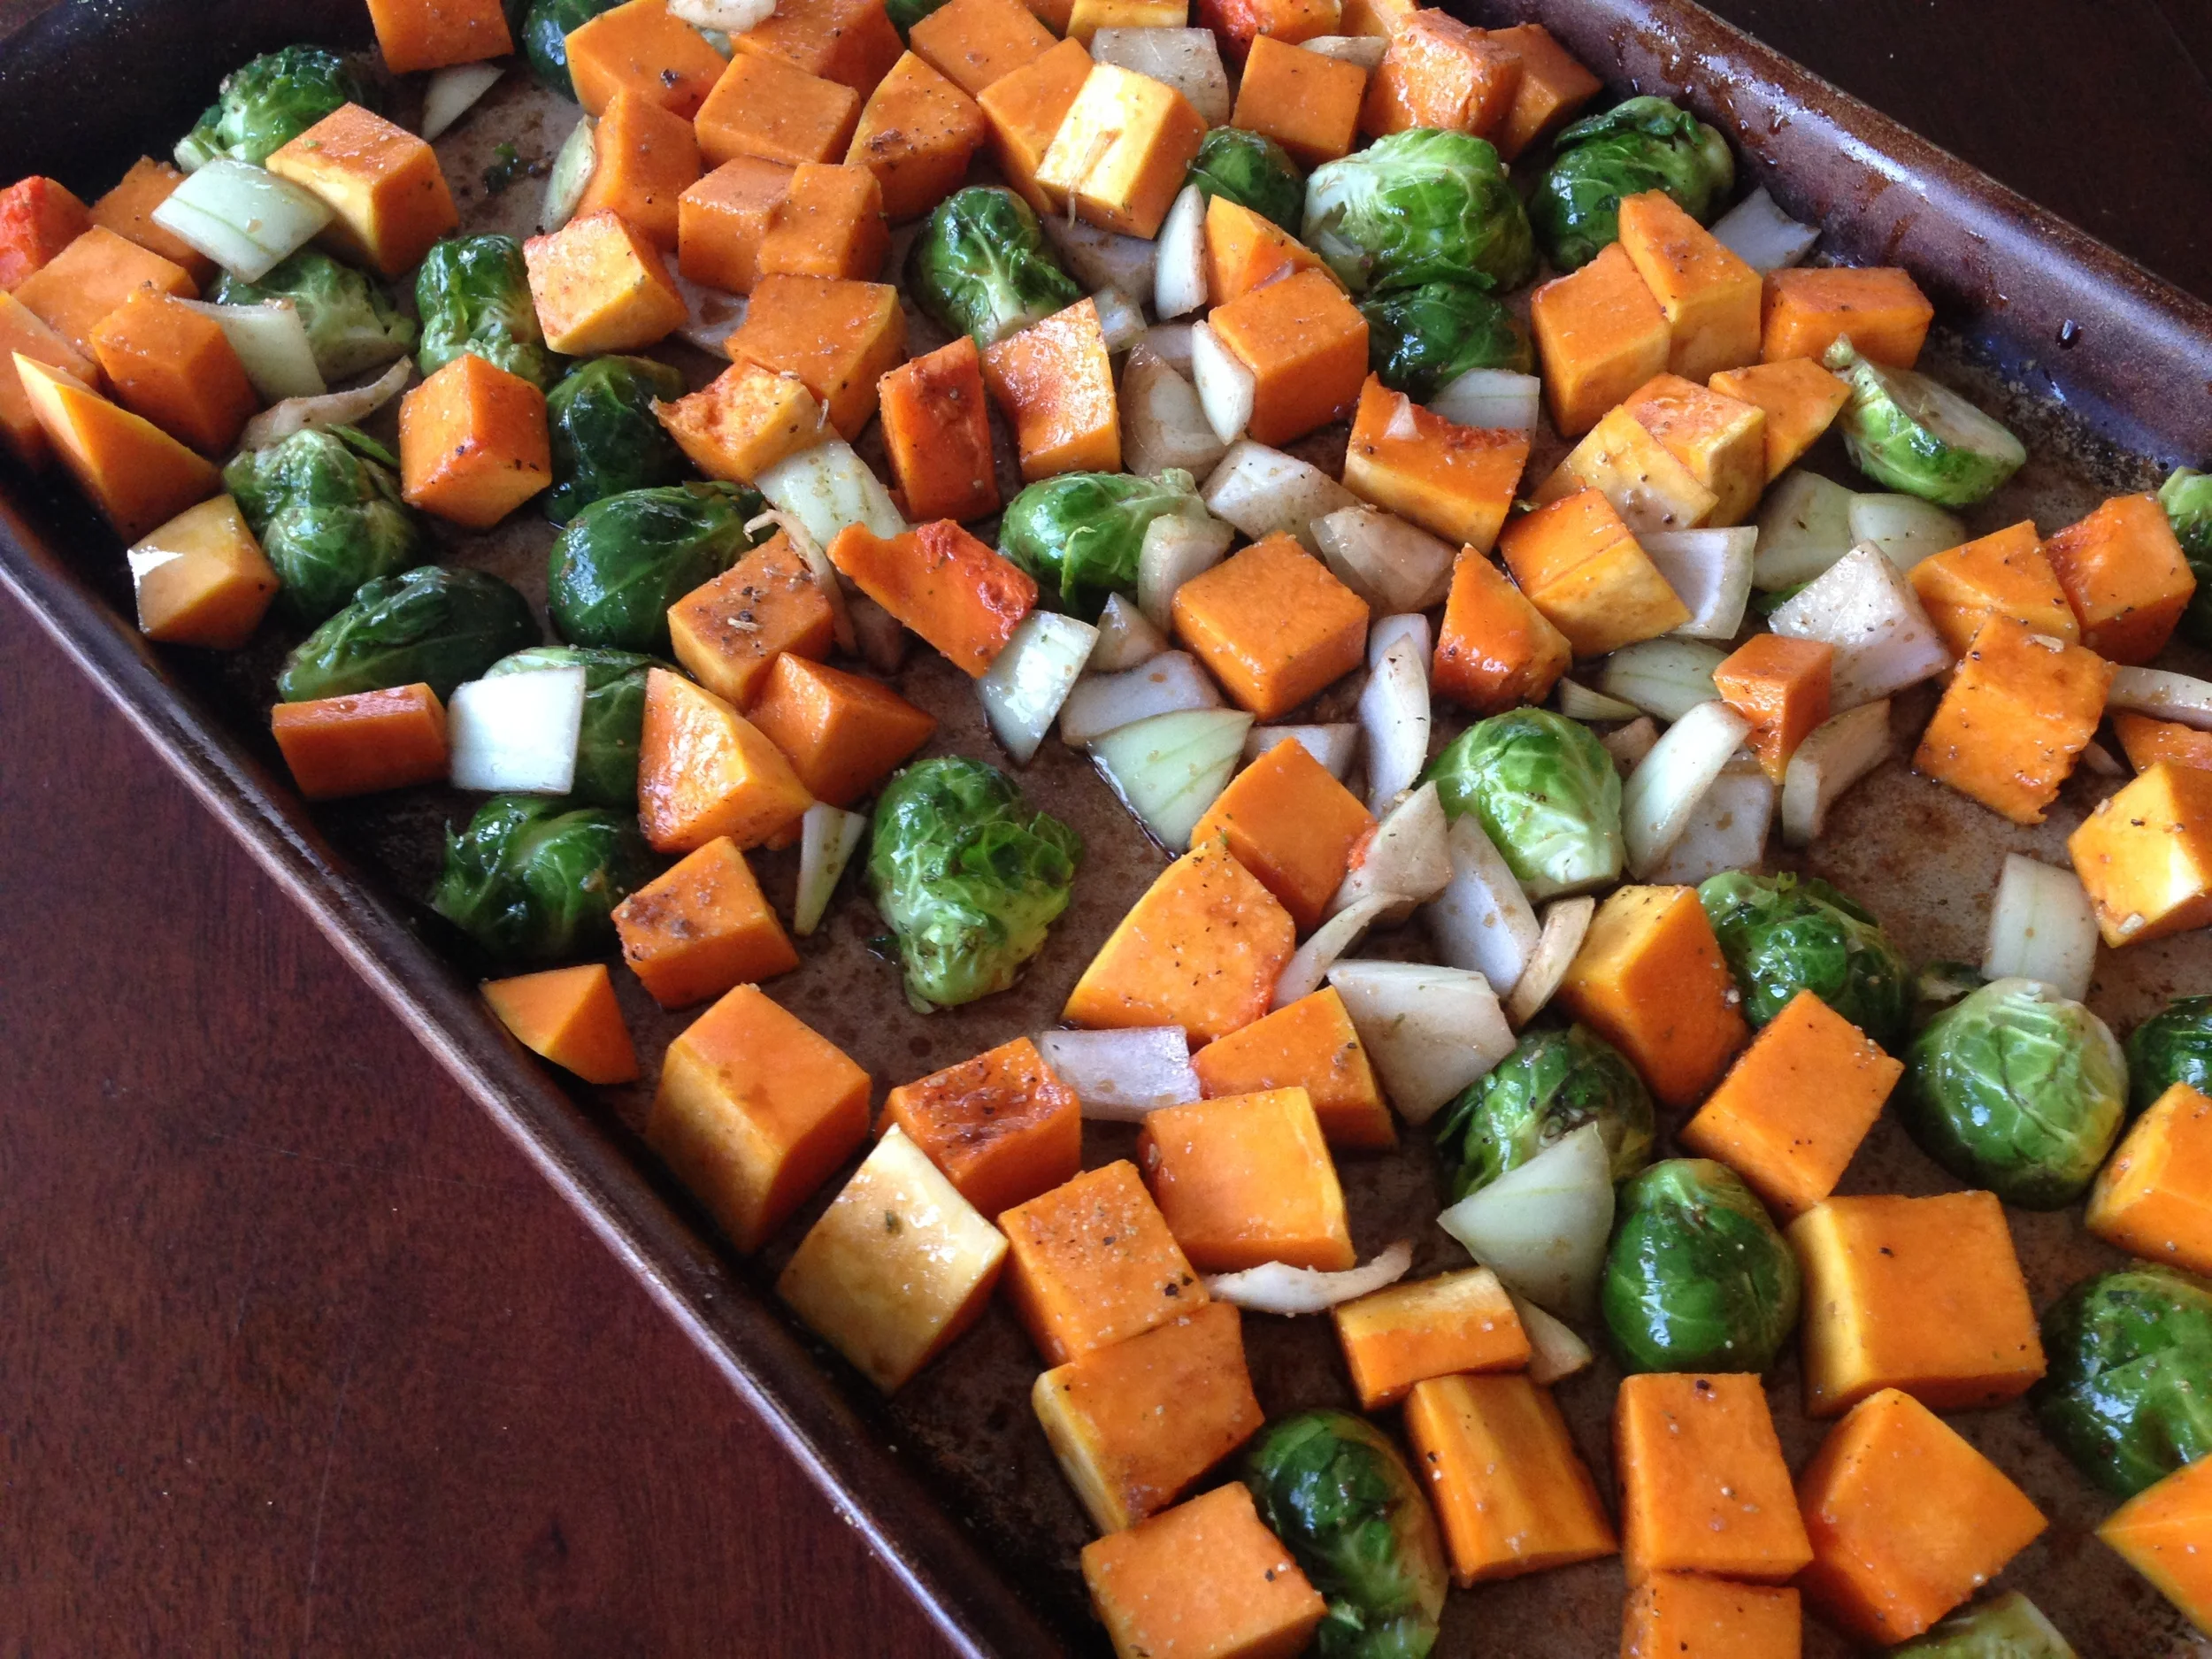
Roast vegetables at 350 degrees for about 30 minutes, or until Brussels sprouts have a golden color (You do not want the Brussels sprouts to be mushy). Test them with a fork. For the last 5 minutes of cooking, add pomegranate seeds.
When vegetables are cooked, remove them from the oven and drizzle with the champagne vinaigrette. Mix and enjoy.
Champagne Roasted Brussel Sprouts and Butternut Squash Recipe