Chili Stuffed Peppers Recipe
Prep Time: 15 minutes
Cook Time: 20 minutes
Difficulty: Easy
Are you a leftover lover or hater? I love turning today's leftovers into tomorrow's masterpiece, and stuffed peppers are the perfect masquerade for leftover meat, veggies, rice, chili, and so much more. For this recipe, we used leftover chili, seasoned with Cherchies® Select Grilling Rub & Seasoning Blend and Cherchies® Black Bean & Corn Salsa (or Cherchies® Vidalia Onion Peach Salsa).
Make the chili one night and use the leftover chili in these stuffed peppers for round two later in the week. Not only is this recipe a creative way to use up leftovers, but it is also the perfect dish to hide those unsuspecting vegetables from any picky eaters, and dinner on those busy nights is ready in about 30 minutes. It doesn’t get much easier than that!
Enjoy!
Comment below and let us know if you made these delicious stuffed peppers. As always, thank you for visiting, and please come back again!
Ingredients
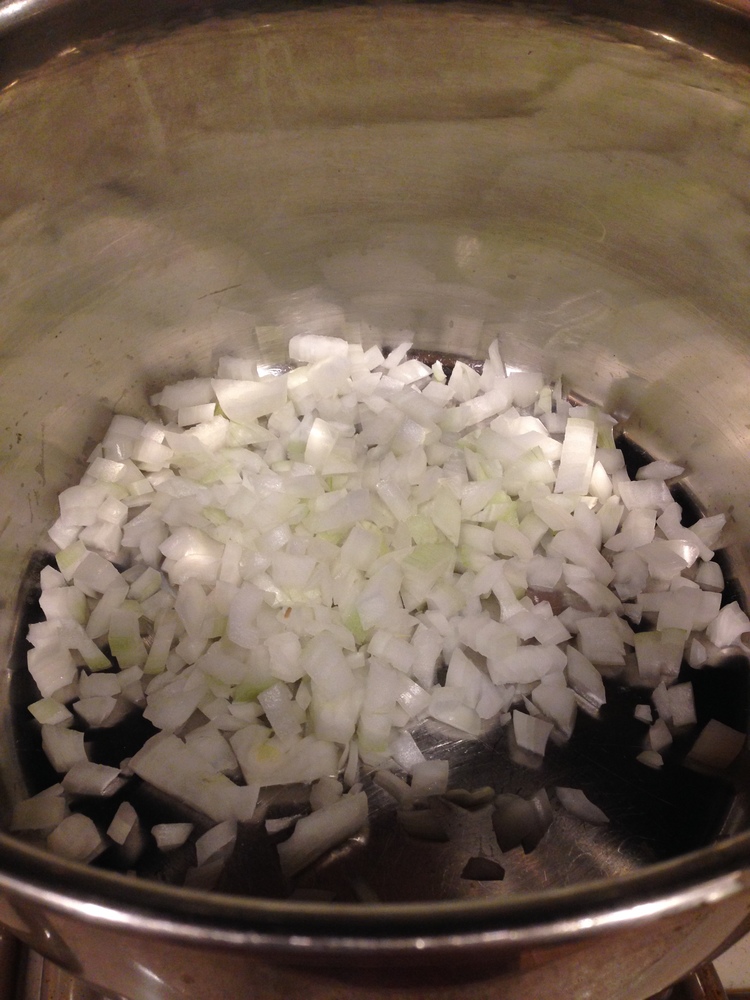
1 yellow (sweet) onion, diced
1 Tablespoon (Tbsp) olive oil
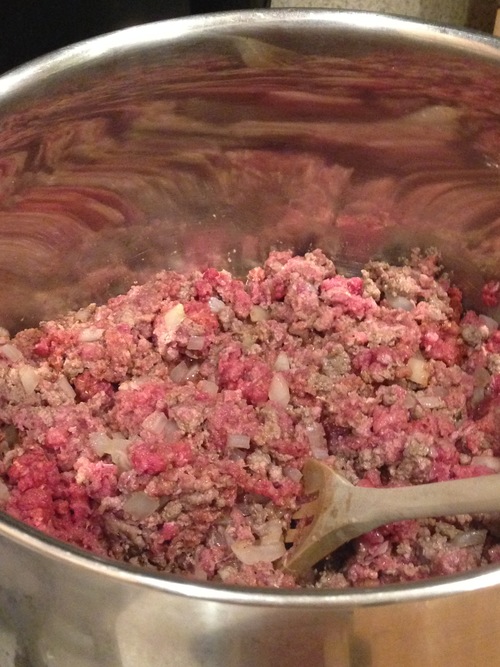
1 pound (lb) ground turkey or beef
3 generous Tablespoons (Tbsp) Cherchies® Select Grilling Rub & Seasoning Blend
1 Tablespoon (Tbsp) Minor's Beef Base, dissolved in 1/4 cup of water (could substitute 1 beef bouillon cube dissolved in 1/4 cup water or 1/4 cup prepared beef broth)
1 jar of Cherchies® Black Bean & Corn Salsa or Cherchies®Vidalia Onion Peach Salsa
1 15.5 oz. can black beans, drained and rinsed
1/2 cup shredded Mexican Cheese blend, plus another cup for topping
Assorted large peppers (red, green, yellow, or orange), washed, sliced, and deseeded
4 green onions, sliced (optional for garnish)
Chopped cilantro (optional for garnish)
Preparation
Preheat oven to 350 degrees.
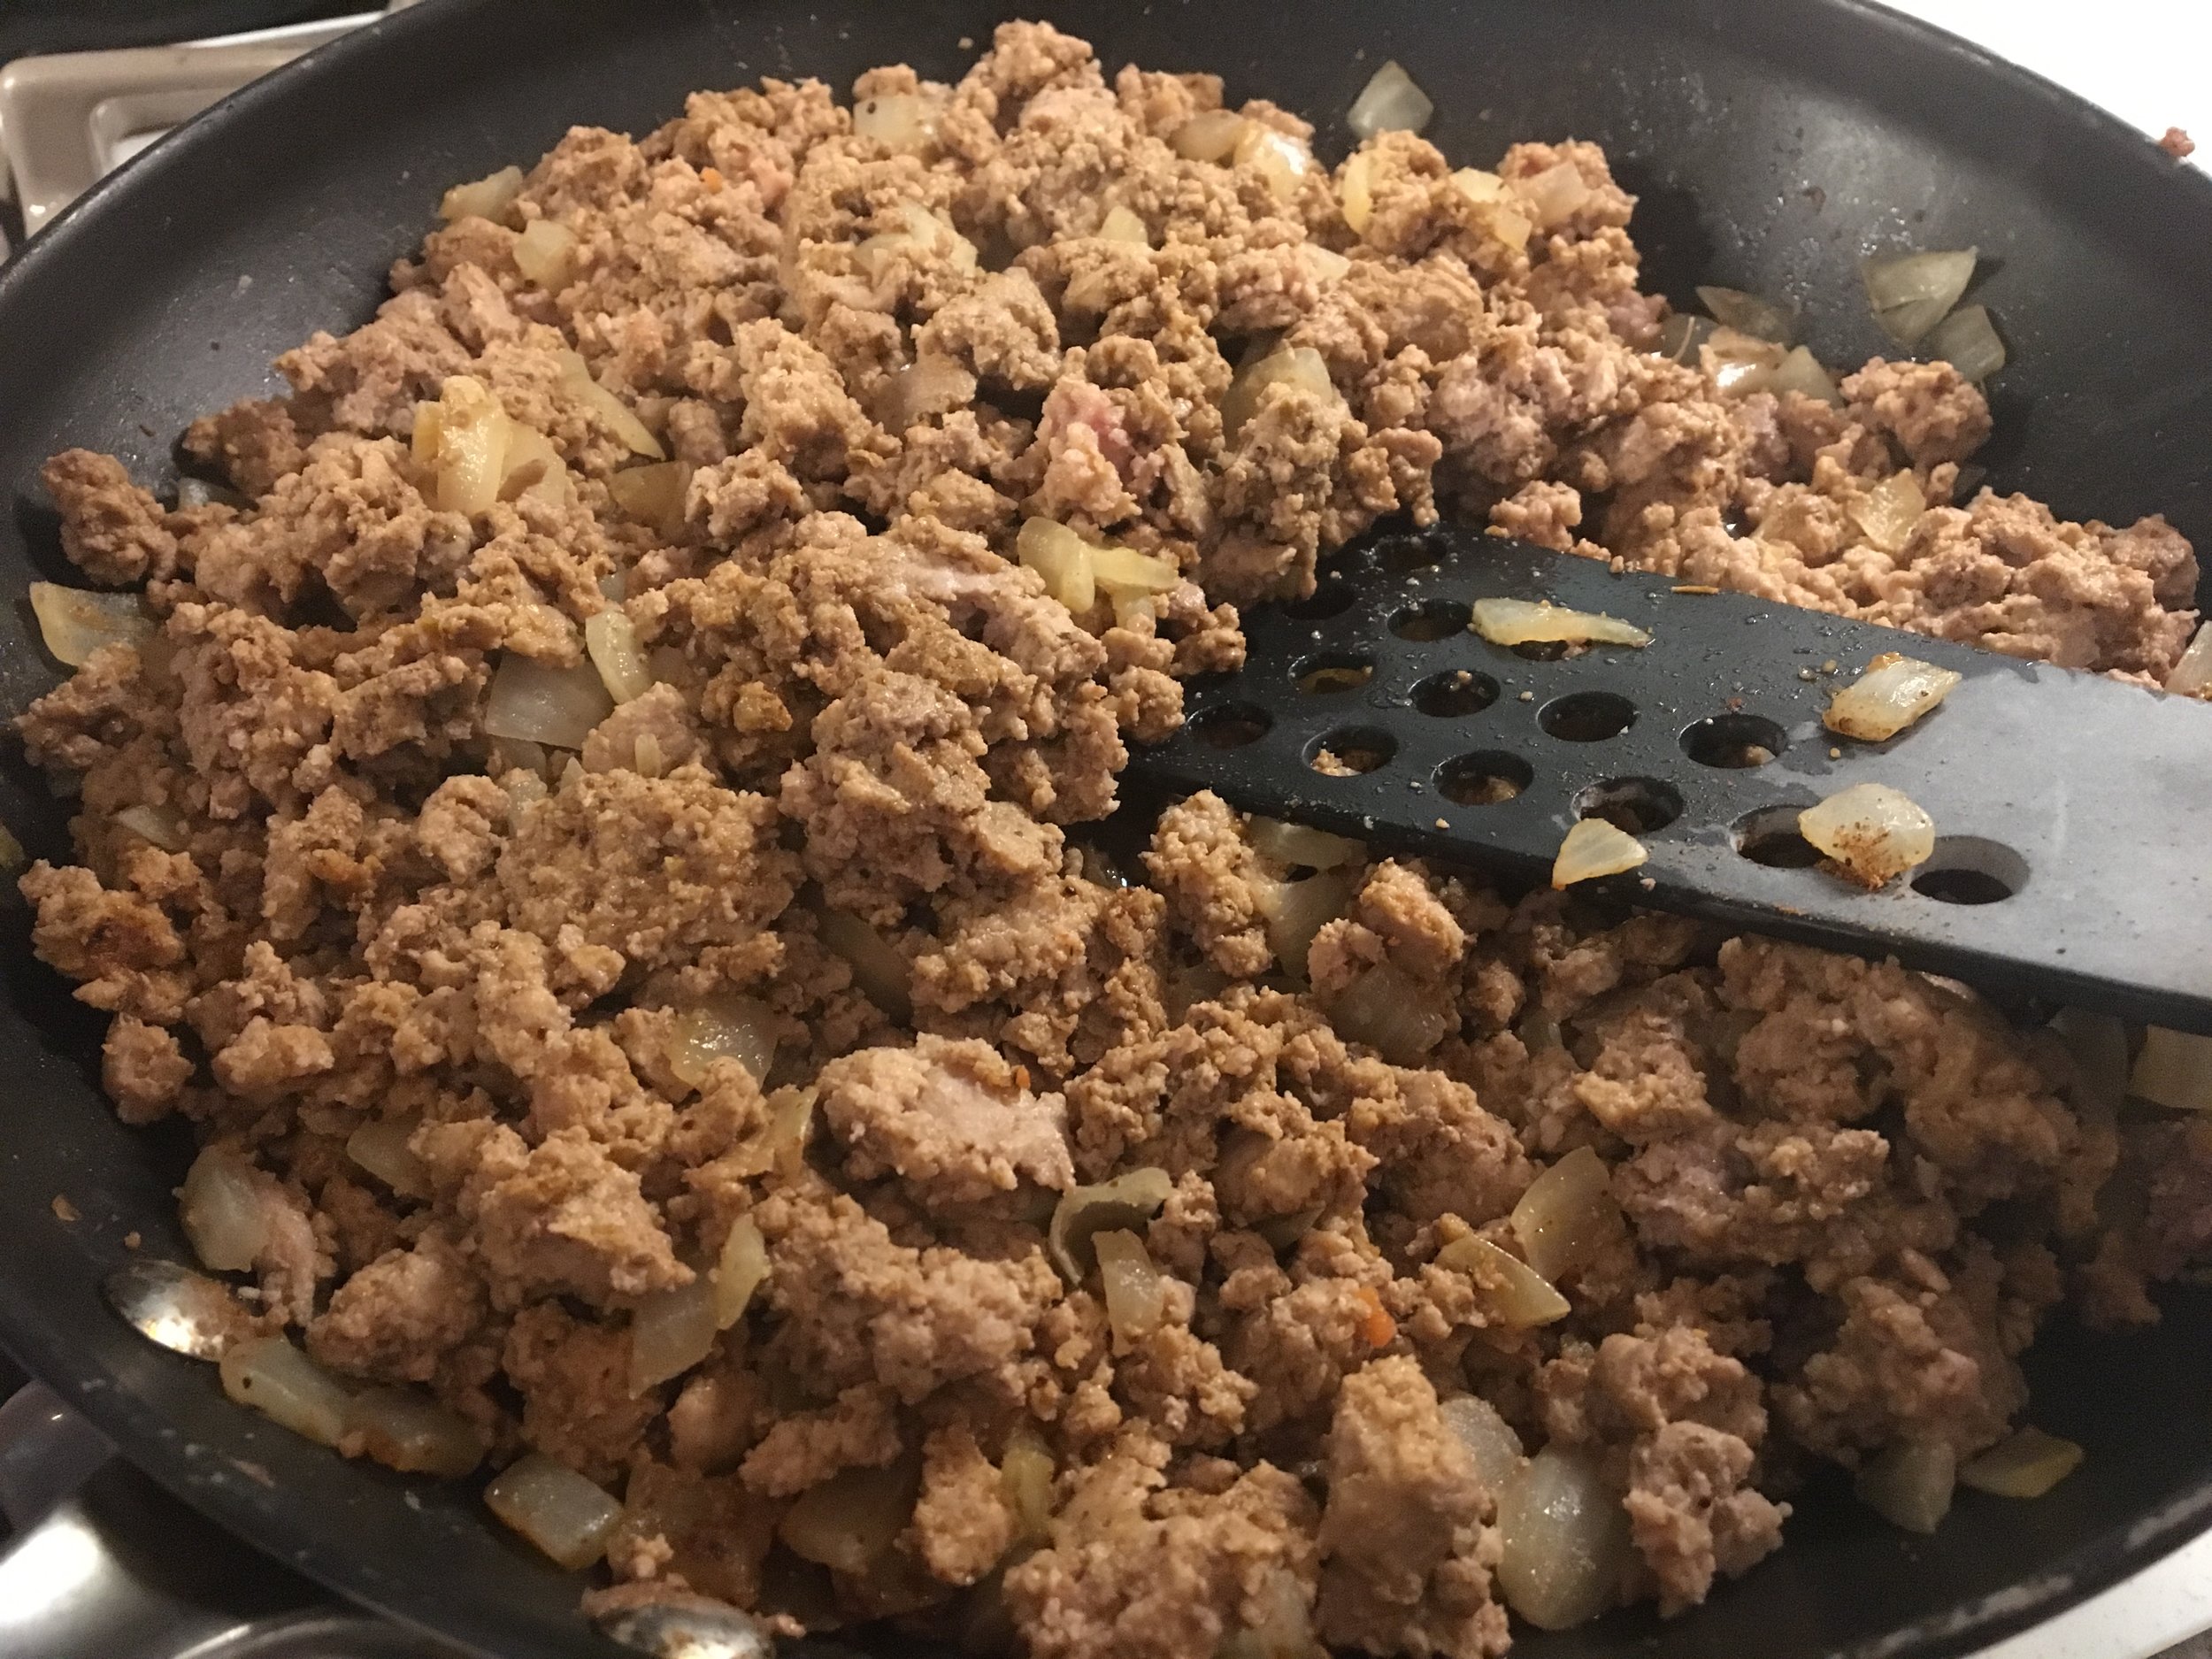
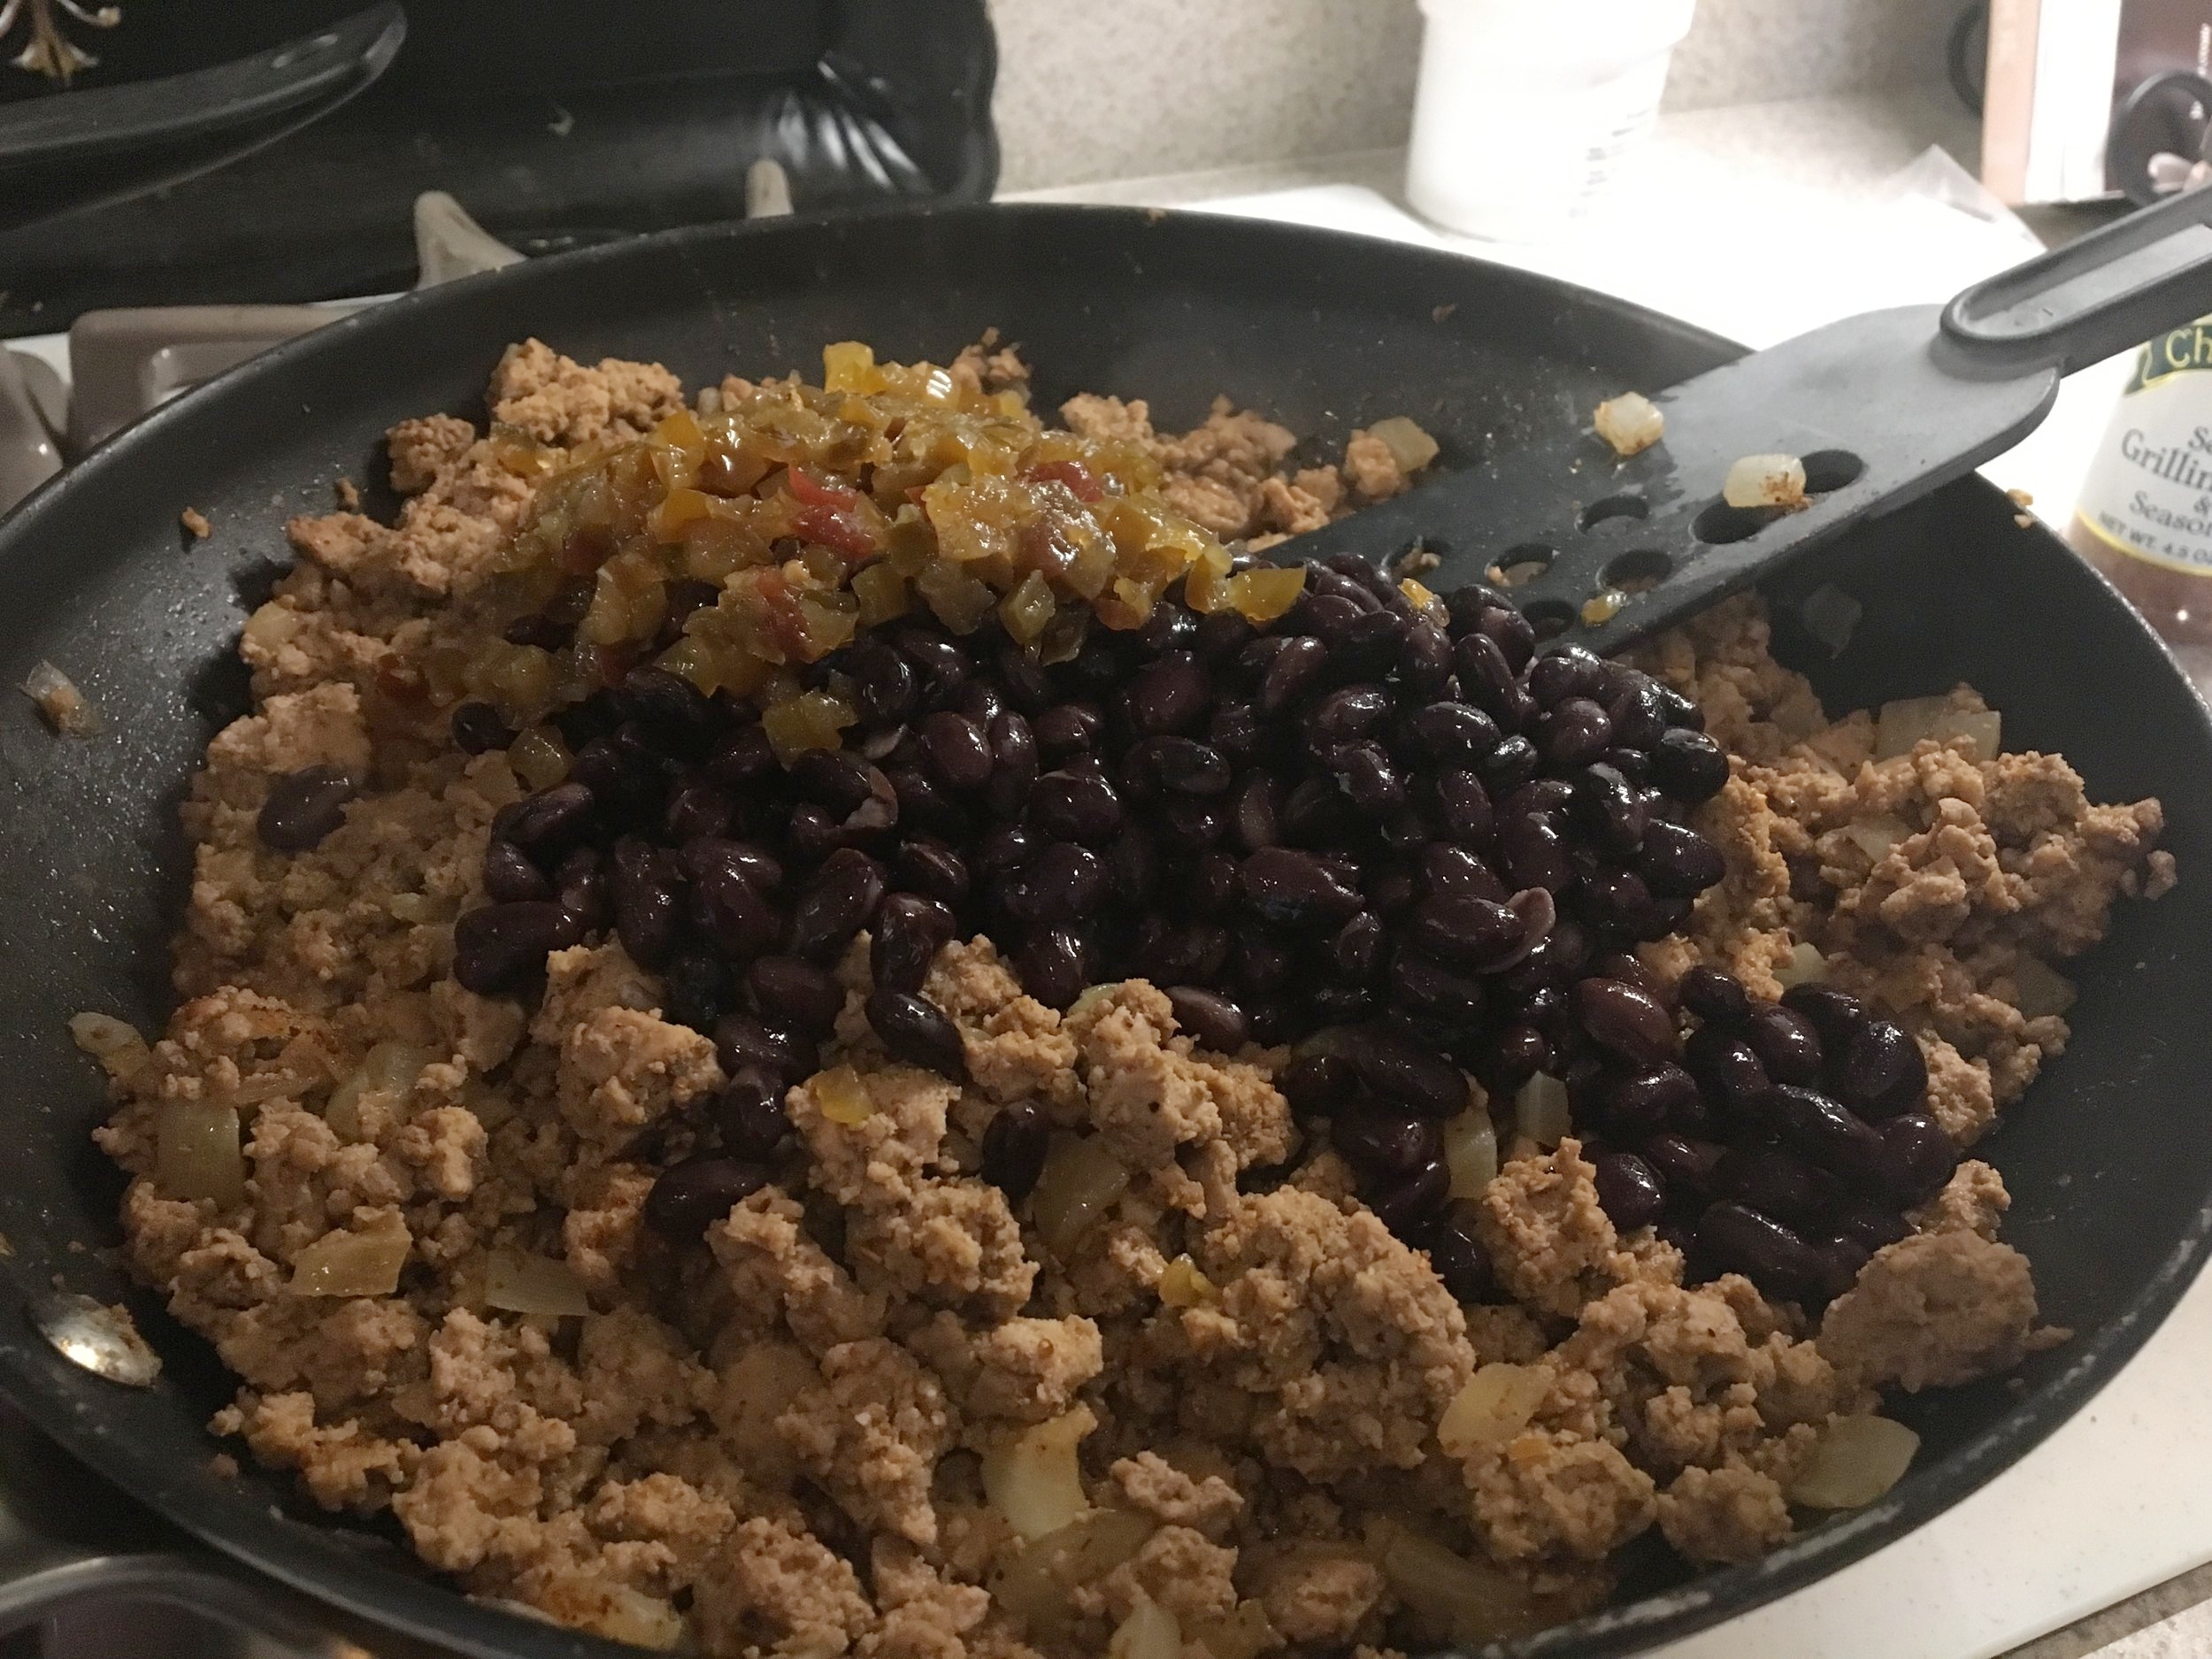
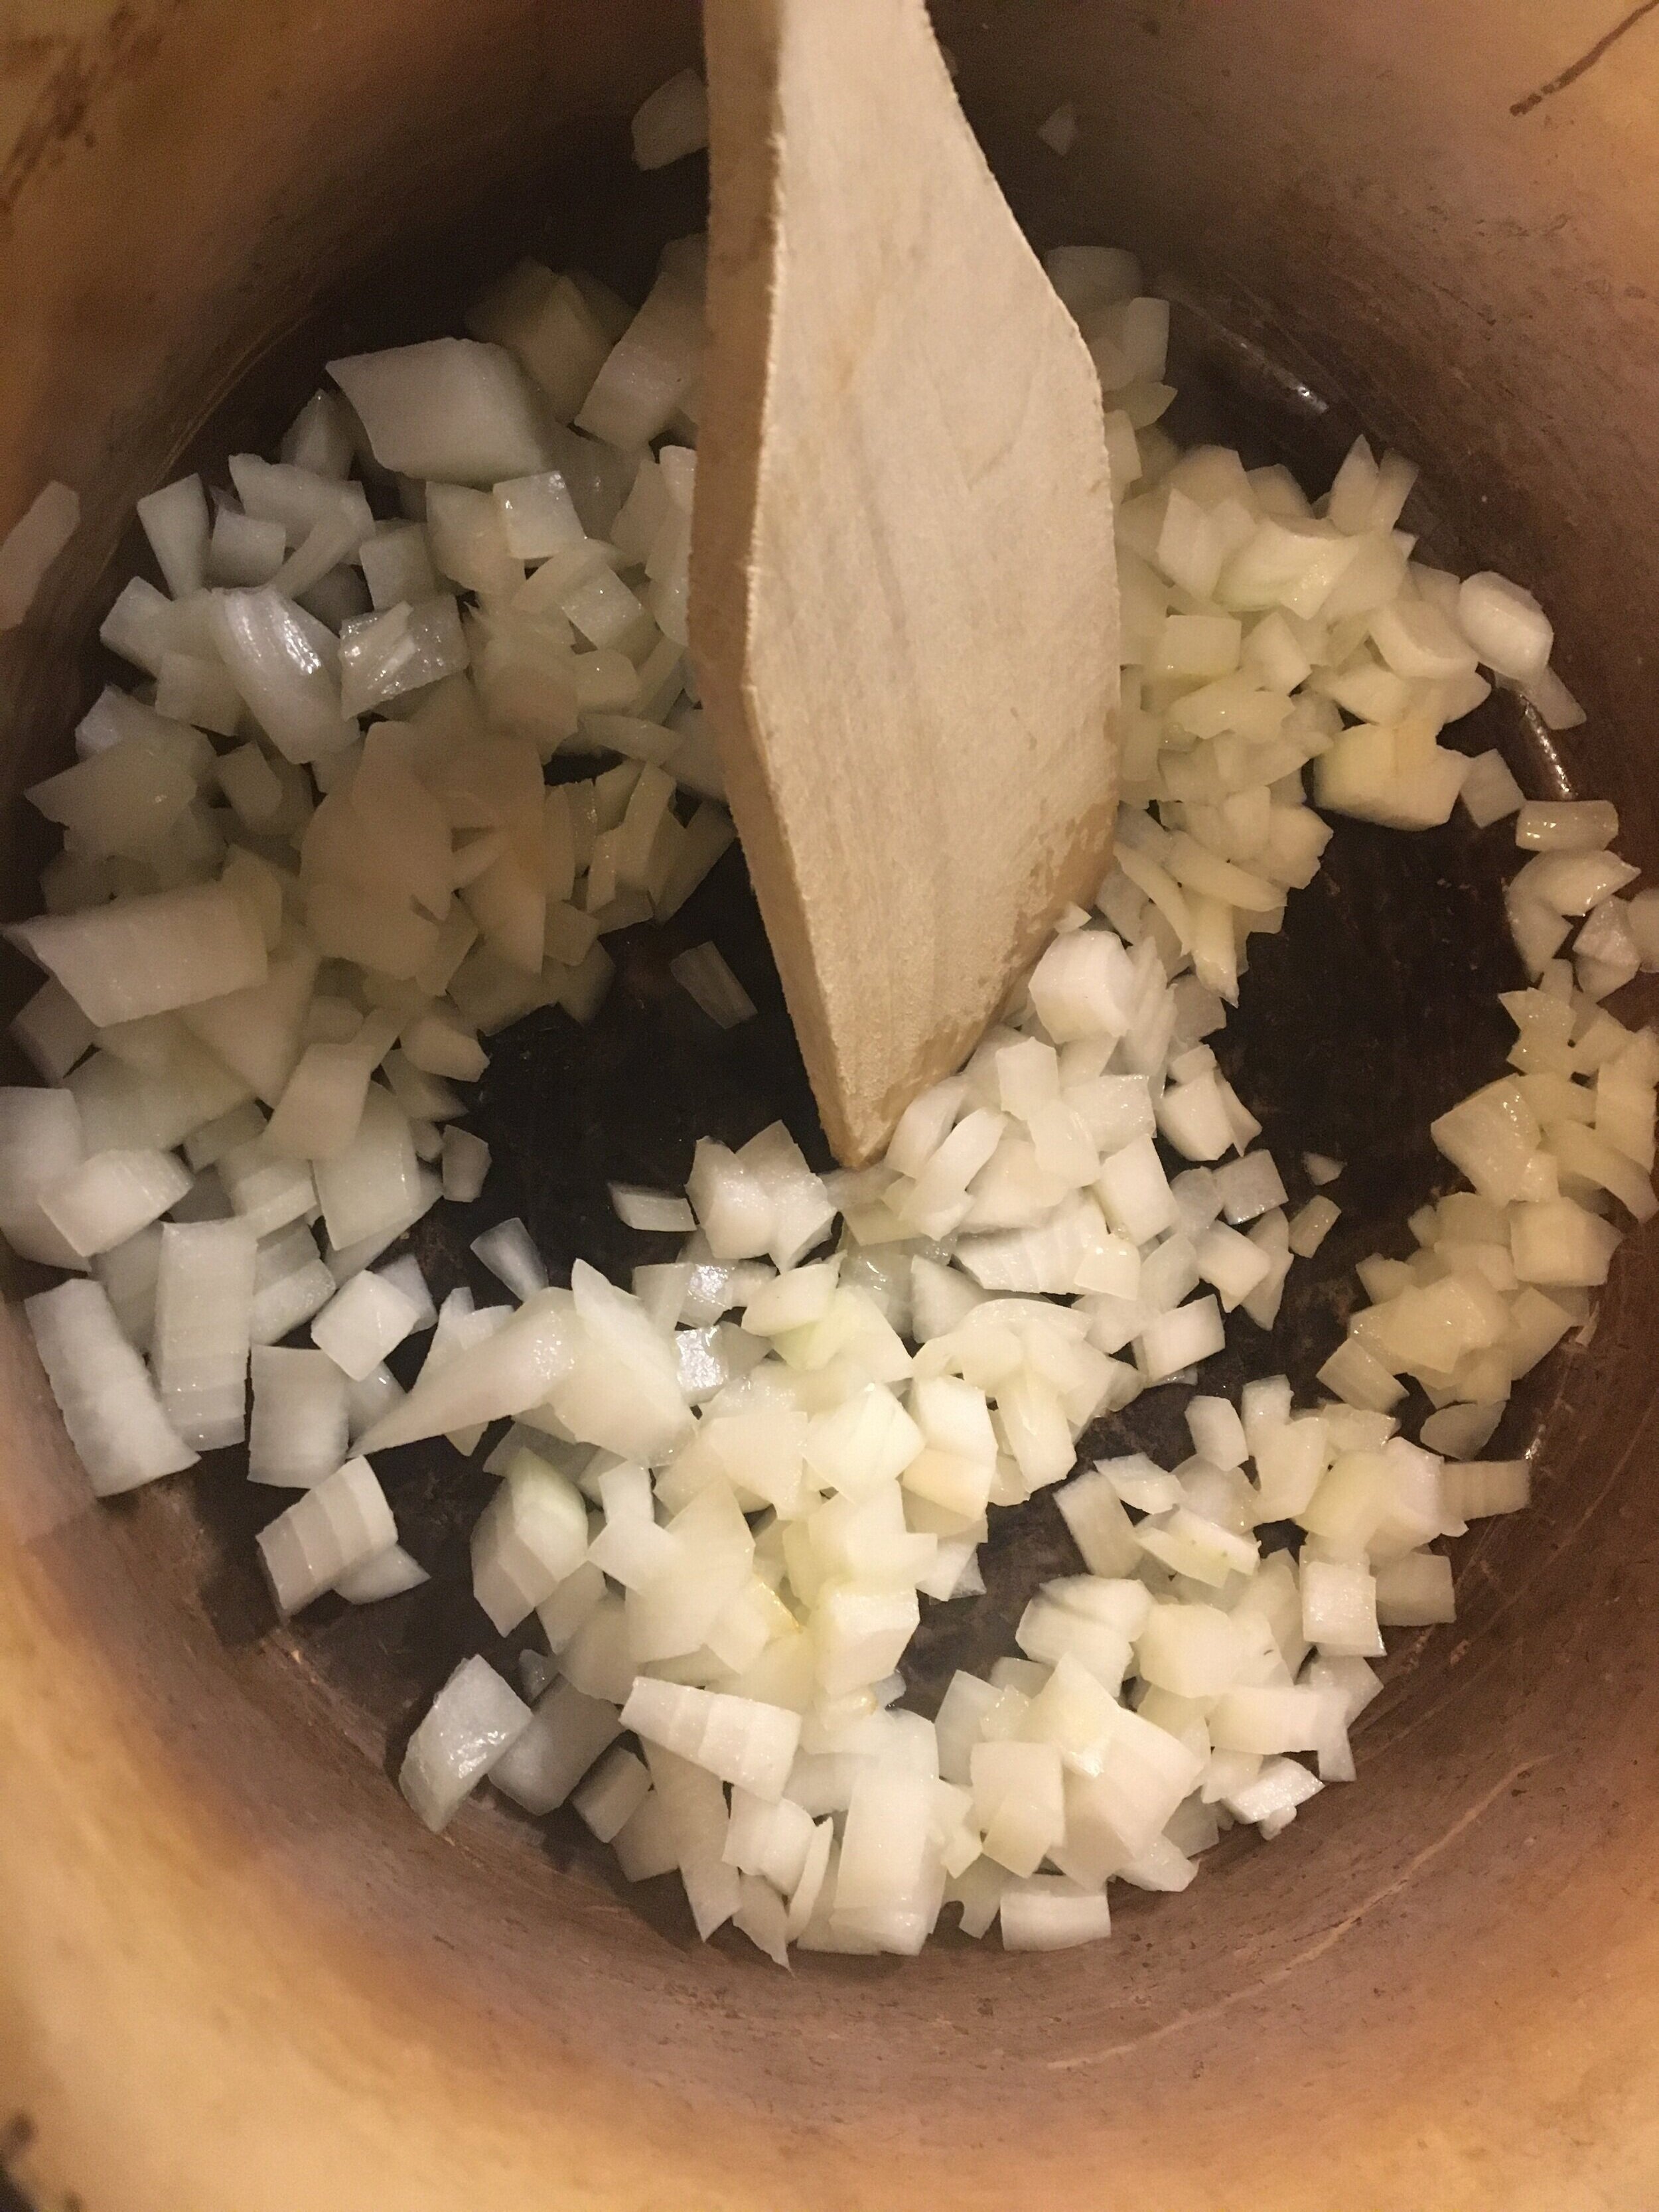
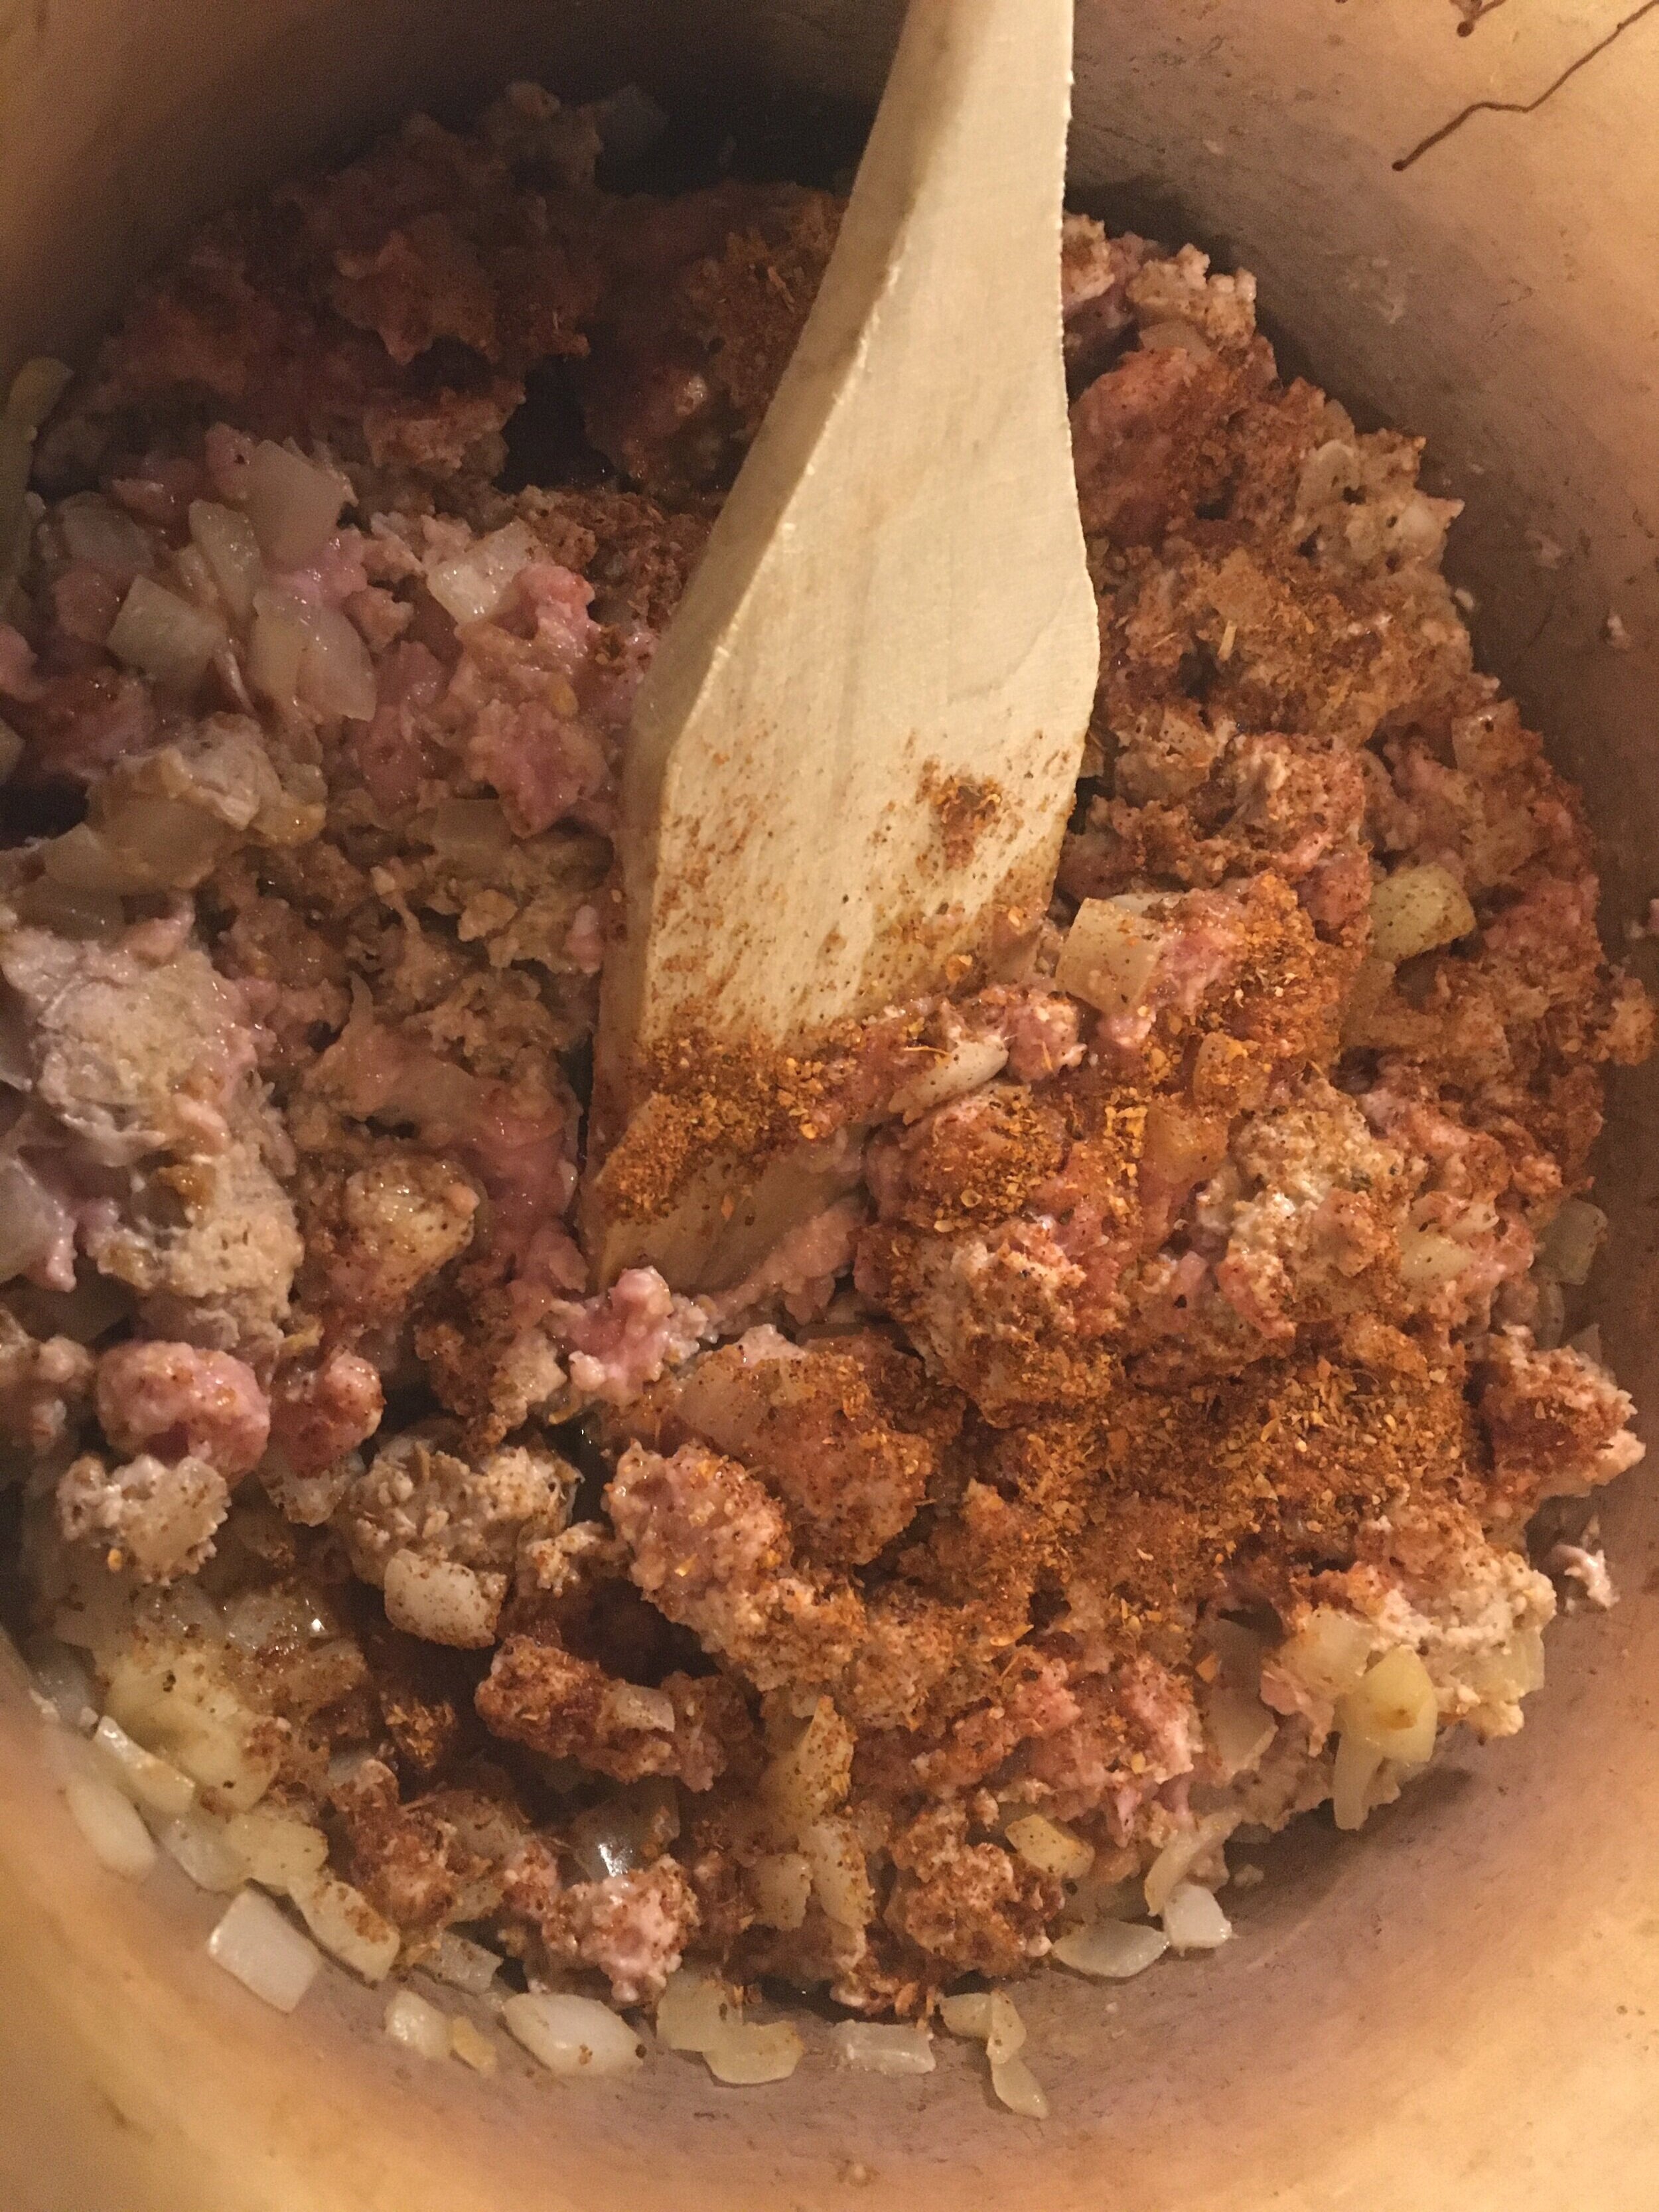
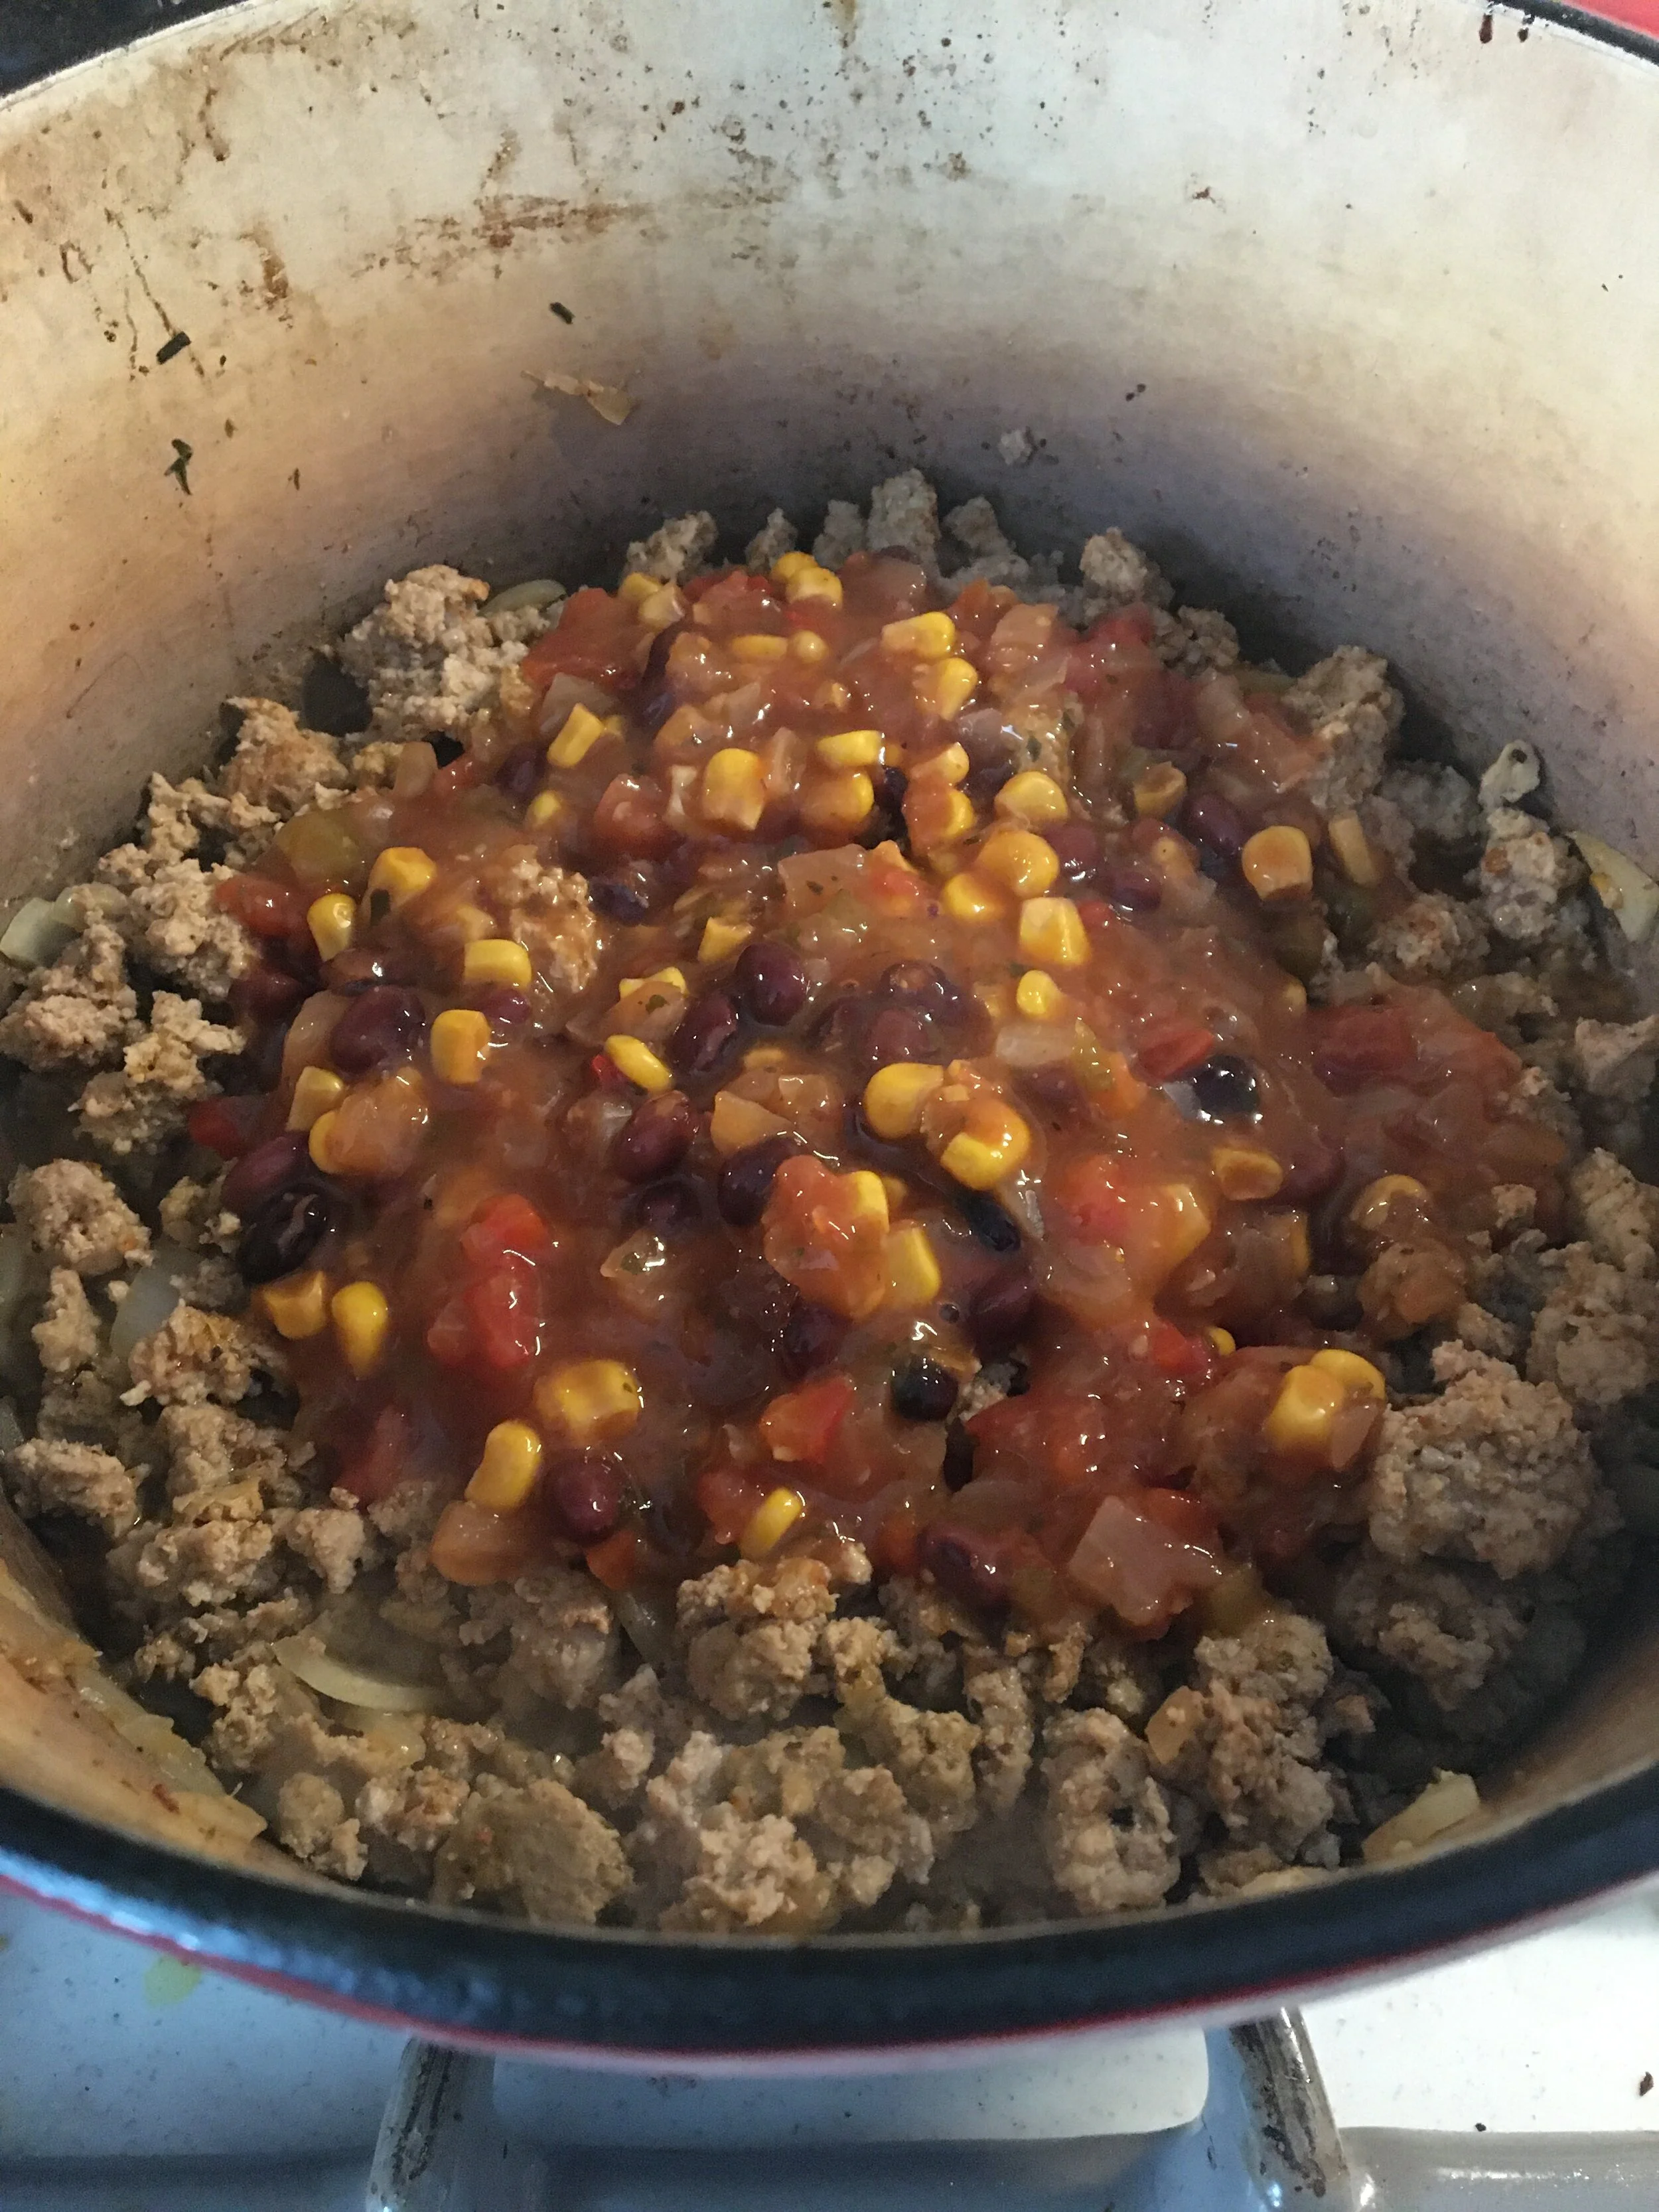
In a large skillet, sauté onion in olive oil on medium-low heat until translucent. After the onion has cooked, add ground meat, Cherchies® Select Grilling Rub & Seasoning Blend, and beef base or bouillon mixed in water.
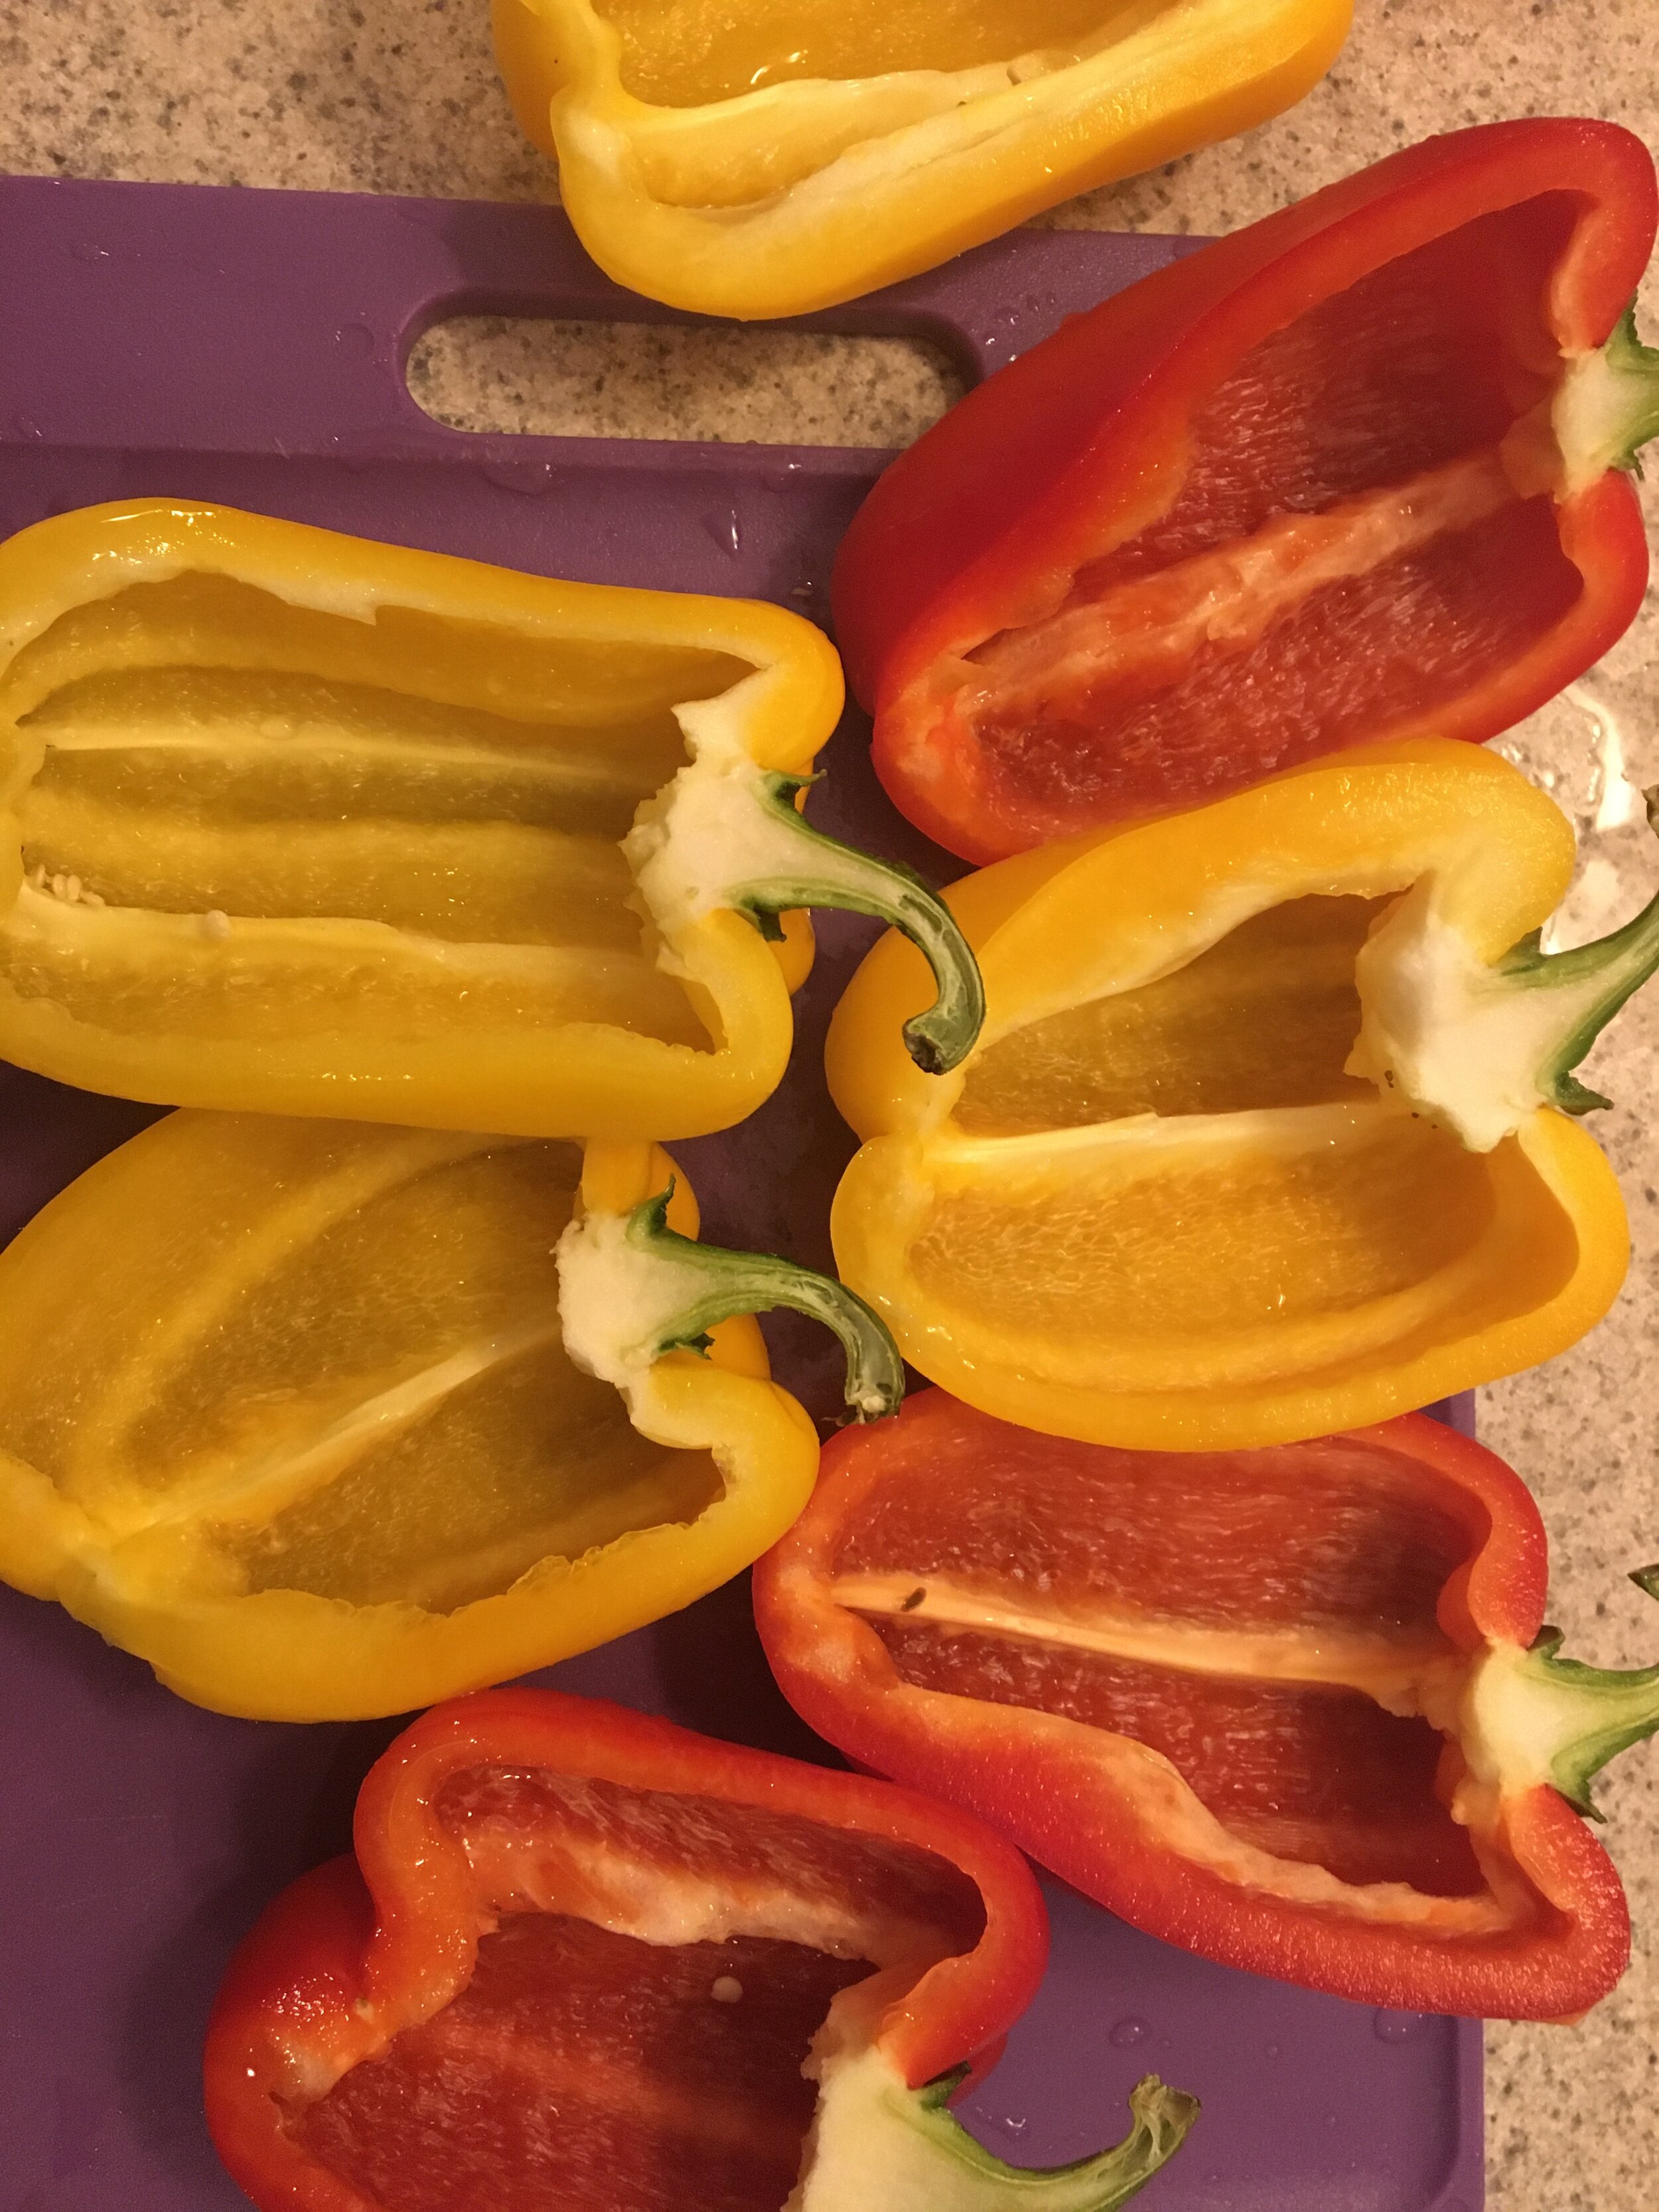
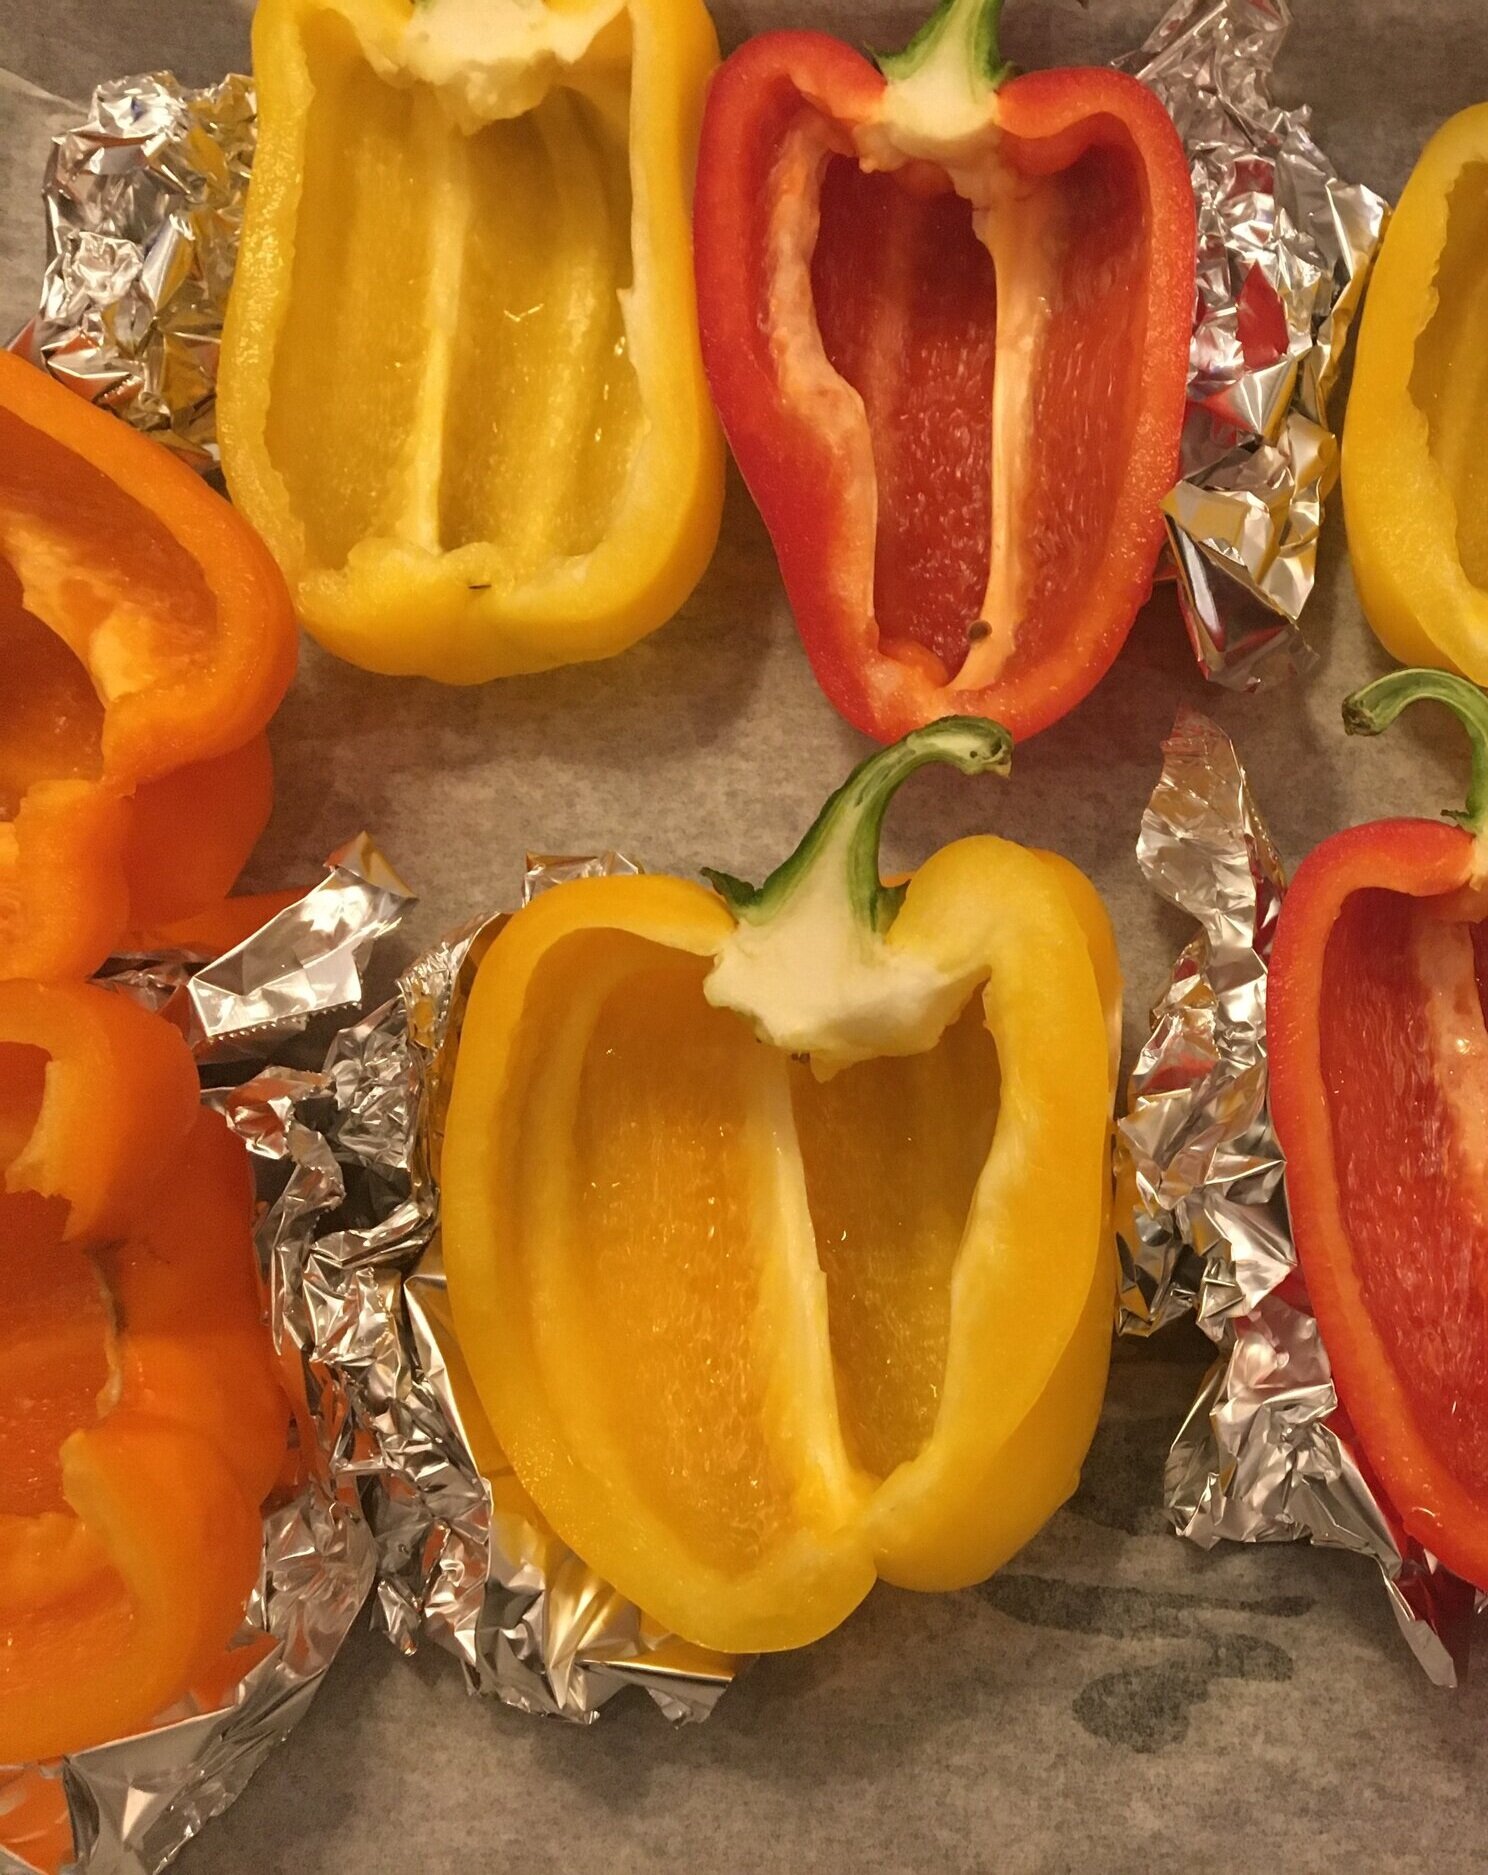
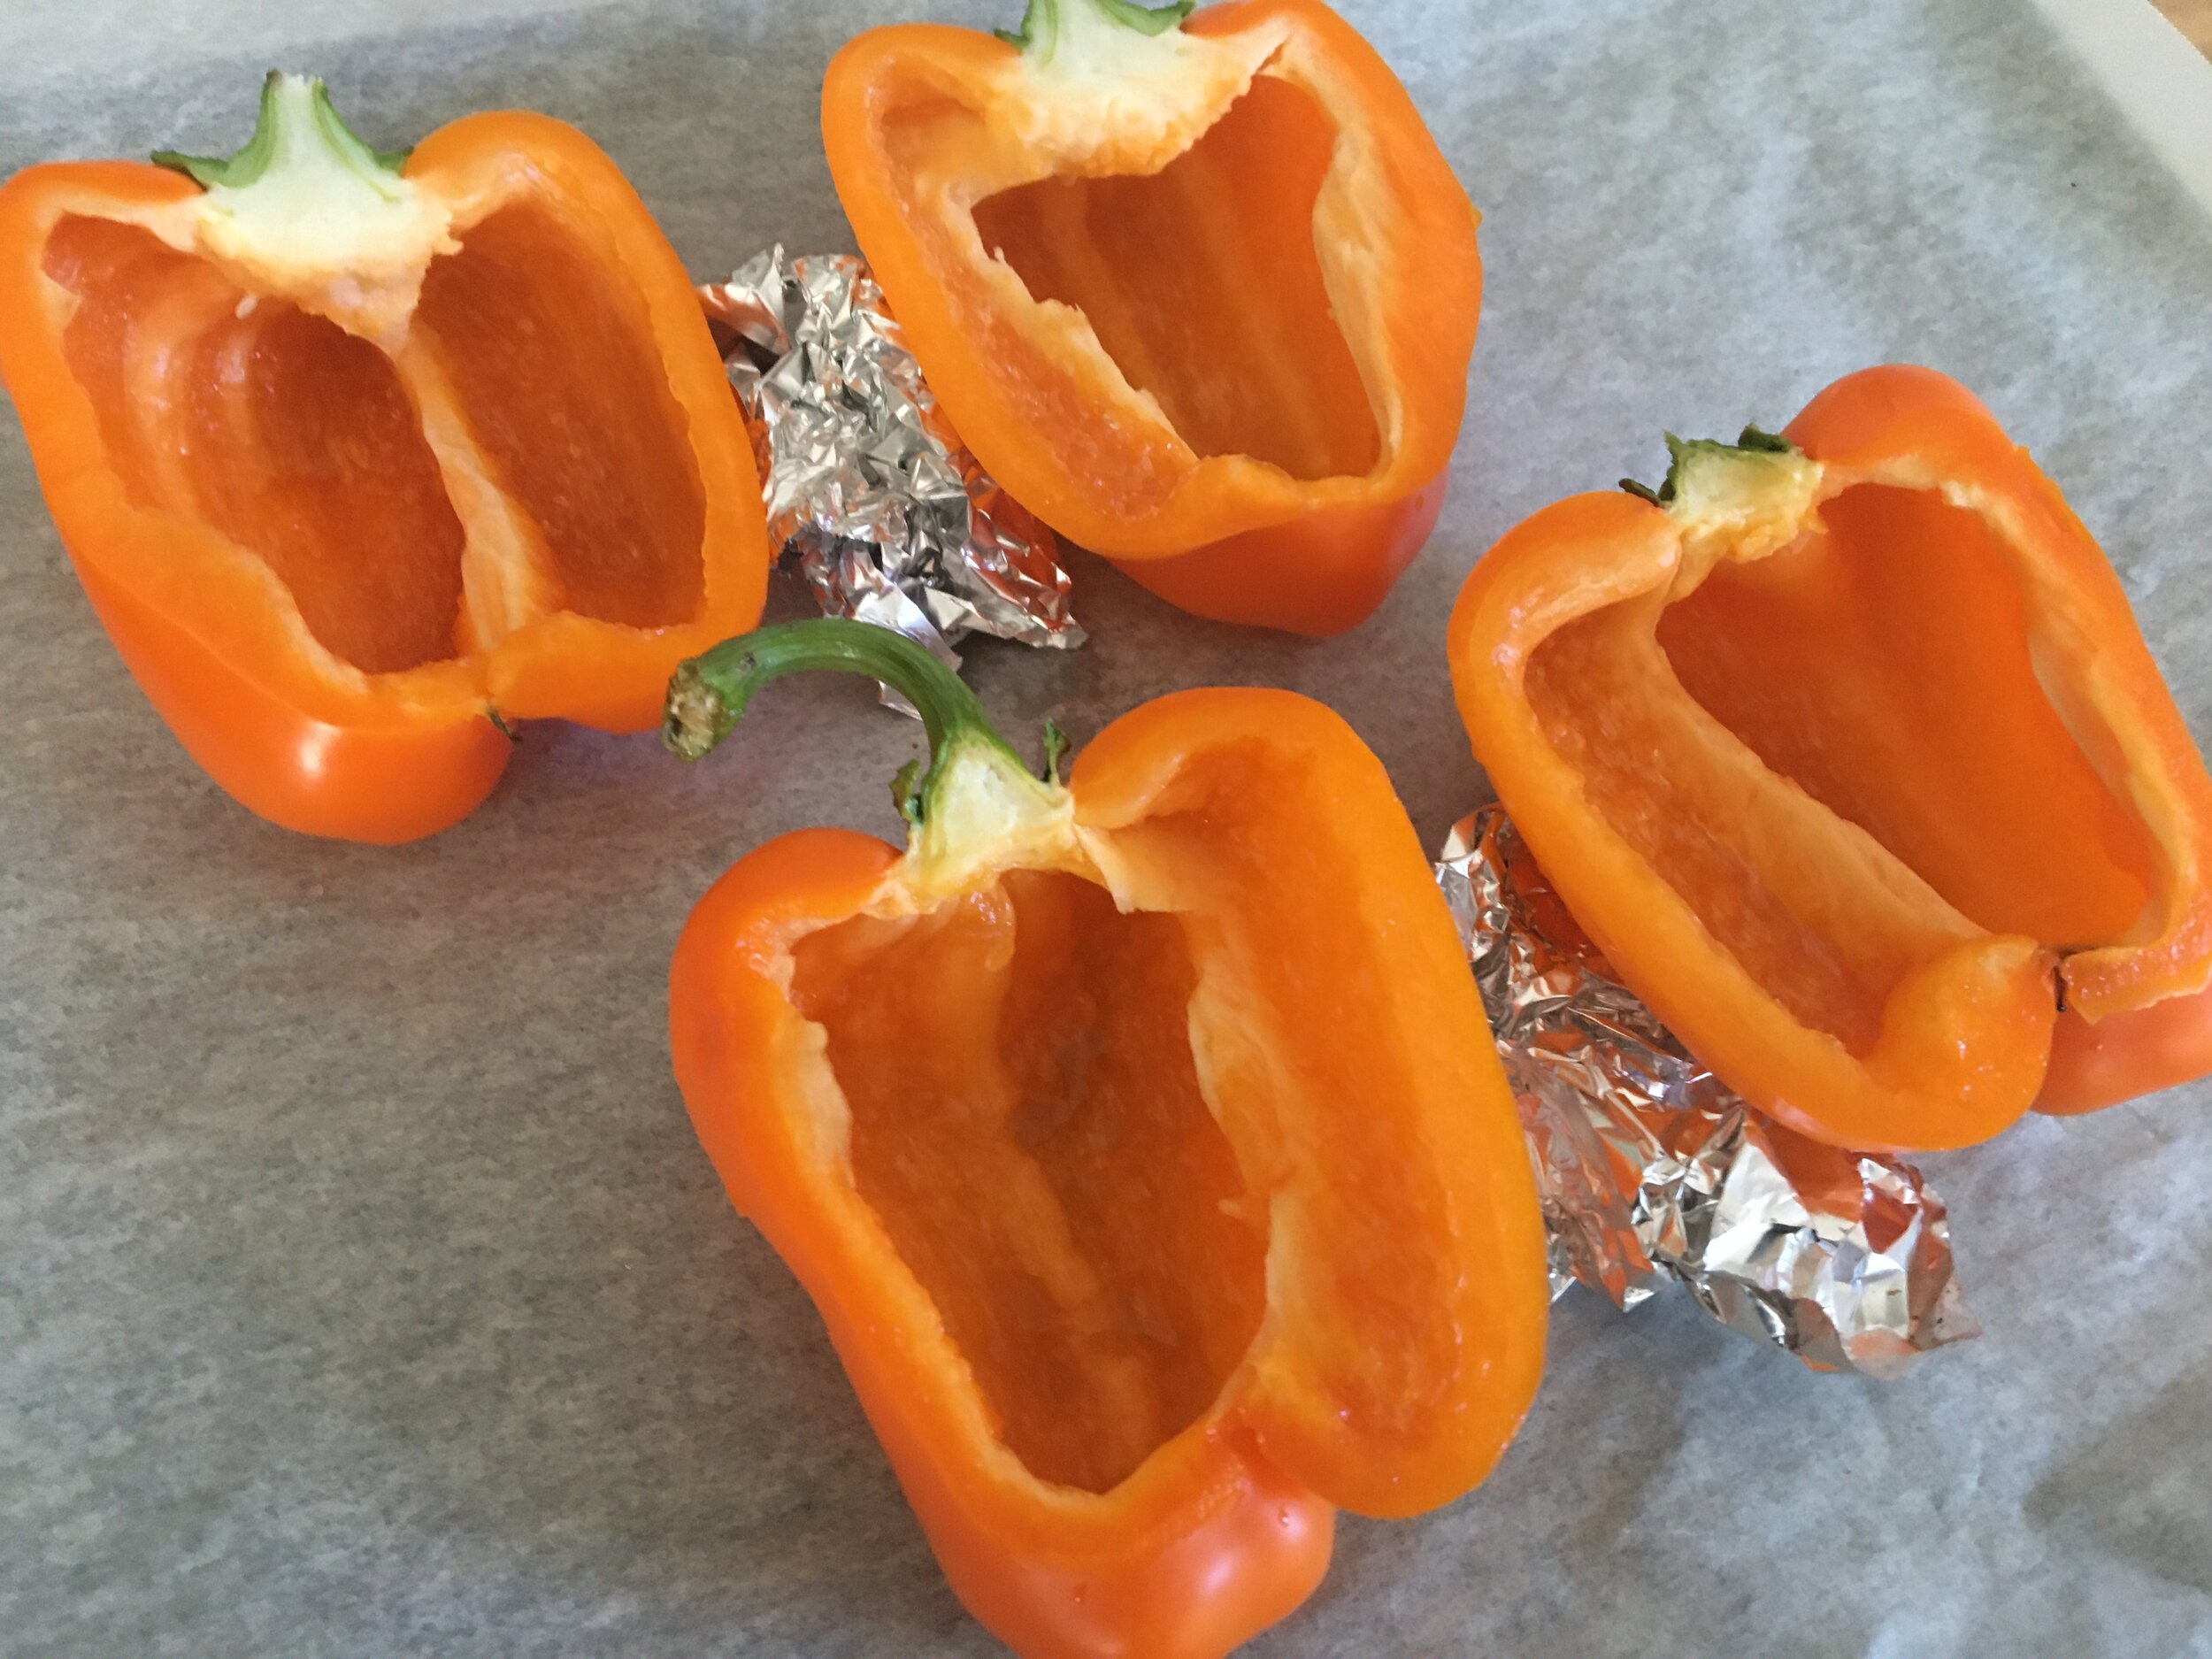
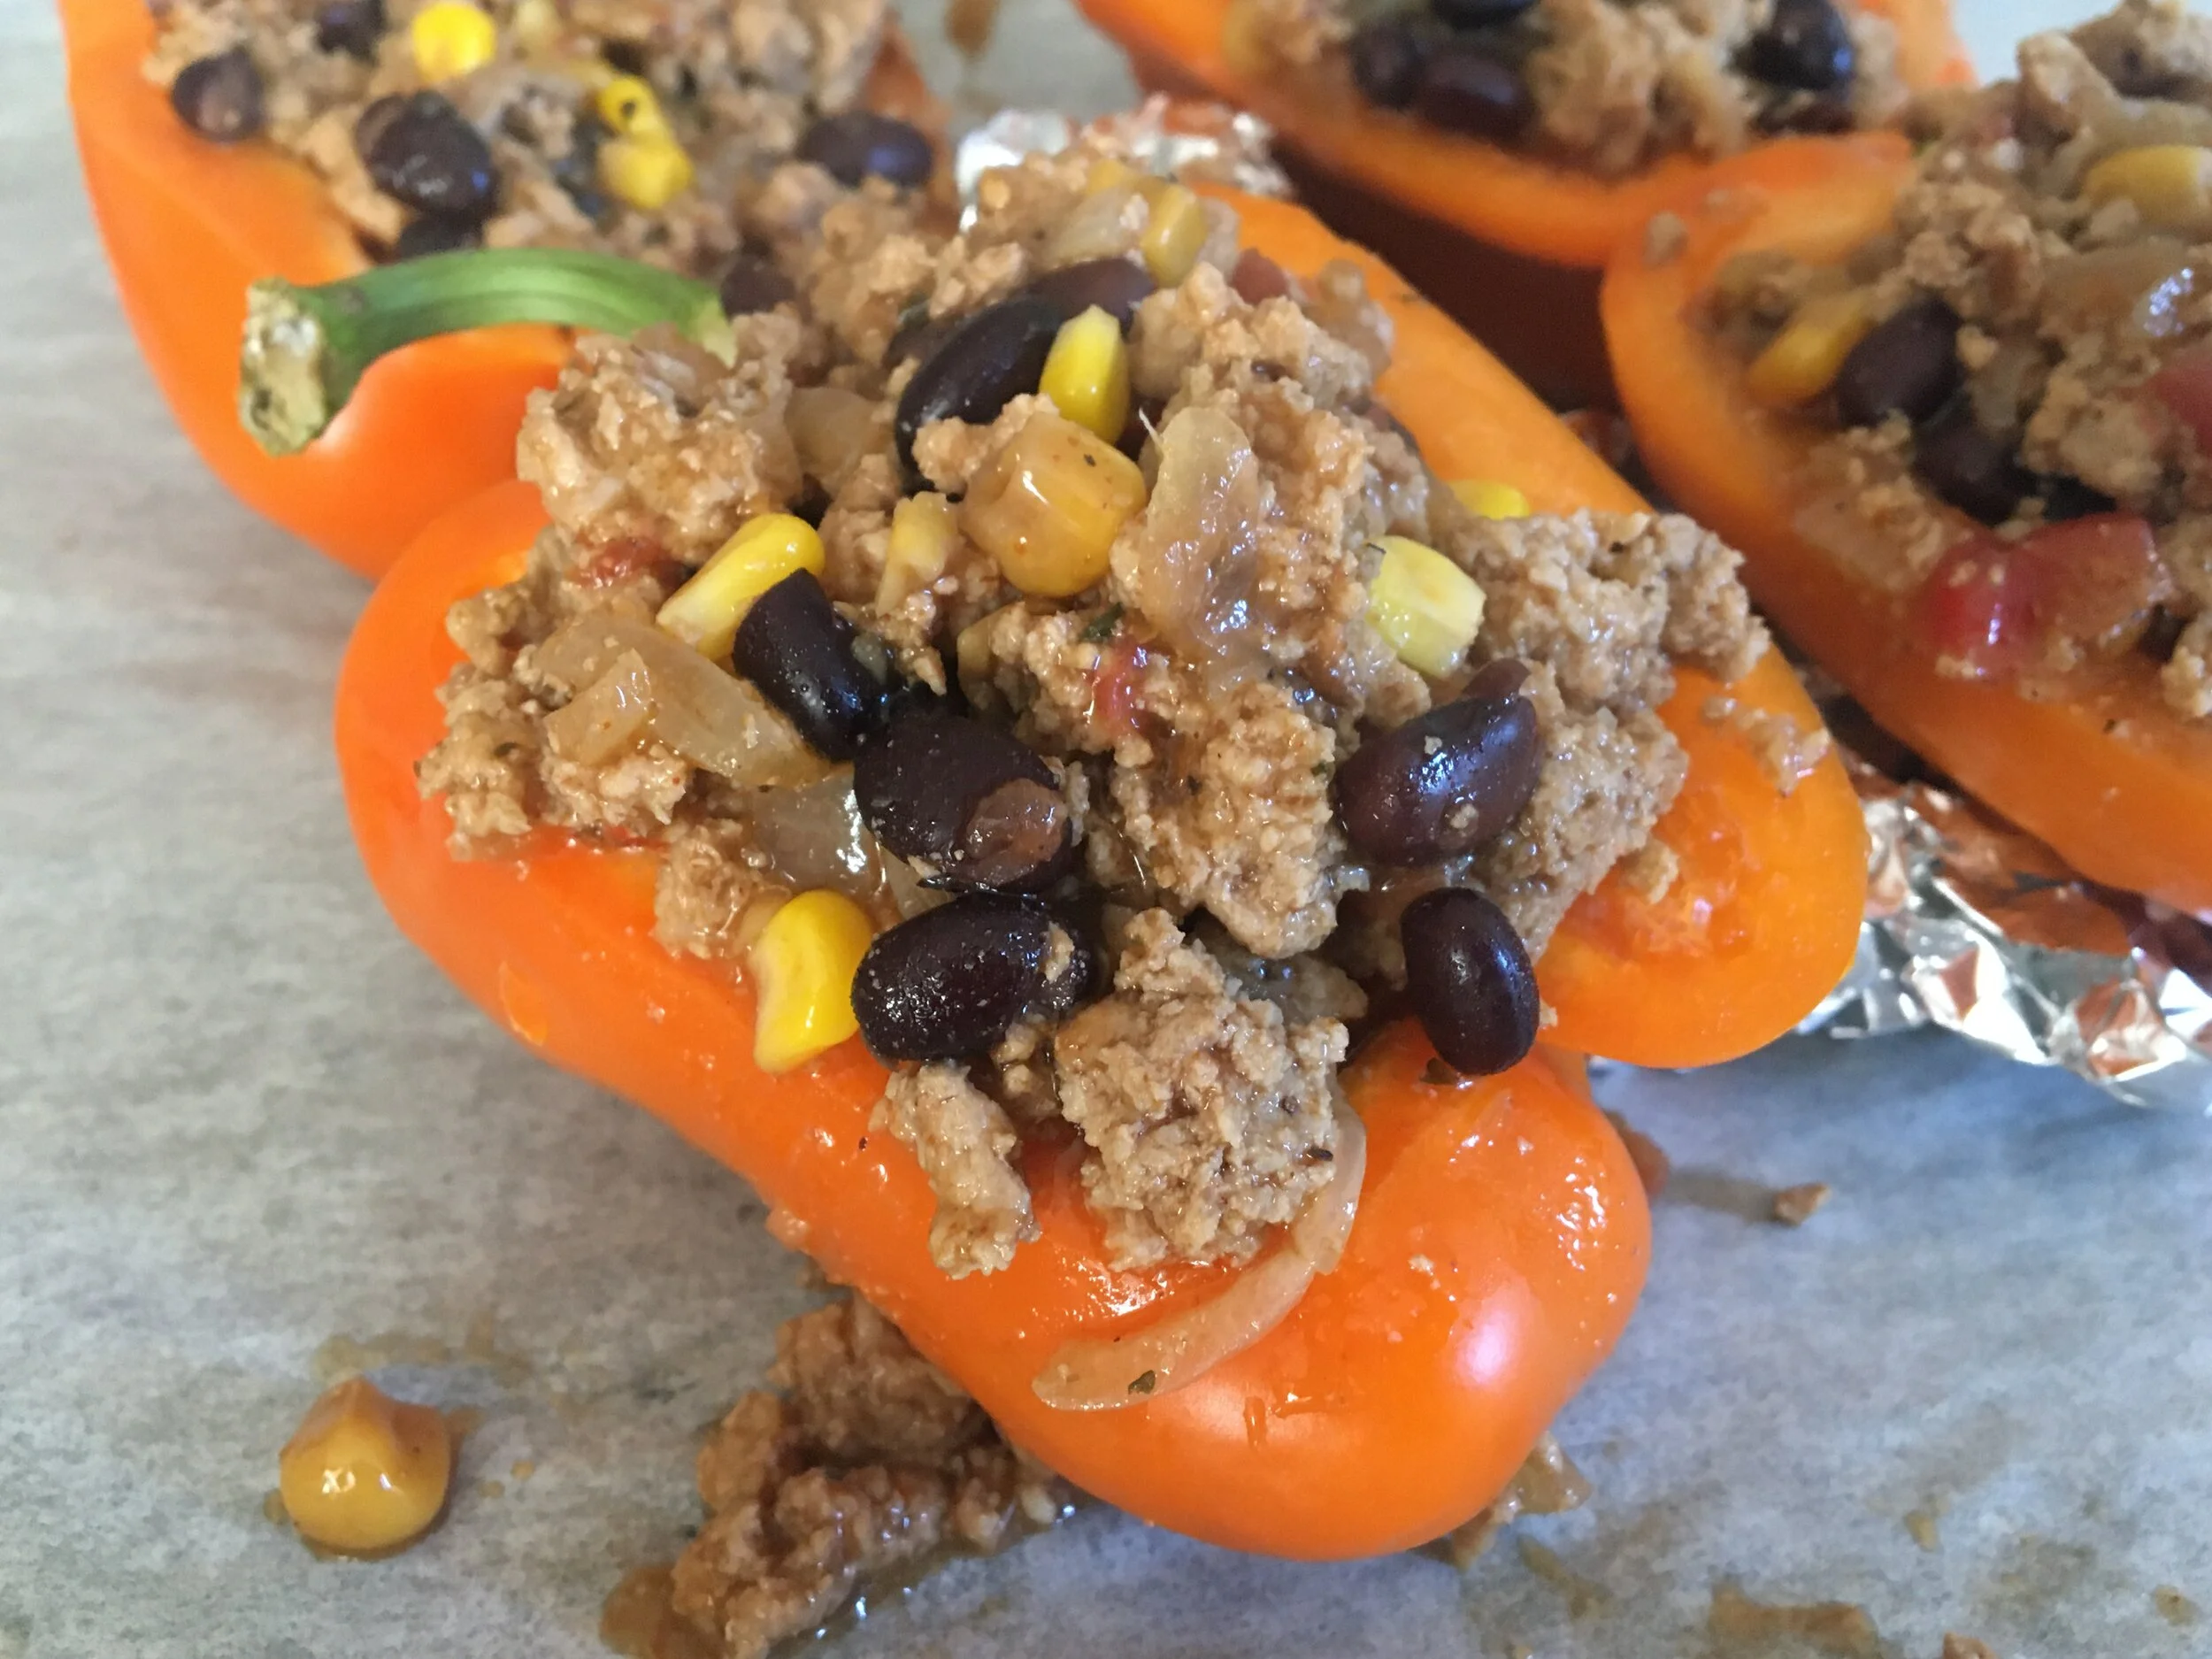
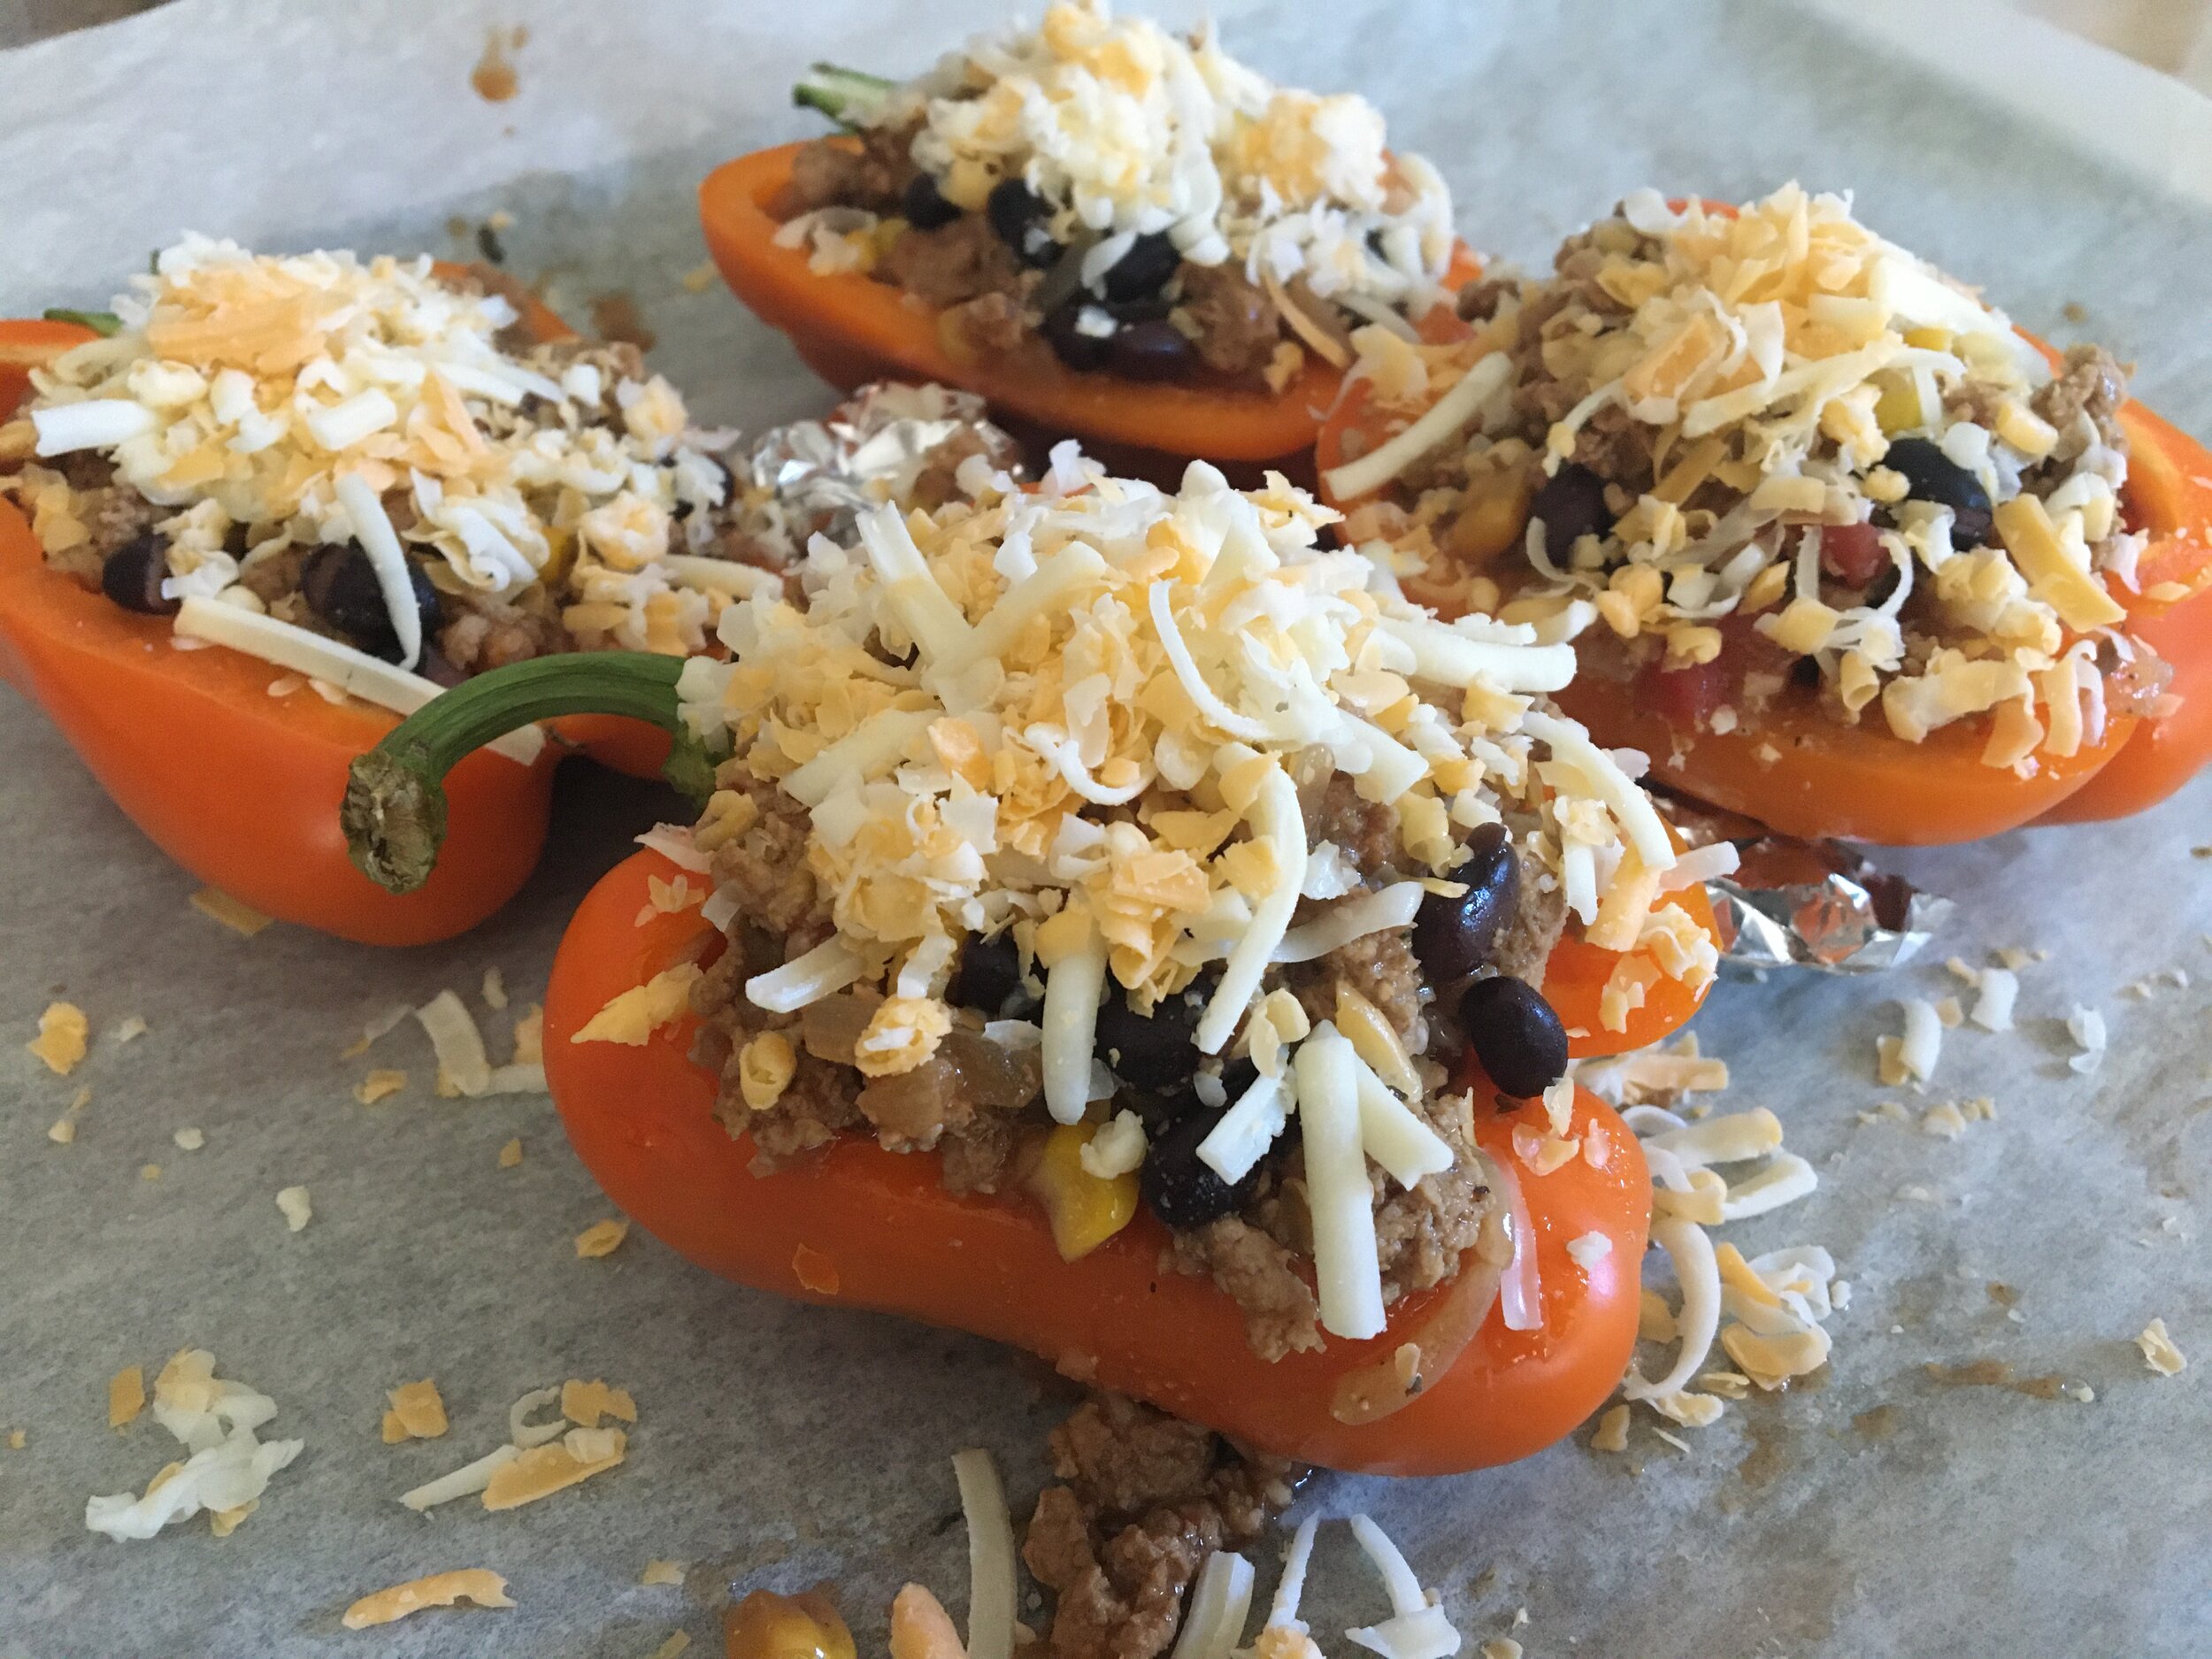
Turn heat to low and simmer until the meat is no longer pink. While meat is cooking, prepare the peppers. Wash, slice in half, and remove the seeds from the peppers. Place the peppers on a lightly greased or parchment paper-lined baking sheet and set aside. (If peppers wobble to one side, roll up a little aluminum foil and place near peppers to stabilize while cooking. This also prevents the filling from spilling out).
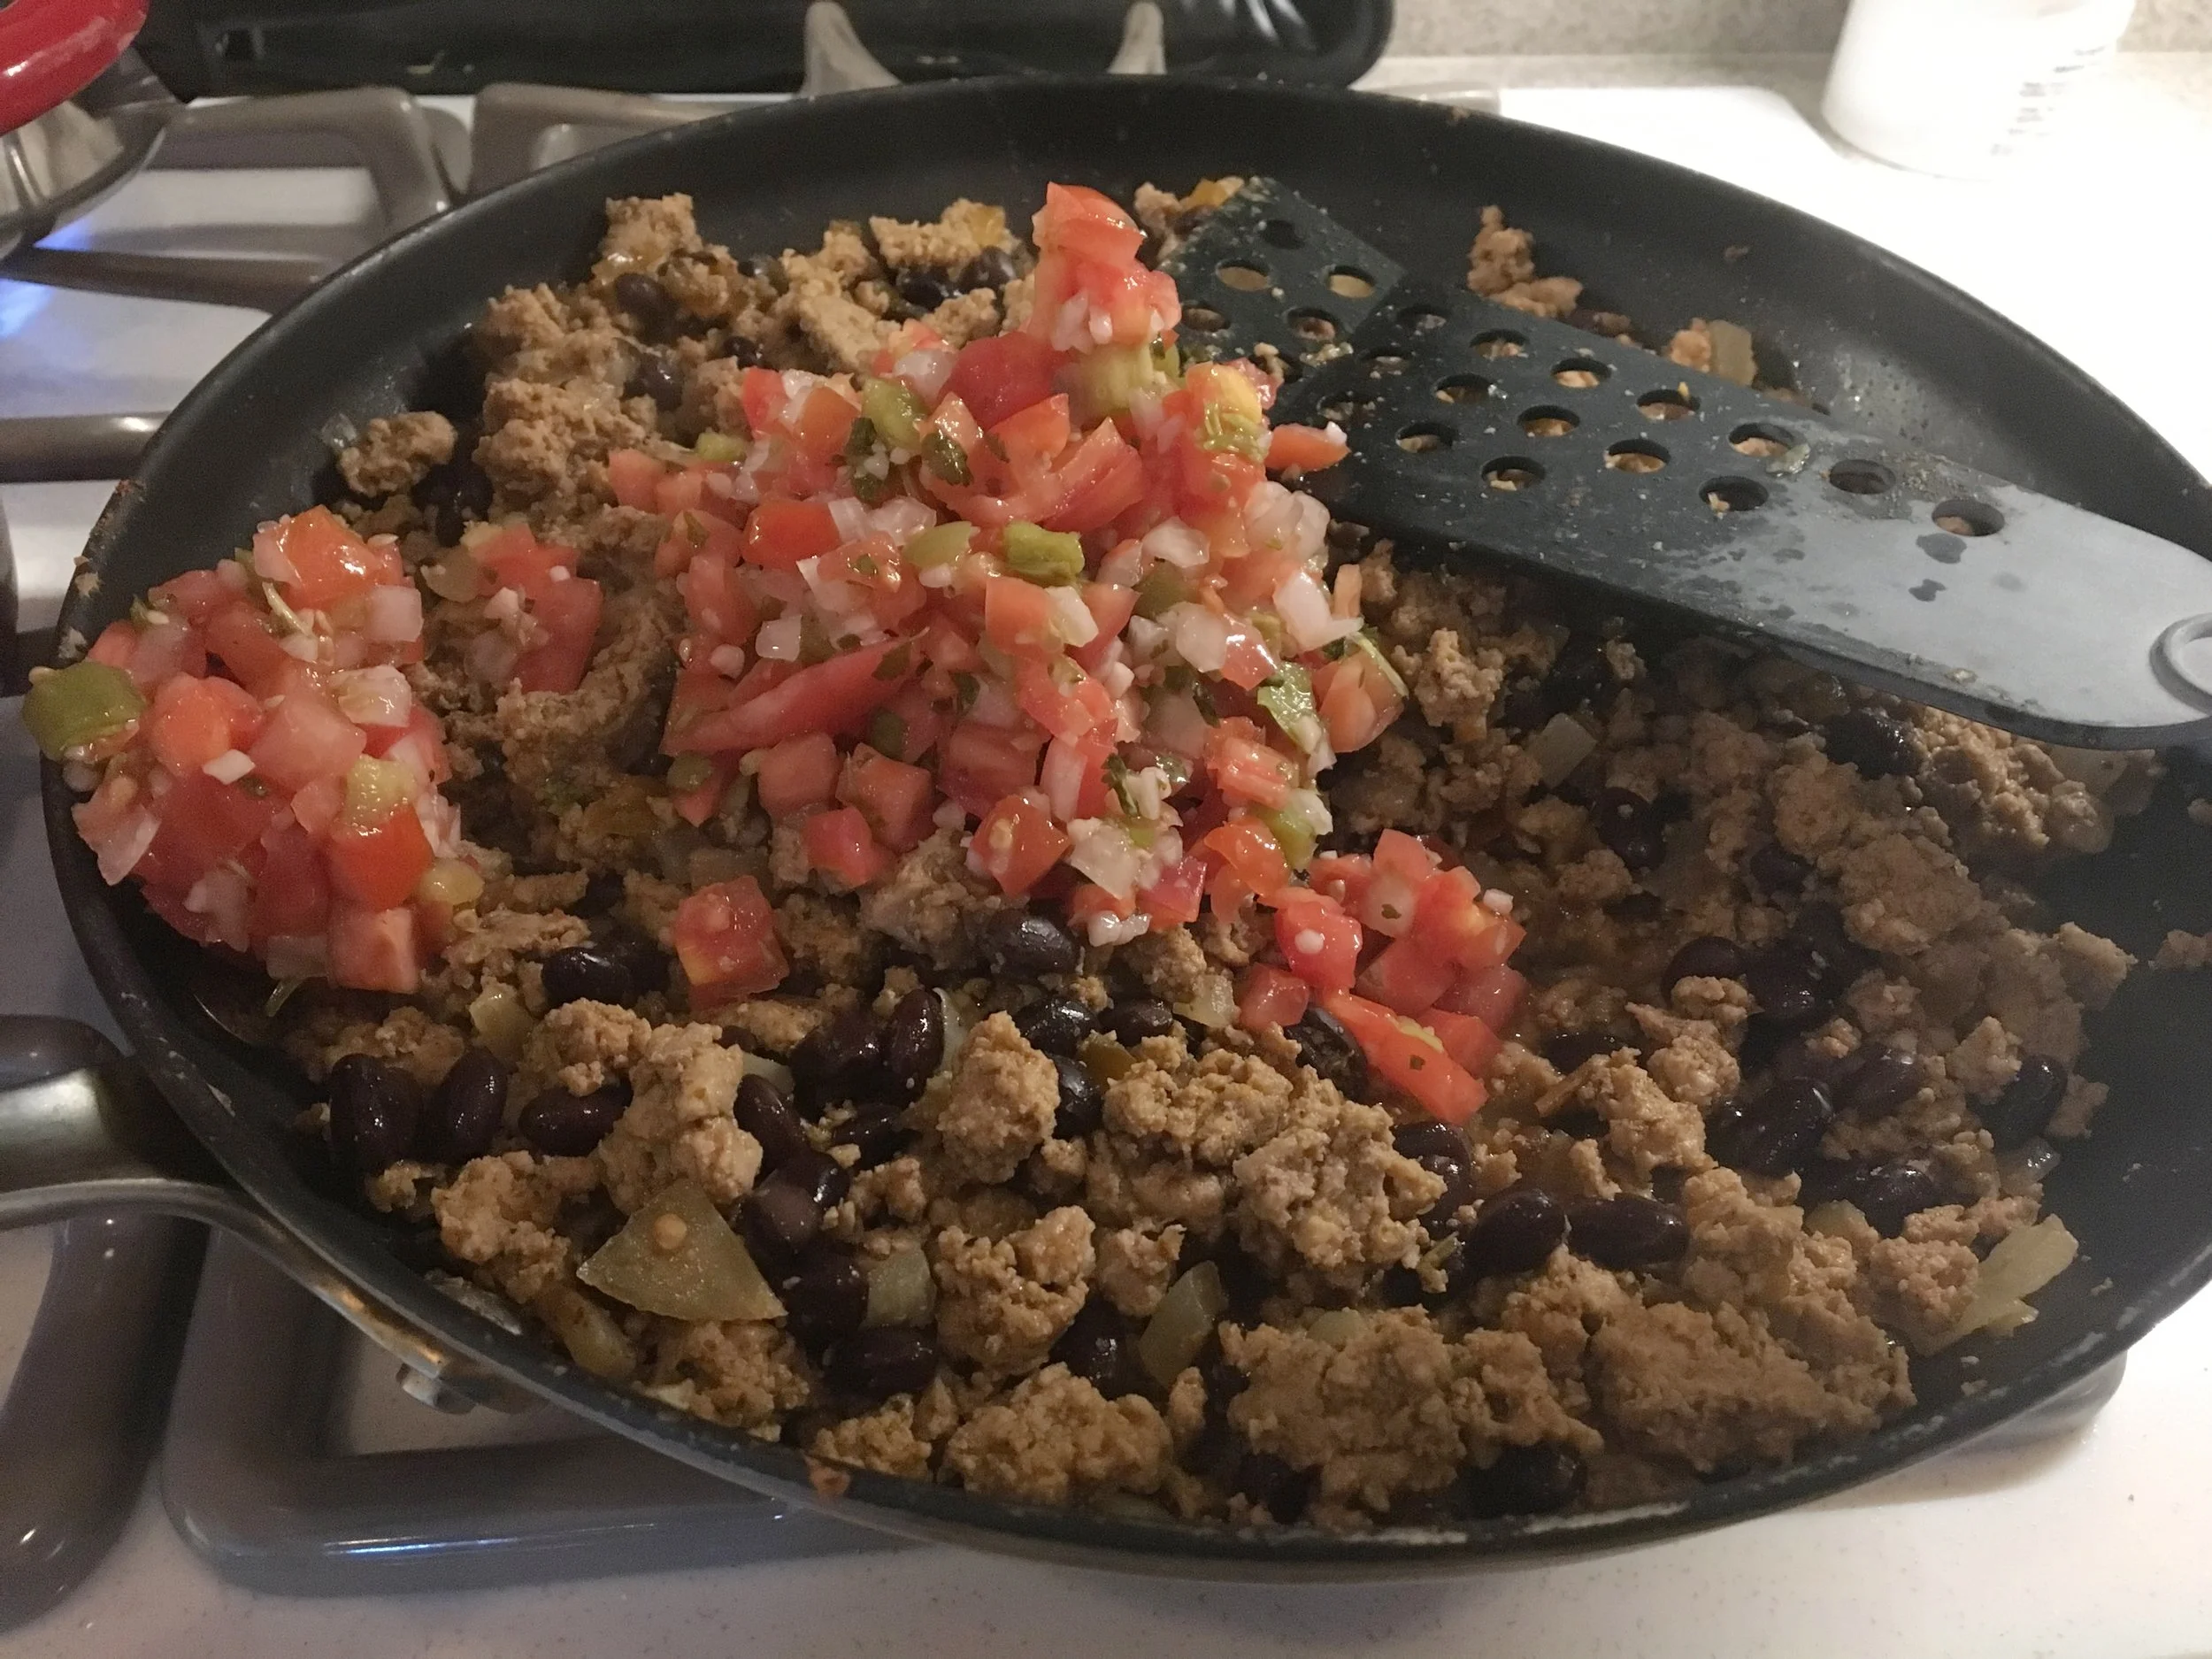
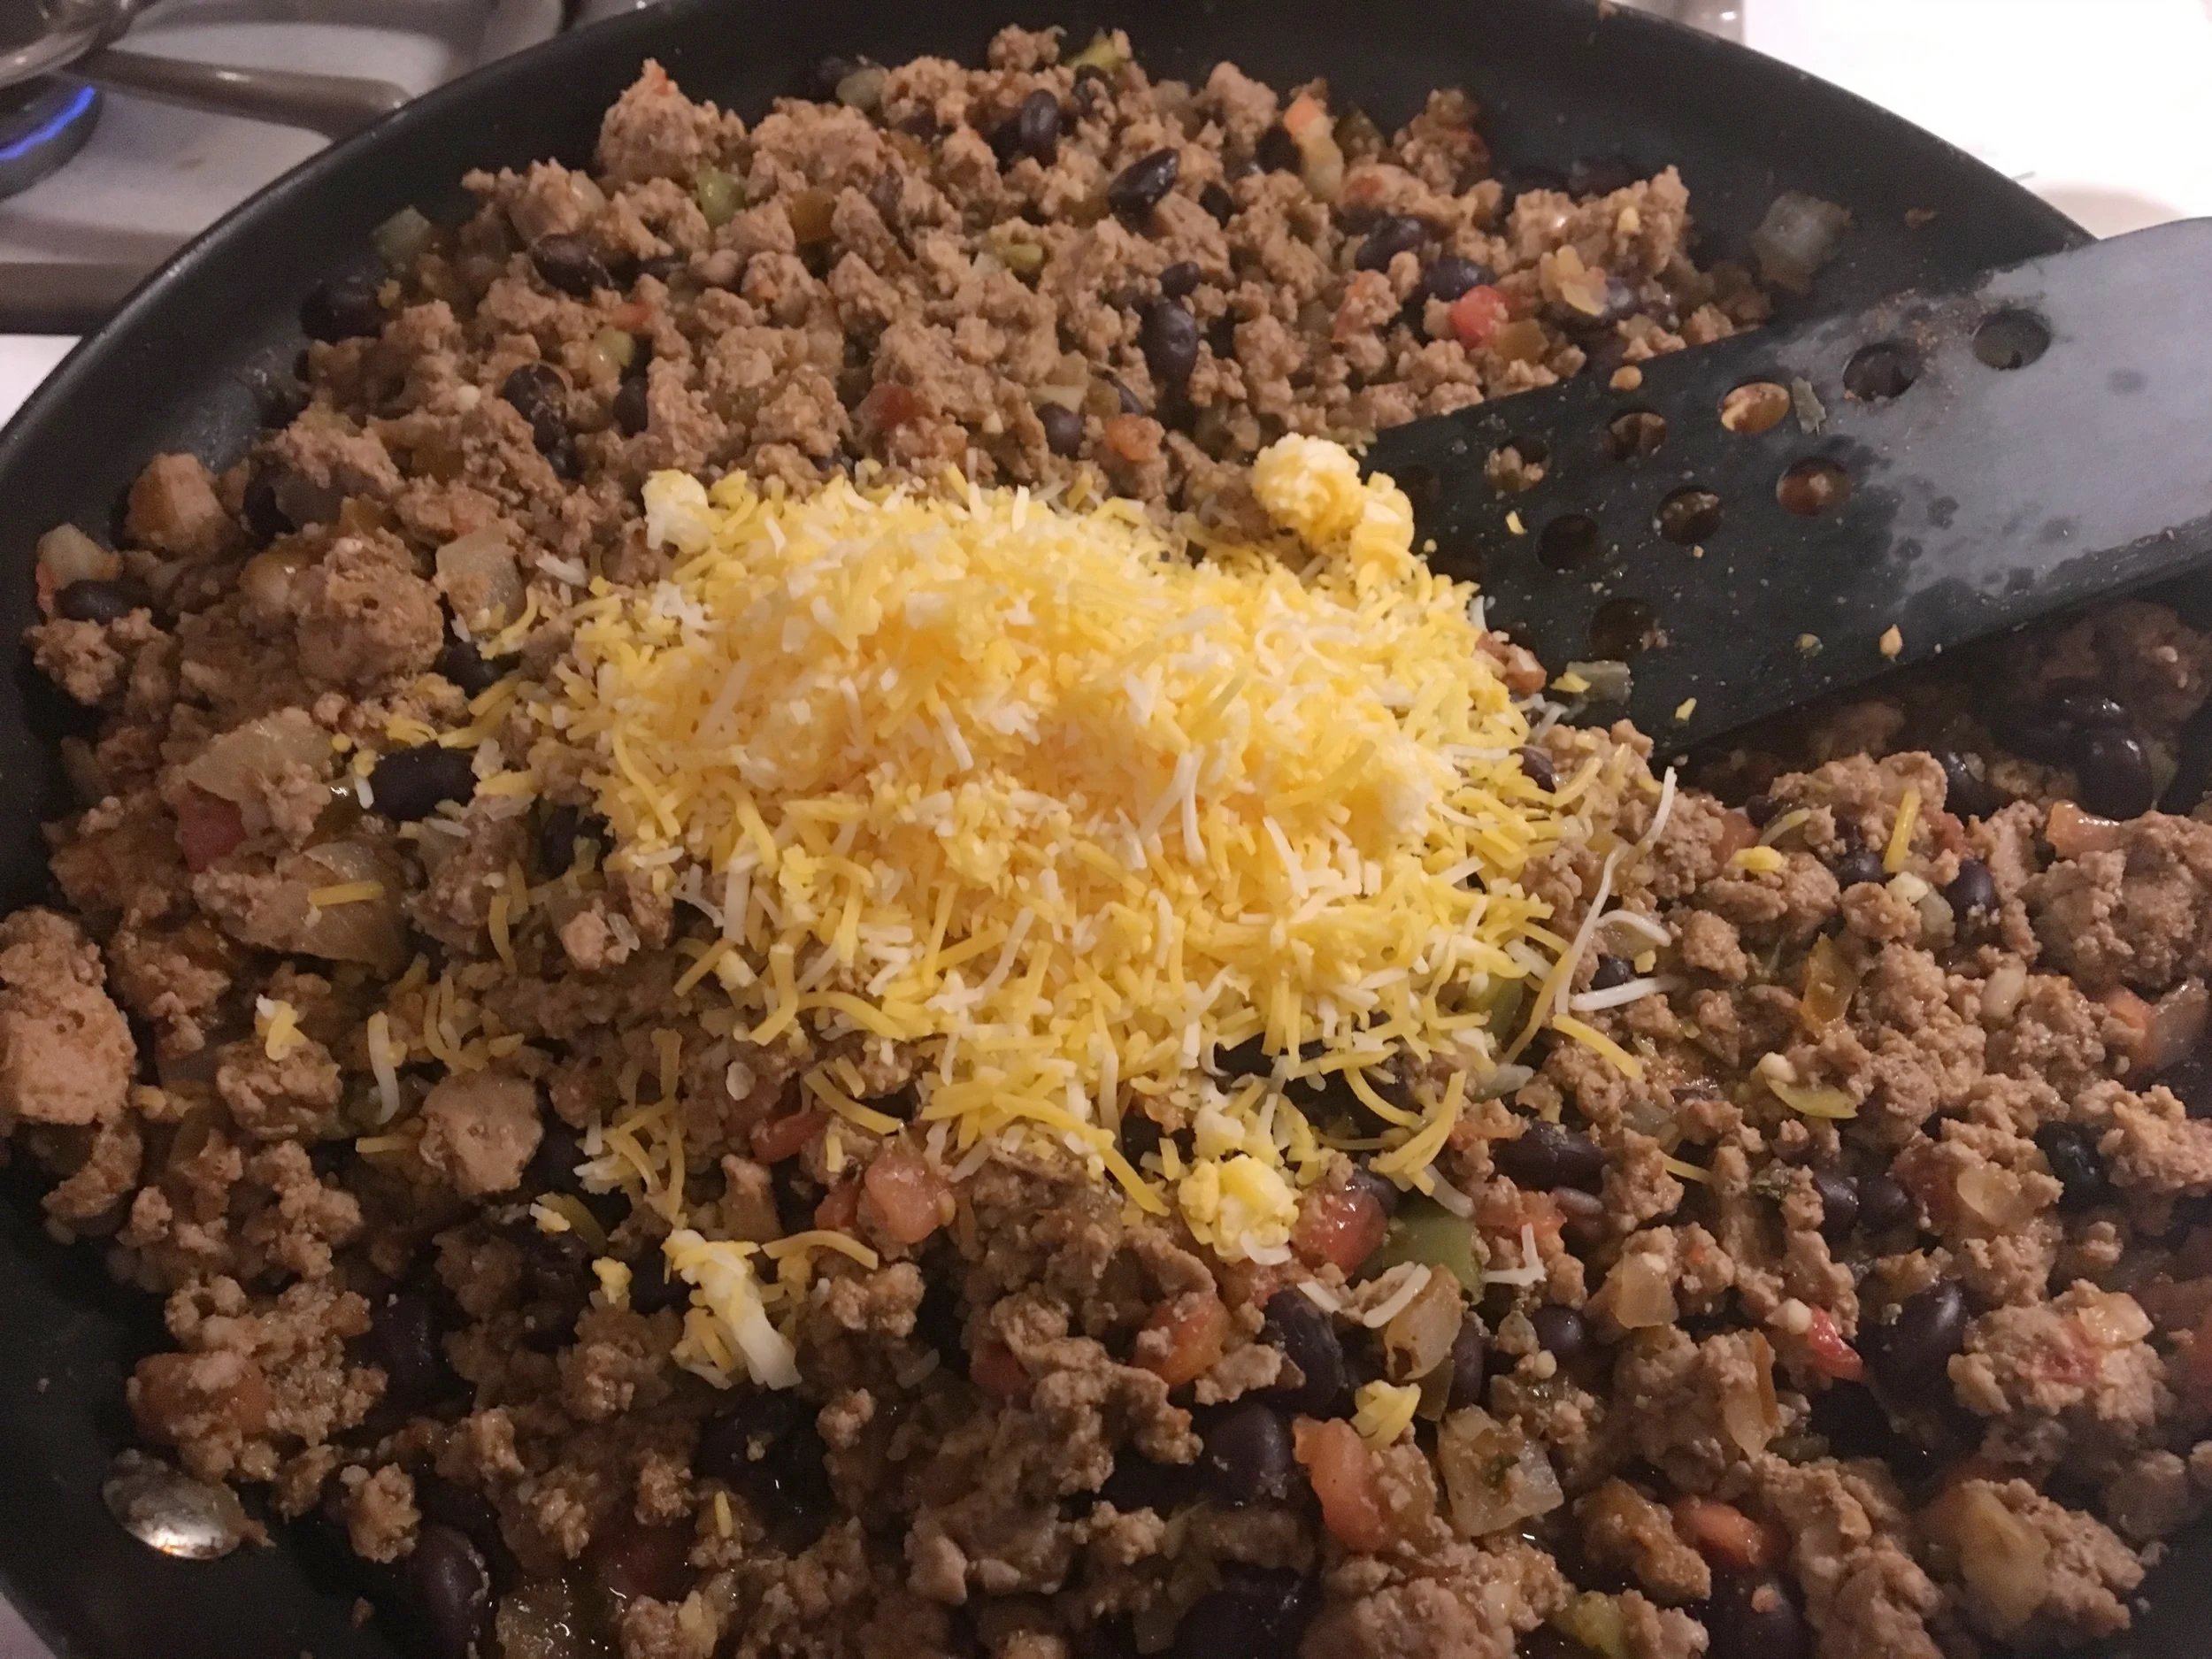
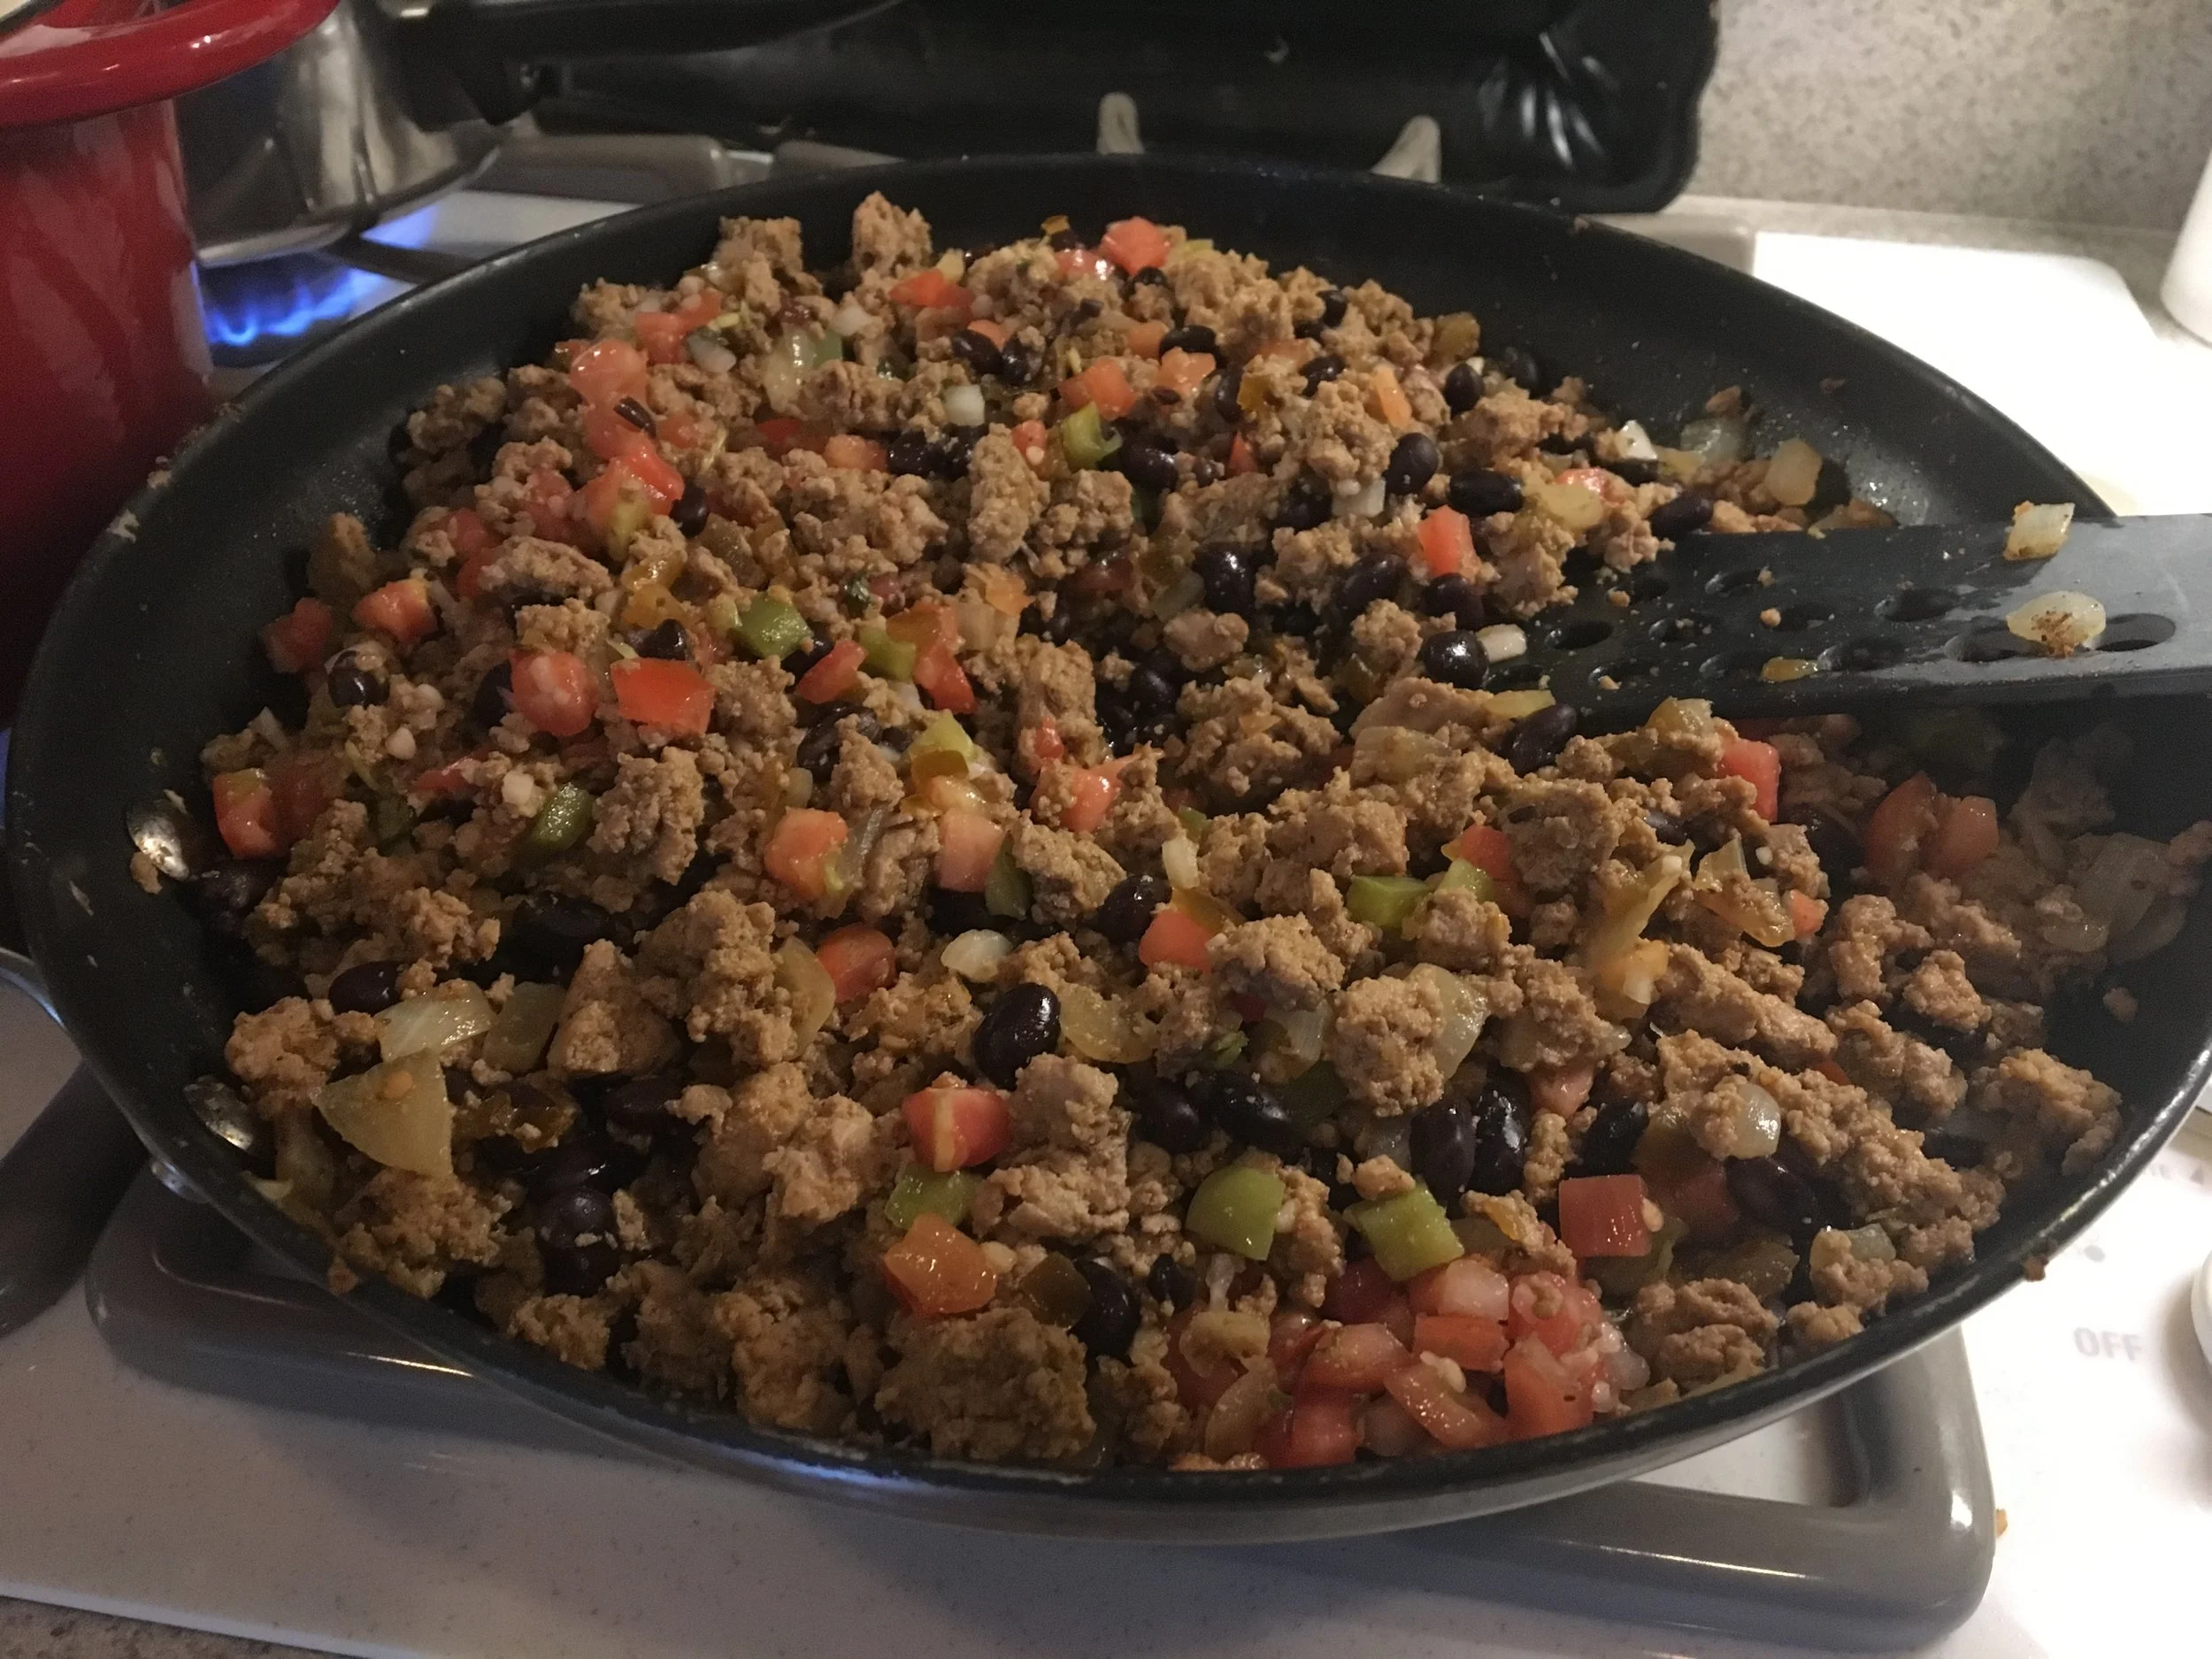
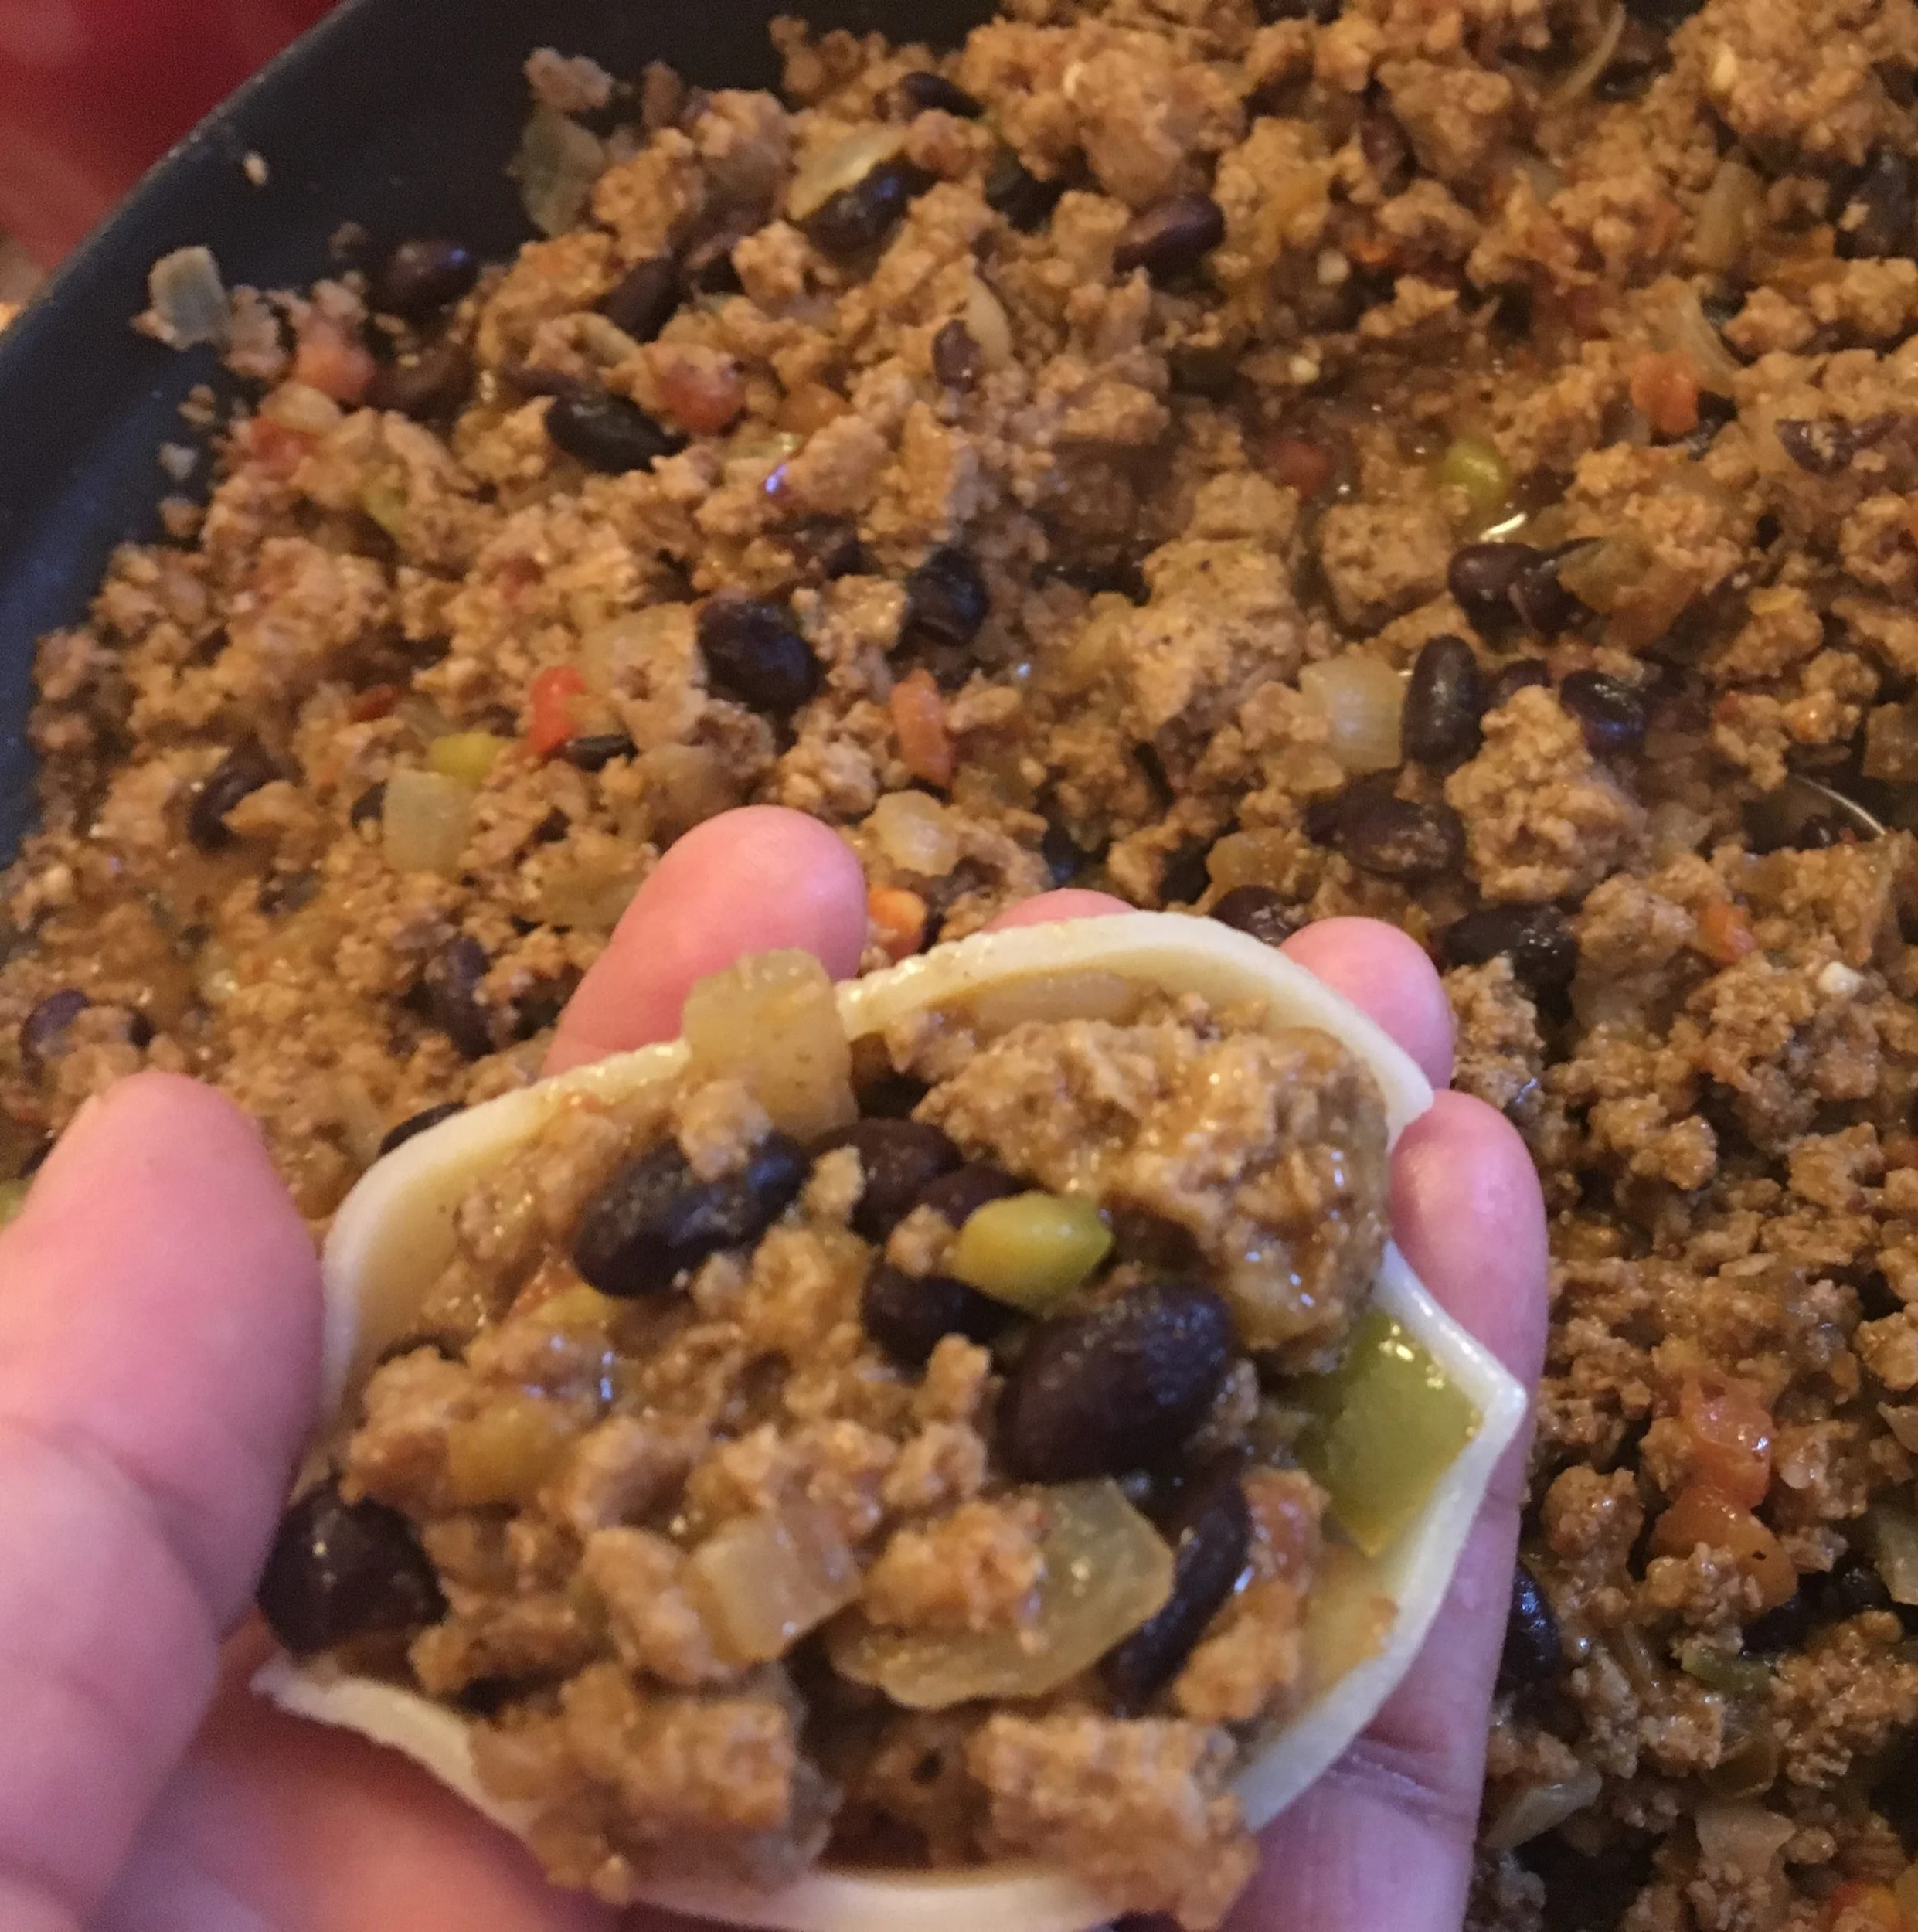
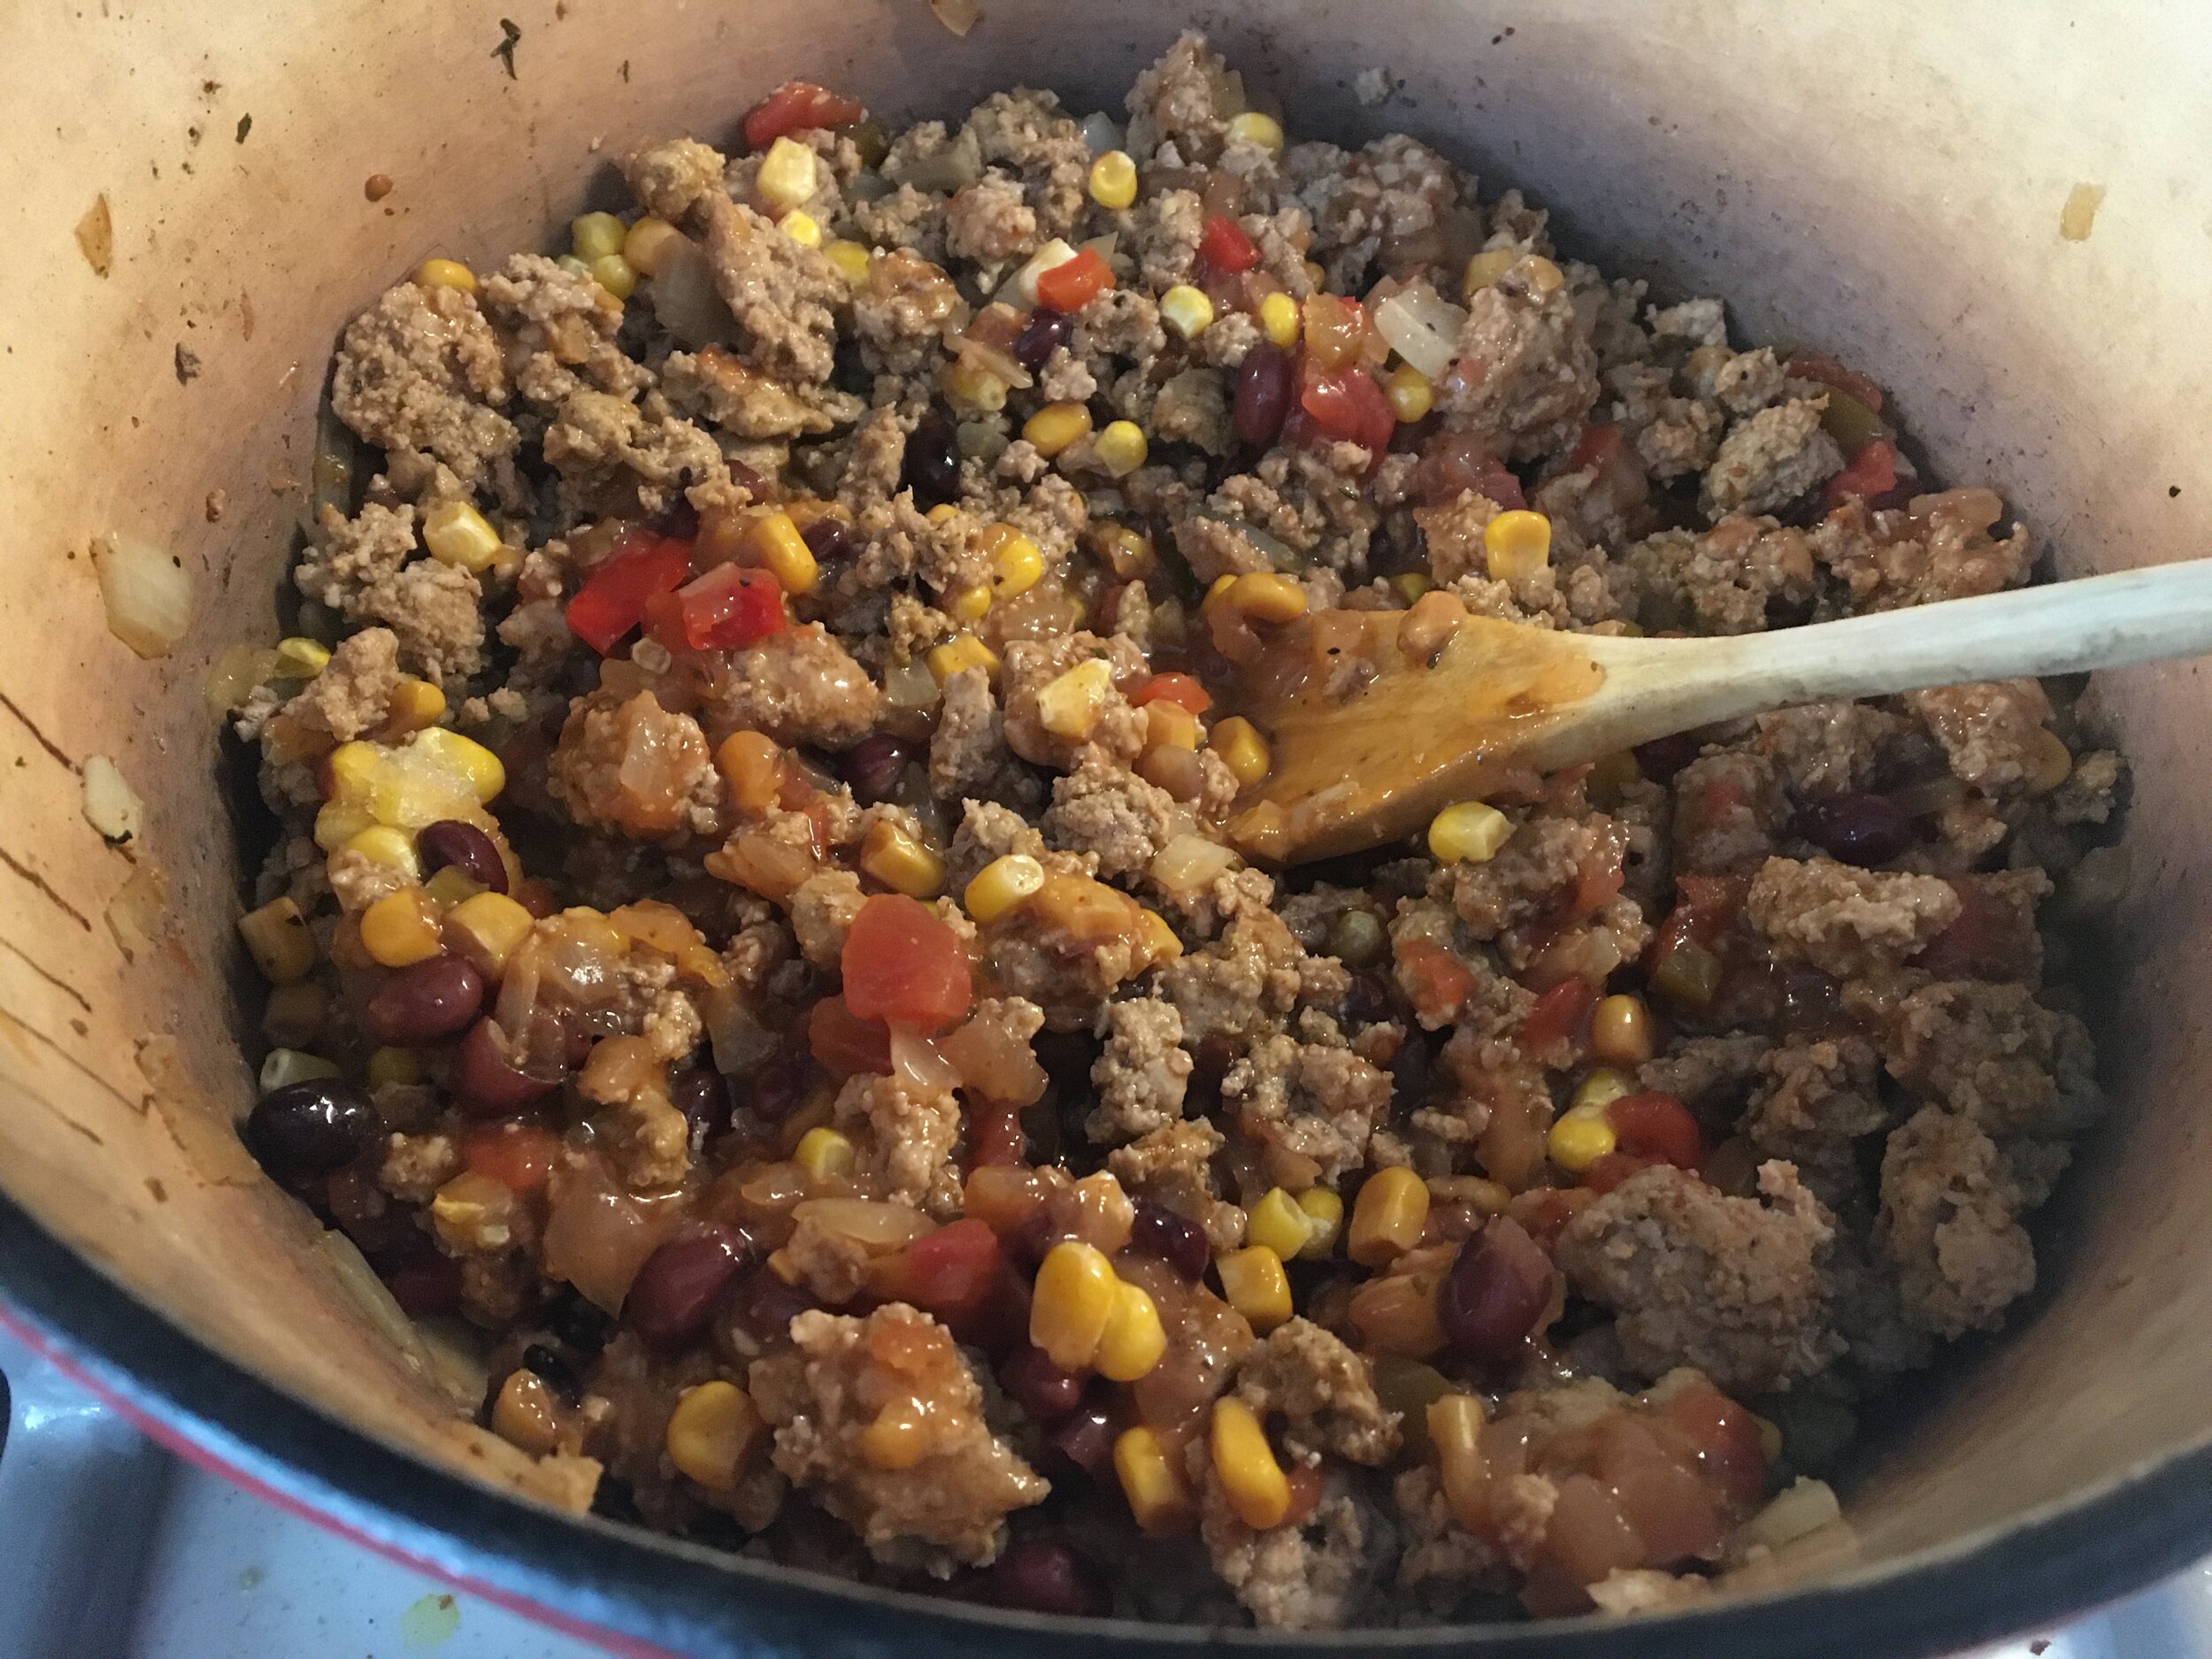
As meat finishes cooking, add Cherchies® Black Bean & Corn Salsa or Cherchies® Vidalia Onion Peach Salsa, the can of black beans to the mixture, stir, and cook for a few more minutes. Next, add 1/2 cup shredded cheese to the meat mixture and stir until melted. Turn off the heat and allow the meat to cool for ten minutes. (This will make filling the peppers easier).
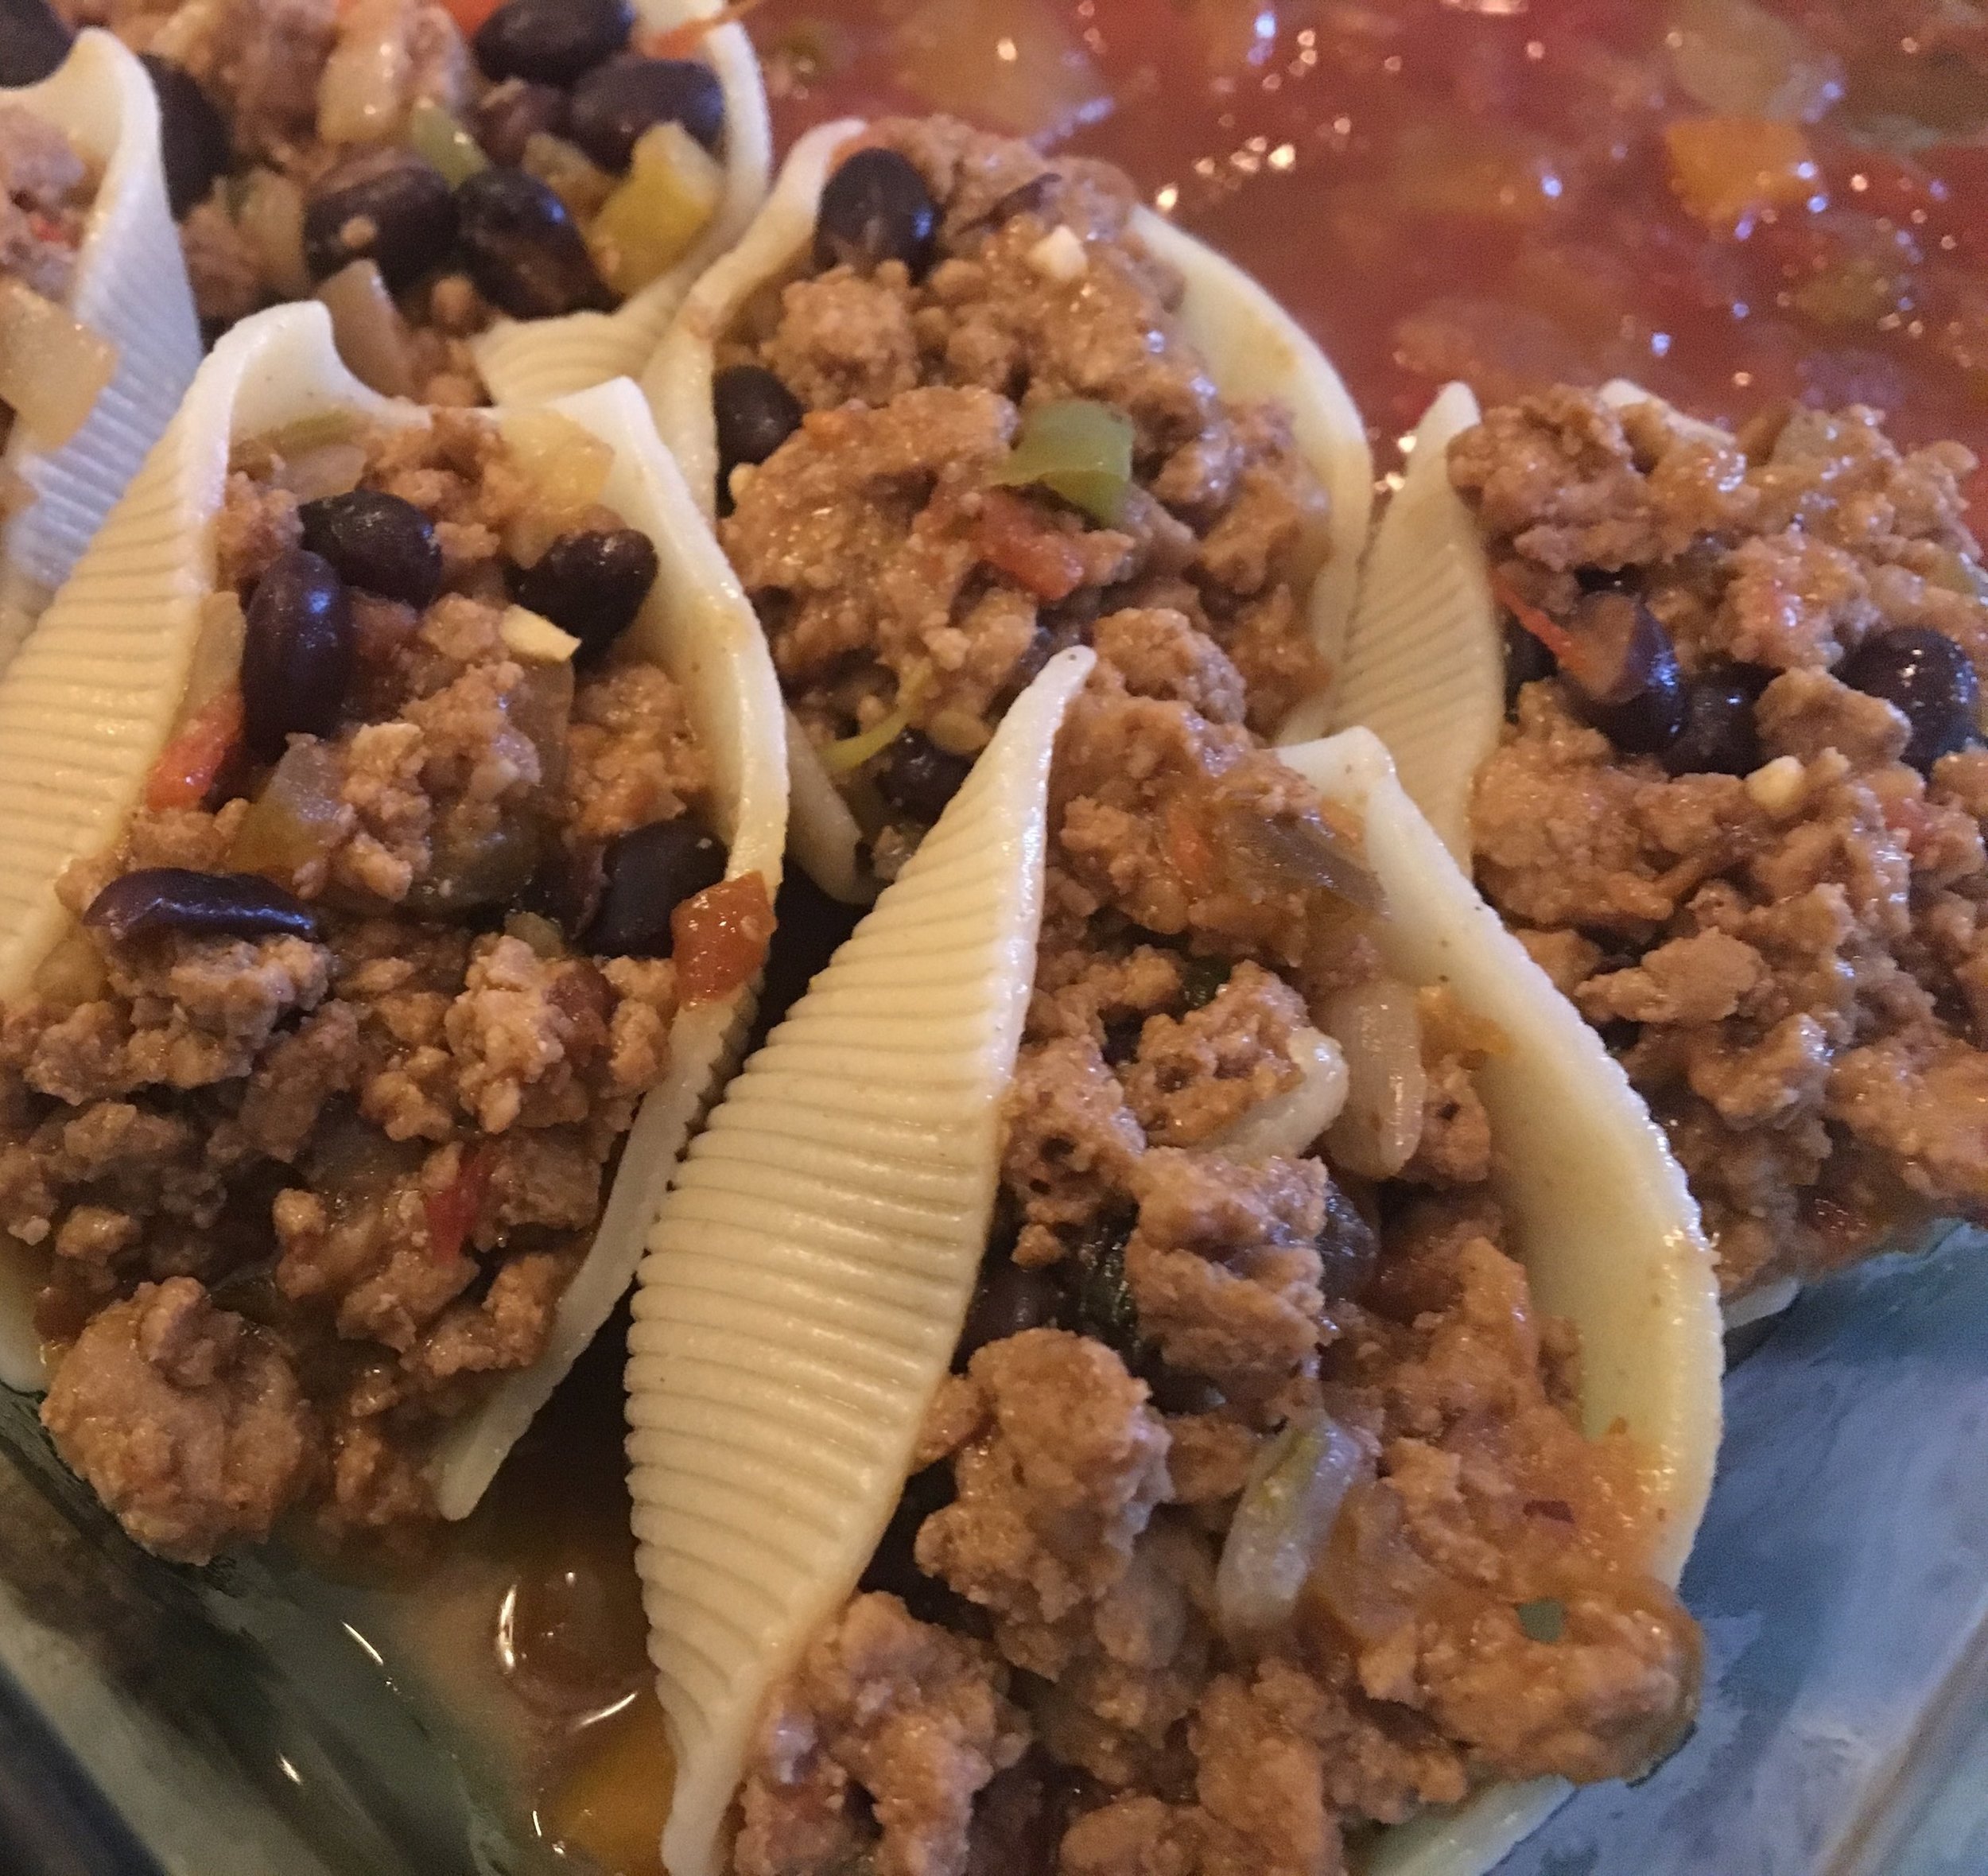
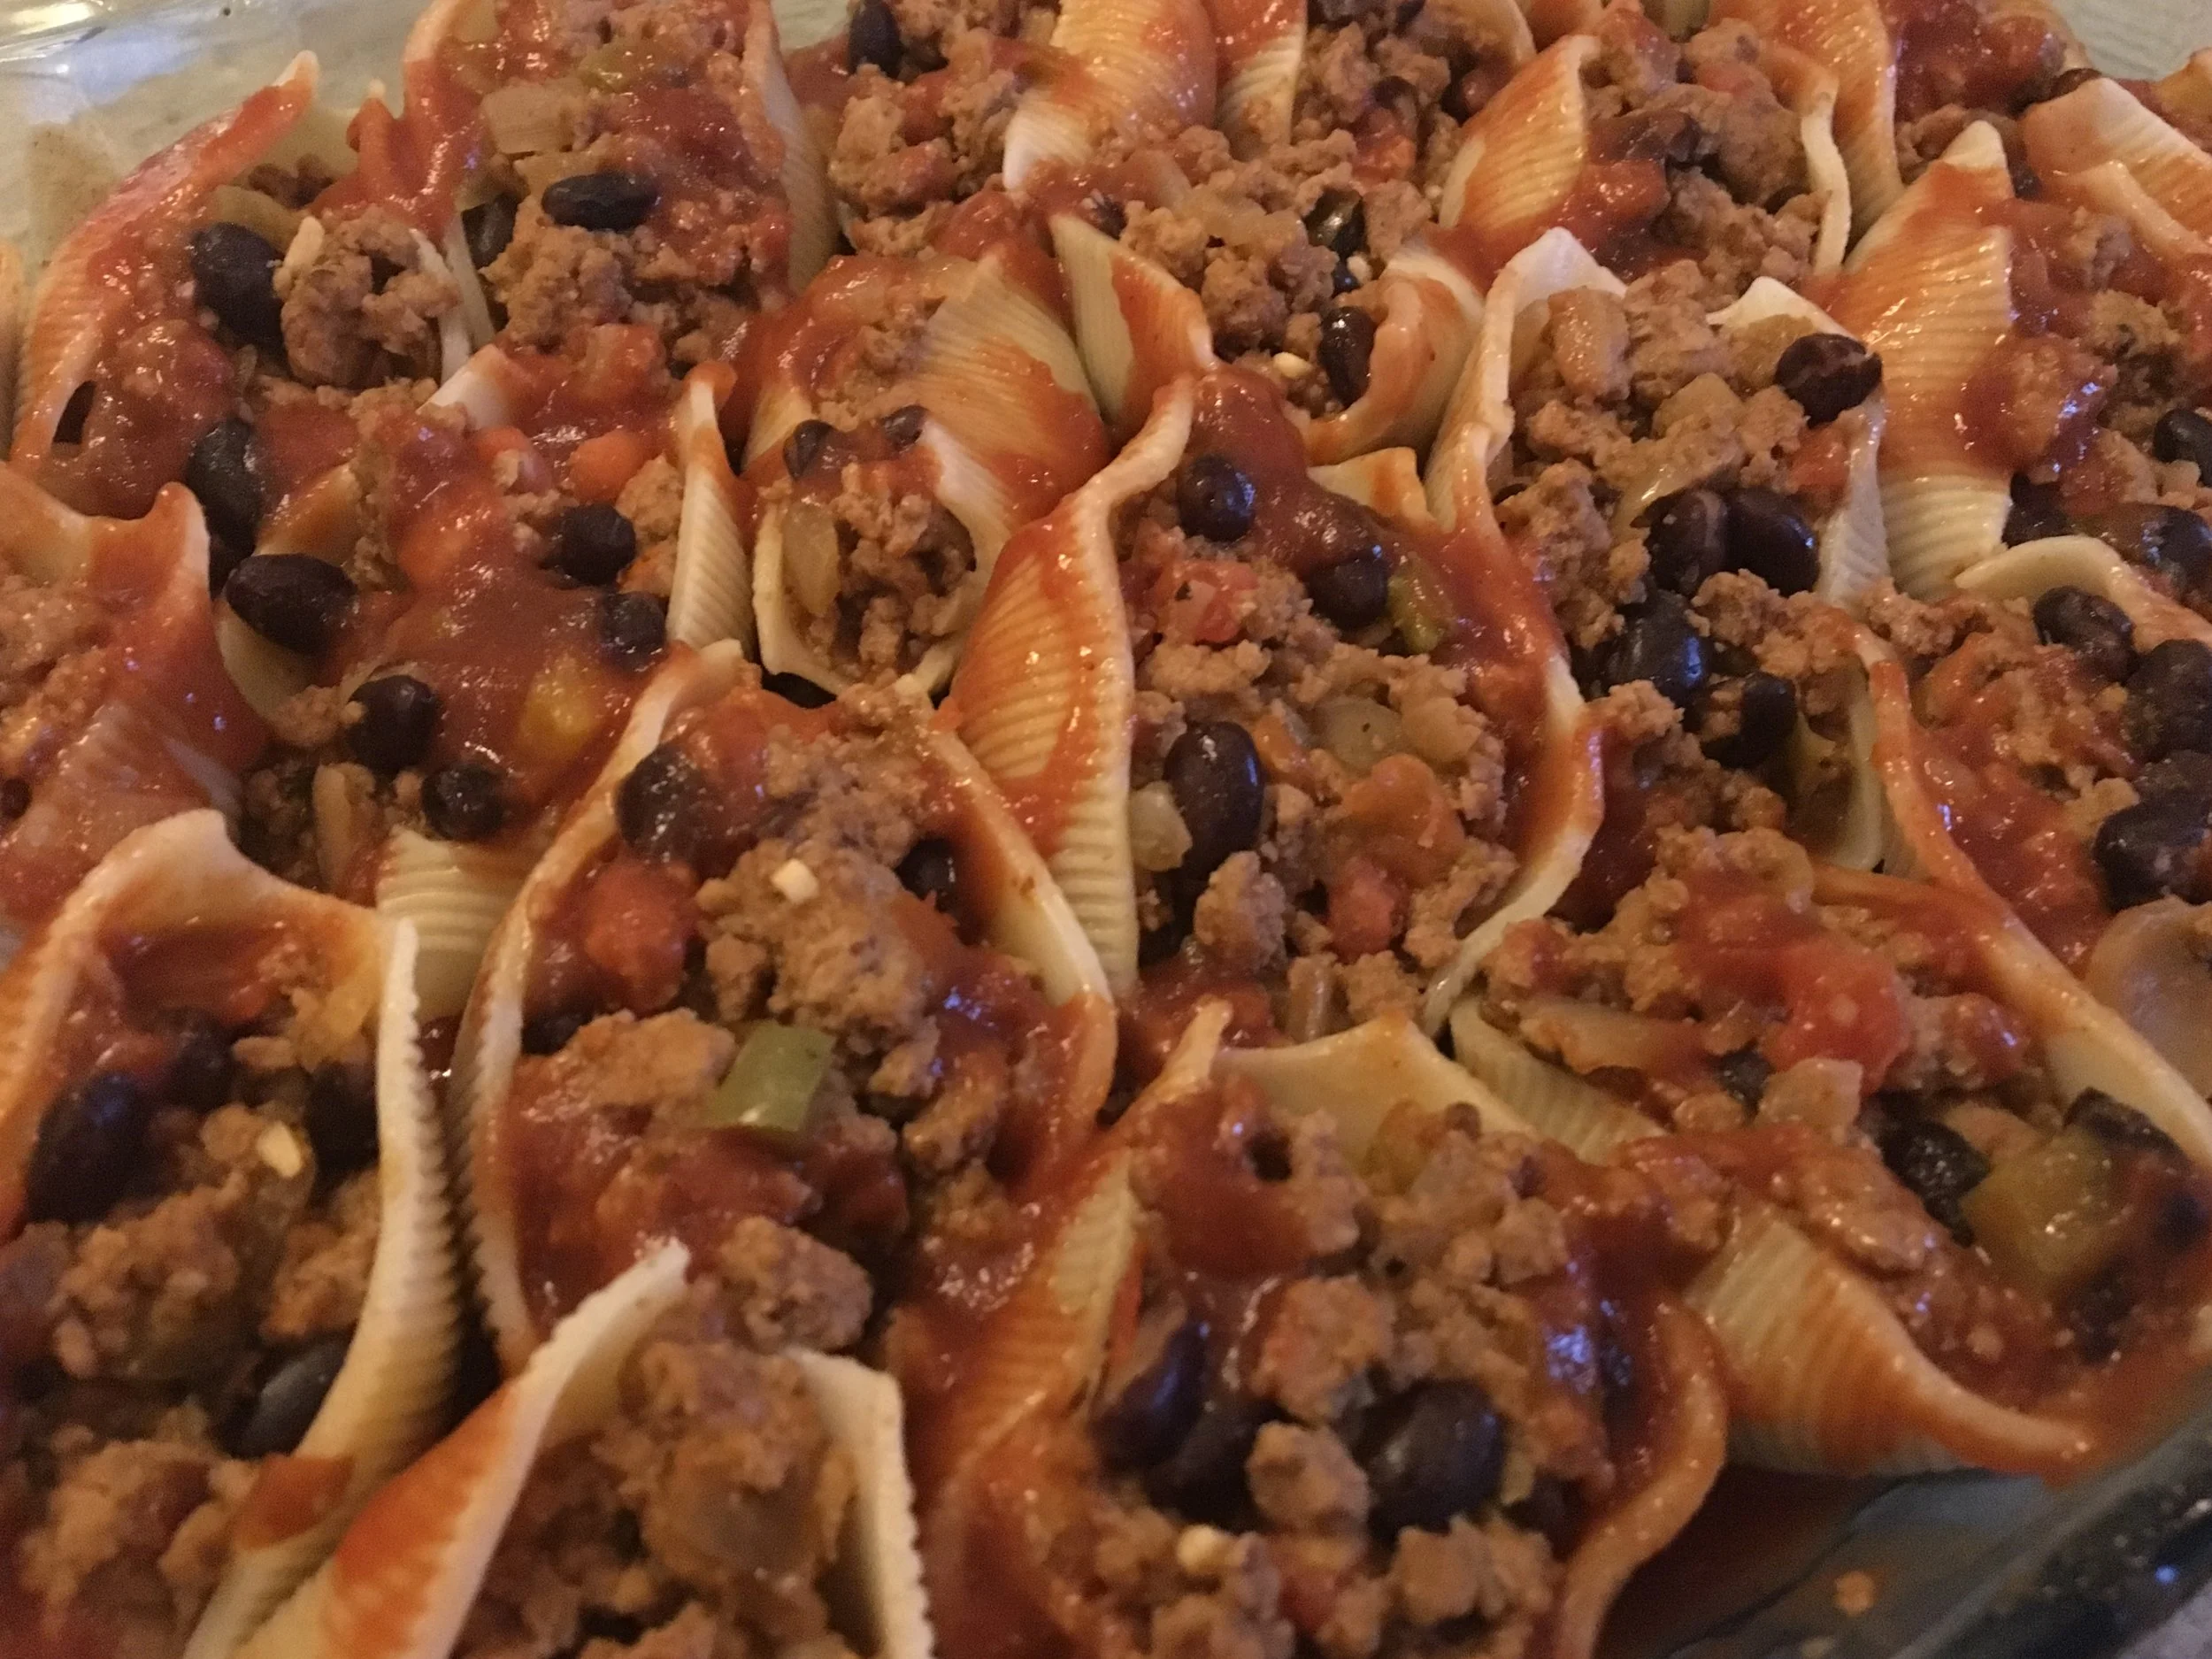
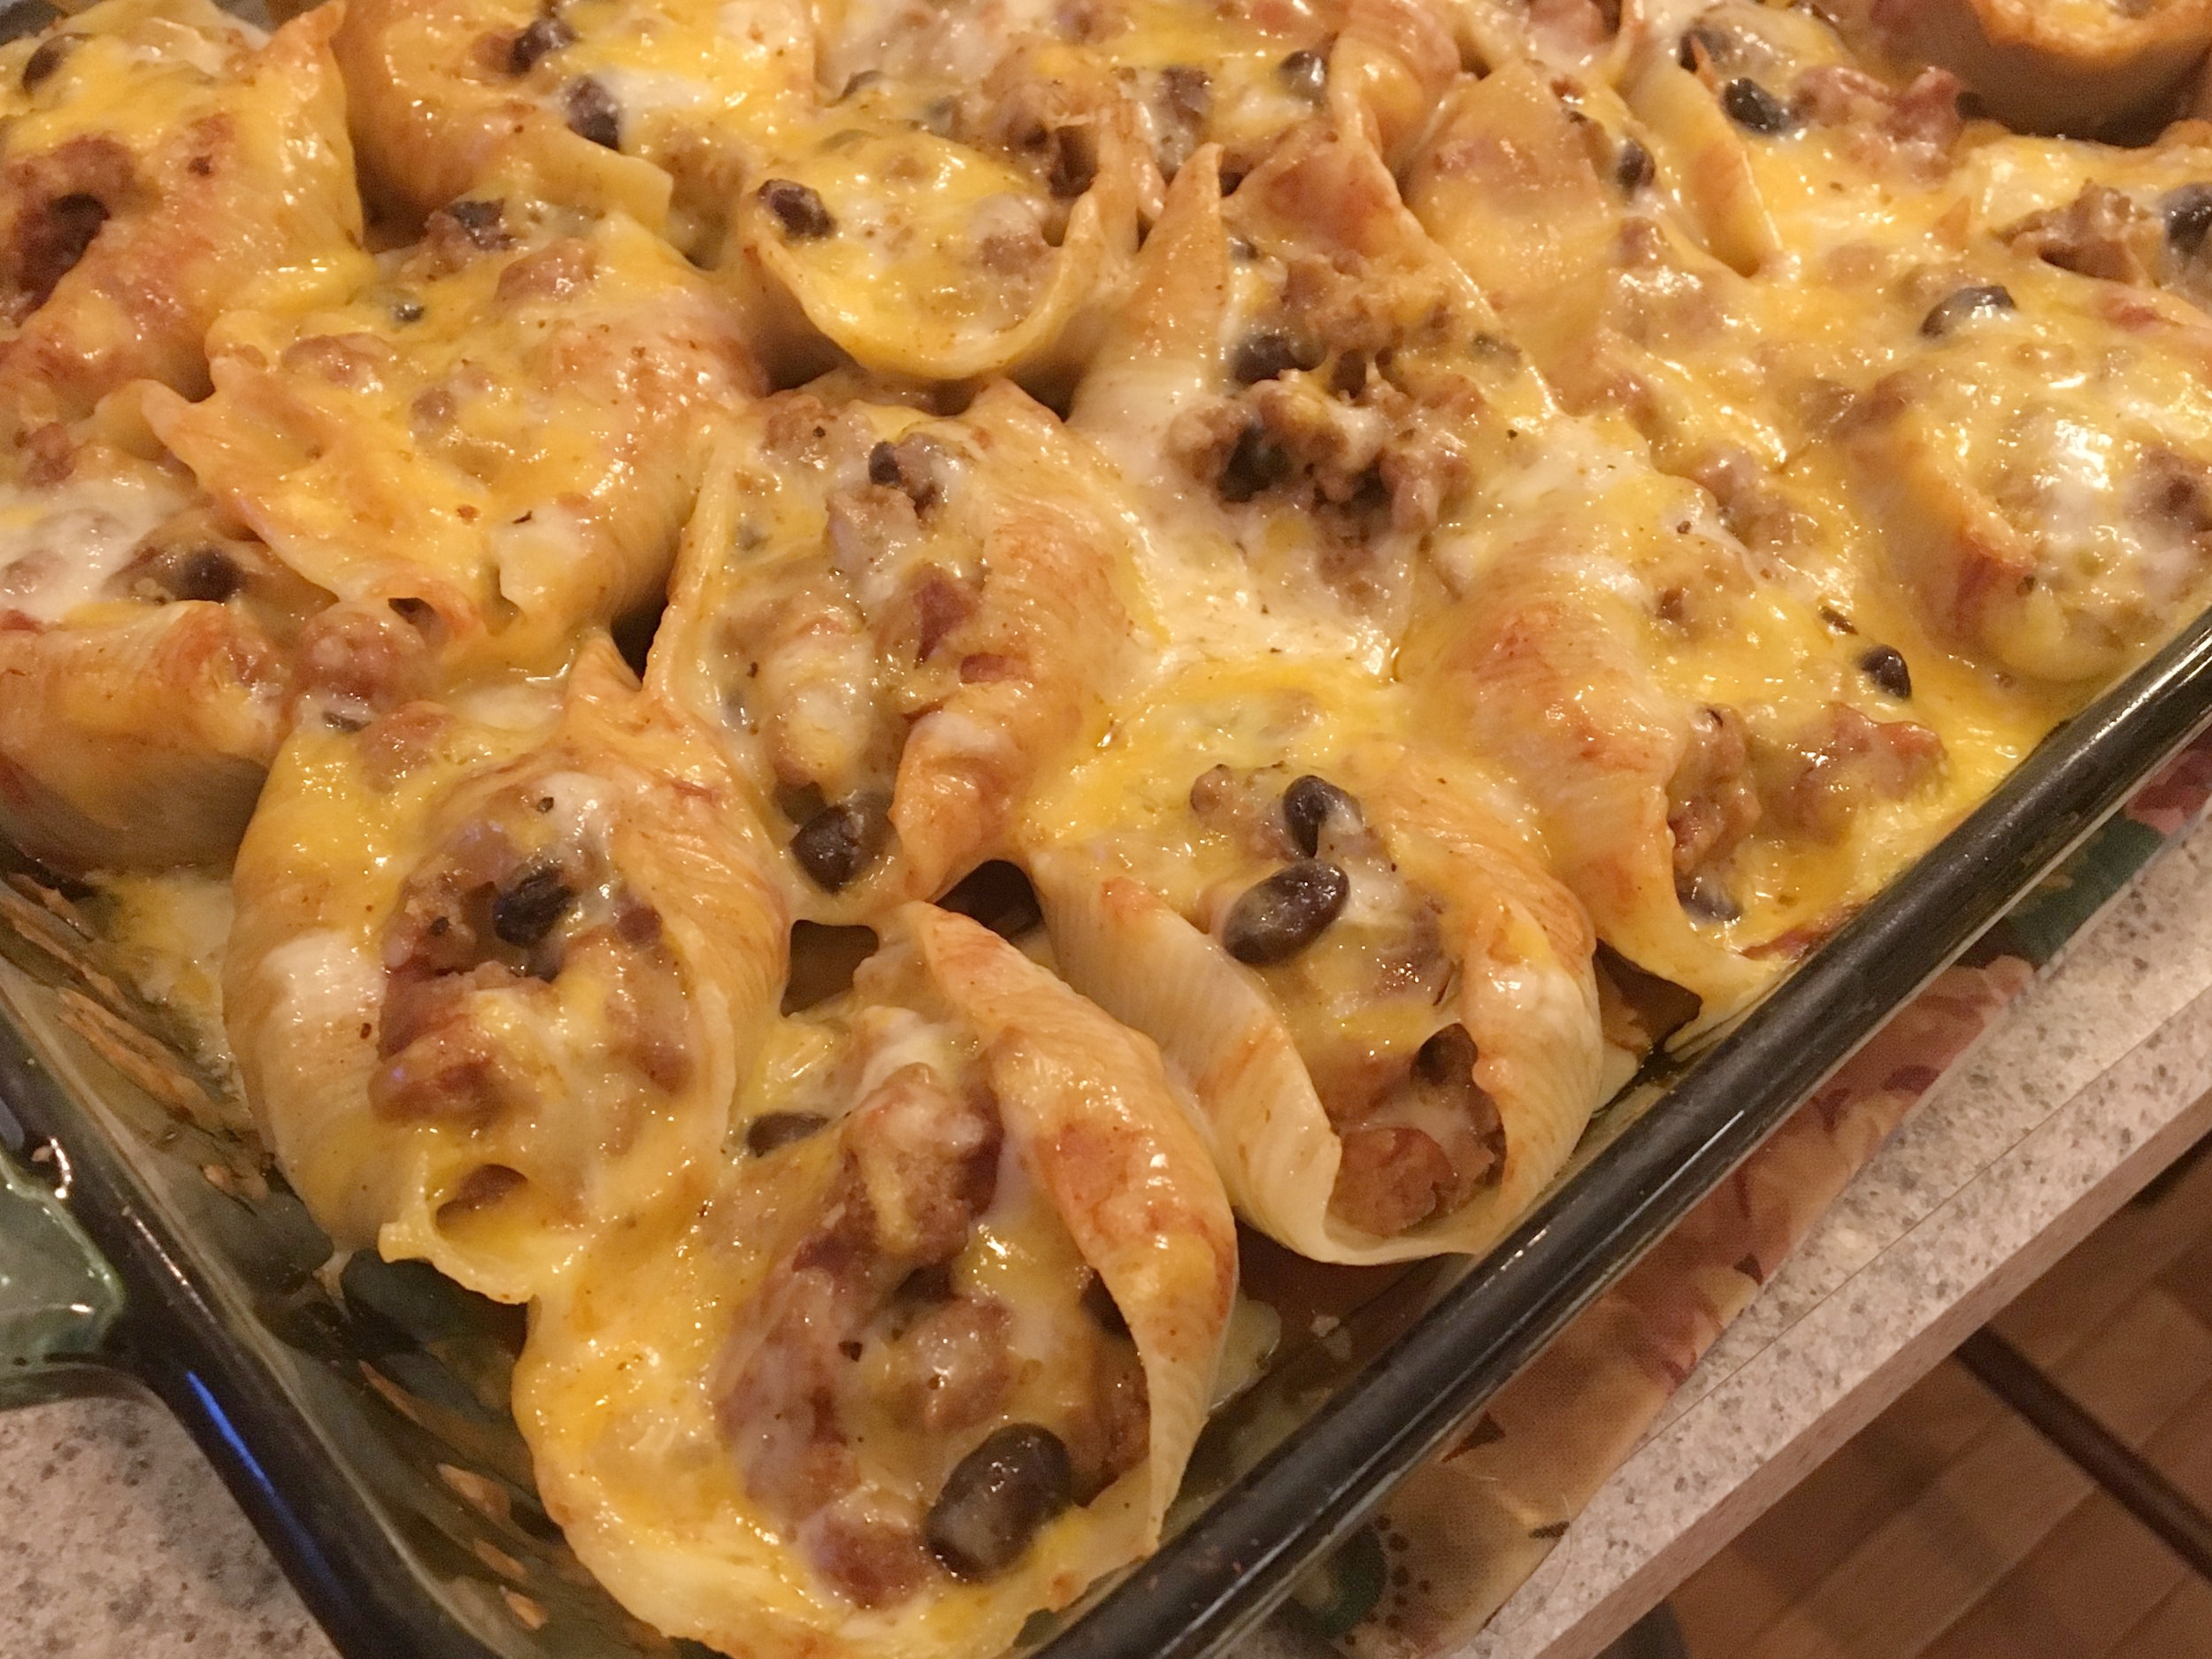
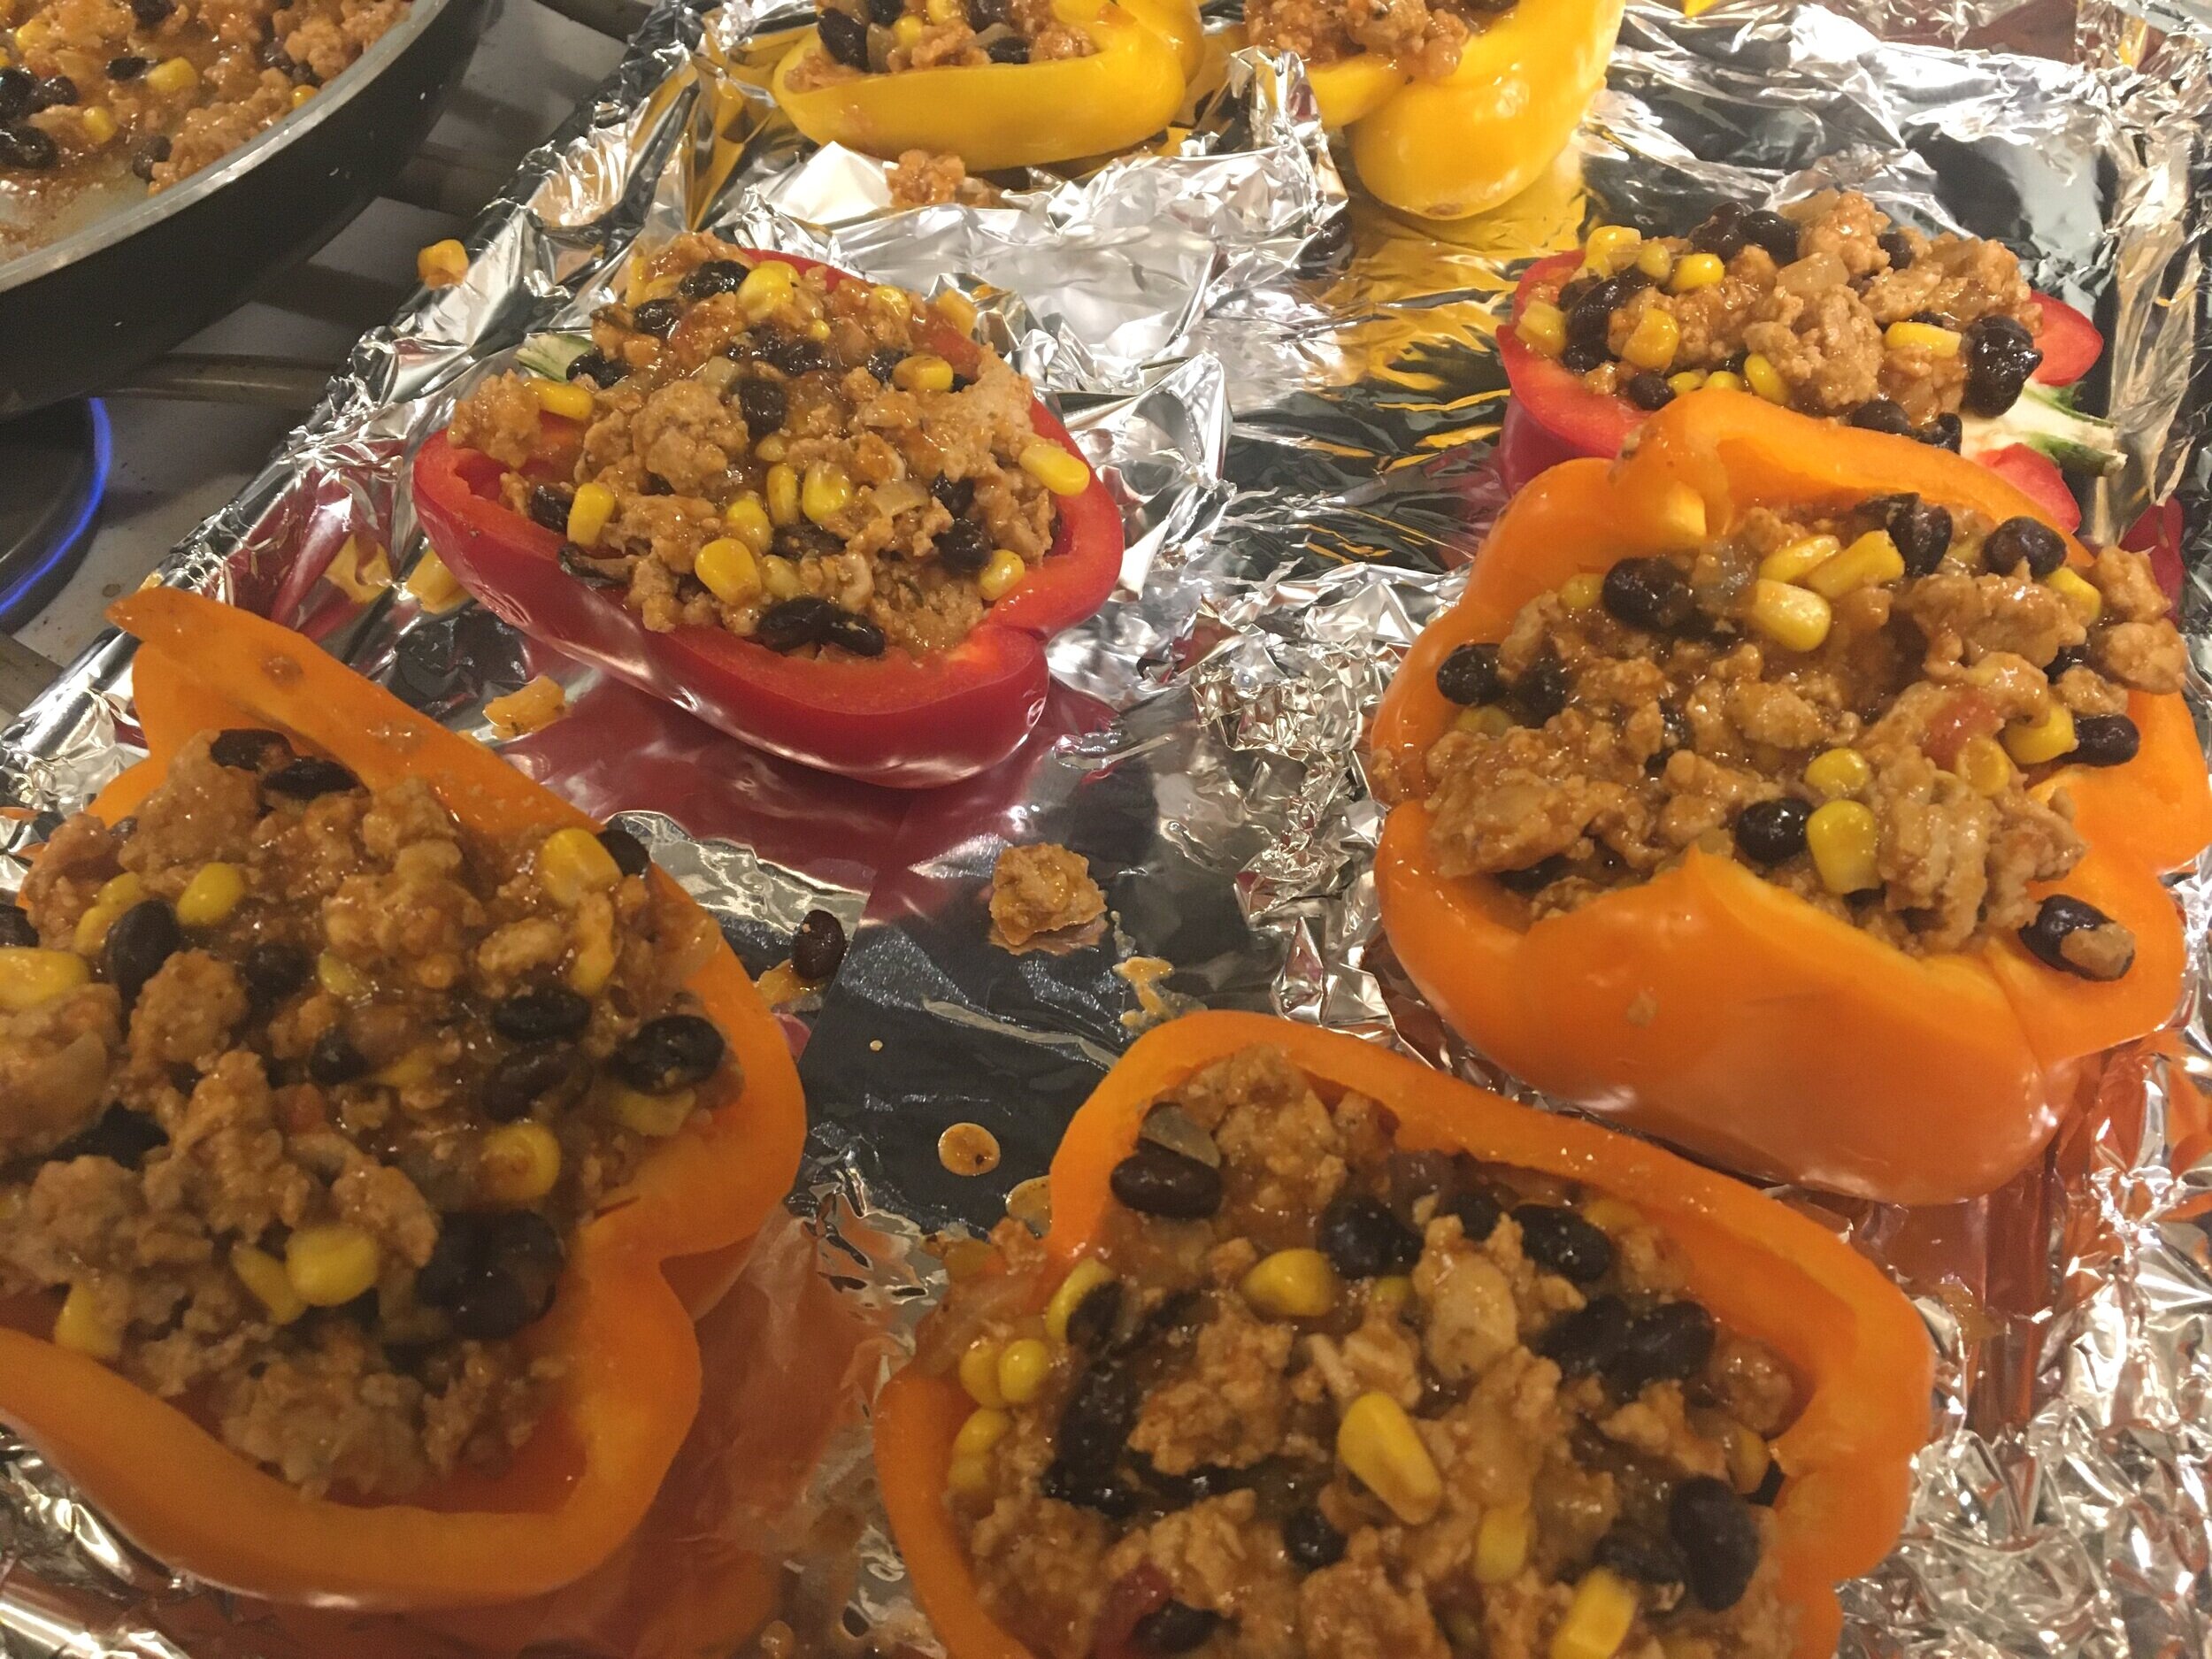
After the meat has cooled slightly, carefully fill the peppers shells with the chili and return to the baking pan. Sprinkle the remaining 1 cup of cheese over peppers. Bake in the oven for 15-20 minutes, or until bubbly and the cheese is melted.
Garnish with chopped green onions and/or chopped cilantro (optional), and serve!
Enjoy!

Enjoy!