Cherchies Blog

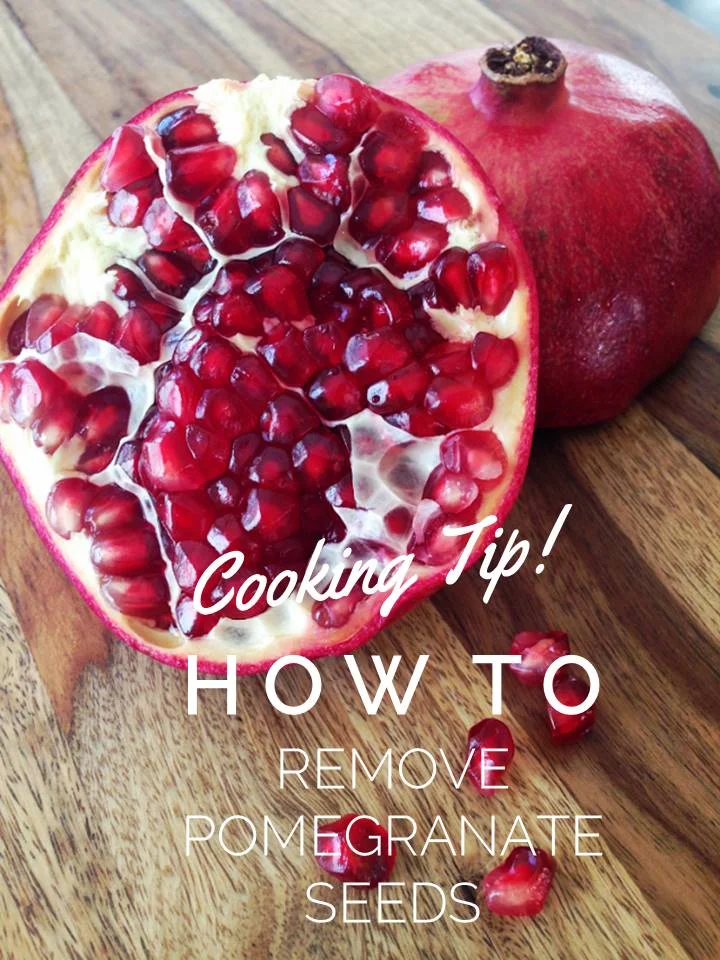
Cooking Tip: How To Remove Pomegranate Seeds

cooking tipsSheri SpalloneComment
Cooking Tip:  How to Remove Pomegranate Seeds

Cooking Tip:  How to Remove Pomegranate Seeds

Pomegranates are usually abundant this time of year, a true sign the holidays are around the corner.  They're perfect in smoothies, salads, jams, desserts, and many more foods, plus they are an antioxidant powerhouse!

Have you ever wondered if there was an easy way to remove the seeds?

Have no fear!  I can help you!  There are a lot of great methods for de-seeding pomegranates on the internet, but I decided to share my two favorites (one is very therapeutic).  

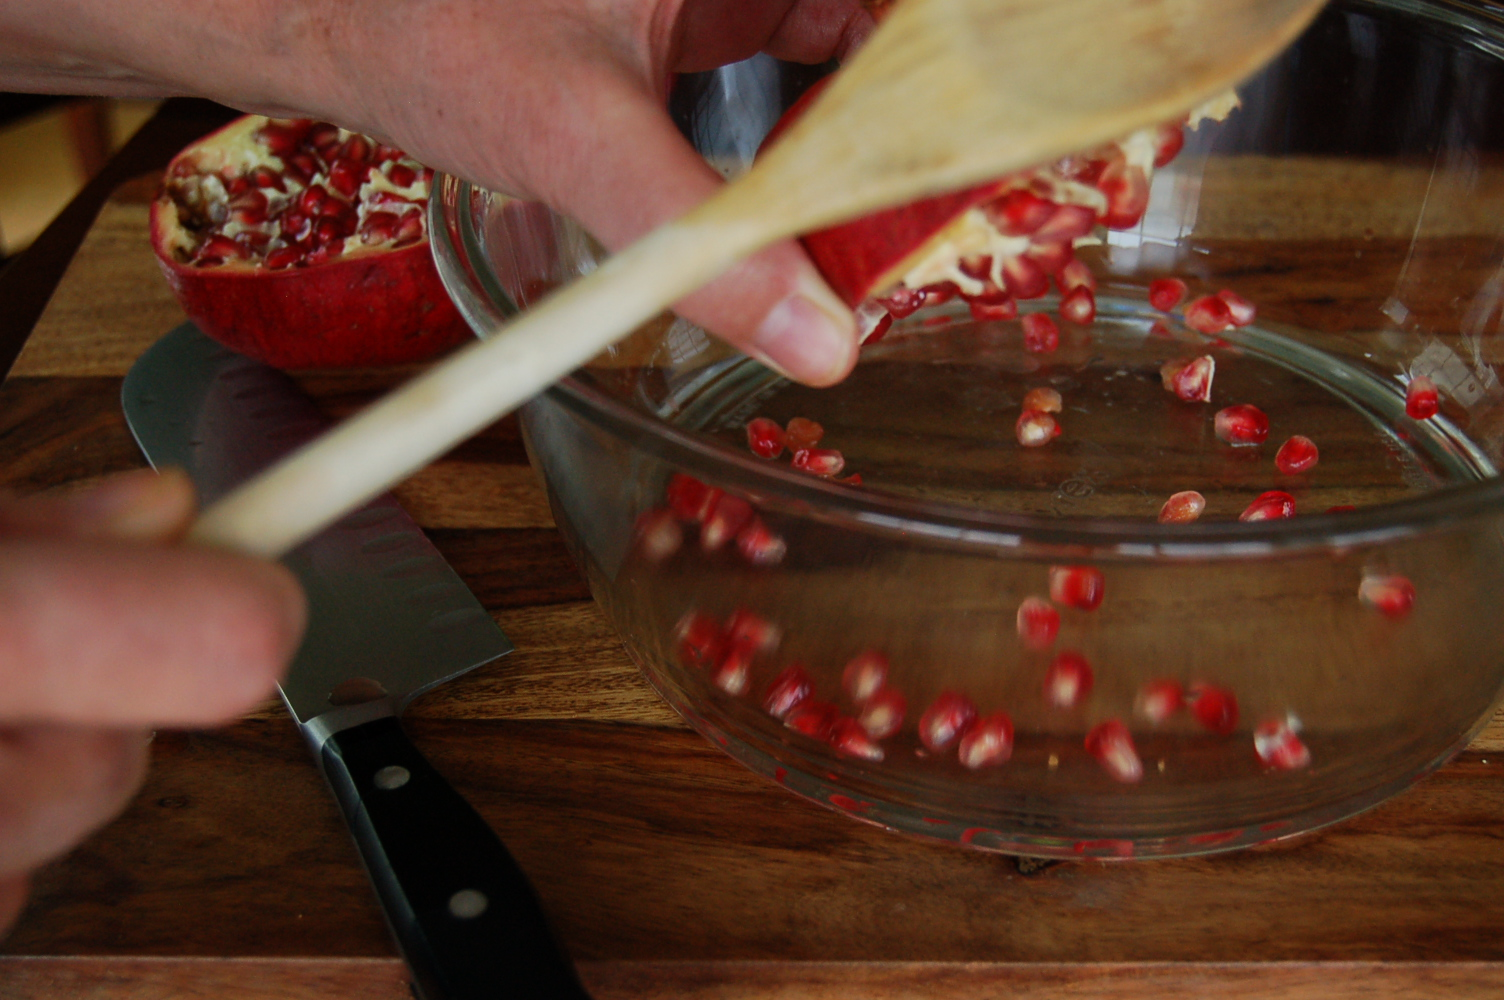
The Aggression Reliever (therapeutic version...it's not really called that, I coined it)- This method involves "whacking" the back of the pomegranate half.  I'm not talking about crazily pounding the pomegranate, but gently hitting the back of the pomegranate with the back of a large spoon.  

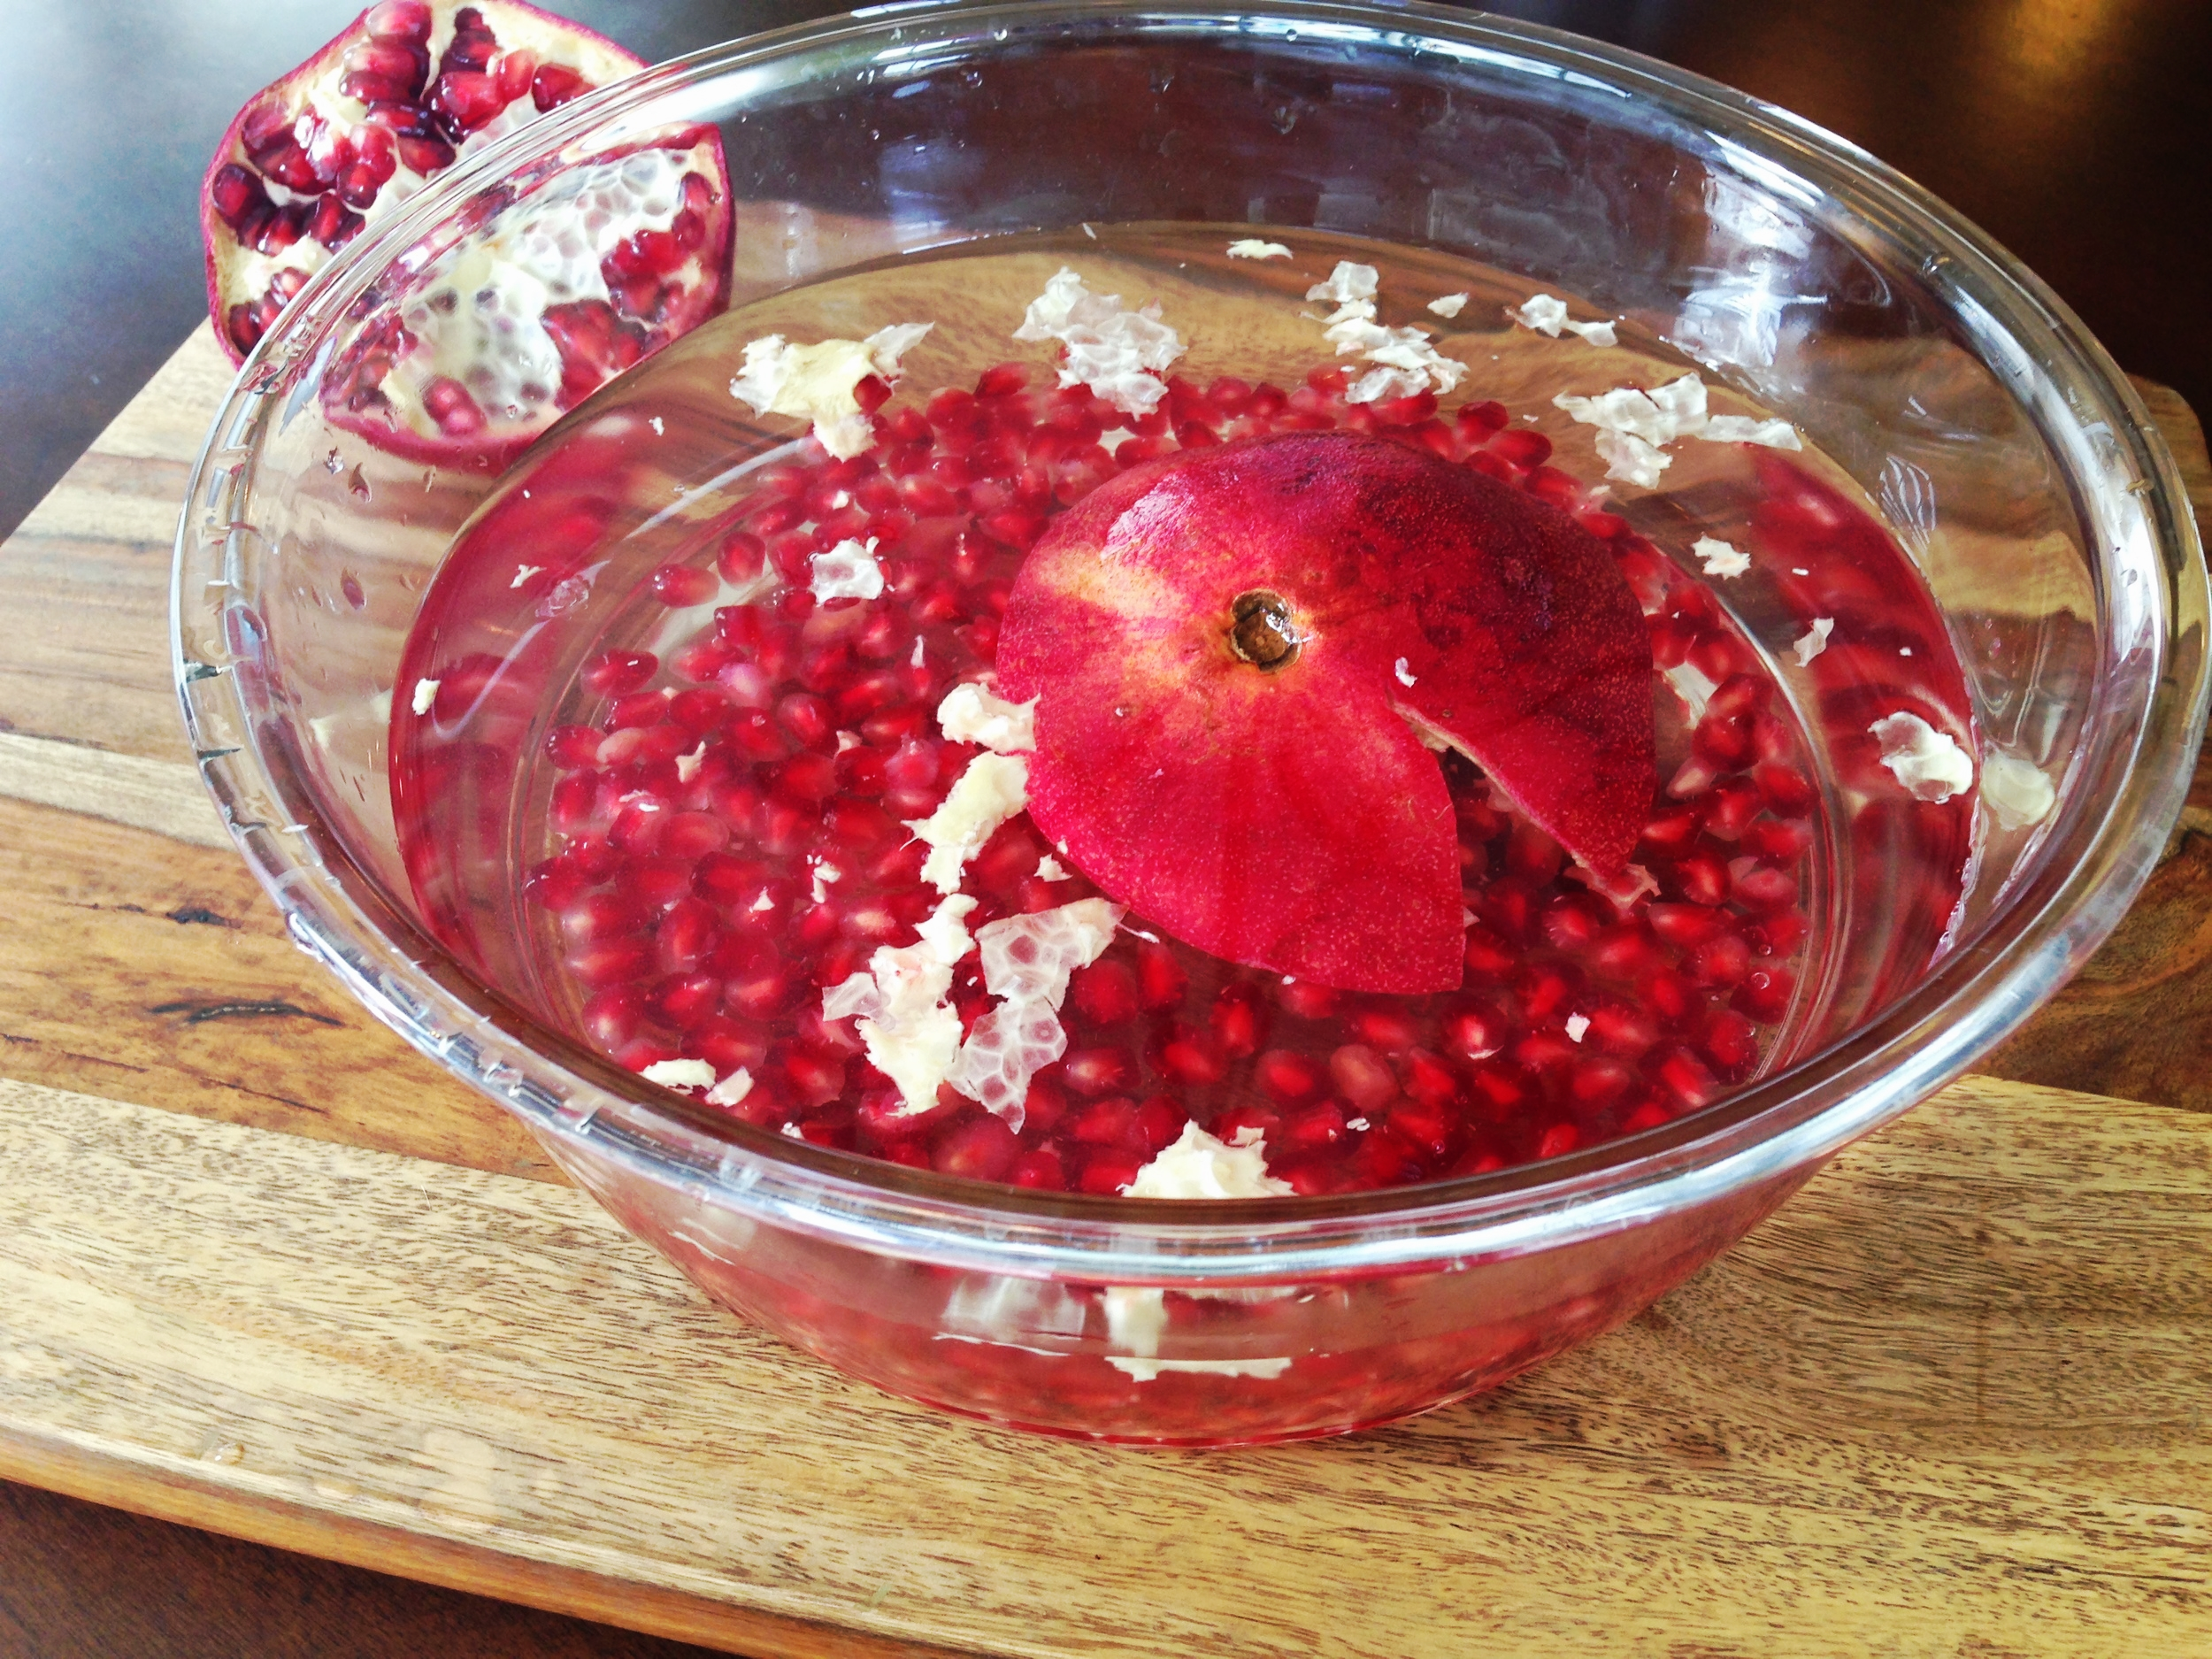
The Soaker- This method involves submerging the pomegranate halves in a bowl of water.  As you gently loosen the seeds, the white cartilage floats to the top.

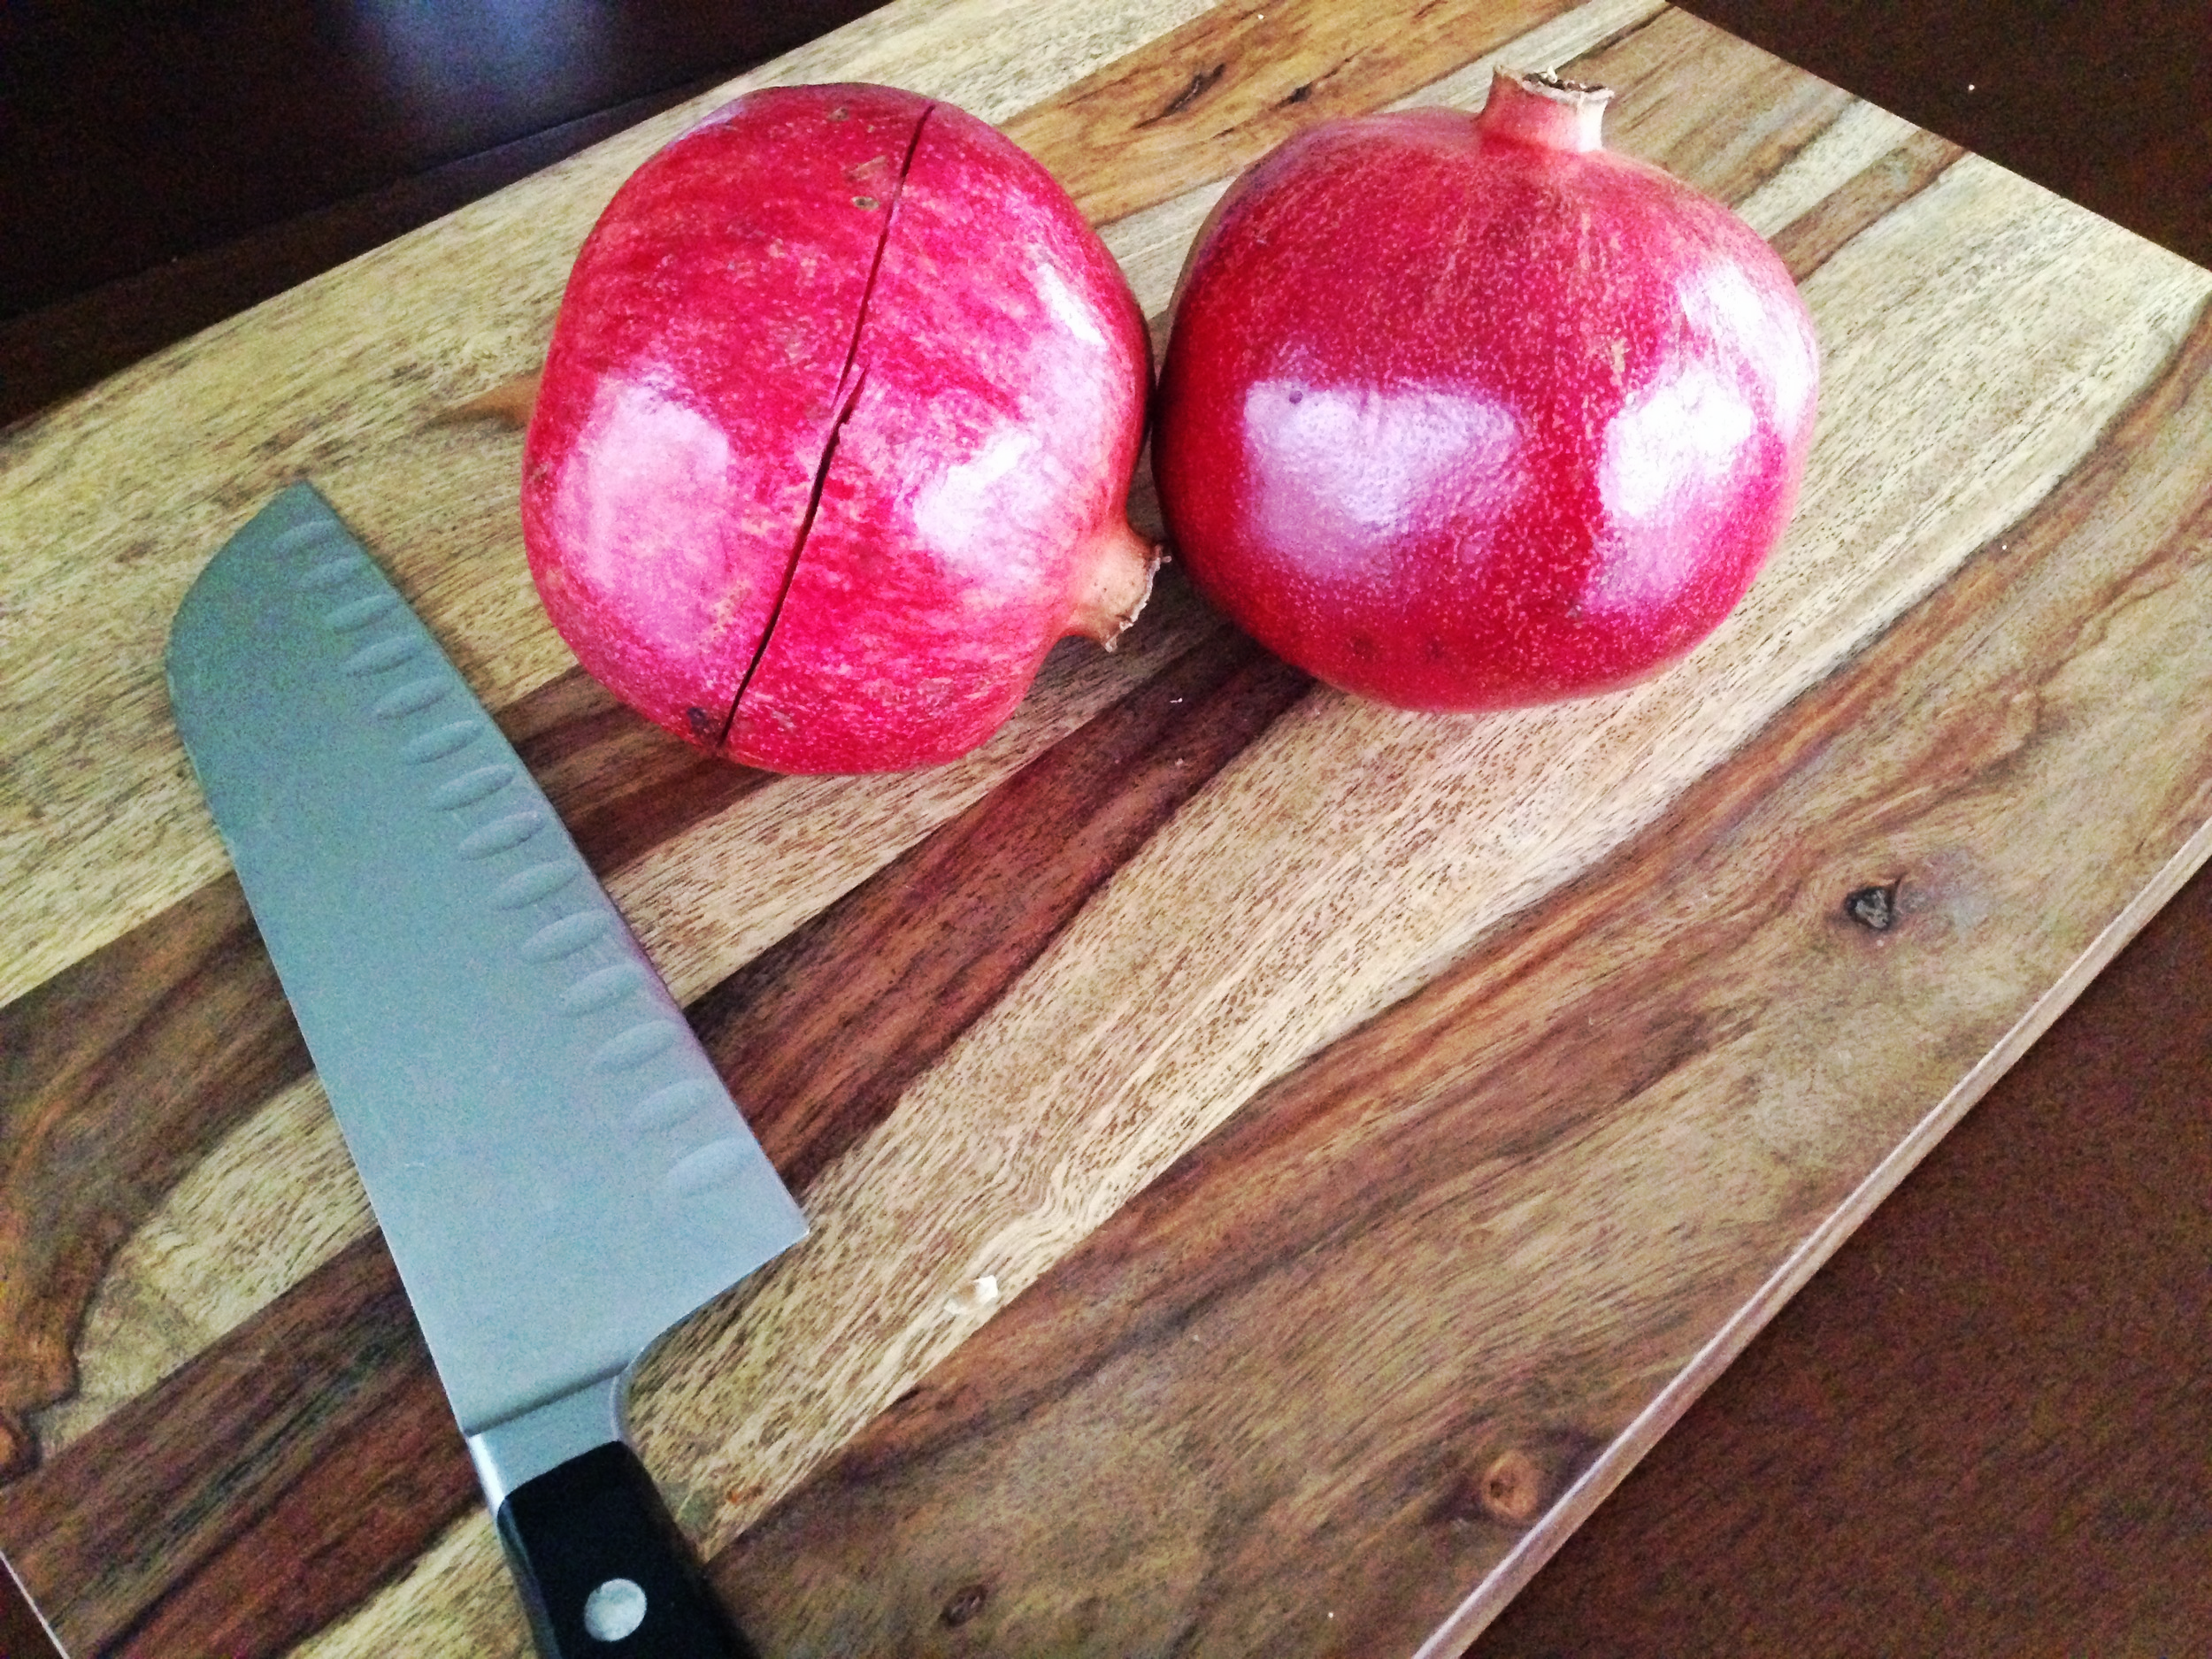
Here's How It's Done.  In both methods, with a knife, carefully "score" the skin.  I usually just make one cut around the perimeter of the pomegranate.  (I've seen some individuals make several score marks the length of the pomegranate...totally up to you).
IMG_9597.JPG

Next, Gently pull apart the pomegranate and carefully loosen up the skin and seeds while rotating the pomegranate.
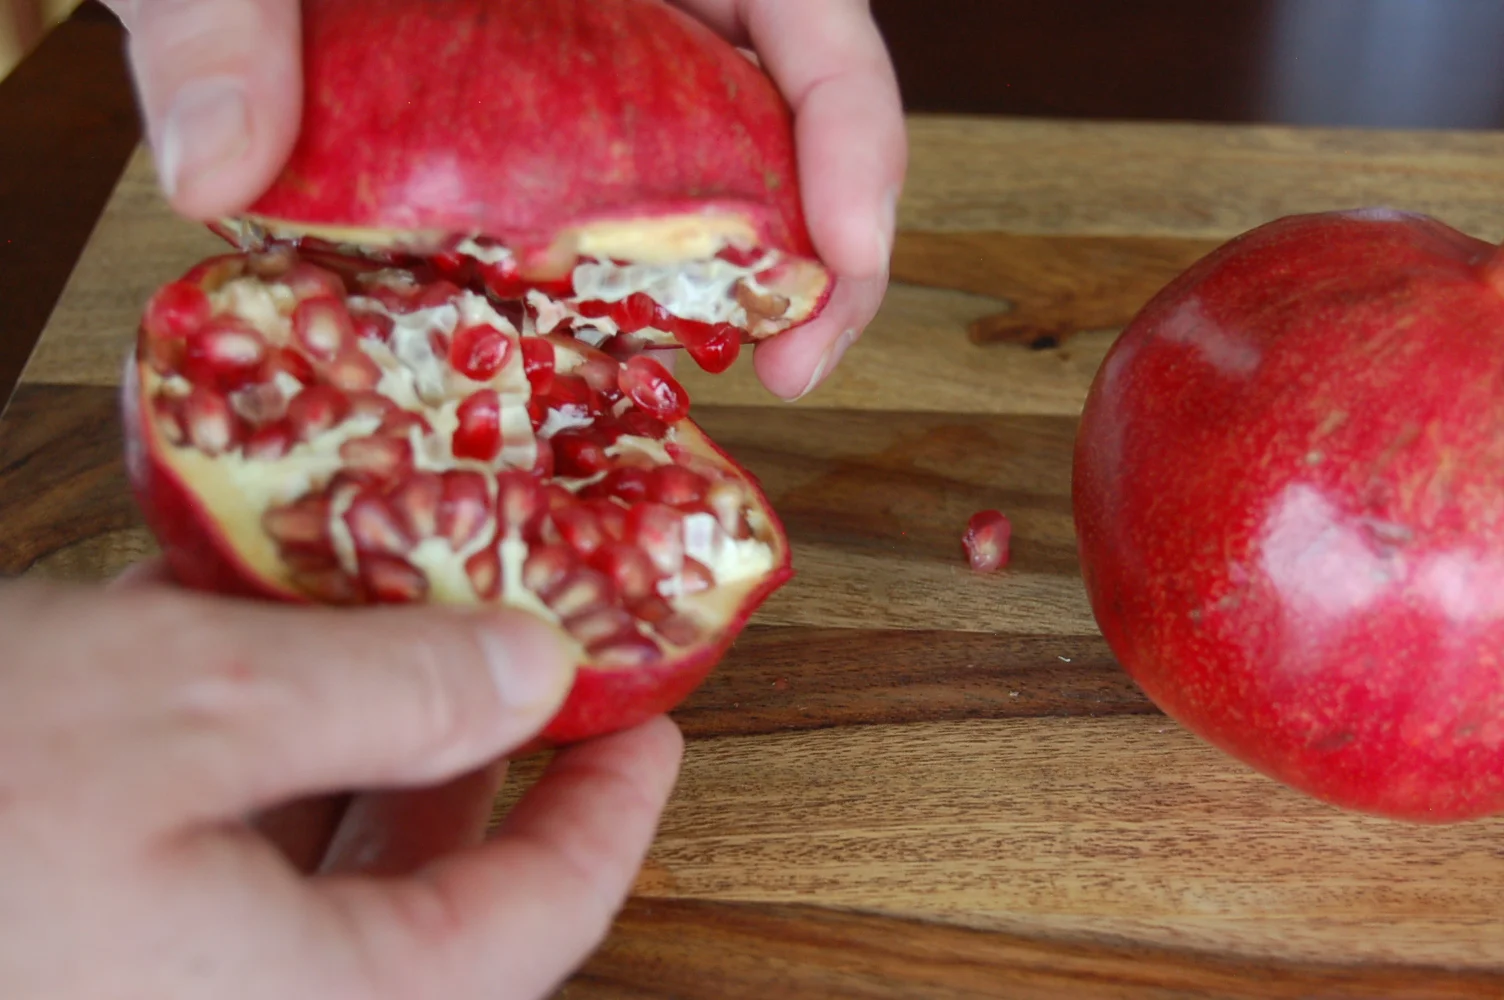
Now here is where the two different methods differ.  For the Aggression Reliever Method, hold the pomegranate half upside down over a bowl and gently "whack" the back of the pomegranate with a spoon (I used a wooden spoon), rotating to remove the seeds.
DSC_1996.JPG

For The Soaker Method, simply remove the seeds while the pomegranate half is under water.   The white cartilage will then float to the top for easy removal.  Remove any last stubborn seeds by hand.
IMG_9607.JPG

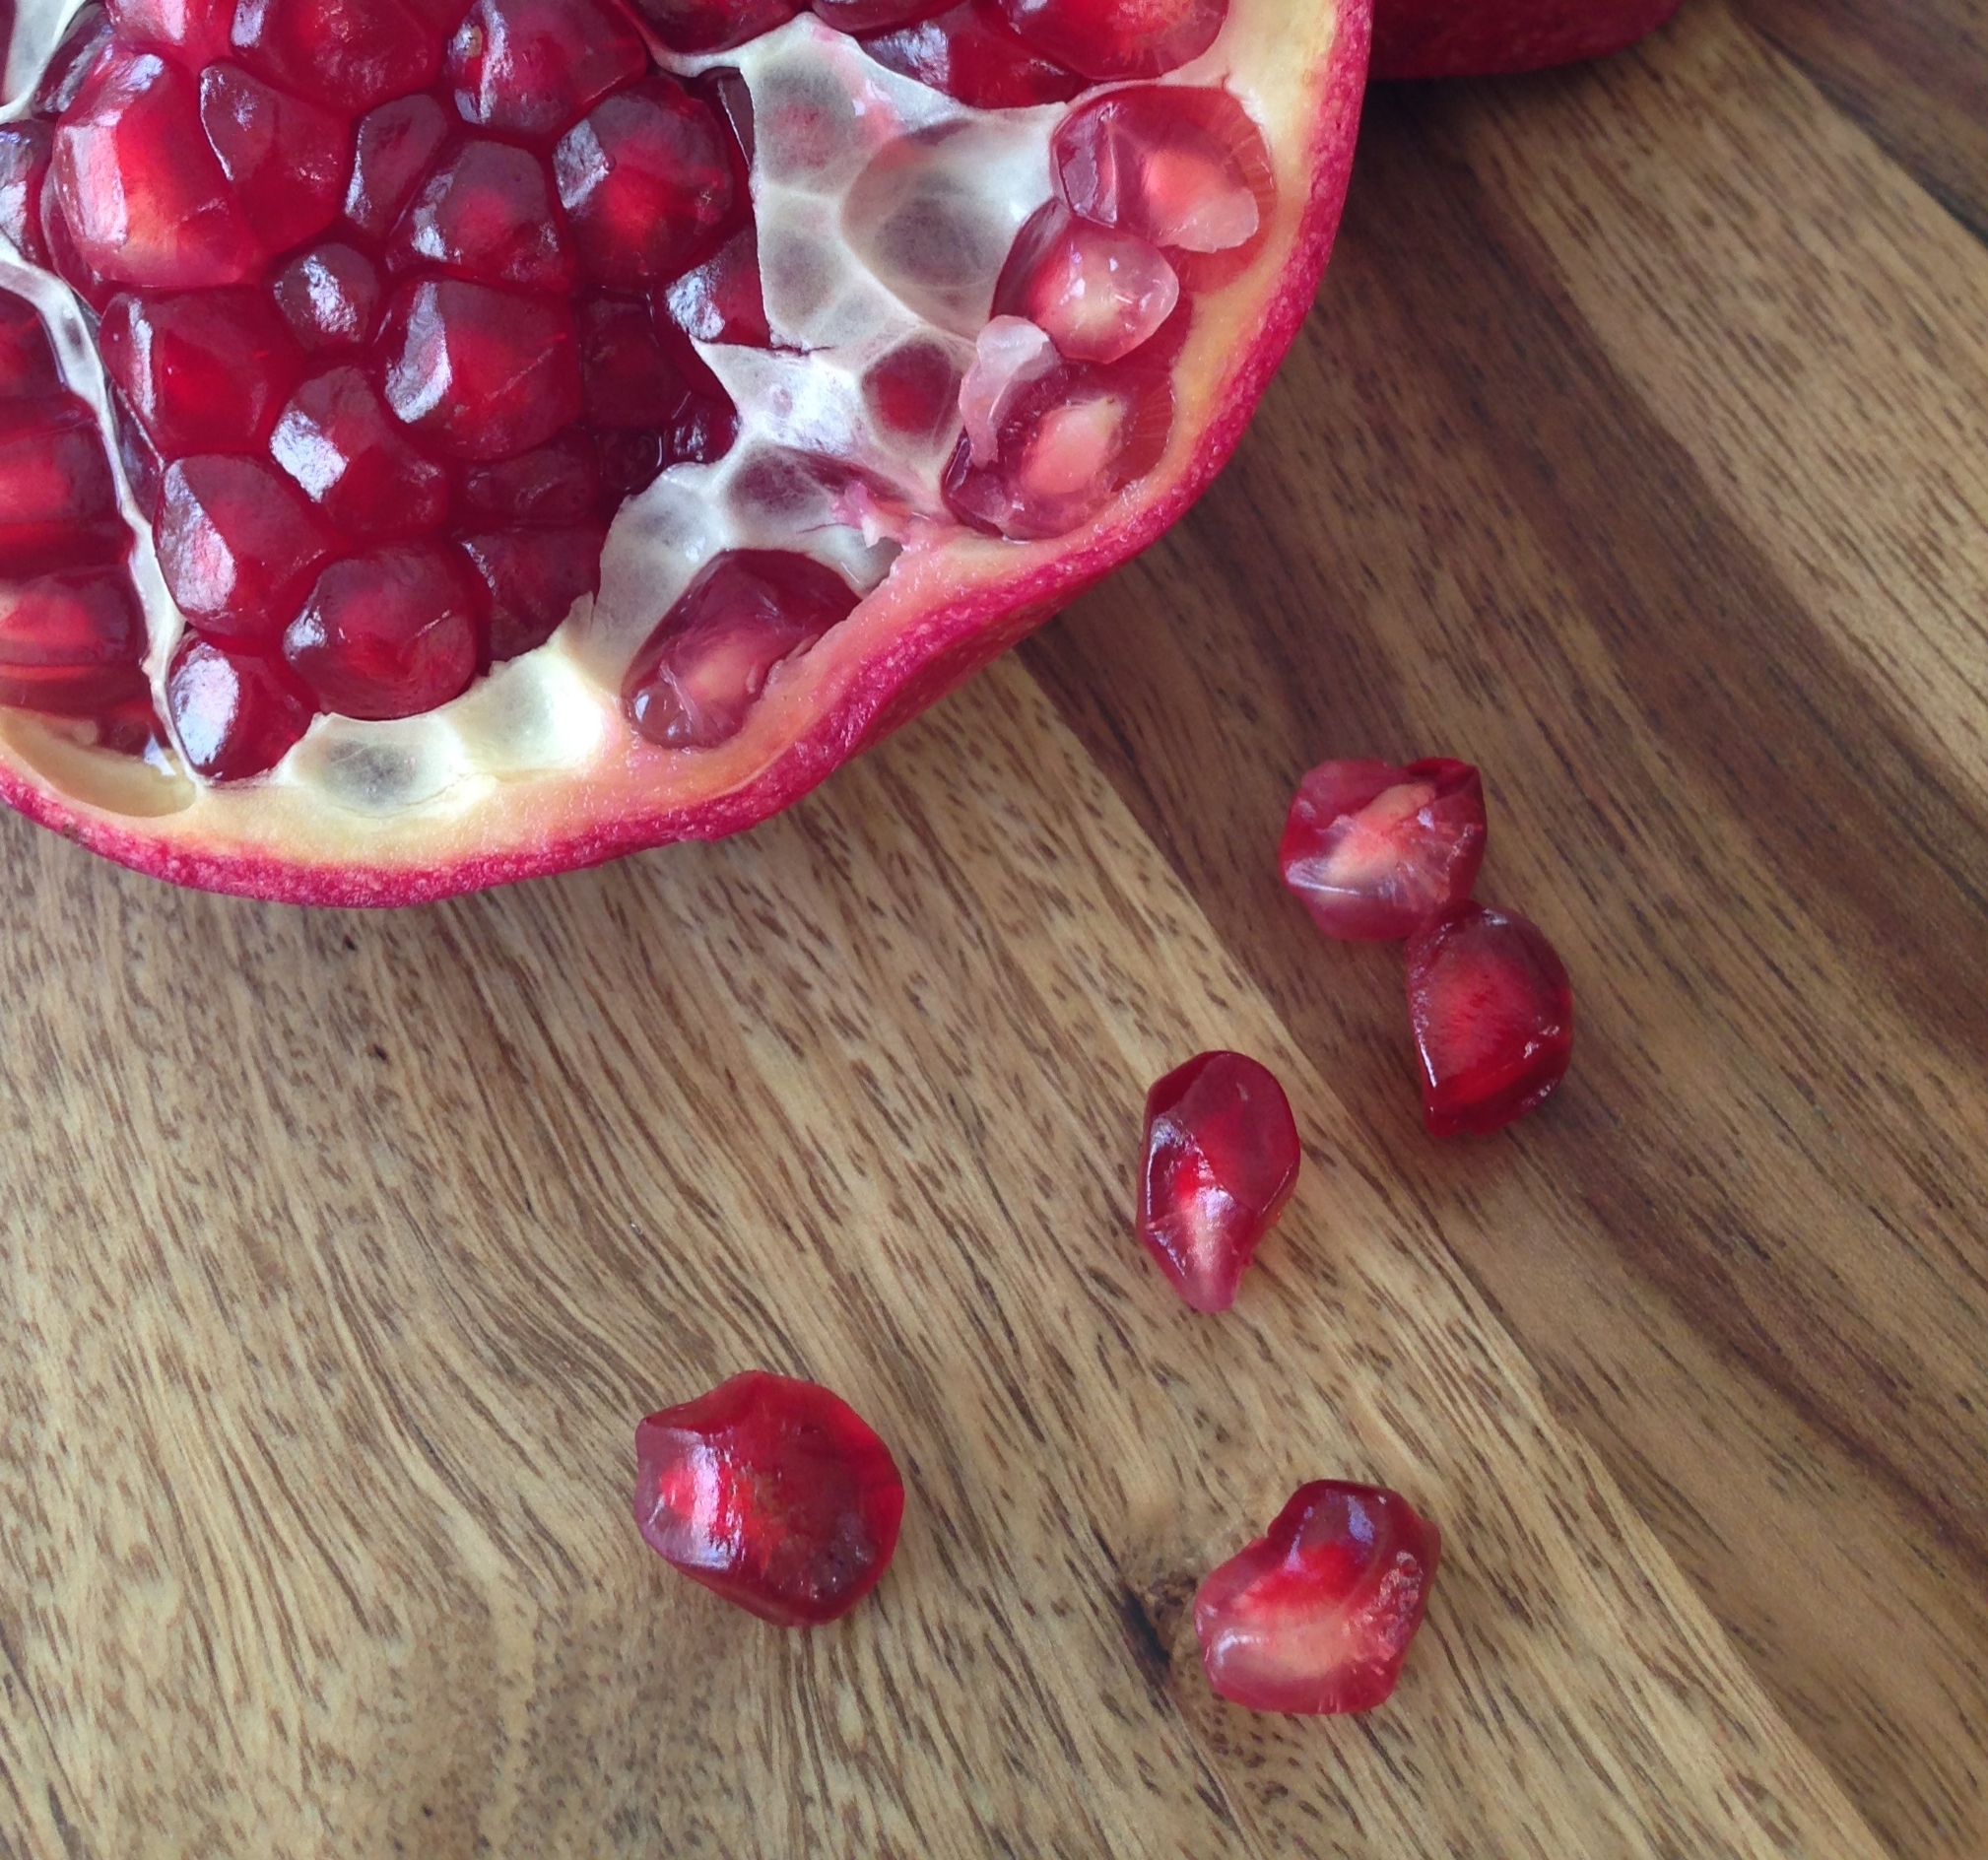
There you have it friends...beautiful, sweet, pomegranate seeds!  What's your favorite de-seeding method?
Yum

Spooky English Muffin Pizza Recipe

snacks, lunchSheri SpalloneComment
Spooky English Muffin Pizza Recipe

Spooky English Muffin Pizza Recipe

English muffin pizzas aren’t revolutionary, but I recently realized I hadn’t made them for my kiddos in years — and they’re still a total hit!.

After school, my hungry crew usually bursts through the door, stares into the open fridge, and dramatically declares, “Mom, there’s nothing to eat!” Meanwhile, snacks are everywhere. So today, instead of pointing them to a granola bar, I handed them a fun kitchen project.

In honor of Halloween, we turned English muffins into ghoulish mini pizzas. I had everything prepped — muffins split, sauce, cheese, and spooky toppings ready — just waiting for my hungry monsters to arrive.

They loved creating their own snacks (and I loved the bonding time). Within minutes, the roaring stopped…and we had delicious, slightly creepy pizzas to show for it!

Here’s what they made:

Ingredients (for each muffin)

  • English Muffins, split apart into halves (I used multi-grain...my kiddos didn't notice)

  • Tomato or Pizza Sauce (1 Tablespoon (Tbsp)

  • 1 teaspoon of Cherchies® Garlic Seasoning (or Cherchies® Basil Pizzazz Seasoning for a stronger flavor).

  • A dash of pepper

  • Shredded Mozzarella or Mexican Cheese Blend

  • Cooked sausage (optional)

  • Olives, sliced for eyes (optional)

  • Jarred Banana Peppers (optional)

Preparation

Preheat oven to 350 degrees.  Split apart English muffins with a fork.  Assemble the pizzas, starting with the sauce, the cheese, and then the toppings.  Sprinkle with Cherchies® Garlic Seasoning (or Cherchies® Basil Pizzazz).

Bake in the oven for 8-10 minutes, or until the mini pizzas are melty;)

Here's what they look like without the crazy faces!  Enjoy!


Yum

What To Do with Hot Banana Peppers

Sheri Spallone3 Comments
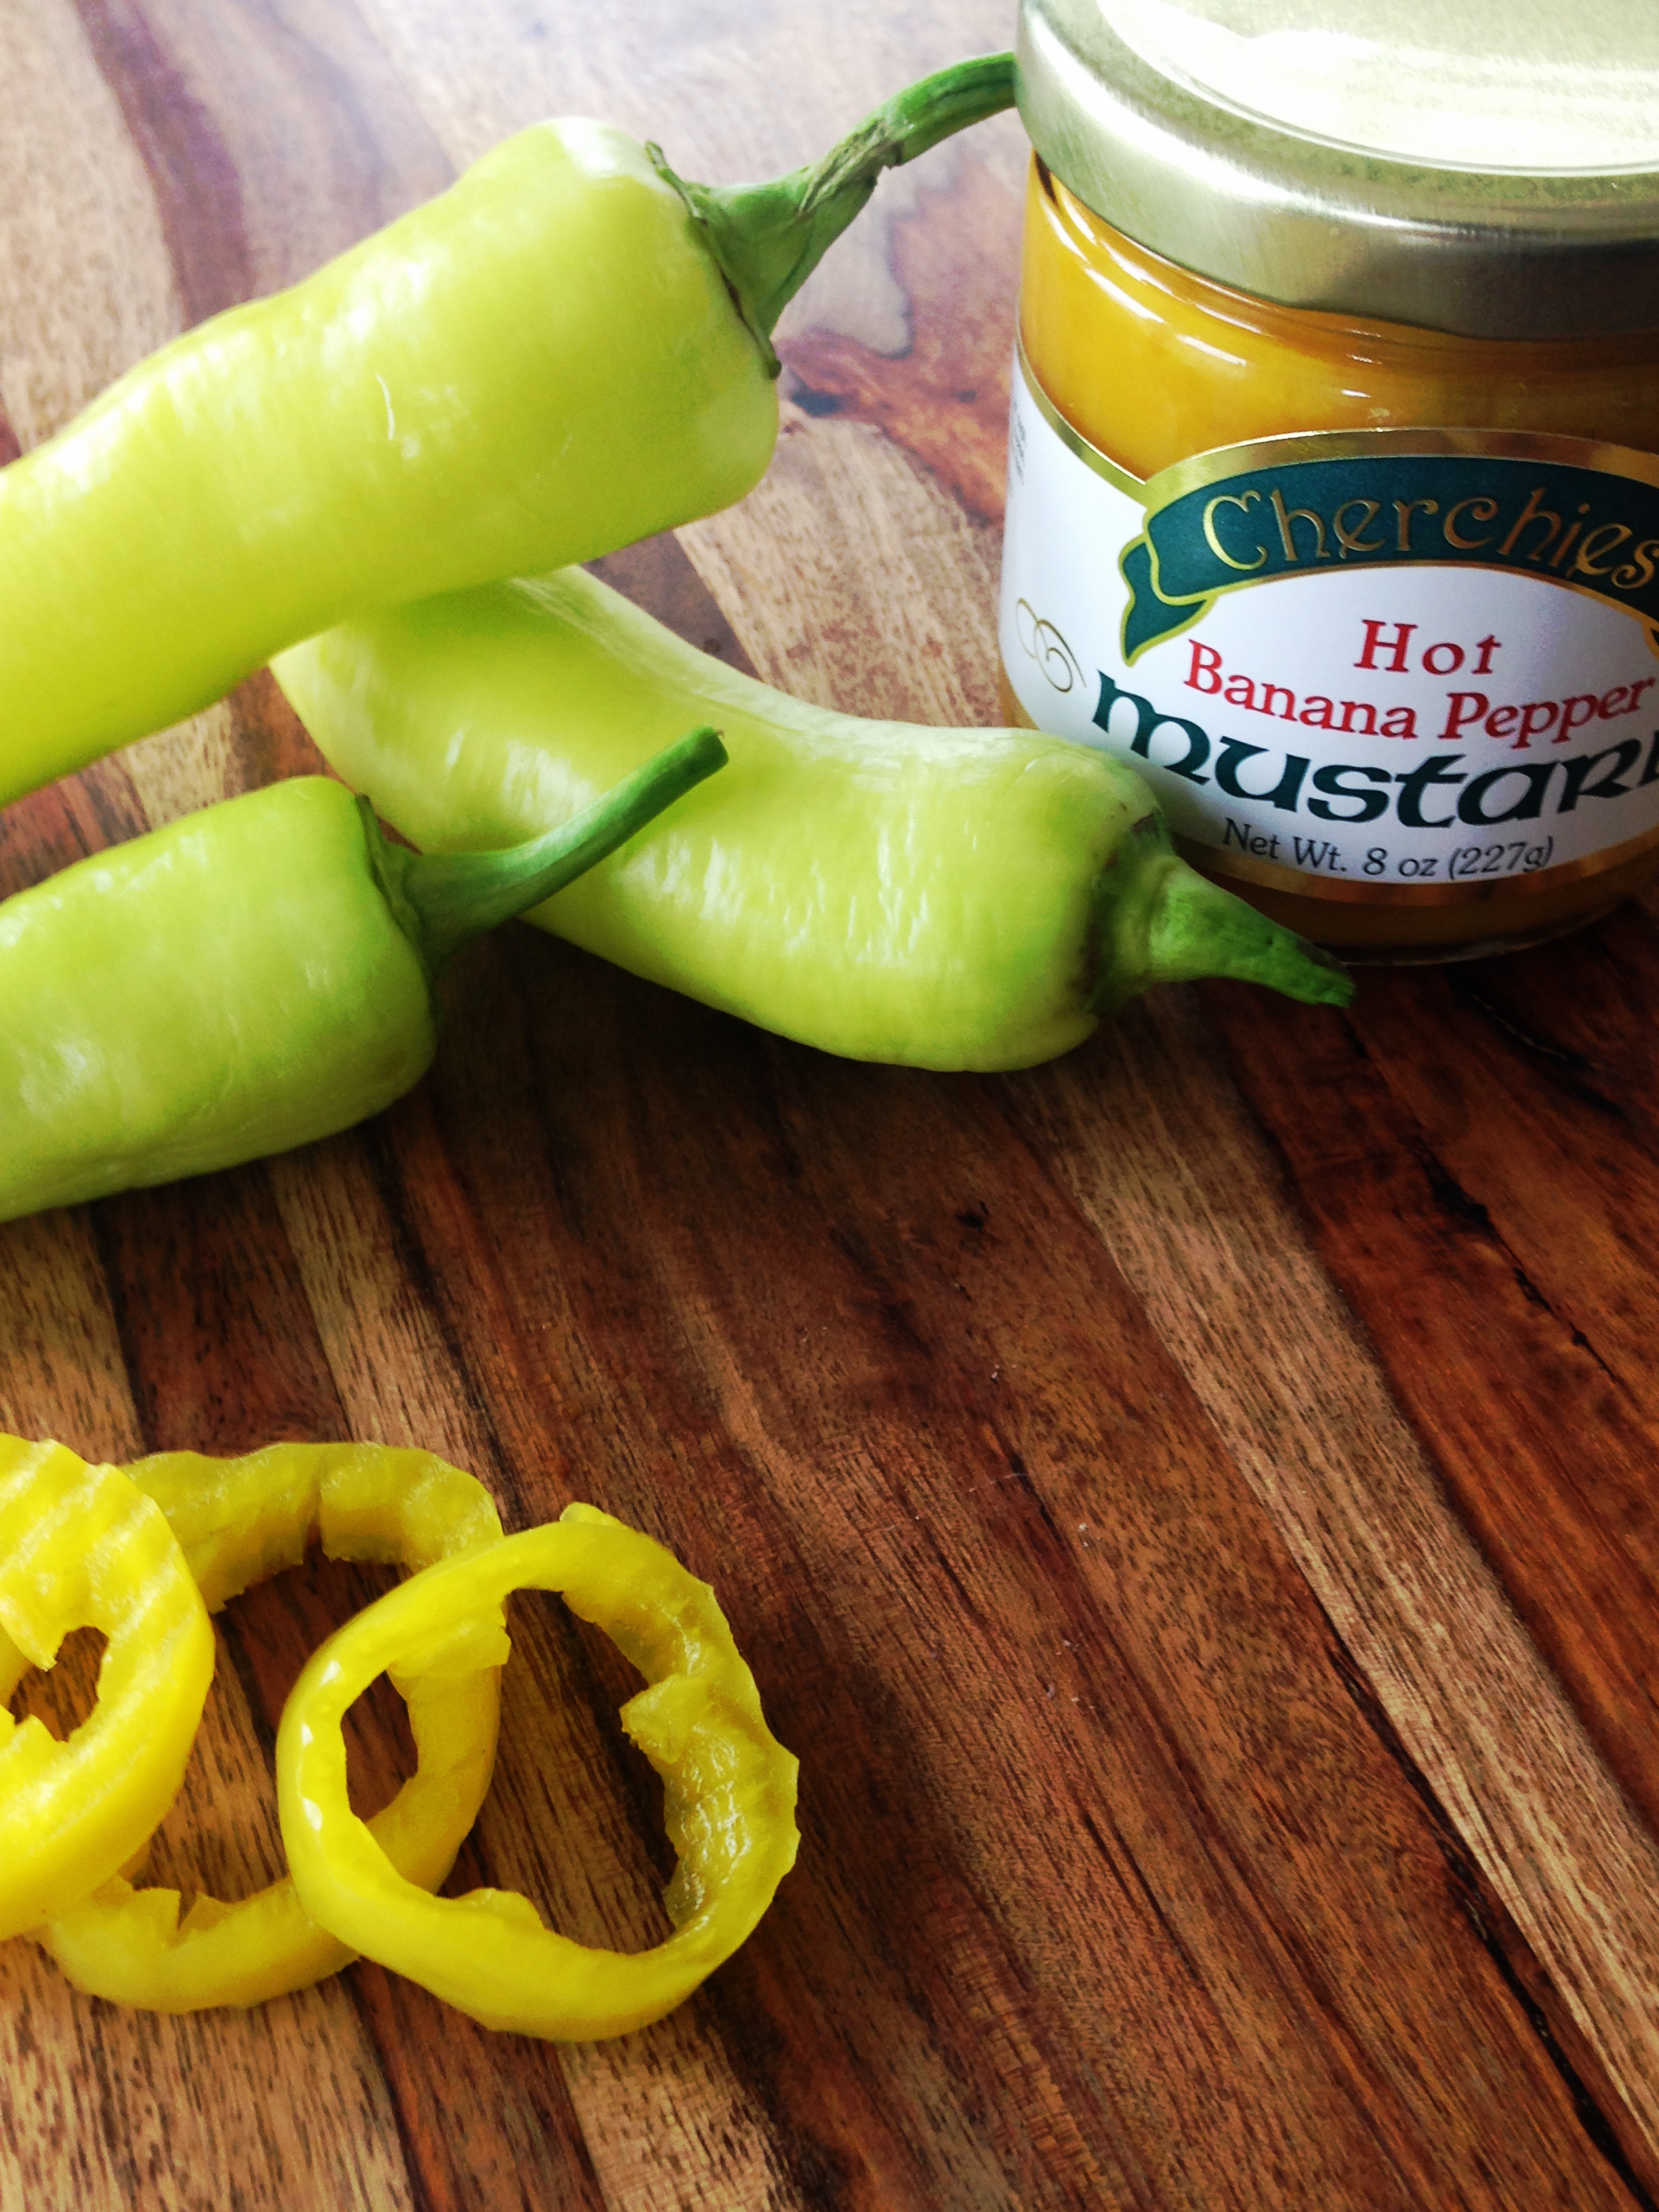
Hot Banana Peppers

Hot Banana Peppers

I was a picky eater as a kid, and never would have touched banana peppers. Silly me!  It's funny how tastes change, now I snack on them;) So what are they and how the heck are they used? Find out more below.

What is a Banana Pepper? The Banana pepper, (also known as a yellow wax pepper) is a member of the chili family, is usually anywhere from 2-4 inches in size, is mostly yellow-green but can be orange or red when fully ripened (where it is sweetest), and has a mild to medium tangy taste.  

The Banana Pepper gets it's name from the fruit it resembles, the banana.  

How do you use it?  Banana peppers can be pickled or fresh, where they are often used in sandwiches, salsas, salads, pizzas, and antipasta appetizers, or cooked in soups, stuffed with a variety of fillings, and yes...wait for it...added to mustards!! Whaaat?

That's right folks, we have combined our sweet mustard with banana hot peppers.  Our Banana Hot Pepper Mustard was the Gold Medal Winner of the World Wide Mustard Competition held at the Napa Valley Wine Festival.

This zesty mustard is made with Yellow Hot Banana Peppers (there are no "bananas"  in this mustard as we often get asked...just peppers and mustard). It's perfect as a spread on sandwiches, hot dogs, grilled sausages, and sushi,  in potato salads, as a dipping sauce,  and in most recipes where mustard is required. Once you try it you'll see why judges named it tops in its class. It has a little heat, but it's not overwhelming.  

Cherchies® Hot Banana Pepper Mustard

Cherchies® Hot Banana Pepper Mustard

Check us out to see more mustard recipes, including those with our Hot Banana Pepper Mustard.

Thanks for visiting!

Yum

Champagne Party Weiner Mummy Recipe

entrees, lunchSheri SpalloneComment

Champagne Party Weiner Mummy Recipe

Cook Time: 10 minutes
Prep Time: 10 minutes
Difficulty: Easy

Originally posted in 2015, but updated with new content and pictures. 

When our children were younger, if it were up to them, they would have eaten hot dogs daily. 

Our children always loved pigs in a blanket for special occasions (mini weiners wrapped in crescent rolls), but for Halloween, it was always fun to "mummify" the hot dogs with crescent rolls and dot the eyes with mustard. 

Our Champagne Mustard not only adorns the eyes of the mummies but is also the preferred dipping sauce for these cuties. For those with a spicier palate, our Hot Banana Pepper Mustard is more your speed.

For this update, we added ketchup to a bowl and swirled in yellow mustard. To make the web, use a toothpick and drag it from the middle to the sides.

This recipe makes for an excellent family bonding time, as it gets the kiddos (young and old) away from the TV or screens and allows them to help in the kitchen and play with their food. (What child or adult doesn't like to play with their food?).

If you're looking for a spooky treat to serve for your next Halloween gathering, consider making these ghoulish hot dog mummies with Cherchies® mustards. It's a great family activity, and the mustards put these hot dogs over the top!

Thanks for stopping by:) Comment below if you have made these adorable mummies. Come back again for more family-tested recipesentertaining ideas, and cooking tips using all our favorite Cherchies® gourmet products.

Follow us on social media: FacebookInstagram, and Pinterest.

Here's how we did it!  

Happy Halloween!

Ingredients

Preparation

Split each weiner lengthwise.  Put a dab of Champagne Mustard and a strip of cheese into each weiner. Divide each biscuit into quarters and roll each quarter between the palms of your hands to make long strips.

Spiral wrap each strip around the weiner.  Place on a cookie sheet, baste with butter and sprinkle with poppy seeds.  Bake for 10 minutes in a 450-degree oven.

Champagne Party Weiner Mummy Recipe

Champagne Party Weiner Mummy Recipe- Pictures from our children’s creations years ago

Yum