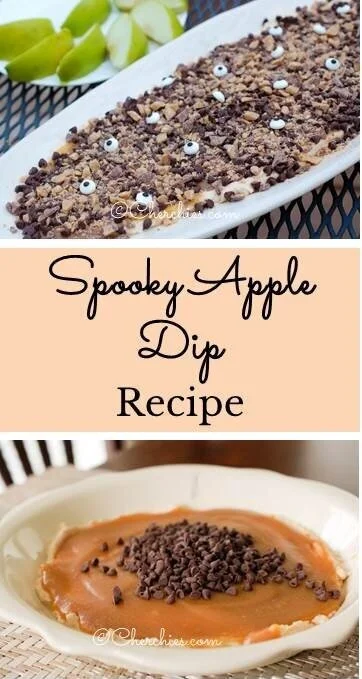
Spooky Apple Dip Recipe
Hello friends! Halloween is a knocking. It is the perfect time to whip up this Spooky Apple Dip recipe, featuring cream cheese, mini chocolate chips, Health Bar Bits, homemade caramel sauce**, and the secret ingredient Cherchies® Apple Butter Spread! Of course, the little candy eyes make this dish horrifyingly adorable.
I don't know whether it is the inner child in me or the fact we have children (and their excitement over the years has excited us), but I have always been a sucker for party themes, themed food, theme decorations, etc., and Halloween is no exception. Our children always loved all the festive Halloween foods we would serve at our pre-Halloween celebration with family and friends.
So, if you are looking for a quick and easy spooktacular Halloween treat and love caramel apples, this is the perfect dip to share at your next Halloween gathering. Serve it with sliced apples or even graham crackers, and you are good to go.
**Note: You could easily substitute store-bought caramel sauce if you're in a pinch, but homemade is easy and much better.
Enjoy, and Happy Halloween!
Thanks for stopping by. Comment below if you have tried this delicious recipe. Come back again for more family-tested recipes, entertaining ideas, and cooking tips using all our favorite Cherchies® gourmet products.
Follow us on social media: Facebook, Instagram, and Pinterest.
Ingredients
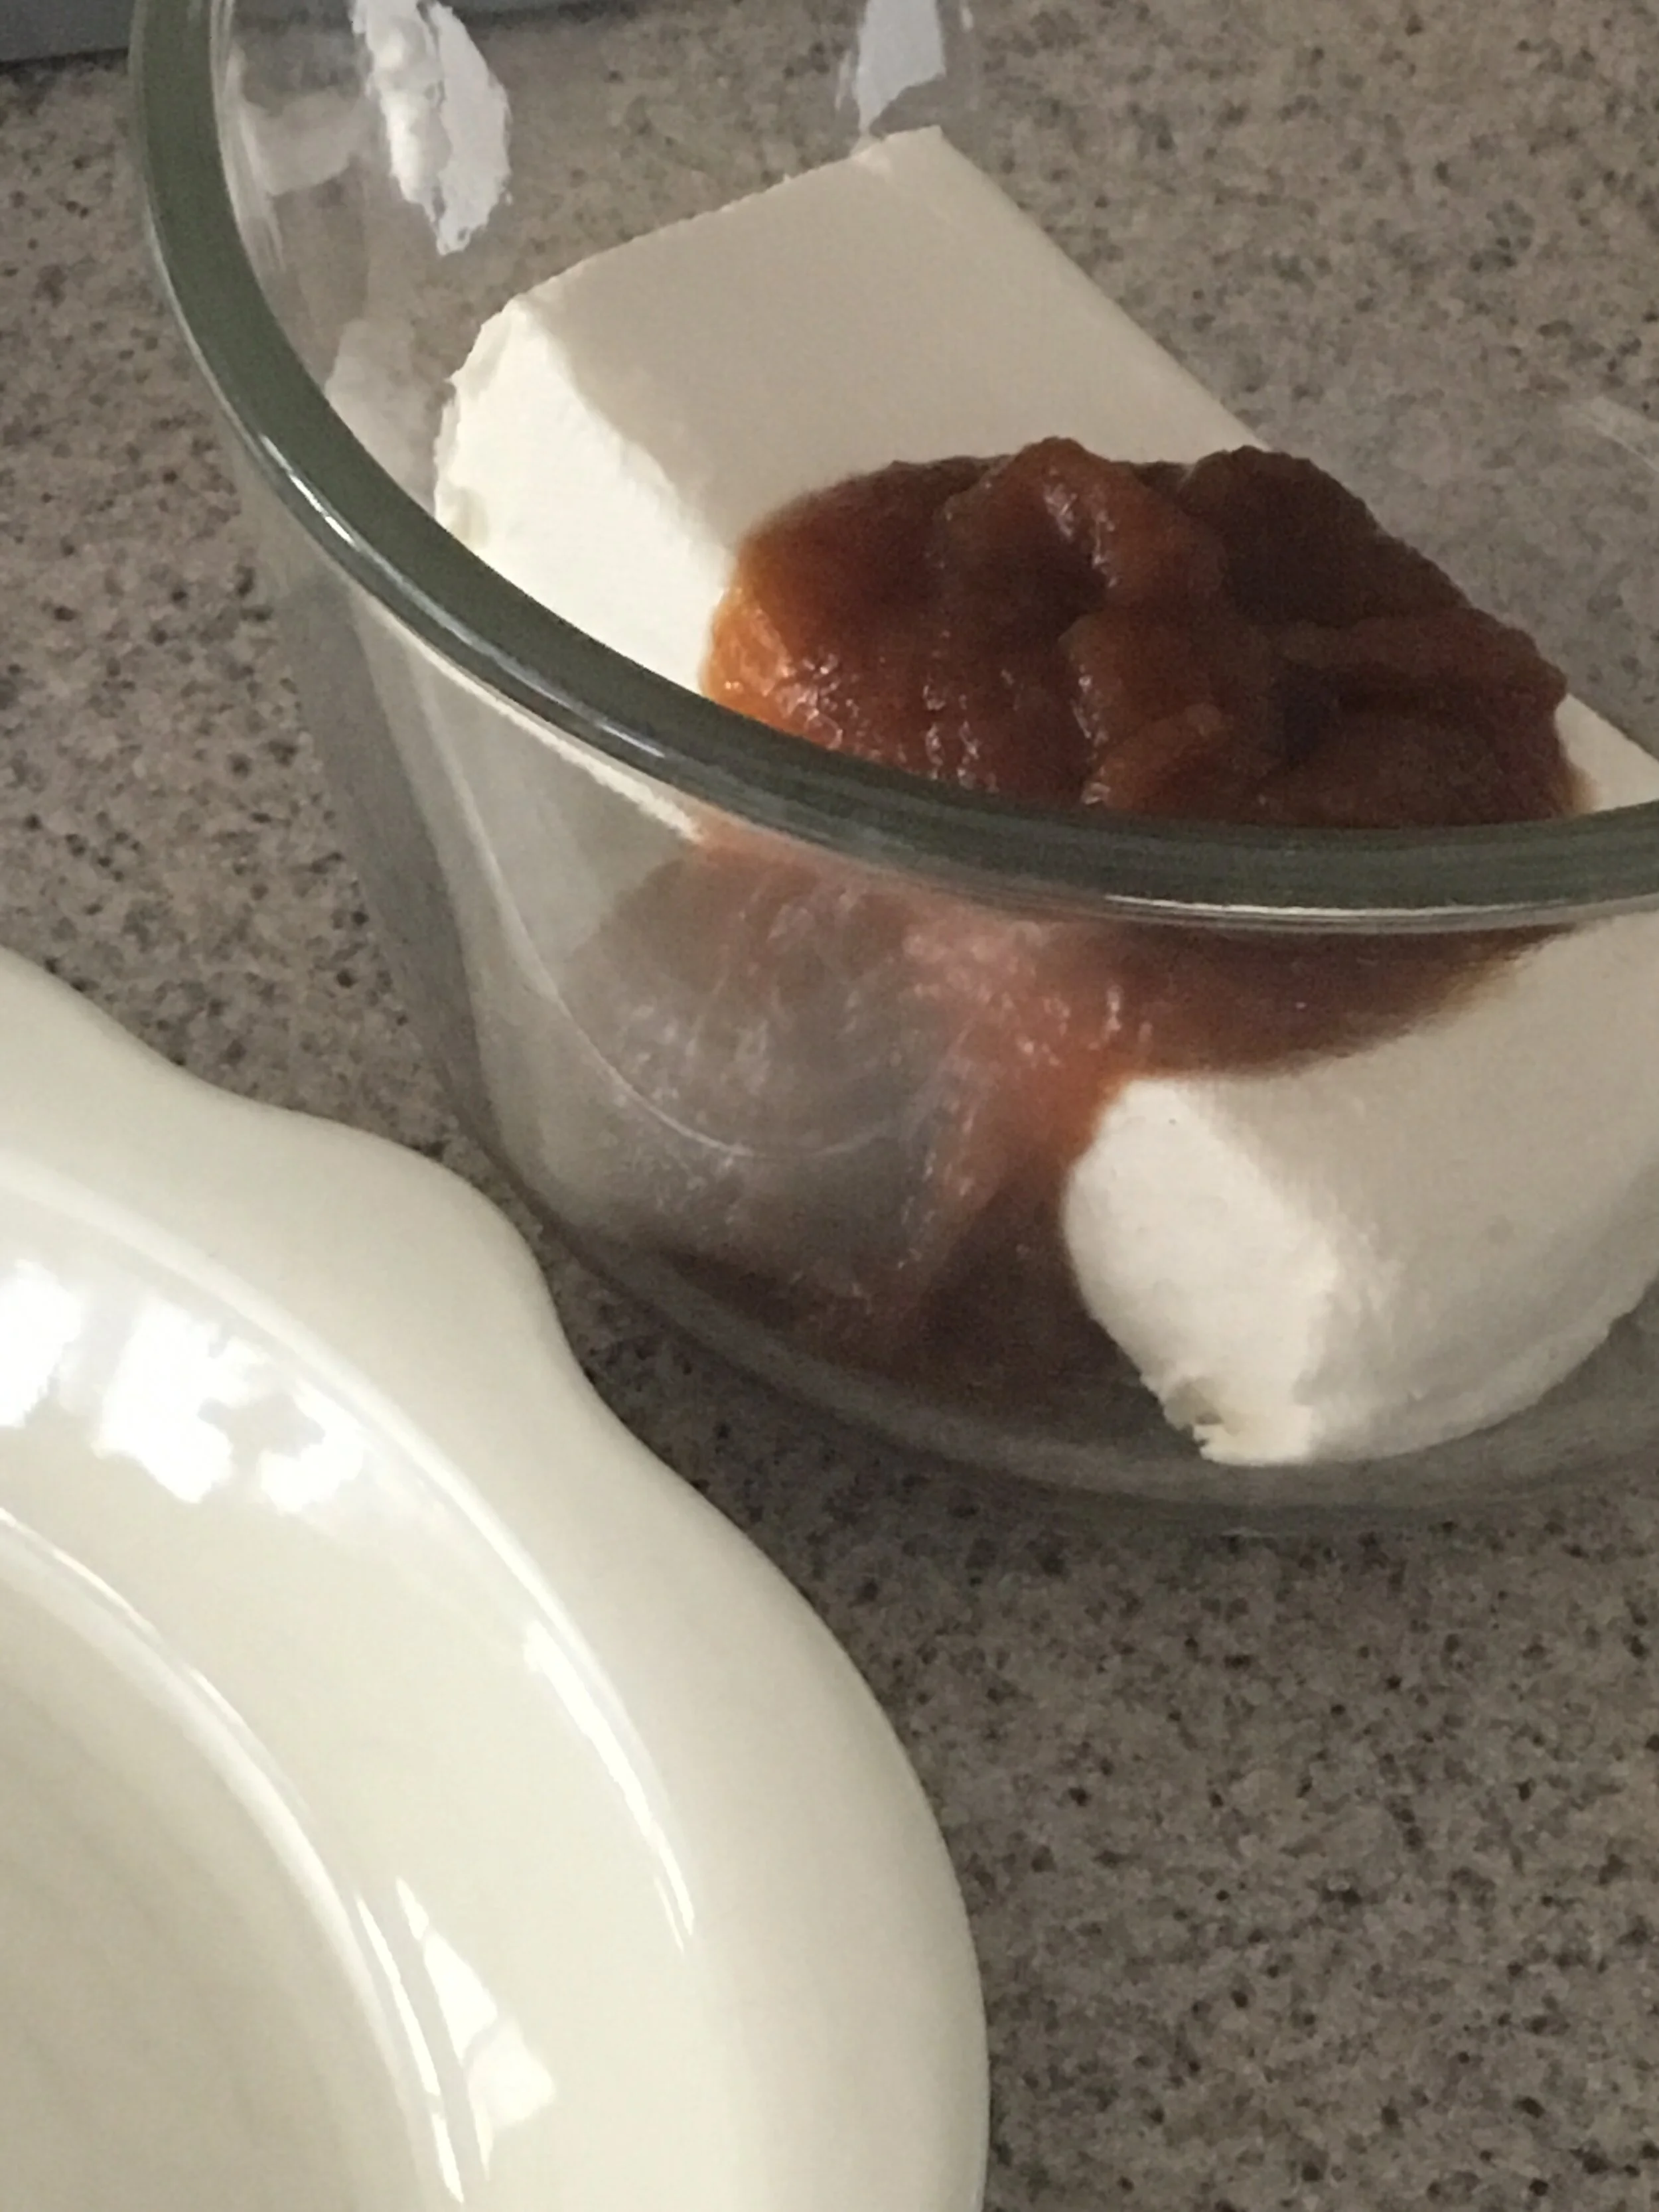
1 (8 oz.) block cream cheese, room temperature
1/2 jar Cherchies® Apple Butter Spread
1 cup Homemade Caramel Sauce (you could use store bought but homemade is so much better!)
1 cup mini chocolate chips
1 cup Heath Bar Toffee bits (or your favorite toffee, crushed into small pieces)
Candy “eyes” (We used Wilton candy eyes, we found at our local Michael’s, but they are available online as well.)
Apple slices for dipping
Caramel Sauce Ingredients- Make this before assembling the spooky dip to allow the caramel to cool. For the full directions with pictures, please visit “How To Make Homemade Caramel Sauce” on our blog.
1 cup of brown sugar
6 Tablespoons (Tbsp.) unsalted butter, cut into small pieces
1/2 cup heavy cream or half and half, room temperature
1/2 teaspoon (tsp) sea salt (if want salted caramel, add up to 1 tsp. salt- Kosher salt is fine too)
1/2 teaspoon vanilla (you could substitute your favorite liquor for an extra special adult treat…we won’t tell, but make sure to keep away from the kiddos)
Preparation for Caramel Sauce
The caramelization process happens quickly, so make sure all your ingredients are measured and in place before you begin. Start with a medium-sized stainless steel sauce pan (ceramic would work just fine too). Add the butter pieces to the pan, turn the heat on low, and gently stir the butter with a wooden spoon (you can use a whisk too) until it melts.
Once the butter has melted, add the sugar and continue to stir until the sugar has melted. (Sugar will be HOT! Trust me, and learn from my mistakes, do not be tempted to taste the caramel at any time, until it has cooled! Many sites I researched suggest having a bowl of cold water on hand in case of flying molten sugar. Yikes! Do not be afraid, but be safe.) As you are stirring, scrape the sugar that forms on the side with the spoon or a rubber spatula and incorporate into the mix.
Continue stirring constantly on low until all the sugar has dissolved and you have achieved a rich caramel color and a nutty aroma. Some of the butter may remain on the top. This is okay. It will incorporate once the half and half or cream is added. As the caramel comes to a rolling boil on low, continue rapidly stirring. Add salt and vanilla (or liquor) at this time. If you want salted caramel, then add an additional 1/2 teaspoon (tsp) of salt.
The last part is the cream or half and half. Add the cream slowly and stir stir stir! Again, be careful, this is where the caramel will get angry with you, as it will sputter and possibly throw molten sugar your way. You must prevail. I’m teasing… it really is very easy! Simply continue stirring rapidly until all the ingredients are incorporated. Remove the caramel from the heat and allow to cool. Turn off the stove. The caramel will thicken as it cools.
Preparation for Spooky Apple Dip
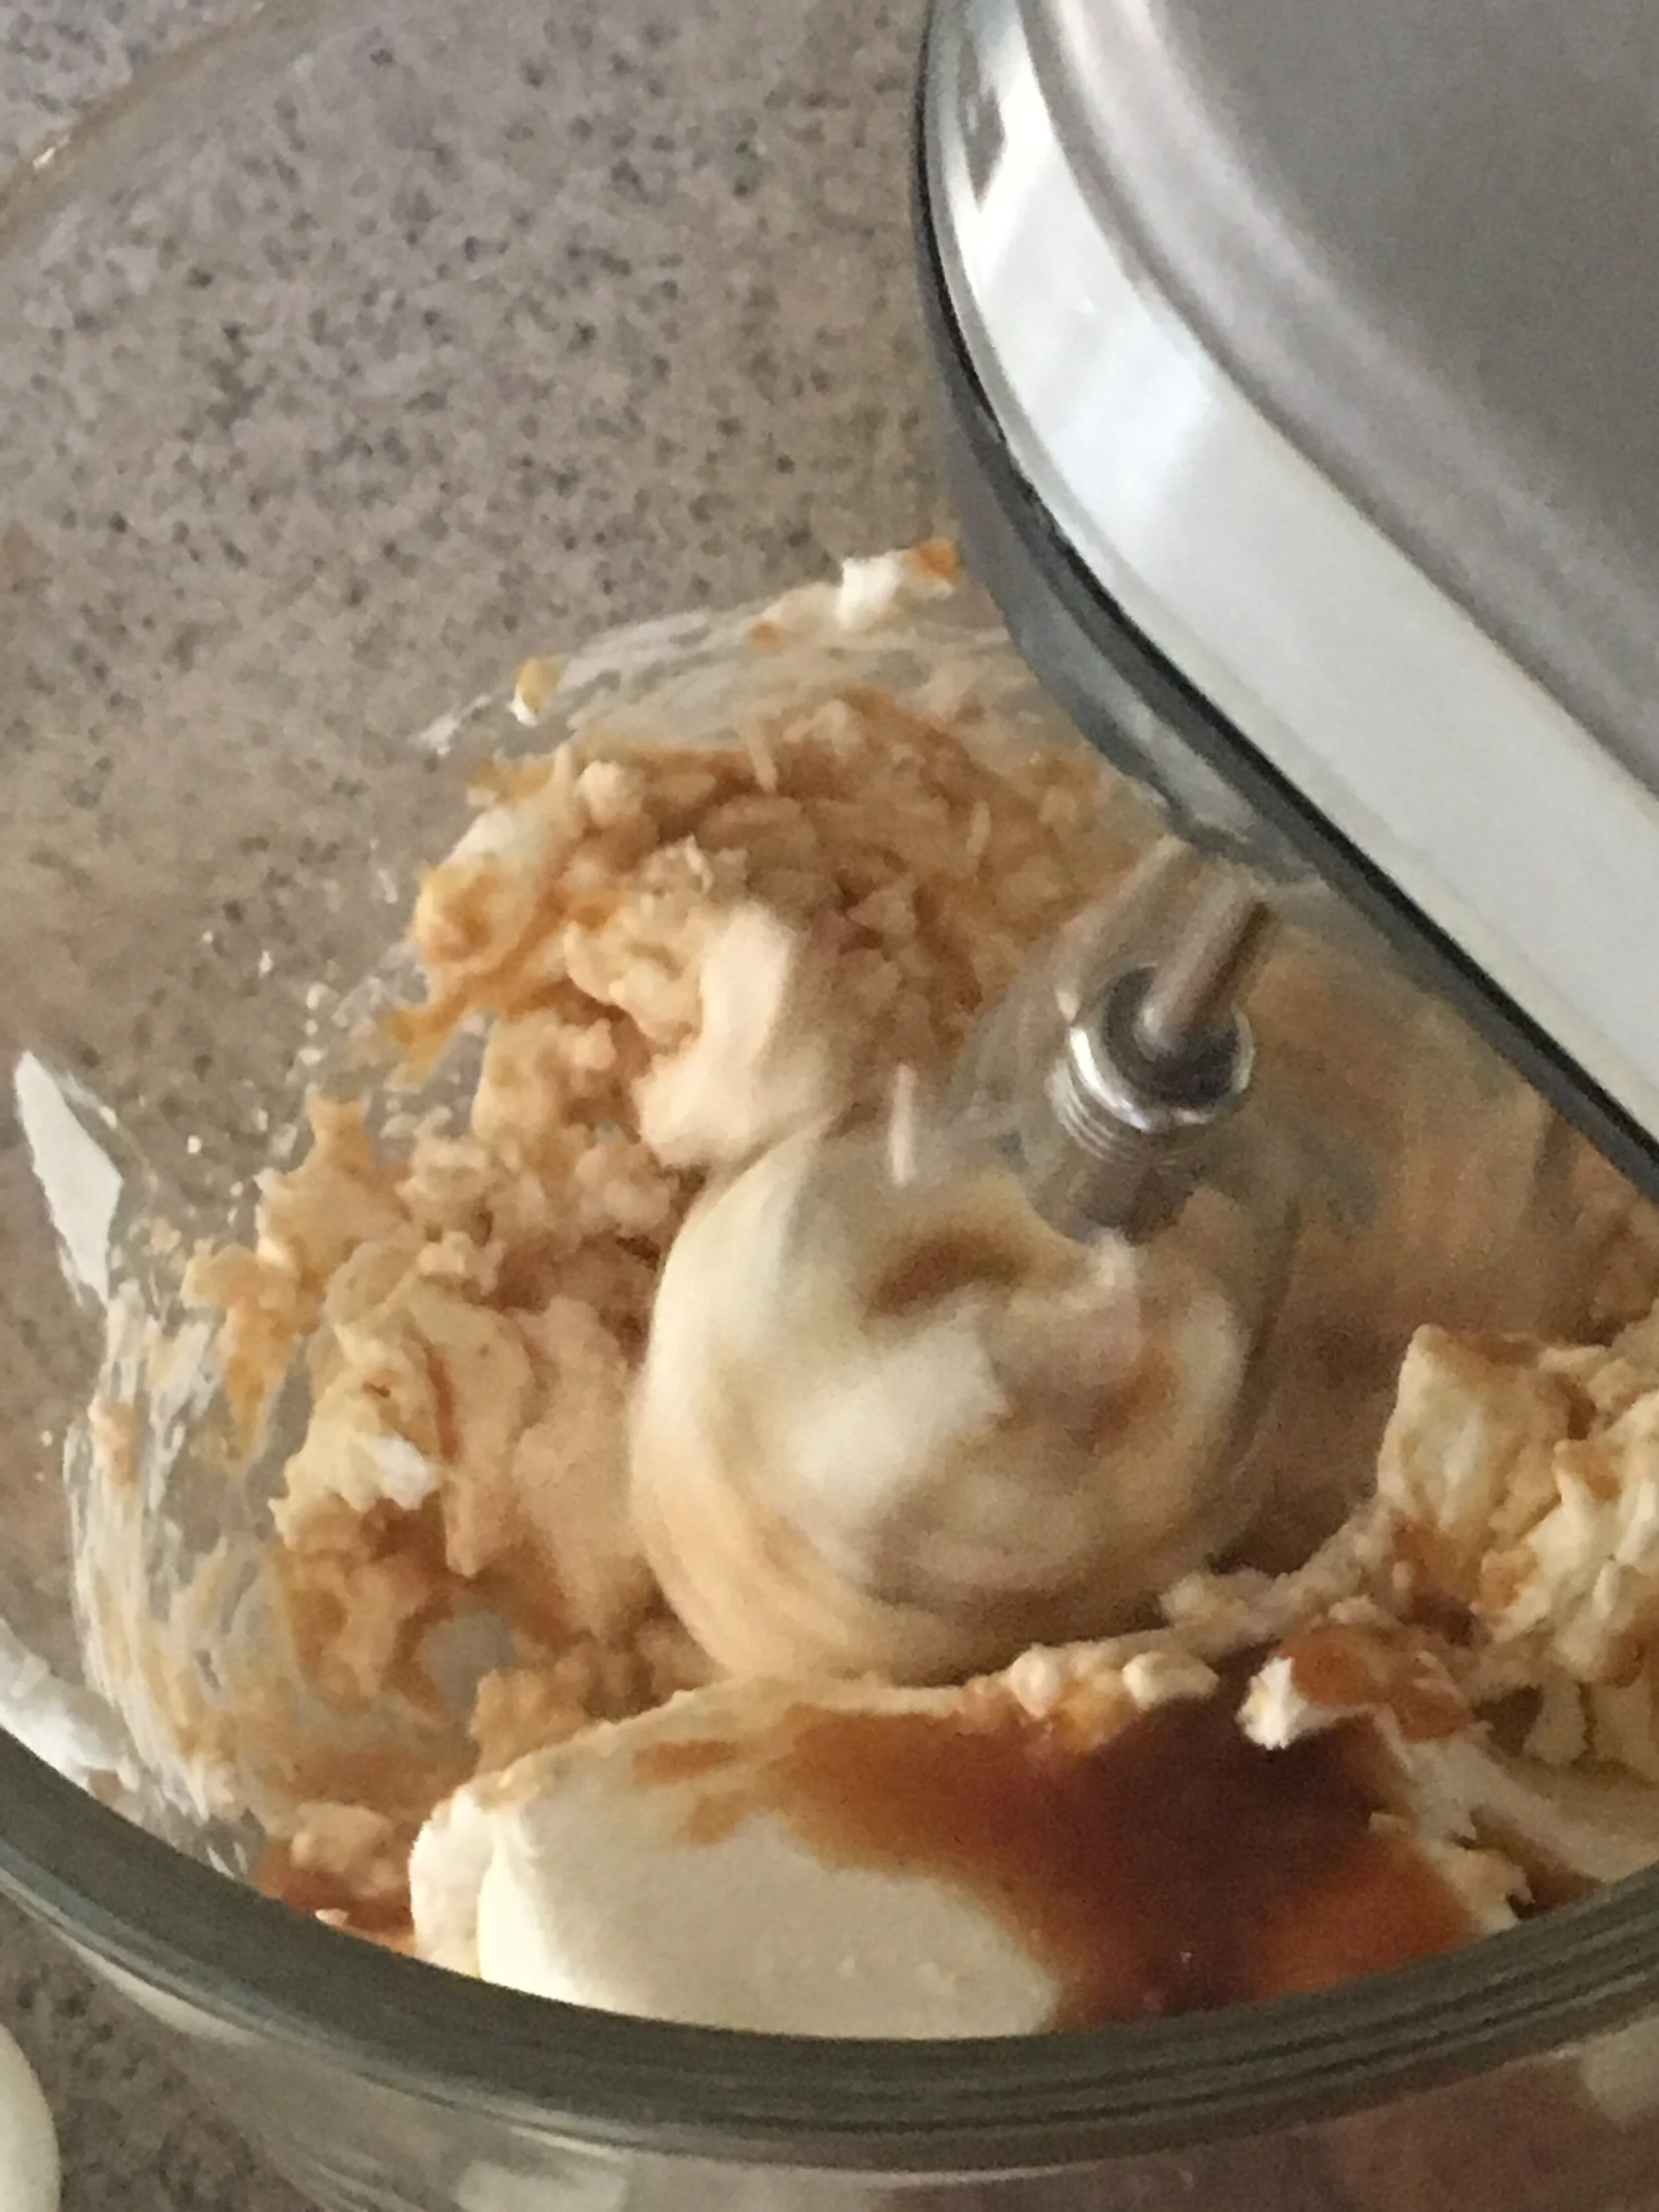
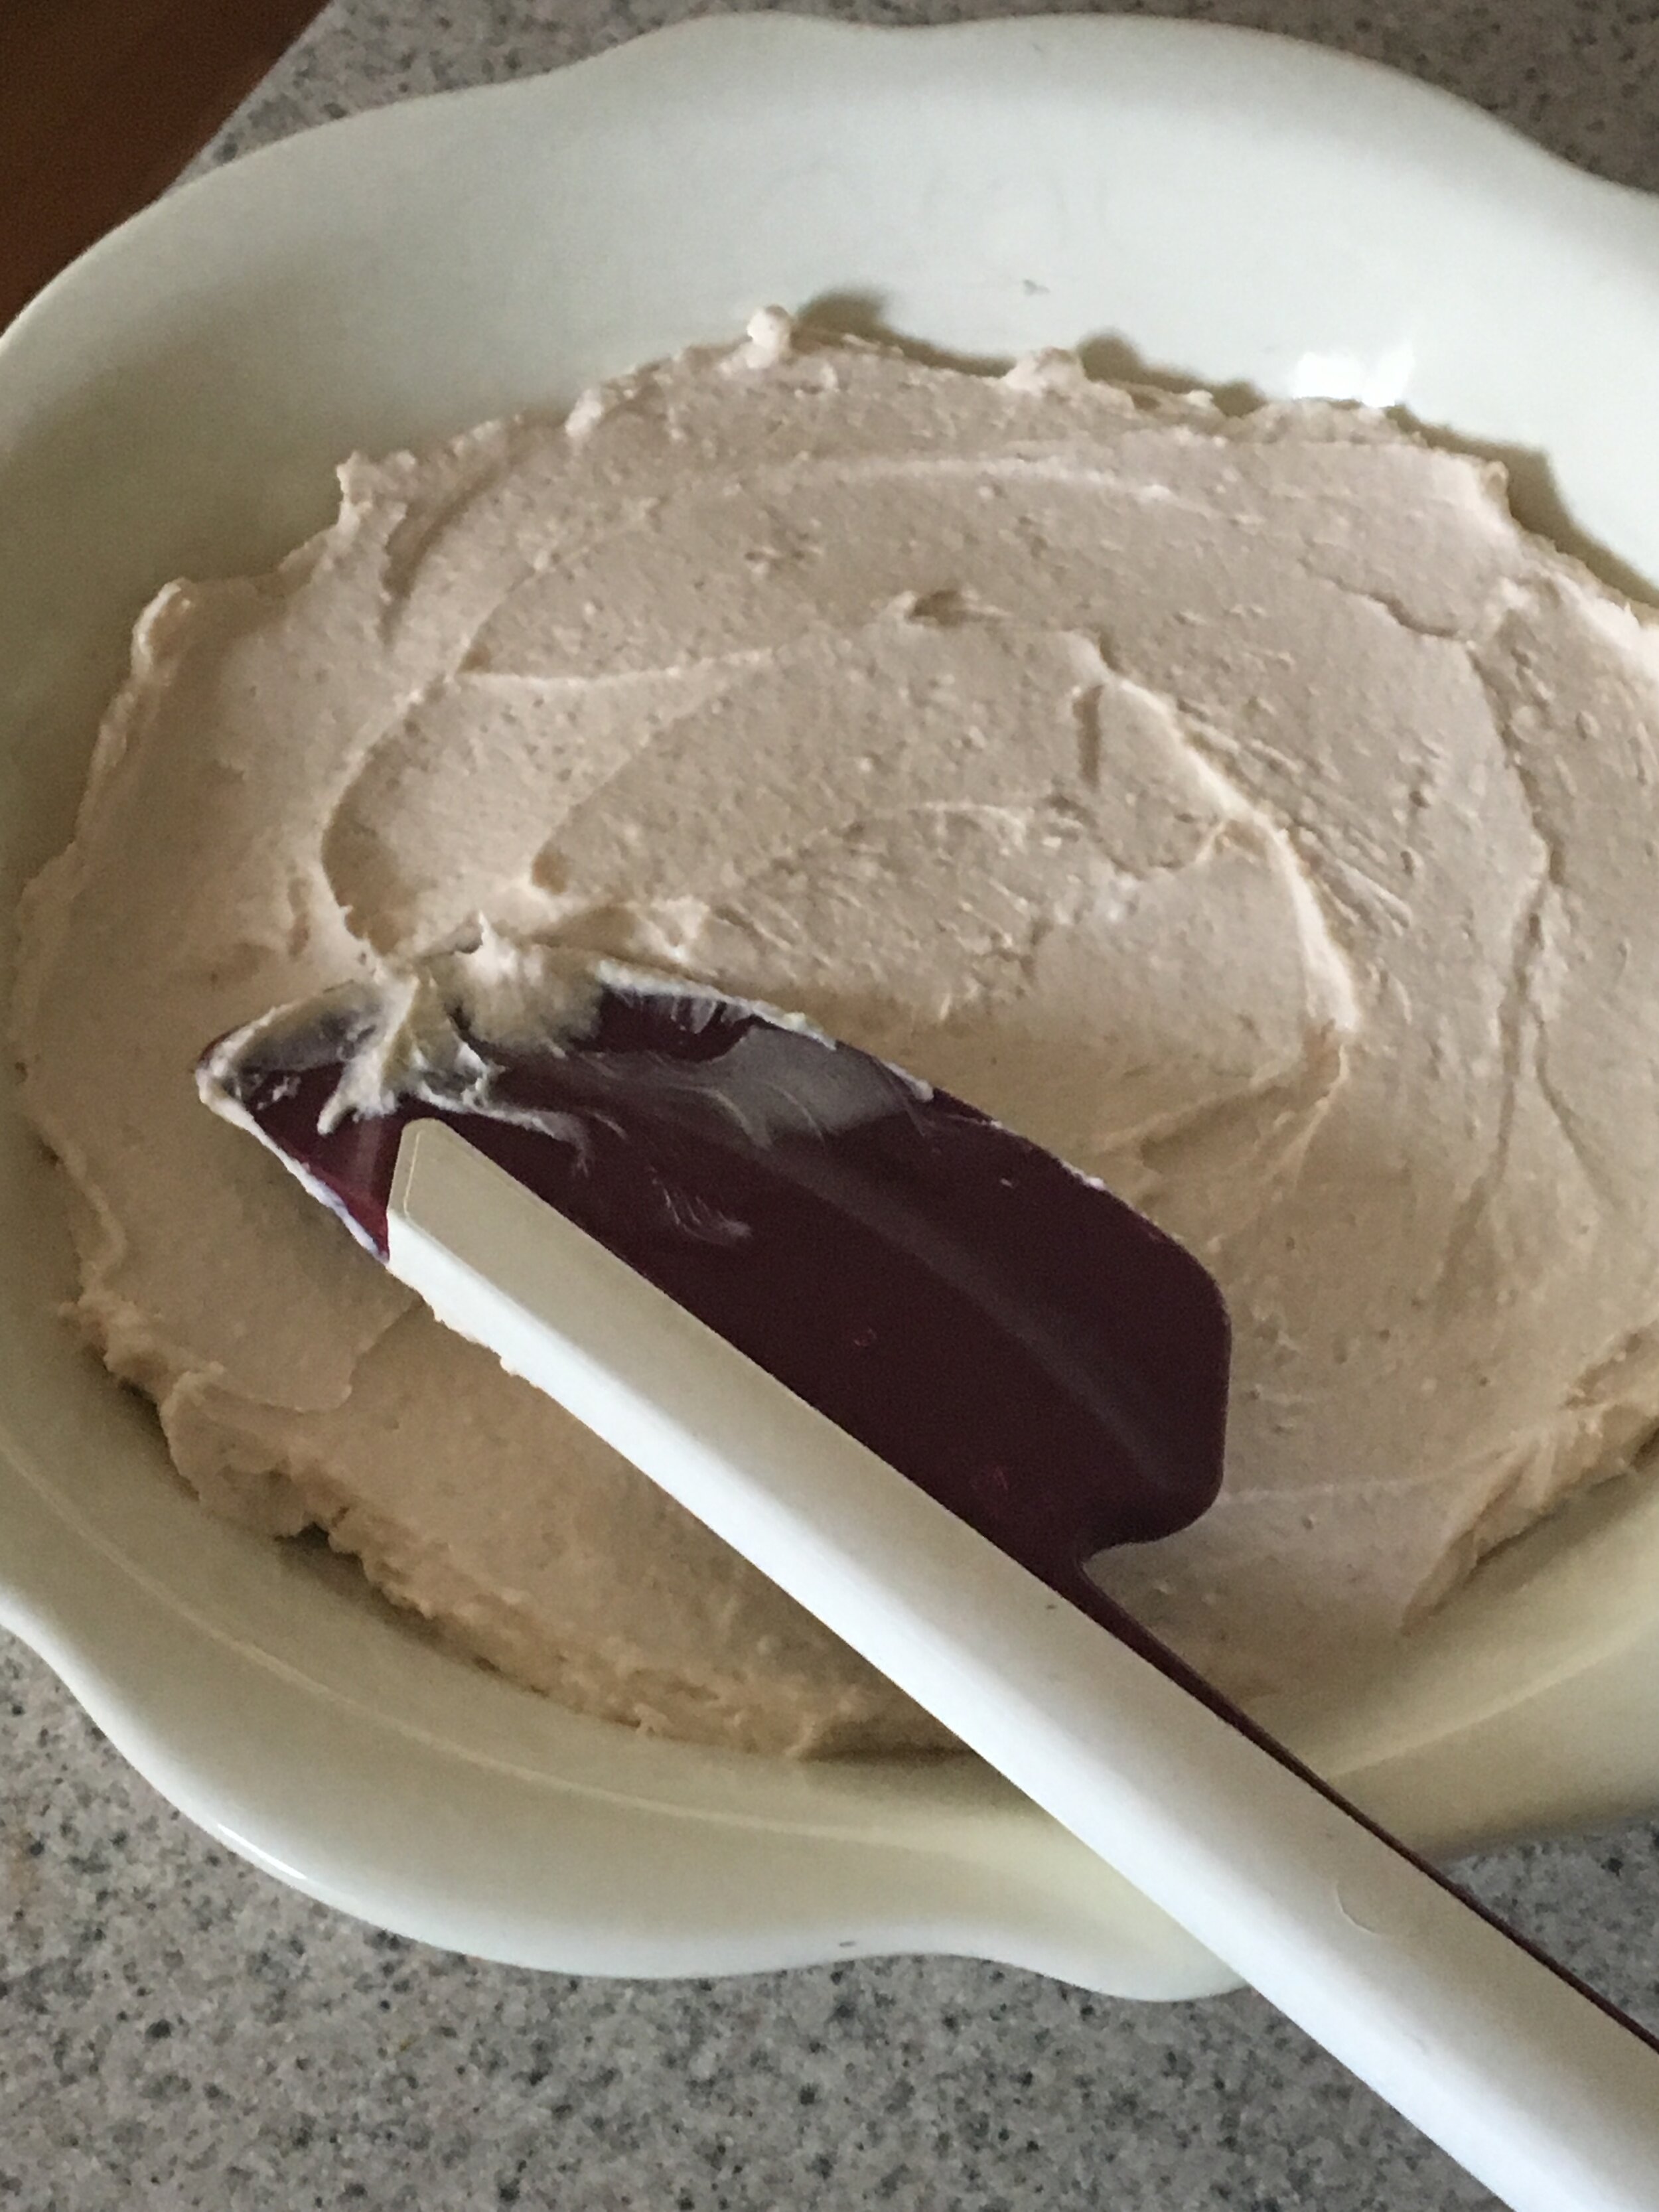
Combine the softened cream cheese and the apple butter spread in a medium bowl with a hand-held mixer and mix on medium-low speed until combined. With a spatula, spread the cream cheese mixture into a pie plate or shallow dish.
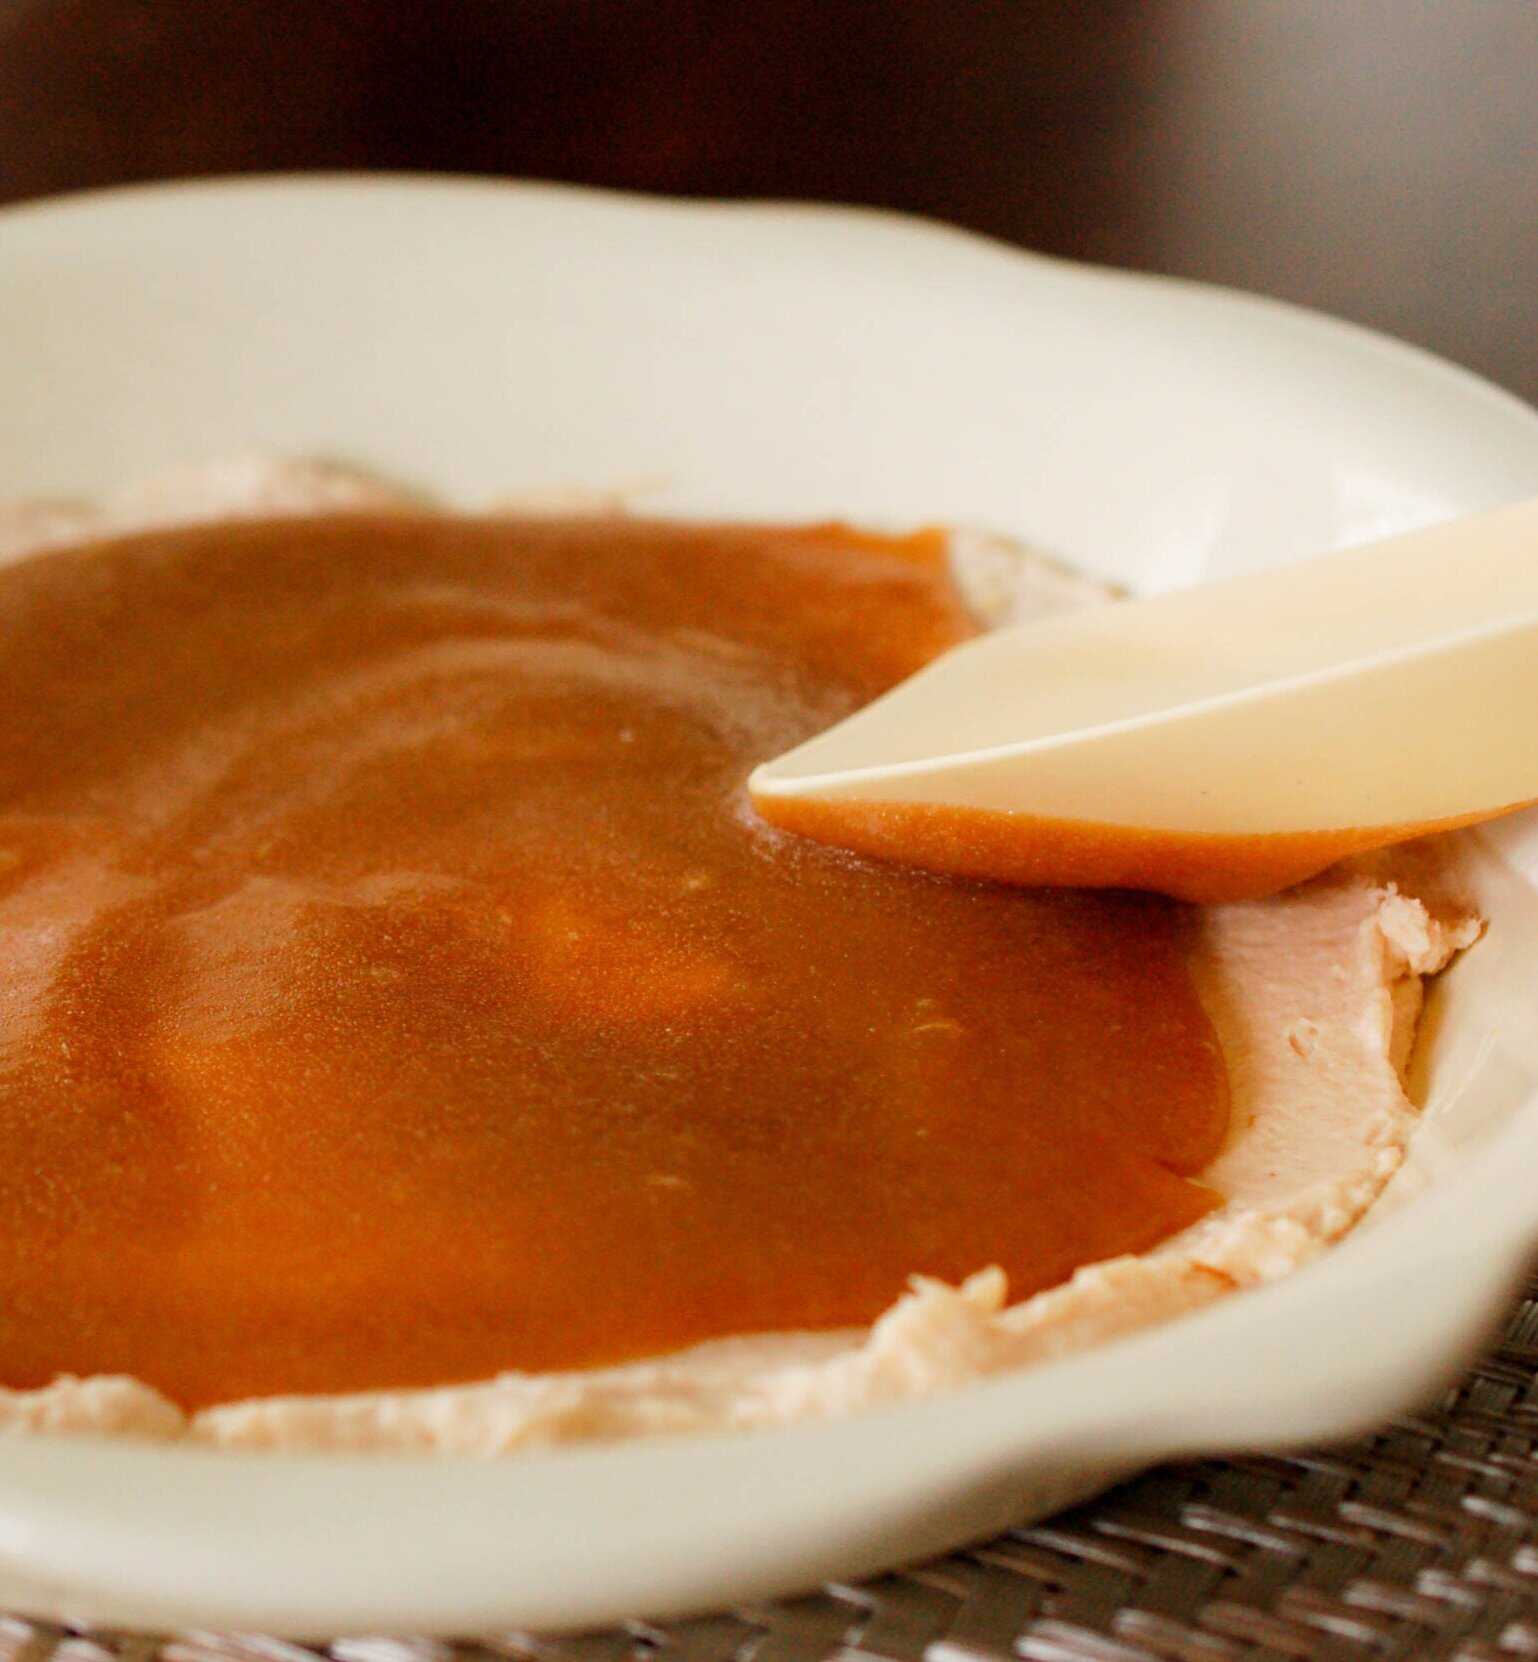
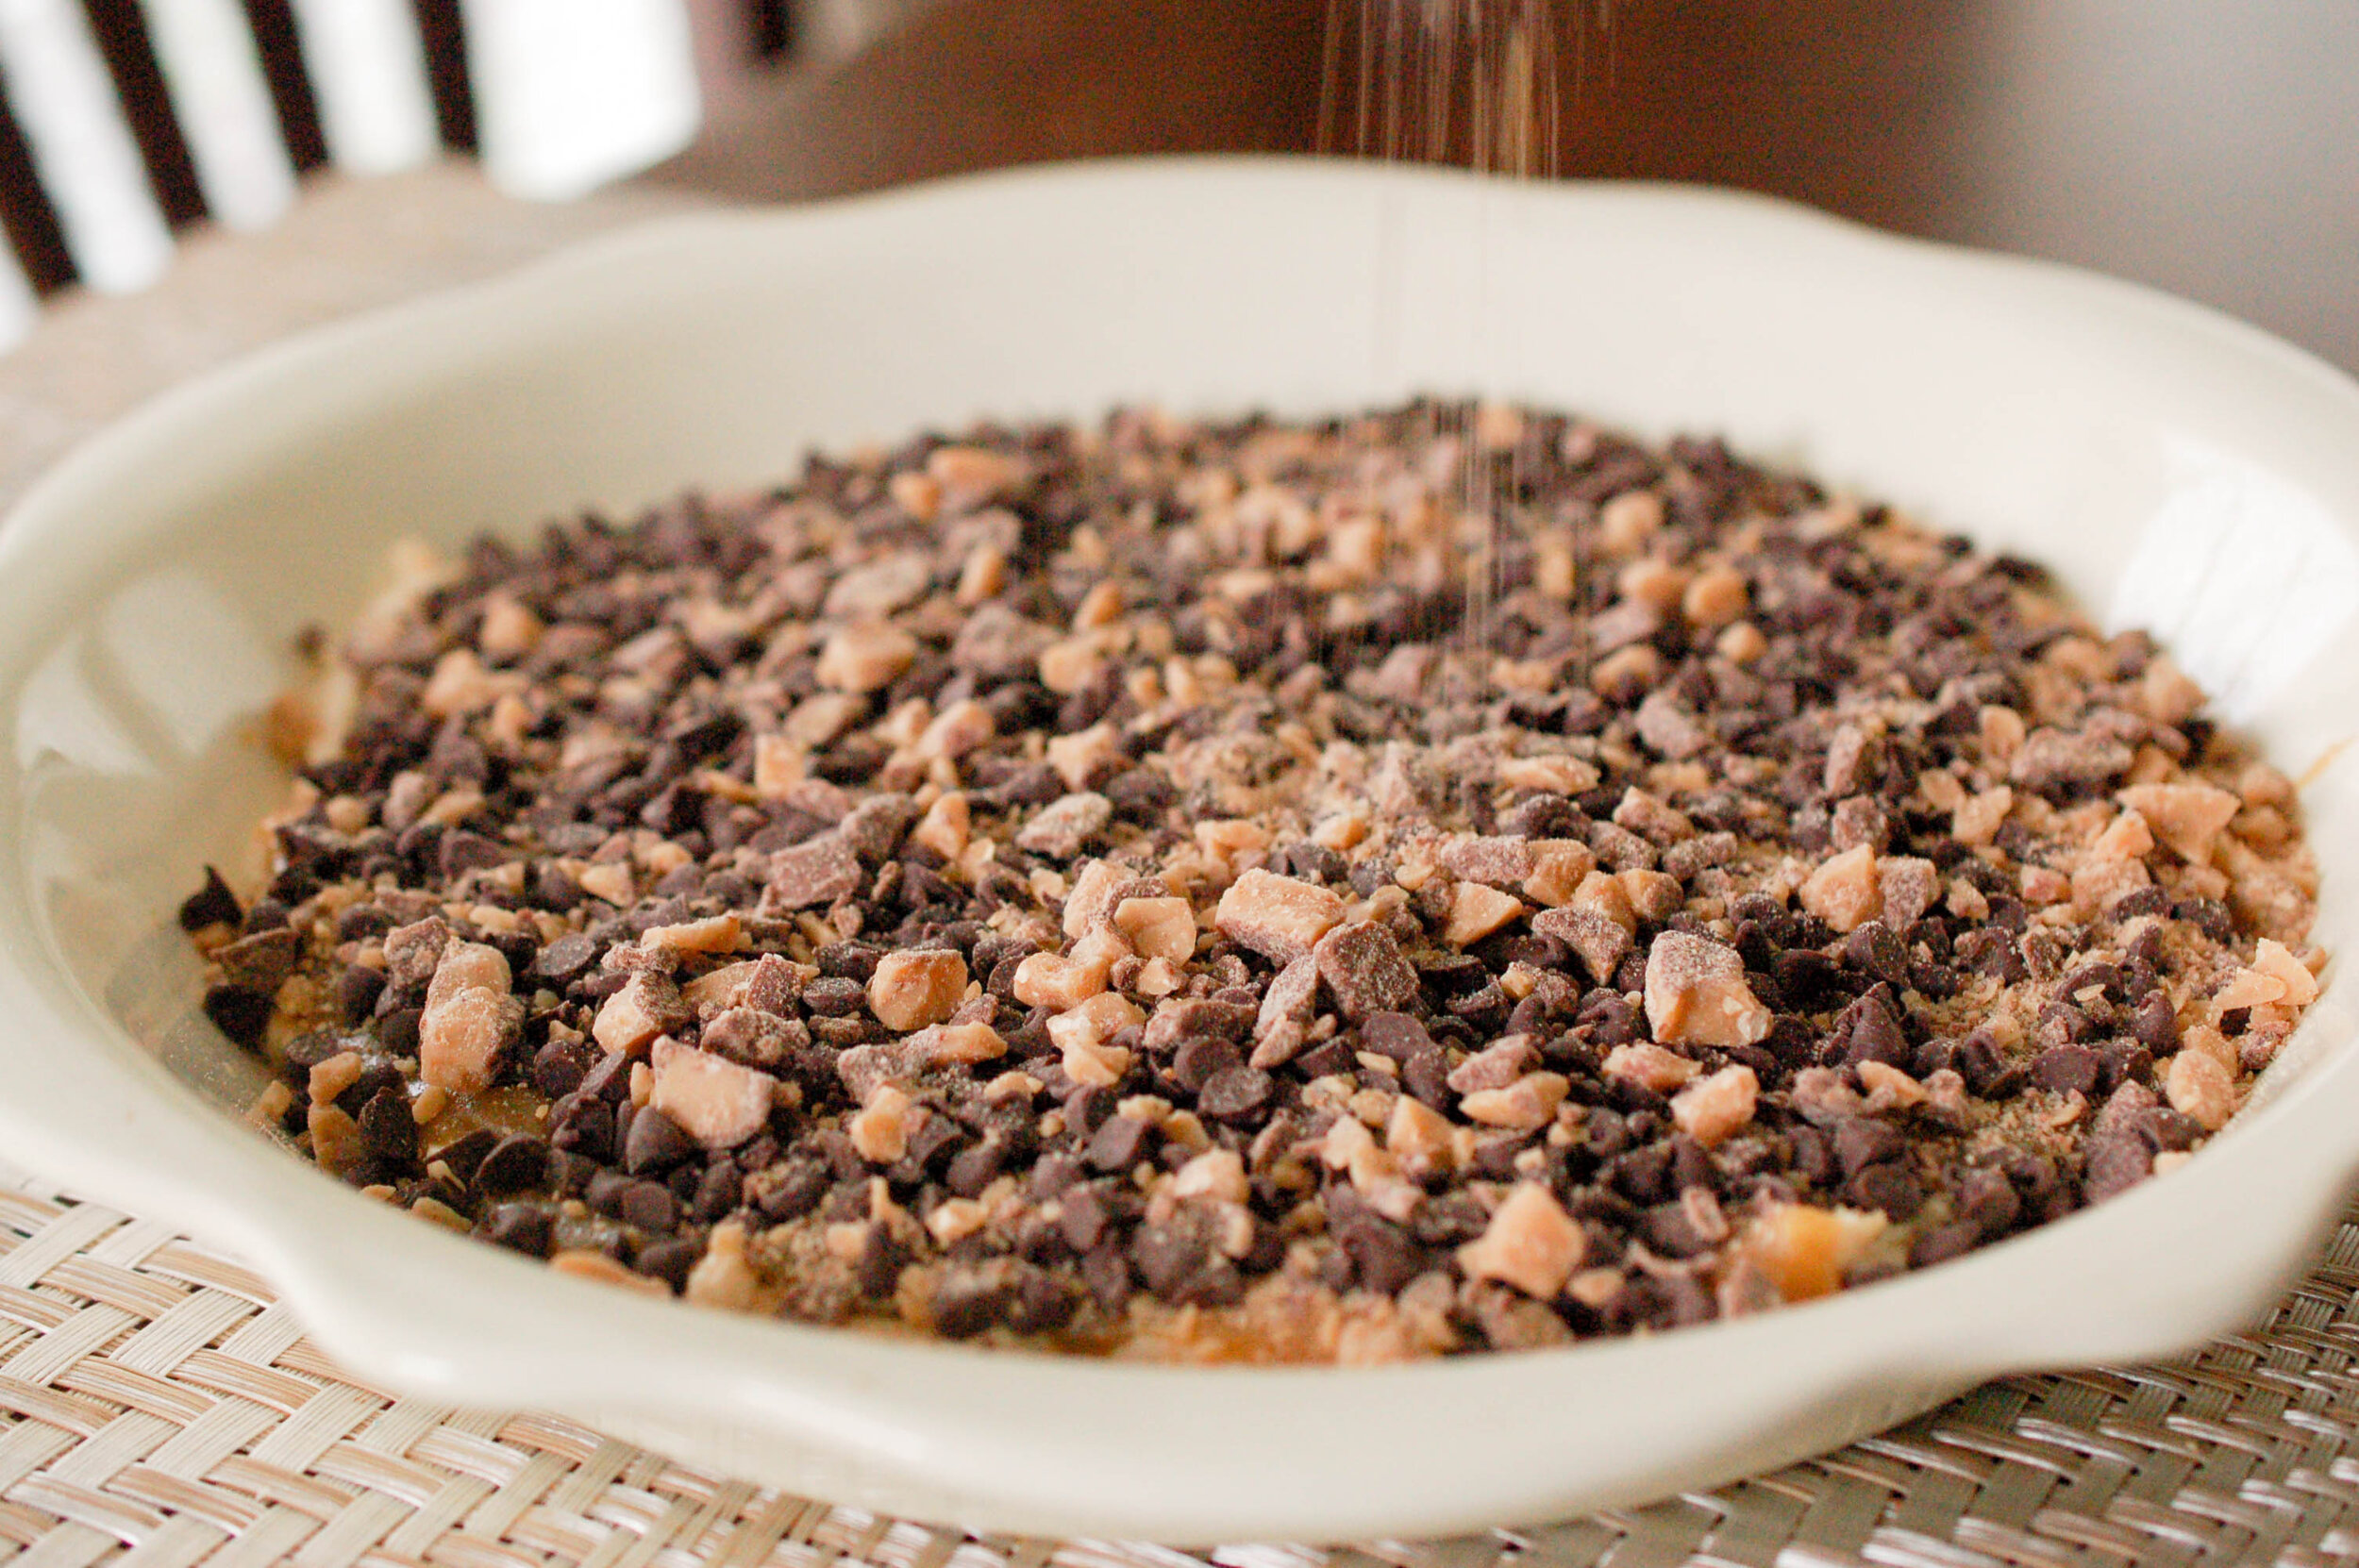
Once the caramel sauce has cooled and thickened, evenly pour it over the cream cheese mixture. Next, sprinkle the mini chocolate chips over the caramel, followed by the toffee bits.

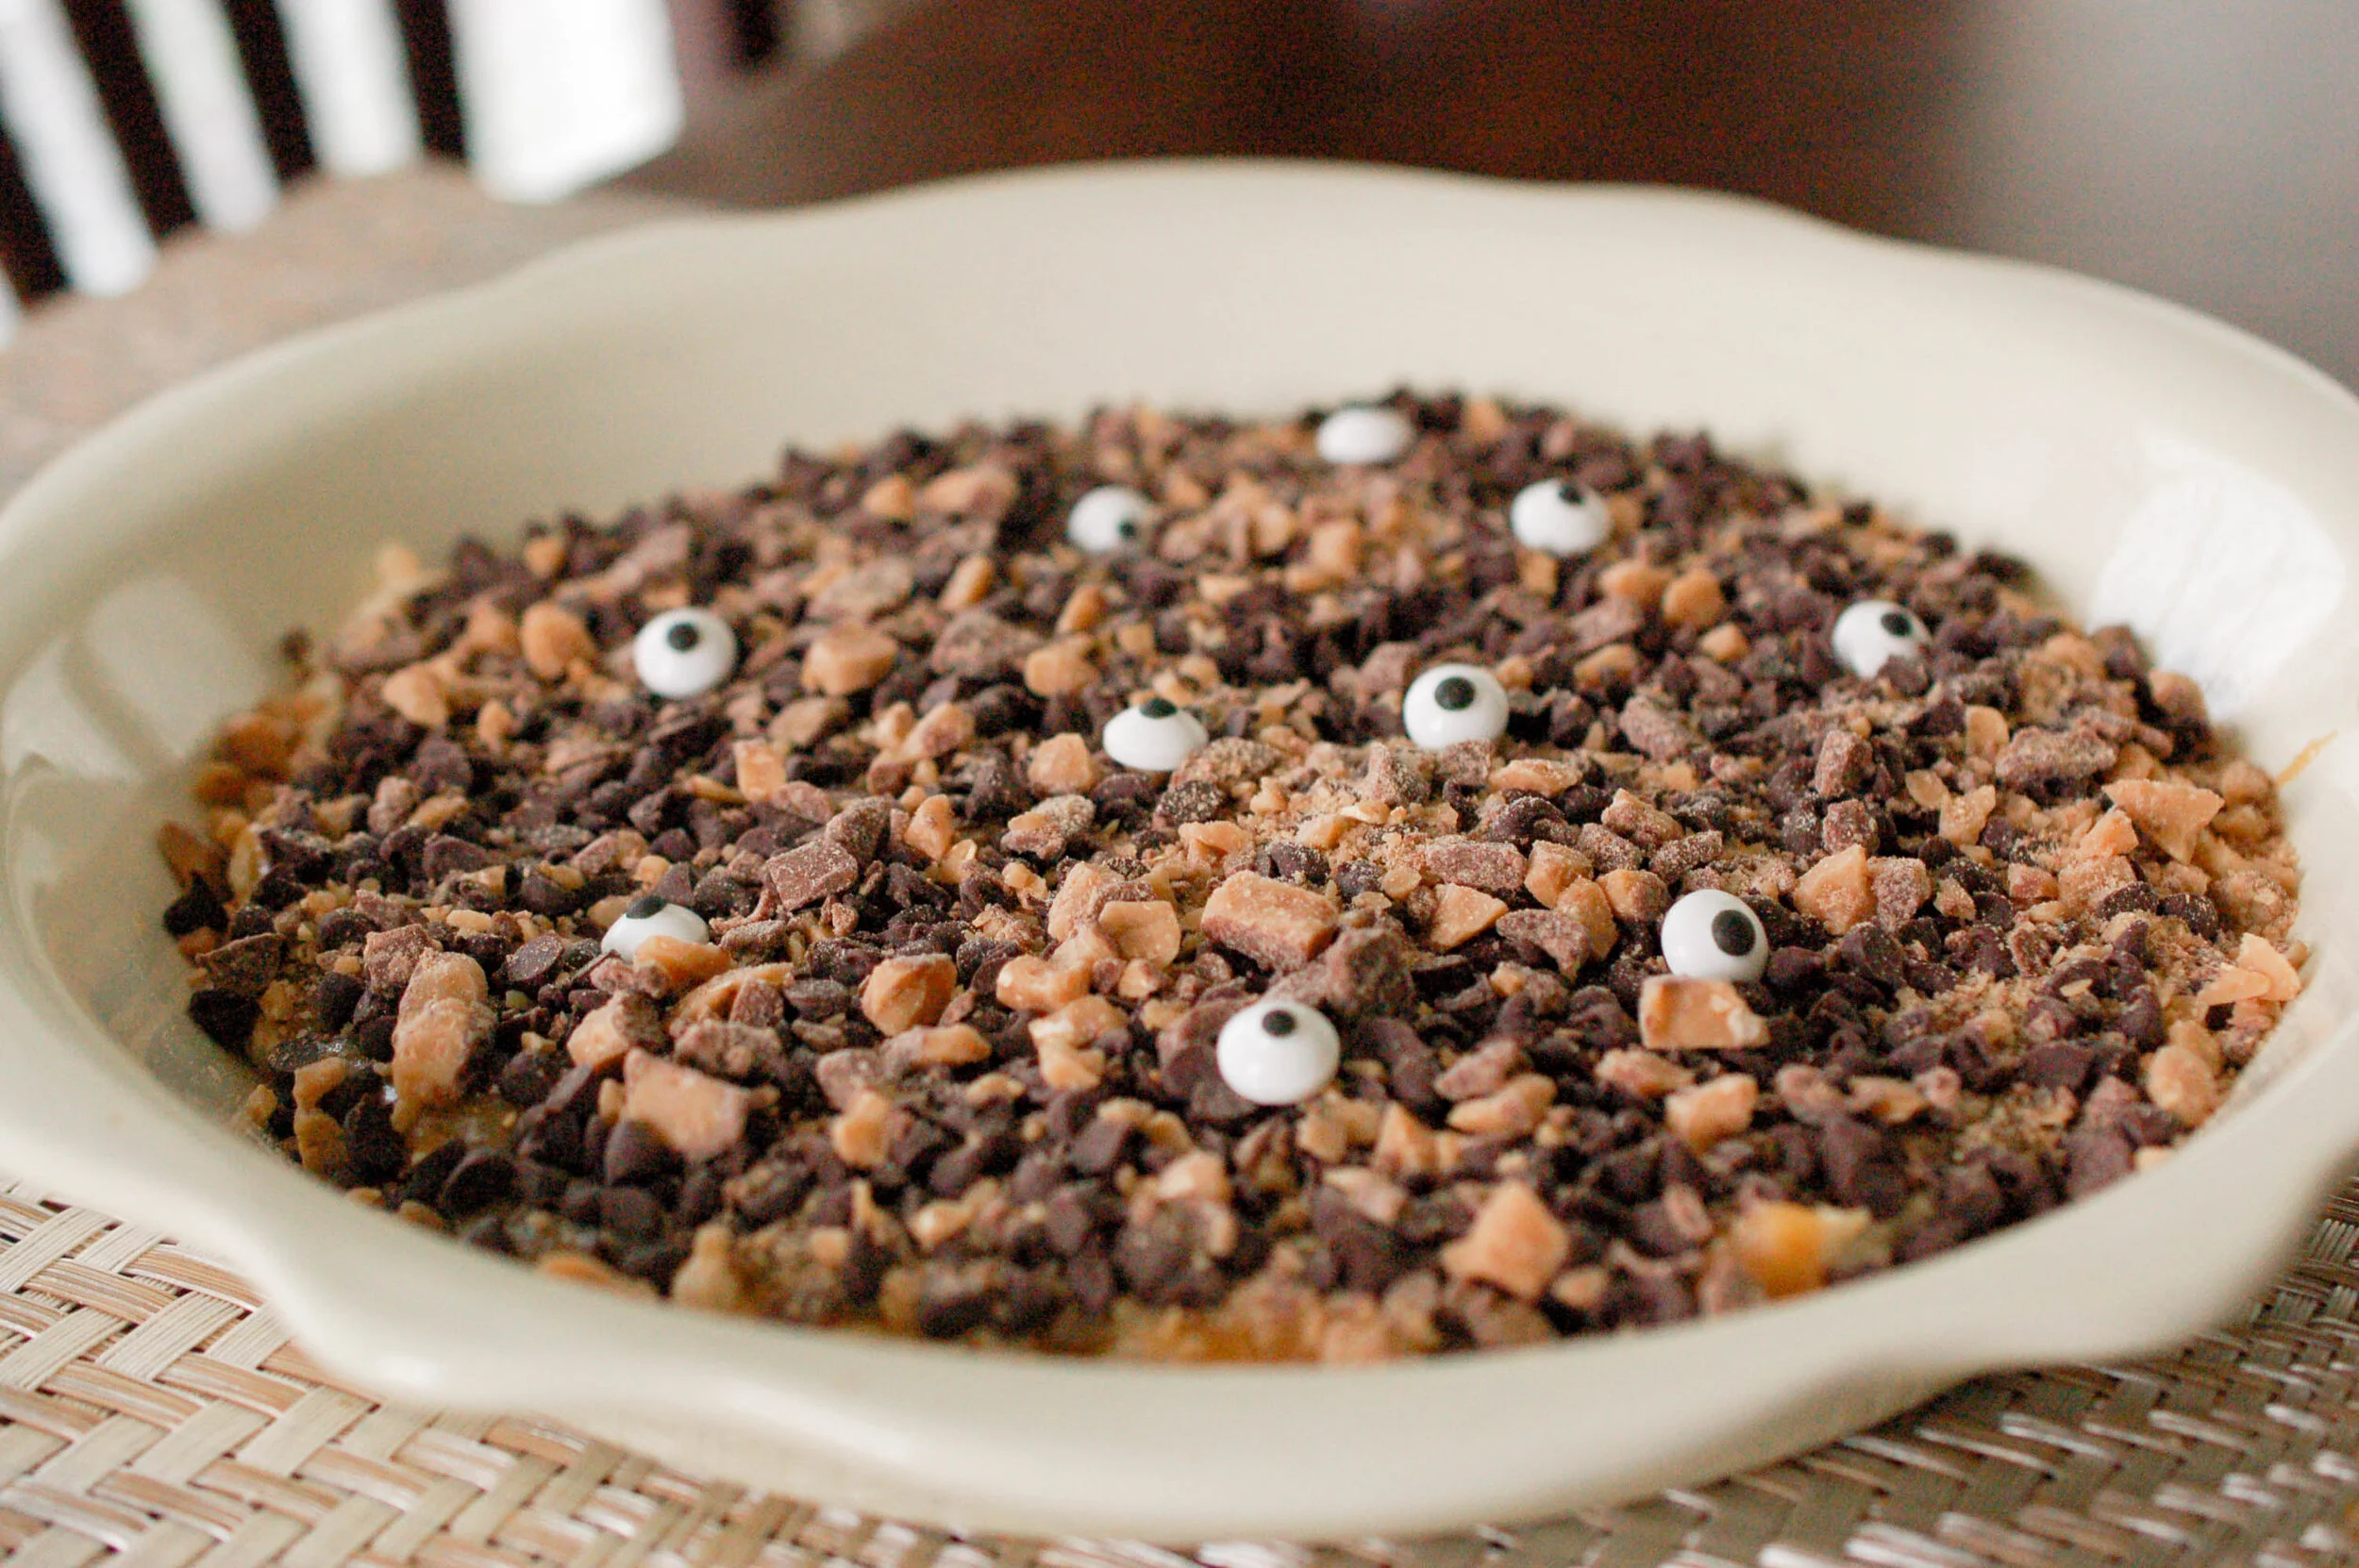
Carefully place the candy eyes on top and serve with apples for a spooktackular Halloween presentation.


Enjoy and Happy Halloween!