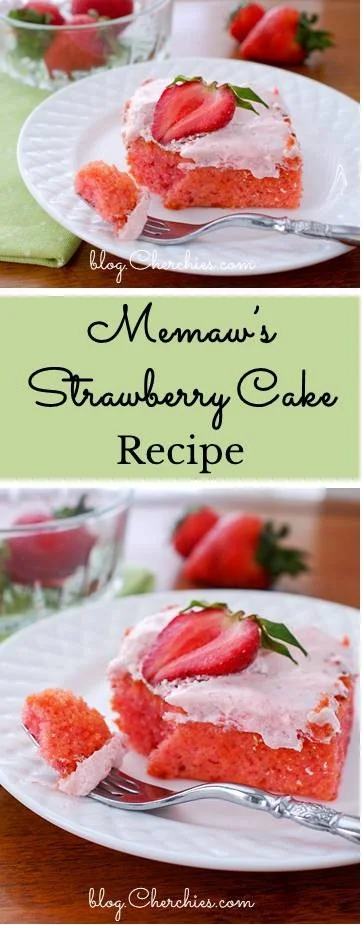
Memaw’s Strawberry Cake Recipe
Cook Time: 35-40 minutes
Prep Time: 10 minutes
Difficulty: Easy
Hi friends. Today's mood is a bit more somber than in previous posts, so instead of the silly puns, leftover magic tricks, and cooking tips, I give you a piece of my heart, and it is hurting BADLY. You see, Monday was D-day (dread day) for our family. We dropped off our baby boy, hours away, to begin his new life as a college Freshman. It was the day my heart shattered into a million pieces. For anyone who is going through this (or has gone through or is just feeling blue), I feel your pain:( I have been dreading this past Monday's events all summer (in fact, for 18 years), but inevitably, the day came (to what seemed to be a blink in time), and all I can hope is hubby, and I prepared him enough. We are so proud of the young man he has become. It was bittersweet letting him go, but seeing him so happy and confident helped make the transition for Mom a tad better, that and CARBS…lots of them, particularly cake!
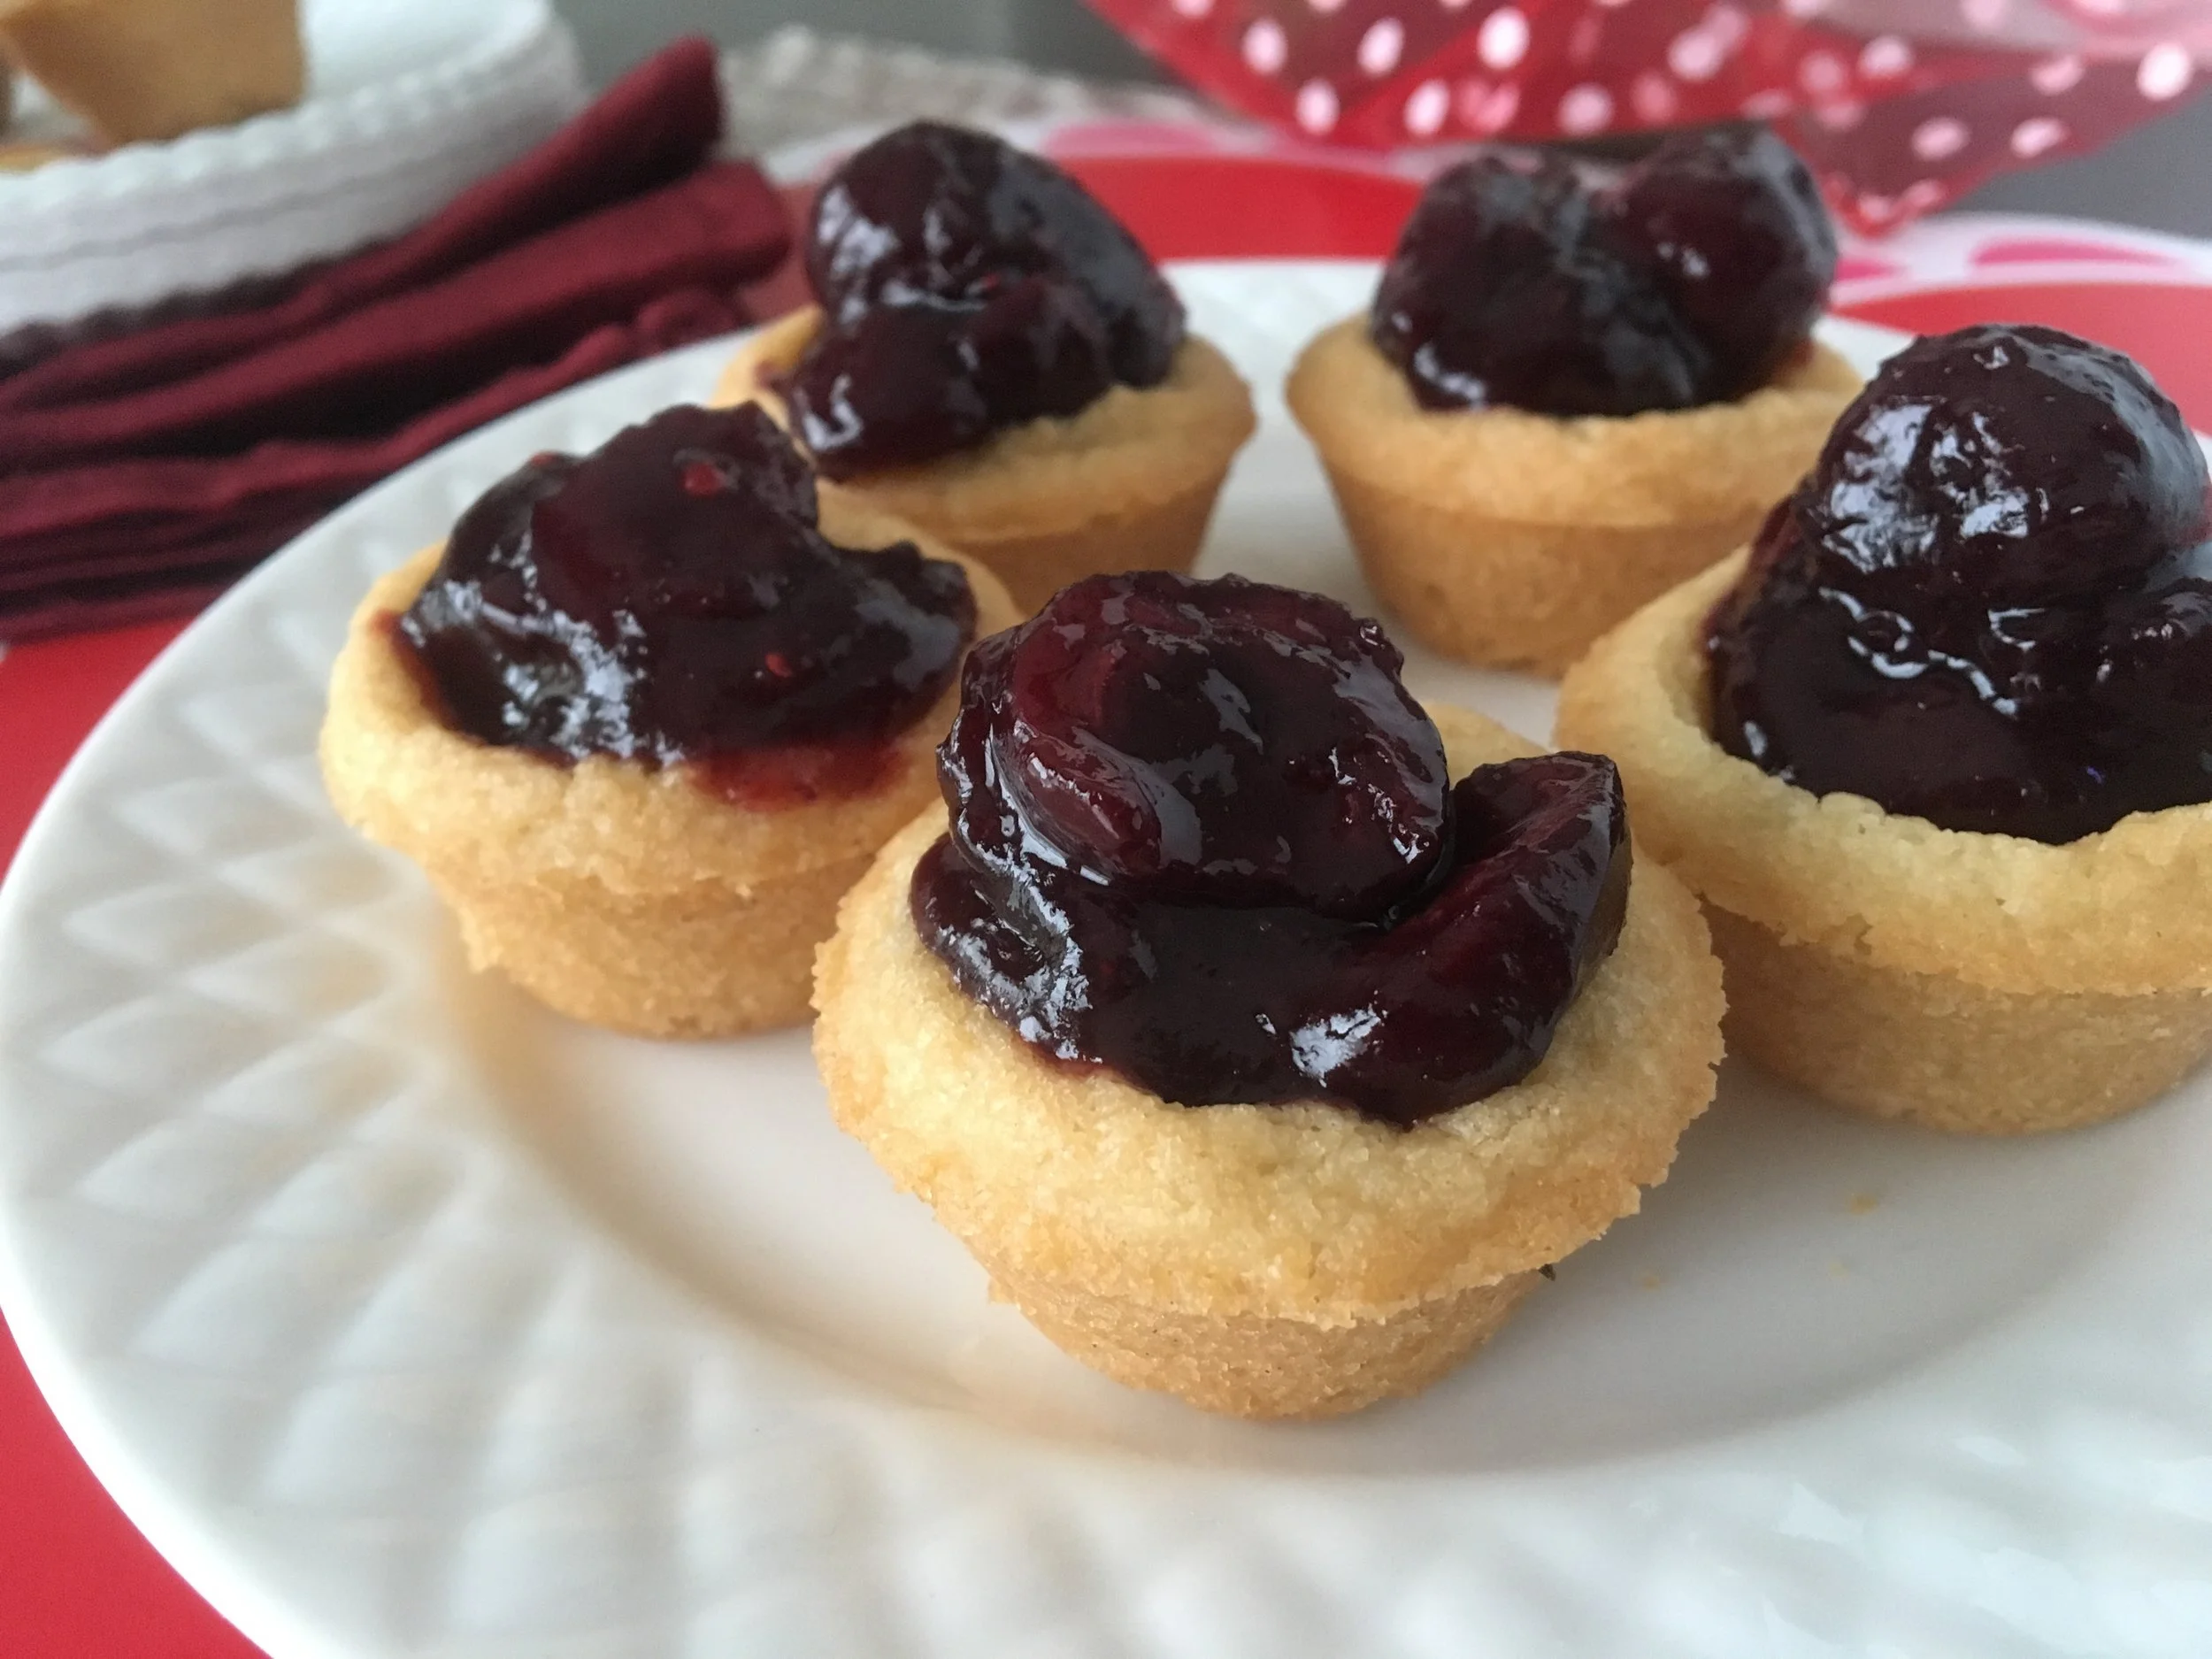
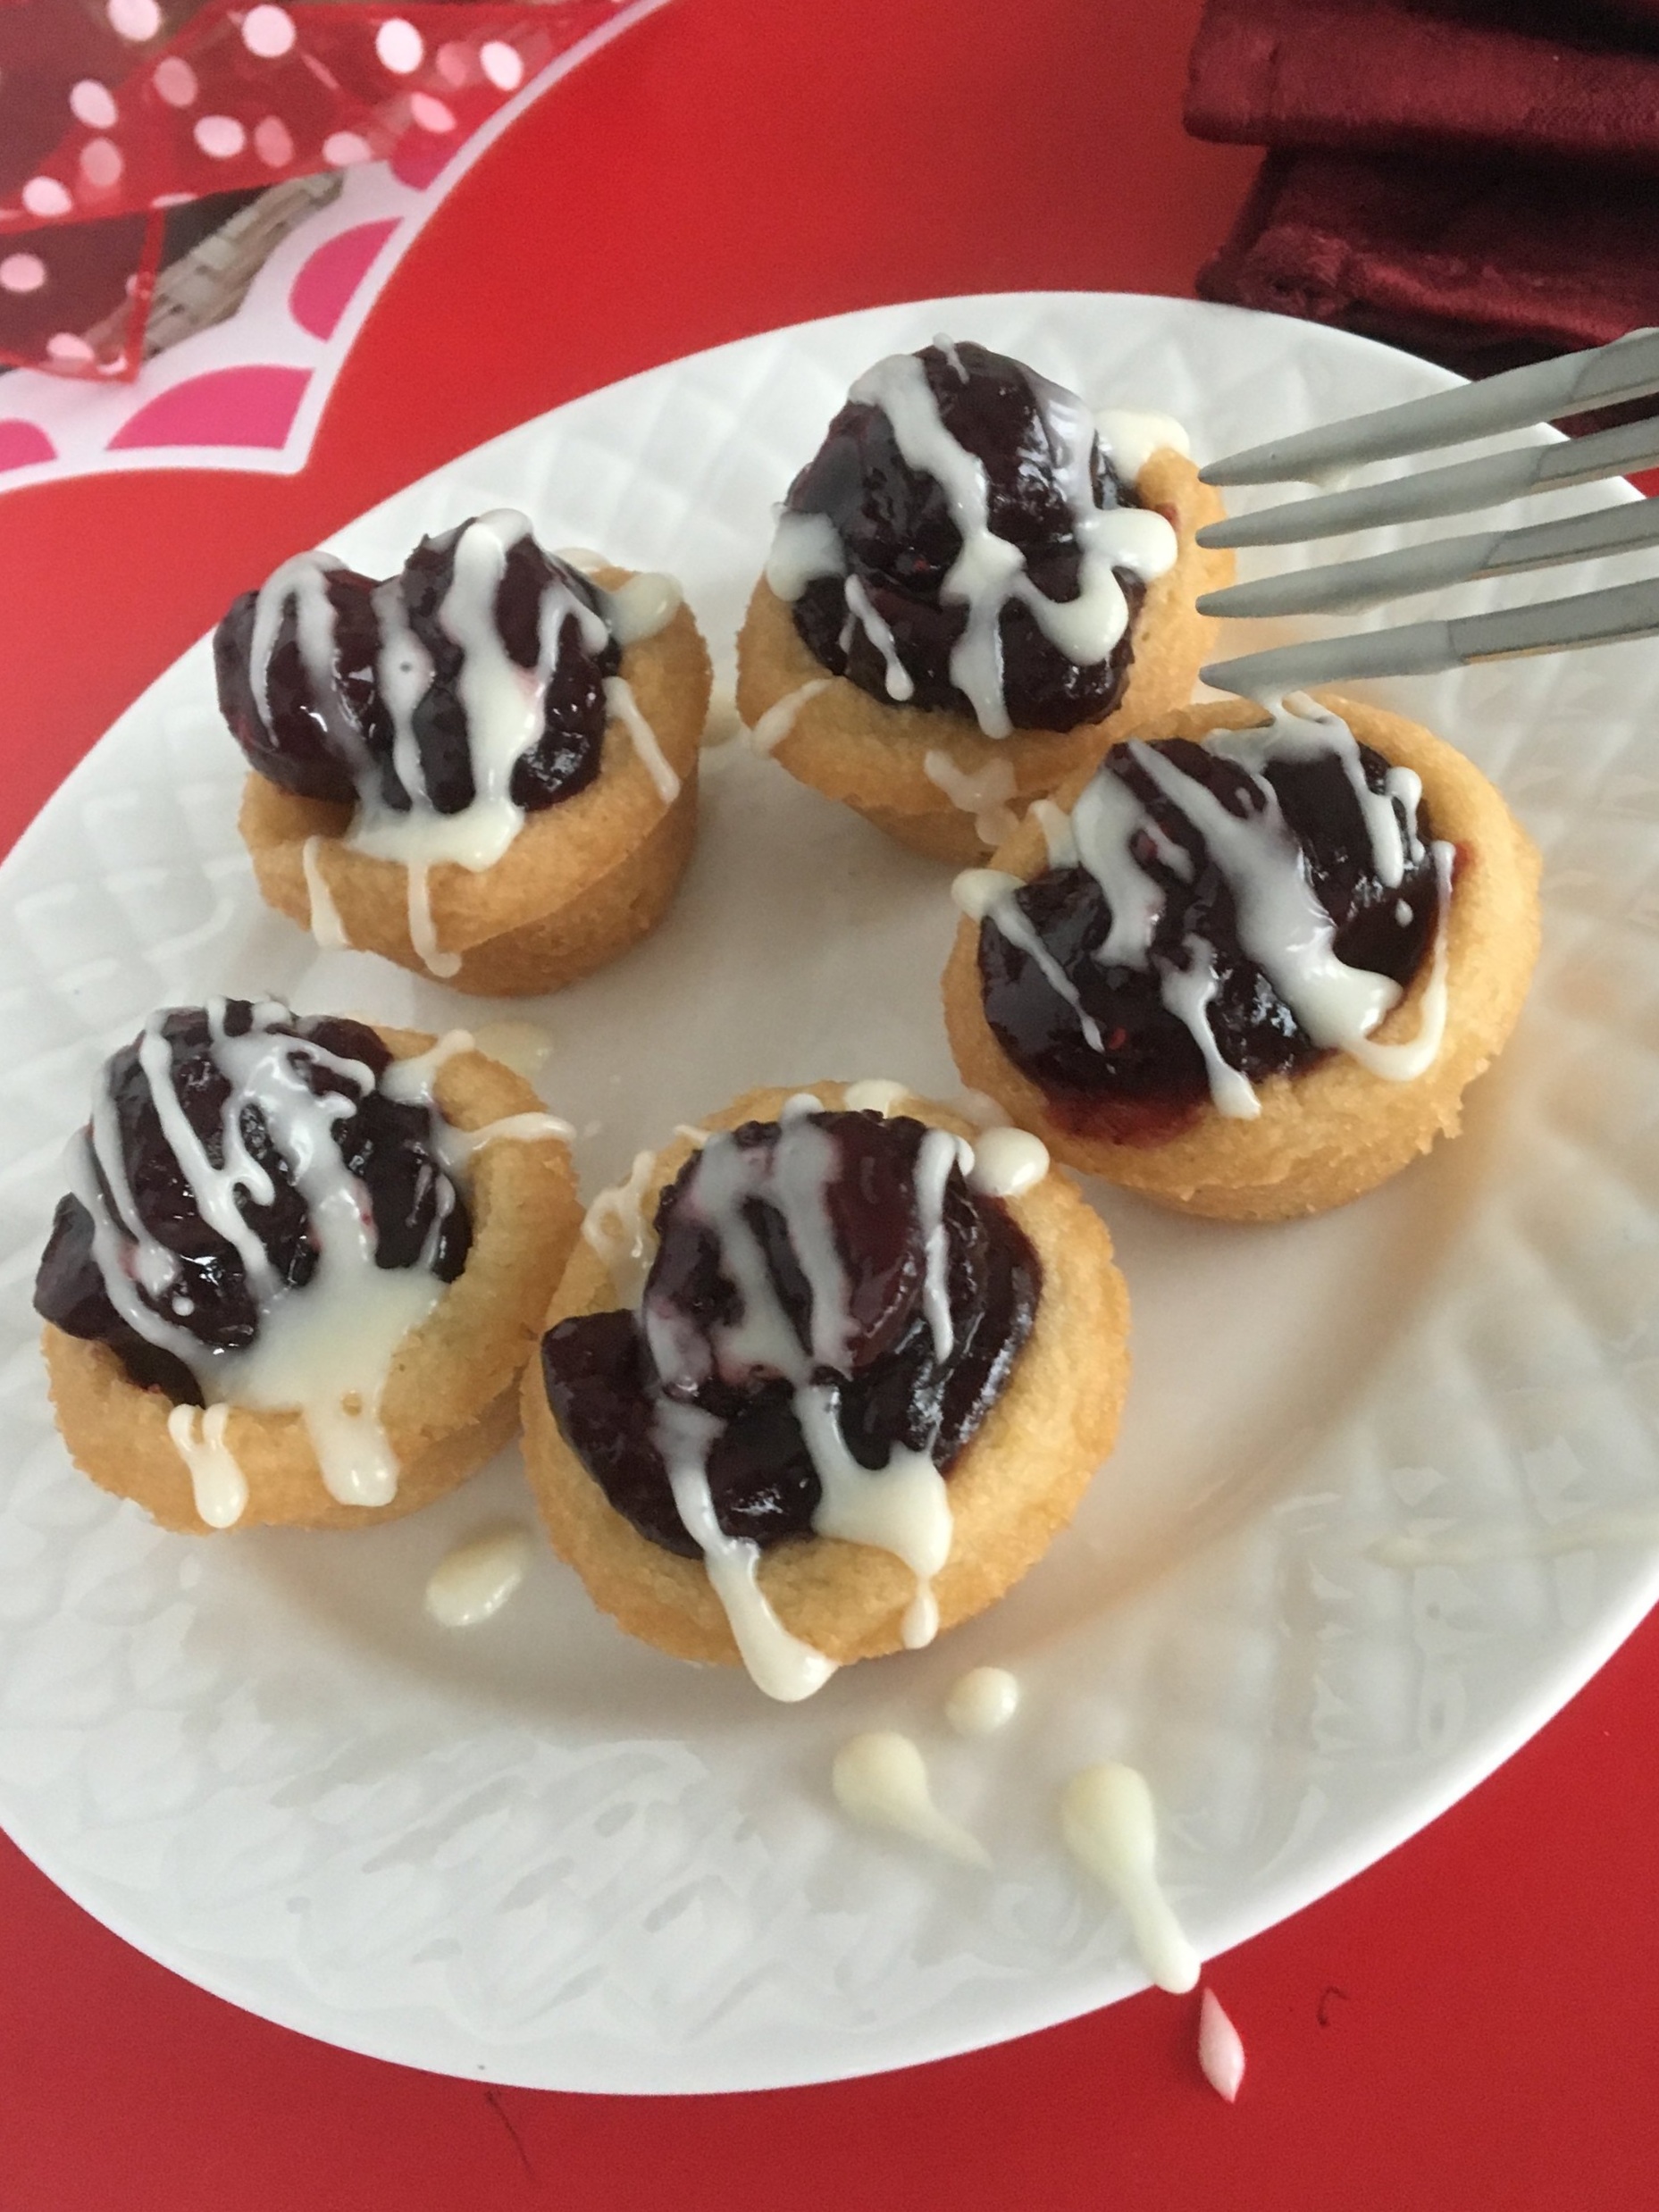
Baking cheers me when I'm down, so sharing this delicious strawberry cake featuring juicy strawberries and Cherchies® Strawberry Butter Spread makes sense. Imagine sinking your teeth into sweet strawberry comfort in every bite. Does it make you smile? It makes me smile:)
Are you feeling the pangs of college drop-off, the end of summer, the first day of school, or a child graduating from high school, or do you want to bring a smile to someone's face? If so, then make Memaw's Strawberry cake today. This easy cake recipe is so delicious and comforting that it will chase away any blues.
Thank you for letting me share my story. Below I have posted a glimpse of the college drop-off day. Let us know if you have tried this flavorful recipe. Come back again for more family-tested recipes, entertaining ideas, and cooking tips using all our favorite Cherchies® gourmet products. Thank you for stopping by.
**Now, it's time to spoil our baby girl for the next two years until the next and final Freshman college drop-off. (I may be making cake every day that summer).
*Note- This tasty recipe is best made the day ahead.
Ingredients:
1 box yellow cake mix (We used Betty Crocker's Super Moist Cake Mix)
4 Tablespoons (Tbsp.) flour
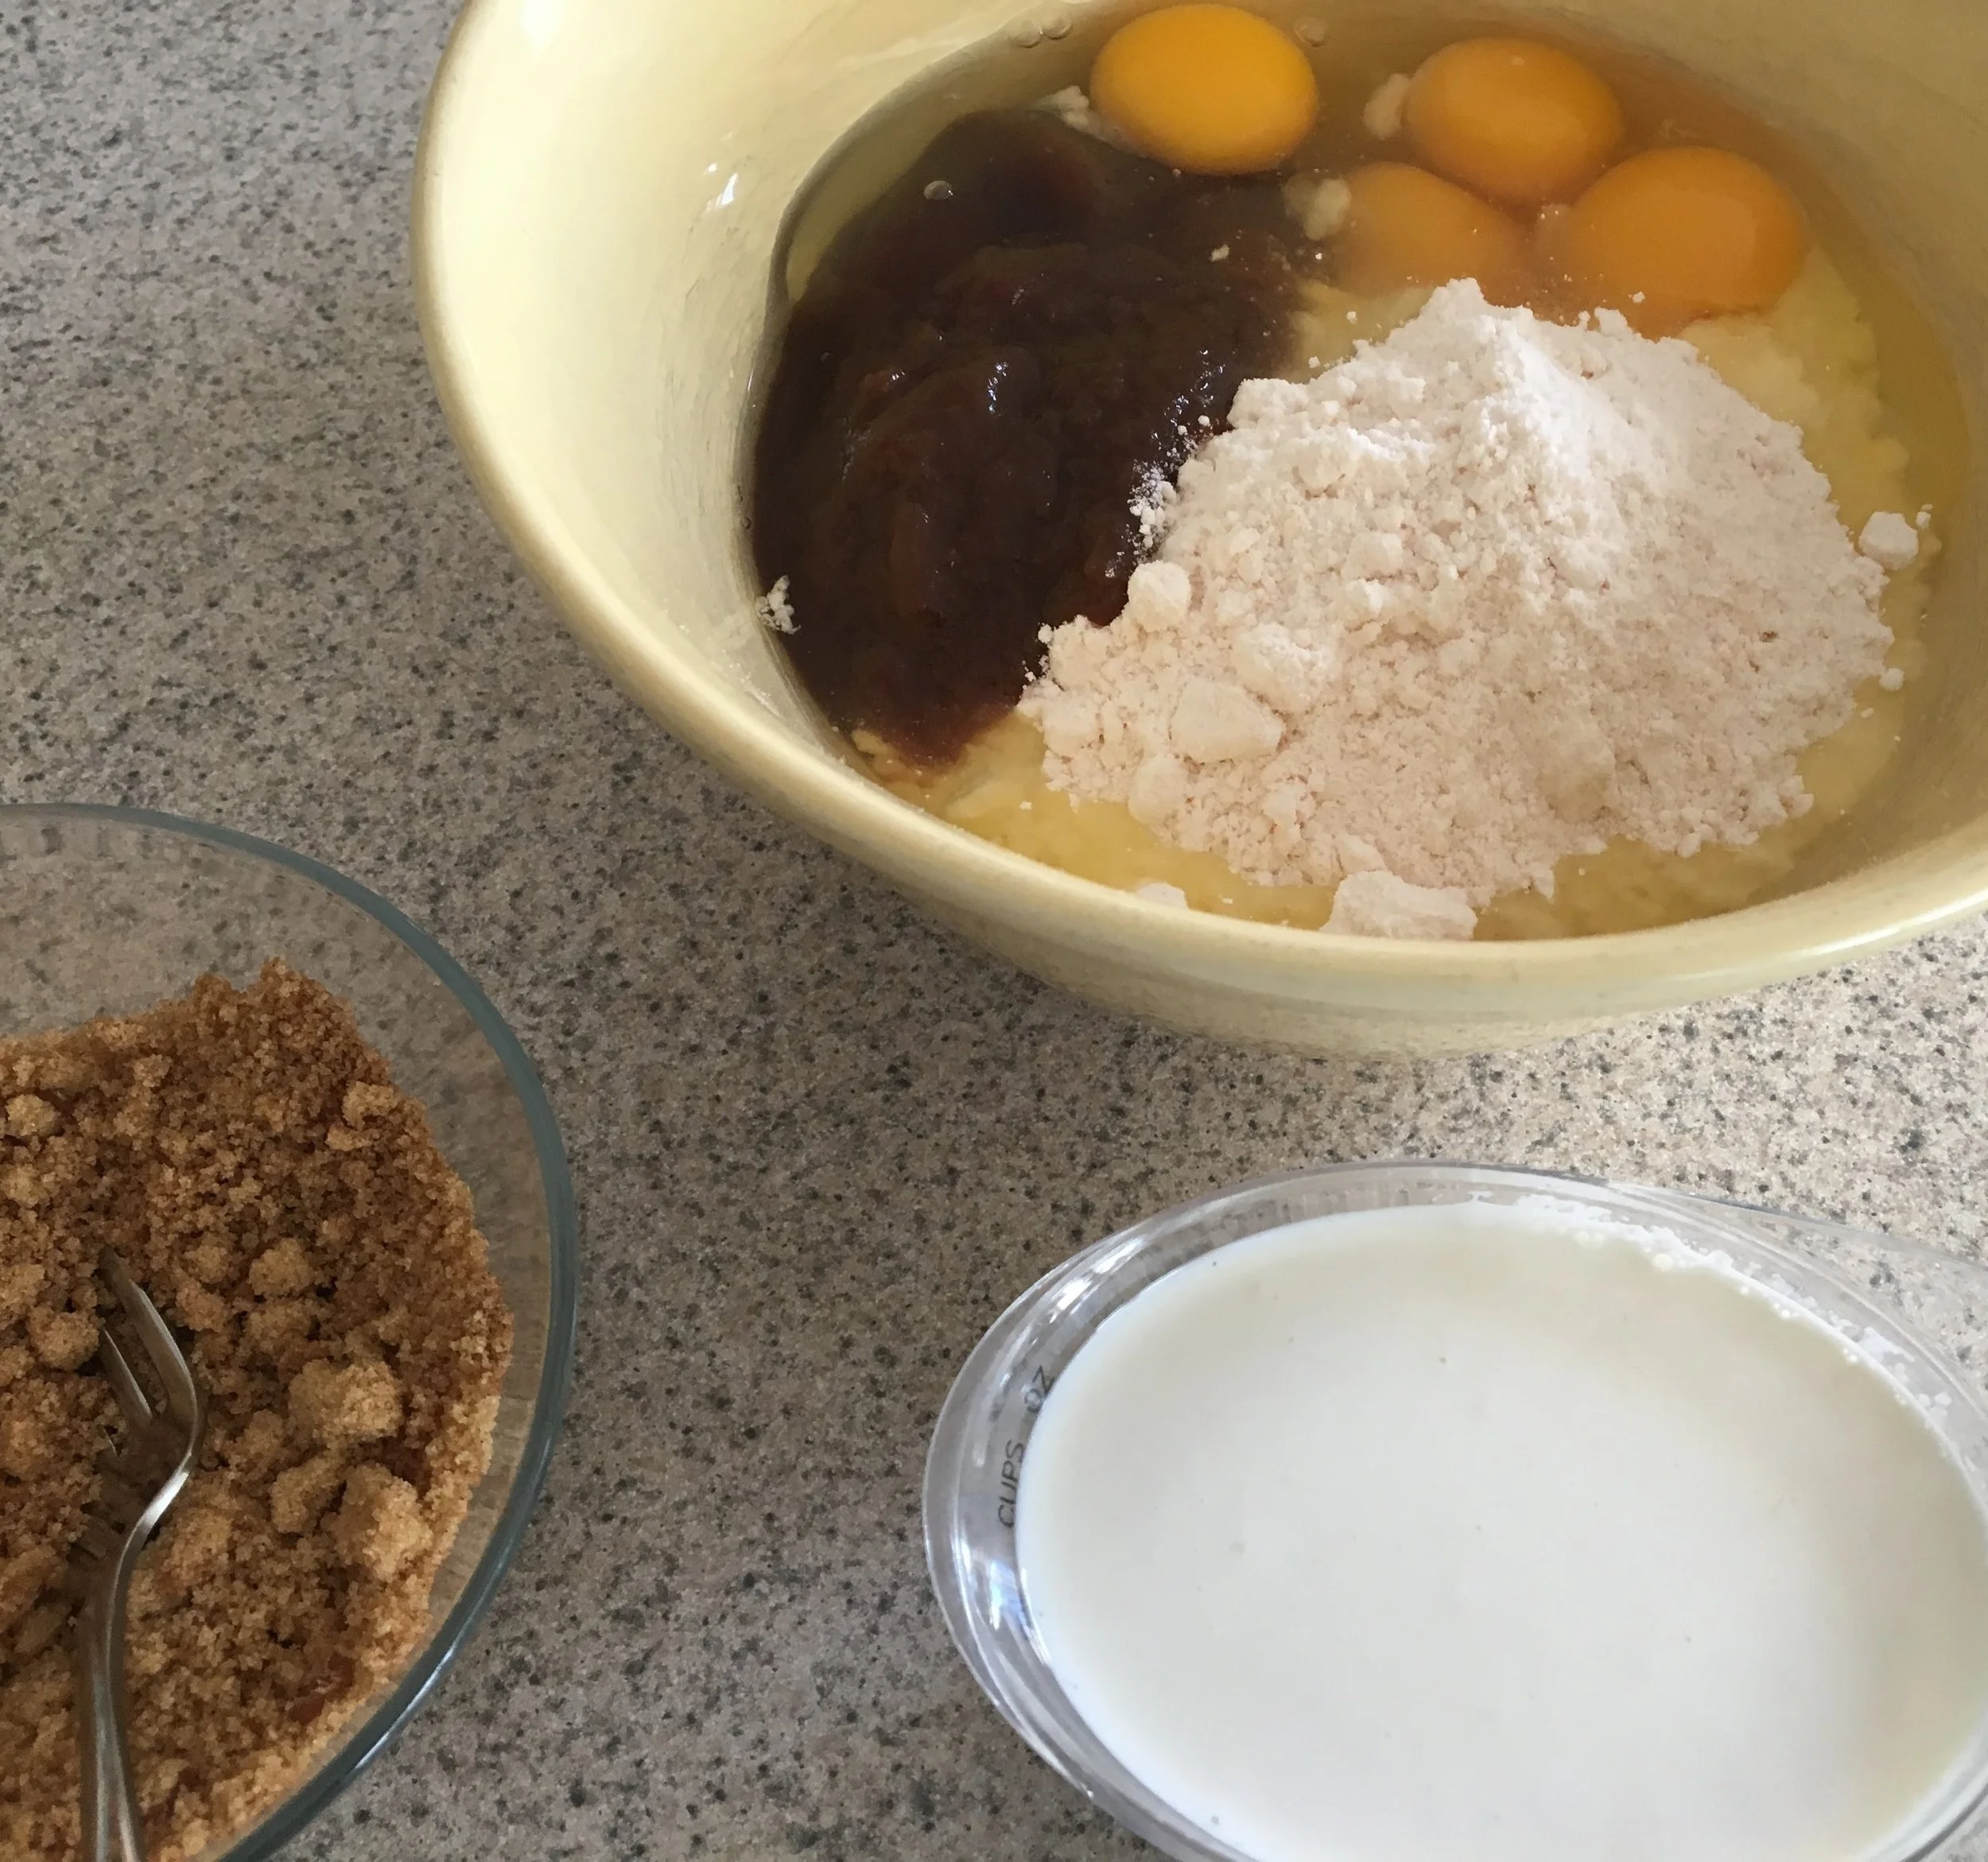
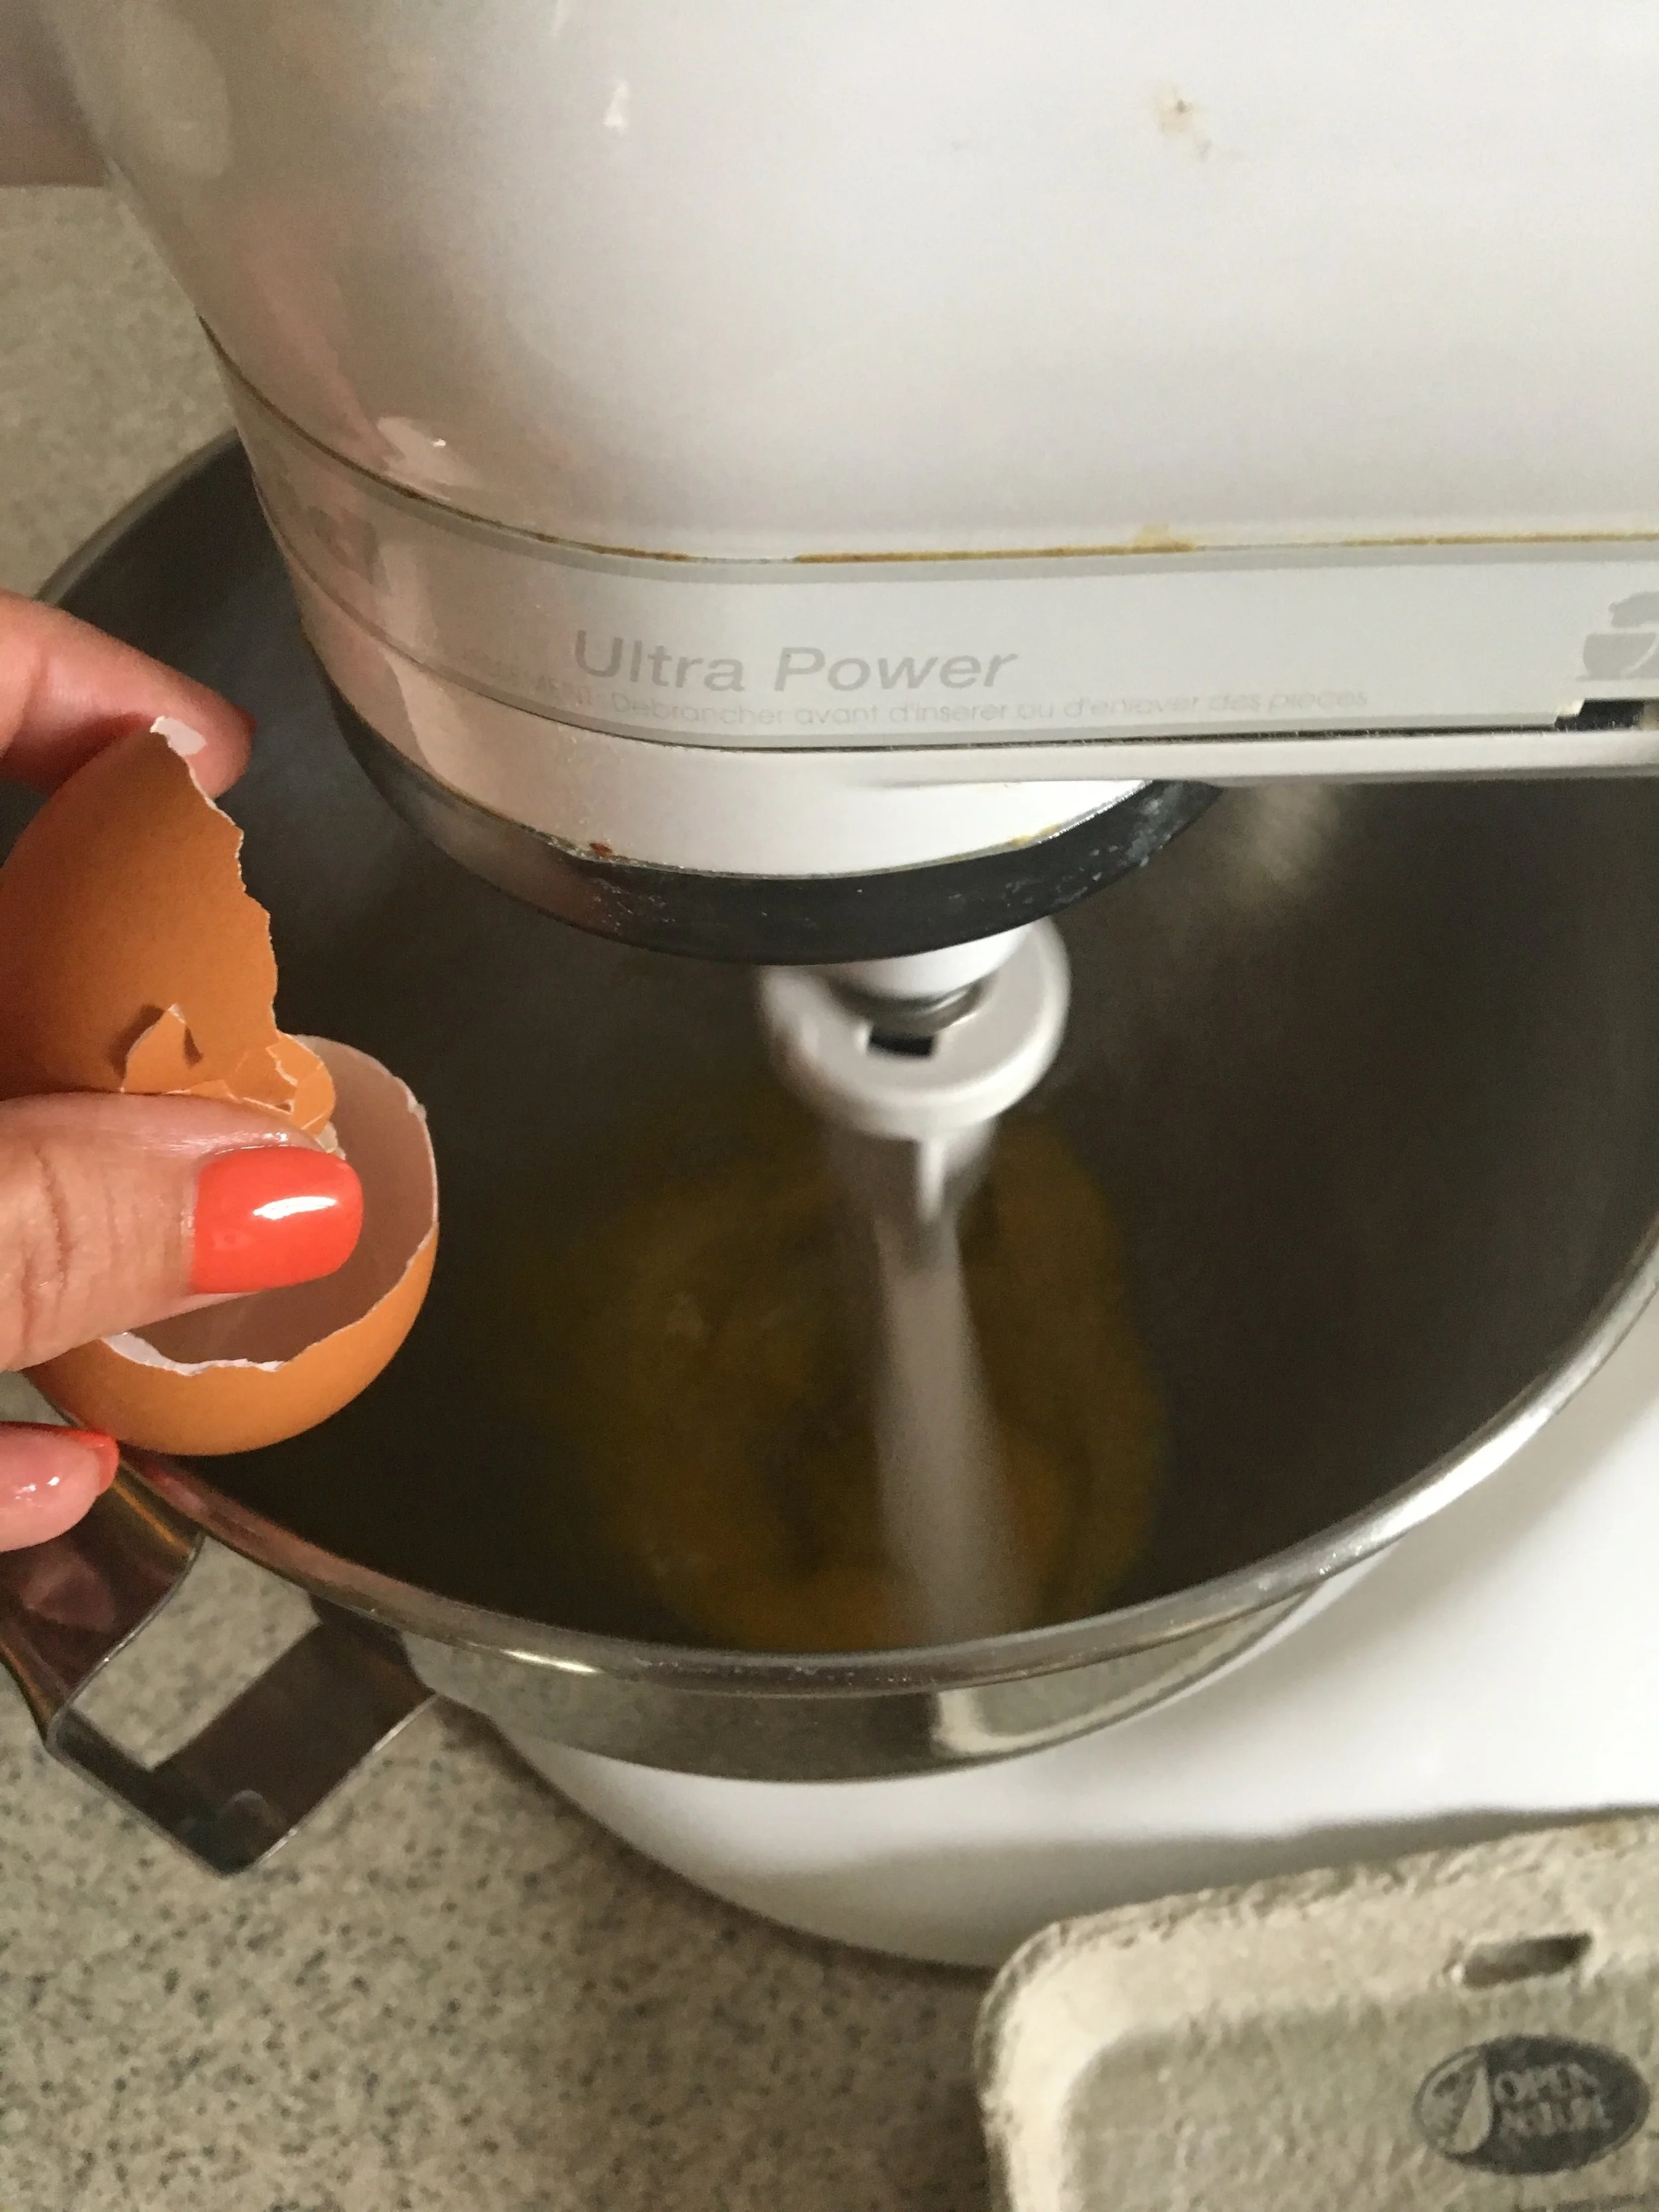
4 eggs, room temperature
1 cup strawberries and juice, mashed
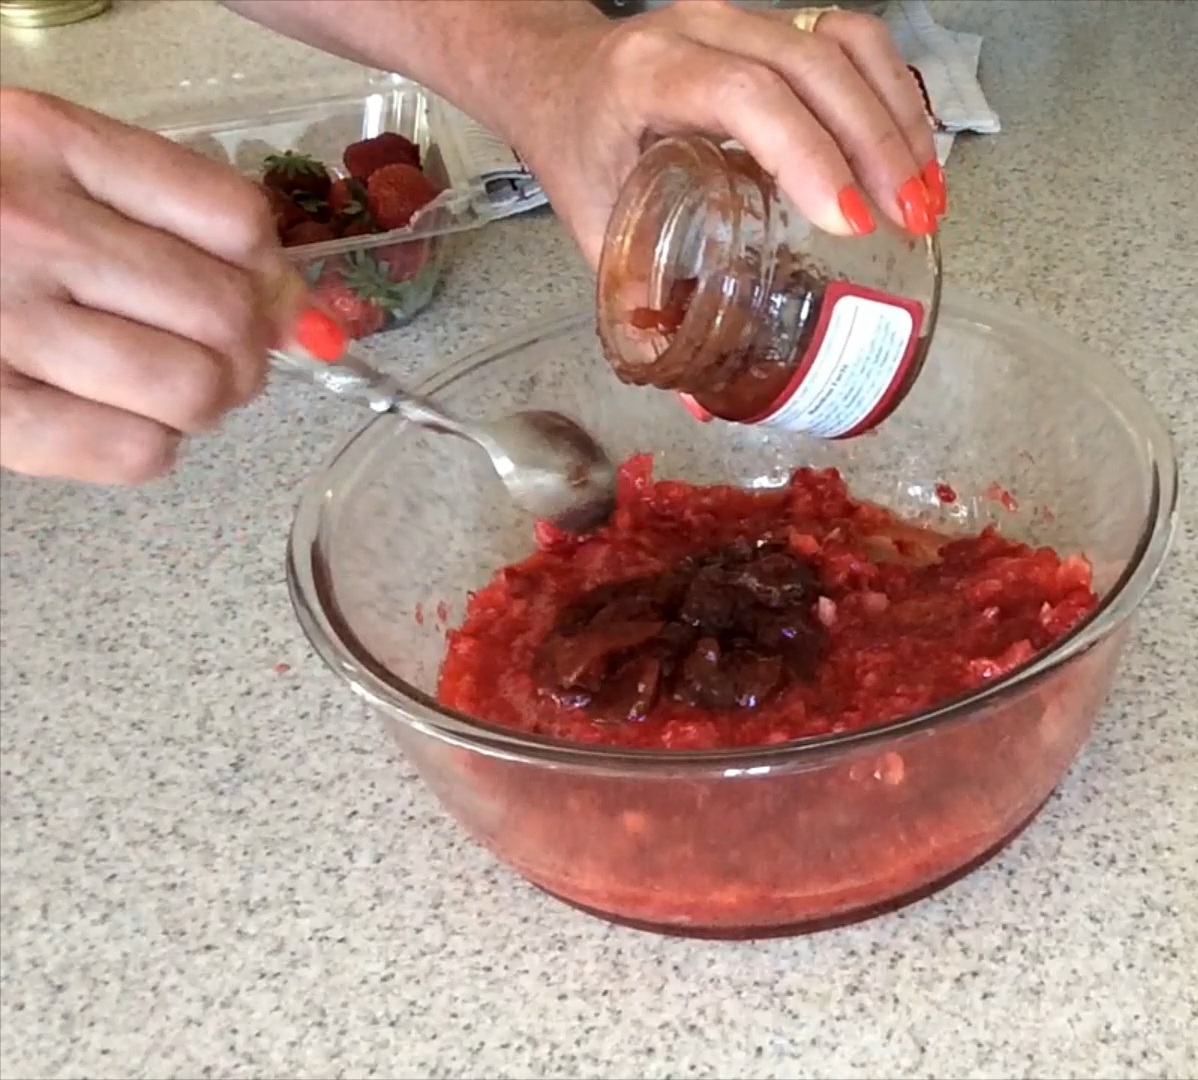
2 Tablespoons (Tbsp.) Cherchies Strawberry Butter Spread
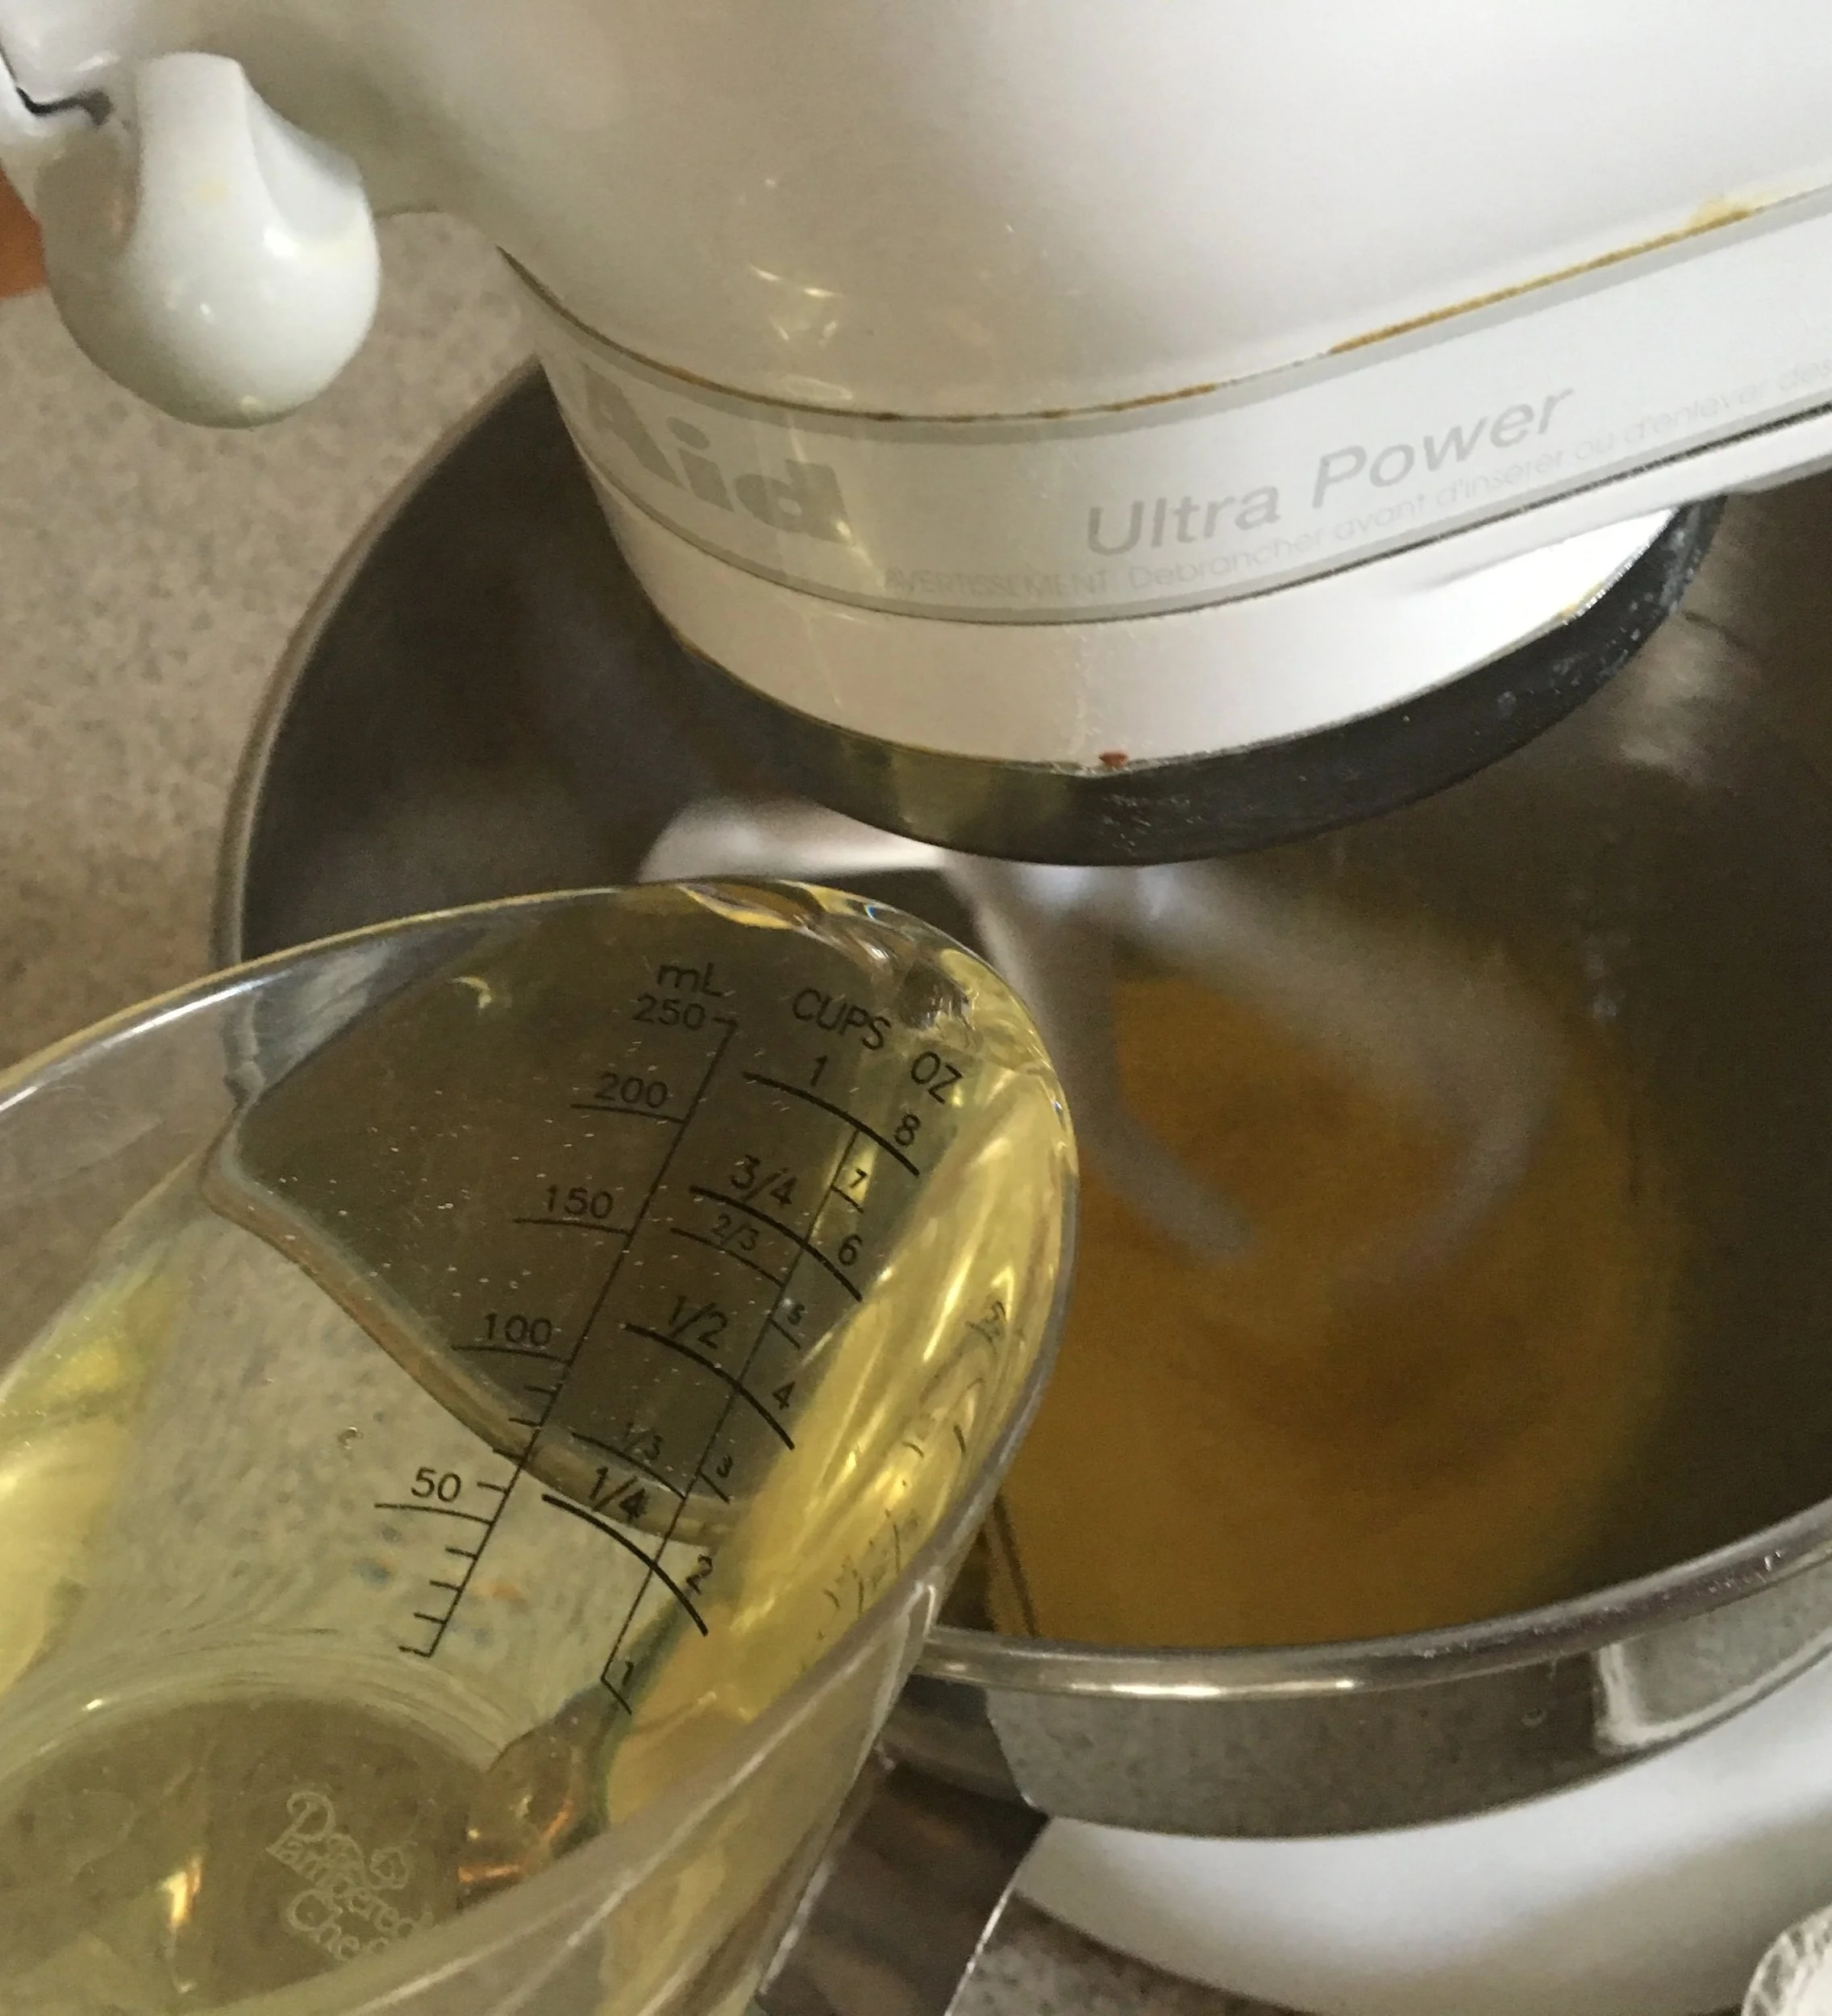
1 cup oil
1 small box strawberry jello
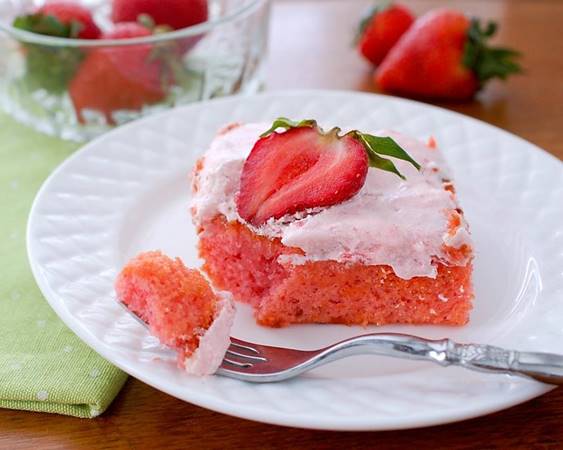
Extra strawberries for garnish
Frosting Ingredients
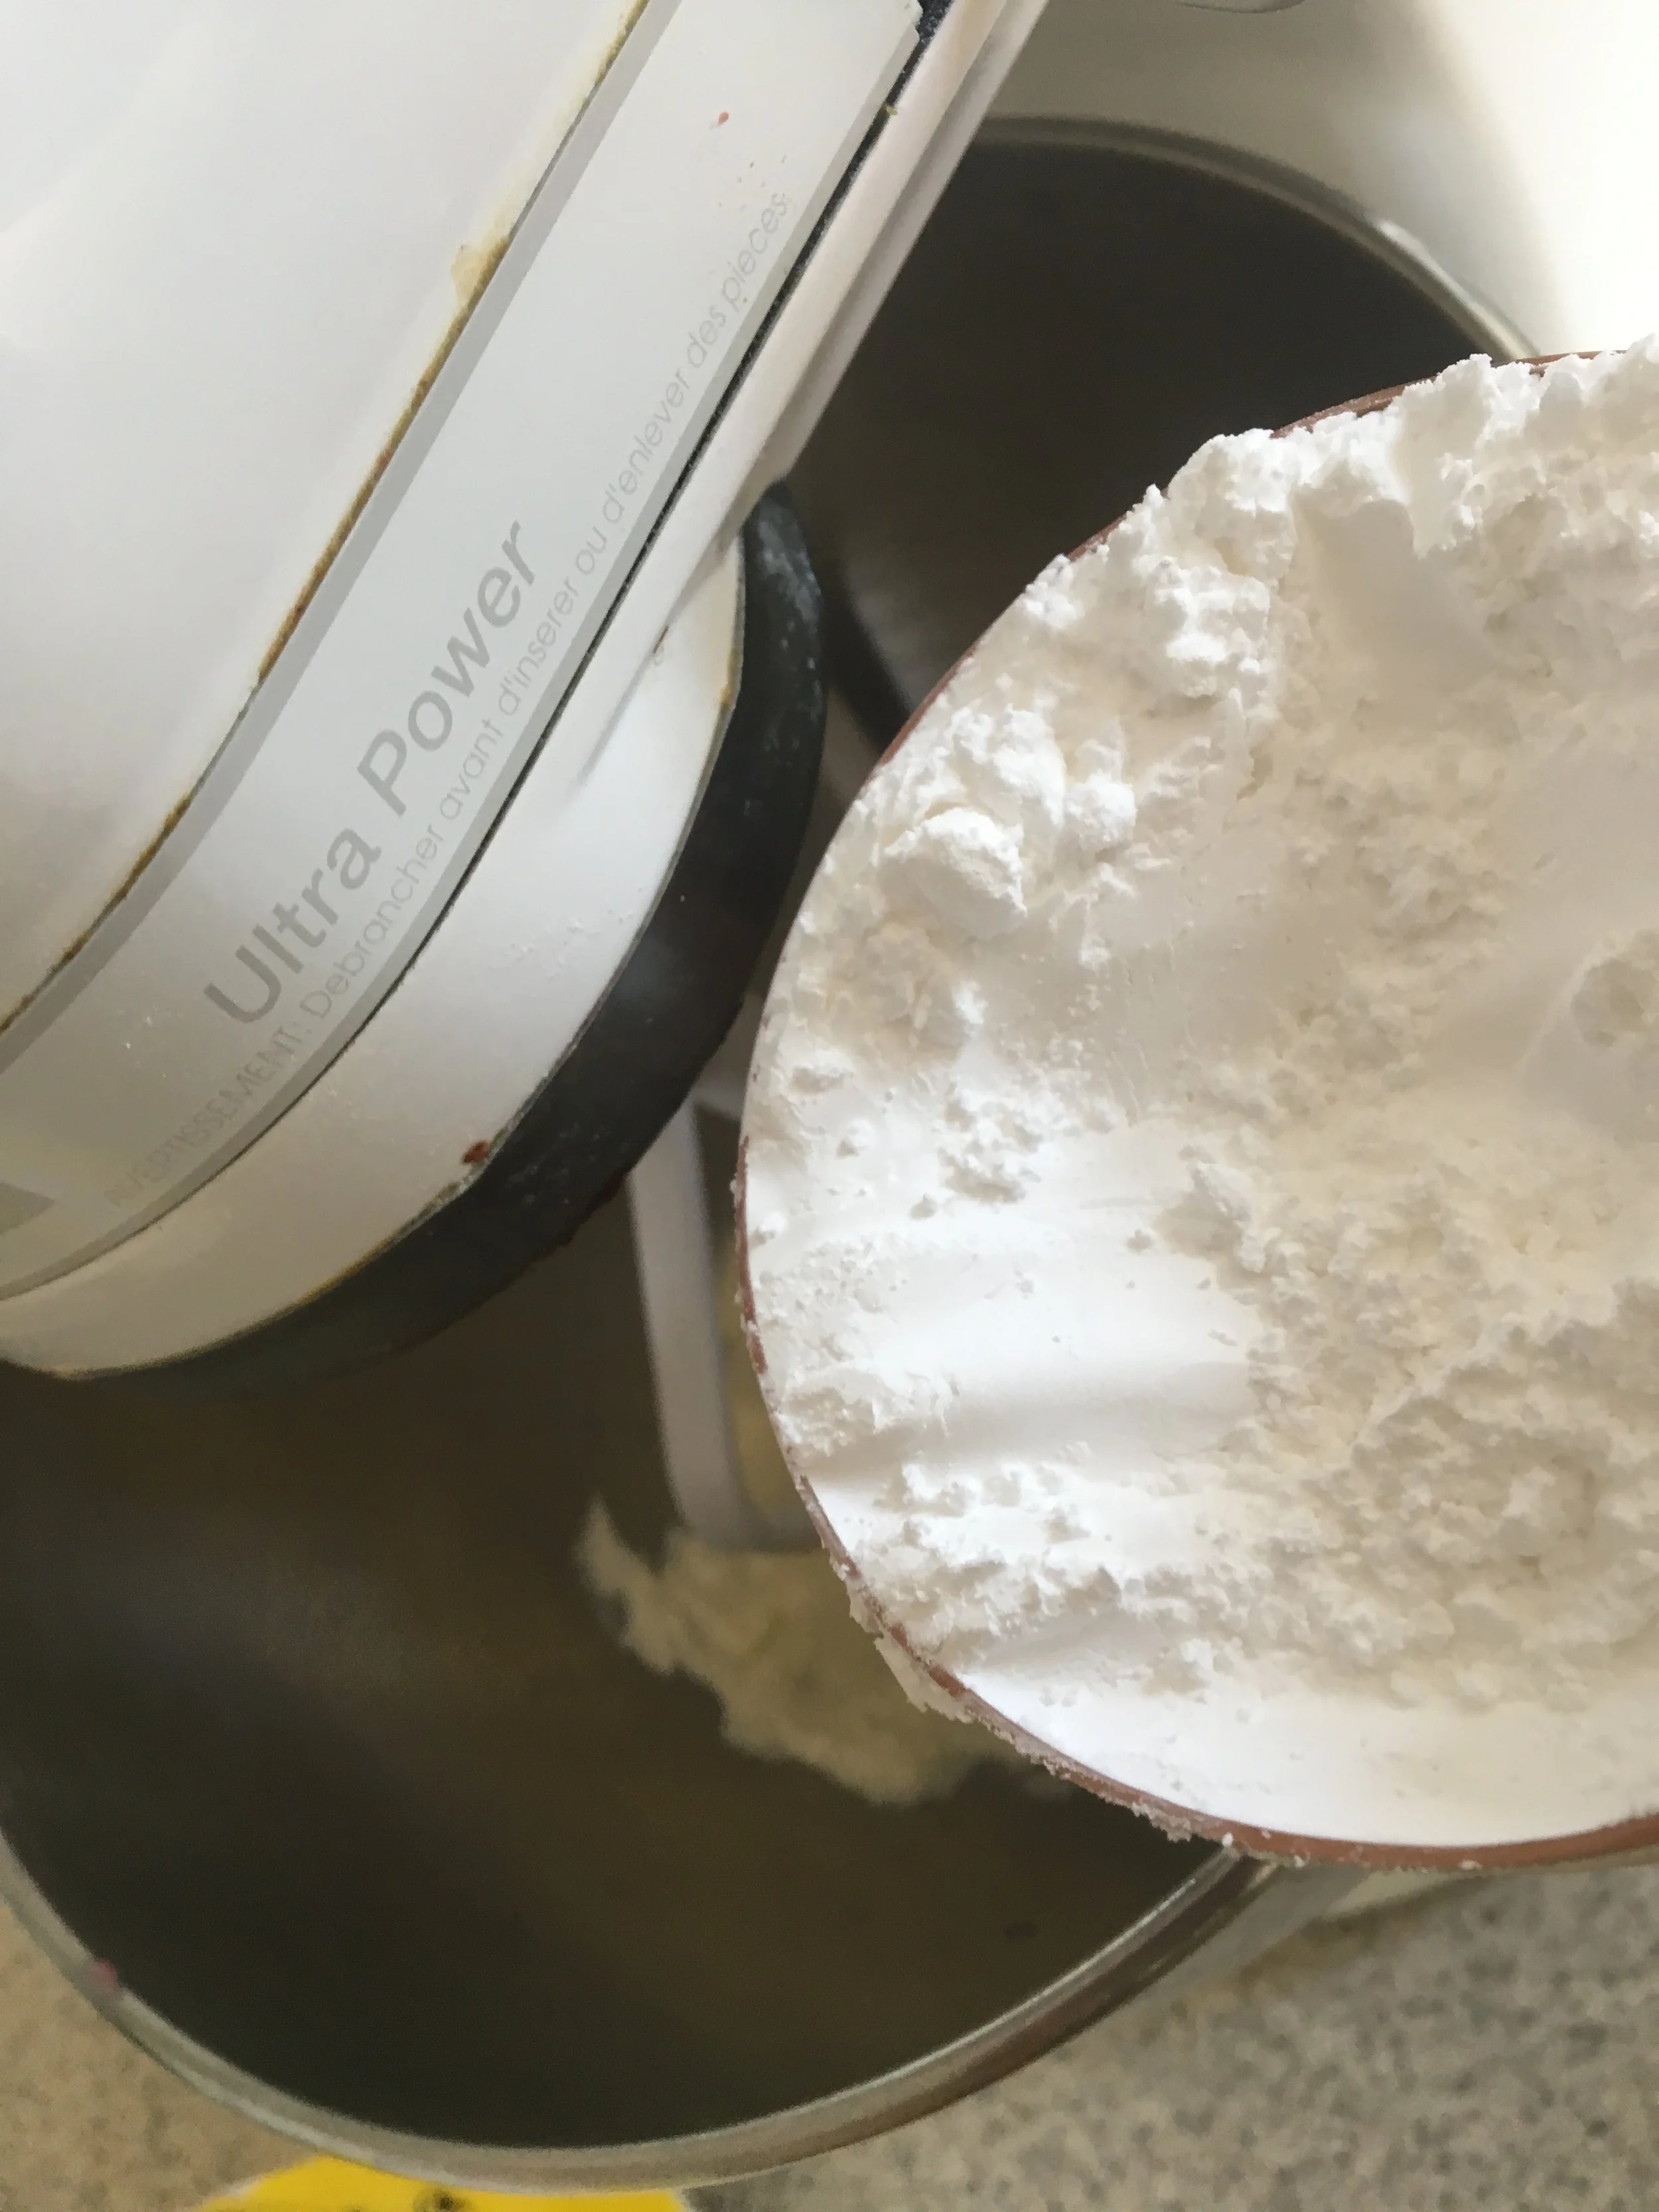
1 box powdered sugar
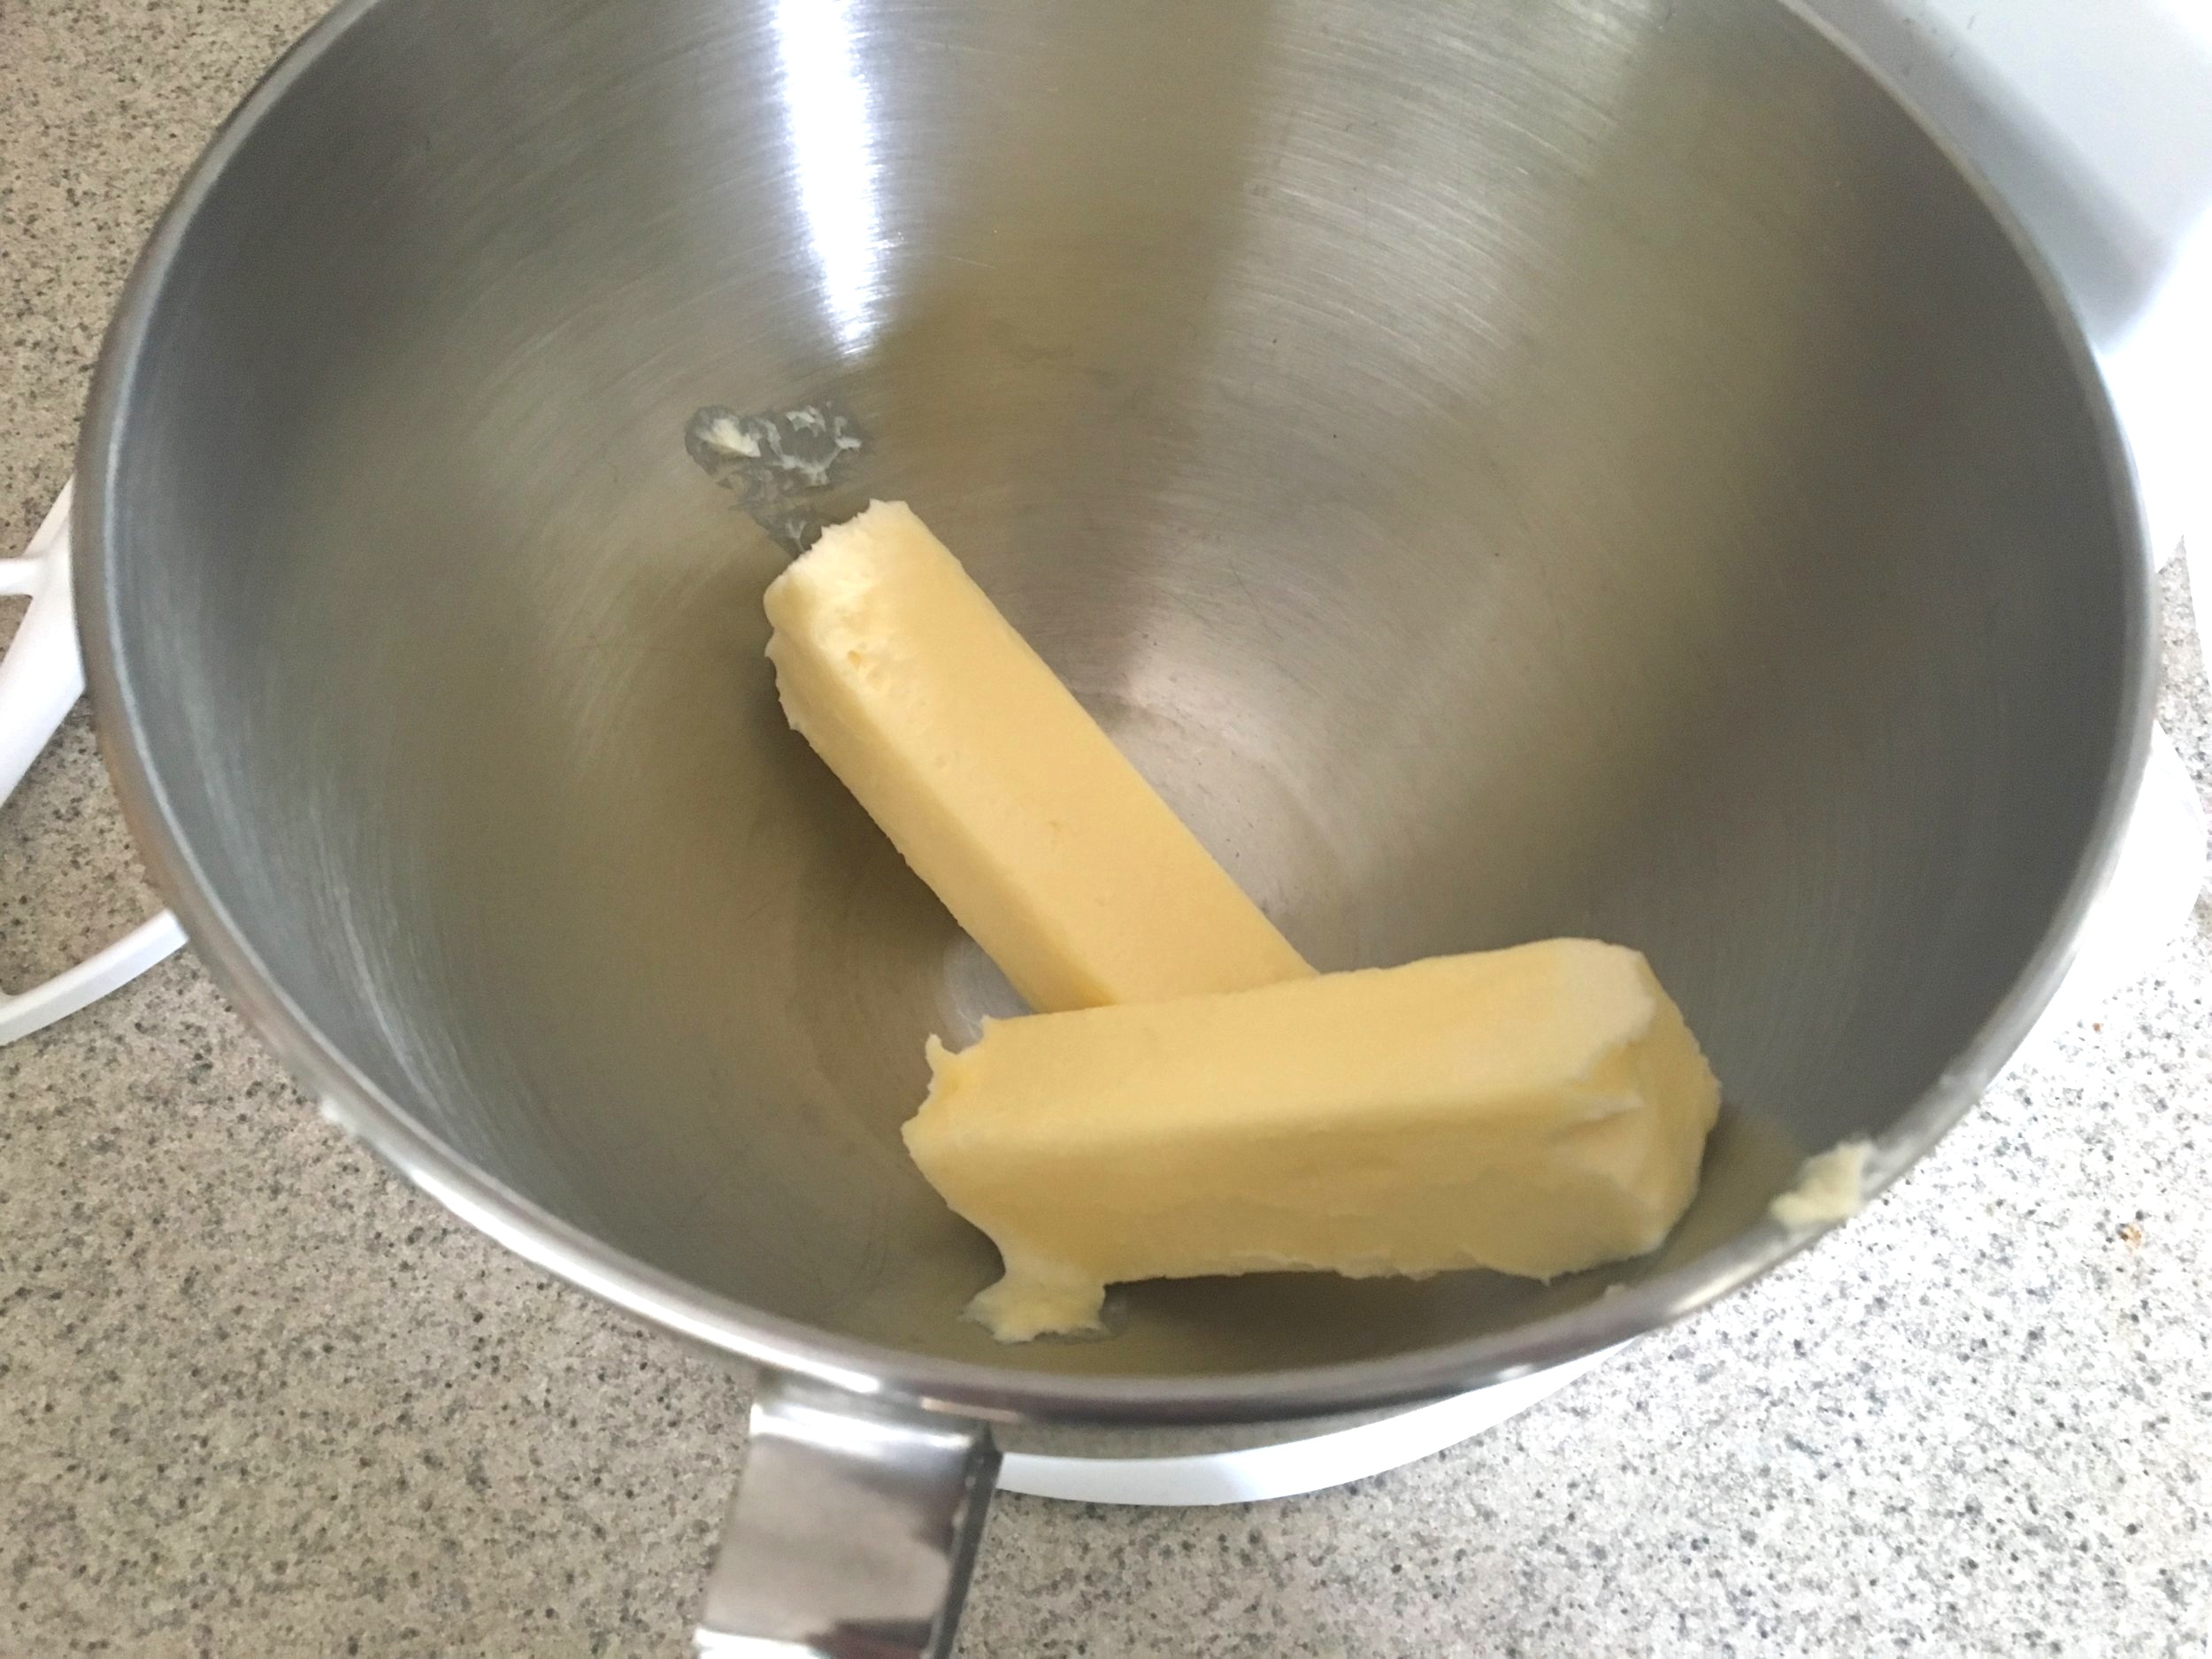
1 stick butter, room temperature
2 Tablespoons (mashed strawberries with liquid)
* To make this cake gluten-free, simply substitute the flour and cake mix with gluten-free flour and cake mix (we tested with King Arthur Gluten-free Yellow Cake Mix and flour)
Preparation
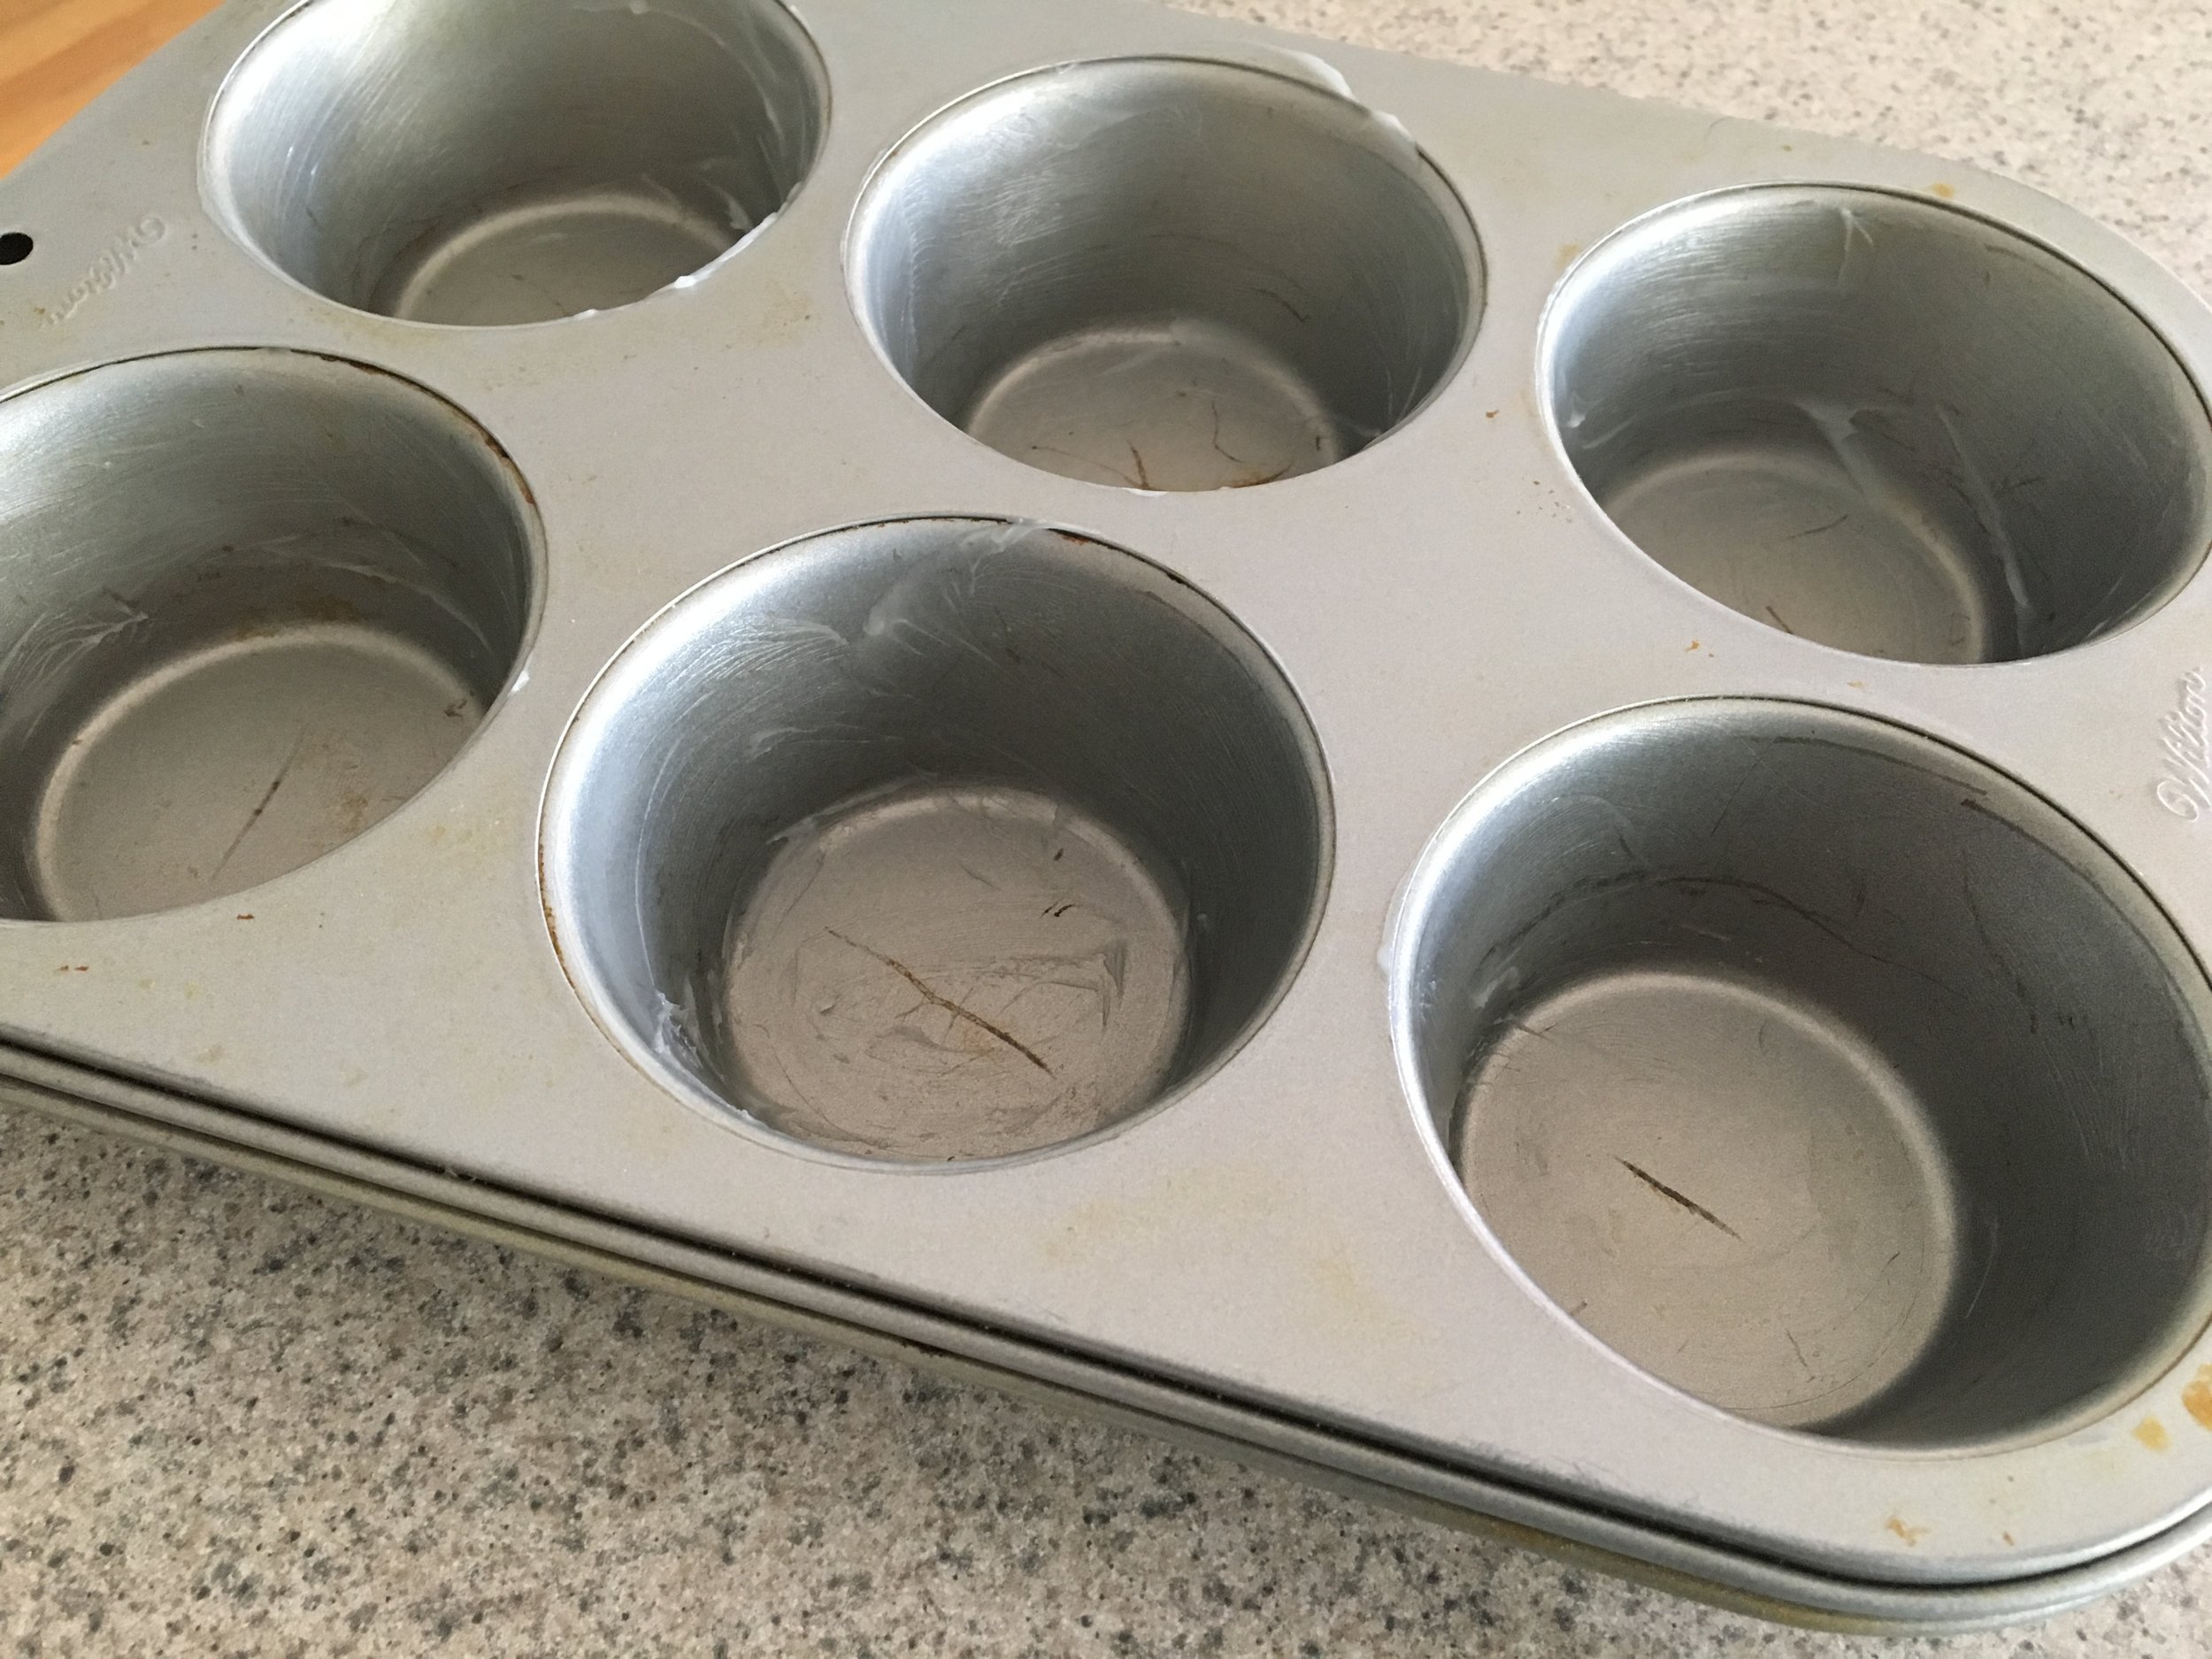
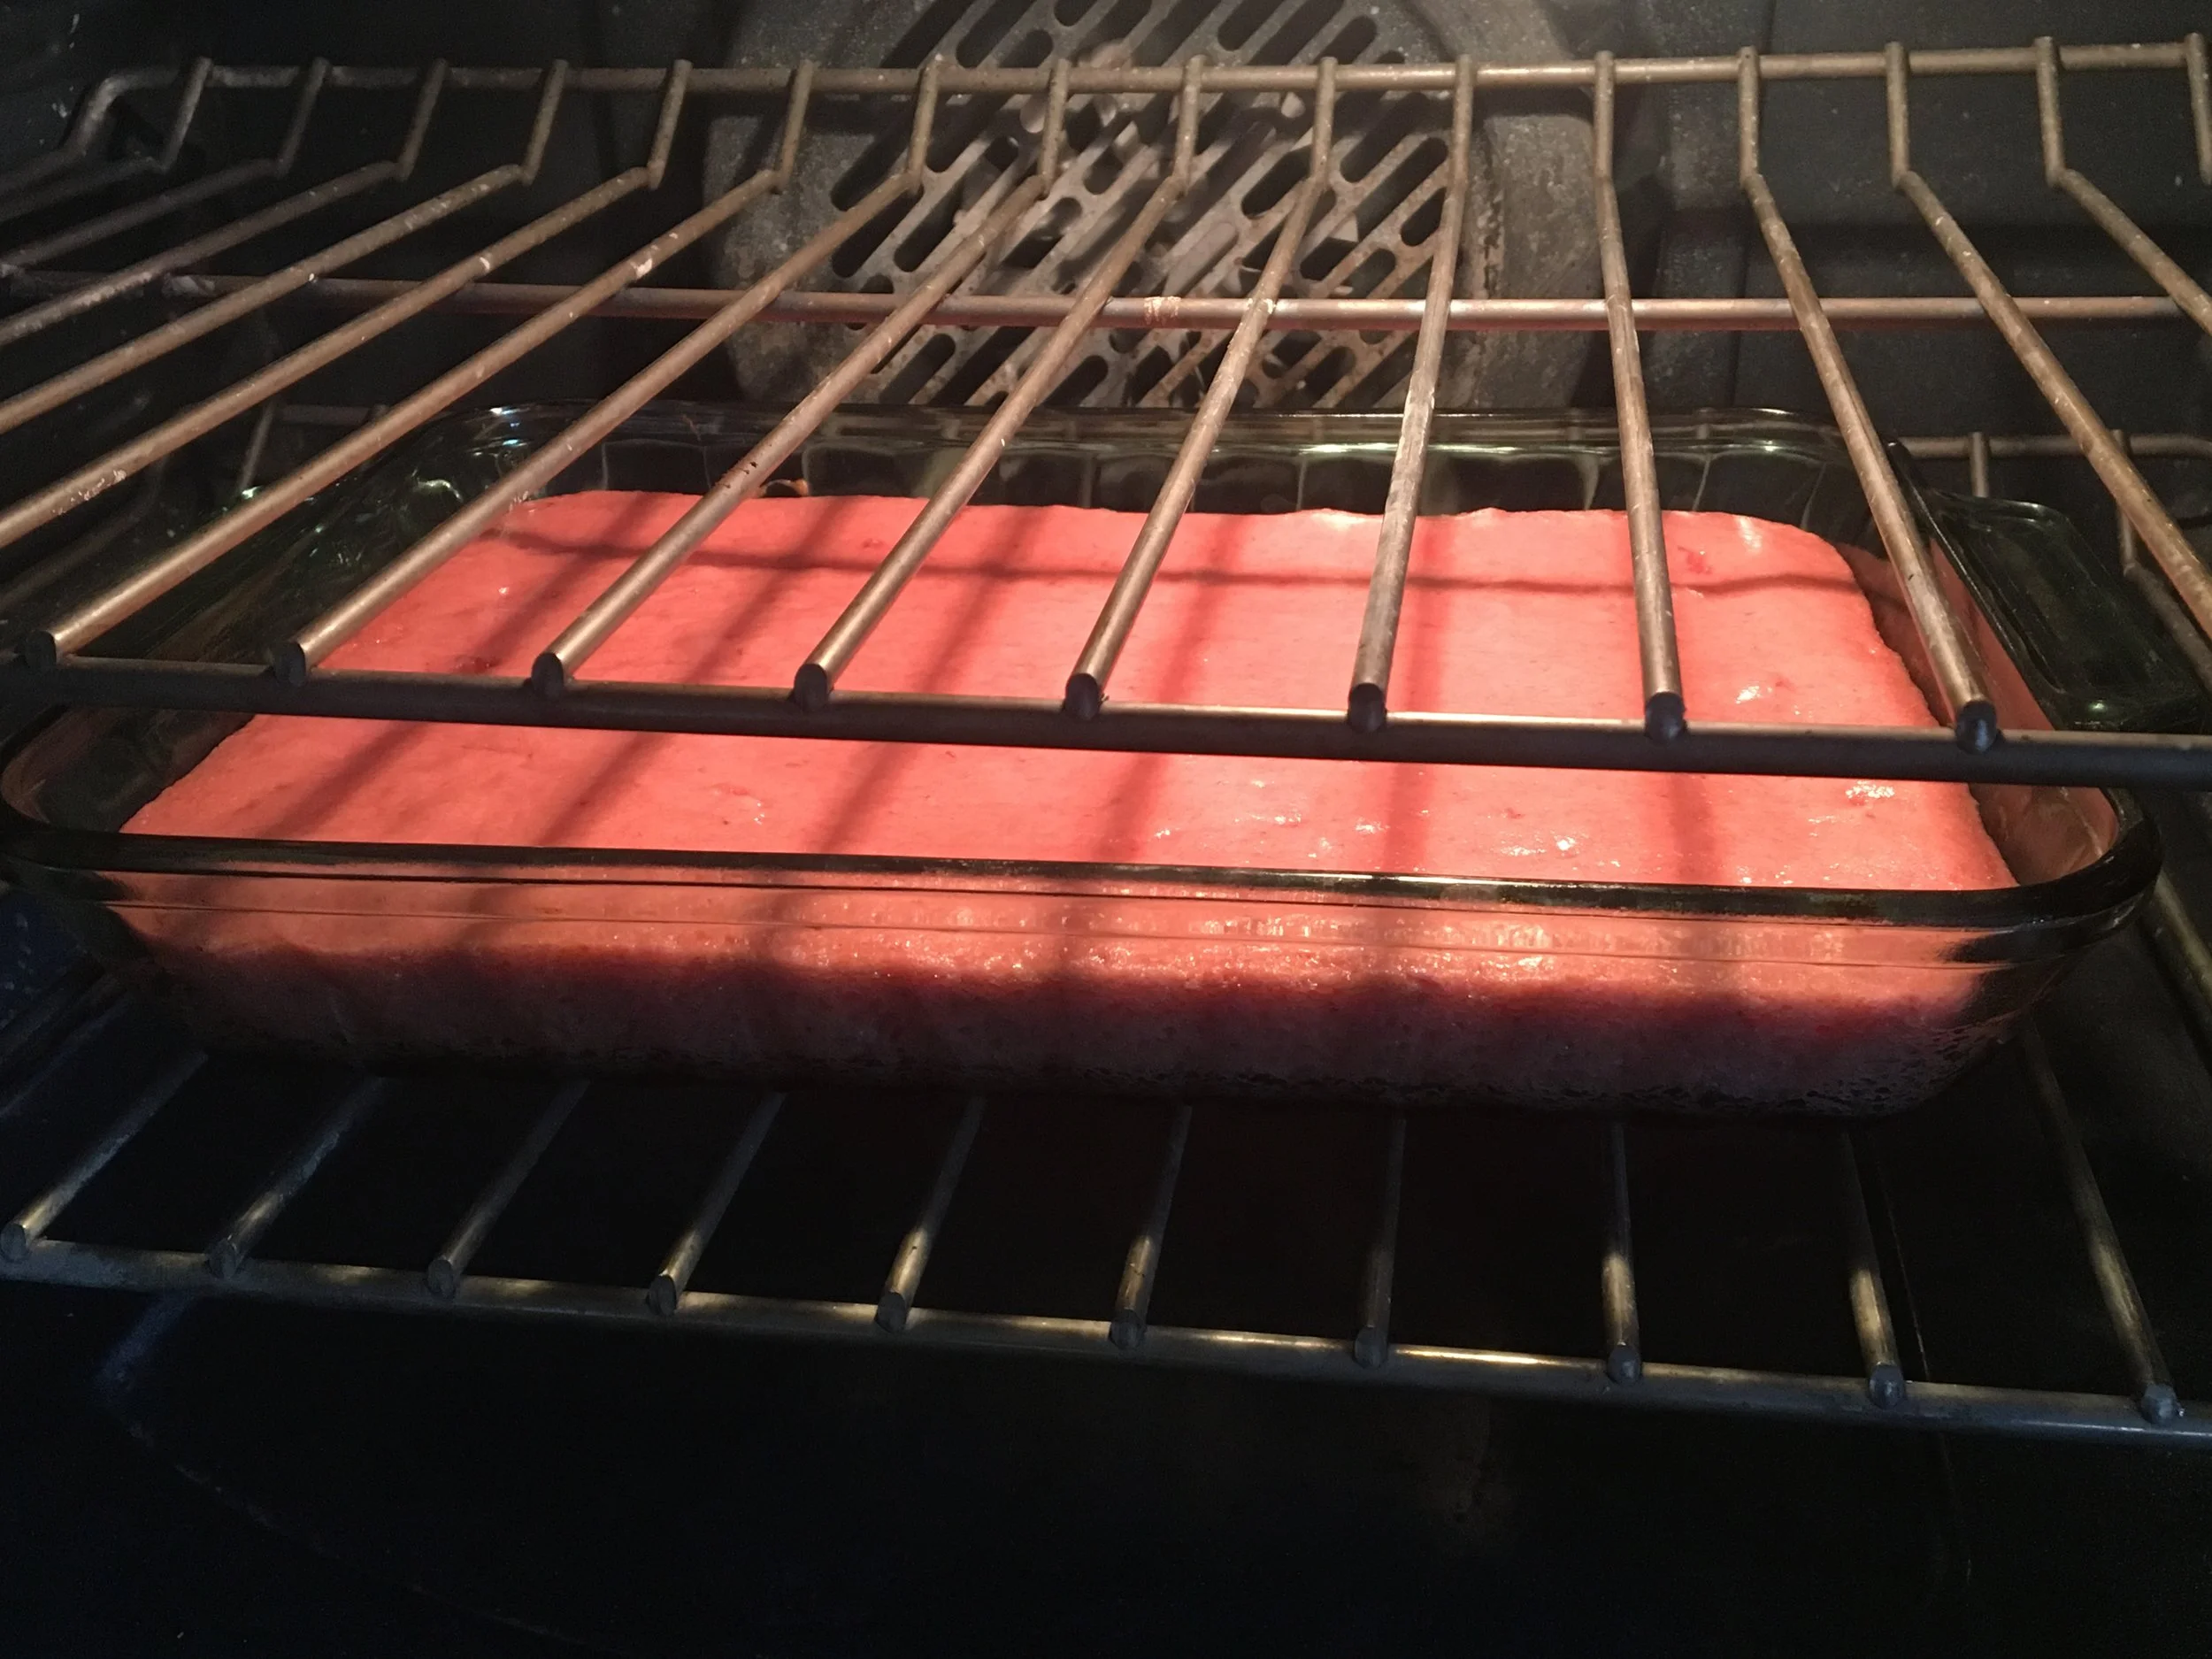
Preheat oven to 350 degrees. Spray a 9 x 13 baking pan with cooking spray.
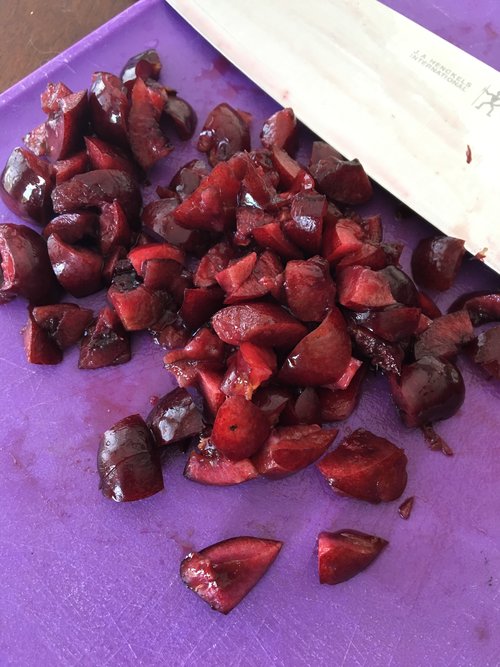
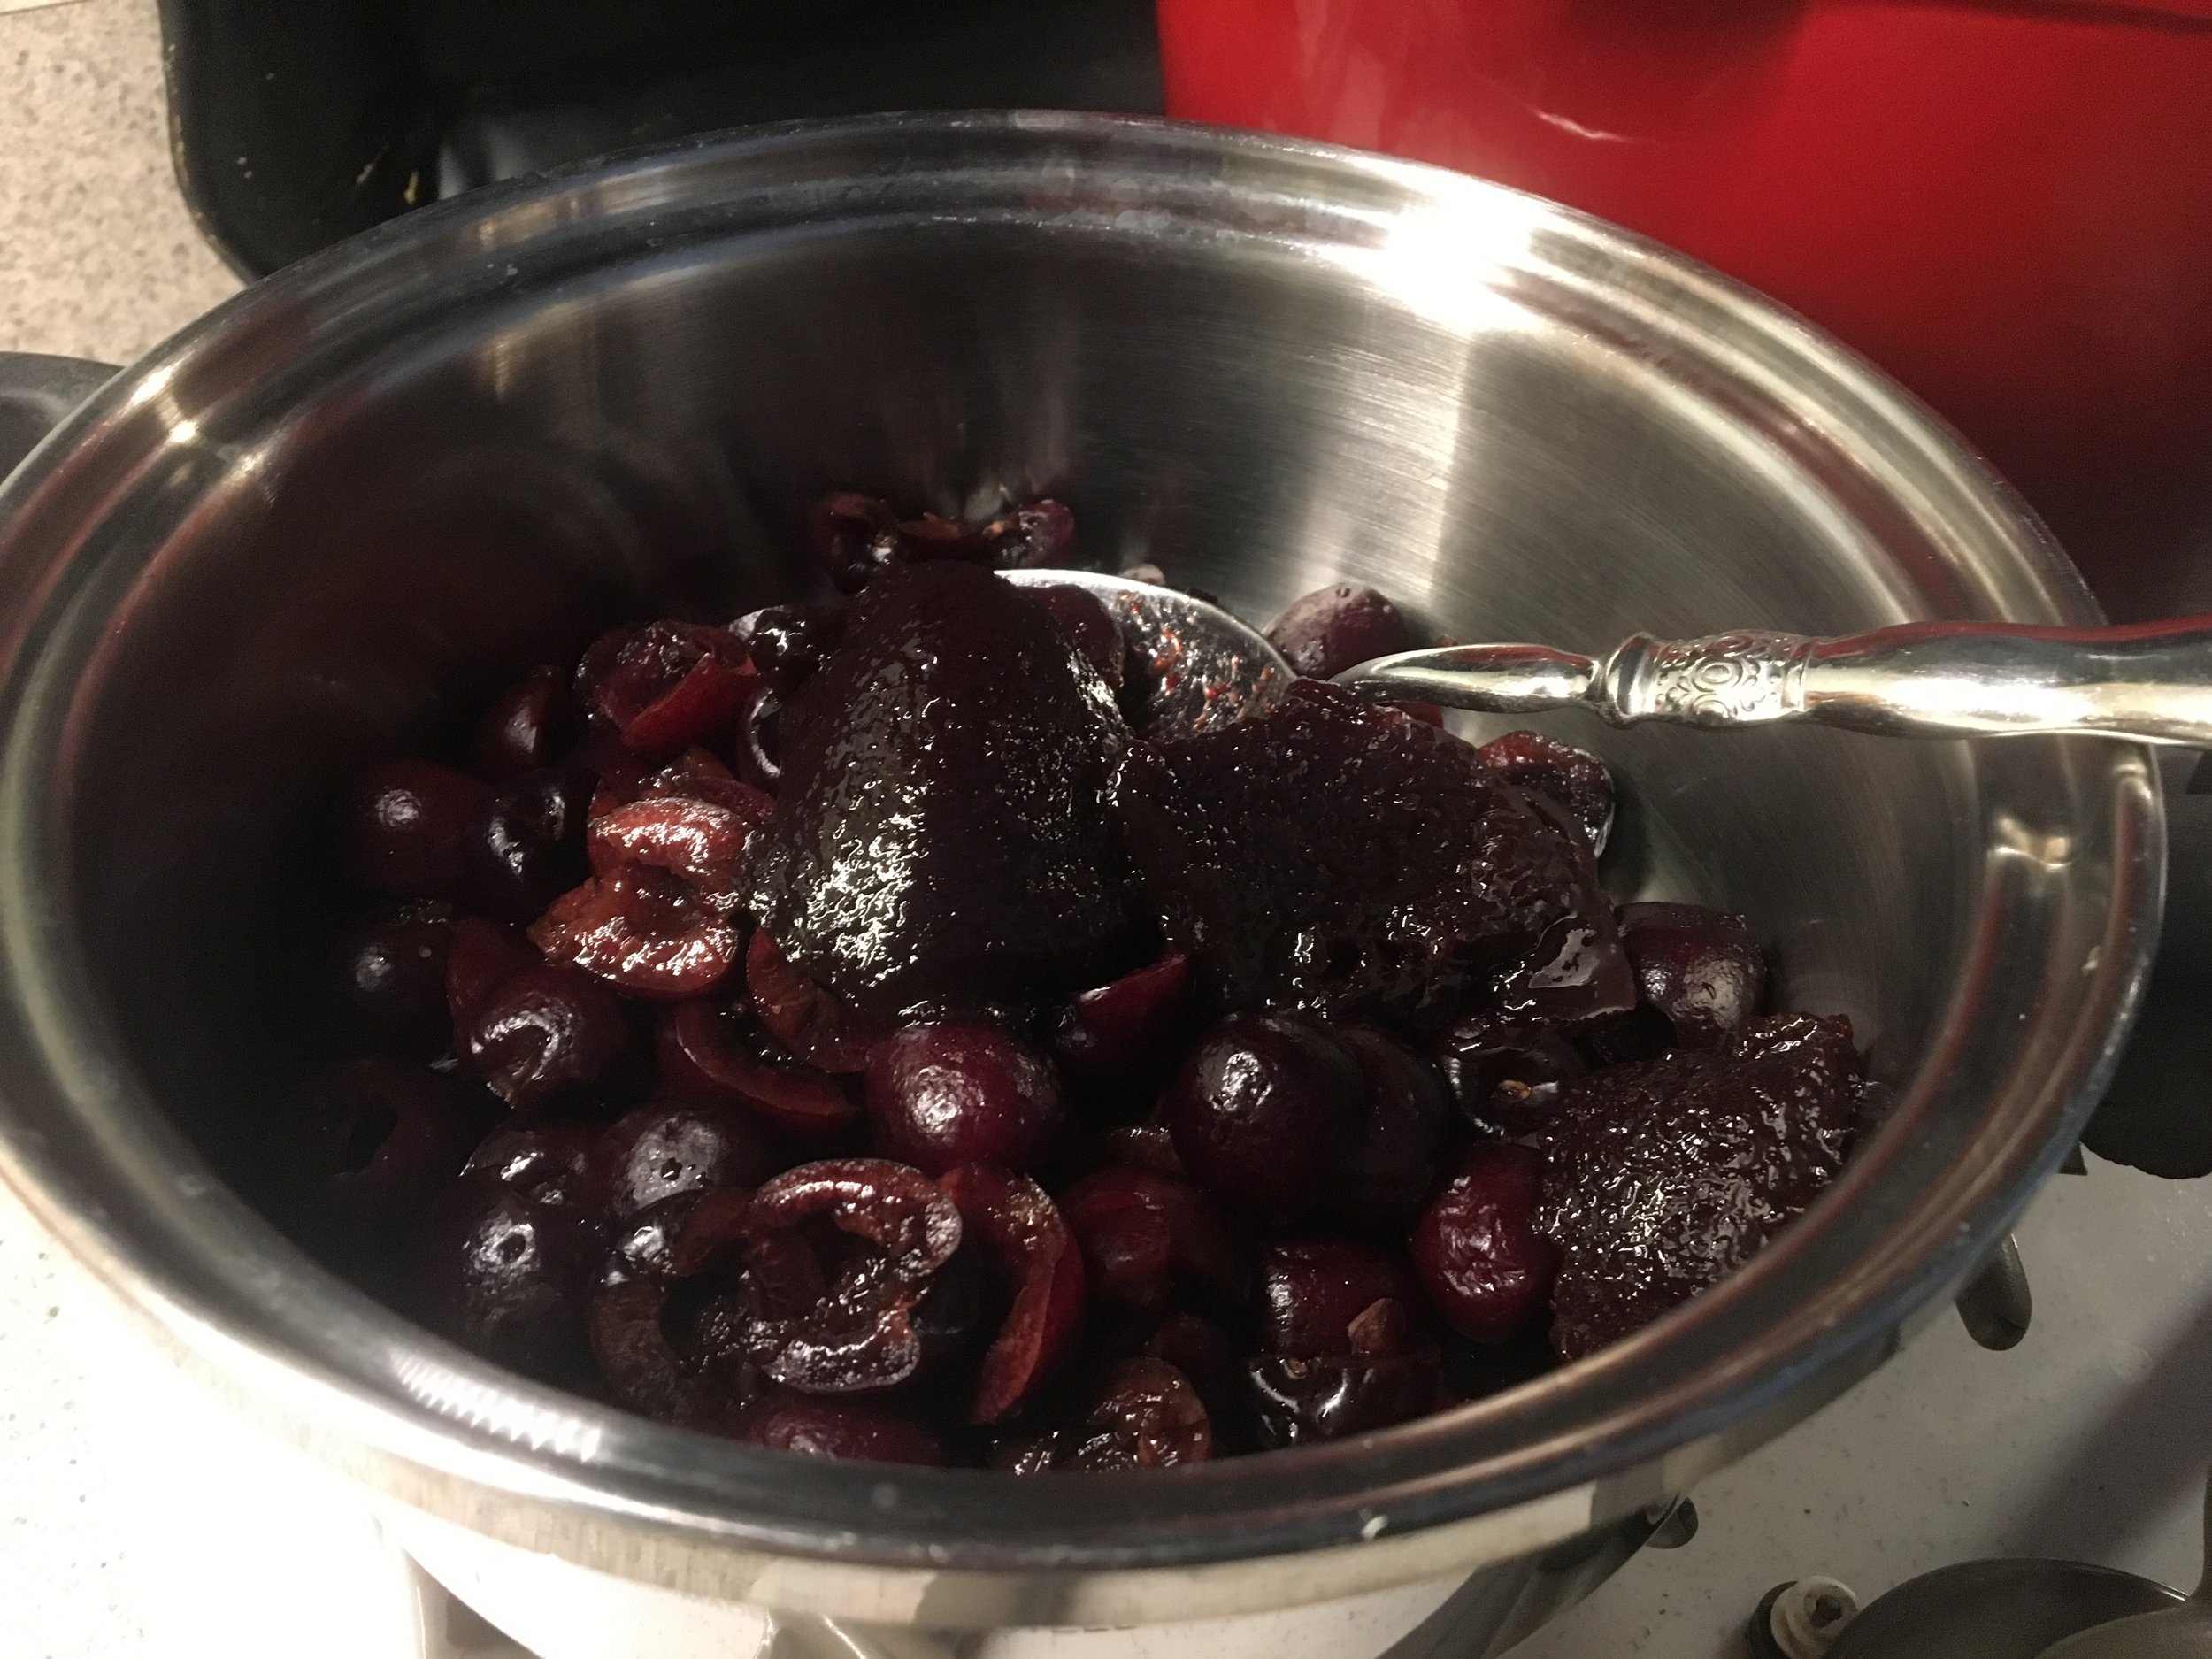
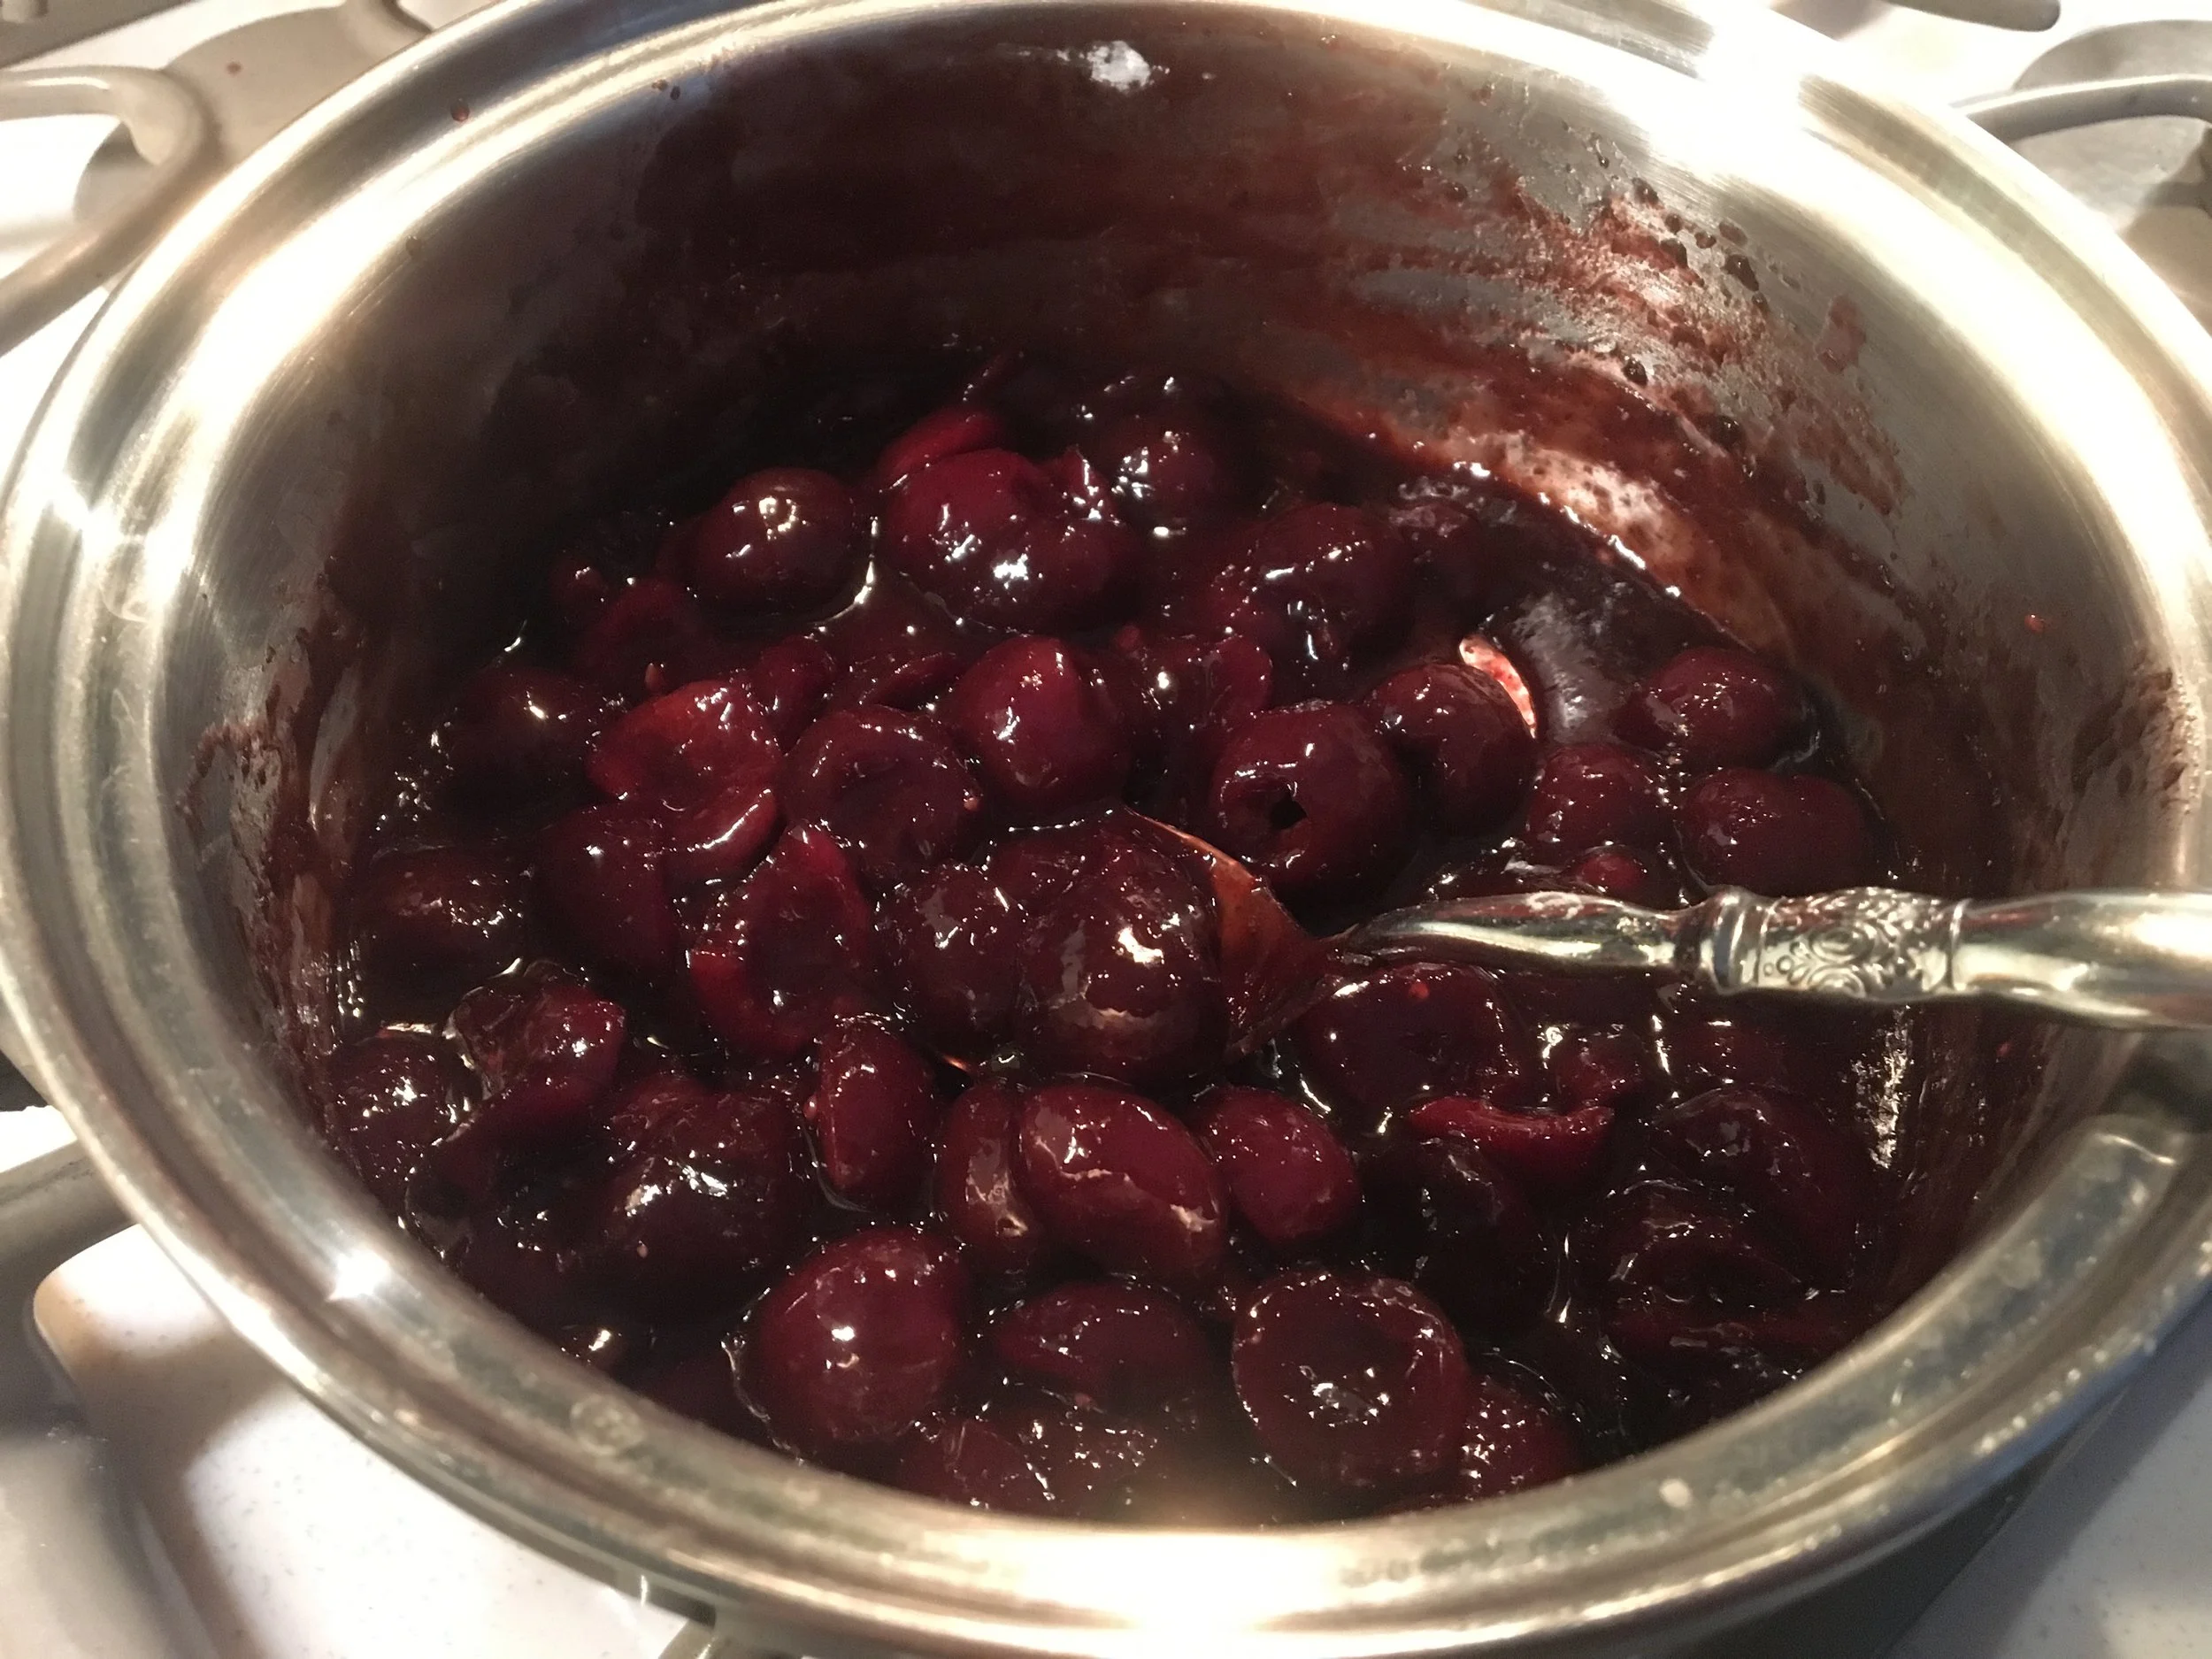
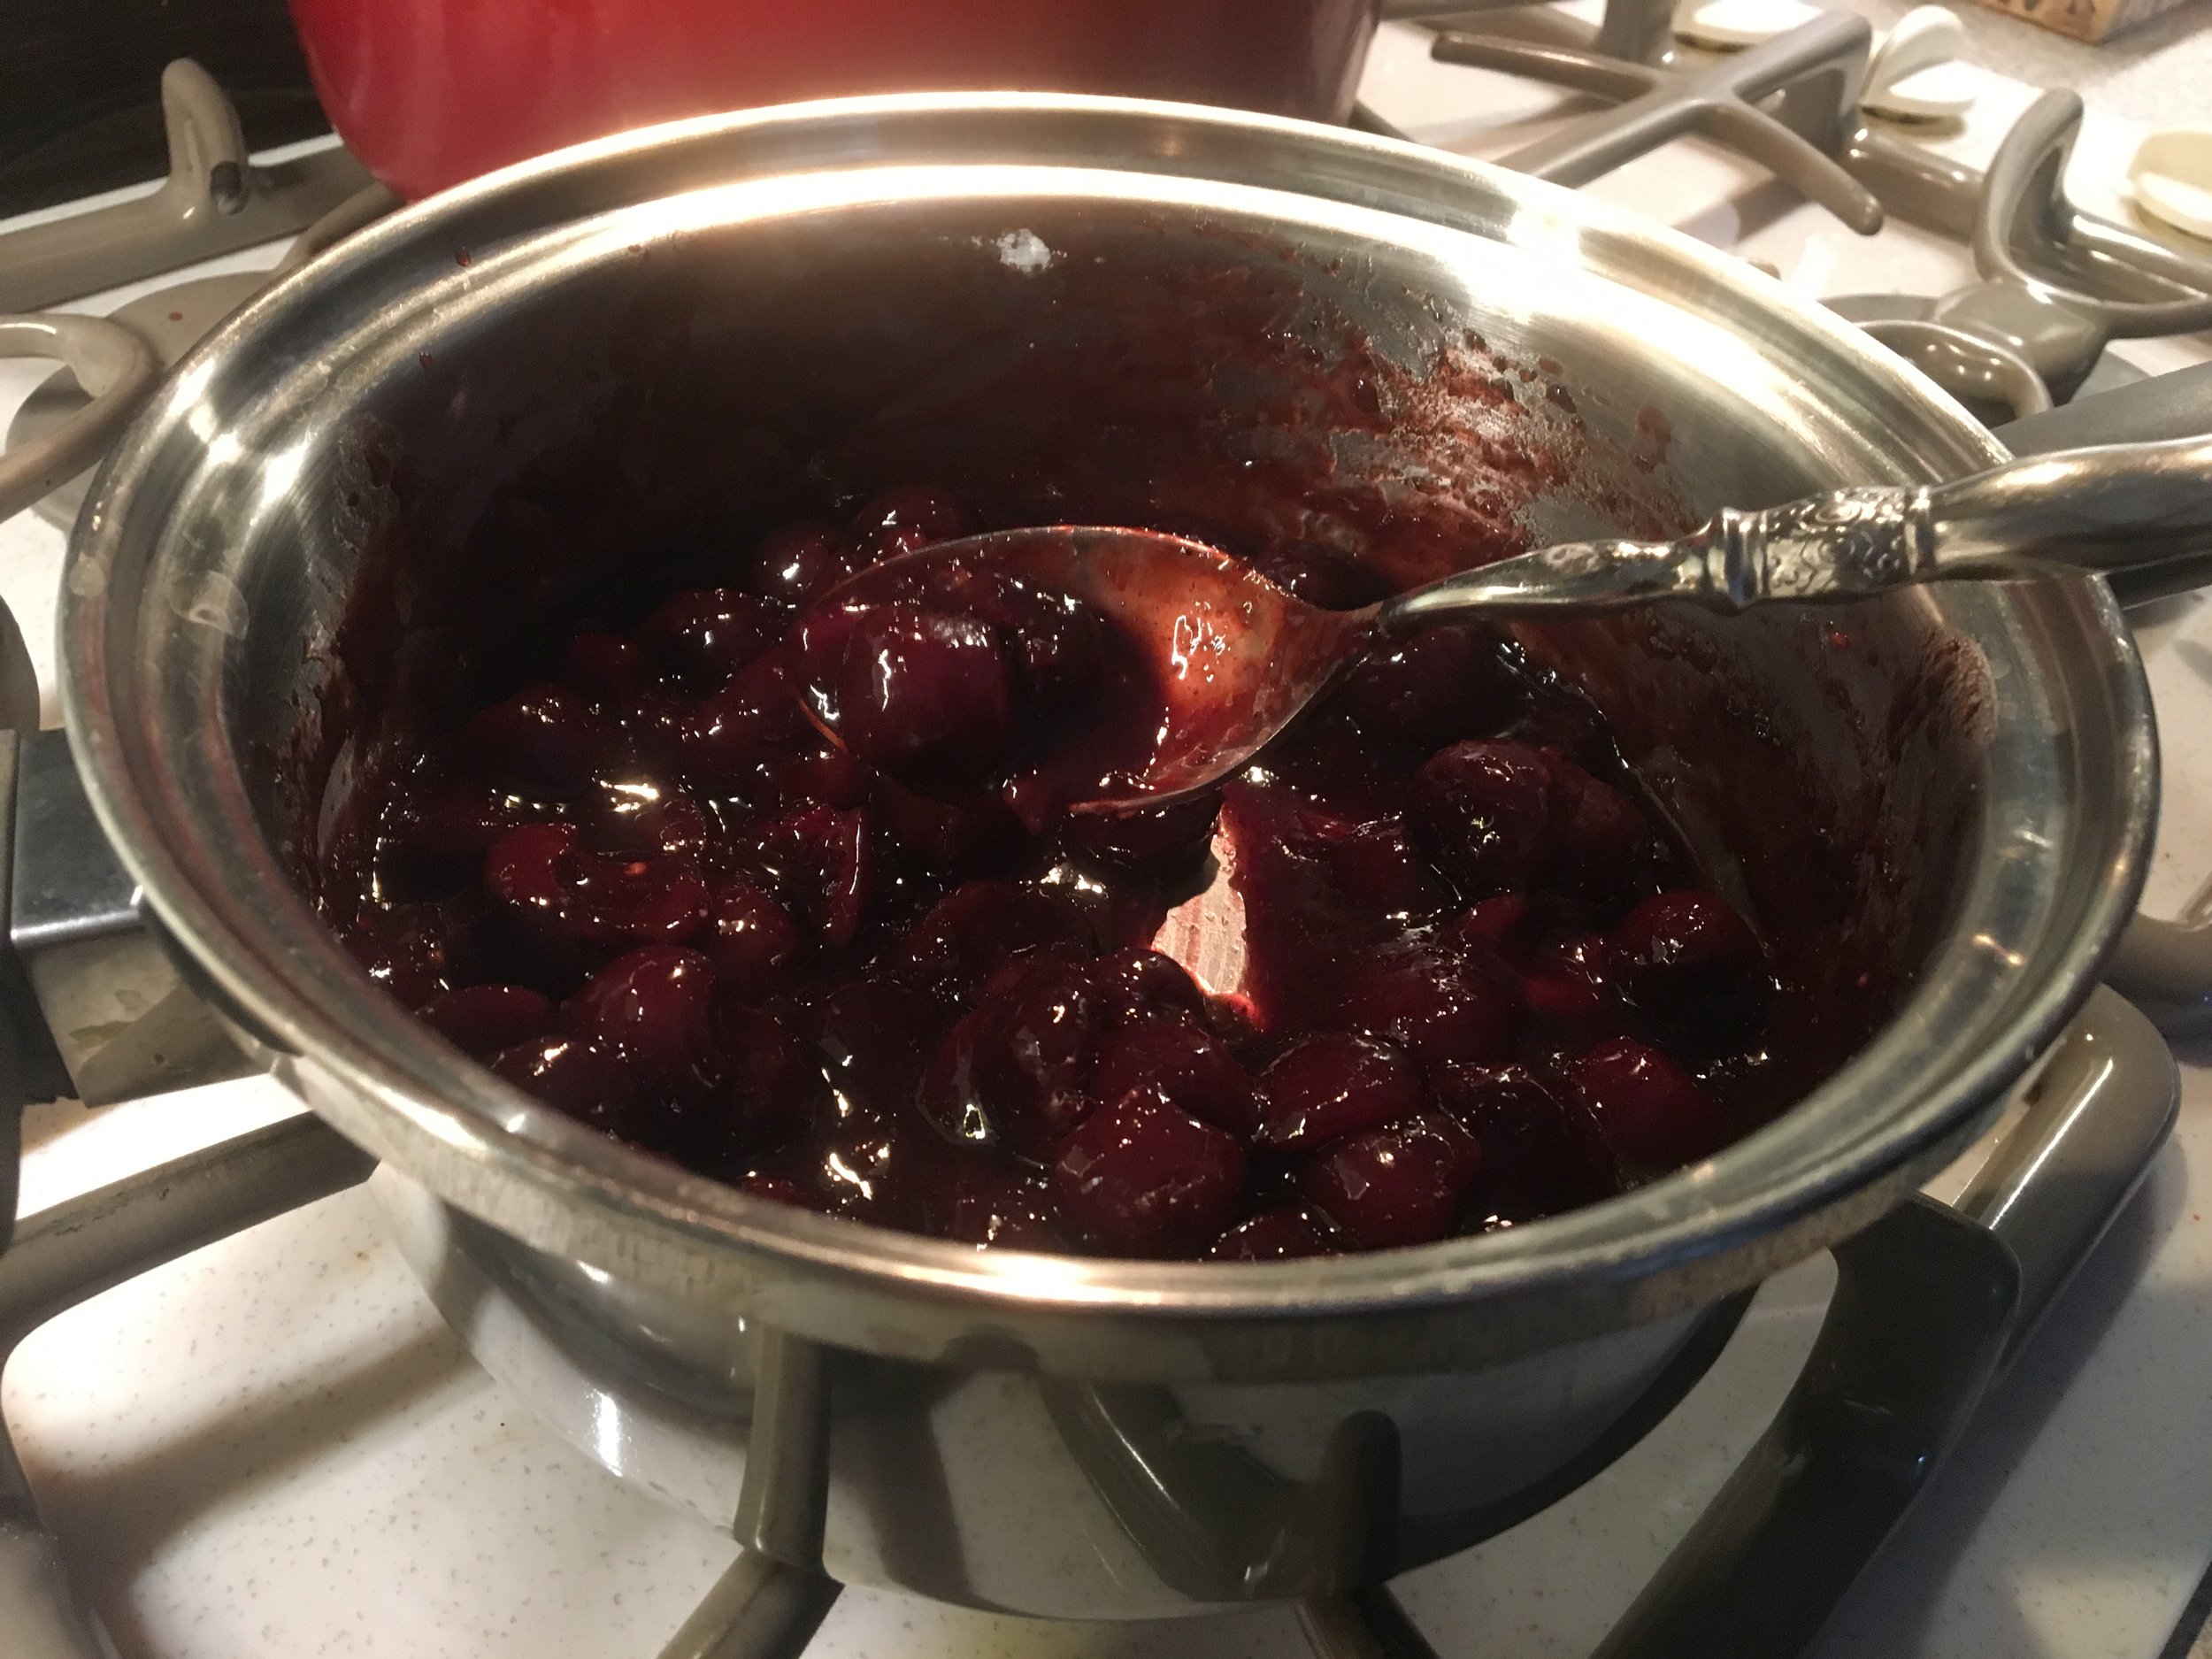
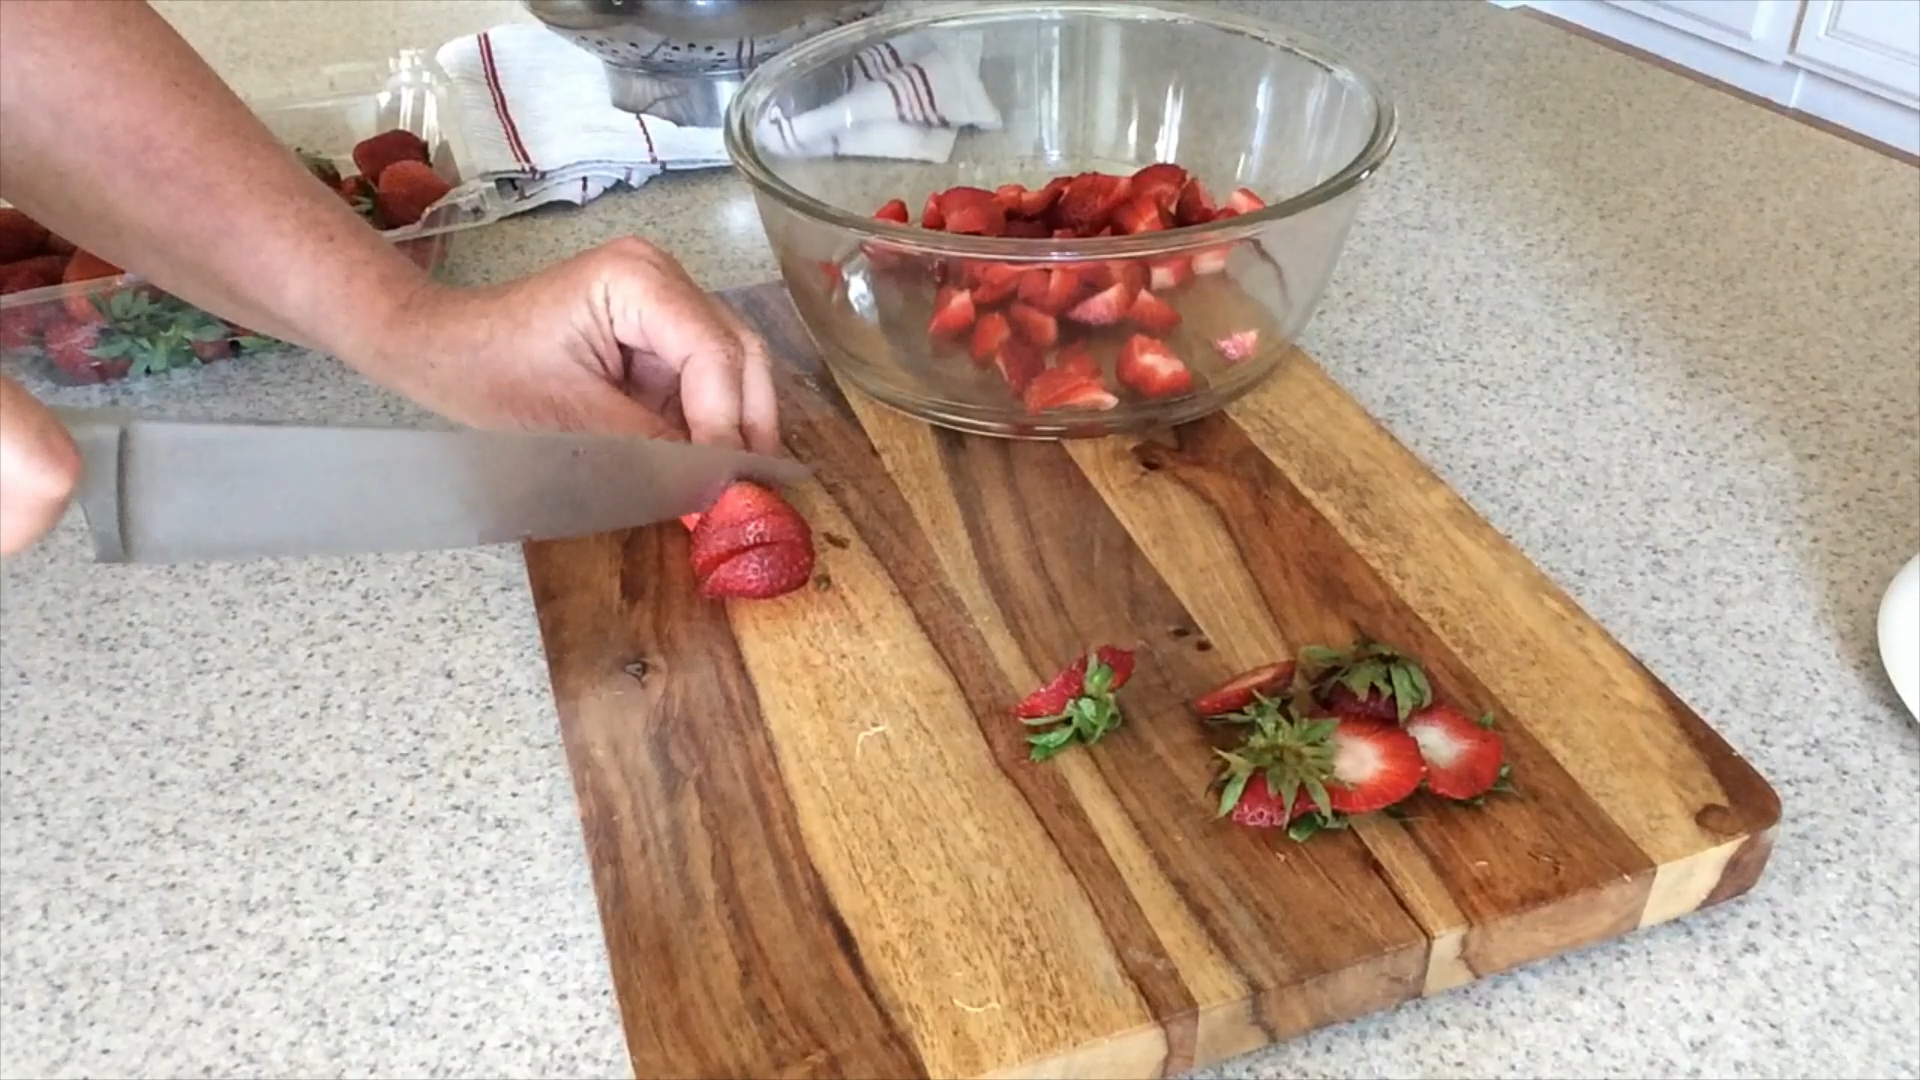
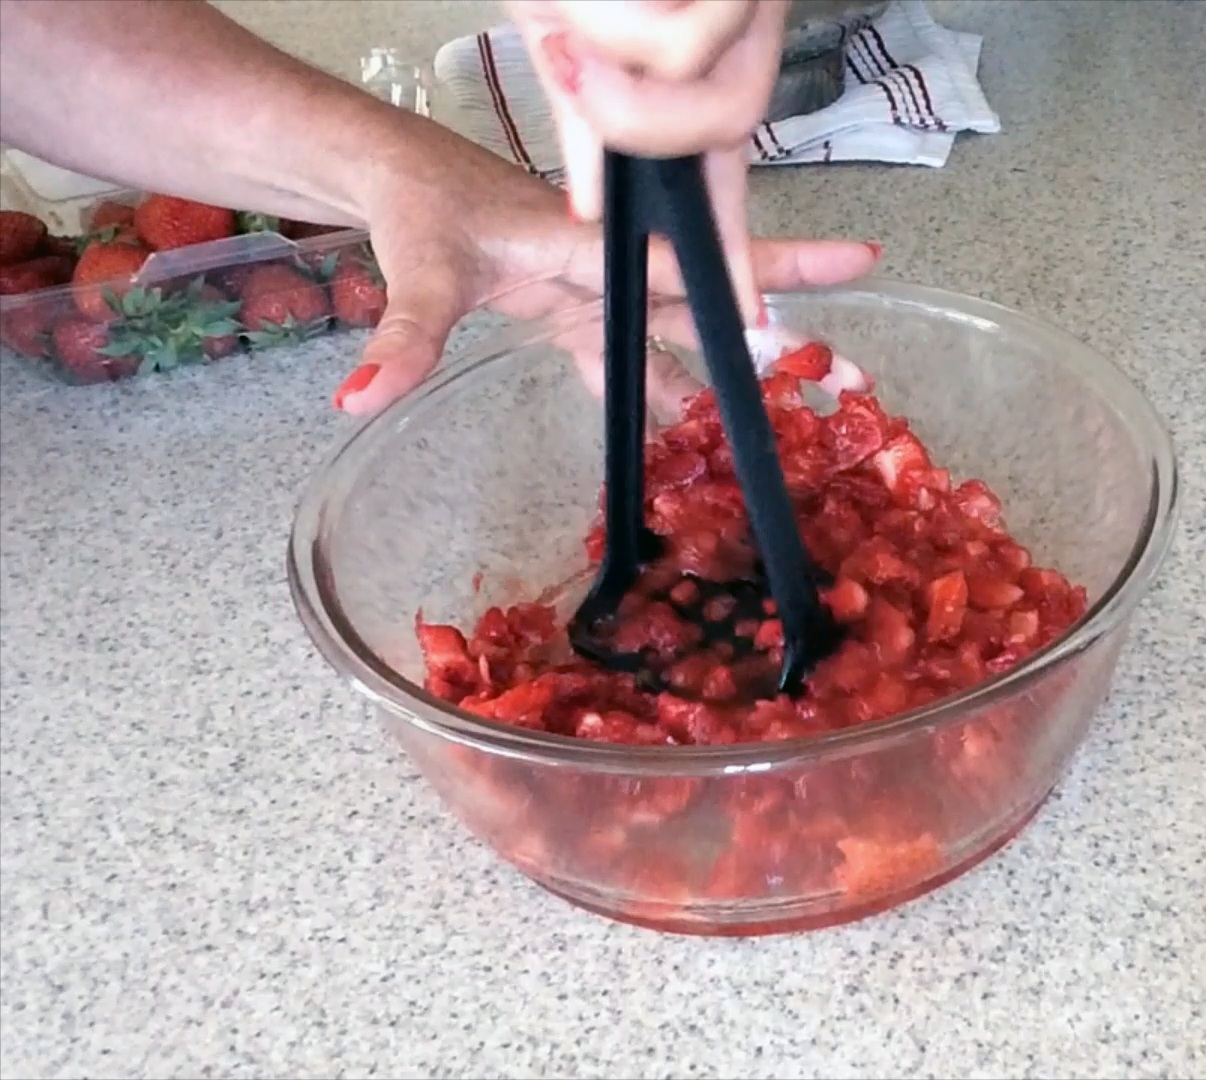
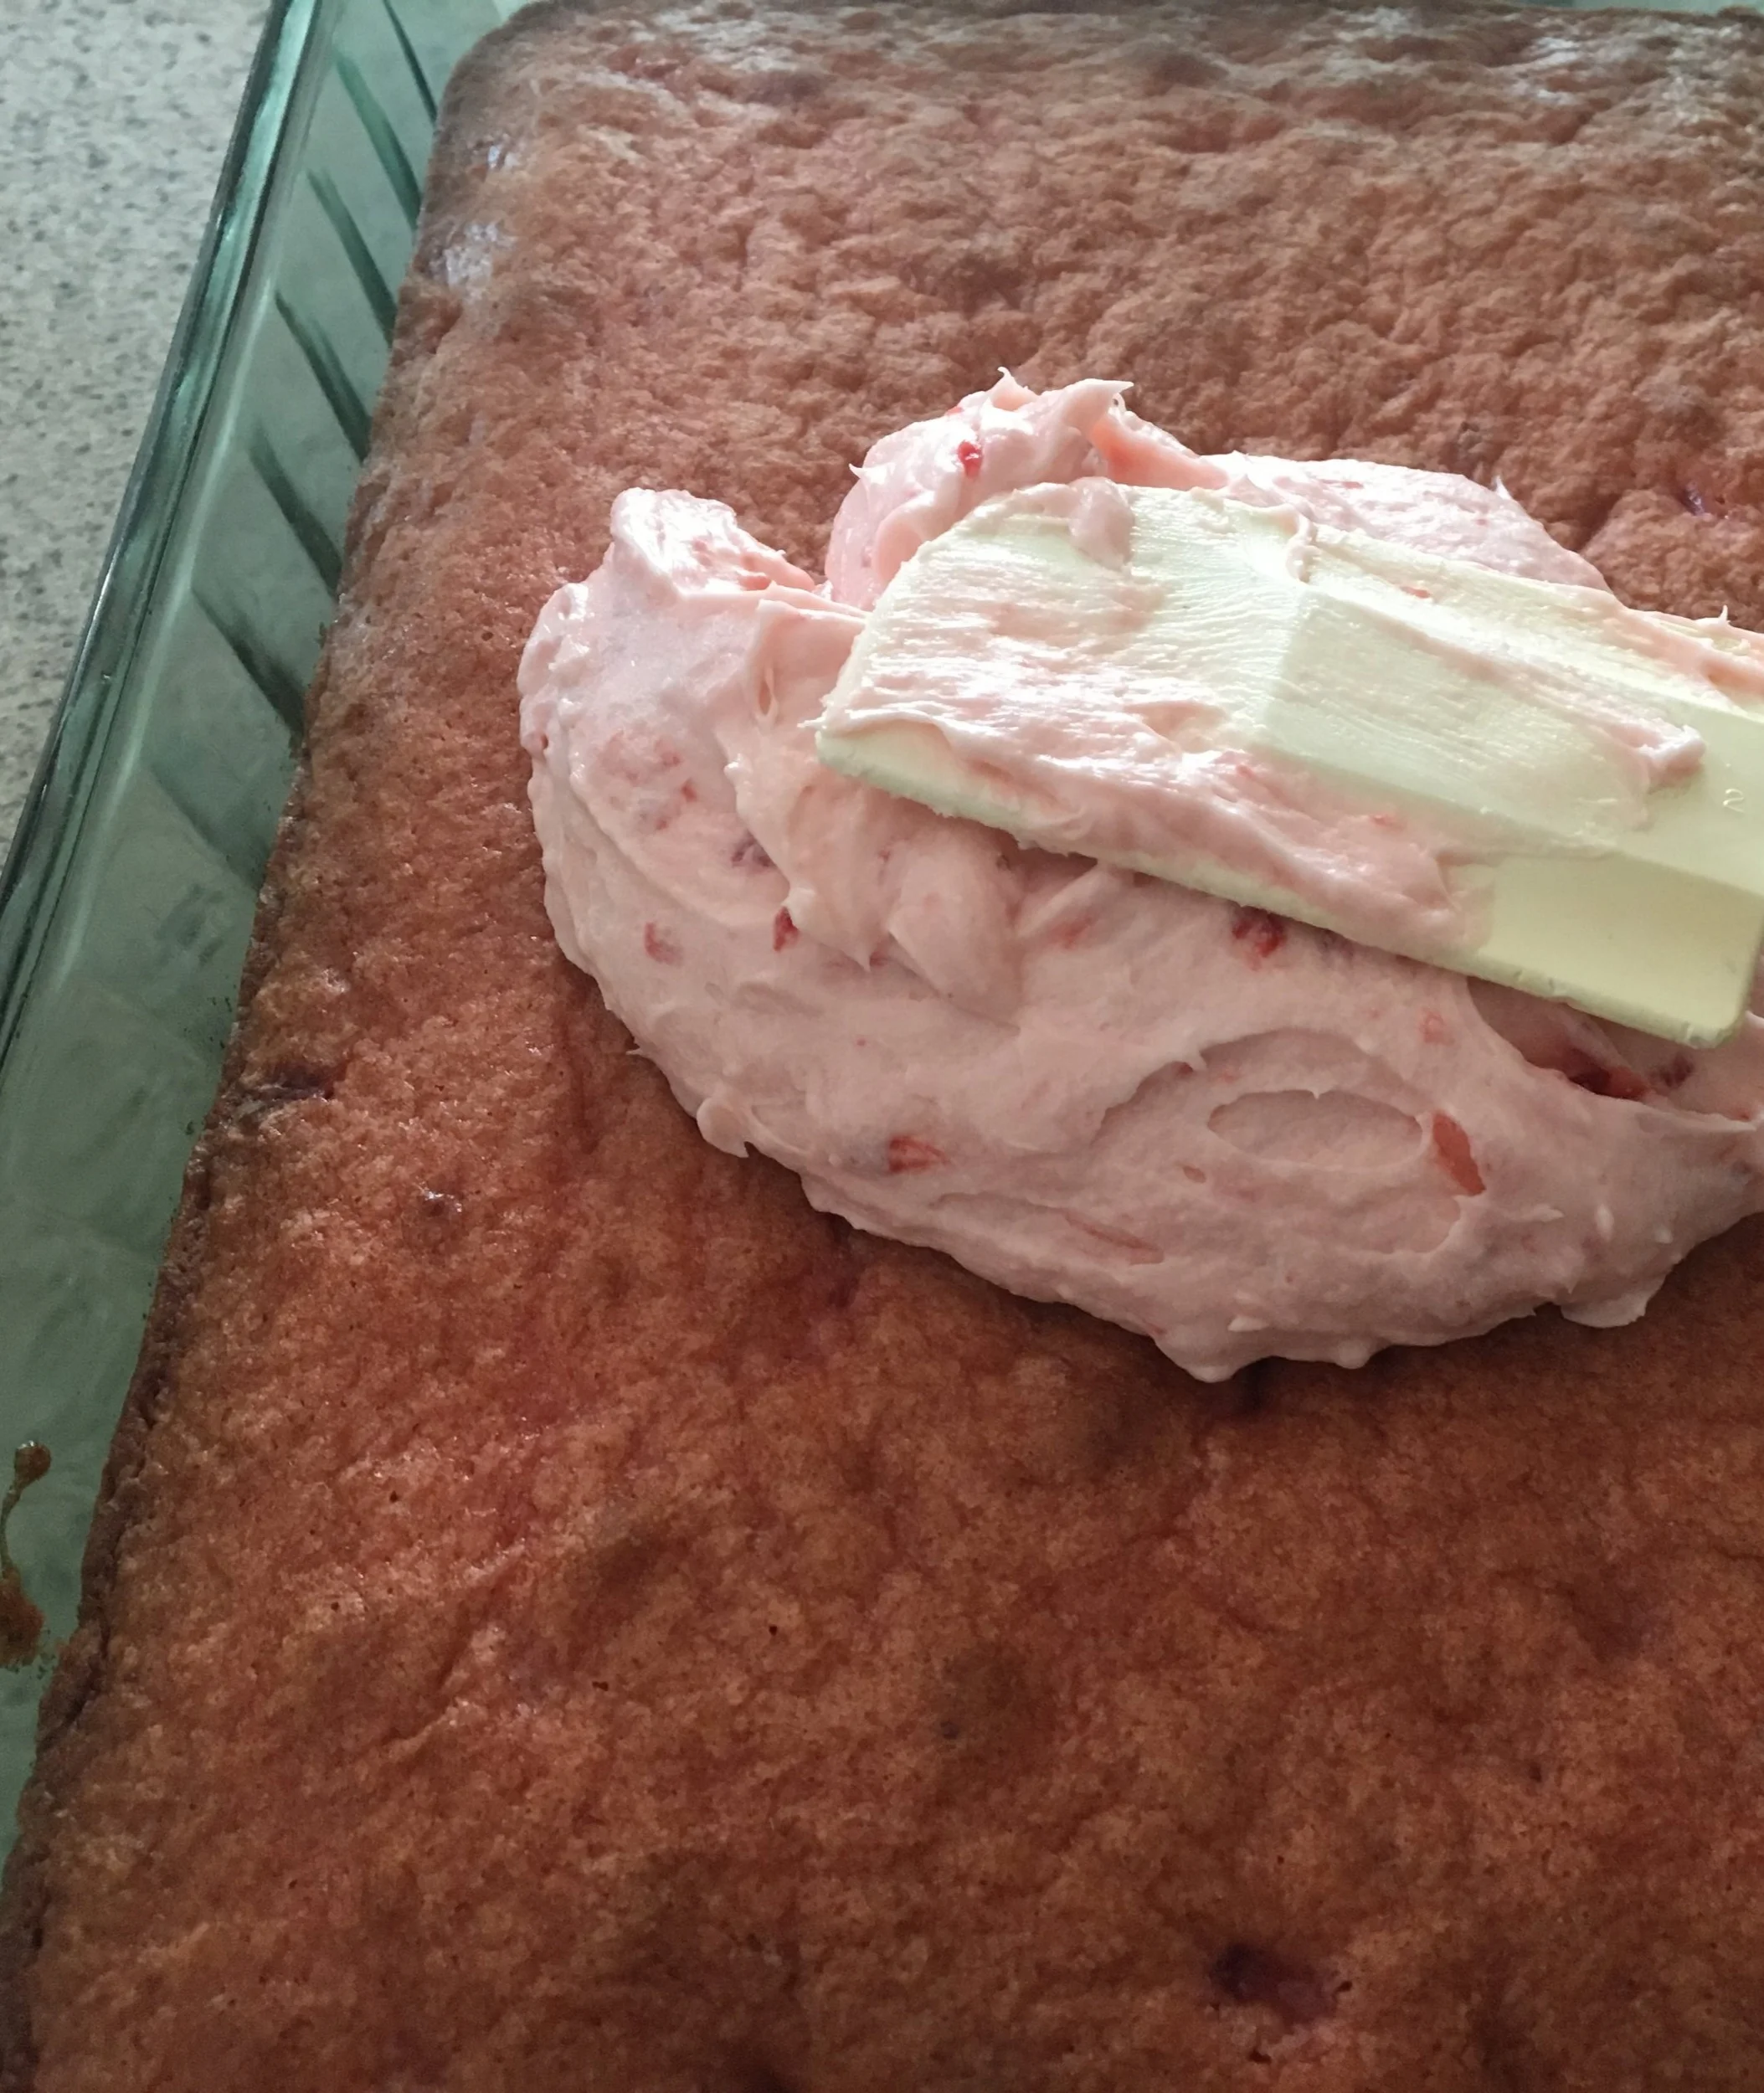
Wash, remove the ends, and roughly chop the strawberries. Place them in a medium bowl, add Cherchies® Strawberry Butter Spread, mash them with a potato masher, and set aside. Reserve 2 Tablespoons (Tbsp) of mashed strawberries for the icing.
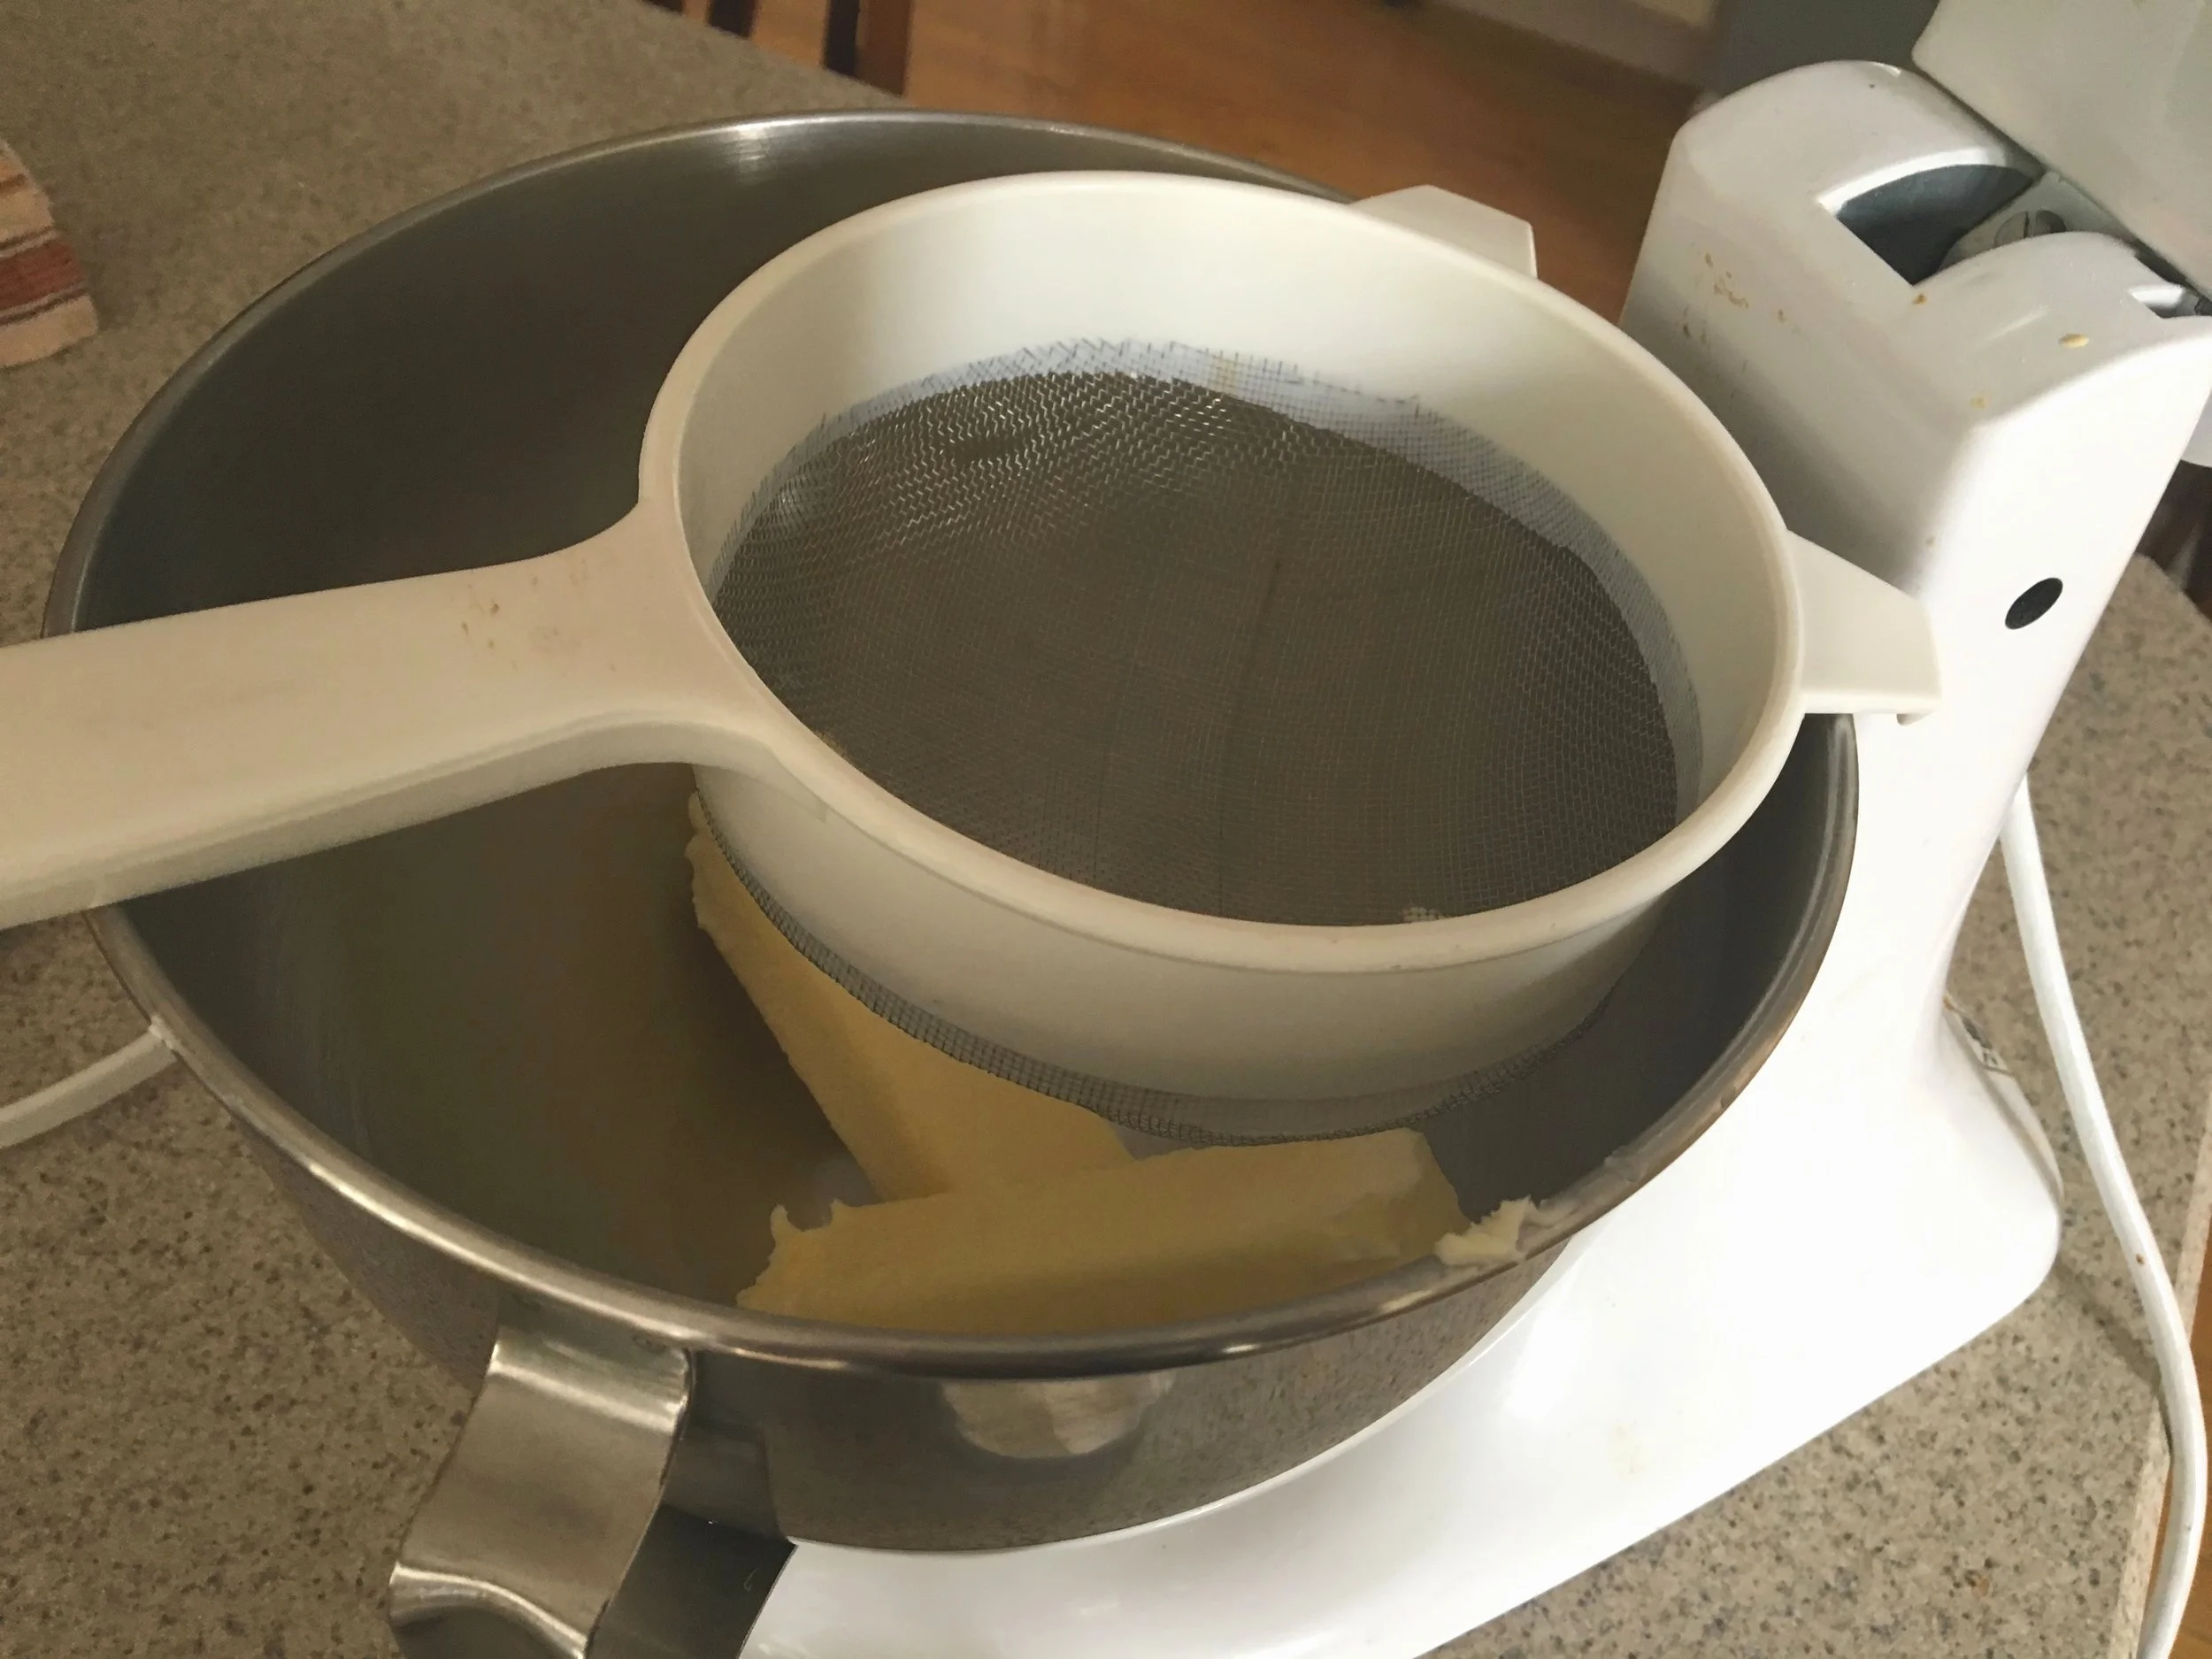
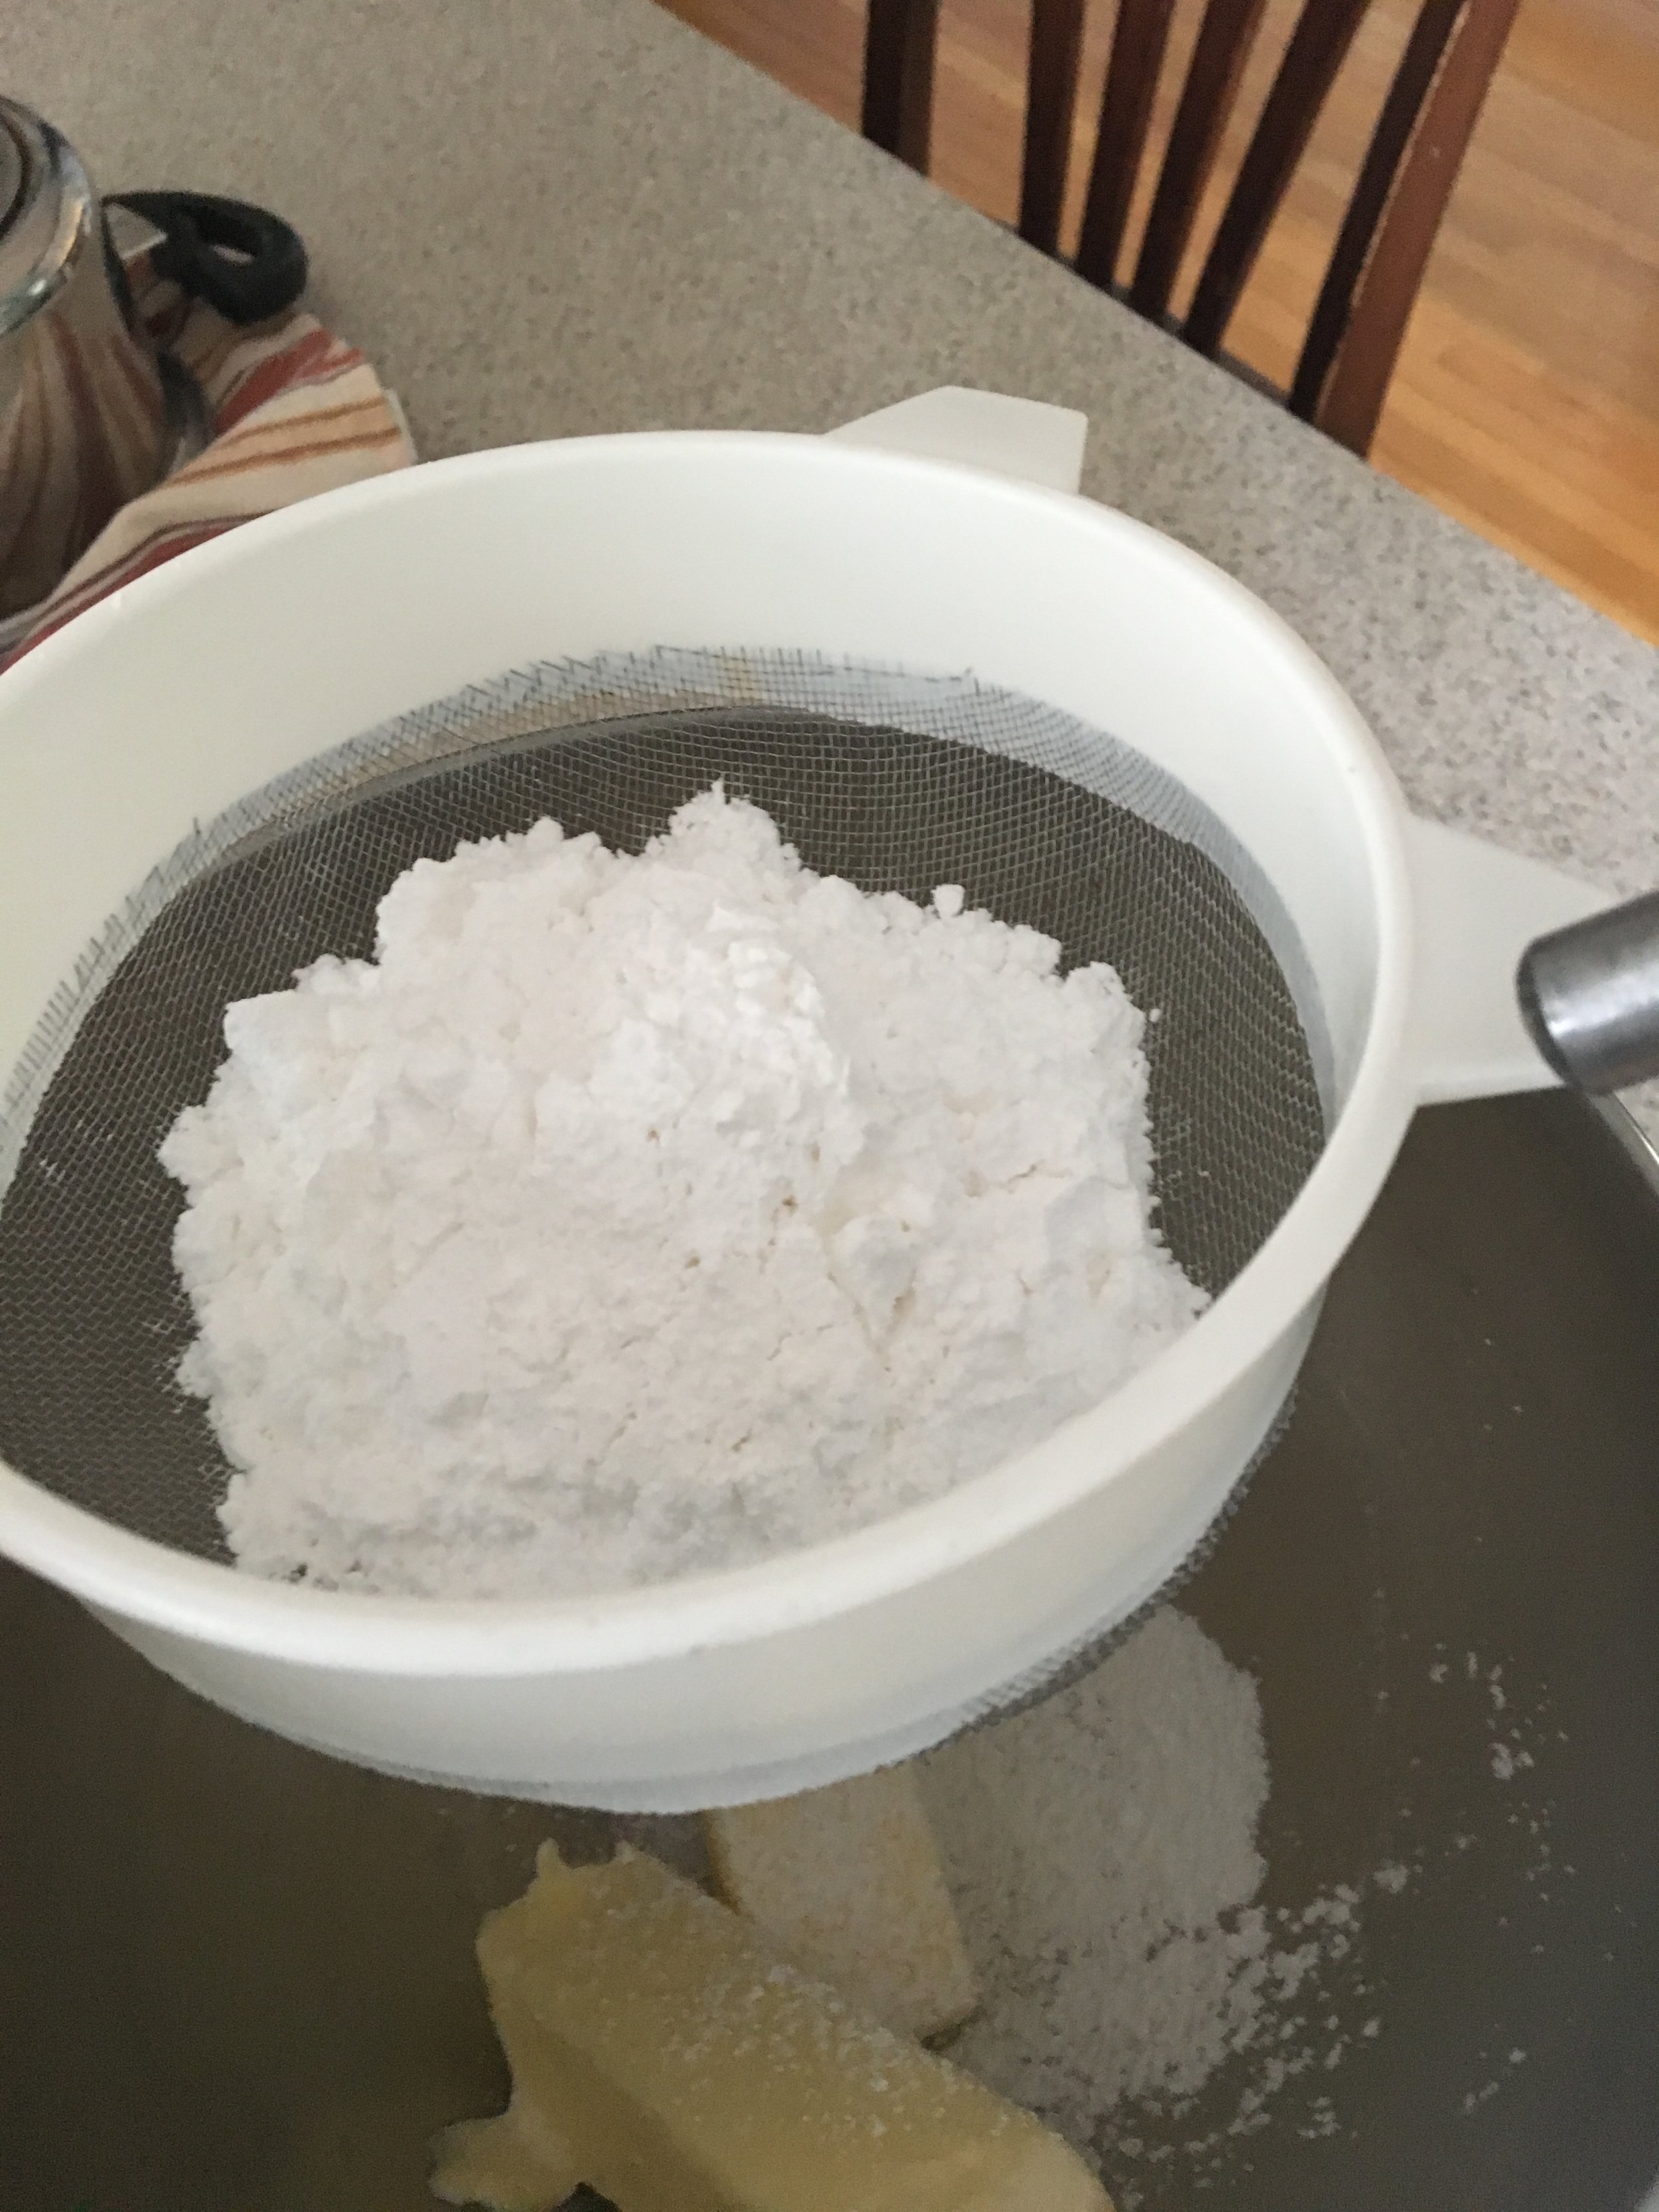
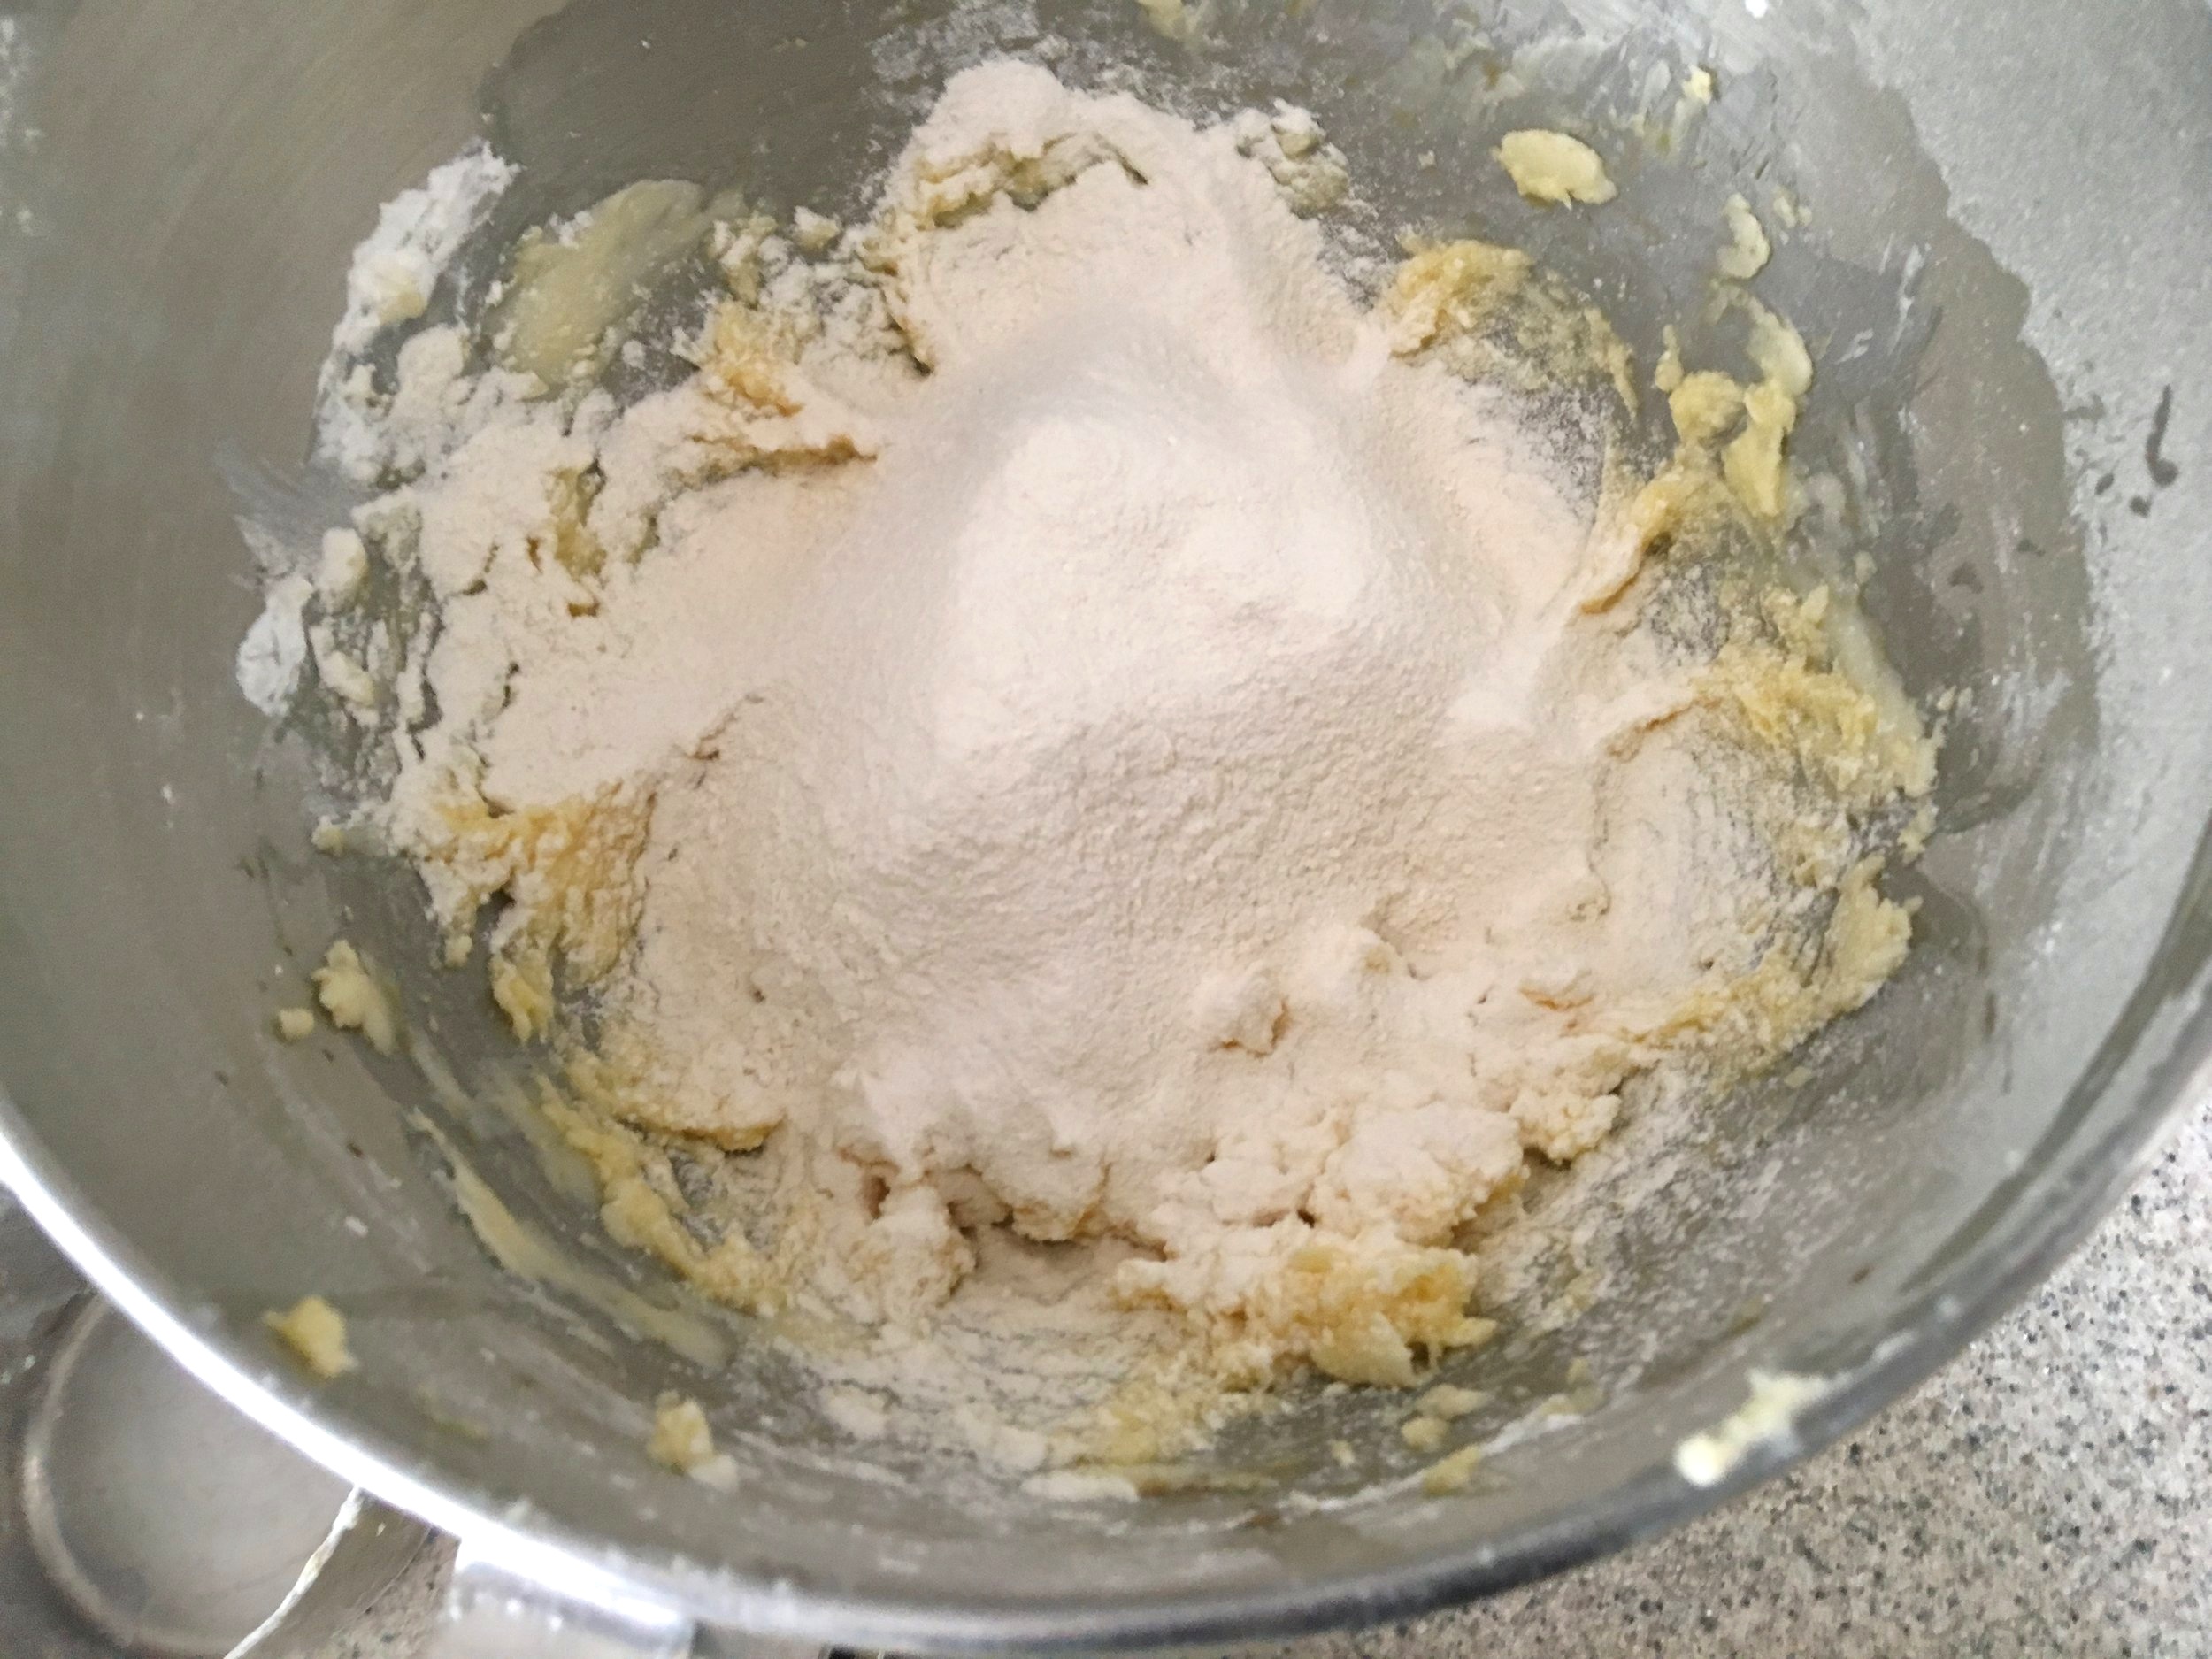
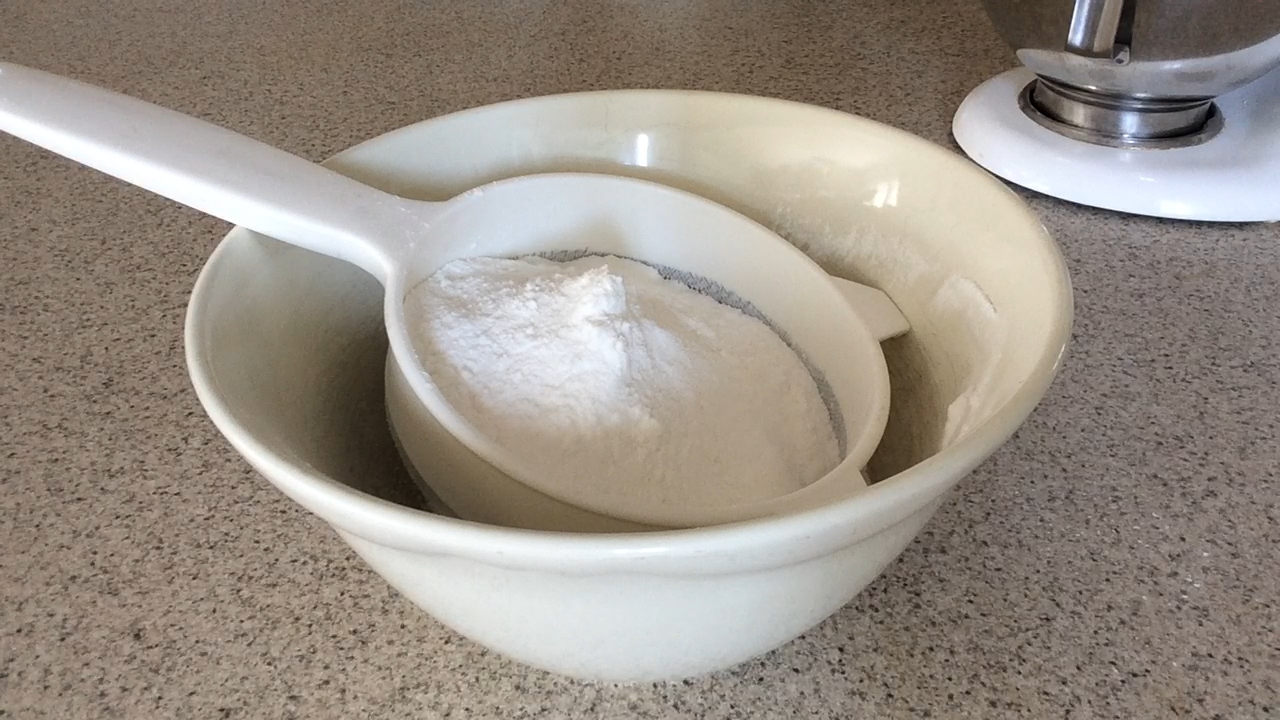
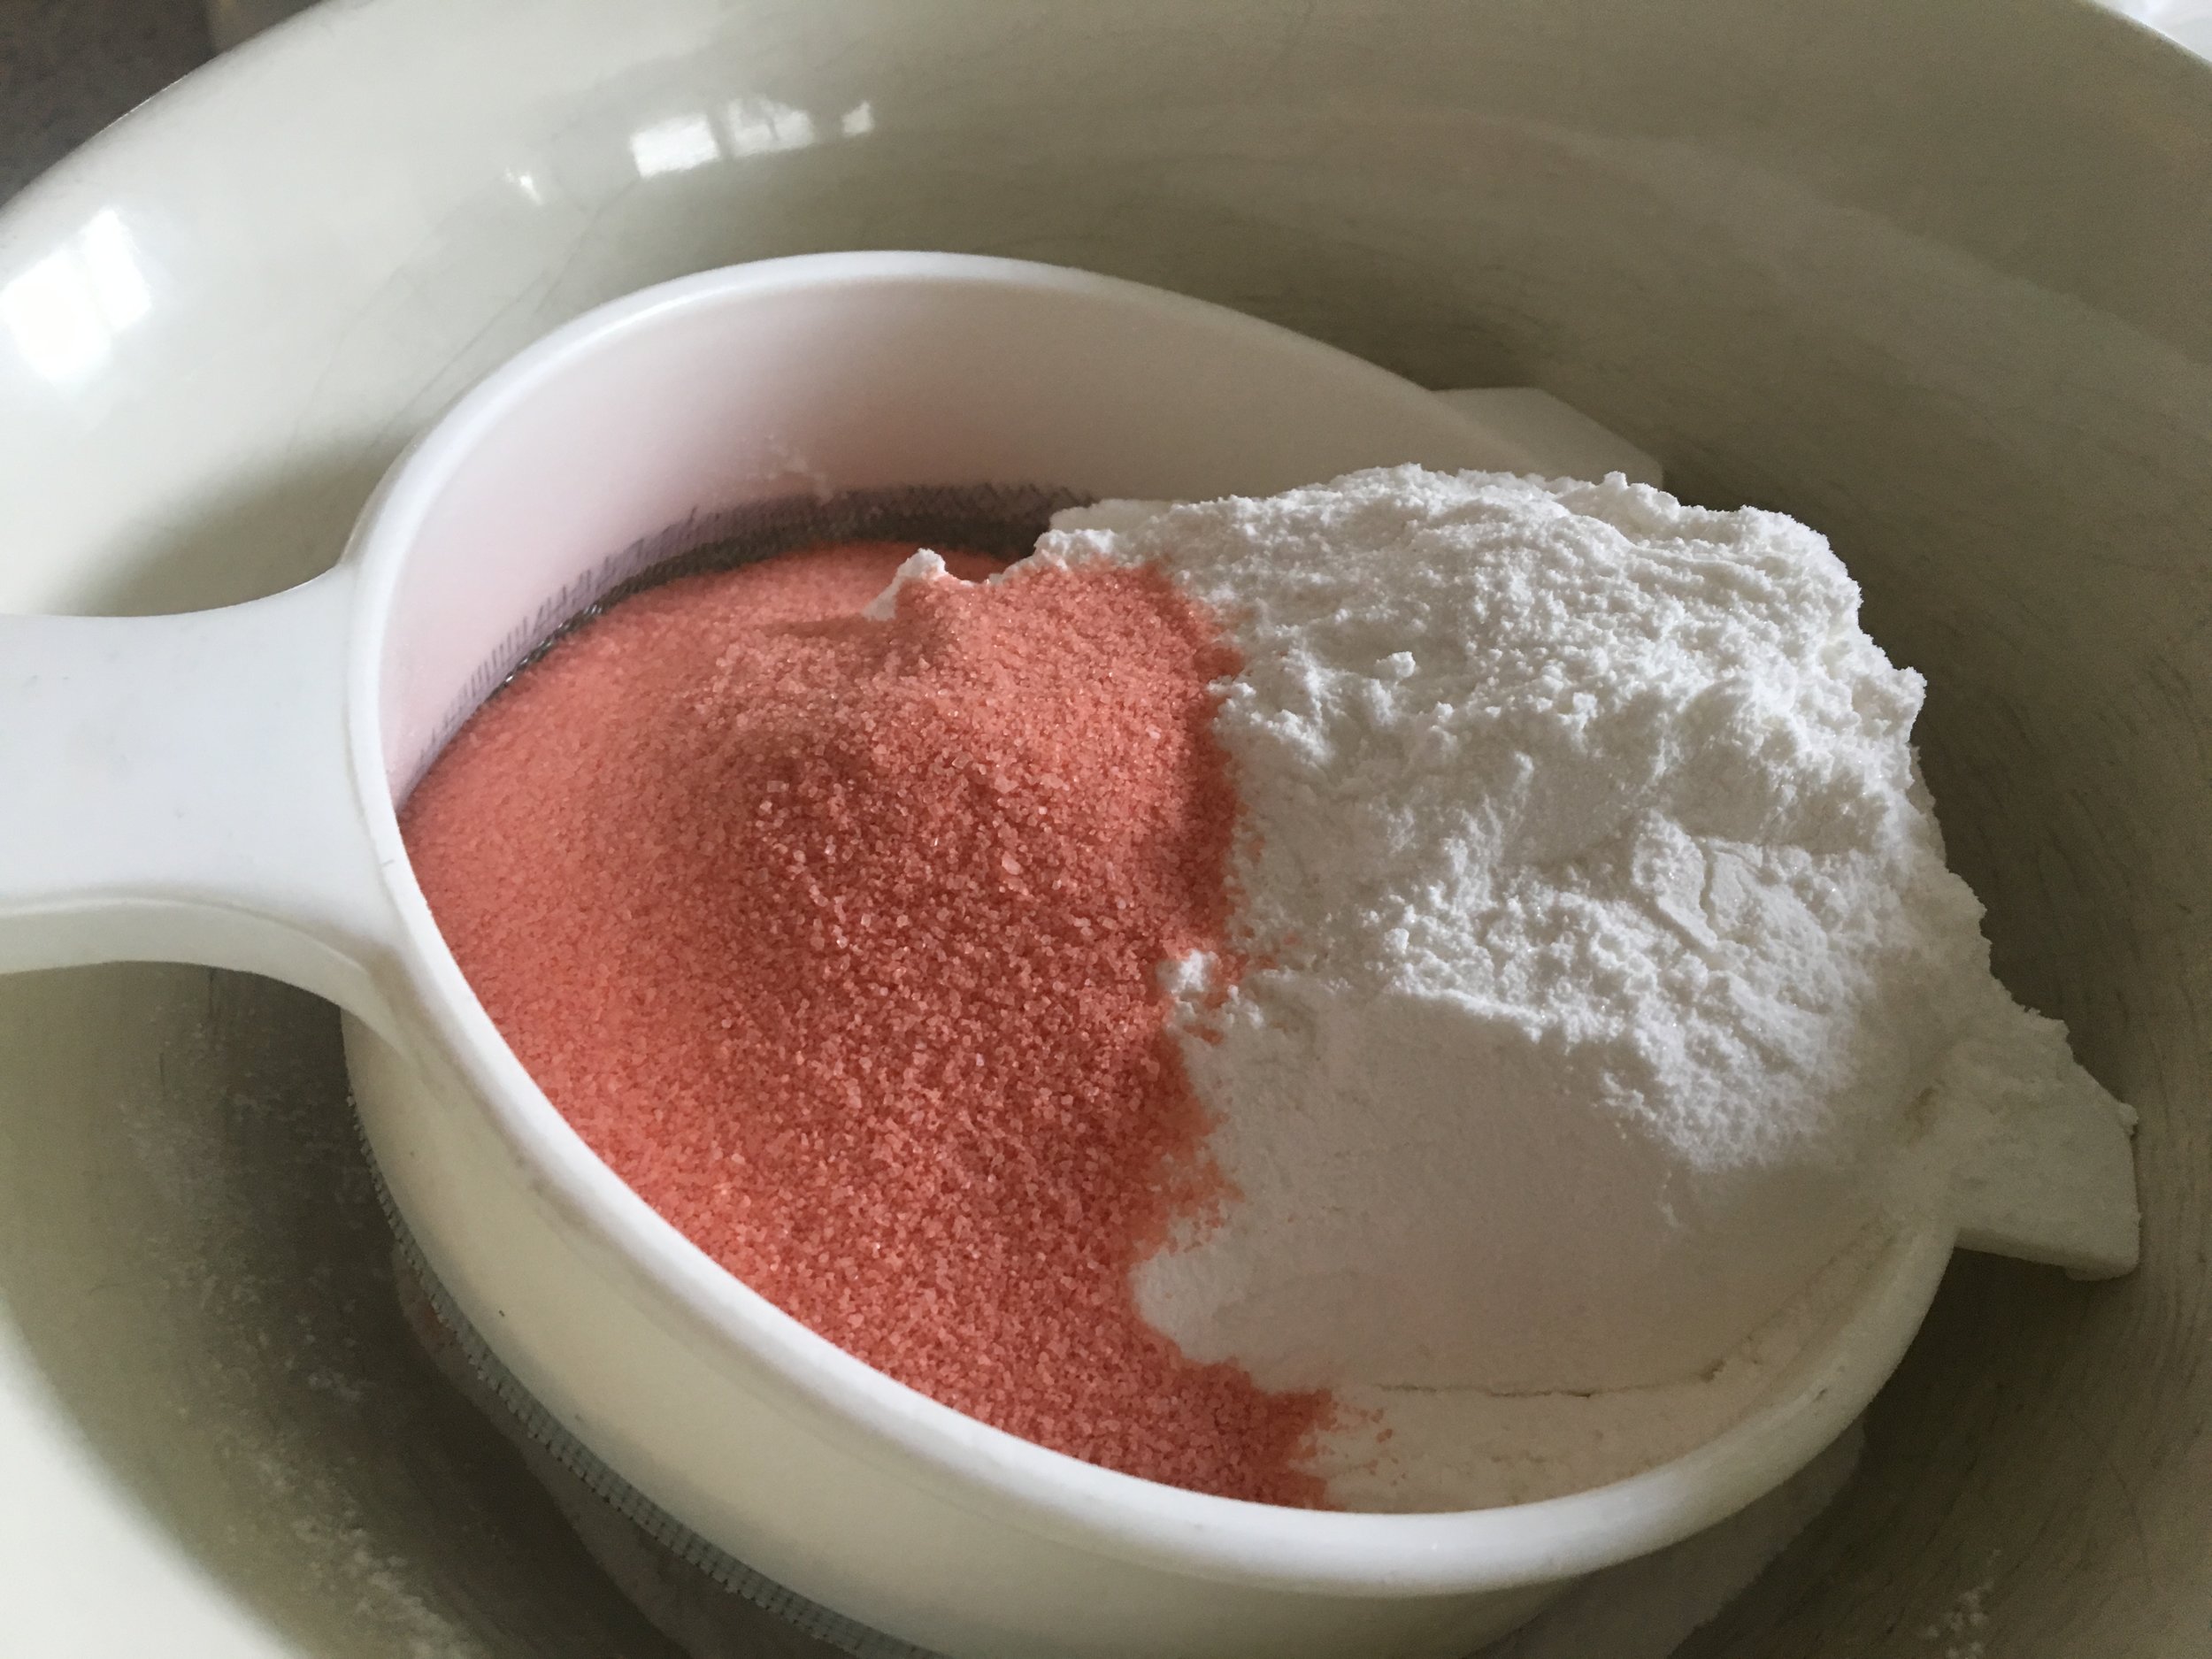
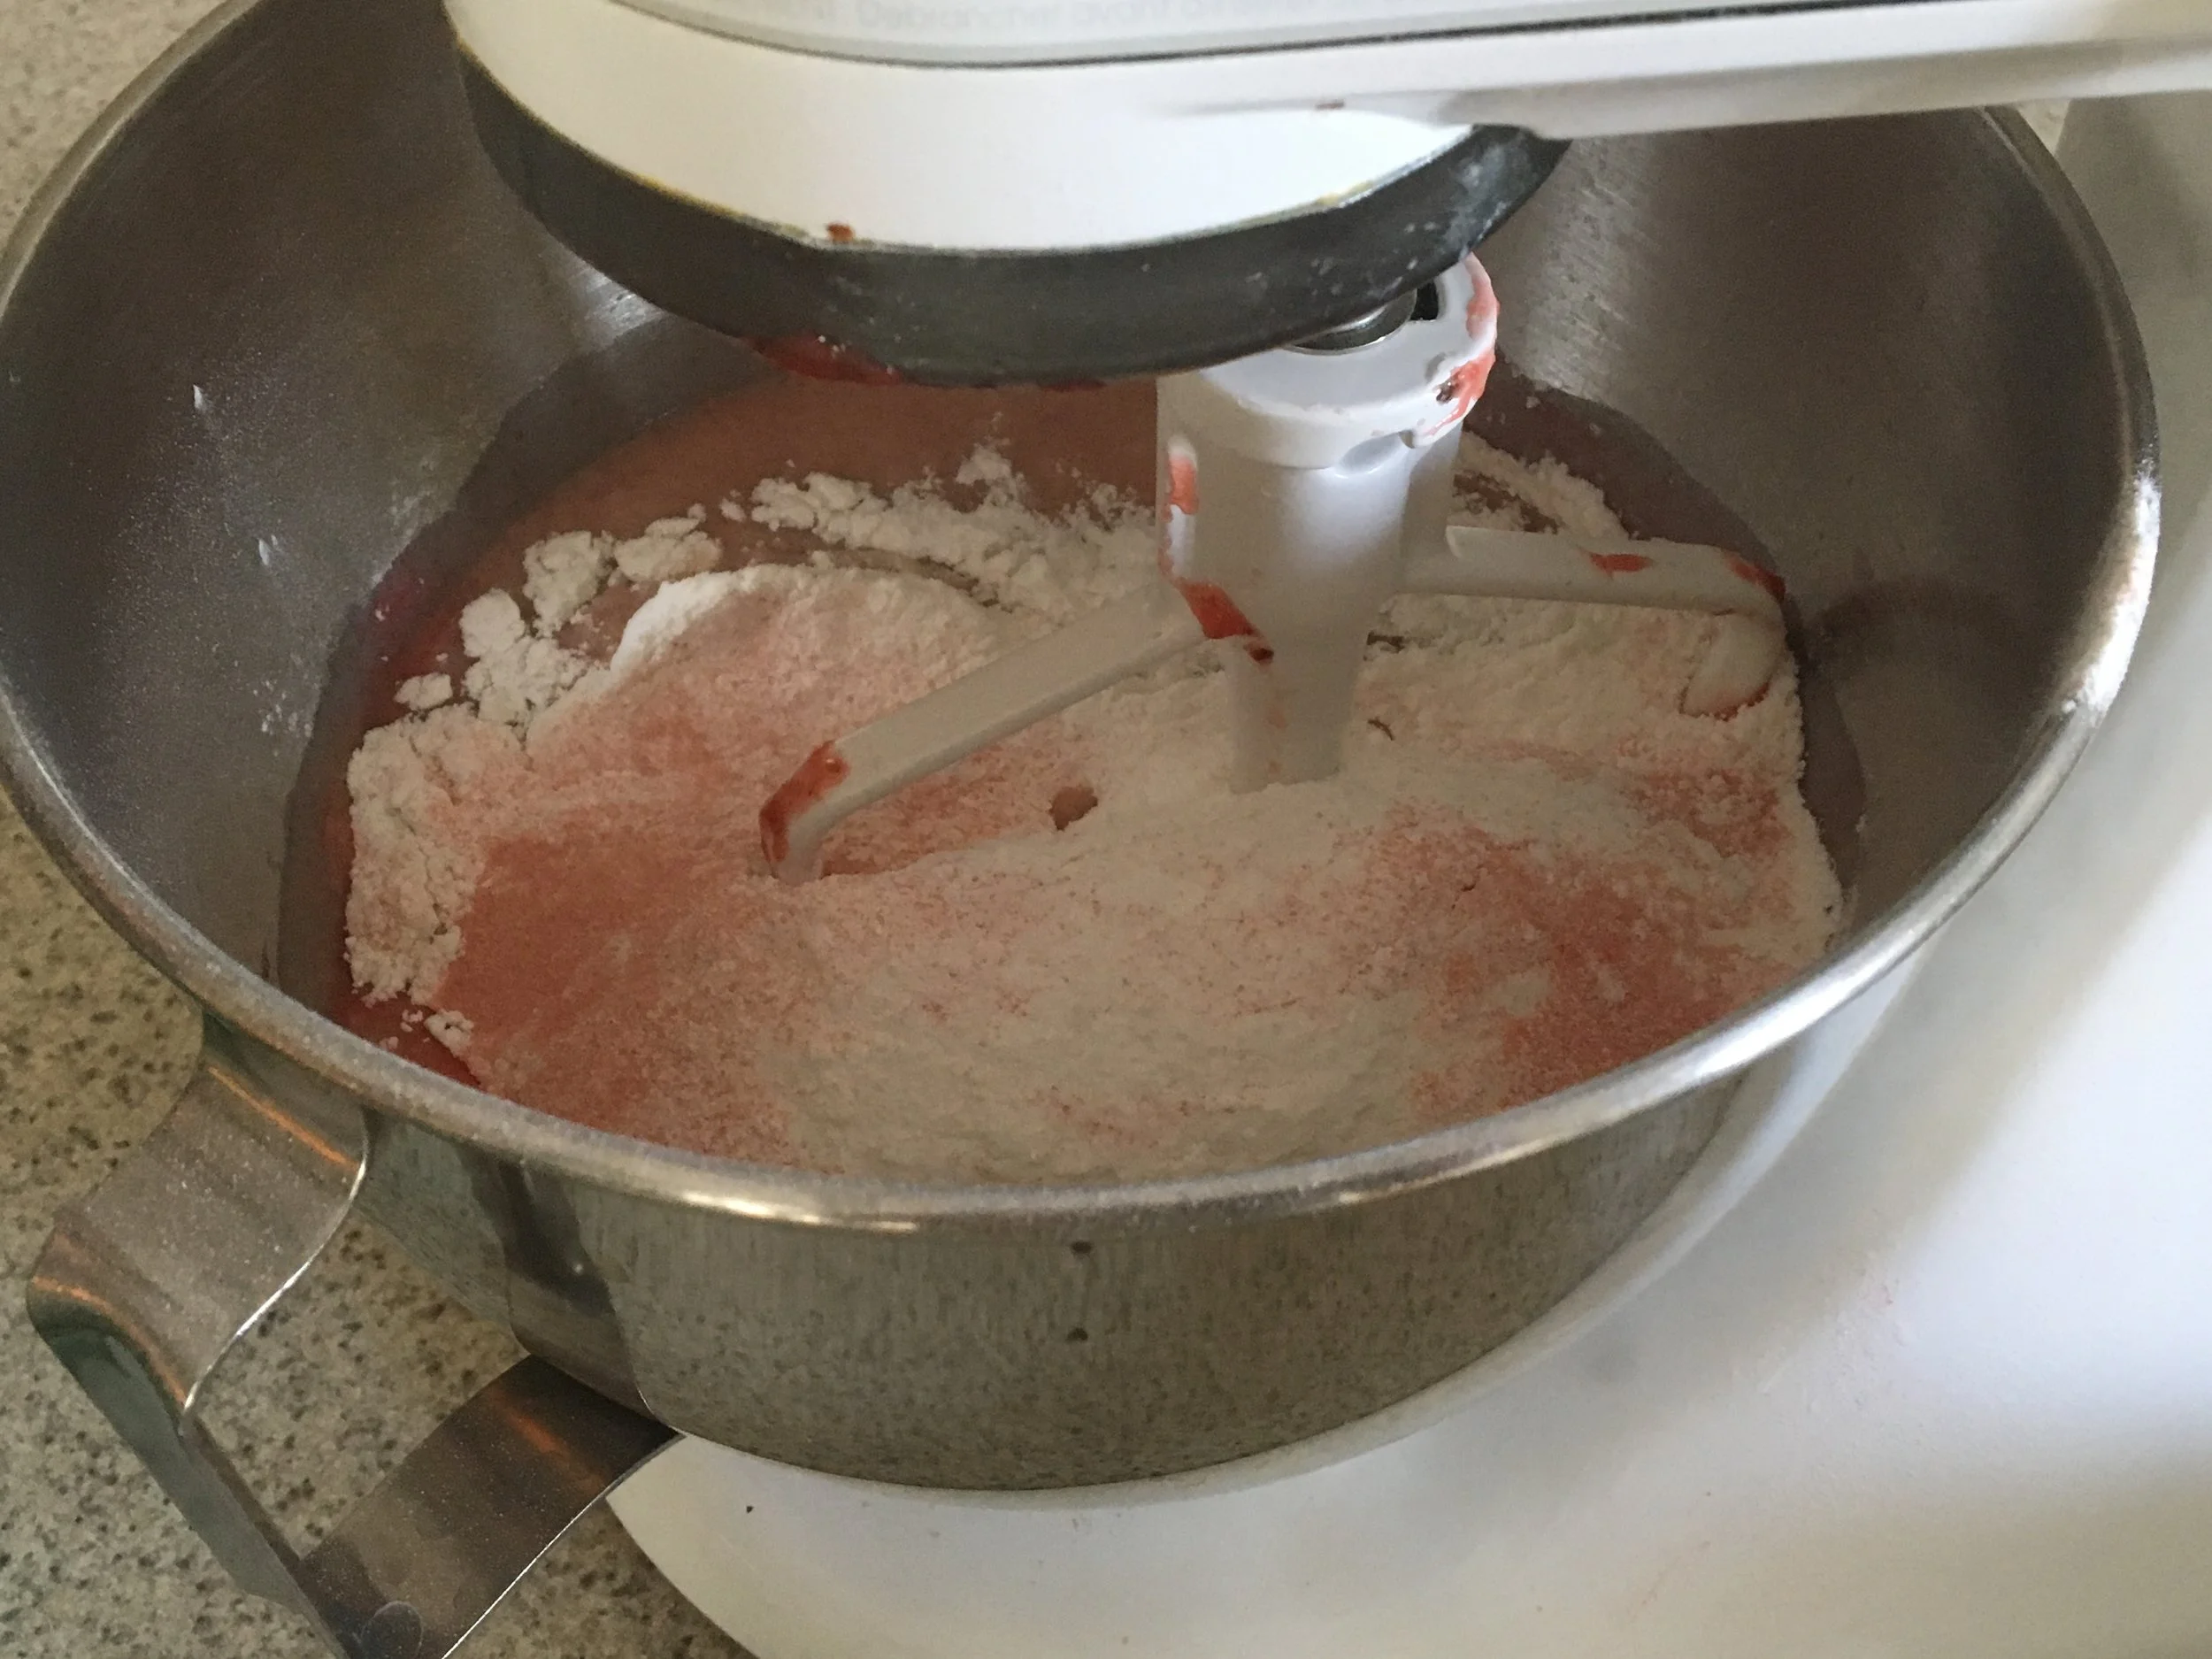
In a large bowl, sift the cake mix, flour, and jello together. Set aside. (I use a fine mesh strainer over a bowl to sift the ingredients together).

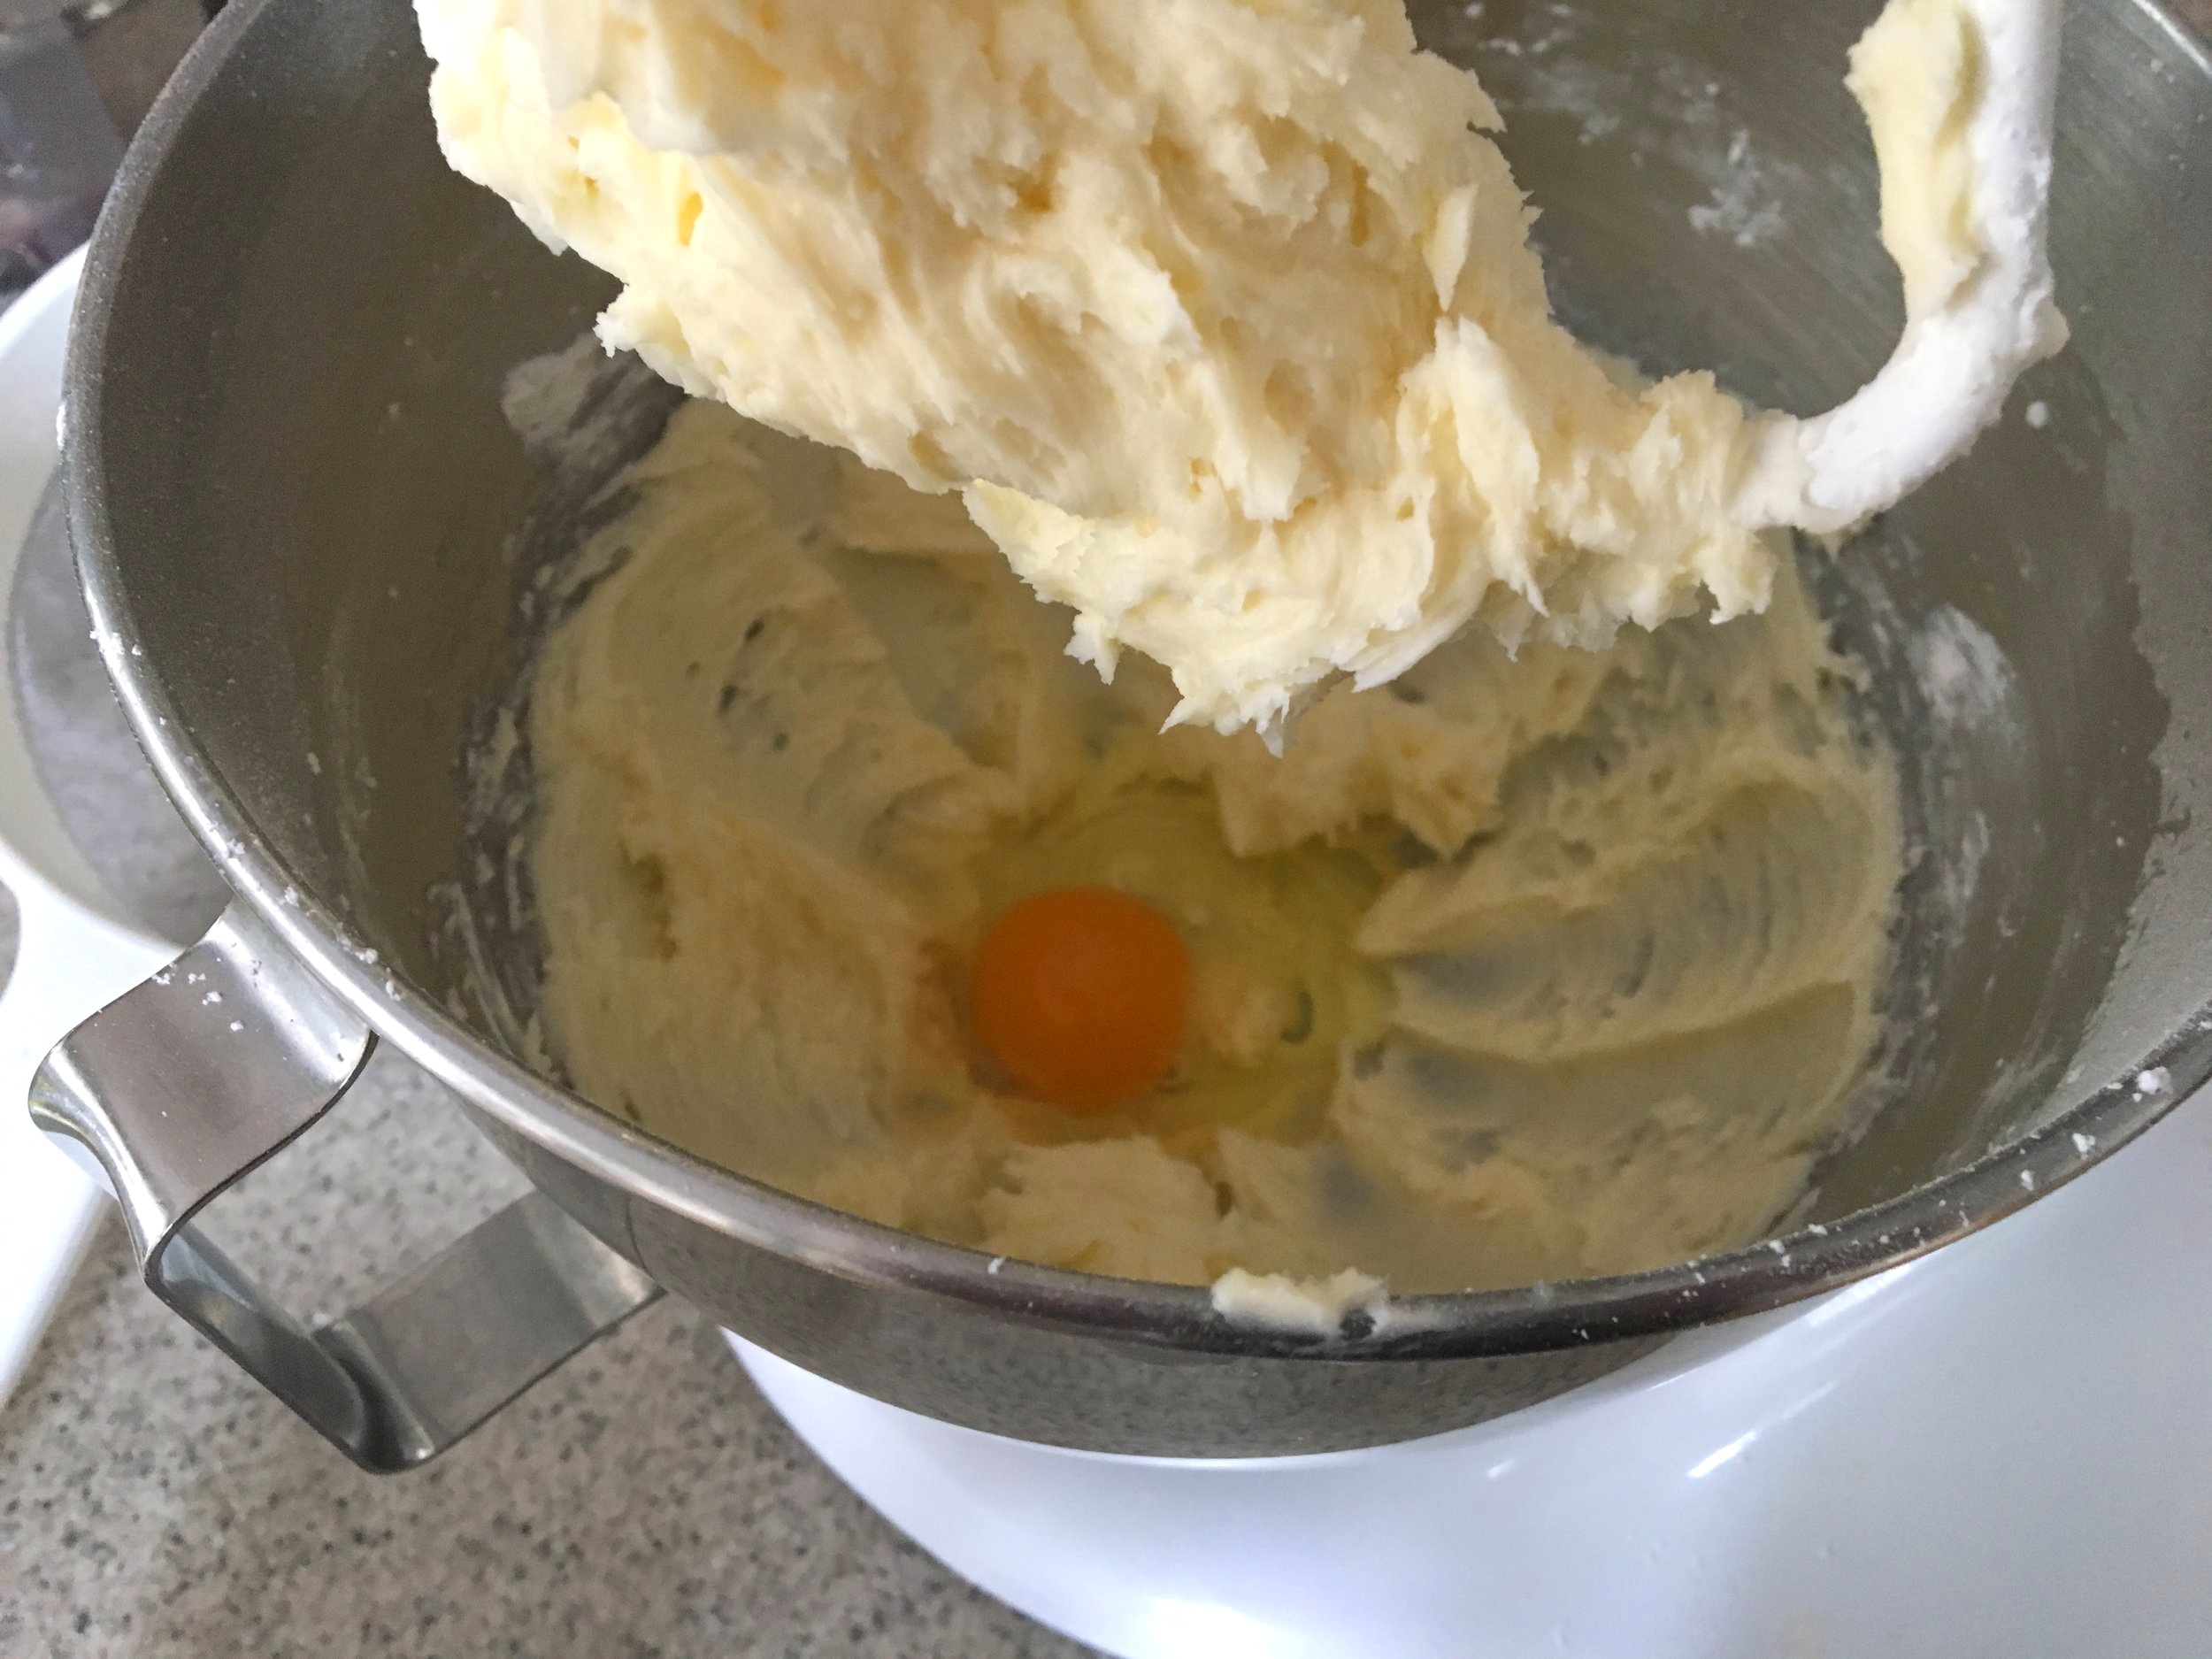
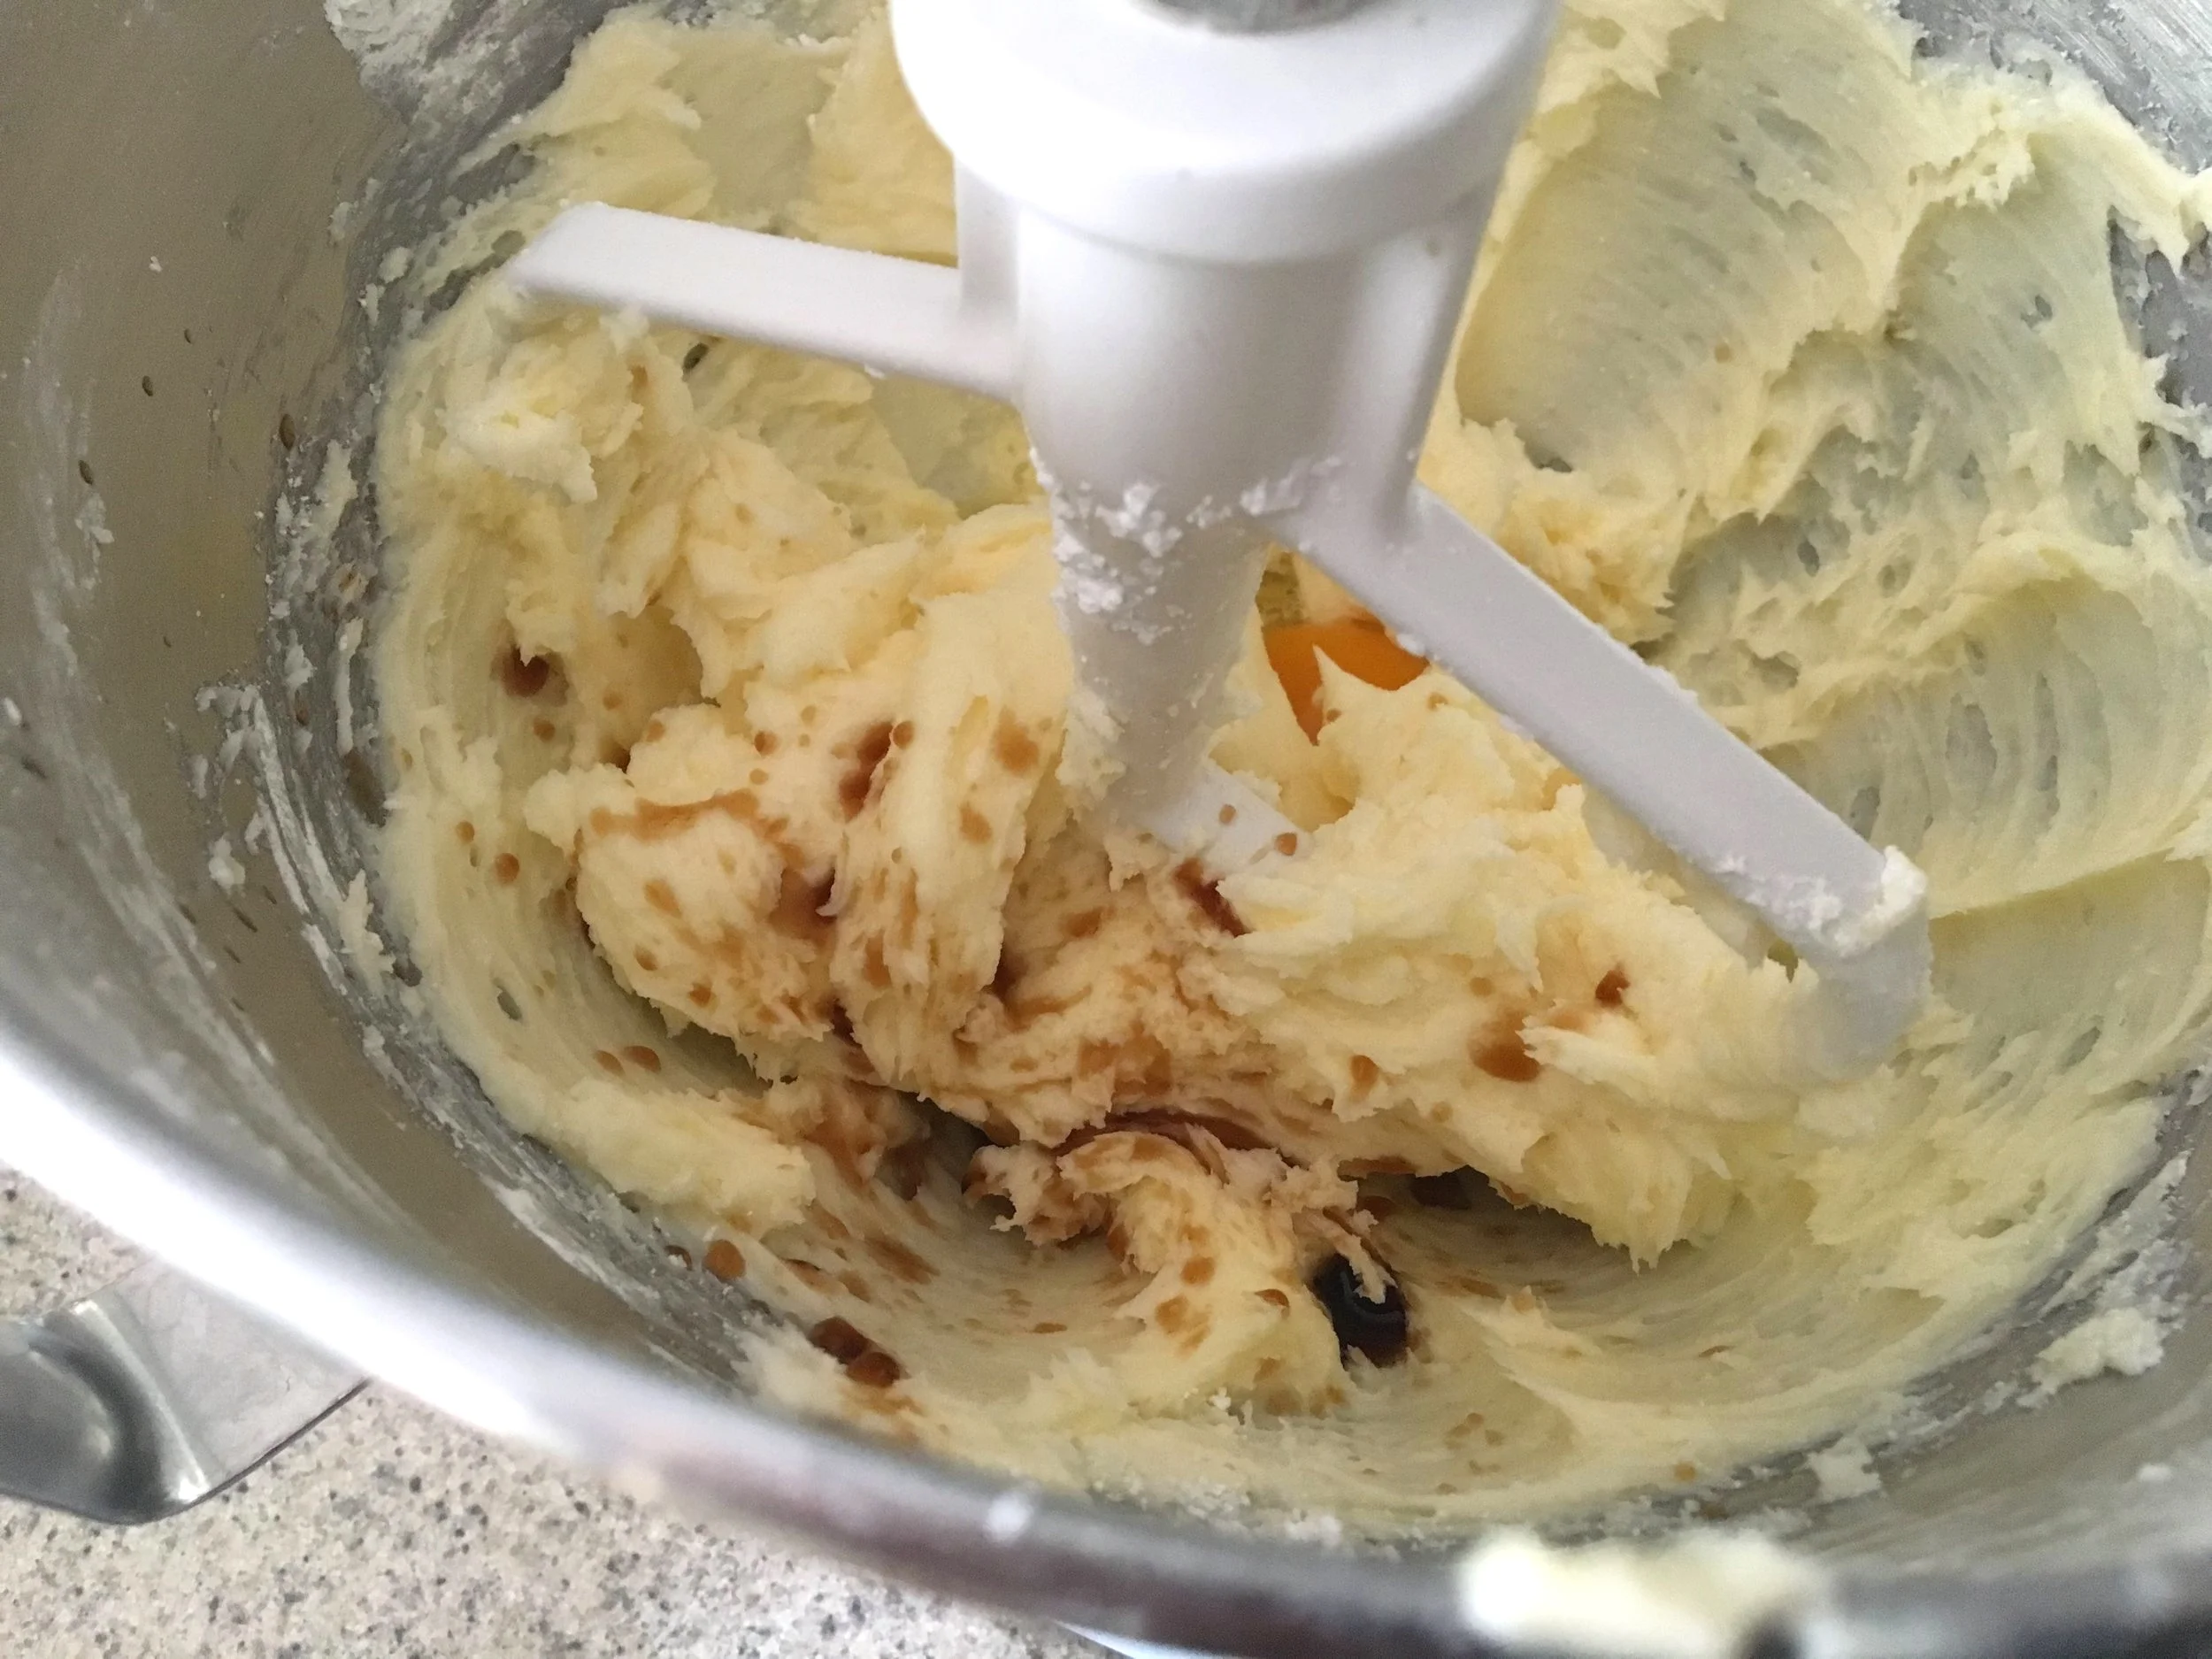
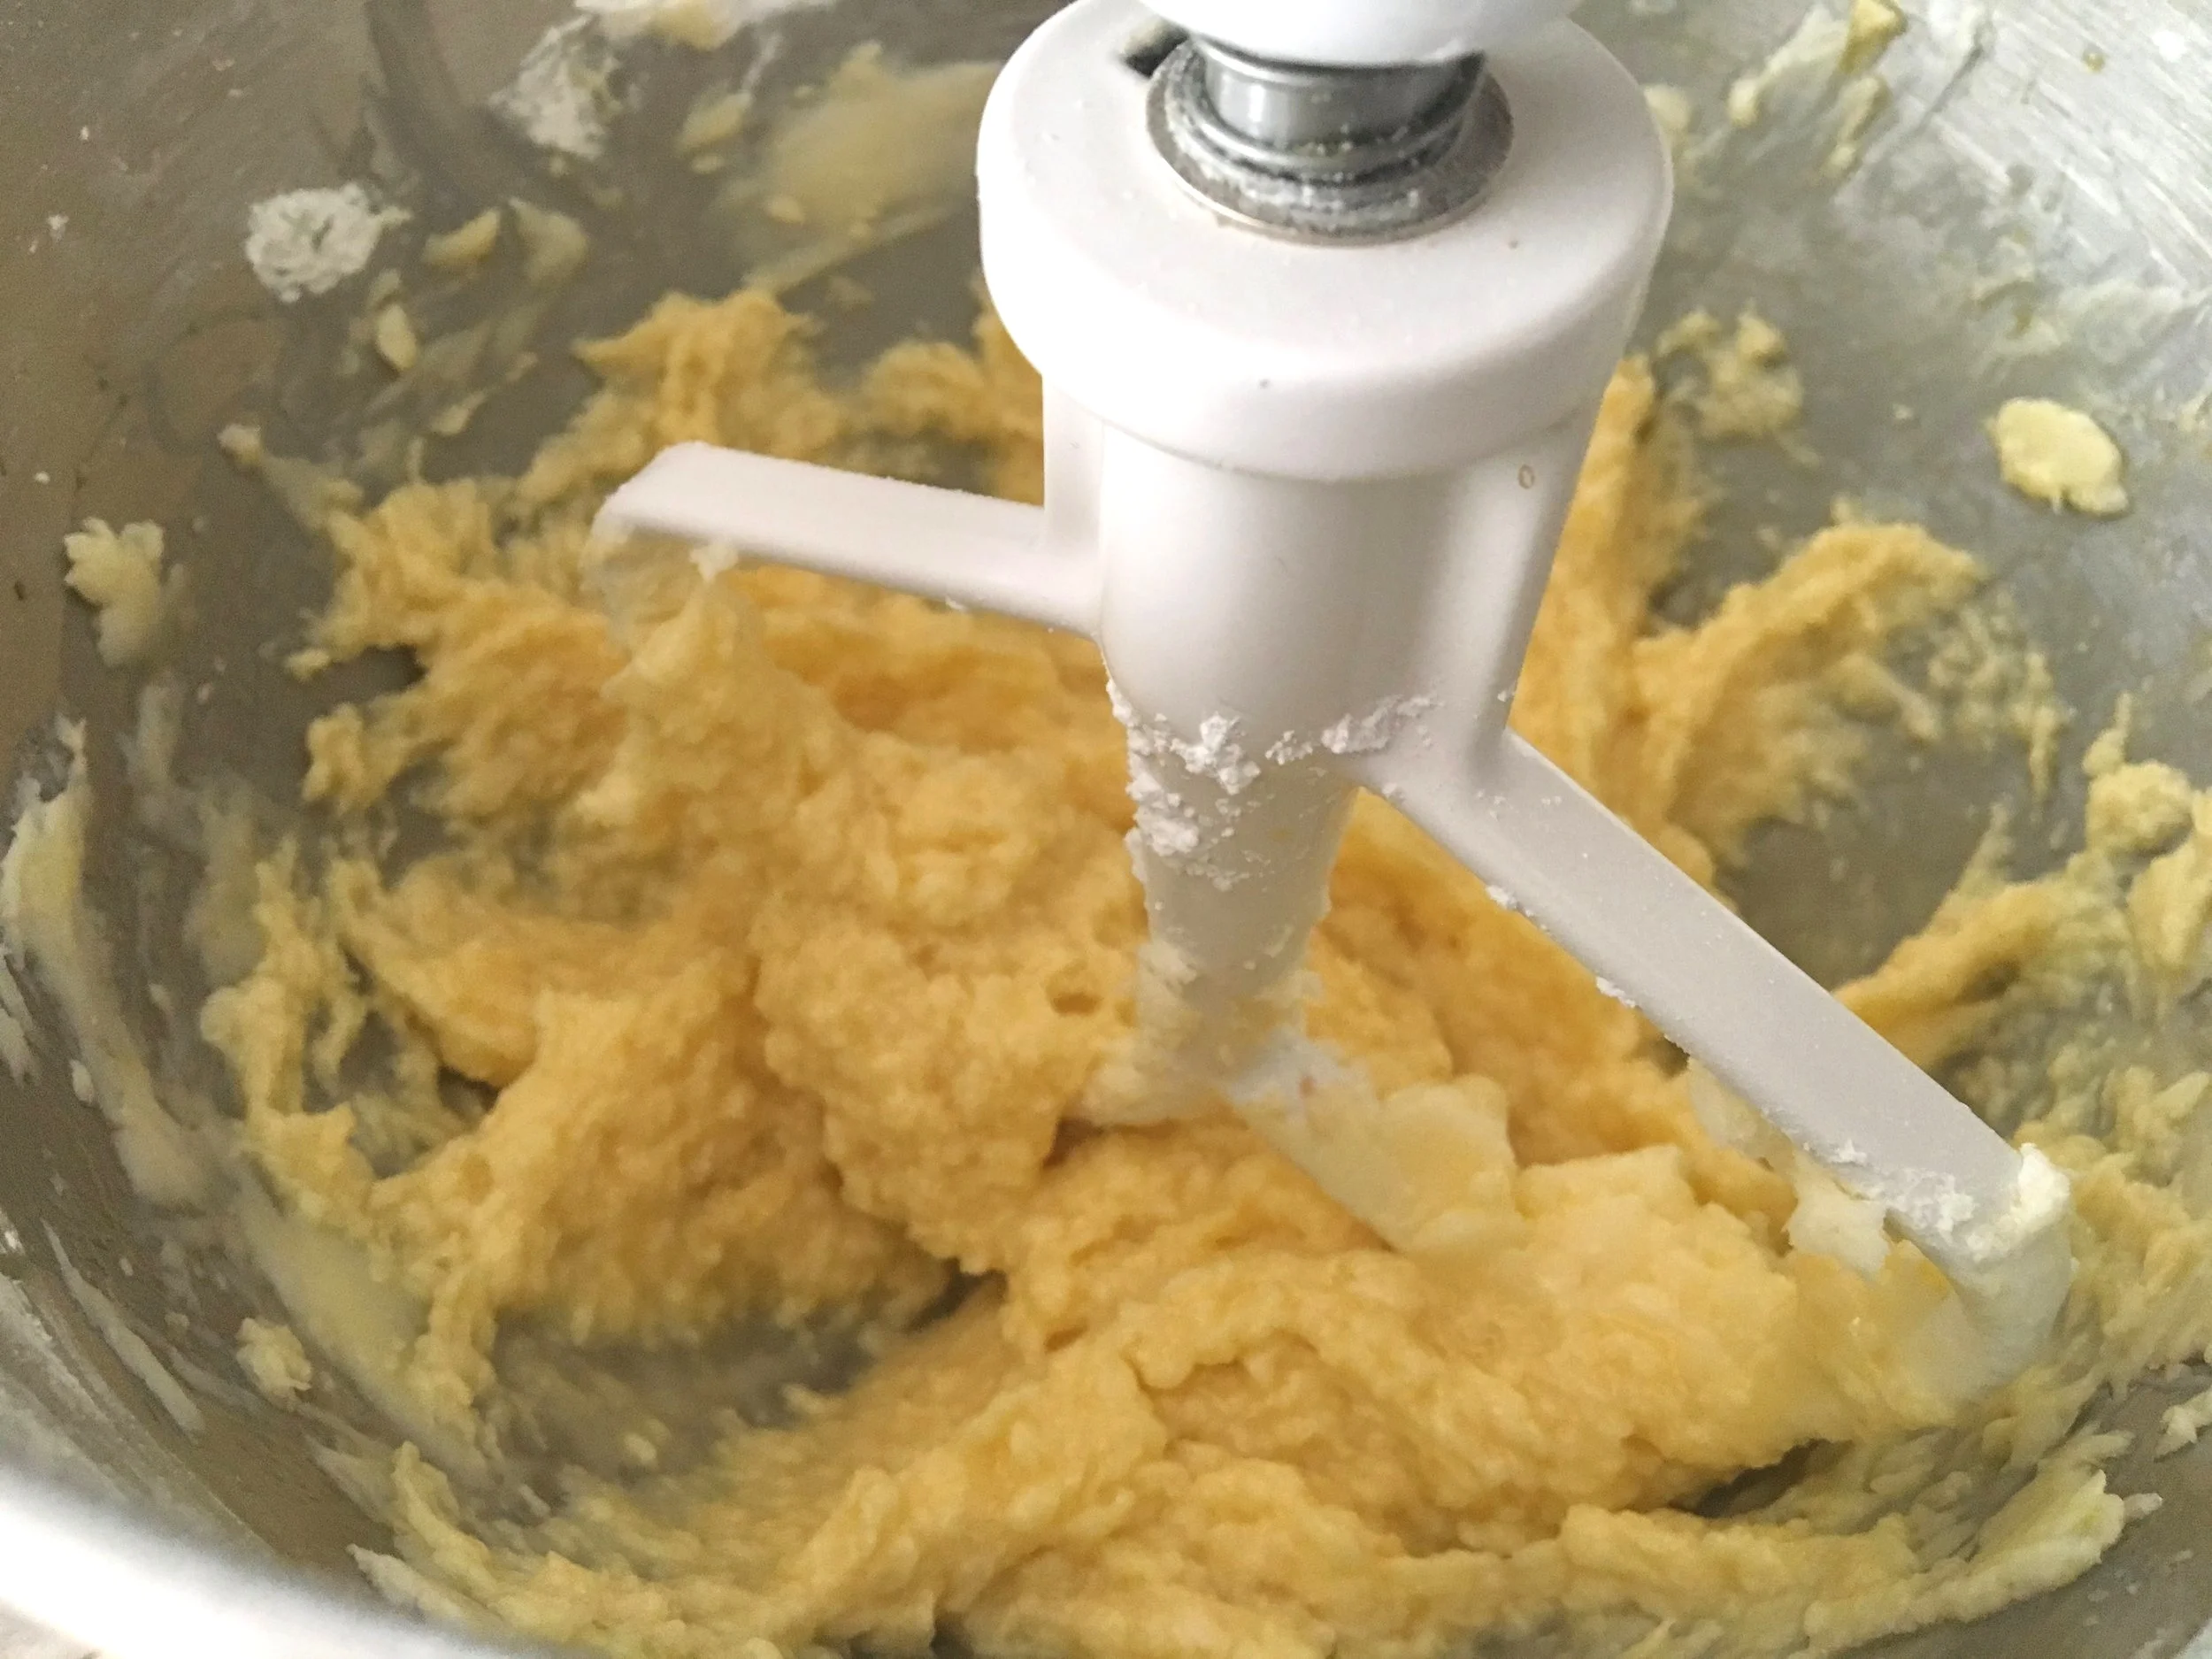
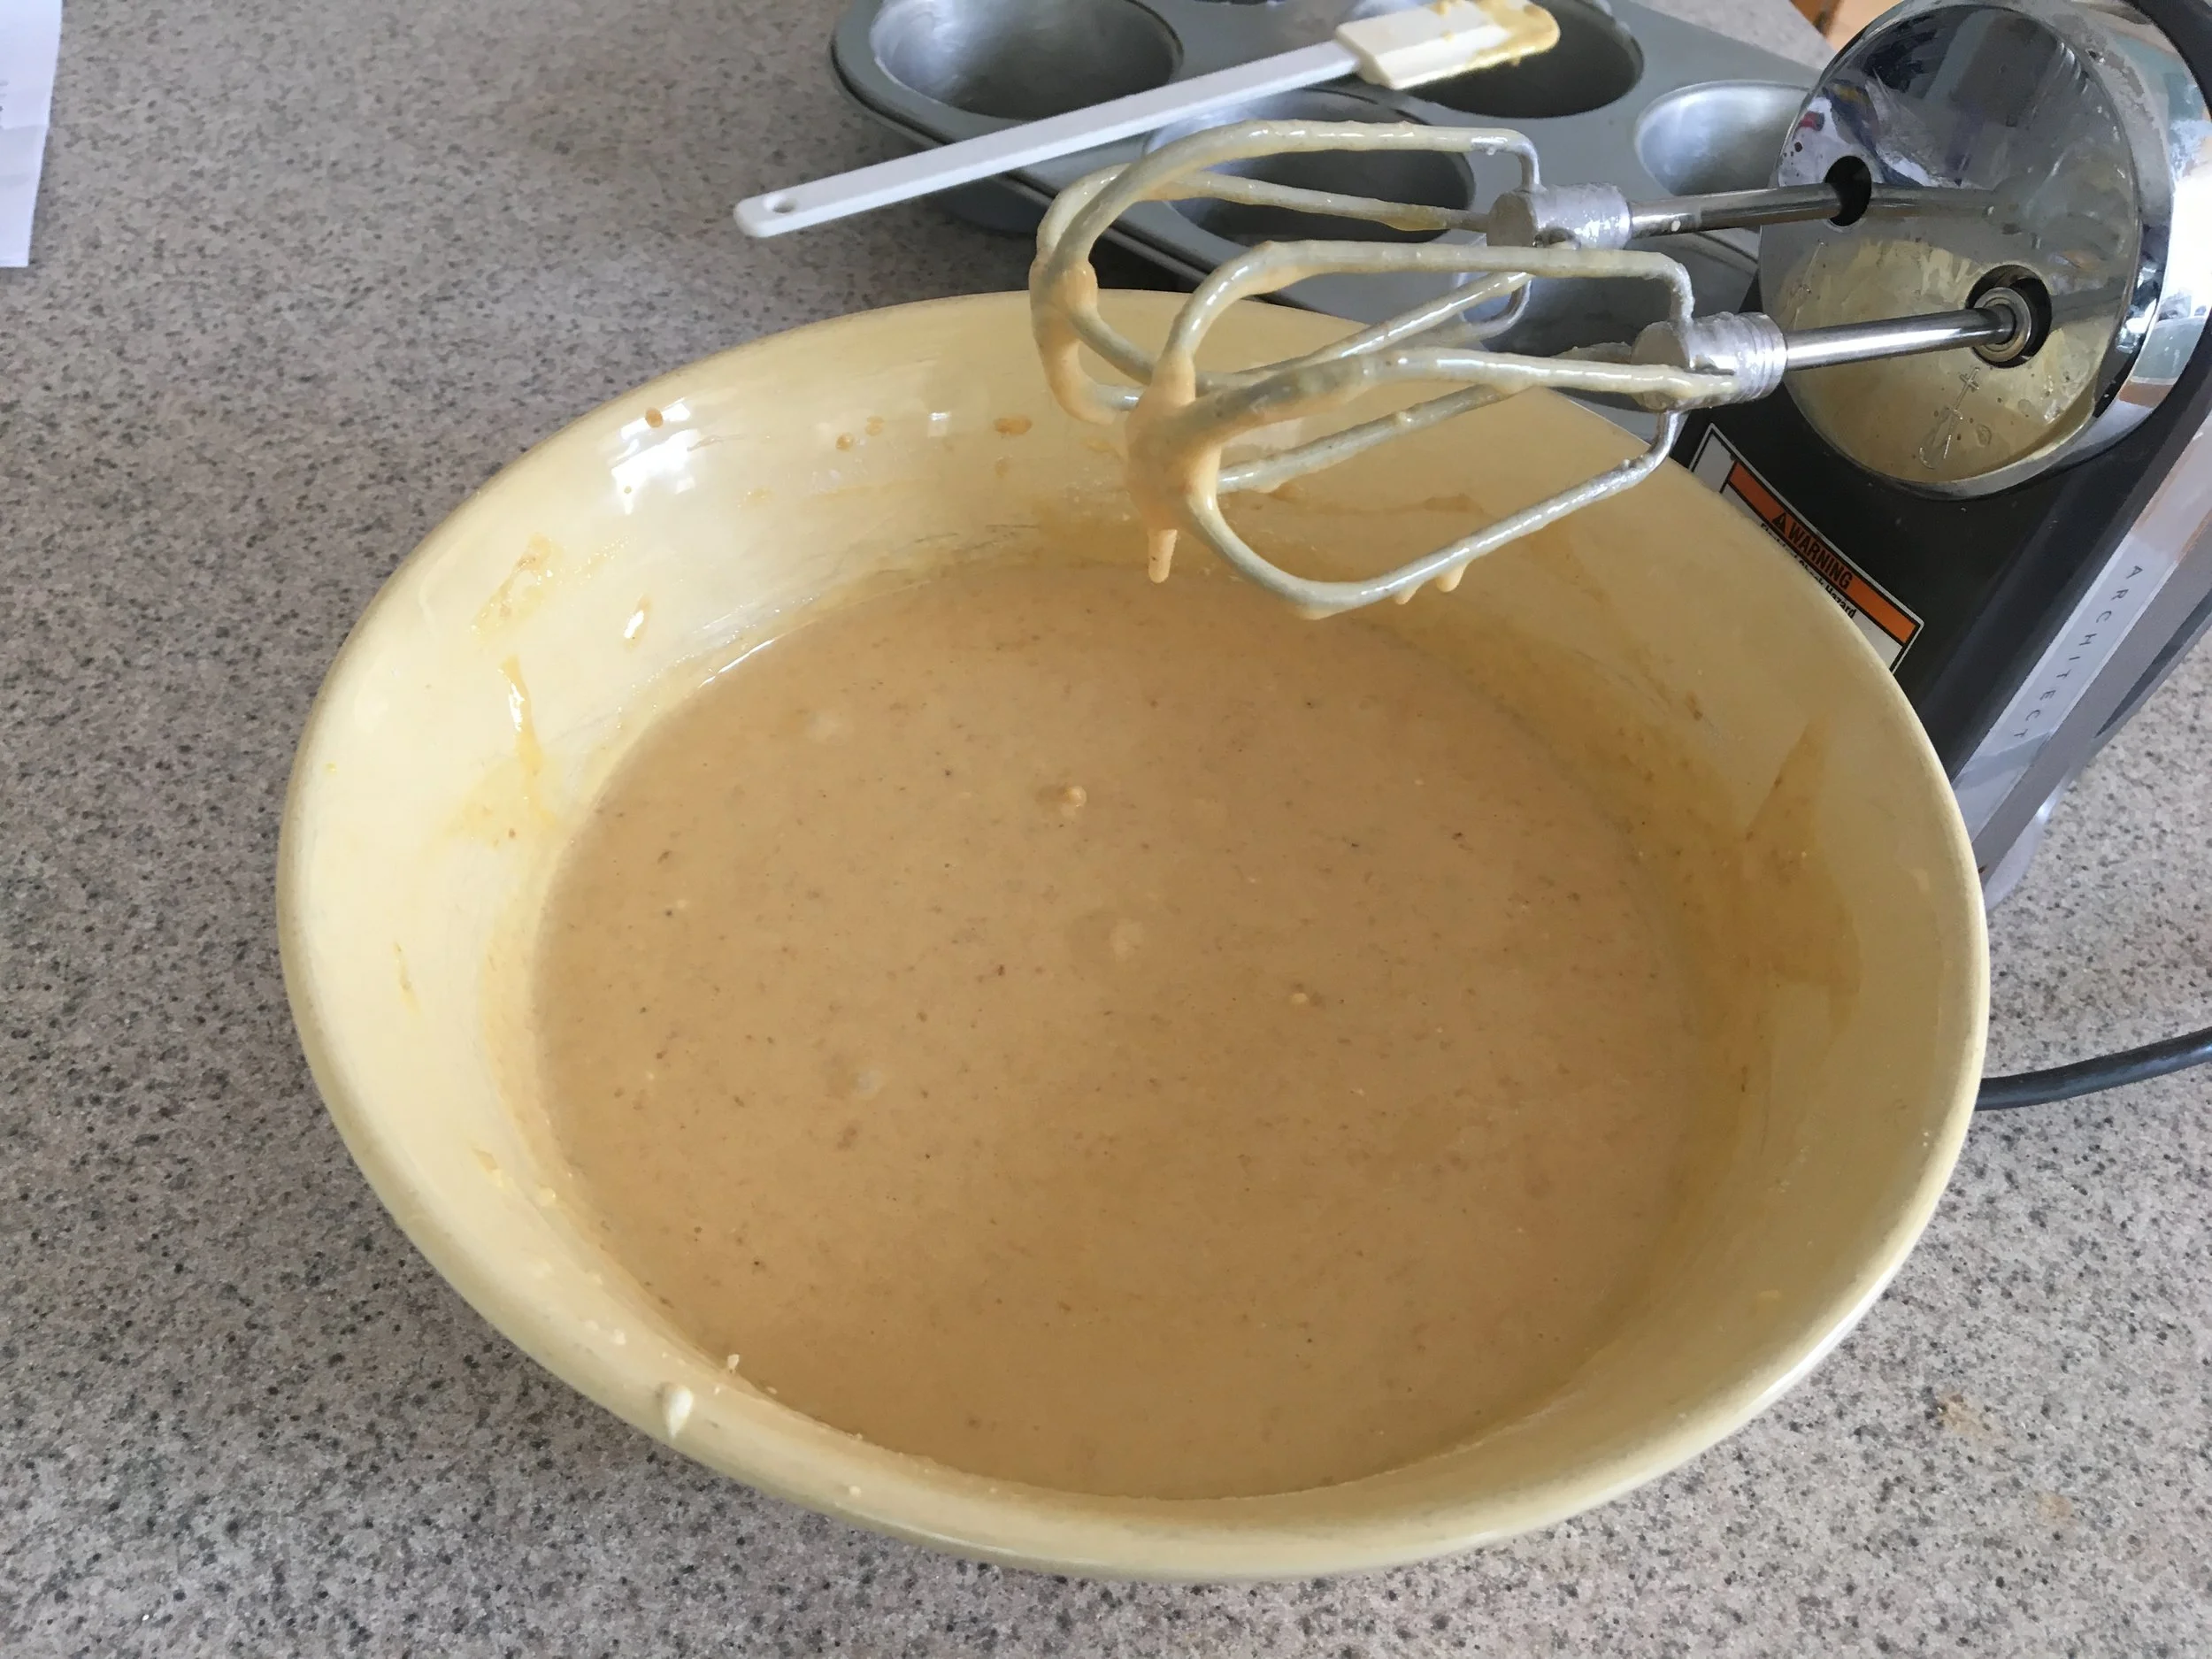
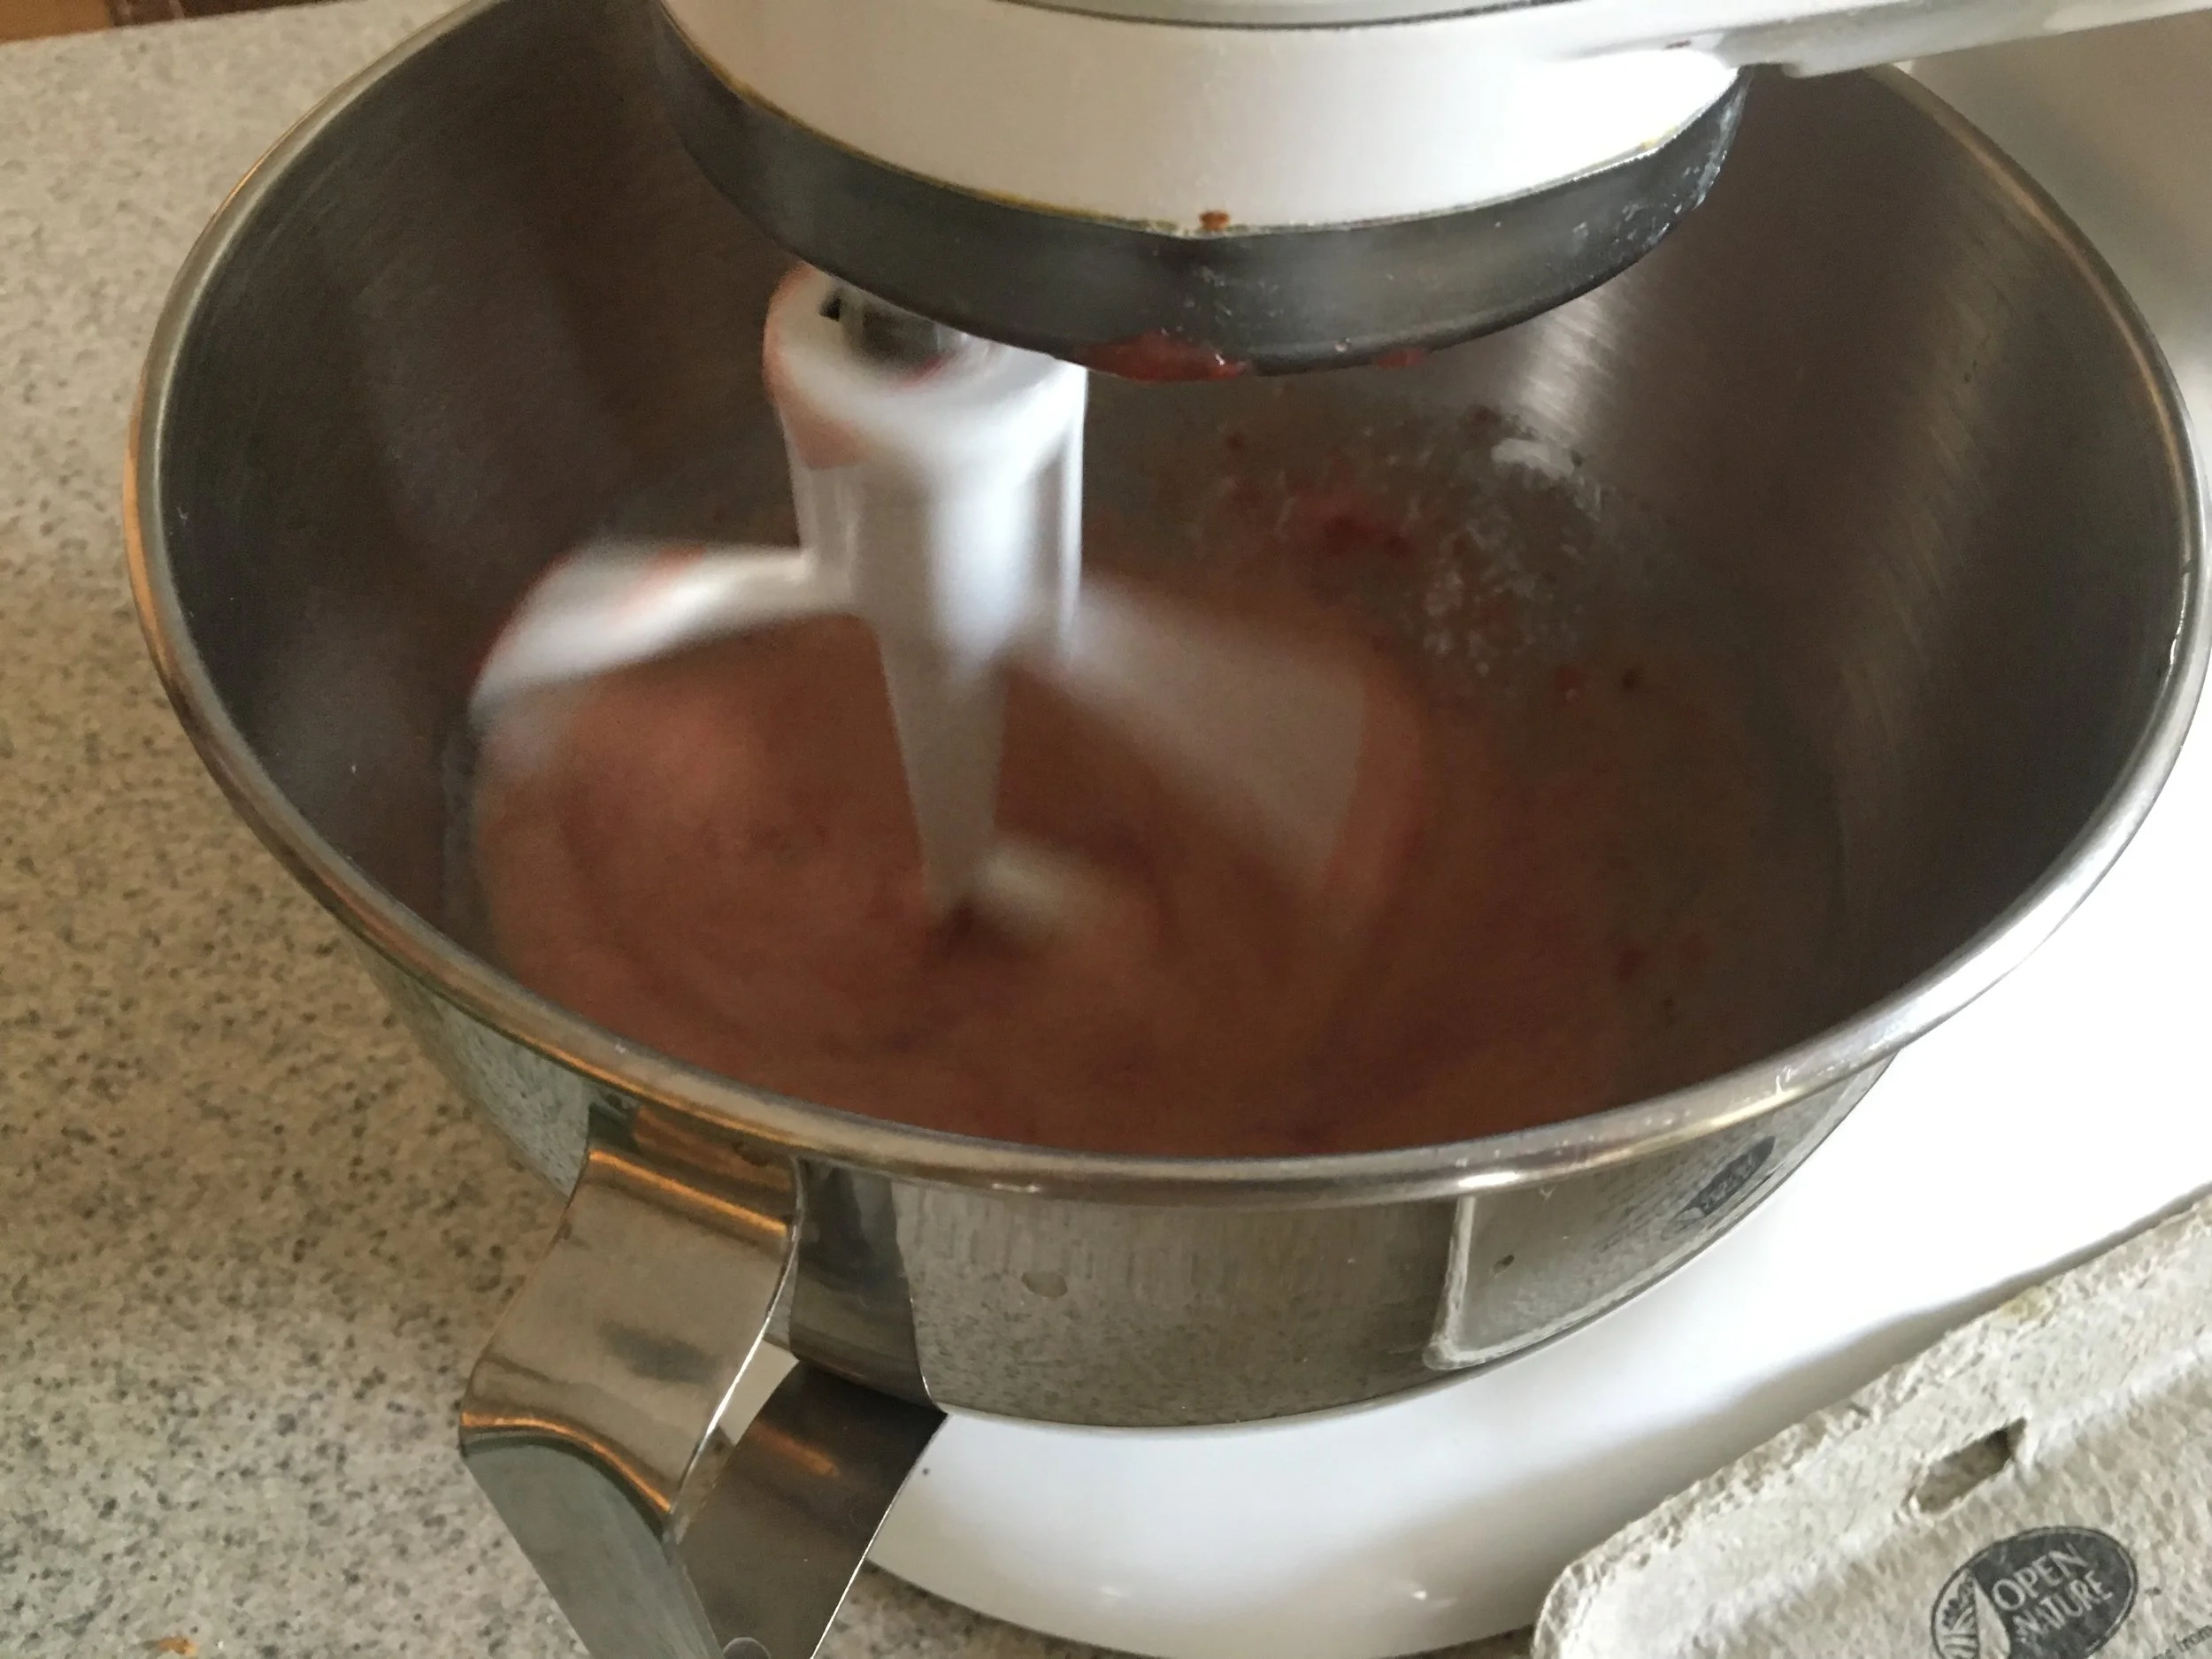
In another large bowl or standing mixer, add eggs, one at a time, beating after each addition. Add oil and beat well. Mix in strawberries and juice (this replaces the liquid called for on the cake mix box).
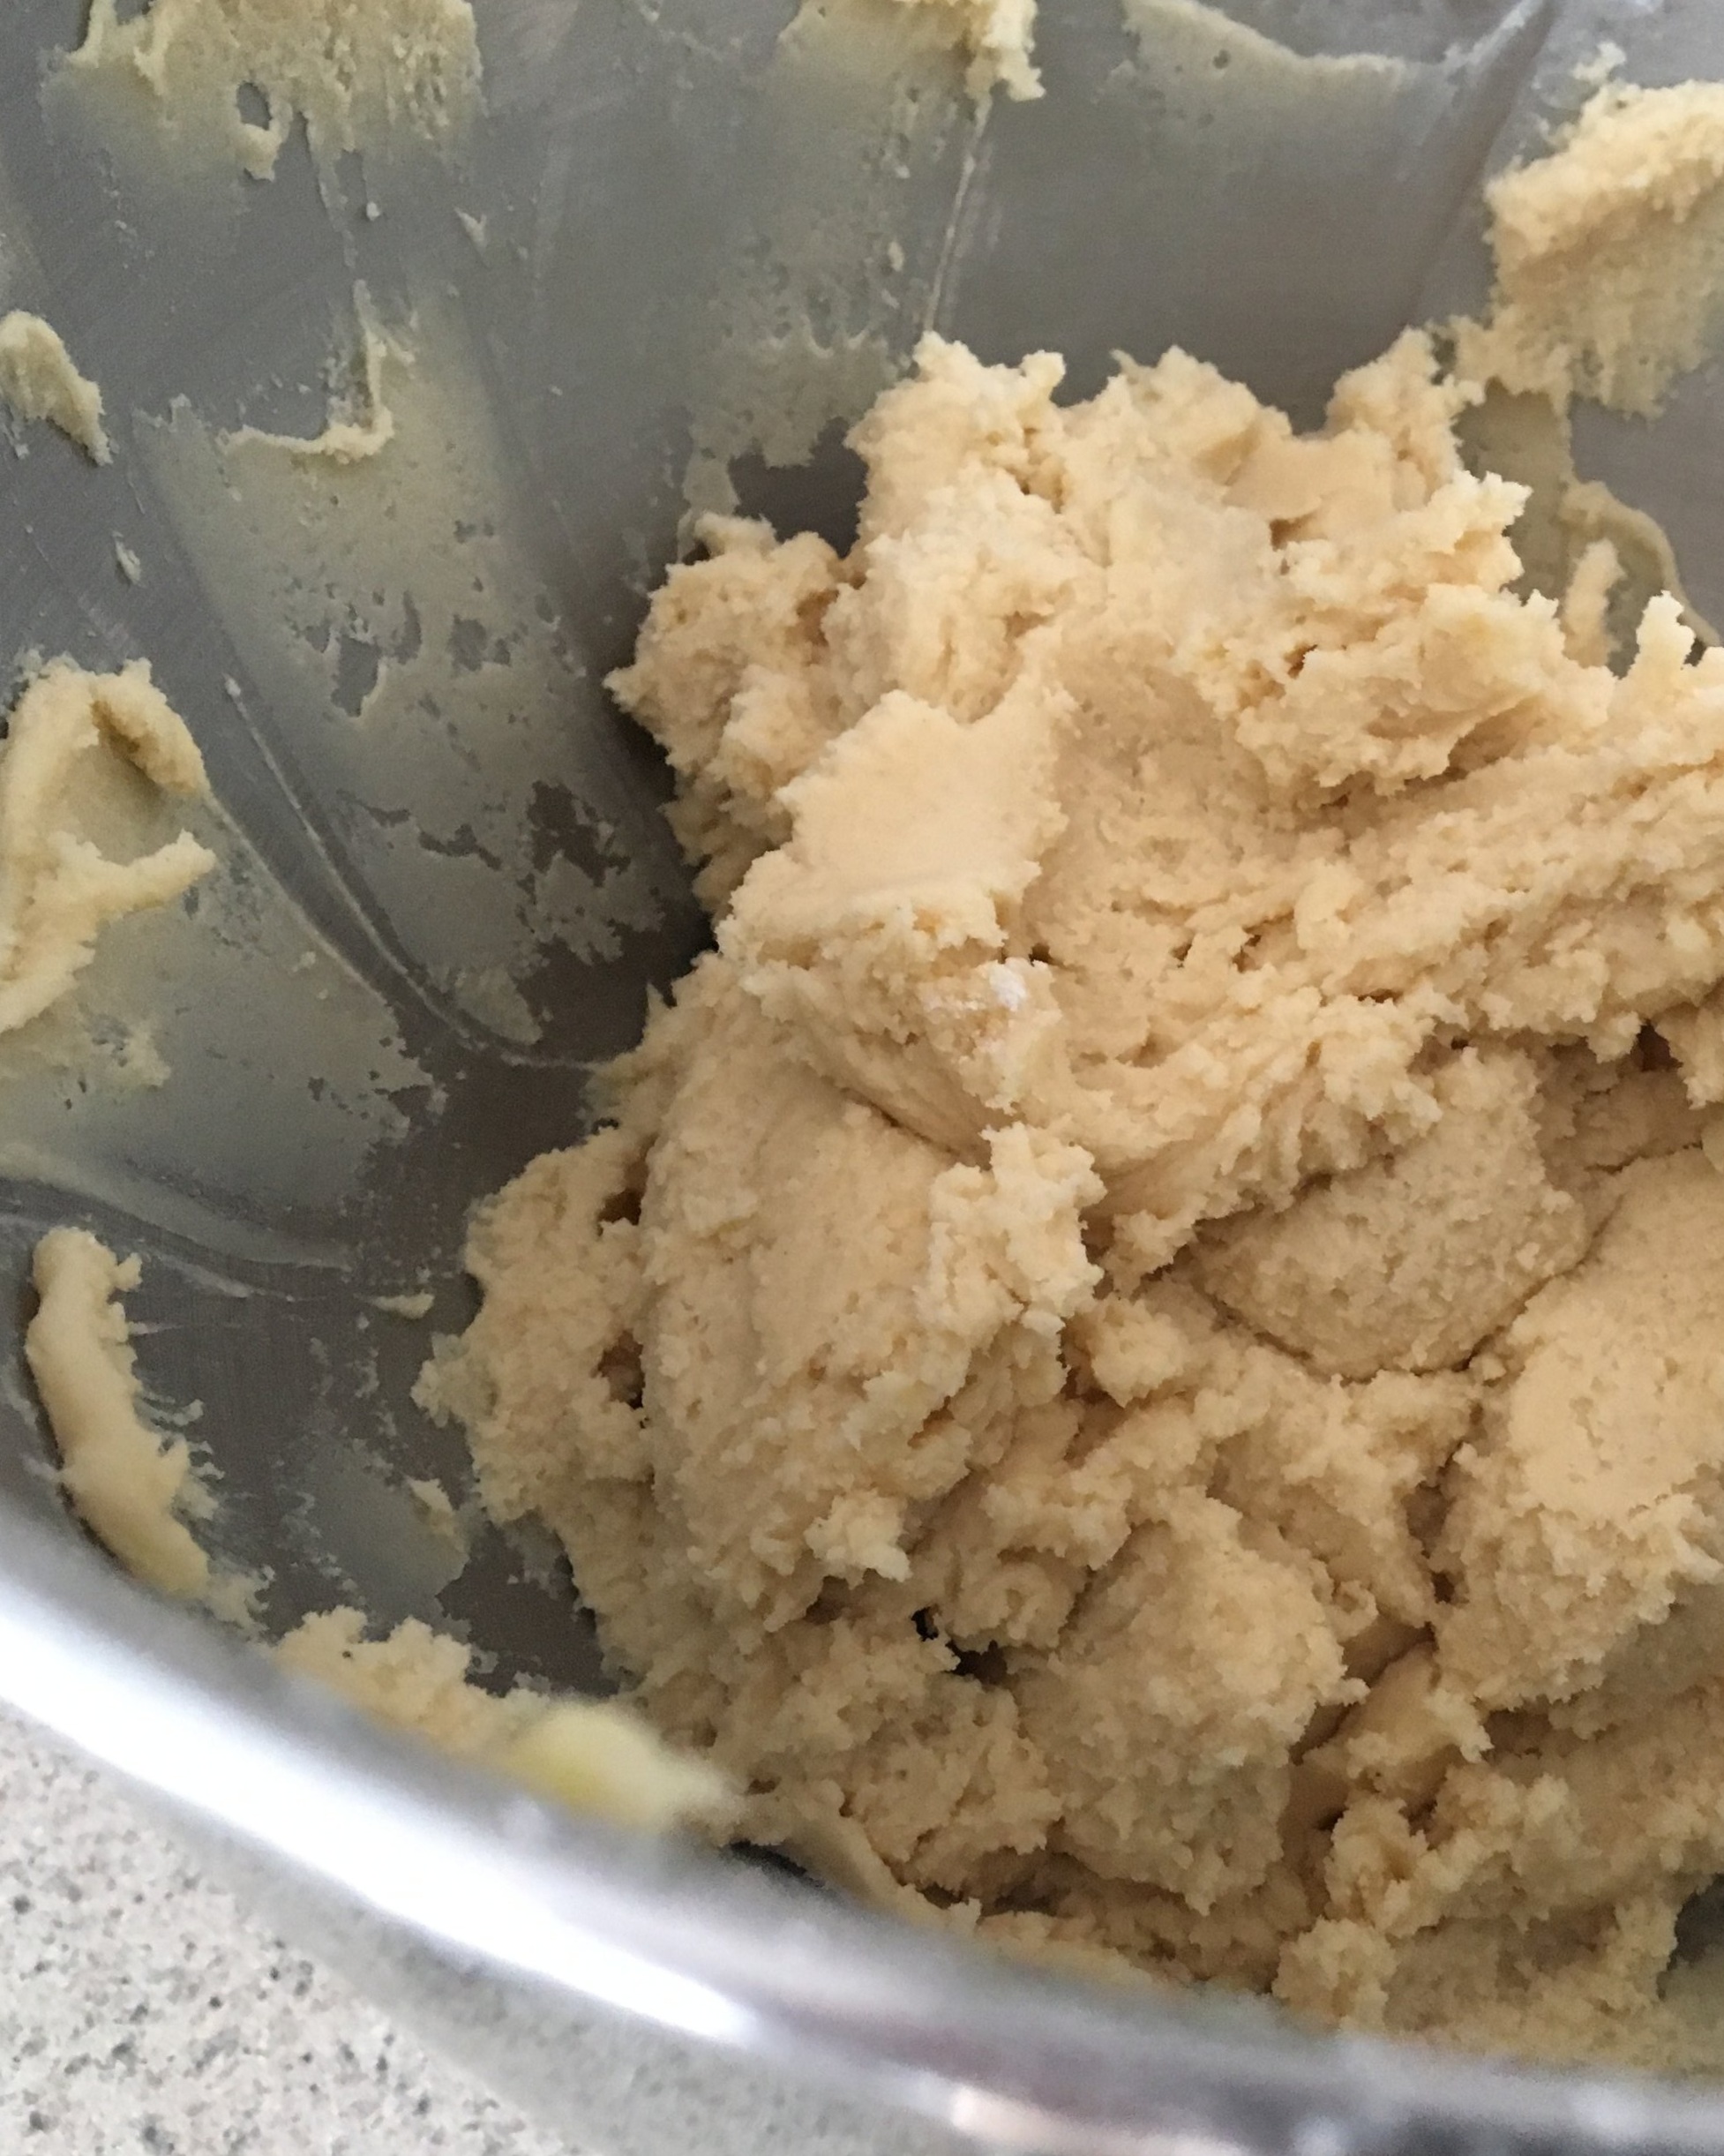
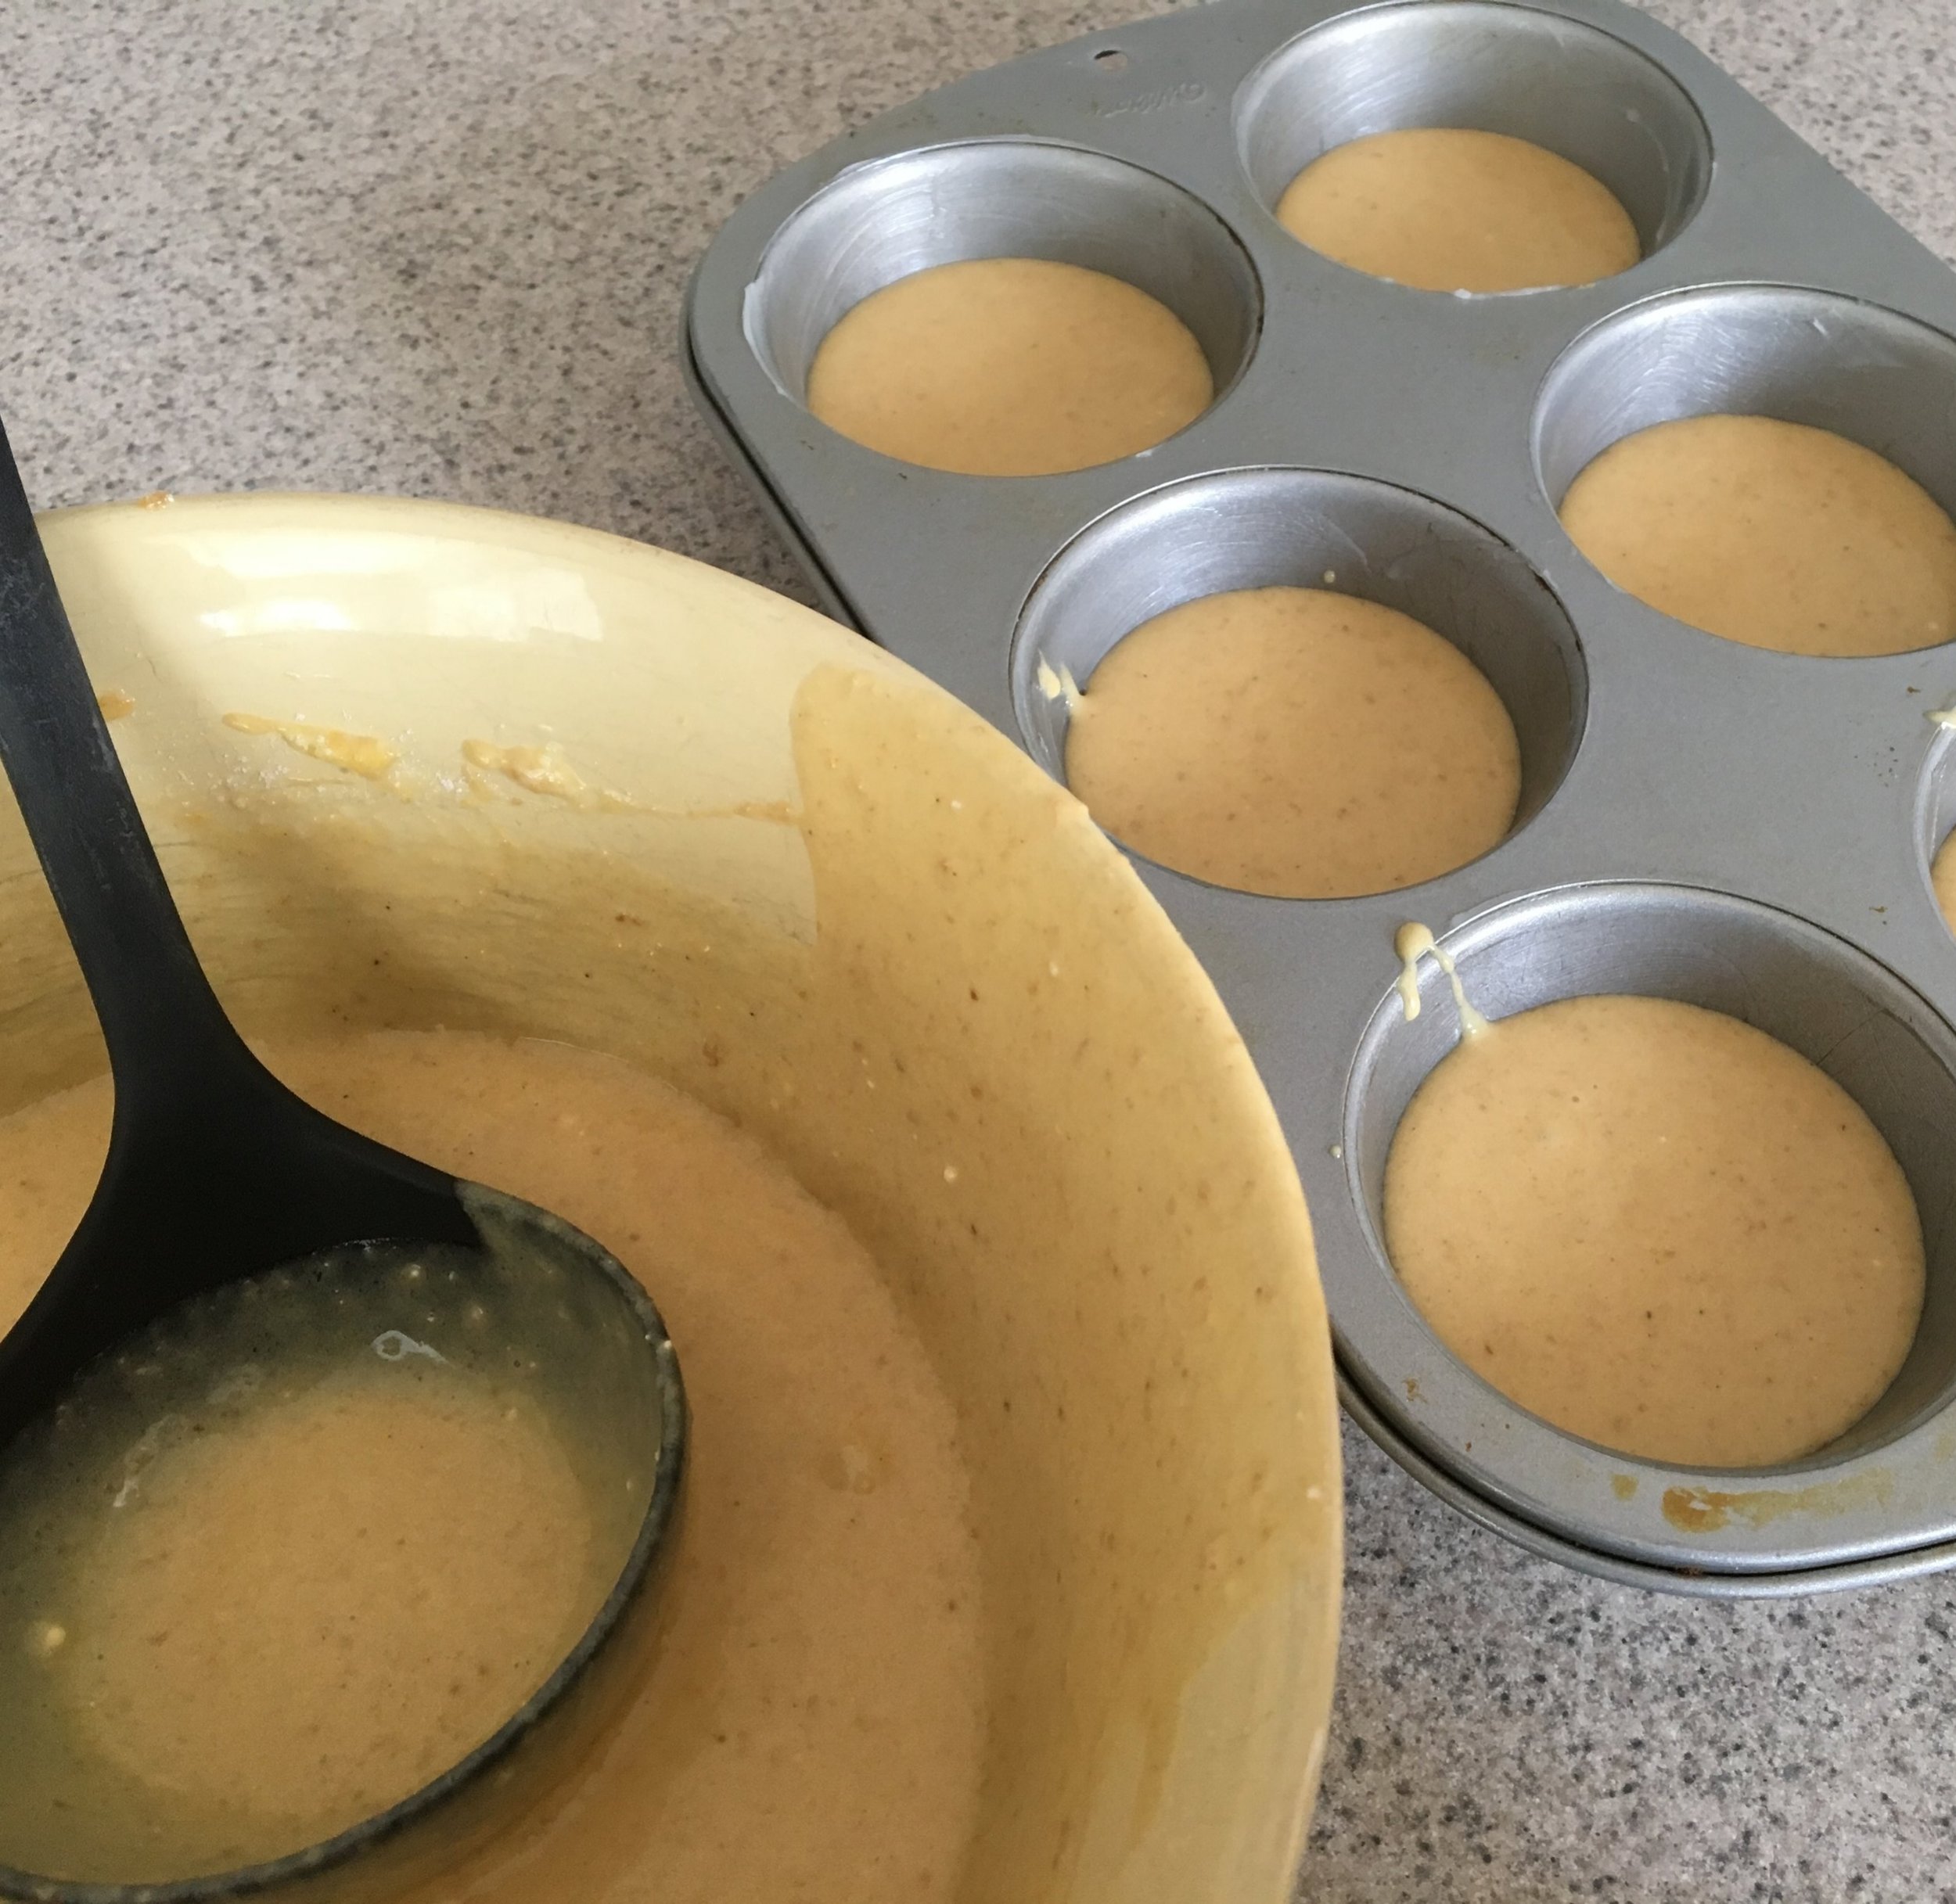
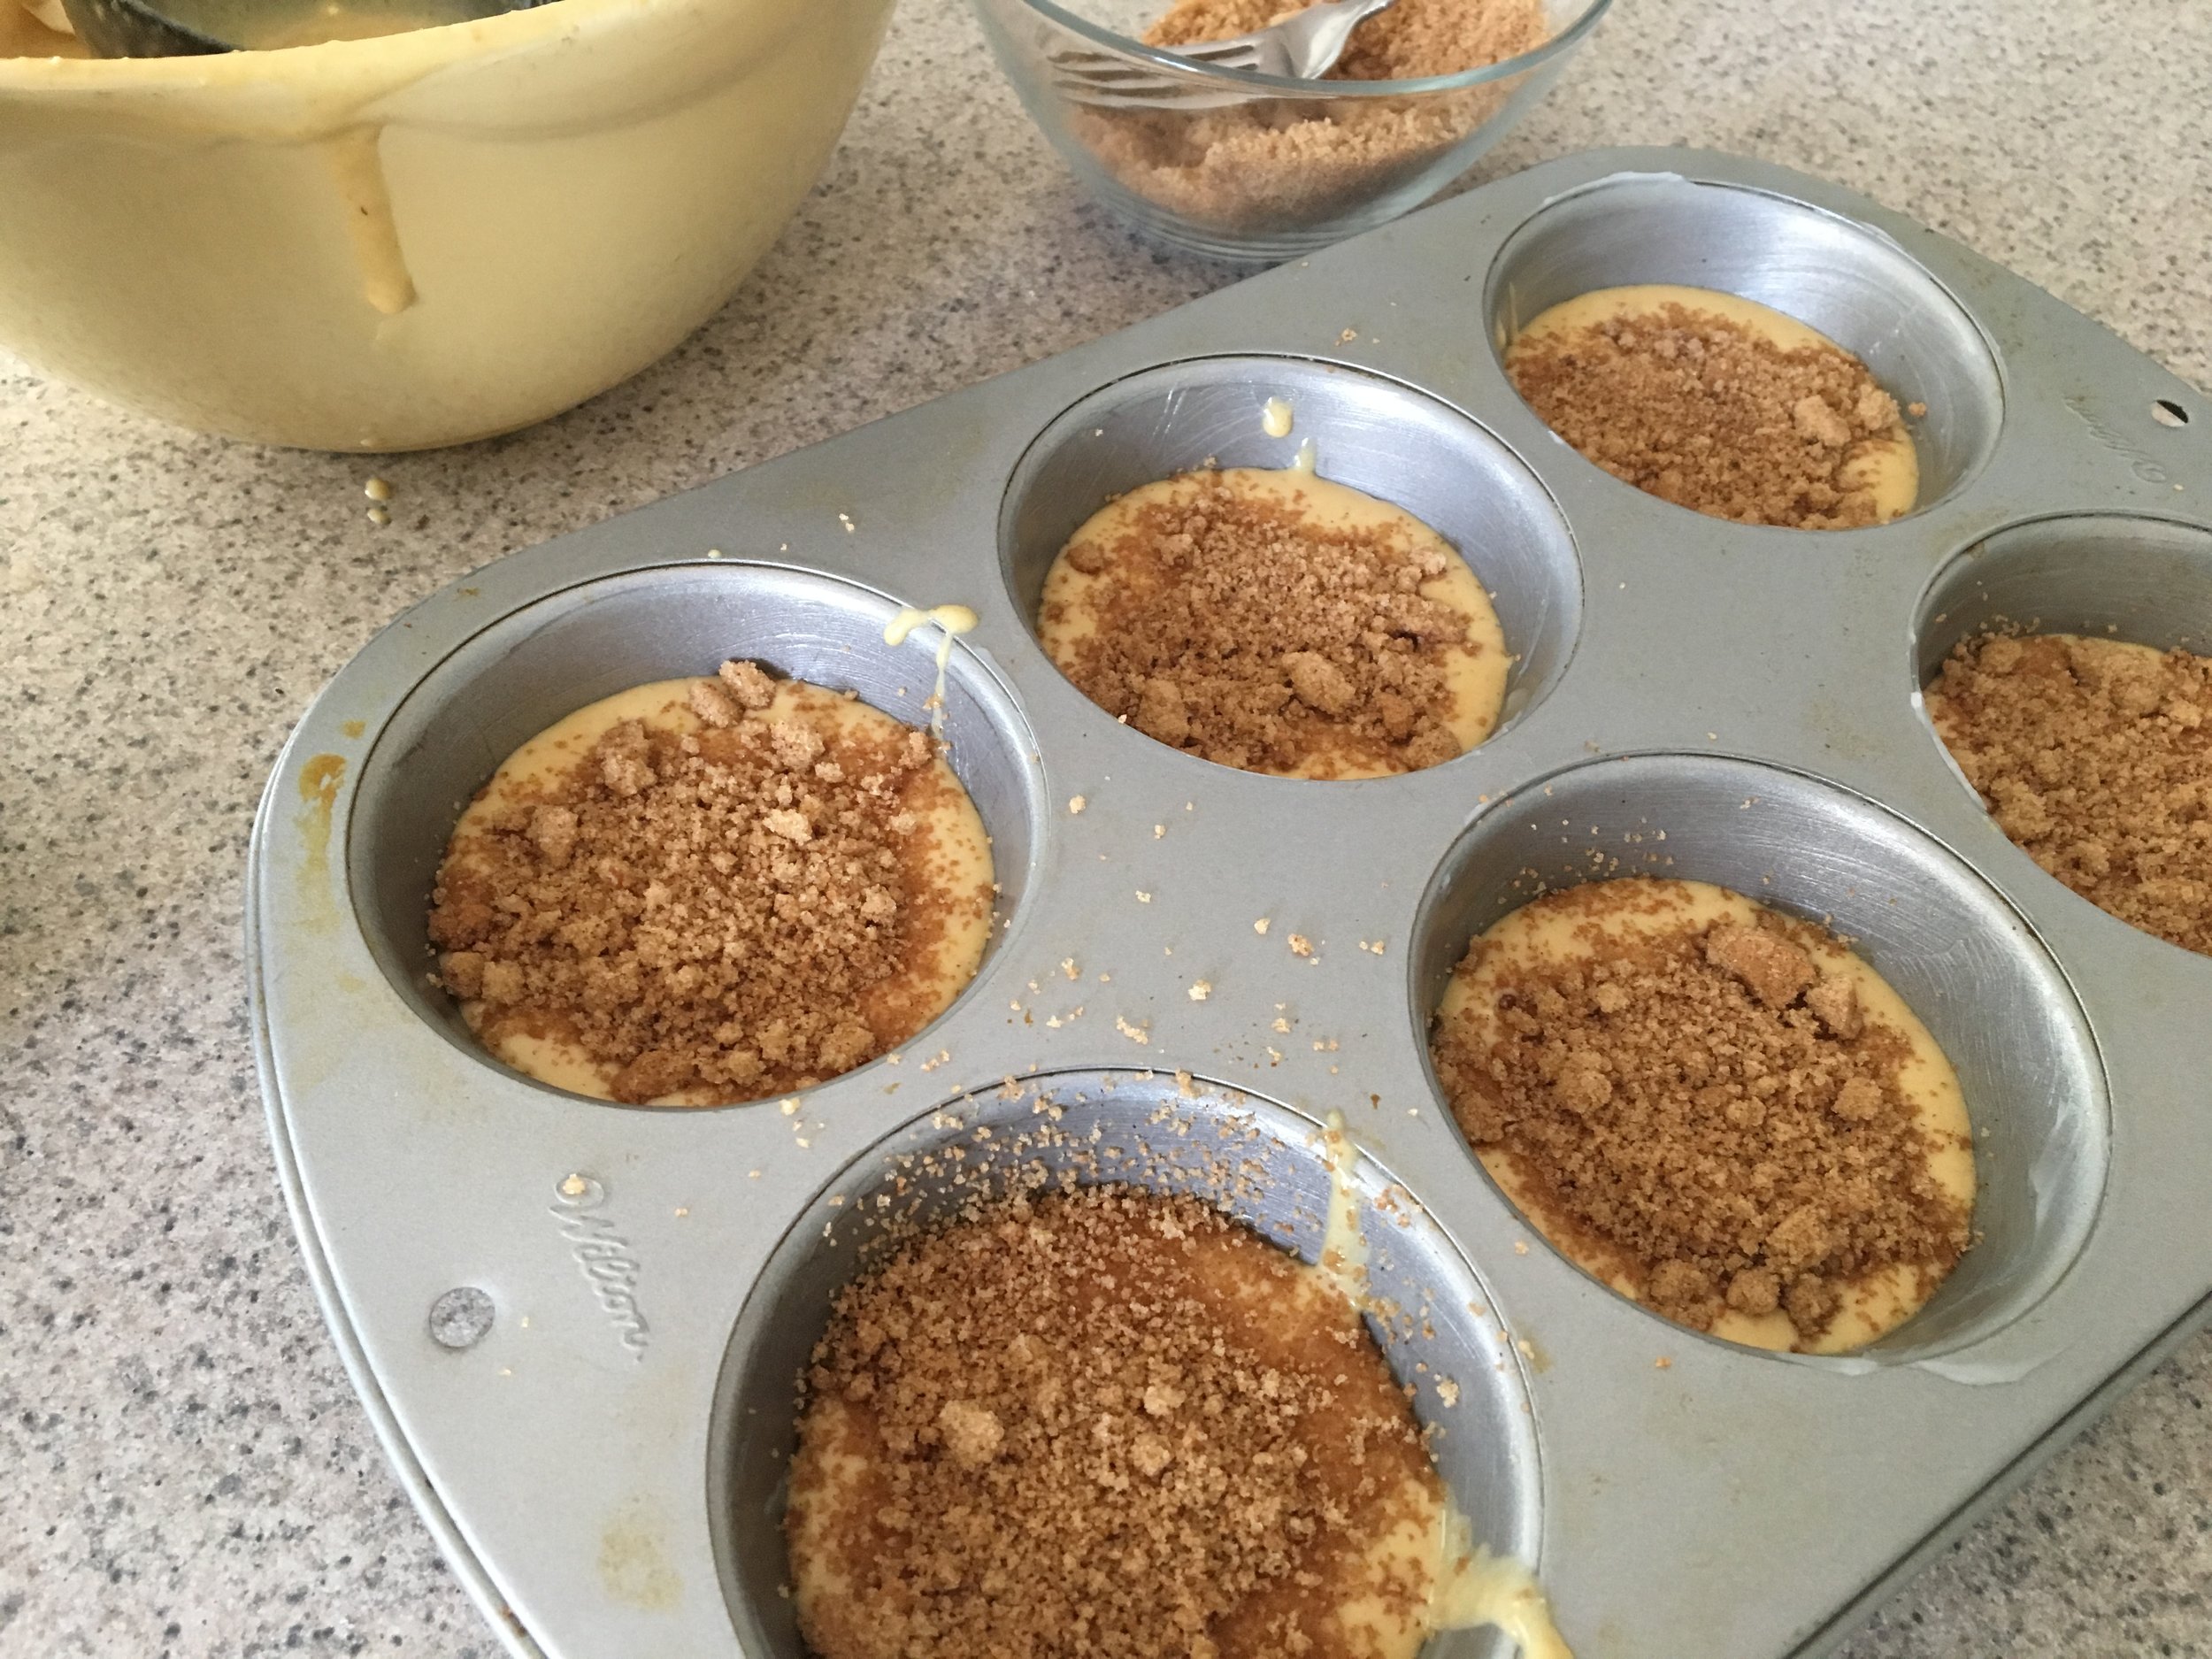
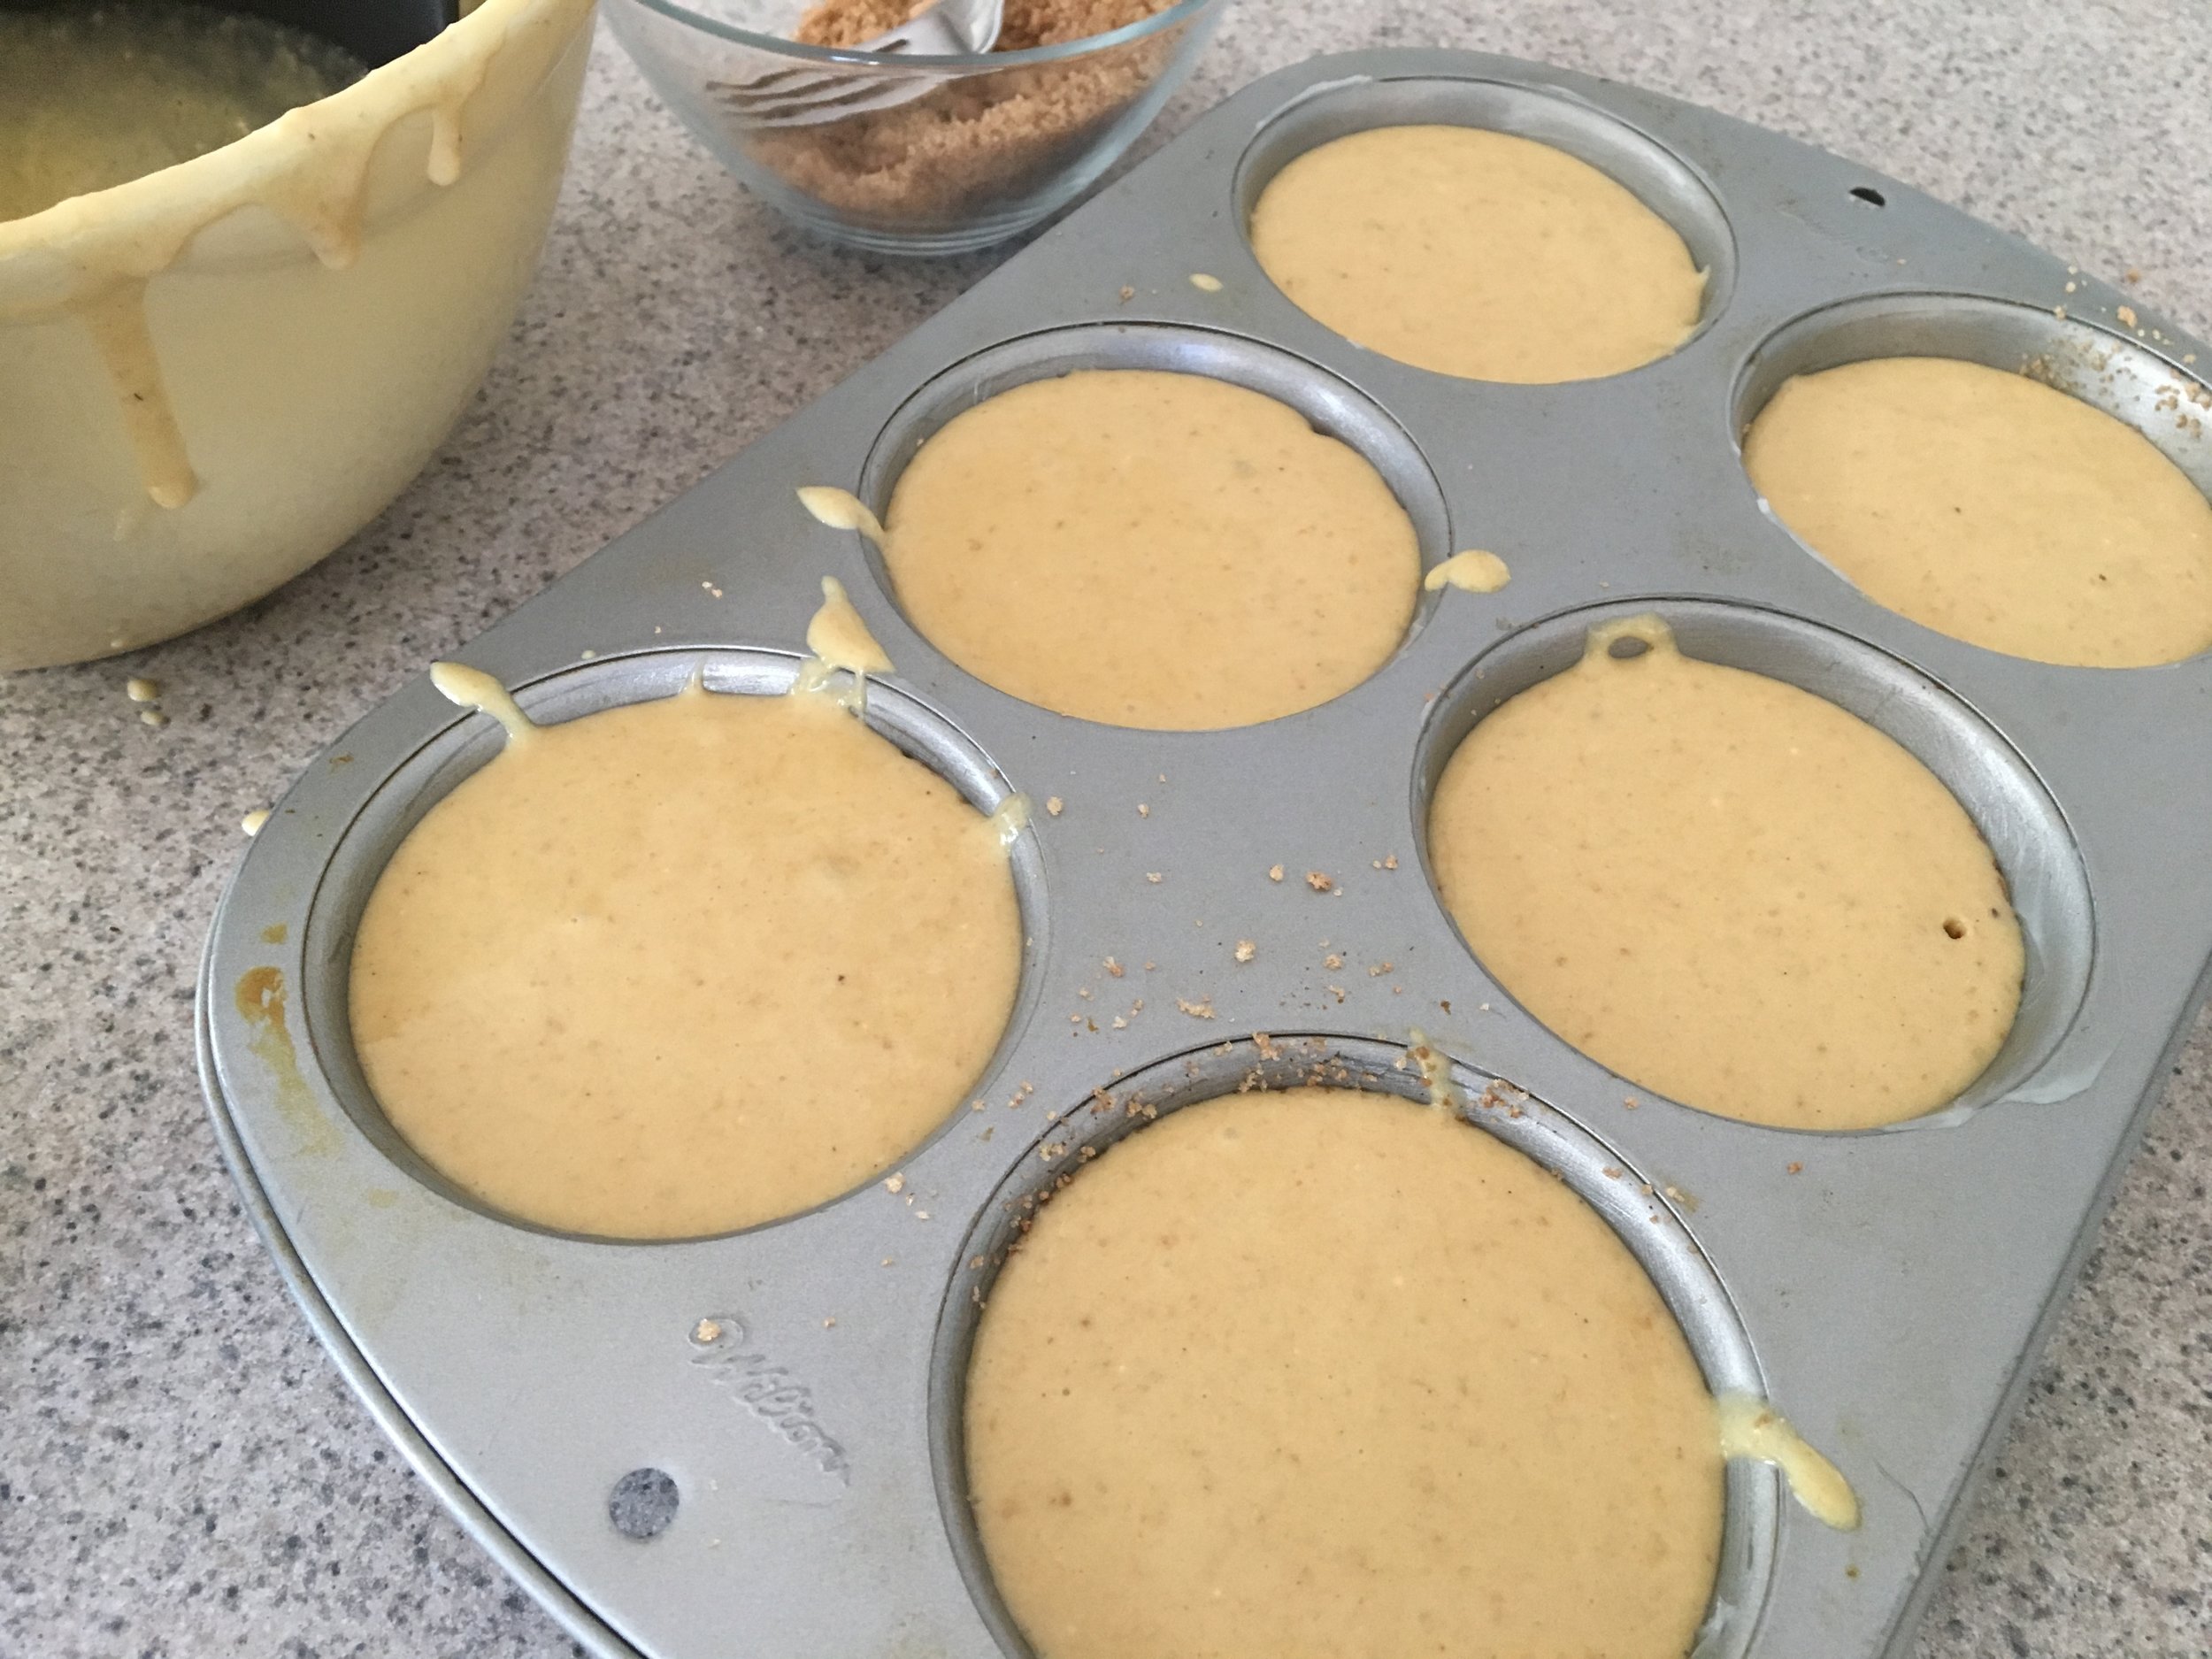
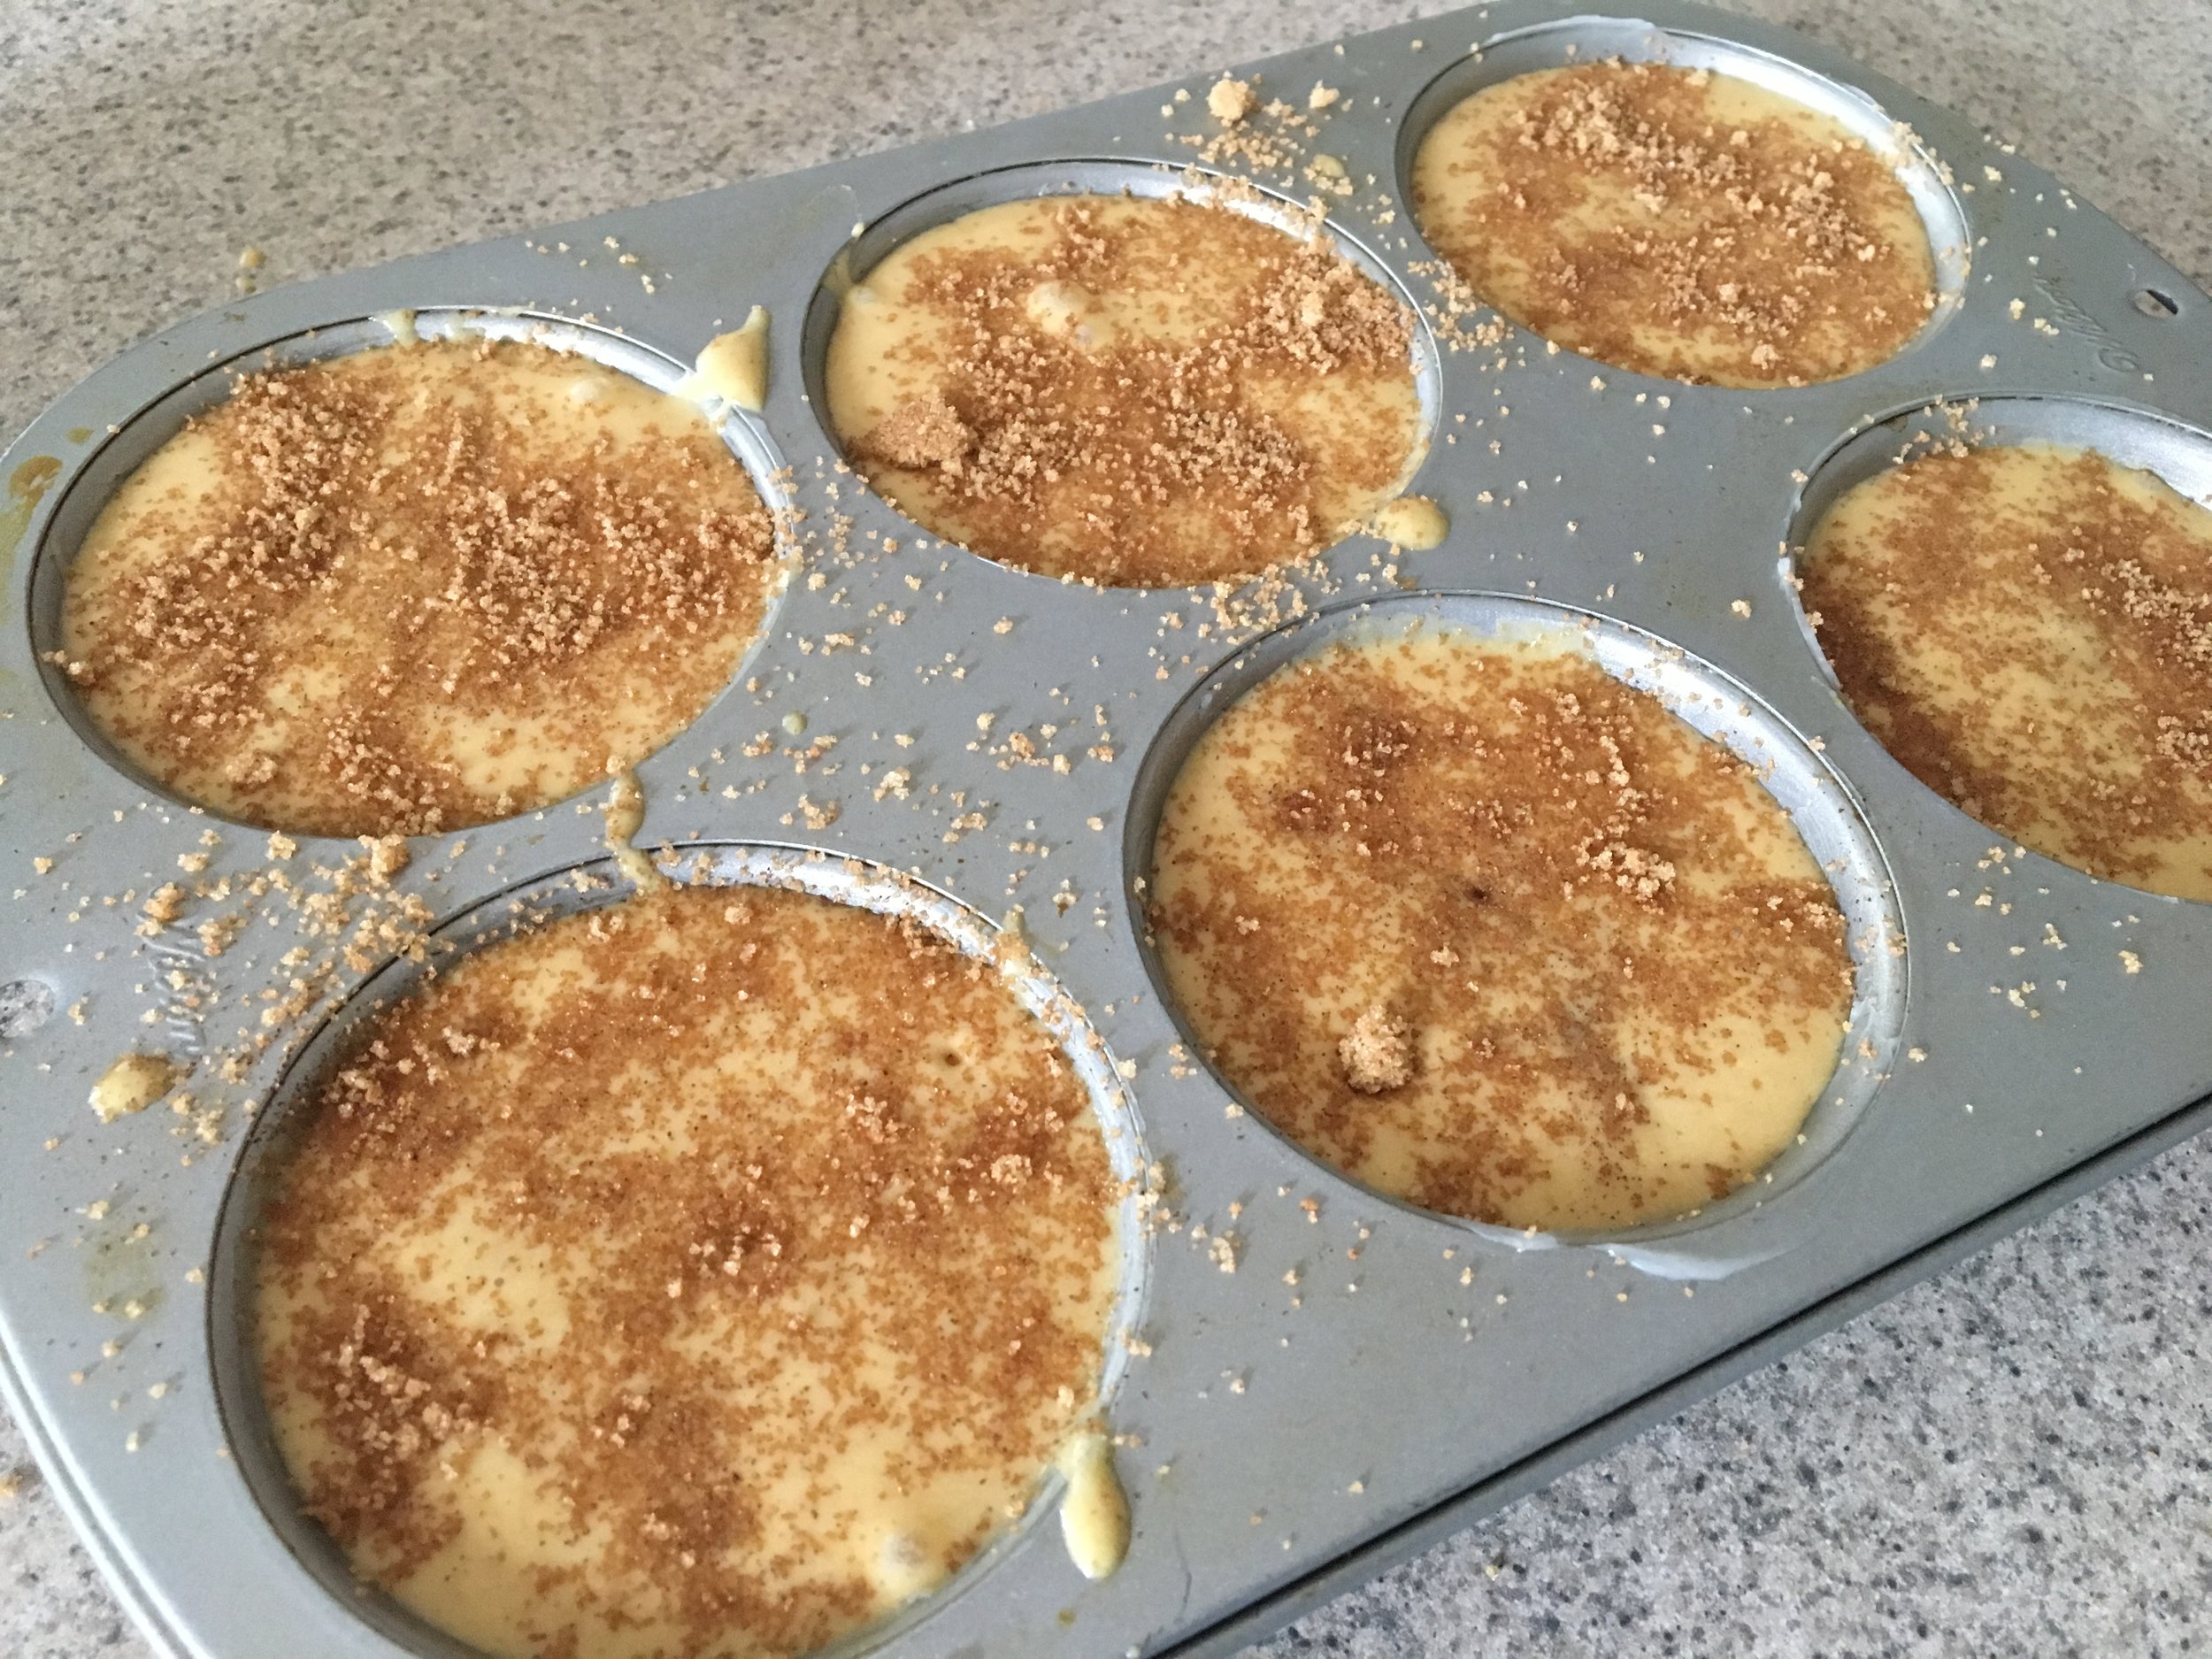
Slowly add the sifted dry ingredients to the bowl with the eggs. Pour the cake batter into a 9 x 13 pan and bake in the oven for 35-40 minutes, or until a toothpick inserted comes out clean.
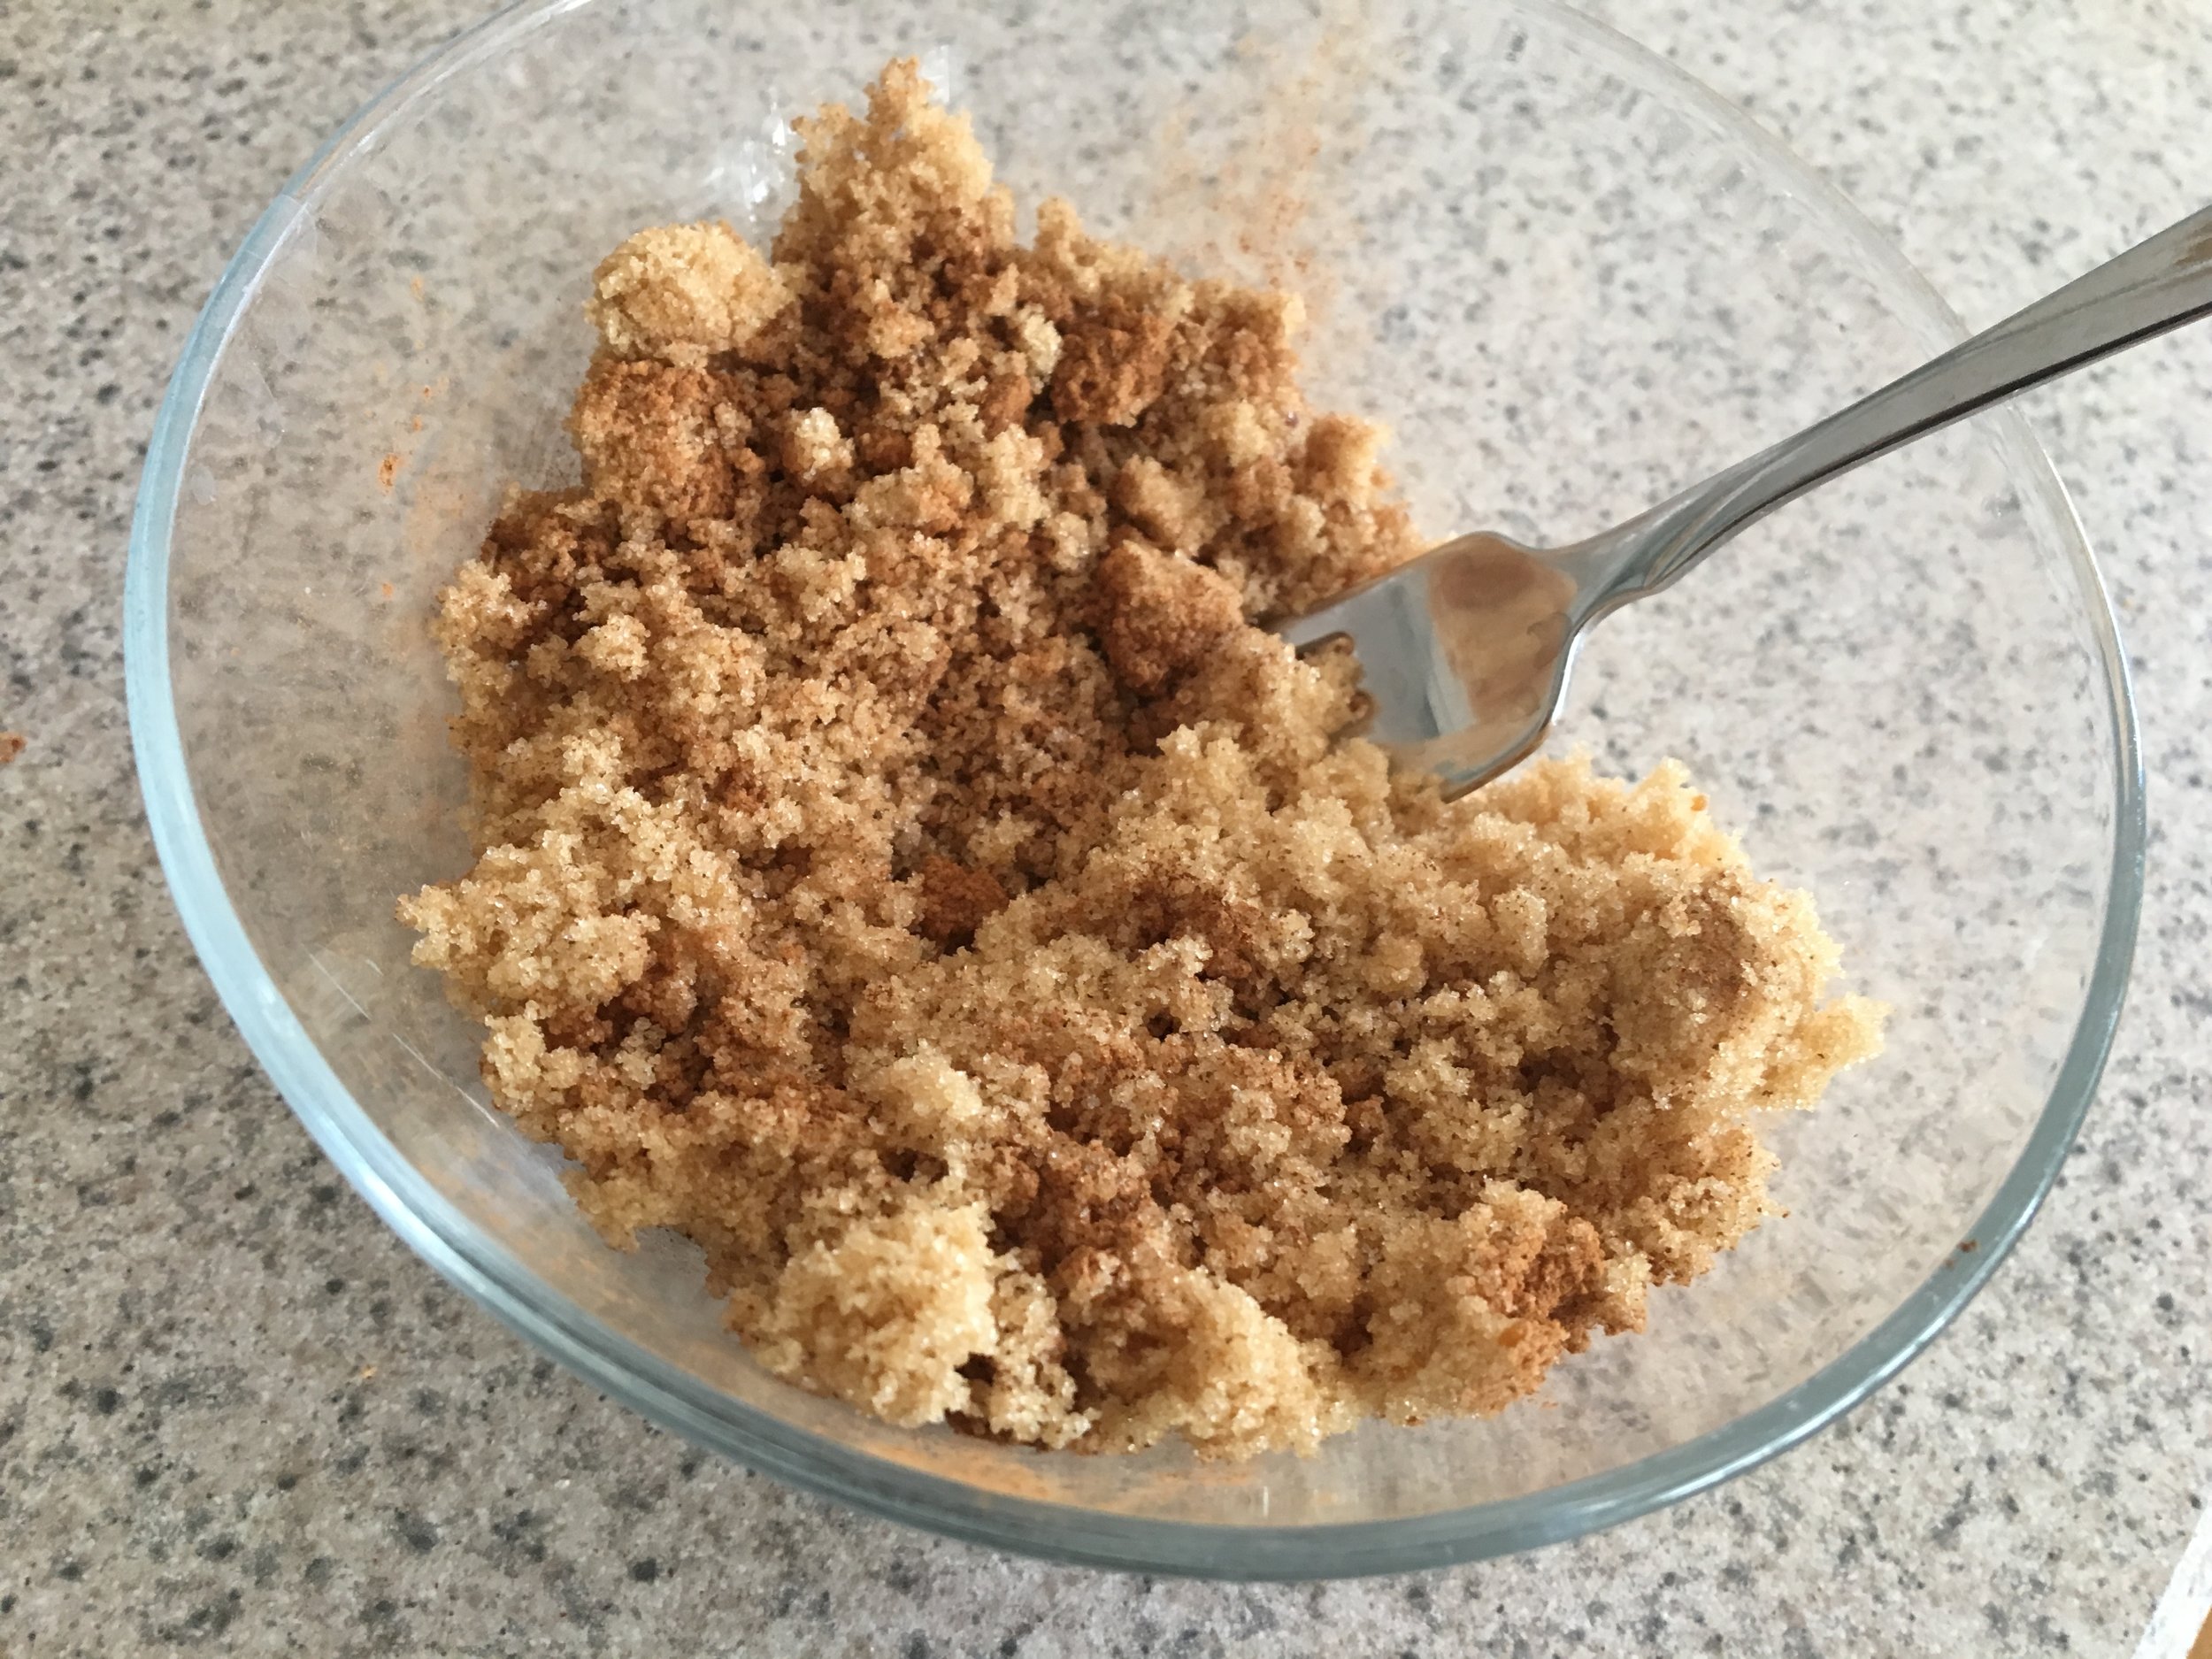
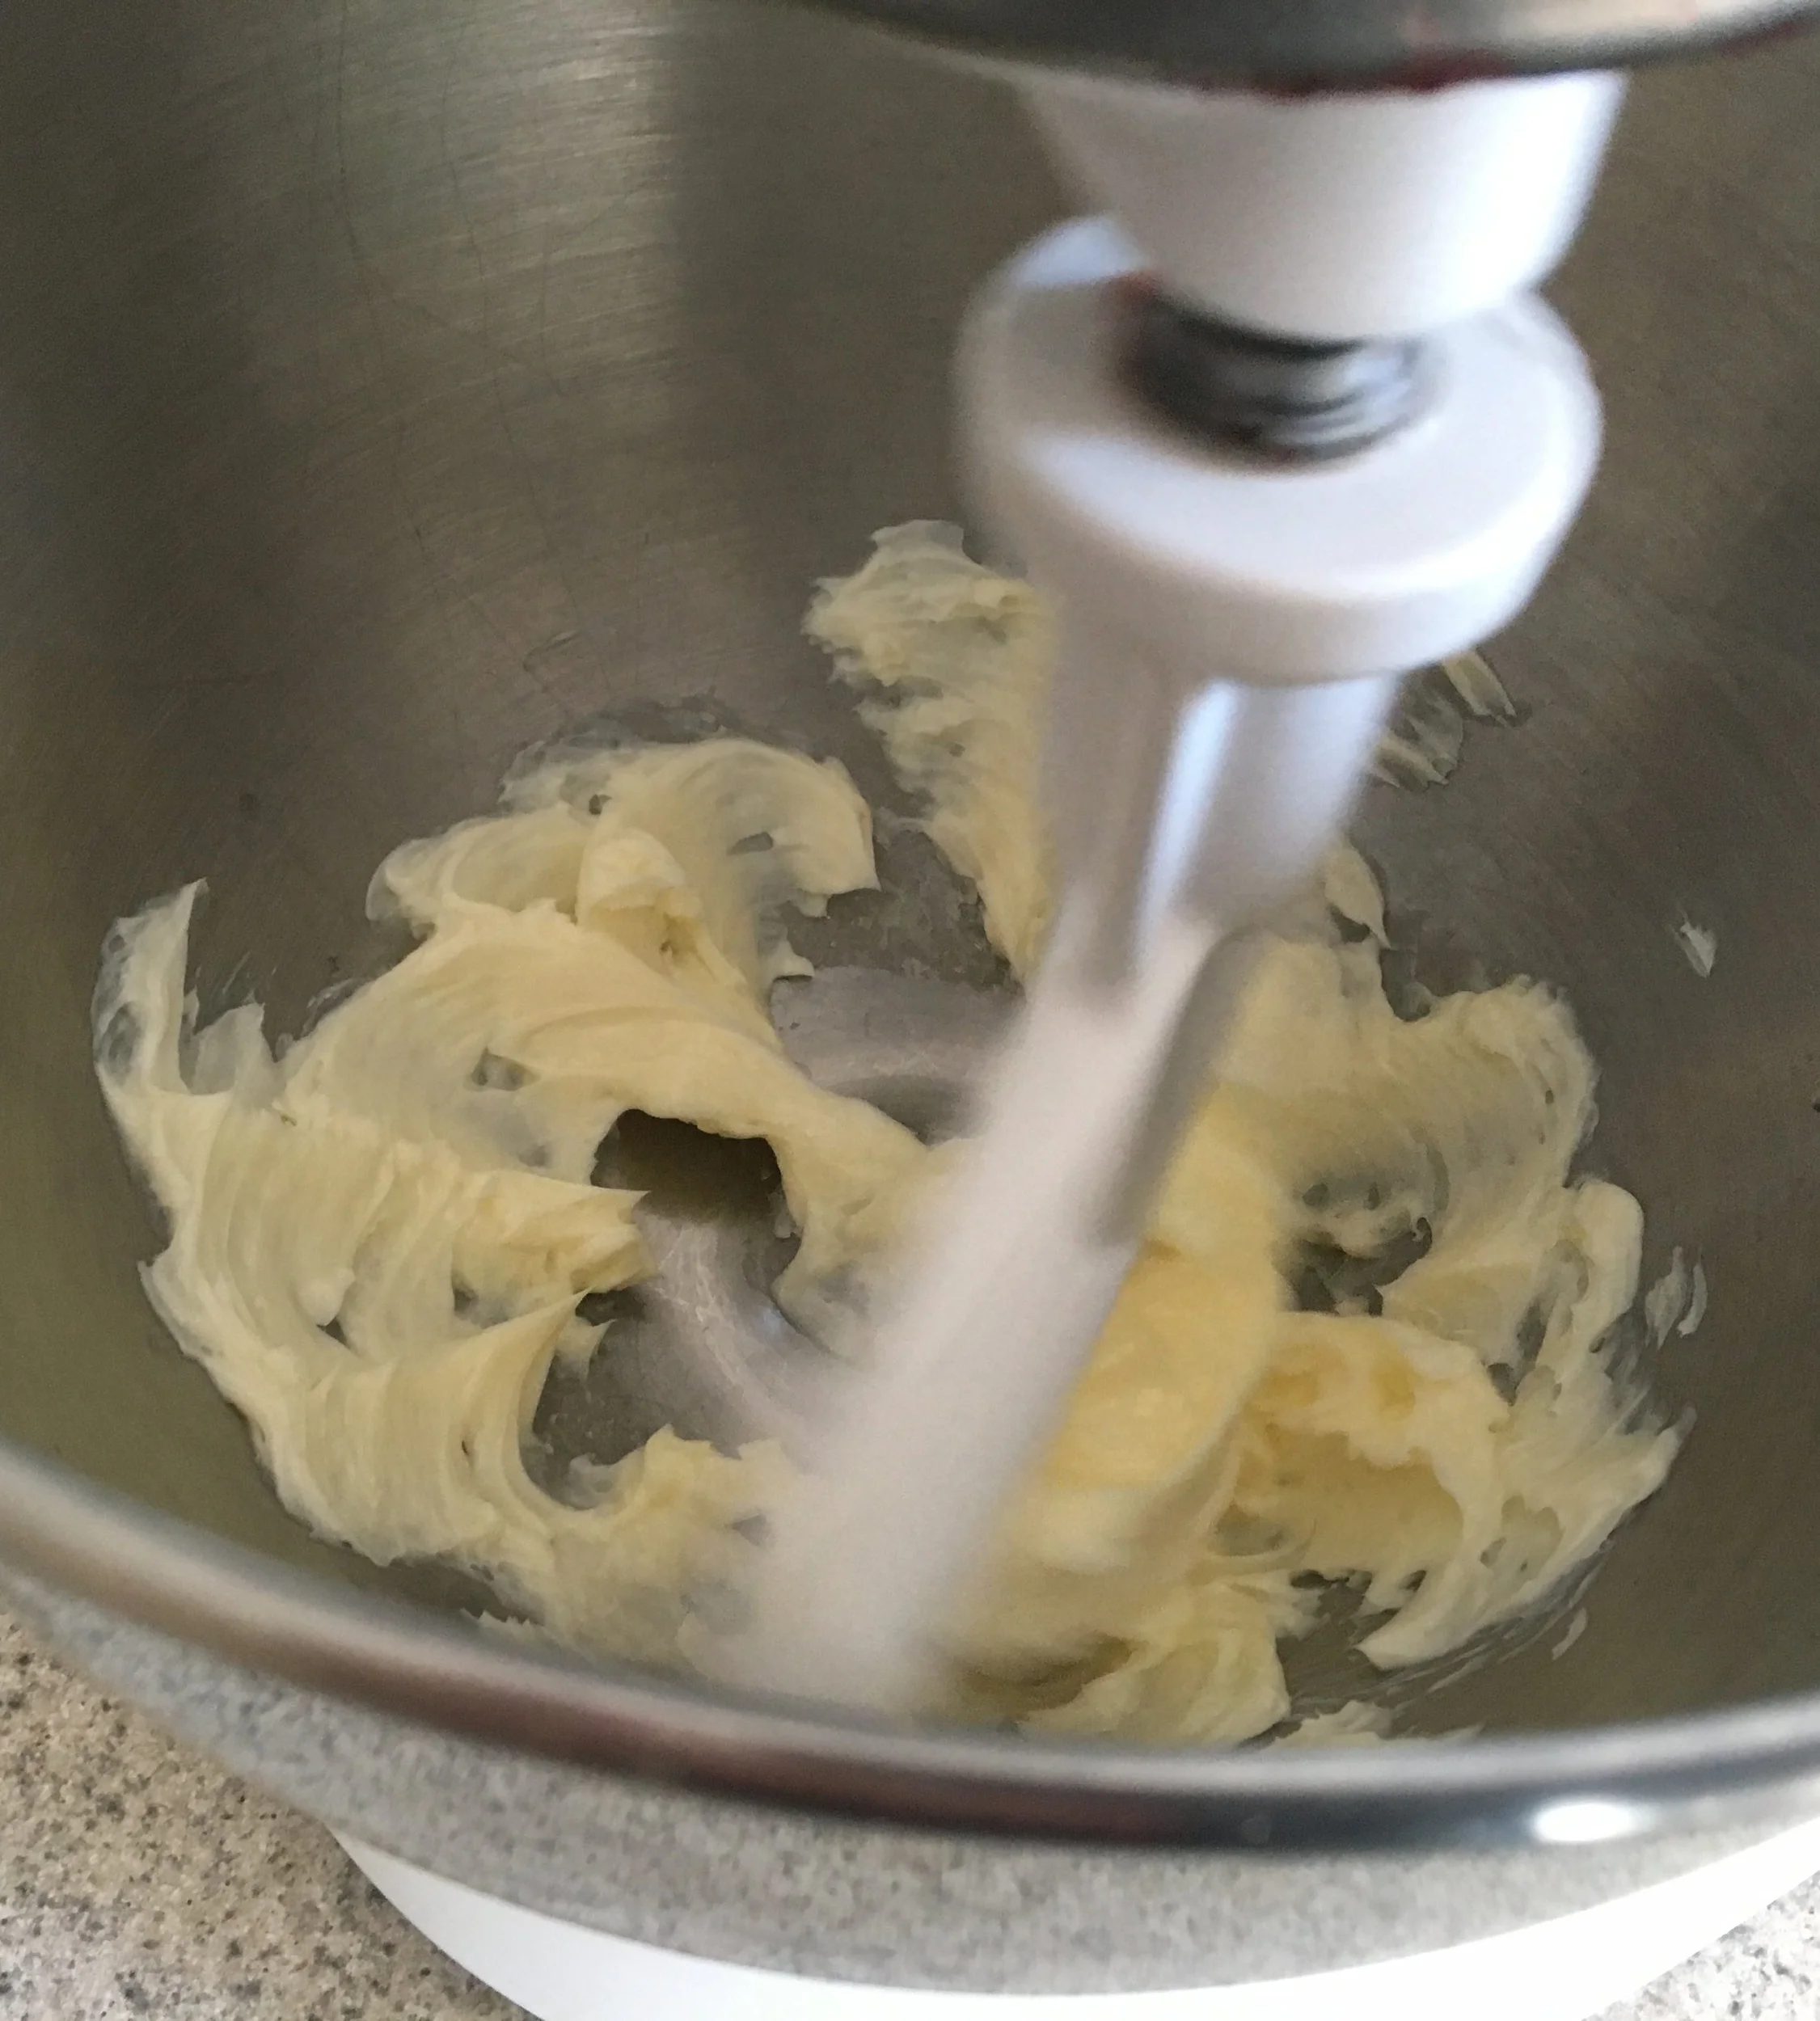
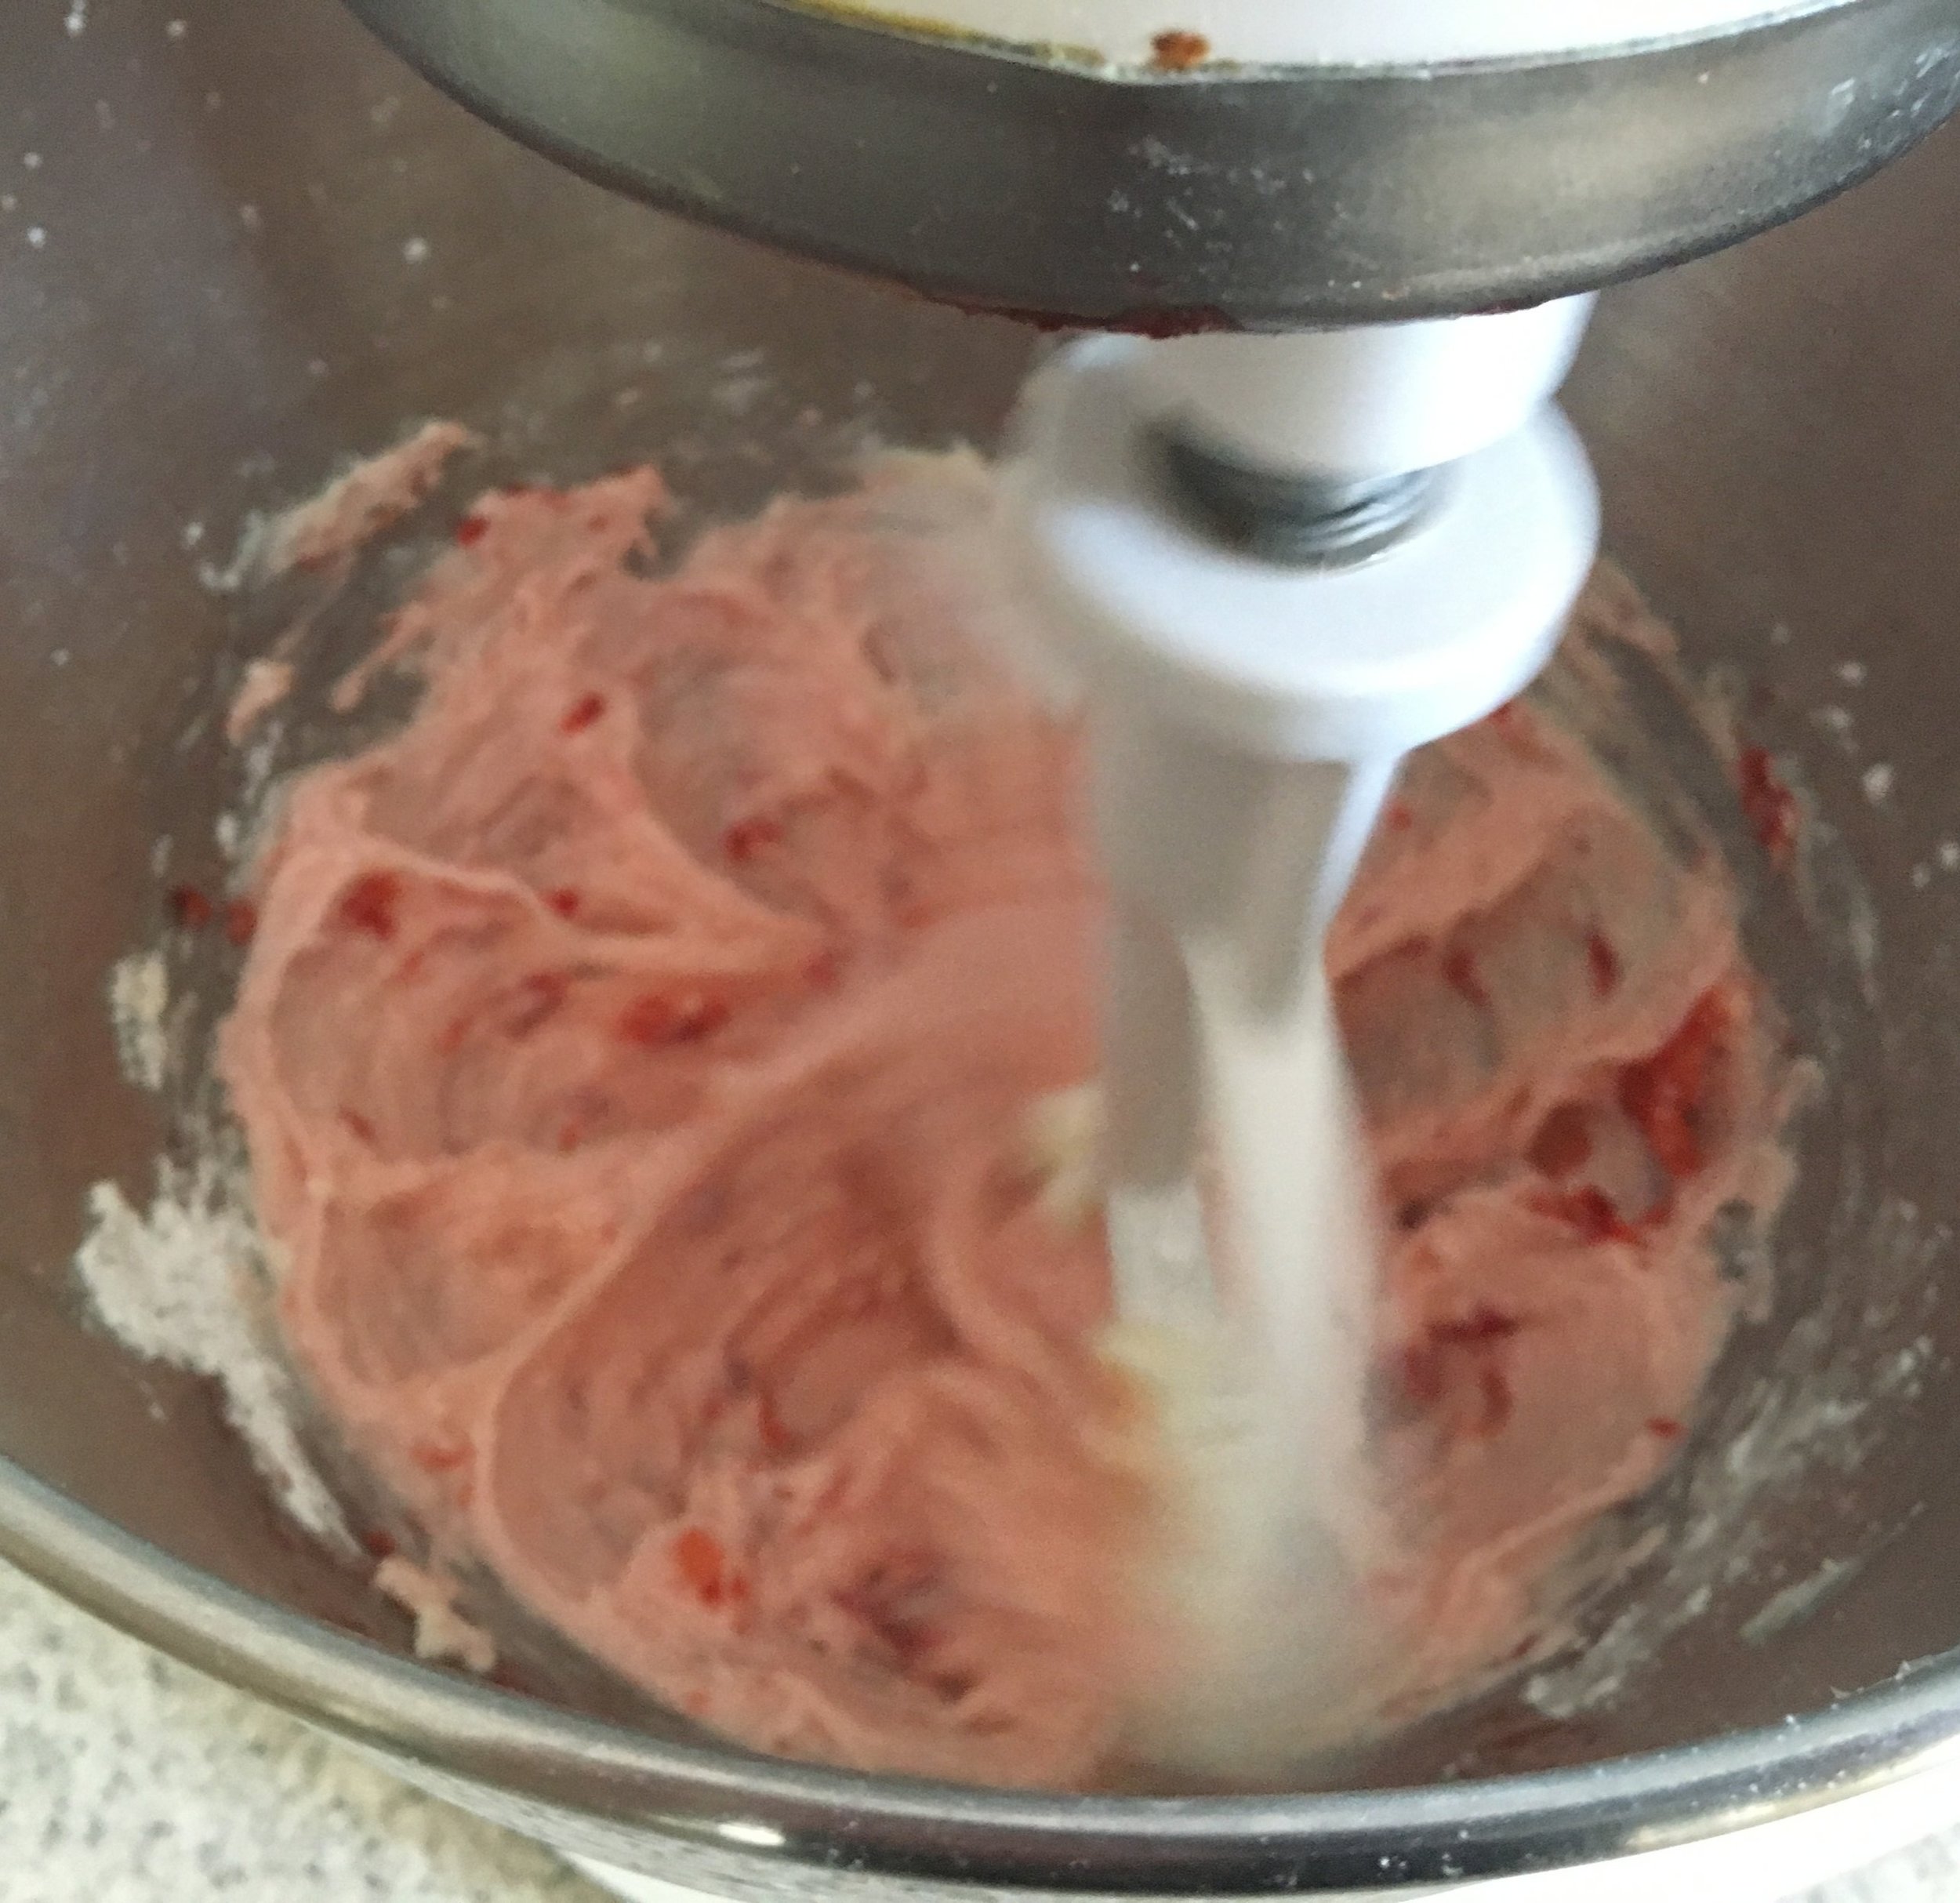
While the cake is baking, prepare the icing. Combine the butter, strawberries, and powdered sugar. Beat the ingredients together with a hand or standing mixer until combined. Icing should be somewhat thick. If icing is too thin, powdered sugar may need to be added until desired consistency.
Once the cake is finished cooking, allow it to cool completely. Frost the cake generously with the icing and refrigerate.
Enjoy!

Move in day:(