Cream Cheese Pie Recipe
My mother-In-Law ("Mimi") and I share the same passion for entertaining, but without all the fuss. Her mantra, which I have adapted over the years, is "Easy and Elegant," and her Cream Cheese Pie is one of the many short-cut recipes she has shared with me.
Cream Cheese pie was a foreign concept to me when I first married her son many years ago, but then again, cooking was a foreign concept when I was first married:) Boy, how things have changed. Thank goodness my hubby didn't marry me for my cooking skills back then.
This sweet, creamy, delectable pie is essentially a cheesecake sans the crust baked in a pie plate. Easy and elegant, and a must-have for your recipe collection. Add one of our fruit sauces for a finishing touch and voila!
Comment below if you have made this decadent dessert. Thank you for visiting. Please come back and visit.
Cream Cheese Pie Recipe
Ingredients
1 lb. cream cheese, softened (room temperature)
3 eggs
2/3 cup sugar
1/2 teaspoon (tsp) sugar
1/2 teaspoon (tsp) good vanilla
Topping
1 cup sour cream
3 Tablespoons (Tbsp) sugar
1 teaspoon (tsp) good vanilla
Berry toppings (optional)
Cherchies®Blackberry Preserves with 1 pint Blueberries or blackberries
Cherchies® Cranberry Preserves With Champagne and 1 cup fresh cranberries
Cherchies® Apple Butter Spread with 2 cups peeled, chopped apples
Cherchies®Cherry Butter Spread with 1 pint seeded, cherries, cut in half
Cherchies® Strawberry Butter Spread with 1 pint chopped strawberries
Preparation
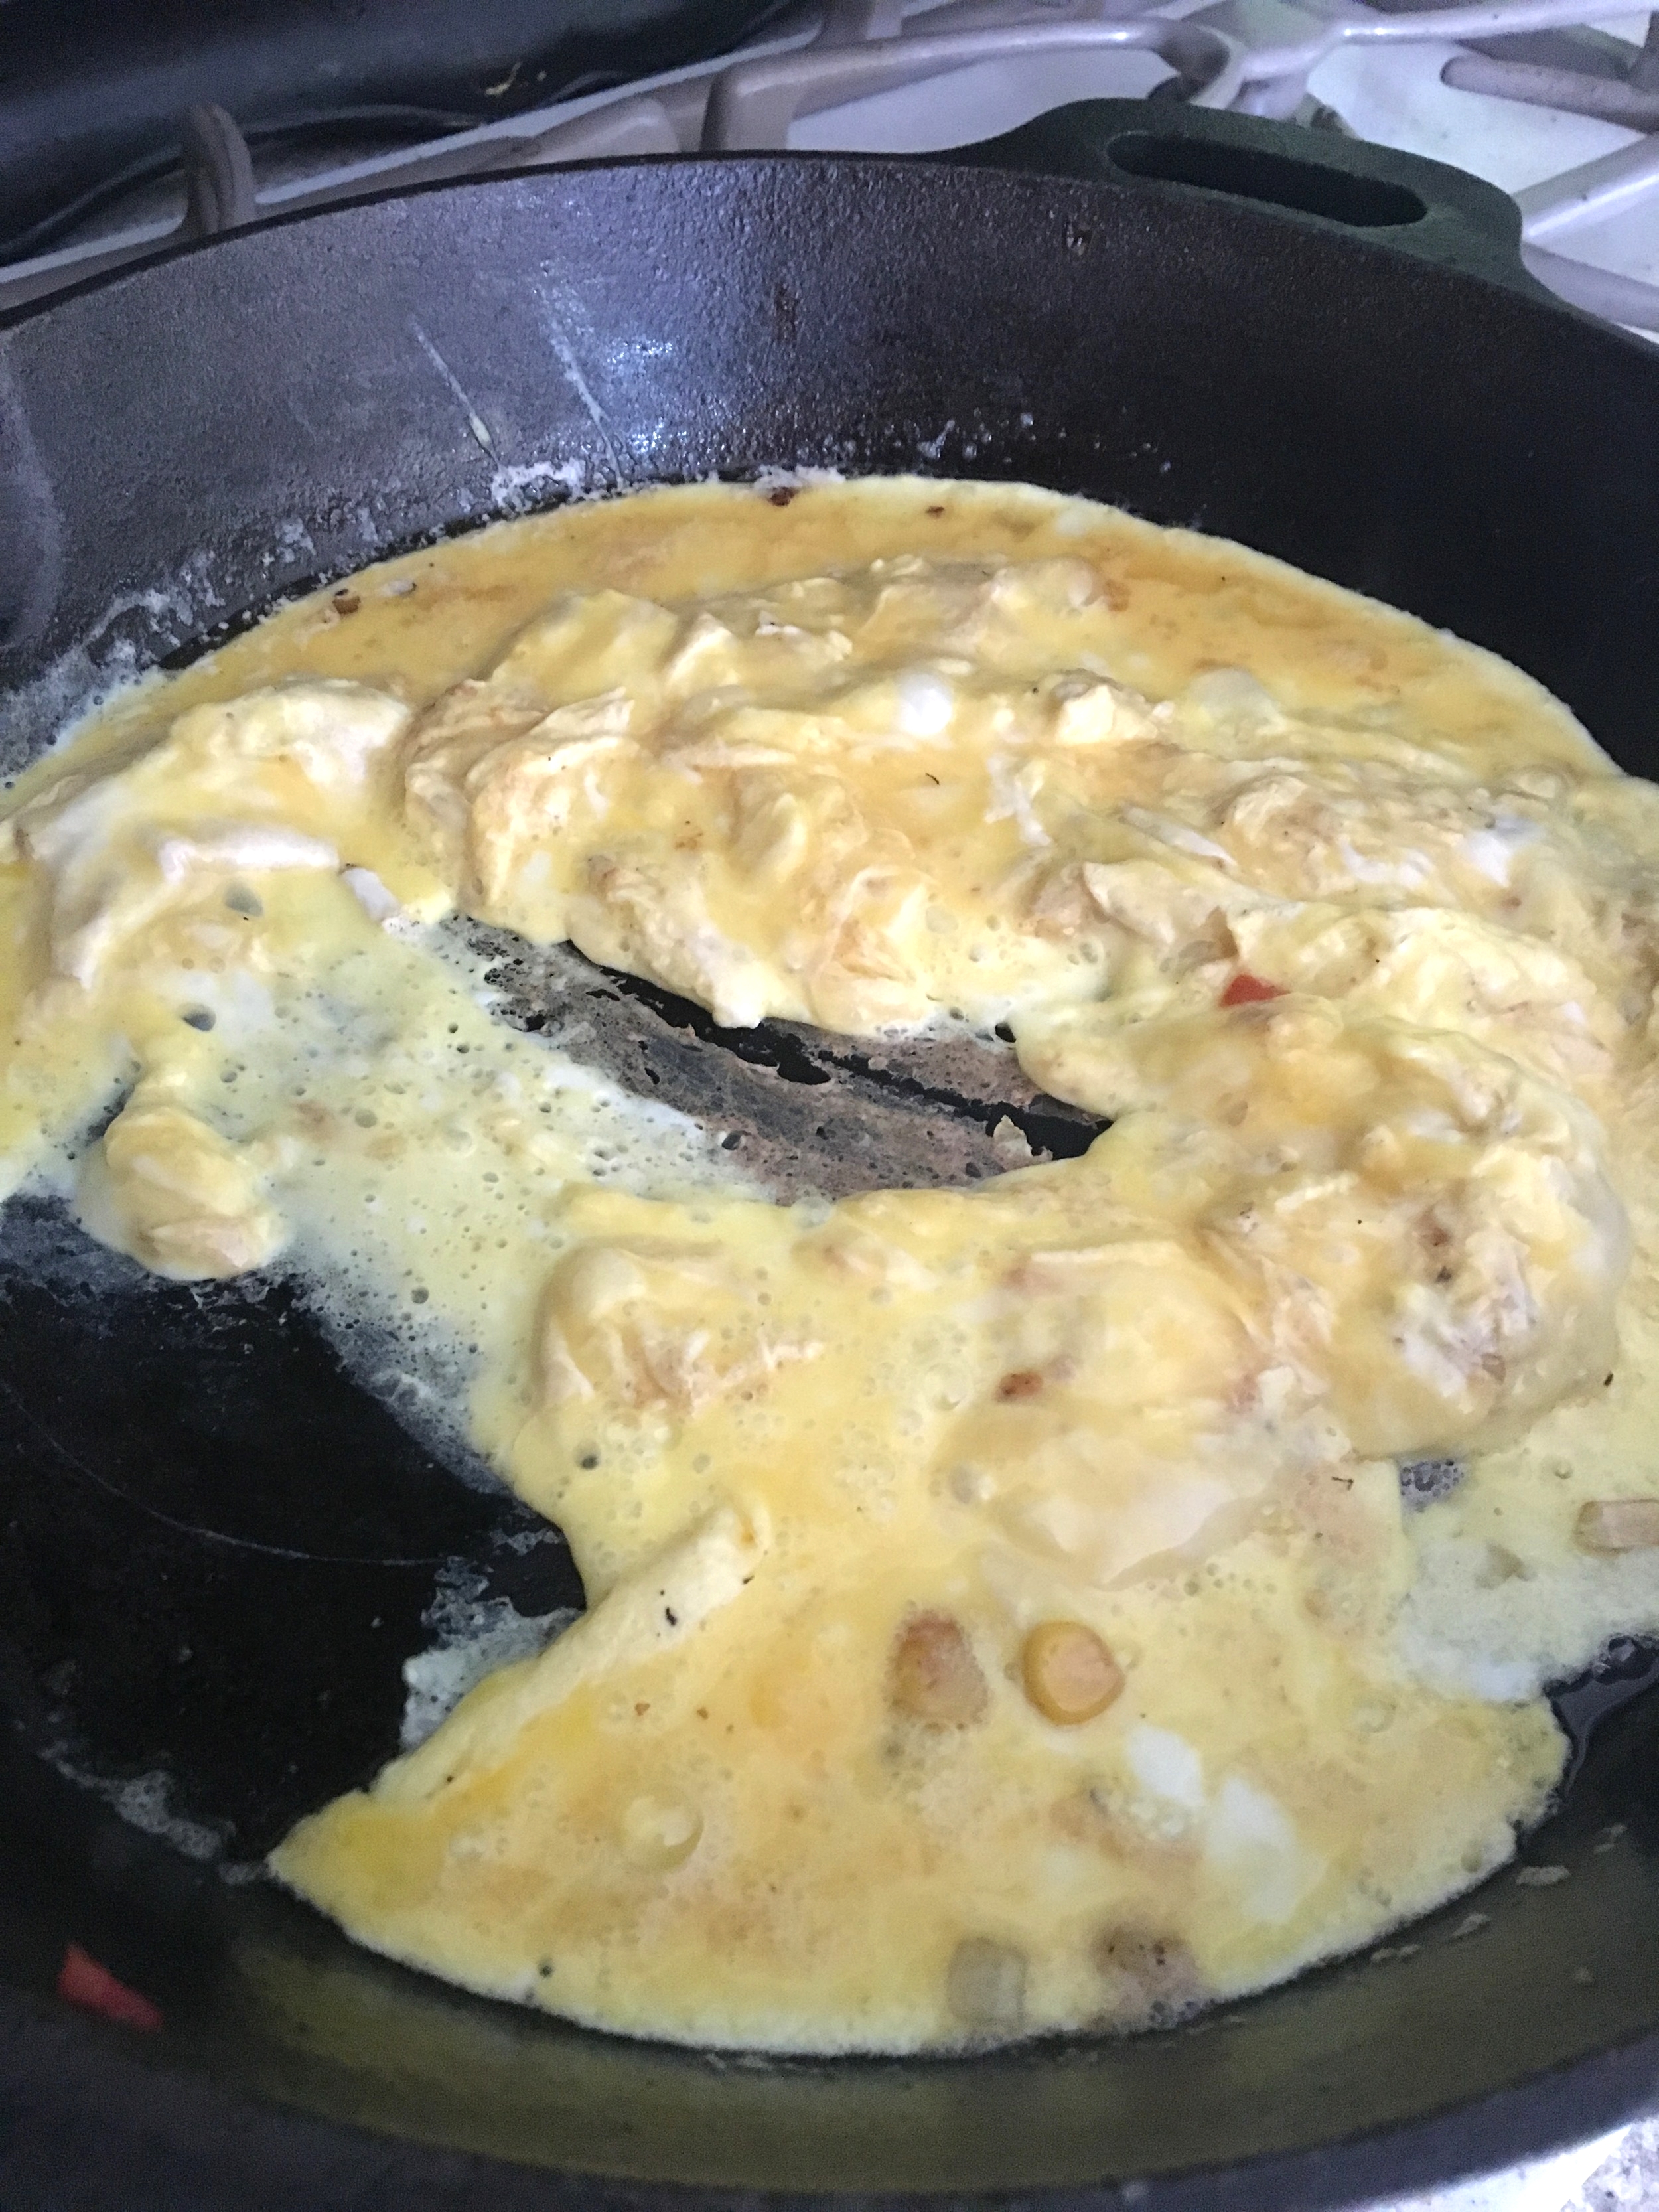
Beat the first five ingredients together until smooth. Pour into a lightly greased 9" pie plate. Bake at 30 minutes at 350. While the pie is baking, make the sour cream topping by mixing together the sour cream, sugar and vanilla.
When the pie is finished, cool for 20 minutes and spread the sour cream mixture on top. Return the pie to the oven and bake an additional 10 minutes at 350 degrees.
Make the fruit topping by combining the berries and preserves in a small sauce pan, and cook for about 10 minutes on low. (Go ahead and mix it up...for this recipe, I mixed our Blackberry Preserves with blueberries). You could easily use our Cherry, Strawberry, or Apple Butters in lieu of the preserves and substitute the blueberries with cherries, strawberries, or apples.
Cool for 5 minutes and spoon on top of cream cheese pie. Enjoy!
Cream Cheese Pie With Blueberry Sauce
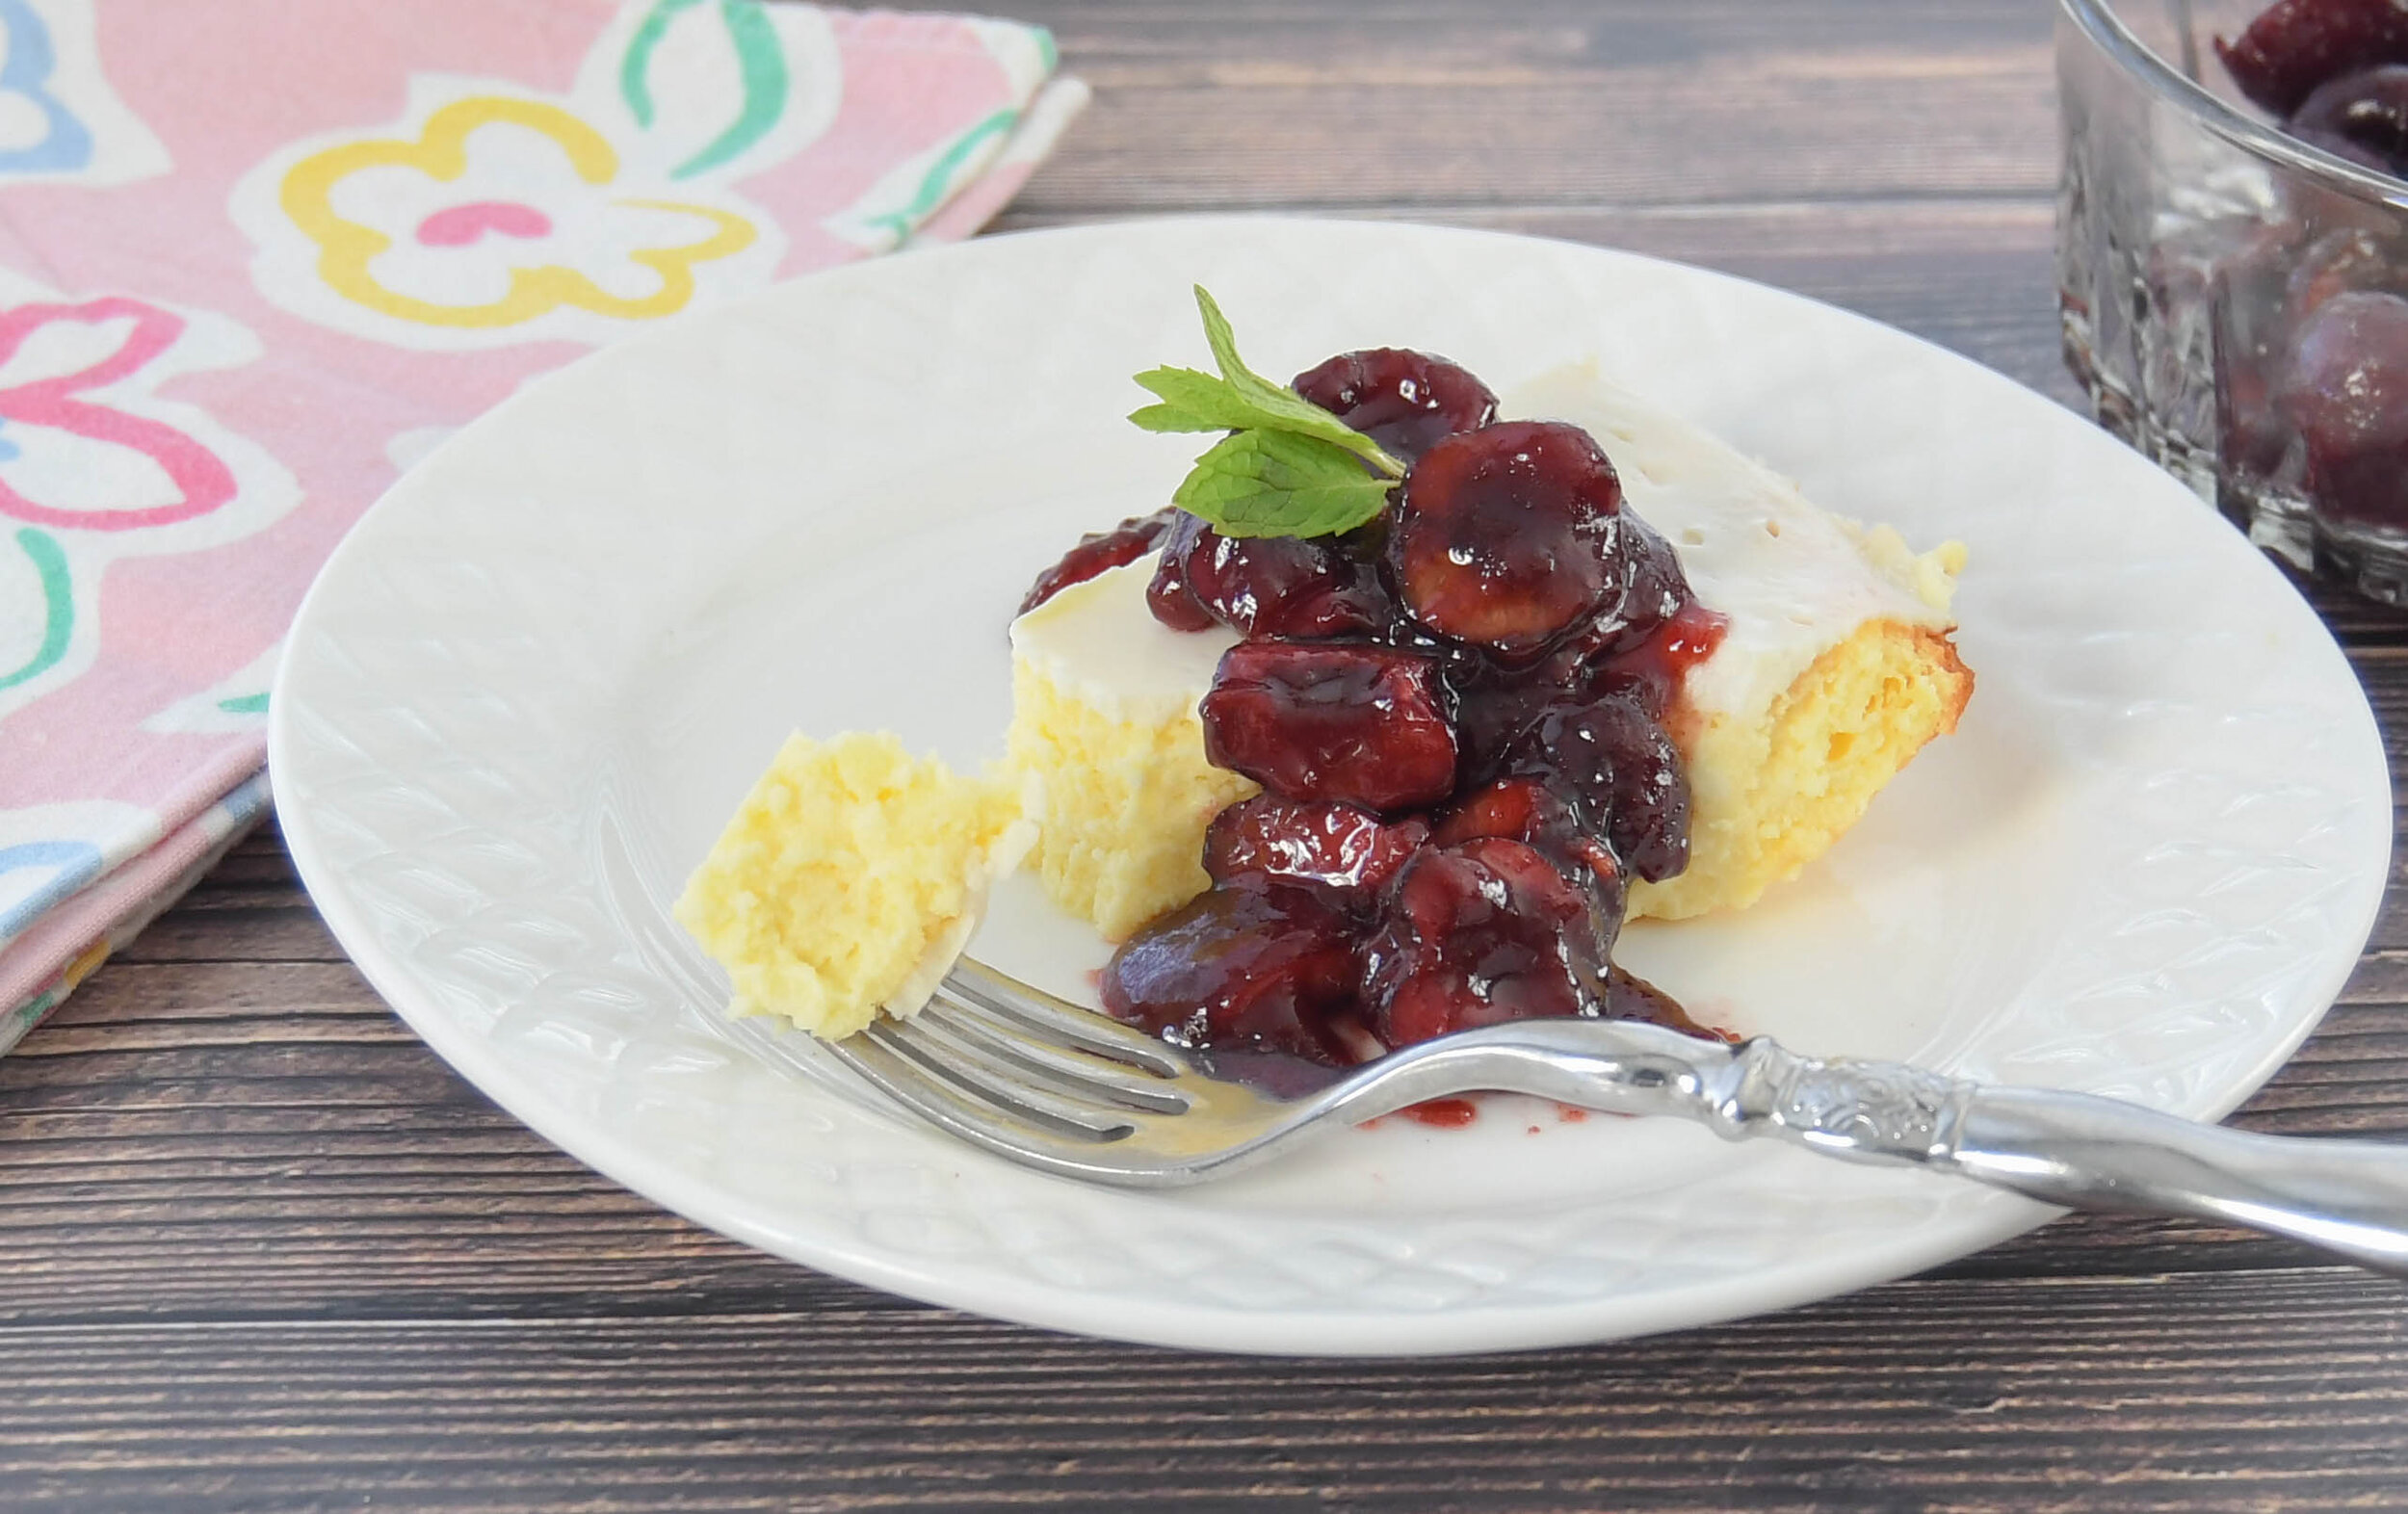
Cream Cheese Pie With Cherry Sauce Recipe