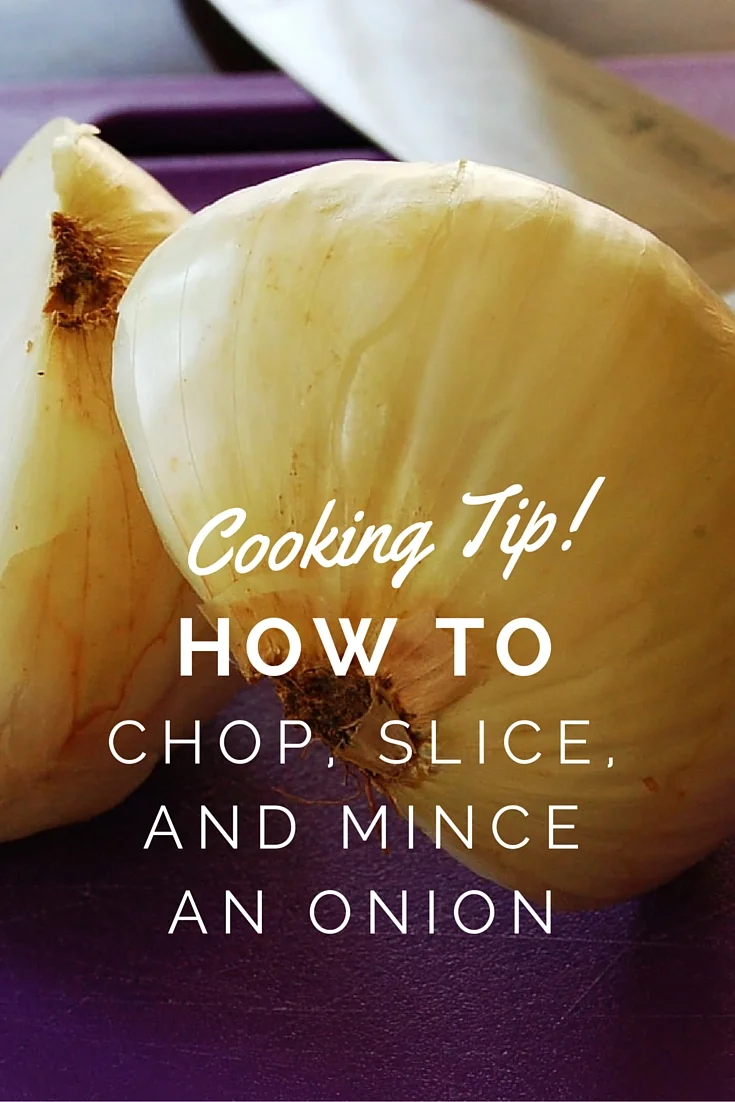
Cooking Tip: How To Chop, Slice, and Mince an Onion
When I first started cooking years ago, I never knew there was a right way to cut an onion...I just cut it.
Recently, as I was watching one of my favorite cooking shows, I learned I was doing it all wrong.
My hubby came into the kitchen recently while I was preparing dinner and said "that's a new way to cut an onion...did you learn it from your cooking shows?" I looked at him and proudly said, "yes I did". He said, "that would make a good cooking tip..." (he's so smart;)
I'm an experienced home chef and I'm terrified of knives, or at least I was (perhaps because I didn't know I was doing it wrong). So, I thought I'd pass on some tips on how to chop, slice, and mince an onion, safely.
Chopping or Mincing-
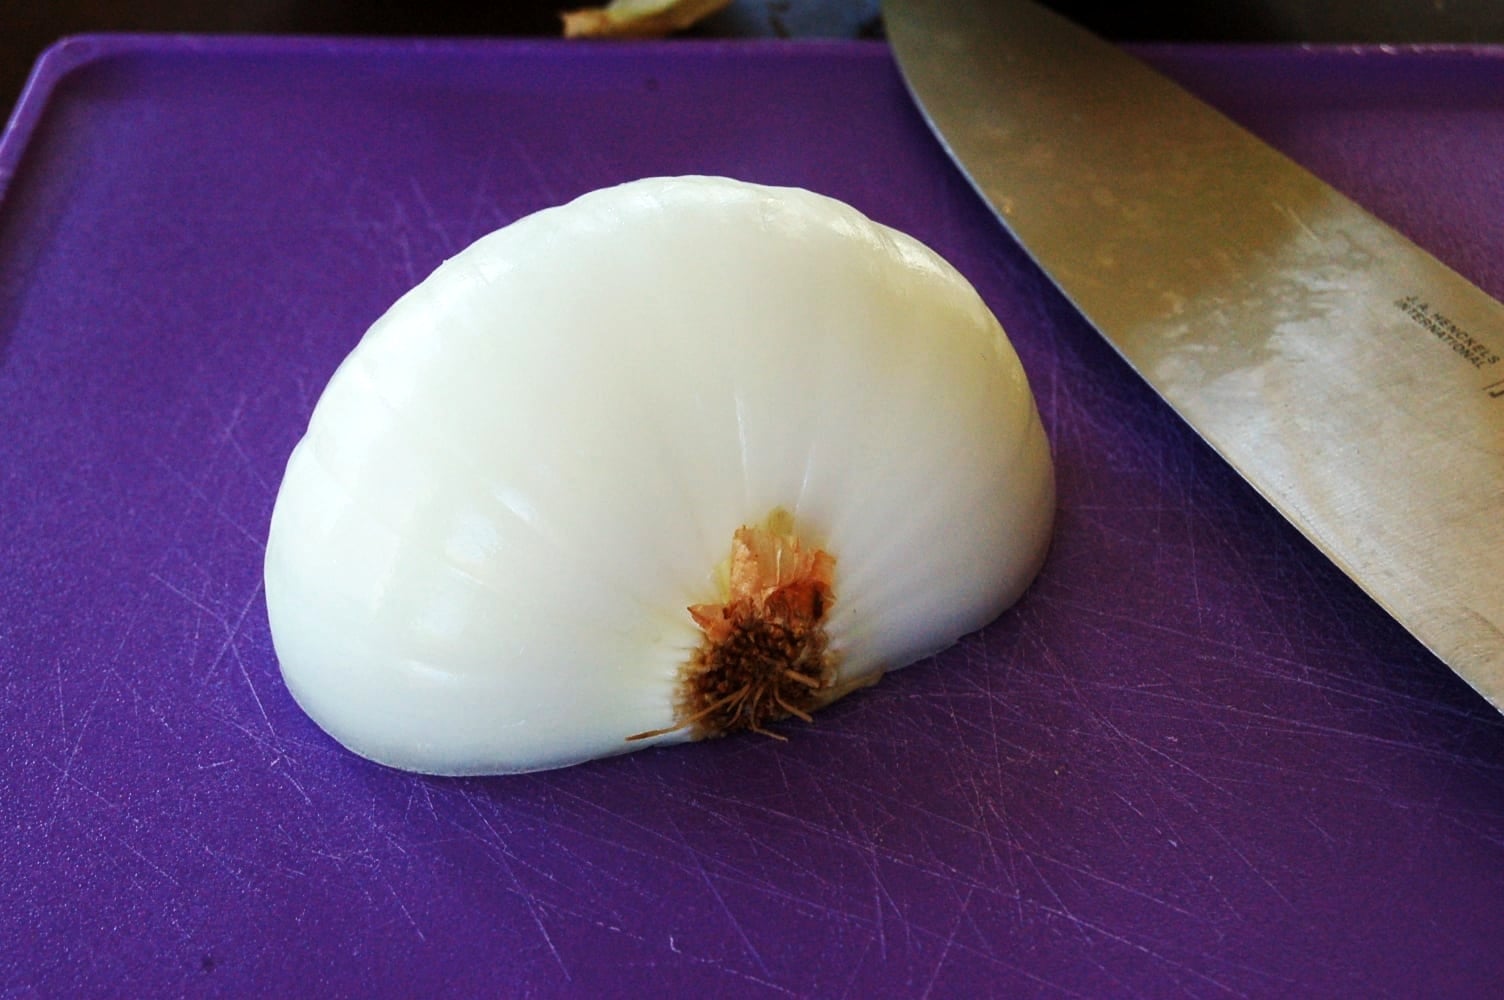
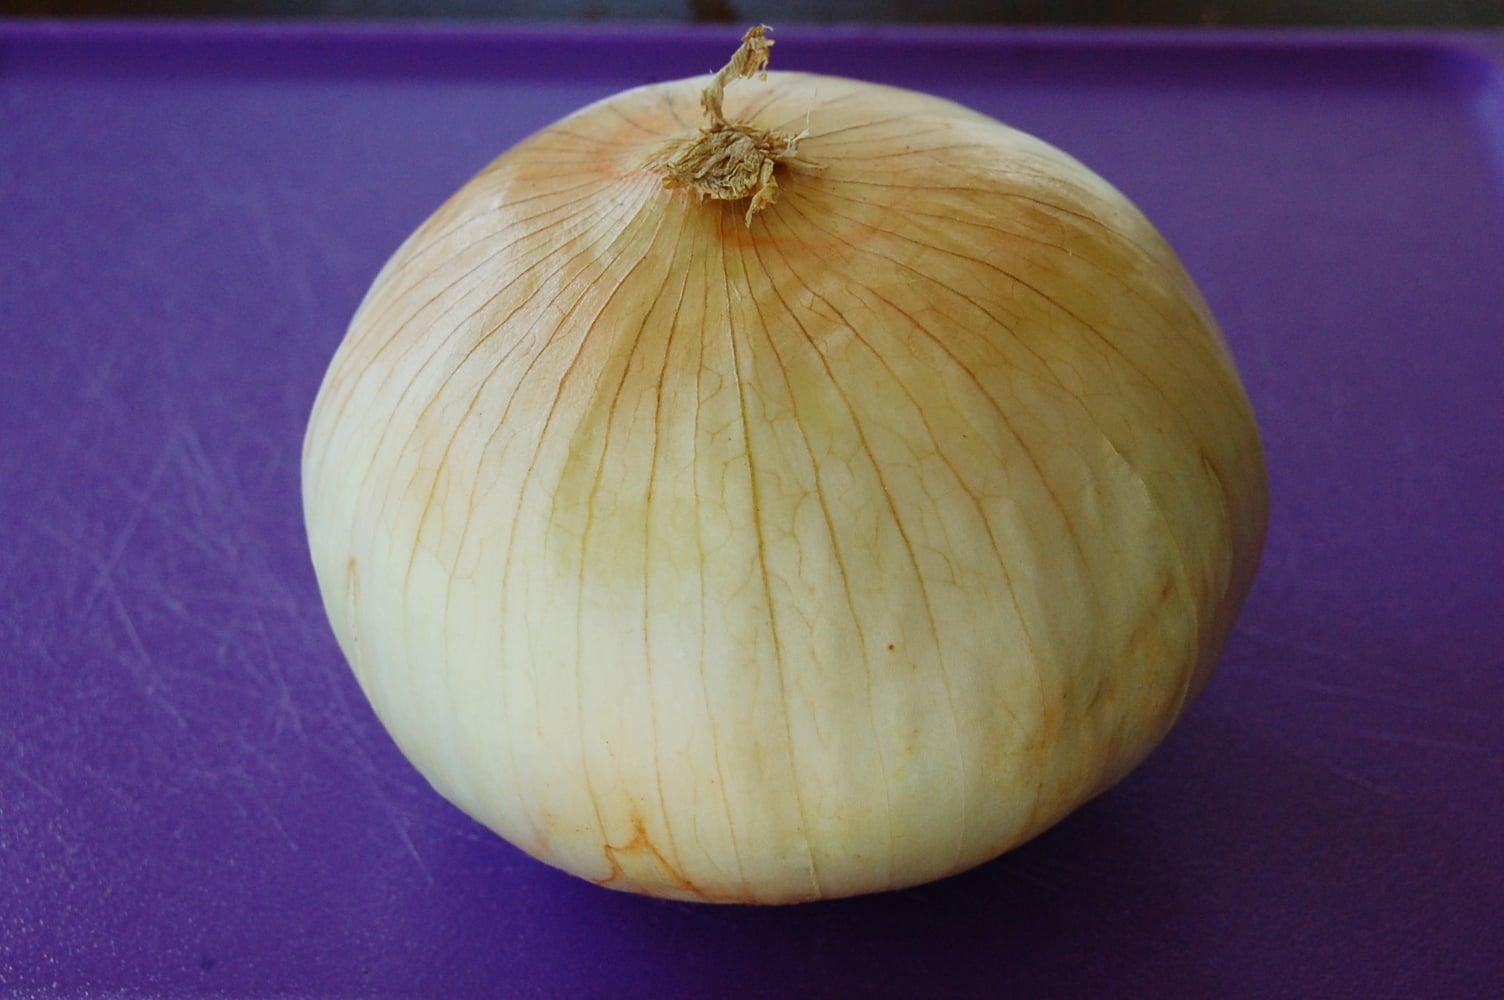
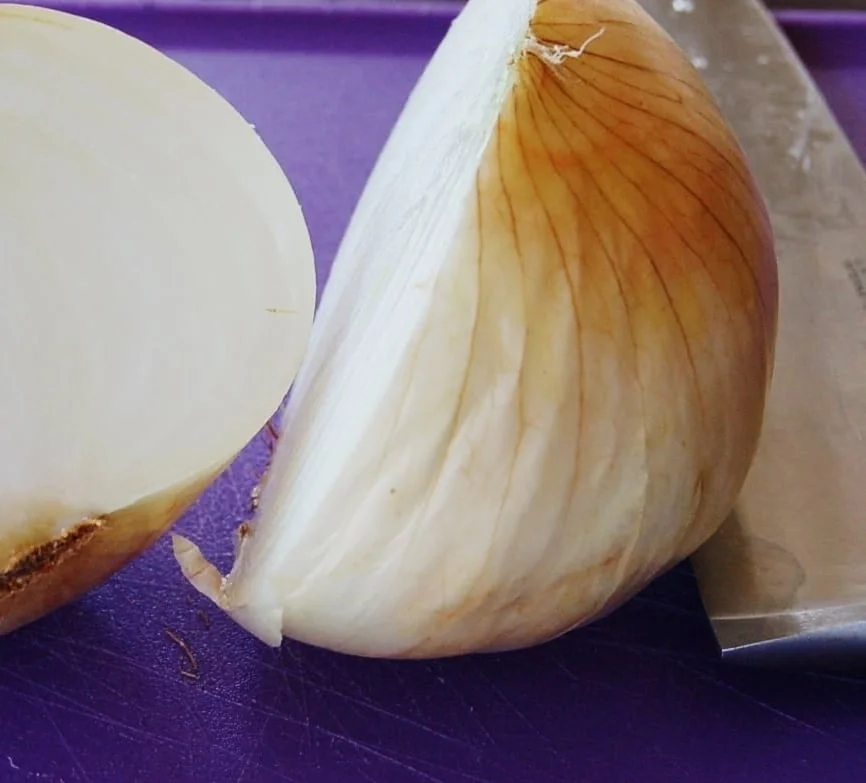
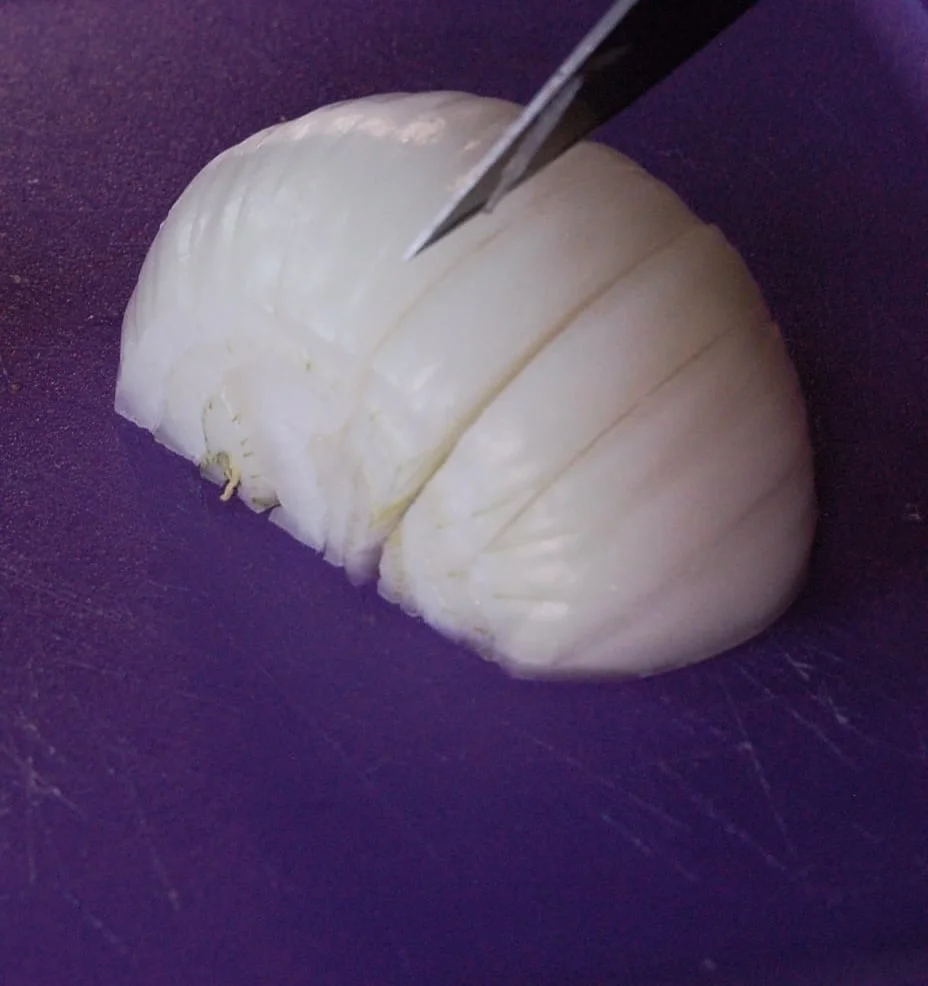
1. Begin by cutting an onion in half, making sure to keep the base in tact. Peel away the first or second layers depending on the onion.
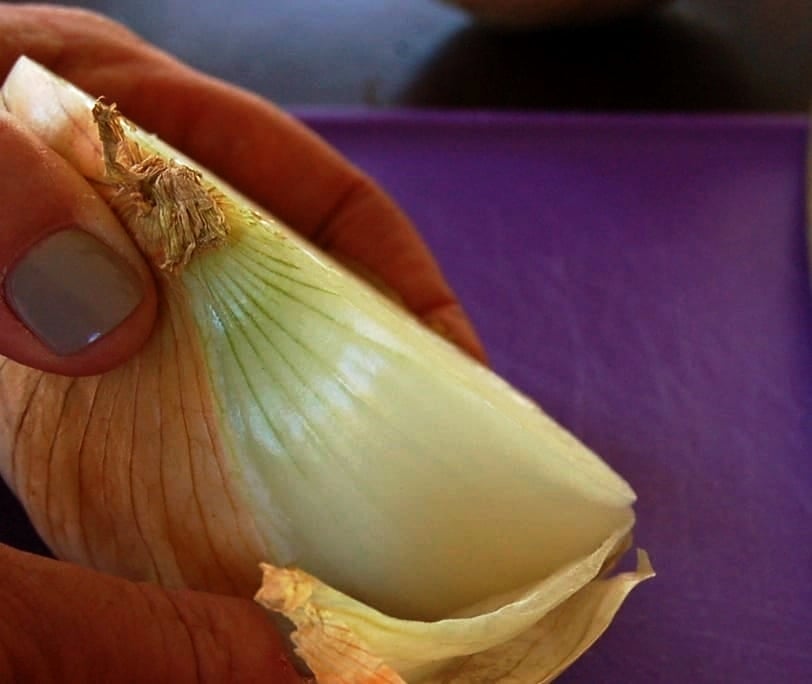
2. Cut off the top end of the onion, keeping the base in tact. Cut vertical slits into the onion as close to the base (or root) as possible, but being careful not to cut through the onion completely.
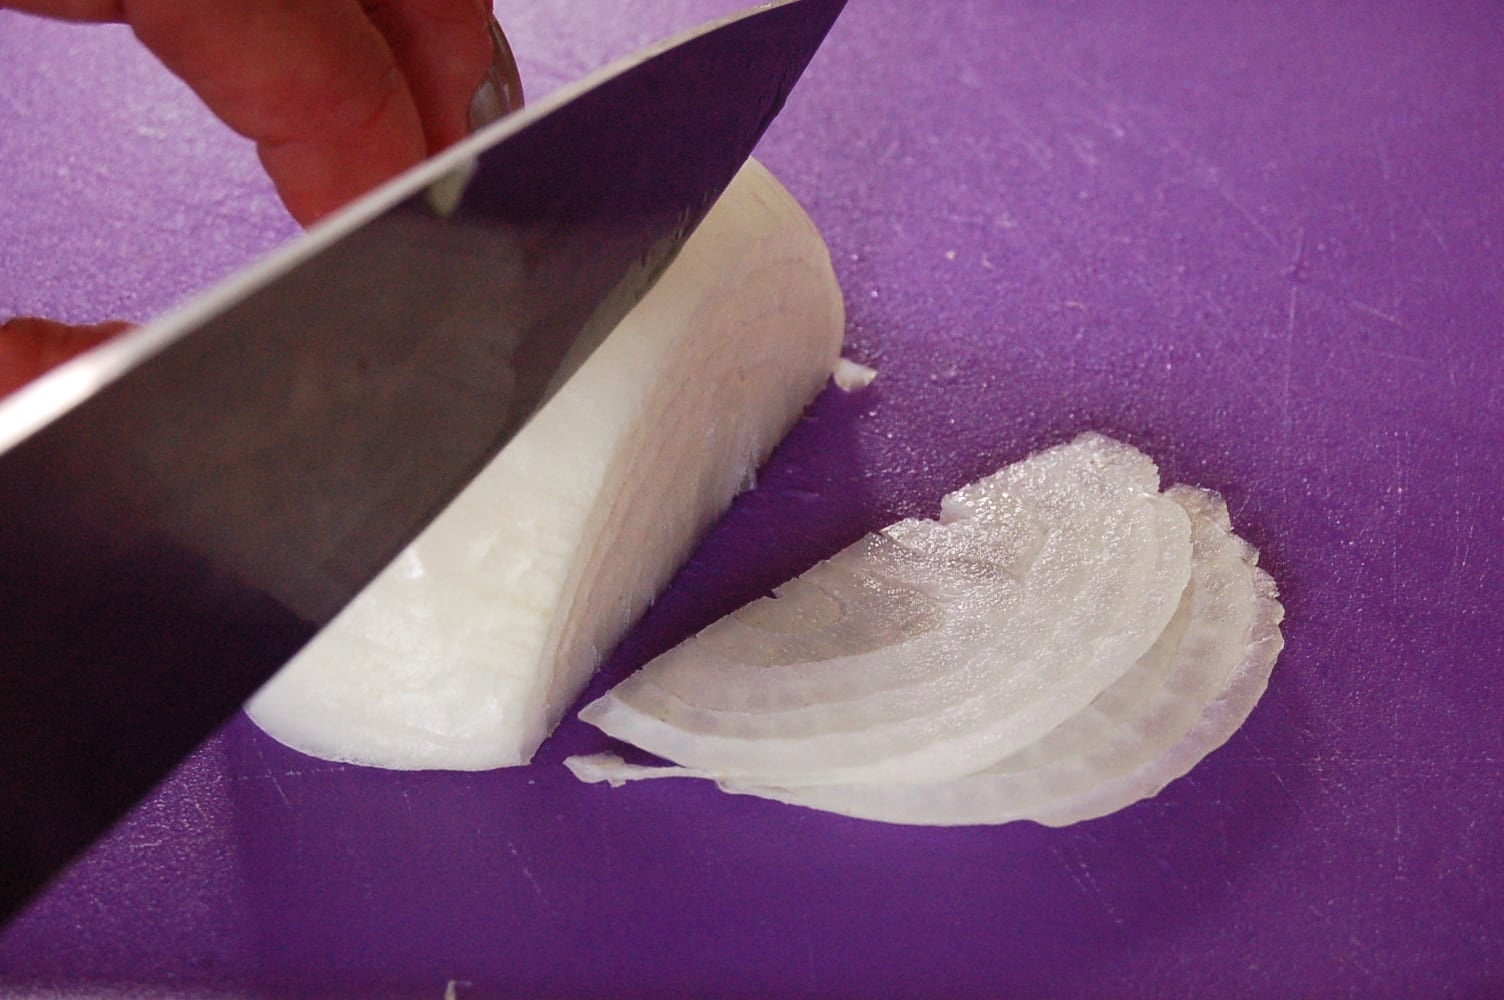
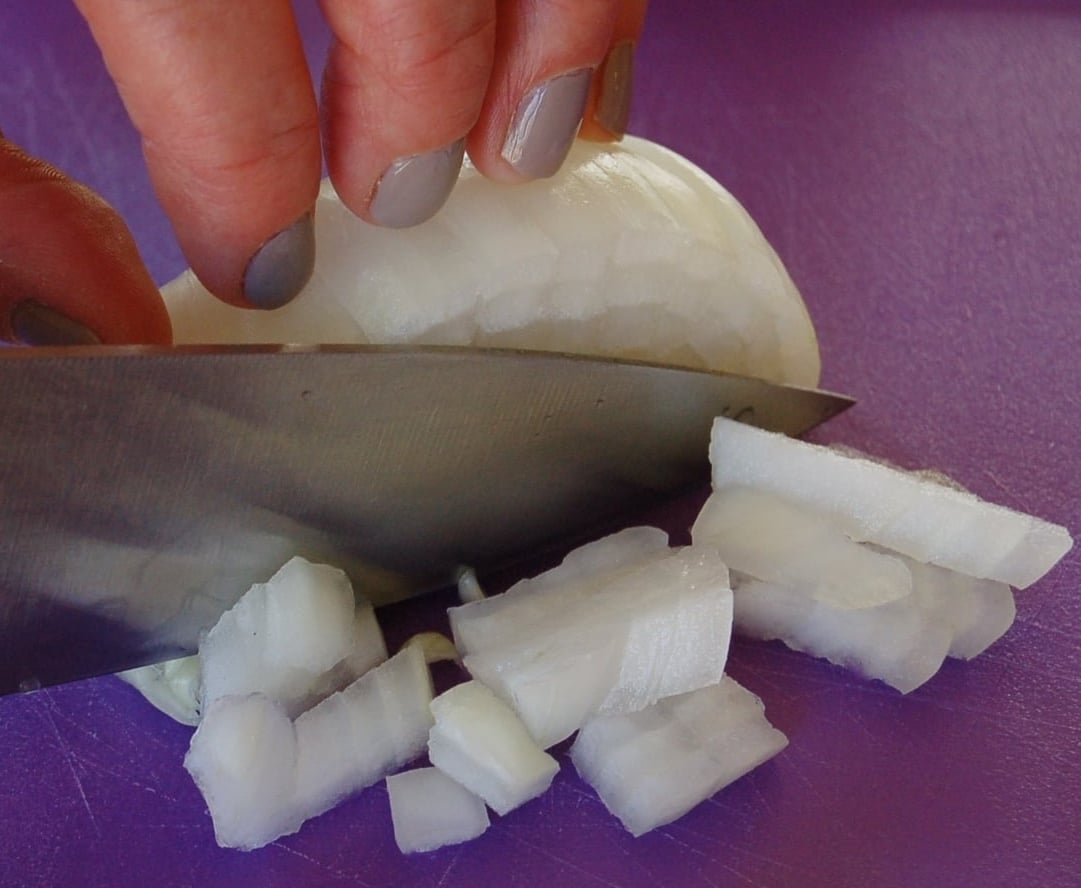
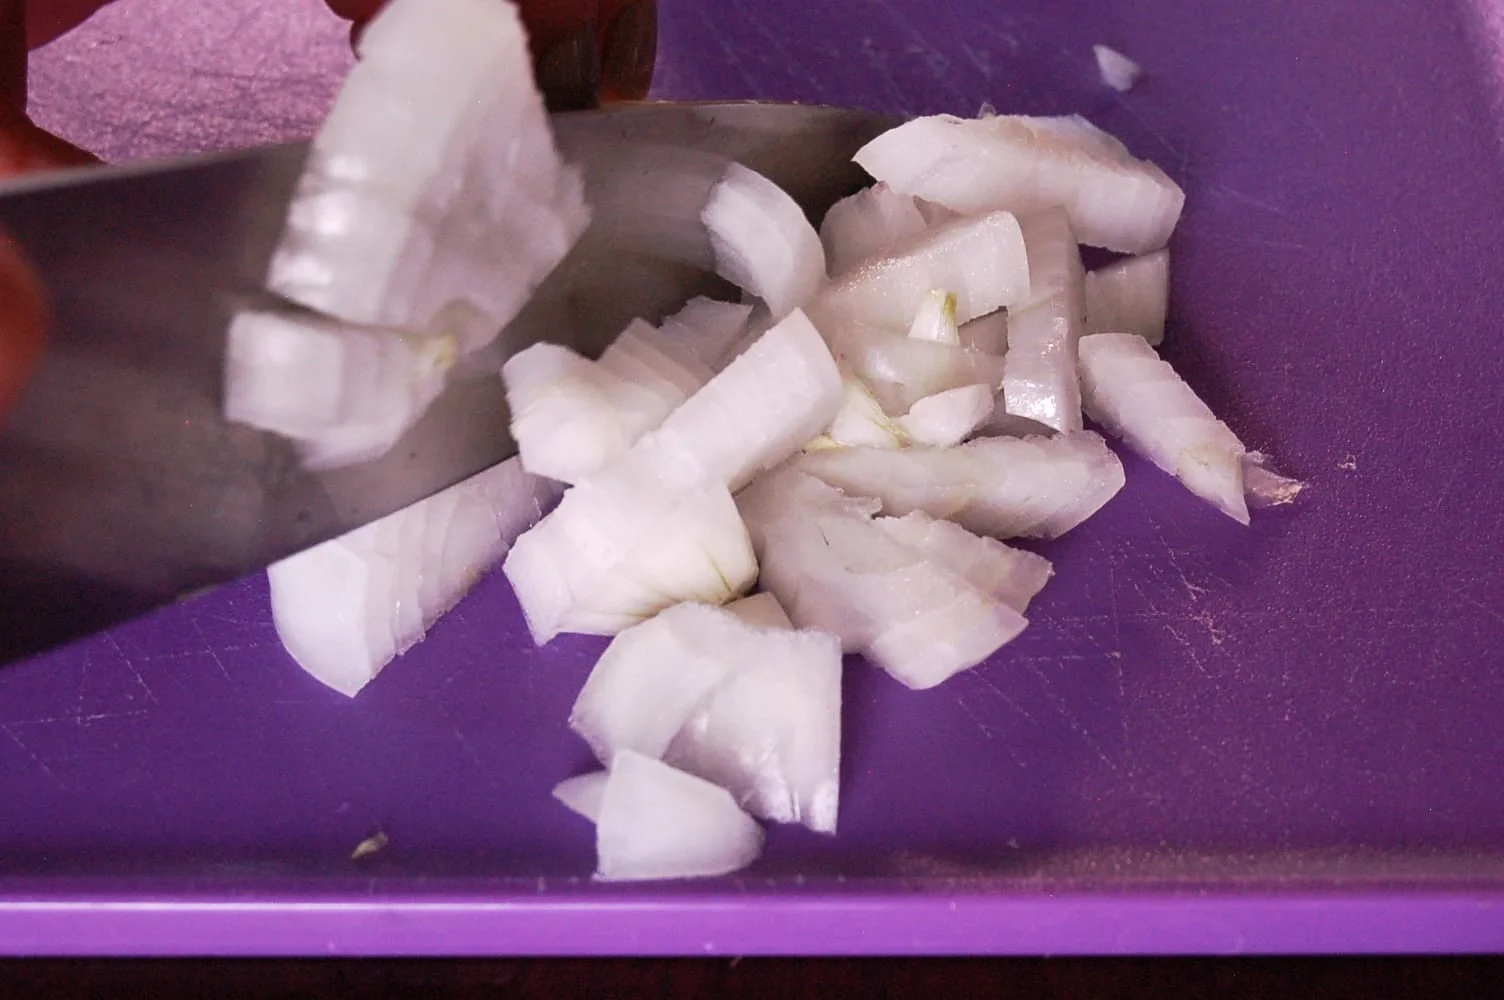
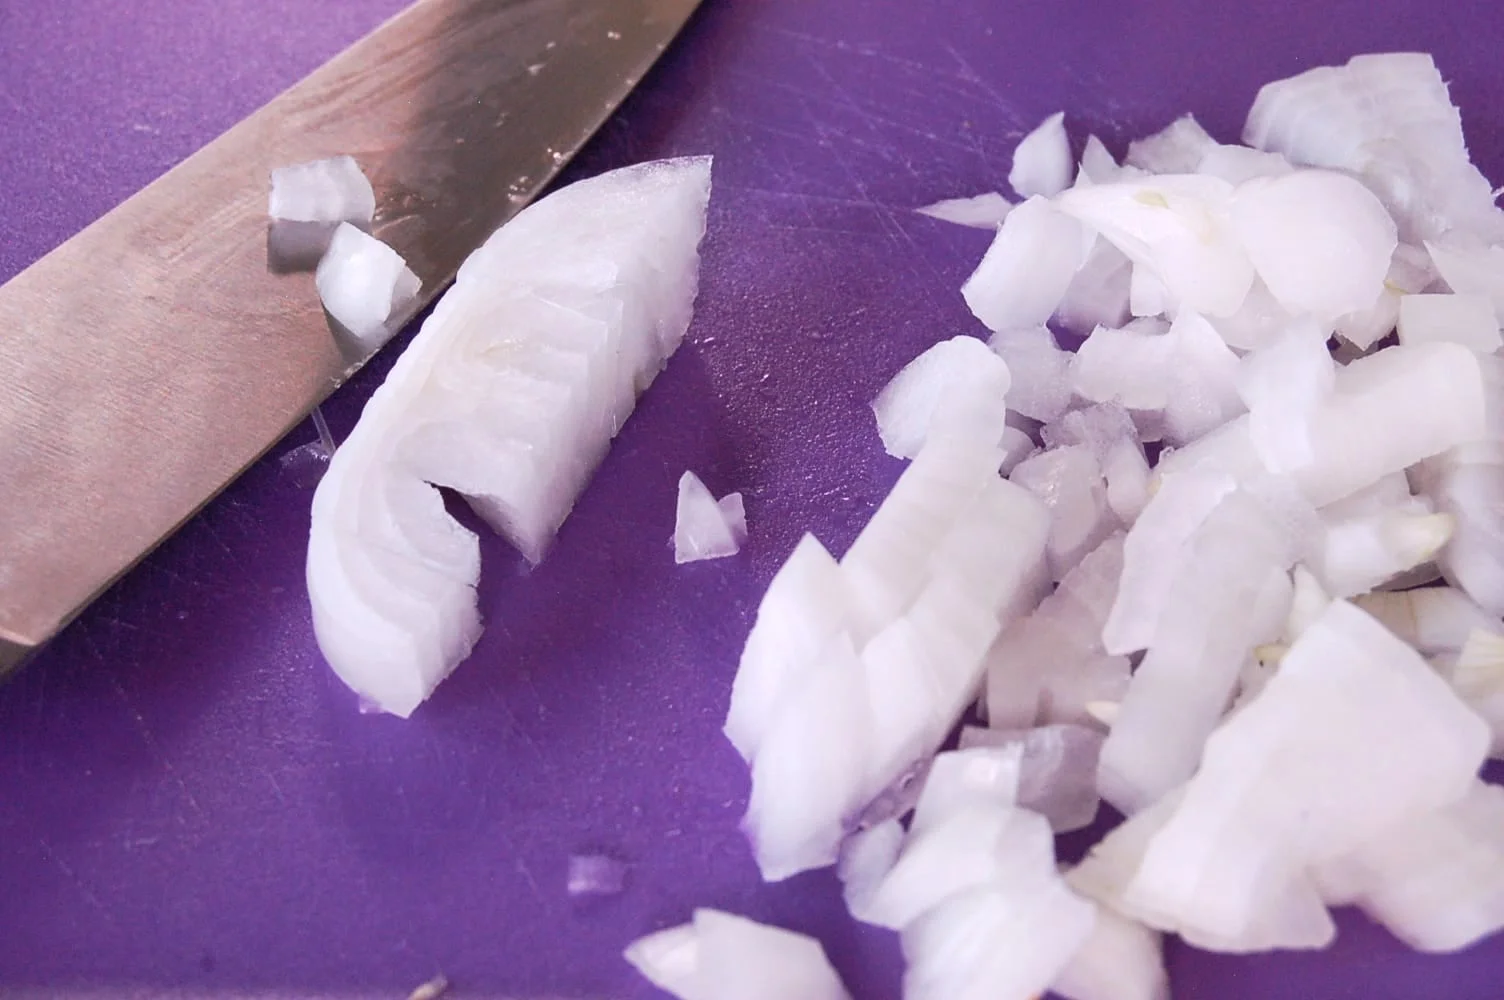
3. Turn the onion. I can't stress this enough, MAKE SURE YOU CURL YOUR FINGERS when you are cutting. Your knuckles should be the guide for the knife. Our fingers are important;) Cut the desired size of onion you want. For mincing, cut smaller pieces, using the same technique.
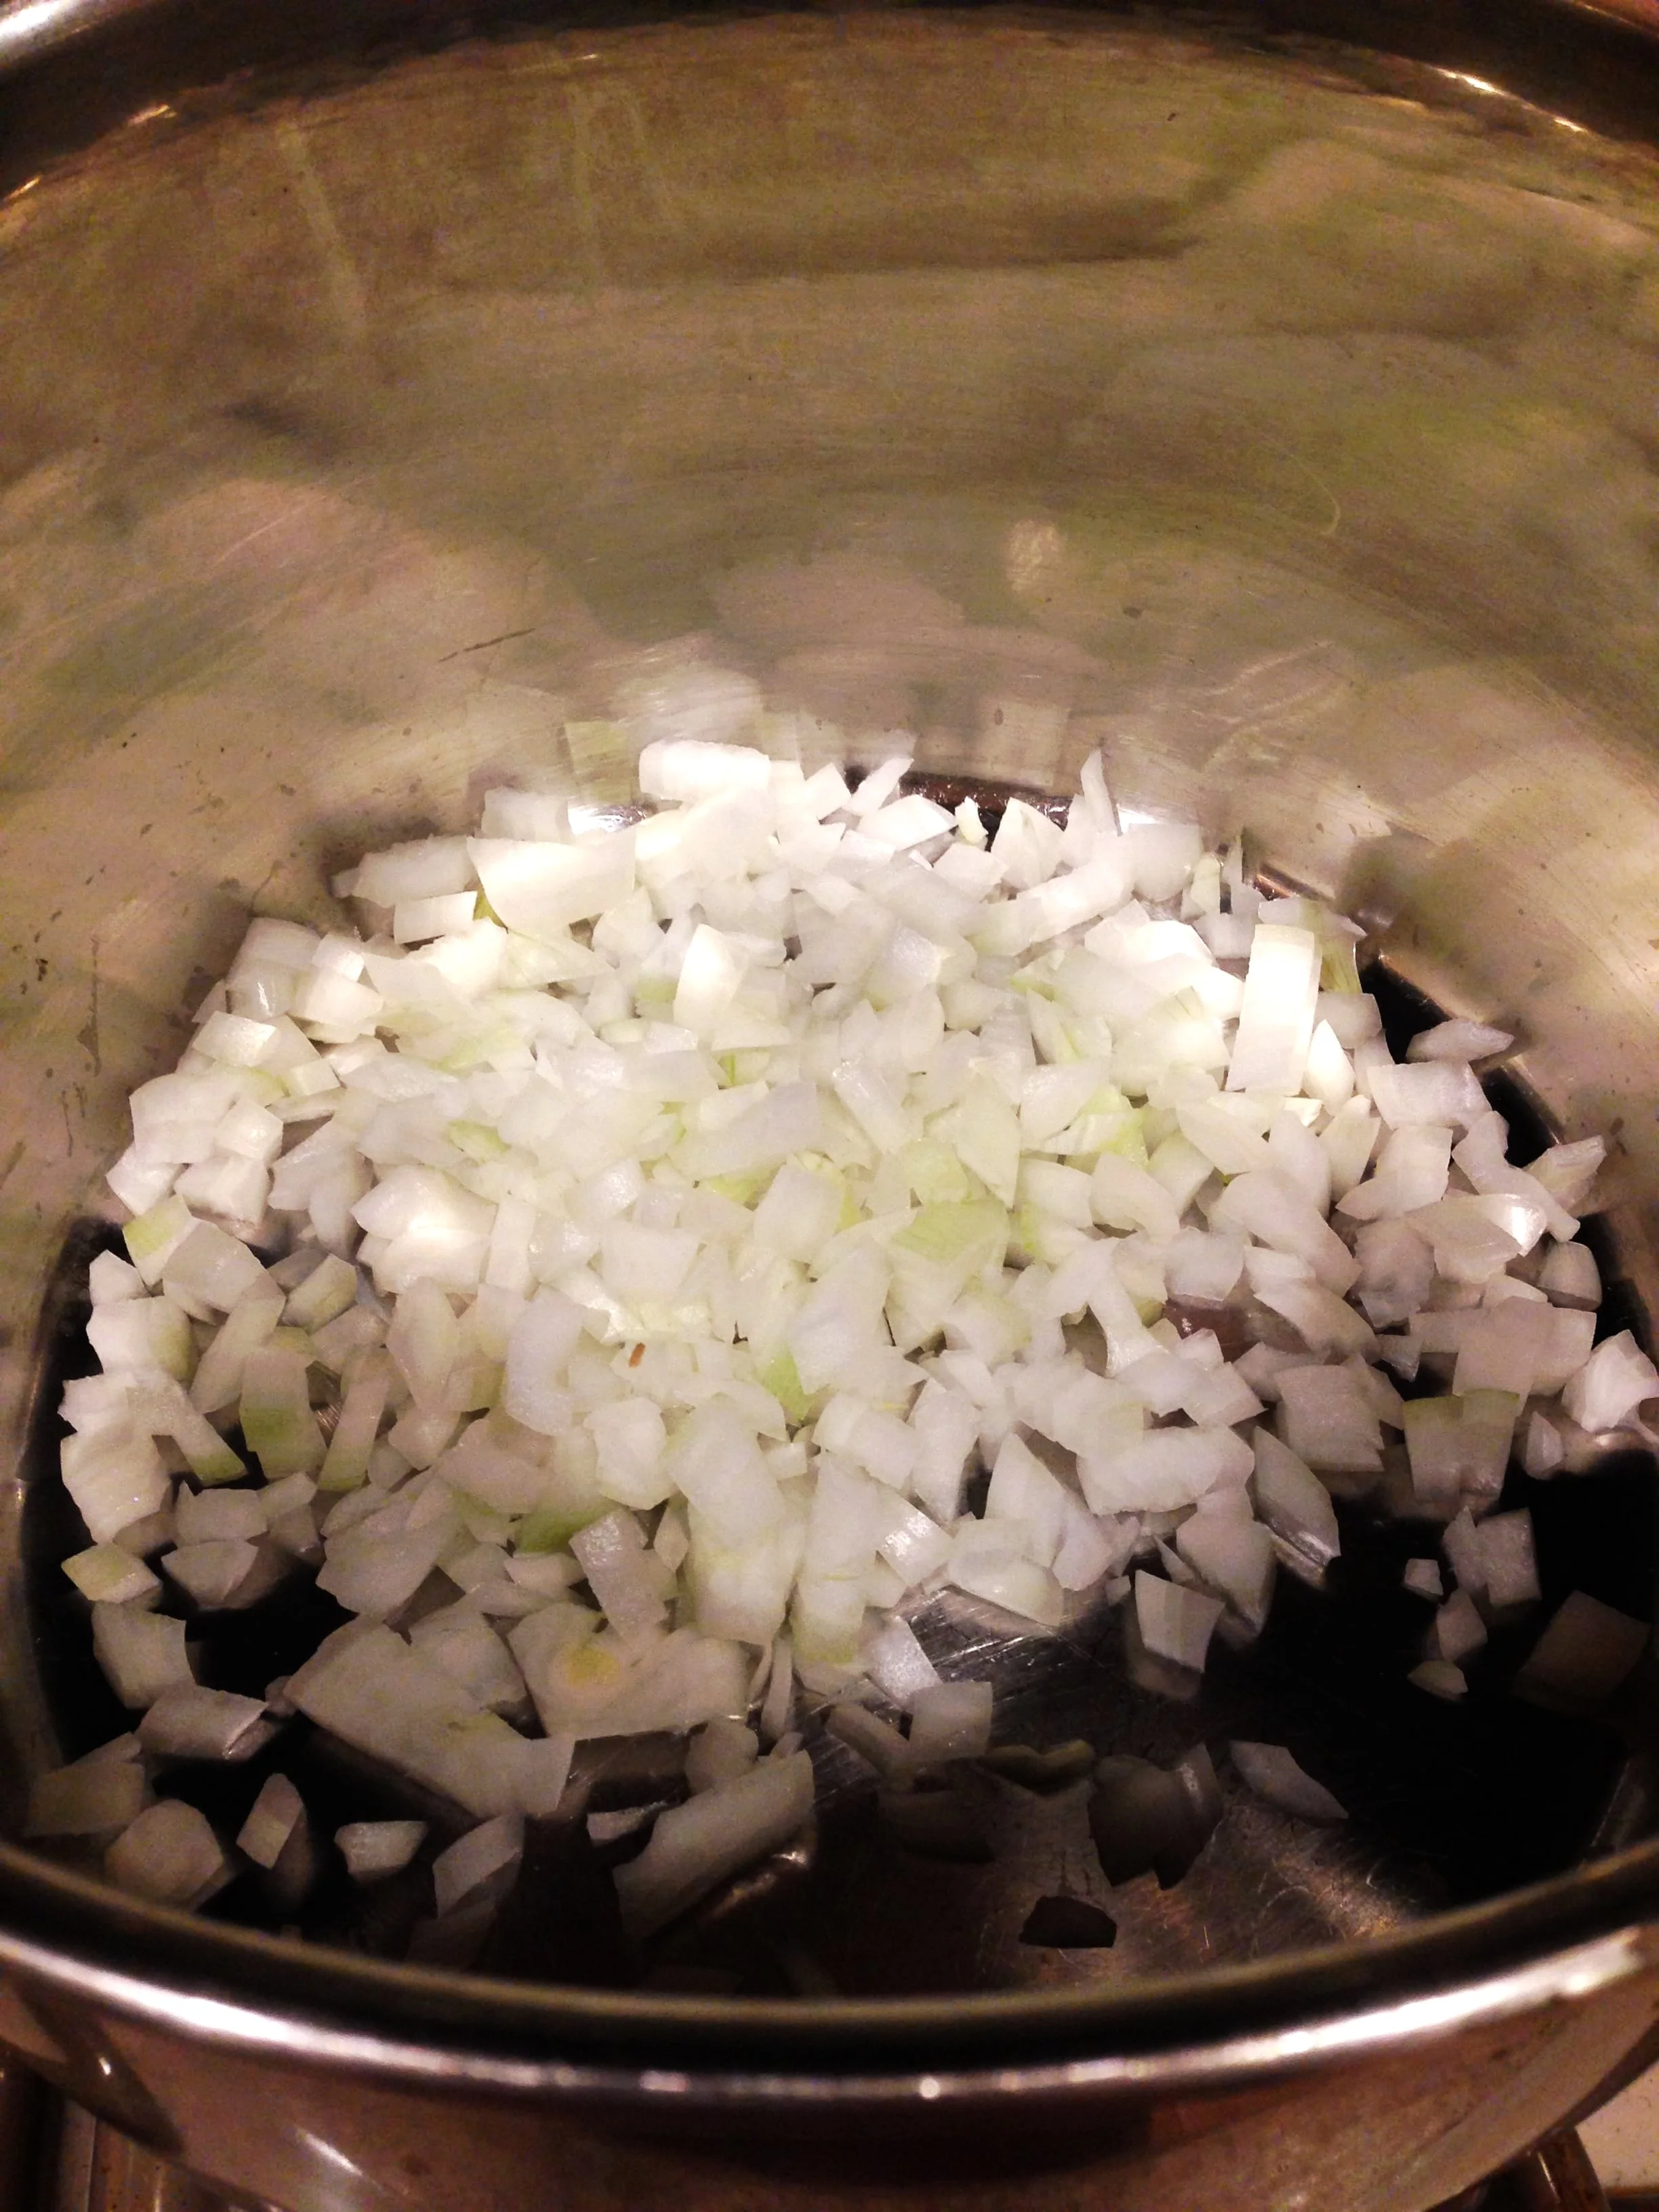
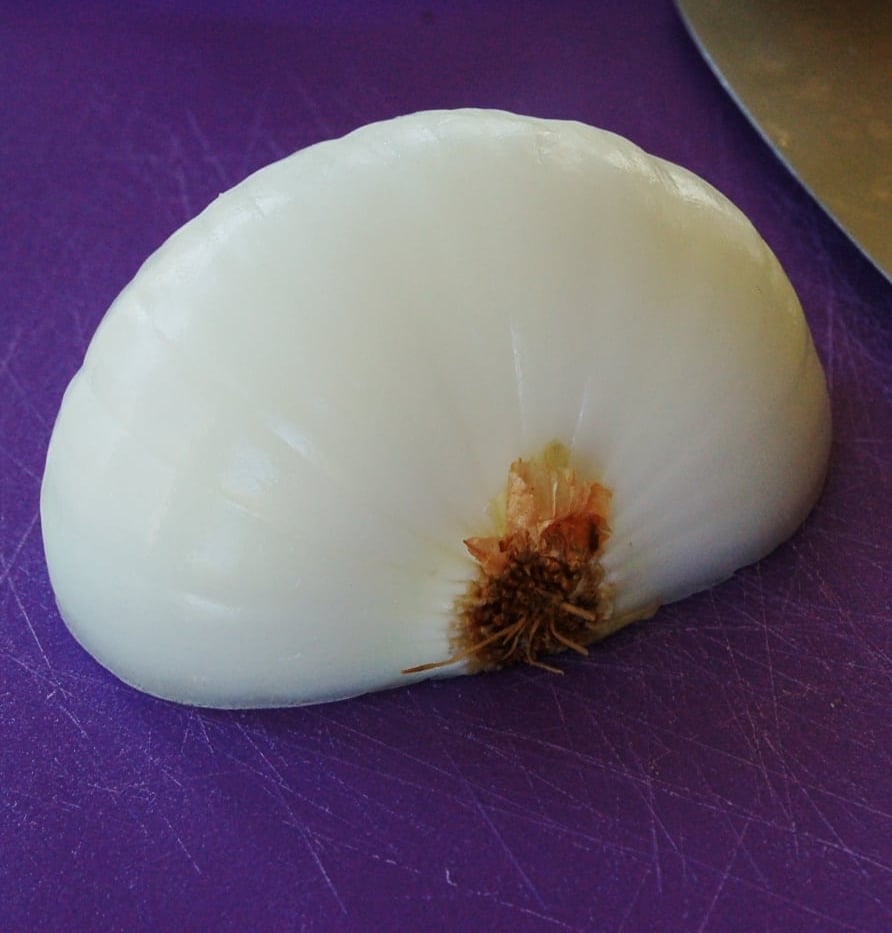
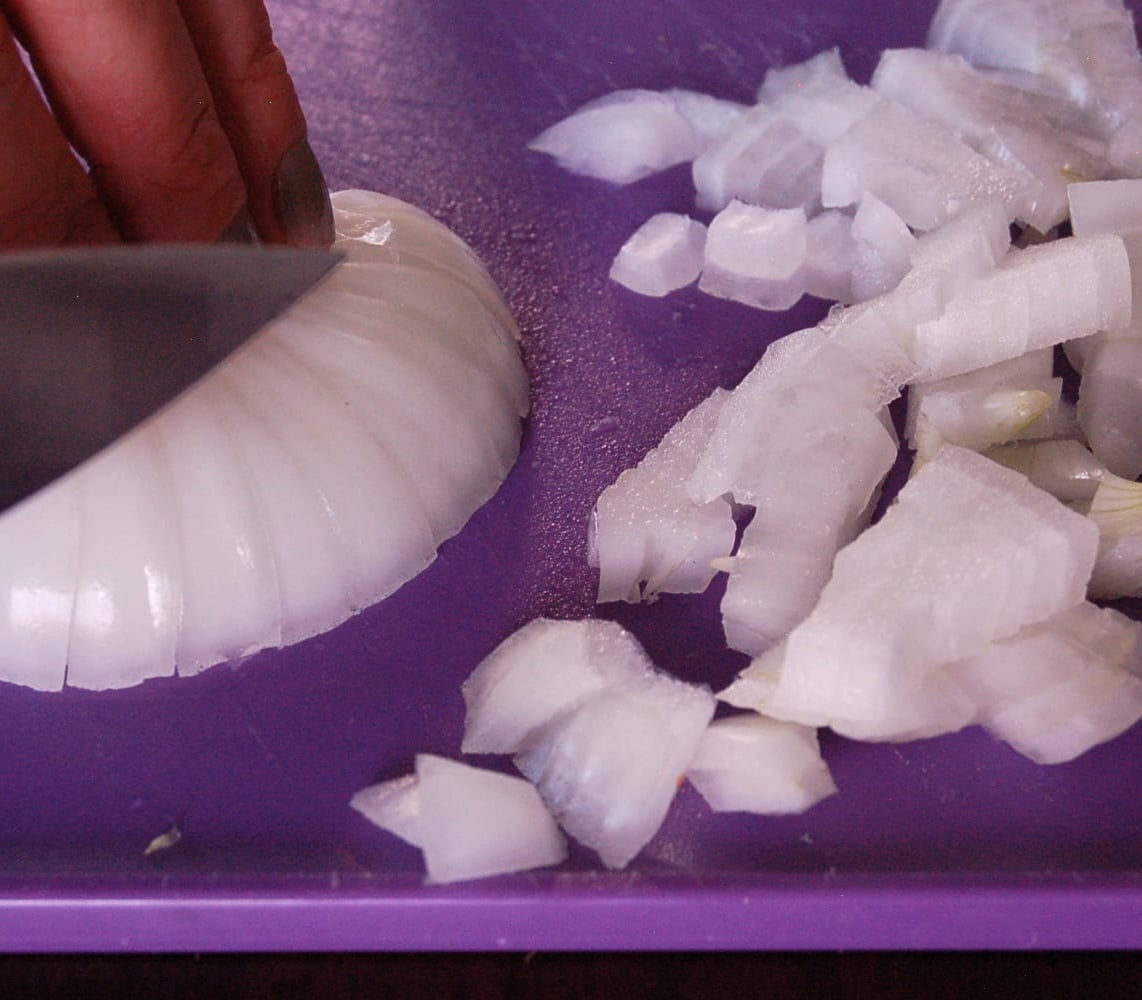
4. As you near the end of the onion, turn the onion again to get the sides of the base (root) and turn over to chop more. You should be left with only the base (root) with very little waste.
Slicing- For slicing half-circles, Follow step 1. Curling your fingers (don't forget), make thin slices up to the base (root). If slicing rings, cut off the top as mentioned in Step 1, but do not cut in half. Slice whole onion into rings.
Slice away safely:)