Cherchies Blog

snacks

Cheesy Corn Dog Bites Recipe

appetizers, parties, snacksSheri SpalloneComment
Cheesy Corn Dog Bites Recipe

Cheesy Corn Dog Bites Recipe

Cook Time:  12 minutes

Difficulty:  Easy

Makes 32 appetizers

Do you like football?  Our home is crazily obsessed with football, and considering our favorite NFL team is in the playoffs, life is good here in Pennsylvania... unless you are a Pittsburgh fan. Game Day is all about the snacks and finger foods, so let's talk about Game Day Food.  Do you have a favorite go-to recipe? 

Cheesy Corn Dog Bites are one of our family's most requested Game Day recipes.  Although we try to eat fairly healthy, hot dogs seem to sneak into the Game Day plans on occasion.  Everything in moderation, right?  These savory wieners, enveloped in a super moist, cheesy, corn muffin and tinged with Champagne Mustard, will score a touchdown with your gang; but, grab a few for yourself because they will disappear right before your eyes.  They are "doggone" good!

Ingredients  

Preparation

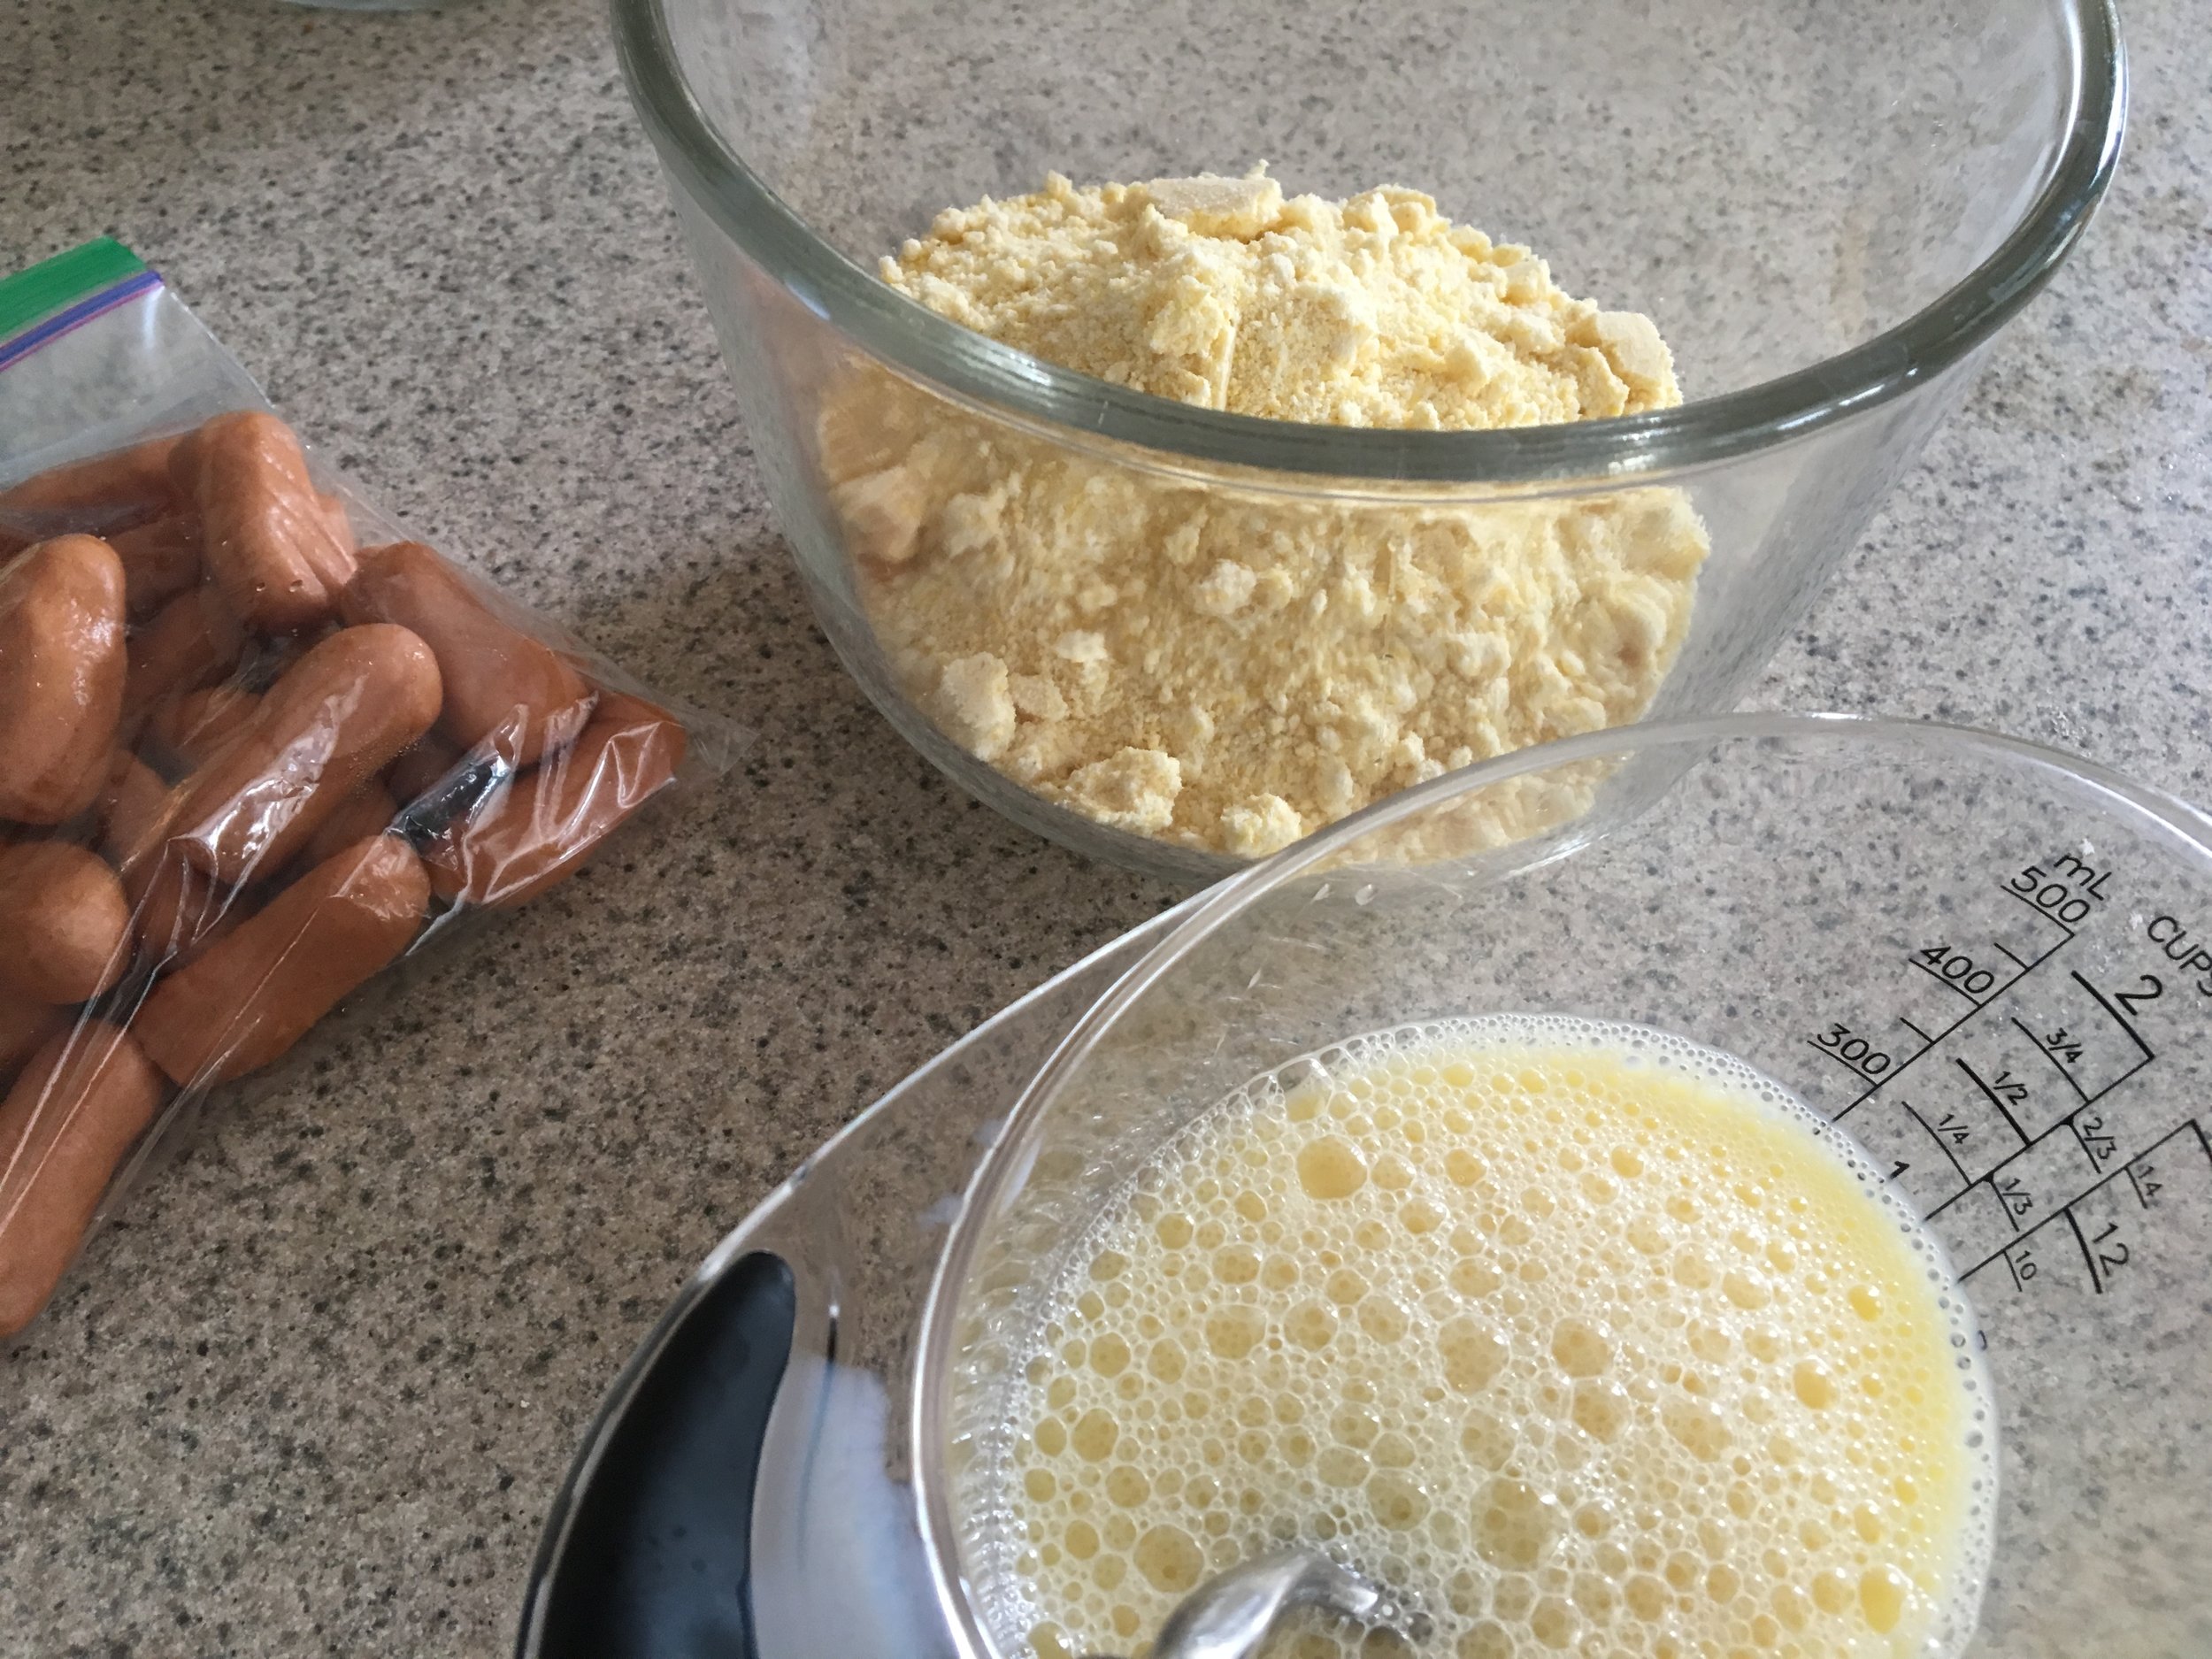
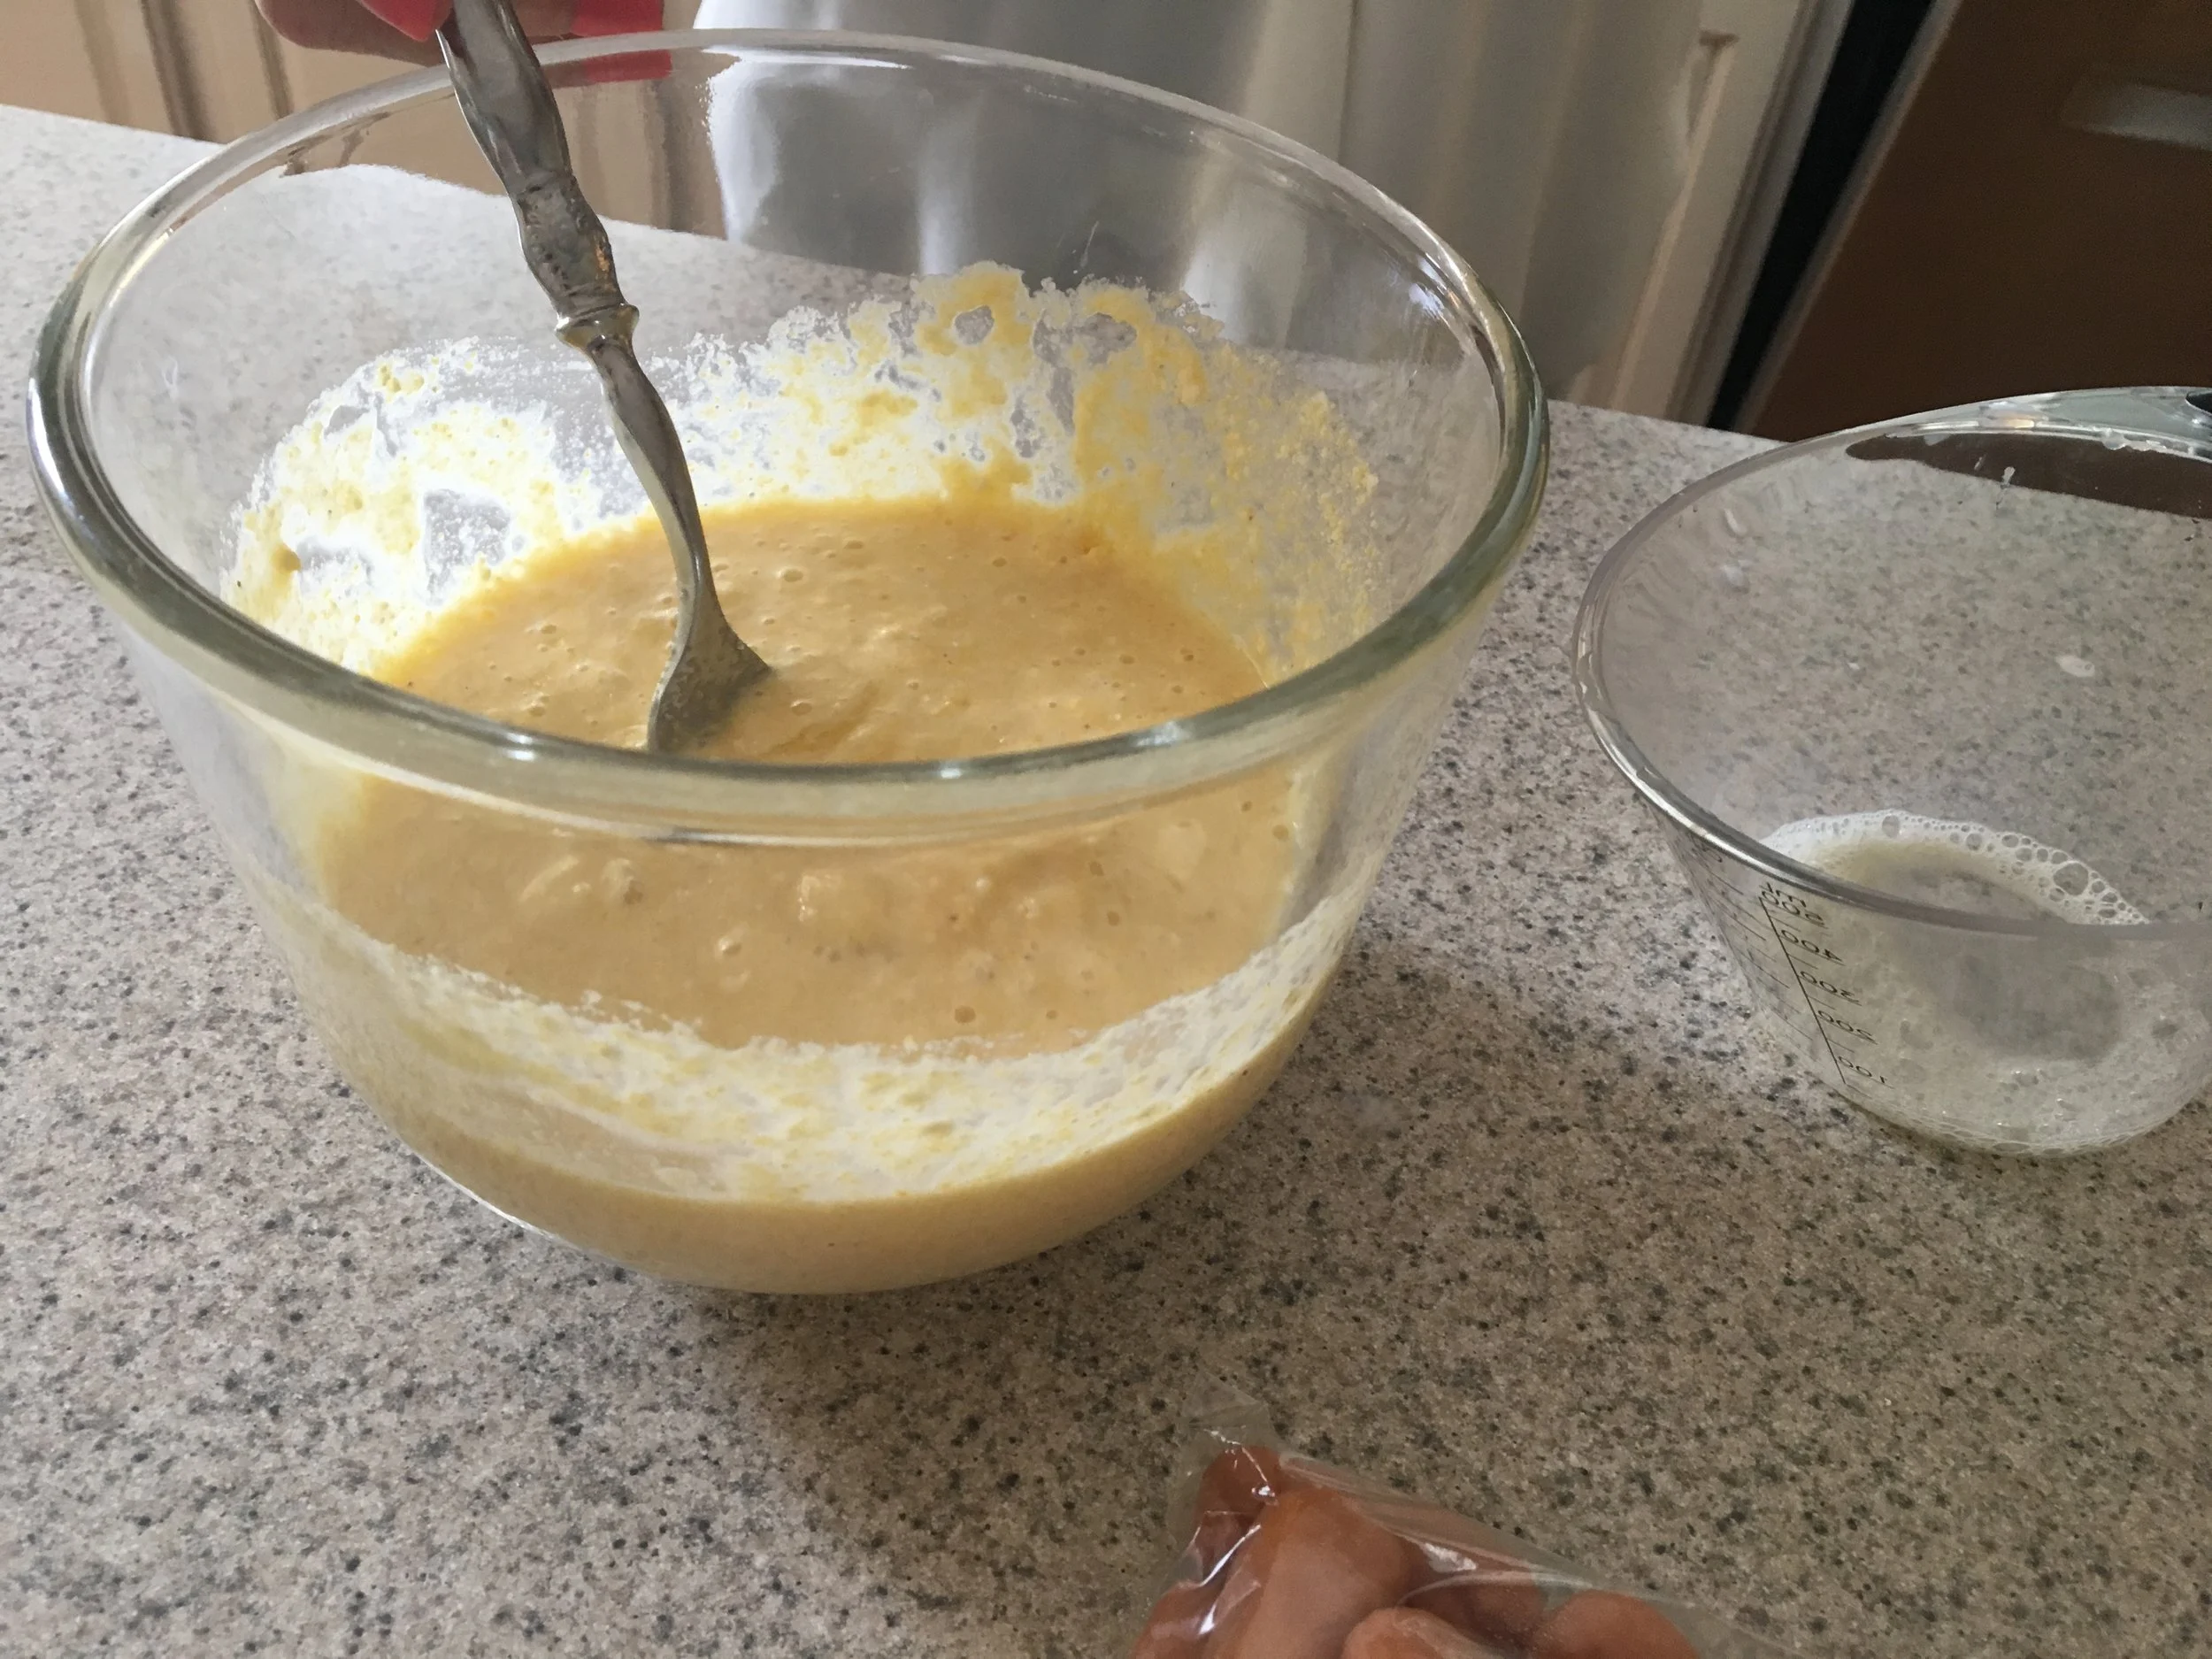
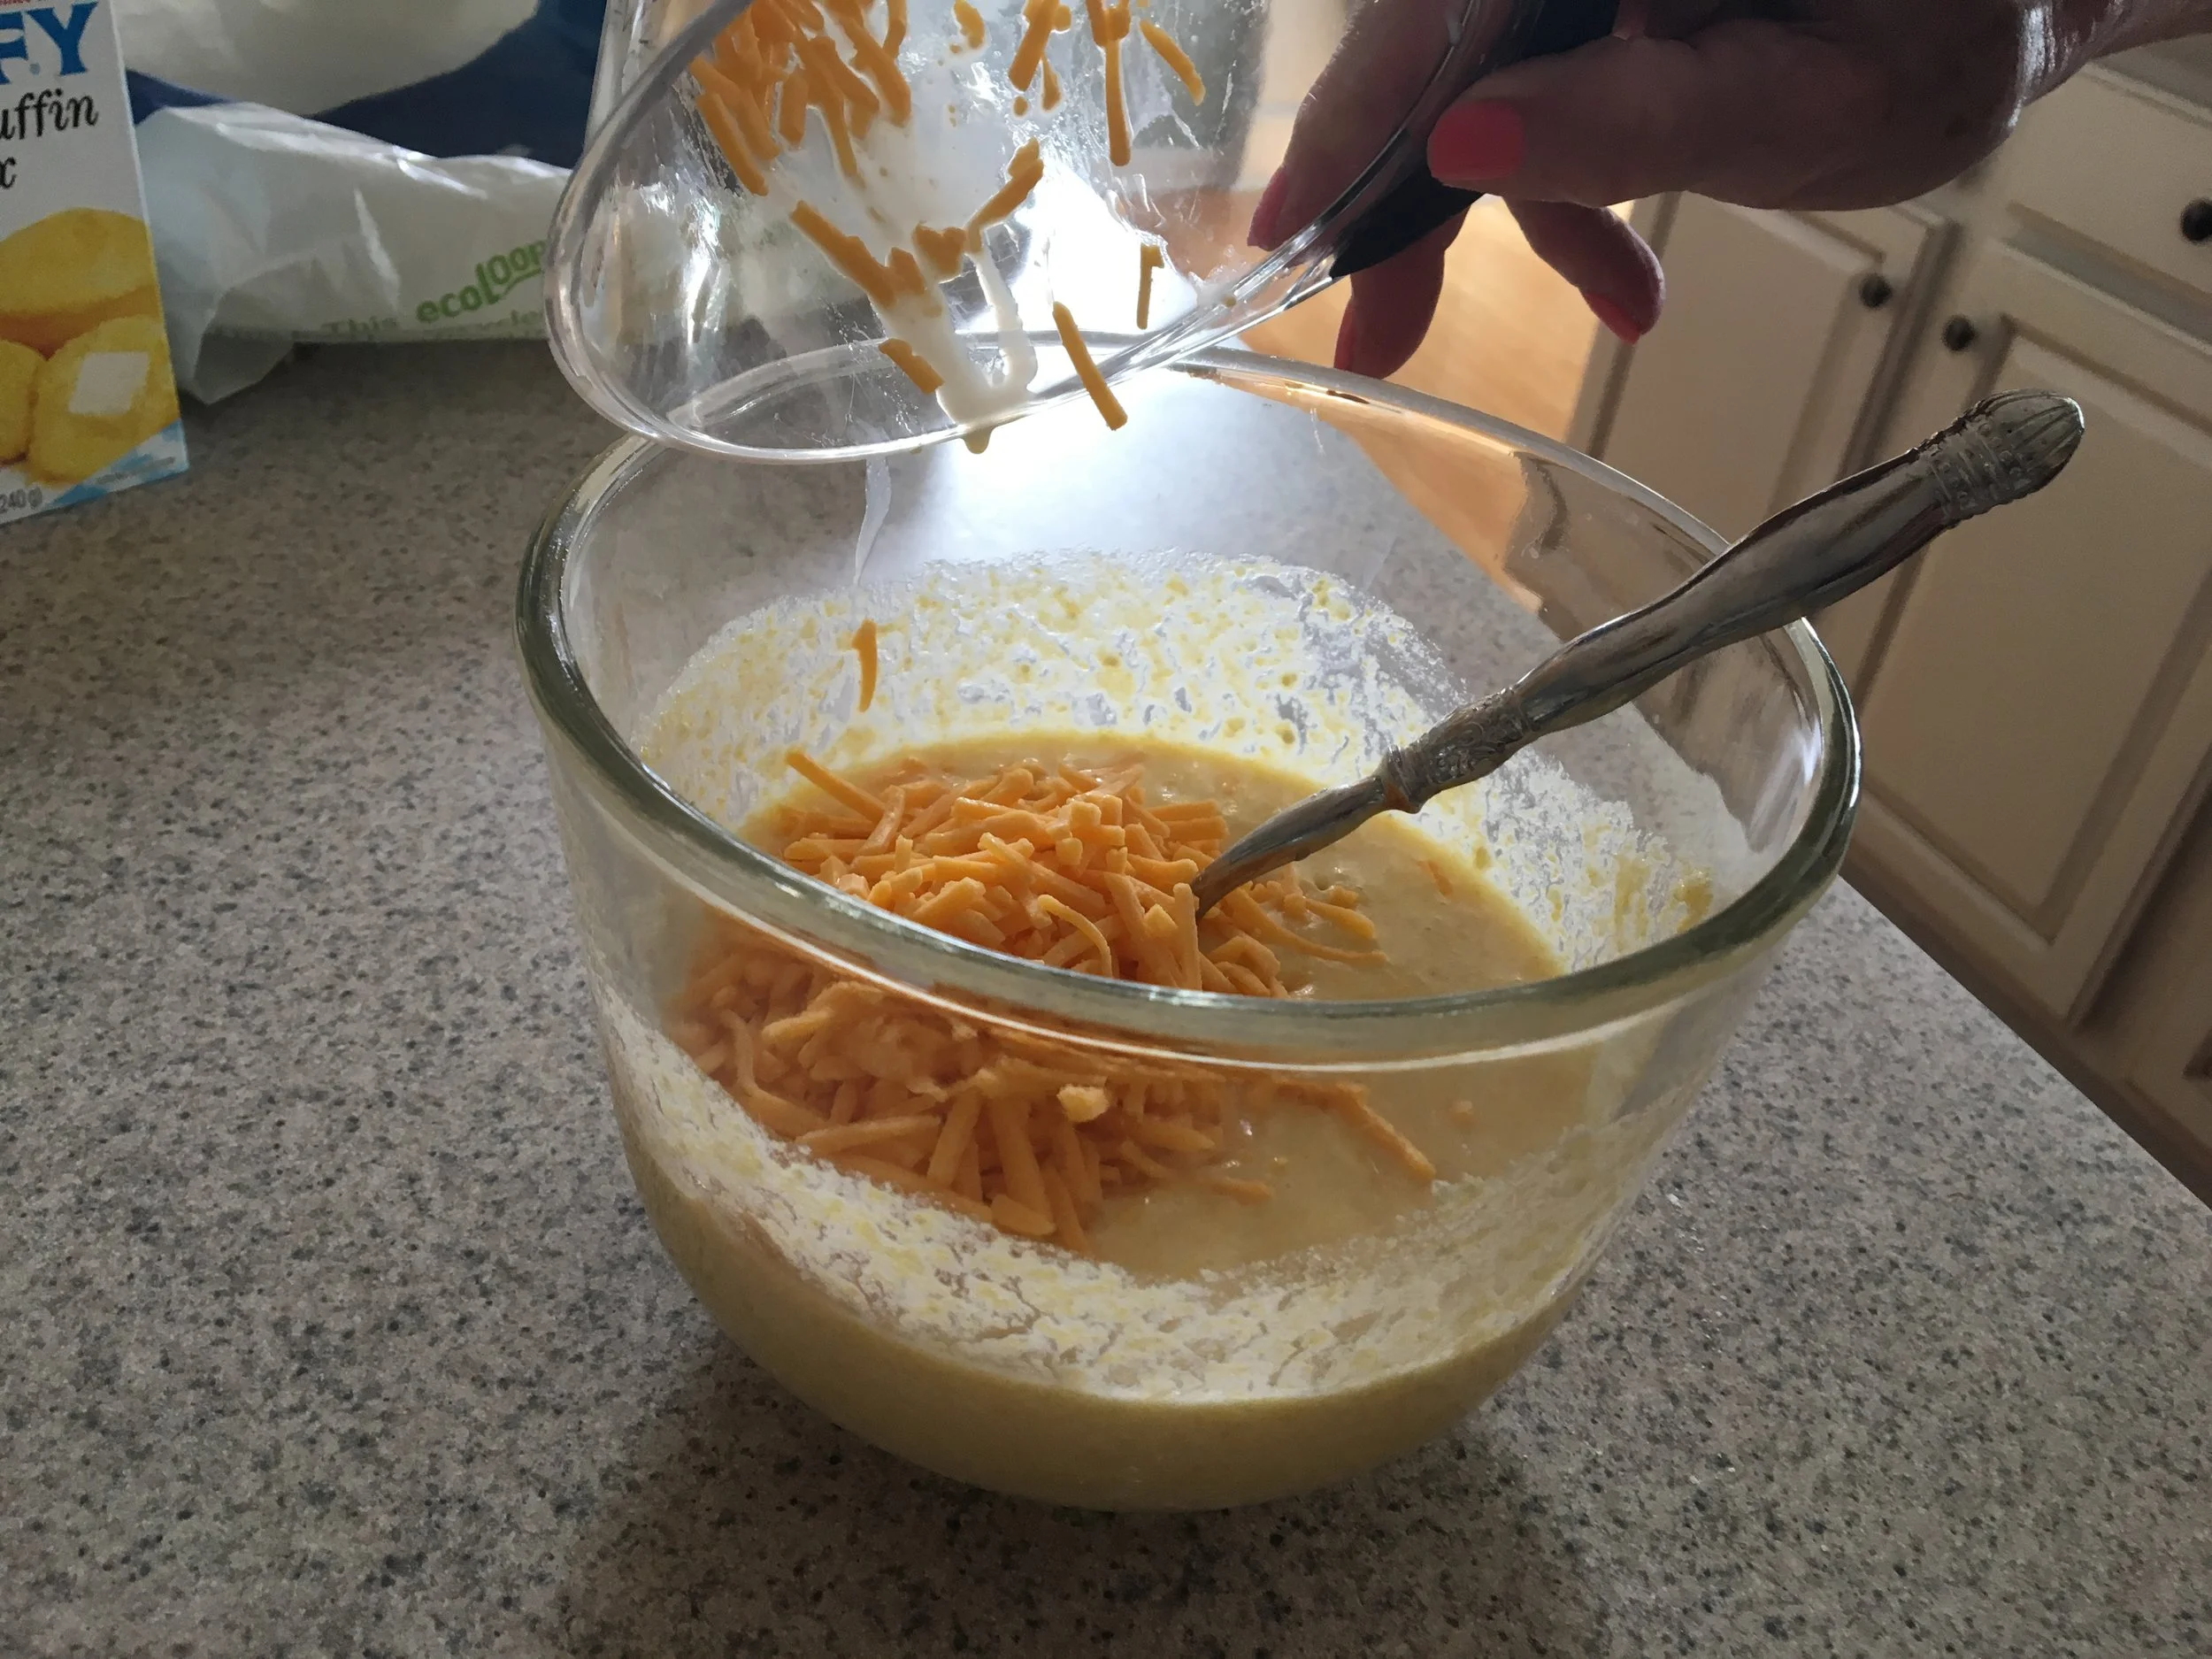
Preheat oven to 400 degrees.  Add the cornbread mix to a medium mixing bowl.  Add the egg, brown sugar, milk, and grated cheddar cheese to the bowl, and mix all ingredients thoroughly.  

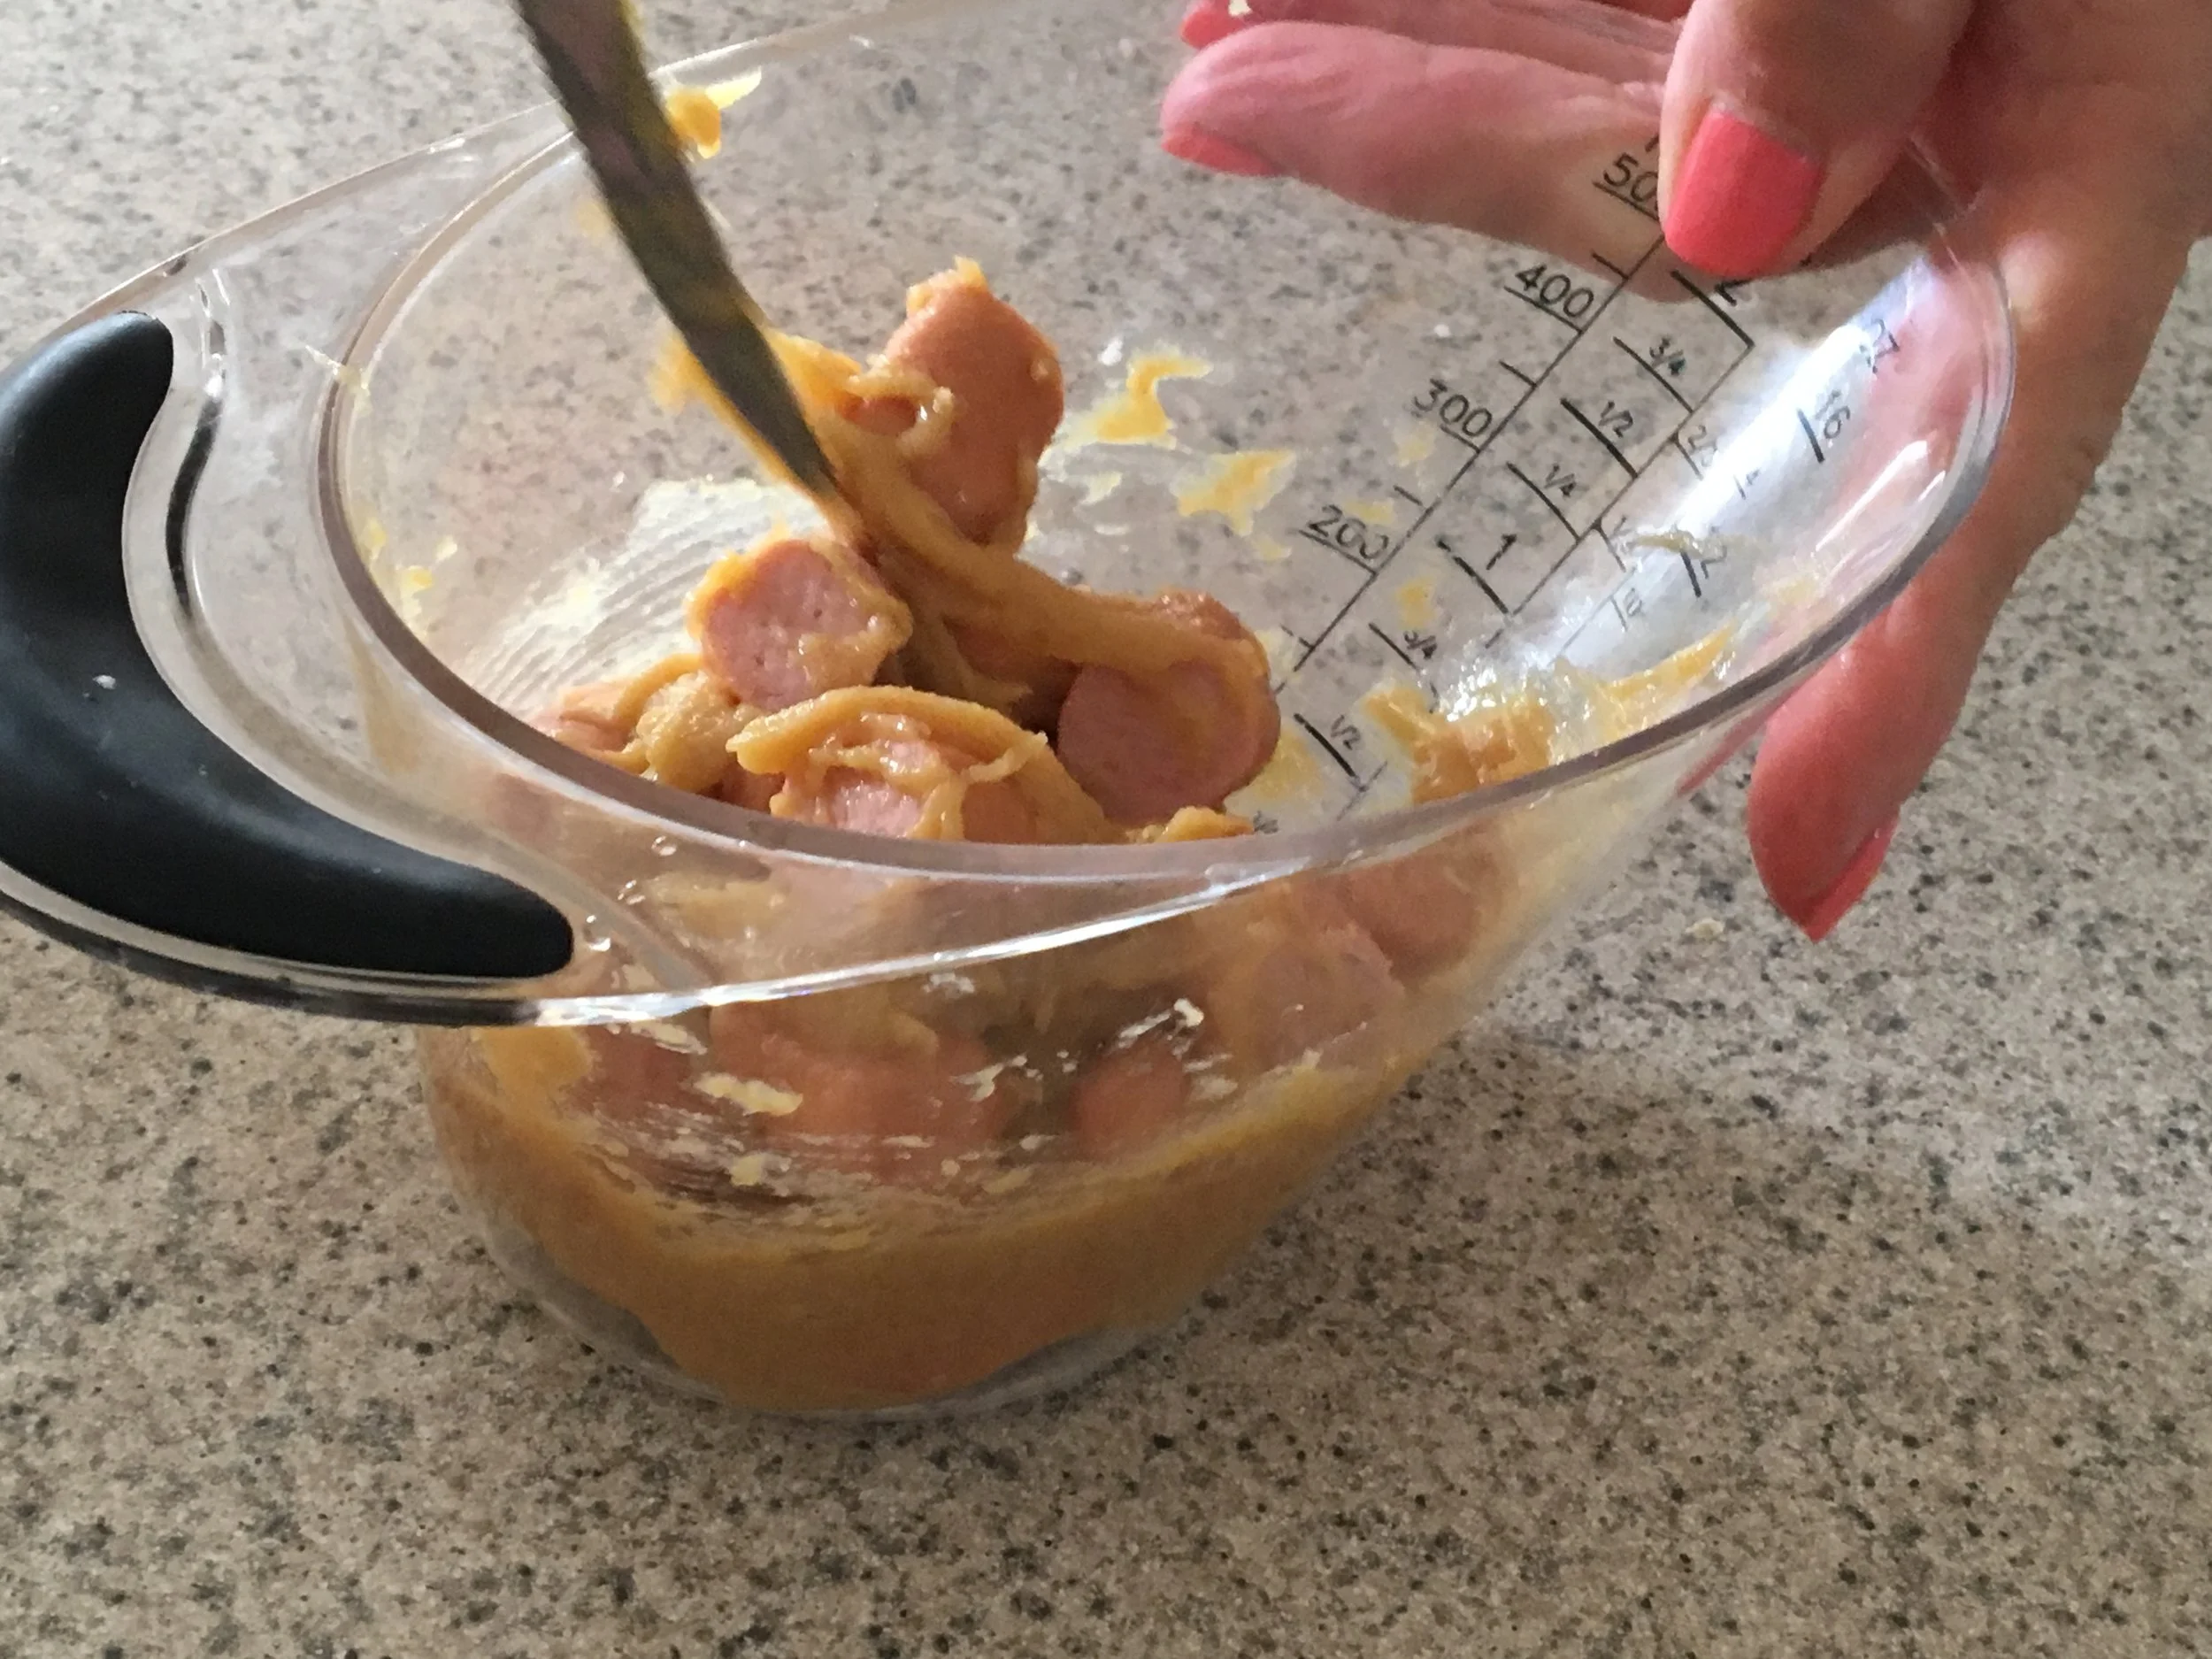
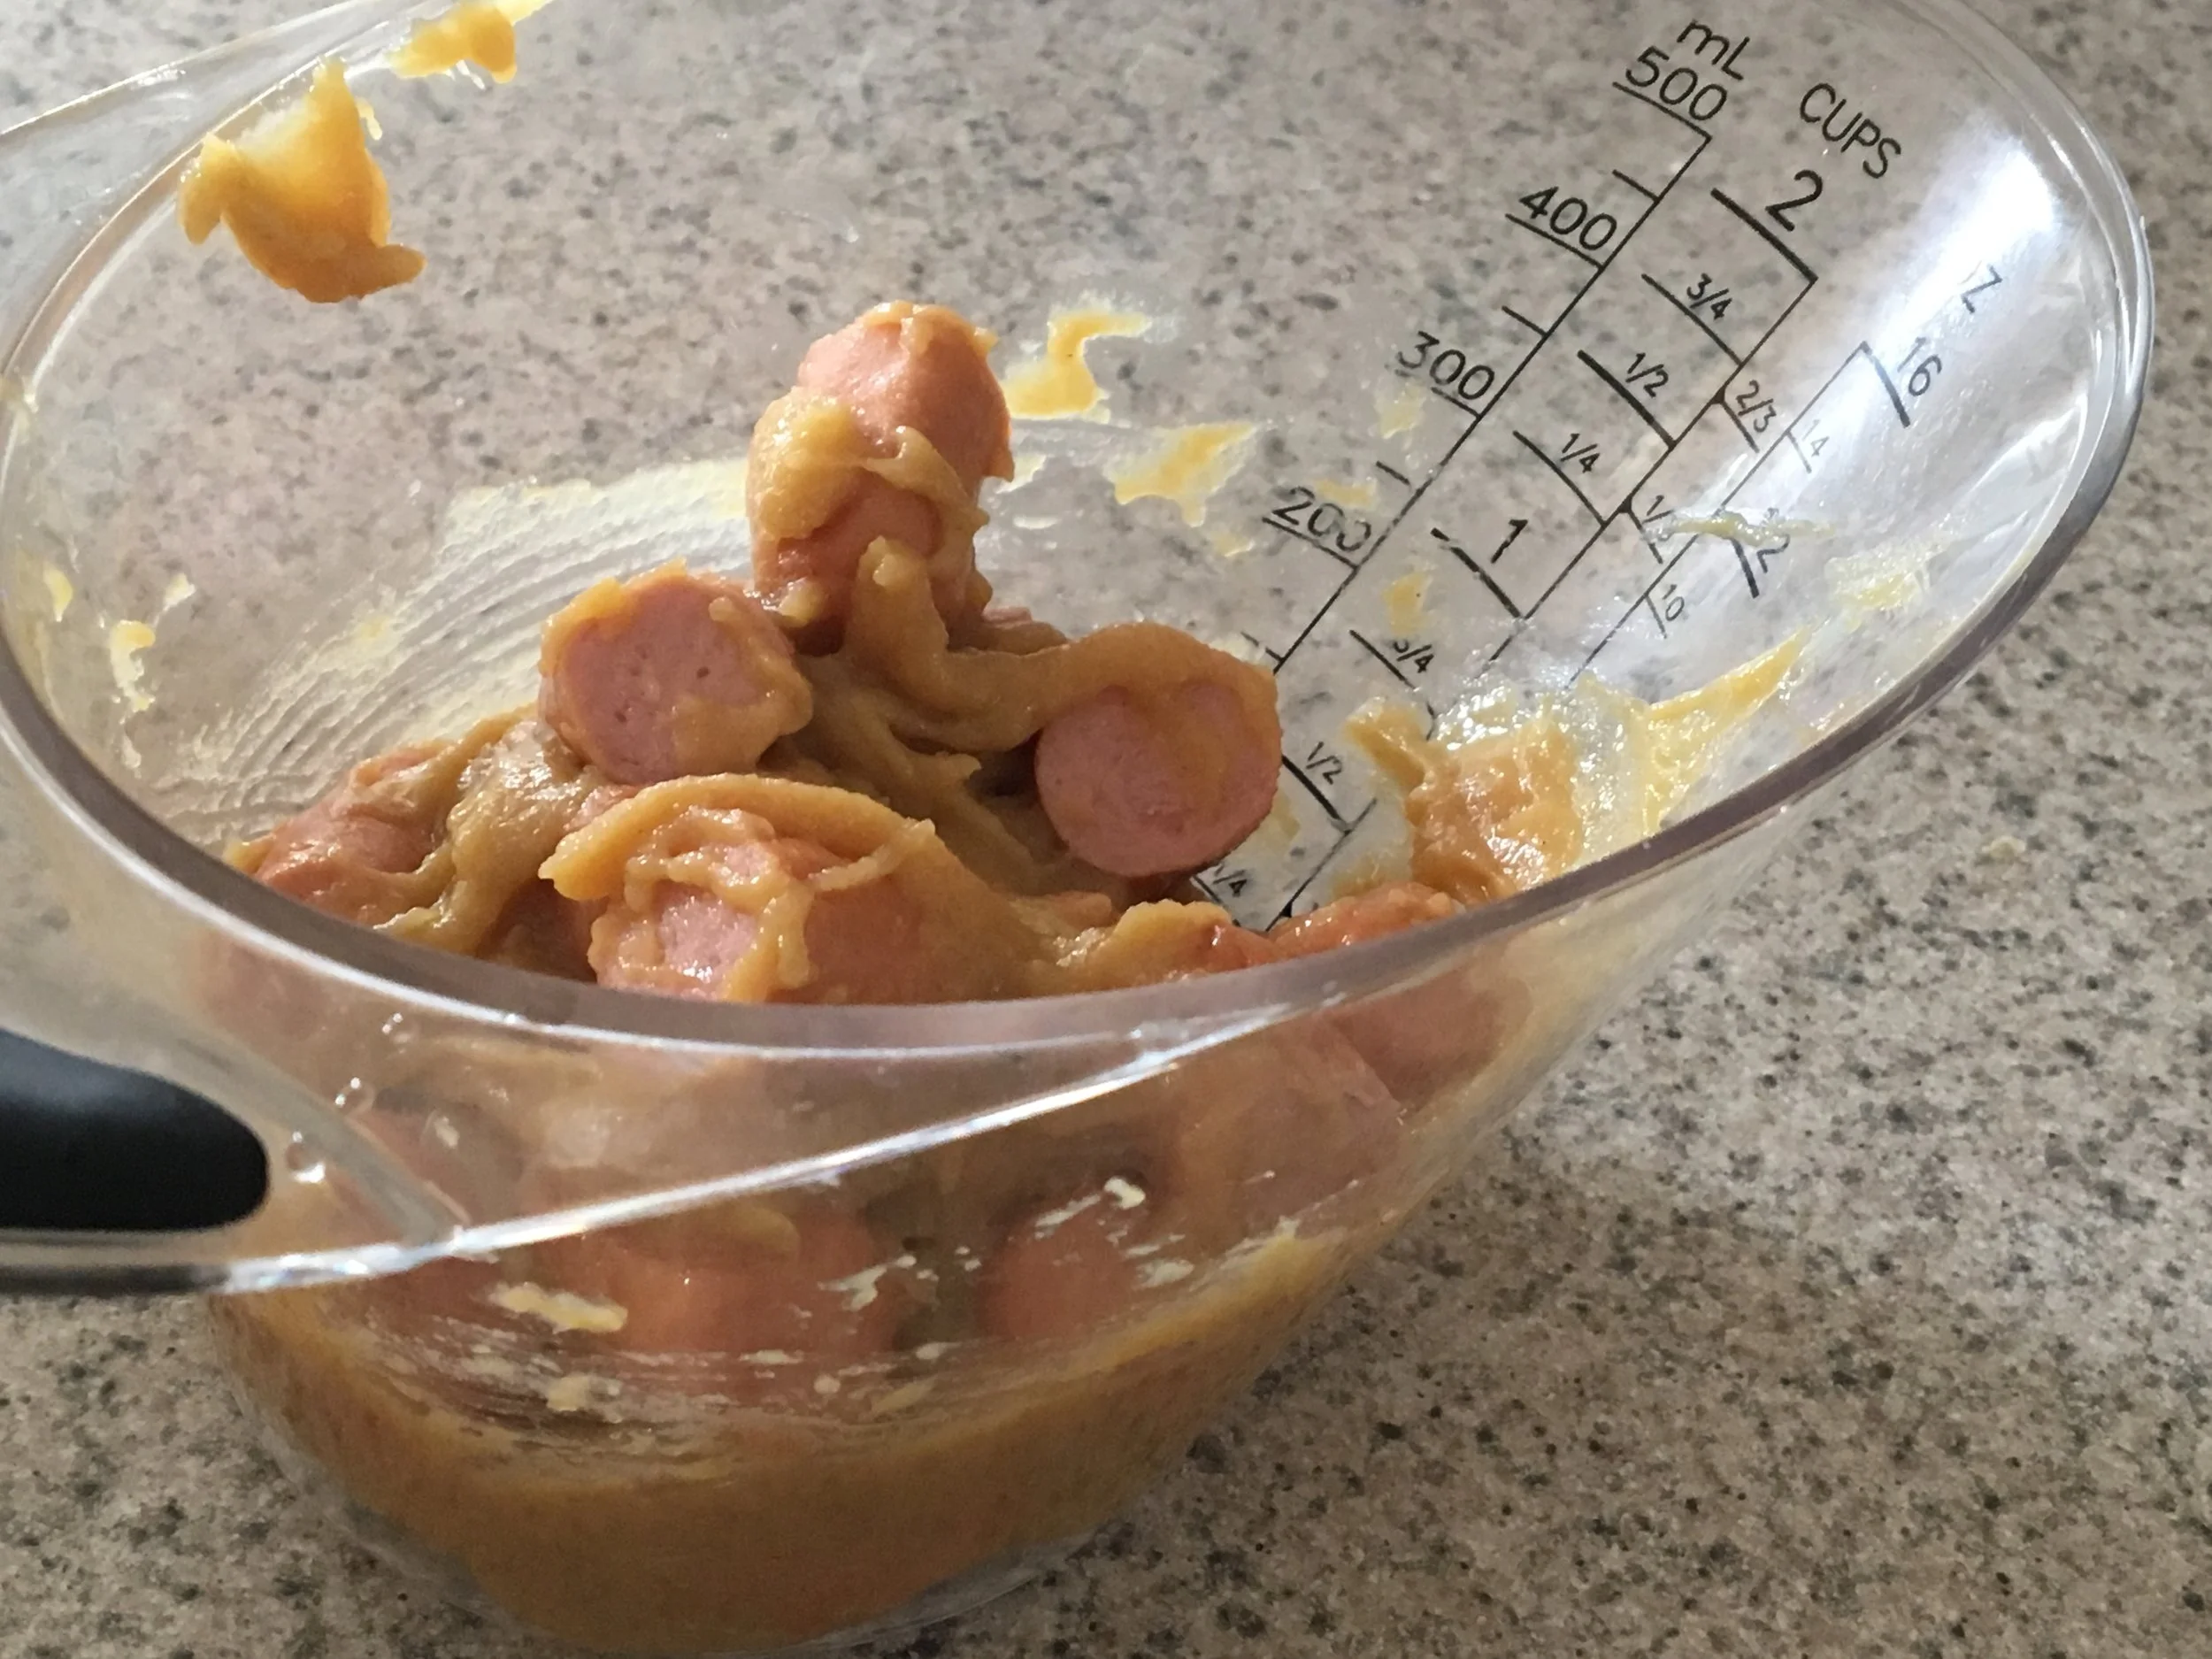
In a small bowl, add the Cherchies Champagne Mustard or Cherchies Hot Banana Pepper Mustard (spicier).  Add the wiener halves to the mustard, mixing to coat. 

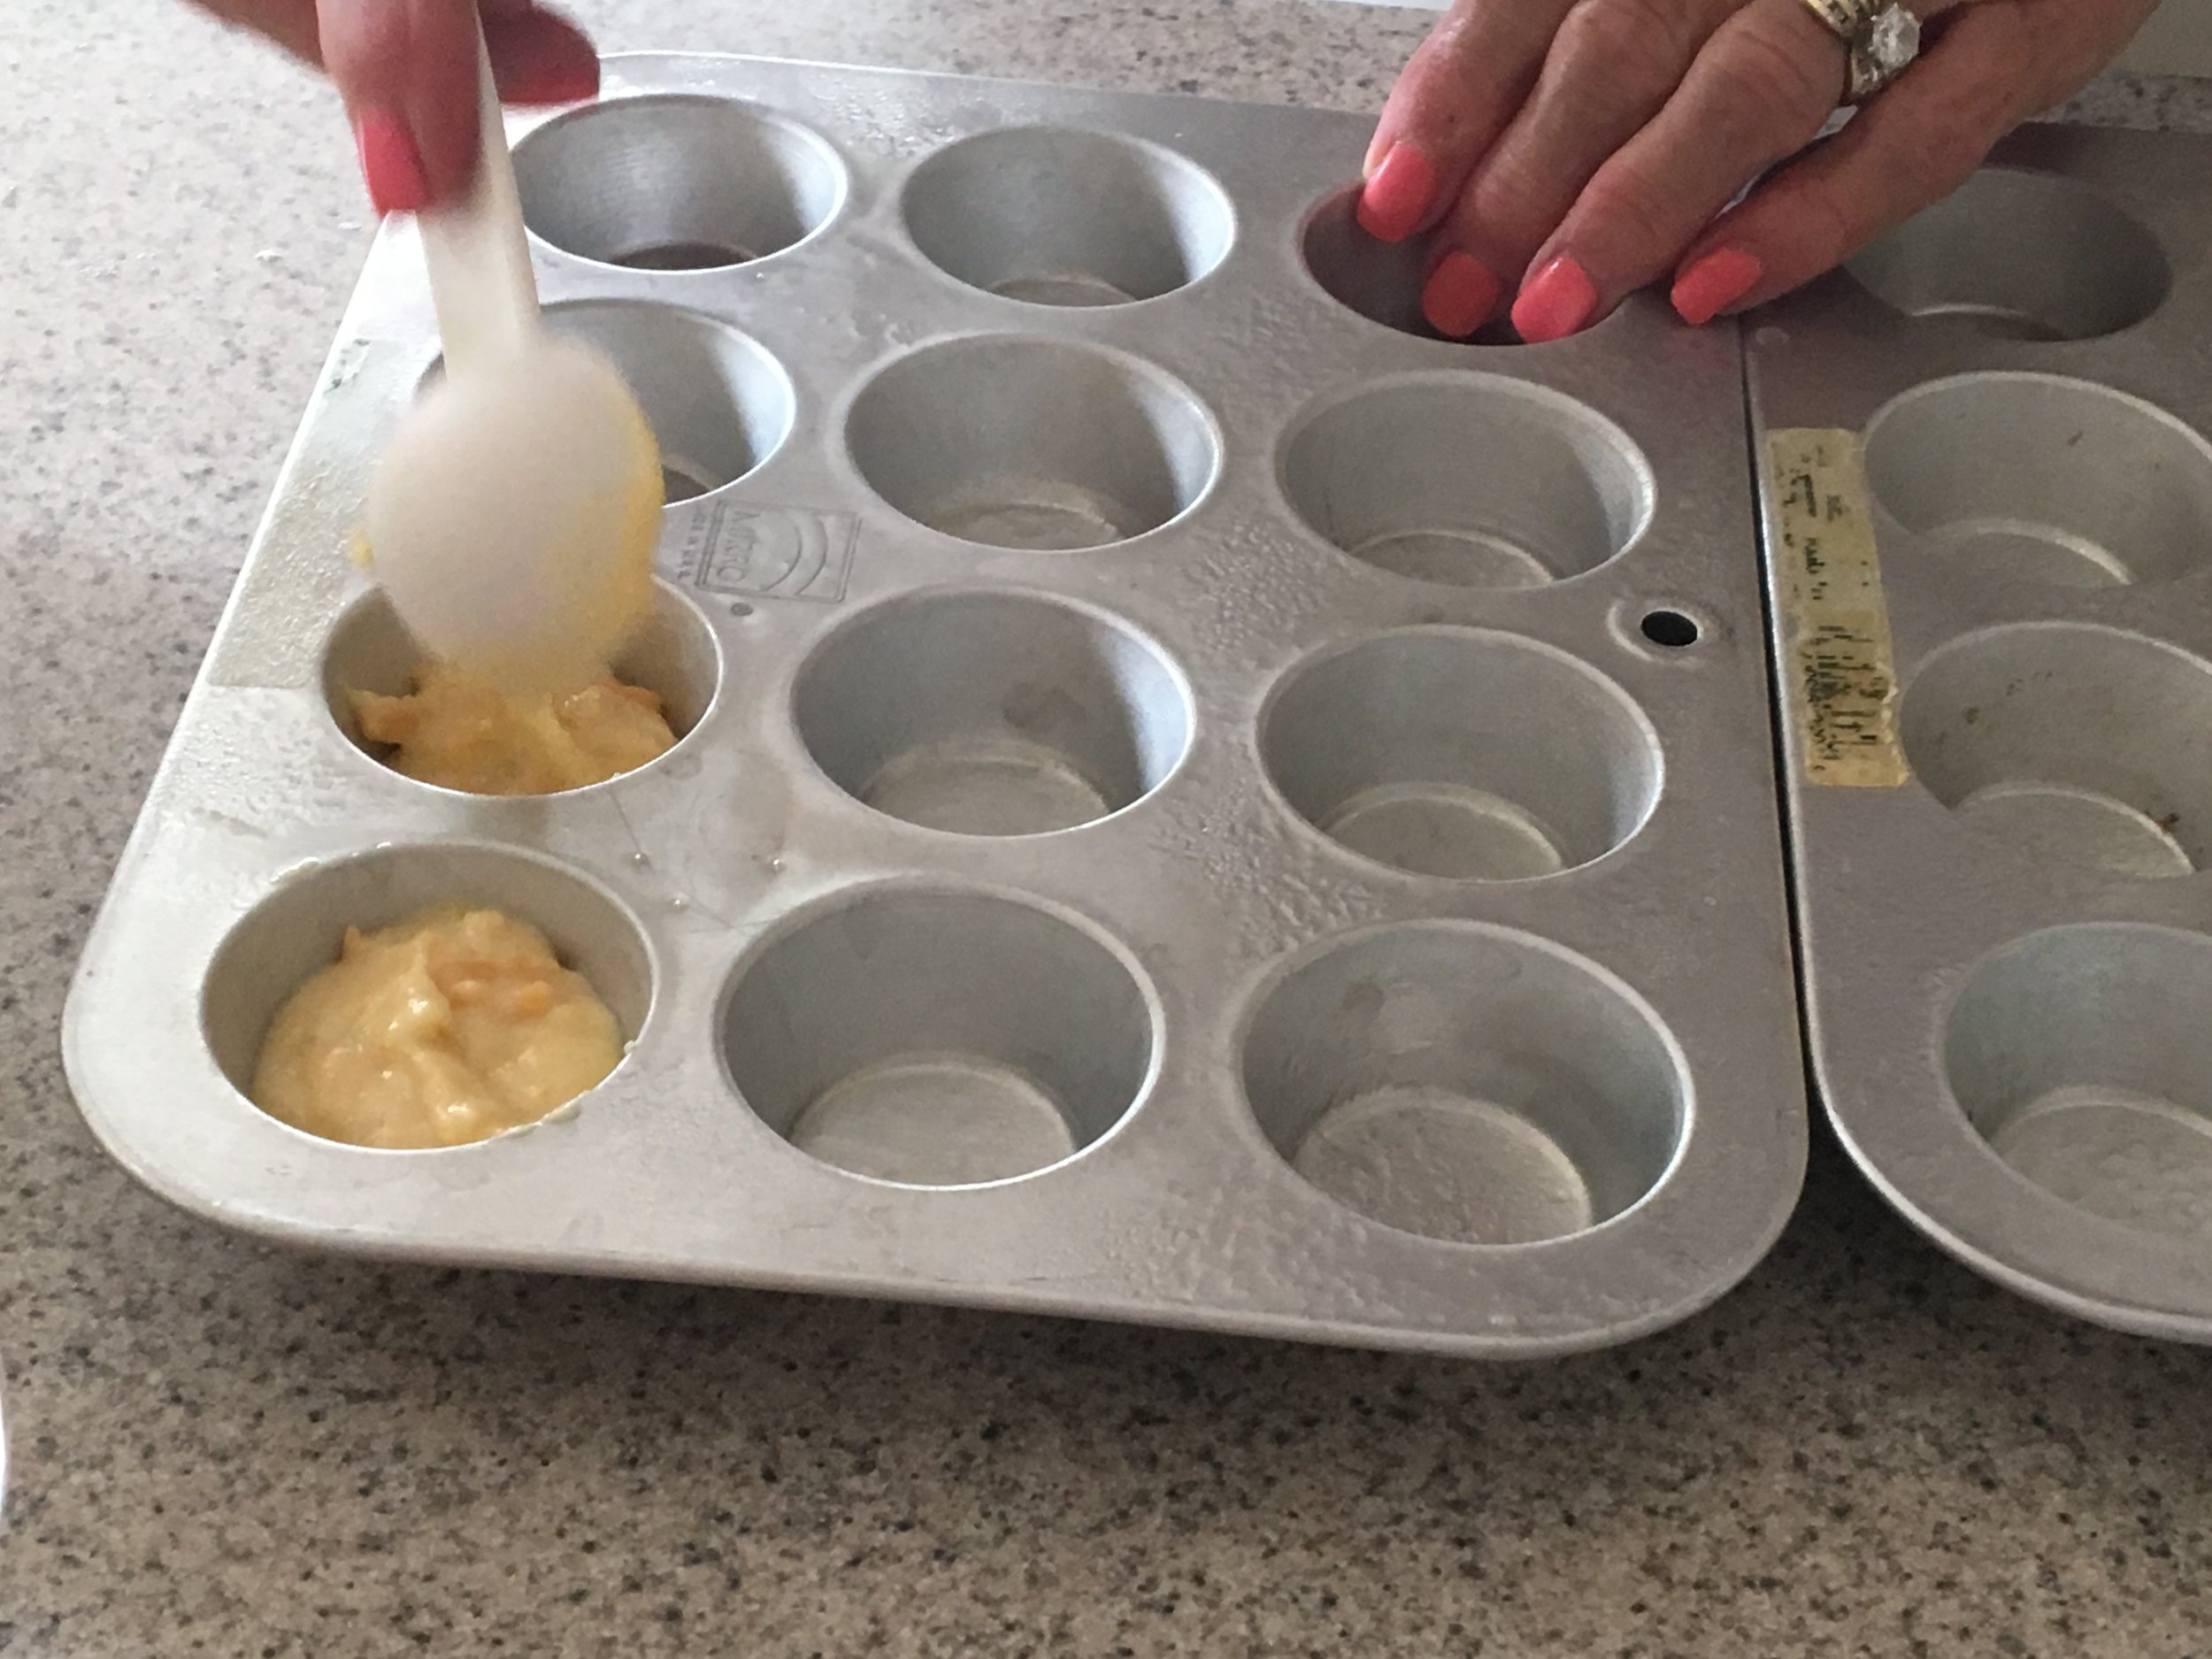
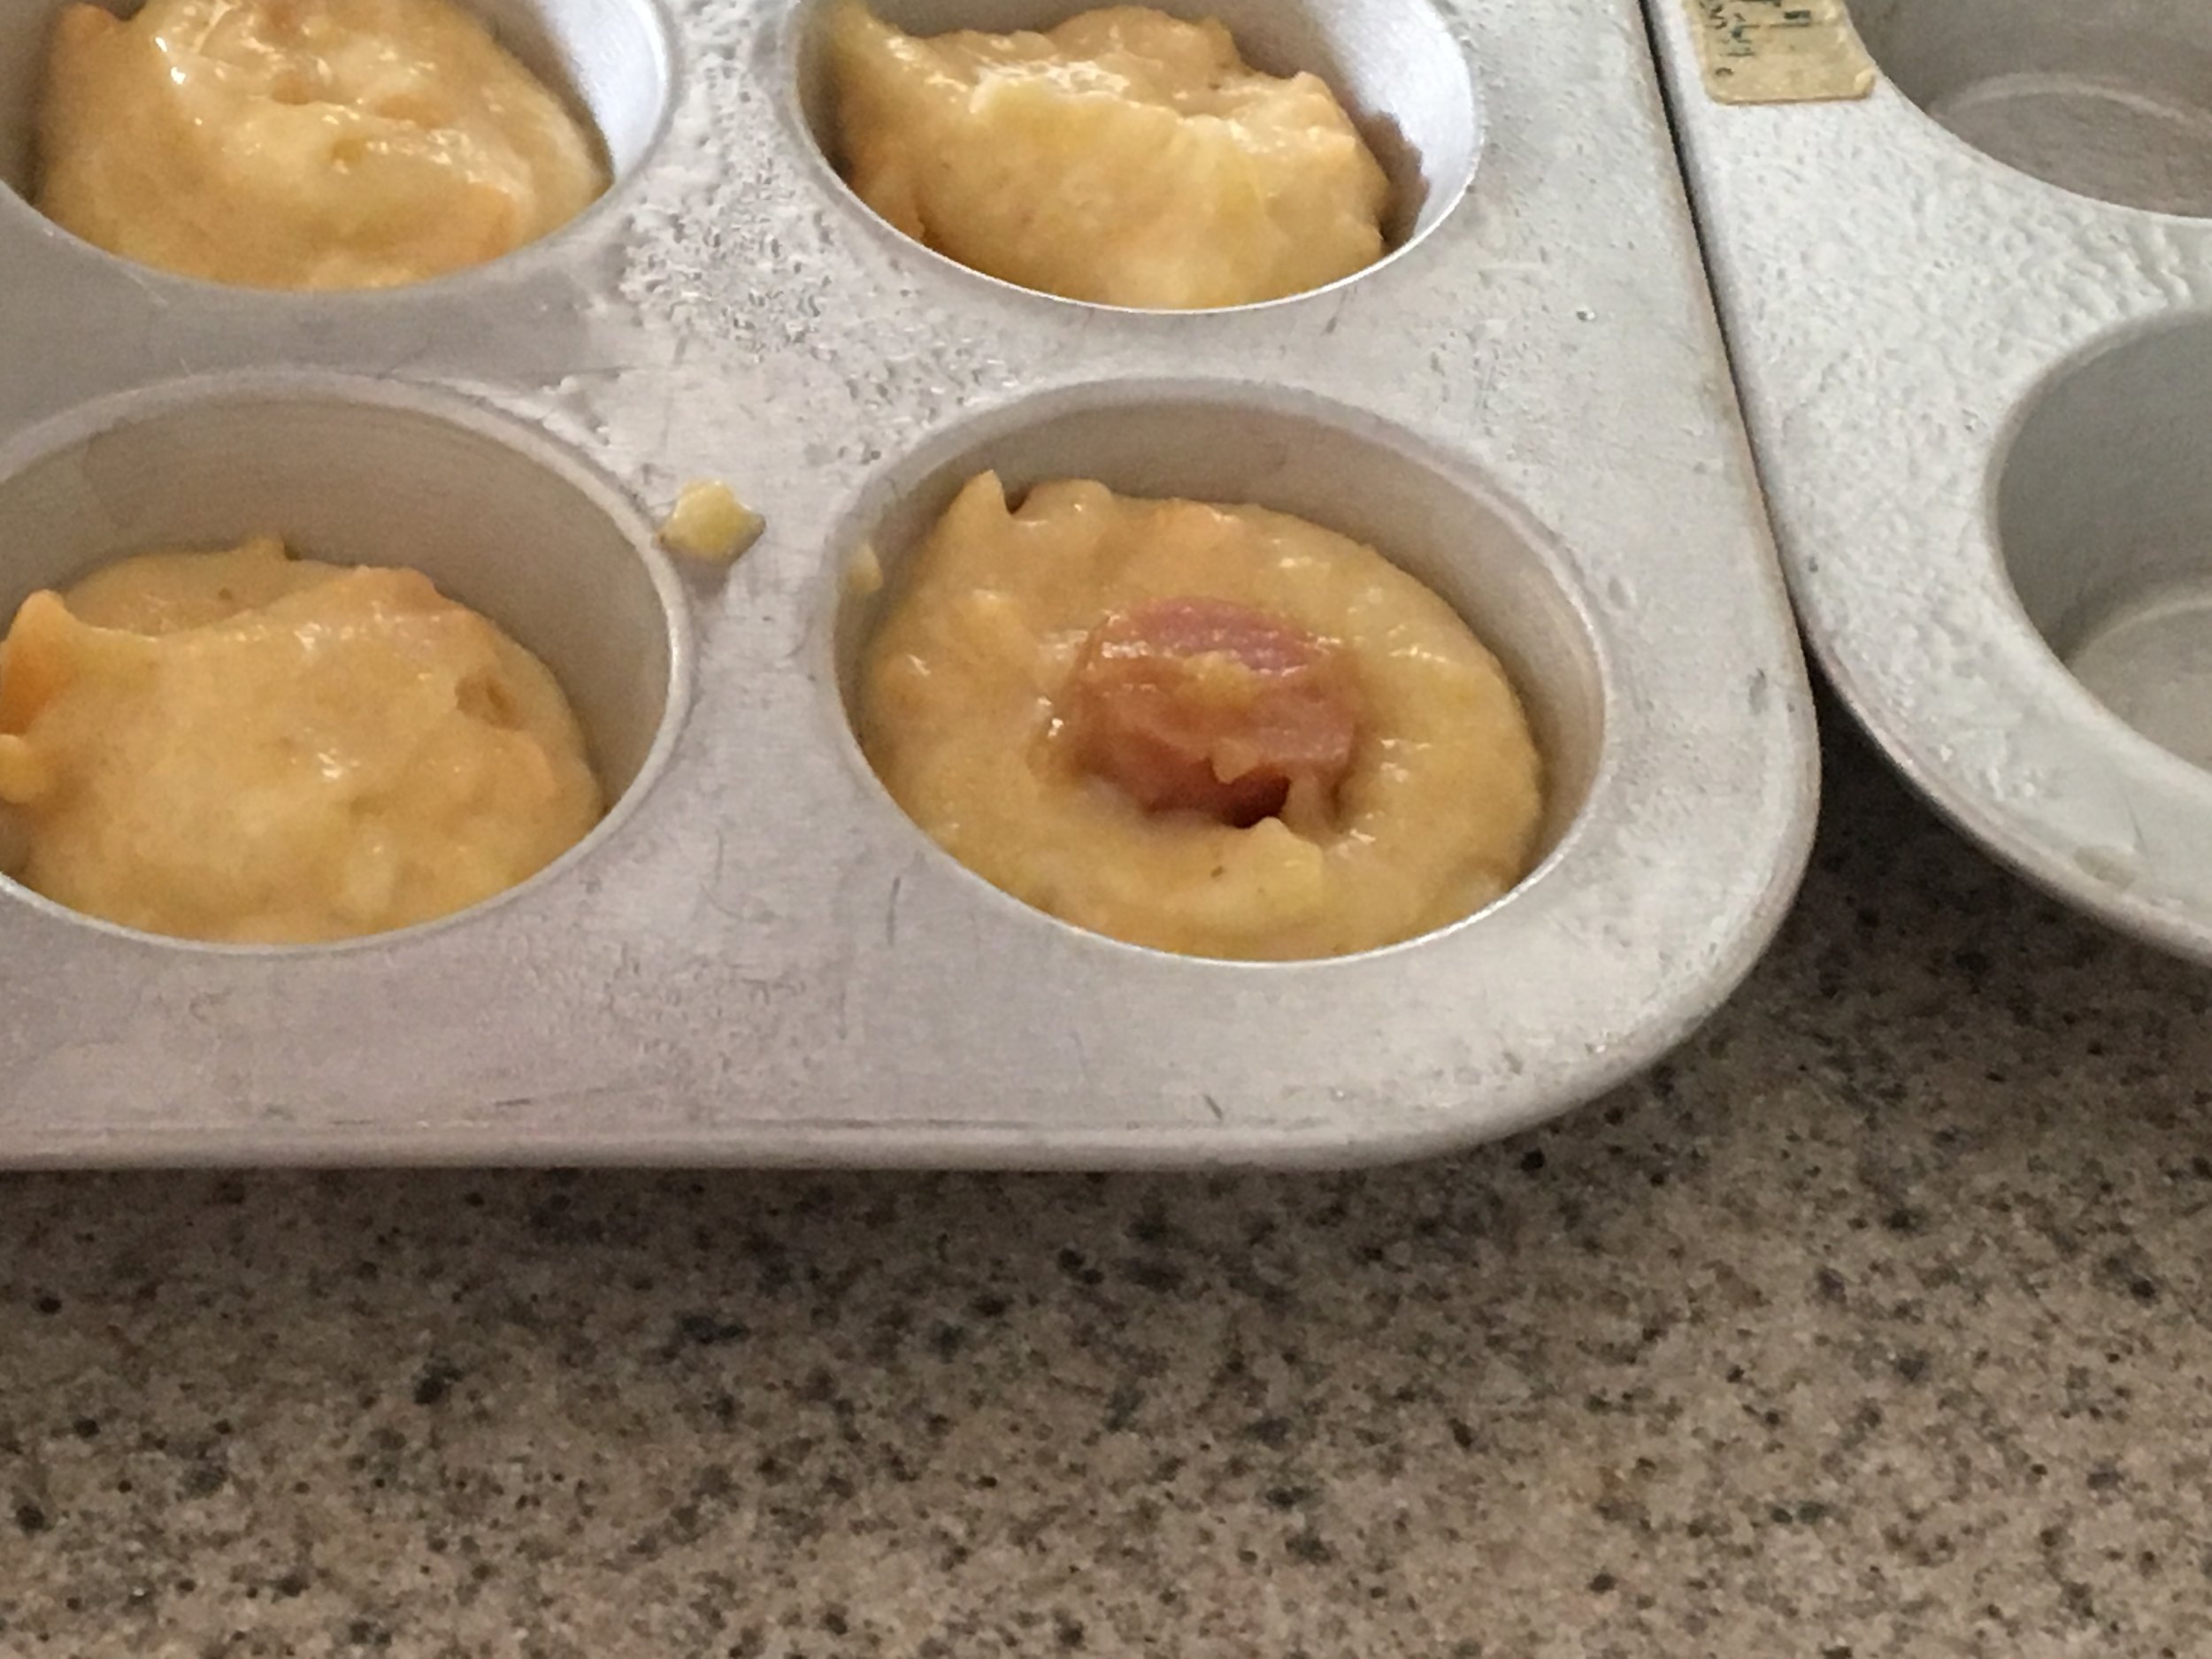
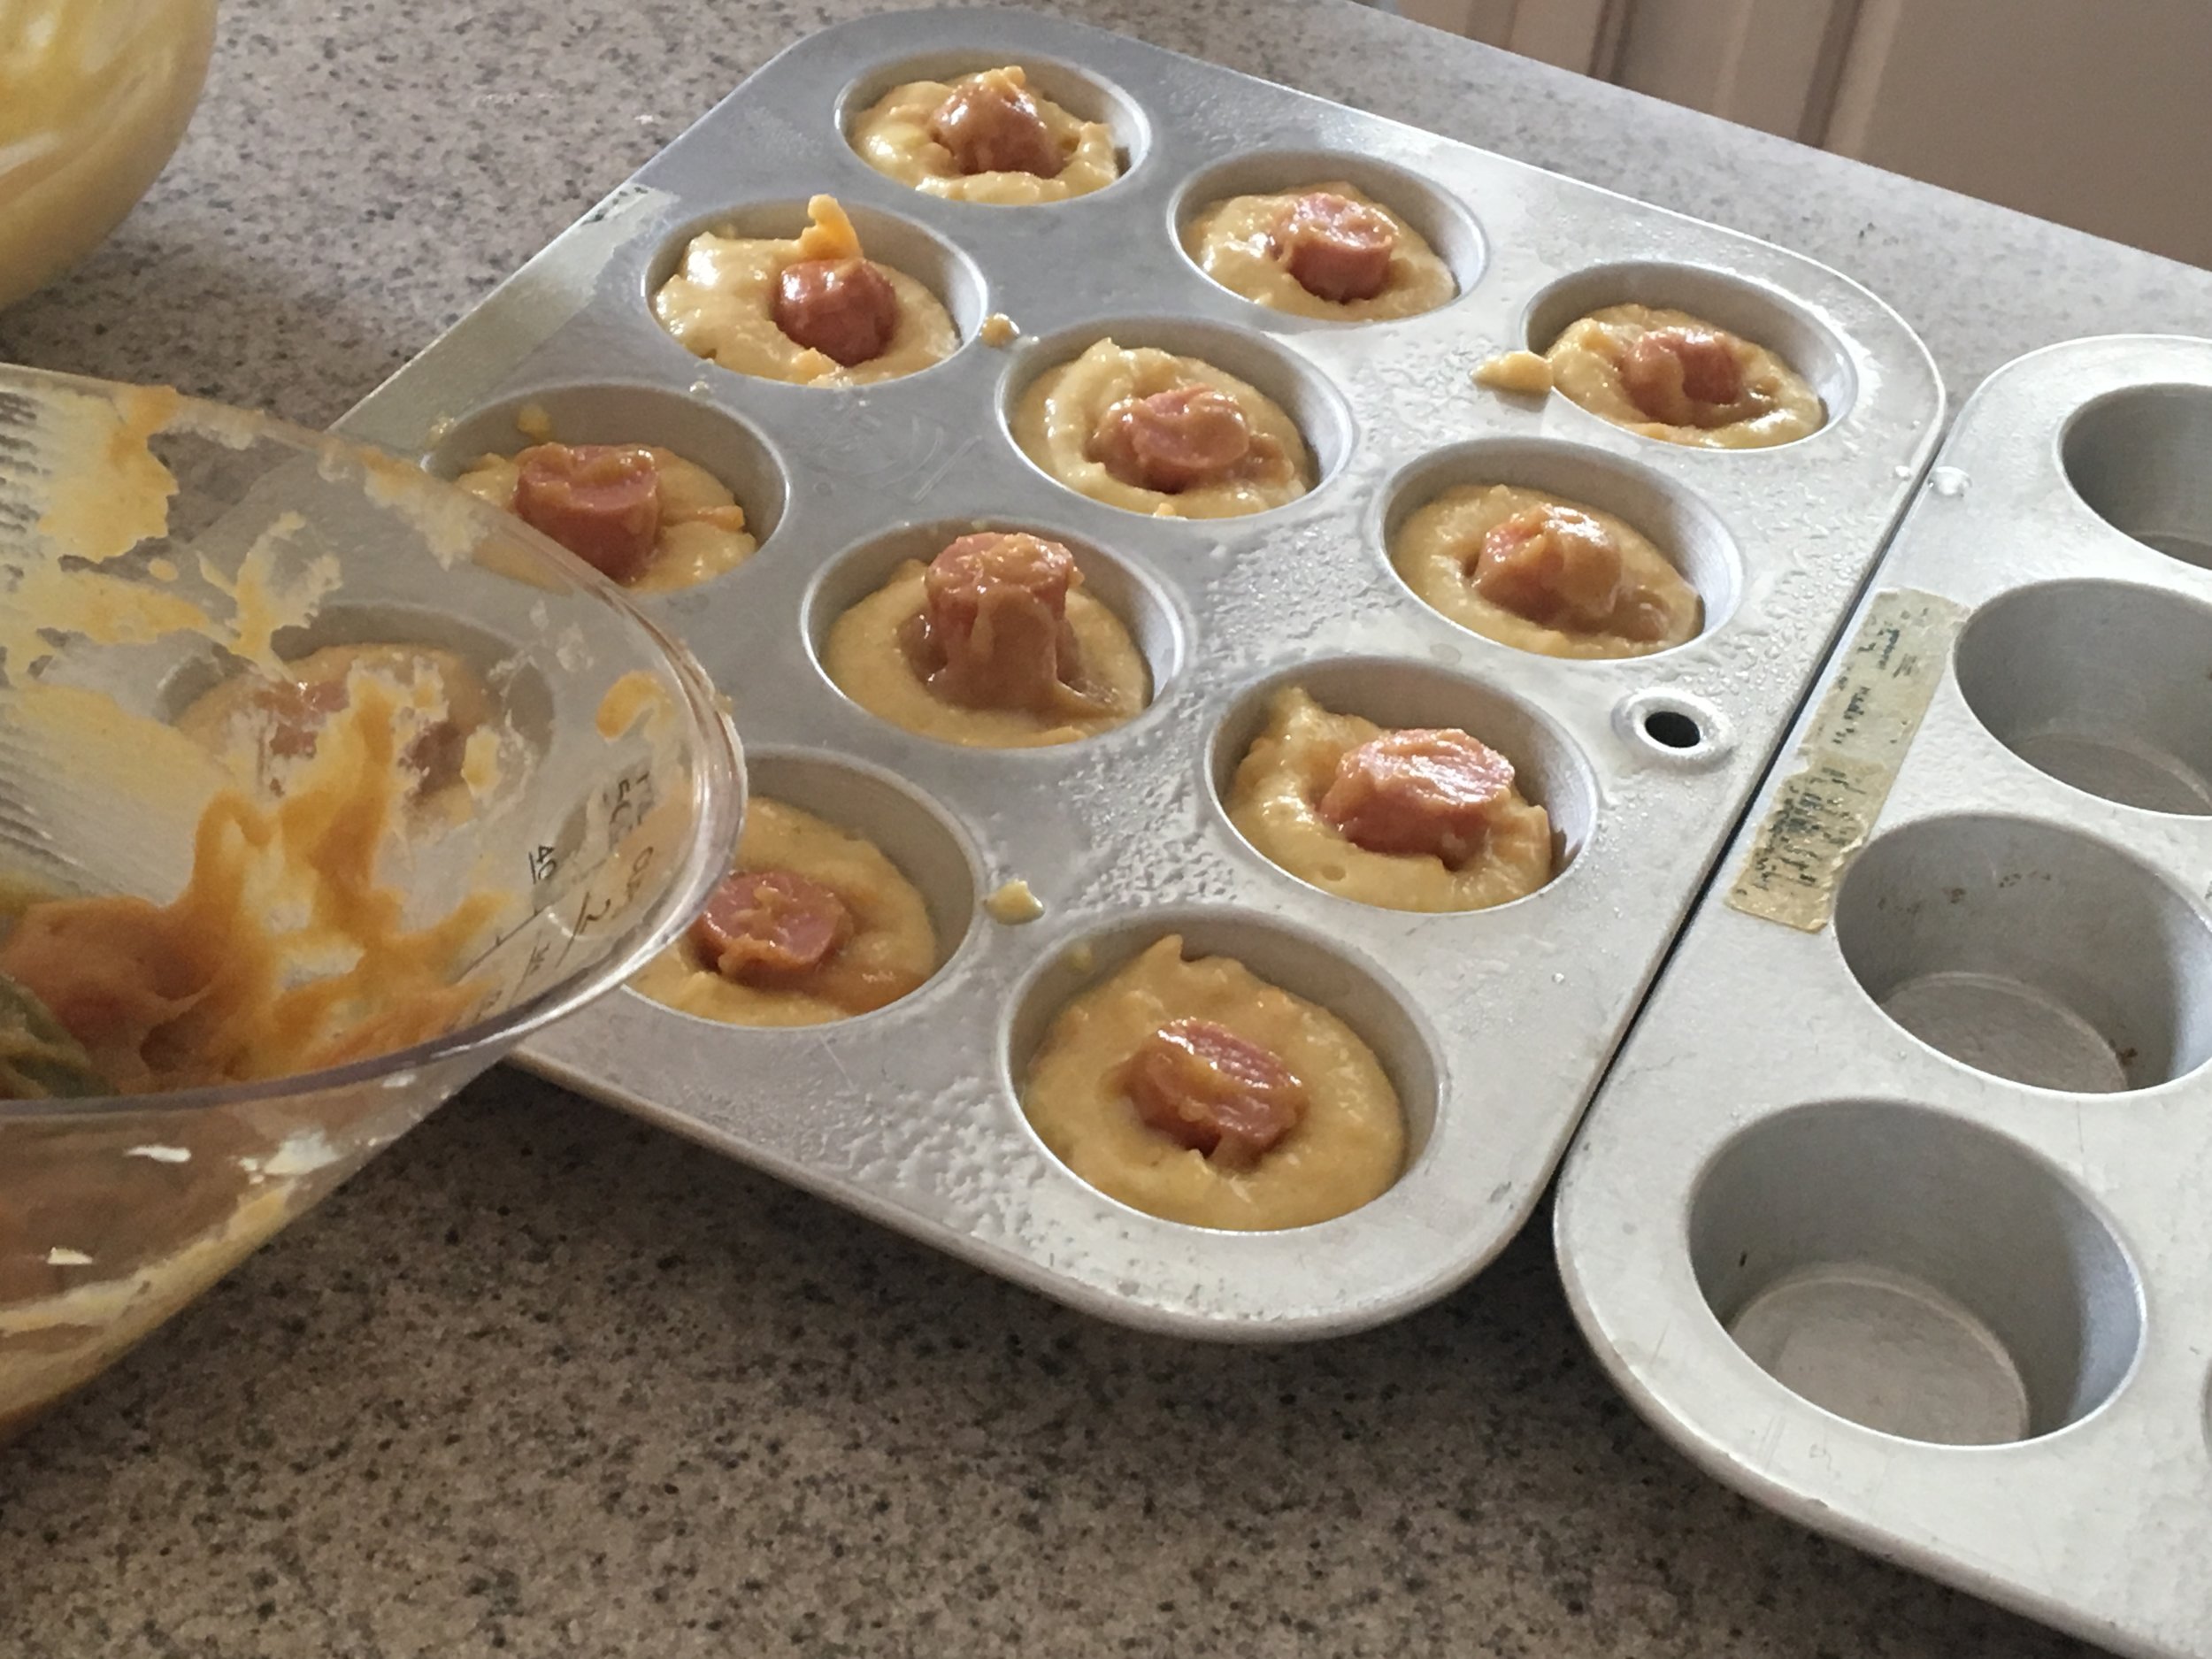
Lightly spray the mini muffin tins with cooking spray.  Spoon mixture into the mini muffin tins, filling them 3/4 full.  Place one half of the coated dog in the center of each muffin tin.  Cook for 12 minutes, or until golden brown.

Turn on the game, and serve these corn dog bites with Champagne Mustard or ketchup!  For more Game Day recipes, check out this link on our blog!

Thank you for stopping by.  

Cheesy Corn Dog Bites Recipe

Cheesy Corn Dog Bites Recipe


Yum

Sweet & Savory Ham and Cheese Pinwheel Recipe
appetizers, leftovers, snacks, entreesSheri SpalloneComment
pinwheels.jpg

These savory morsels are perfect for those busy days as an after-school snack, a make-ahead appetizer, a game day treat, or a different twist to your usual dinner routine. Easy, peasy!

We embellished on our stromboli recipe from our blog and came up with these sweet and savory pinwheels to share with you.  Instead of pizza dough, we substituted refrigerated crescent roll dough and added Cherchies® Apple Butter Spread as a glaze to these tasty tidbits, with a pop of texture from the poppy seeds.  

The result was a deliciously sweet and savory, flaky pinwheel tinged with tangy mustard, salty ham, and glazed with fruity apple butter. A must-have recipe for holidays, game day, or any celebration. Make sure to grab some for yourself, because these morsels will disappear before your eyes! Serve them with our Homemade Applesauce and our Cranberry Spinach Salad for a complete meal!

Thank you for visiting! Please come back again.

Enjoy!

Ingredients

Preparation

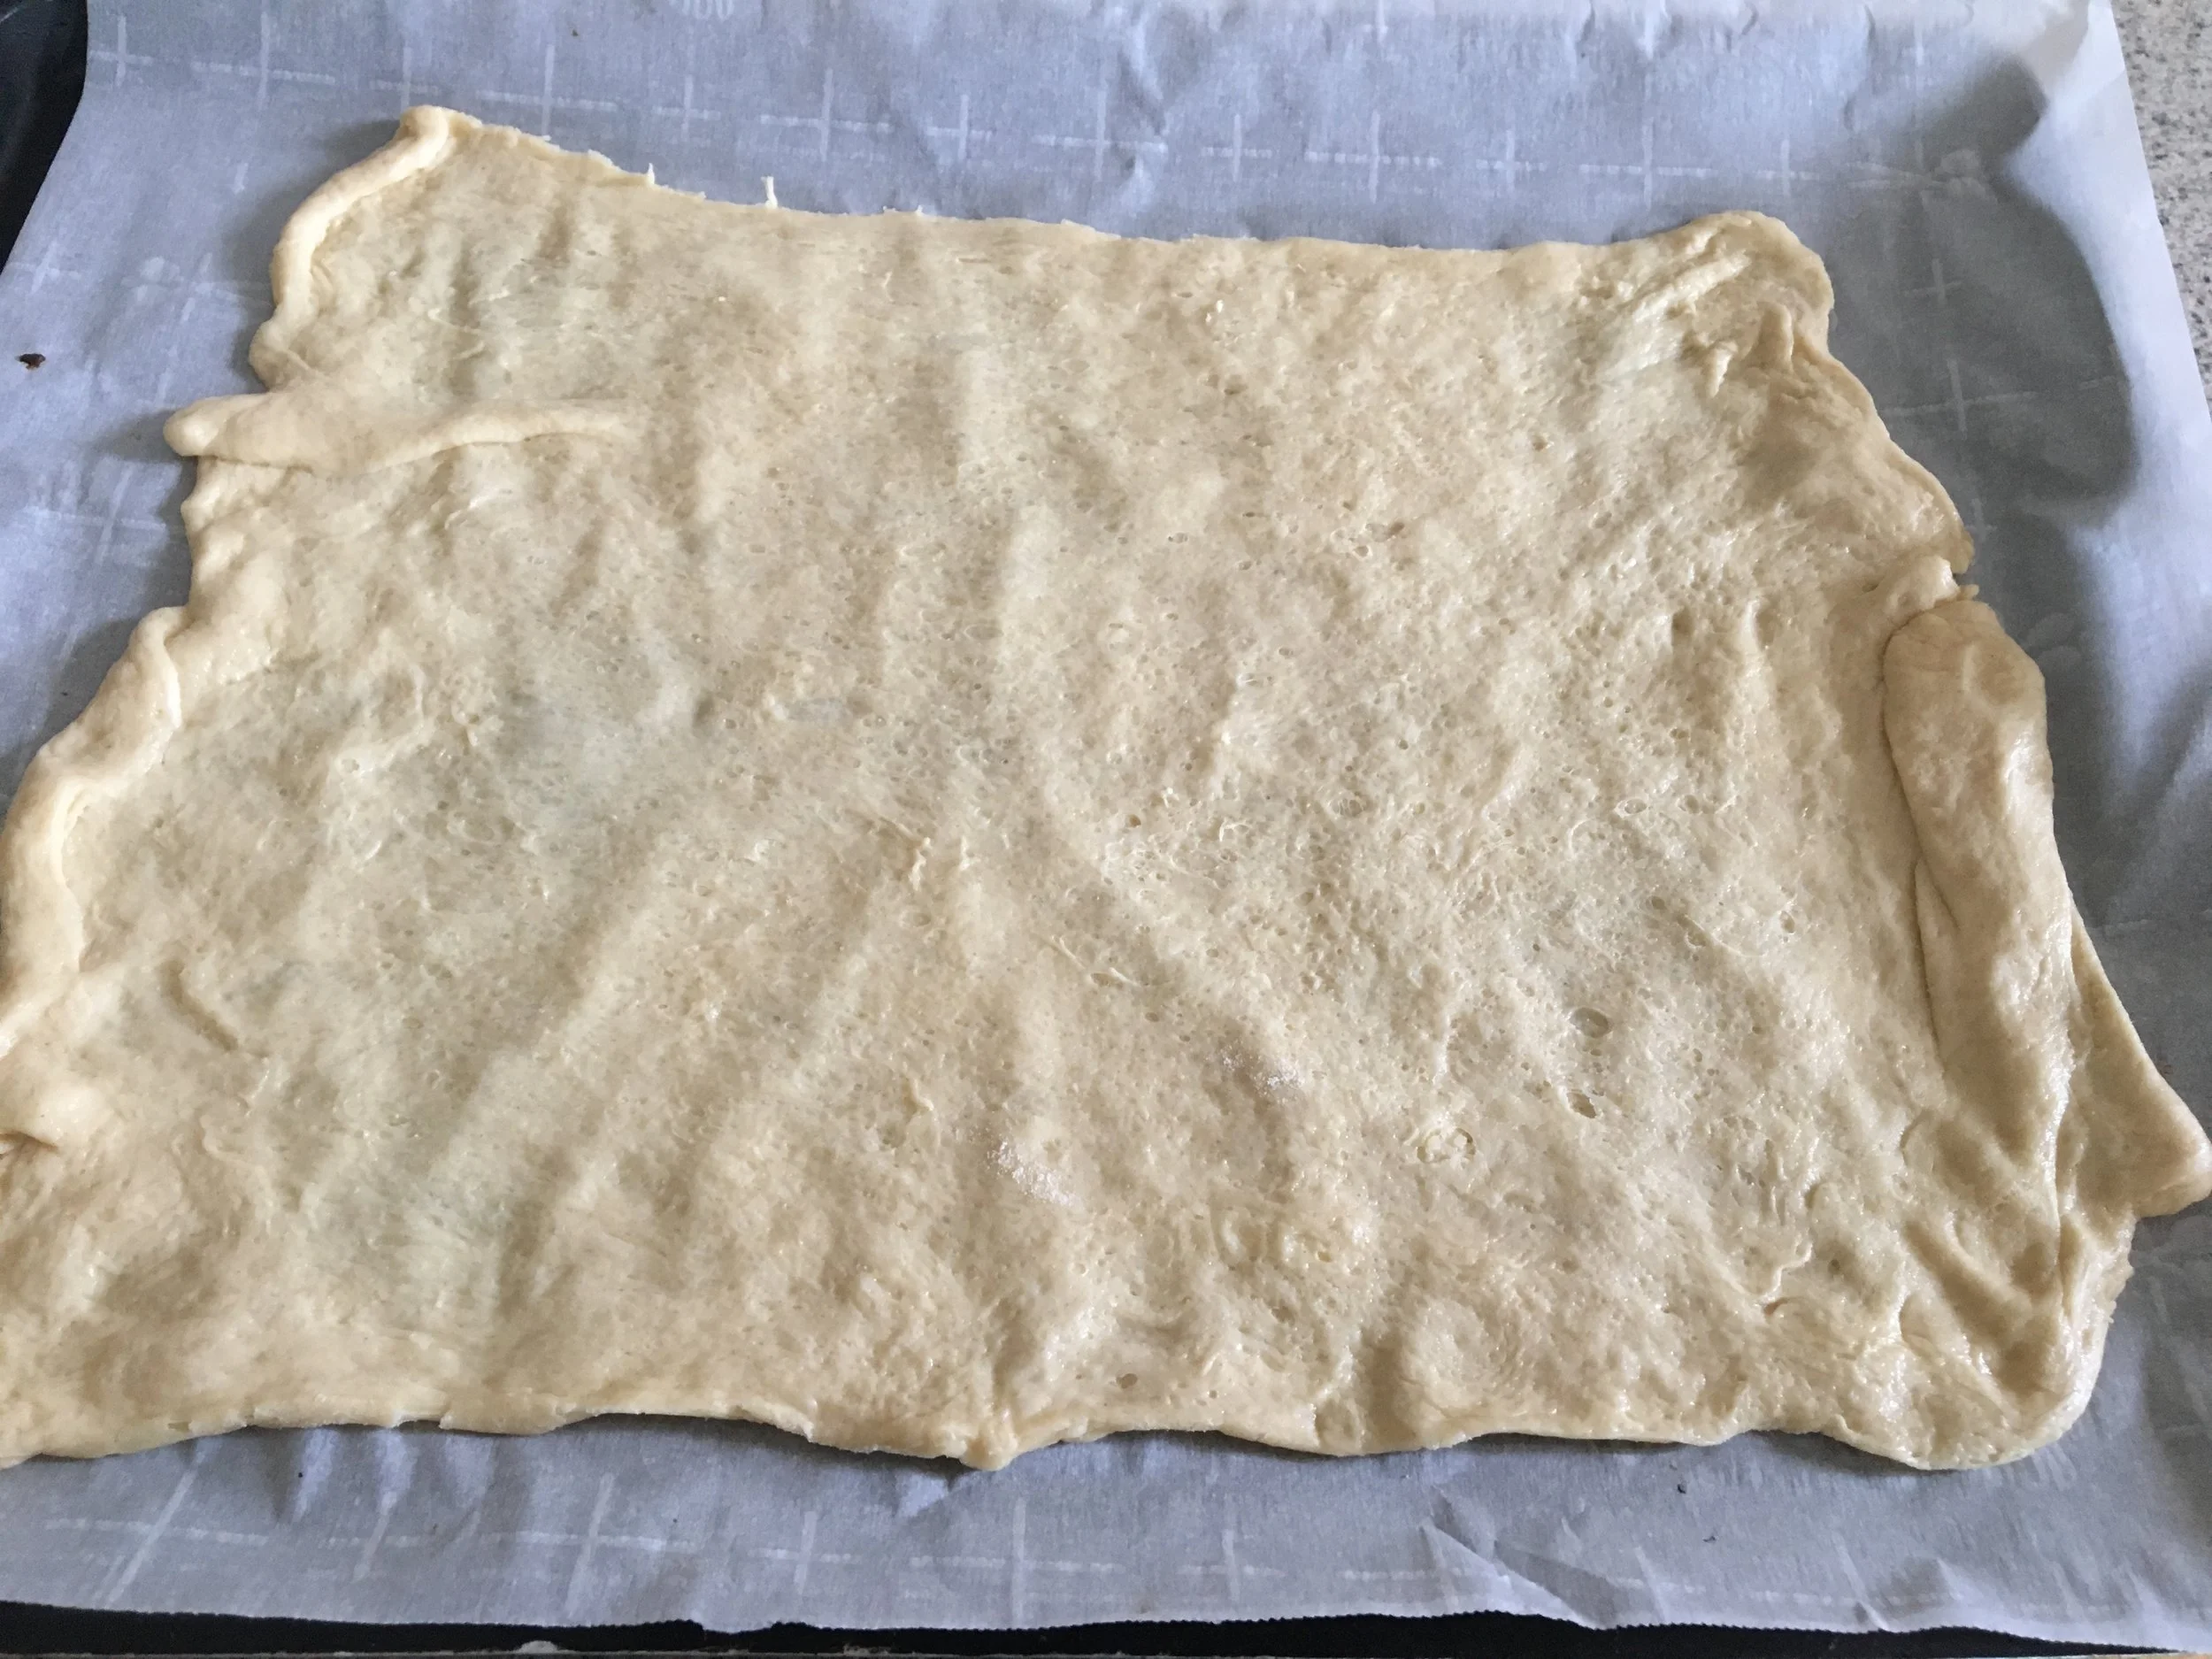
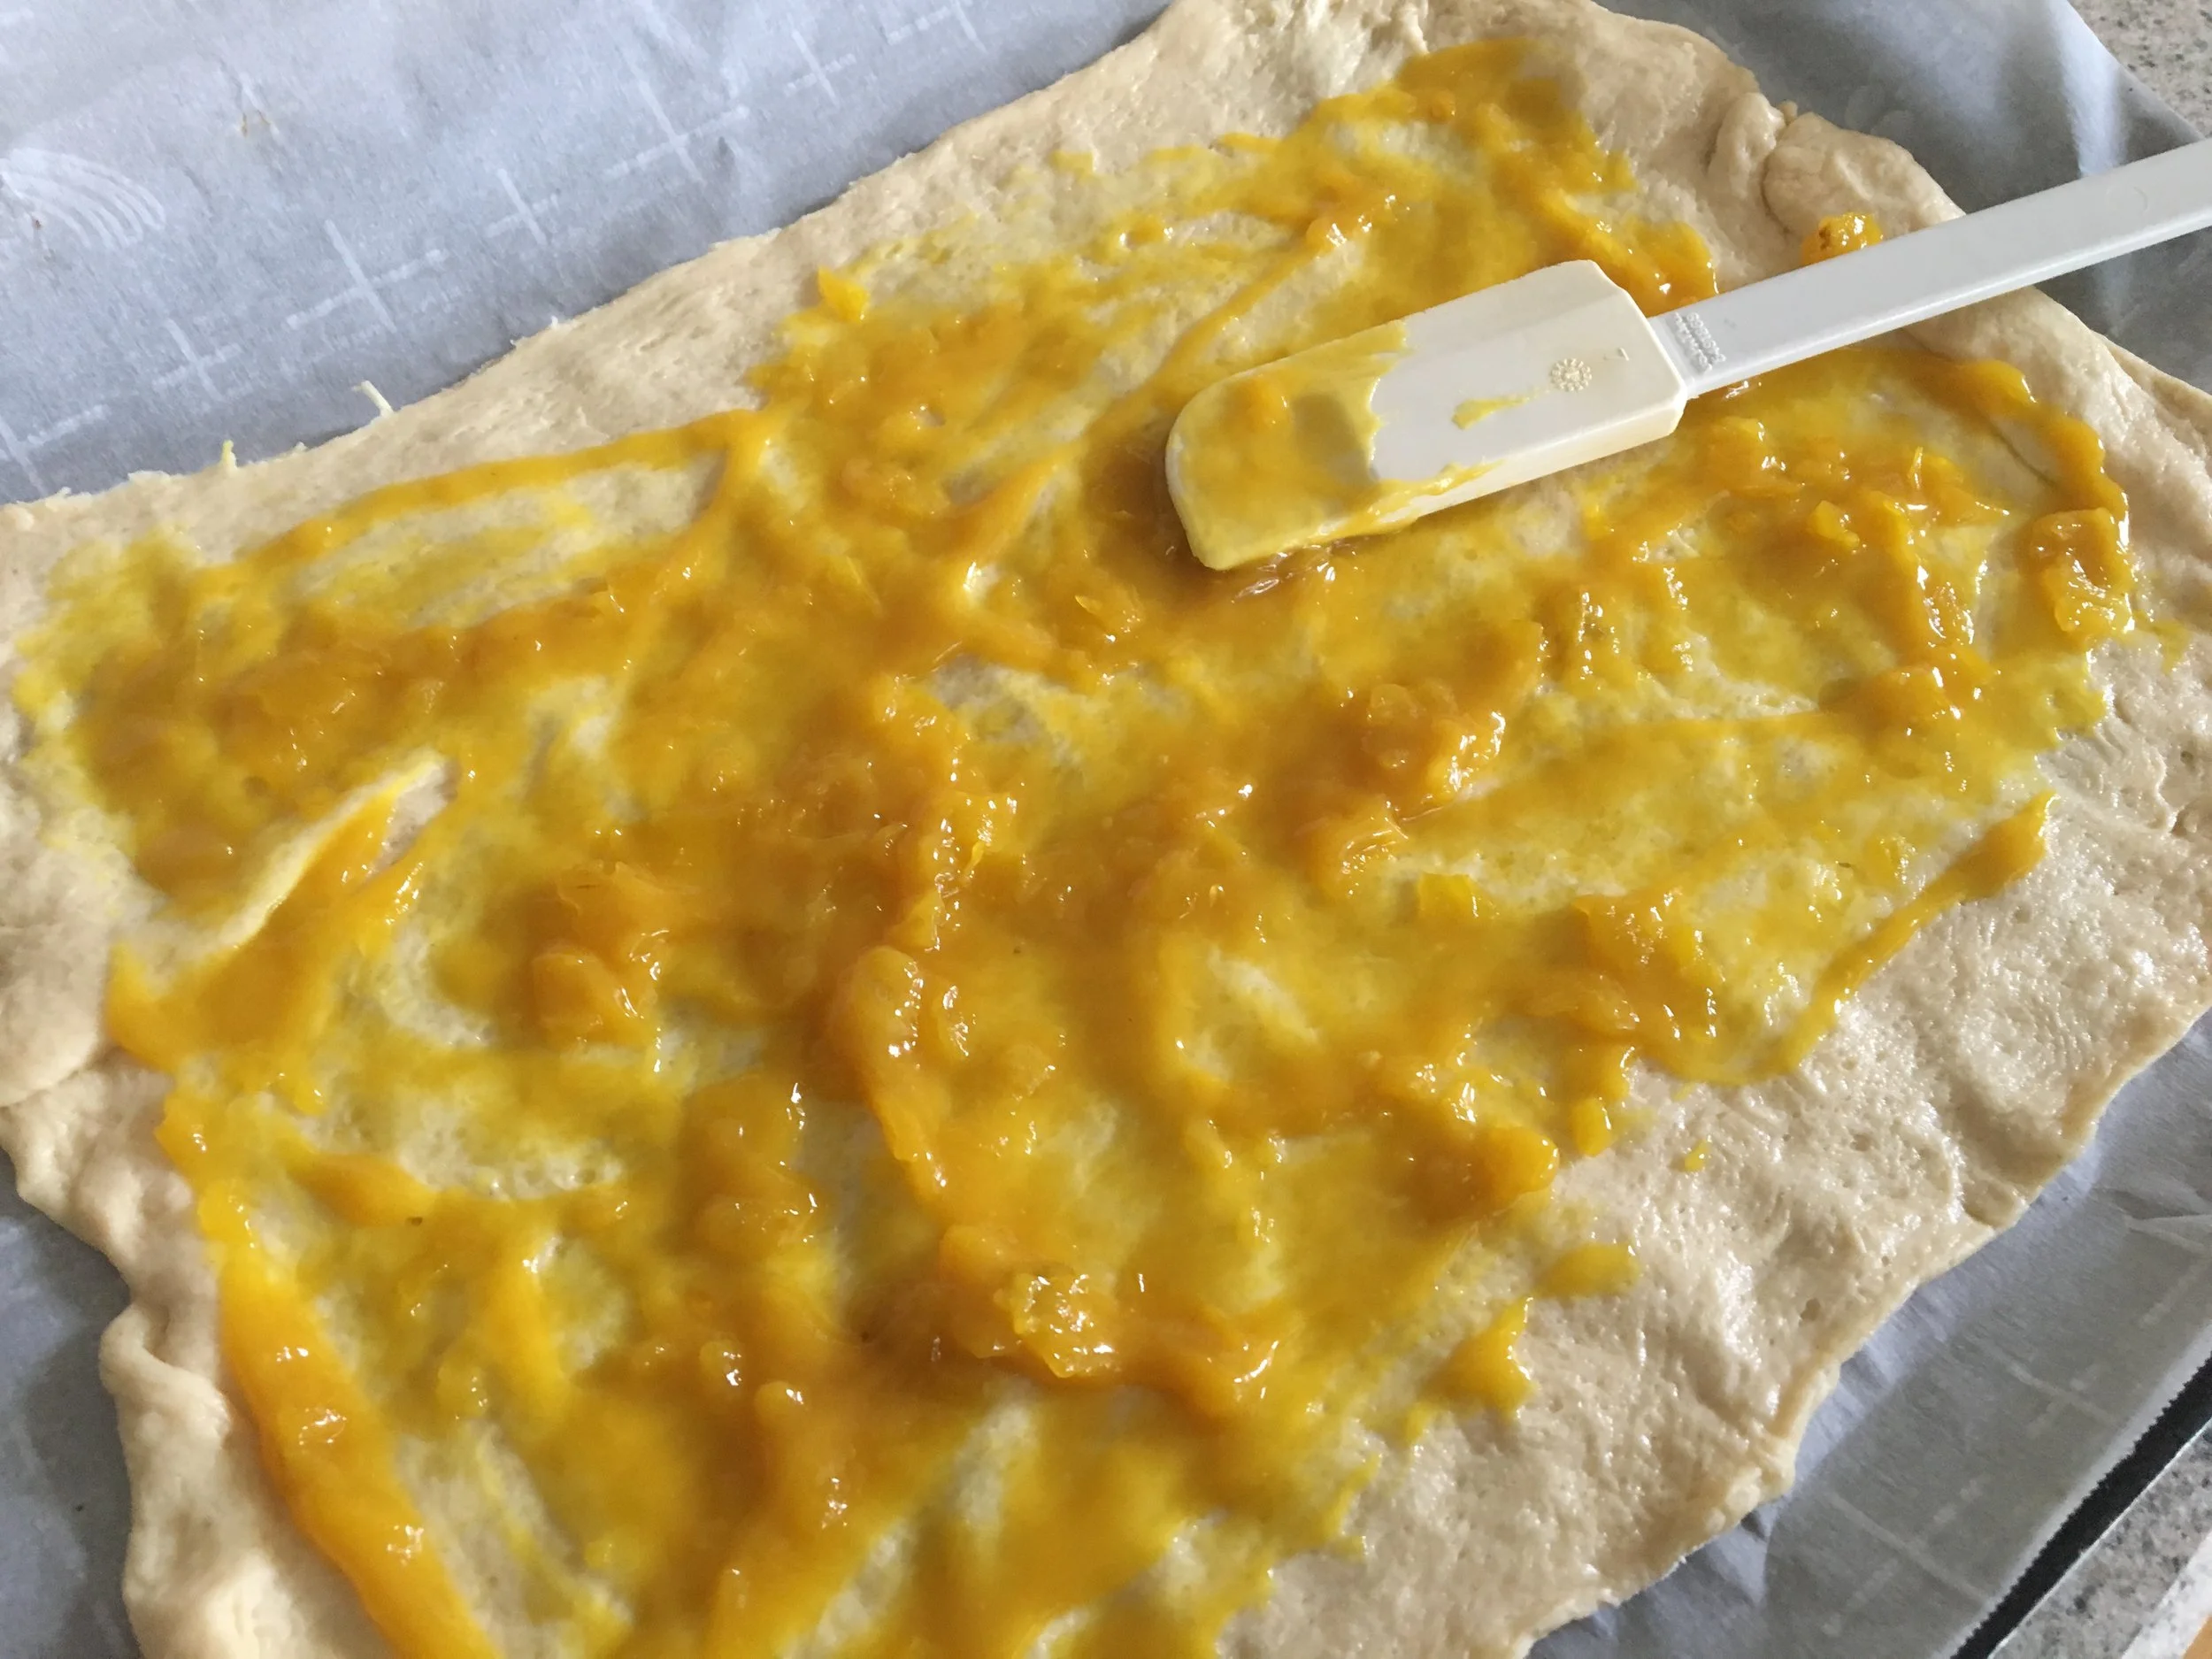
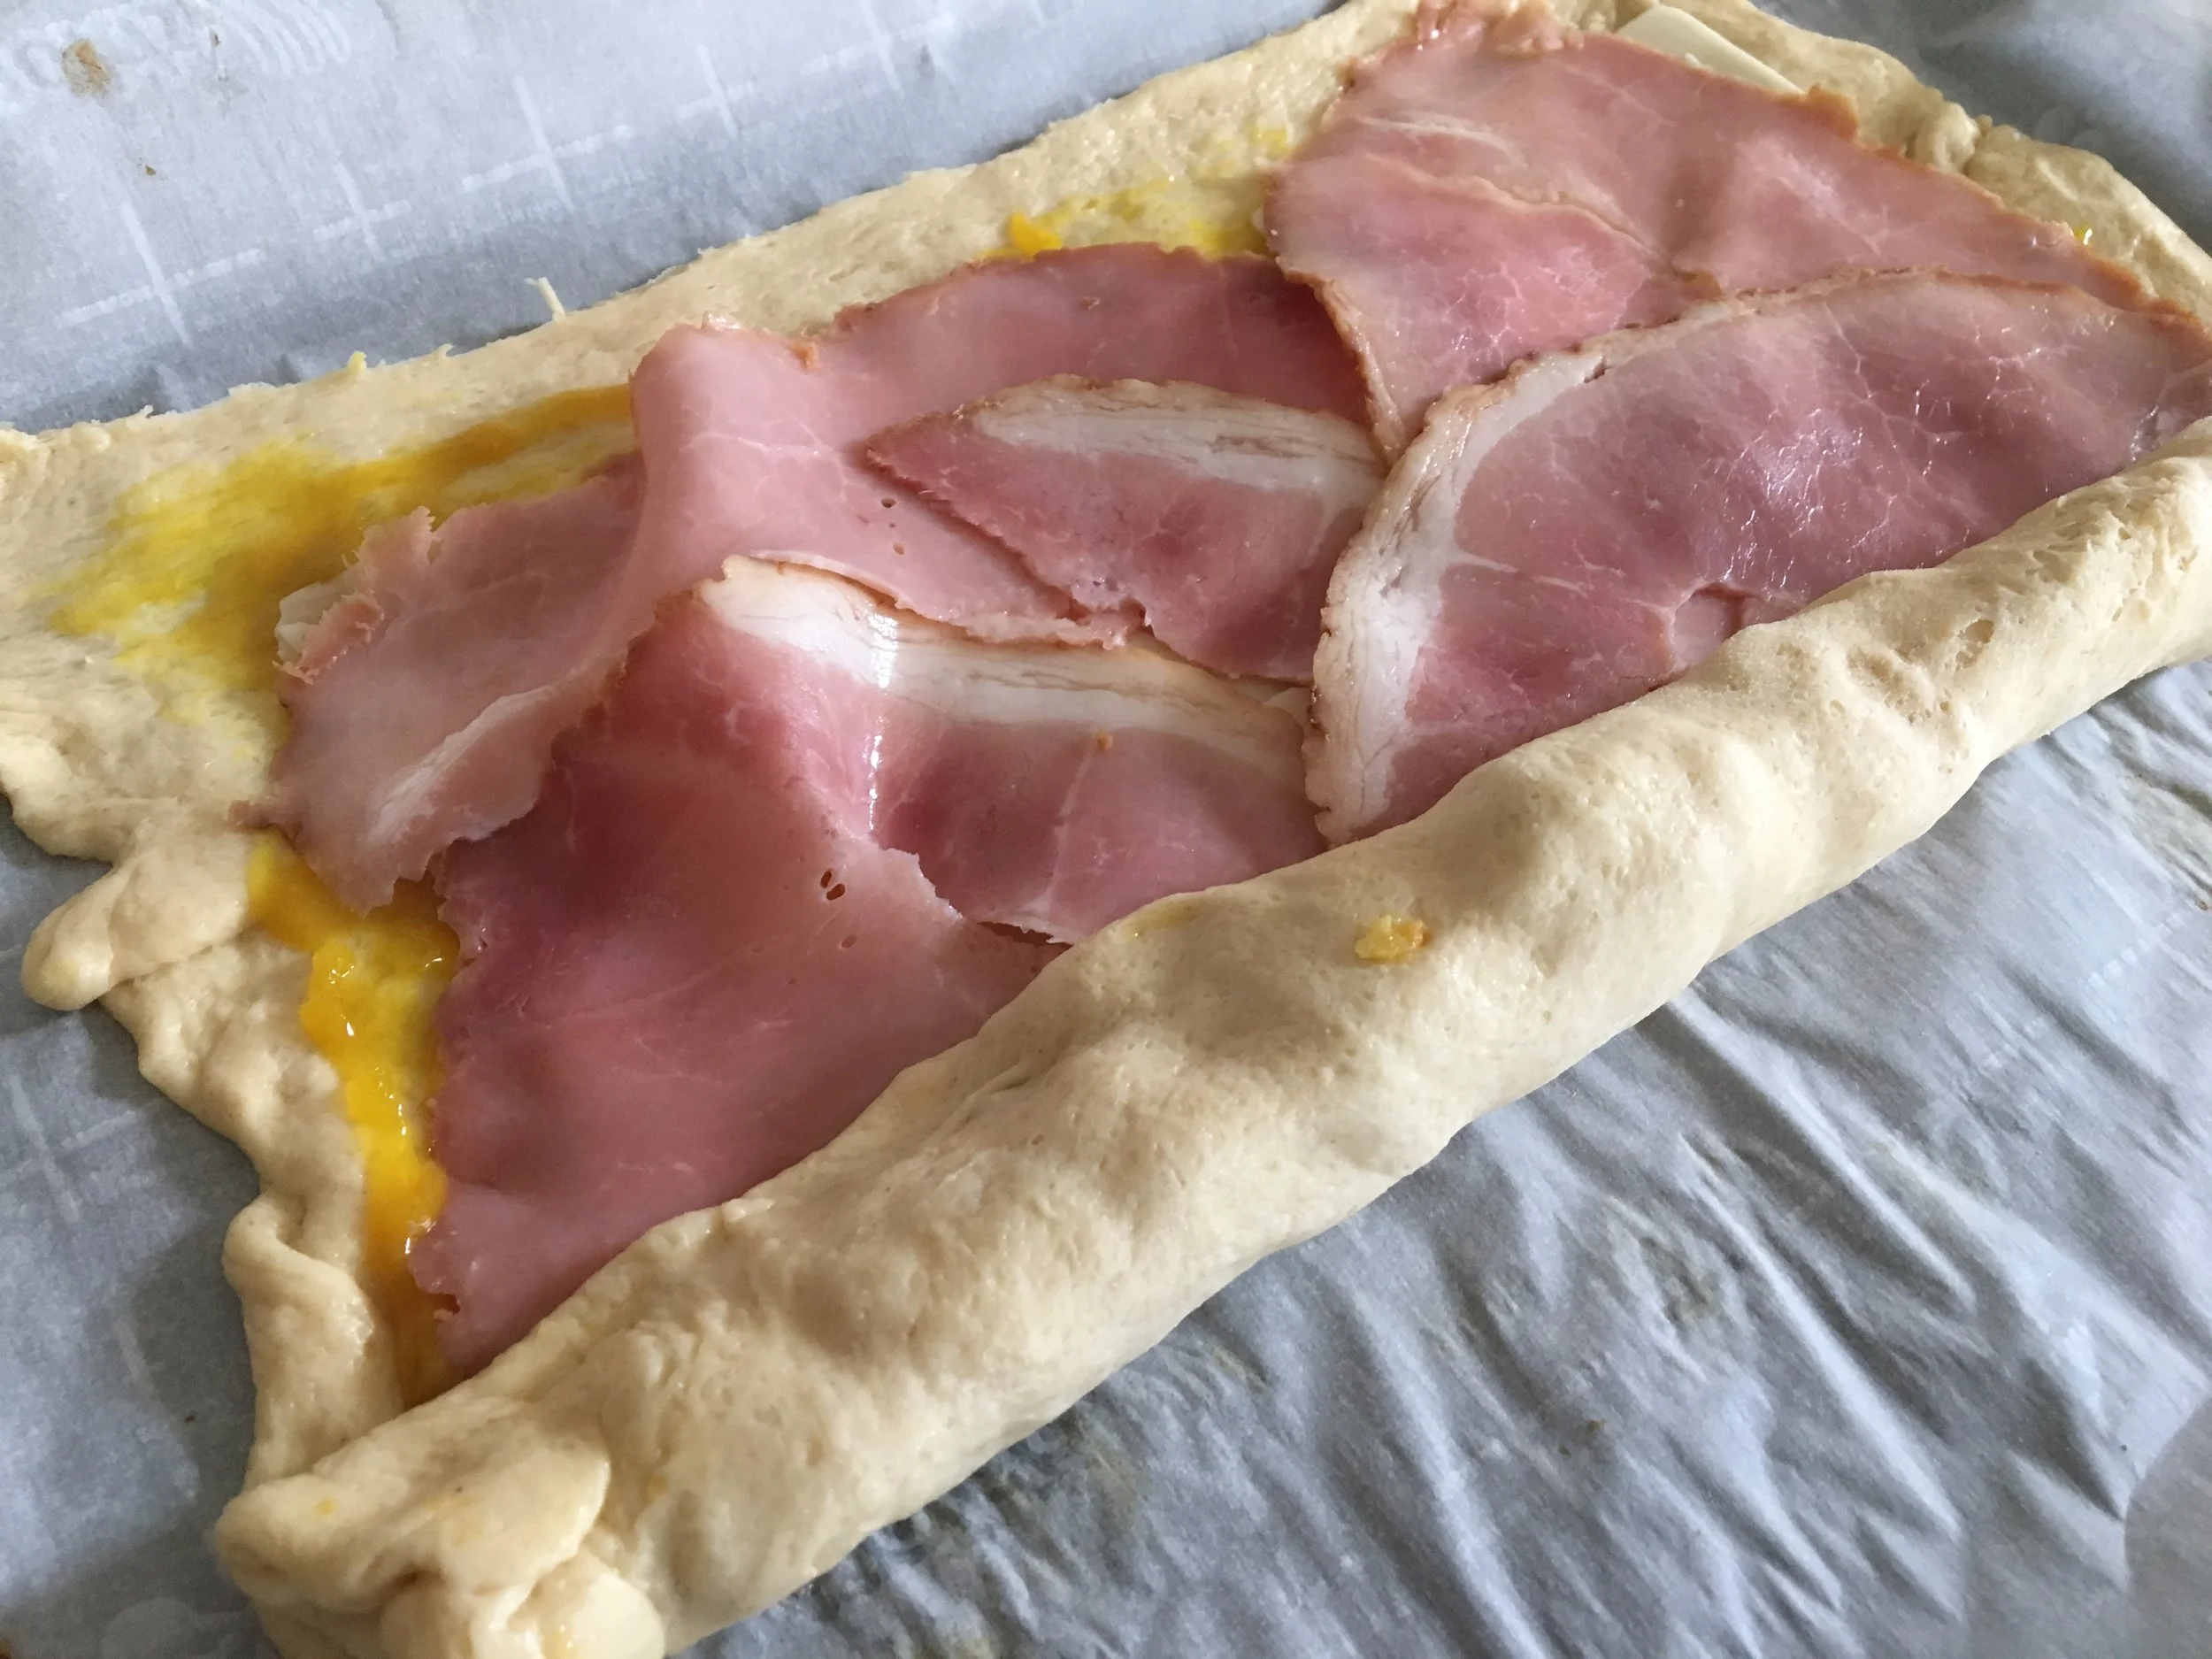
Preheat oven to 350 degrees.  On a floured surface or on parchment paper, roll out the crescent roll dough into the shape of a rectangle.  (If using traditional crescent roll dough, press the triangle seams together to form a rectangle.  There are now long sheets of crescent dough on the market, either of which is fine).   Spread the dough with the mustard of your choice.  

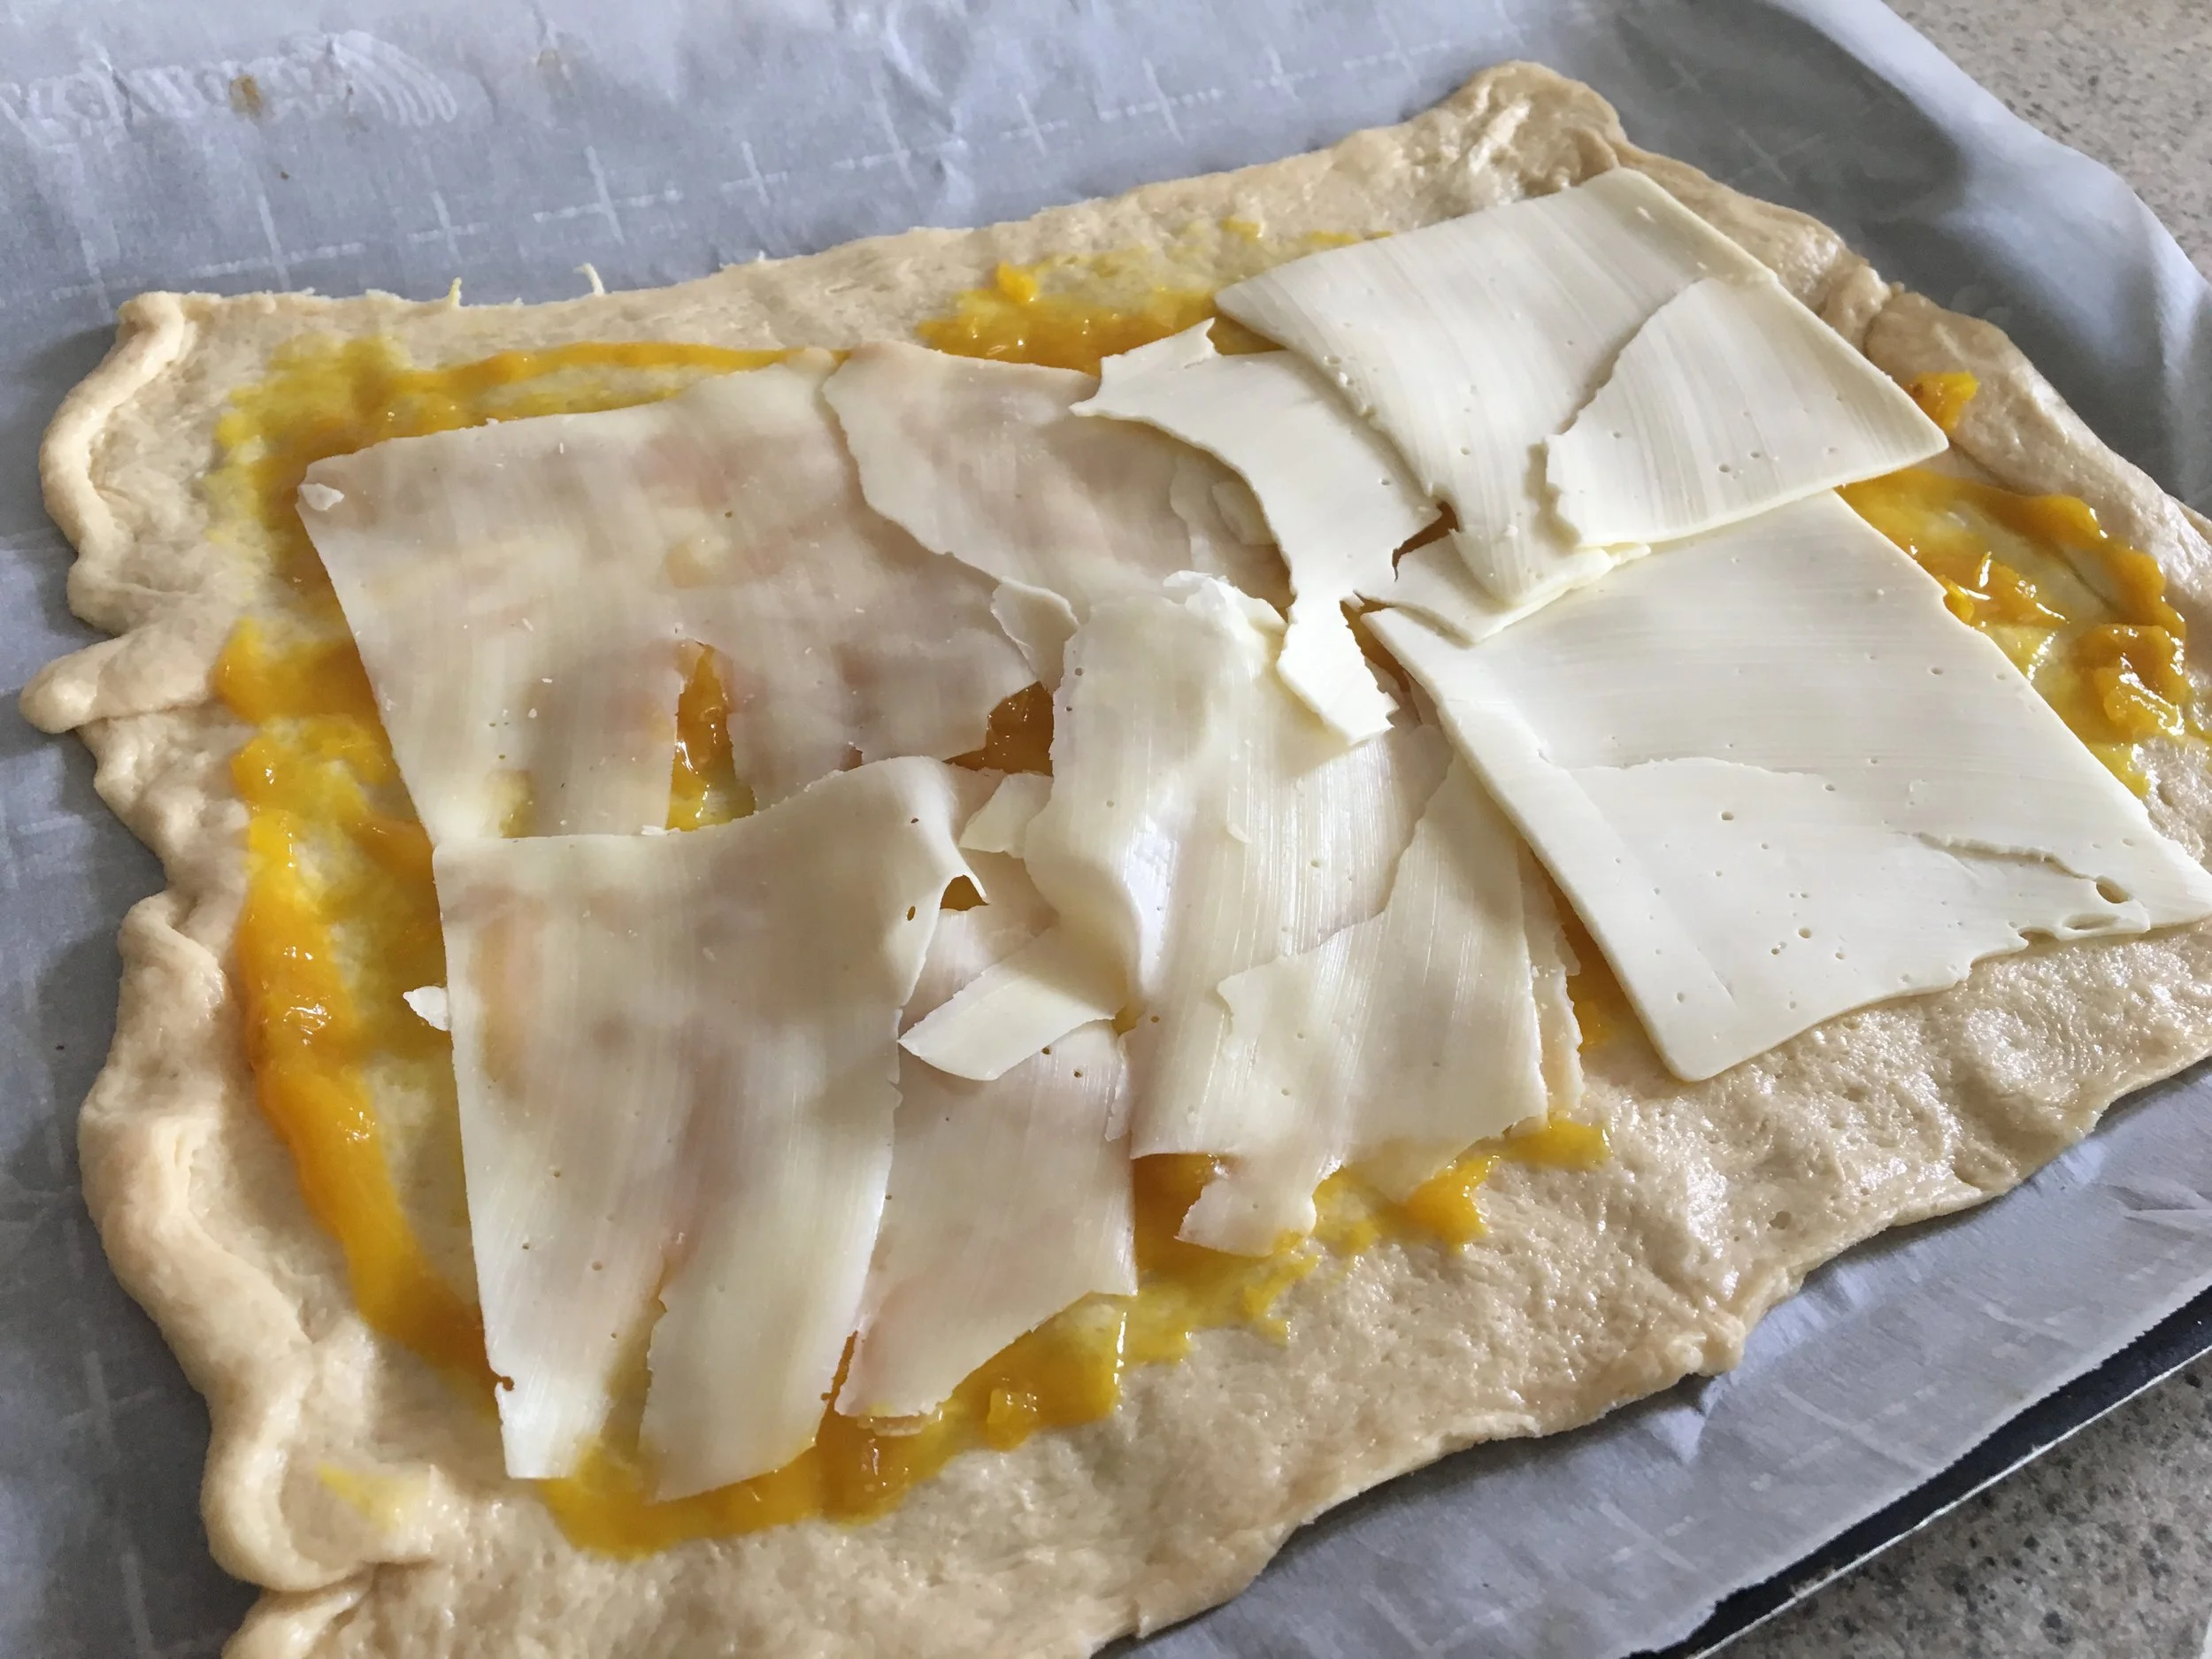
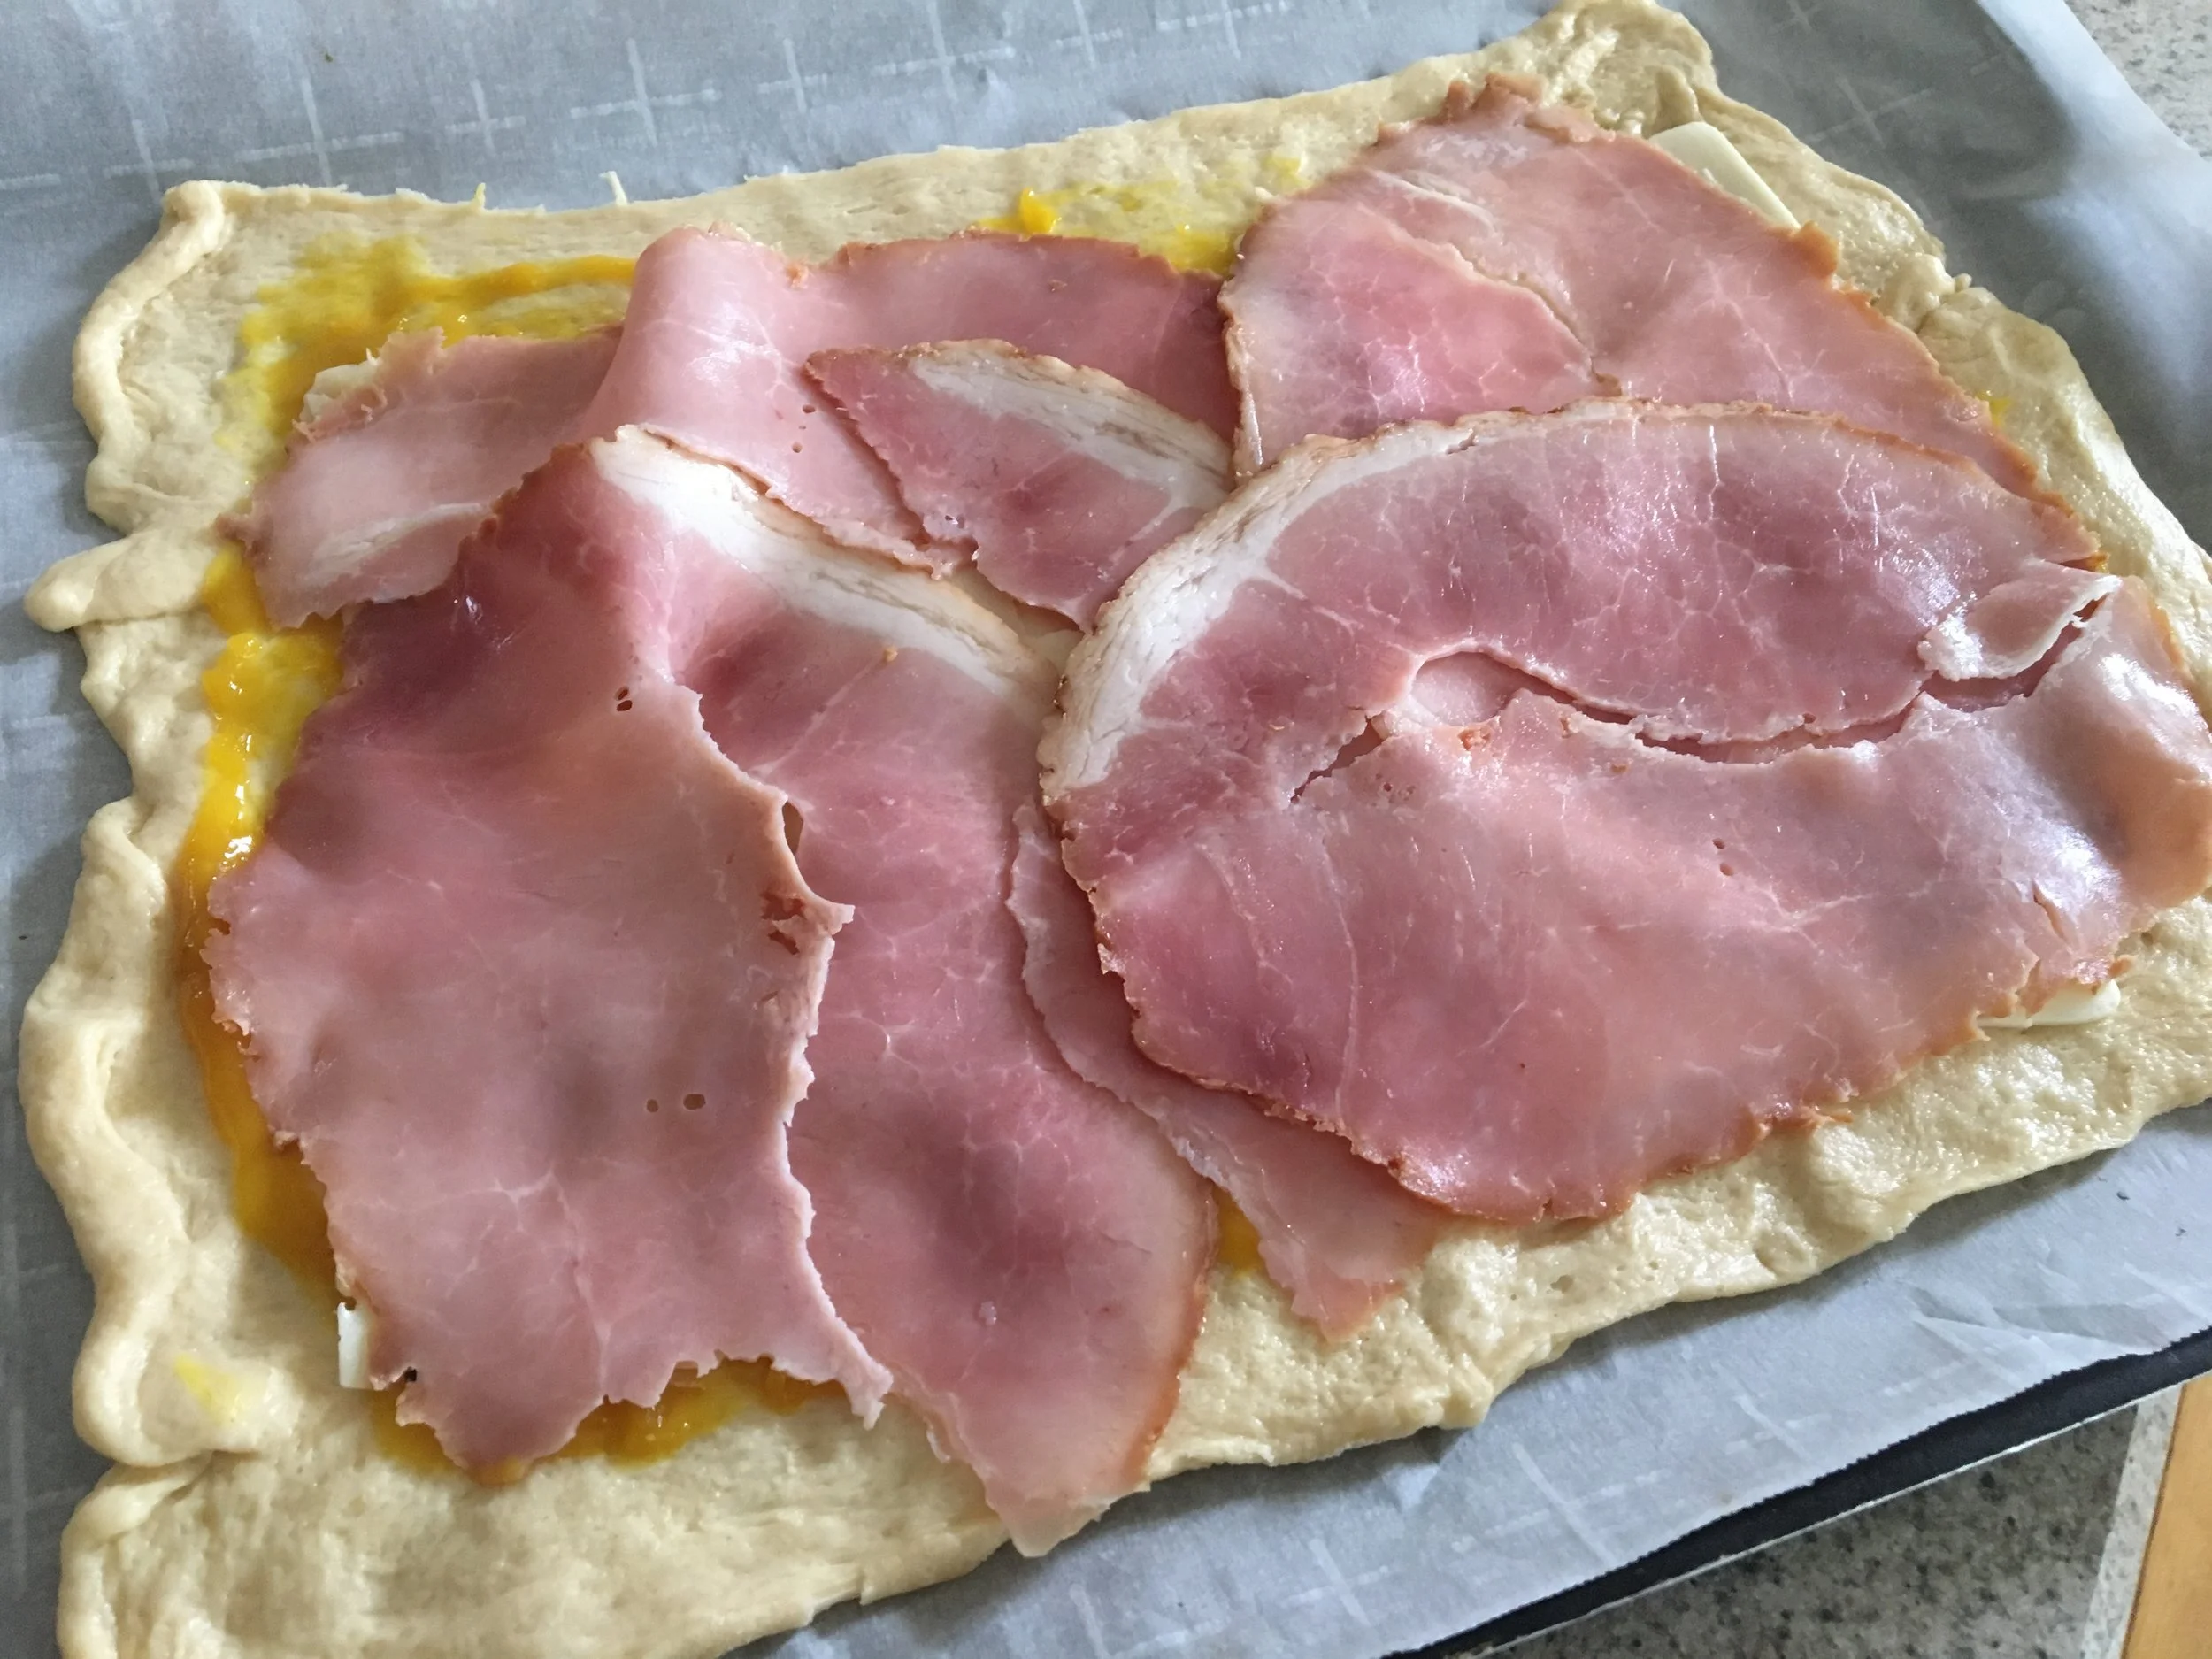
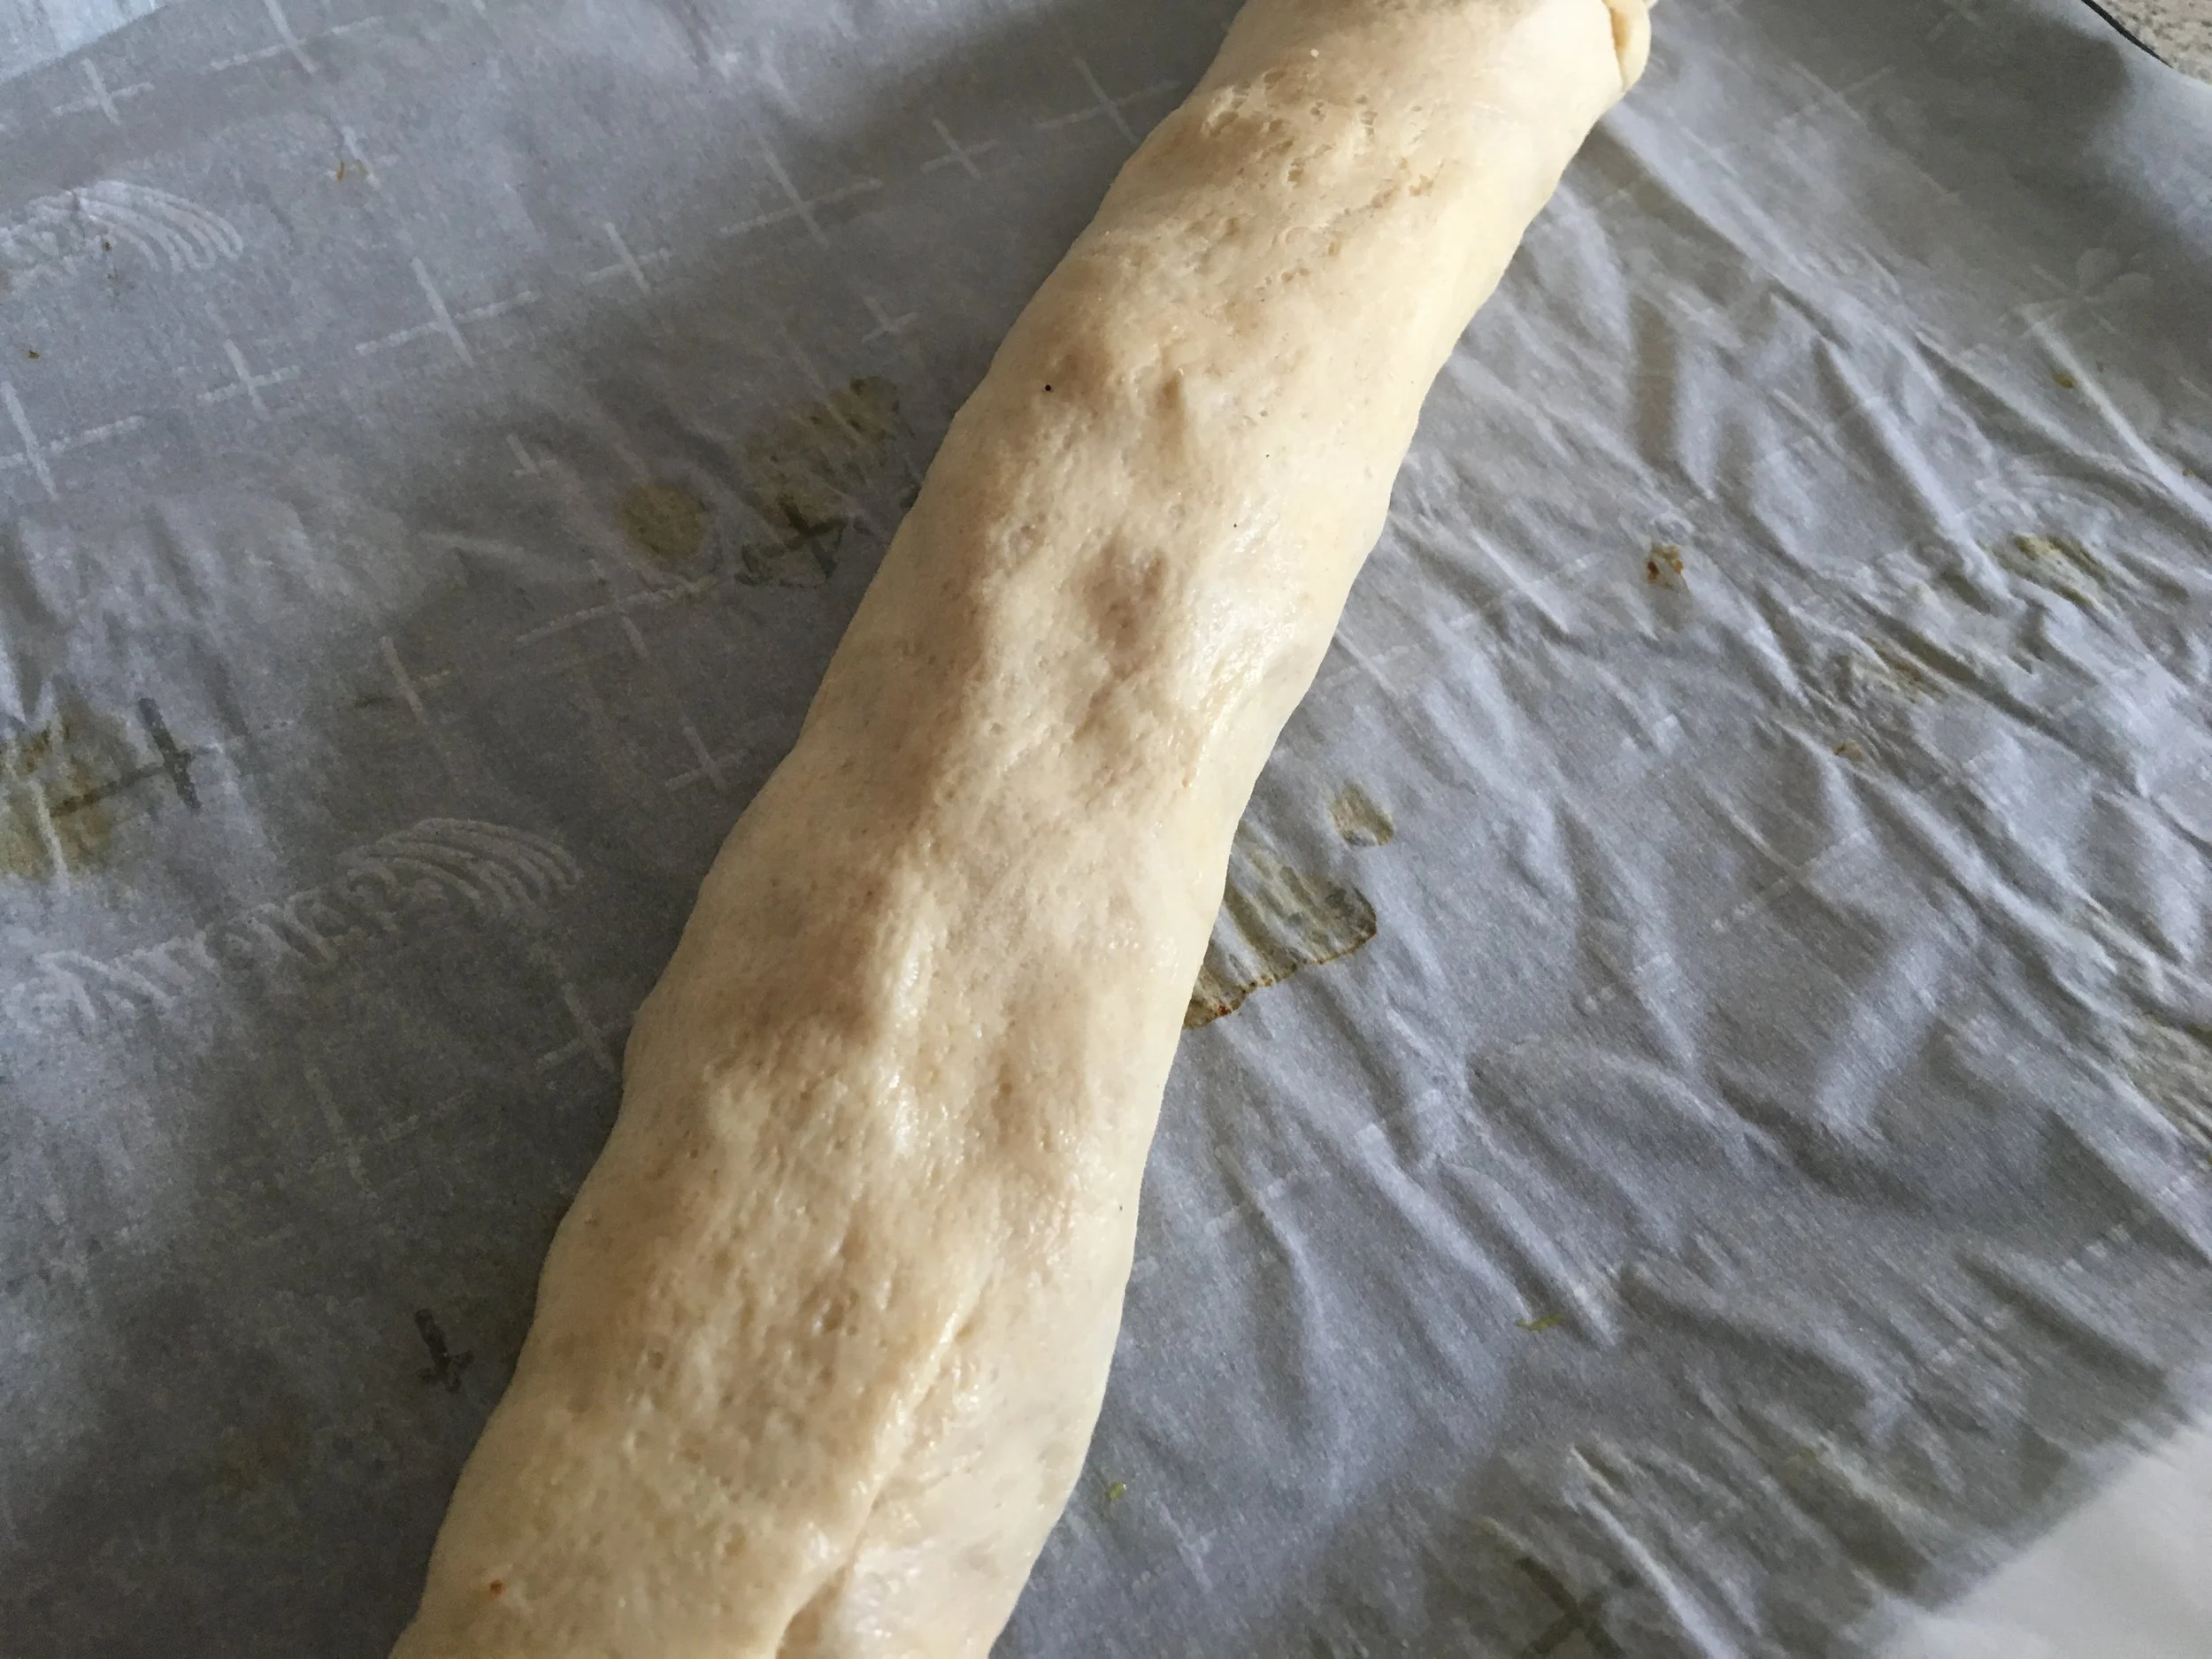
Next, layer the dough with the cheese, followed by the ham.  Starting with the long side of the dough, carefully and tightly roll up the dough and place the dough seam side down.  Refrigerate the rolled up dough for about 15 minutes to allow for easier cutting.

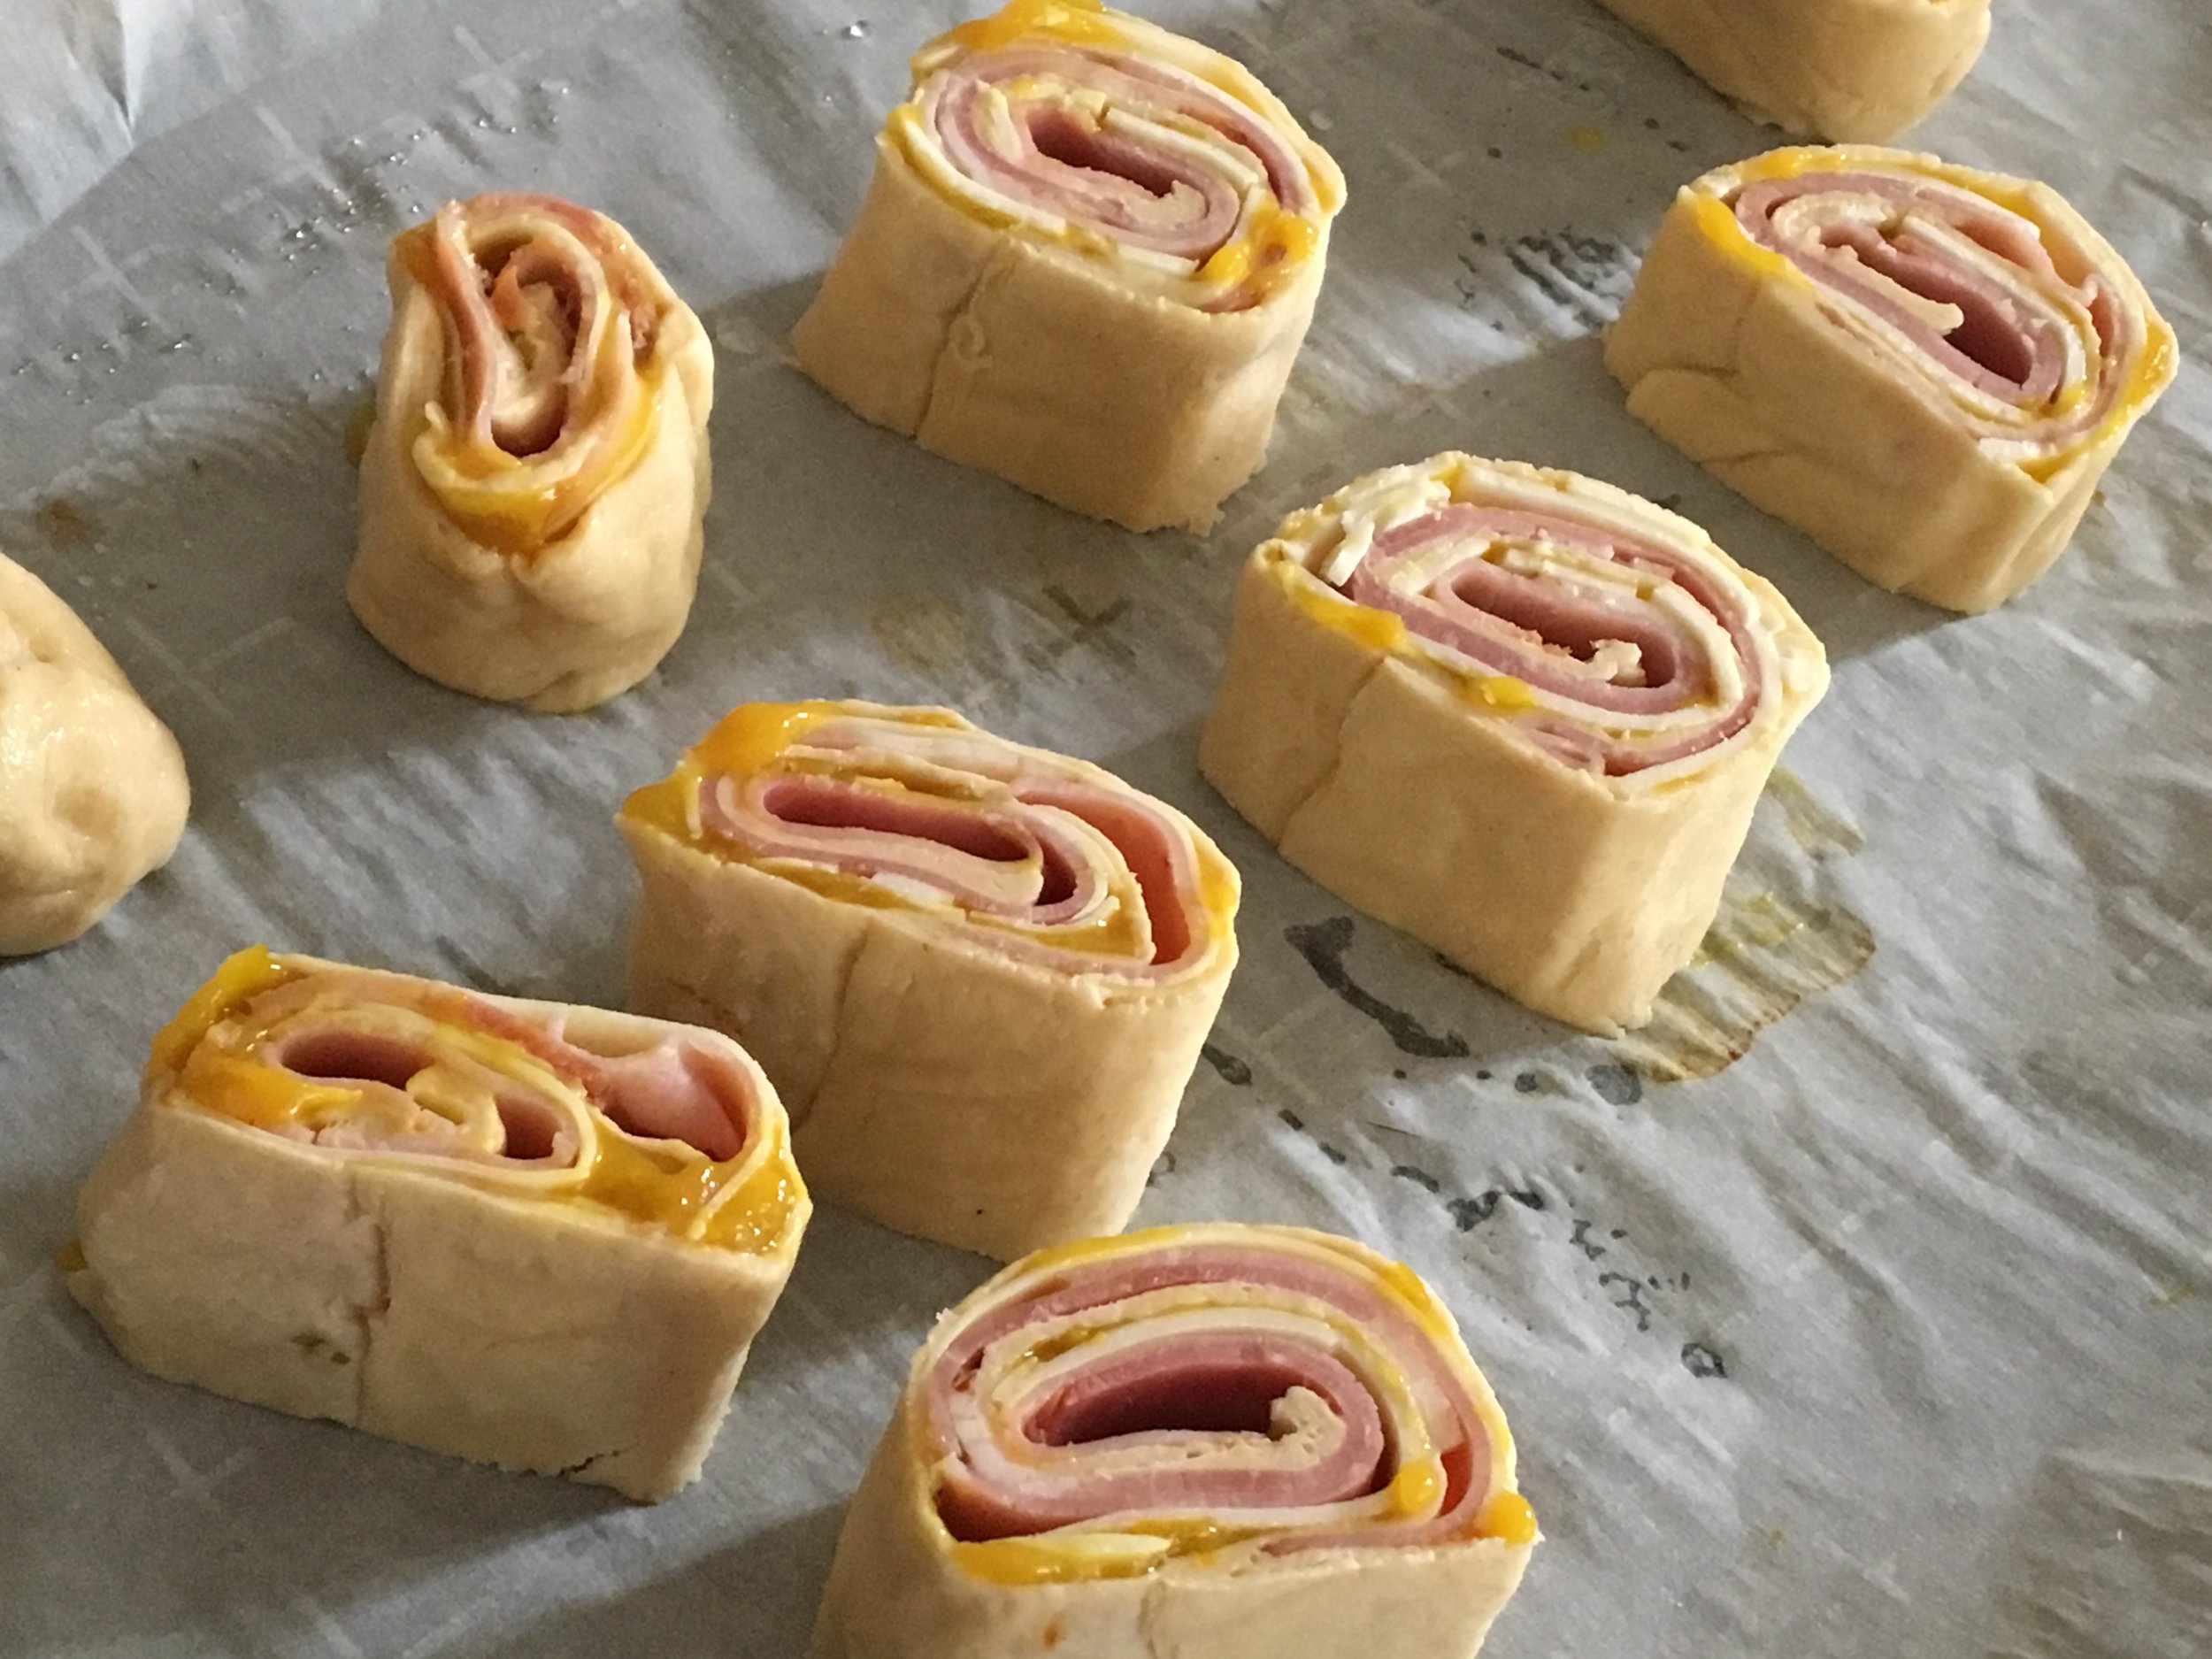
Once the dough has chilled, remove the rolled dough from the refrigerator and carefully slice into 1 inch segments and place on a parchment papered baking sheet. 

Lightly brush the pinwheels with the Apple Butter Spread and then sprinkle the pinwheels with the poppy seeds.

Bake in the oven for about 15 minutes, or until golden brown.

Enjoy!

ham and cheese pinwheels2  (1 of 1).jpg
Yum

Stuffed Pepper Mummy Recipe
parties, appetizers, leftovers, snacksSheri SpalloneComment

Stuffed Pepper Mummy Recipe
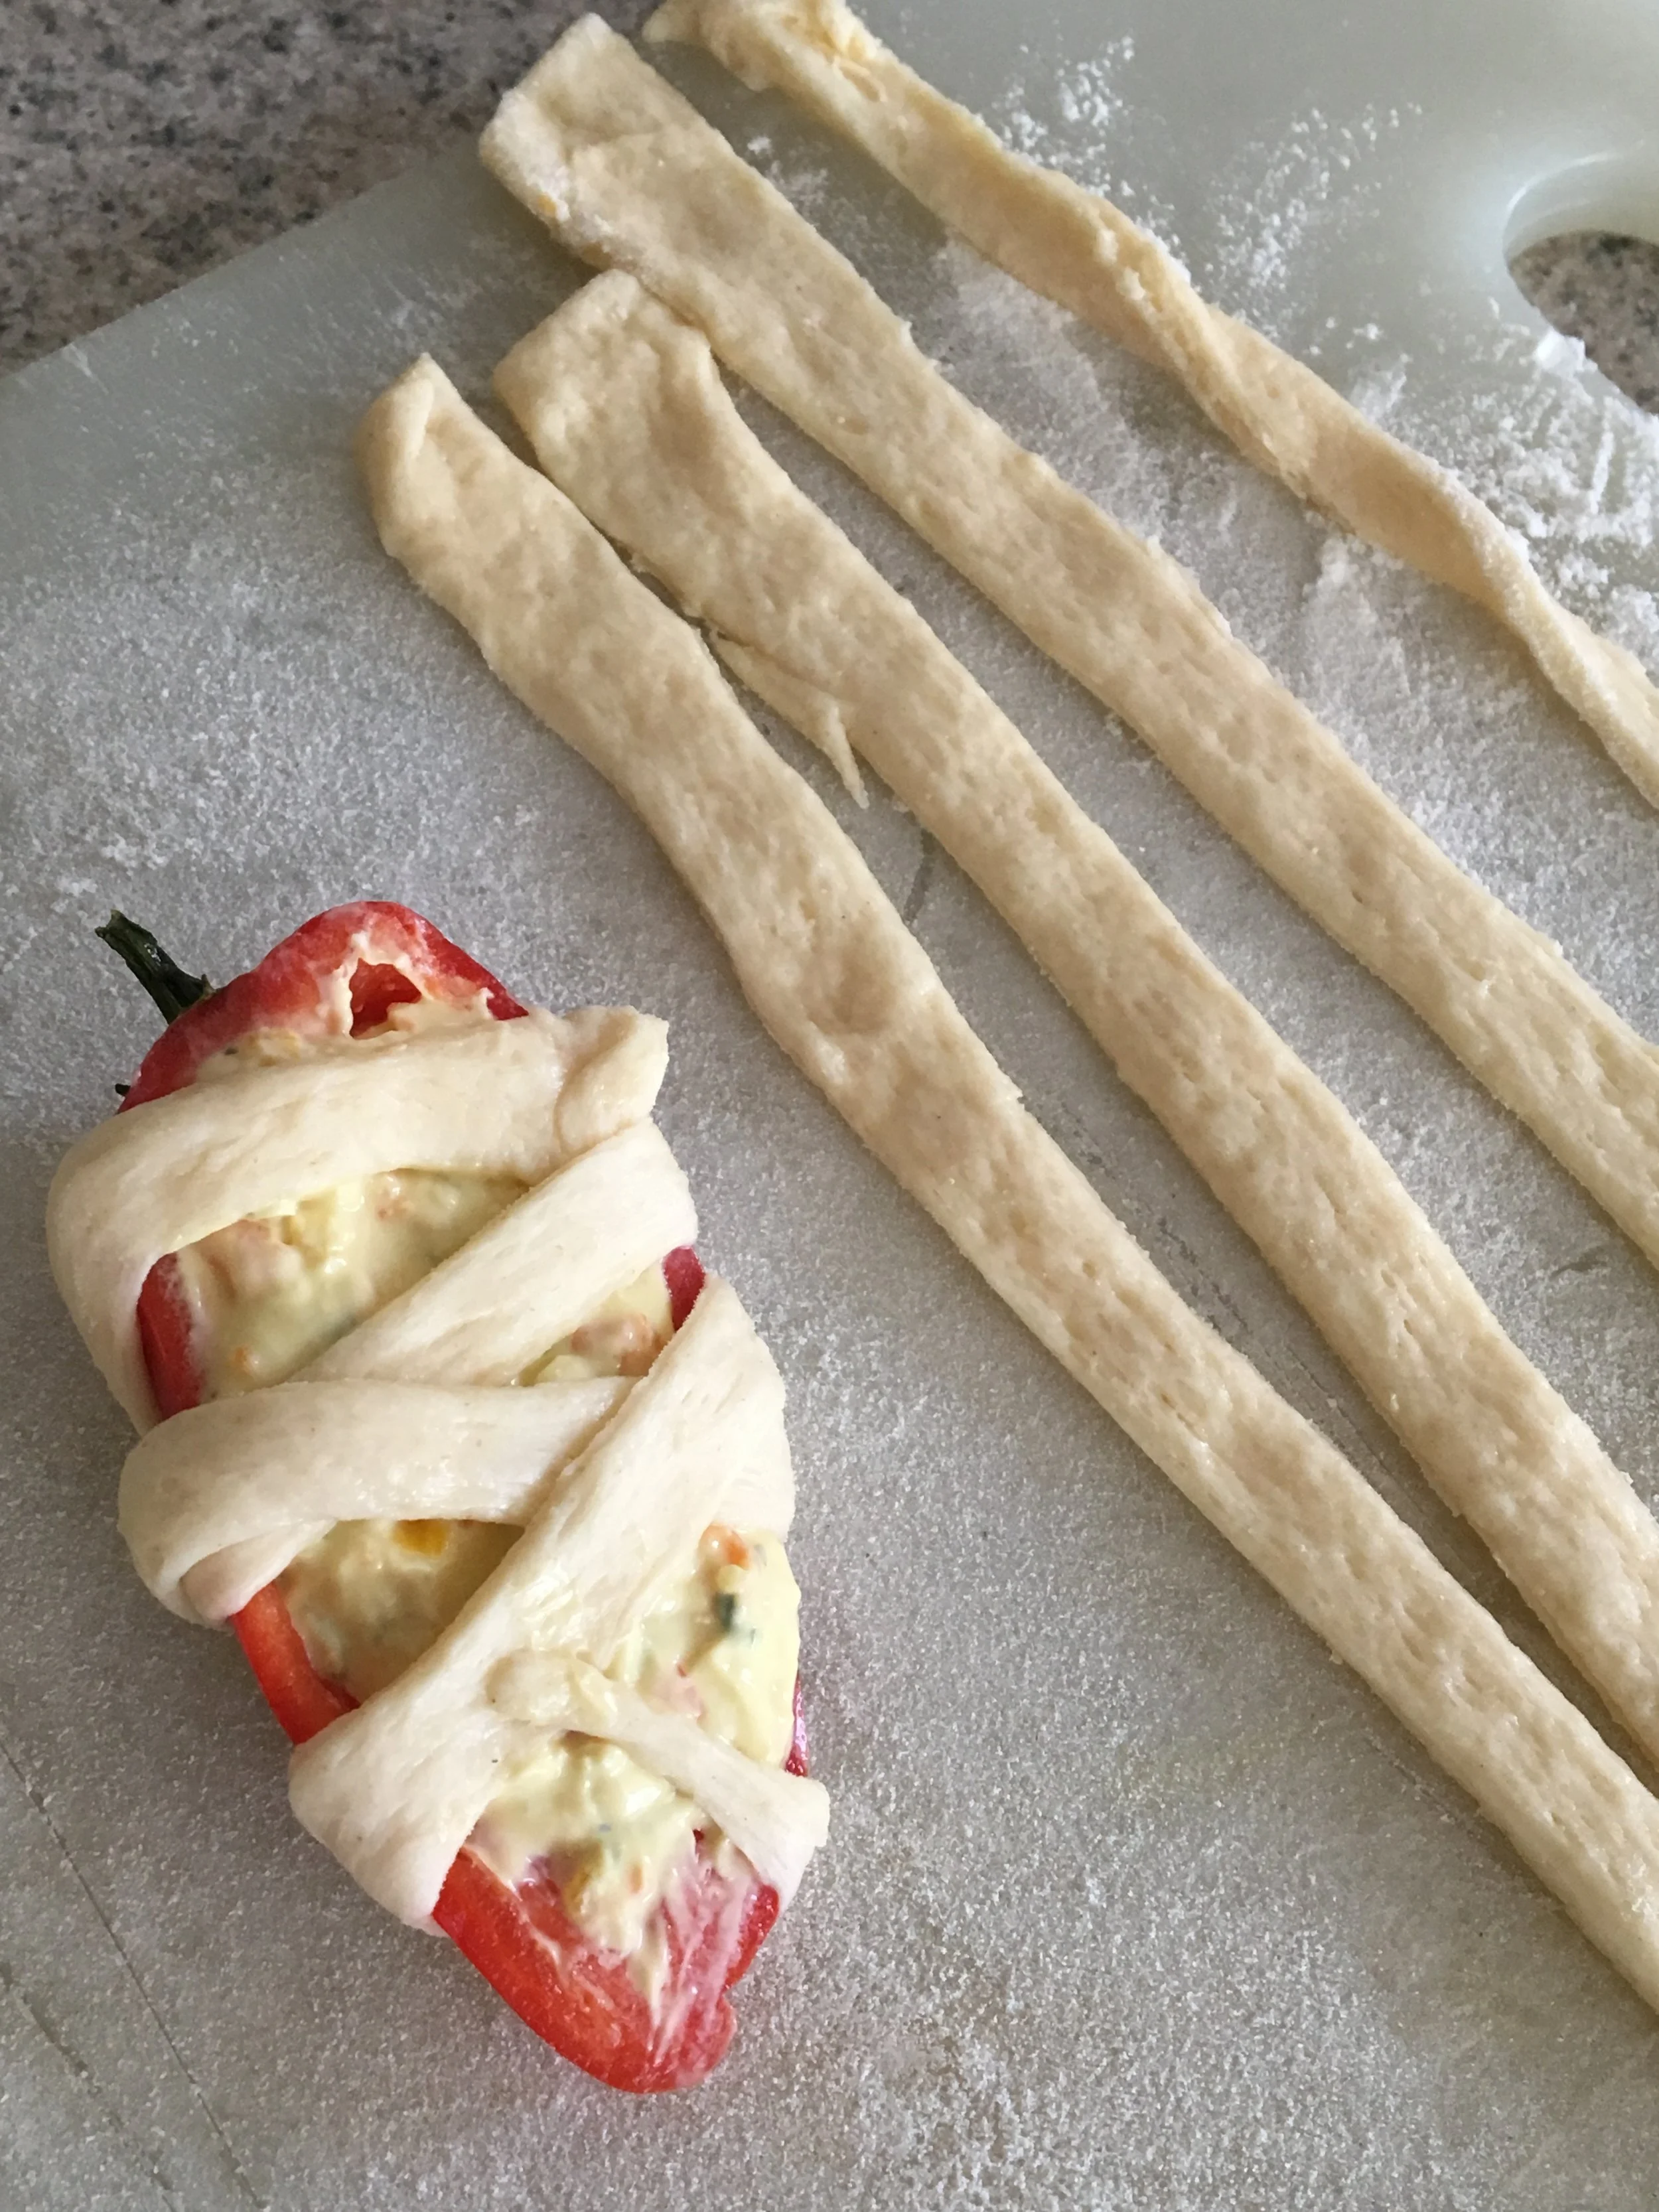
So, it's October, which means Fall.  Contrary to the typical conjured images of brilliant garnet, amber, and gold leaves, where the crisp air commands sweaters and bonfires, such is not the case in Pennsylvania.  It is 80 degrees and green!  I do not mind holding onto the tropical weather a bit longer, but at the same time, it is hard to think about Halloween when it feels like summer!

Do you like Halloween?   I don't know whether it is the inner child in me or the fact we have children, and their excitement over the years has excited us, but I have always been a sucker for party themes, themed food, theme decorations, etc., and Halloween is no exception.  

These stuffed mummy peppers are so stinking cute and the epitome of Halloween, spooky and fun (even if it is 80 degrees where you live)! They are quick and tasty, a fabulous use for leftover peppers, and are a delightful Halloween appetizer or snack. The filling possibilities are endless, but our favorite is our Vegetable Cream Cheese Spread, which is chock full of fresh vegetables and herbs.  You could also use chili or our Tomato Basil Cups filling to stuff the peppers. And talk about quality time in the kitchen!  Assembling the mummies is an ideal project for spending time with the kiddos, regardless of age.  Our children are teenagers now, but they still enjoy helping in the kitchen, especially when food is fun! Priceless!

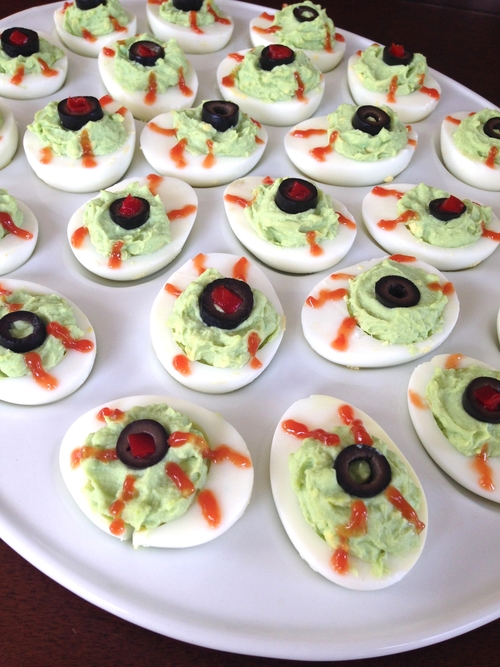
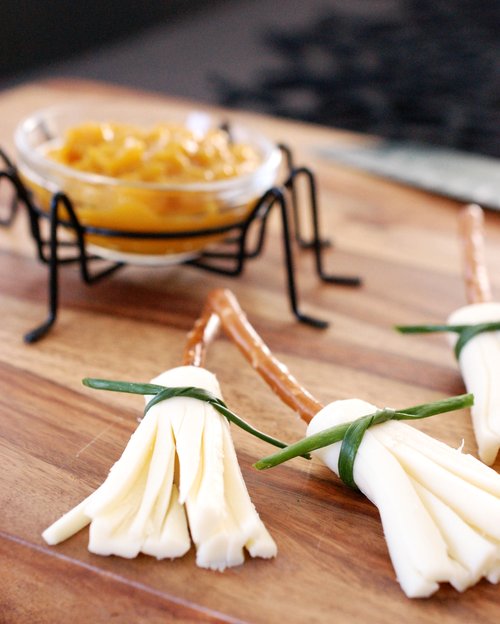
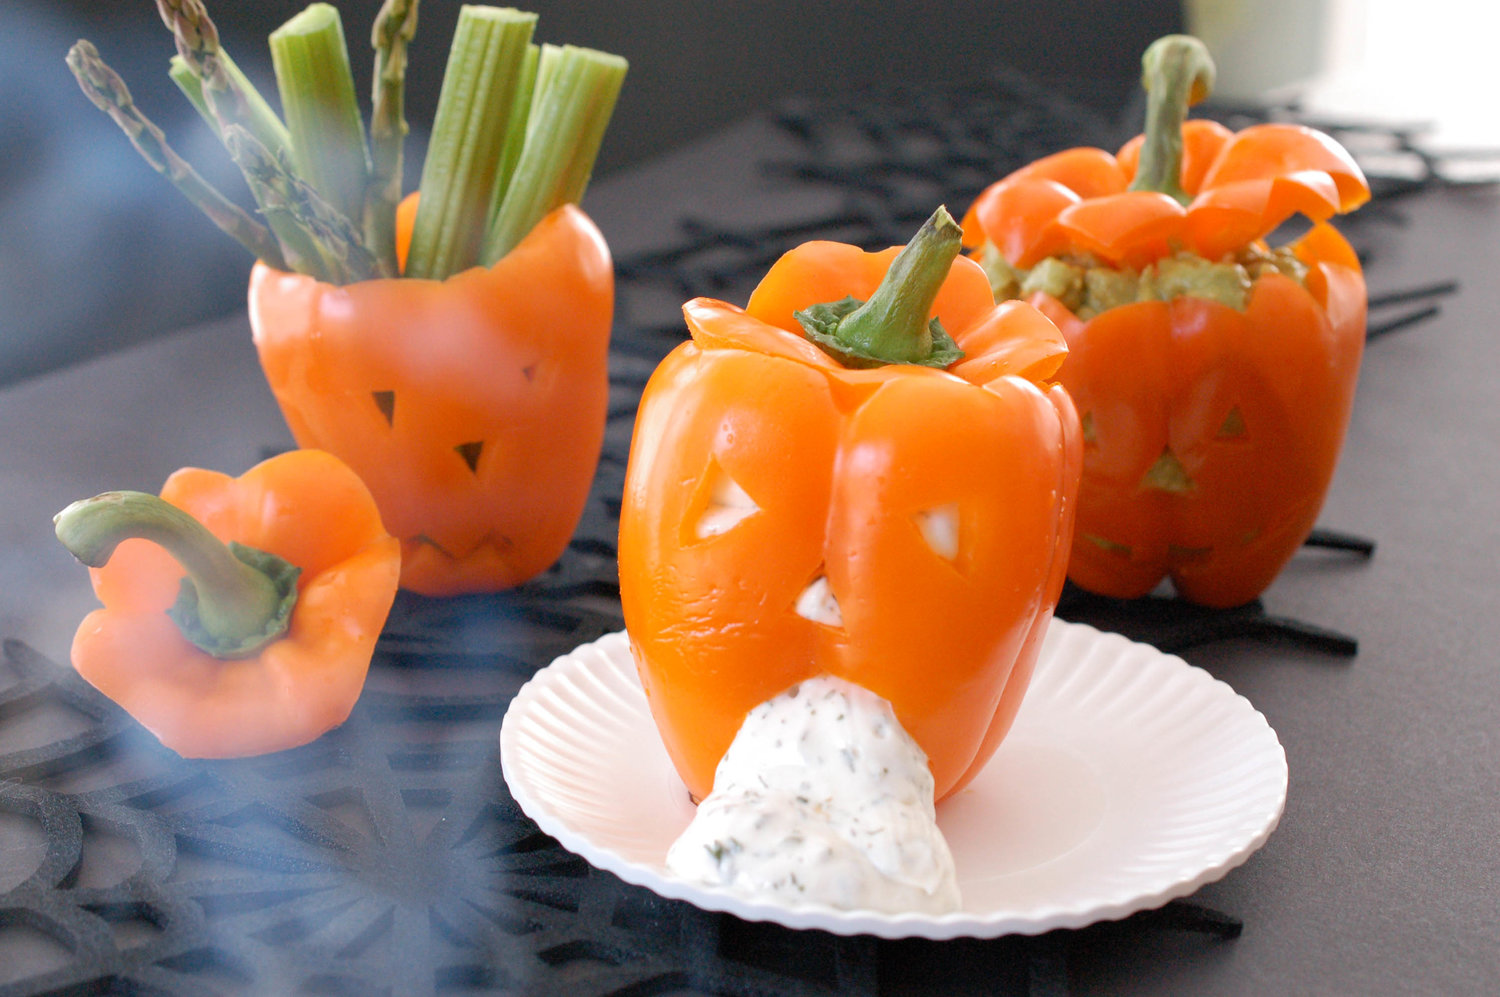
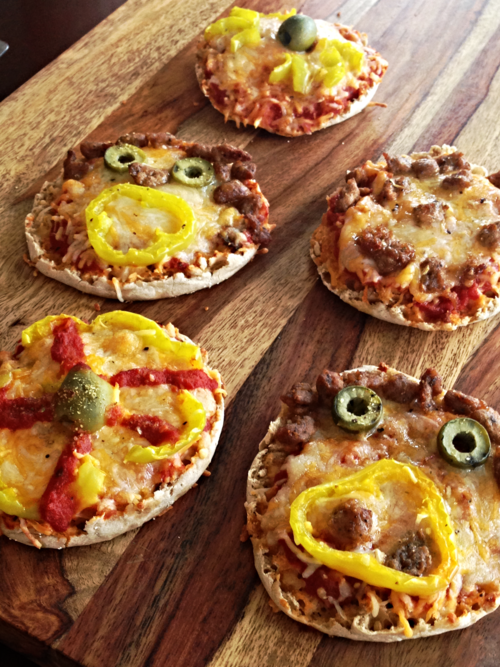
Serve these mummies with our Festive Deviled EyeballsWitches Cheese BroomsSpooky Jack-o-Lanterns, and Spooky English Muffin Pizzas for a very eerie Halloween feast!

*Note: for those with a spicier palate, instead of mini peppers, you could always substitute jalapeno peppers.

Thank you for stopping by!  Happy early Halloween!

Ingredients 

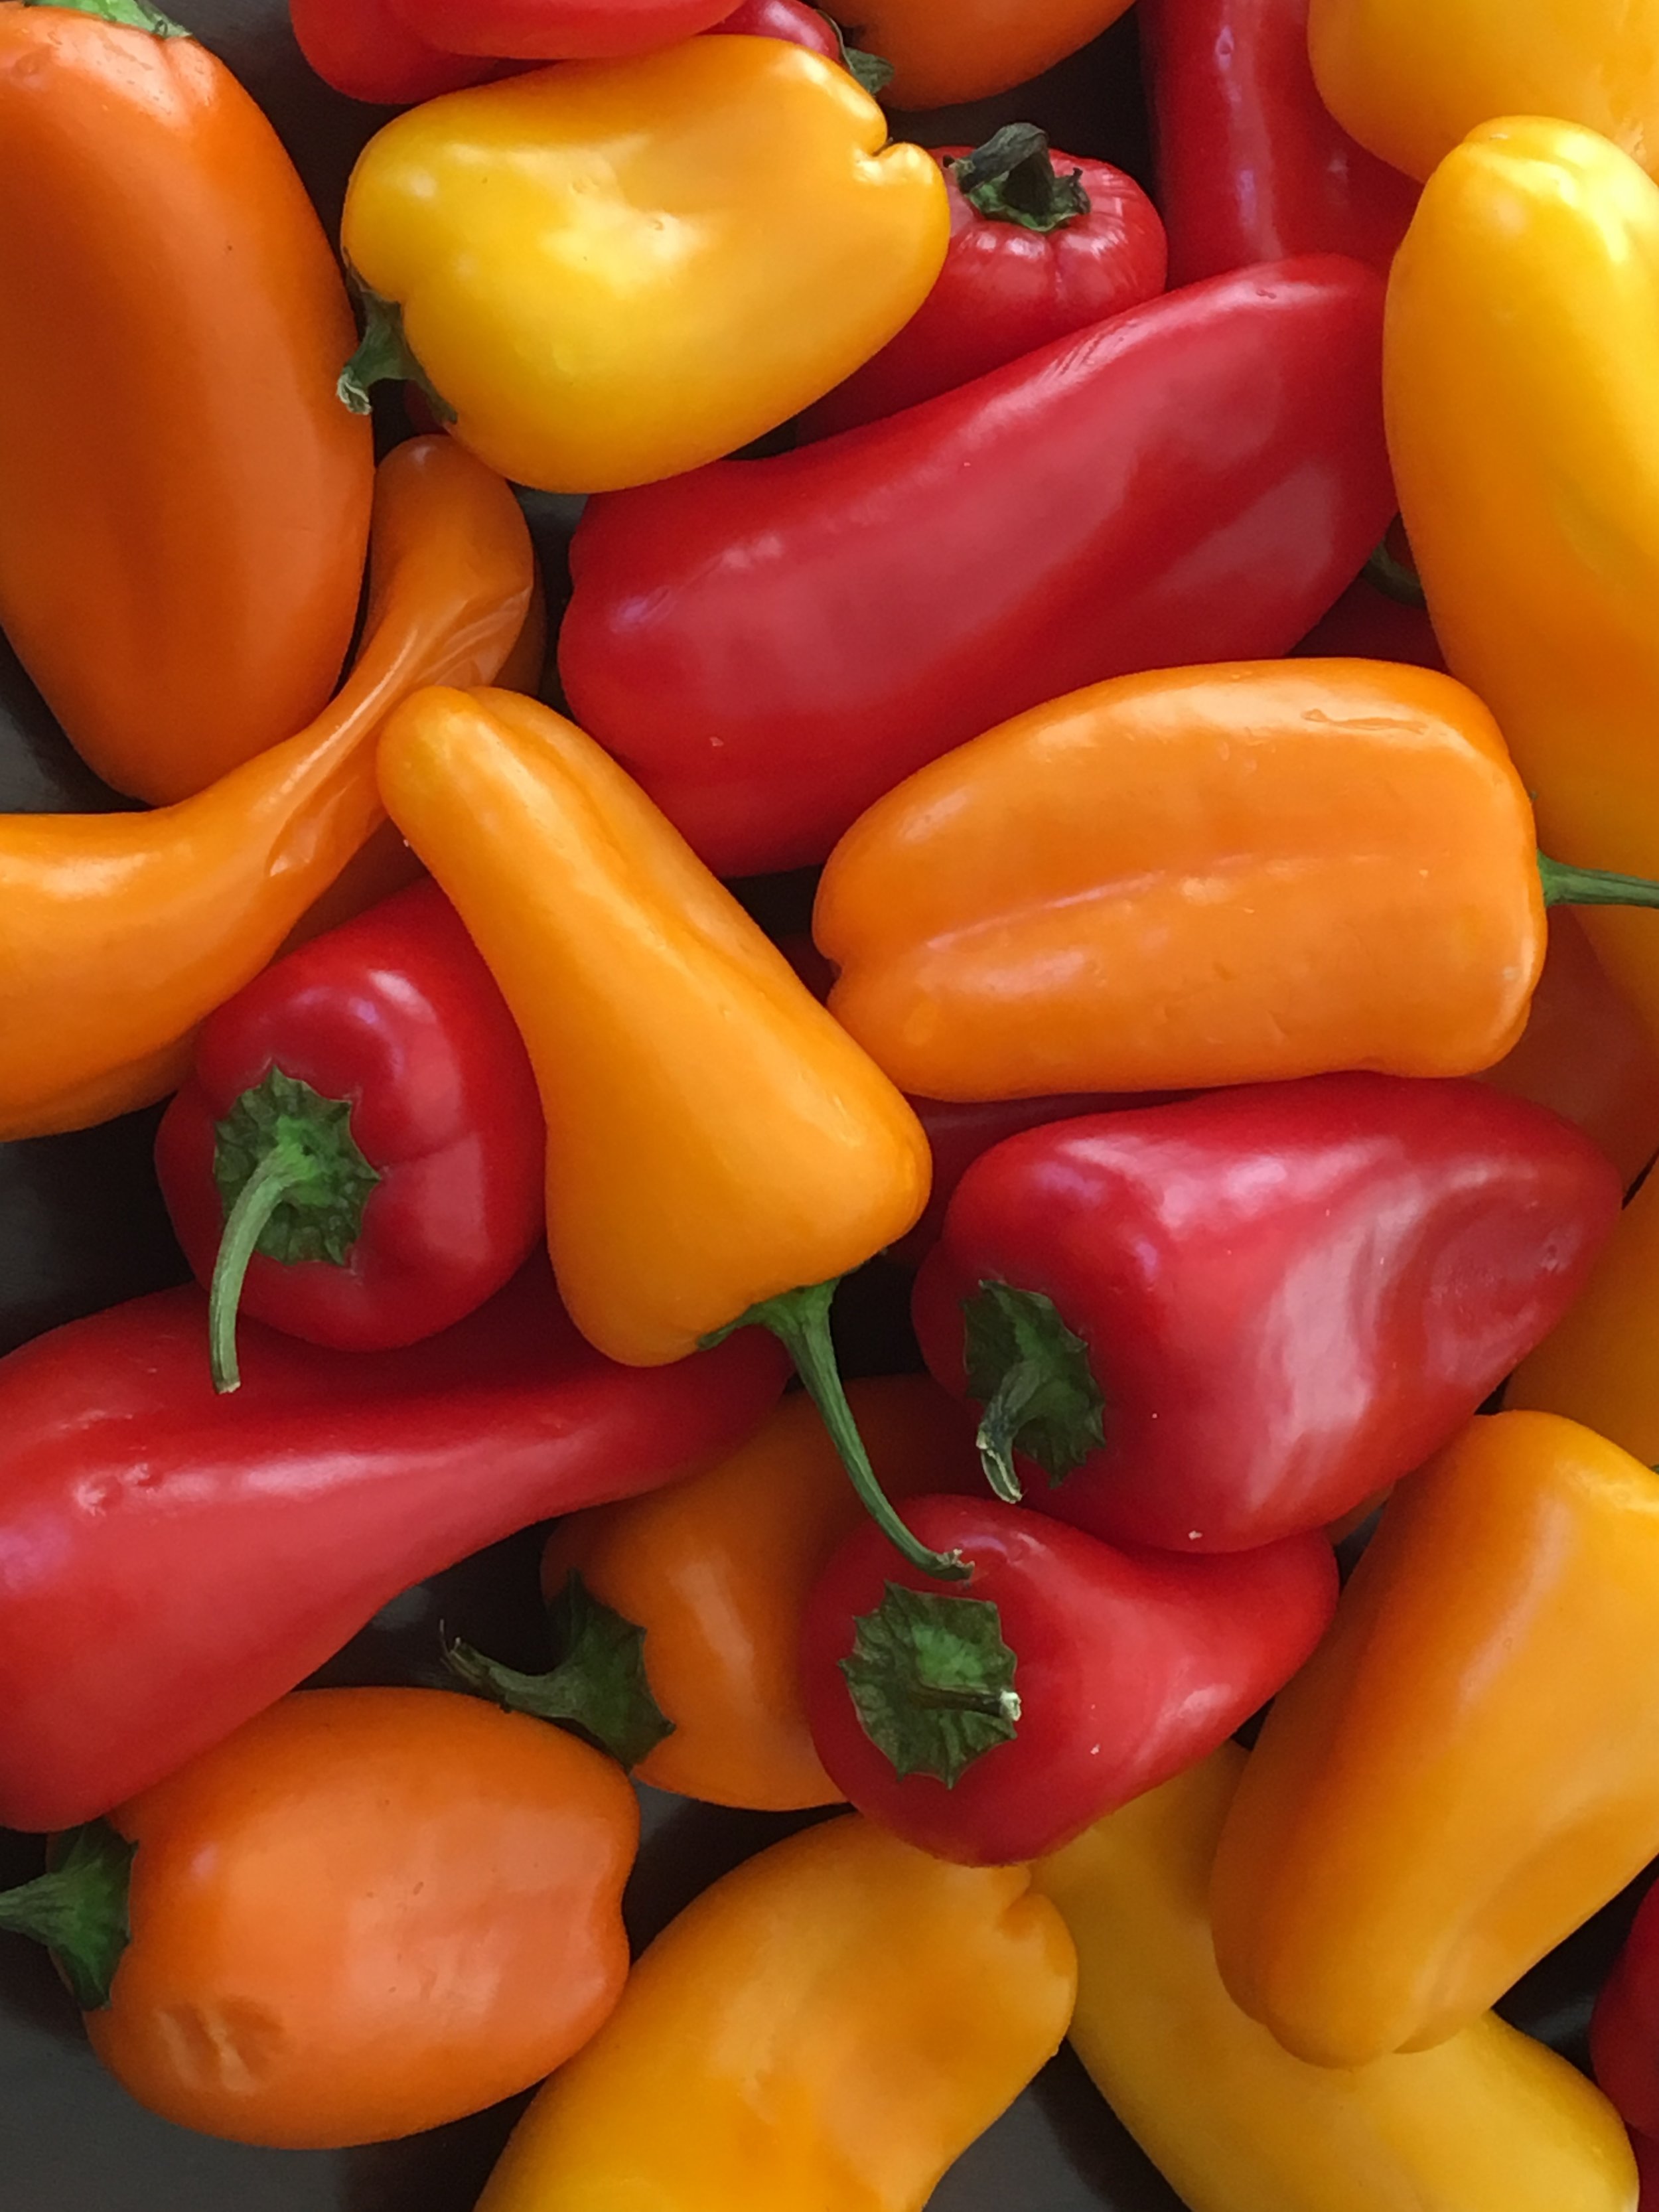
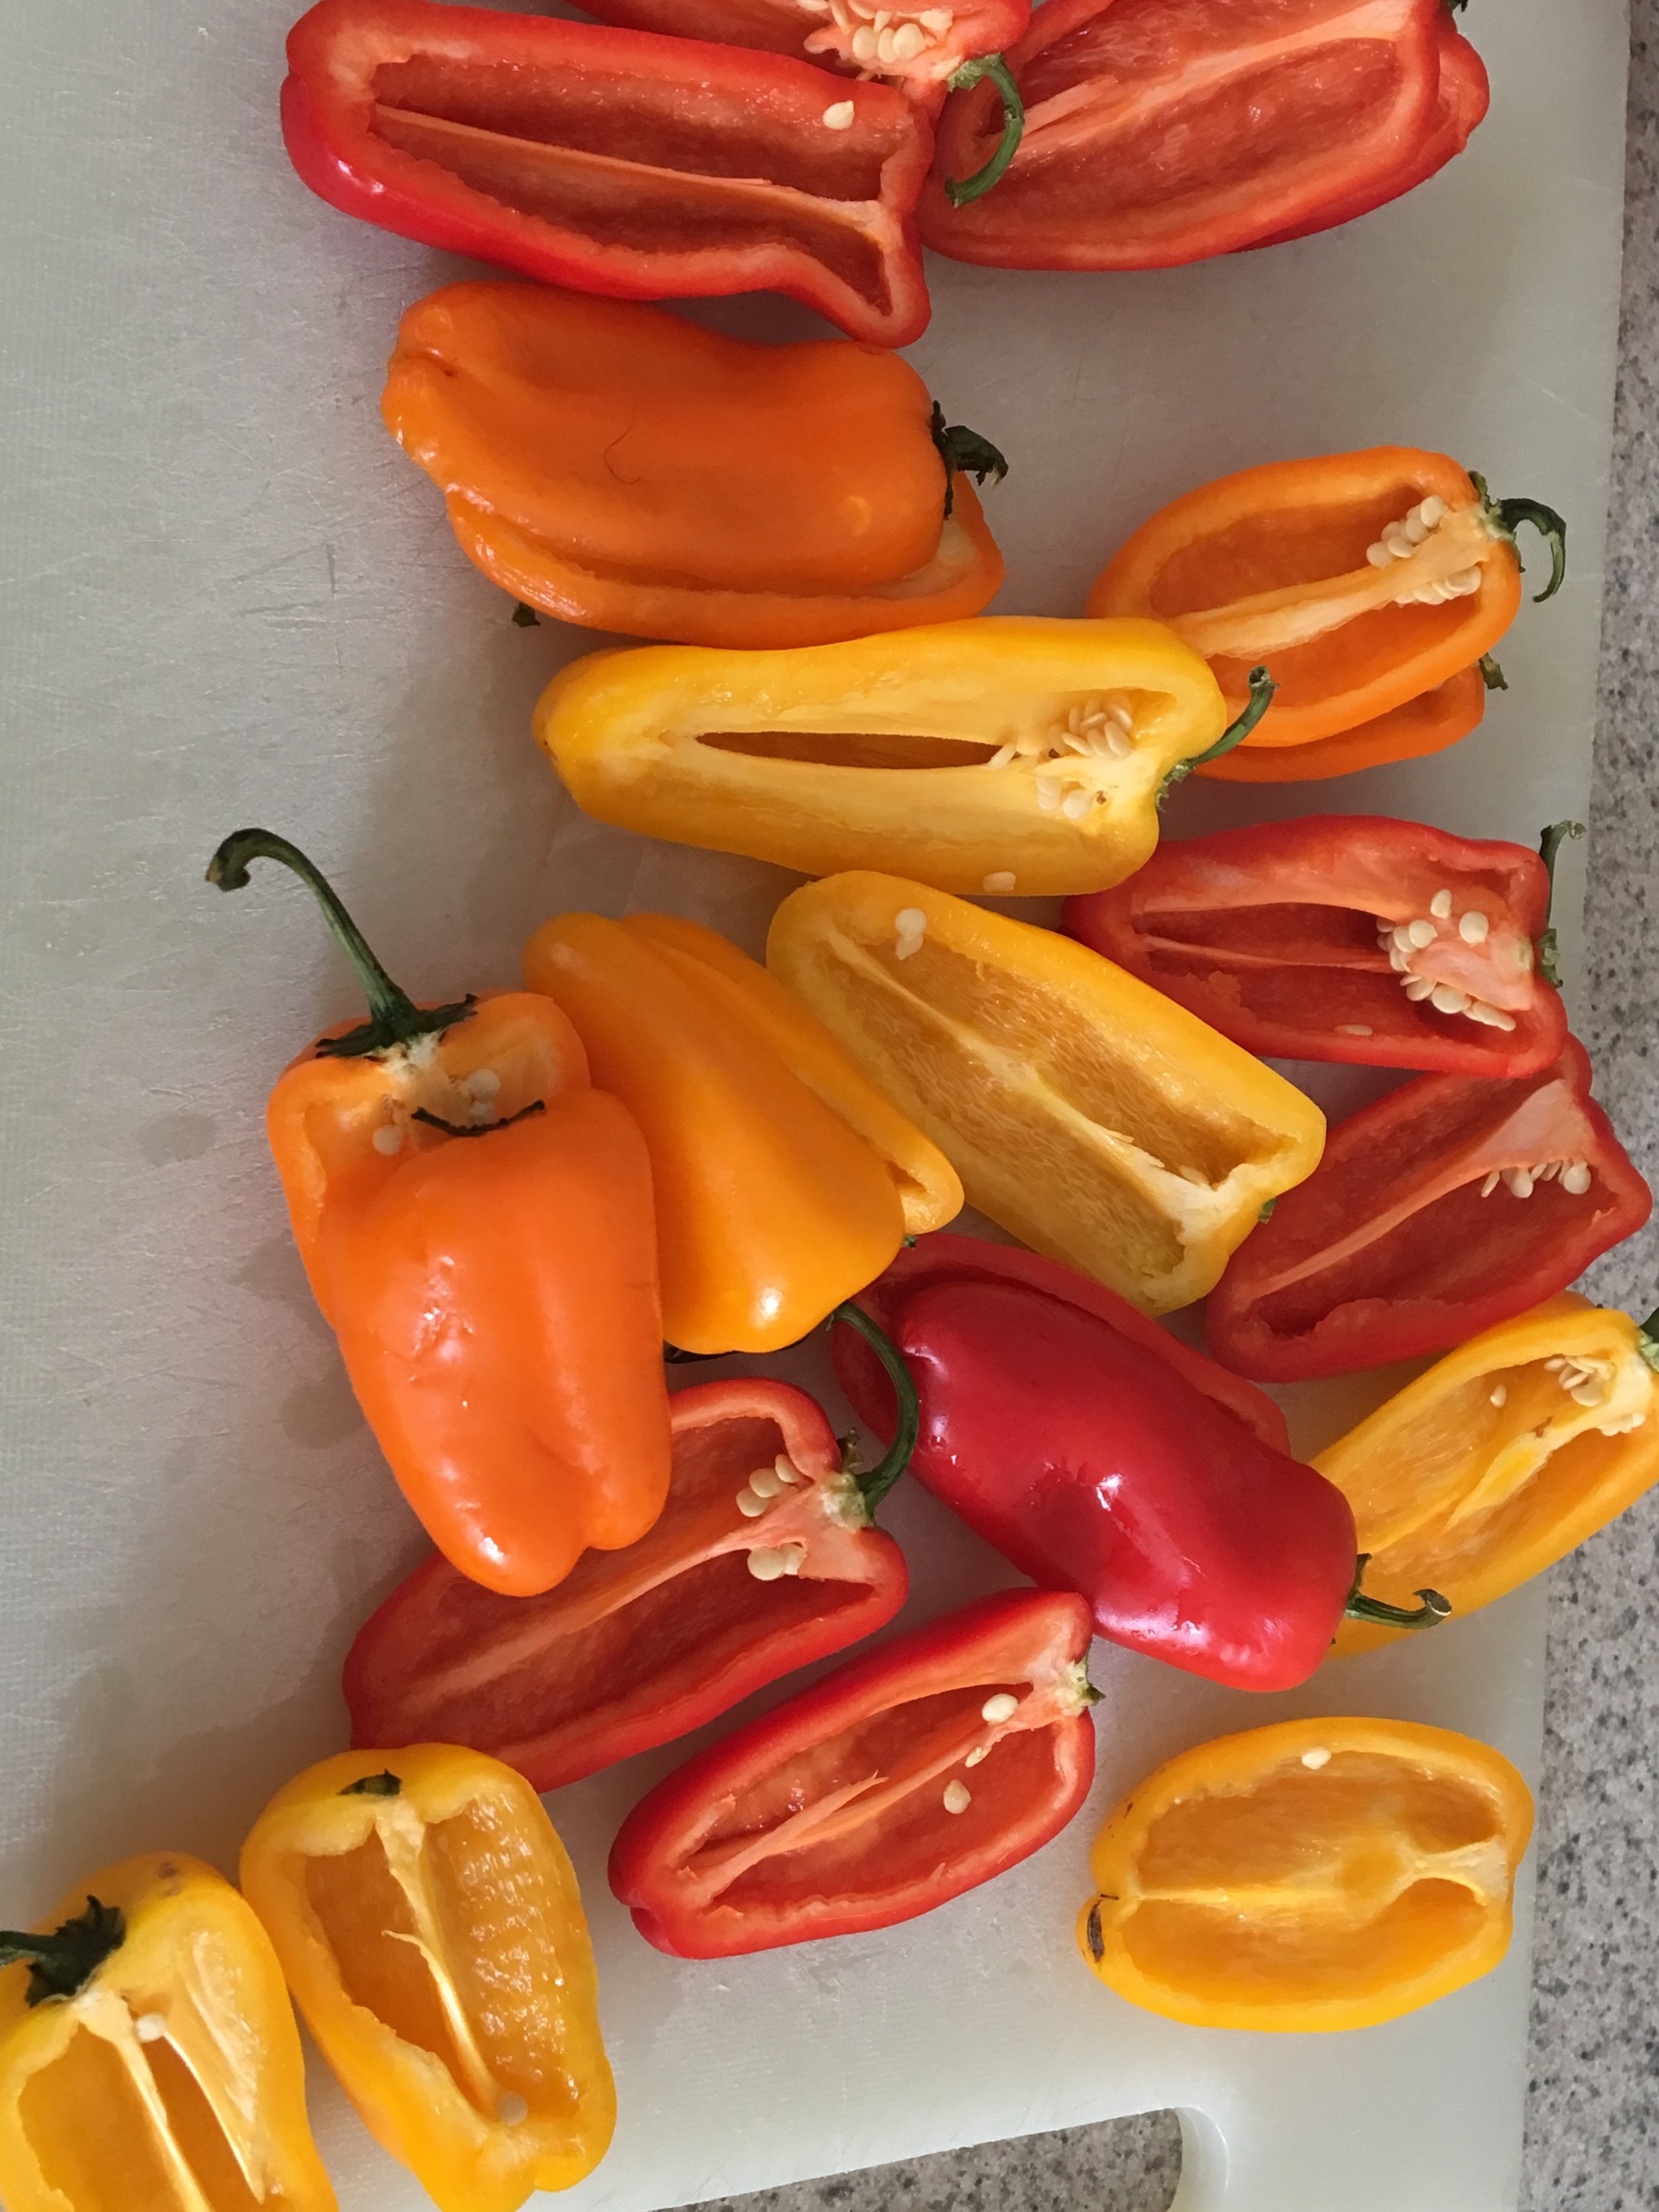
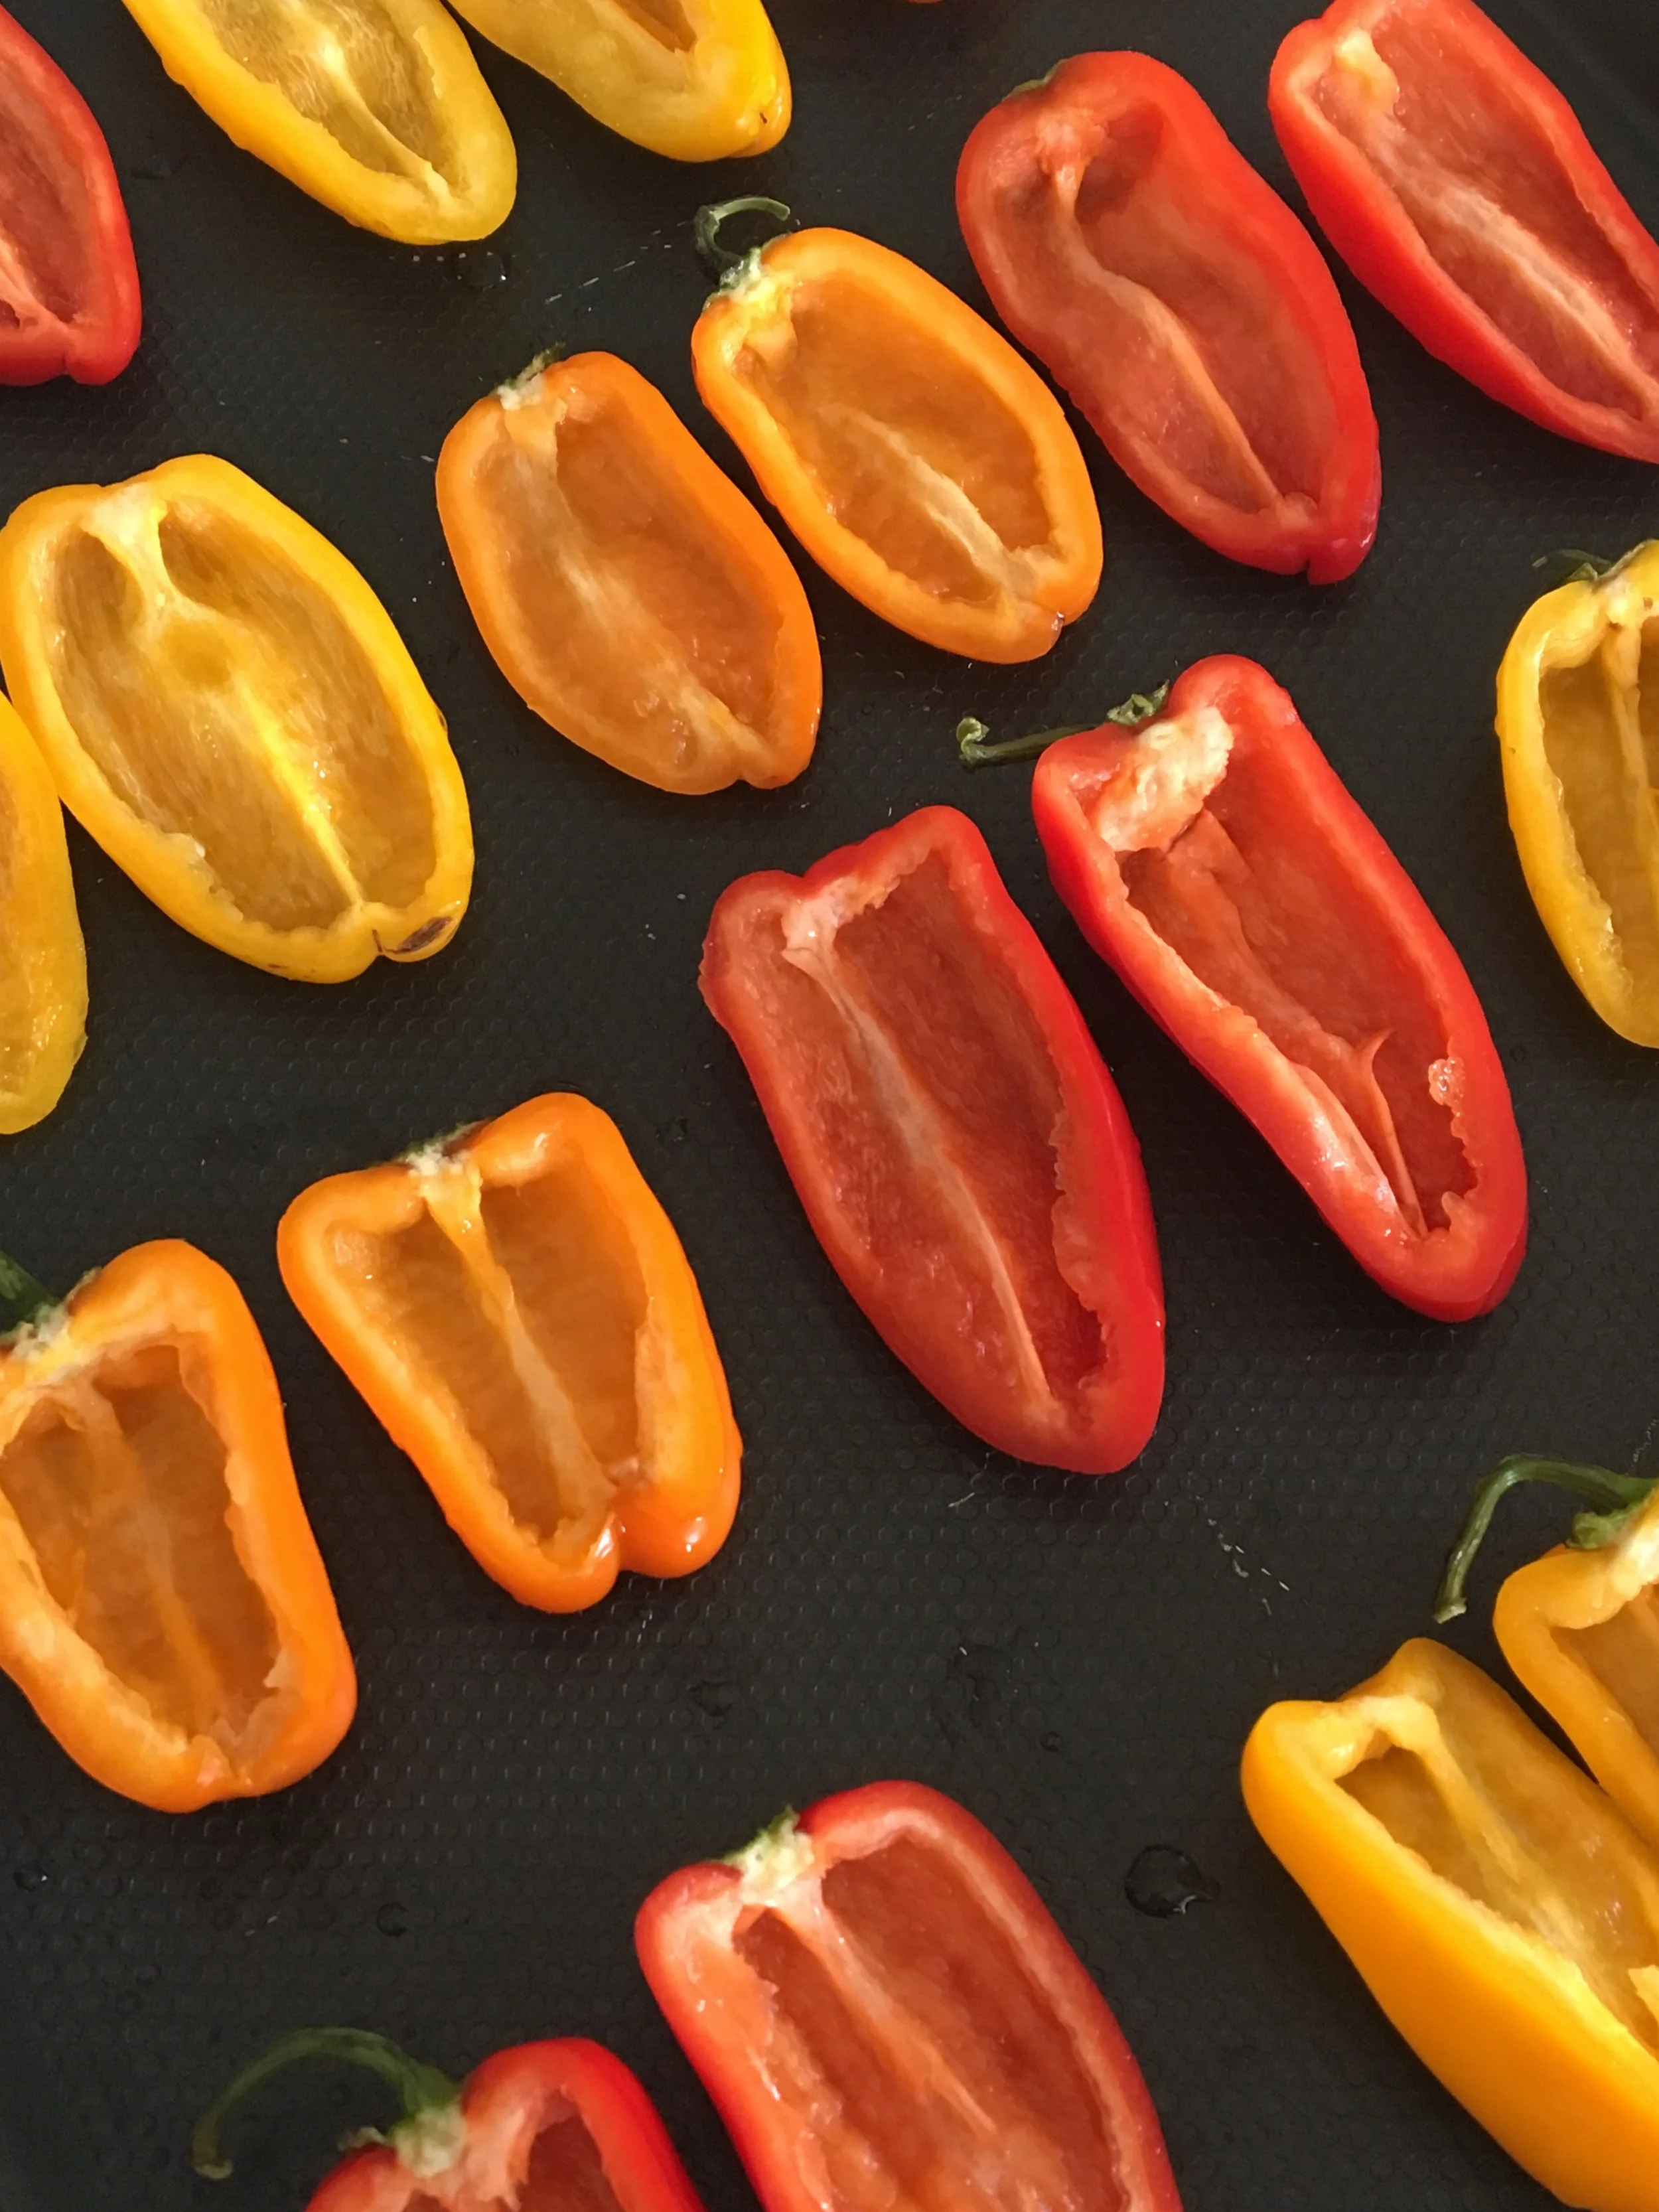
  • 1 bag mini peppers (usually found in most grocery stores or bulk discount grocery stores, costco, Bj's, etc.), sliced in half, seeds removed

  • Veggie Cream Cheese Spread Recipe  orTomato Basil Cup filling recipe

  • 1 can refrigerated crescent roll dough, cut into thin strips (we used Pillsbury's newest product, crescent sheets.  You could easily use crescent rolls and pinch the seams together before cutting).

  • Googly candy eyeballs (Wilton, I found these at my local party store)

Preparation

Preheat oven to 350 degrees.  Wash and cut peppers in half.  Remove seeds.  

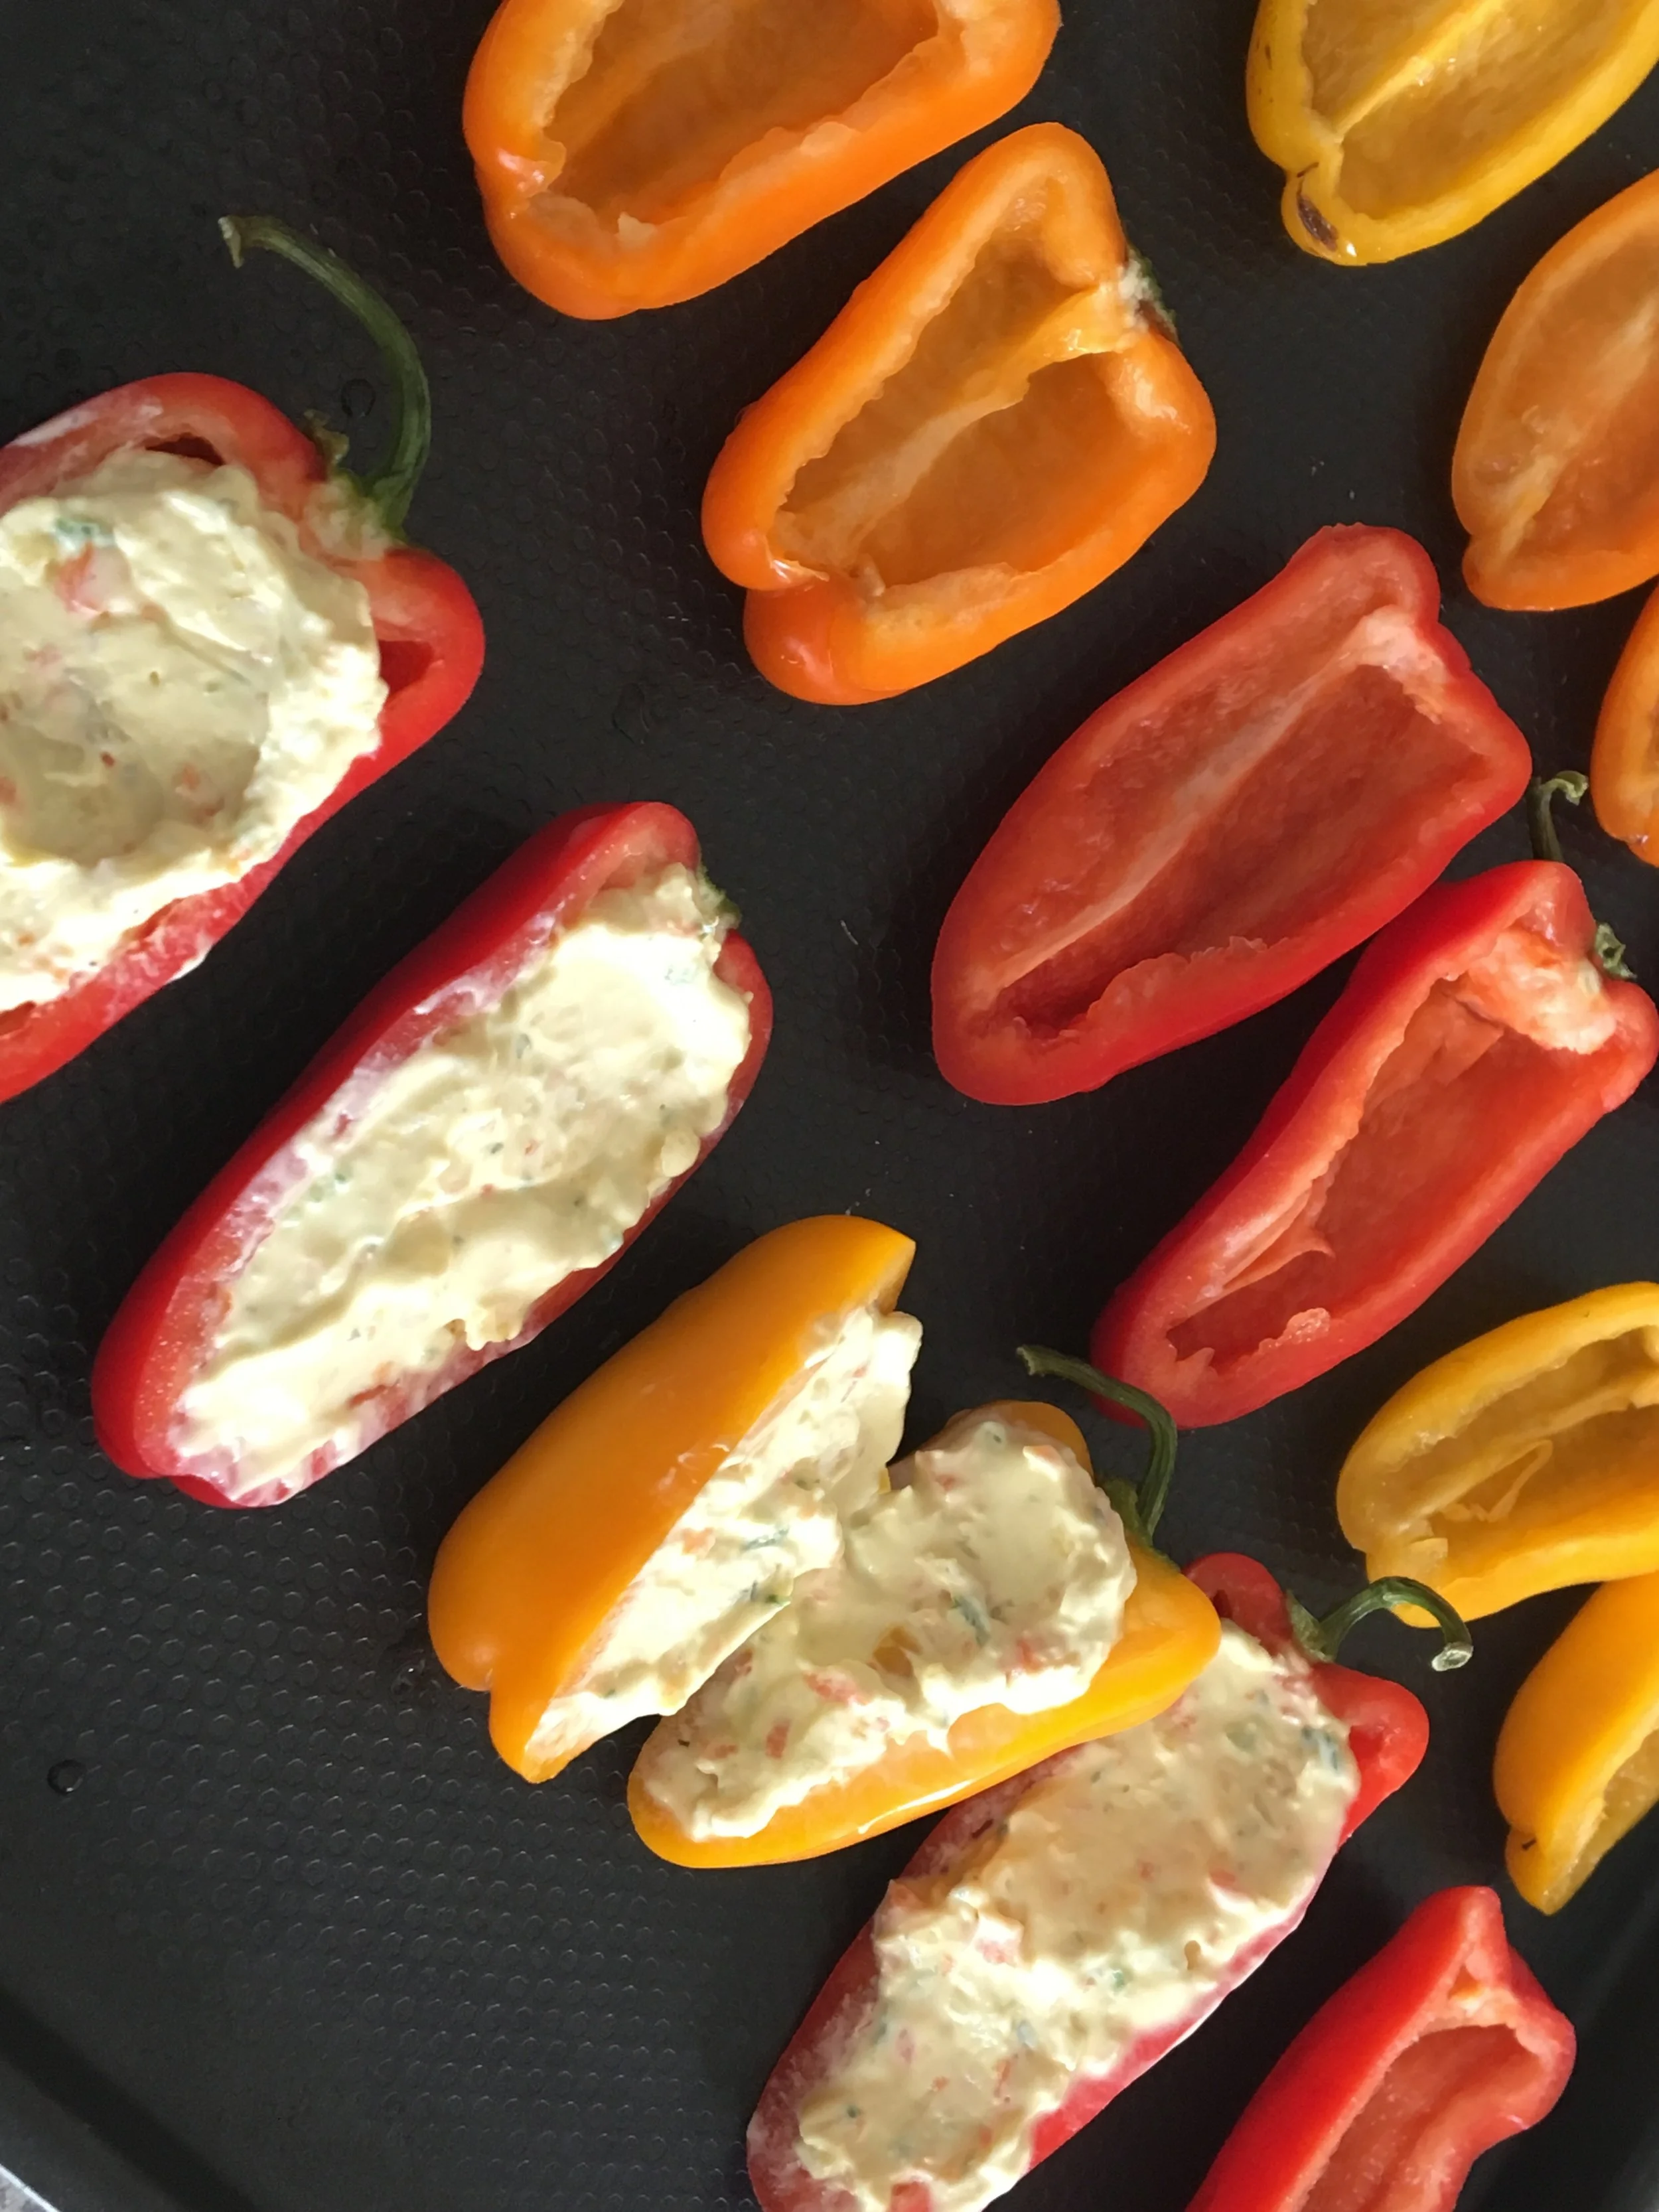
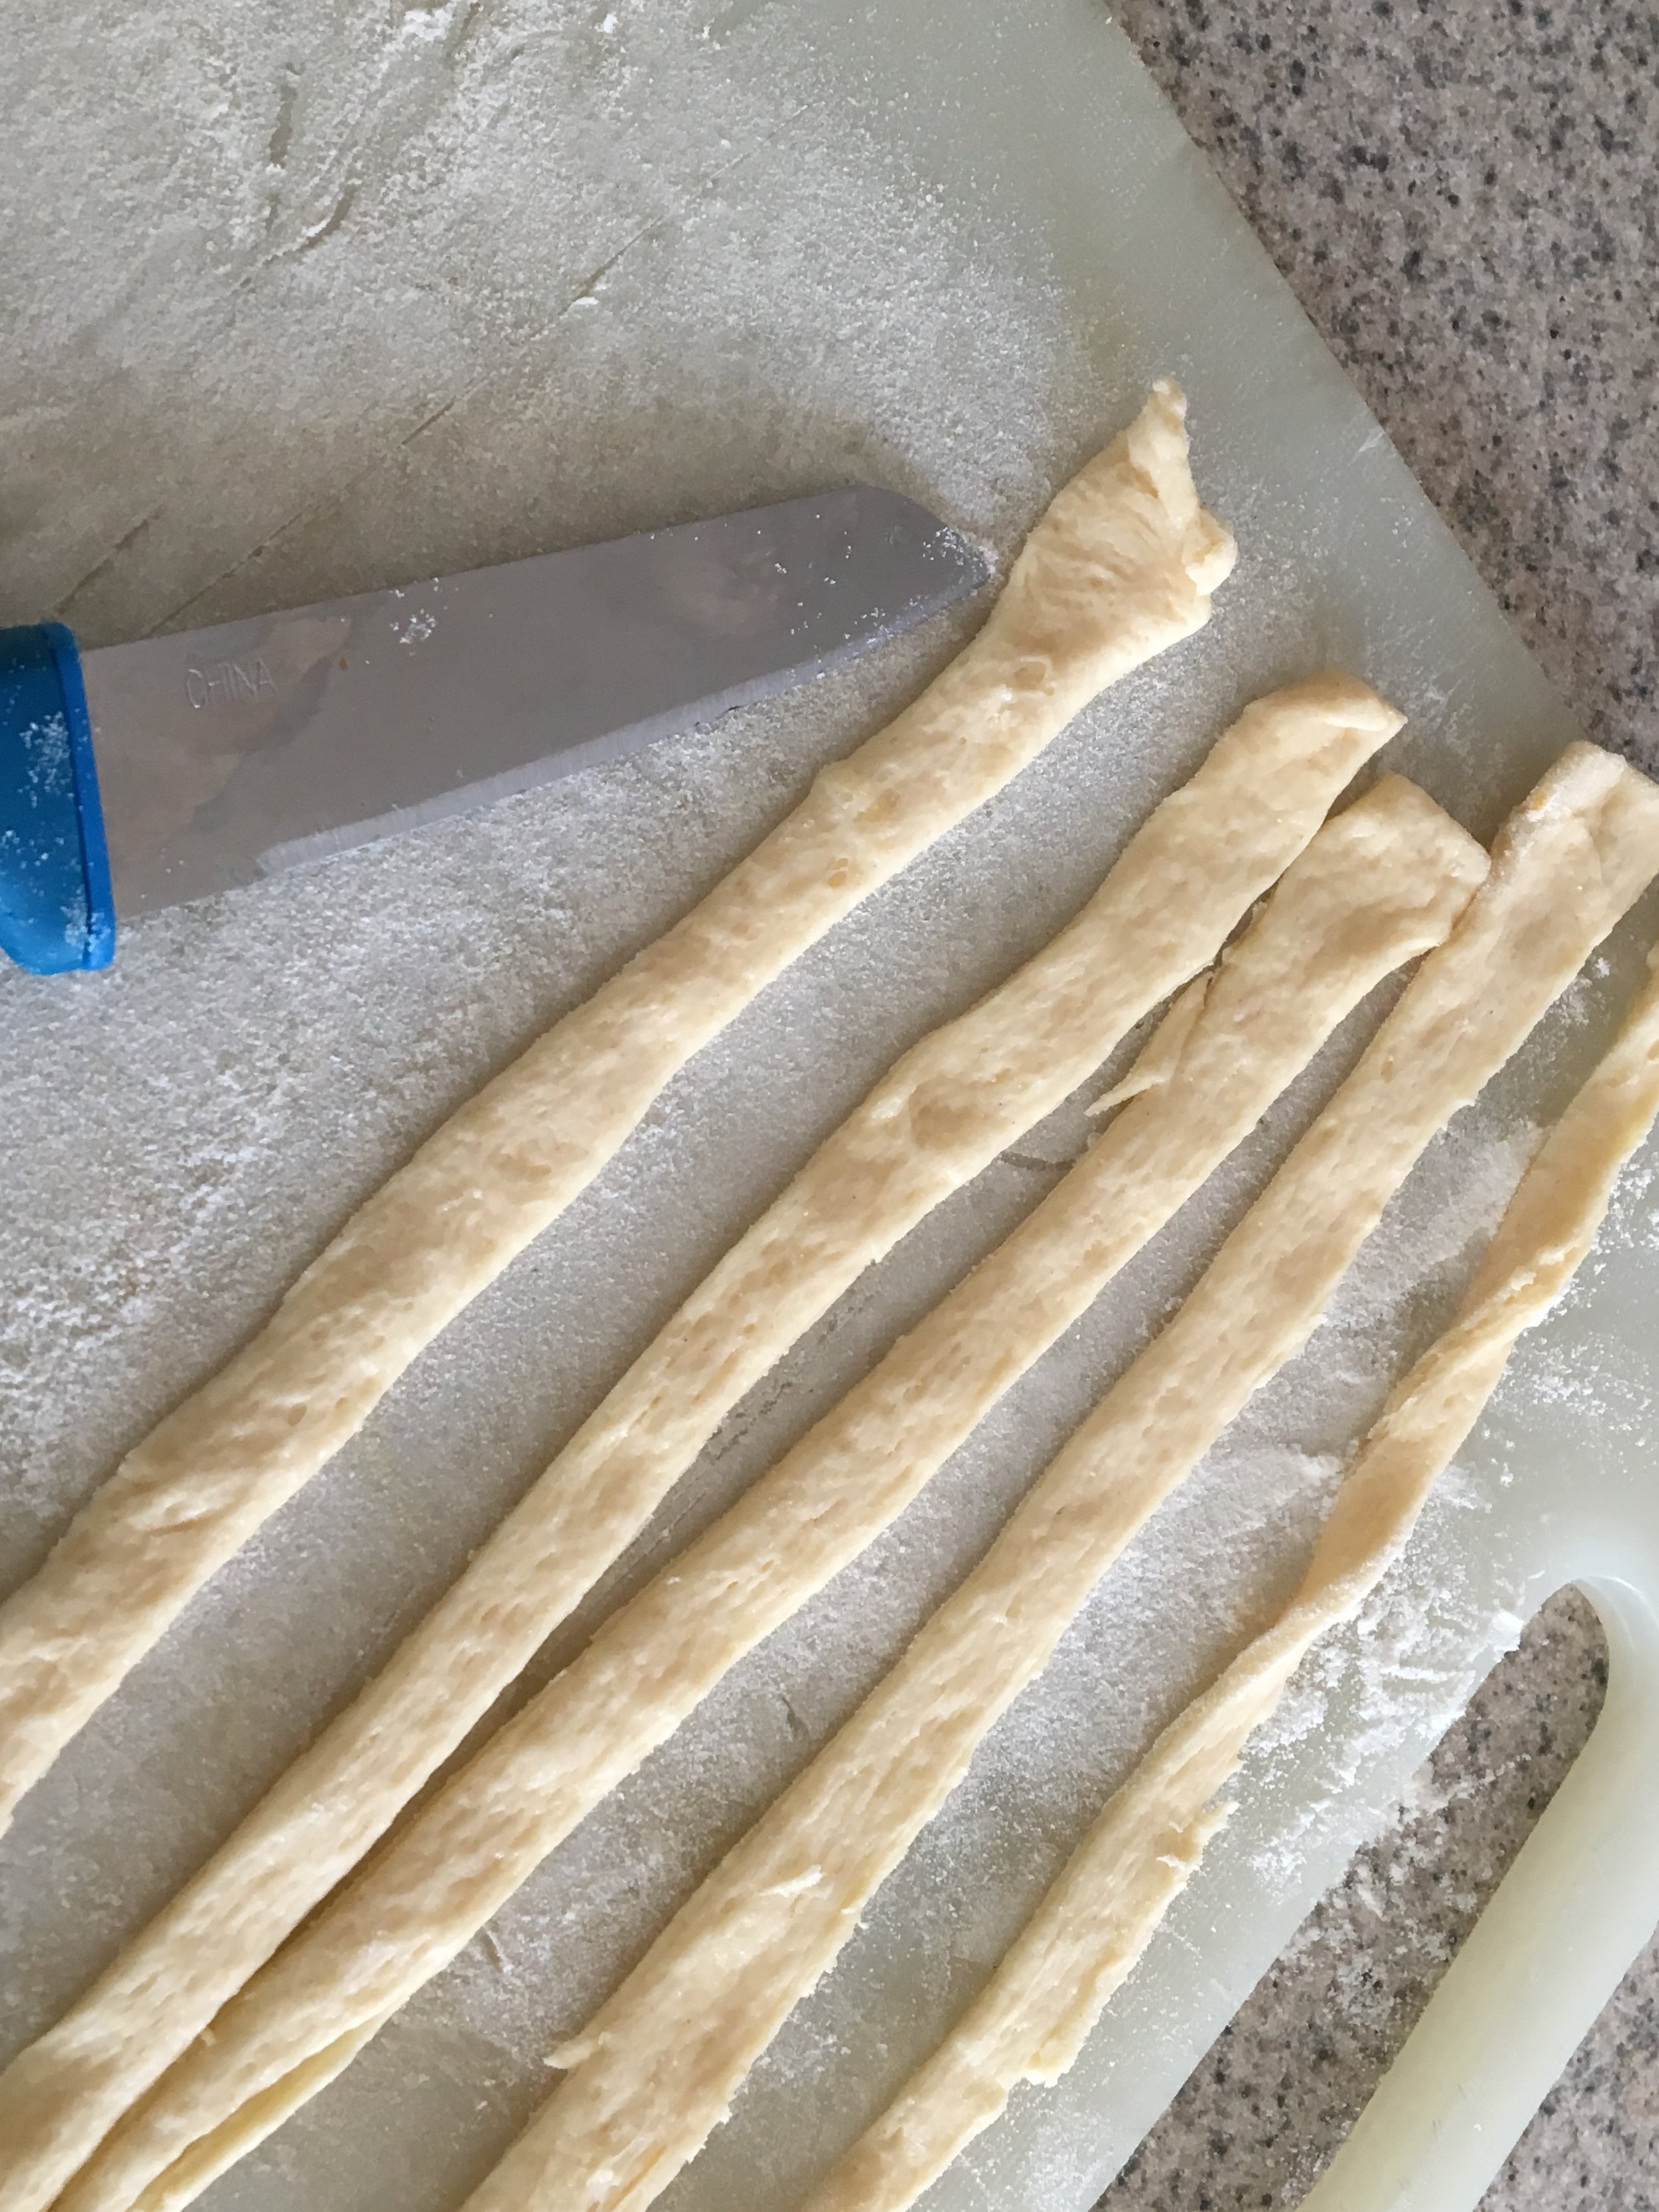
Line a baking sheet with parchment paper and lay out pepper halves.  Fill each pepper with cheese mixture (see above).  Set aside.  On a lightly floured surface, with a sharp knife, cut the crescent rolls into thin strips (about 1/2 inch).  Carefully wrap the peppers, criss crossing the dough to resemble a mummy.  

Bake at 350 degrees for about 10 minutes, or until dough is golden brown.  Remove from oven and allow to cool for five minutes.  Add googly candy eyes for that last minute spookiness.  (Important- do not be tempted to put the eyes on before baking, as they will disappear, literally, they will melt! Not that I've done that...ahem;) Serve and enjoy!

* Note: These pepper mummies could easily be made ahead and frozen before baking.  

Stuffed Pepper Mummy Recipe

Stuffed Pepper Mummy Recipe
Serve these year-round.  Simply remove the eyes and you have a delicious appetizer or snack in minutes!

Stuffed Pepper Recipe

Stuffed Pepper Recipe

Yum

The Best Layered Taco Dip Recipe

appetizers, parties, snacksSheri SpalloneComment
The Best Layered Taco Dip Recipe

The Best Layered Taco Dip Recipe

You know you hit the appetizer jackpot when you return home from a gathering with an empty dish once graced with layers of savory taco goodness.  

This quick and easy classic layered dip has been a crowd favorite at our get-togethers and potlucks for years. Loaded with refried beans, creamy guacamole, sour cream, tomatoes, black olives, green onions, and cheese, it is our secret ingredients, Cherchies® Select Grilling Rub & Seasoning Blend and Cherchies® Chardonnay Lime & Cilantro Seasoning, that take this recipe from ordinary to extraordinary. It is no wonder why this recipe has earned the prestigious title "The Best Layered Taco Dip Recipe" from our friends and family. Since it is the "best," we would be amiss not to share it with you.

Whether it is a potluck or Game Day celebration, this dip will seriously score big with your gang!  It feeds a crowd, it can be made ahead, and it will definitely become your new favorite party appetizer!

Ingredients

  • 1 16 oz. can of refried beans

  • 1 Tablespoon (Tbsp) Cherchies® Chardonnay Lime & Cilantro Seasoning

  • 8 oz. of your favorite guacamole (We tested this recipe with Wholly Guacamole)

  • 12 oz. sour cream

  • 2 heaping Tablespoons (Tbsp) Cherchies® Select Grilling Rub & Seasoning Blend

  • 1 14.5 oz. can petite diced tomatoes, drained

  • 3 green onions, finely chopped

  • 1 2.25 oz. can sliced black olives, drained

  • 1 cup shredded iceberg lettuce (optional)

  • 2 cups of shredded sharp cheddar cheese (sometimes we use a blend of cheddar and Monterey Jack cheeses)

  • Tortilla chips (or substitute Frito Scoops for the tortilla chips)

Preparation  

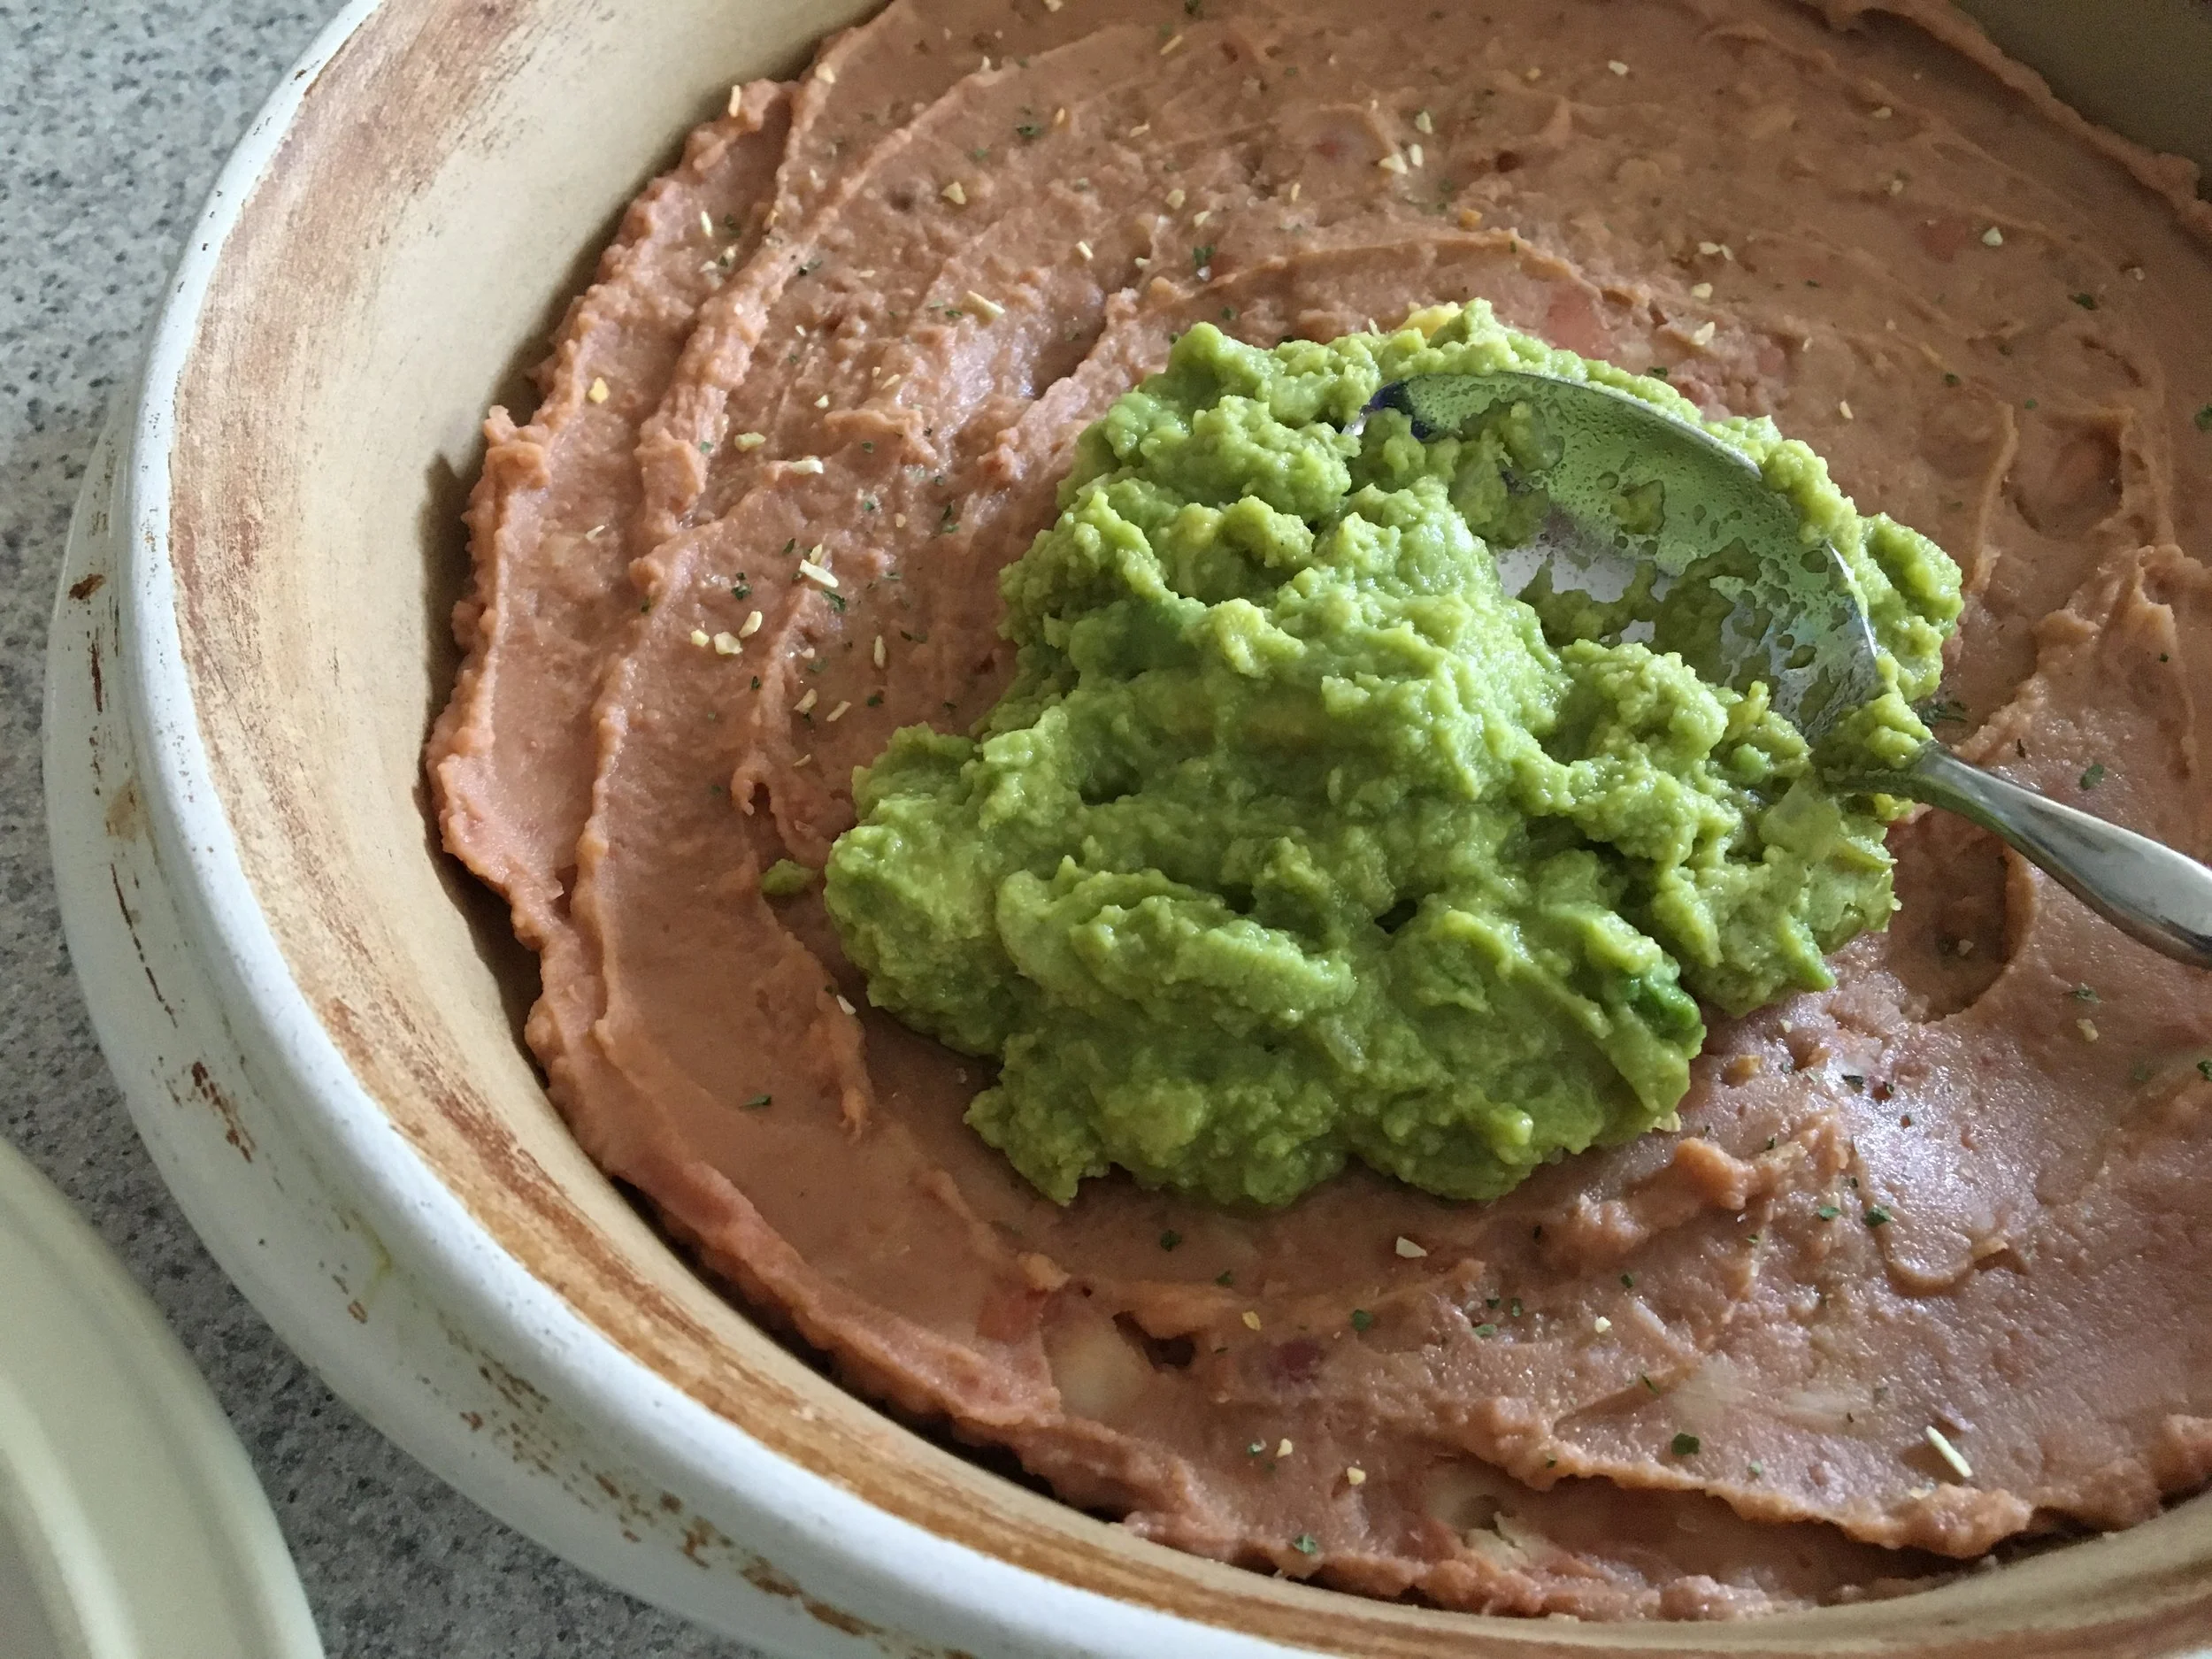
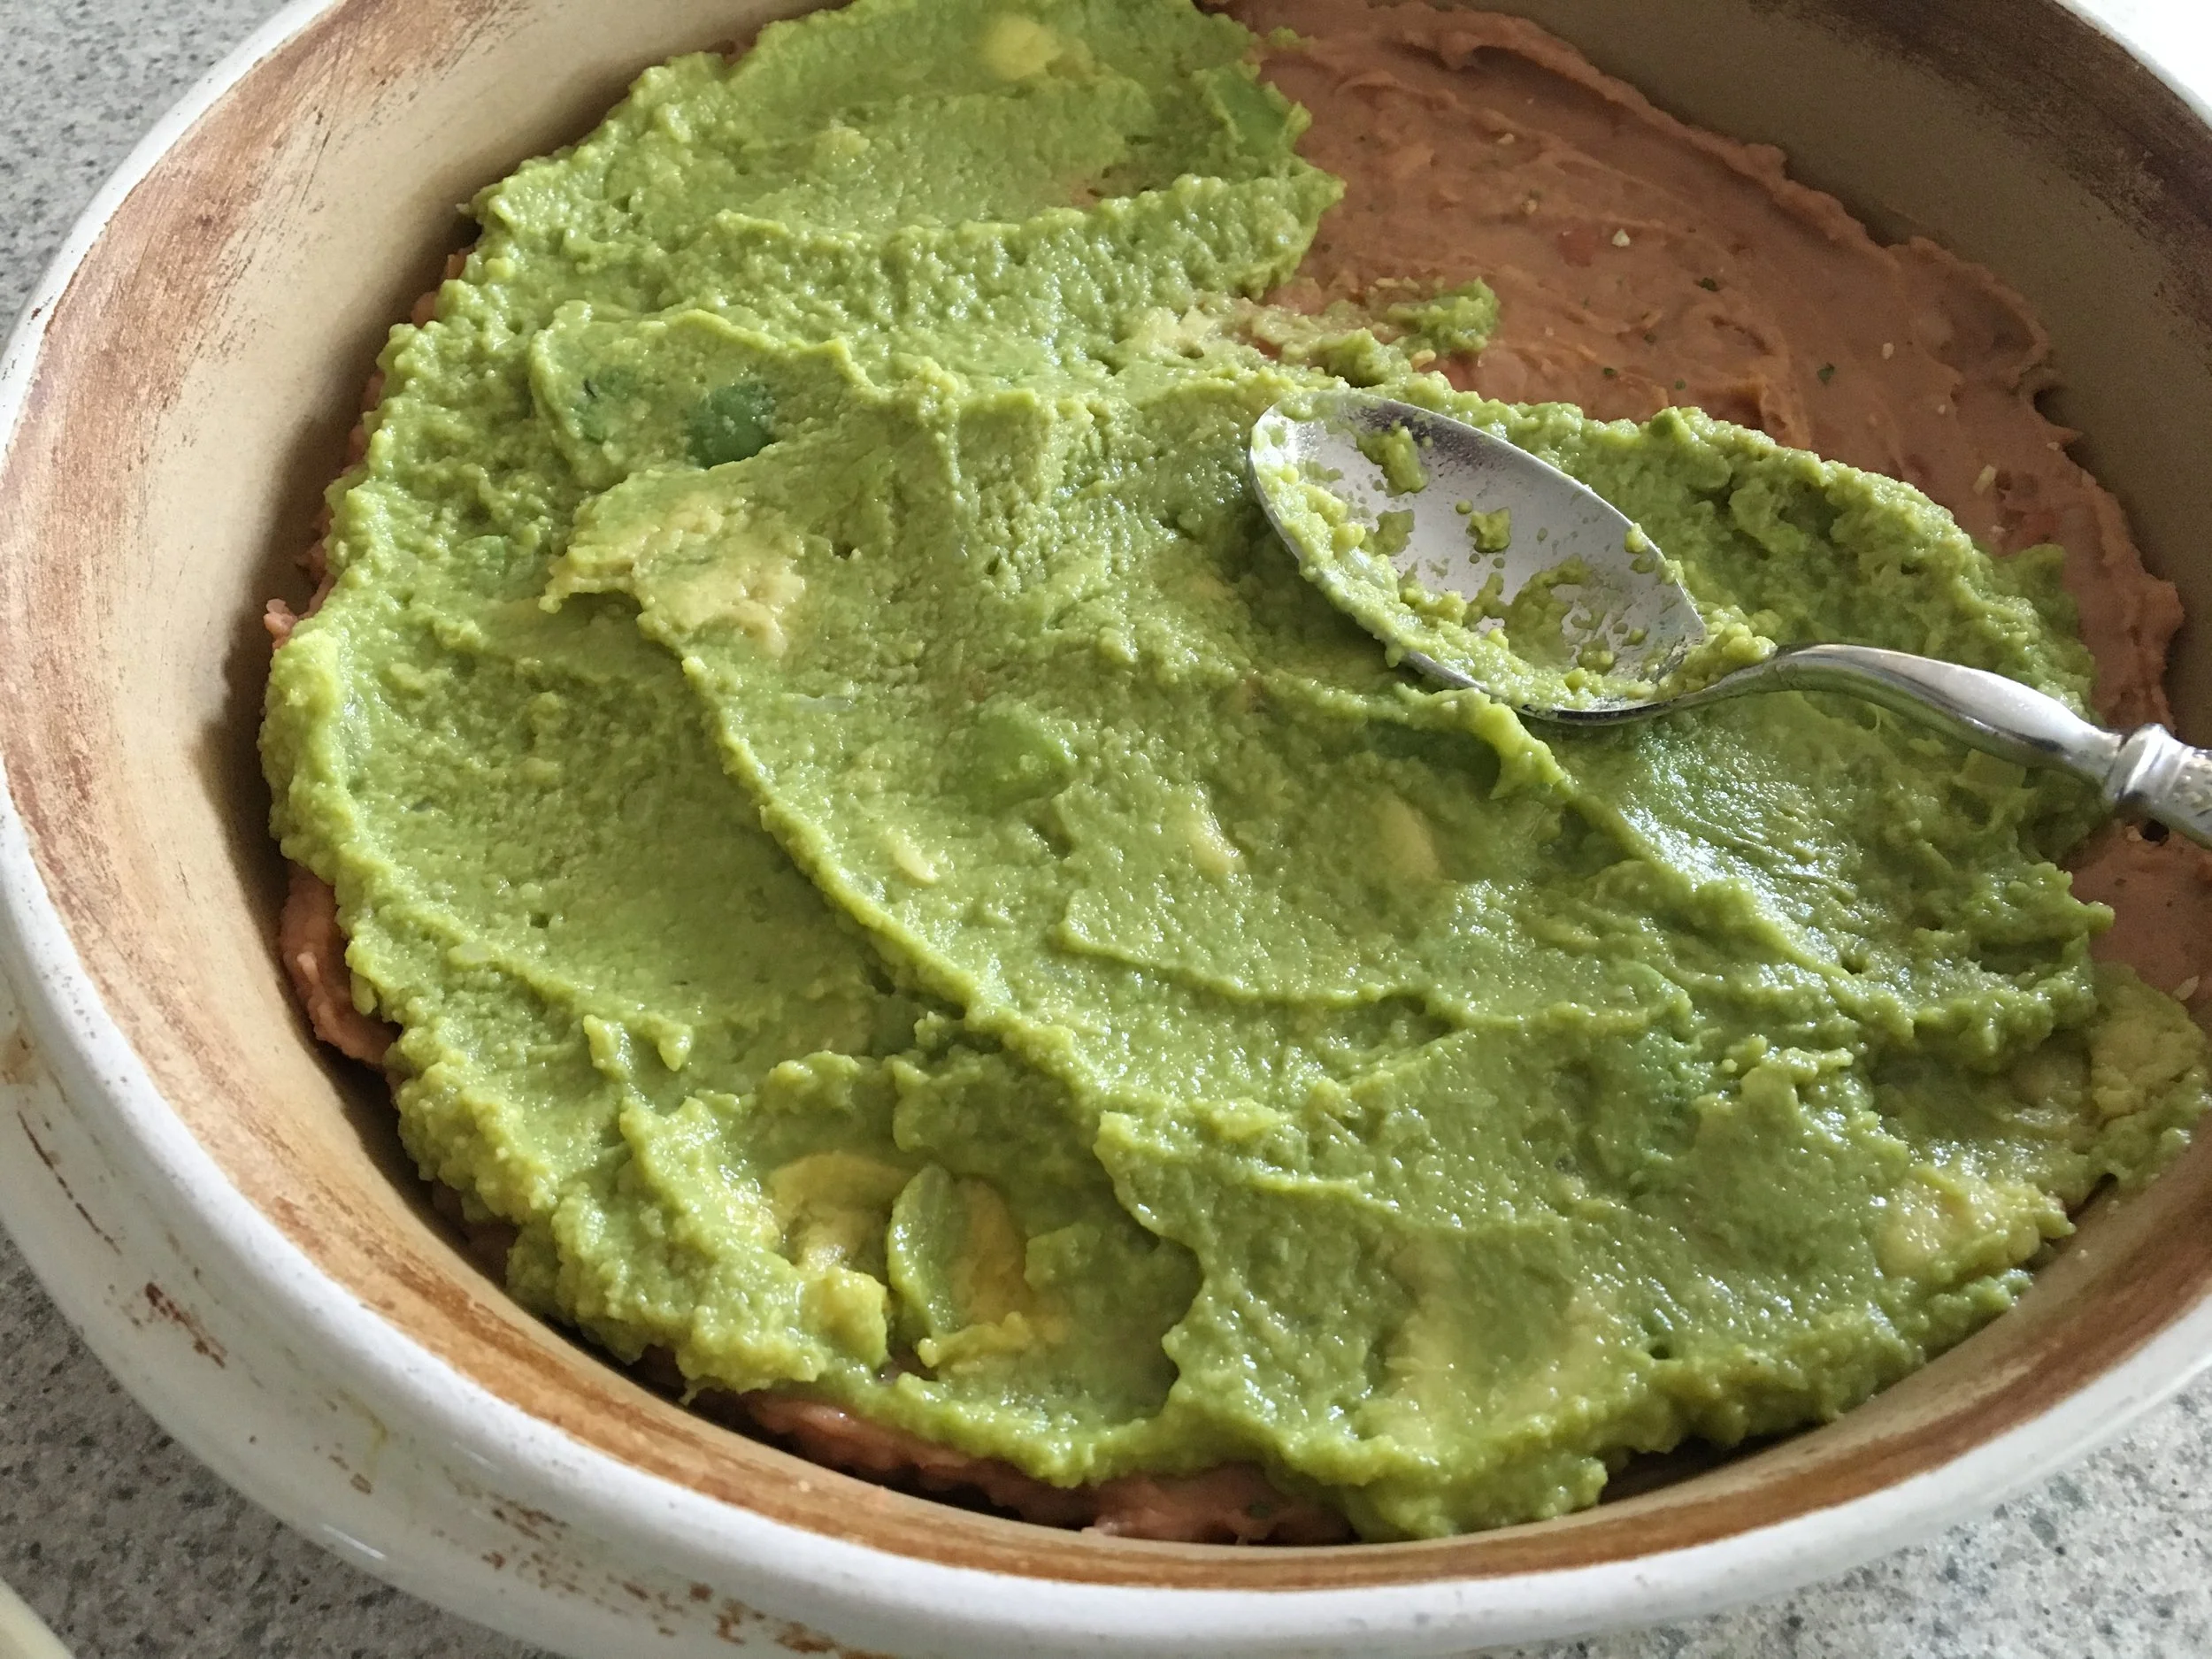
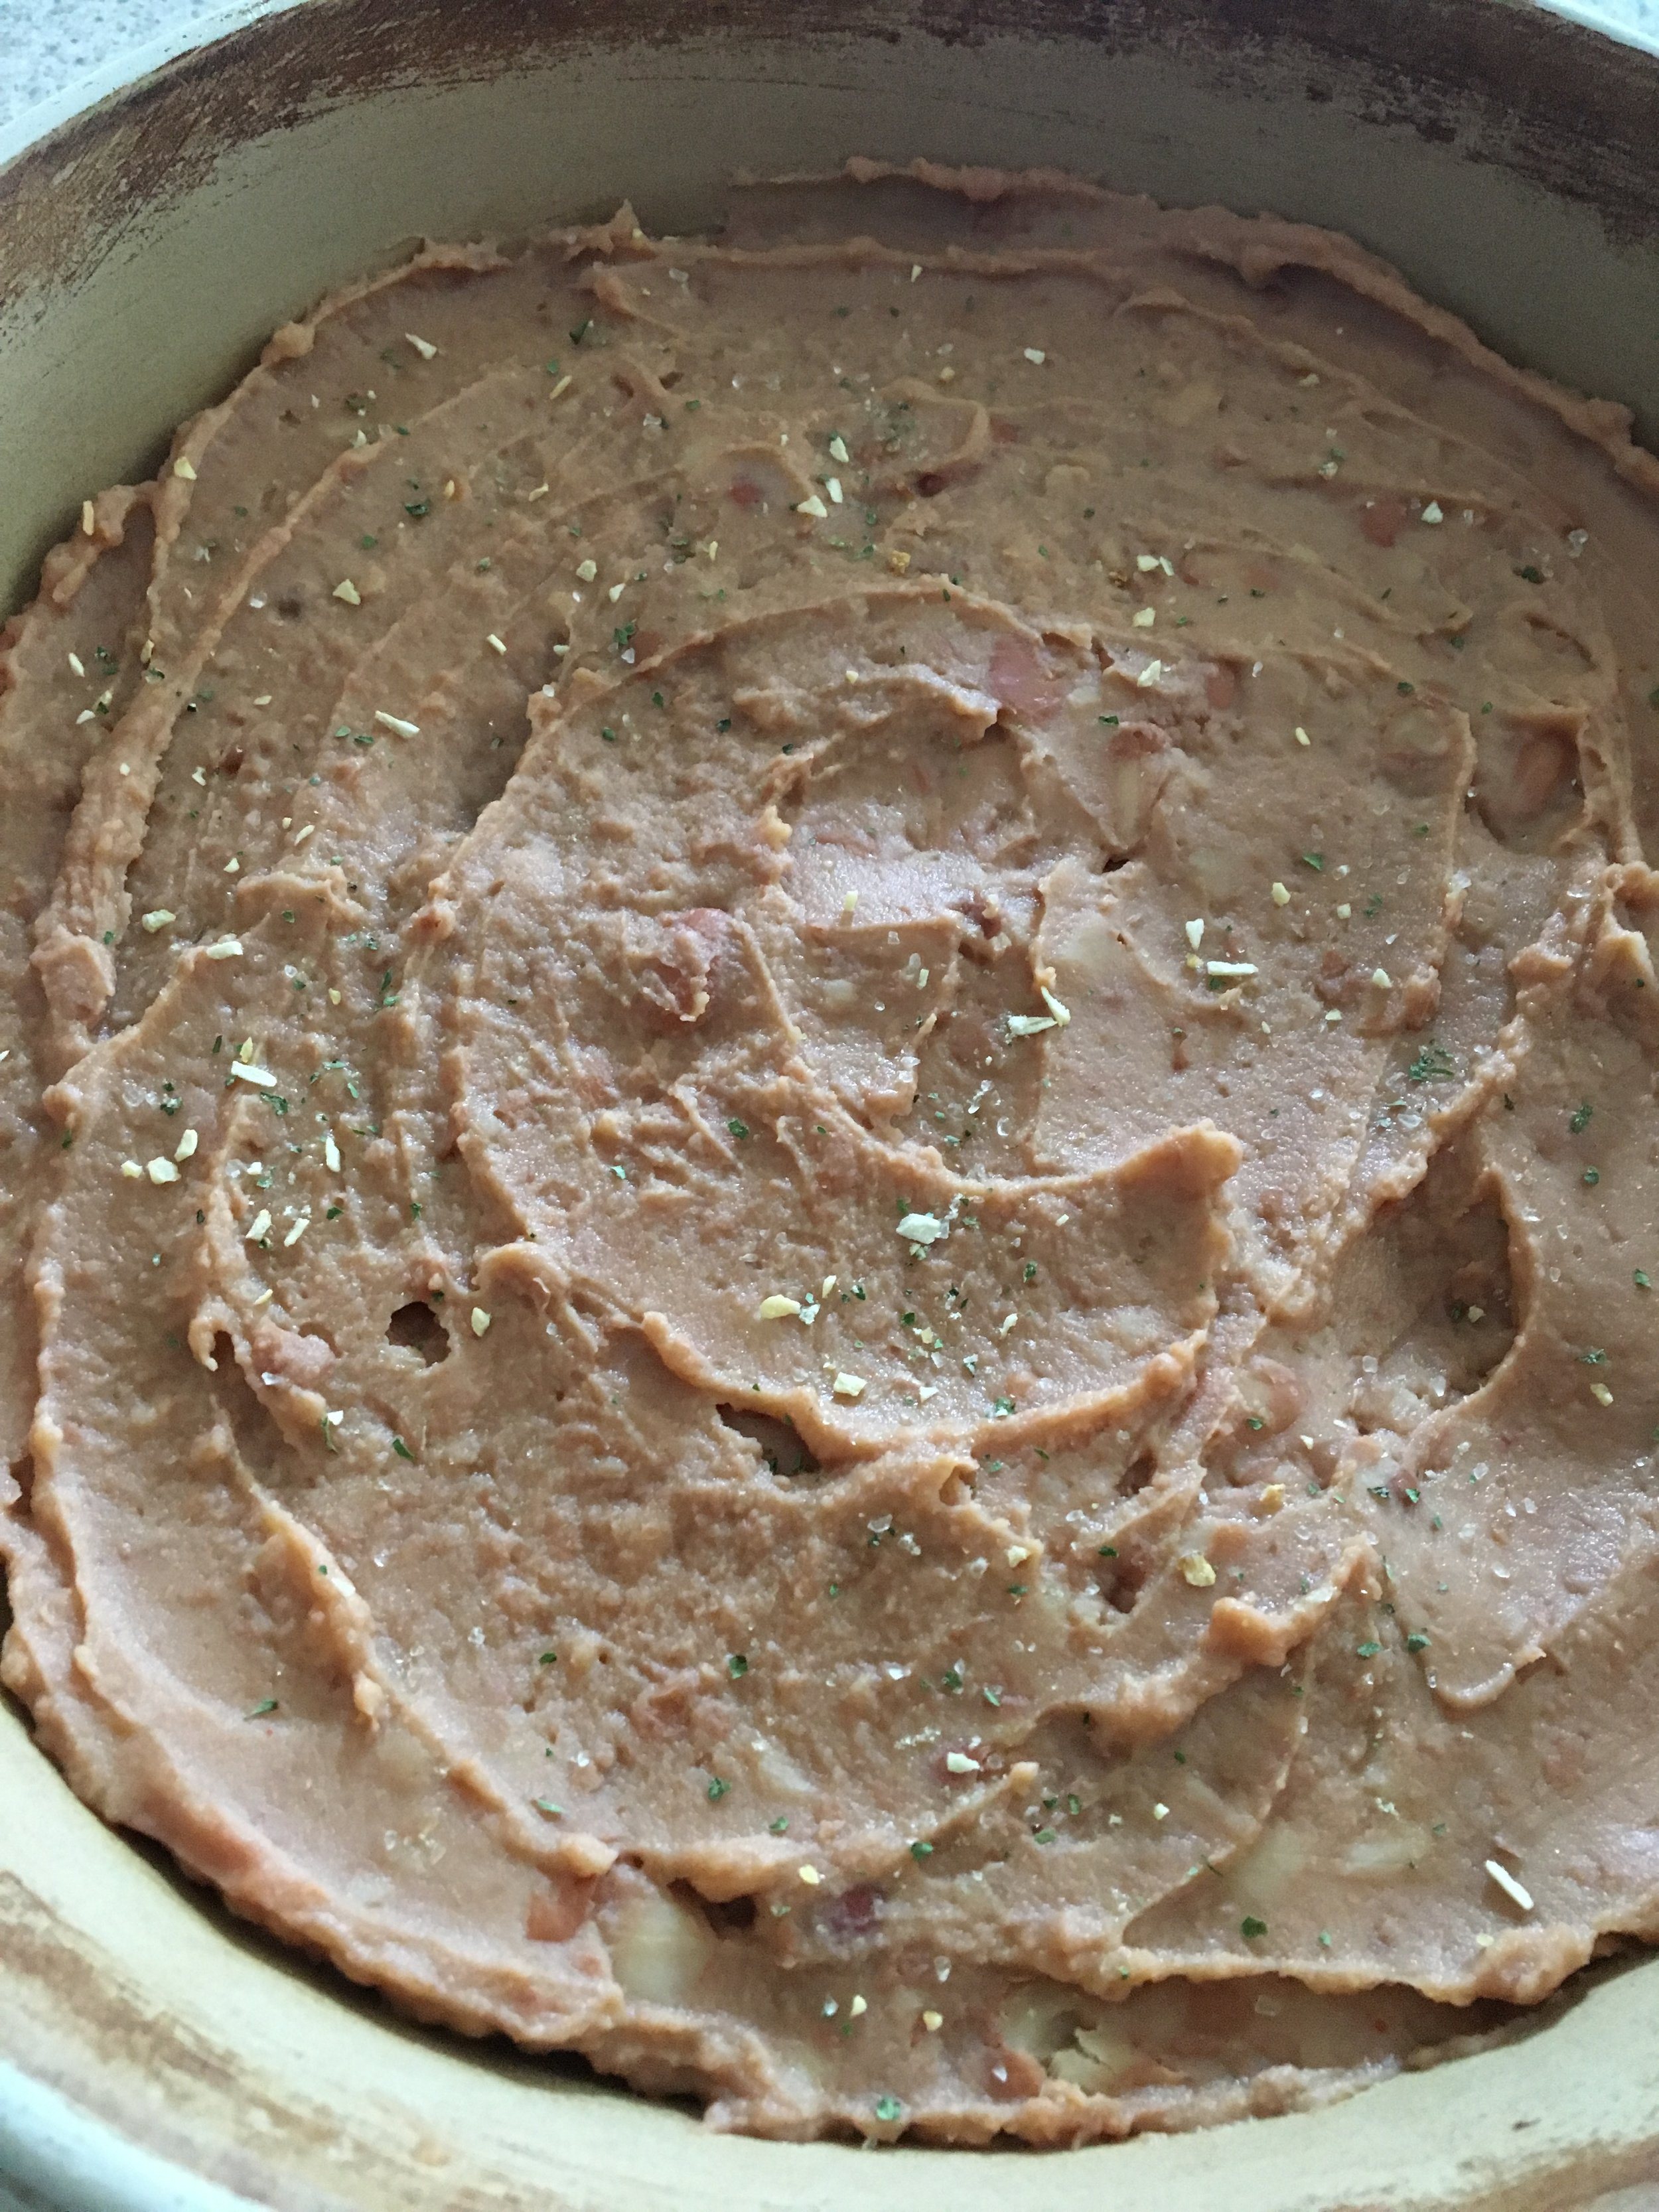
In a small bowl, soften the refried beans in a microwave for about 20 seconds.  (This process makes the beans easier to spread).  Add the Cherchies® Chardonnay Lime & Cilantro Seasoning to the refried beans and mix.  Spread the bean mixture in a shallow baking dish (For the pretty factor, use a glass baking dish to show off the different layers).  For the next layer, spread the guacamole over the refried beans.

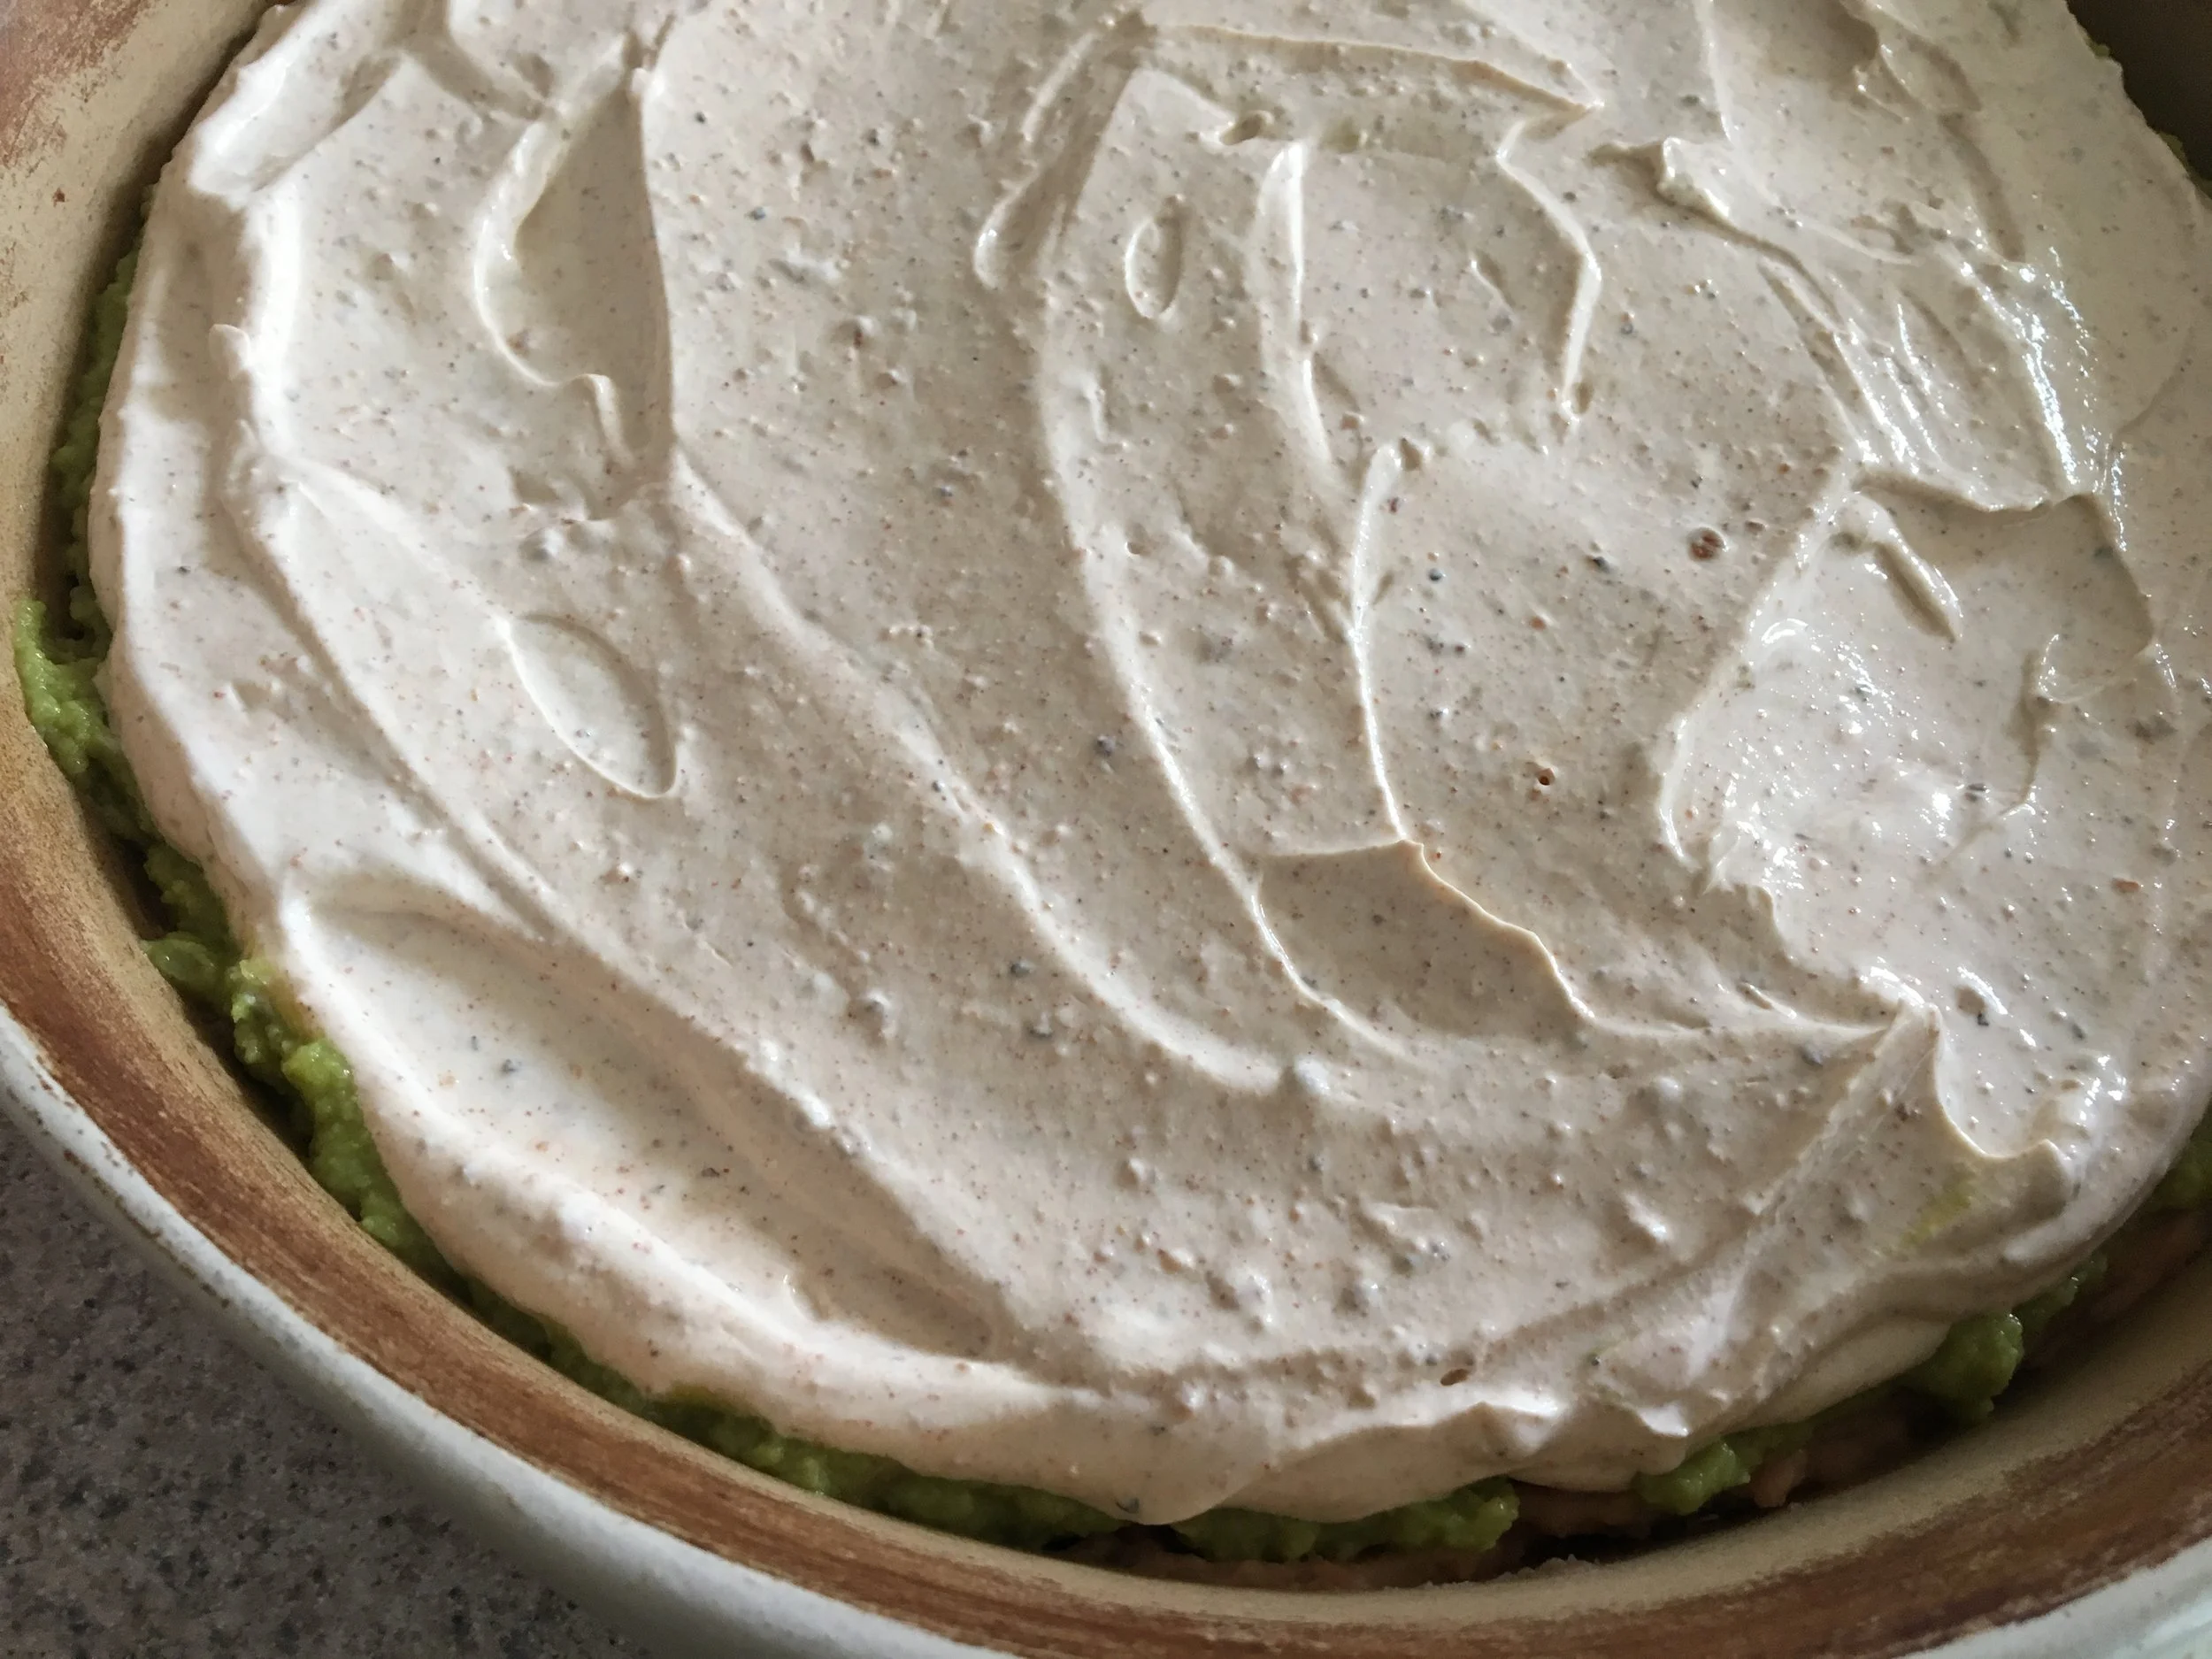
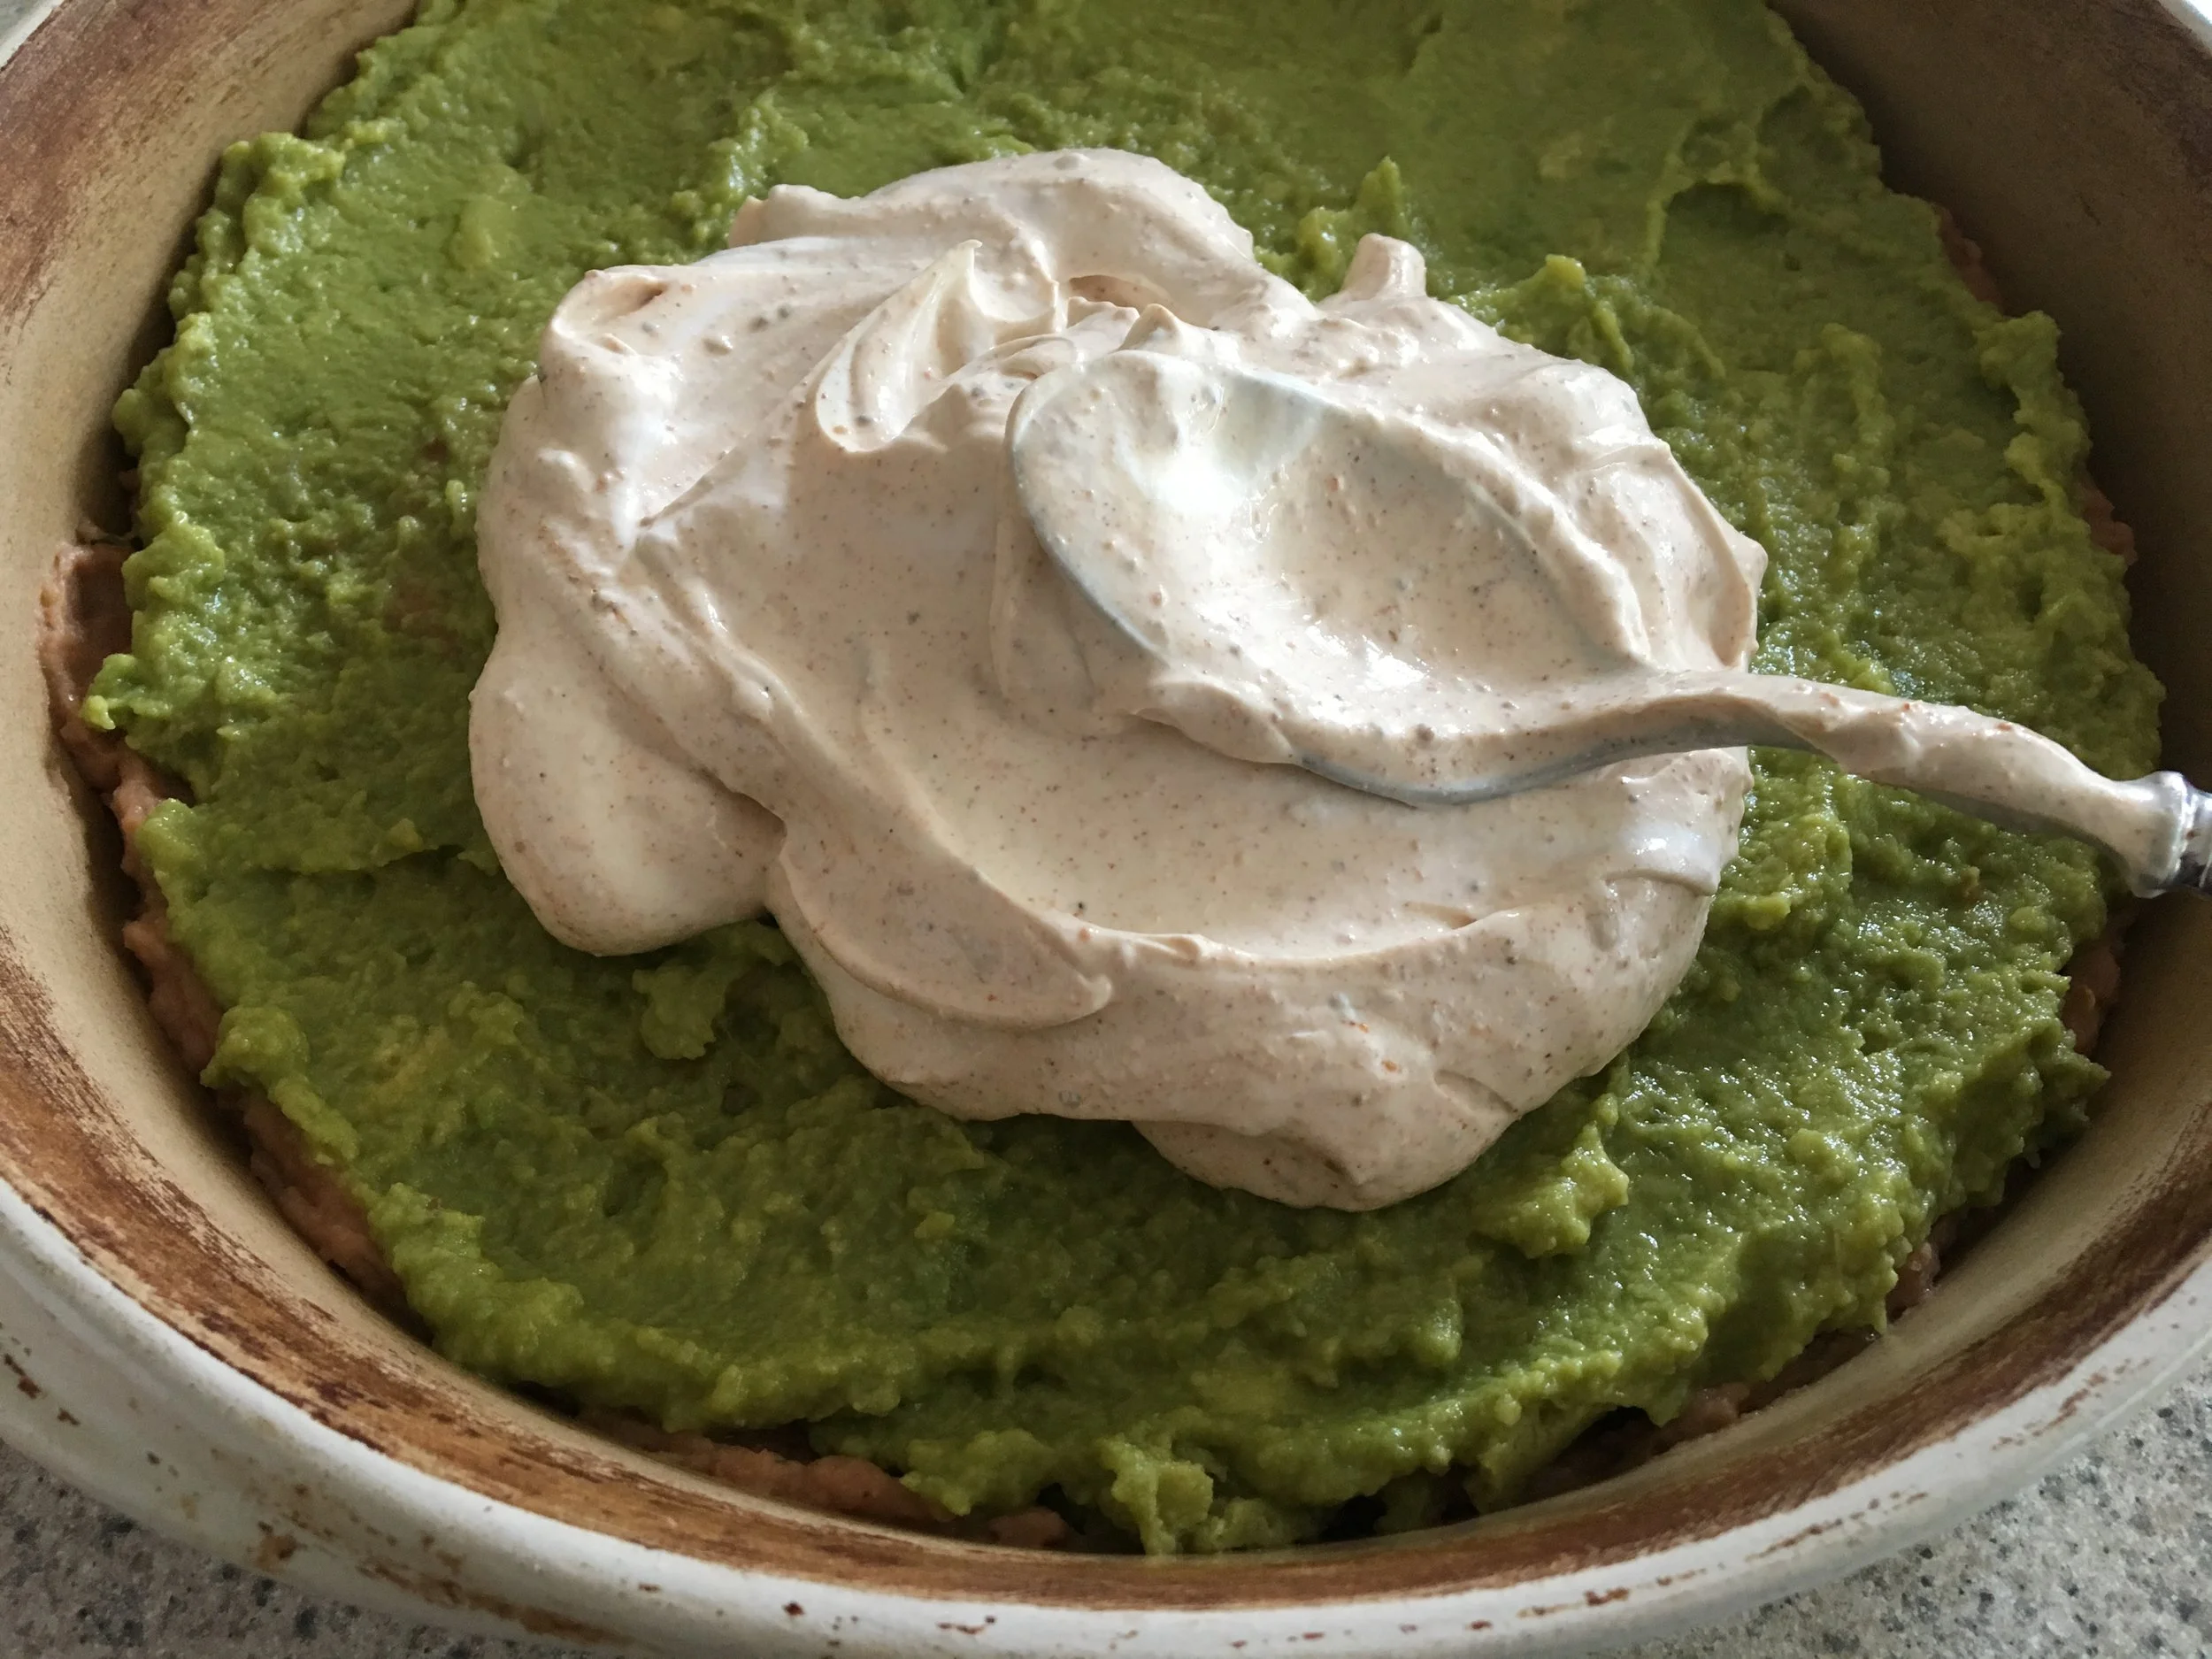
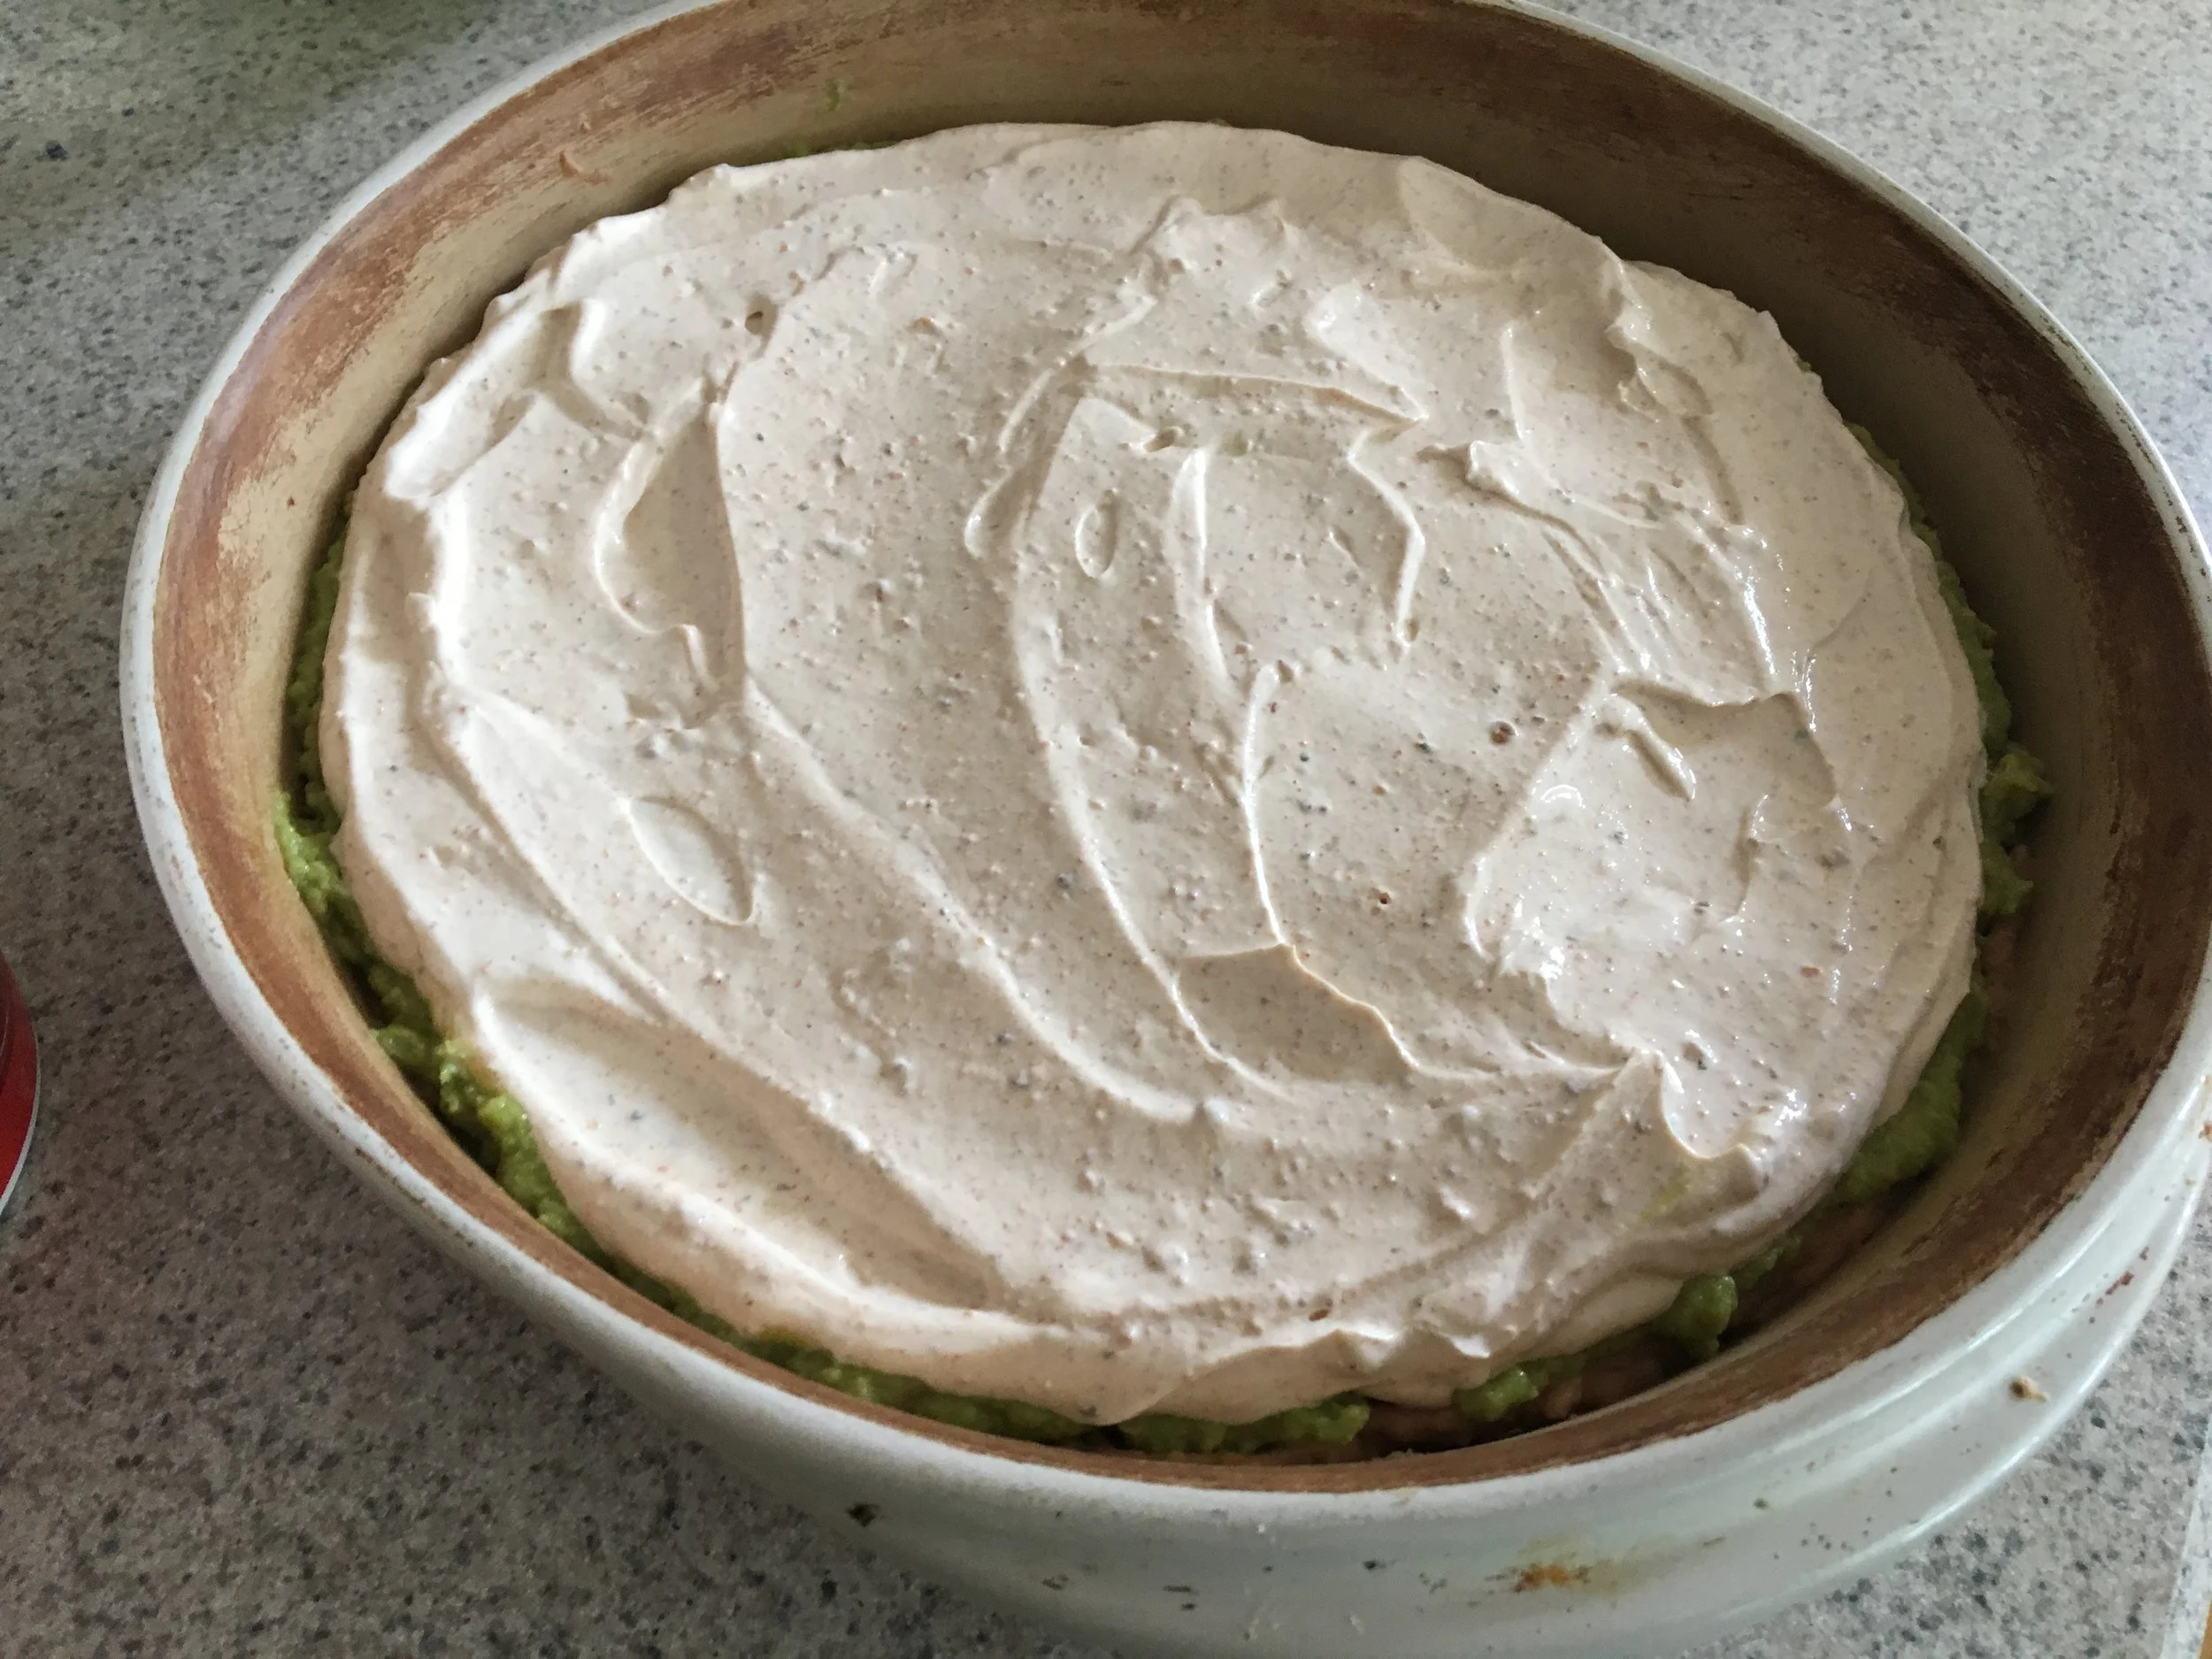
In a small bowl, mix together the sour cream and Cherchies® Select Grilling Rub & Seasoning Blend and spread over the guacamole layer.  

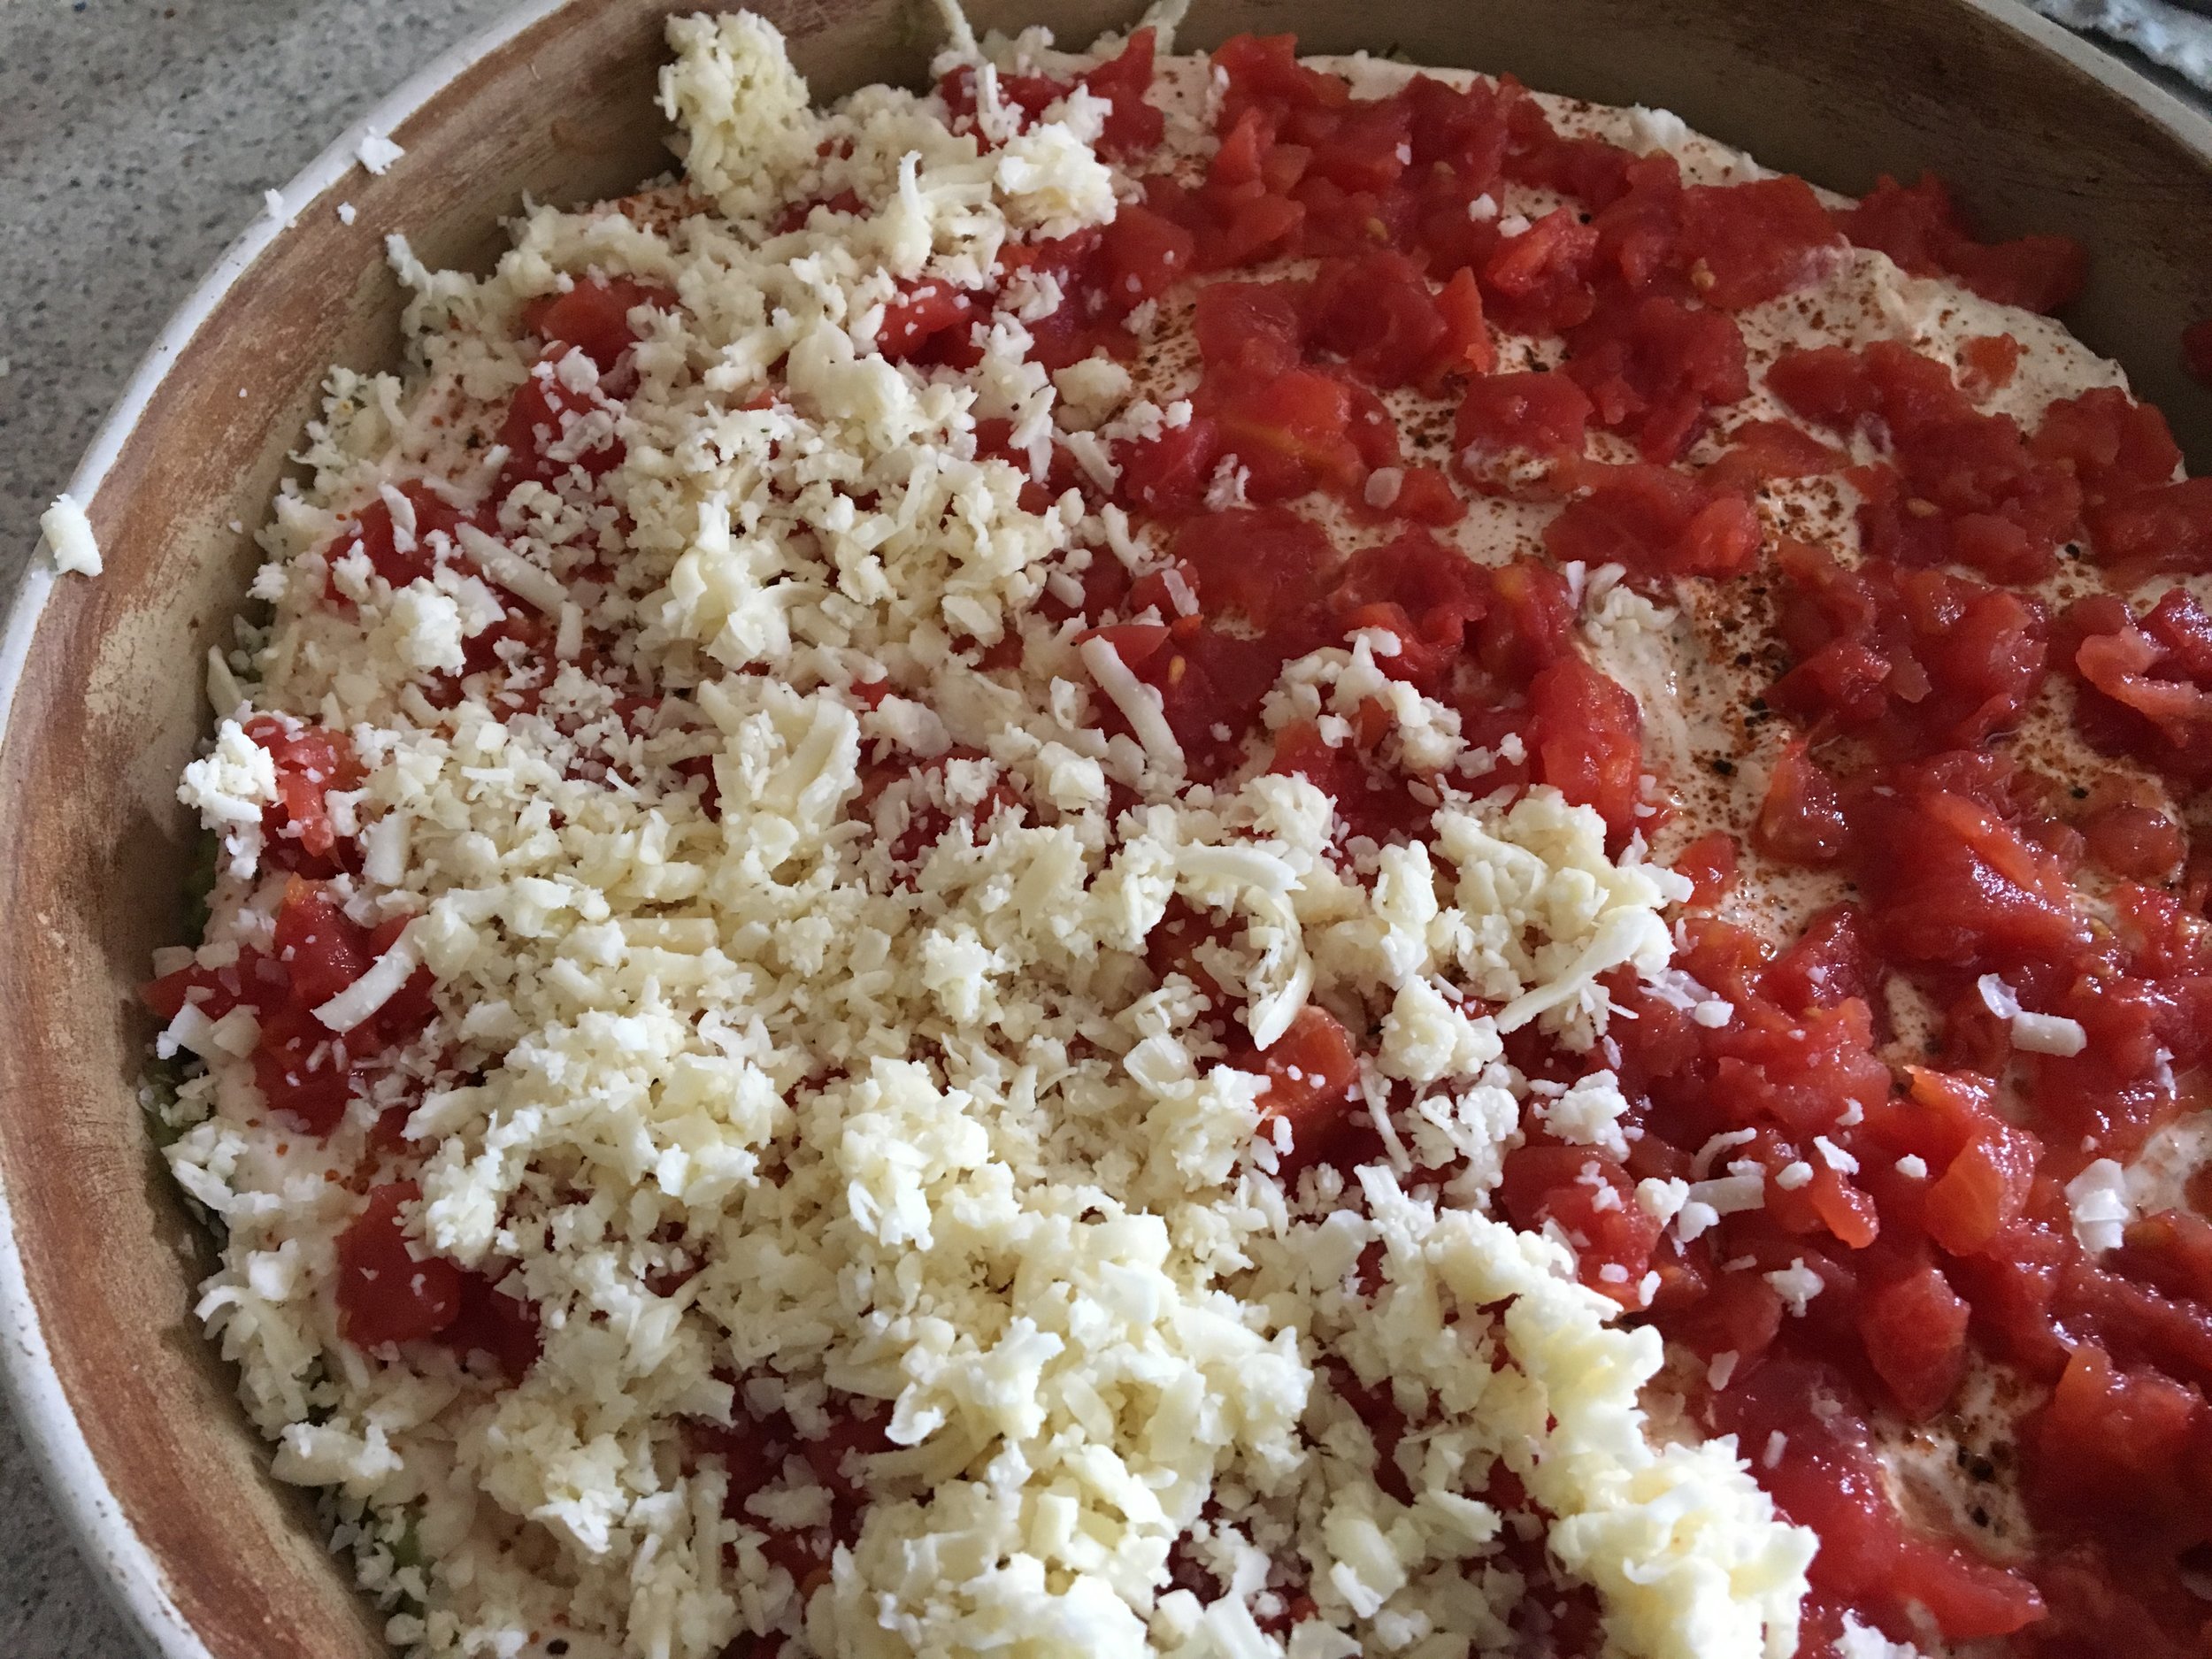
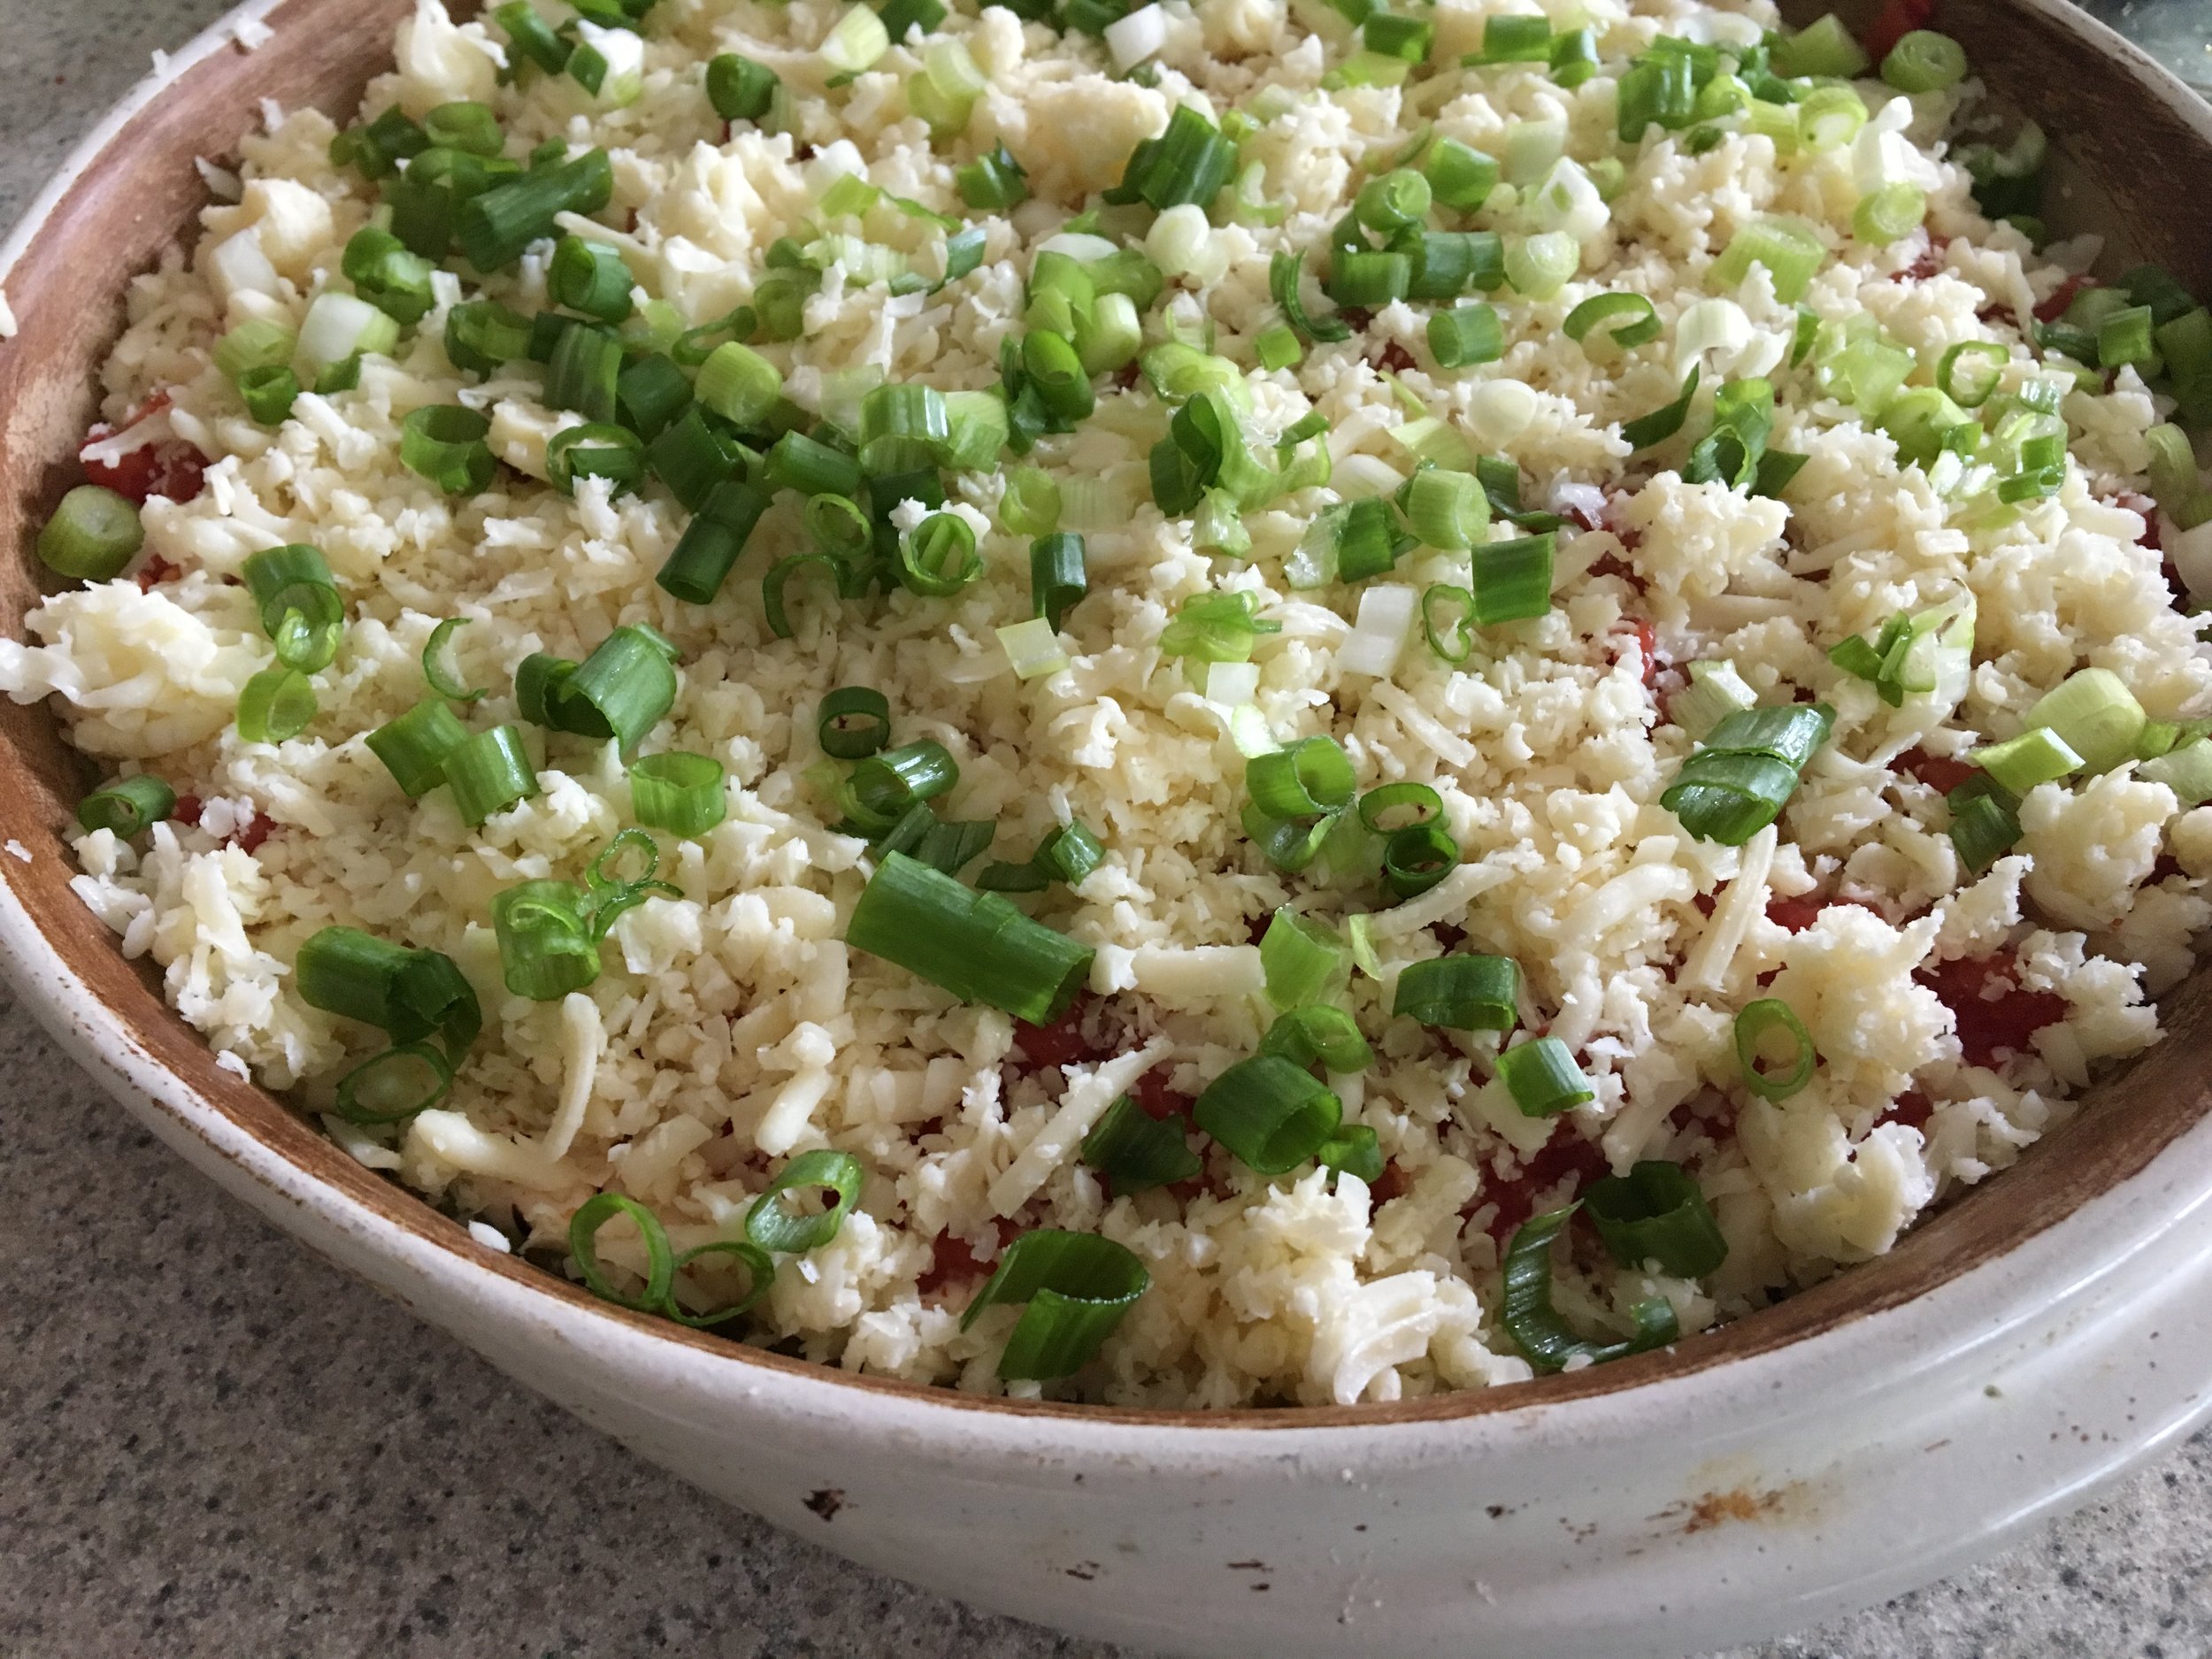
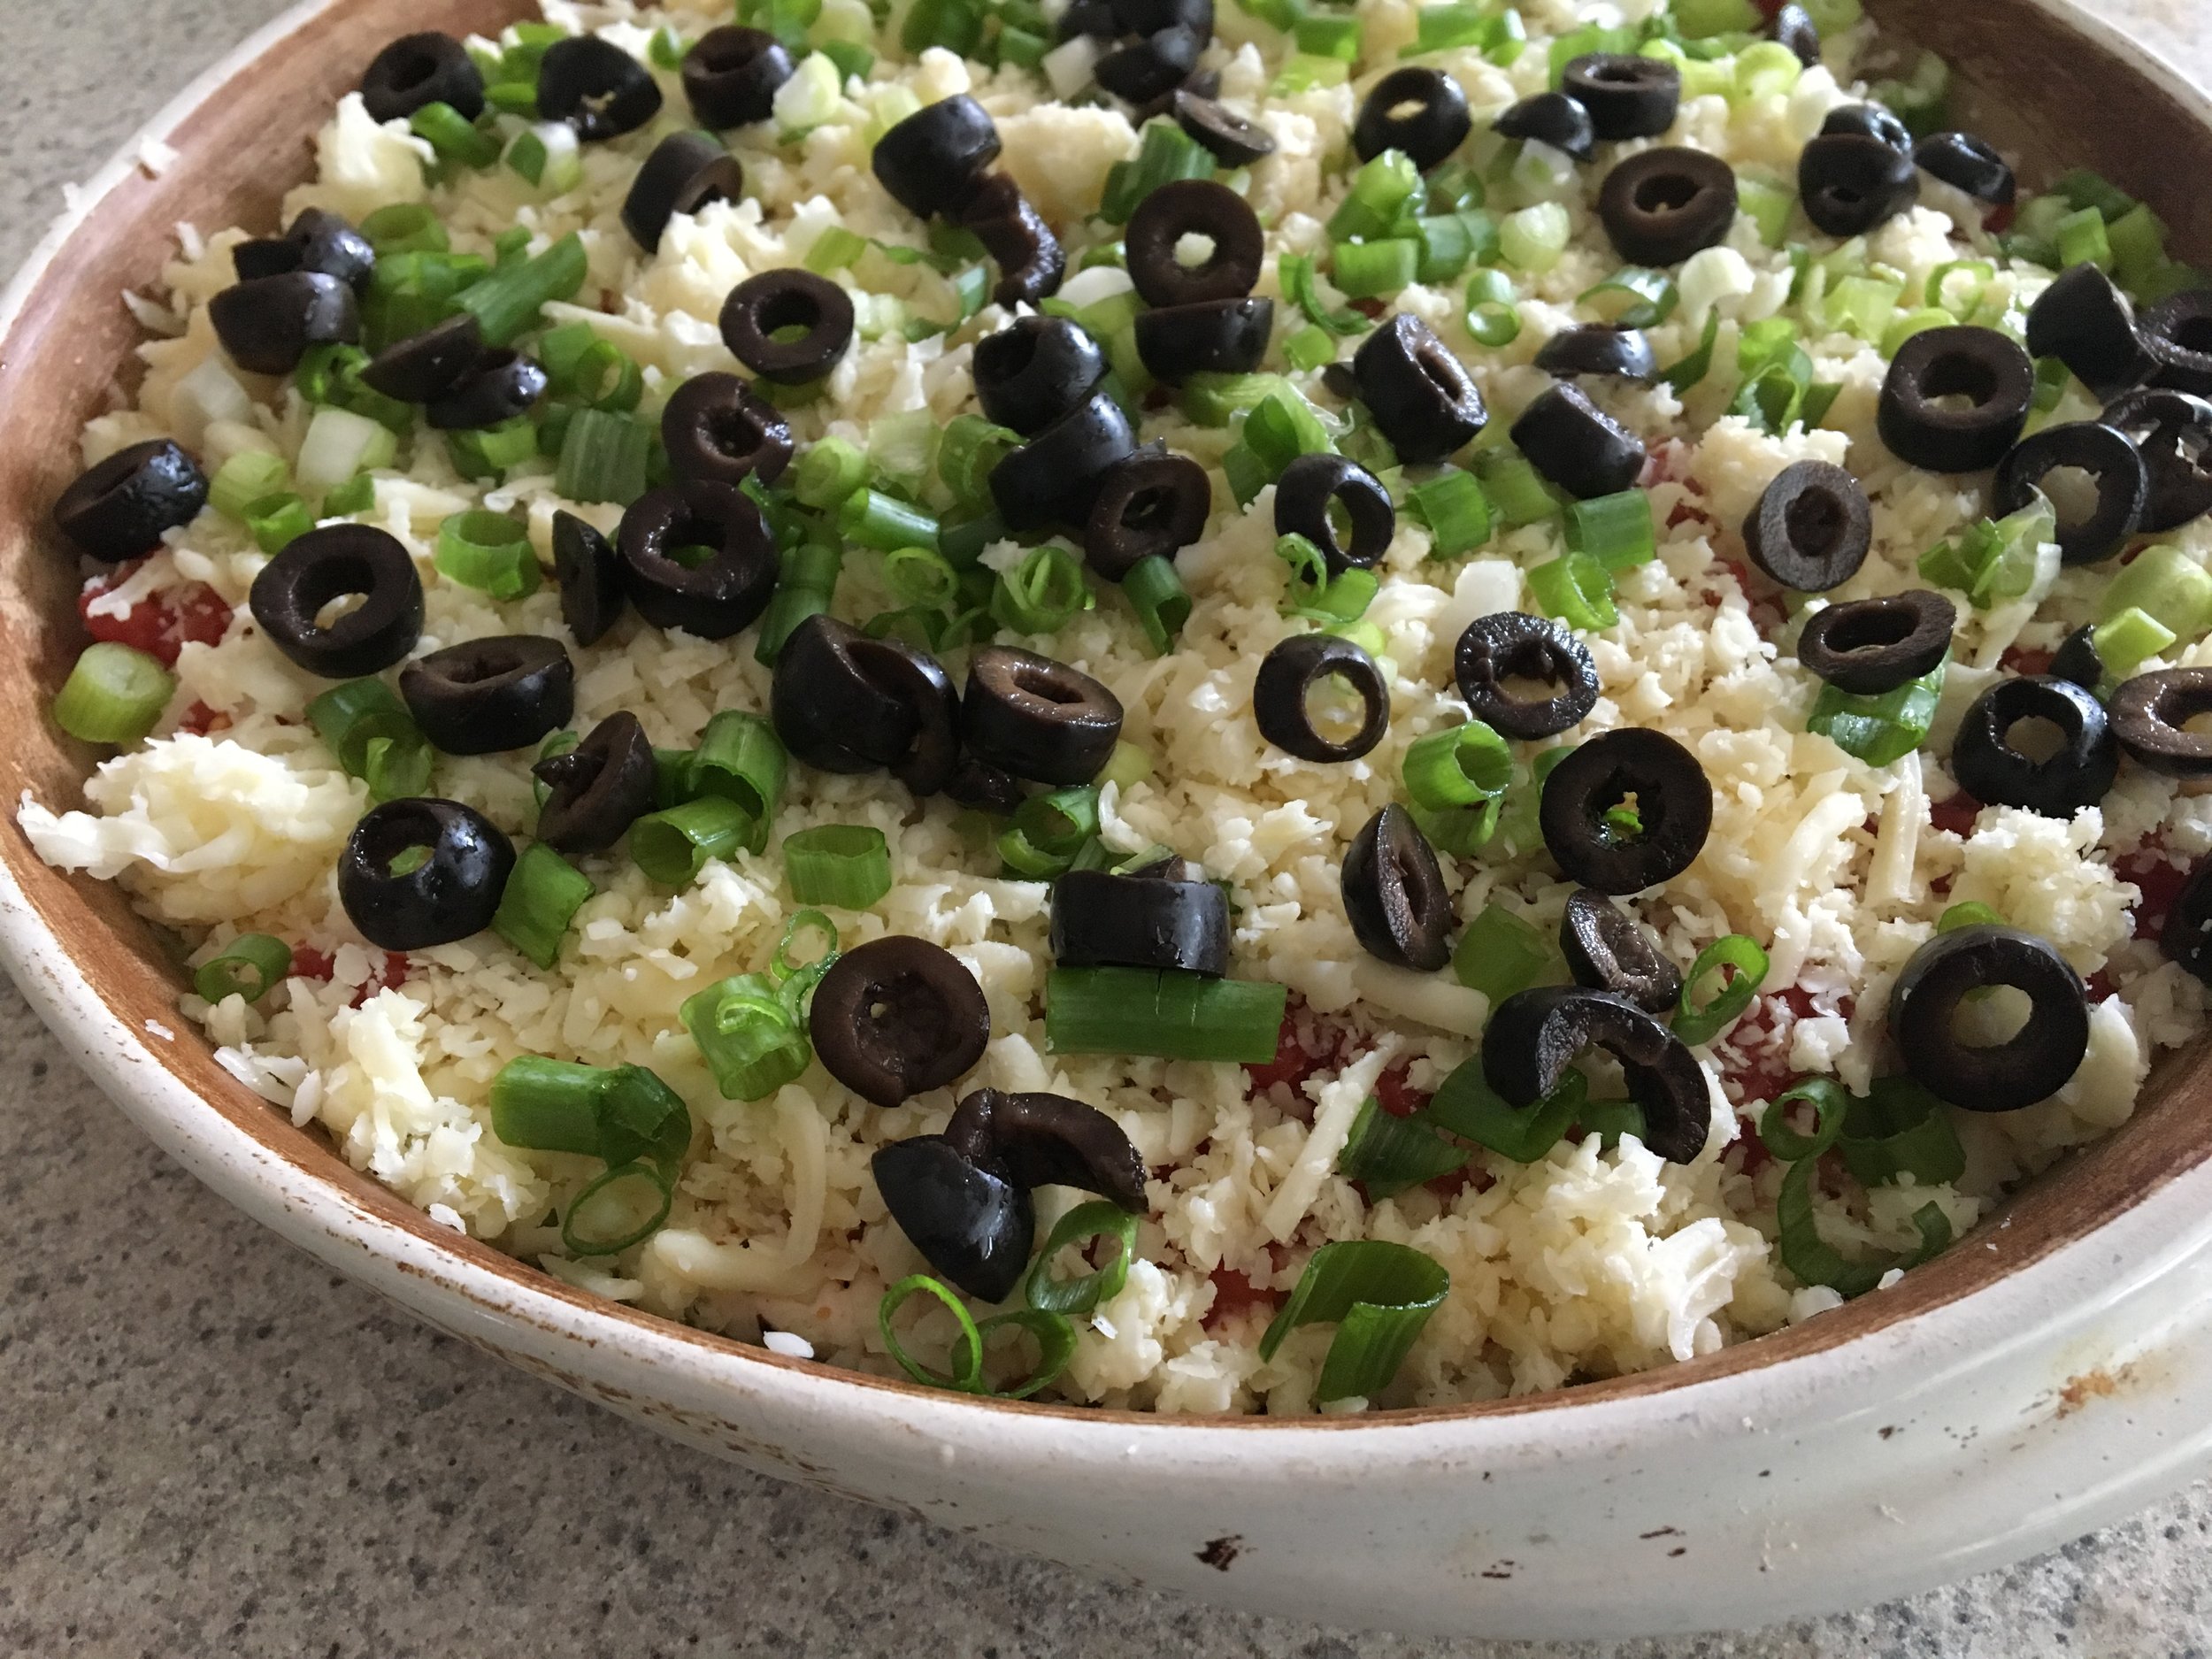
If using lettuce (optional), sprinkle over the sour cream.  Next, sprinkle the tomatoes, followed by the cheese, green onions, and olives.  Finally, for a festive flair, sprinkle a small amount of Cherchies® Select Grilling Rub & Seasoning Blend over the dip.

Refrigerate the taco dip for at least a couple of hours to overnight.  Serve with your favorite tortilla chips (we used Frito Scoops this time) and watch this glorious layered dip disappear.  We dare you to try just one bite!

Or, mix things up for Halloween and create this creepy spider web. Expose the guacamole layer exposed, then add the cheese, olives, tomatoes an scallions around the edge. Serve with blue corn tortilla chips for a spooky effect and add a fake spider and you are all set for Halloween!

Enjoy!

IMG_9163.jpg
Yum