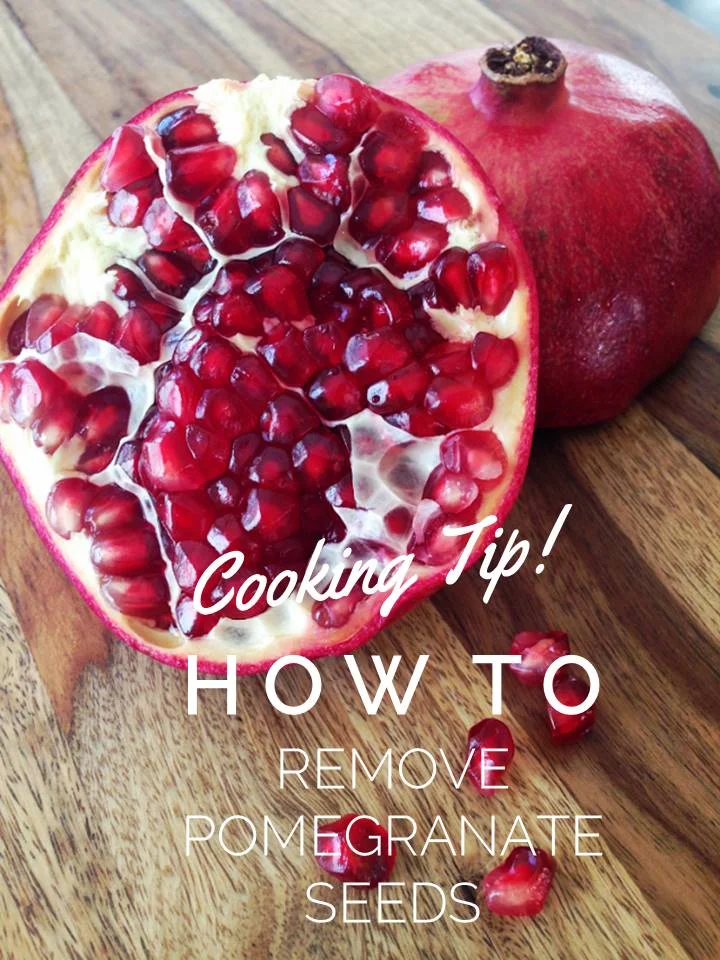
Cooking Tip: How to Remove Pomegranate Seeds
Pomegranates are usually abundant this time of year, a true sign the holidays are around the corner. They're perfect in smoothies, salads, jams, desserts, and many more foods, plus they are an antioxidant powerhouse!
Have you ever wondered if there was an easy way to remove the seeds?
Have no fear! I can help you! There are a lot of great methods for de-seeding pomegranates on the internet, but I decided to share my two favorites (one is very therapeutic).
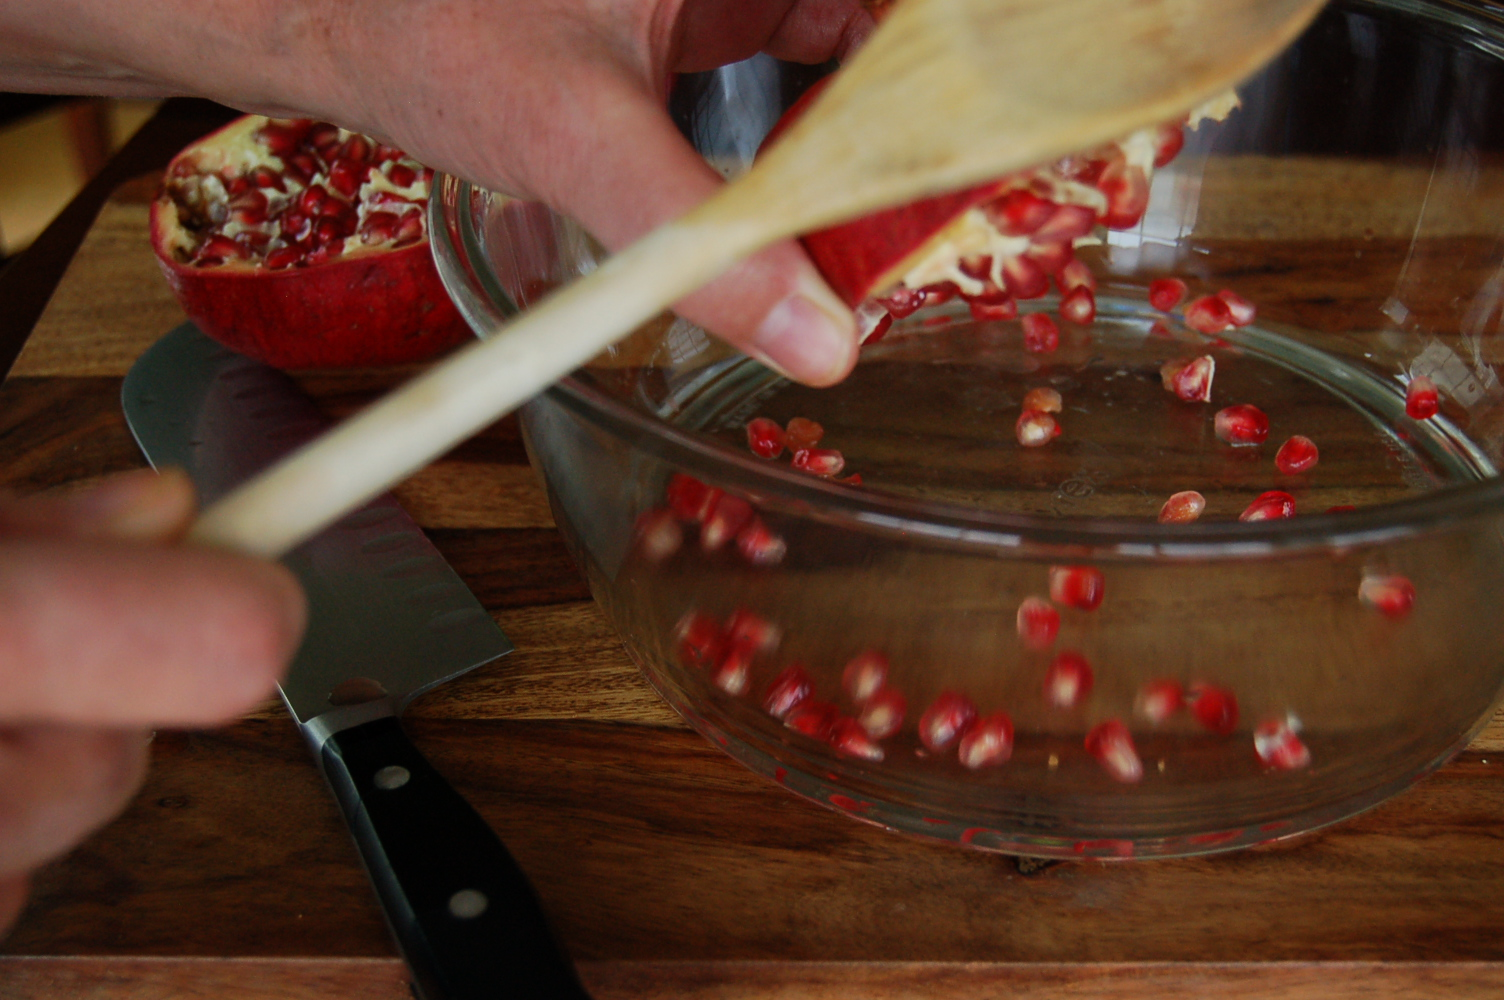
The Aggression Reliever (therapeutic version...it's not really called that, I coined it)- This method involves "whacking" the back of the pomegranate half. I'm not talking about crazily pounding the pomegranate, but gently hitting the back of the pomegranate with the back of a large spoon.
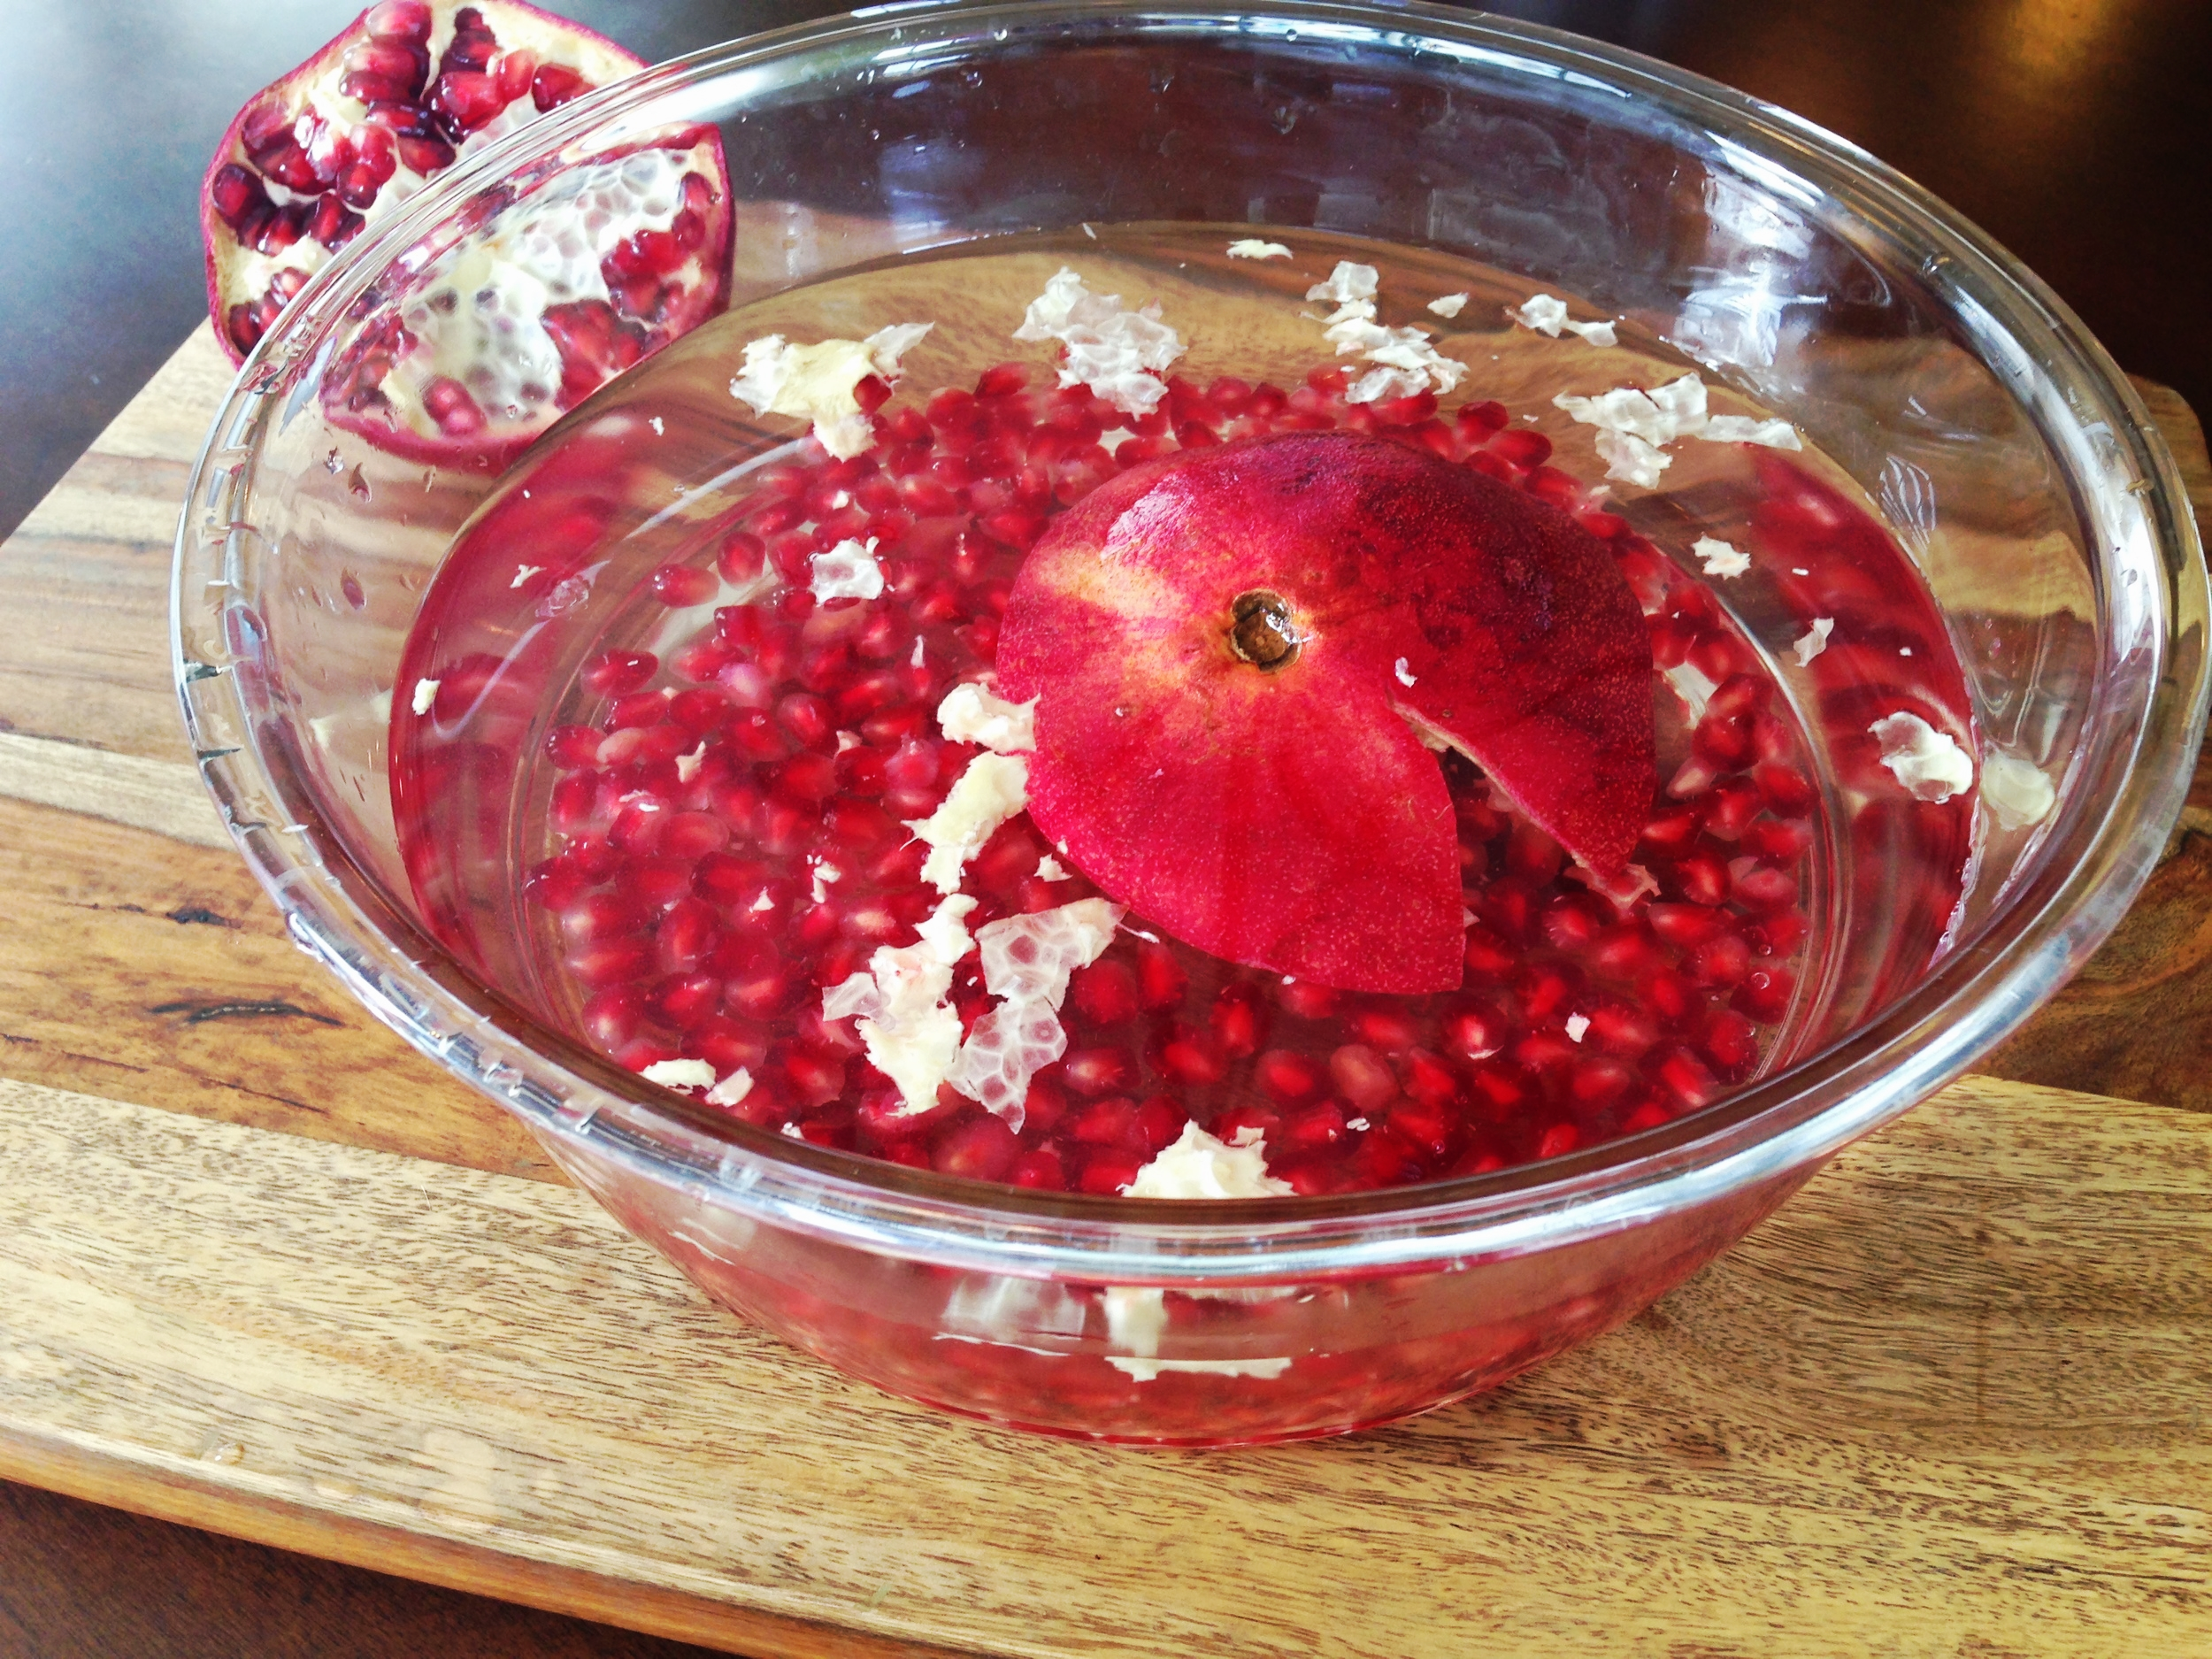
The Soaker- This method involves submerging the pomegranate halves in a bowl of water. As you gently loosen the seeds, the white cartilage floats to the top.
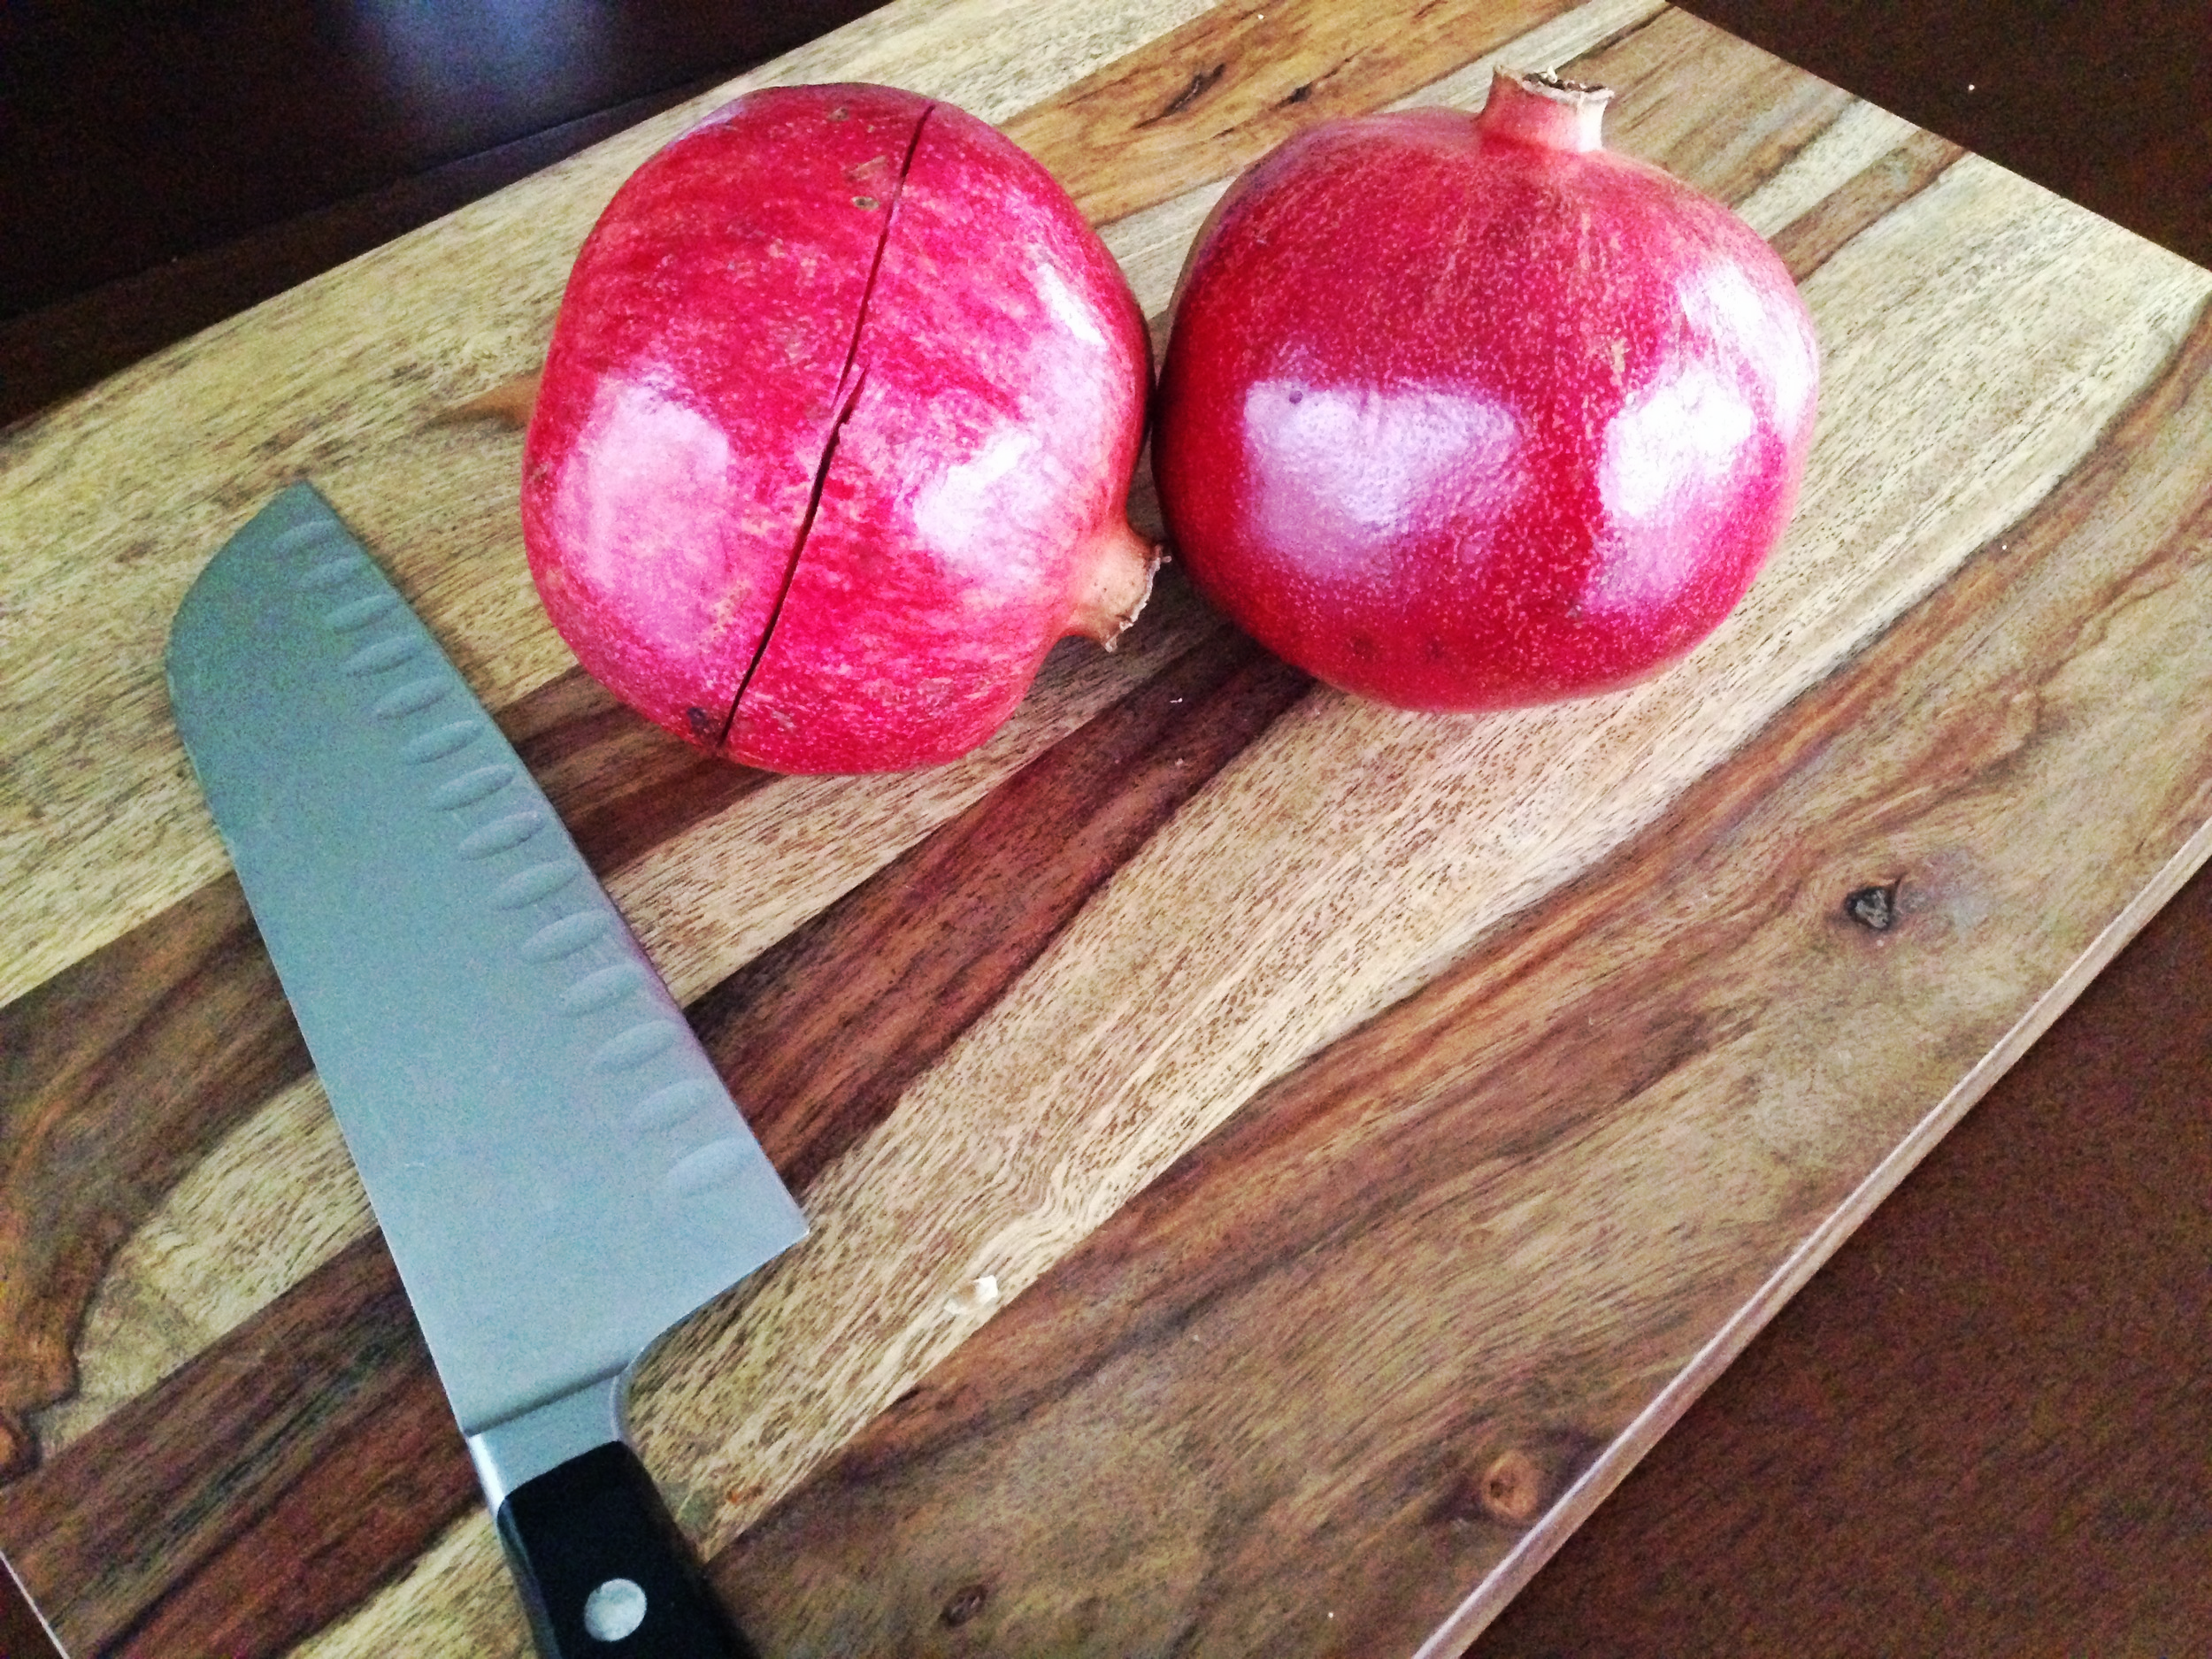
Here's How It's Done. In both methods, with a knife, carefully "score" the skin. I usually just make one cut around the perimeter of the pomegranate. (I've seen some individuals make several score marks the length of the pomegranate...totally up to you).
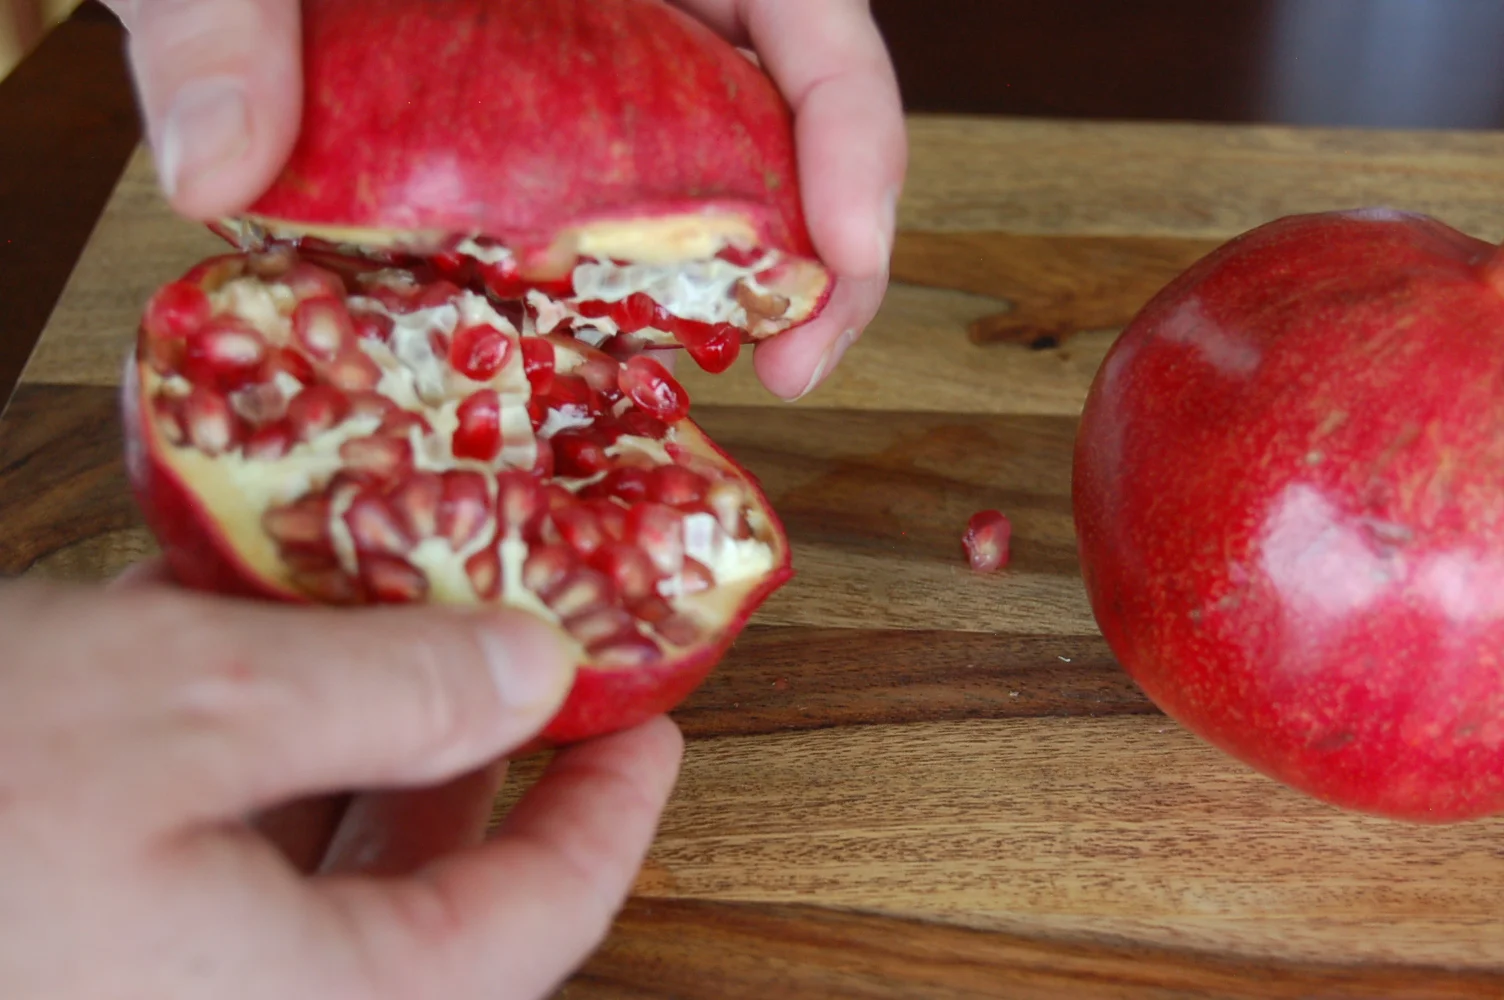
Next, Gently pull apart the pomegranate and carefully loosen up the skin and seeds while rotating the pomegranate.
Now here is where the two different methods differ. For the Aggression Reliever Method, hold the pomegranate half upside down over a bowl and gently "whack" the back of the pomegranate with a spoon (I used a wooden spoon), rotating to remove the seeds.
For The Soaker Method, simply remove the seeds while the pomegranate half is under water. The white cartilage will then float to the top for easy removal. Remove any last stubborn seeds by hand.
There you have it friends...beautiful, sweet, pomegranate seeds! What's your favorite de-seeding method?