Cherchies Blog

Inspirational Irish quotes

Sheri SpalloneComment

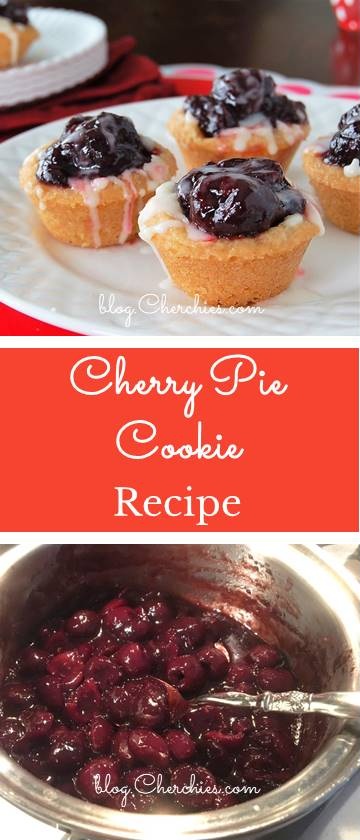
Happy St. Patrick’s Day friends!

Whether you are Irish or not, today is a celebration of Irish culture. History shows that St. Patrick’s Day observes the death of St. Patrick, the patron saint of Ireland. The holiday has evolved into a celebration of Irish culture with parades, special foods, music, dancing, drinking, and lots of green. It is a day for everyone to celebrate.

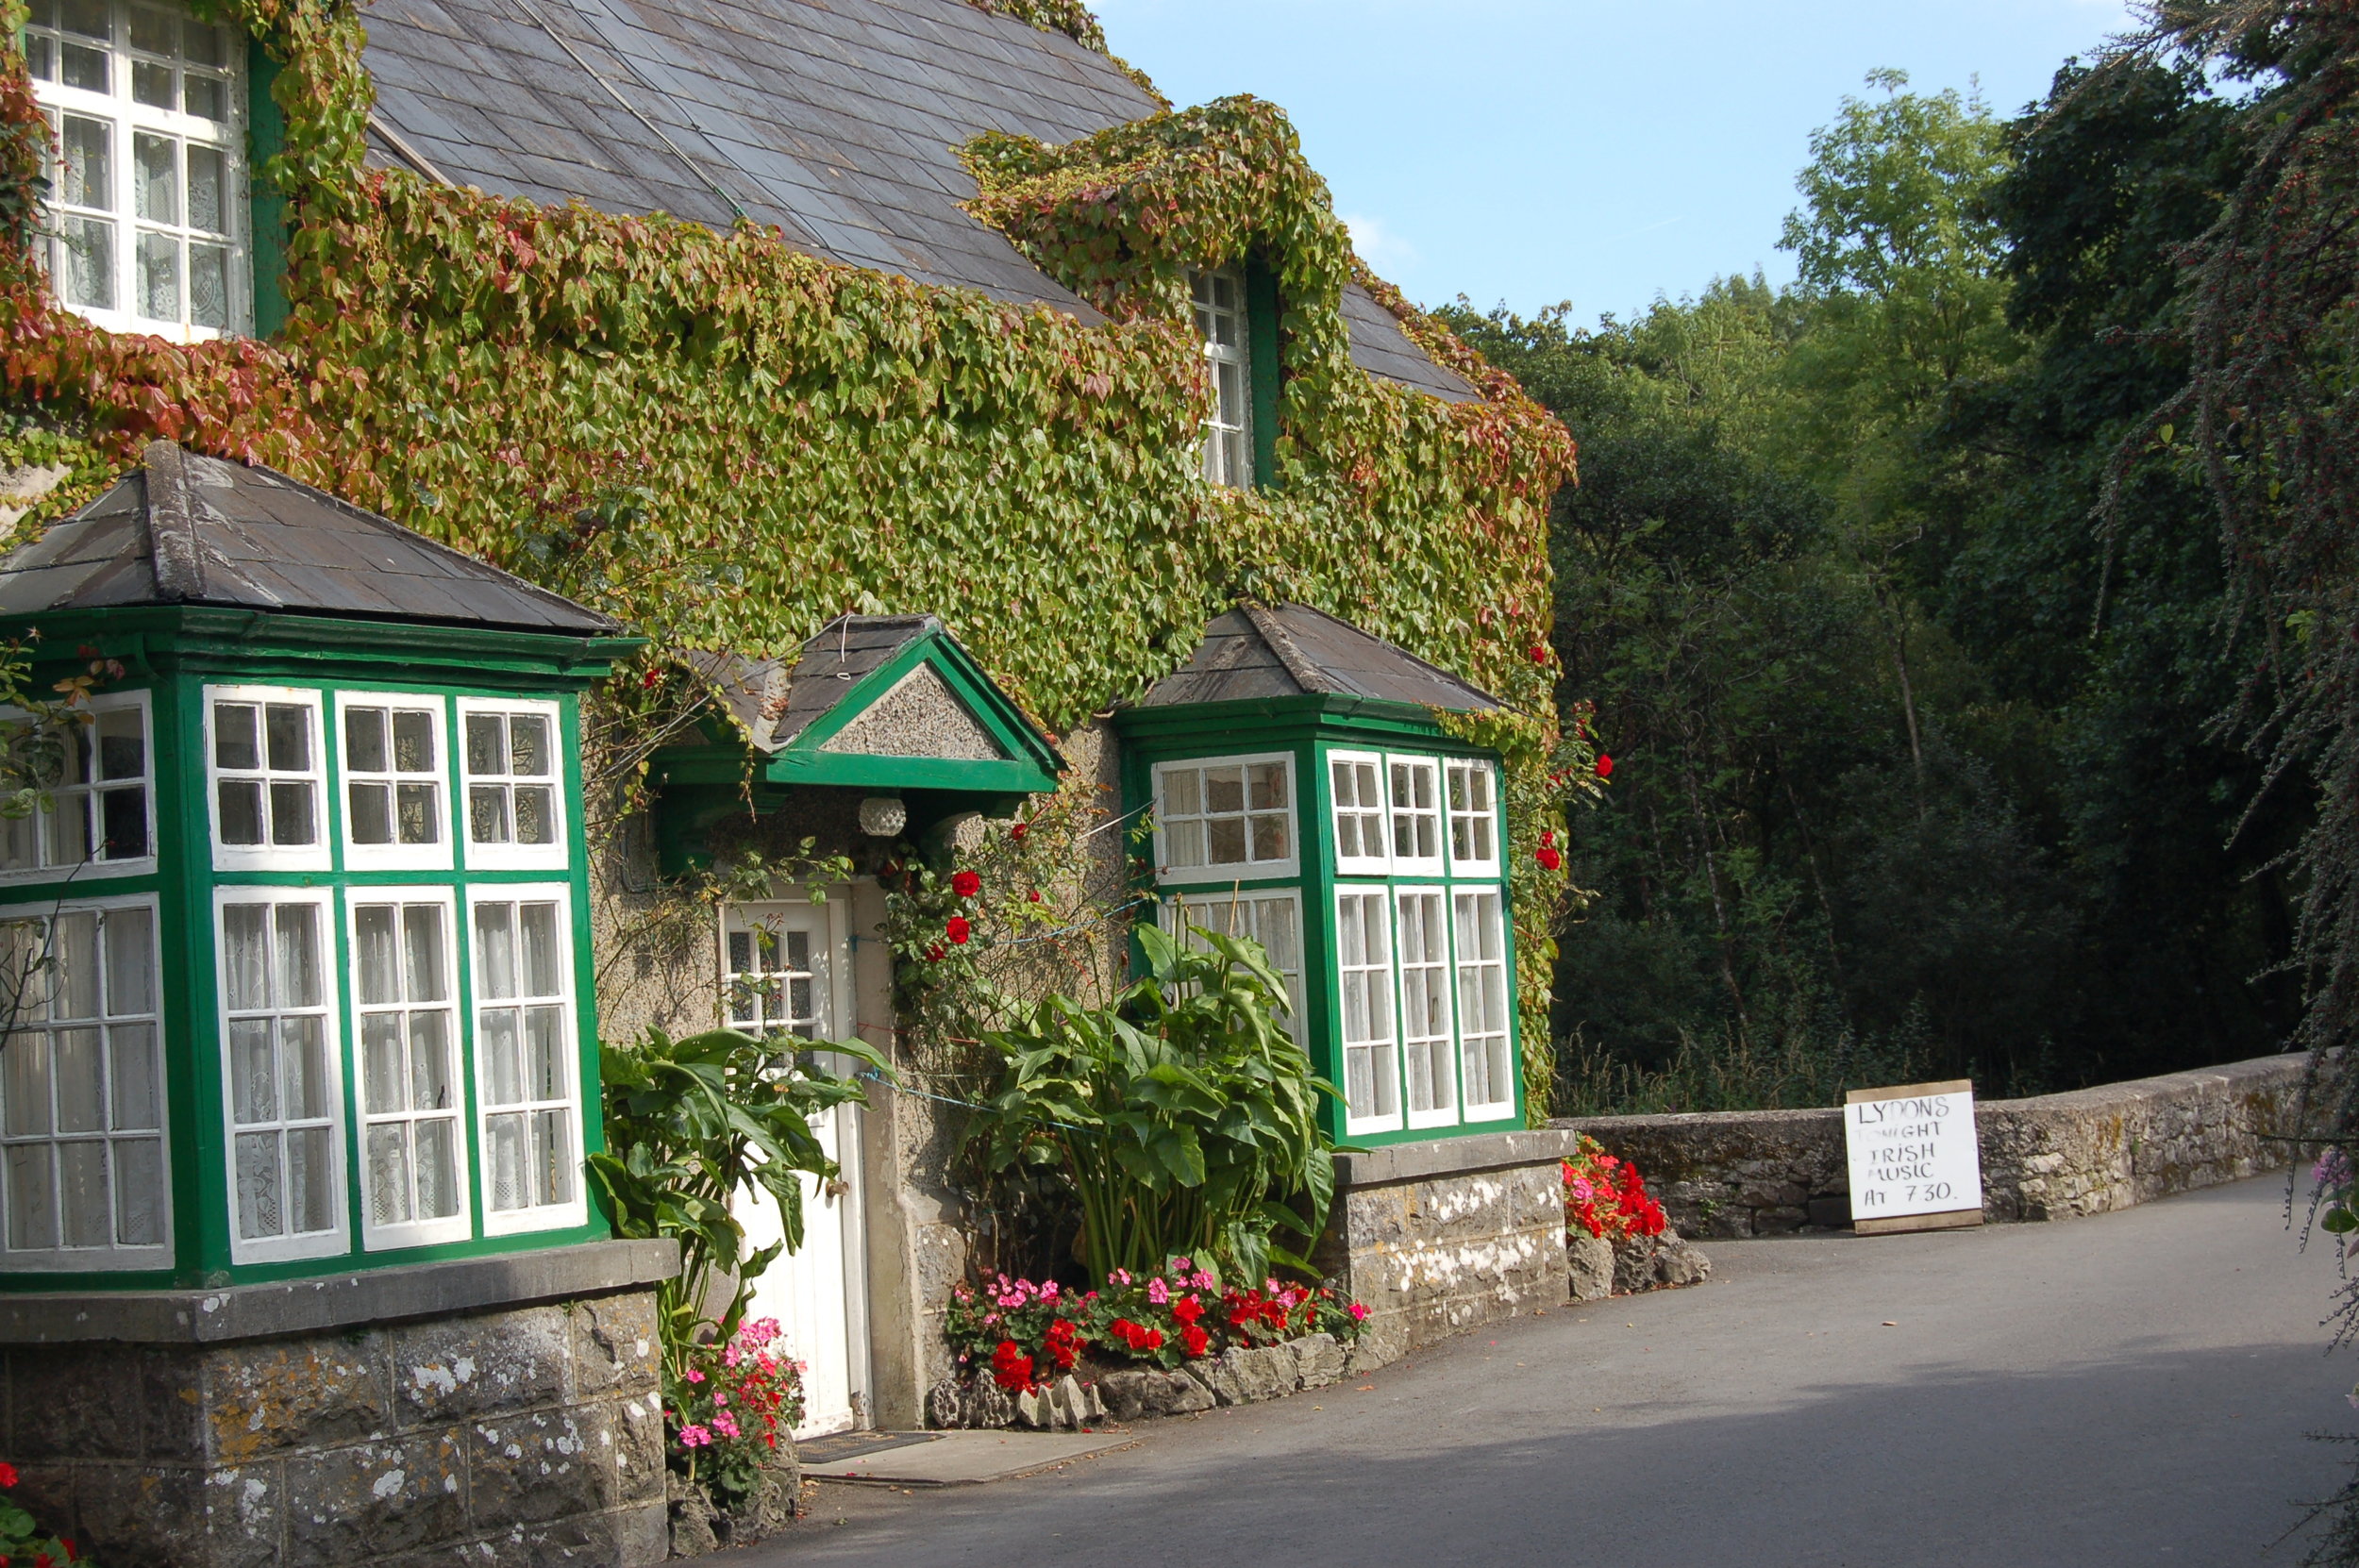
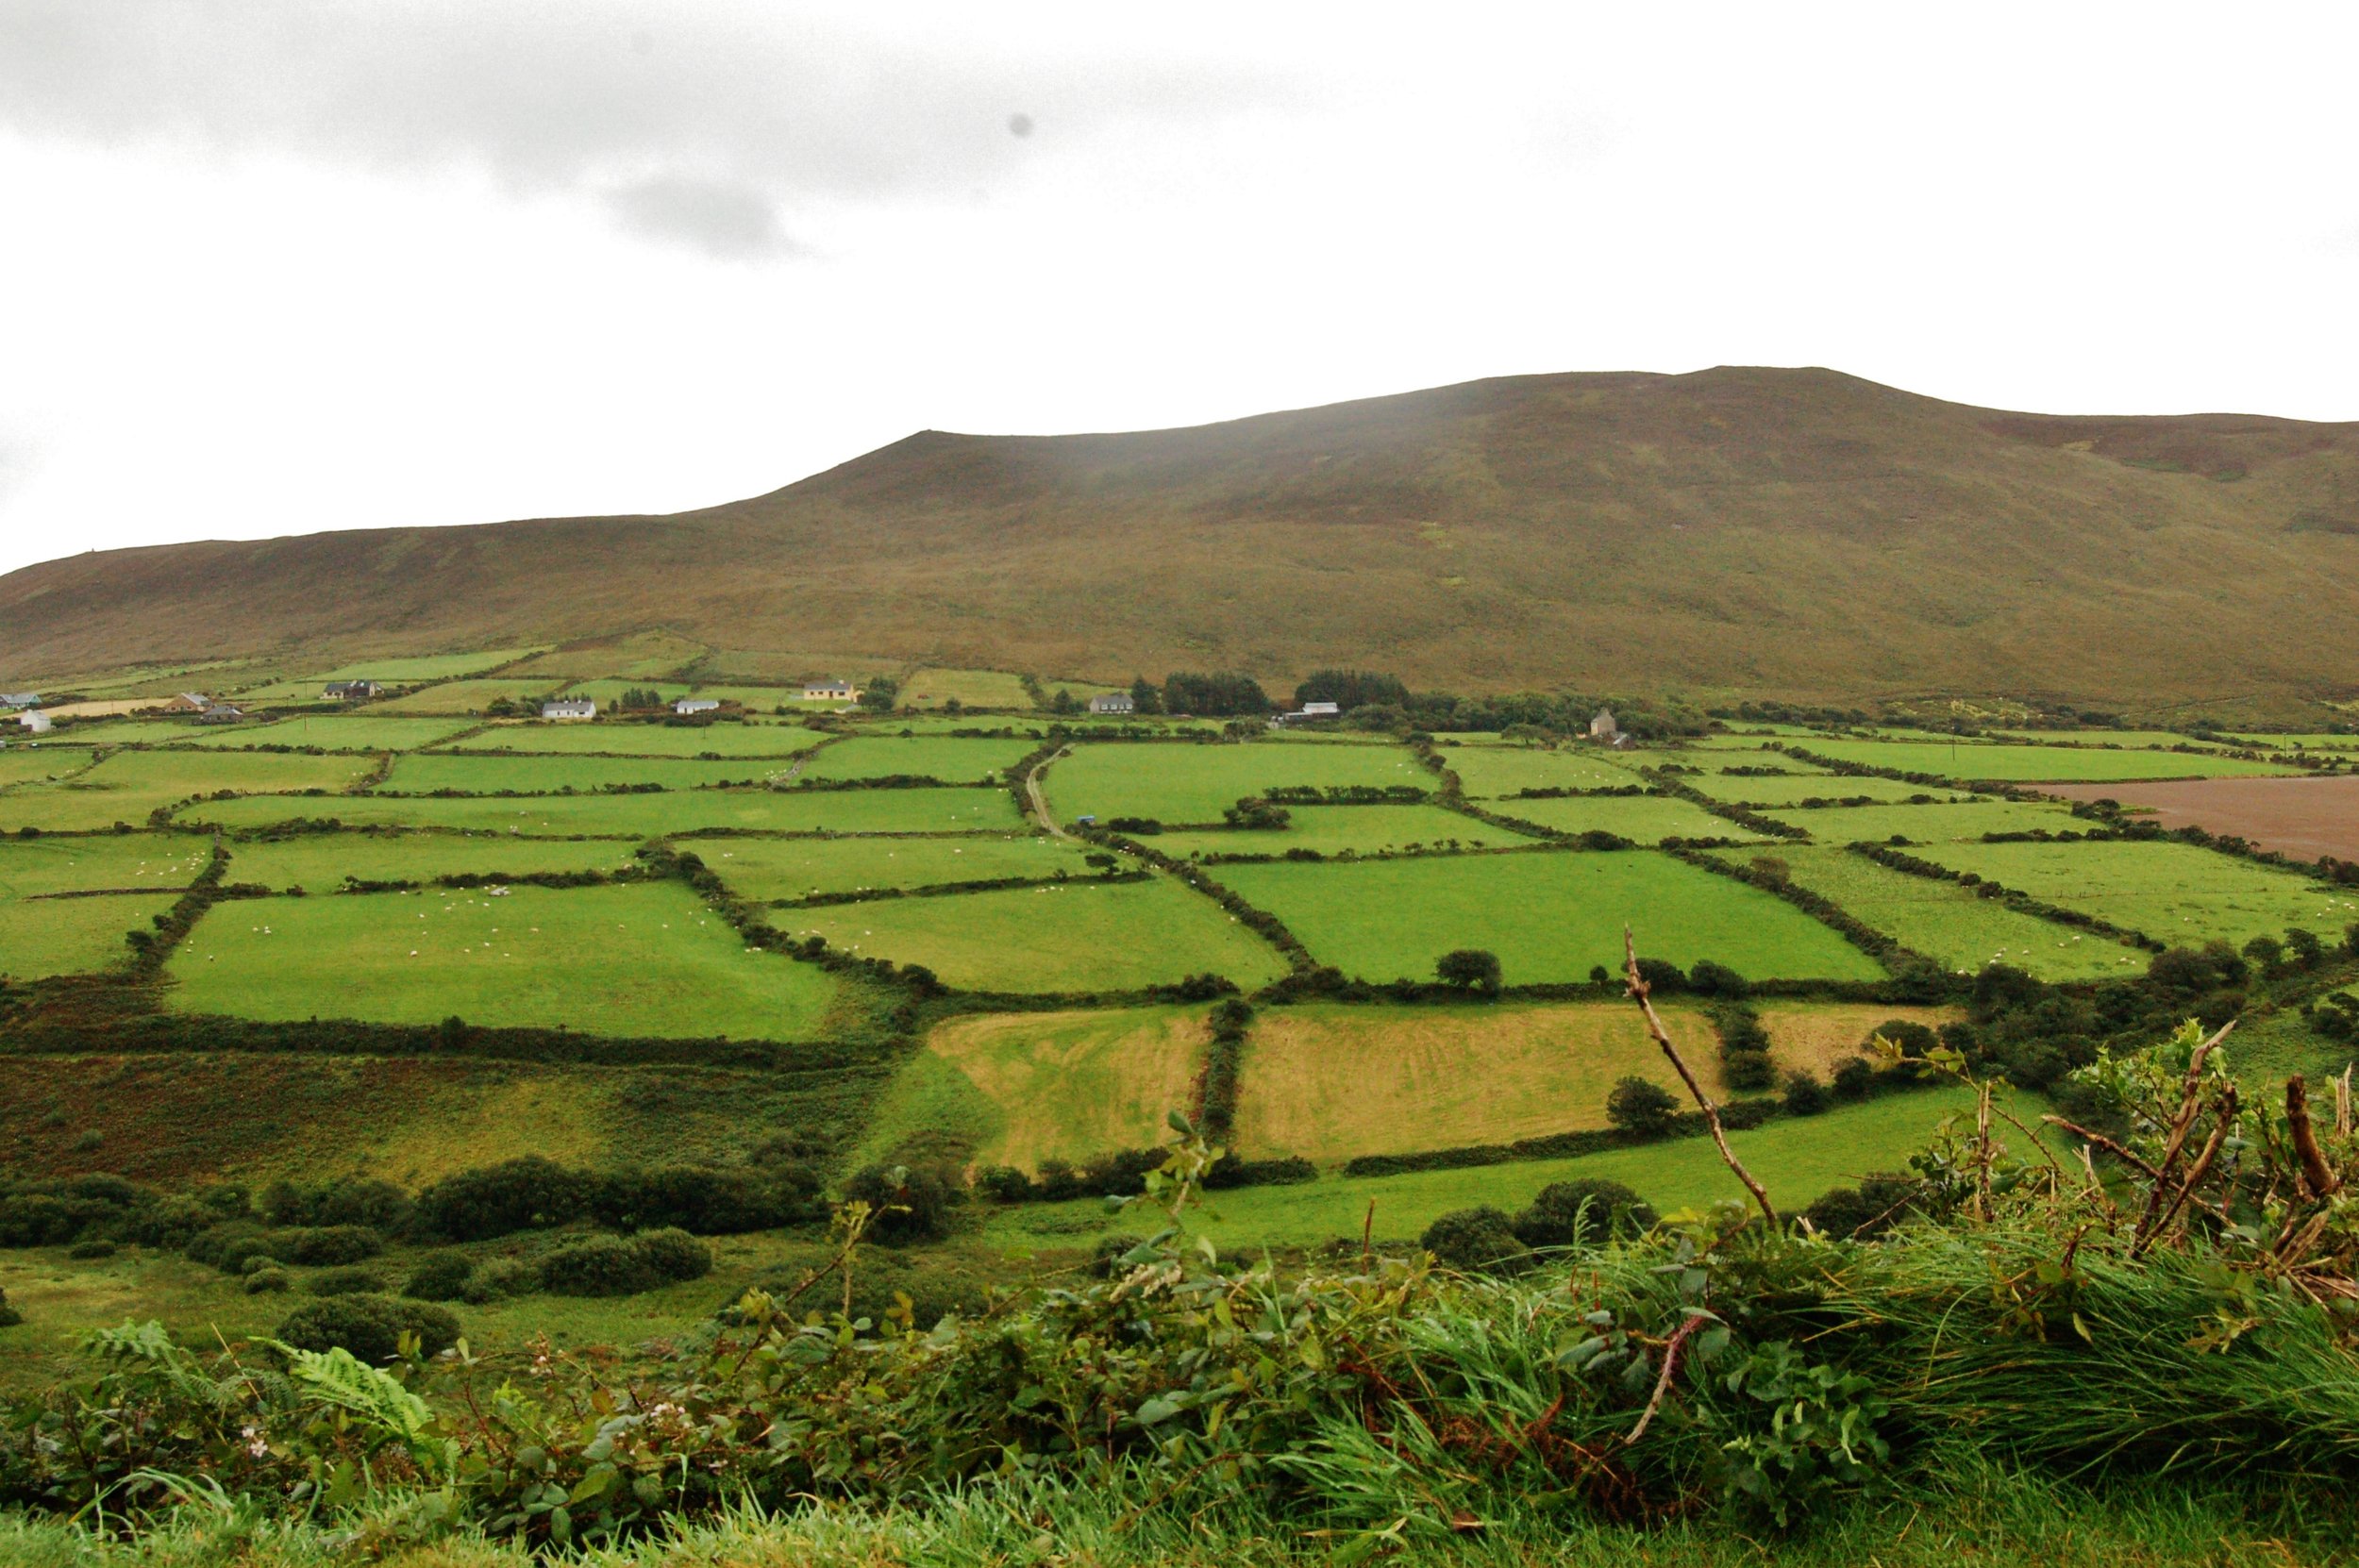
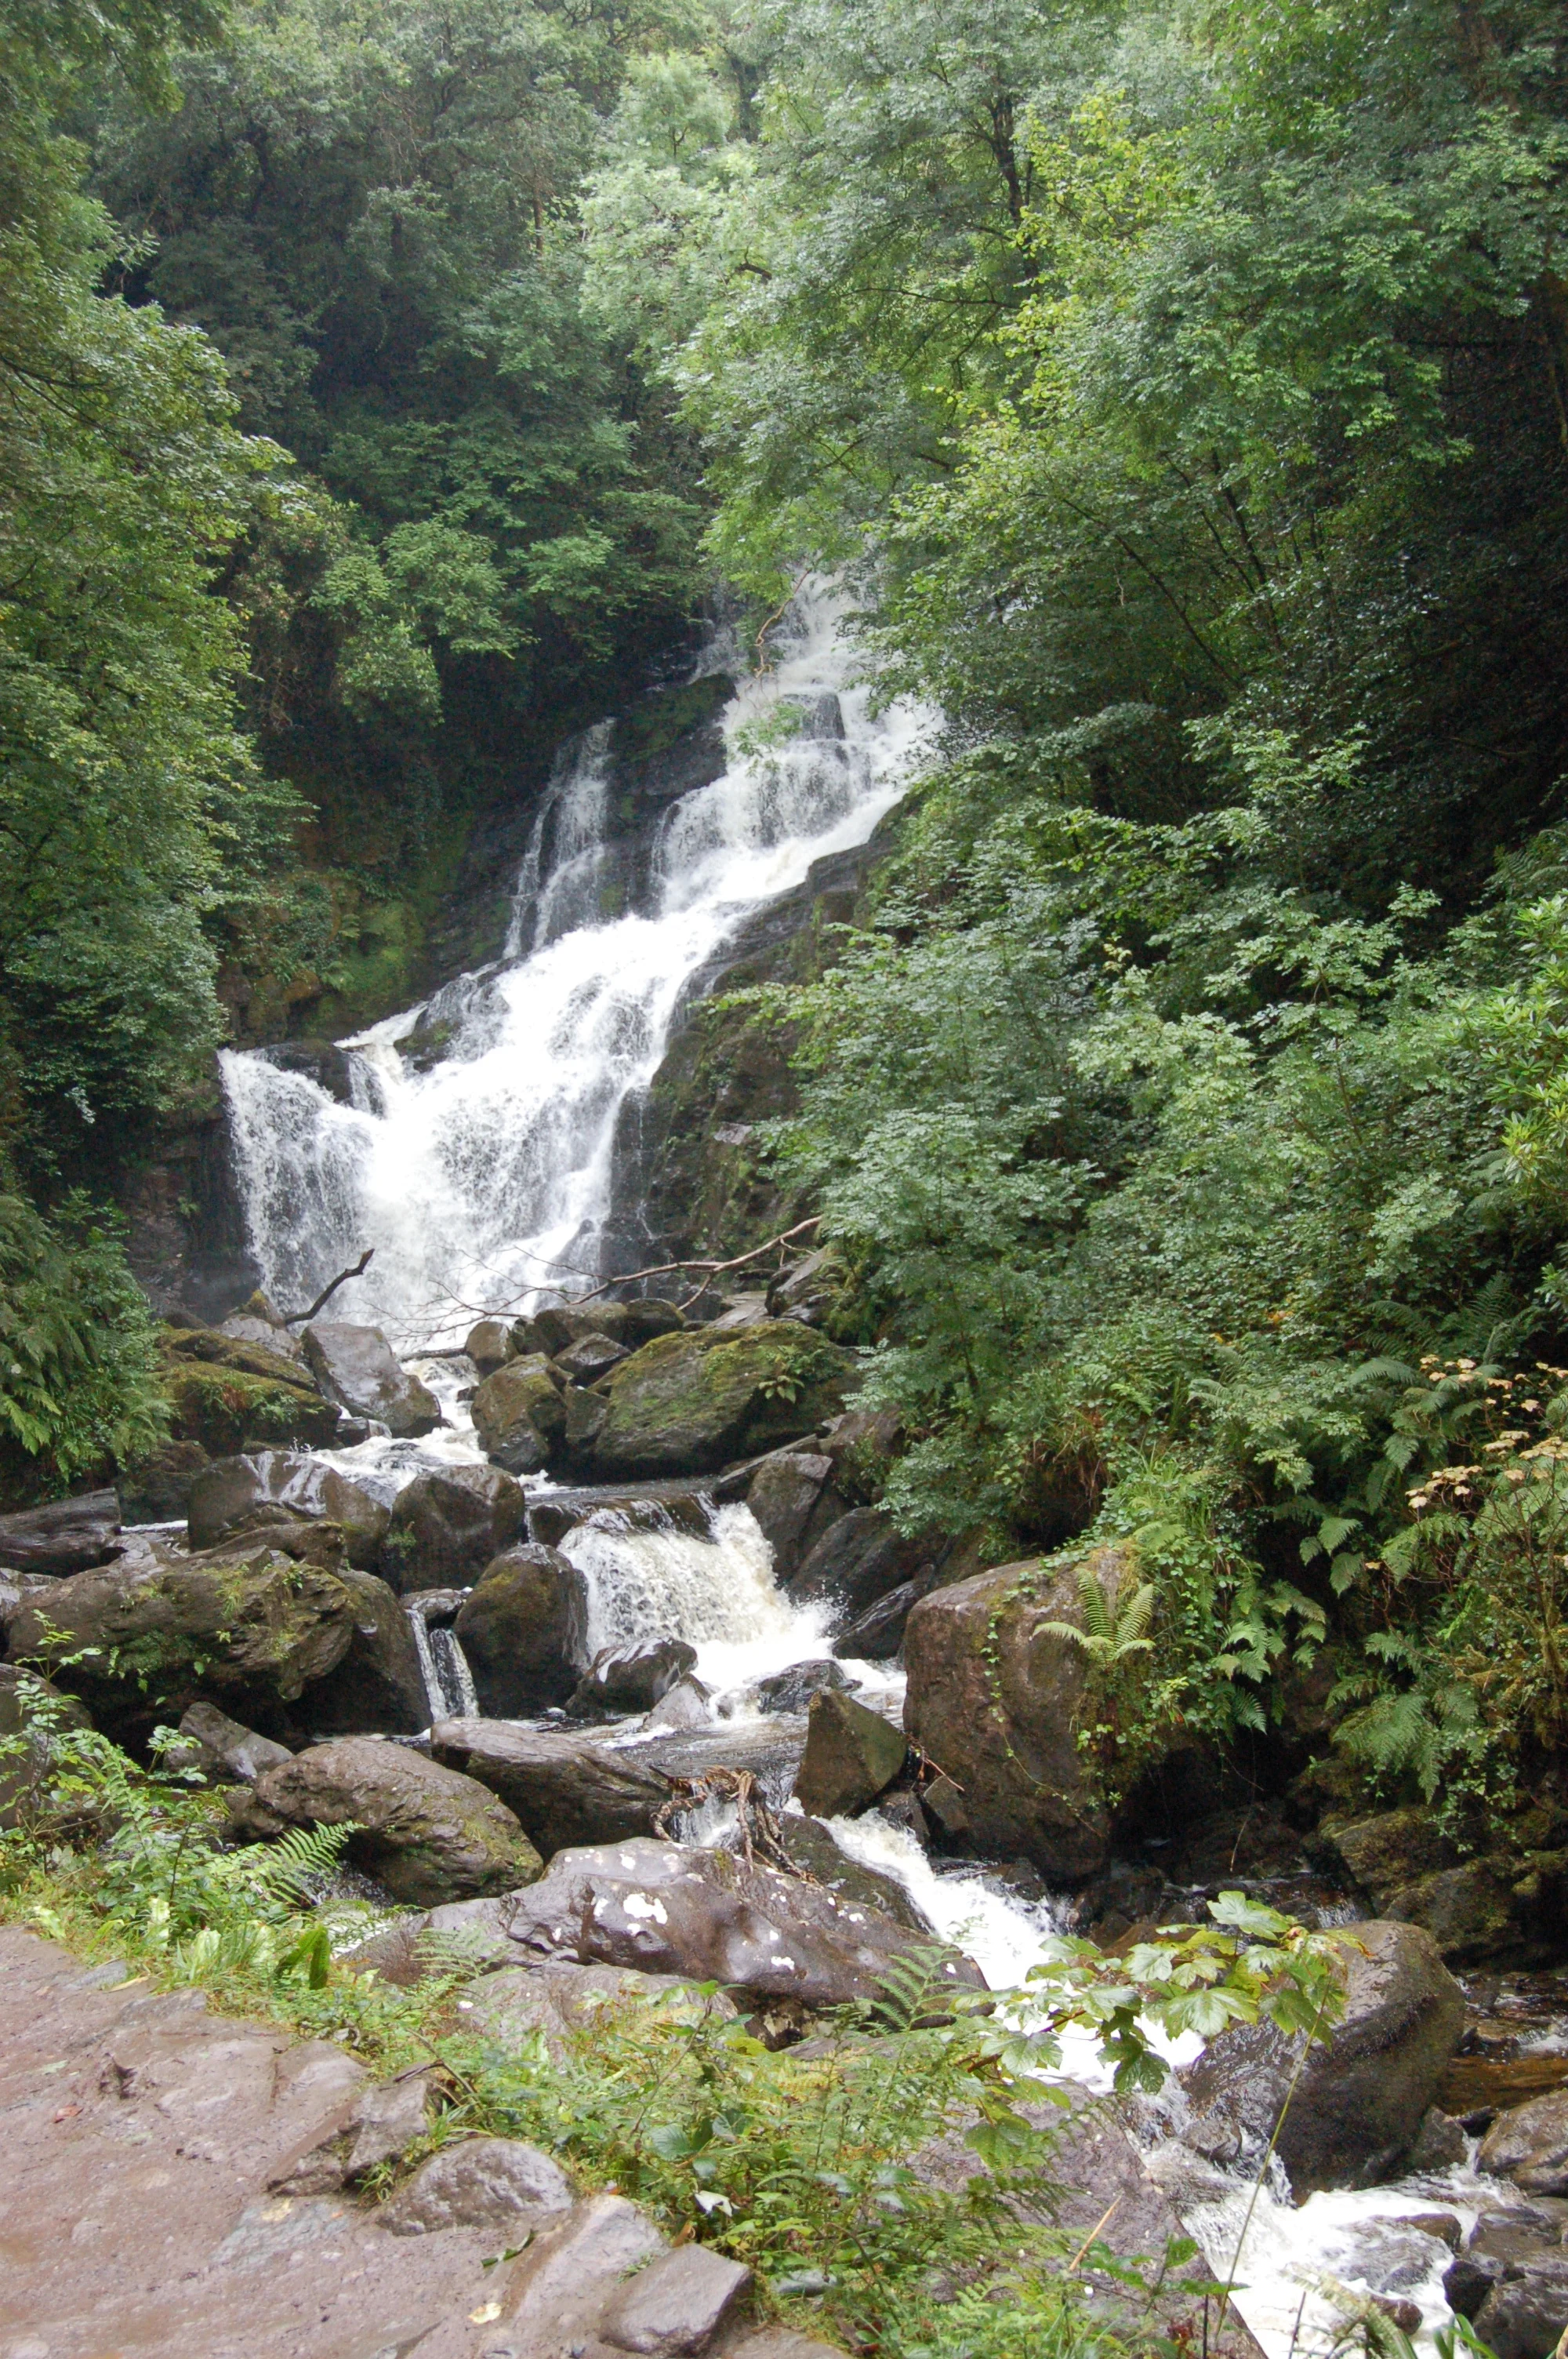
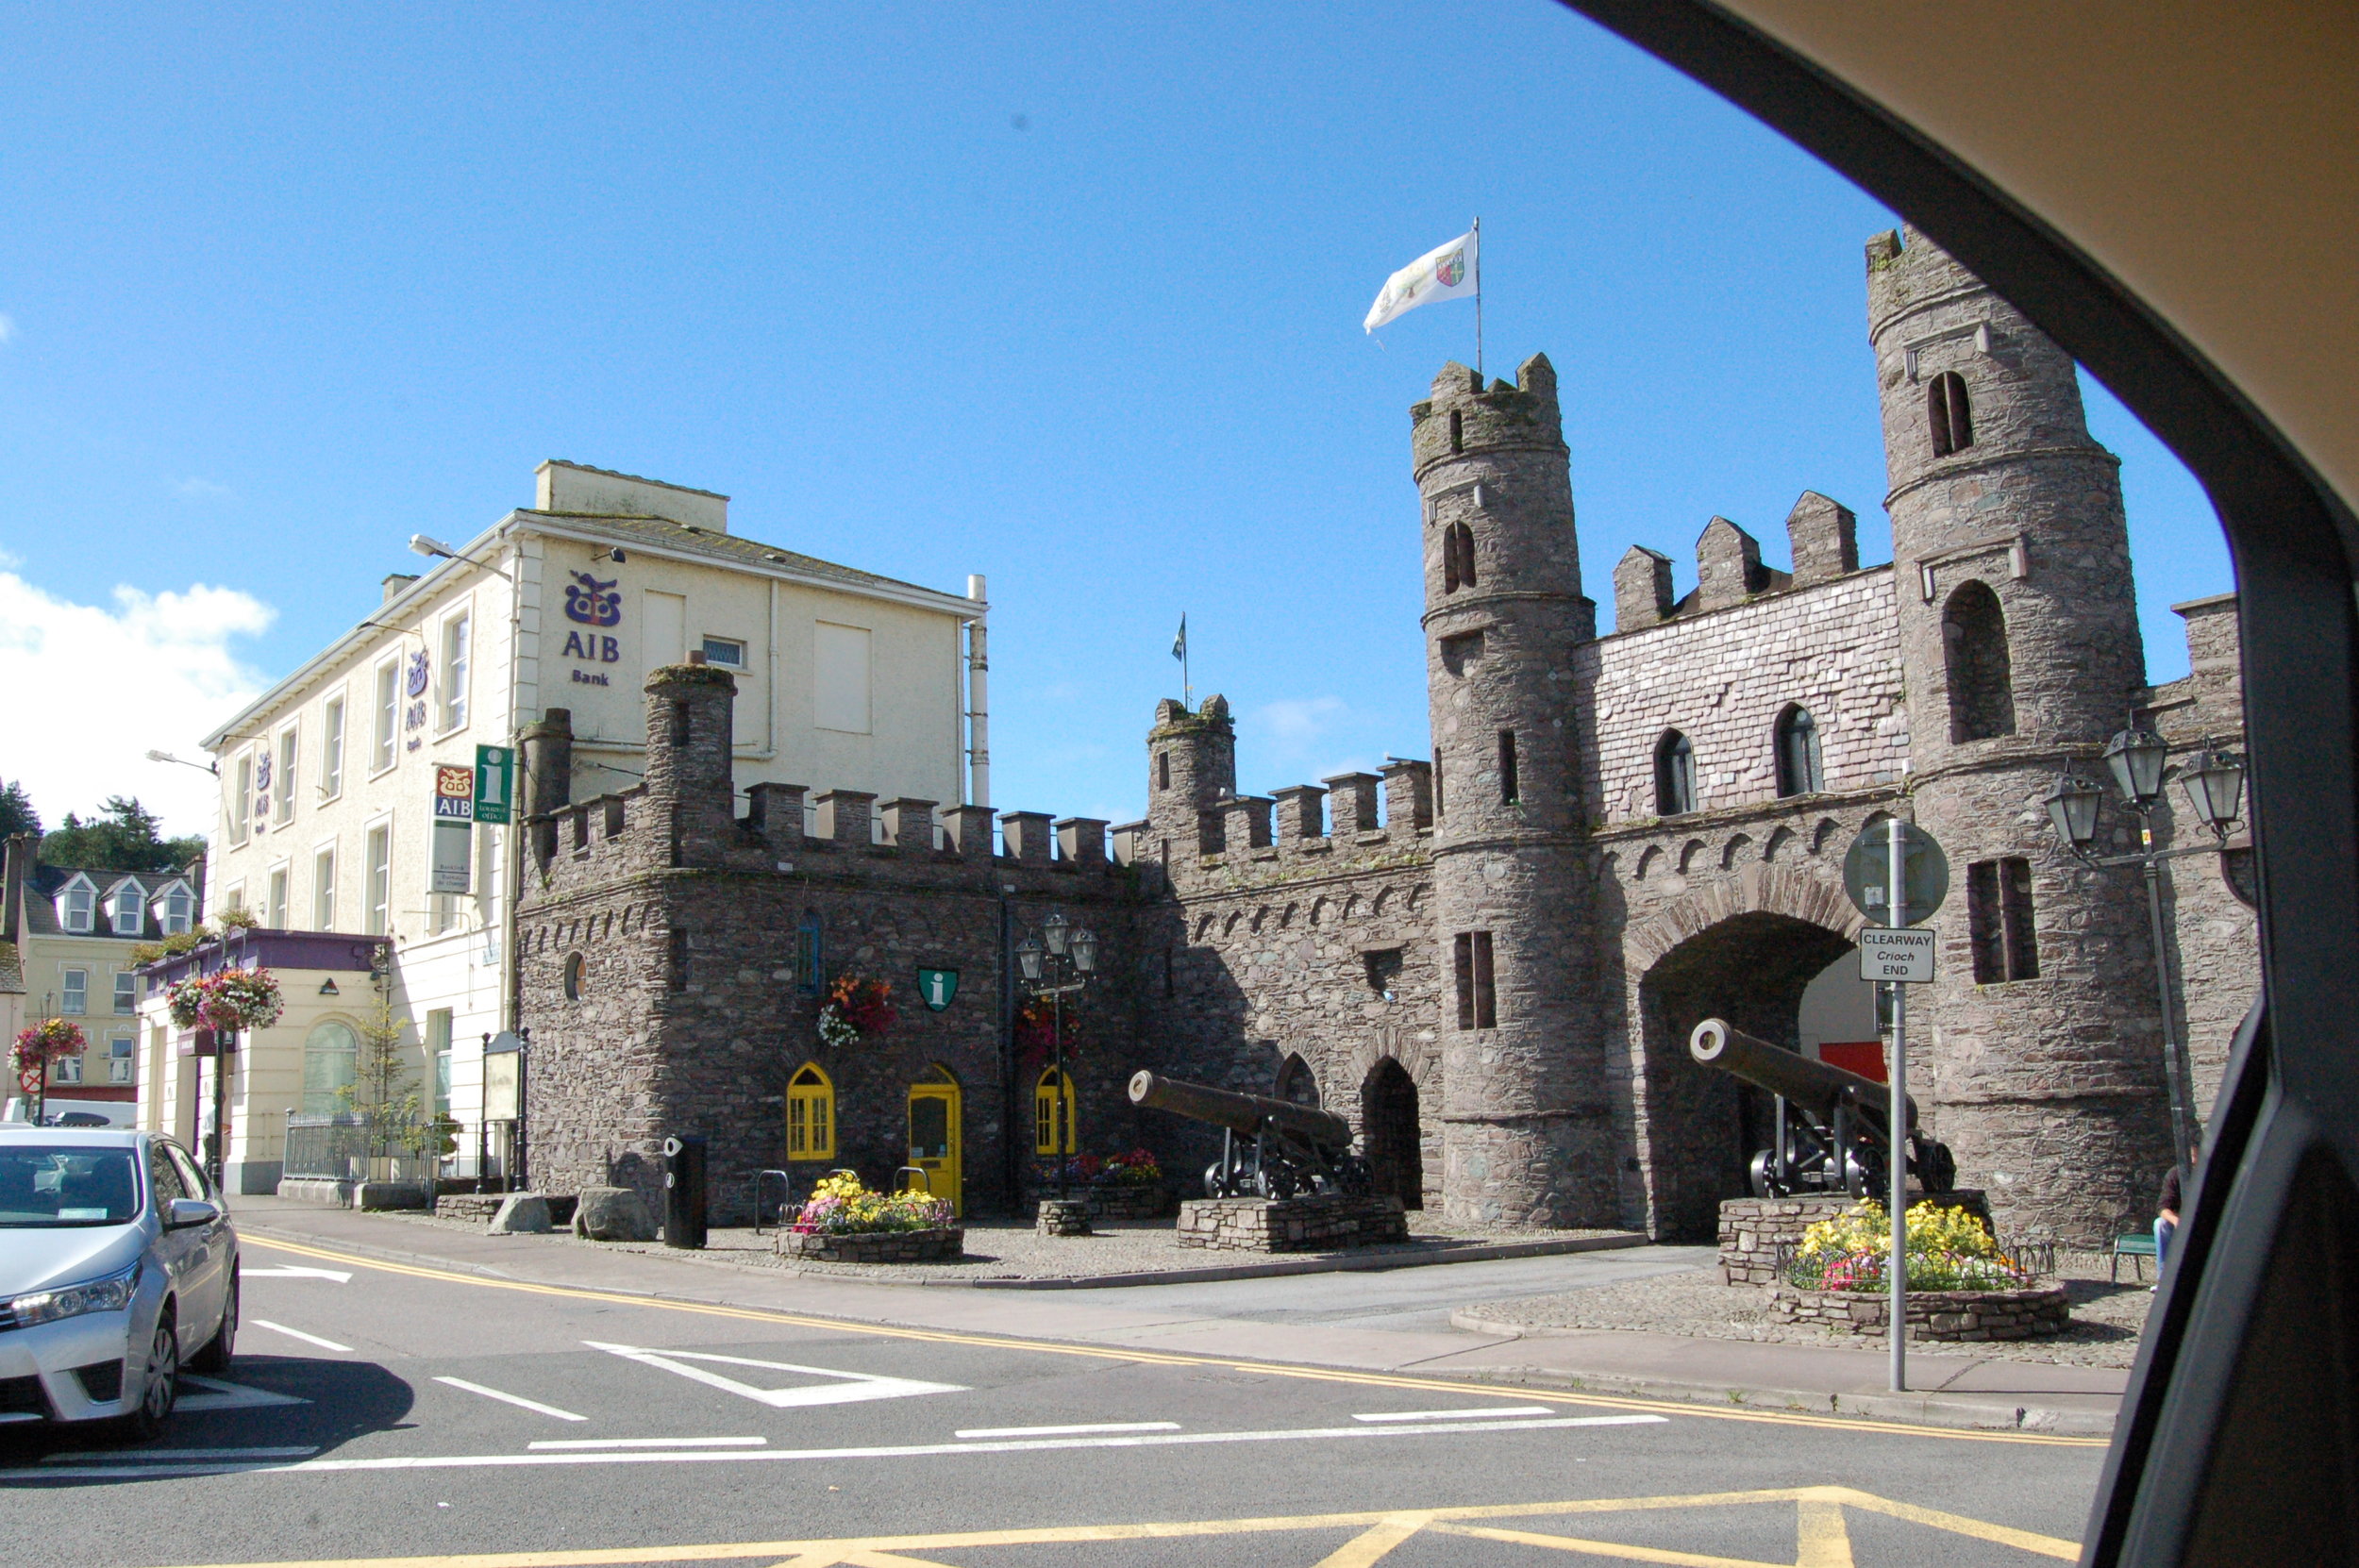
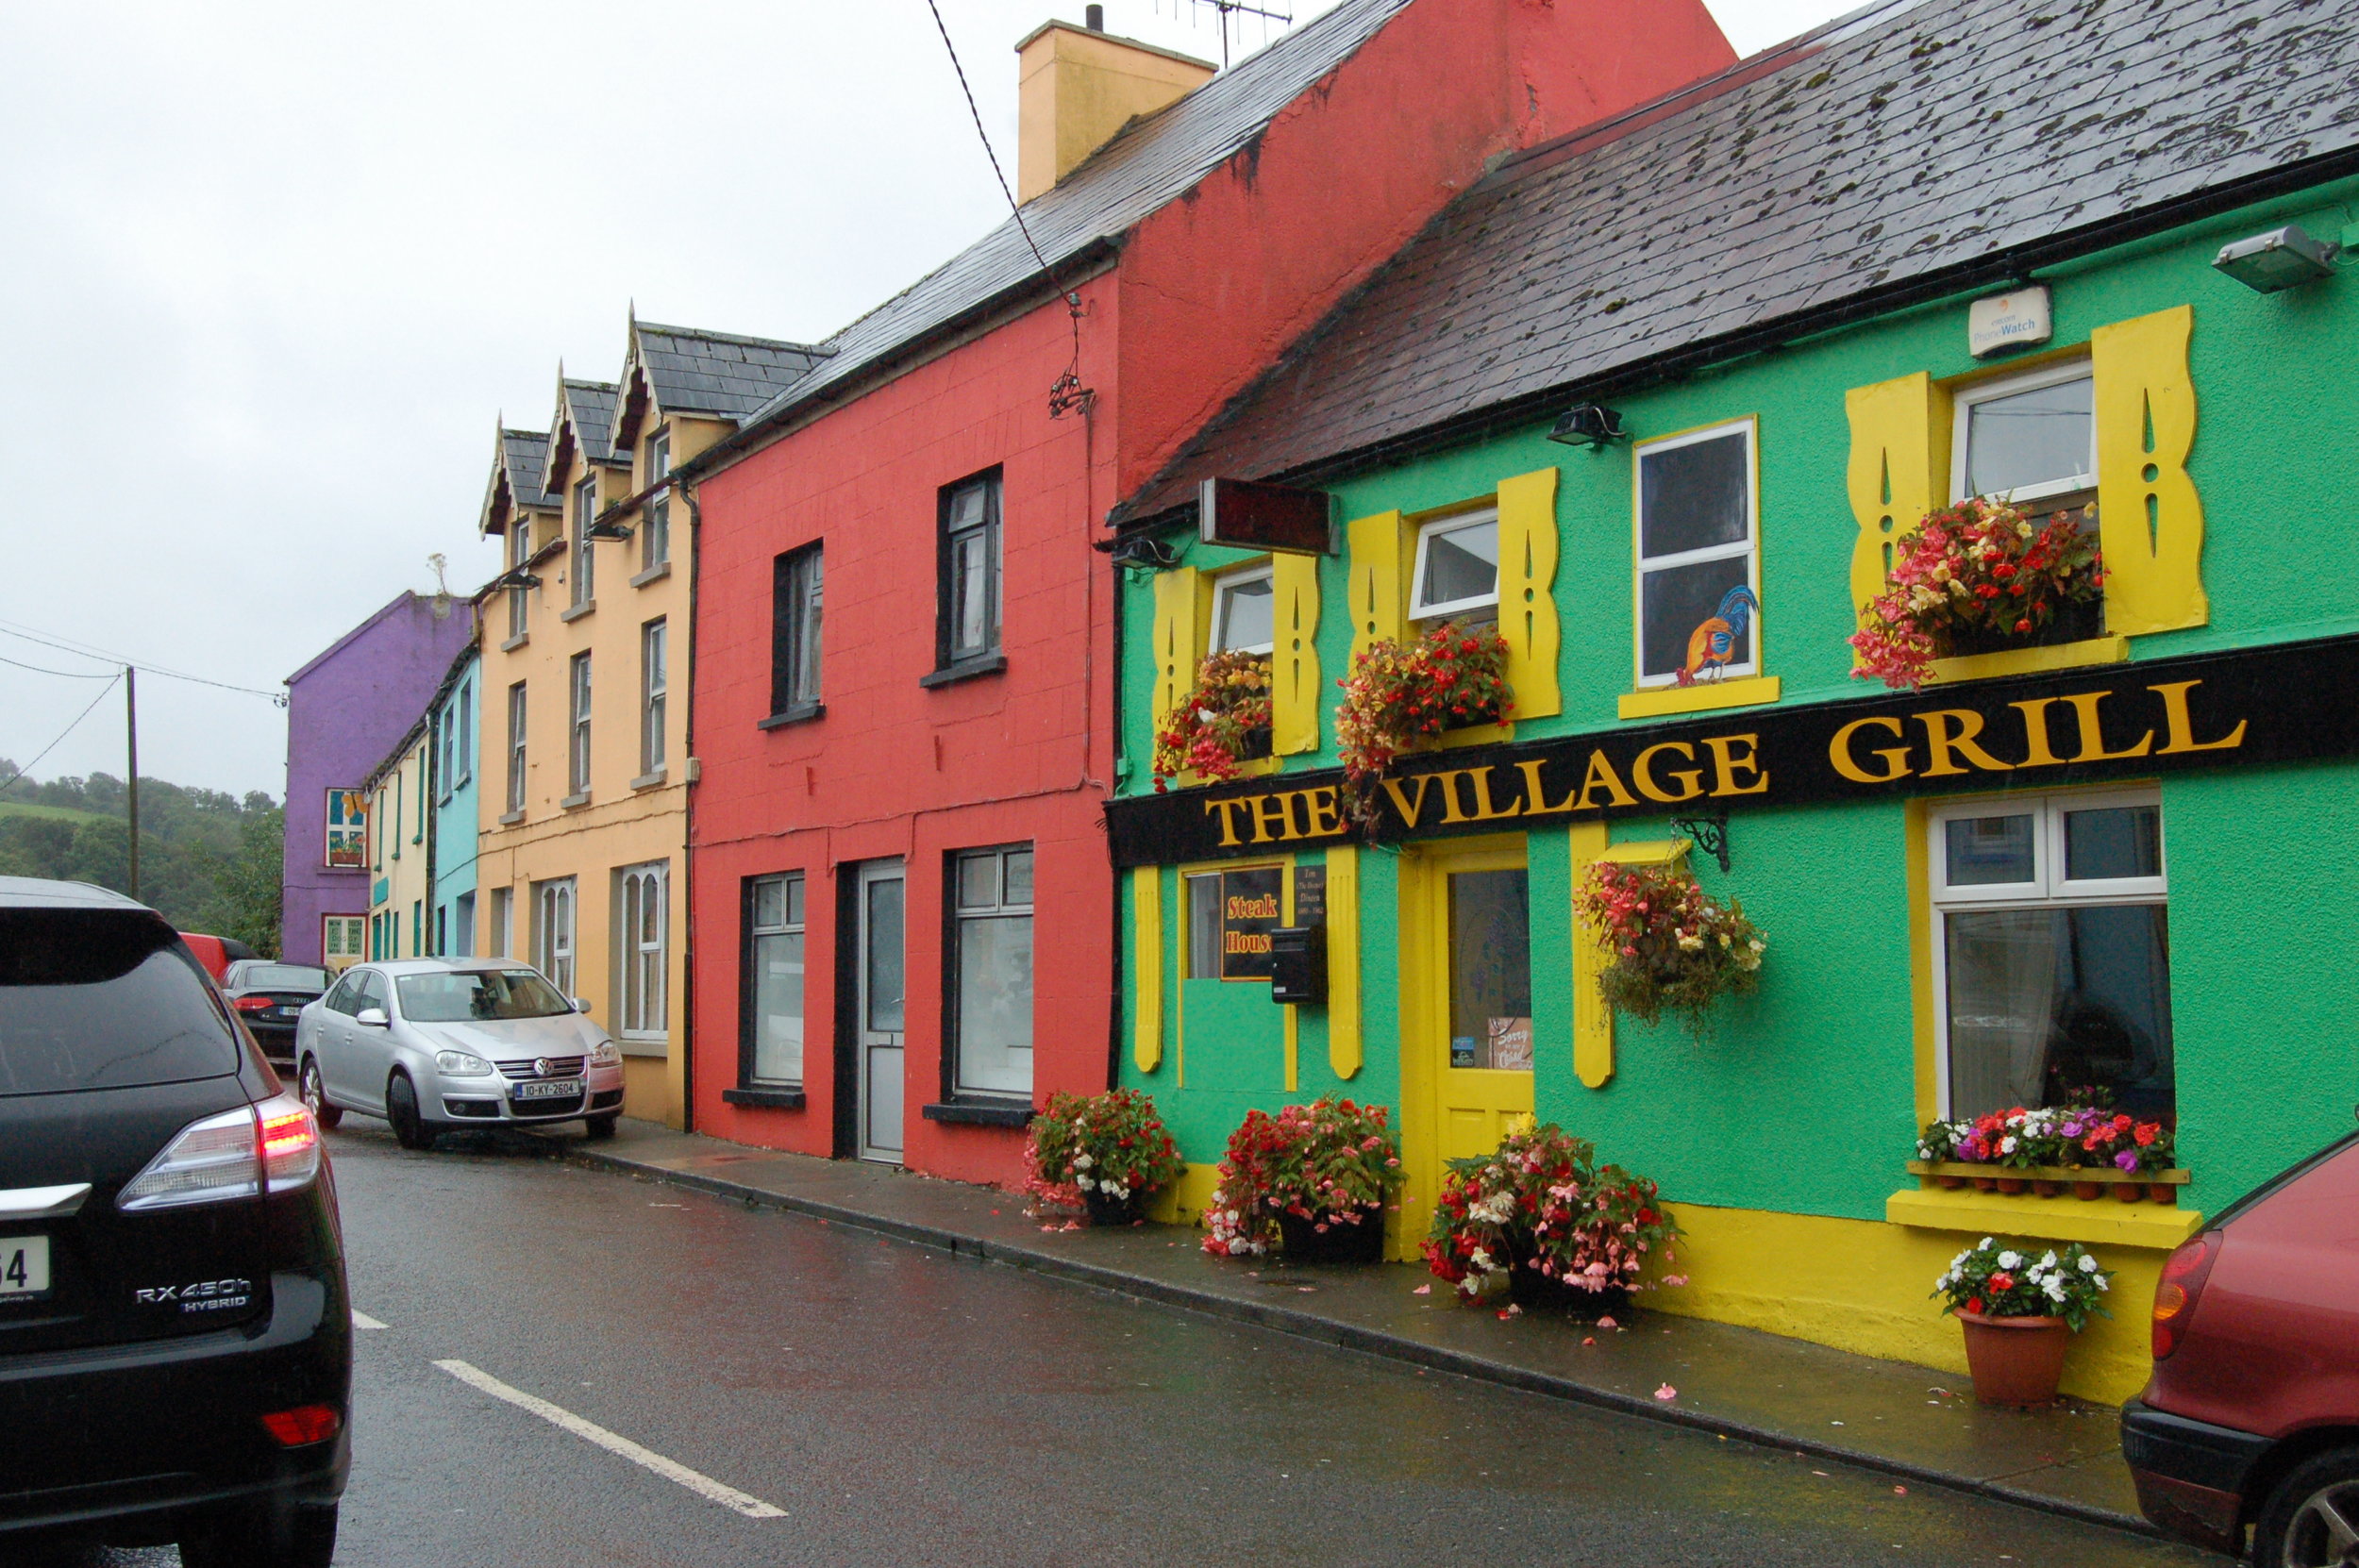
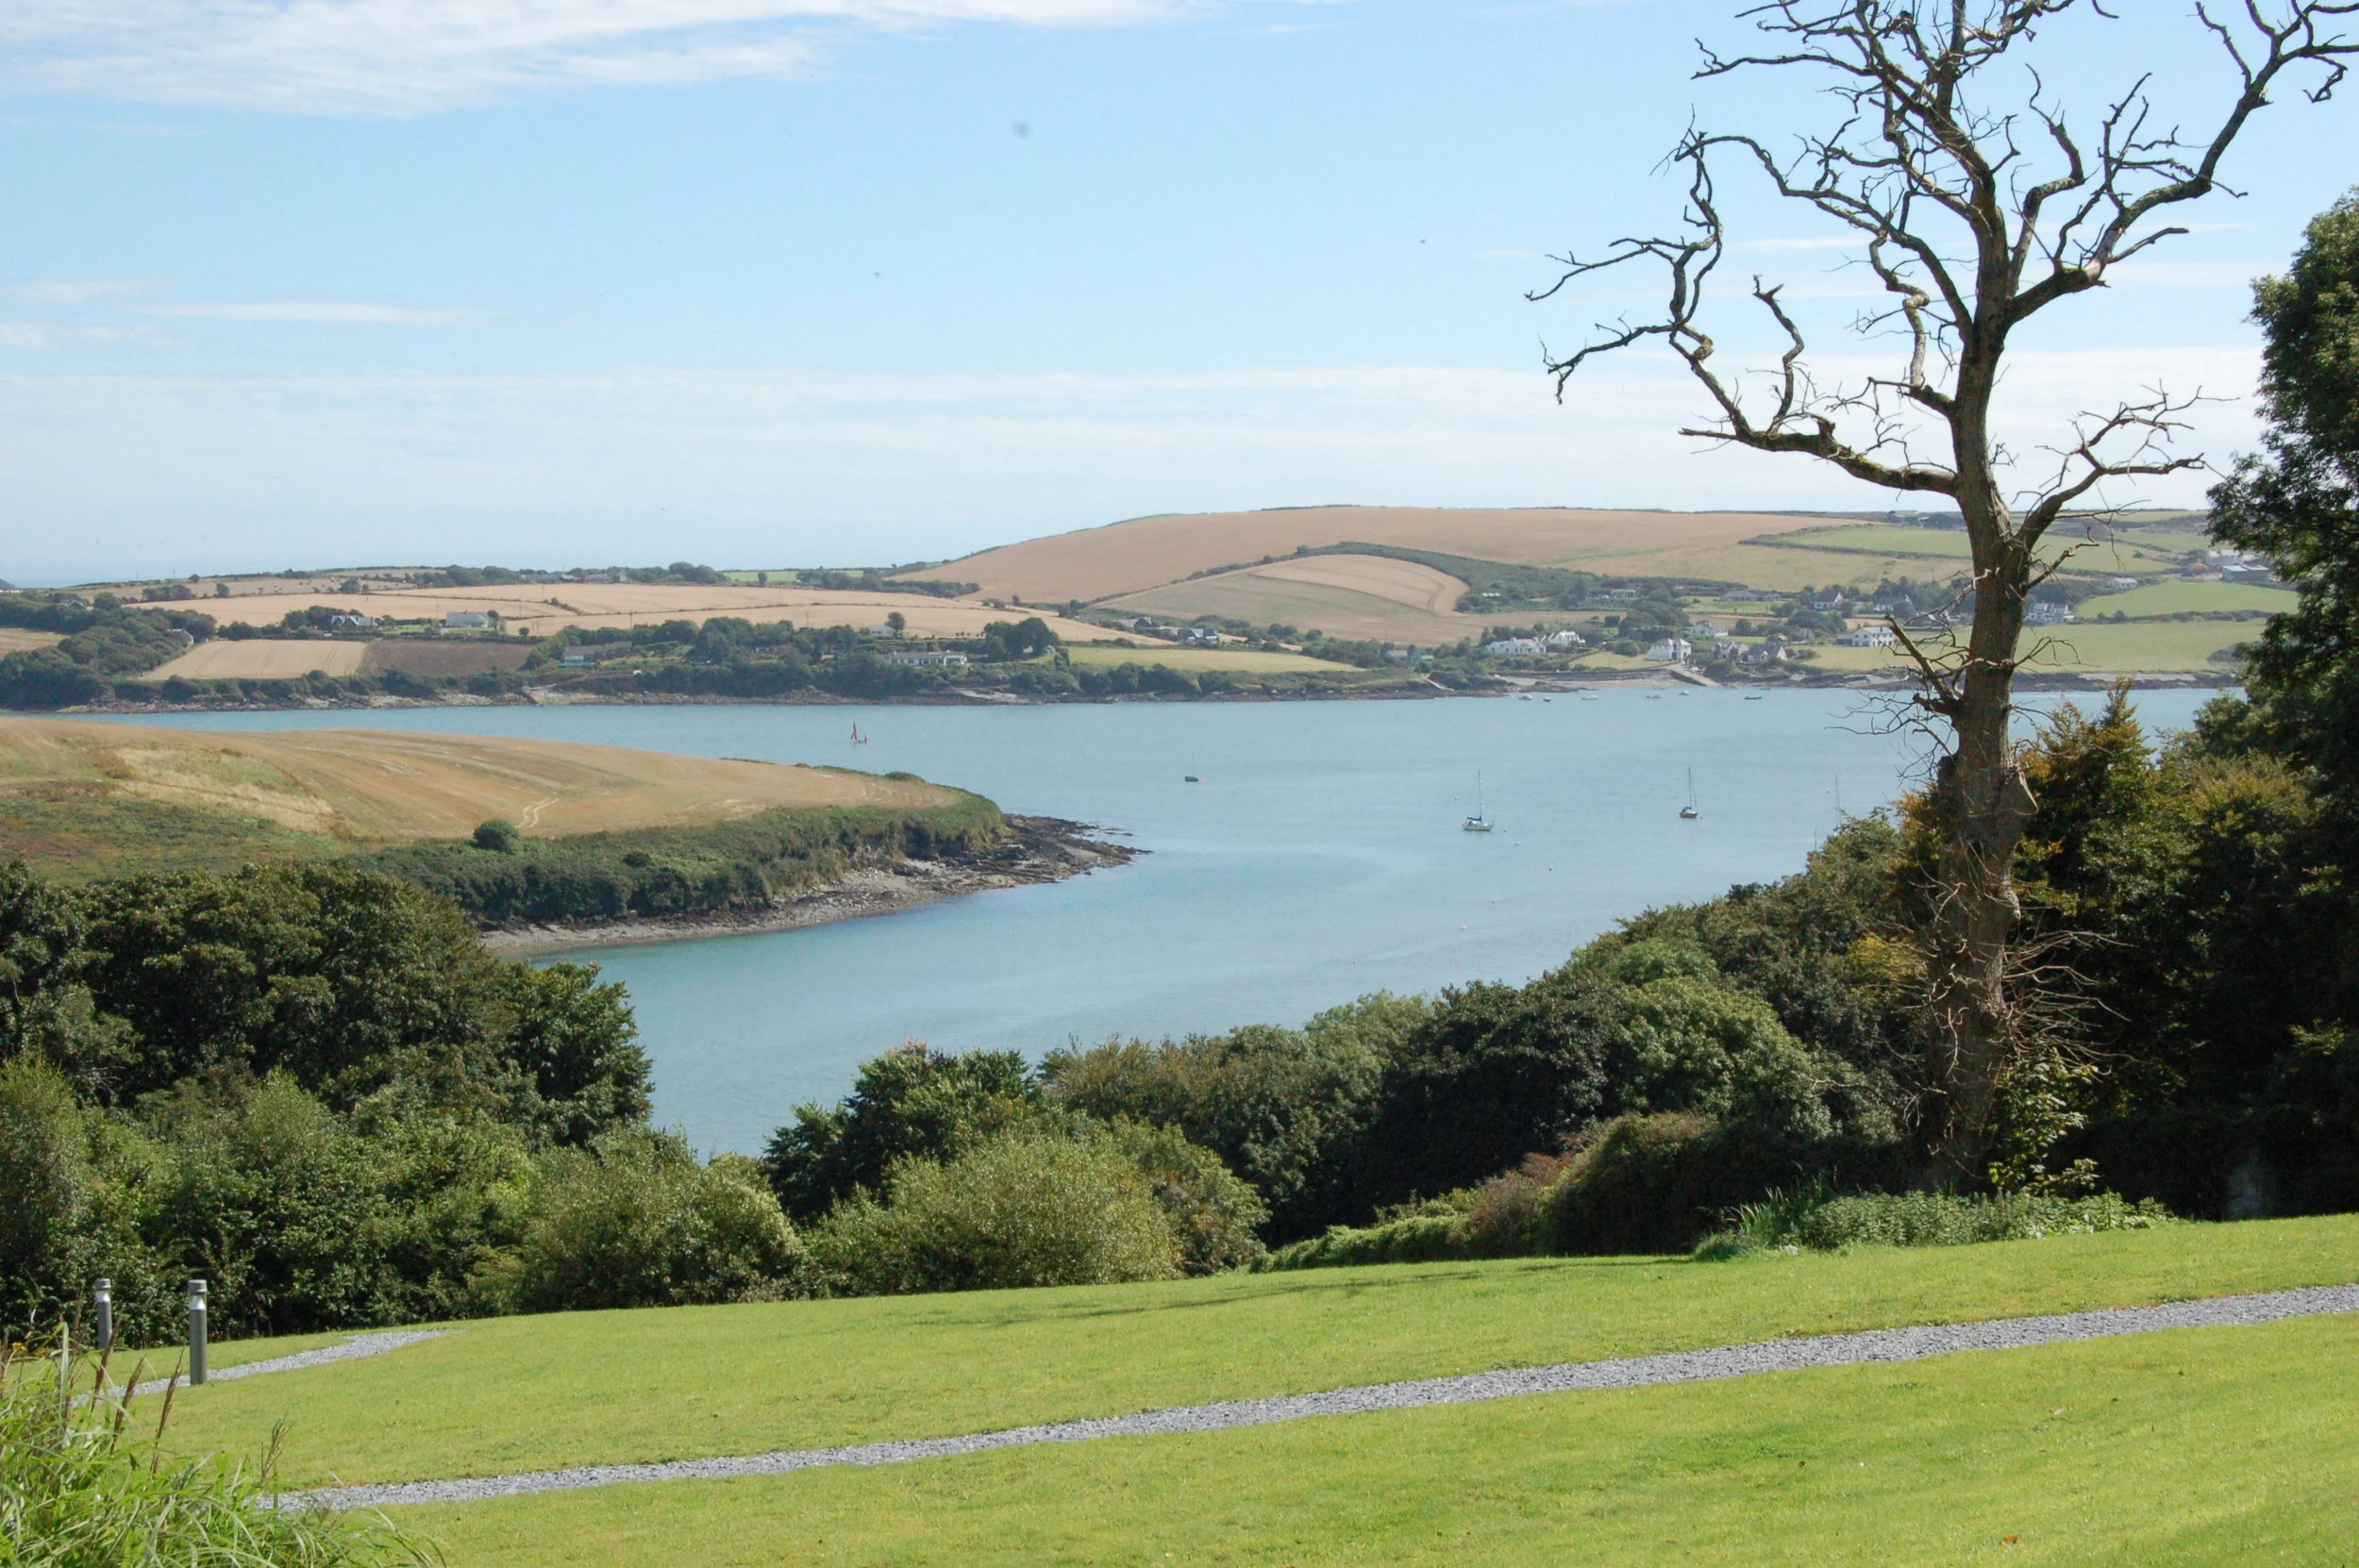
Ireland is also a magical place to visit and is noted for its friendly, warm people, its wonderful scenery, its castles, and ancient churches, and of course, its forty shades of green (aka The Emerald Isle).

On the day of celebrating everything Irish, today seemed like the perfect day to transport you to Ireland and experience a side of Ireland you may not get to see. Enjoy some of our favorite breathtaking views and quotes from our visit to this beautiful country two years ago.

Have a great day and Happy St. Patrick's Day! 

Inspirational Quotes and Blessings.

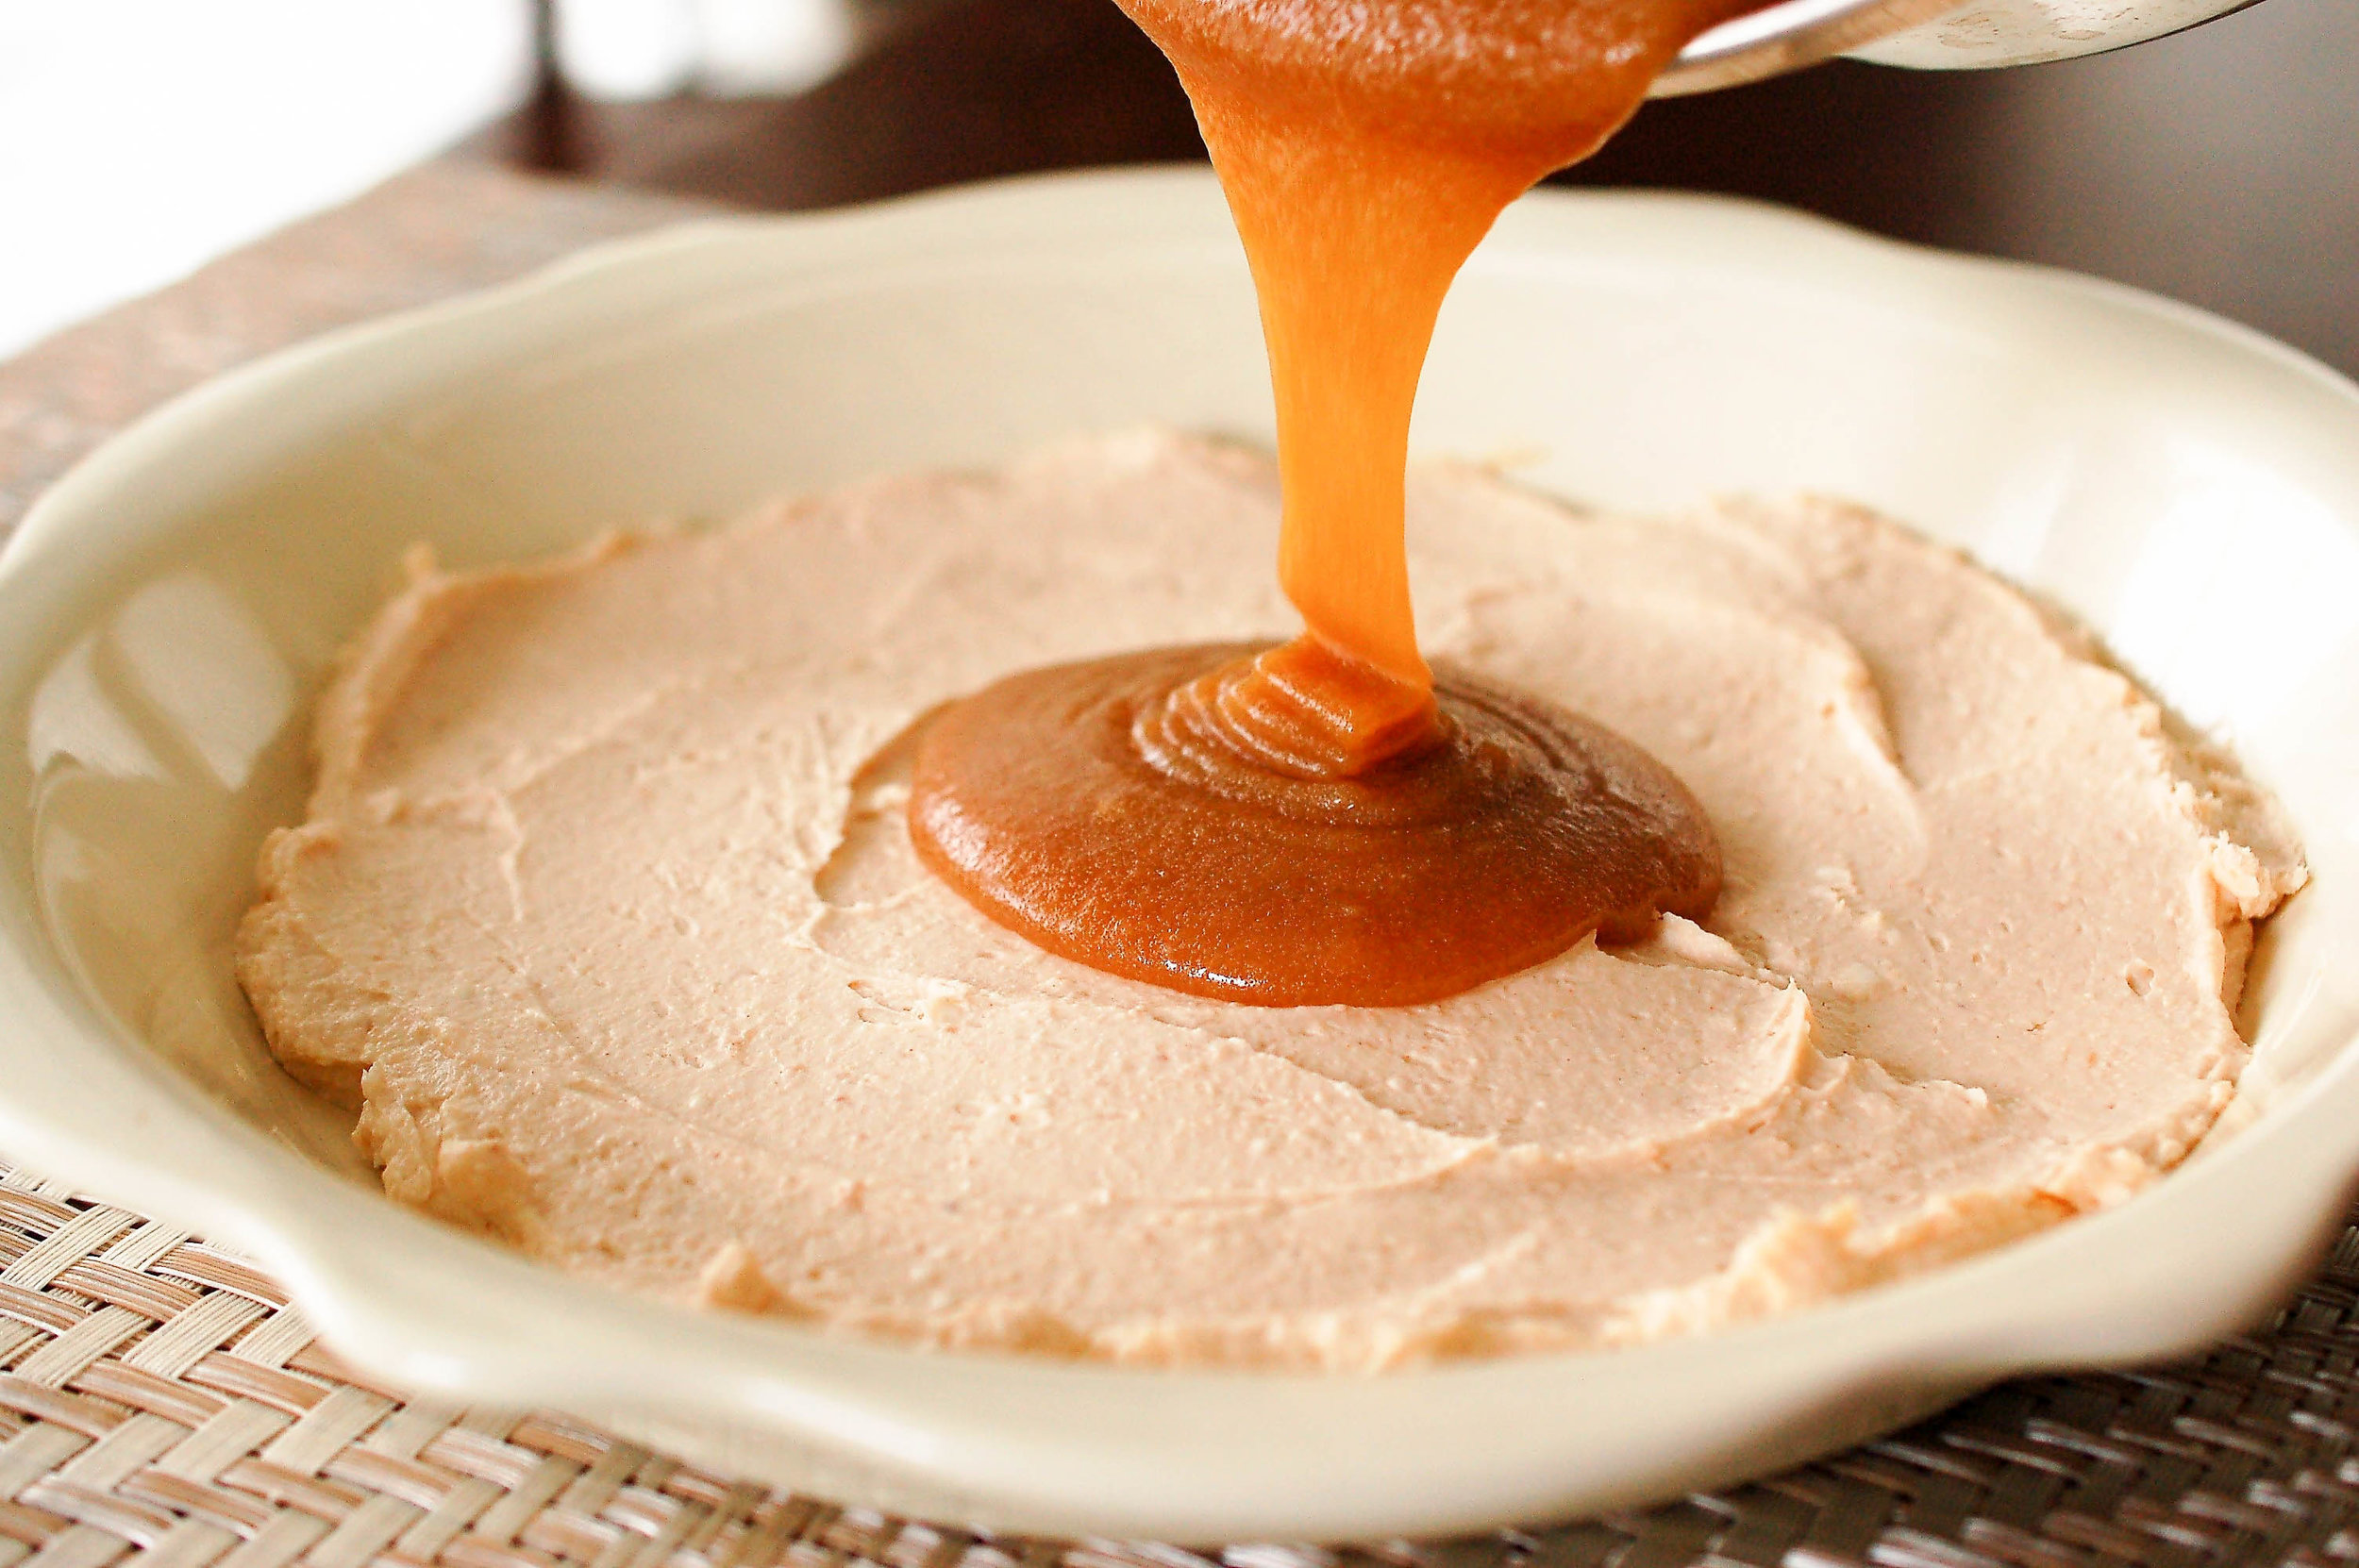
  • "Laughter is brightest, where food is best". -Irish Proverb

  • "Bless us with good food, the gift of gab, and hearty laughter. May the love we share be with us ever after".-Irish Blessing

  • "If you can see the hills, it's going to rain if you can't, it's raining"- Dave Hogan

  • "Kiss the cook...she's Irish" -(Love this one!)

  • As you ramble through life, whatever be your goal, keep your eye upon the doughnut, and not upon the hole.- Irish Proverb

  • "There are good ships and wood ships, ships that sail the sea, but the best ships are friendships, may they always be". -Irish Proverb

  • "A cabin with plenty of food is better than a hungry castle". -Irish Proverb

  • “May your troubles be less and your blessings be more, and nothing but happiness come through your door”- Irish Blessing.

  • “May the dreams you hold dearest, be those that come true, and the kindness you spread, keep returning to you”.- Irish Blessing


Yum

Cooking Tip: Perfect Boiled Eggs

cooking tipsSheri Spallone2 Comments
Cooking Tip: How to have perfect hard boiled eggs every time!

Cooking Tip: How to have perfect hard boiled eggs every time!

Do you hate those green rings around your overcooked egg yolks? Have no fear!

Place eggs into a pot of cold water, making sure to cover them entirely with water. Turn the stove on and cook the eggs until they start to boil, then turn off, remove the pot from the heat, and cover for 10 minutes. Don't forget to set your timer!

After 10 minutes, drain the eggs and place them in a bowl of ice water (ice and water) to chill. If going to use immediately, gently crack each egg after 2-3 minutes, allowing water to loosen the shell, and place back in the ice water for about 5 minutes. Once the 5 minutes is up, peel away my friends. The result is perfect yellow egg yolks with no "ring around the collar" (ha!).

This process has worked for us for many years. What is your favorite way to hard-boil eggs? Comment below. Thank you for visiting! Come back again.


Yum

Cherry Pie Cookie Bites Recipe

desserts, snacksSheri SpalloneComment
Cherry Pie Cookie Cups Recipe

Cherry Pie Cookie Cups Recipe

Cook Time:  9 Minutes
Prep Time:  10 minutes (plus 2-3 hours for chilling dough)
Difficulty:  Easy

Hello friends!  Happy Valentine’s Day, Happy February, and Happy Cherry Month!  “While most people enjoy cherries in the middle of summer (hello…there is snow on the ground here), Cherry month (February) serves to remind you that cherries can be enjoyed at any time of year, in any form.”  And, “indulging in massive consumption of cherries is the only way to celebrate (daysoftheyear.com).  So, are you ready to talk cherries and Cherry Pie Cookie Bites?

These easy to make Cherry Pie Cookie Bites are mini in size, but mighty in flavor!  Bursting with fresh juicy cherries, bathed in Cherchies® Cherry Butter Spread, and nestled in a homemade buttery cookie crust, these sweet-tart morsels will tantalize your taste buds and make your head swoon.  

Enjoy these little gems for any occasion, any time of the year (even if it is snowing), but make sure to grab some for yourself because these cookie bites will disappear right before your eyes.

Here is how they are made.

Thanks for stopping by:) Comment below if you have tried this tasty recipe. Come back again for more family-tested recipes, entertaining ideas, and cooking tips using all our favorite Cherchies® gourmet products.

Follow us on social media: Facebook, Instagram, and Pinterest.

Ingredients
Cookie ingredients
1 1/2 c. sifted confectioner's sugar
1 c. butter softened to room temperature
1 egg
1 teaspoon (tsp) vanilla
1/2 teaspoon (tsp) almond extract
2 1/2 c. sifted flour
1 teaspoon (tsp) cream of tartar
1 teaspoon (tsp) baking soda

Filling Ingredients
1 lb. bag of sweet cherries (pits removed), slice half of them in half
1/2 jar Cherchies® Cherry Butter Spread
1/2 teaspoon (tsp) cornstarch

Icing Ingredients (optional)
1/2 cup powdered sugar
1 teaspoon (tsp) lemon juice

Preparations  
(If you are short on time, feel free to use refrigerated sugar cookie dough). 

In a mixing bowl, cream the sifted powdered sugar and butter.  To sift the powdered sugar (or any dry ingredient), as the recipe indicates, all you need is a fine mesh strainer. Simply plop the strainer over a bowl, pour the ingredients into a strainer, and gently shake the ingredients. It looks like a fine powder when finished.

Add egg and flavorings and mix thoroughly. 

Stir in dry the rest of dry ingredients until incorporated.  Refrigerate for 2-3 hours if going to make into cut out cookies, otherwise chill for 30 minutes.

While the dough is chilling in the refrigerator, make the cherry filling.  Wash and remove pits from cherries.  (Yes, it’s the “pits” to remove them…(Ha!), but use this use this tool or something similar to make life a lot easier). Slice half of the cherries in half (you will use the remaining whole cherries as a garnish at the end).

Why buy canned cherry pie filling when you can make your own from scratch in minutes? It really is not hard and the flavor is so much better than canned pie filling.

In a small bowl, mix the cornstarch and Cherchies® Cherry Butter together.  Add the cherry butter mixture and the cherries to a small saucepan and heat on low for about 5 minutes, or until cherry butter has dissolved and the mixture is smooth and thick, (similar to the consistency of canned pie filling -5 minutes).  Remove from heat and allow to cool.  Set aside.

For cookie balls- Once the dough has chilled, preheat the oven to 375 degrees.  Spray muffin tins with cooking spray.  Shape the dough into 1 inch balls and place into mini muffin tins.

Using a small round measuring spoon, a small melon ball scooper, a mini wooden tart tamper, or your finger, press the dough into the mini muffin tins, creating a cookie cup to hold the filling.  Be careful not to go all the way through to the bottom.  

Bake the cookie cups for about 10 minutes, or until lightly golden brown.  Remove the muffin tins briefly (as they will expand while they bake) to tamp down the dough back into shape.  Return the cookie cups to the oven to finish cooking for a couple of minutes, until cookie cups are a golden brown.

Remove the muffin tins from the oven and allow to cool in pan for 10-15 minutes, then gently run a knife along the sides to pop them out. (If you used enough cooking spray, then the cookie cups should come out rather easily). Once cookie cups have briefly cooled, remove them from the pan and carefully fill them with the cherry filling, making sure to add a whole cherry on top for the garnish. For the "icing on top", mix together the powdered sugar and lemon juice in a small bowl.  If the icing is too thick, add a couple of drops of water, until the consistency is thick but smooth and runny.  Drizzle the icing over the cherry pie cookie bites with the tines of a fork.


Yum

Cooking Tip: How To Make Homemade Caramel Sauce

cooking tipsSheri SpalloneComment
Cooking Tip: How To Make Homemade Caramel Dip…And How To Use it!

Cooking Tip: How To Make Homemade Caramel Dip…And How To Use it!

Cook Time: At most 10 minutes

Difficulty: Easy

Yield: About 1 cup

With Fall in full swing, and the holidays fast approaching, nothing melts our hearts more than dreamy, homemade caramel sauce! Rich, creamy, buttery, caramel…add a pinch of salt and your taste buds will go into overload. It is the perfect compliment to your favorite dessert and beverage; and an absolute necessity for your holiday entertaining.

Follow along below as we share the steps of this easy recipe, along with clever ways to use it.

What is your favorite use for caramel? We would love to hear from you!

Here Are The Gooey Details

Ingredients

  • 1 cup of brown sugar

  • 6 Tablespoons (Tbsp.) unsalted butter, cut into small pieces

  • 1/2 cup heavy cream or half and half, room temperature

  • 1/2 teaspoon (tsp) sea salt (if want salted caramel, add up to 1 tsp. salt- Kosher salt is fine too)

  • 1/2 teaspoon vanilla (you could substitute your favorite liquor for an extra special adult treat…we won’t tell, but make sure to keep away from the kiddos).

Preparation

There seems to be some debate out there in cyber world about making homemade caramel sauce, and whether or not to melt the sugar first with butter or add the butter at the end along with the rest of the ingredients. I have tried both ways with the end result being the same. Quoting my mother, “If it ain’t broke, don’t fix it” (okay, she did not say ain’t, but you get the idea), so this is my version for a creamy, delectable caramel sauce/dip. It really is very easy, and only takes a few minutes.

The caramelization process happens quickly, so make sure all your ingredients are measured and in place before you begin. Start with a medium-sized stainless steel sauce pan (ceramic would work just fine too). Add the butter chunks to the pan, turn the heat on low, and gently stir the butter with a wooden spoon (you can use a whisk too) until it melts. Once the butter has melted, add the sugar and continue to stir until the sugar has melted. (Sugar will be HOT! Trust me, and learn from my mistakes, do not be tempted to taste the caramel at any time, until it has cooled! Many sites I researched suggest having a bowl of cold water on hand in case of flying molten sugar. Yikes! Do not be afraid, but be safe.) As you are stirring, scrape the sugar that forms on the side with the spoon or a rubber spatula and incorporate into the mix.

Continue stirring constantly on low until all the sugar has dissolved and you have achieved this rich caramel color and a nutty aroma. Some of the butter may remain on the top. This is okay. It will incorporate once the half and half or cream is added. As the caramel comes to a rolling boil on low, continue rapidly stirring. Add salt and vanilla (or liquor) at this time. If you want salted caramel, then add an additional 1/2 teaspoon (tsp) of salt.

The last part is the cream or half and half. Add the cream slowly and stir stir stir! Again, be careful, this is where the caramel will get angry with you, as it will sputter and possibly throw molten sugar your way. You must prevail. I’m teasing… it really is very easy! Simply continue stirring rapidly until all the ingredients are incorporated. Remove the caramel from the heat and allow to cool. Turn off the stove. The caramel will thicken as it cools.

Look at that! Creamy, dreamy, homemade caramel sauce! You may never buy store-bought caramel again. Stay tuned below for our favorite uses for caramel.

apple butter dip9.jpg

What To Do With Caramel Sauce/Dip

So now that you have made a deliciously decadent caramel sauce, what the heck do you do with it, right? Here are some of our favorite tips:

  • Top your favorite cake, pie, or tart with a generous drizzle of caramel.

  • Pour over popcorn and enjoy a sweet treat.

  • Dip apples for a deconstructed caramel apple.

  • Sweeten your coffee with caramel instead of cream and sugar.

  • Add to milkshakes.

  • Rim a mug of hot cocoa for that extra decadent touch.

  • For an adult beverage, rim a martini glass with caramel and serve with your favorite Appletini.

  • Make hot caramel apple cider.

  • Place in a pretty jar, tied with a pretty ribbon and give as a gift to your favorite hostess, teacher, family or friend.

  • Bake with Brie and nuts and serve with apples for a festive appetizer or dessert.

  • Make it savory! Mix with fish sauce and a few other ingredients for flavorful Vietnamese dishes. Food and Wine.

Thank you for stopping by!


Yum